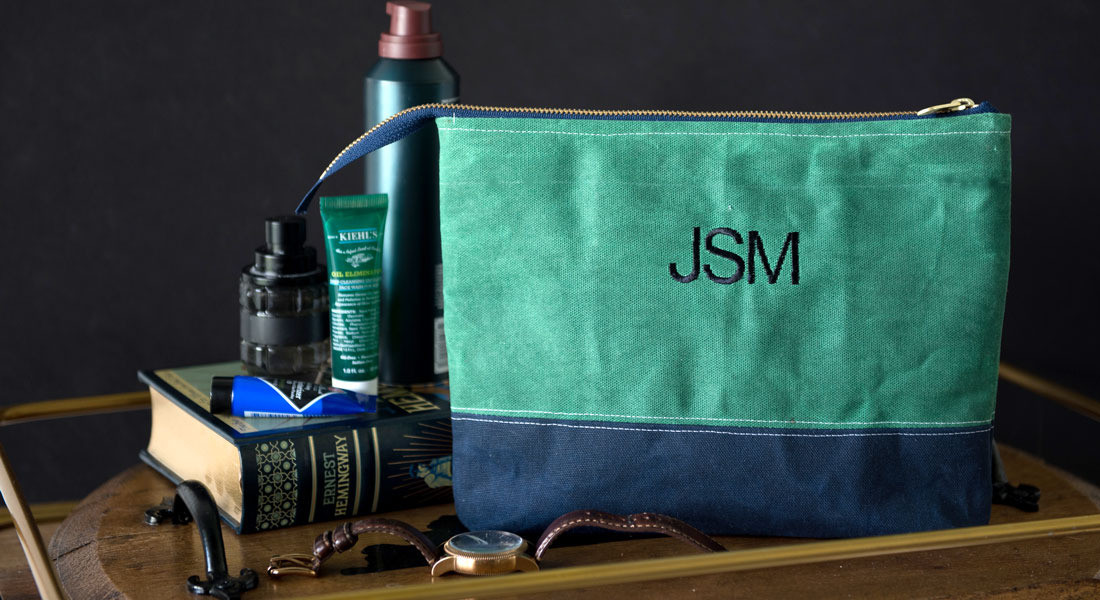
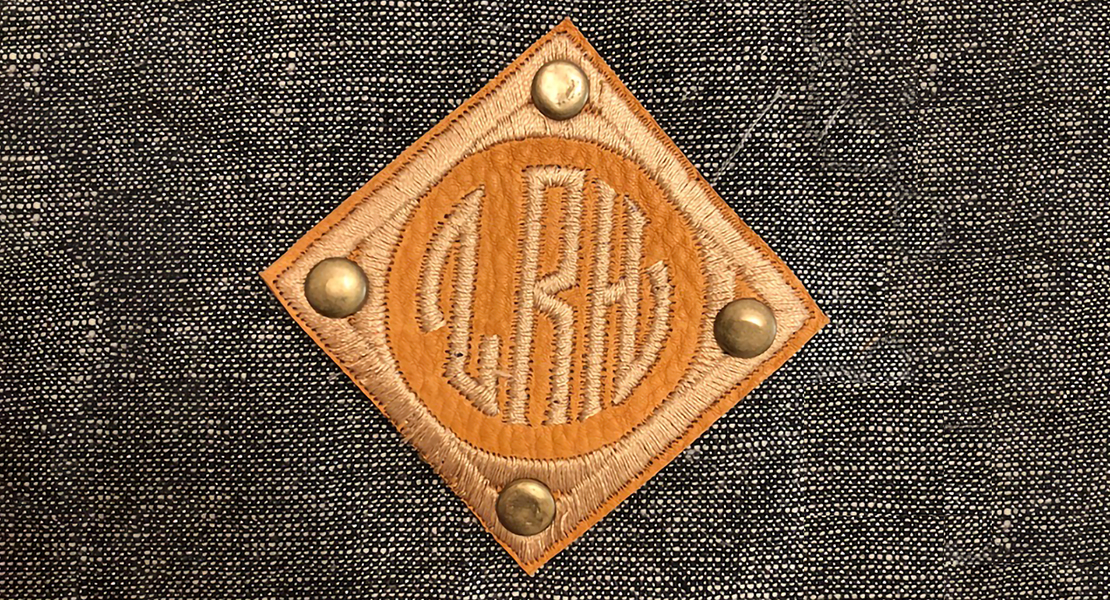
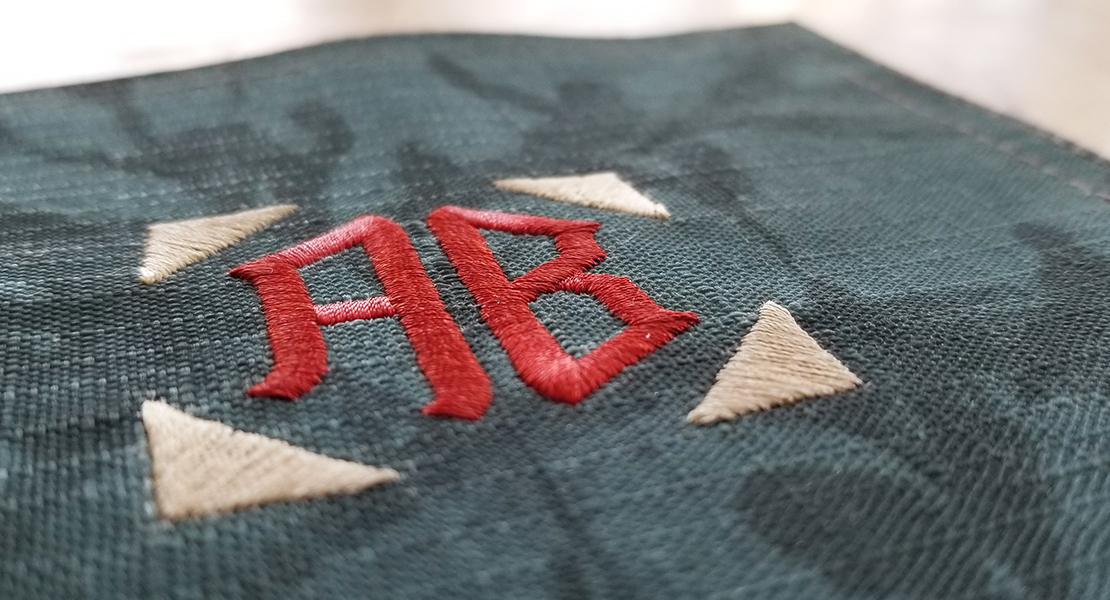
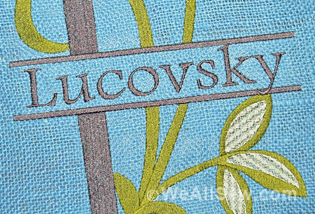
Monogram Bag
Personalize your bag with a custom monogram!
Materials to Monogram your Canvas Bag

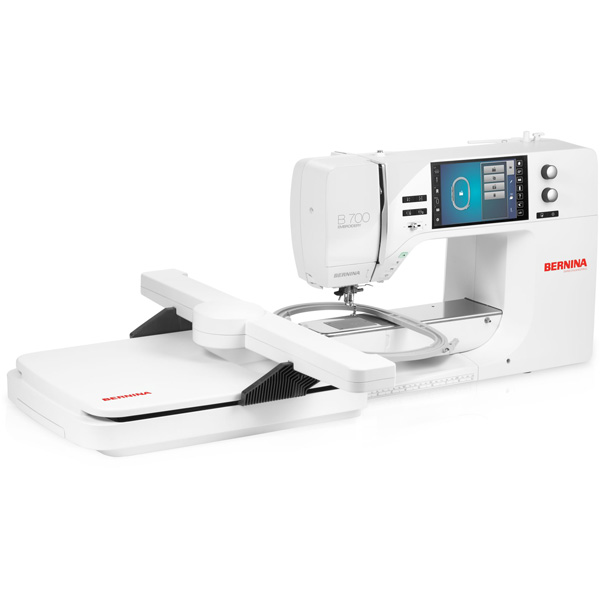
- BERNINA 700 Embroidery Machine
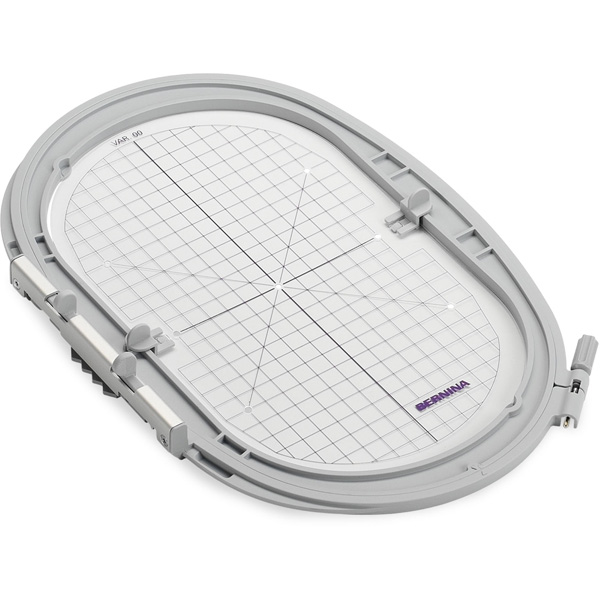
- BERNINA Large Oval Hoop
- Teardrop Embroidery Foot #26
- BERNINA Jersey/Embroidery Needle 80/12
- OESD Stabil Stick Stabilizer
- Embroidery thread in the color of your choice
- Blue Painters Tape
- Wonder Clips
- Fabric marking pencil
- Pre-made tote bag of your choice. (I purchase my canvas bag at madewell.com)
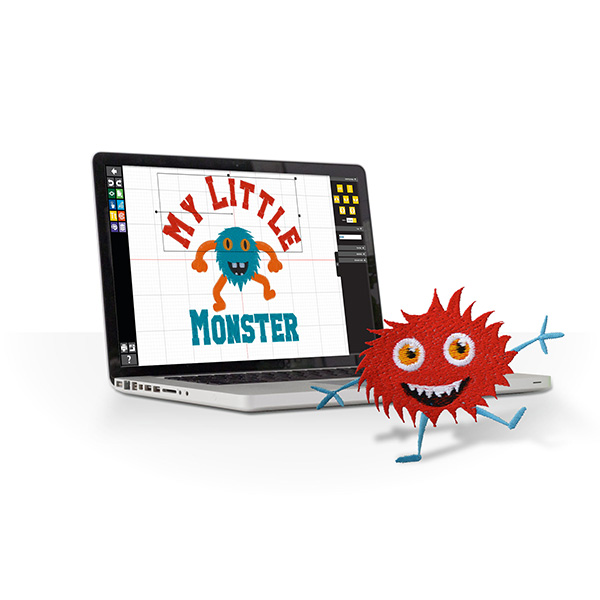
- Monogram Design (click here to see how to create a monogram in the BERNINA Toolbox Software)
Prepare the Bag

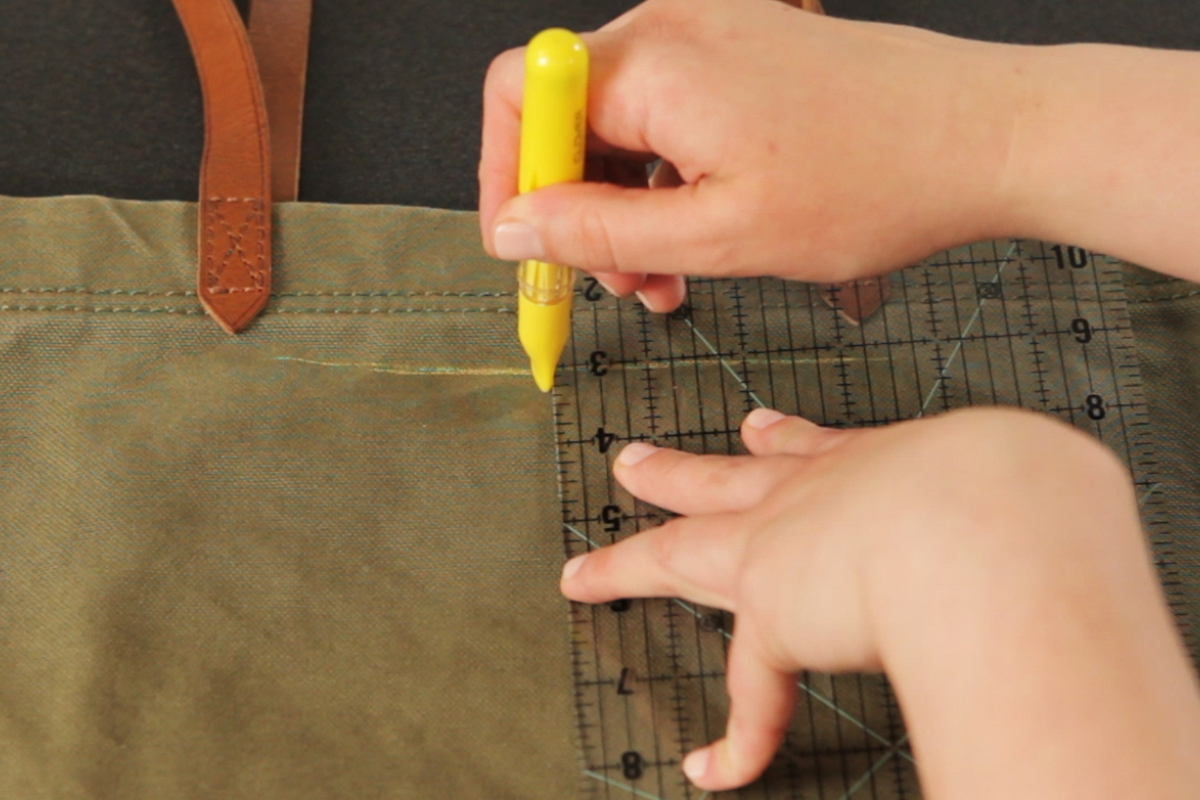
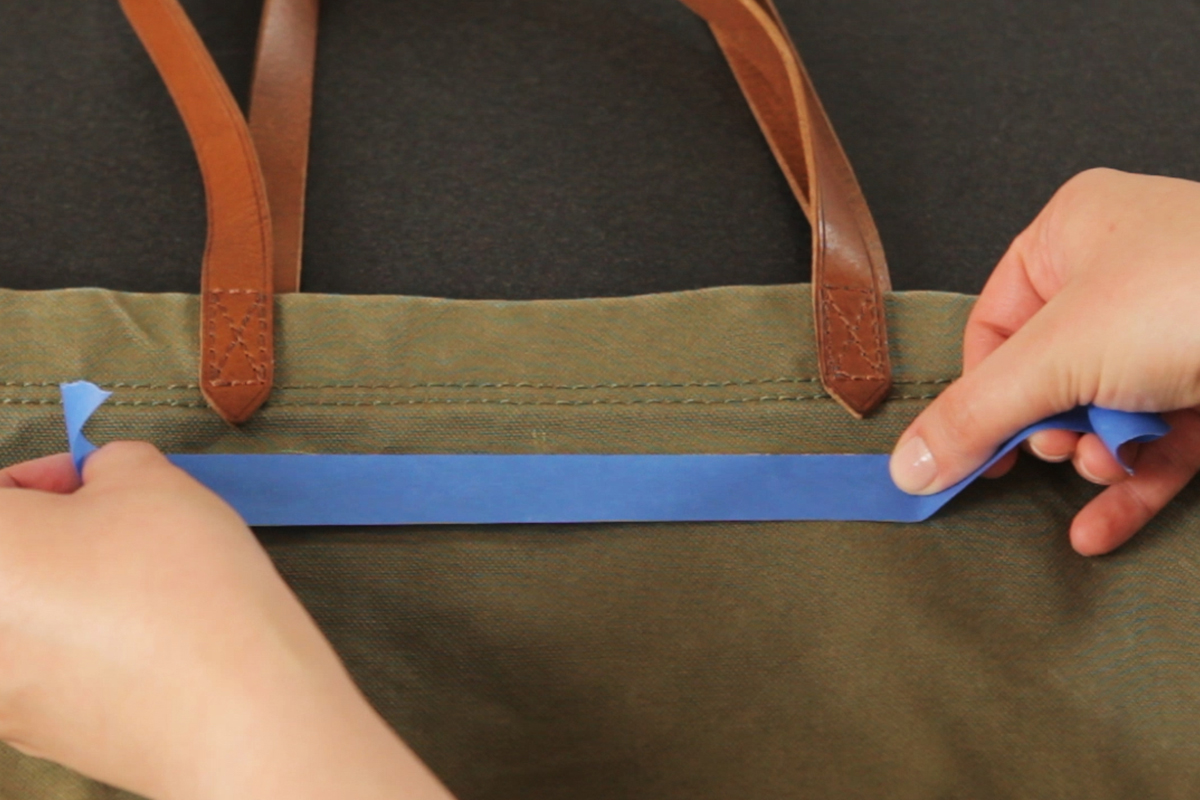
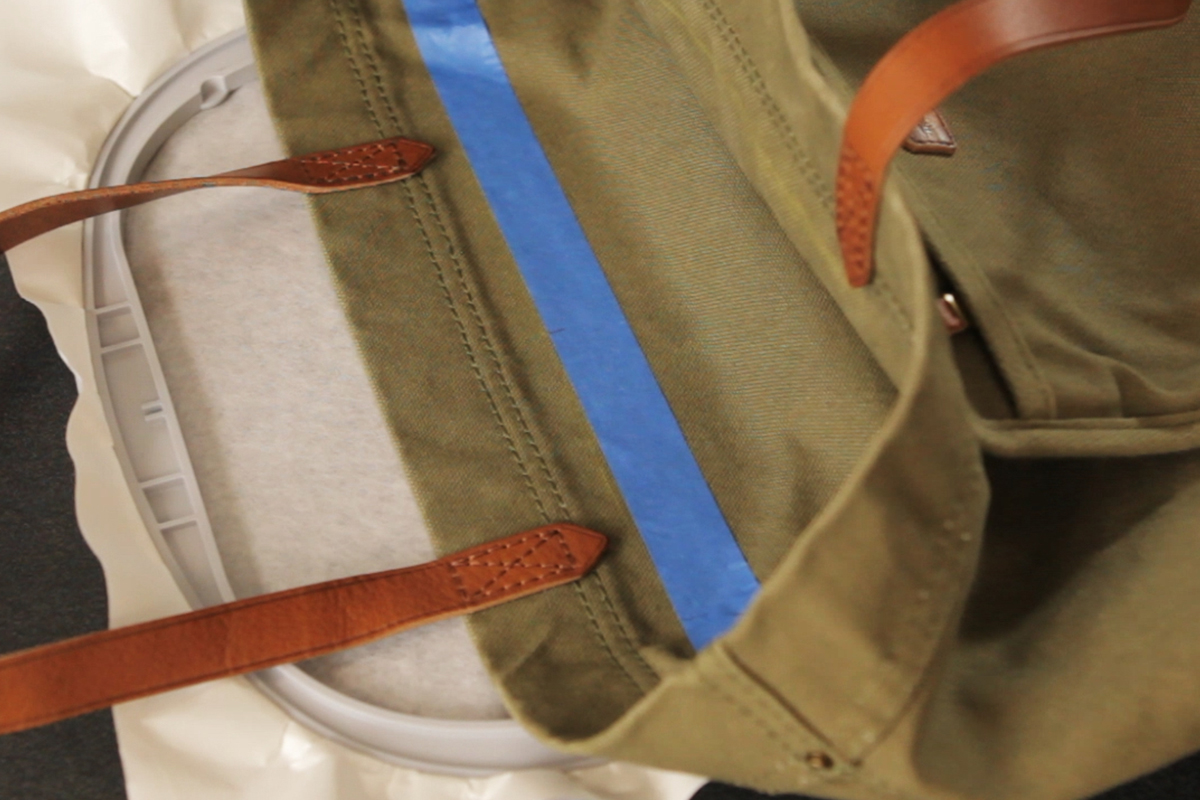
Mark a placement line on your bag in the location you want the monogram to be placed. The placement line represents the top of the embroidery monogram. For this bag, I centered the design in between the straps about ½″ down from the top stitching. I first marked the line with chalk and then placed a piece of blue painters tape aligned with the marked line to make it easier to see when placed in the hoop. Also, make sure you mark the center line between the straps to ensure your monogram is centered.
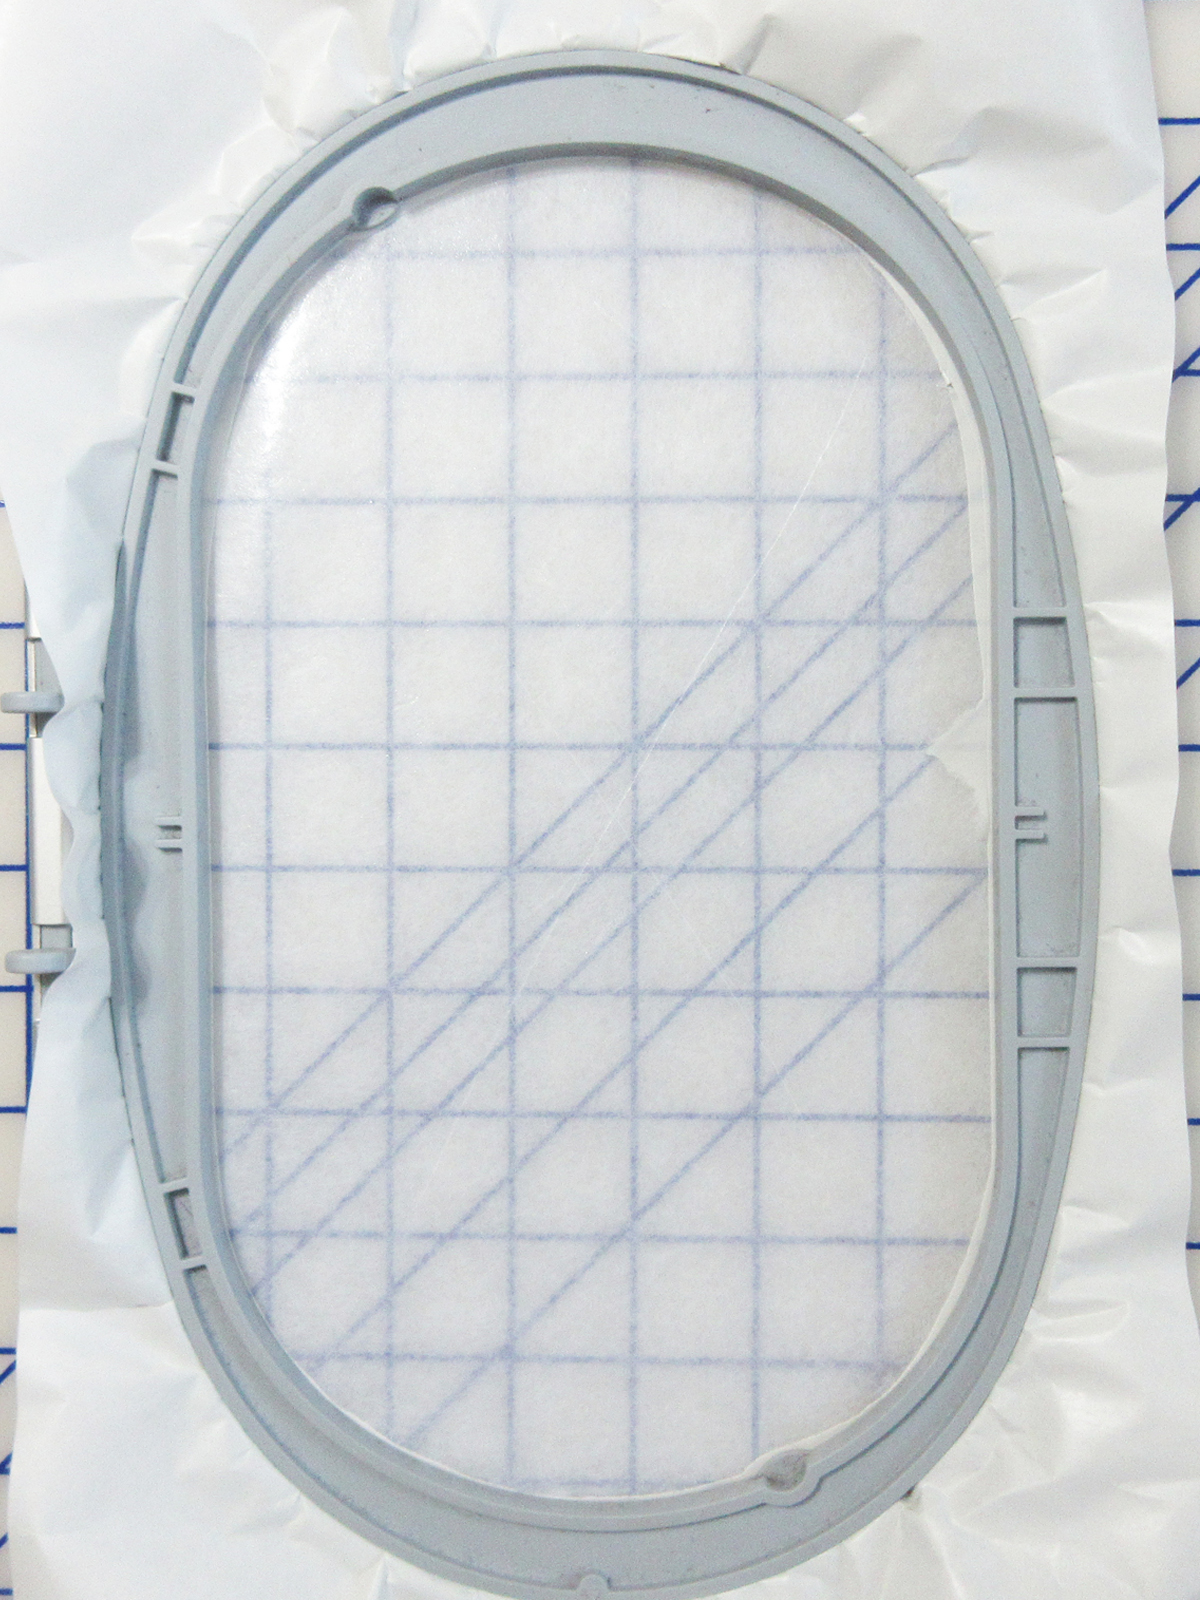
Hoop a piece of the OESD StabilStick Tearaway stabilizer in the BERNINA Large Oval Hoop and remove the paper. This stabilizer is a sticky back tearaway that makes it easy to place the bag without having to hoop the bag itself.
Turn the bag inside out and place the bag into position in the hoop. Make sure the bulk of the bag is off to the right and that the bag is securely stuck to the sticky back stabilizer.
If you are using a bag with more texture, try using a piece of OESD StitcH20 washaway topping on the top of the bag so that the stitches are more prominent and do not sink into the fabric.
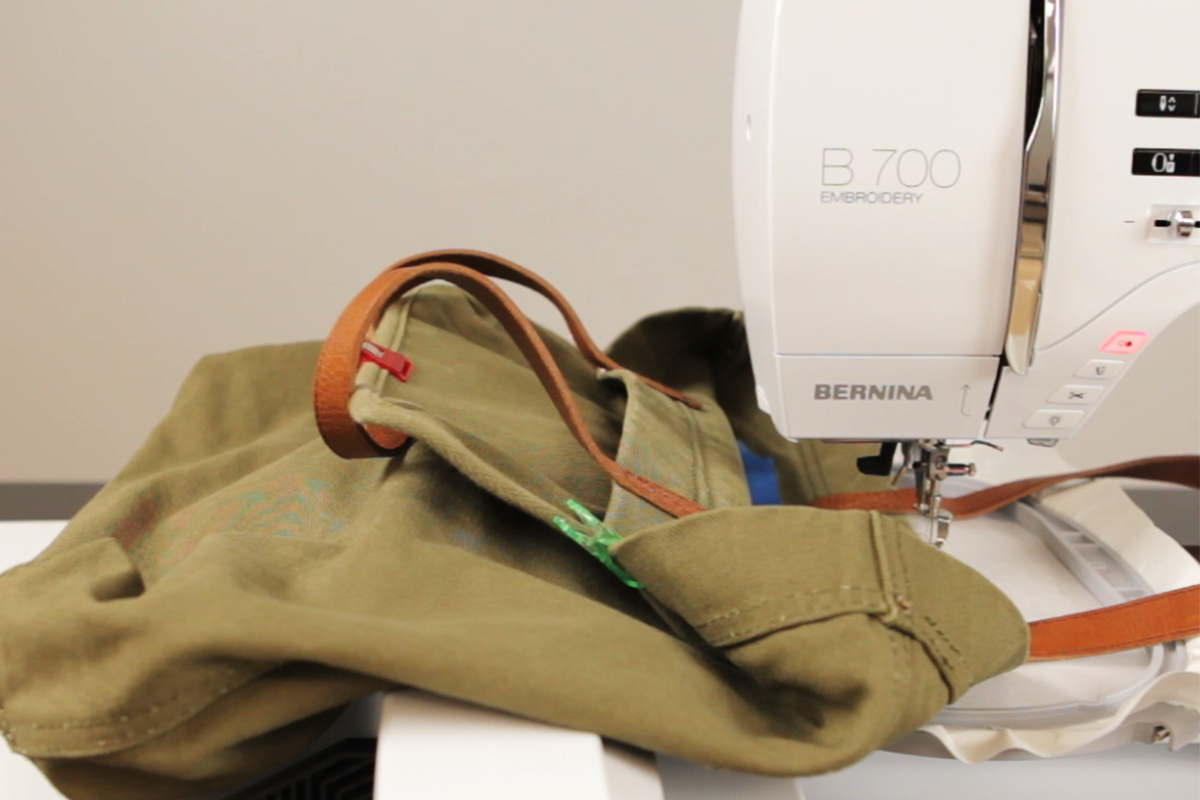
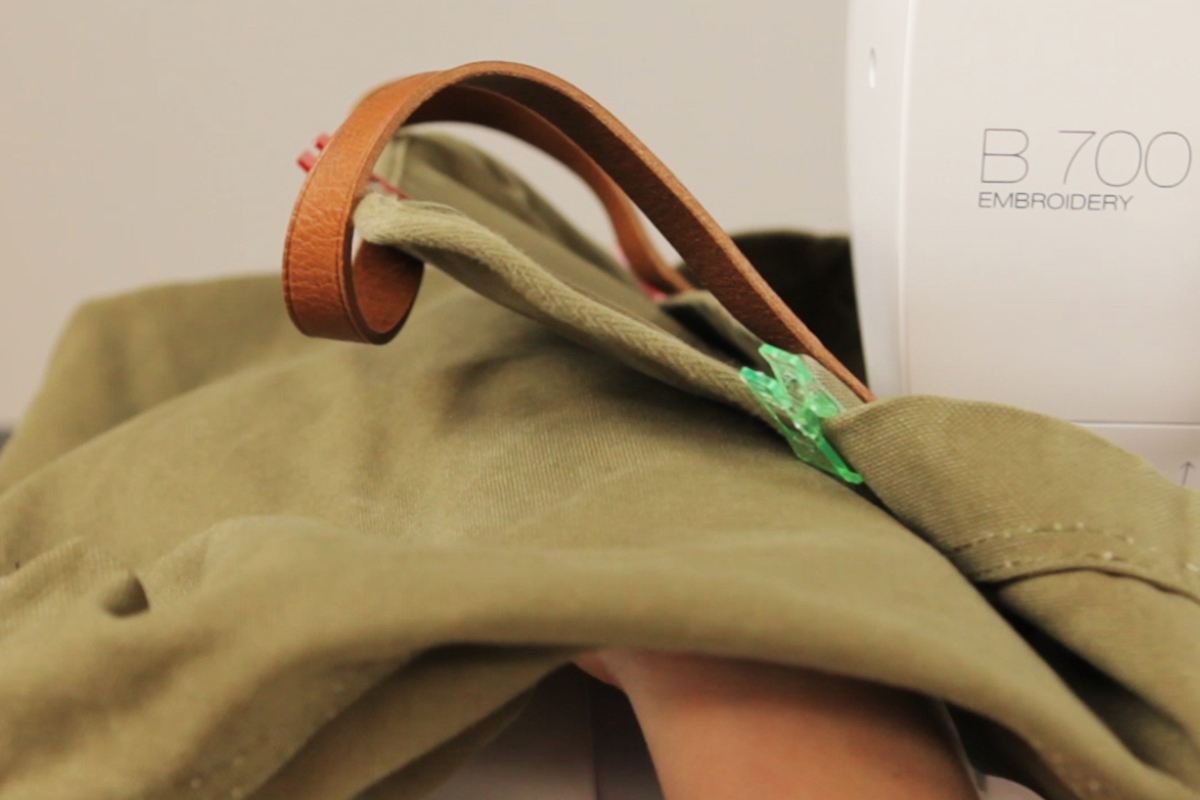
Place the hoop on the machine and use the clips if needed to clip the other side of the bag out of the way as the machine embroiders.
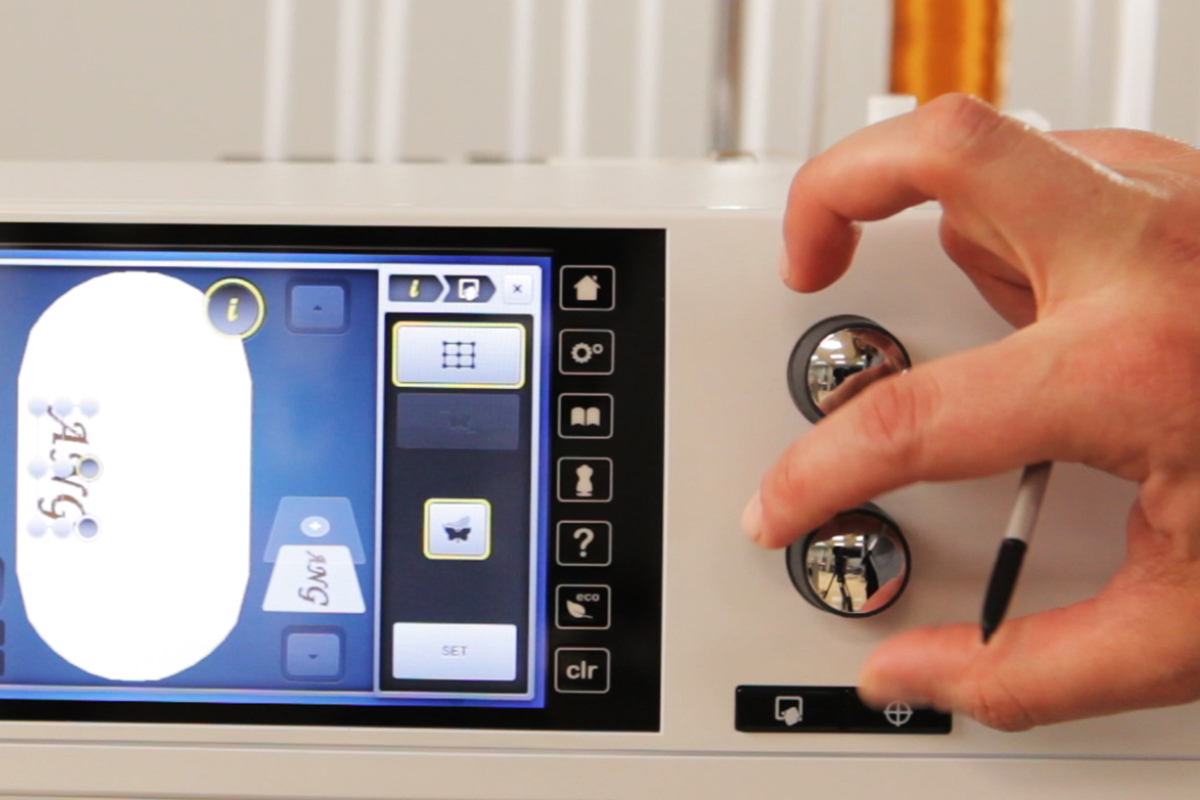
Position the Monogram
Use the embroidery editing features and Pinpoint Placement on the B 700 to place the monogram into position. This feature easily allows you to ensure your monogram is straight regardless of how accurate you hooped the project.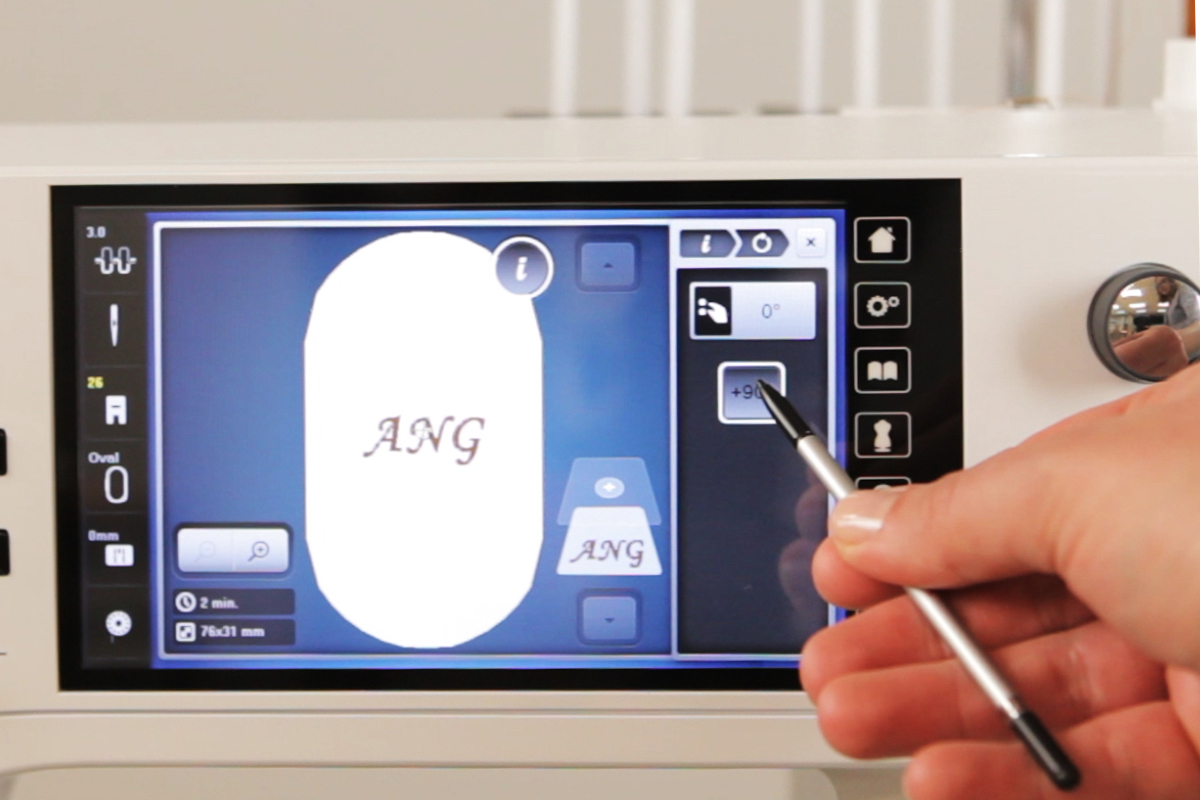
Open the monogram design on the machine. Rotate the design to fit the direction the bag is hooped.

Select Pinpoint Placement and select the ‘Grid’ icon for placement. I placed my design using the center mark and the top of the tape as the top center position.
Select the top center marker and then using the top Multifunction Knob move the hoop so that the needle lines up with the mark on the tape.

Lower the needle with the handwheel to make sure the needle is aligned with the center marking and move if needed. Once it is aligned, select ‘Set’ to confirm the position.
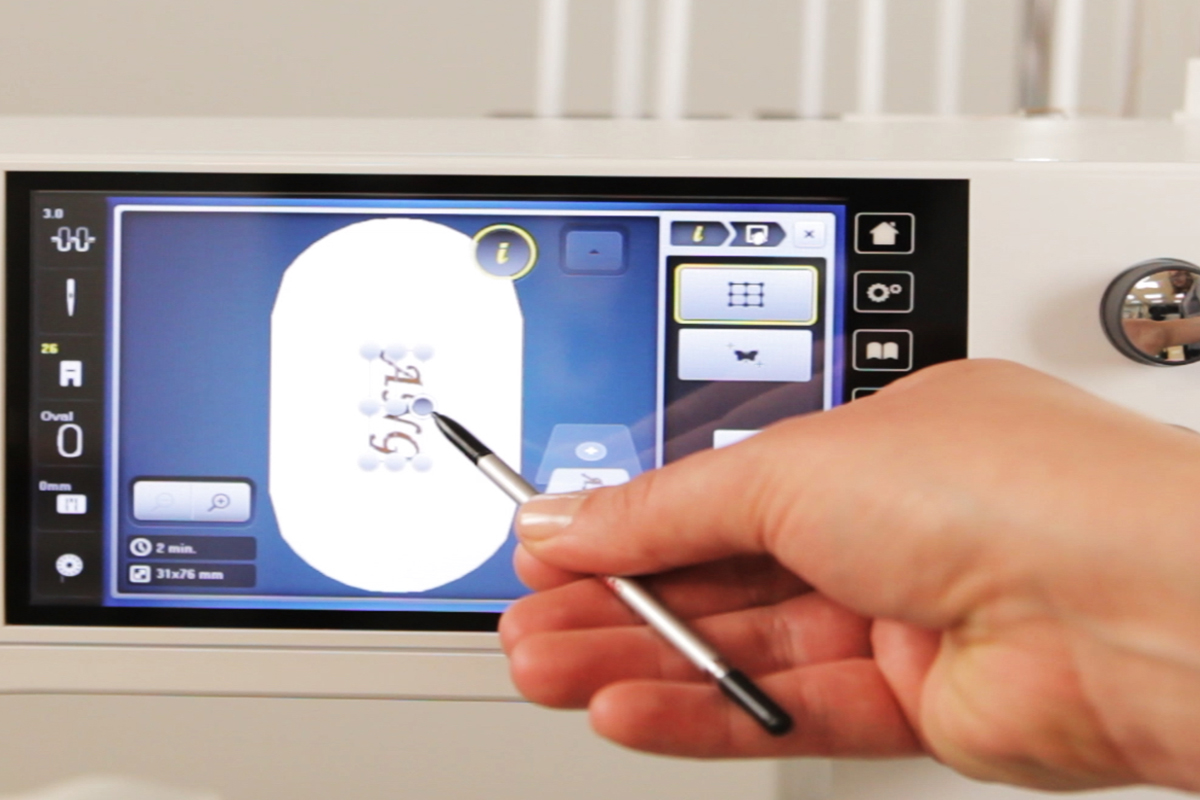
Next, I selected the bottom right marker in Pinpoint Placement to make sure that my design is aligned with my tape. Using the Multifunction Knob, I will now move the design to match the top of my blue painter’s tape. To ensure perfect placement lower the needle with the handwheel to make sure the needle is properly aligned to the top of the tape. Select ‘Set’ once satisfied and close Pinpoint Placement.
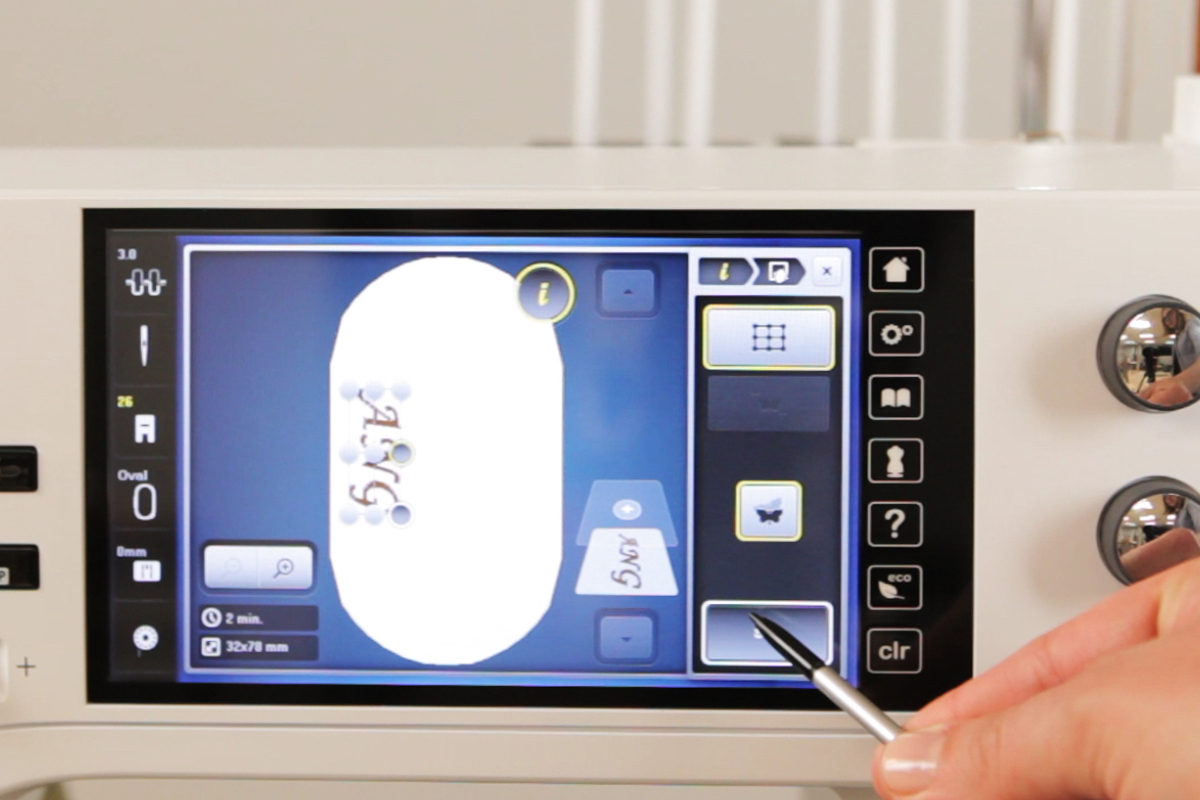
You can see that the design has now been moved and rotated to match my placement line. Even though I hooped the project a bit crooked I can easily align my design to be placed perfectly.
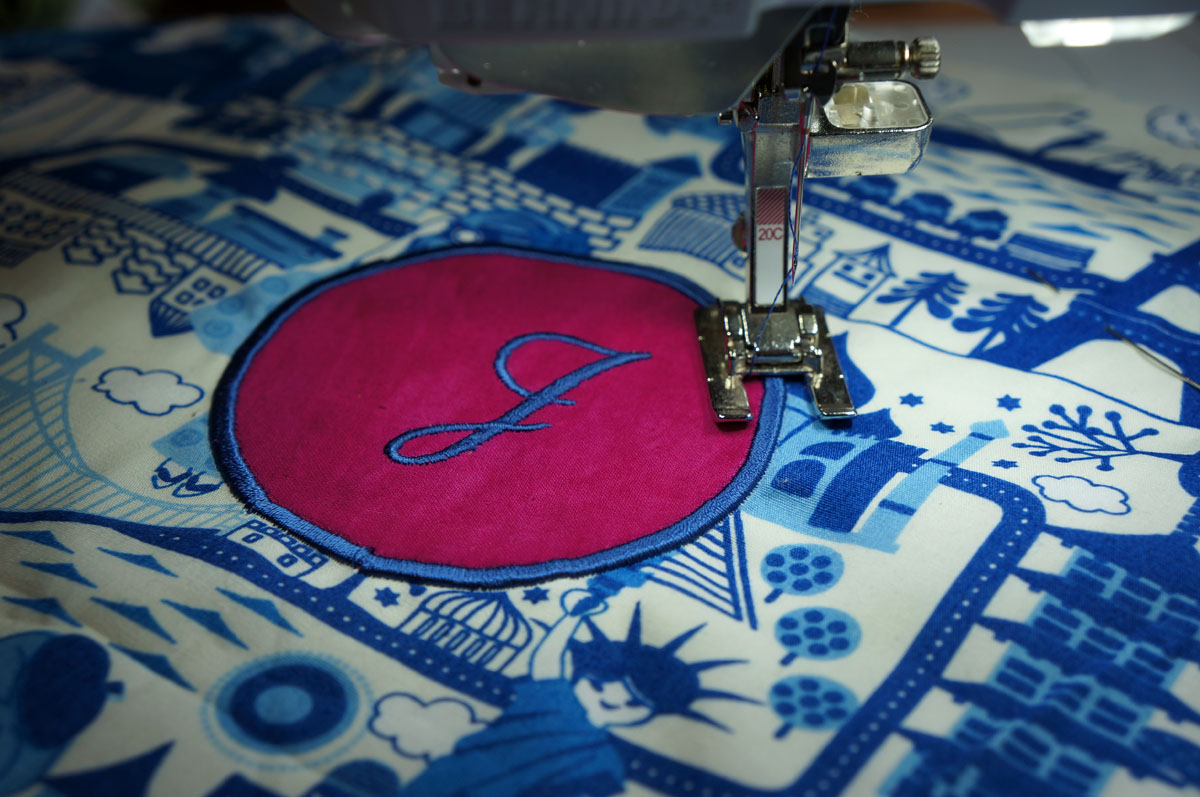
Stitch Design
You are now ready to stitch the monogram. Remove the blue painter’s tape before stitching and turn on the basting box.
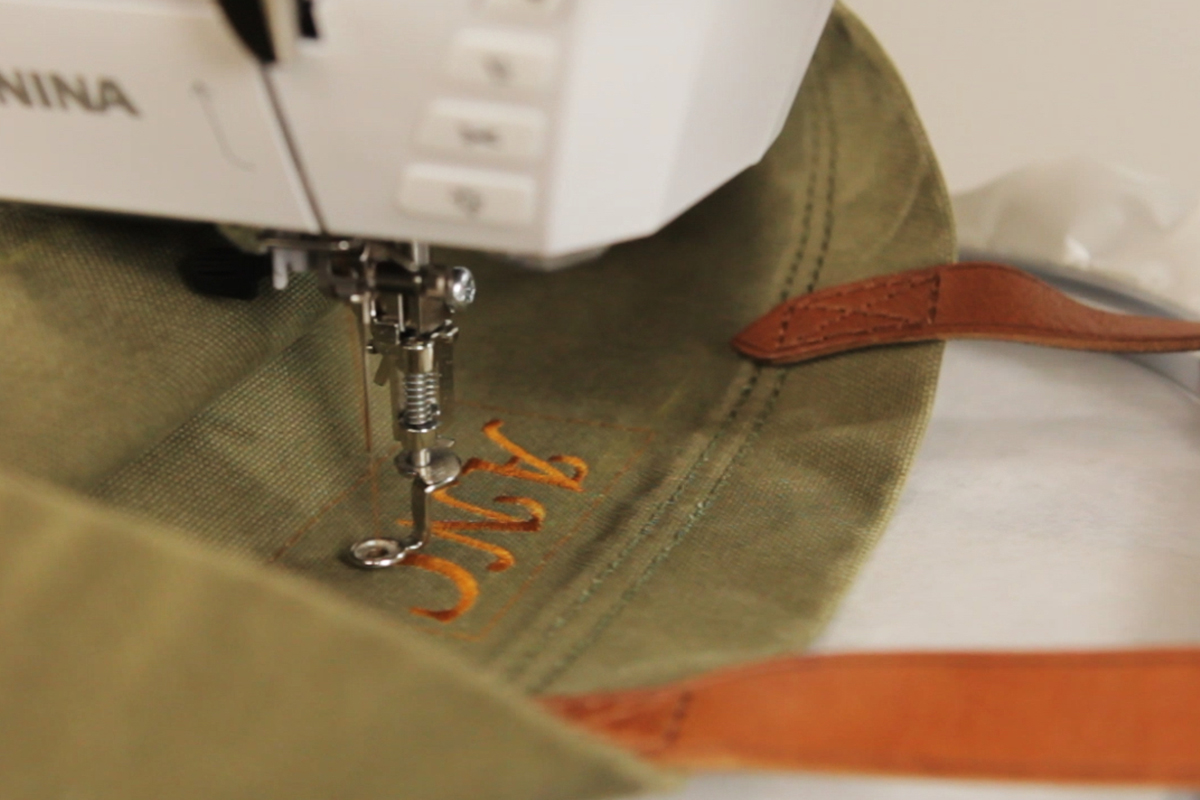
By first stitching the basting box around the design, the bag will be less likely to shift during stitching. This is very helpful when embroidering projects that are placed on sticky stabilizer without being hooped.
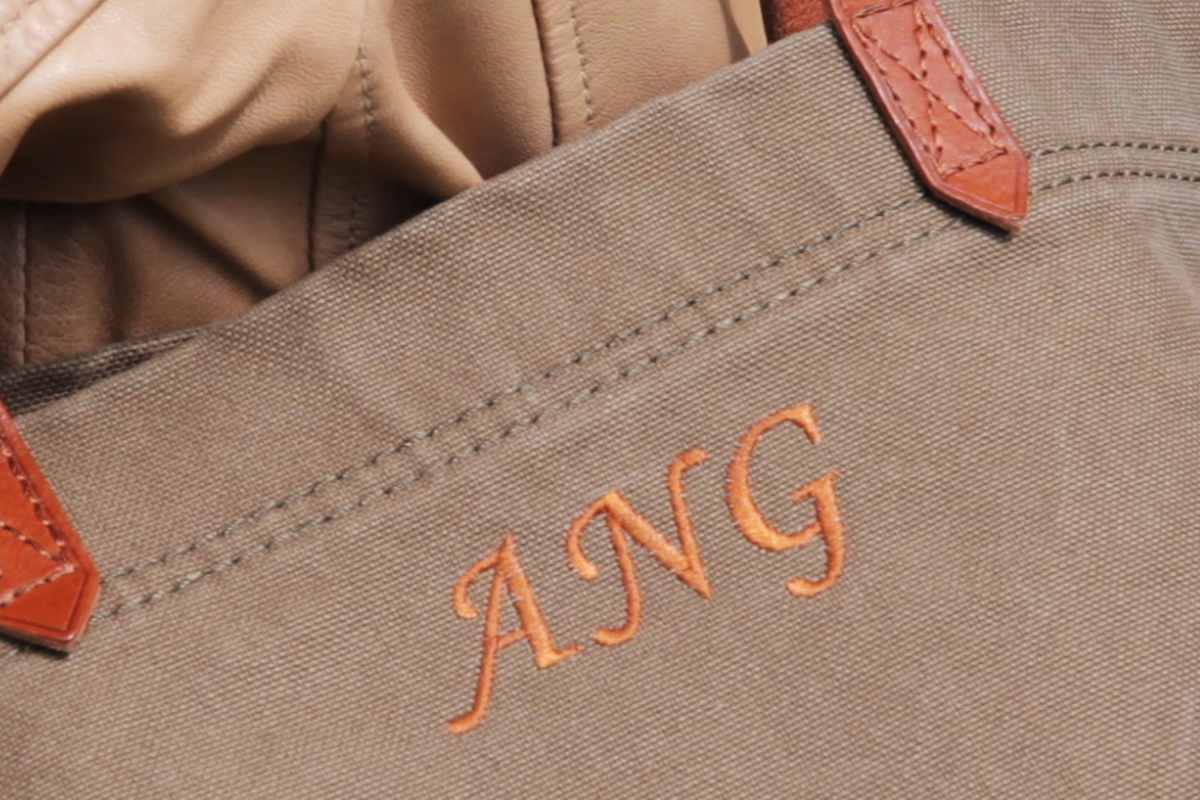
Once the design is stitched, carefully remove any stabilizer and the basting stitches. Your bag is now complete!


What you might also like


2 comments on “Monogram Bag”
-
-
I purchased these canvas bags from Madewell. They work perfectly to add monograms to, the leather would be a great option as well!
Leave a Reply
You must be logged in to post a comment.

Can you tell us where you got the canvas bag?