Creating a 3-Letter Monogram with BERNINA Toolbox Software

Creating a 3-Letter Monogram with BERNINA Toolbox Software
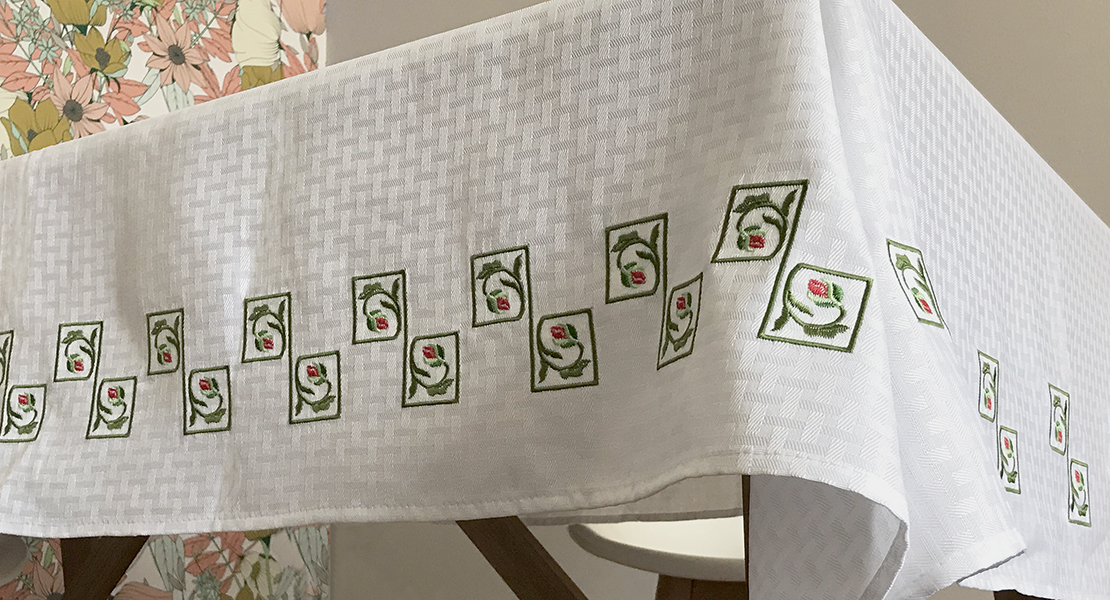
Monograms add a personal touch to any project and ideally adding one should be easy. Thanks to BERNINA Toolbox software you can quickly create monograms with 1, 2 or 3 letters and proceed to embroidery in very little time. Your biggest decision will be on lettering style and whether or not to add a decoration around the letters.
What you will need to create this monogram:
- BERNINA Toolbox Software including the Monogram module
- USB stick to save the embroidery file and transfer to your embroidery machine
 Open BERNINA Toolbox Software
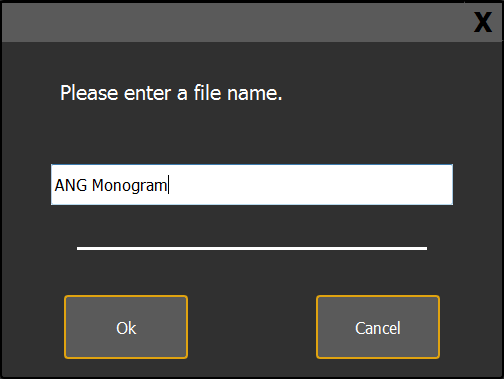
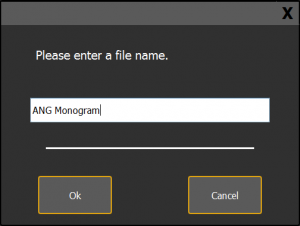
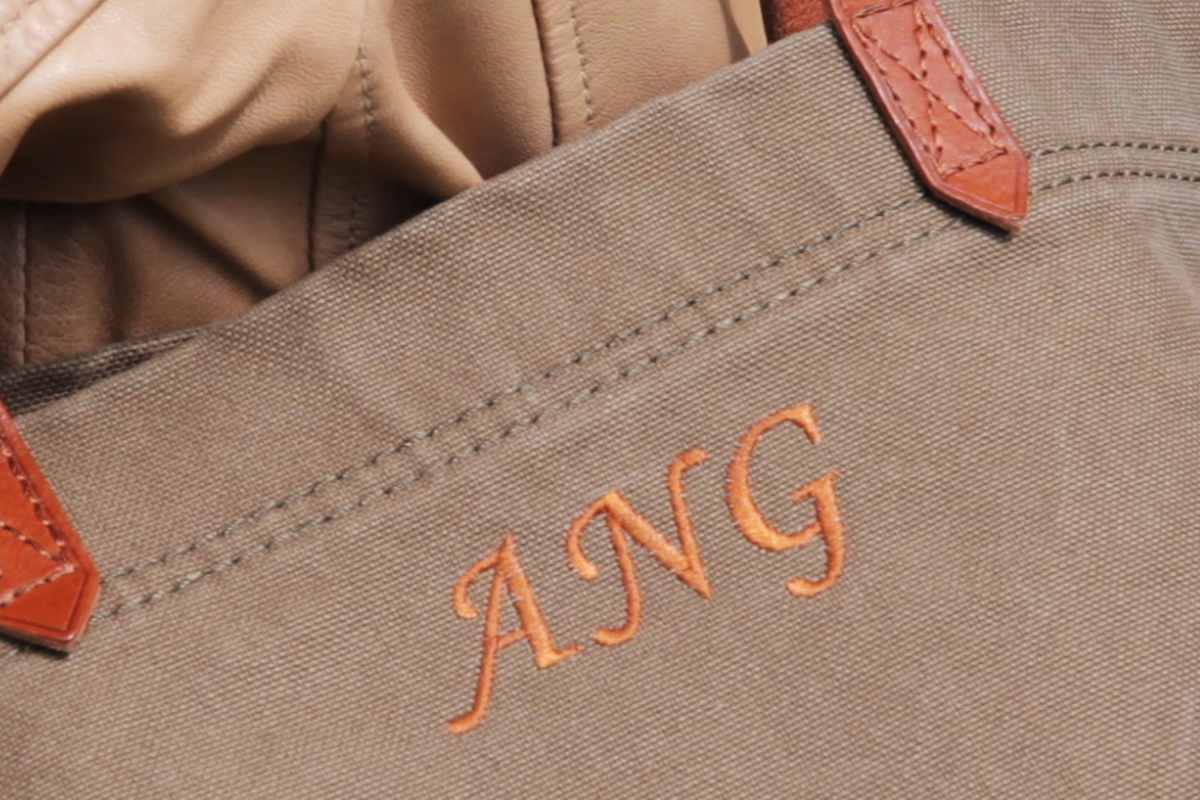
- Type ANG Monogram in the dialog box
- Click OK
Creating the Monogram
Select the Monogram tool on the left of the screen

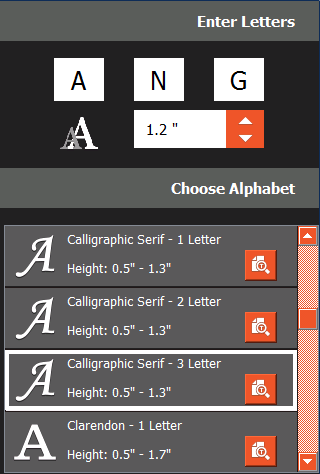
- Under Choose Alphabet:
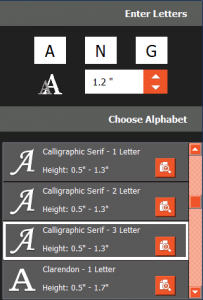
- select Calligraphic Serif – 3 Letter
- Note the recommended minimum and maximum height below the name
- A 3-letter generic monogram (ABC) appears on the screen
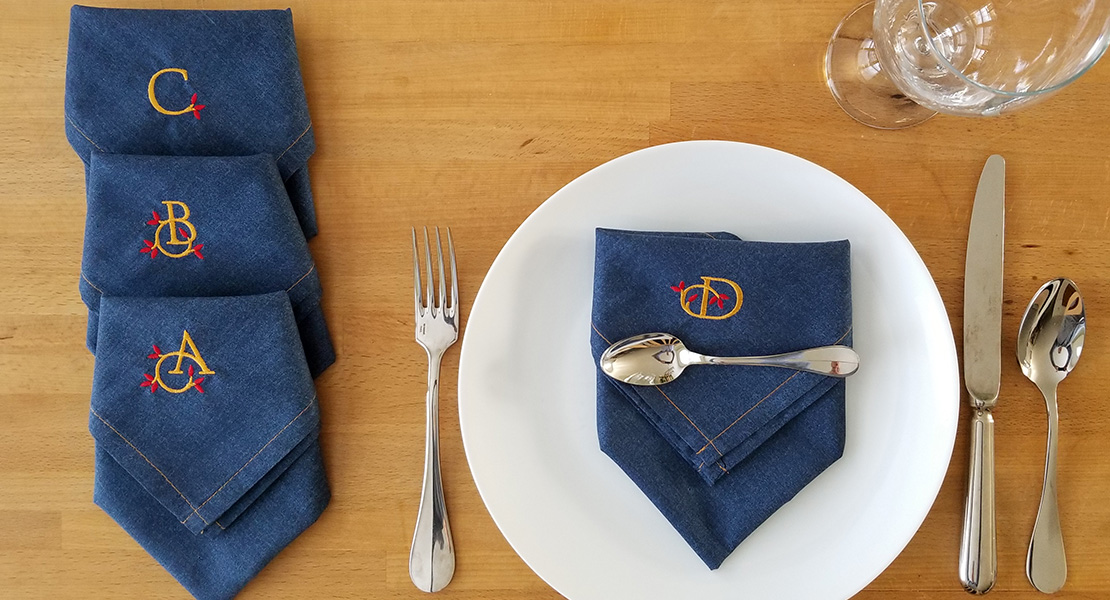
- Change the letters under Enter Letters to A, N, G.
- Leave the height field at its default
(note: the height of the monogram could easily be changed here if desired) - Your monogram now looks like the following:
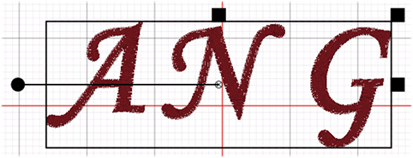
- Note: BERNINA Toolbox lets you add decorations around the lettering if desired. For the simple touch of this project decorations are not necessary and will be omitted.
A Note about Letter Spacing and Monograms:
Just like a word processor, Toolbox software will put an even amount of spacing (kerning) between individual letters of a monogram. As can be seen in the example above, the result may appear unevenly spaced due to the shape of individual letters.
Here, the space between A/N seems shorter than between N/G. This has to do to the trailing stroke of the N on its right hand side. It helps remembering that letter spacing is calculated between the rectangles framing each individual letter. Luckily, it is very simple in Toolbox to nudge a letter closer or further apart (see the next steps).
Moving or Resizing Individual Letters in the Monogram
- Click on the Select tool on the left of the screen

- Click on an empty area of the screen to de-select the whole monogram
- Touch the Select Letters tool on the right to select individual letters

- Select the G on the screen
- Use the Left arrow key on your keyboard to move the G closer to the N.
You can also edit the letter further by changing its size if you desire - Select the letter G again to de-select it
- Select the letter A and use the Right arrow key on your keyboard to move it slightly closer to the N
- Touch the Letter A again to de-select it
TIP: You can resize any letter individually while it is selected if desired, while maintaining the original size of the other letters.
Resizing the Entire Monogram
Touch the Select Designs tool on the right of your screen to select the entire monogram.

For this project we needed the monogram to be a bit smaller:
- Click on the upper right sizing handle (black square) and drag it toward the center to make the monogram smaller.
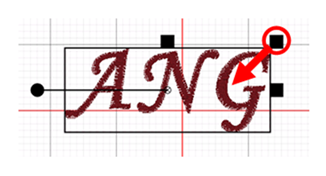
- This will reduce the size of the monogram proportionately (in height and width)
- For this example, we want the letter N to be slightly shorter than the distance from the top and bottom of one grid square
 Click on View tool on the left of your screen

and then on the Design Information heading on the right of your screen to see the exact size of the monogram
Note: You can further adjust the size from this screen
- Our finished size was 3.0” x 1.2”
- This will vary depending on your initials and how close or far apart the letters of your monogram are set
 Previewing your Monogram in the Hoop
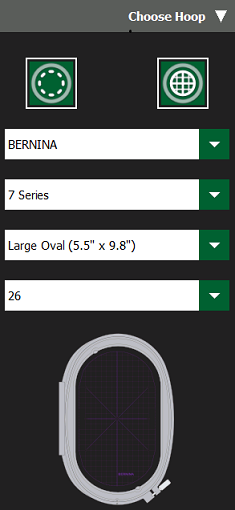
- Click on the View tool on the left of your screen
and click on the Choose Hoop heading on the right of your screen - Select the following options: The machine brand (e.g. BERNINA) and
- The machine model (e.g. 7 Series), and then
- click on the dropdown arrow in the hoop field. A list of hoops that will work with the machine will show. Select the Large Oval
- Select 26 in the Foot field
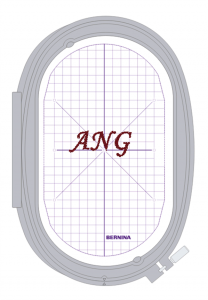 Click on the Show/Hide Hoop tool on the right hand side of your screen to show the hoop


Note: While this monogram would easily fit in a medium size hoop, the tote bag it is intended for would be difficult to handle with a smaller hoop.
By choosing a large hoop, the bag will be more easily laid down on a sticky stabilizer and the embroidery process greatly facilitated.
Changing the Color of the Monogram
Note: The following steps are not necessary as the monogram comes out with a single color and you can pick any color of your choice when threading the machine. The process is outlined for your reference should you need it in the future.
If you would like to change the color of the monogram, click on the Design Colors tool on the left of your screen.

 On the right hand side of your screen, in the Design Colors area: Touch the Thread Color icon (see the yellow circle on the right).
- Select Amann Isacord from the dropdown menu. There are many other thread brands to choose from also.
- If you know the color you want, swipe across the color field and type the number. If you want to view colors, type the color (blue) that you are looking for in the field and all those Isacord colors will appear.
- Close the Thread Color dialog box with the X when you are finished
Exporting the design to a USB Stick for stitching out at your machine
- Insert a USB stick into your computer
- Click on the Export Tool on the left of the screen

In the Save File dialog box that opens up:
- Navigate to the location of the USB stick
- Select the file type you need [e.g. BERNINA EXP files (*.exp)]
- Note: The file name will automatically be filled in with the same name you gave the file when you created it with the New tool
- Click Save
- The USB stick is now ready to be inserted into the machine
A note for BERNINA embroidery machine owners:
Typically when saving a design in the BERNINA EXP format 3 files are automatically generated, with the extensions EXP / INF / BMP, where the:
- EXP file contains the stitch date
- INF (info) file contains the thread color info
- BMP file is a bitmap thumbnail of the design
BERNINA Toolbox software will only generate the EXP and INF files (and no BMP file). This is not a problem as BERNINA machines generate the thumbnails on the fly if they are not already provided.
This is just a sample of how you can create monograms with BERNINA Toolbox software. Whether you want to create a 1, 2 or 3 letter monogram the process is the same. Add a decoration you find attractive, size to taste and voilà! You have yourself a monogram.
How to place the monogram on your bag and for the whole embroidery process, visit the Monogram Bag tutorial.
Used Products
What you might also like

2 comments on “Creating a 3-Letter Monogram with BERNINA Toolbox Software”
-
-
From the symptoms you described it seems the problem may be with the stick itself. You can try a couple of things to fix this:
1. reformat the stick on your computer with a FAT32 format. Uncheck the ‘quick format’ option to make sure the stick gets a complete reformatting
2. try a different stickif this doesn’t work I recommend that you take your machine to your BERNINA Dealer to have them try with a store’s USB stick to verify your B 770 is reading sticks correctly.
Sylvain
Leave a Reply
You must be logged in to post a comment.

I have been successful in the past in file transfer. Using Artlink 8 software I transferred a design to the USB using the EXP format and the Bernina 770 won’t show it. My USB stick is formatted 32, prior to transferring files to the EXP format. Also my Bernina 770 won’t read the USB sitck when I can see them on the computer just fine. Also, when it was reading the USB stick, all my designs have a red X on them. Is this normal? I haven’t used the embroidery machine but just a few times. Not near a place to take classes. Hope someone has a solution. I’m pulling my hair out. Something so simple is frustrating, Thank you