Embroidered Label with Toolbox Embroidery Software
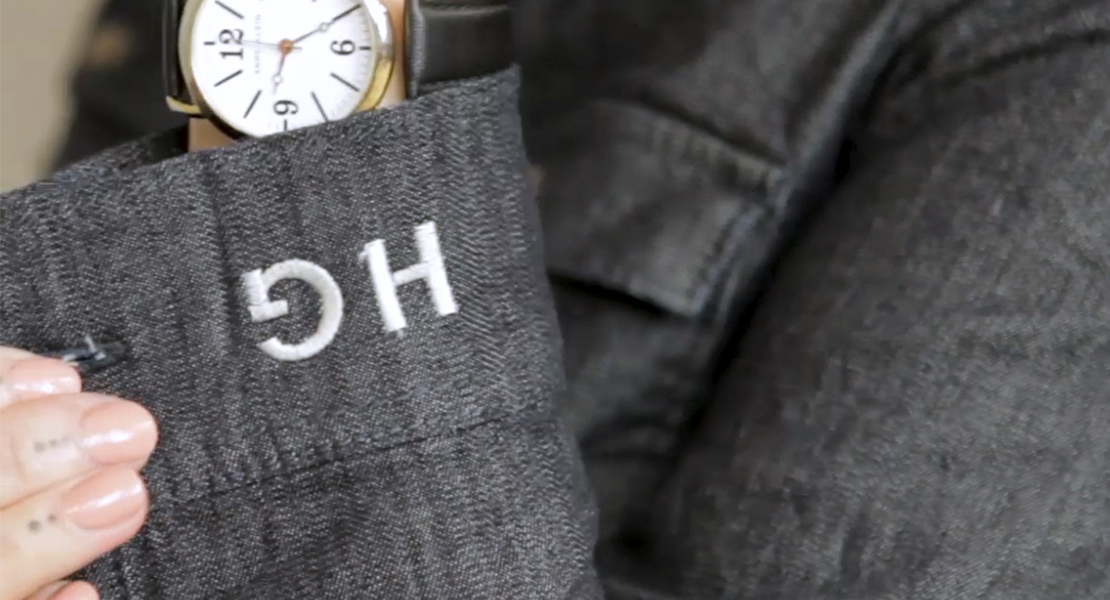
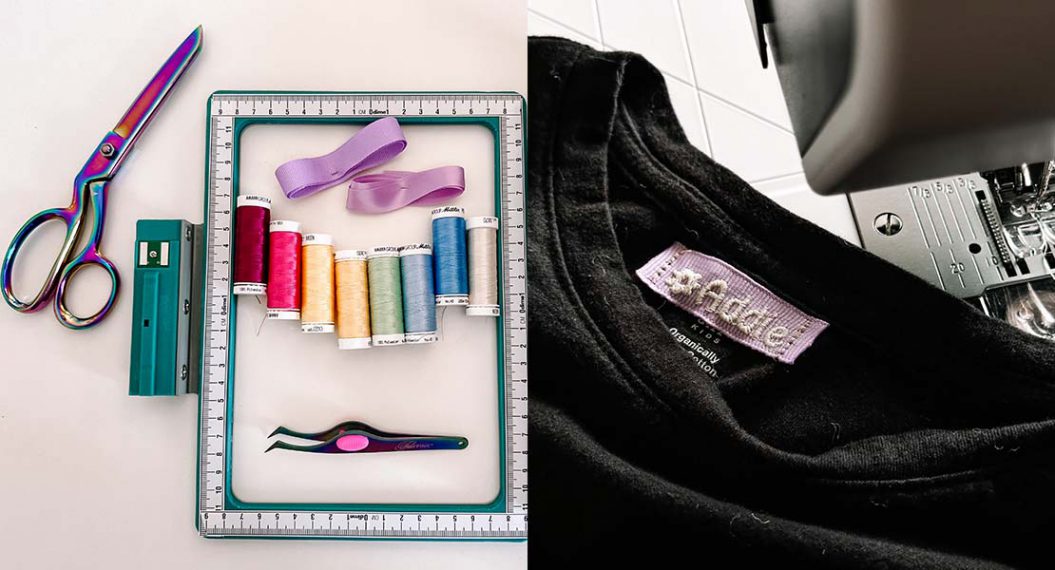
Nothing says “Yeah, I made this” like your own custom label on your creations. And with BERNINA Toolbox Software you are only minutes away from having your own label!
This label consists of two elements: the frame and the text.
- The frame is imported from the BERNINA Cloud. It is one of the resident designs in the main collection
- The text will consist of 2 or 3 lines (to taste).
As for the size of the label, you have choices. You can go large to measure up to the scale of your project. In this exercise, I opted for a finished label that fits in my BERNINA Medium Hoop as it will fit on a lot of projects, big and small.
Before we jump in…
- While the label is wider than tall, it will have to be rotated 90° to fit in the hoop at the end.
- Since it is easier to start working with text in the ‘reading’ orientation (horizontally for roman alphabet languages), we will do just that. We will rotate the label half way through when it’s easier to work in the native hoop orientation.
- All we need to know is the height of the stitching field for the selected hoop and use that as the finished width (minus a hair) for the label.
- In this case, the medium hoop is 130 mm tall x 100 mm wide (5.1 x 4.3 inches), so I will limit my label width to 129 mm (5.1 in).
One more note: This project takes advantage of the BERNINA Cloud design library. In order to obtain the design from the library your computer will need to be connected to the internet.
Now let’s make a label!
Click on New to create a new file:

- Type in the file name: My Own Label.
- Click
At the editing screen:
Click on Add Design:

In the Import Design section:

Click on Add from the Cloud.

Toolbox will now access the online cloud library.
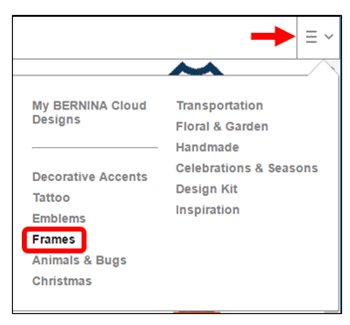
At the top right of the library you will see a drop down menu (see the red arrow below).
Click on the drop down menu and select the Frames category.
Toolbox will obtain a listing of the designs in the Frames category. Depending on your internet connection speed this may take a few seconds.
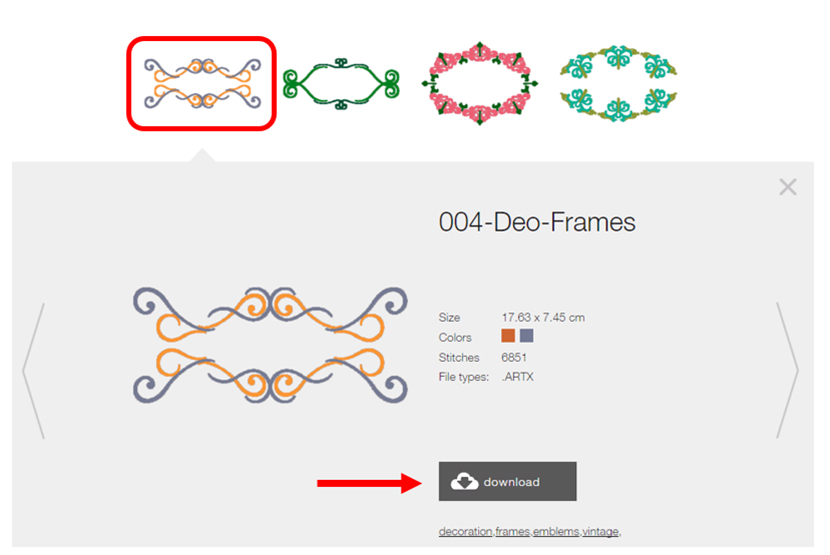
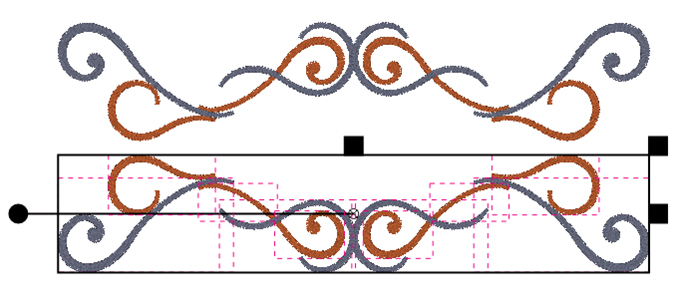
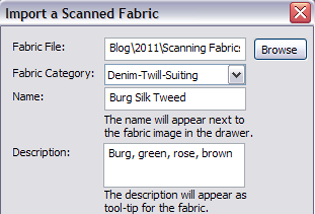
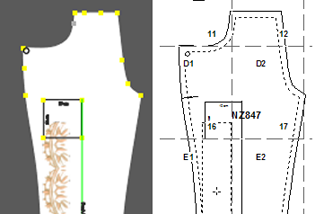
Scroll through the listing and look for the frame titled 004-Deo-Frames illustrated below:

When you click on the frame, a details panel opens up below it with key information (File name, dimensions, colors, stitch count and file type).
Look for and click on the download button; the file will be downloaded and inserted in your project.
Notice that the design is:
- about 7 inches wide by 3 inches tall.
- automatically selected upon insertion into your current file.
To fit the design in the medium hoop, it needs to be no more than 5 inches in its largest dimension (this is the height of the medium hoop’s stitching field).
With the frame already selected:
Click on the Edit Tool.

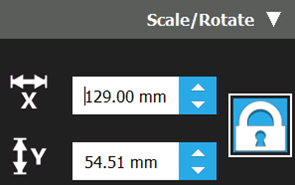
And then in the Scale / Rotate section make sure Scale Proportional is turned on (there will be a white line outlining the button).

In the X axis dimensions: Type in 129 (mm) or 5.1 (in) and press Enter.
Note: Toolbox will warn you that scaling beyond a 20% guideline may yield inferior embroidery quality. Go ahead and click on OK. While this is good advice in general, in this particular case it is ok (we are downsizing 27%). This design is simple enough that it will do fine as rescaled.
Prepping the frame for lettering
As you can see this frame does not have much room to accommodate lettering. That is easily fixed!
To open up the frame, we need to do the following:
- Select the bottom half and group it.
- Move the bottom half down to make room (we can move it back up later).
To move the bottom half of the frame down:
Using the Select Tool, click on an empty area of the design screen to deselect the frame.

Using the Select Objects too, click on every one of the 10 elements forming the bottom half of the frame.

Note: It may appear that there are only 8 objects to select (4 gray and 4 brown curlicues). In actuality, the brown curlicue that runs under the gray one on each side is composed of 2 parts. Overlaps were optimized by segmenting the one that runs under)
TIPS:
- Your mouse pointer changes from its default (arrow) to a hand with pointing index finger when you are directly over an object that can be selected.
- A red dashed line appears around any object you have selected.
The resulting selection will look as follows:
It’s now time to group these elements to make sure they stay together:
Click on the Edit Tool.

In the Copy/Delete/Group section, click on Group. (You may need to use the down arrow to the right of Scale/Rotate to view this section.)
Move the section to the lower part of the hoop.

TIP: it’s a good idea at this point to repeat this selection and grouping process with the top half of the frame and move it to the top part of the hoop.
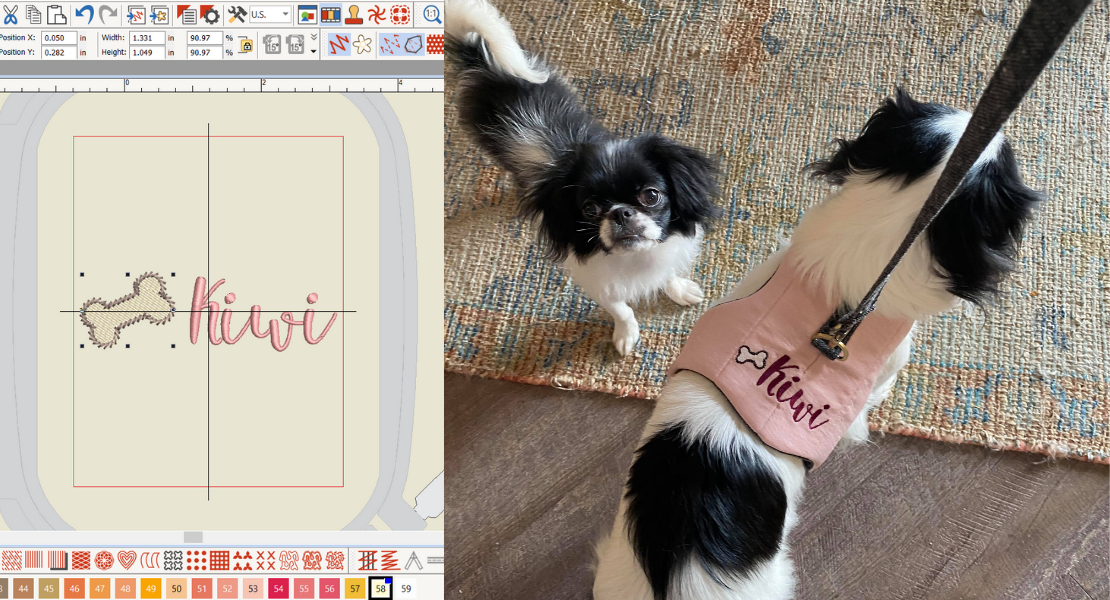
Time for Lettering!
First: a reminder…
While it is easy to resize lettering on screen to make it fit a particular design, bear in mind that each alphabet has a recommended minimum and maximum letter size. The minimum size will be of particular importance here as we are making a small label and not a large banner. While ‘shopping’ for a suitable alphabet I used the preview button next to the name of each candidate alphabet to preview its style and recommended size range.
![]()
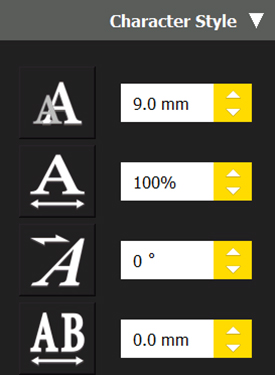
The lettering will be made in 3 lines using a small alphabet. In the end, I settled on the Micro Times alphabet, one of the smallest lettering choices in Toolbox, with a minimum recommended size of 9mm.
TIPS:
- Use center justification when creating the lettering so that the first line will automatically align itself (along a vertical center) when you create it.
- Since I like to embroidery from the center out, I will generate the middle line of text first.
- After that, we can copy the first line and just edit the text. All the settings will be done already… saving us time.
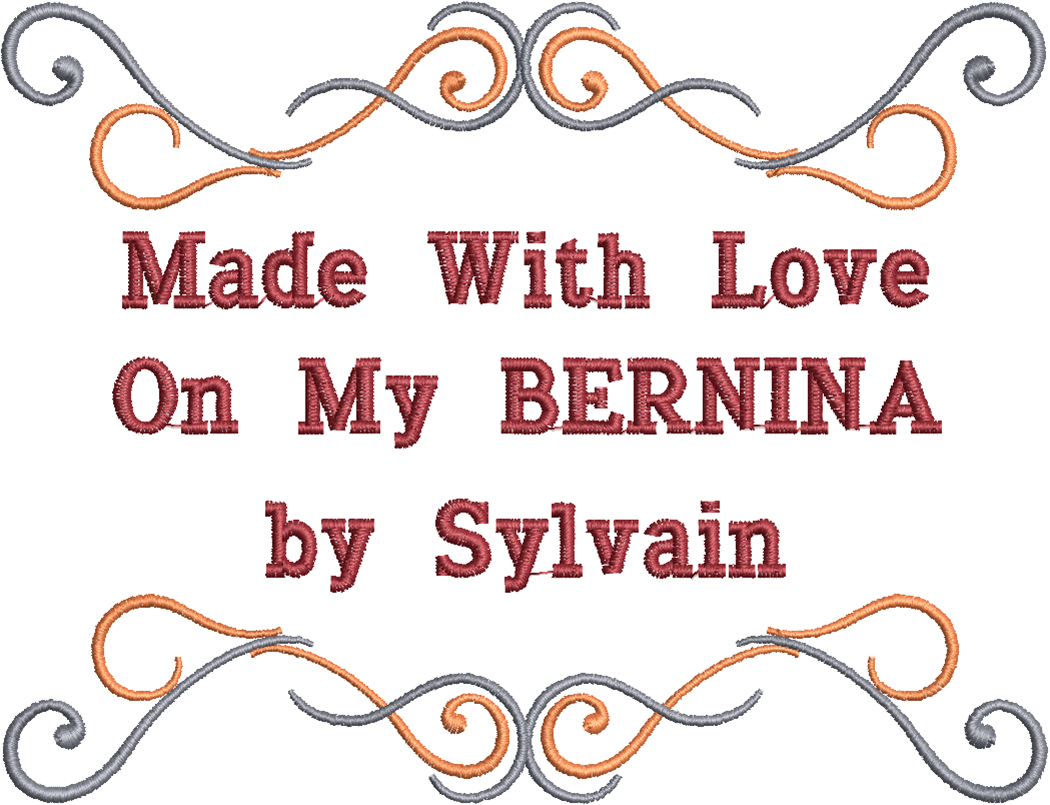
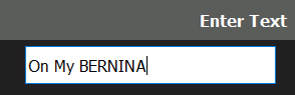
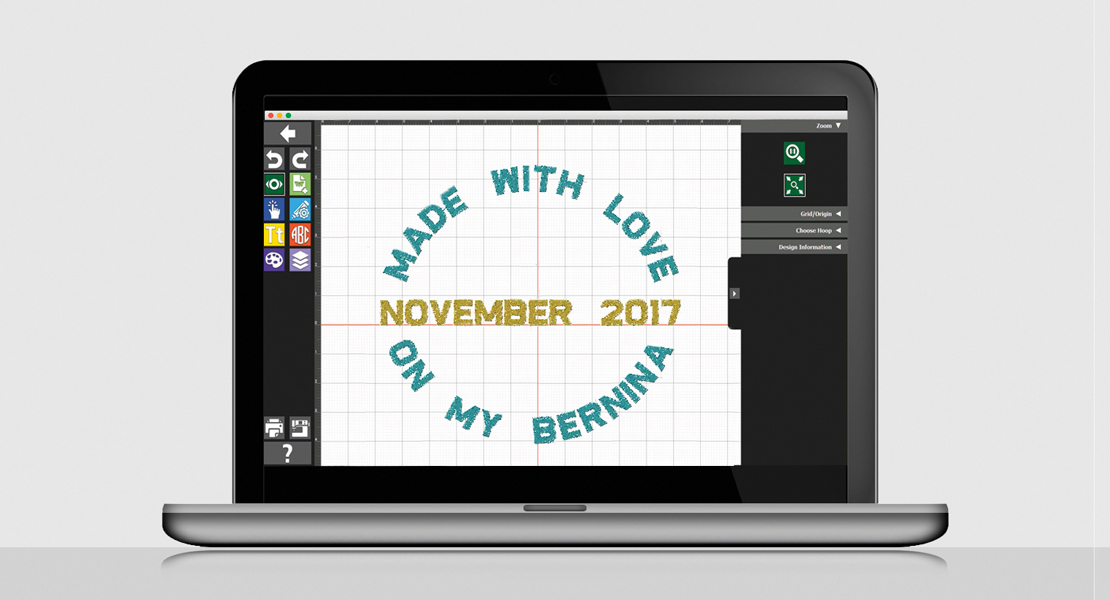
Create the following lines of text. ‘On My BERNINA’ will be created first.
Made with Love
On My BERNINA
By Sylvain
I will use the Lettering Tool with a Straight baseline as the Lettering Shape.

In the Choose Alphabet section: Click on the Micro Times Alphabet.

In the Enter Text section, type On My BERNINA and press Enter.
In the Character Style Section: make sure the letter height is set to 9 mm.
To make sure you can view and scale your design in context, verify that your hoop and template are showing. To make it easier to see my template I turned off the grid and origin lines.
At this point, your design would look something like this:
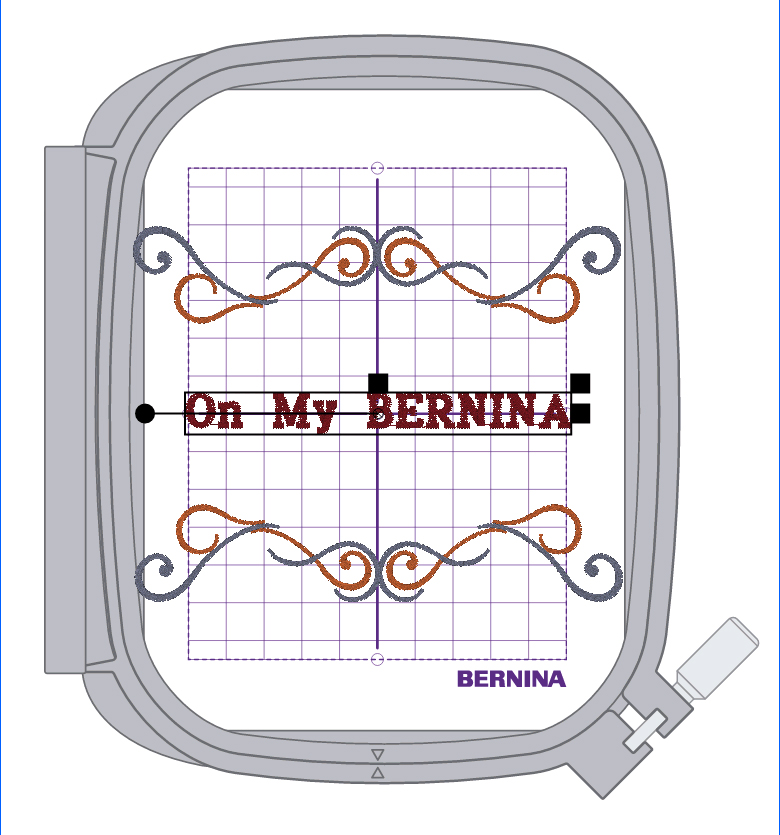
Also at this stage, I realize I will have to rotate the design before long in order to properly space my lines of lettering and to make sure the whole design fits in the actual width of the hoop at the end.
With my middle line of text already in place I can now rotate the existing pieces all together.
Select All: CTRL-A or:

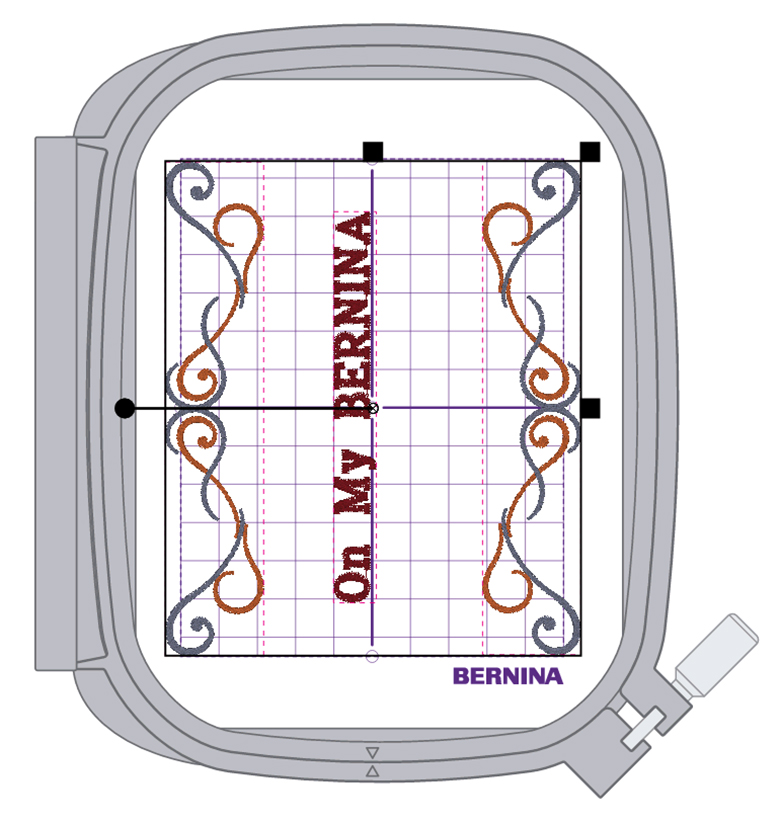
With the Edit Tool, in the Rotate / Scale section, rotate left twice (2x):
Your design will now look something like this:
What’s left to do?
- Position the frame elements so they are in within the stitching field.
- Center the initial line of text (line 2) in the hoop.
- Copy the existing line of text and edit to create line 1; move to the left of line 2.
- Copy line 1 of text and edit to create line 3; move to the right of line 2.
To position the frame elements:
Deselect your design: Use the Select Tool > Select All > Click away from the embroidery.
Select the left side of the frame (which is still grouped): Use the Select Tool > Select Object and drag it until it is just inside the left edge of the stitching field (using the template as your guide).
Deselect (see steps above) and repeat the steps used for the left side of the frame on the right hand side of the frame.
Deselect (see steps above).
To center the initial line of text (line 2):
Click on the Select Tool > Select Designs to select the line of text.

Drag it to the center of the hoop.
TIP: the sizing handles that are visible once an object is selected make it easy to spot when you have reached the hoop center as they will align with the X and Y cross-hairs of the template.
By now, your design should look like this:
To Create Line 1:
With the line of text still selected, use the Edit Tool > Copy in the Copy/Delete/Group section:
Drag the new line of text to ‘line 1’, between the left side of the frame and the center line (line 2).
To edit the text of line 1:
- Click on the Lettering Tool.
- Retype the text in the Enter Text field to: Made With Love.
- Press Enter.
To Create Line 3:
Repeat the process used to create line 1:
With Line 1 of text still selected, use the Edit Tool > Copy in the Copy/Delete/Group section.
Drag the new line of text to ‘line 3’, between the right side of the frame and the center line (line 2).
To edit the text of line 3:
- Click on the Lettering Tool.
- Retype the text in the Enter Text field to: by Your_Name.
- Press Enter.
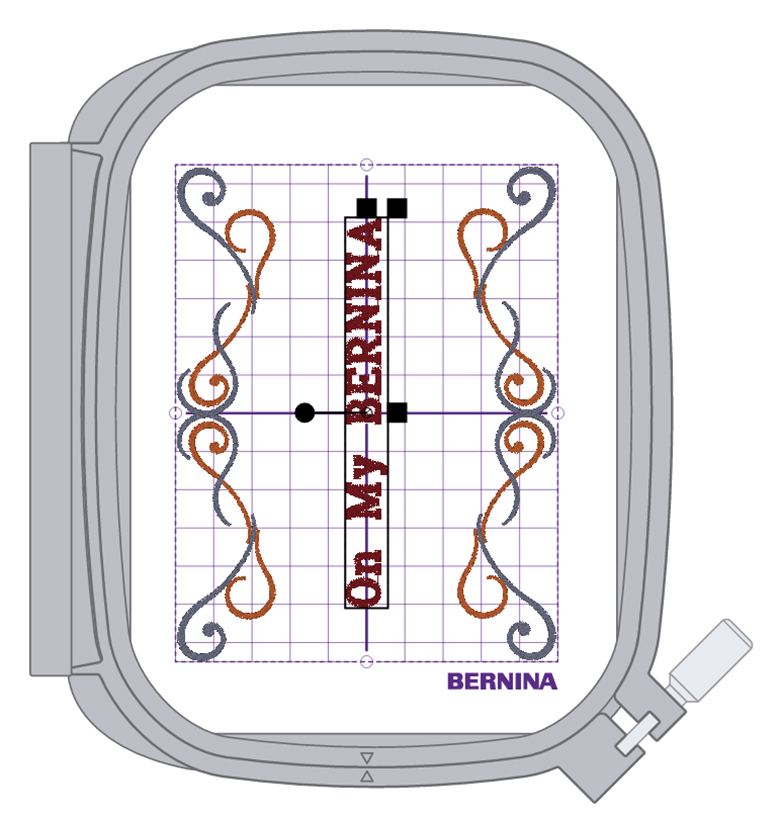
Your design should now look like this: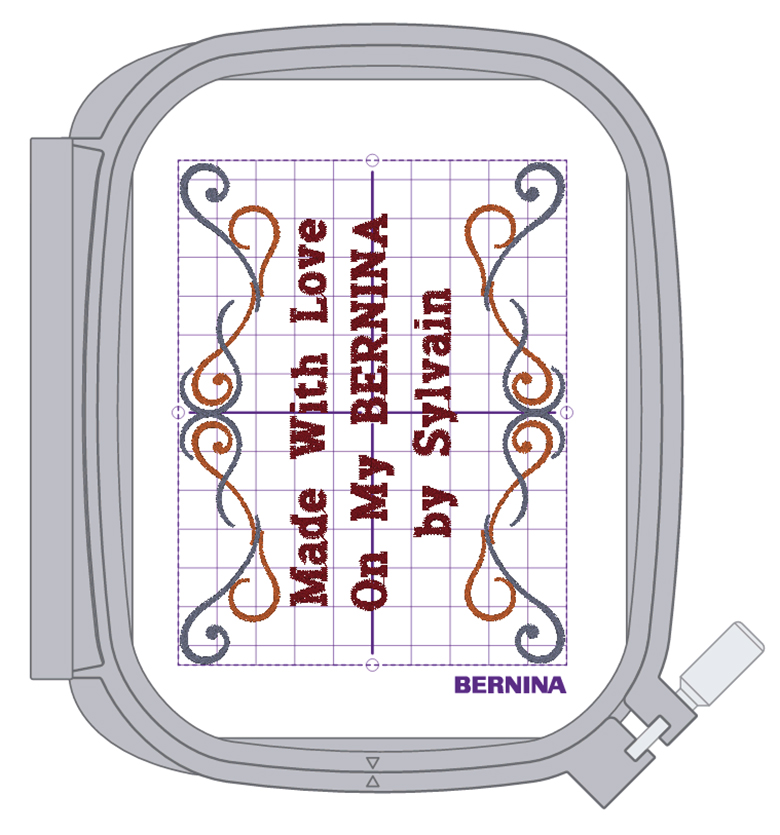 Final touches and getting ready to stitch out
I don’t know about you, but I don’t like surprises when I open a file on my embroidery machine and begin the stitch out. As a rule, I always review my embroidery sequence, to make sure colors will stitch out in the right order. Typically, I like to embroider from the center out if possible.
With our current design:
- The frame was introduced first… but it should stitch out last.
- The lines of text are in the right order (center first, then above and below).
So all I have to do is move the text portion of my design to the beginning of the Sewing Sequence. To do so:
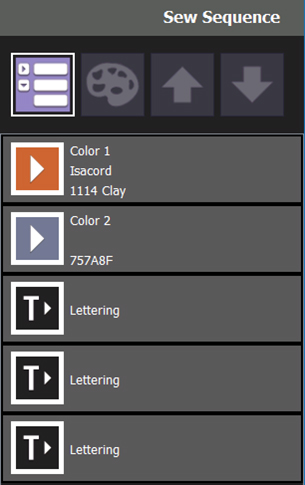
Click on Sewing Sequence and collapse the tiles into color changes.

Your Sewing Sequence should look like this:
To move the Lettering segments to the top of the sequence:
- Click on each of the lettering segments, one at a time.
- A white outline will indicate they are selected
- The ‘move up’ and ‘move down’ arrows will be activated
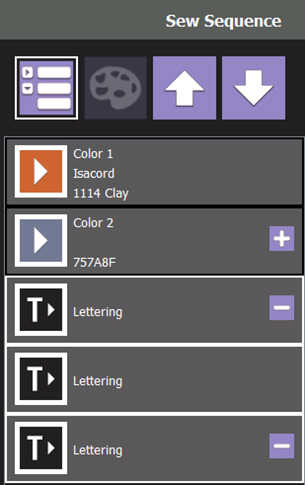
- Click on the UP arrow until the lettering segments are at the top of the list.
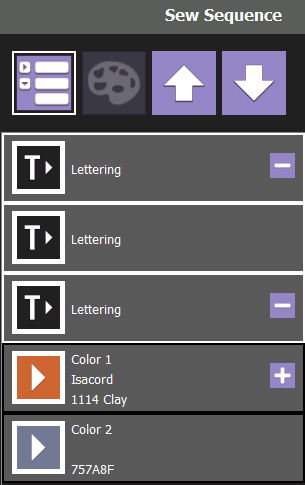
Note: Due to the gray curlicues overlapping (on top of) the brown ones, they should remain in the same relative order in the final sequence. So the gray color will be last.
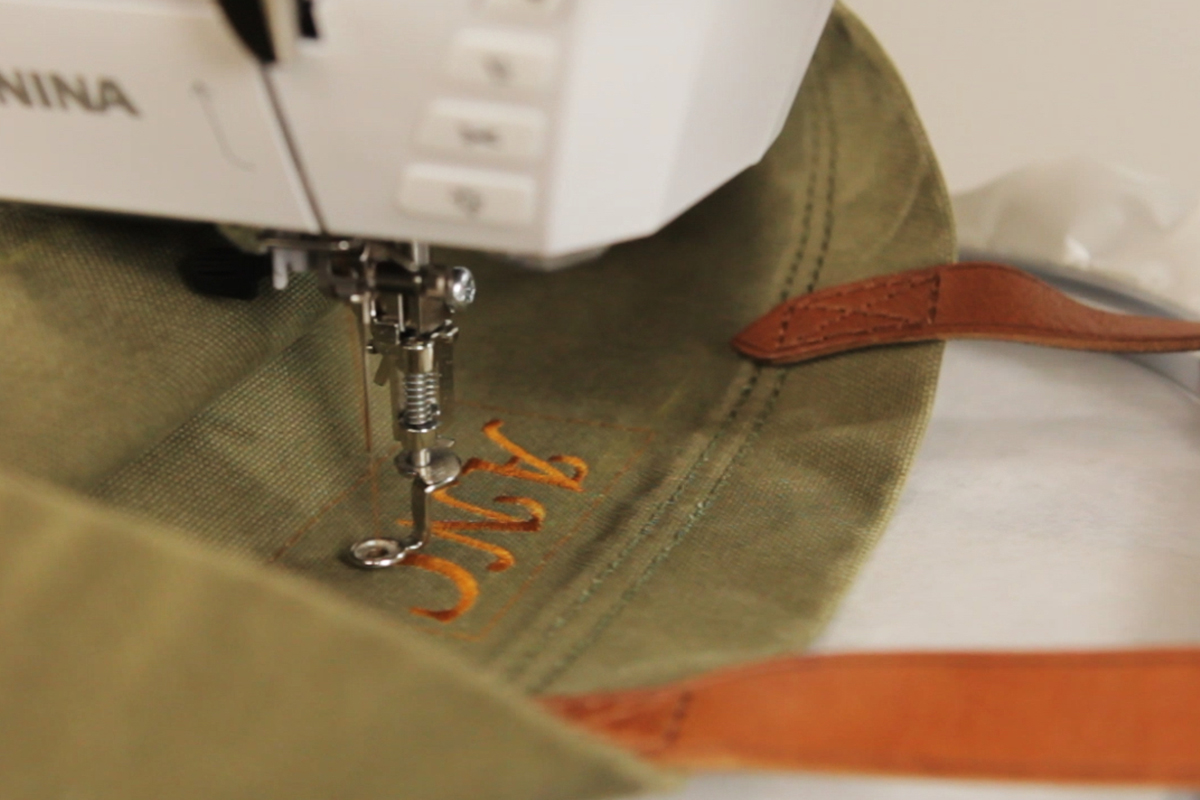
Your label is now ready to send to the machine with the Export Tool.

Download the embroidery label we created here.
Watch Sylvain’s Toolbox Software Tutorial Featuring The Lettering Tool
Visit the Playlist of the BERNINA Toolbox Software Series here.
Used Products
What you might also like


7 comments on “Embroidered Label with Toolbox Embroidery Software”
-
-
At this time the BERNINA Cloud service is linked to Toolbox only. For V8, you can use other existing cloud services such as Dropbox or OneDrive.
-
-
This is all new to me, looking forward to trying this out
-
I’m looking forward to creating labels for my quilts!
-
How about some plain circles, squares, rectangles, etc being added to Toolbox. Not all of us are thrilled with the choice of designs included.
-
My embroidery using toolbox is leaving stray stitches on curved alphabet letters. Using Bernina stick to save, using special gold needle ballpoint top, using stablizer on linen for label. Not sure why satin stitching is not completely smooth leaving three to five stray stitches. Also, we need smaller lettering for quilt labels, thanks for any help.
-
This is the exact thing for which I purchased my 790 so thank you for this basic tutorial.
Leave a Reply
You must be logged in to post a comment.

Sylvain,
Is the Bernina cloud available to V8 owners?