Holiday Banner with BERNINA Toolbox Software
It’s time to deck the halls! We’ll be using Toolbox embroidery software to design a simple and festive holiday banner. This design utilizes the Lettering and Editing modules for this project, if you don’t have the full bundle installed!
Materials to Sew an Embroidered Holiday Banner
- Fabric
- Front side is unbleached cotton canvas
- Back is vintage repro floral
- Thread
- Isacord embroidery thread
- Grey, red, green
- Other options could be dark grey/blue/silver or black/red/green
- Stabilizer (OESD Ultra Clean & Tear)
- Spray adhesive (505 Spray Baste)
- Jumbo hoop
- Small wood dowel
- Yarn or cording
- Toolbox software
- #26 drop shaped embroidery foot
- #97D patchwork foot
- #10D edgestitch foot
- B 880 PLUS
Steps to Sew an Embroidered Holiday Banner
Step 1. Set up design
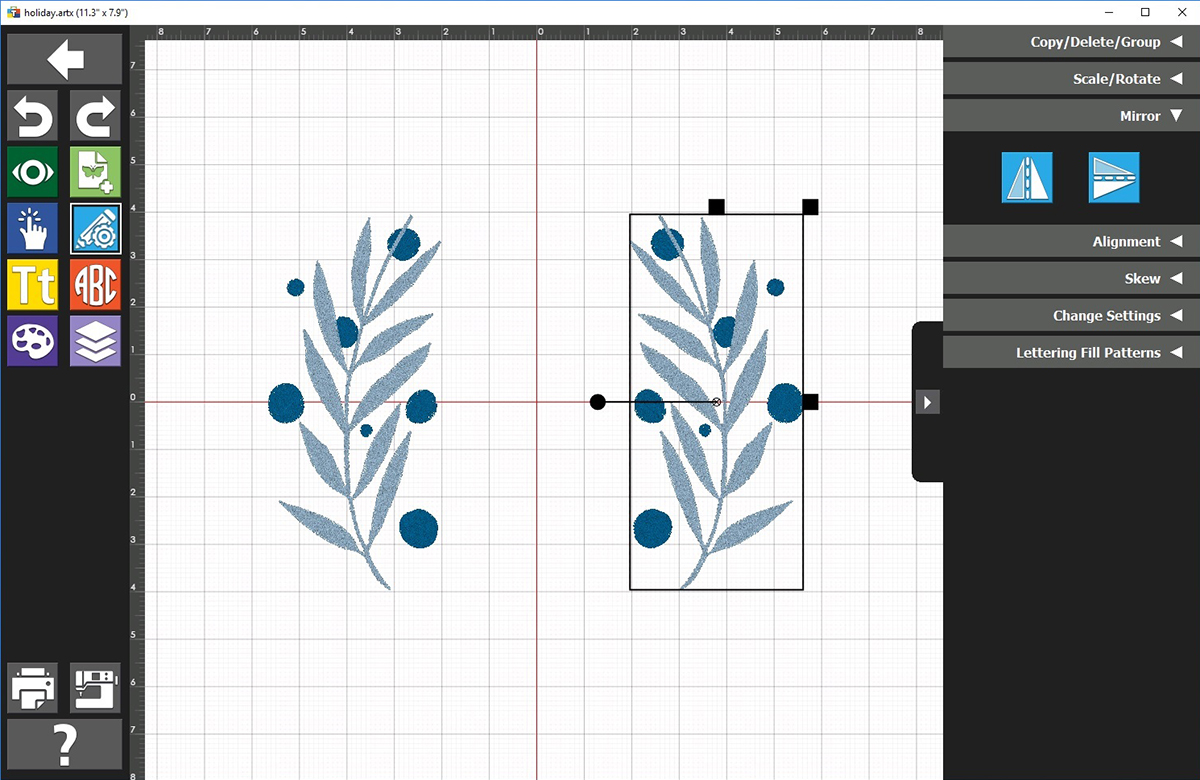
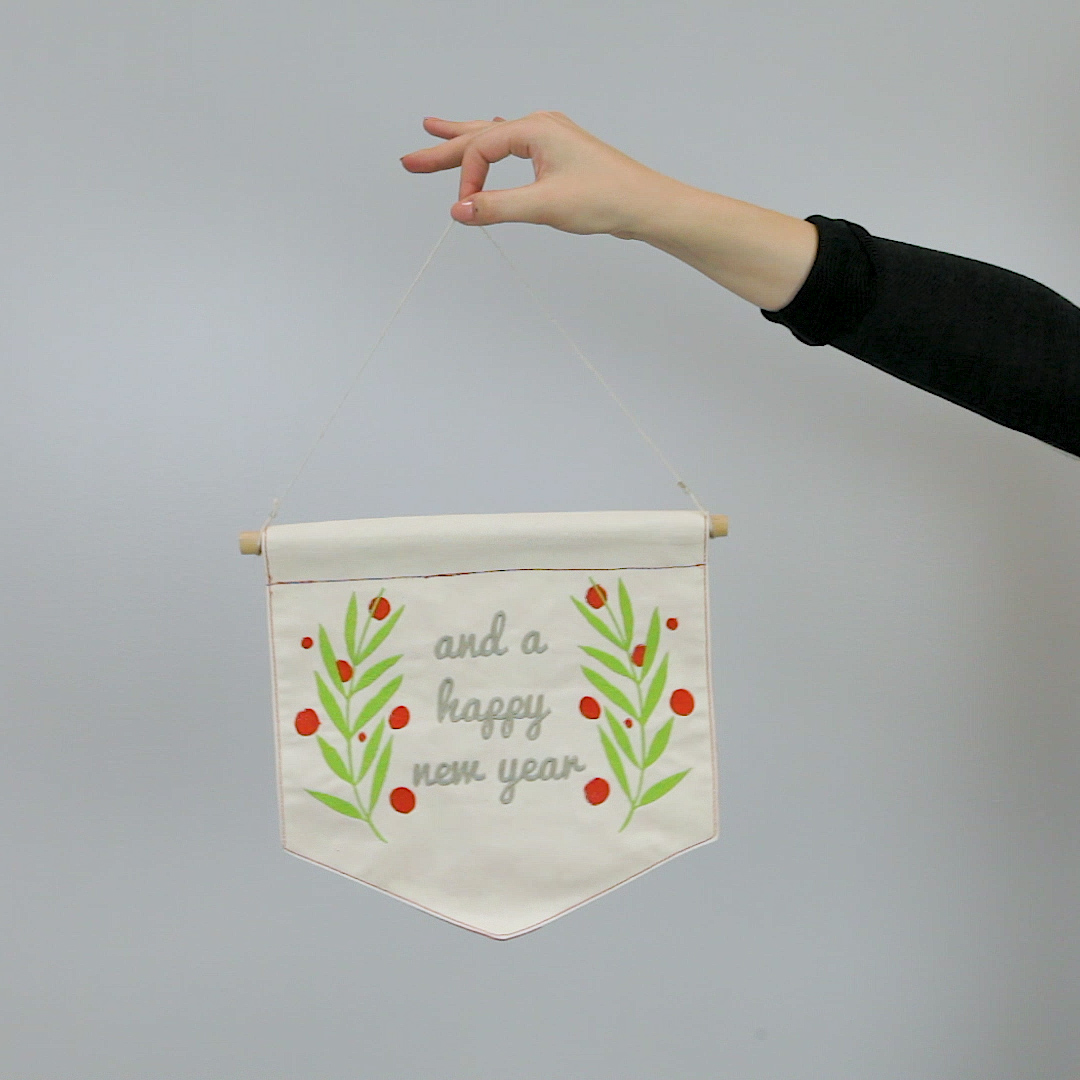
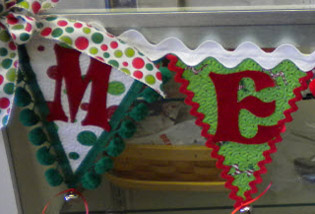
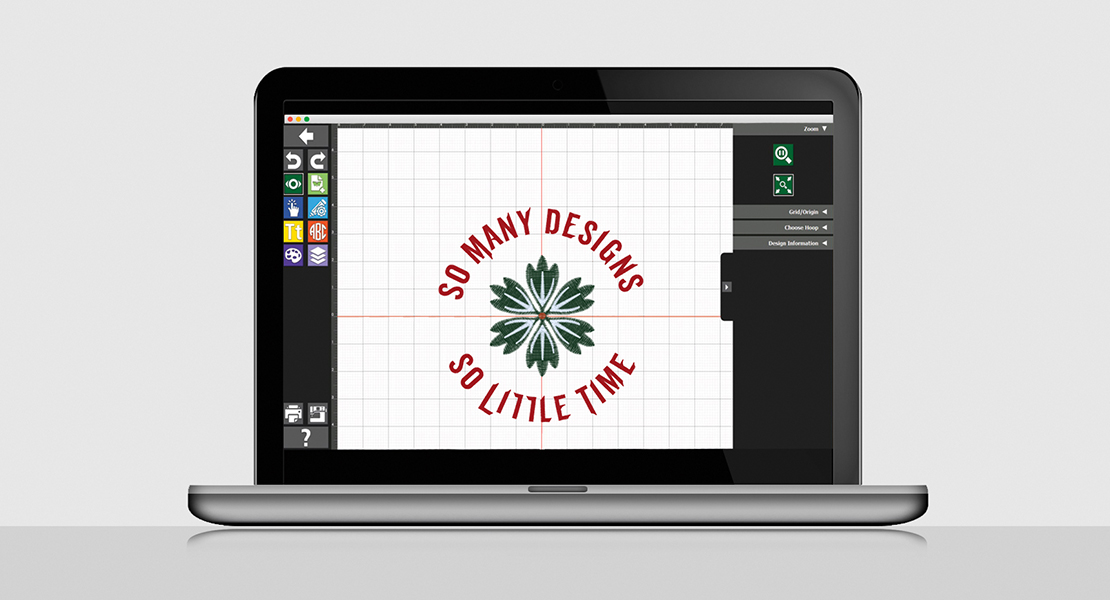
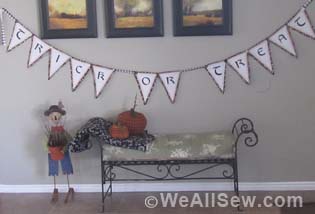
Begin by laying out the embroidery design in Toolbox. I’m using these leaf laurels from the BERNINA Cloud design library. Fun fact: these were designed by BERNINA ambassador Lizzy House! Use the editing module to make a mirror image and create two laurels opposite each other.
Next, use lettering and a cute, modern script font to add the phrase “and a happy new year” in three separate lines. The lettering I chose is called “Diner Script”. Once these are laid out as desired, group all the text together.
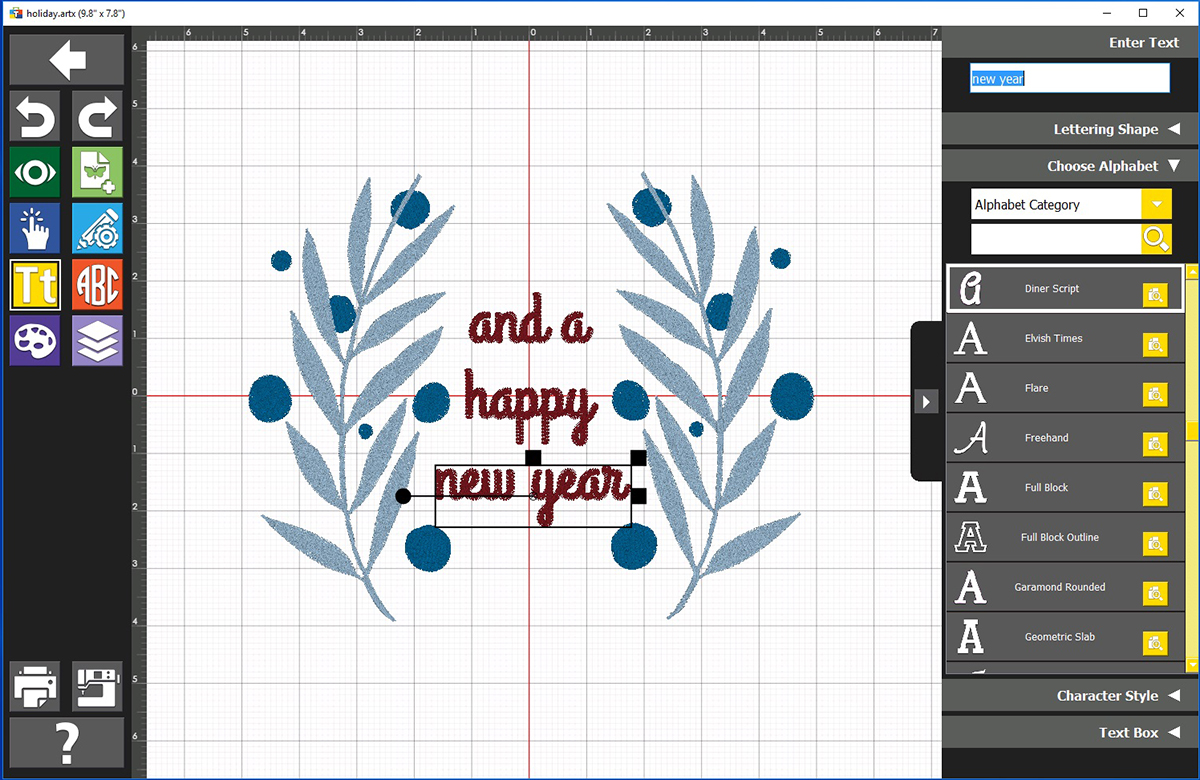
The last design change I’ll make is to change our thread colors. This can be done in BERNINA machines but it’s much easier to manipulate in software.
The thread colors I’m using are Isacord #5912 Erin Green, #1703 Poppy, and #0873 Stone.
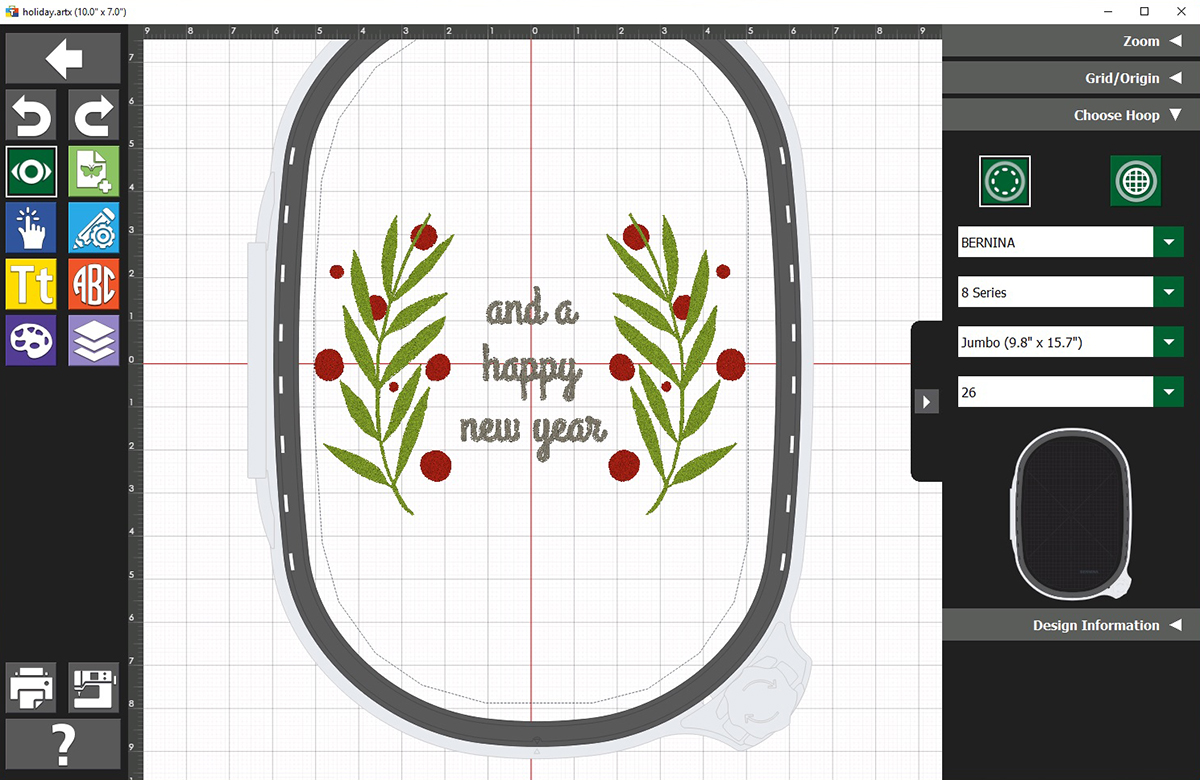
The very last step is to export. For BERNINA machines, choose an .exp file. Although the B 880 PLUS, B 790 PLUS, and new 5 Series machines are capable of reading multiple file types, .exp is still the best format for our machines.
Save your design to a USB drive to be transferred over to the sewing machine.
Step 2. Hoop your fabric
Use a low-tack spray adhesive, like 505 Spray Baste, to adhere the Ultra Clean & Tear Stabilizer to the back of the fabric. Hoop these two layers in the jumbo hoop.

Step 3. Stitch out
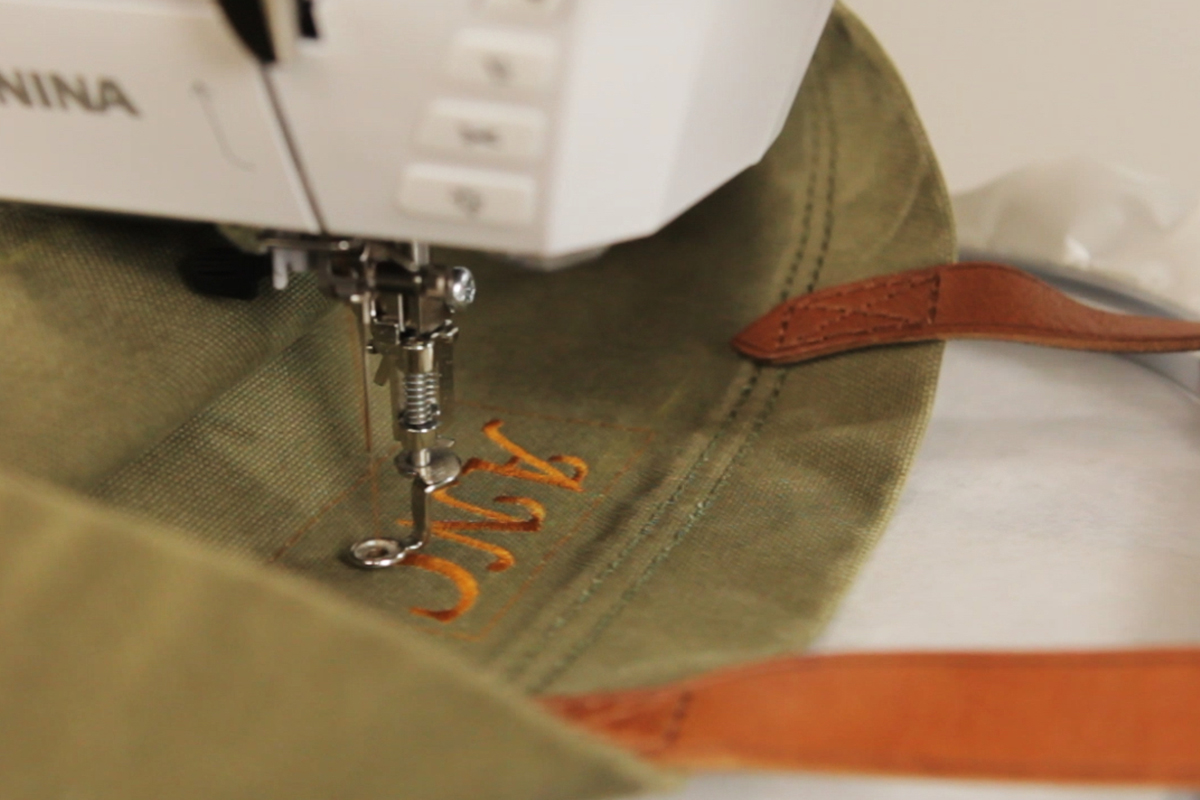
This is the easiest part! Attach the #26 embroidery foot to the machine. Load your design into the machine, adjust placement if necessary, and let it run.
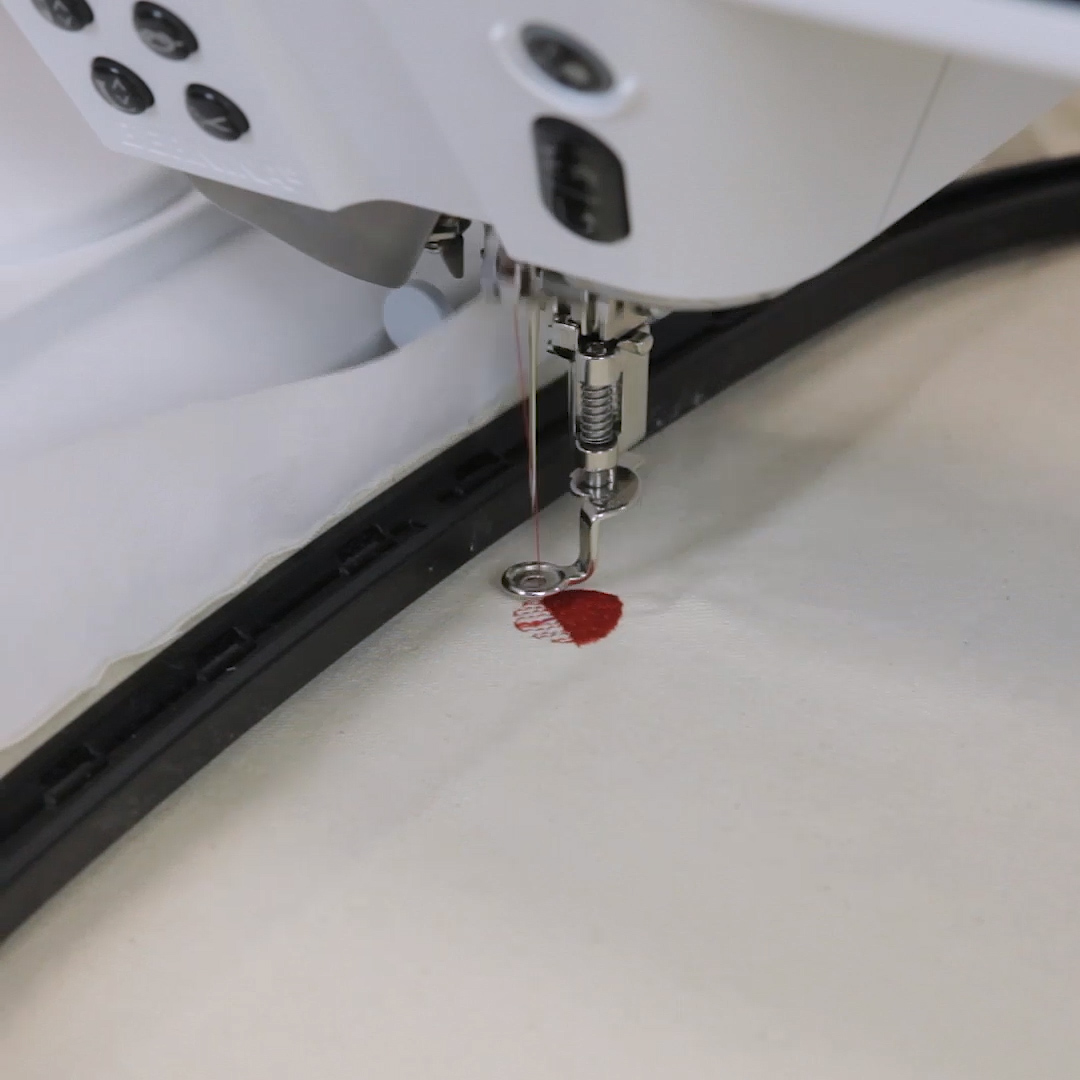
This design is pretty simple and only require two thread changes so your embroidery will be finished in no time!
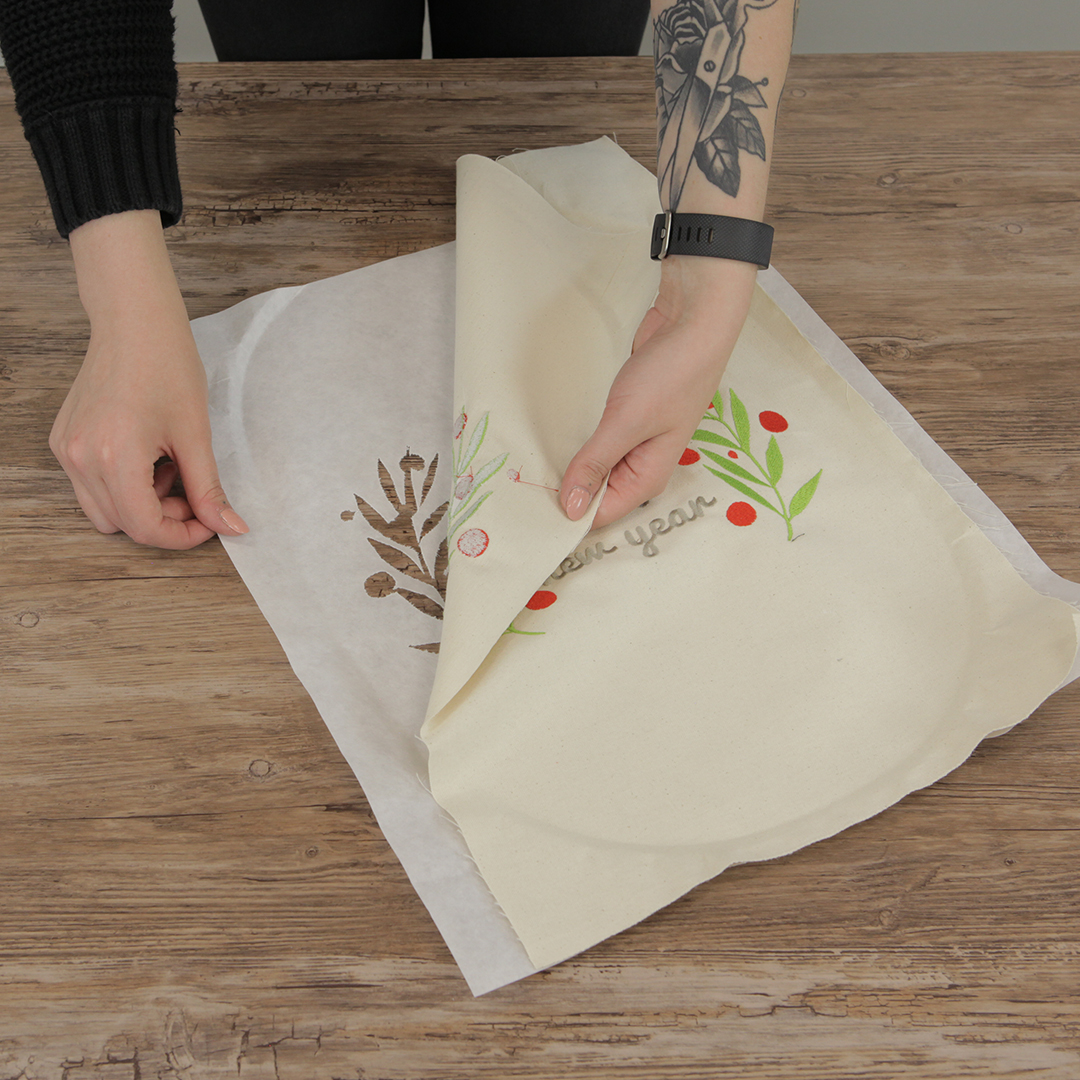
Once you’re done stitching, remove the tear away stabilizer and give your embroidery a good press.
Step 4. Cut to shape
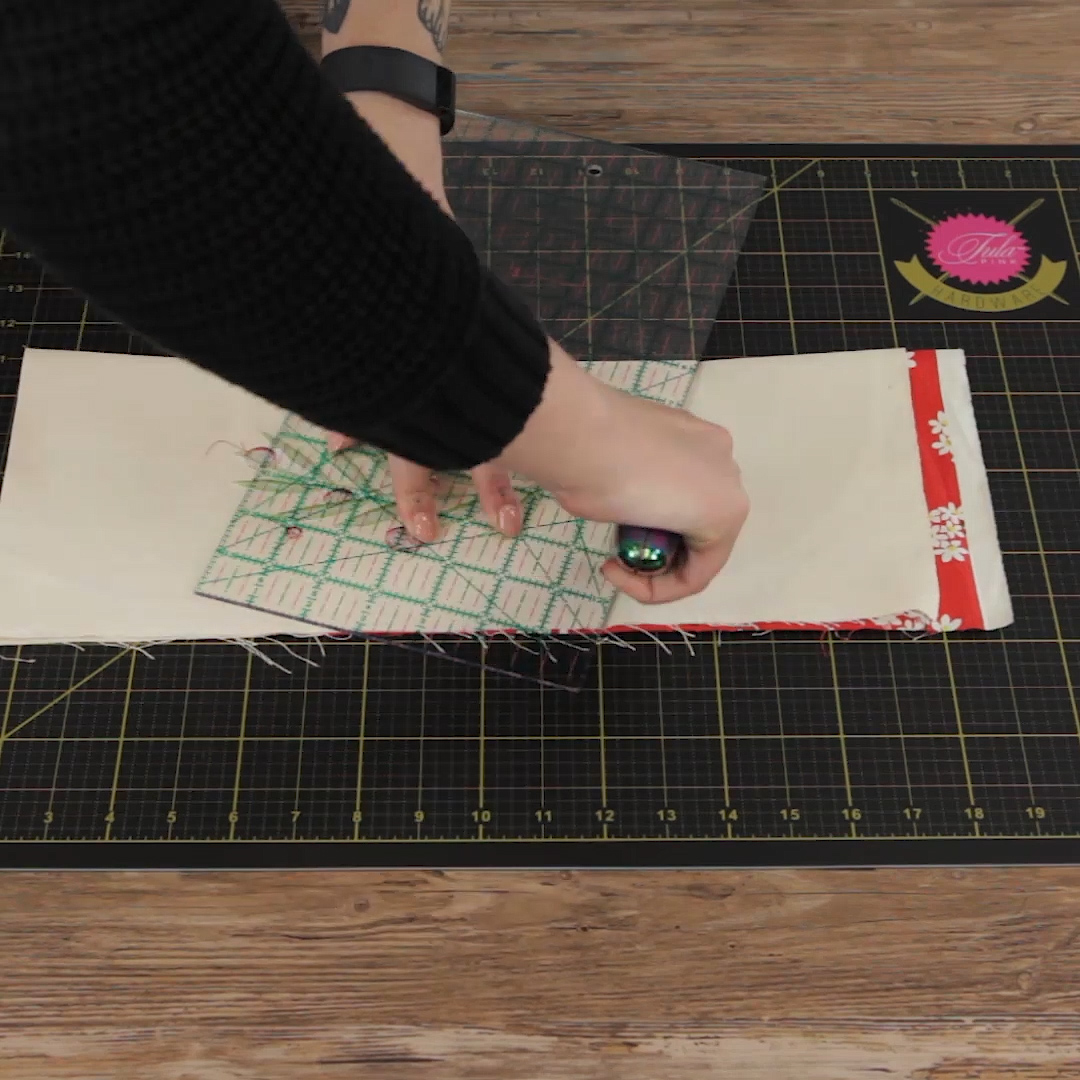
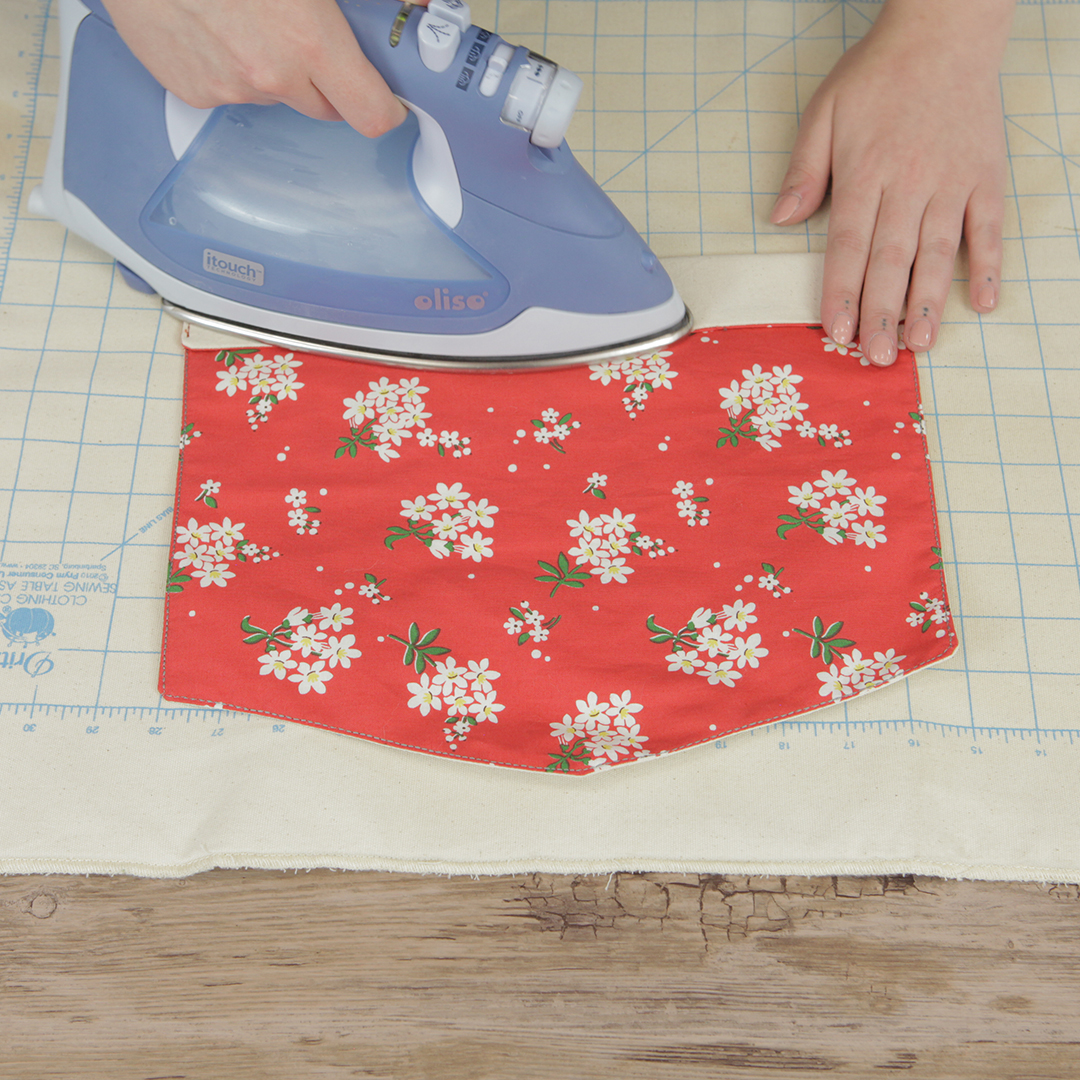
Next, we’ll cut the embroidered panel and the backing fabric to shape for our hanging banner at the same time. Cut the two pieces to 12.5” wide by 14.5” tall.
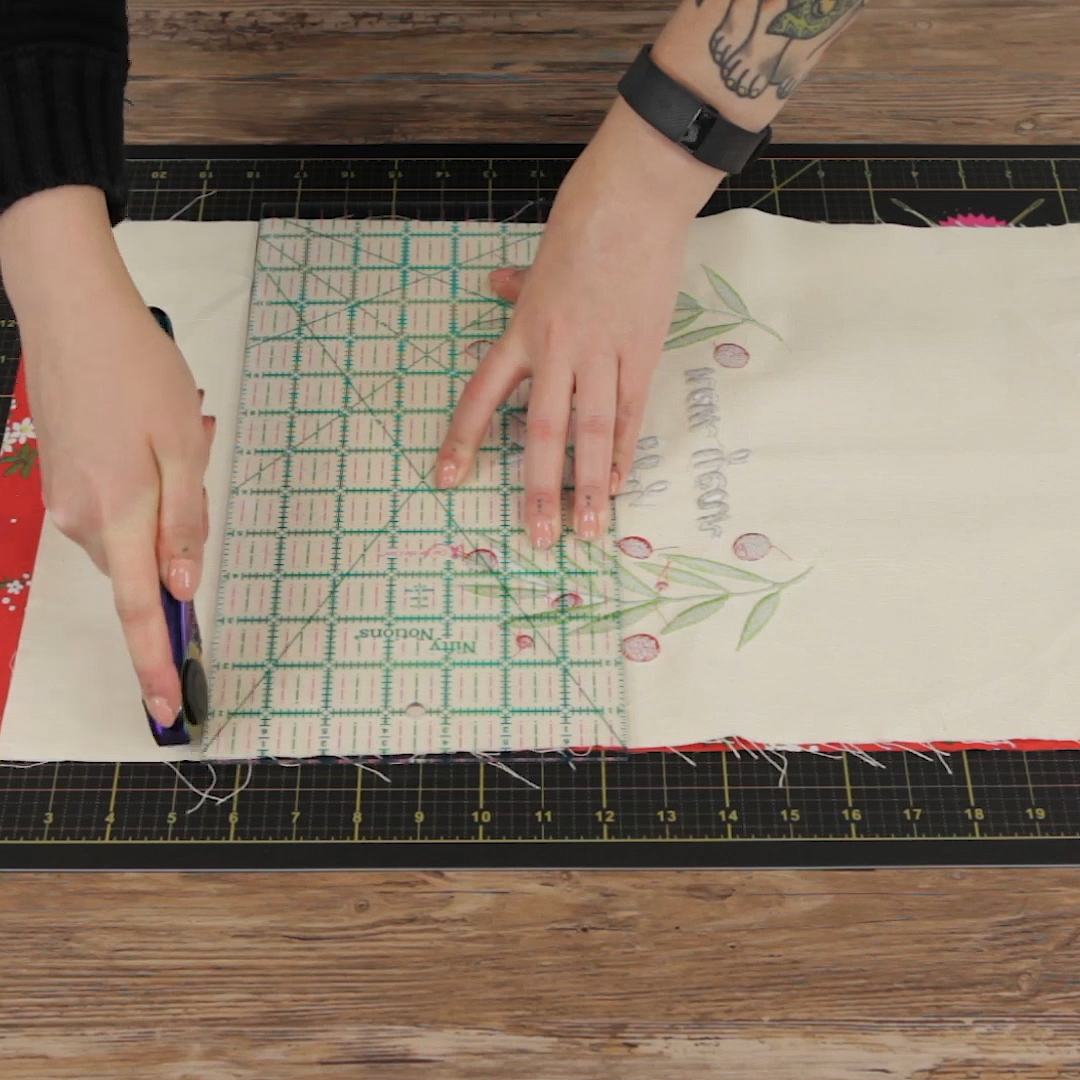
To create the angled bottom, fold the two pieces in half lengthwise. Along the raw edge opposite the fold, mark a point 2” from the bottom edge. Cut an angle from the center fold of the bottom edge to this marking.
Step 5. Stitch together
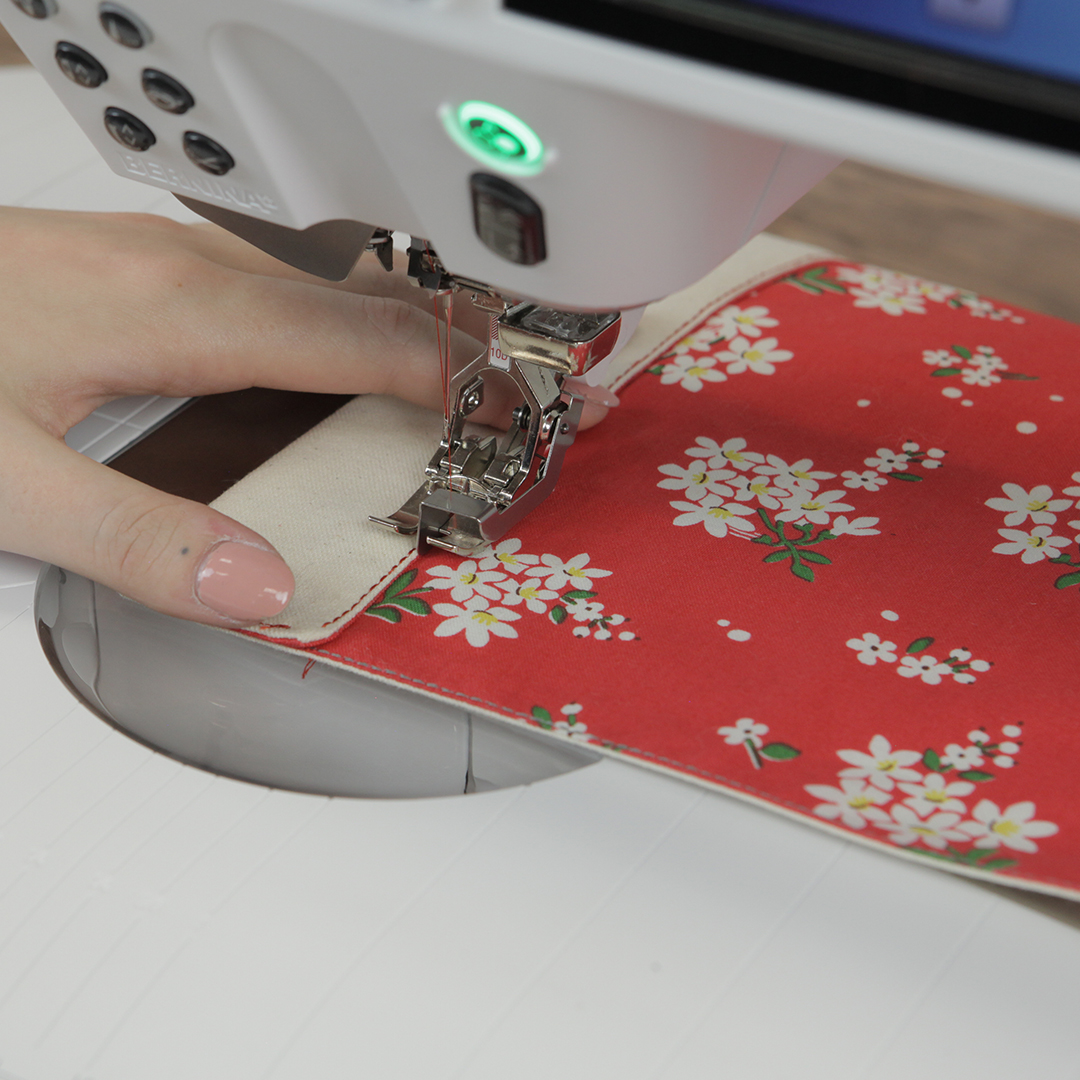
Place the two banner fabrics right sides together and seam together using the #97D foot and a ¼” seam allowance. Leave an opening at the top edge (the edge opposite of the pointed bottom).
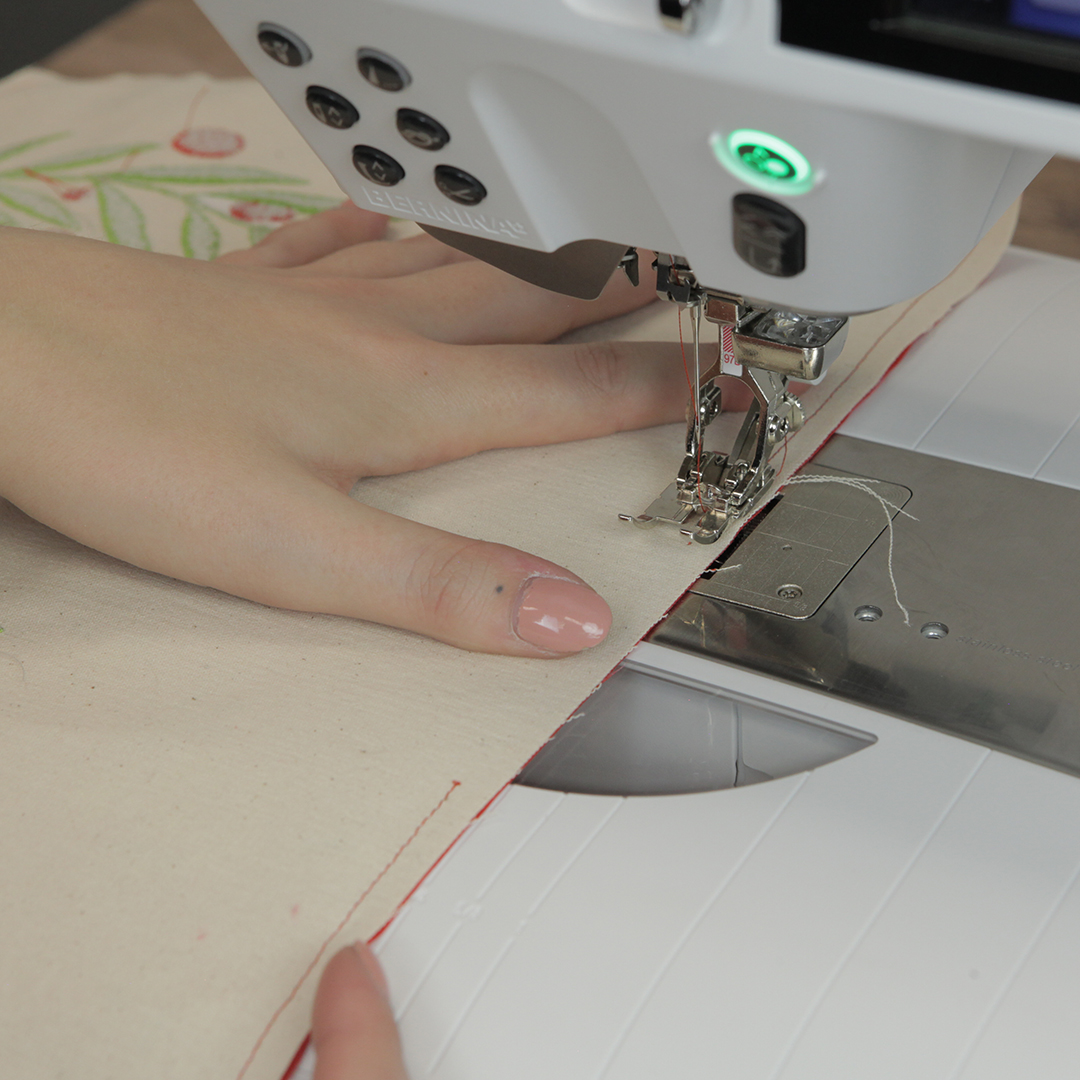
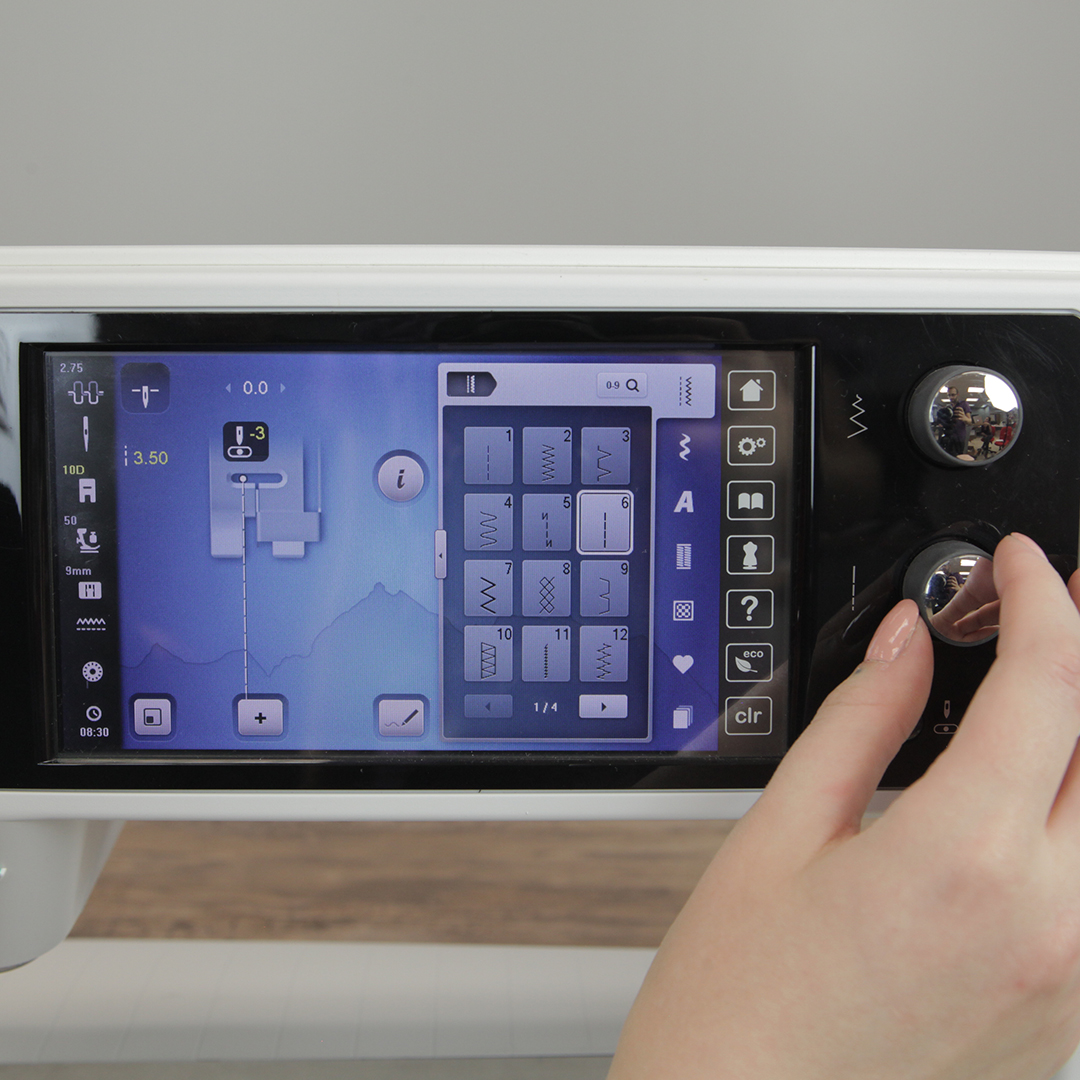
Flip right side out and press. Switch to the #10D foot and move your needle position over to -5. Topstitch the perimeter using a triple straight stitch.
Step 6. Create pole pocket
Fold the top edge of the banner down 1.5” over to the wrong side (your printed fabric side). Stitch the edge down to create a sleeve for your dowel. Try a triple straight stitch or another decorative stitch that strikes your fancy!

Step 7. Hang it up!
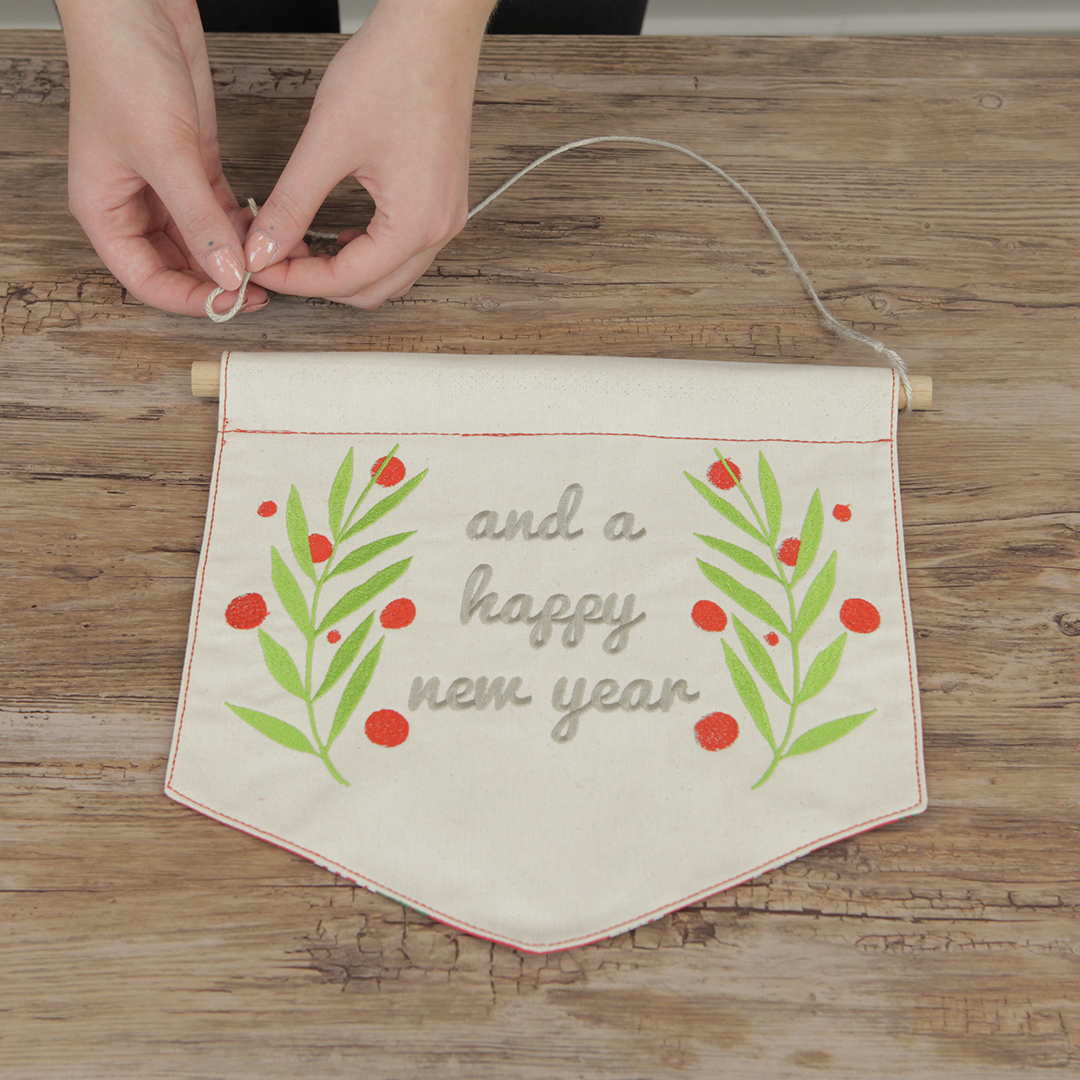
Insert a wooden dowel into your pole pocket and use twine or cording to hang your banner from the ends. Ta-da! Instant holiday cheer!
Used Products


What you might also like


One comment on “Holiday Banner with BERNINA Toolbox Software”
Leave a Reply
You must be logged in to post a comment.

Your banner looks awesome and your directions and photos are really easy to follow along with