Tips for Sewing Swimsuits Using Lingerie Patterns
Have you tried sewing underwear/lingerie yet? If you have, and you have a pattern, let me show you some simple ways to use them to make swimsuits for the upcoming beach and pool seasons!
I have sewn at least 25 swimsuits in the past few years, so I feel like I have some good tips I can share at this point! Some of this is general swimsuit info, and some will be showing you how I used underwear and bralette patterns to make a swimsuit!
Materials Needed
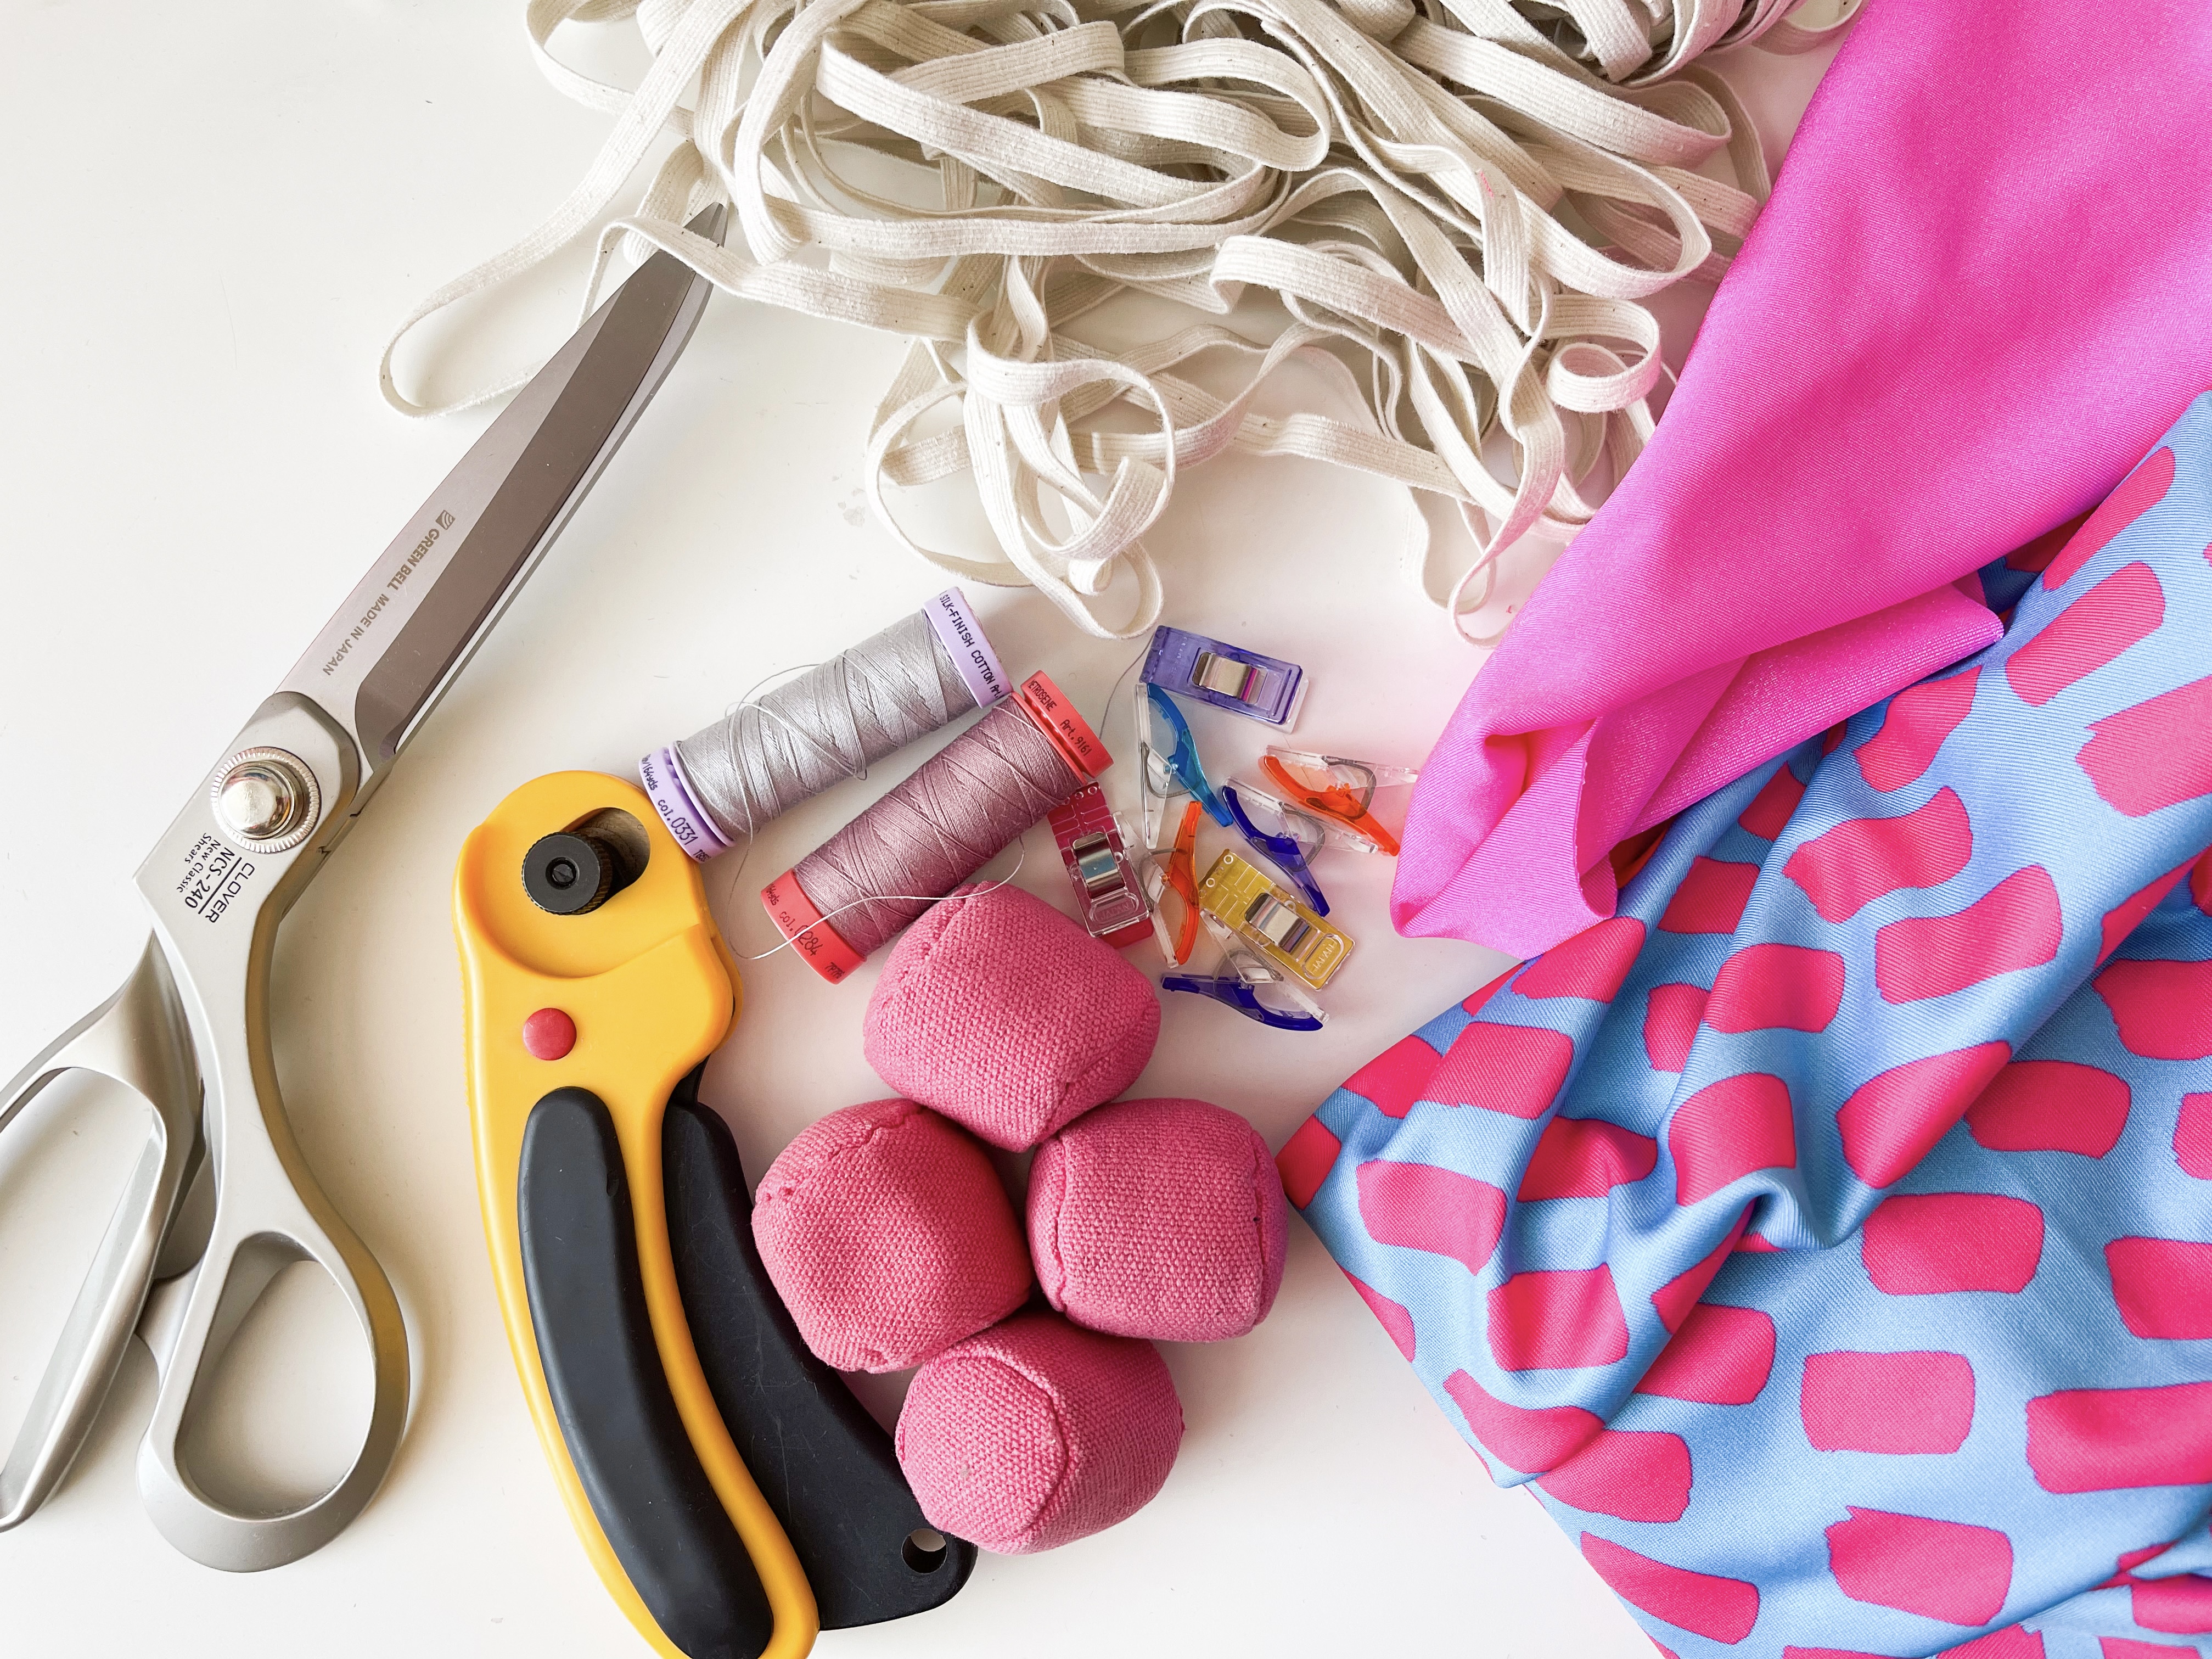
Thread
There are threads out there that are great for sewing stretchy items that will go in chlorine. Unfortunately those threads are also frustrating to sew with as they break incessantly as you sew! I have made swimsuits that have been worn many times with just plain poly thread and they are still holding up great! So just go with that.
Instead of pins, I prefer clips and pattern weights.
Swim Elastic, Instead of Regular Elastic
I don’t like the plastic kind, rather the cotton kind that is made to last a long time even exposed to chlorine.
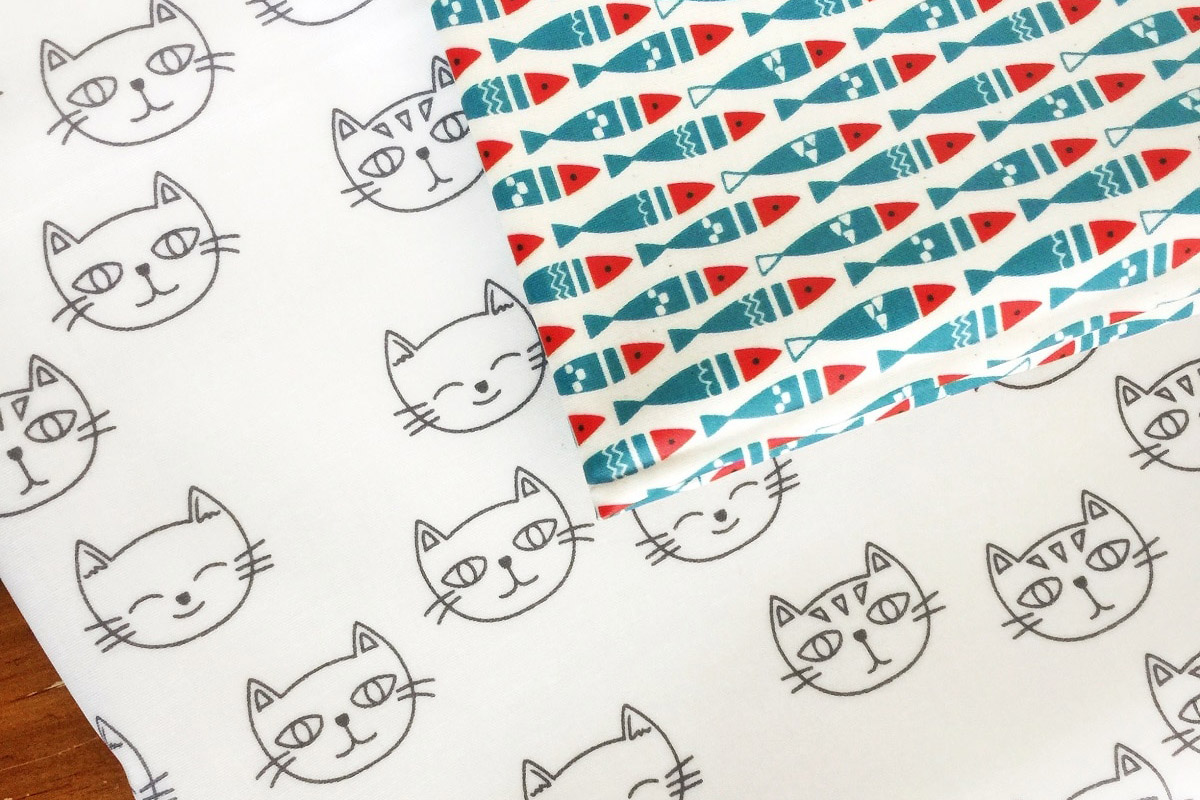
Stretch Fabric
—made of nylon or polyester and 10-20% spandex or Lycra. The thickness and transparency of the fabric will determine whether you need lining. I find that Spoonflower sport Lycra doesn’t usually need lining. (I use them most frequently because I can print my prints on there!)
Power Mesh
—-is great if you want to encourage part of the swimsuit to hold things in;)
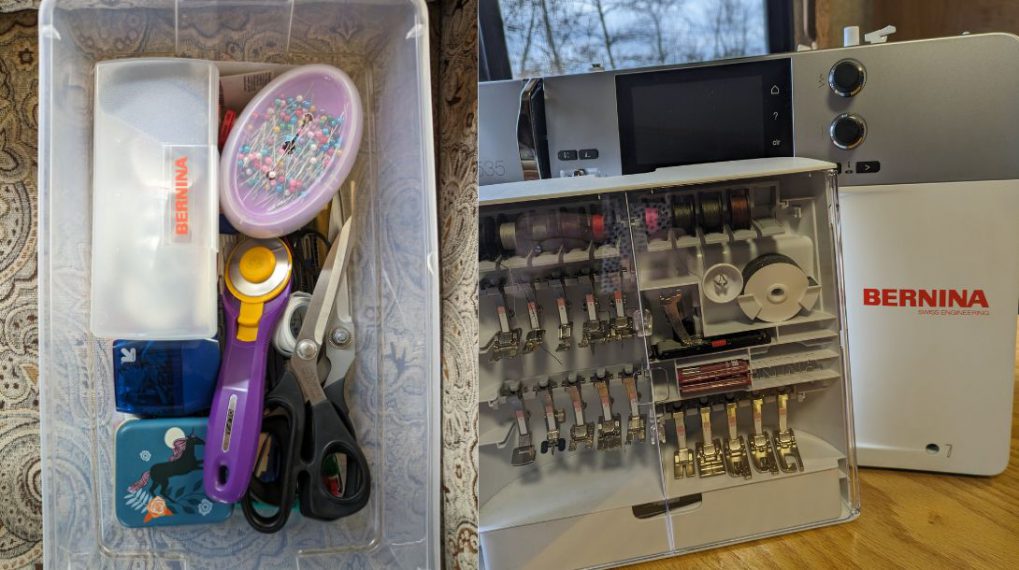
Scissors/Rotary Cutter
Cutting the fabric can be frustrating so you might want to use a rotary cutter and mat. I usually just use my sharpest shears though.
From Undergarment to Swimwear!
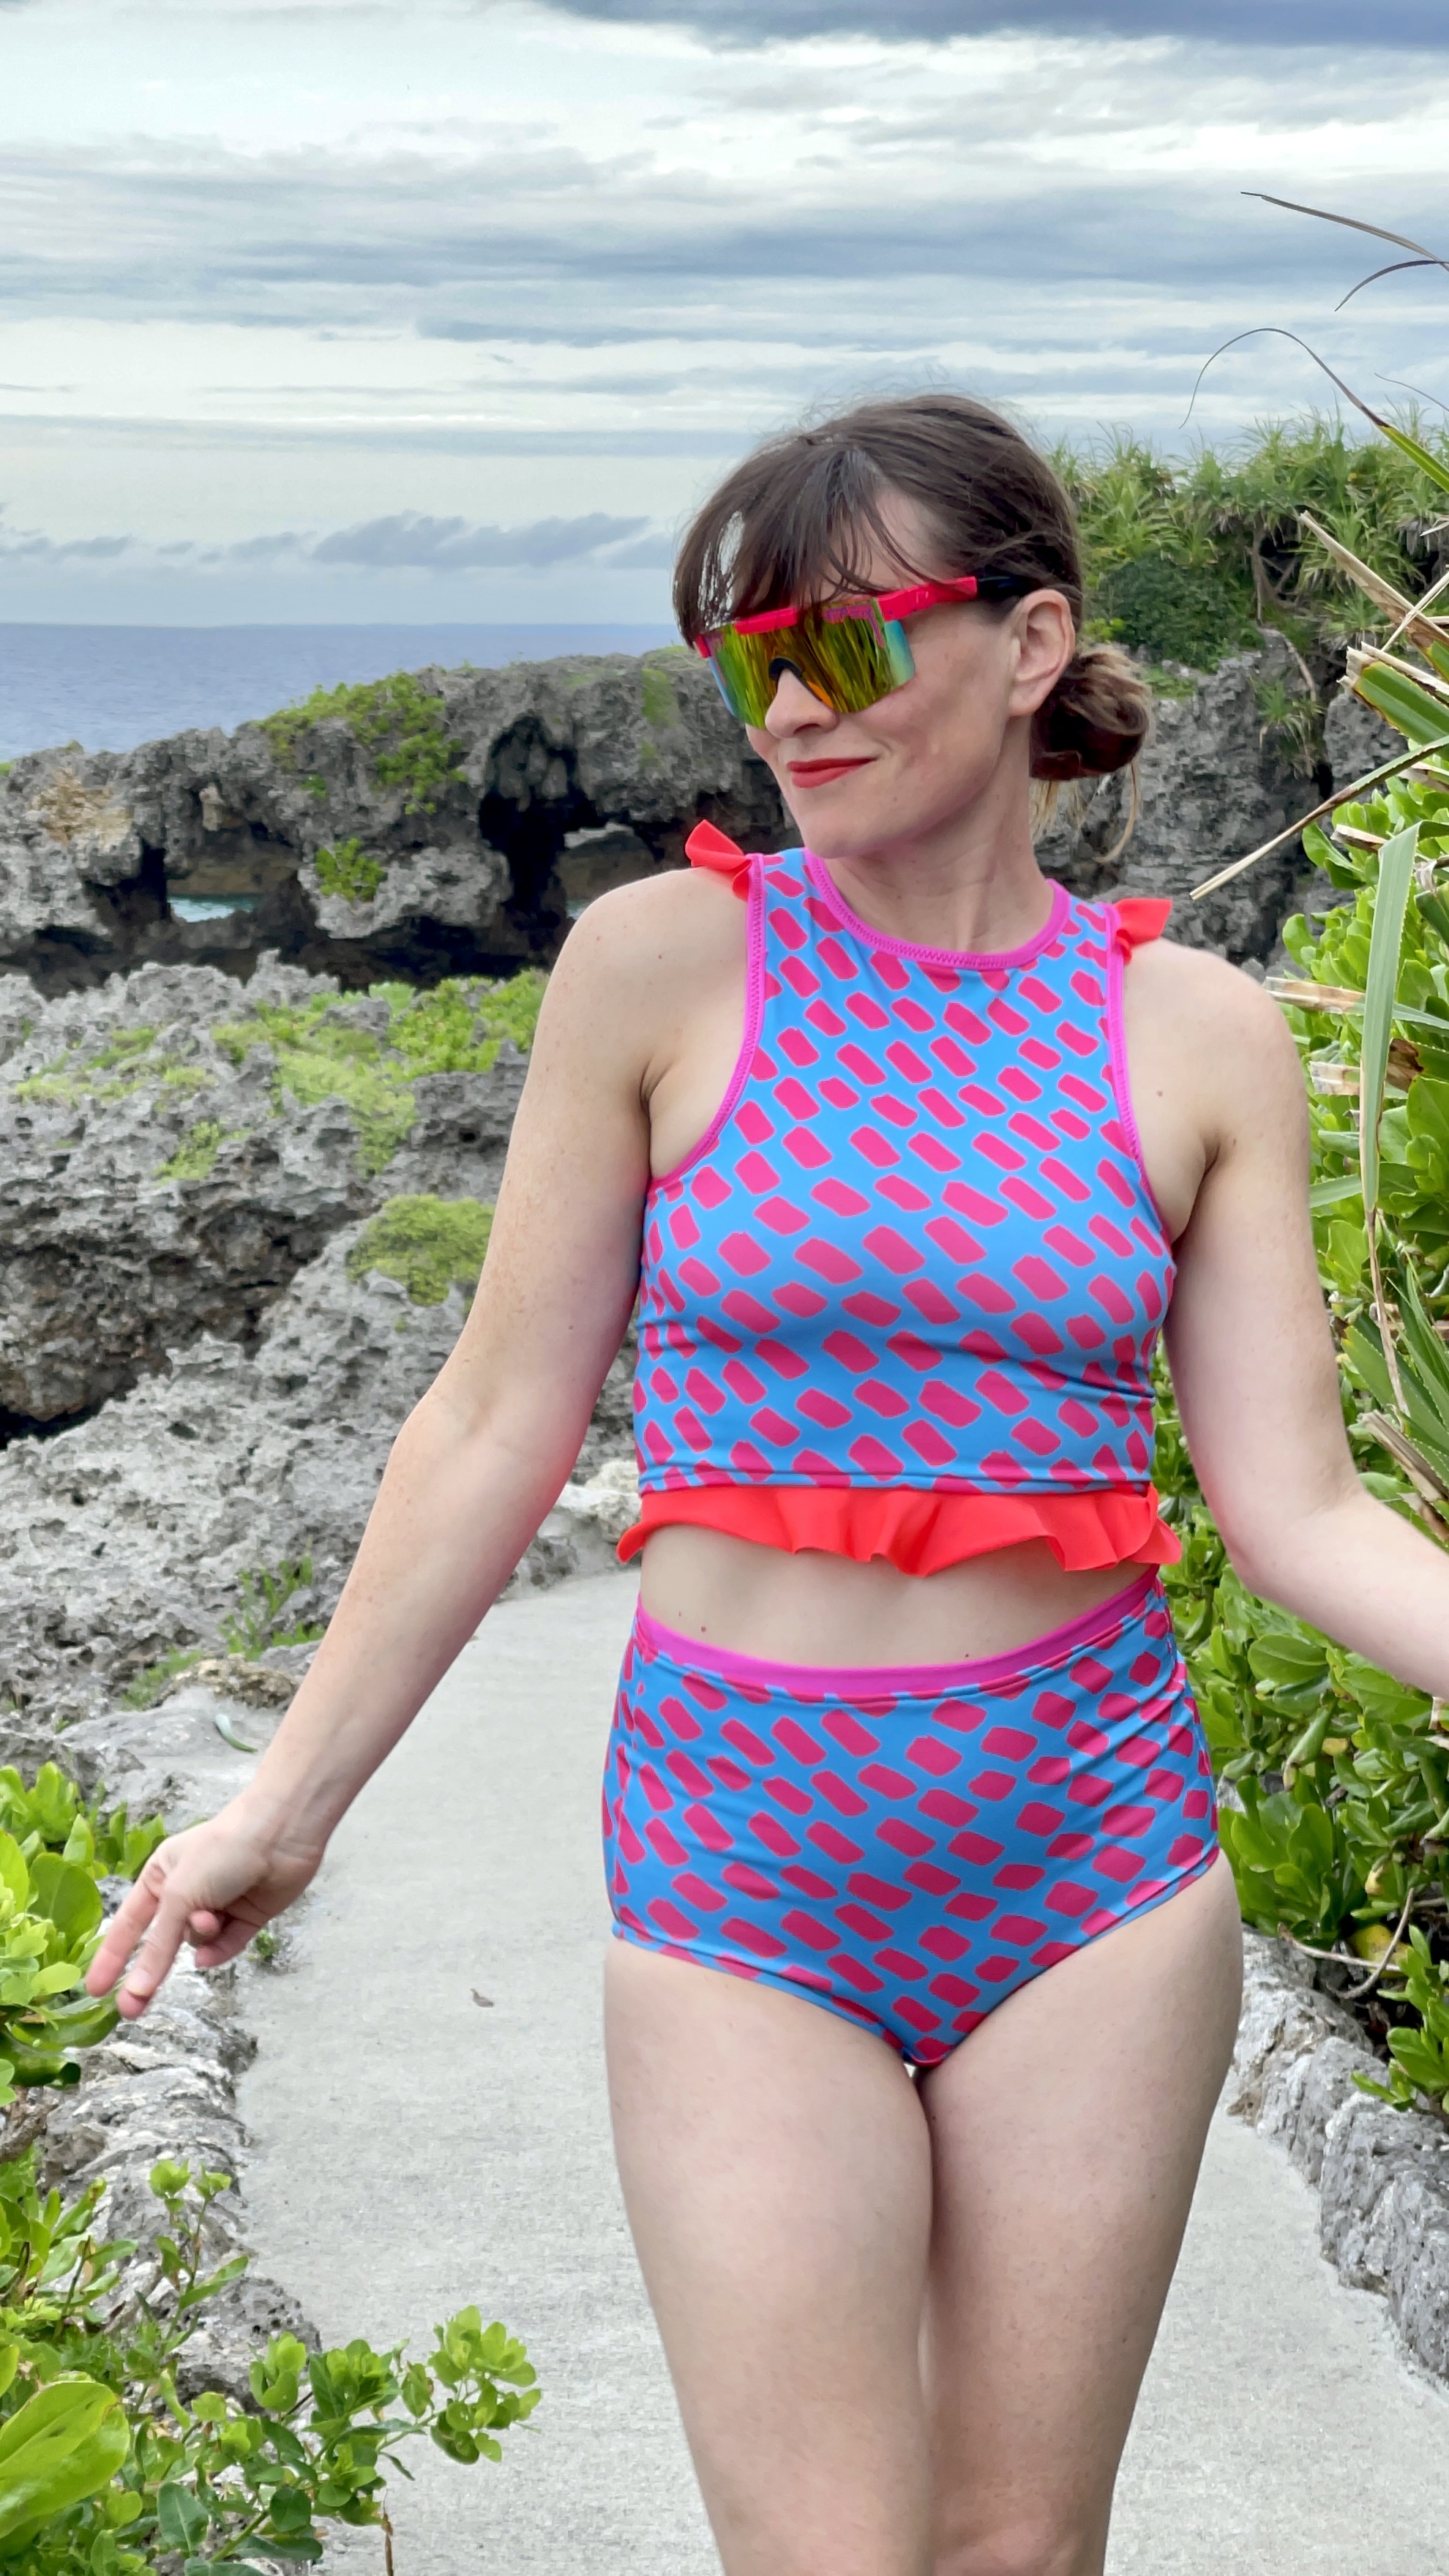
Now that we’ve discussed supplies, lets get going! I am using the Axis Tank pattern and the Median Knickers (both from Sophie Hines). She has quite a few other good bralette and undie patterns that would work great for a 2-piece swimsuit!
The key to changing a lingerie piece to a swim piece is how you finish the edges, the lining, and the fabric. Let me show you what I did!

I know I said I use pattern weights and clips, but I used pins here because the two layers were slipping and sliding!
(I color-blocked this so don’t pay attention to those extra seam lines.)
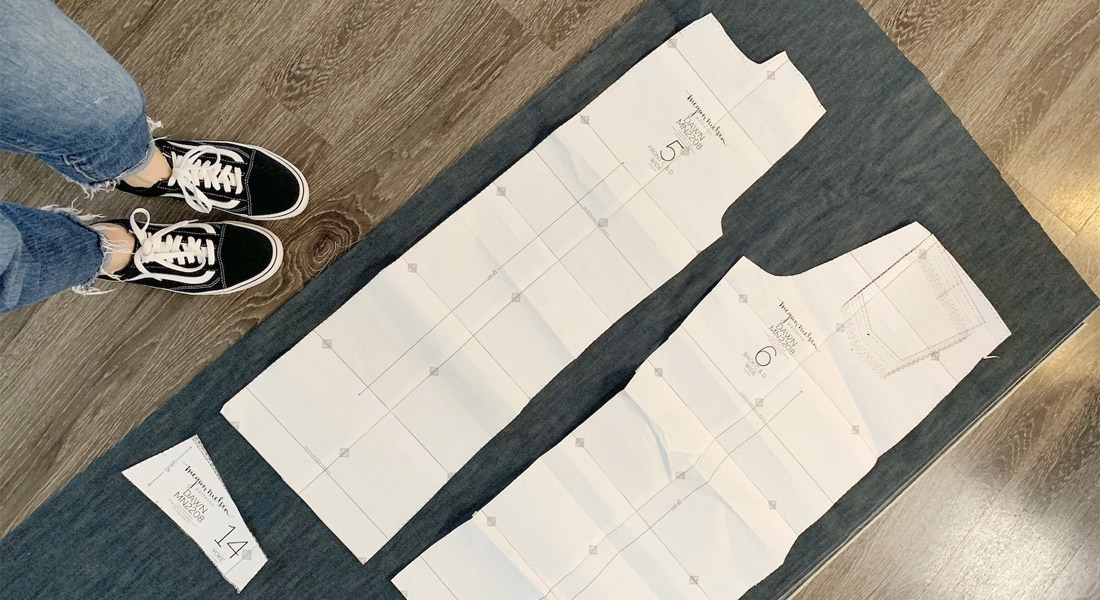
First, cut out the pattern pieces from your main fabric (and if you want to color-block it, first sew them together because you don’t need your lining to have all those seams). Then you will cut the same pieces out of your lining.
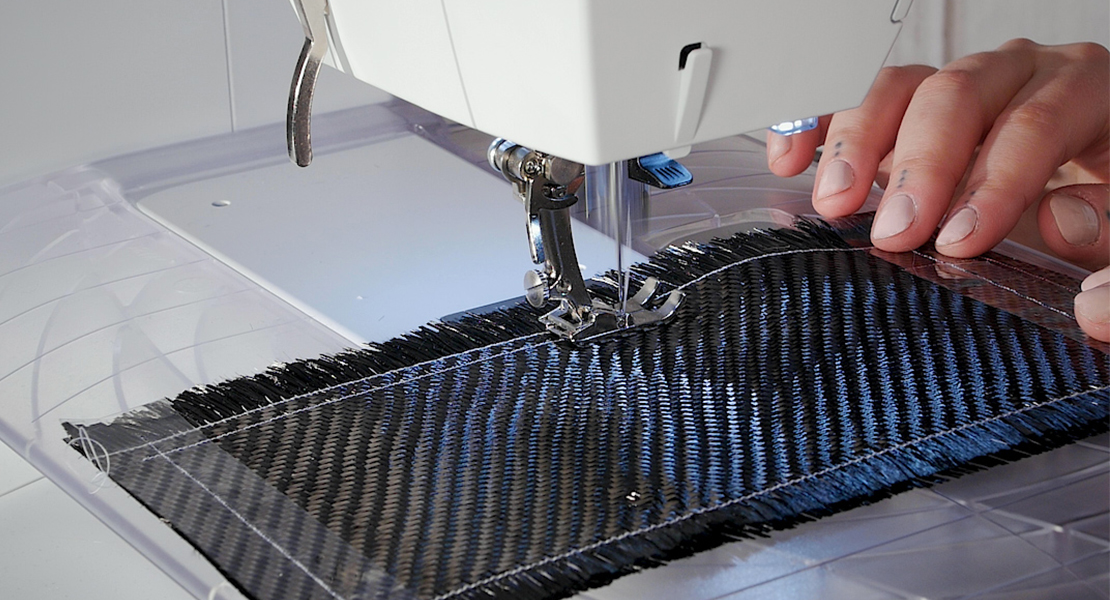
Next, you want to make the two layers become one. You can zig-zag them or serge them together as I did here, and on the bottoms below.
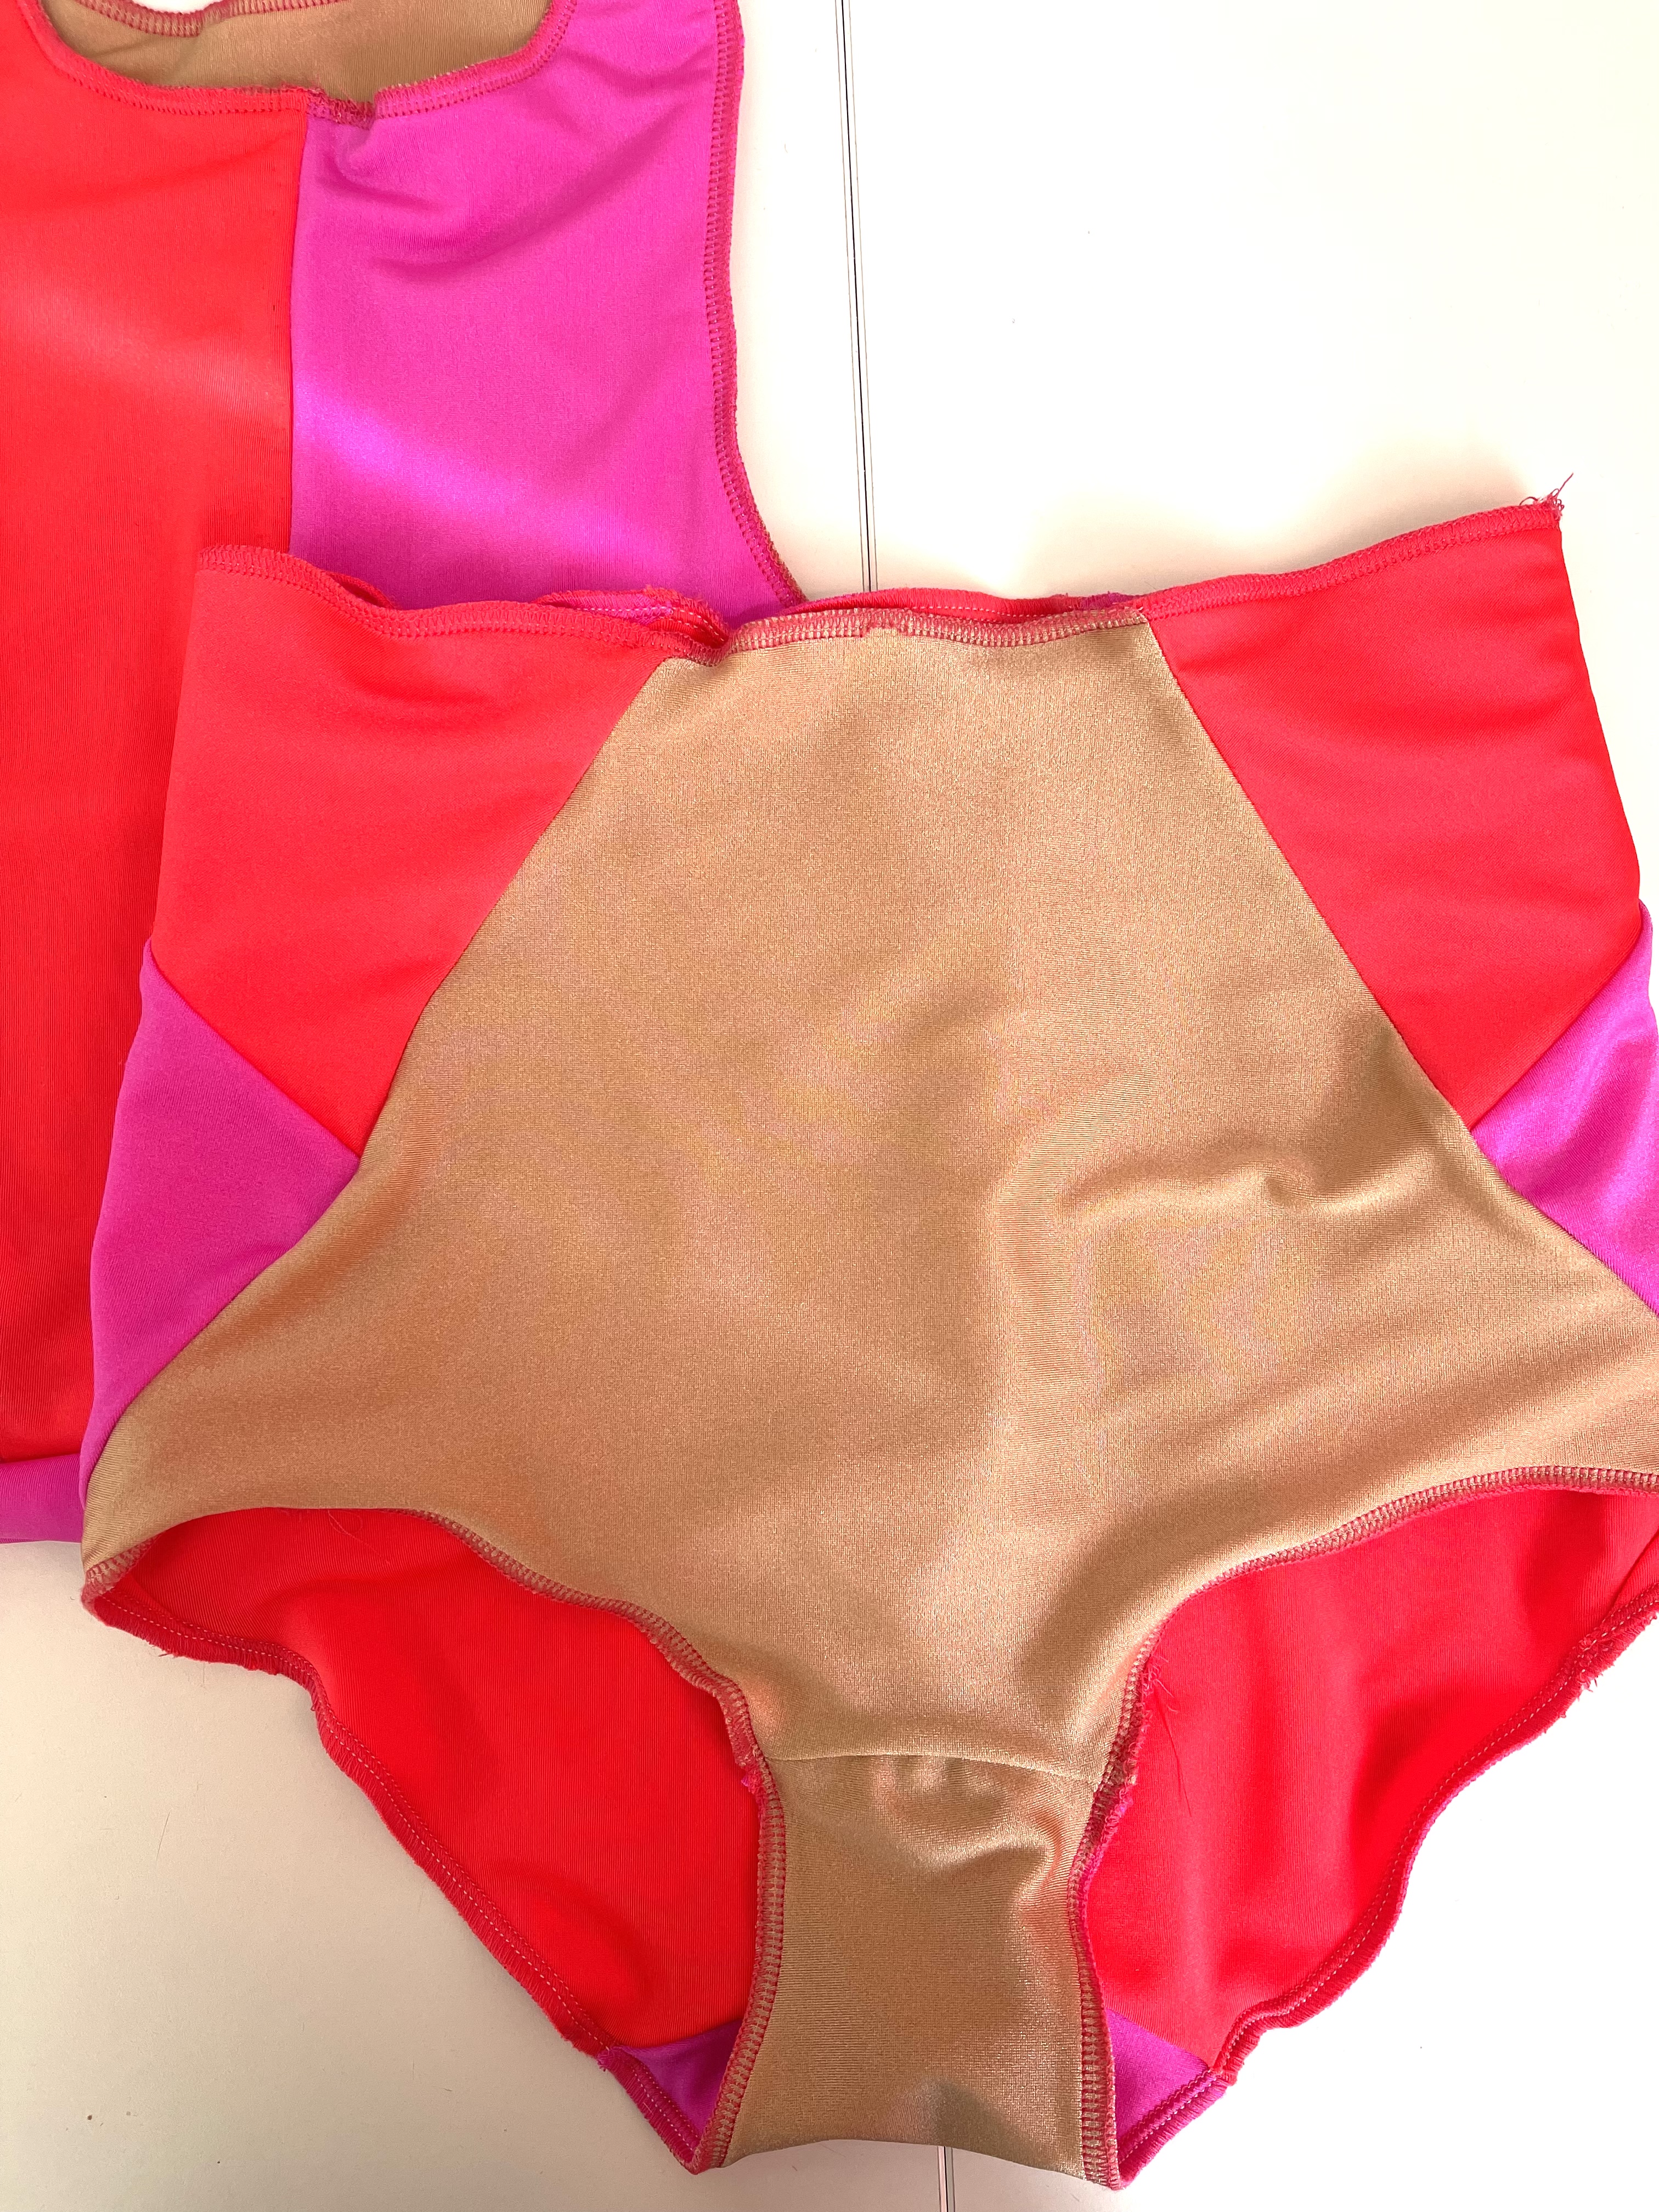
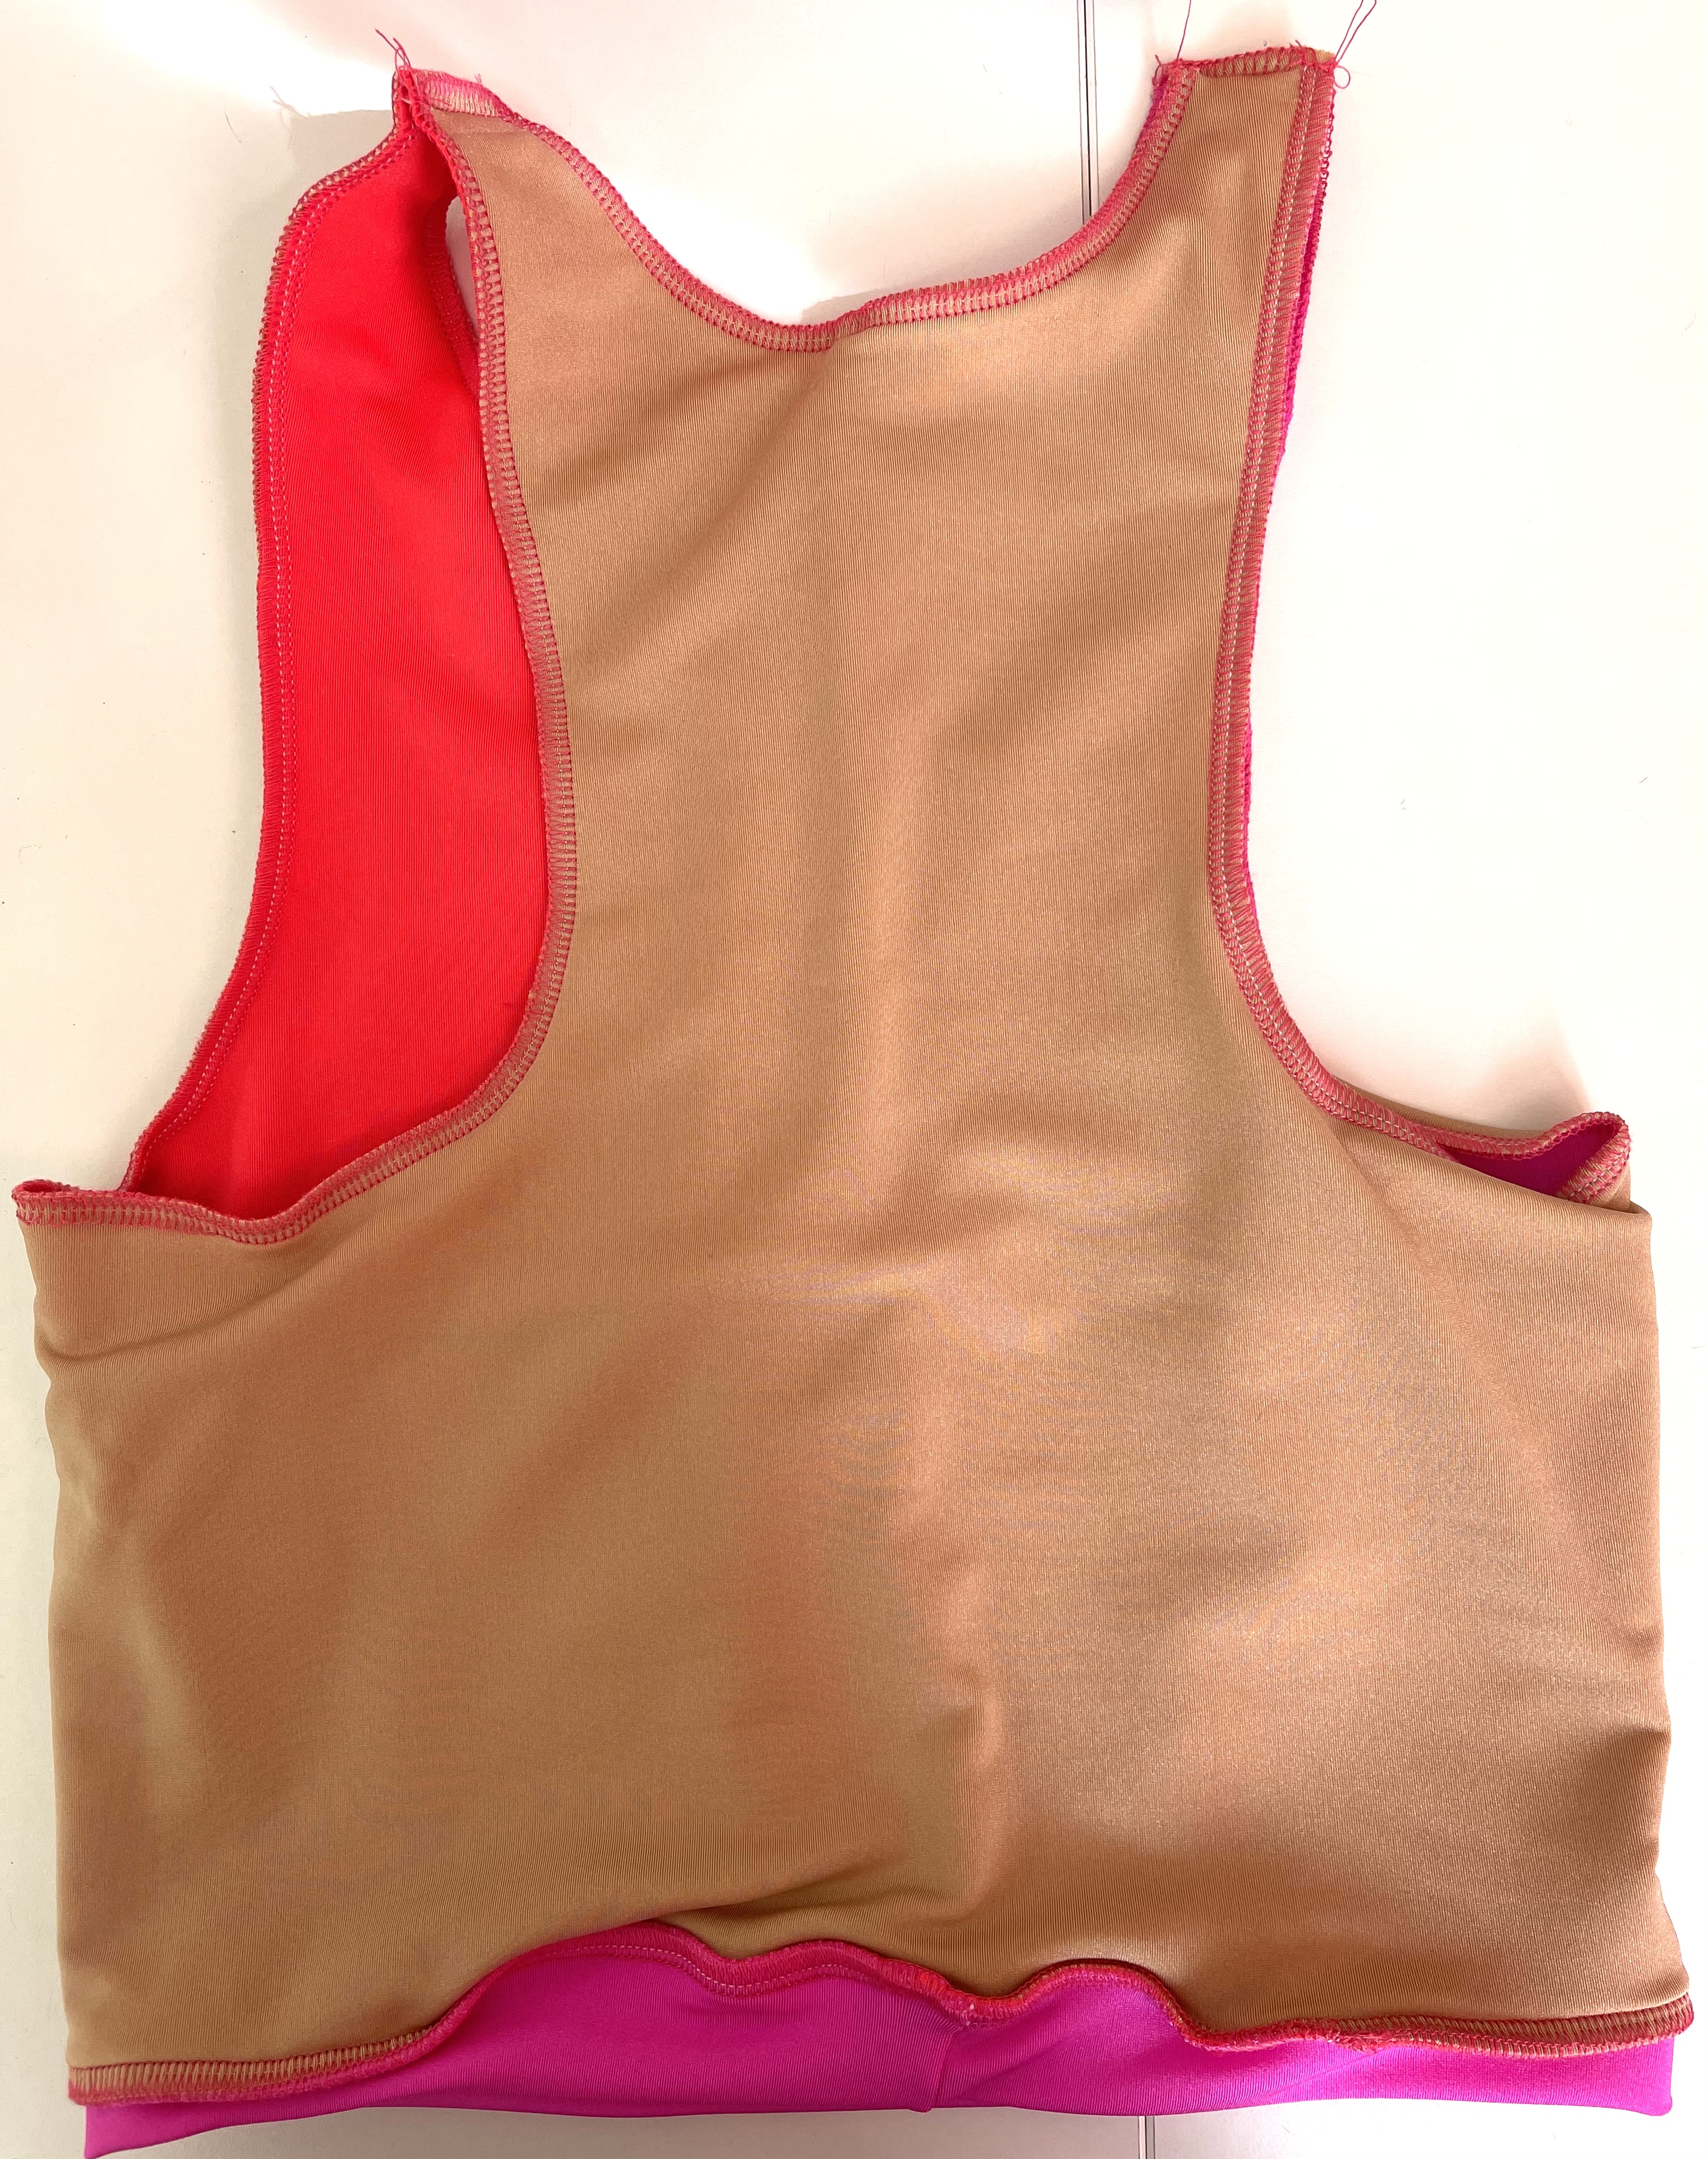
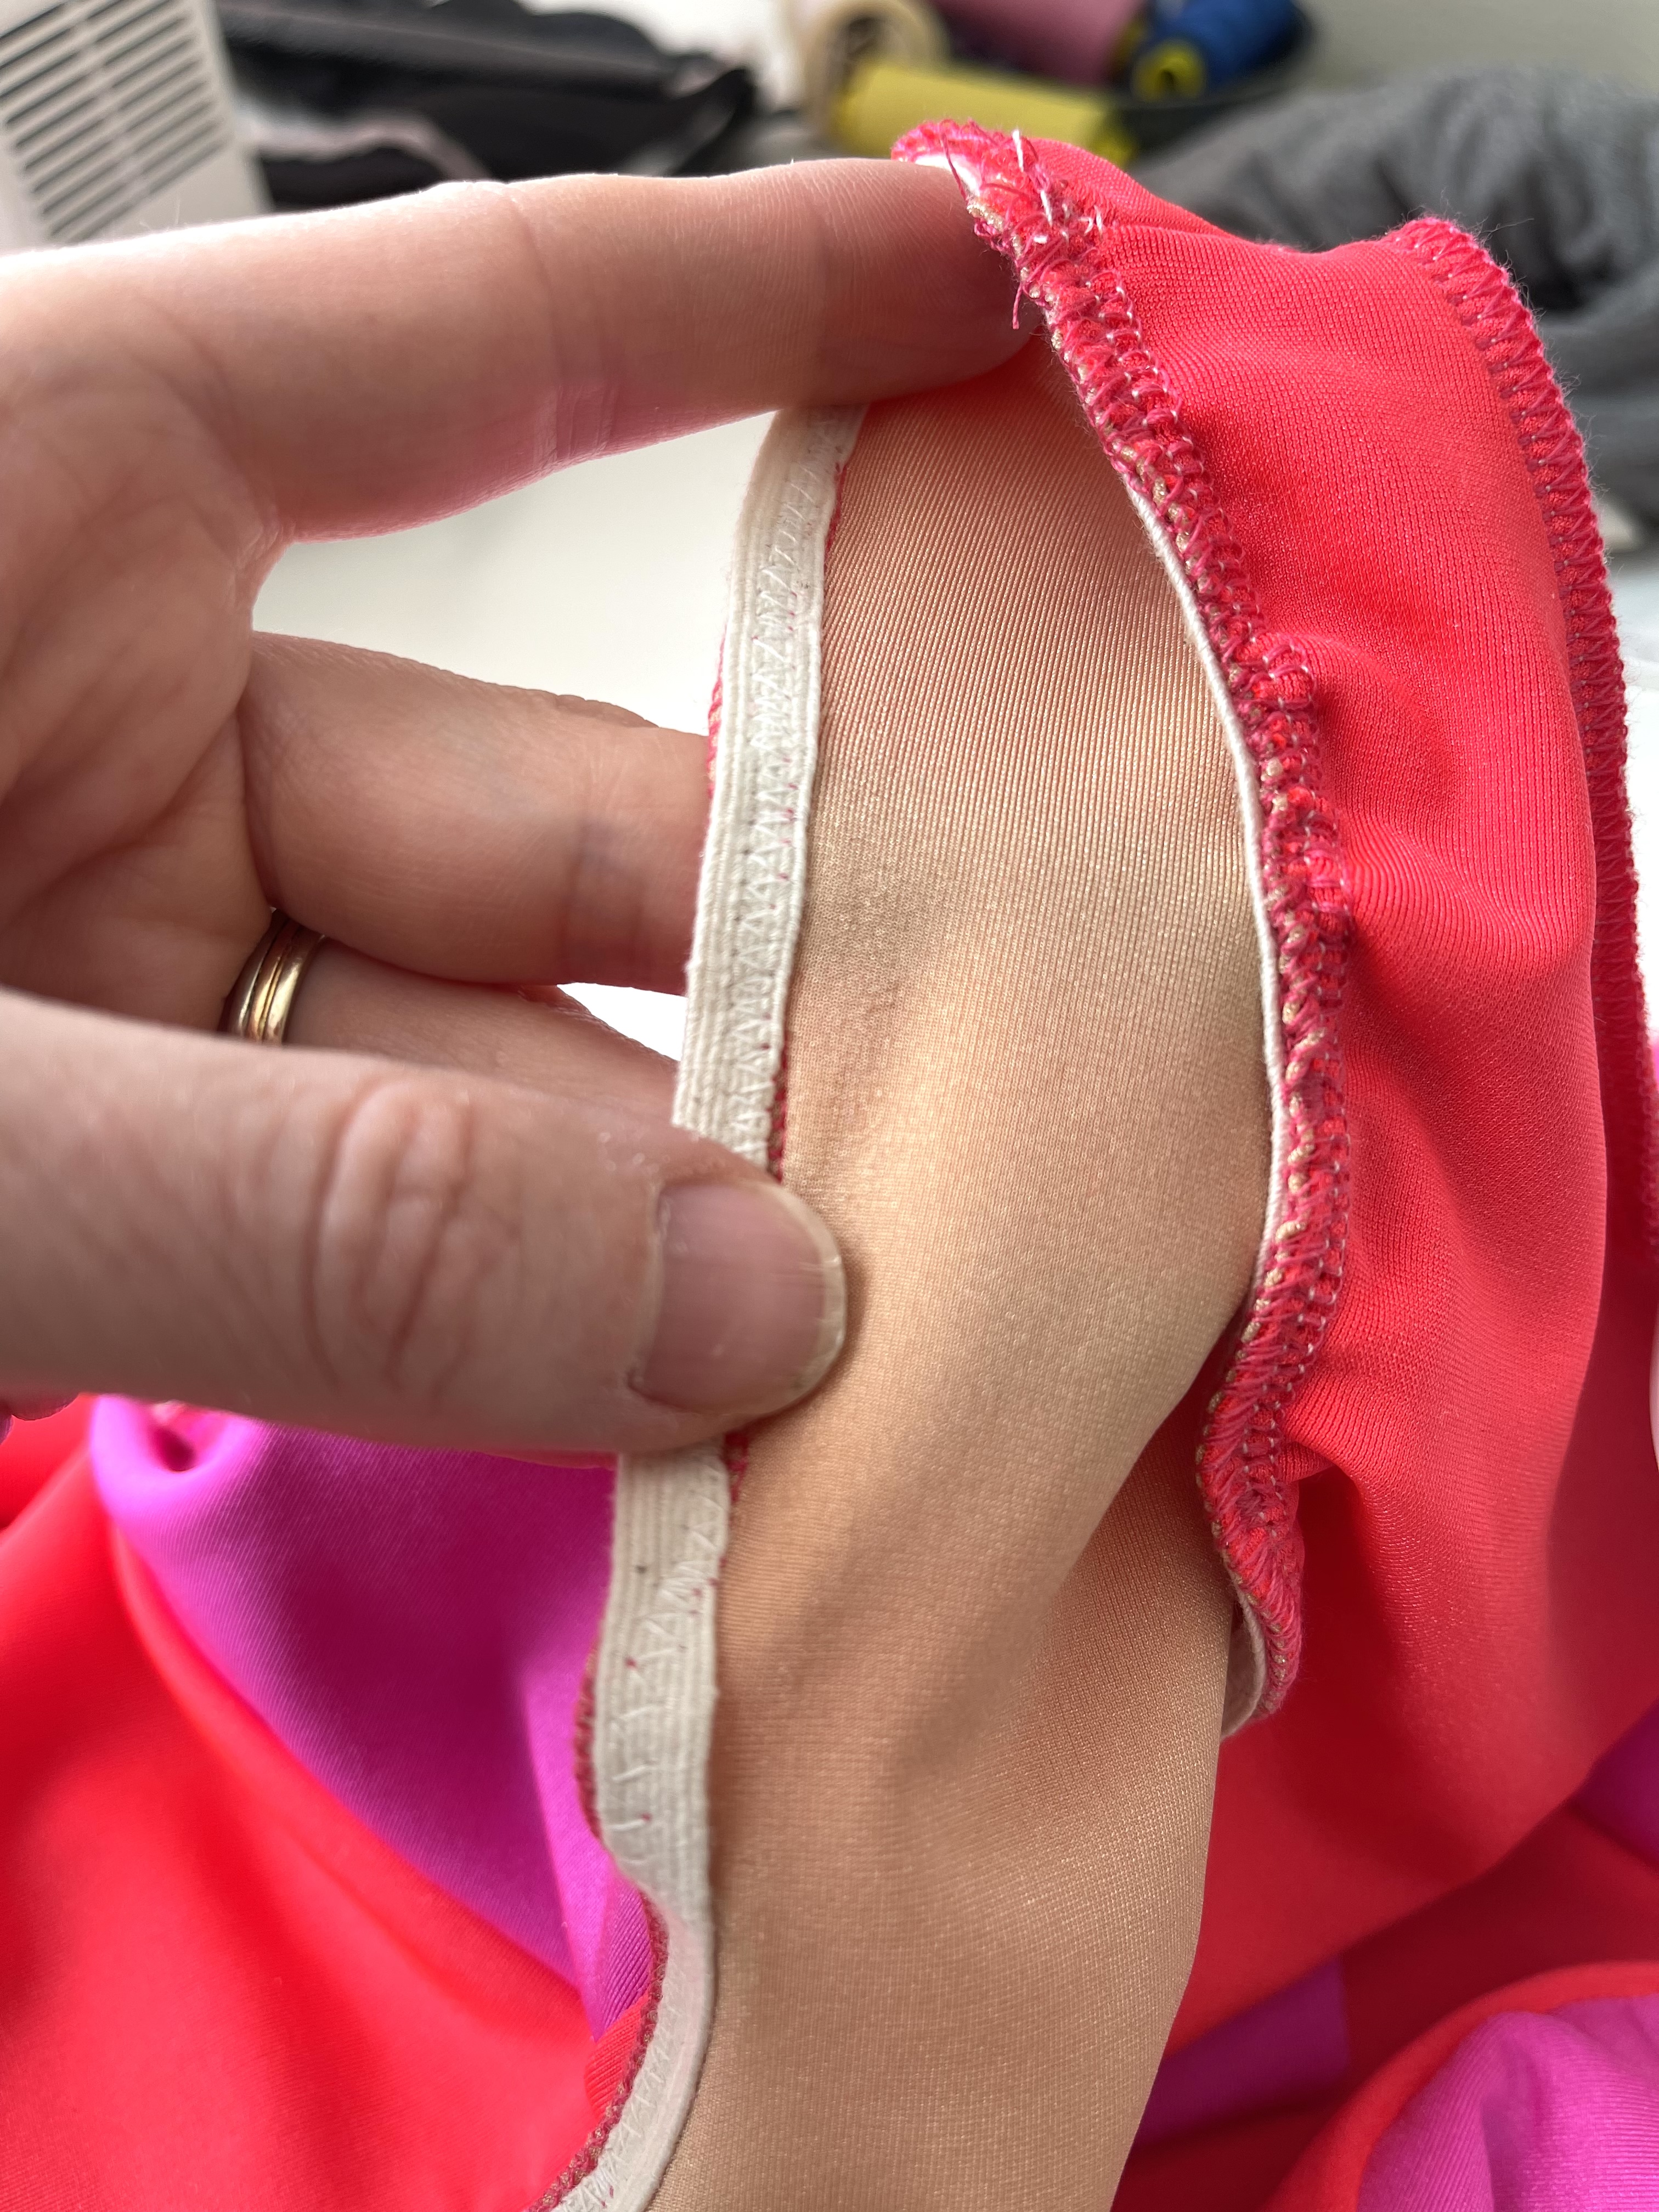
Here they are inside out. You can see I used nude fabric for some of the lining, and I just used the same swim fabric to line the other areas. On the bottoms, and on the top, I sewed the lining and main fabrics separately and then put them wrong-sides together before serging.
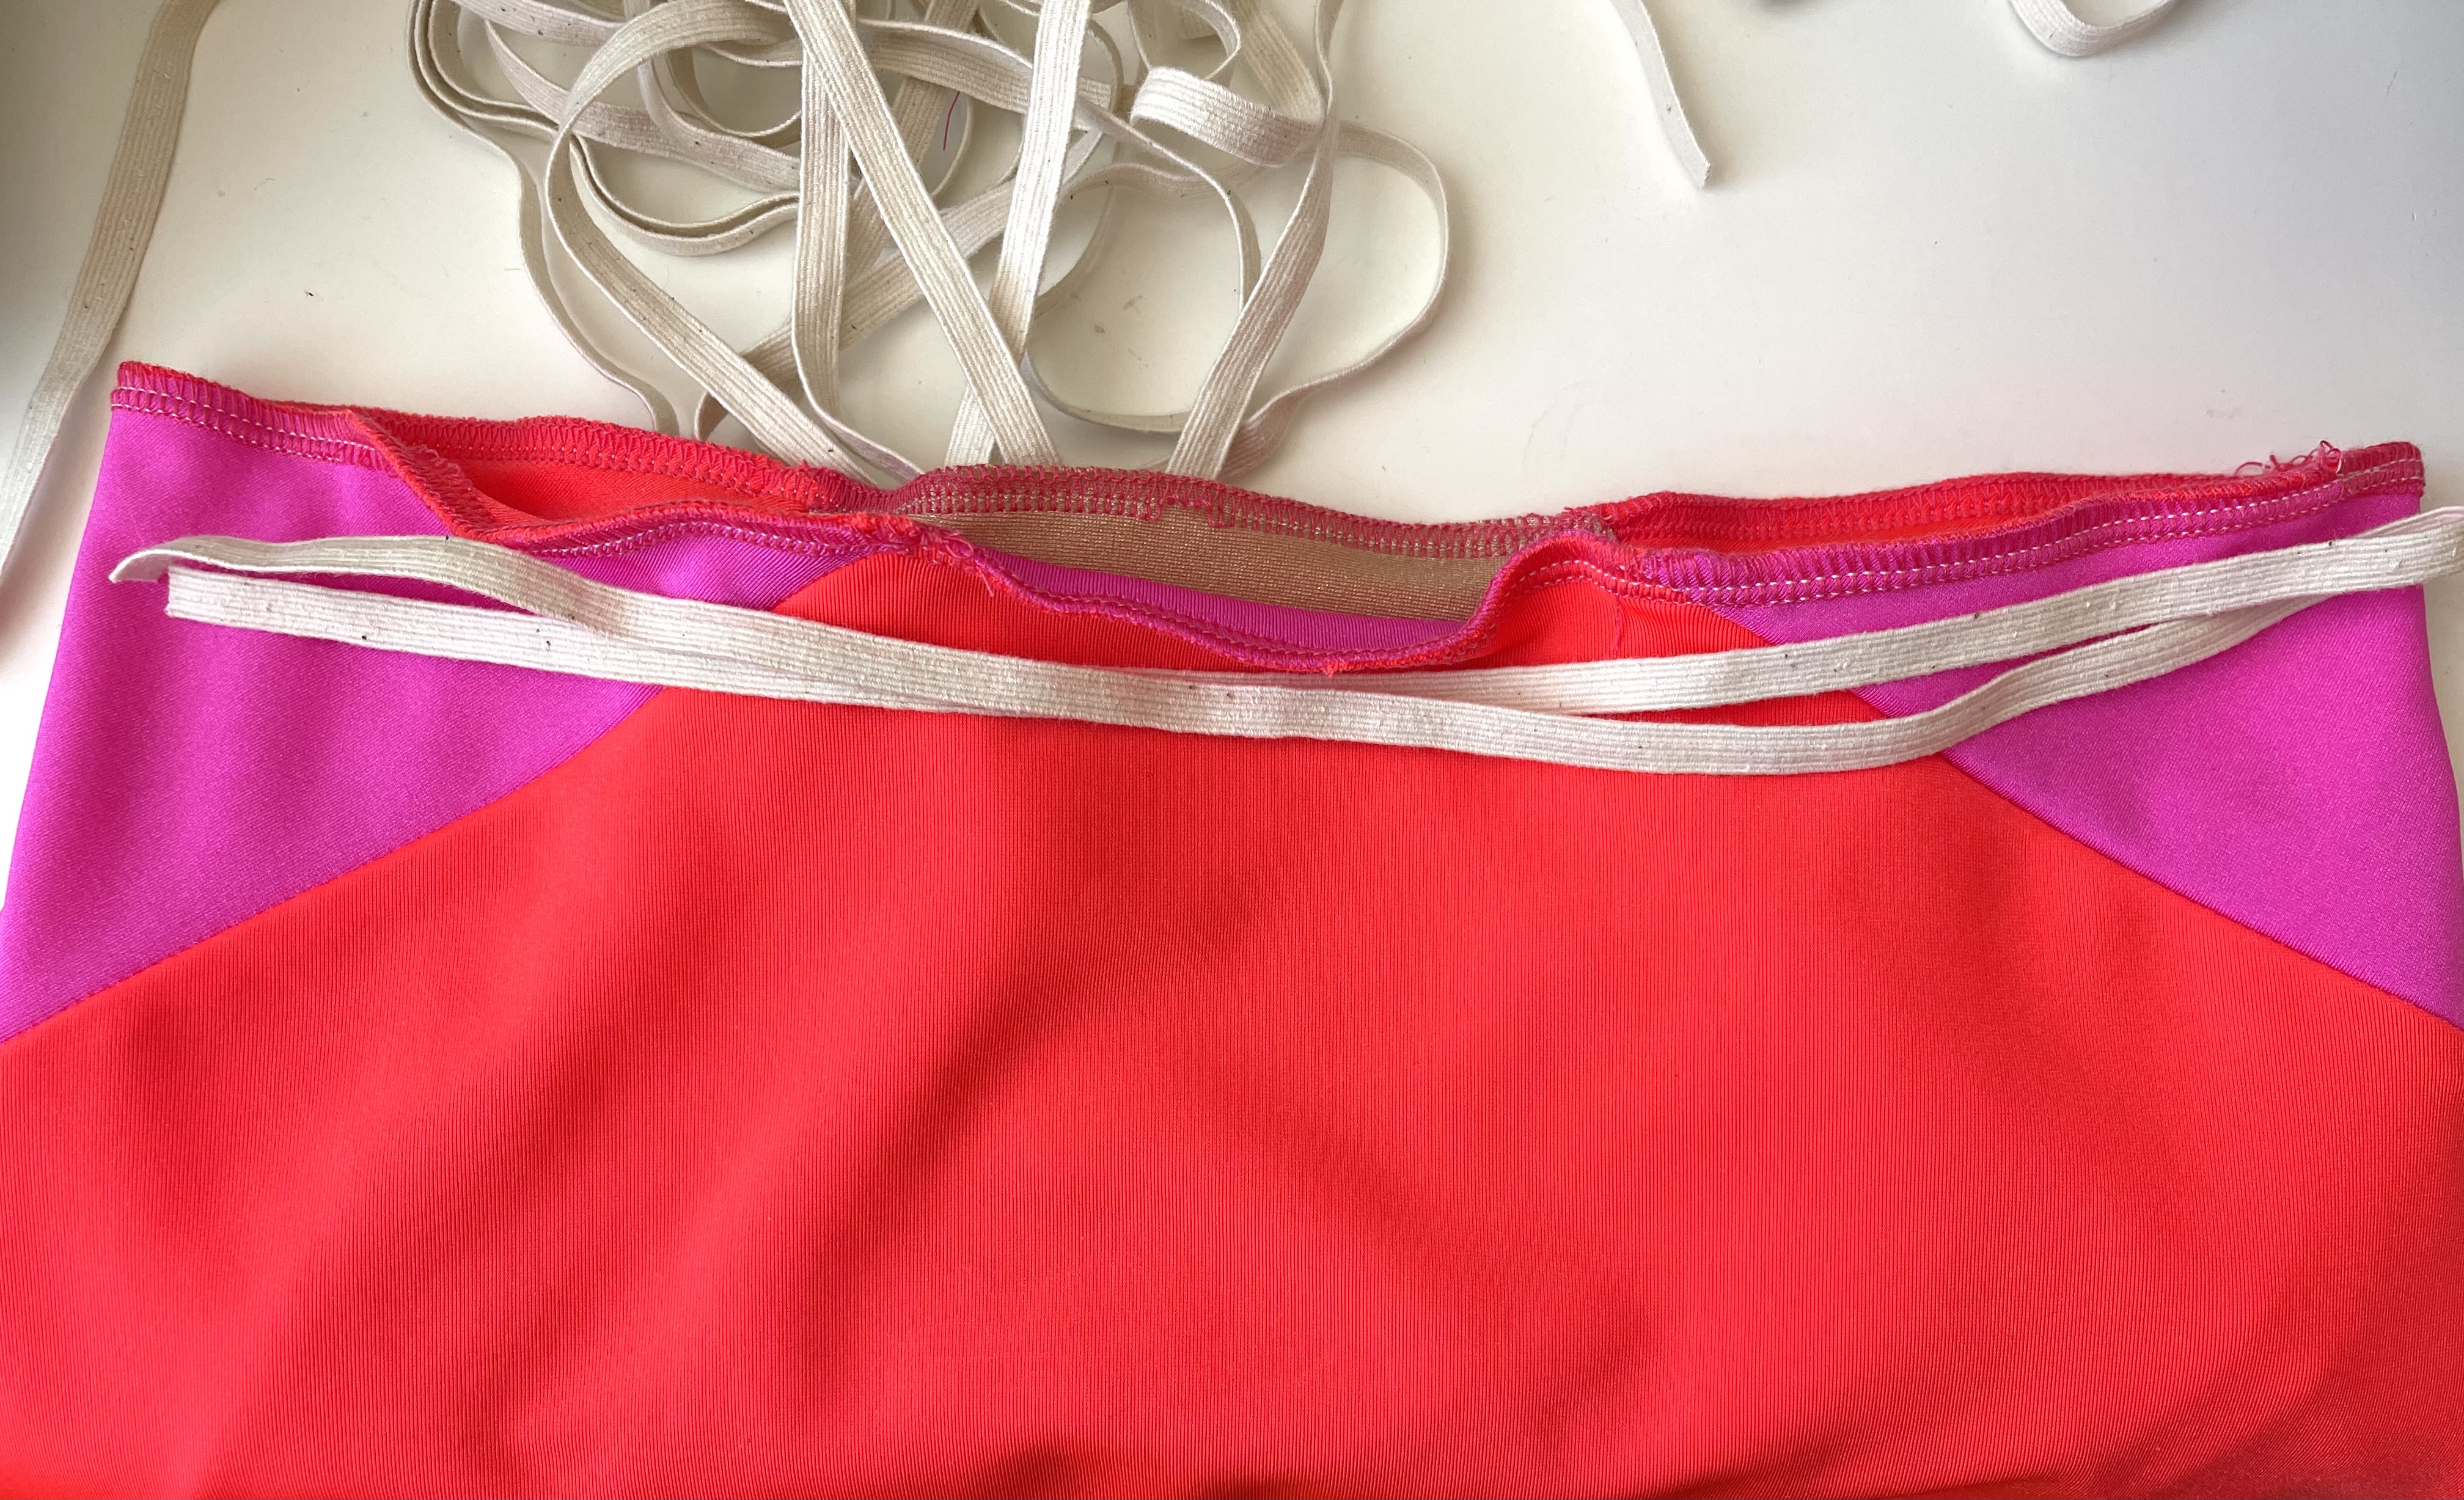
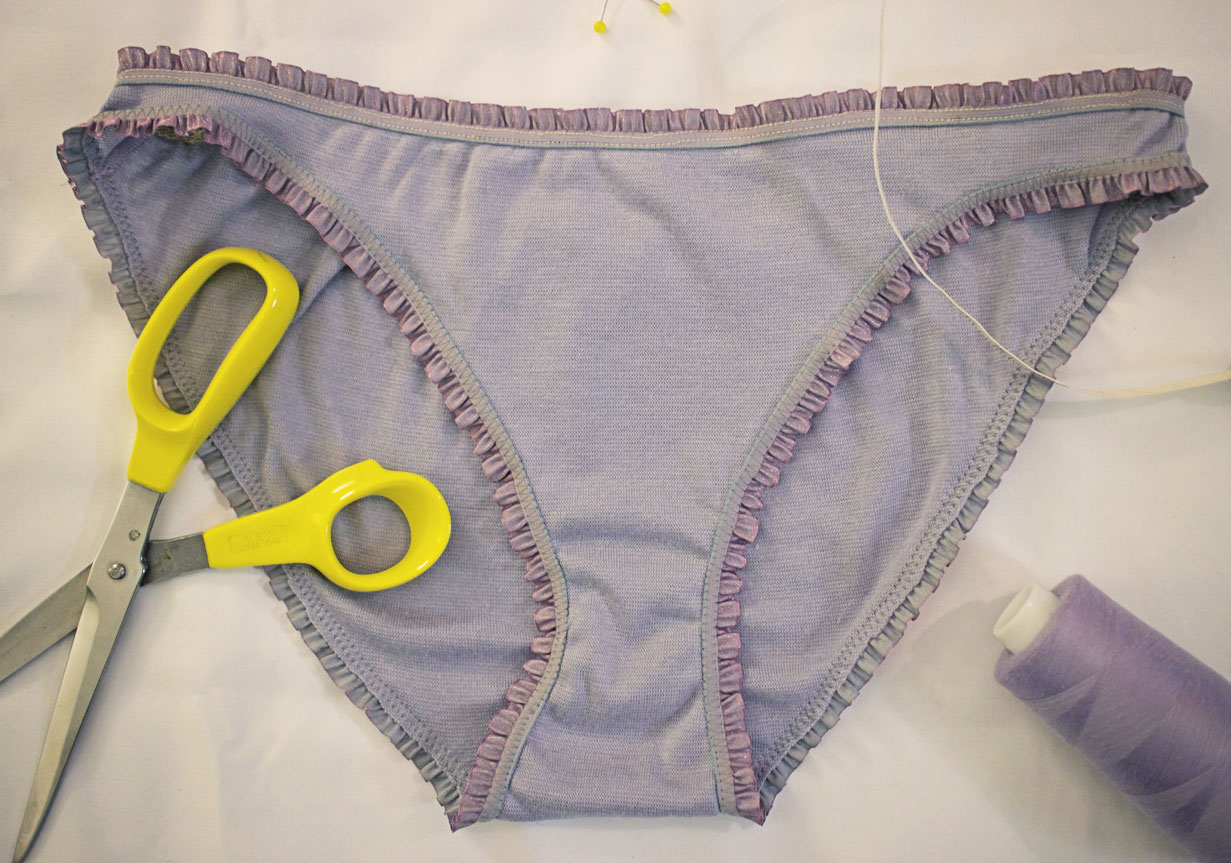
For the patterns I used, the finishing was fold-over elastic, (for the undies) and a stretch fabric binding for the tank. I want this to be very secure and durable for swimming, so instead, I will show you how I added swim elastic. First, I measured the elastic by lying it across the width of each opening, (waist, leg, arm, neck). I doubled it, and then I took off about 1-2 inches depending on how tight I wanted the area to be. (See above for the waist.)
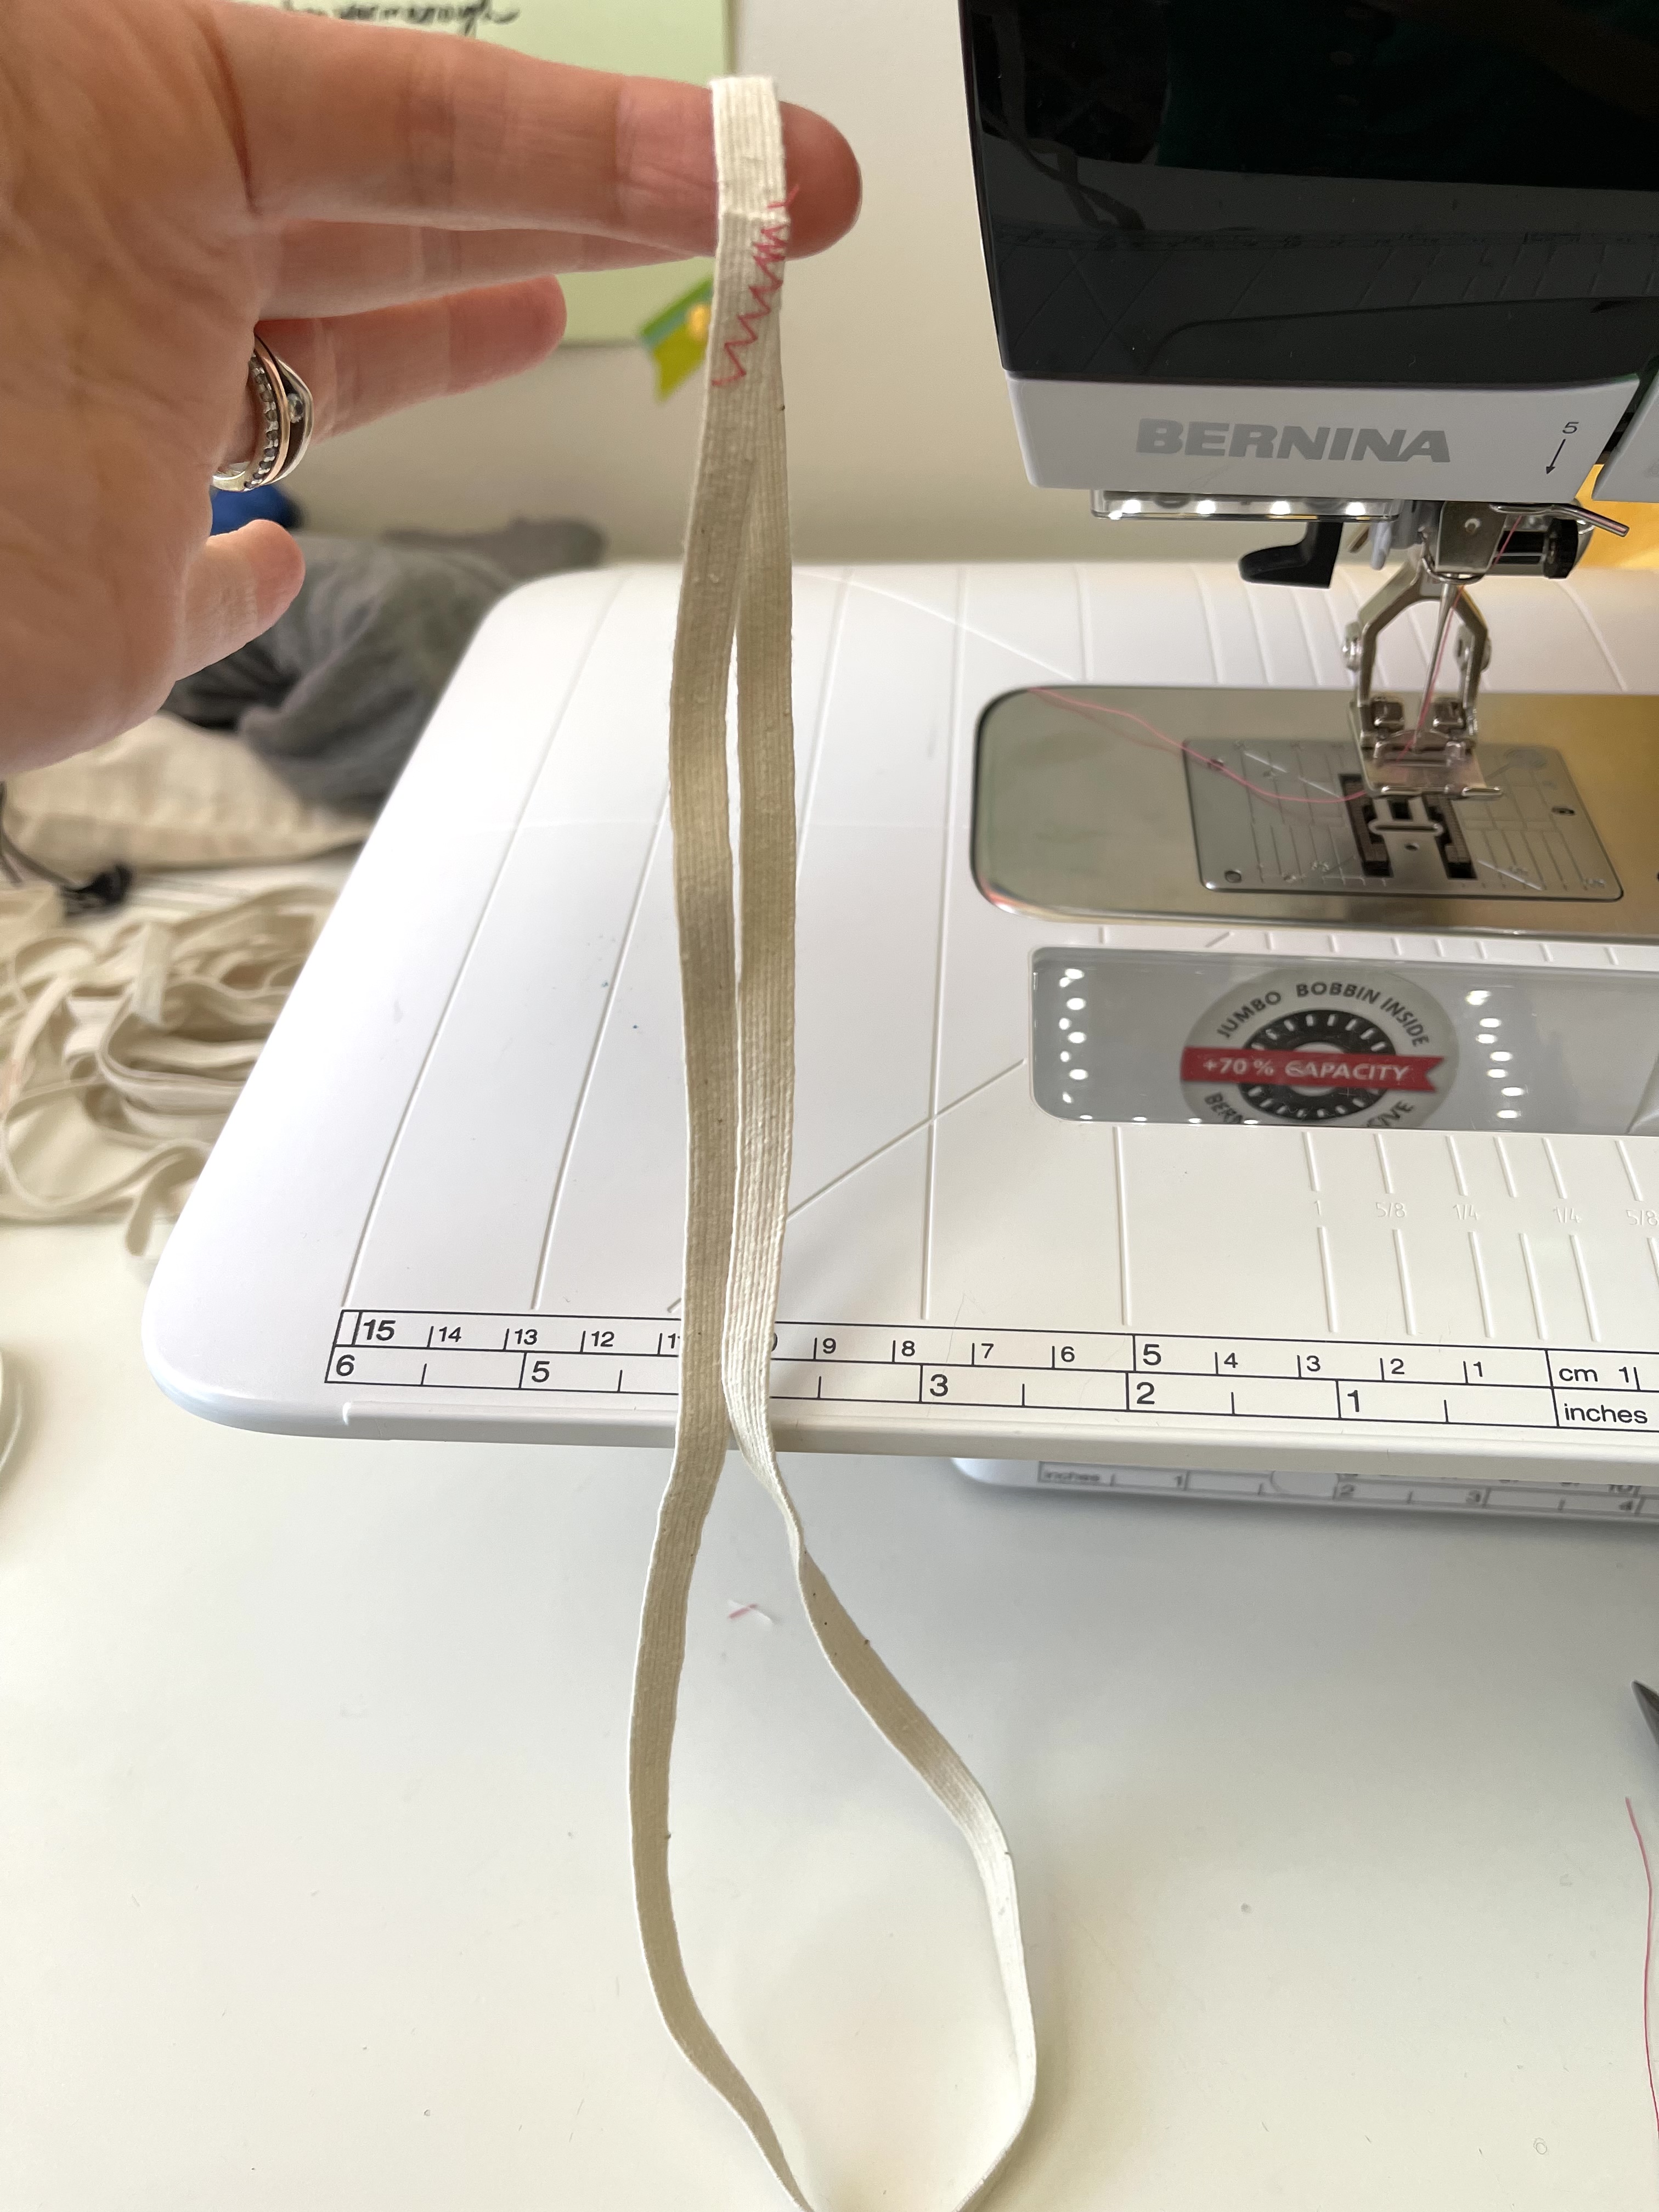
Next, I made the elastic into a loop and did a small stitch to close it. It doesn’t have to be pretty, because it won’t be seen! It also doesn’t have to be super secure since it will get stitched to the fabric next.
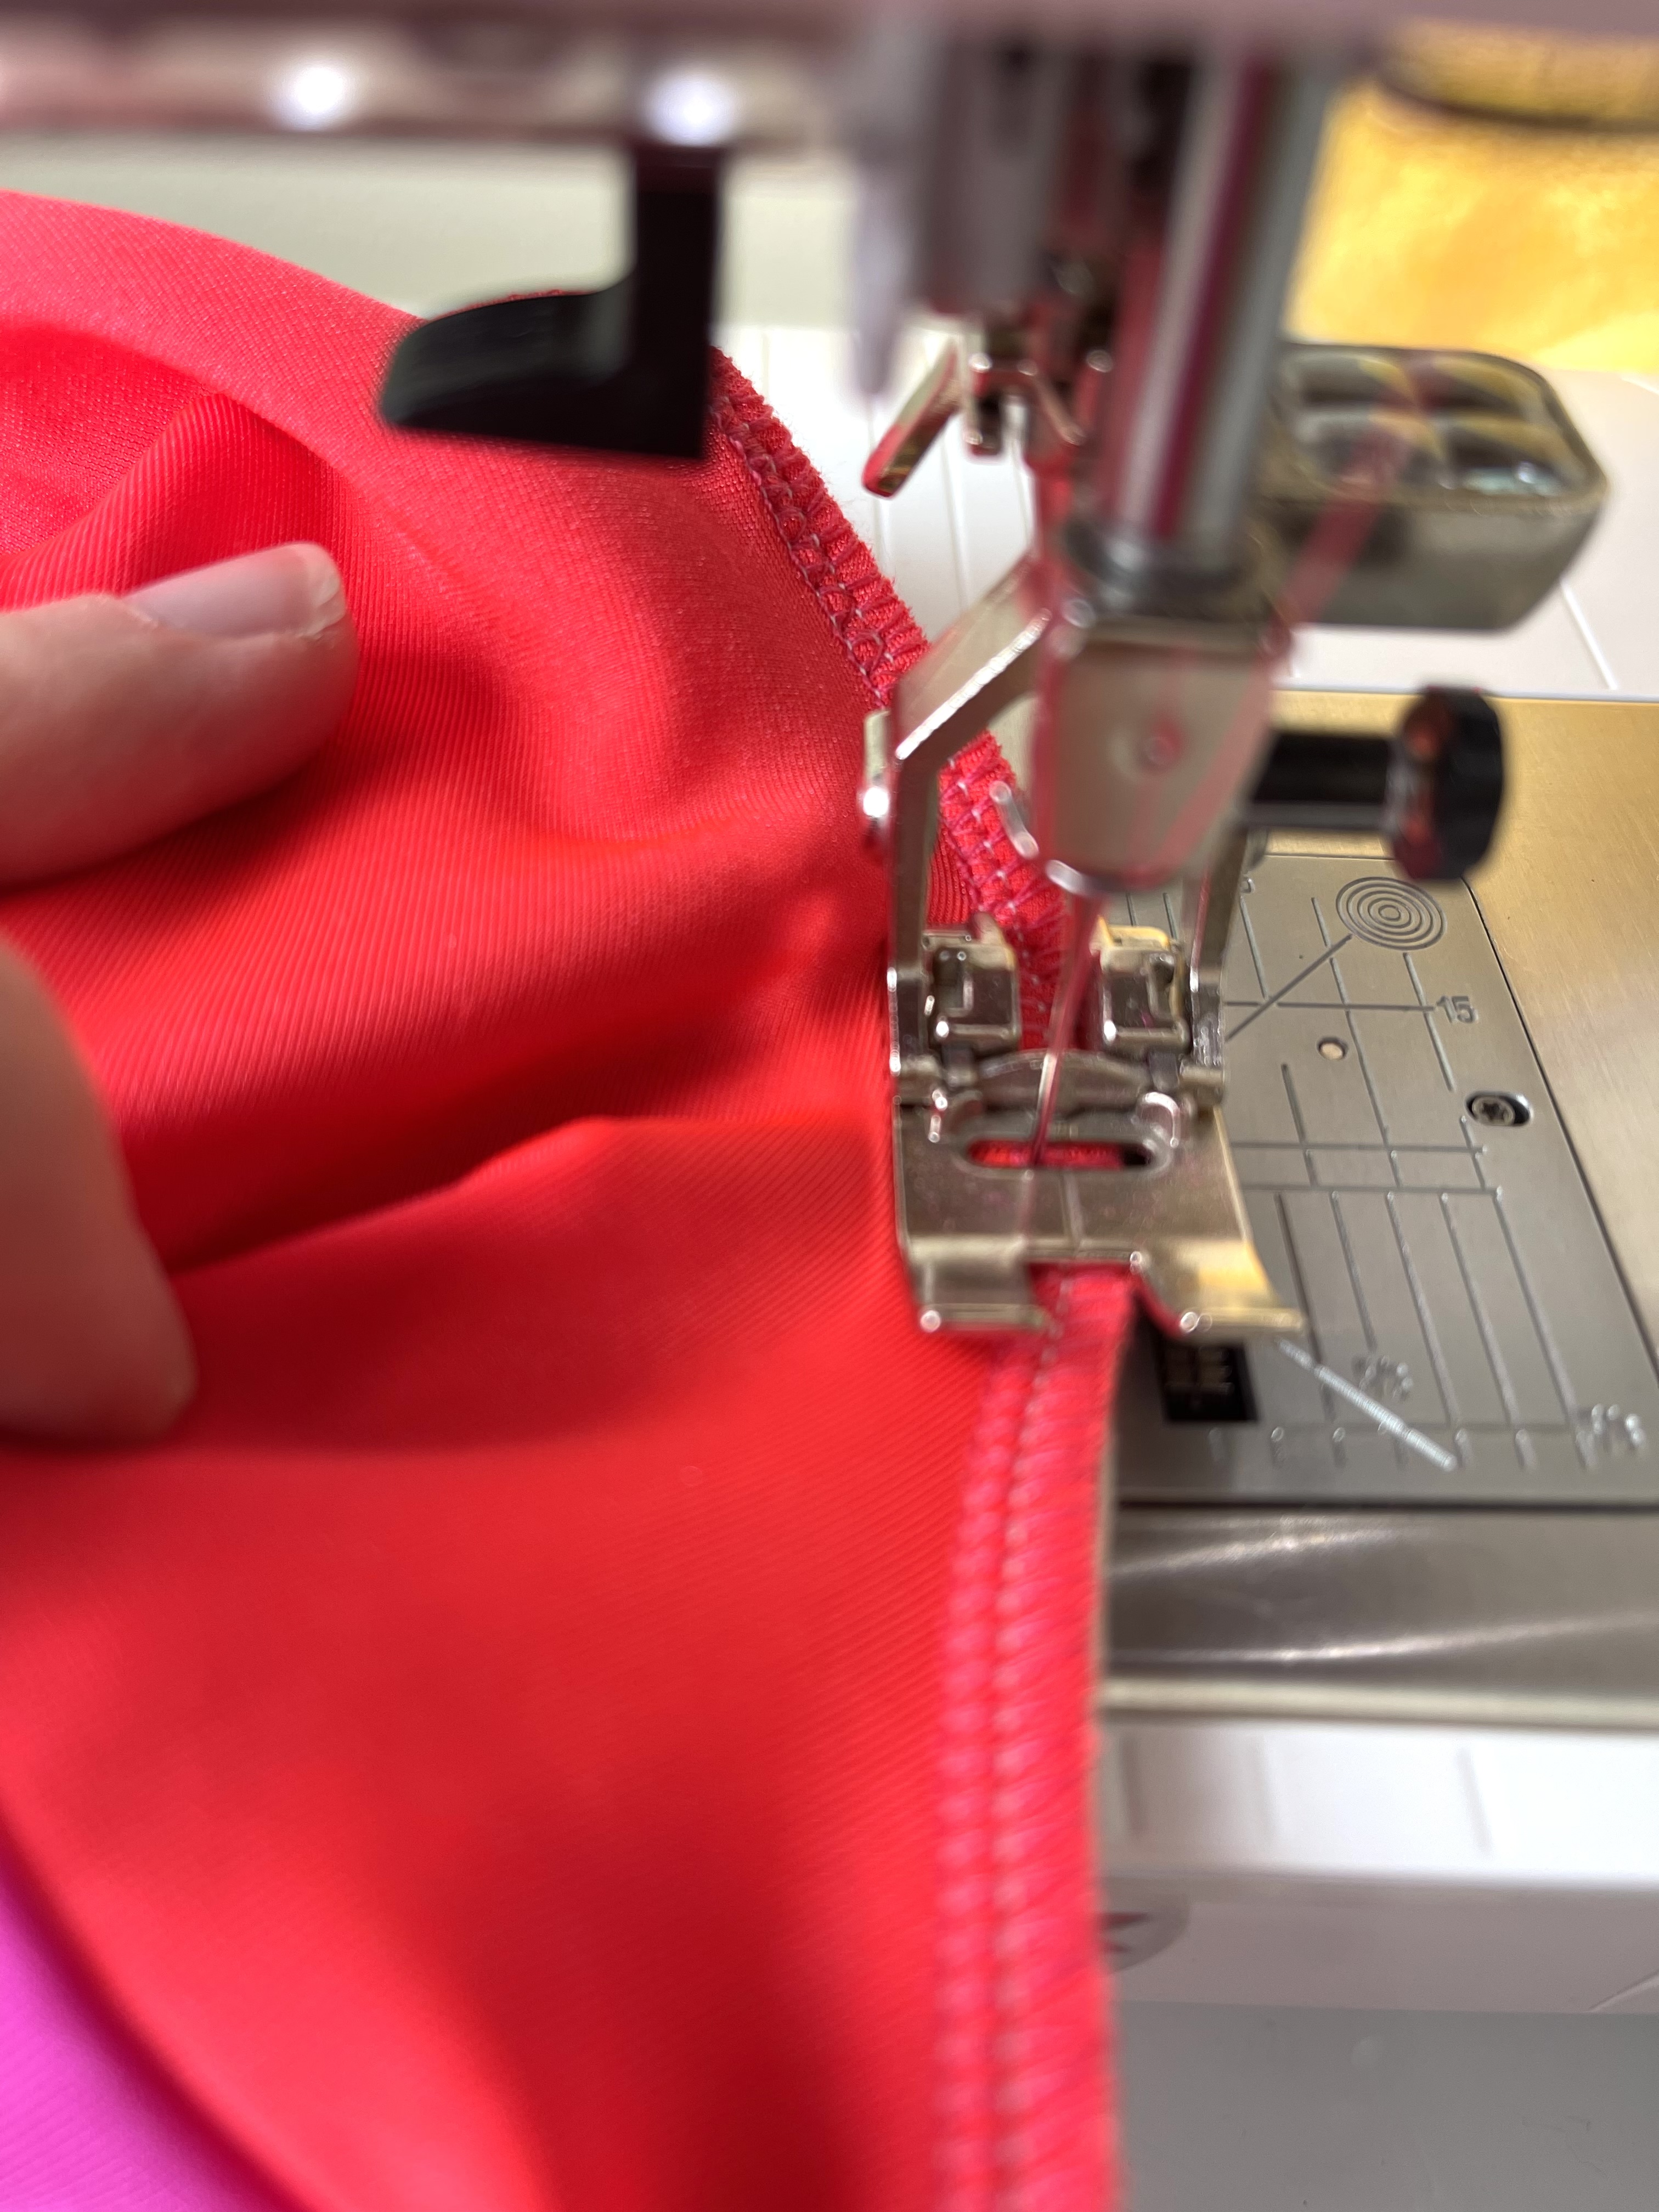
Using a zig-zag stitch, attach the elastic to the opening (I use clips to clip it in a few areas). You will want to stretch the elastic to fit the opening as you sew. Sometimes I need to hold the fabric in front AND in back of the presser foot to keep this going smoothly.
This is what the underside looks like. Again, not super pretty, but it isn’t what will be showing!
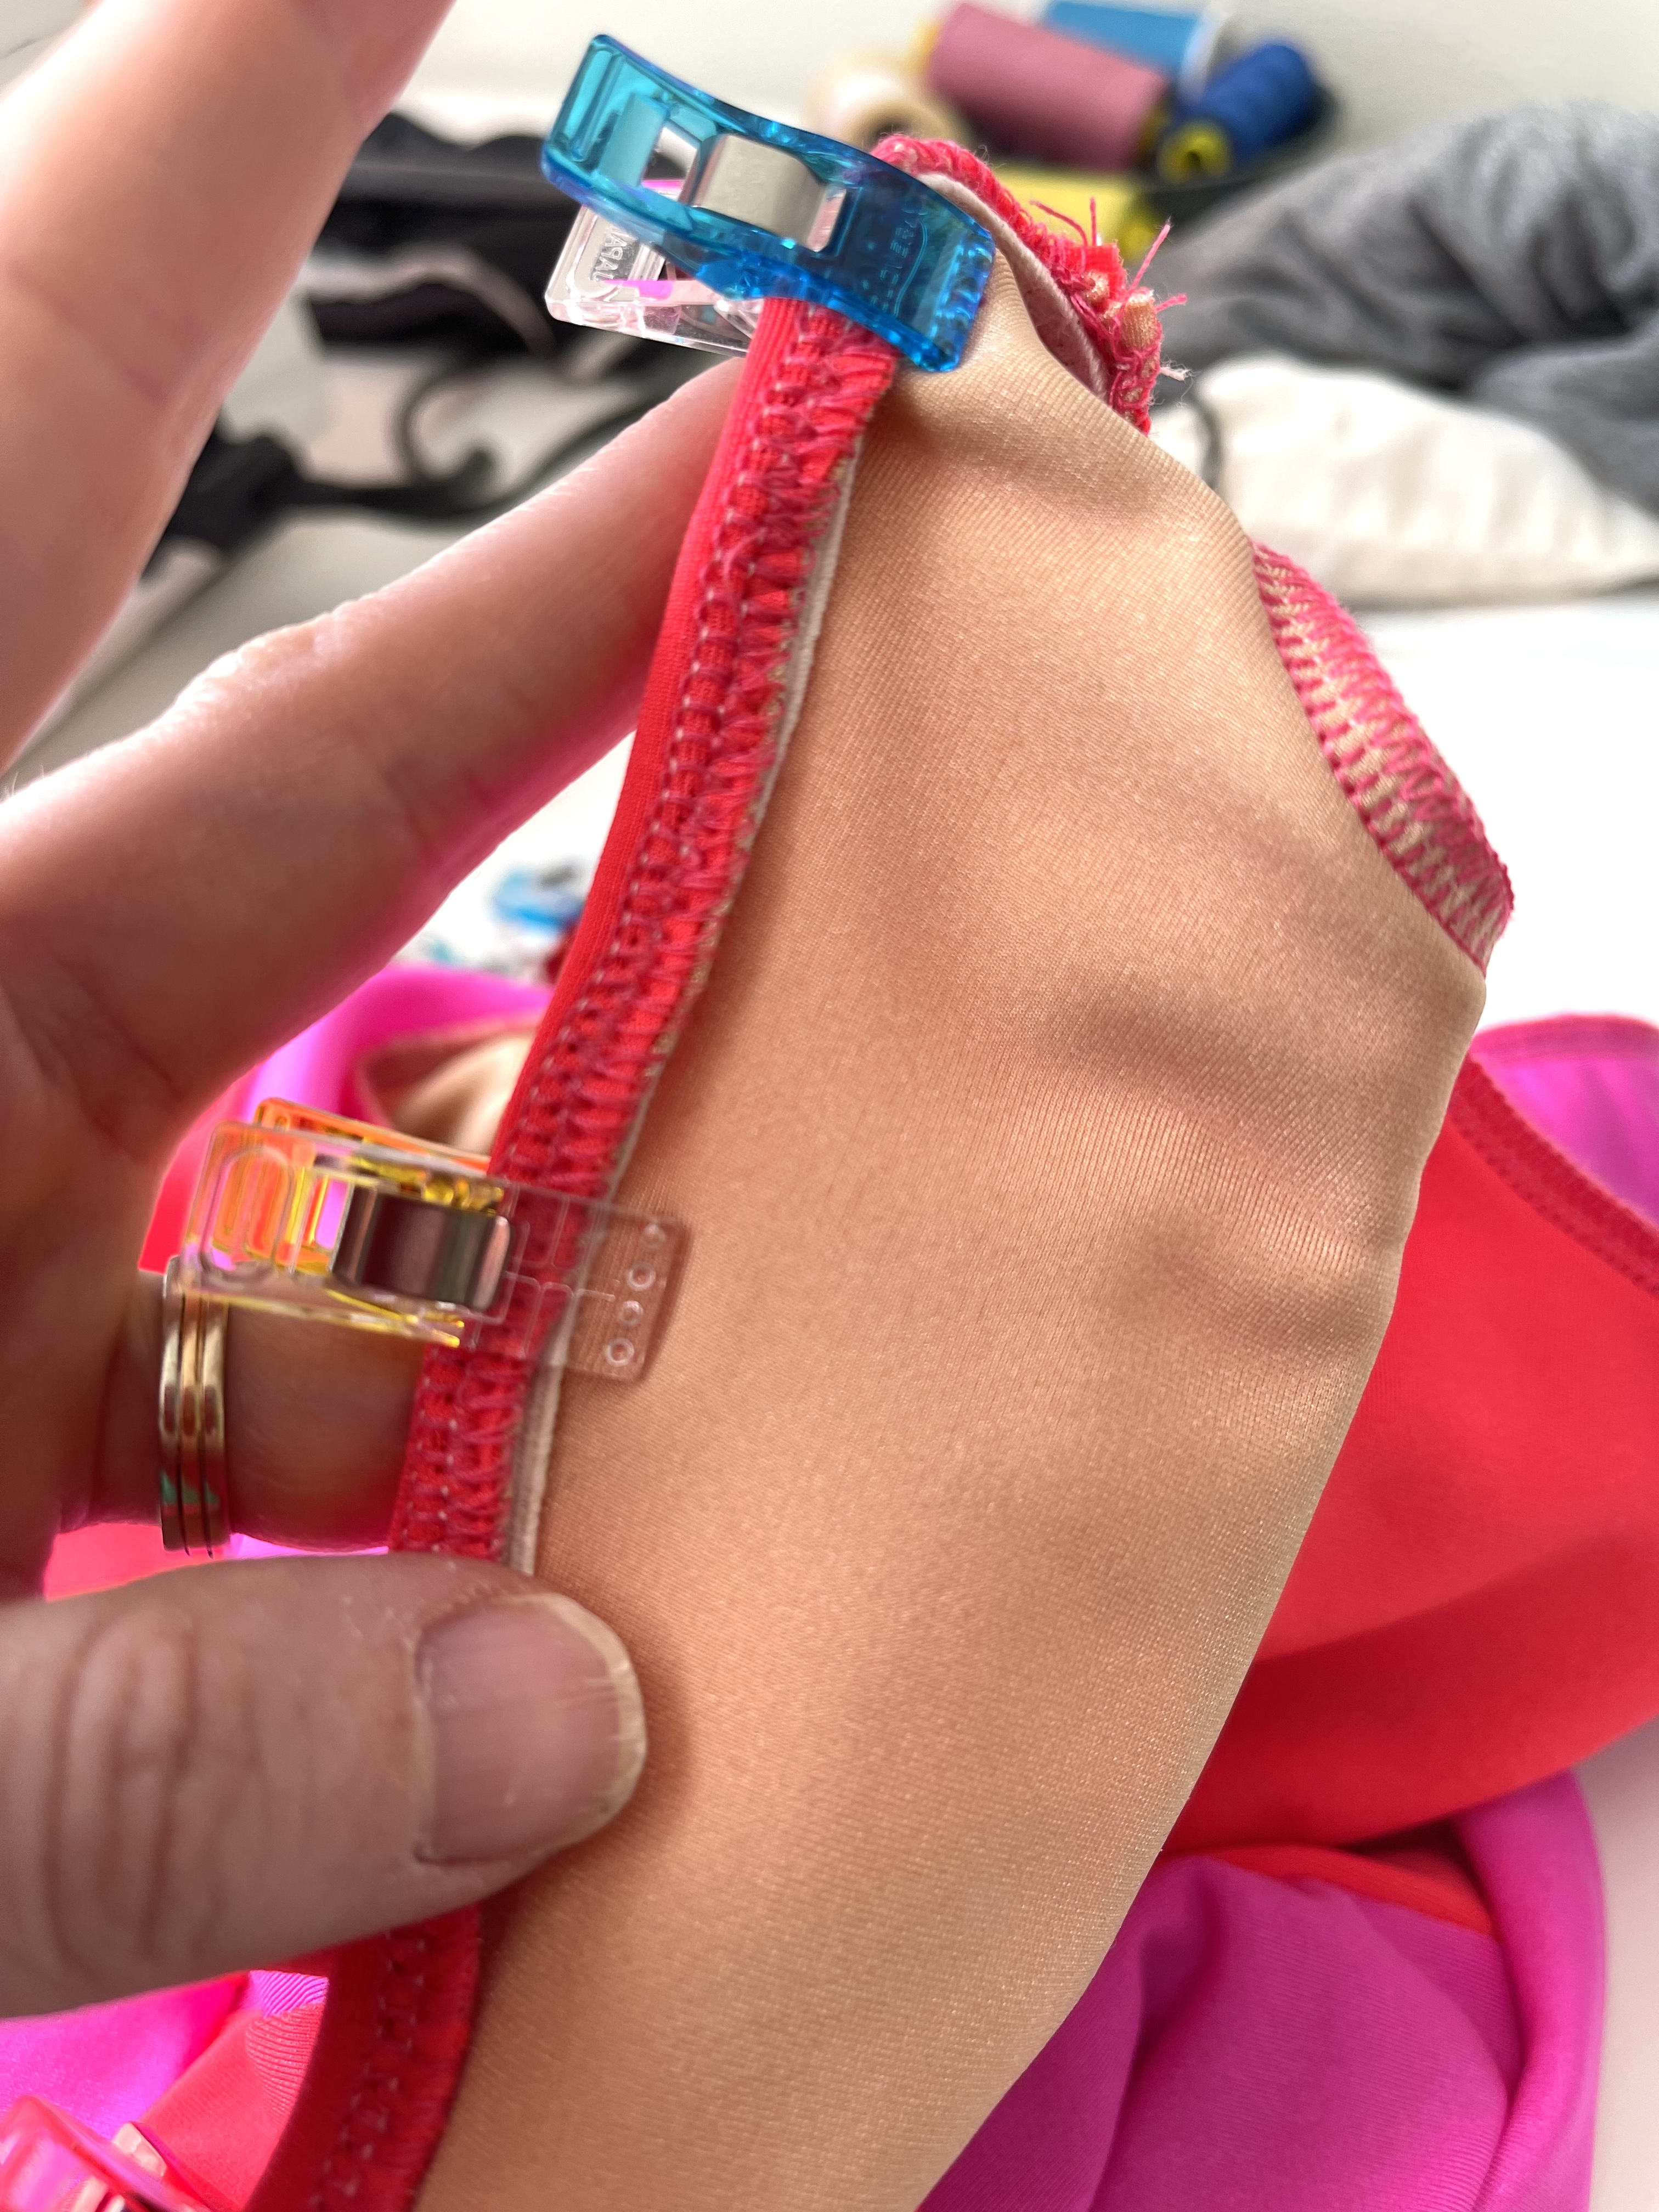
Next, turn the sewn-down elastic over and clip it around the circumference to secure it before sewing. Note: You will want to make sure the bobbin thread matches the fabric so yours doesn’t look like mine . . . (next photo).
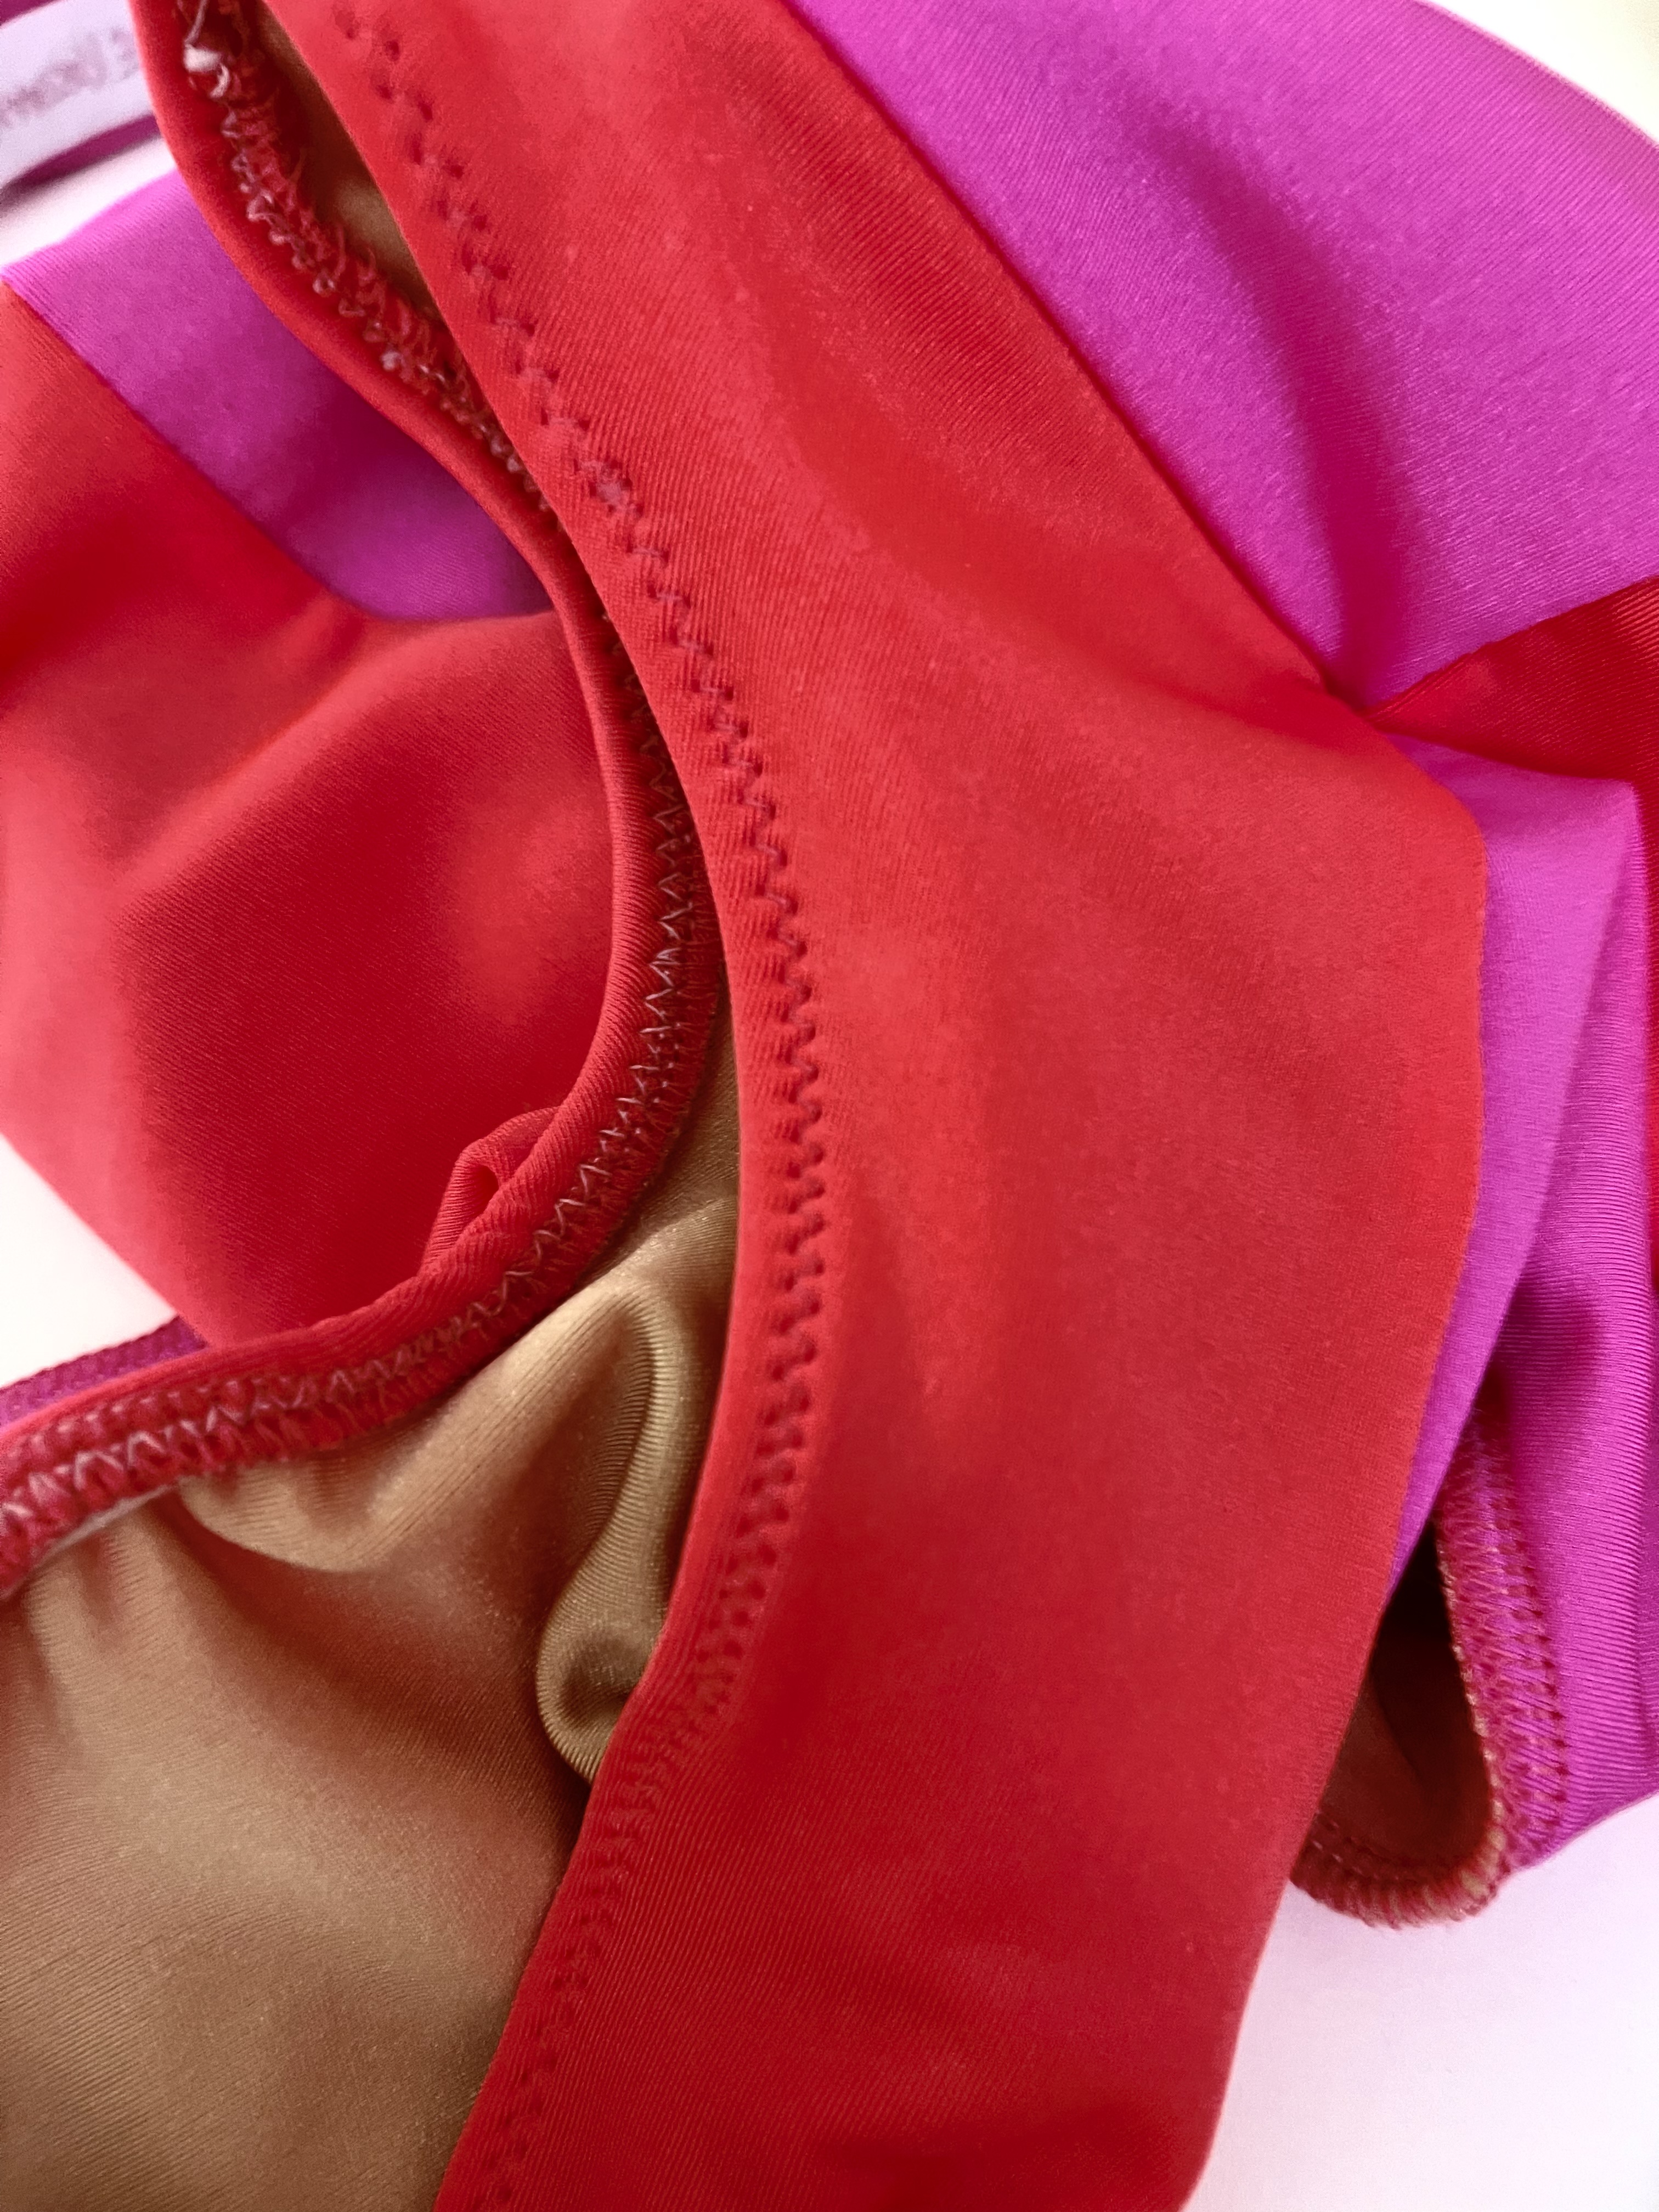
I made sure the top-stitching thread matched but forgot to wind a new bobbin! Oops! It is okay though because no one will see that white thread underneath!
And there you have it! Underwear patterns turned into swimsuit patterns! If you want to put breast cups in, you can sew them to the lining before you insert the lining! (I have a tutorial on my blog on how to do this.)
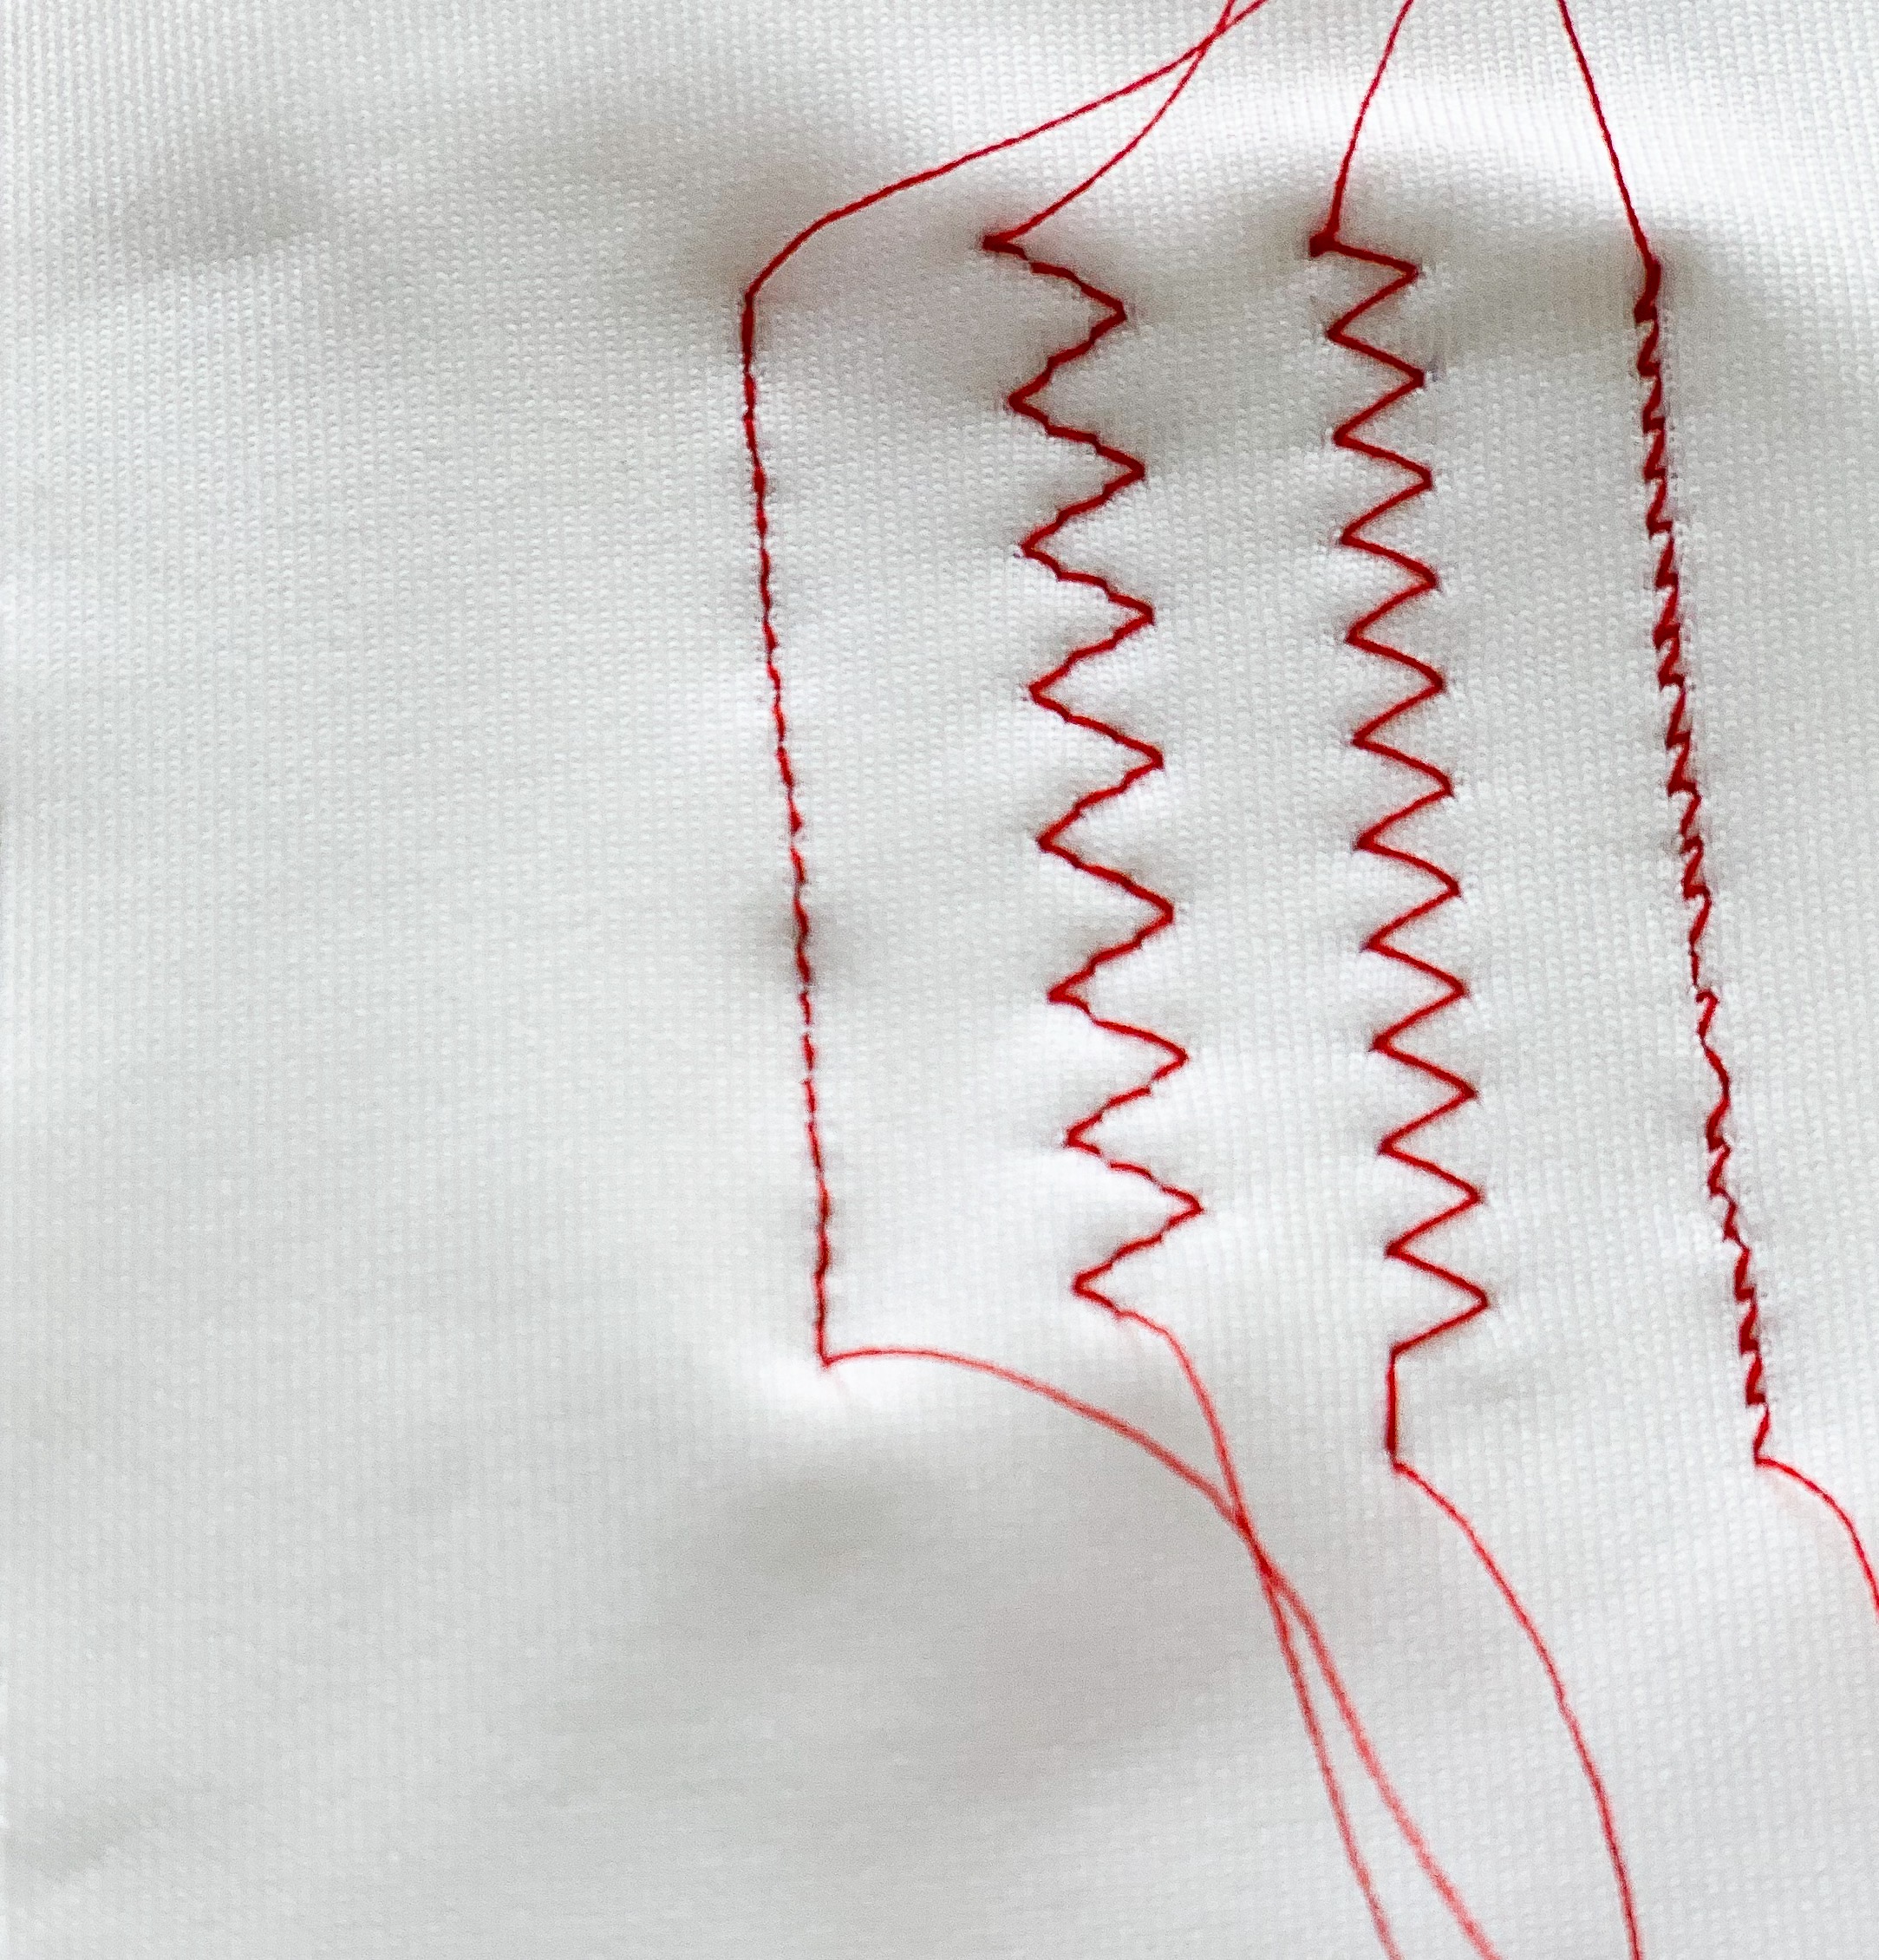
Side note: Here are some different stitches that work when sewing with stretch. If the stretch is going side to side and not up and down, you can do a straight stitch (I’d test this one first). There is the 3-stitch zig-zag for a very secure and stretchy option. Then there are the standard zig-zag and the “lightning stitch.” All work great, so see what you like best! I prefer the standard zig-zag for swimwear bc it can span the width of the swim elastic and doesn’t take forever to sew like the 3-stitch! Haha.

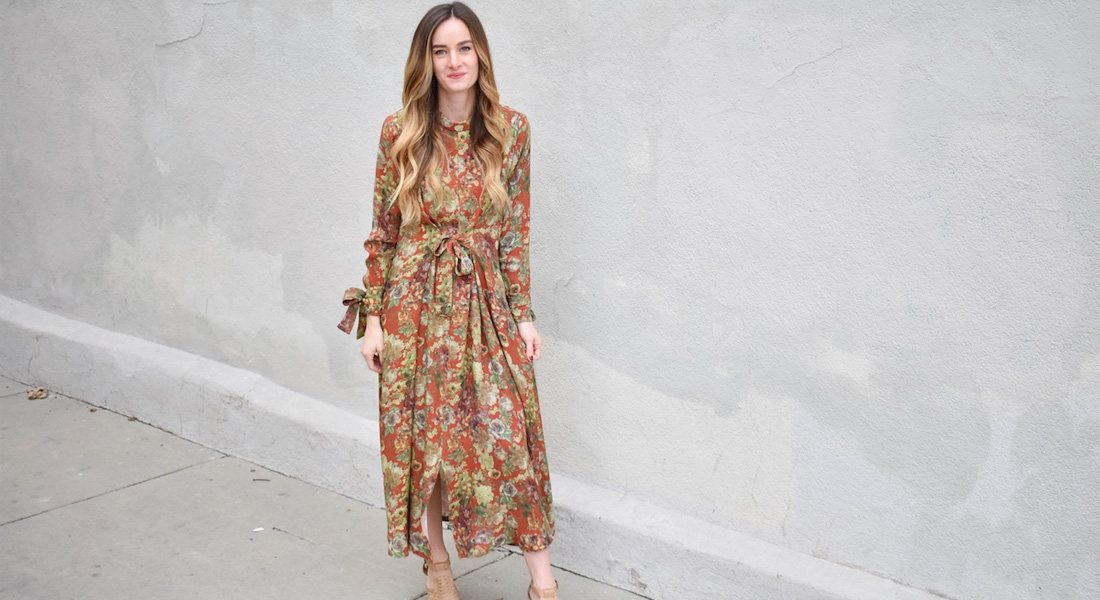
Here it is! My finished swimsuit made from lingerie patterns! I wore this and the printed version on vacation in Okinawa and got many compliments! I hope you give swimwear a try.