Sewing Lingerie Elastic with Coverstitch
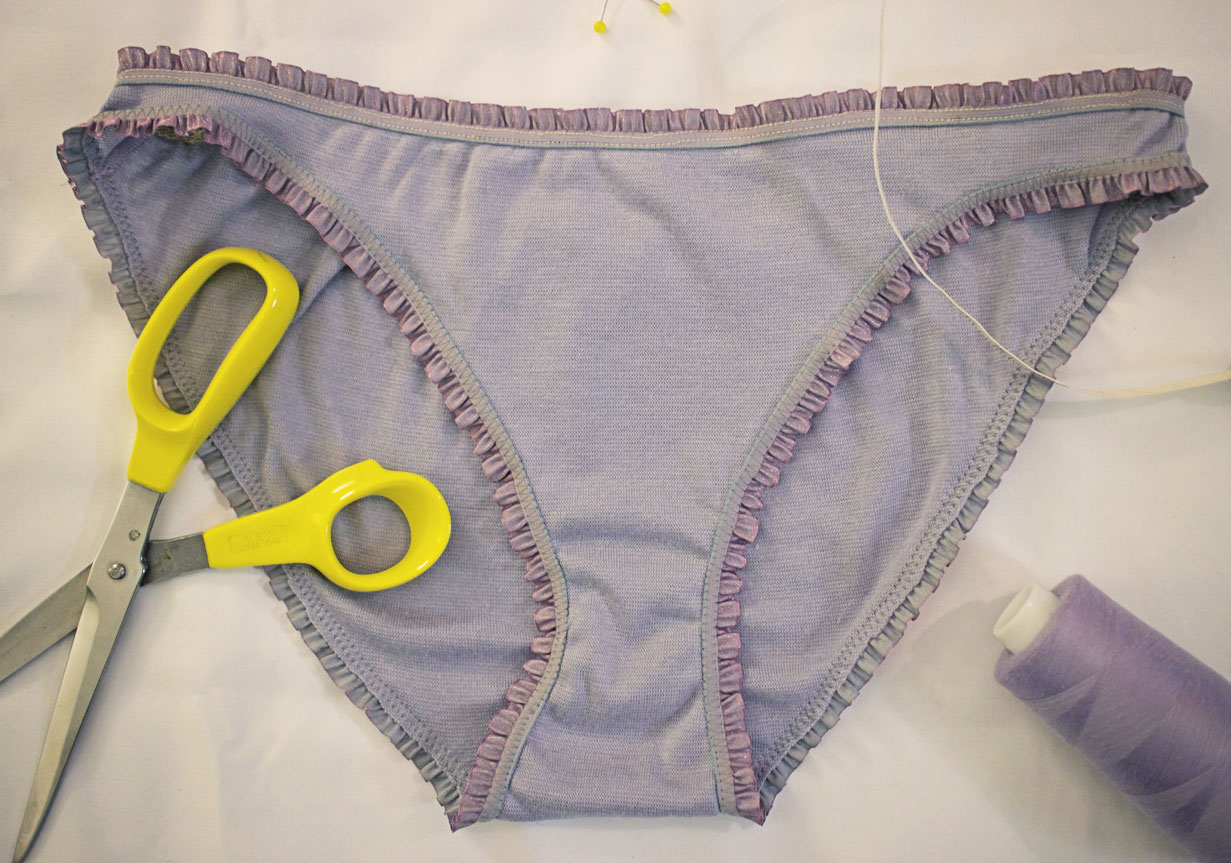
Valentine’s Day is fast approaching! If your lingerie drawer needs a bit of a refresh, I’ve got the tip for you. In this post, I’ll teach you how to sew a pair of bikini brief underwear with beautifully topstitched elastic using your BERNINA coverstitch. This technique gives a professional, durable finish for all your underthings.
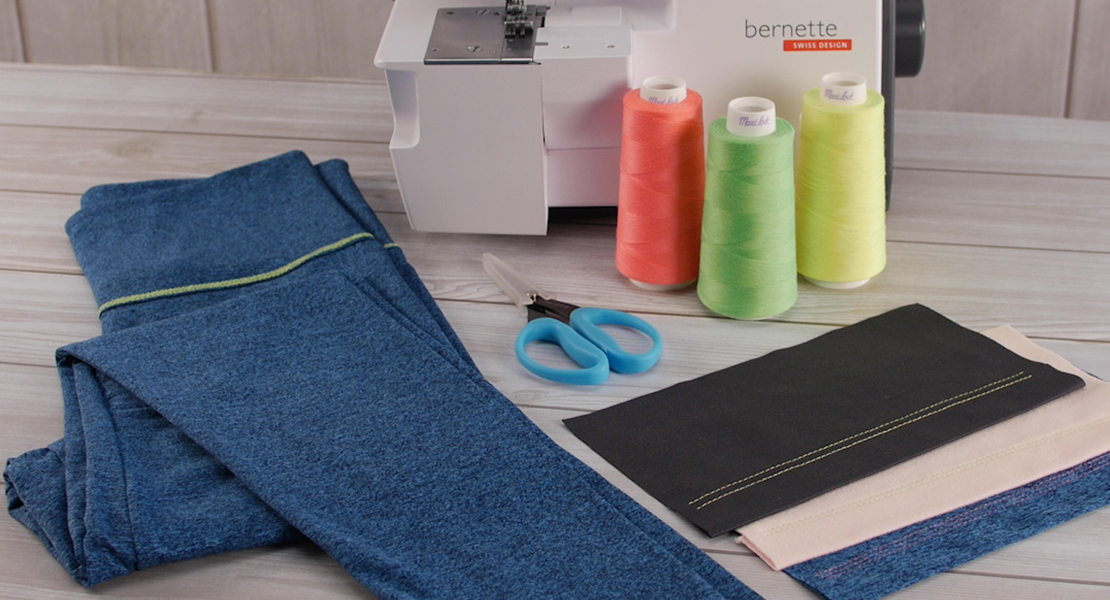
Materials to Add Elastic With a Coverstitch
- A lingerie pattern such as Butterick 6031, BurdaStyle Stretch Panty and Plus Size, Ohhh Lulu Lola Panties, or the Watson Bikini (note: this technique works on any pattern with elastic trim, but this tutorial uses a bikini underwear pattern such as the ones listed here)
- 2-3 yards (depending on pattern and size) of lingerie elastic trim (recommended 1/4 inch to 1/2 inch wide)
- 1/3 to 1/2 yard (depending on pattern and size) fabric as recommended by your pattern (I used a soft cotton knit)
- Matching thread
- Fabric and thread scissors
- Pins
- Coverstitch and Overlocker machine such as BERNINA 1300MDC (this tutorial also provides alternate instructions for a straight stitch machine)
Instructions to Add Elastic with a Coverstitch
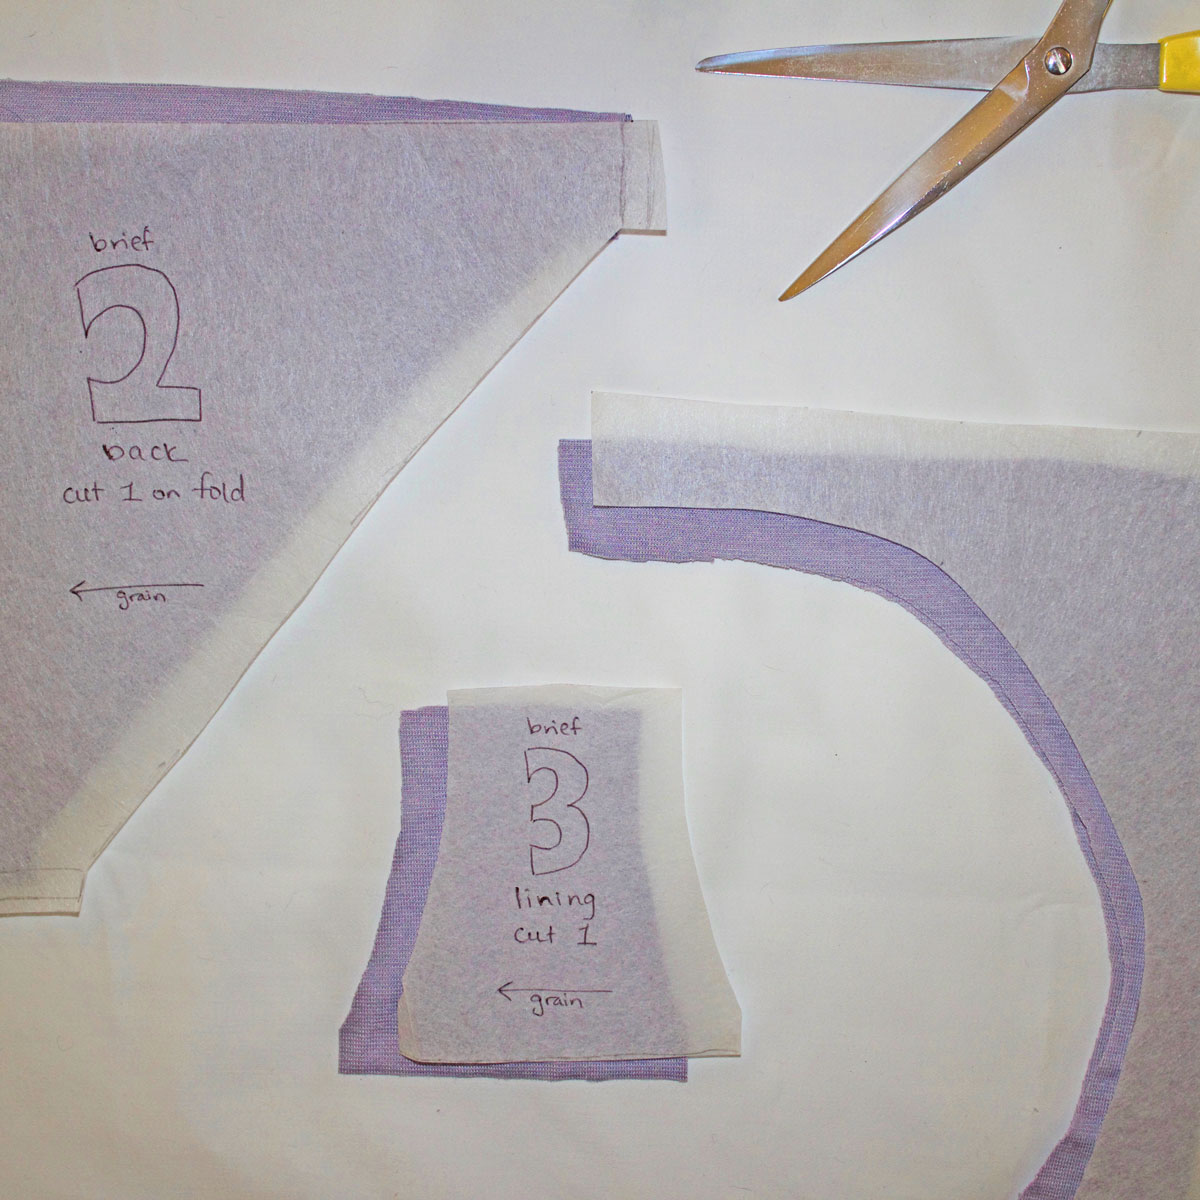
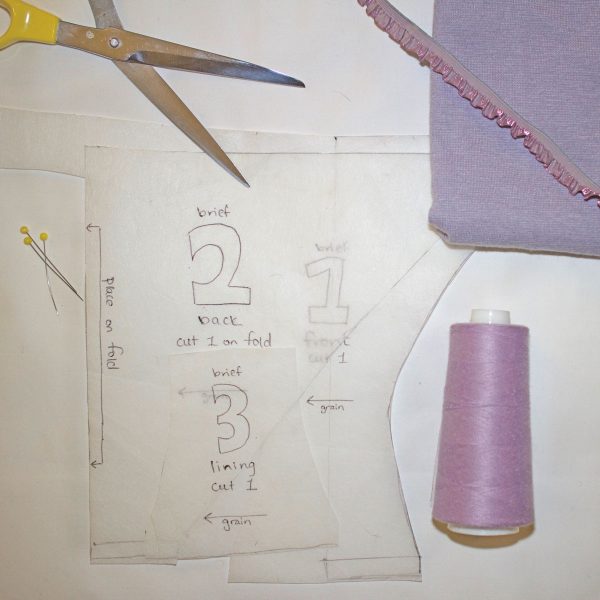
Step 1 – Cut: Cut out your pattern pieces as per the pattern instructions. For this technique, you will also want to trim off the seam allowances around the waist and leg openings.
Step 2 – Align crotch seam: Place the front piece of the underwear right side up in front of you. Lay the back piece on top right side down. Lay the lining on top of the back piece right side down. Pin or baste in place.
Step 3 – Sew crotch seam: Using your overlocker (or a zig-zag stitch) sew the three pieces together at the crotch seam.
IMPORTANT: be sure to remove any pins before overlocking, as the pins will damage the knife blade.

Step 4 -Press: Open up the undewear and fold the lining piece toward the front. This will neatly cover the crotch seam and give a clean finish. Press the seam, and baste lining in place if desired.

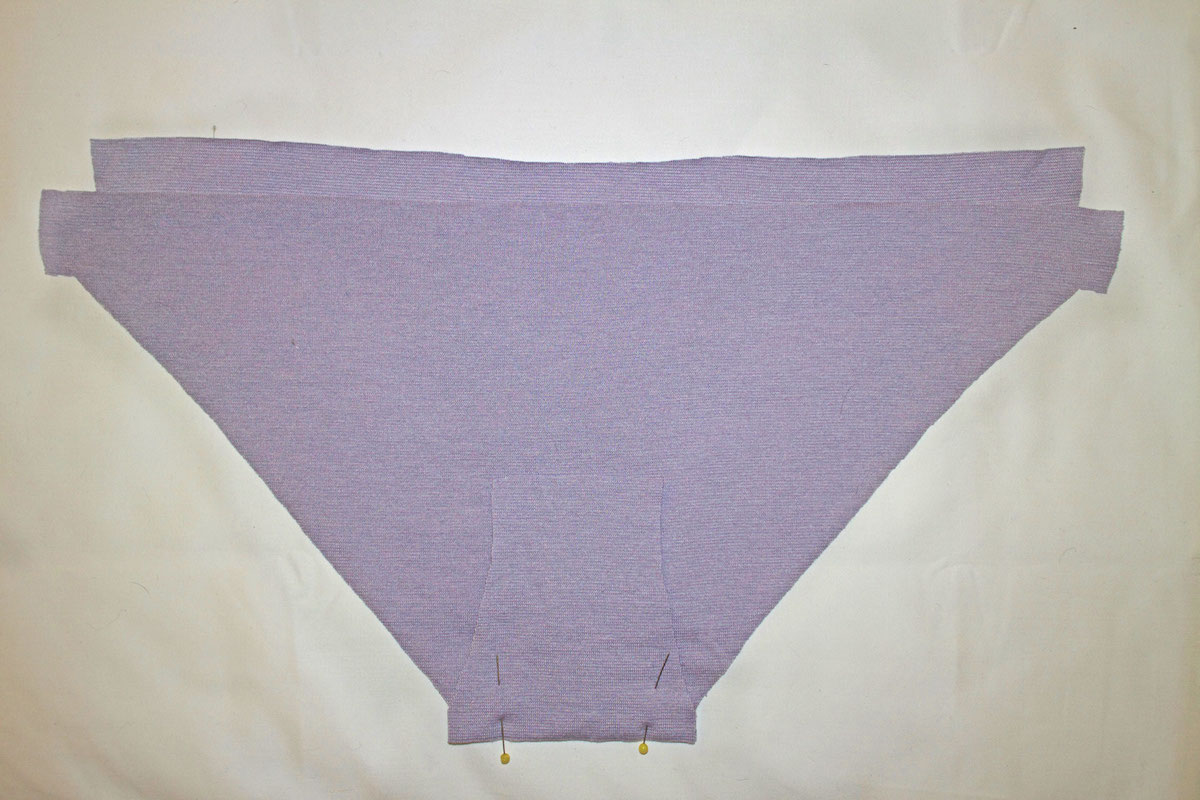
Step 5 – Side seams: Right sides together, pin the front piece to the back at both side seams. Sew with an overlock or zig-zag stitch.
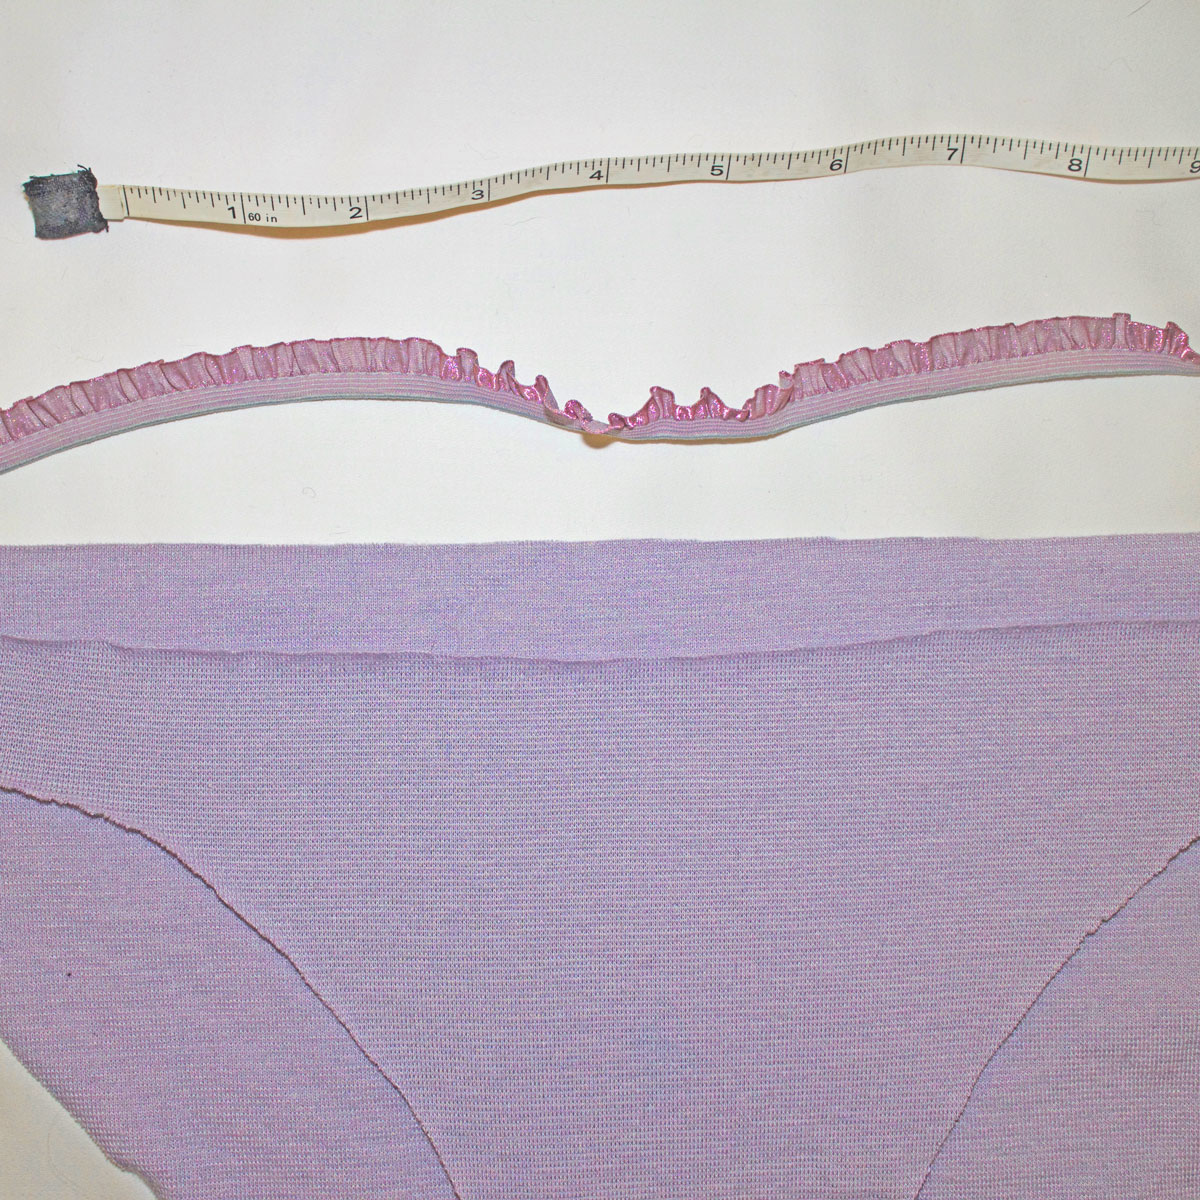
Step 6 – Cut elastic: Cut your elastic according to the pattern instructions or by wrapping the elastic around your waist and cutting at the right size plus seam allowances. The elastic should be stretched to fit snuggly but not too tight.
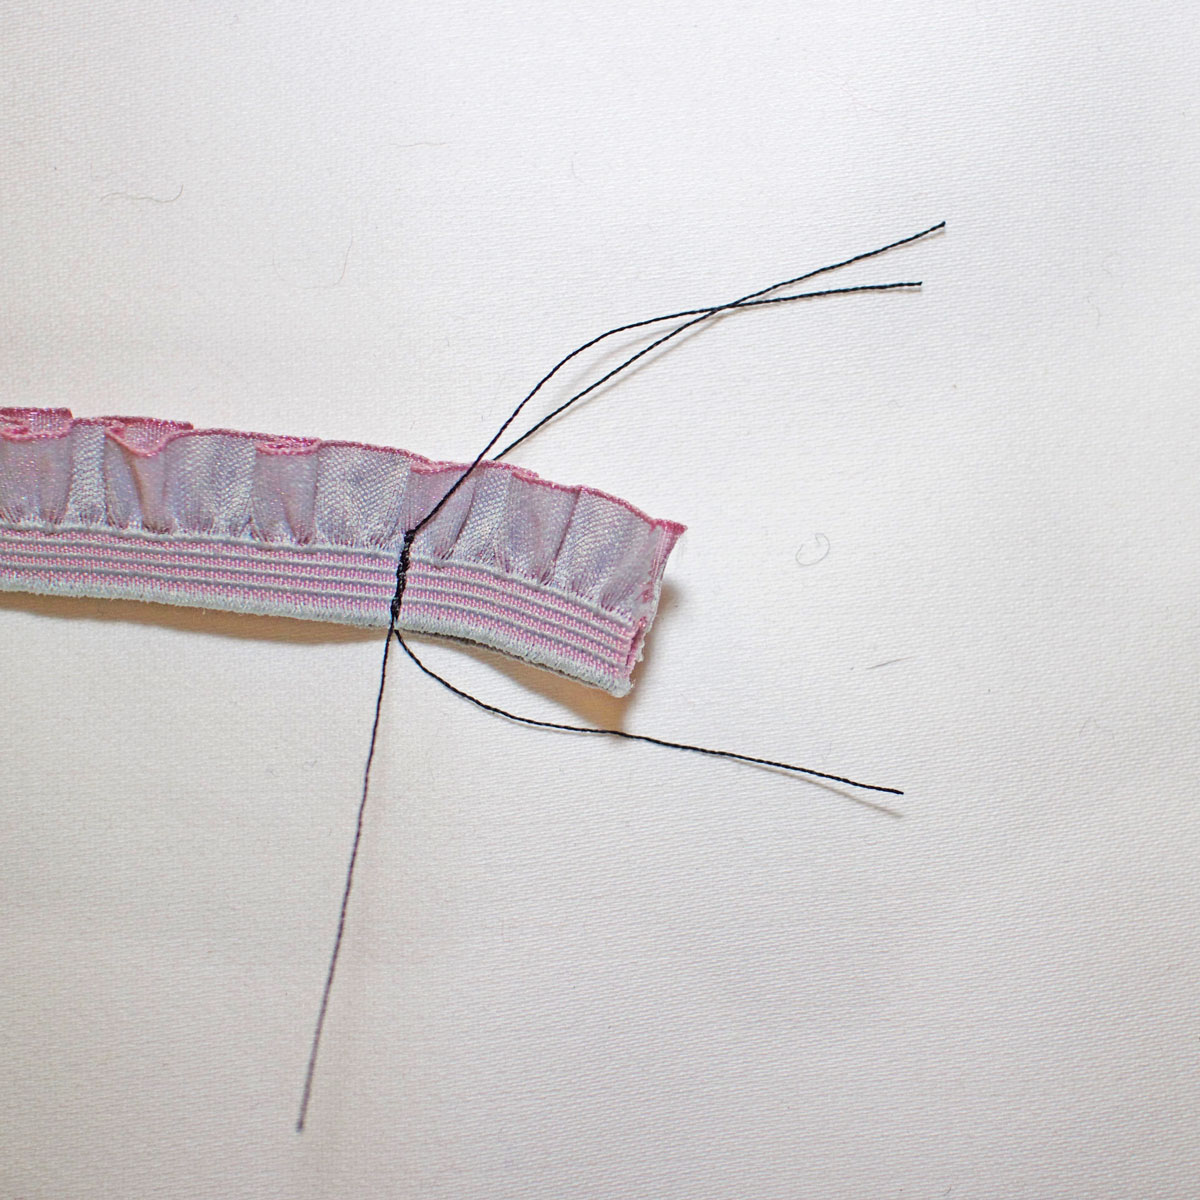
Step 7 – Secure elastic ends: Sew the elastic right sides together to form a loop. Be sure not to twist the elastic when forming the loop.

Step 8 – Evenly divide the elastic: Lay the elastic on TOP of the underwear at the waist (see image below for more detail). Divide the elastic into four equal parts (usually near the front, back, and sides), and the waist into four equal parts (front, back, and sides) and pin the two together. Stretch the elastic to fit the garment waist, pinning as many times as needed to evenly divide the elastic along the opening. As an alternate to pins, spray baste or a wash-away tape work well to hold the elastic in place.
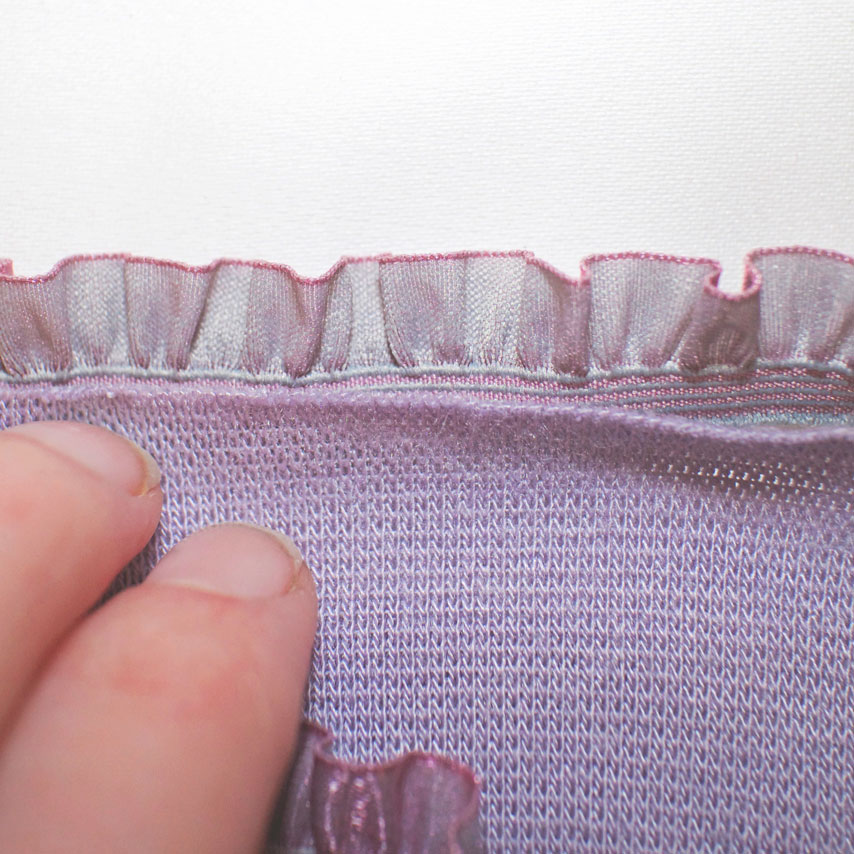
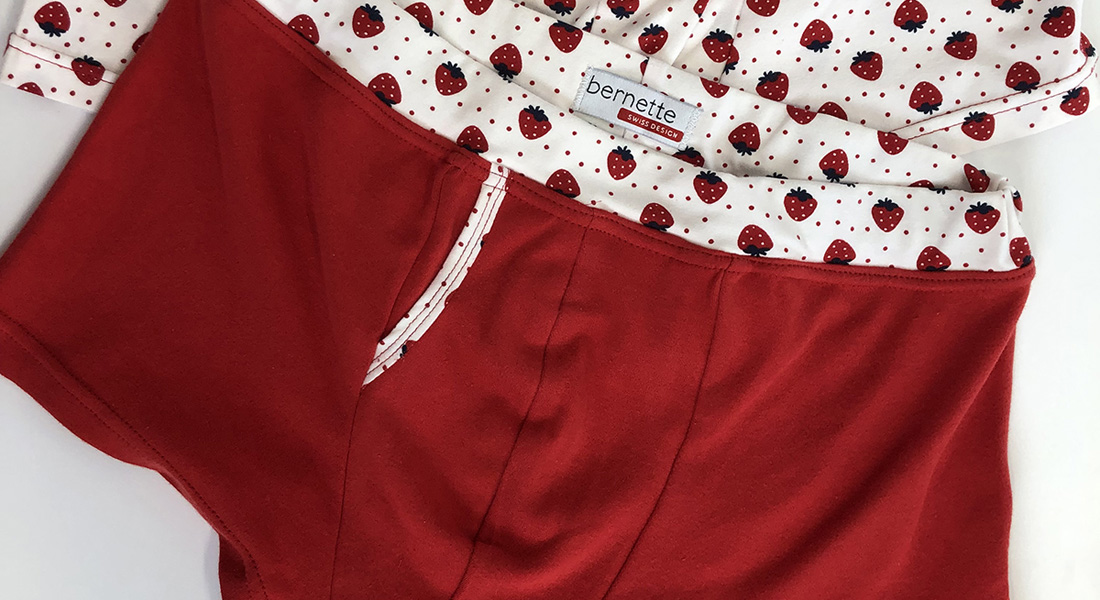
Below is a back view of the elastic placement—notice that the fabric underneath just covers the back of the elastic:

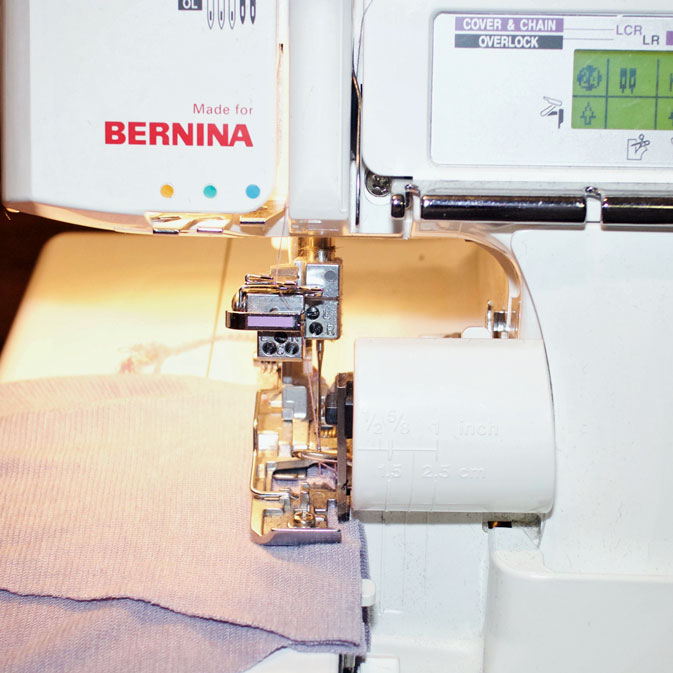
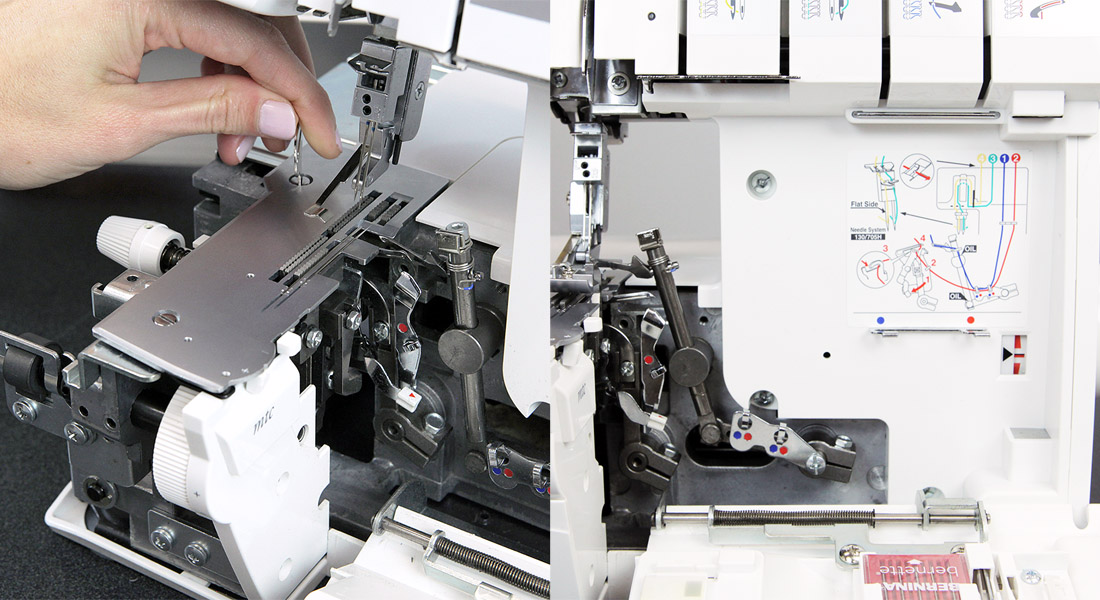
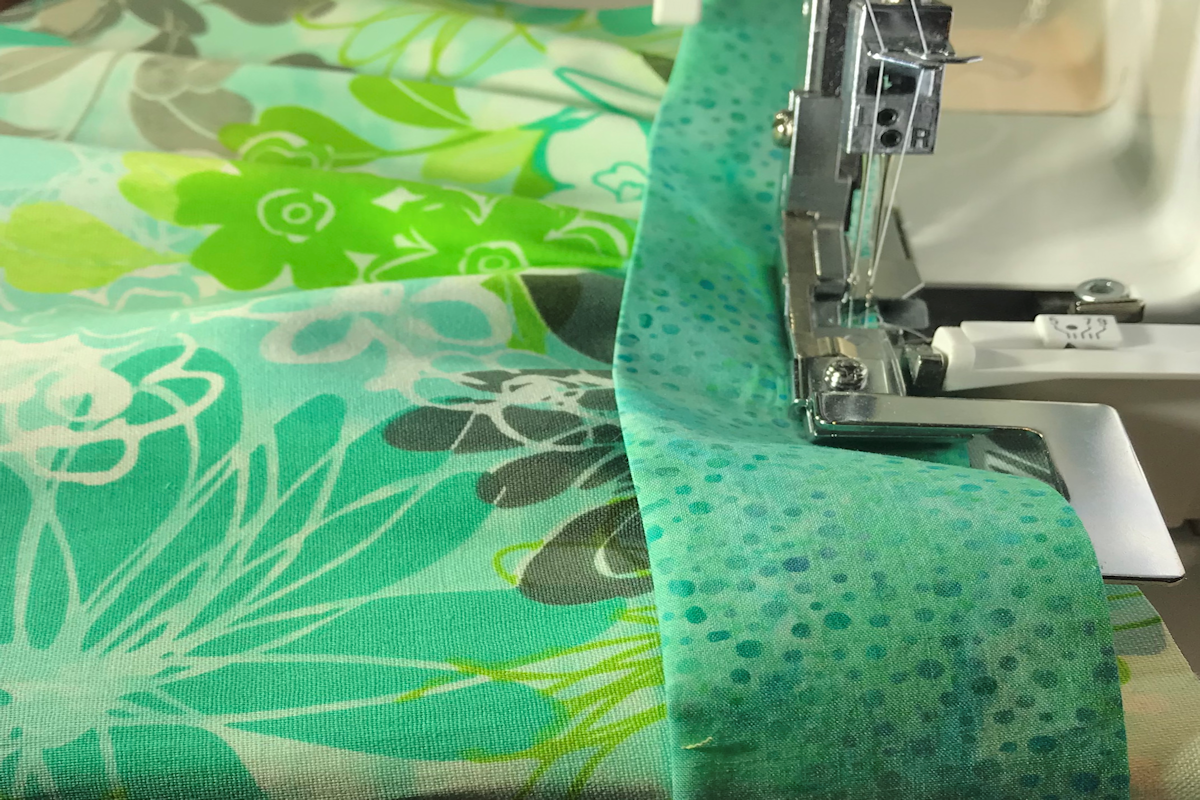
Step 9 – Attach elastic with coverstitch: Thread your coverstitch machine for a narrow 3-thread coverstitch (stitch 24 on the BERNINA 1300MDC). For clarity, I used contrasting white thread, but yours should match your project. With the elastic on top and fabric underneath (right side up), topstitch along the elastic. Start sewing from the top of the elastic near one of the side seams and sew all the way around the top of the underwear until you arrive back at your first stitches. Continue to sew a few stitches over the first stitches to anchor the stitching in place. Trim all lose threads.
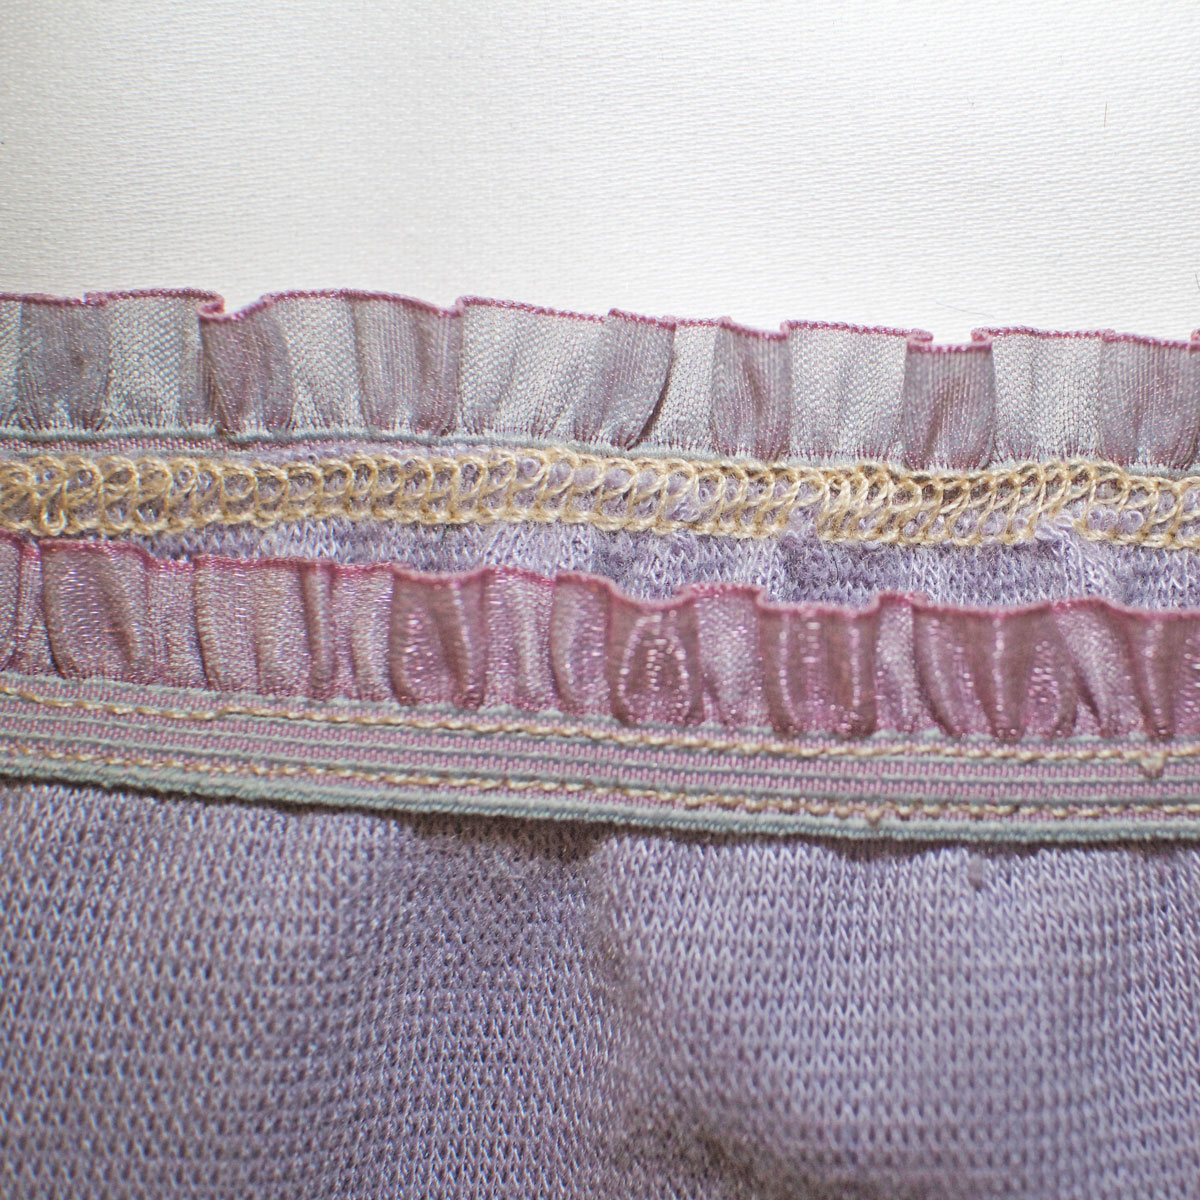
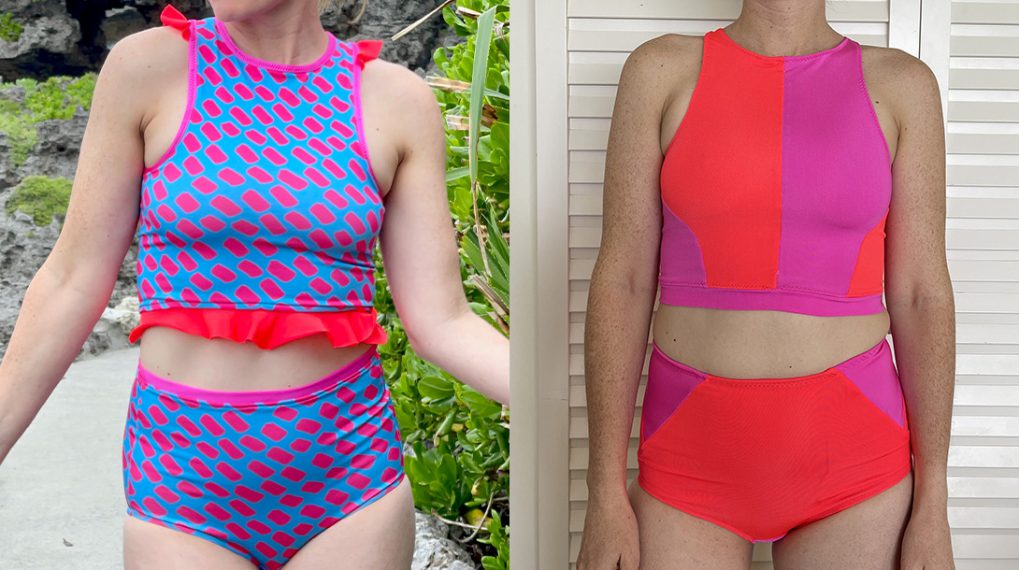
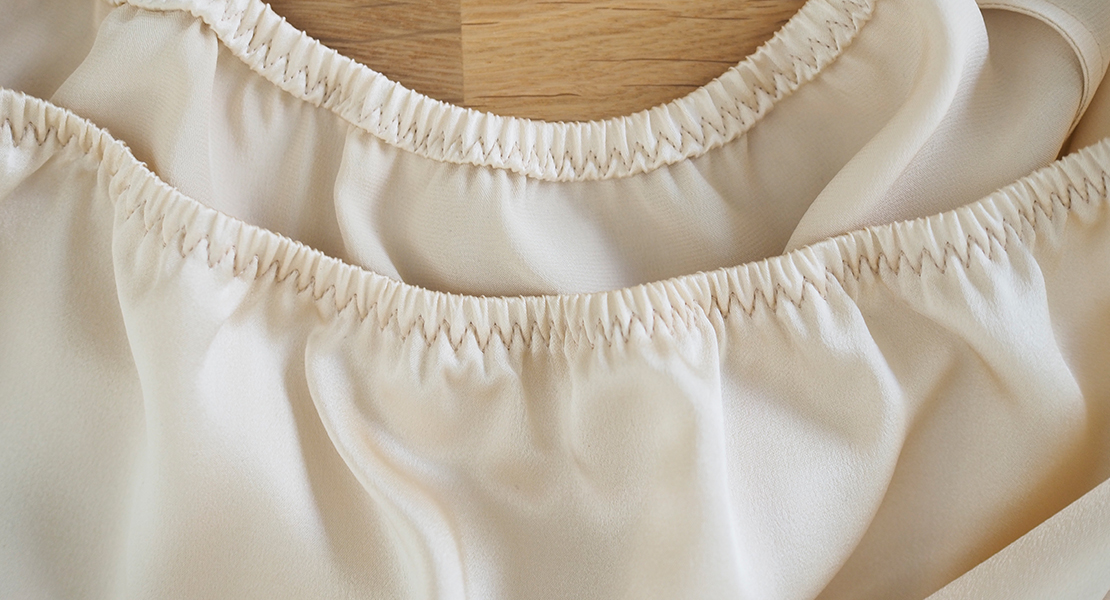
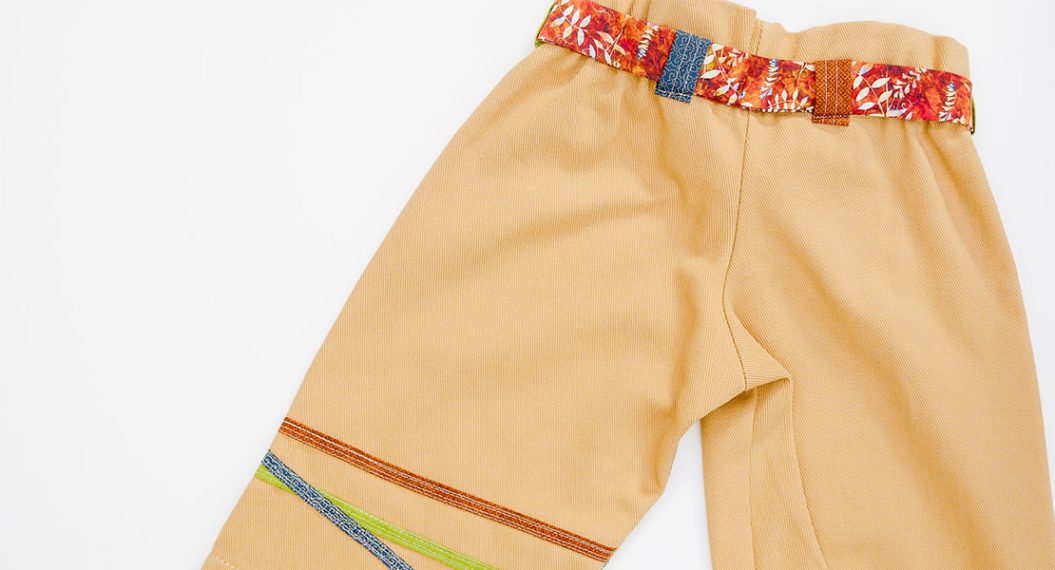
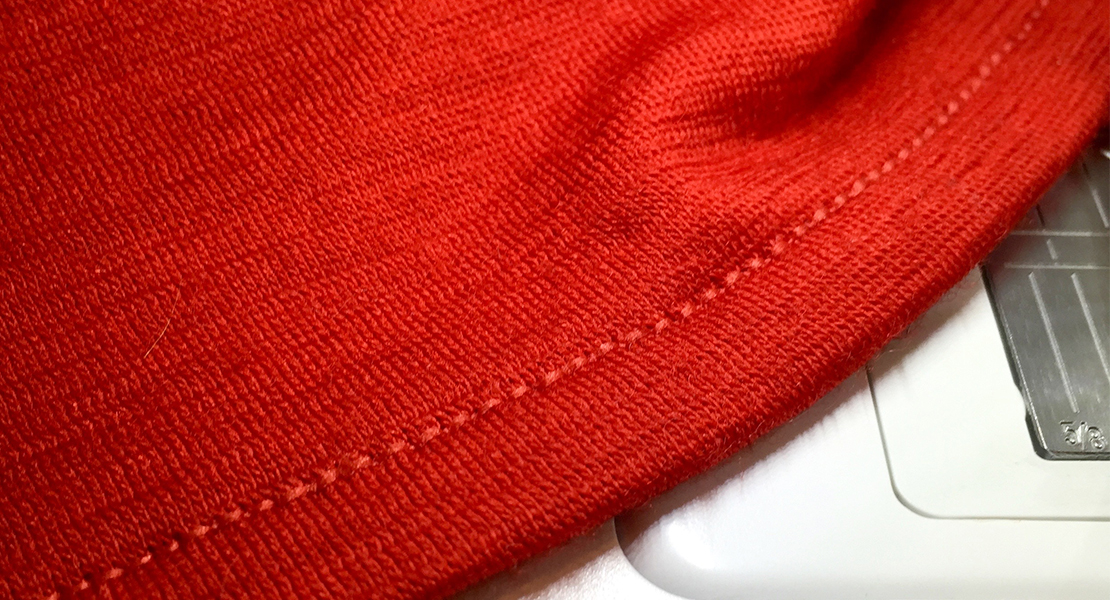
This gives a nice twin stitch on the front of the elastic (image bottom), while the stitching on the inside of the garment covers the raw edge of the fabric (image top):
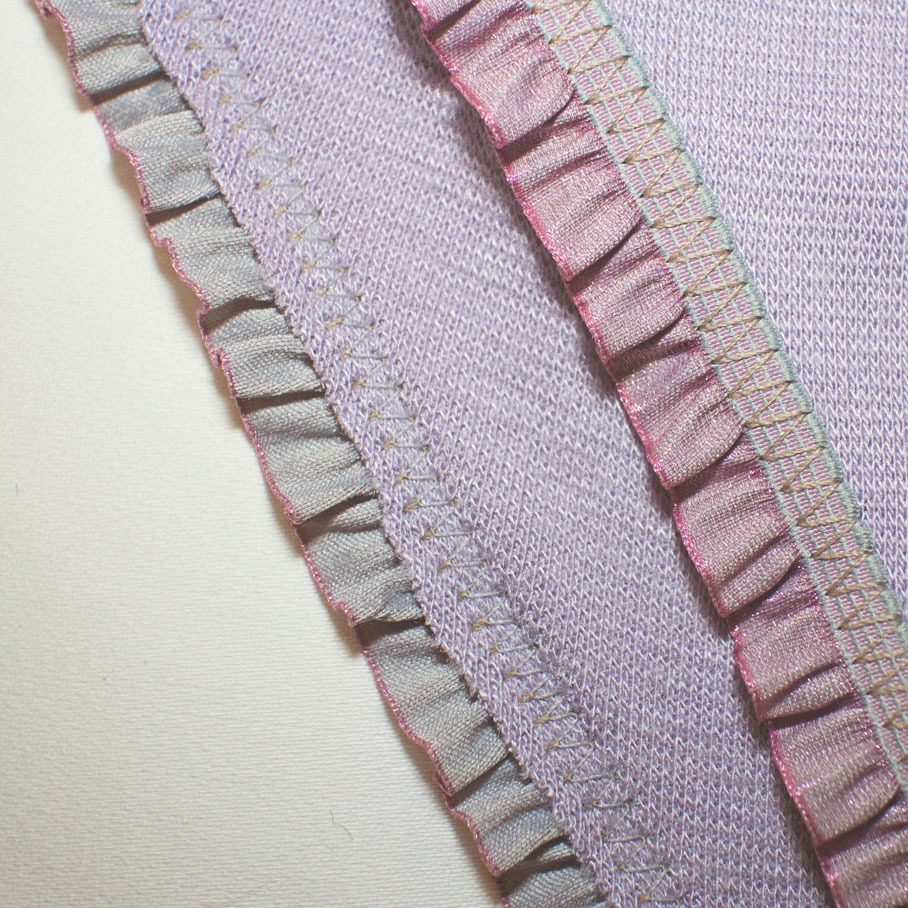
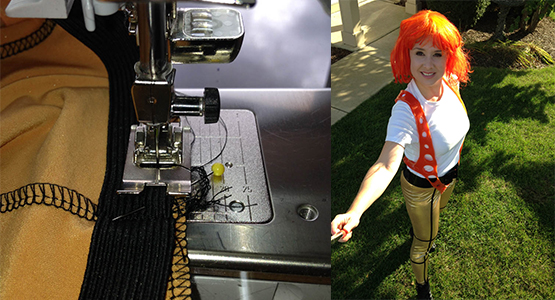
Alternately, you can topstitch the elastic to the fabric with a zig-zag stitch (inside of garment on left and outside on right):
Step 10 – Repeat for legs: Repeat steps 6 through 9 to attach elastic for each of the two leg openings.
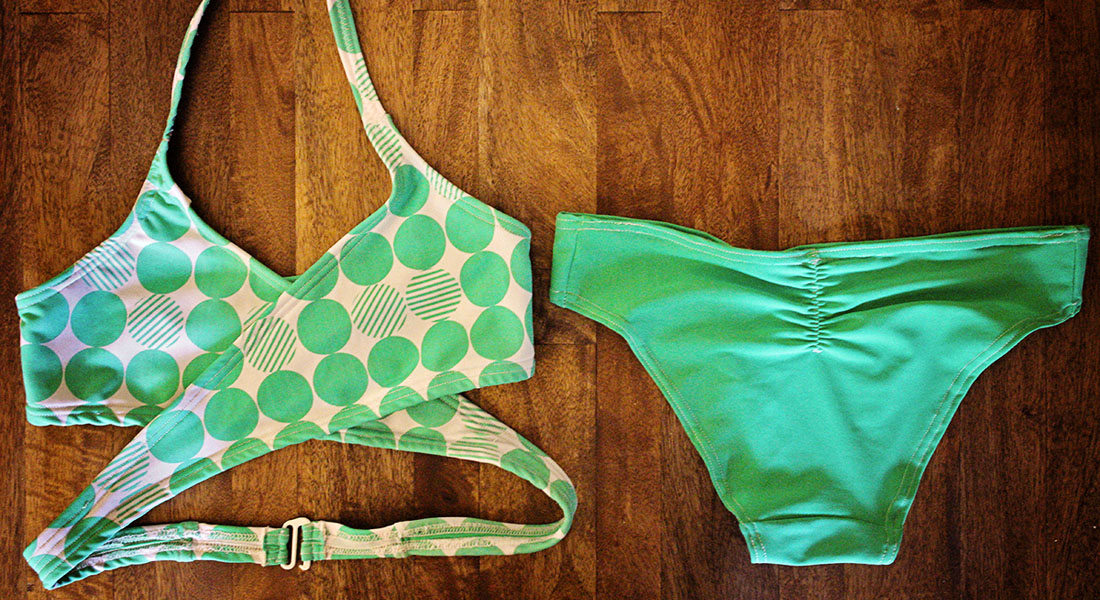
You have now completed your lingerie with a beautifully topstitched elastic trim! The BERNINA coverstitch makes it easy to attach lingerie elastics.


What you might also like


3 comments on “Sewing Lingerie Elastic with Coverstitch”
-
-
Hi! I bought my notions from my local fabric store, which can be a great resource with helpful staff. If that’s not available, here is an article that has some useful links for where to buy bra making and lingerie supplies online: http://clothhabit.com/bramaking-resources/
Good luck!
-
-
Hello, I do not have a coverstitch; just a simple serger that does a 3 thread narrow overlock. Would that work with the knife down ? I have a Bernina 570 QE. Would I be better off with the double overlock stitch for the elastic? This project would be great for up cycling my husband’s old t-shirts. Thank you.
Leave a Reply
You must be logged in to post a comment.

Looks like something I would like to make, but where do you get the lingerie elastic trim and the lingerie fabric?