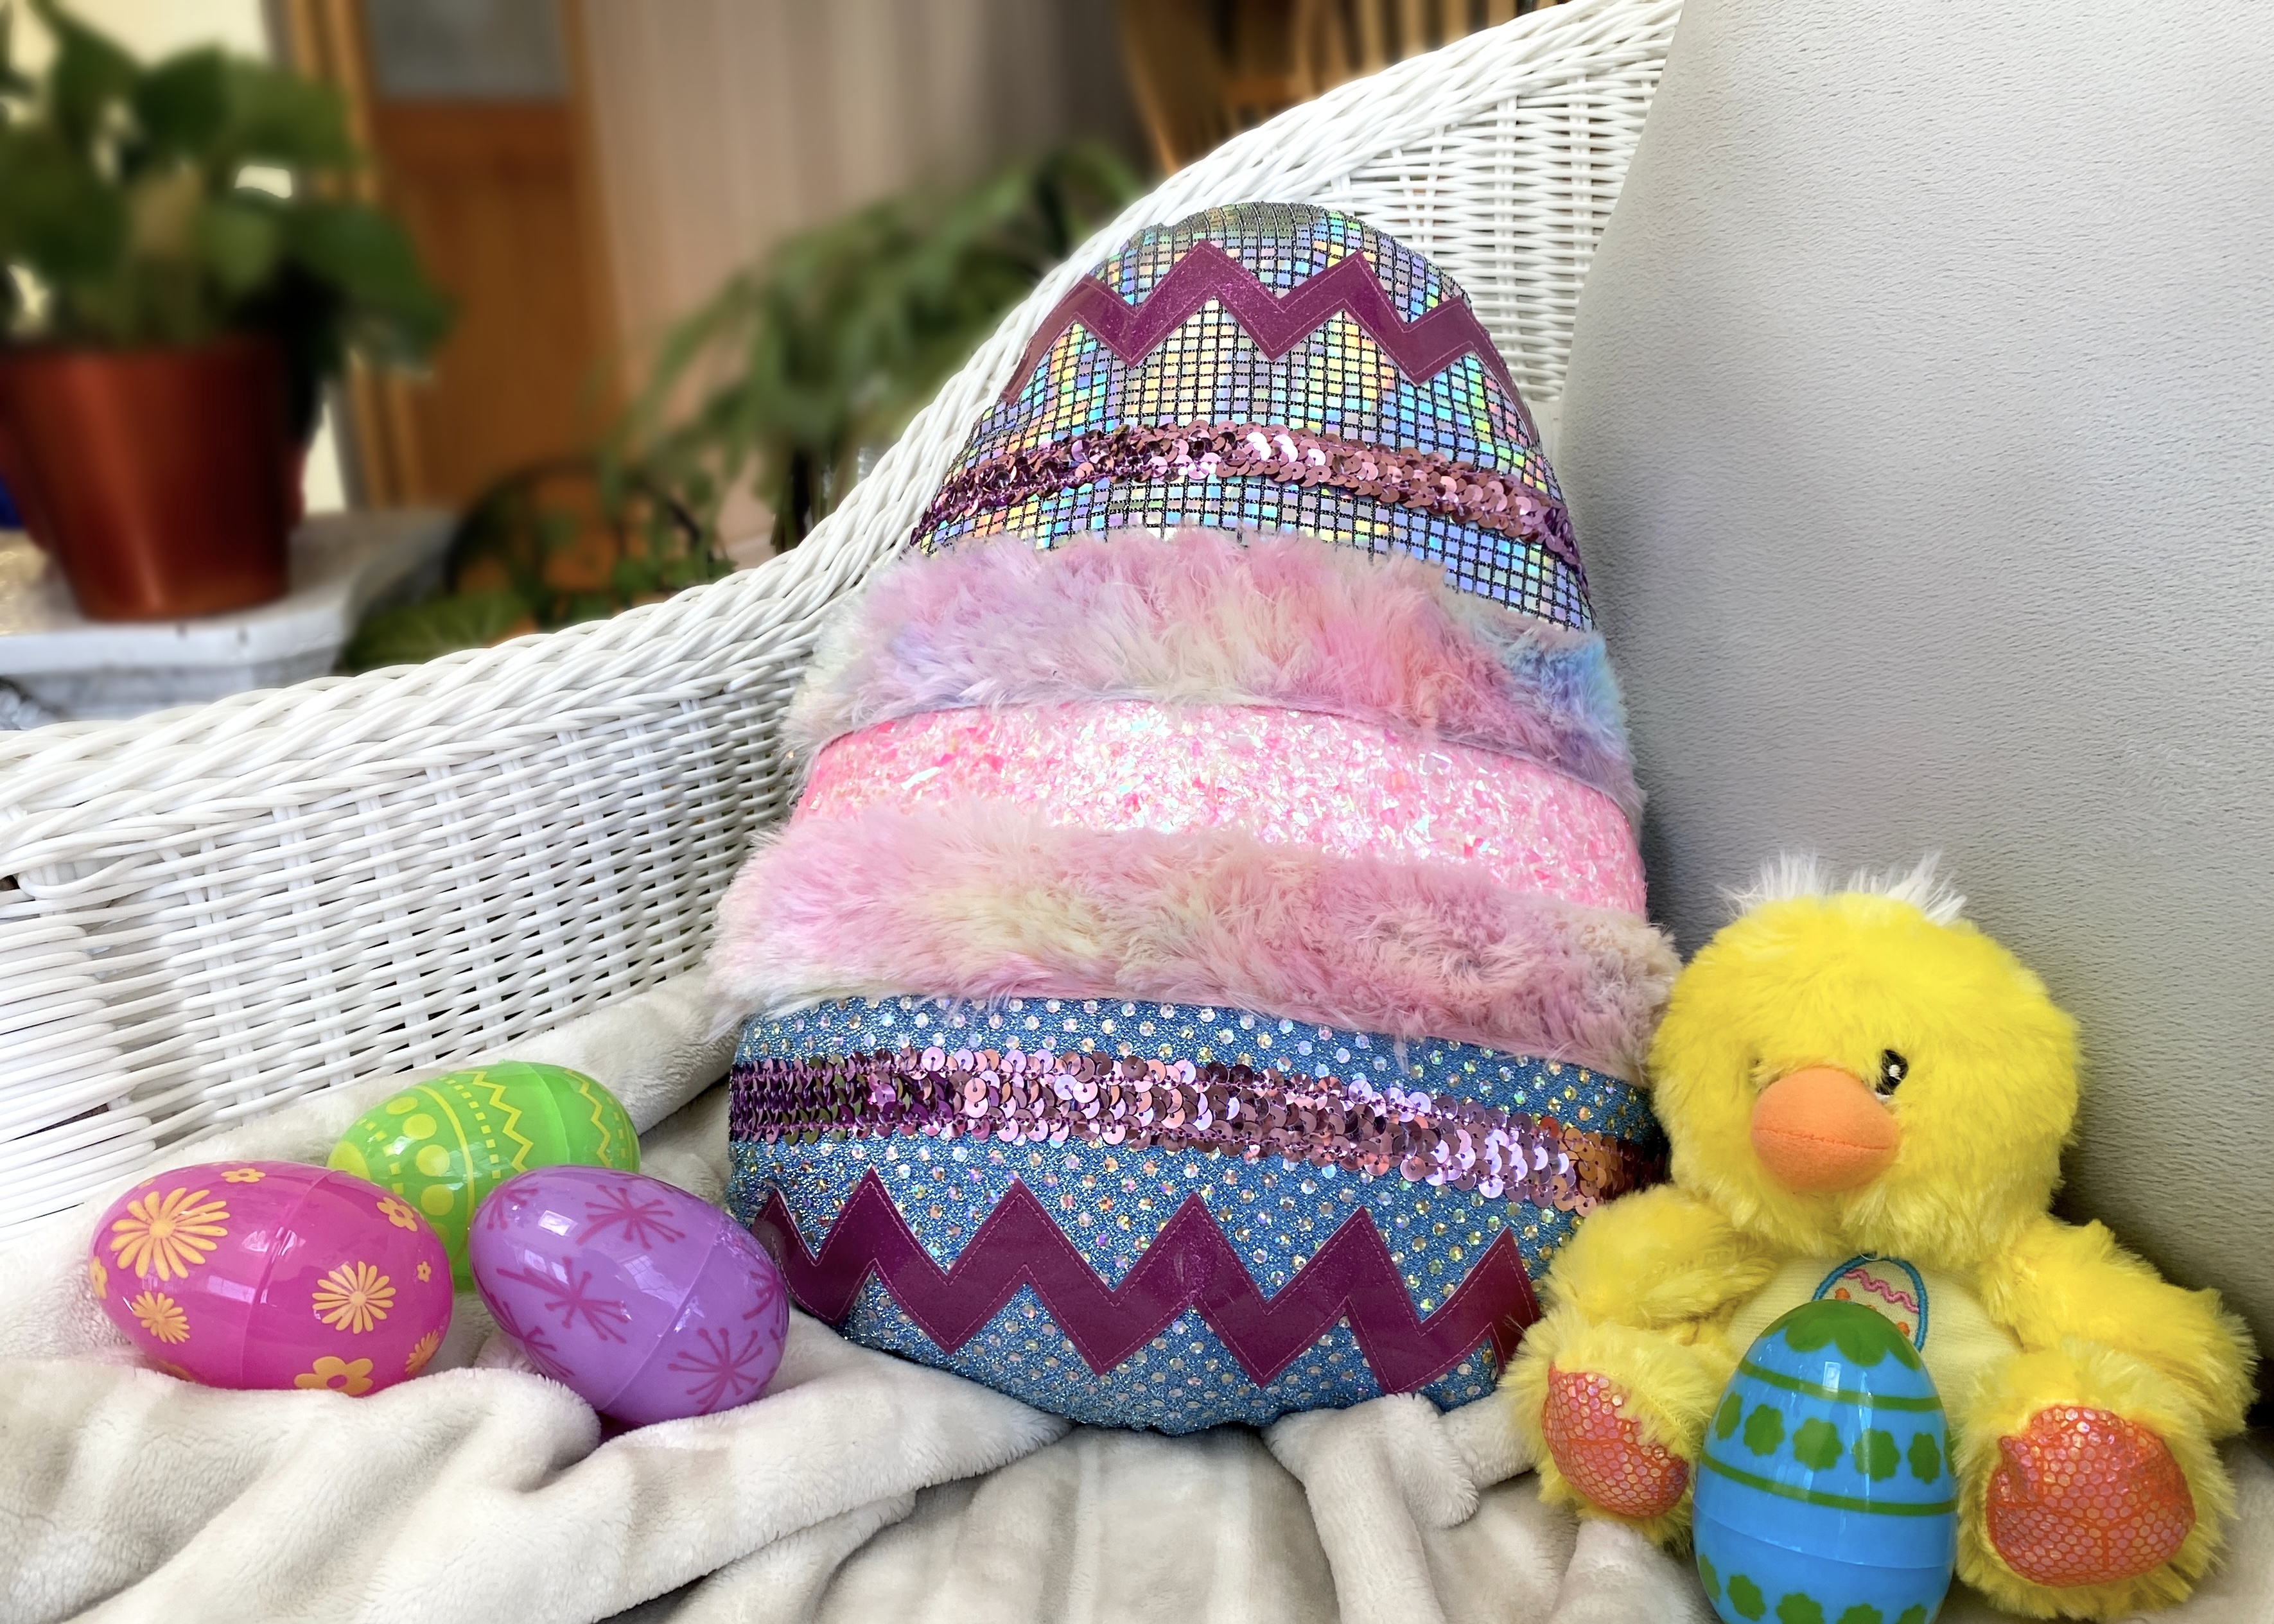
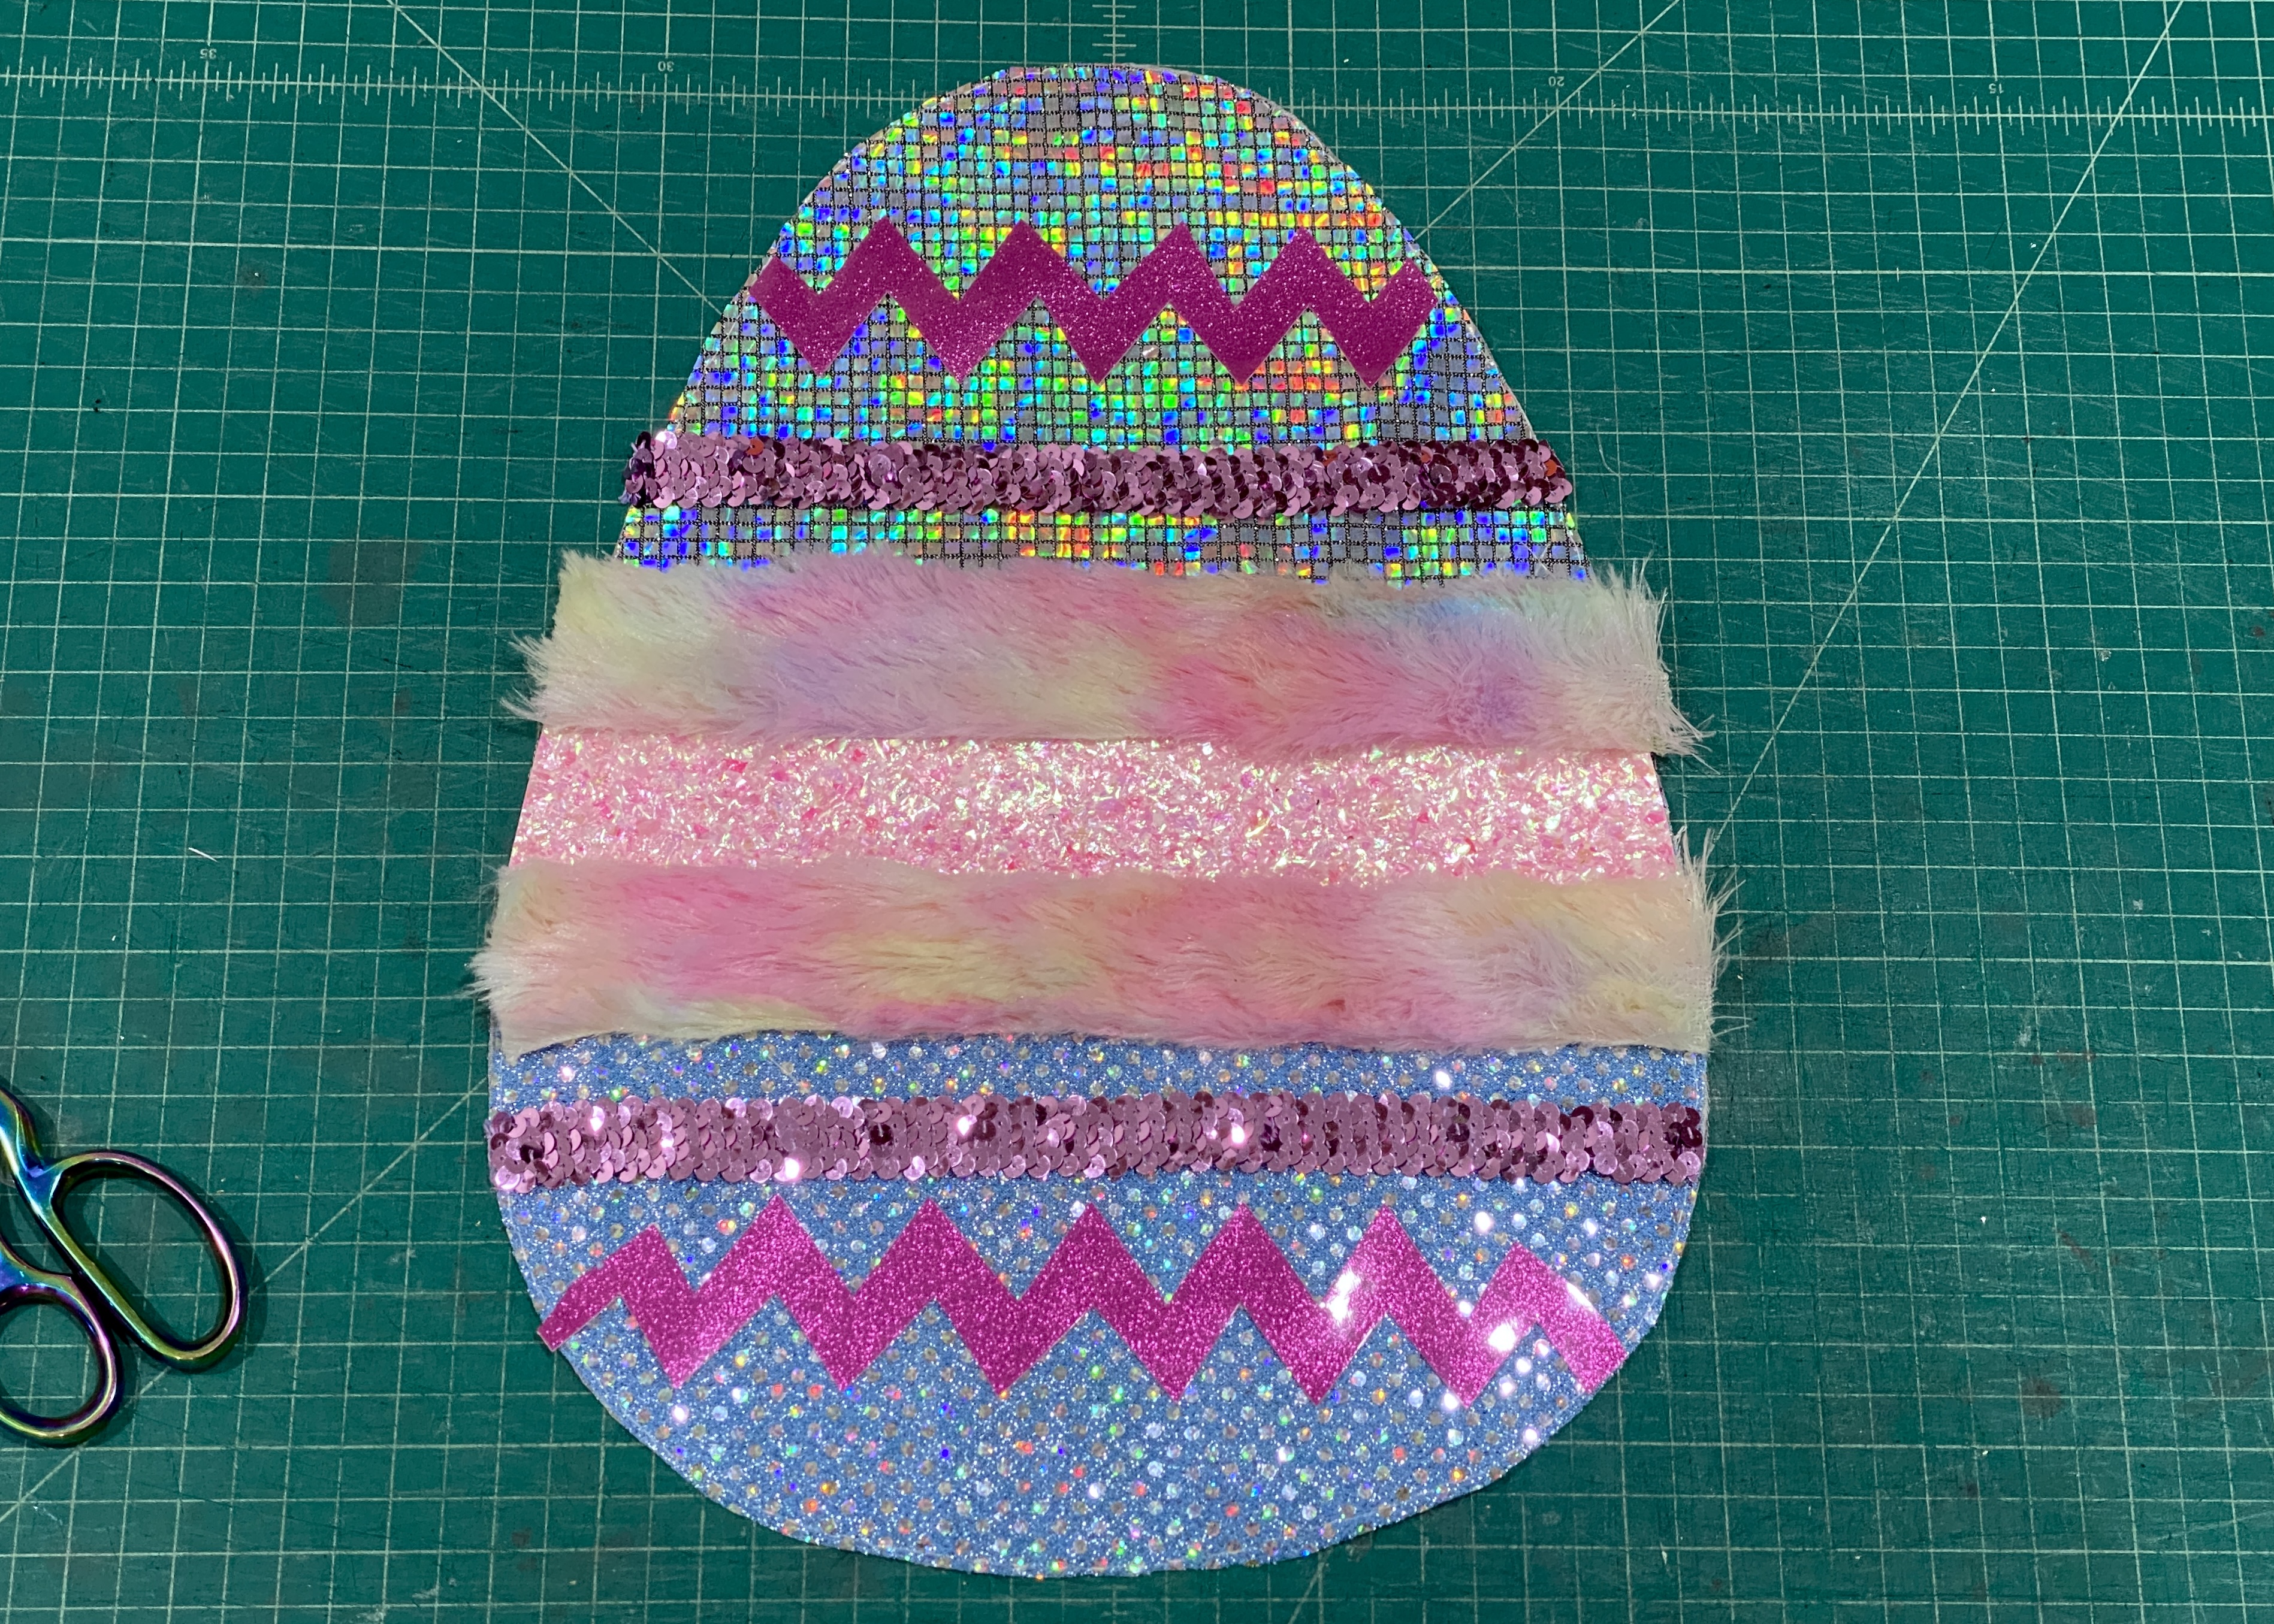
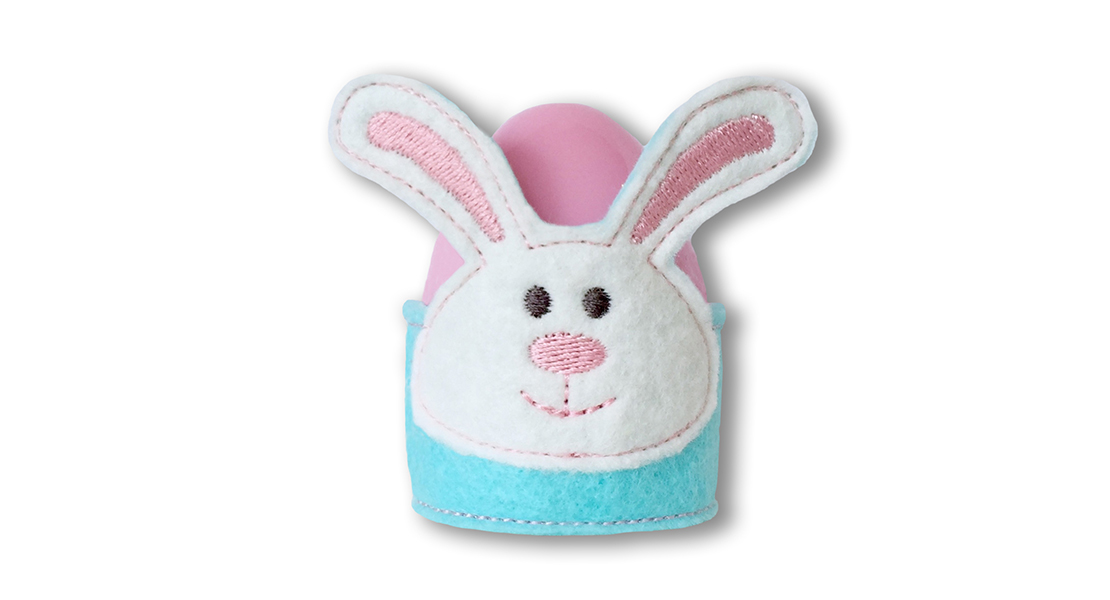
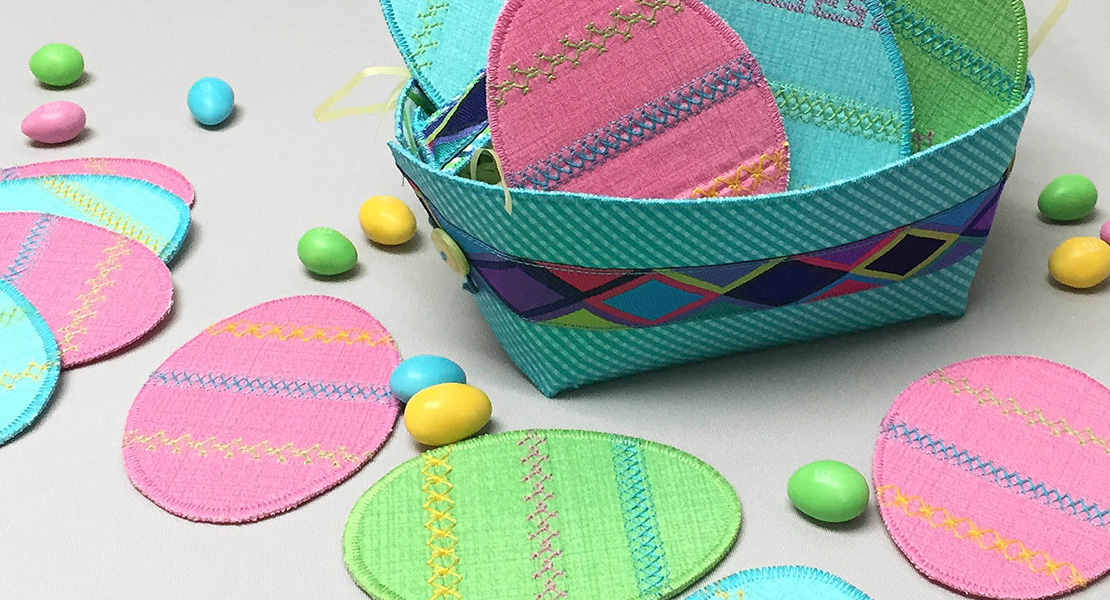
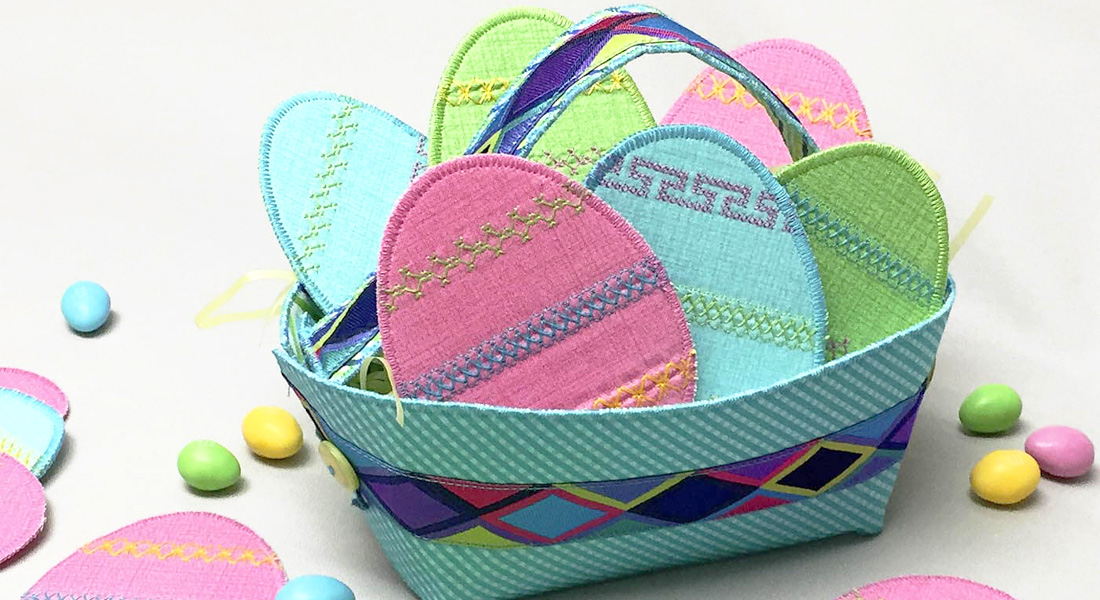
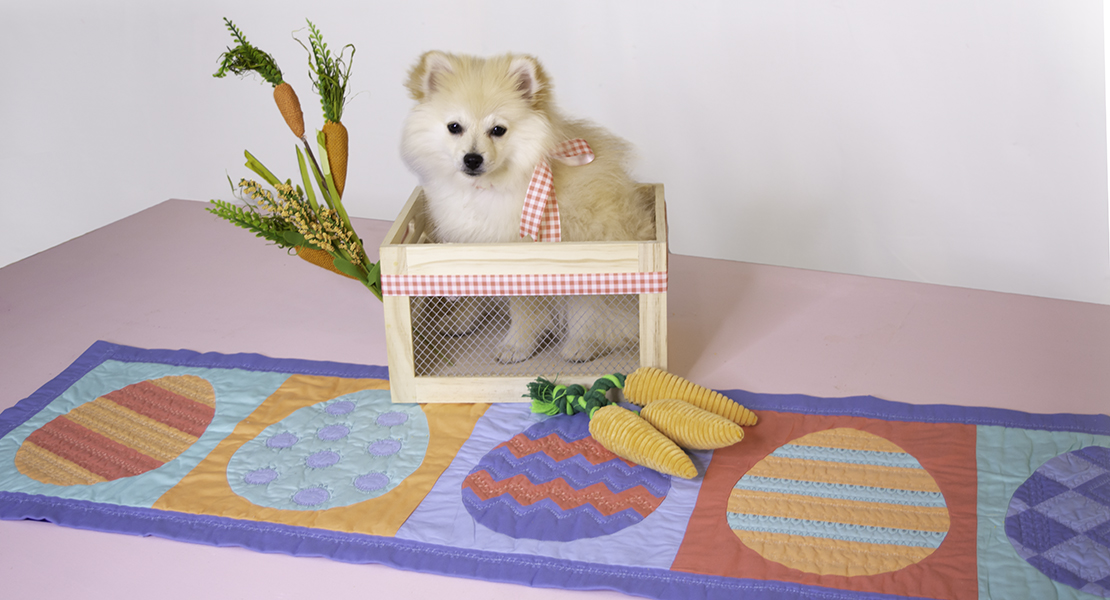
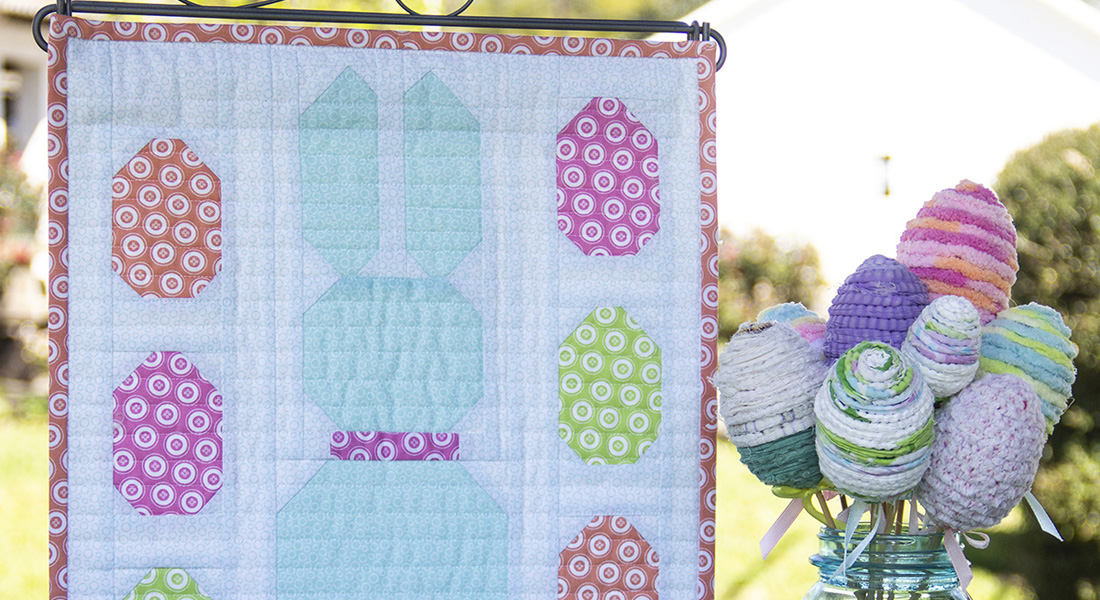
Remnant Eco Easter Egg Pillow
Materials to Make a Remnant Eco Easter Egg Pillow
- Sewing machine (I use a BERNINA 590 E)
- Reverse pattern foot #1D
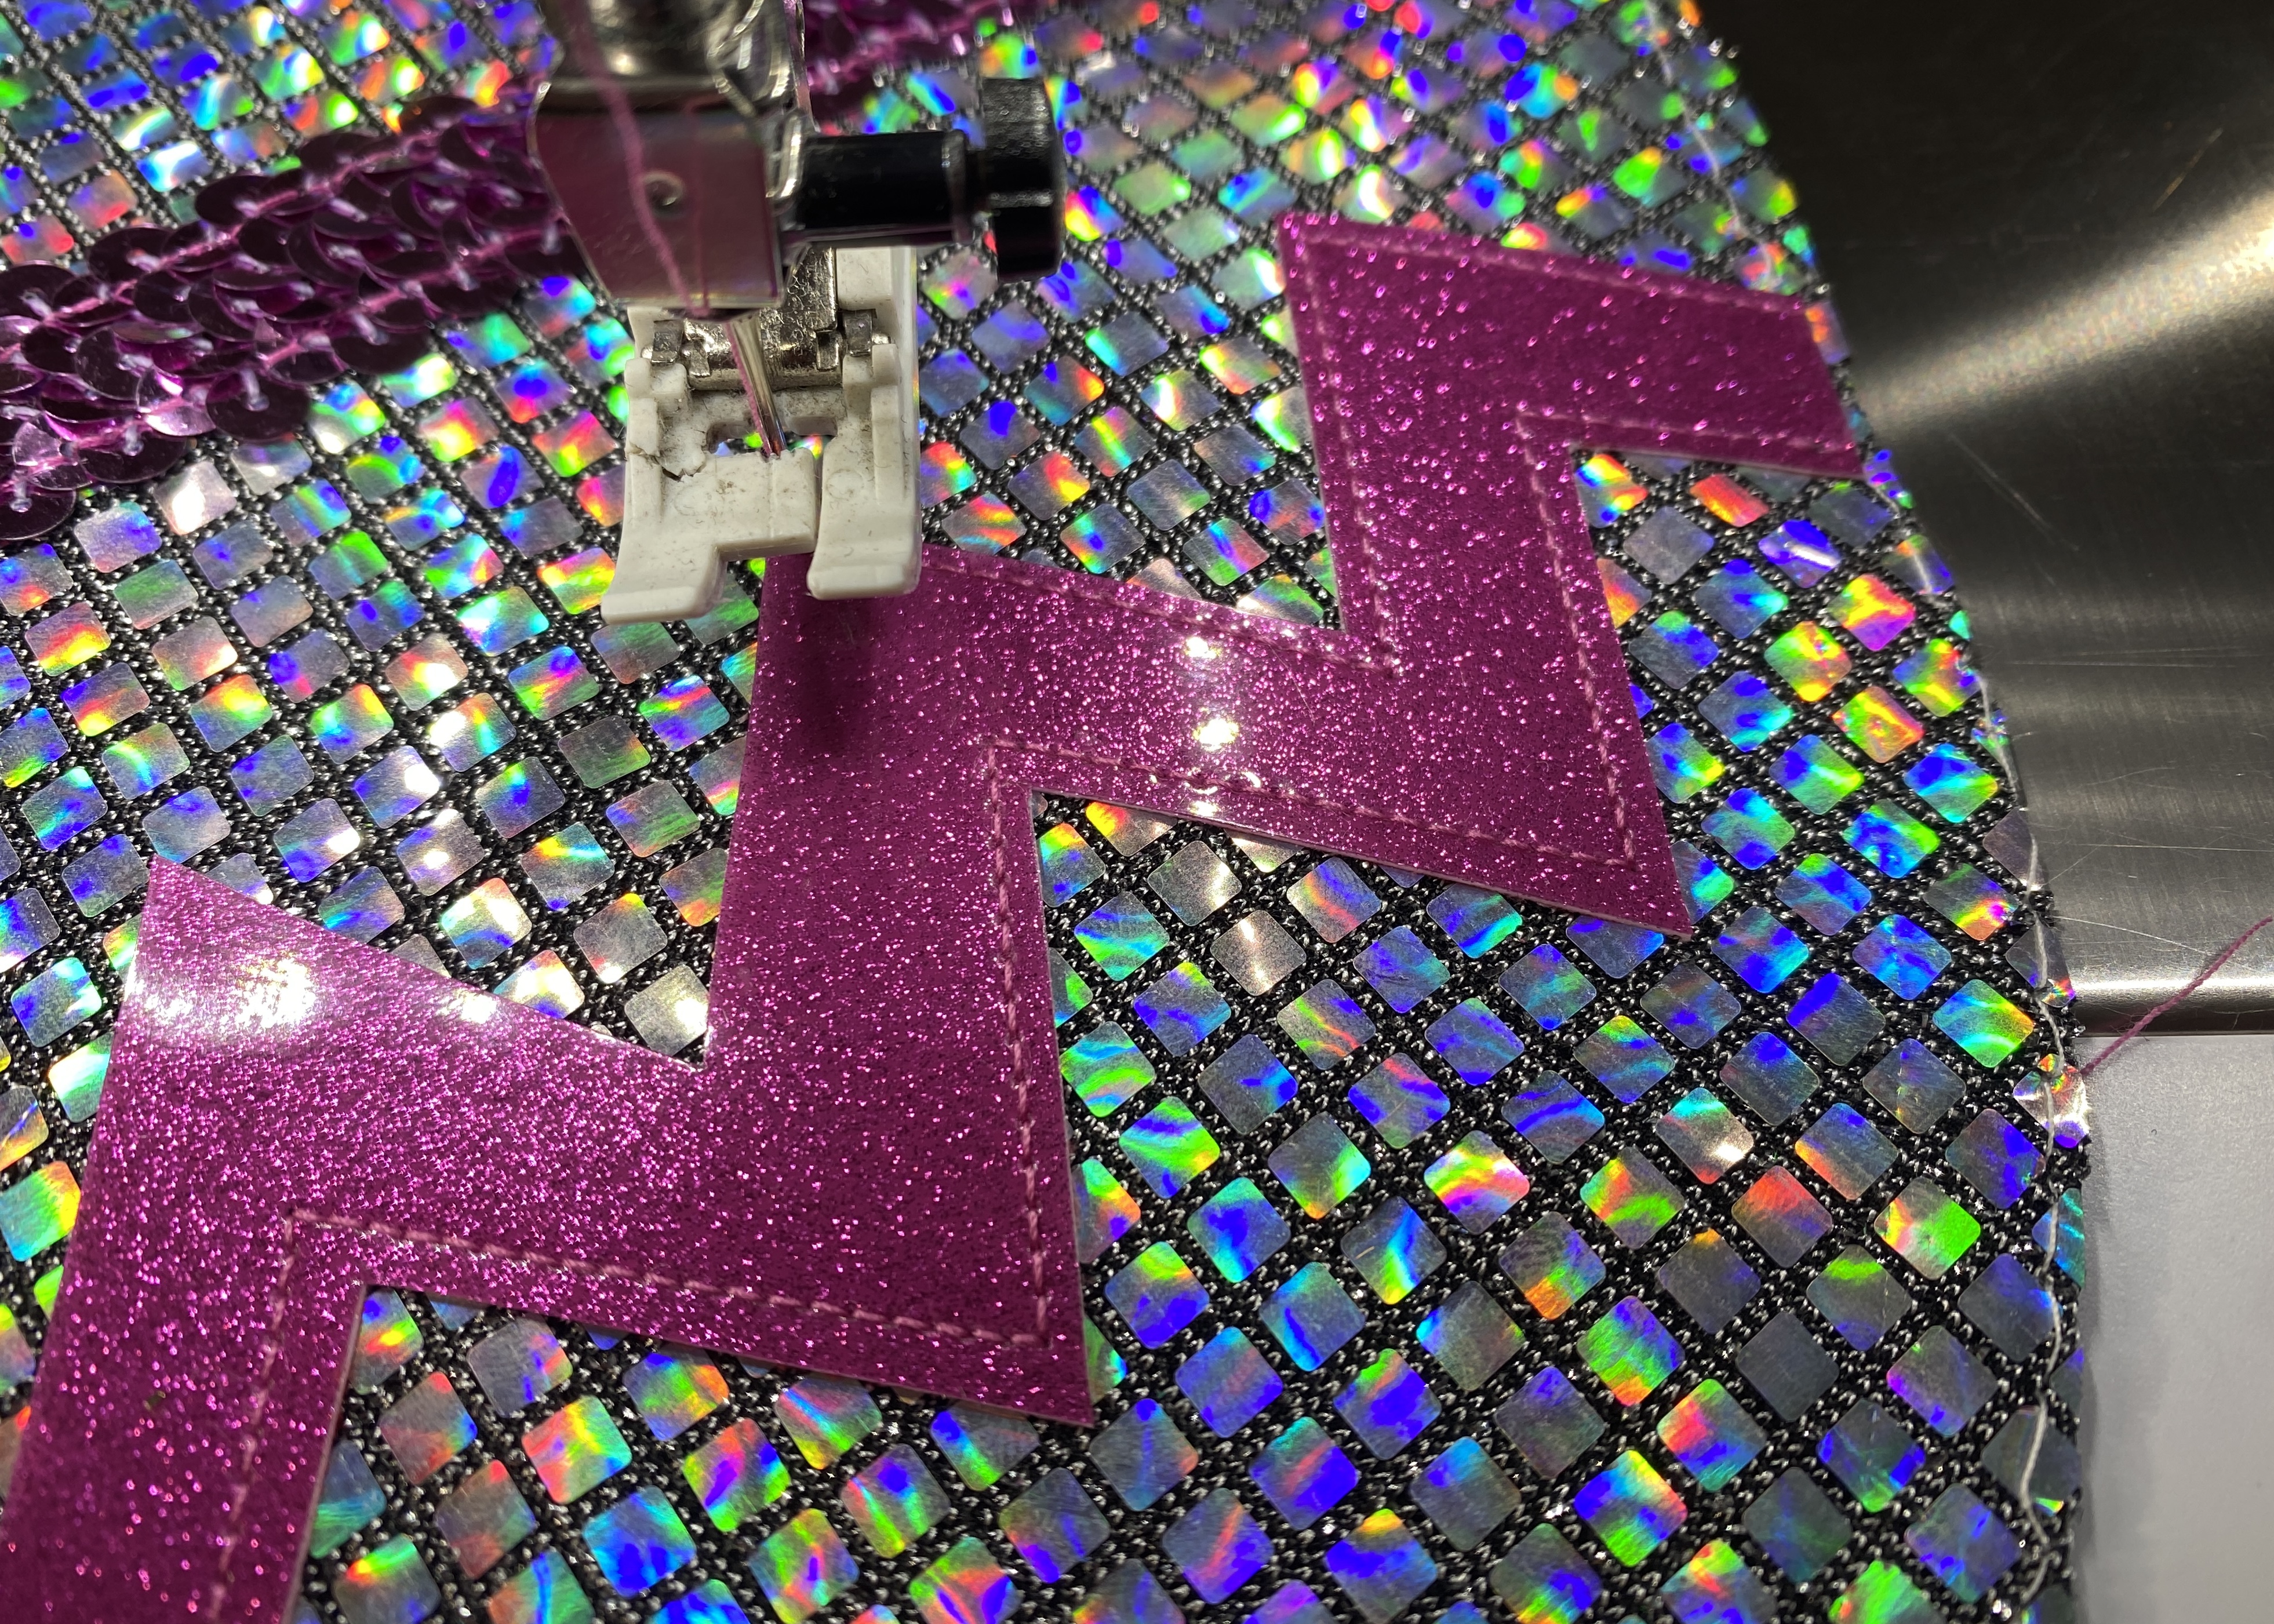
- Zigzag Foot with Non-Stick Sole #52 for vinyls, etc (Recommended but not necessary)
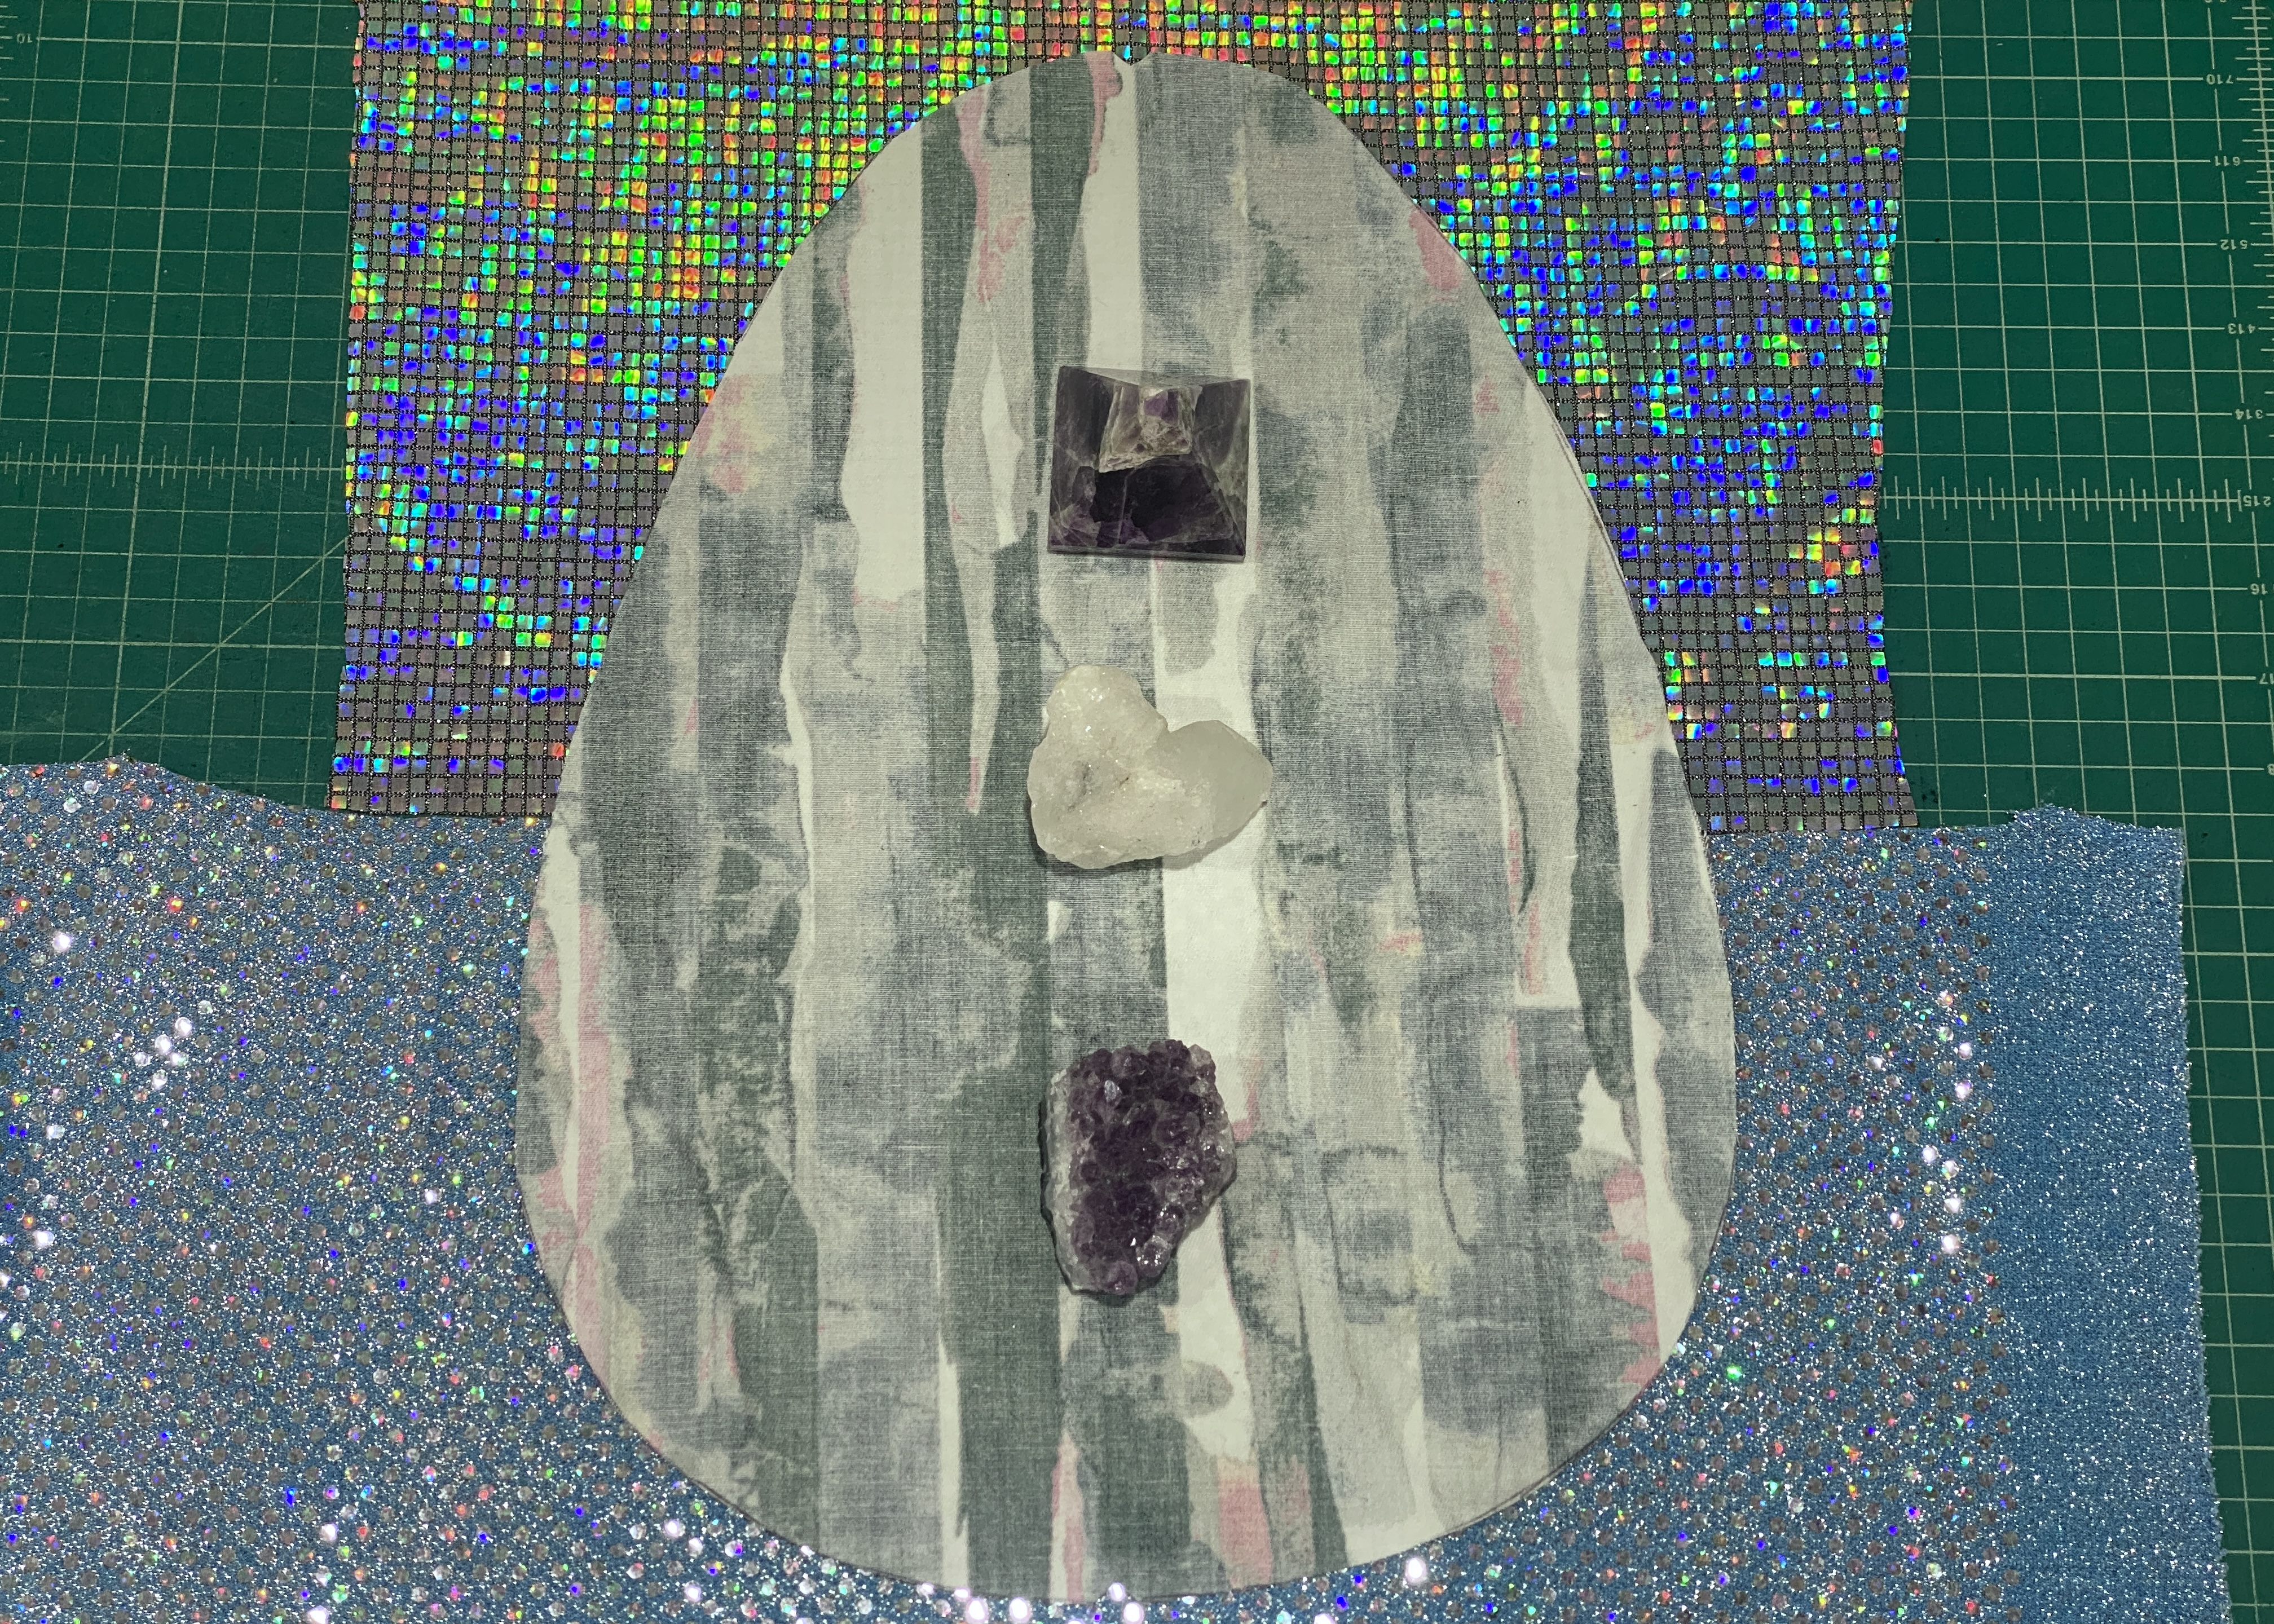
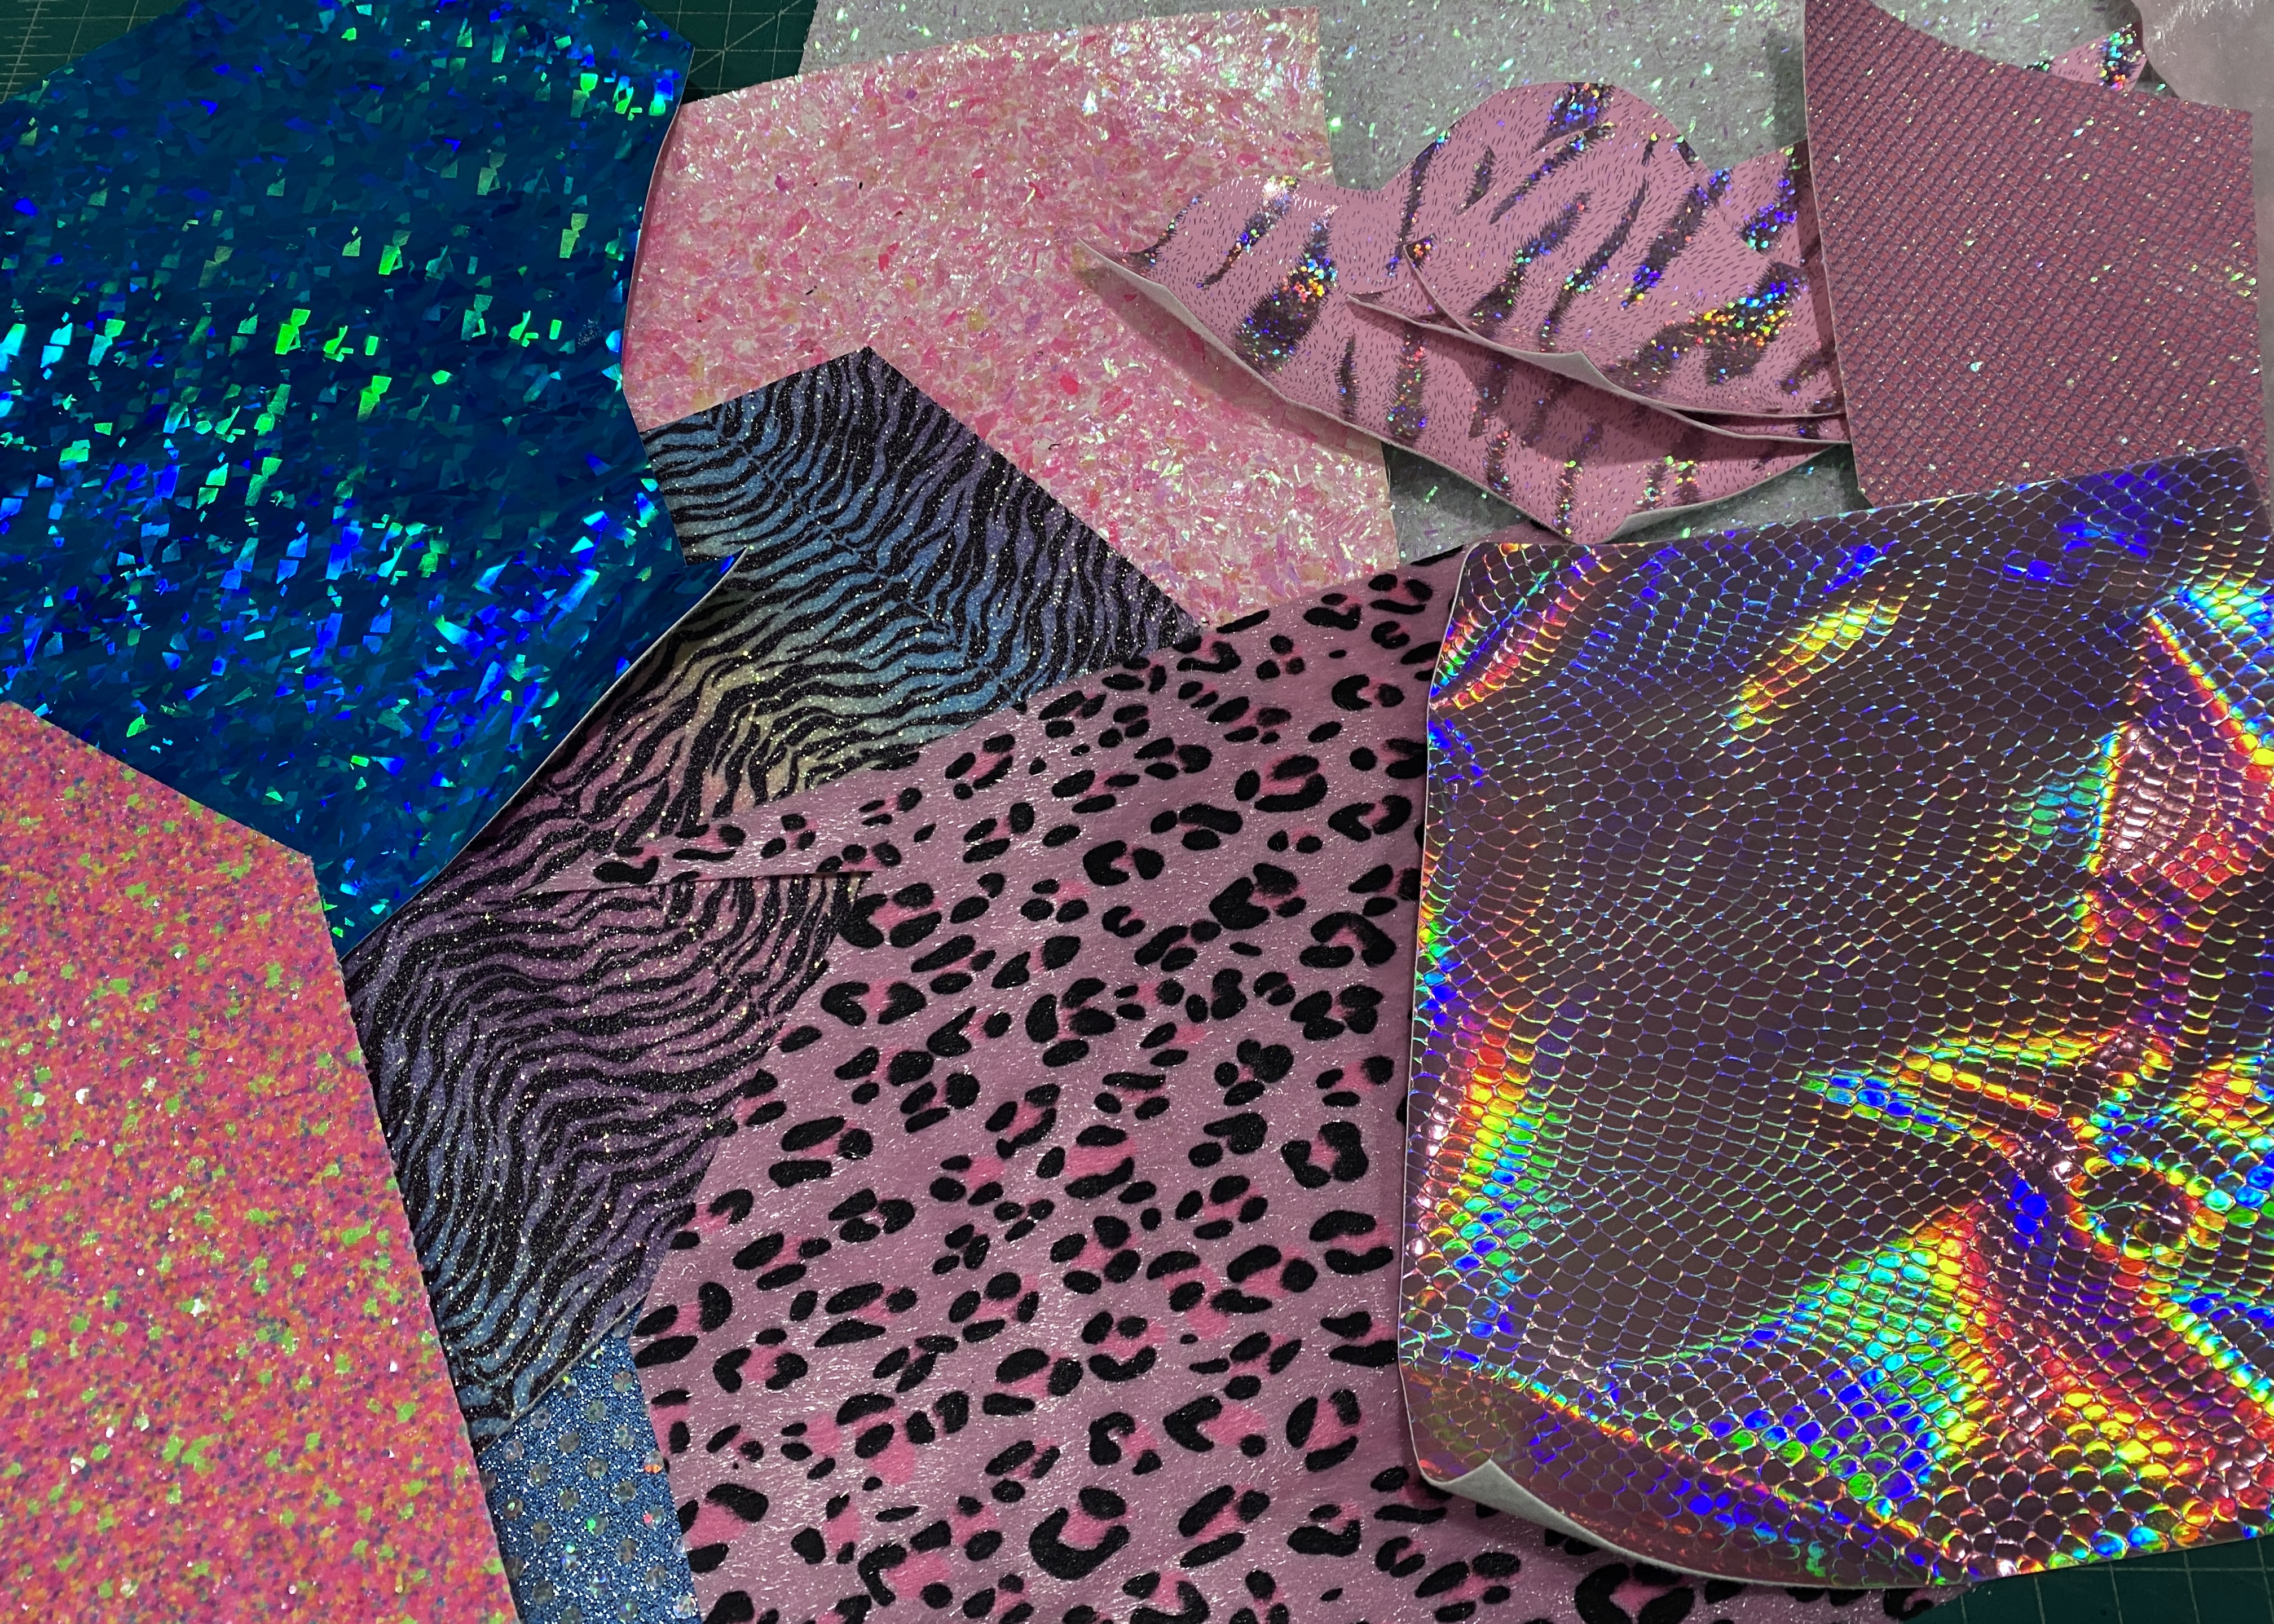
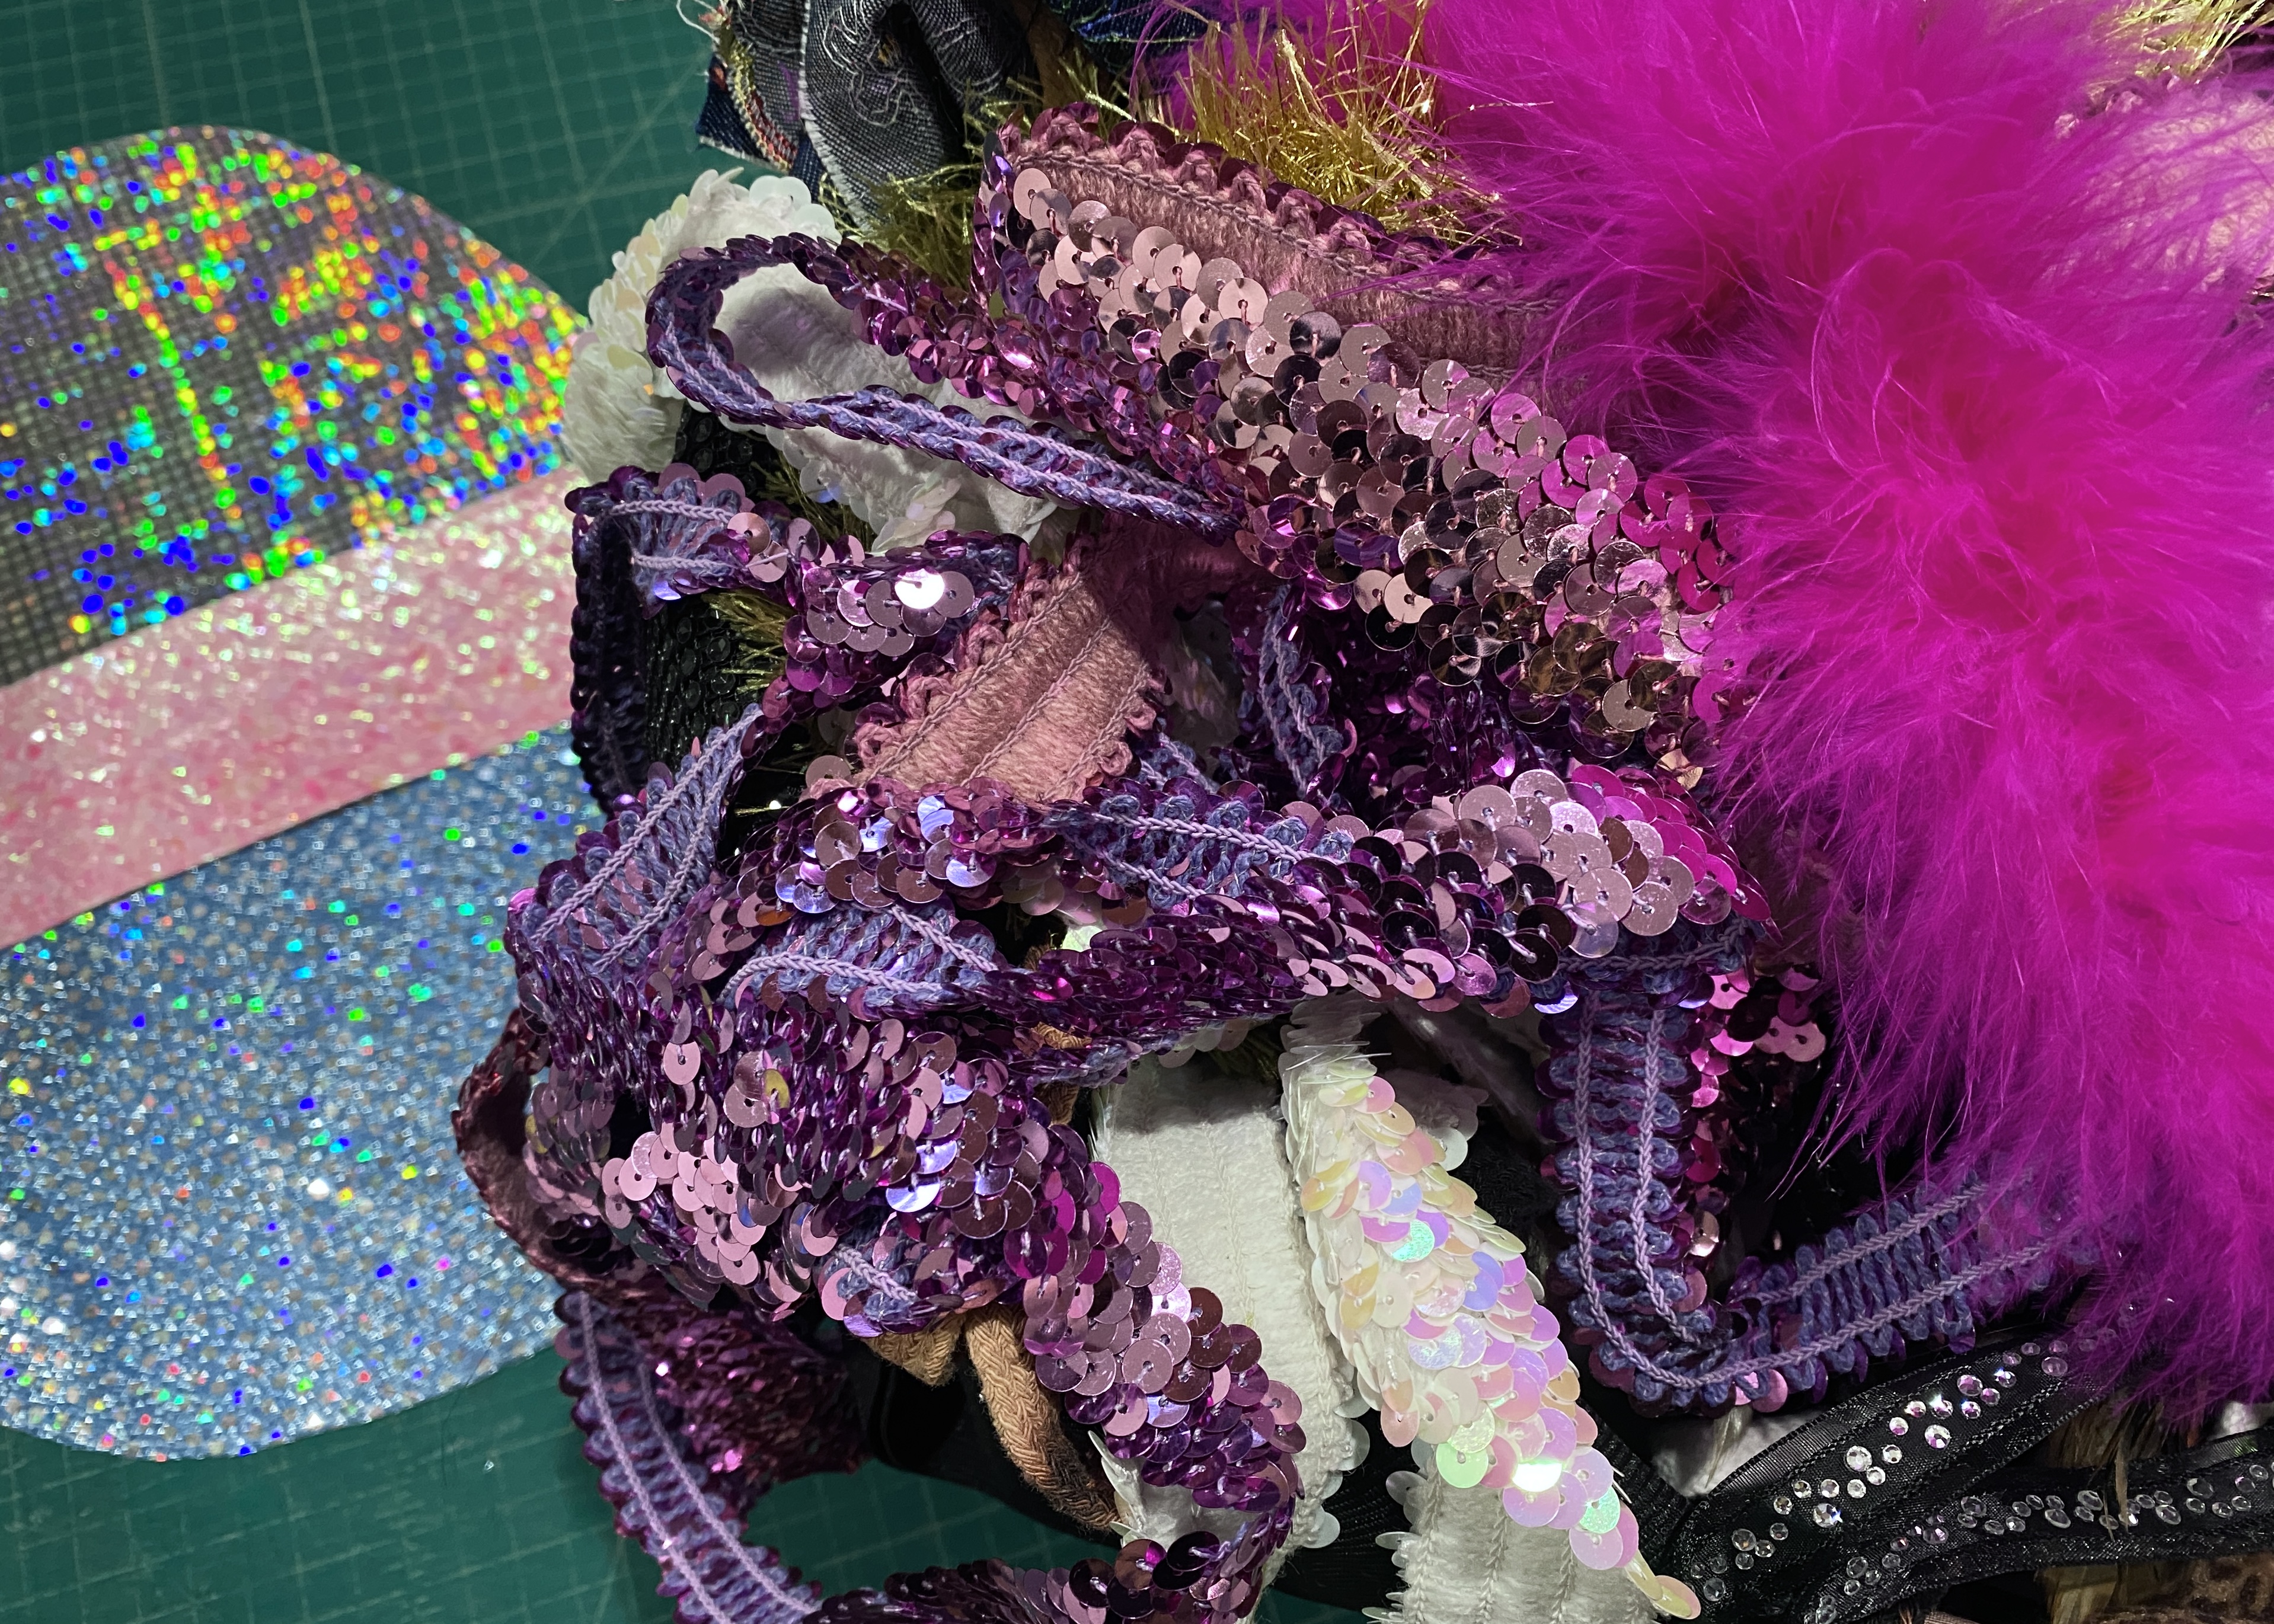
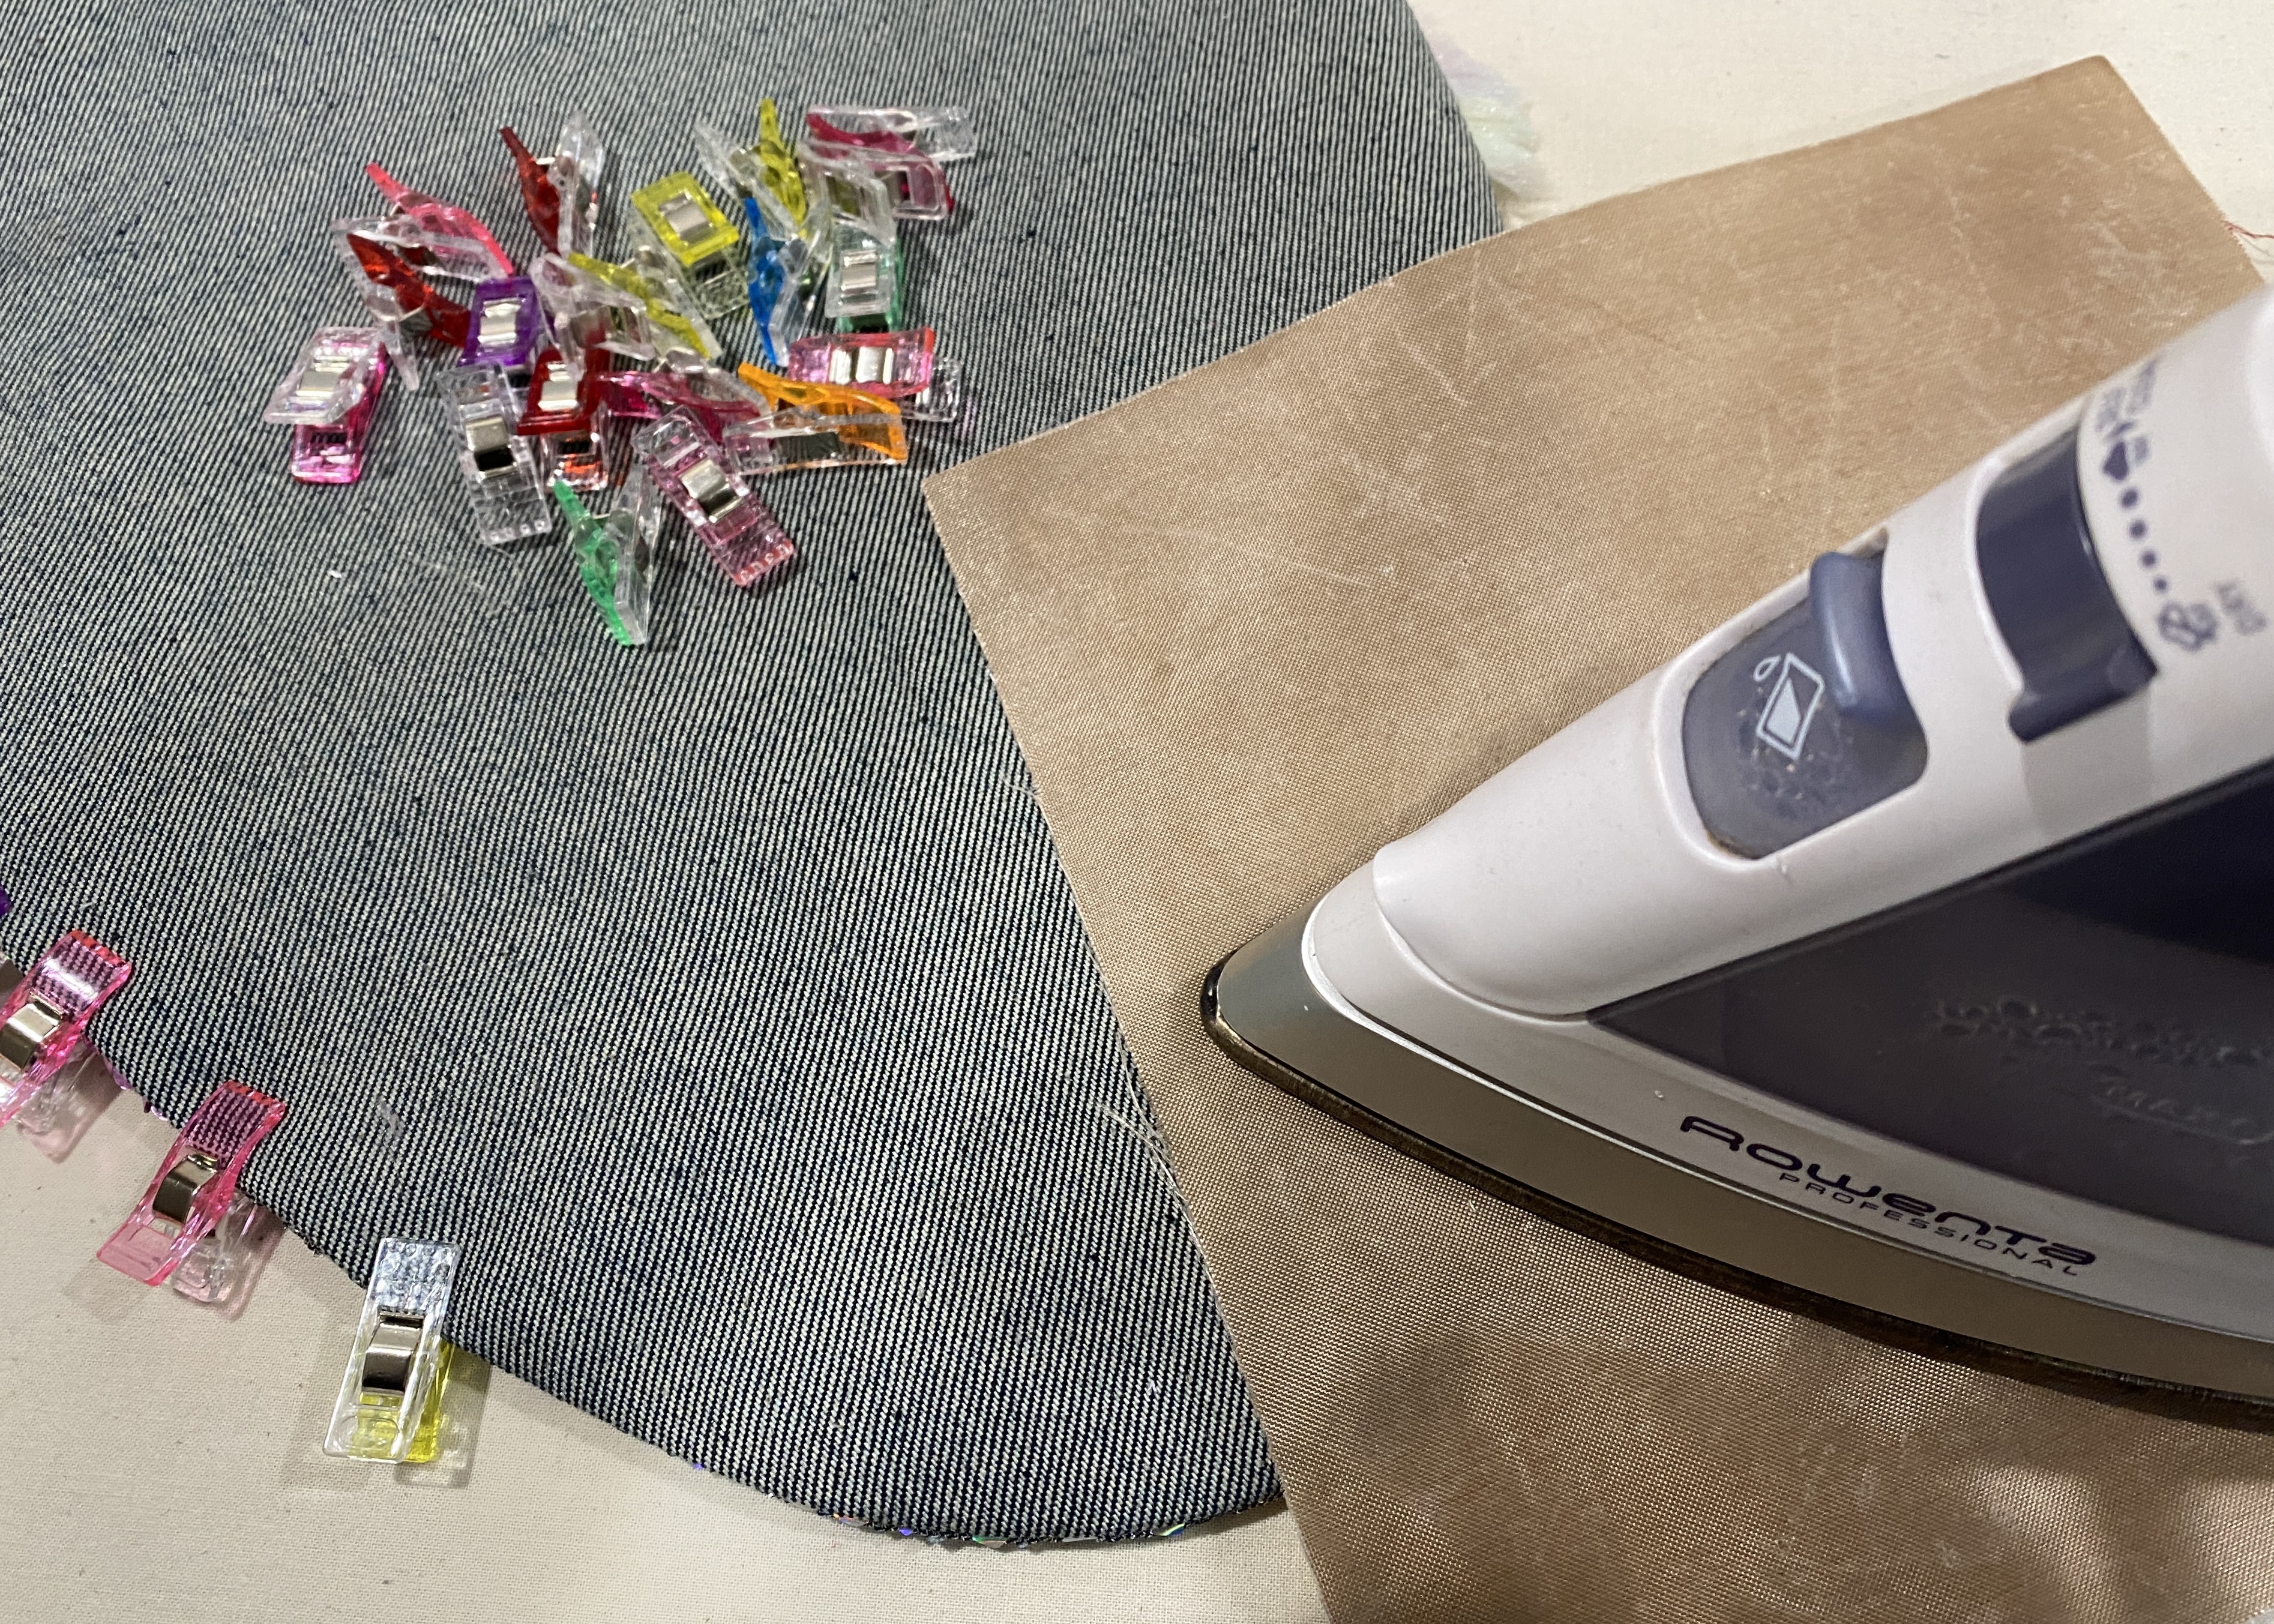
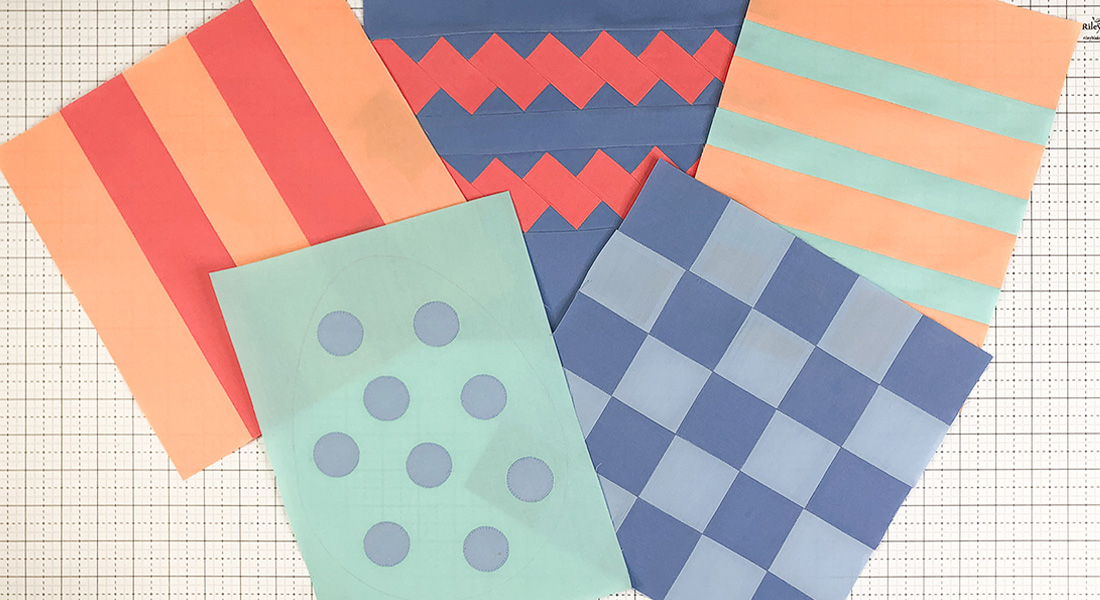
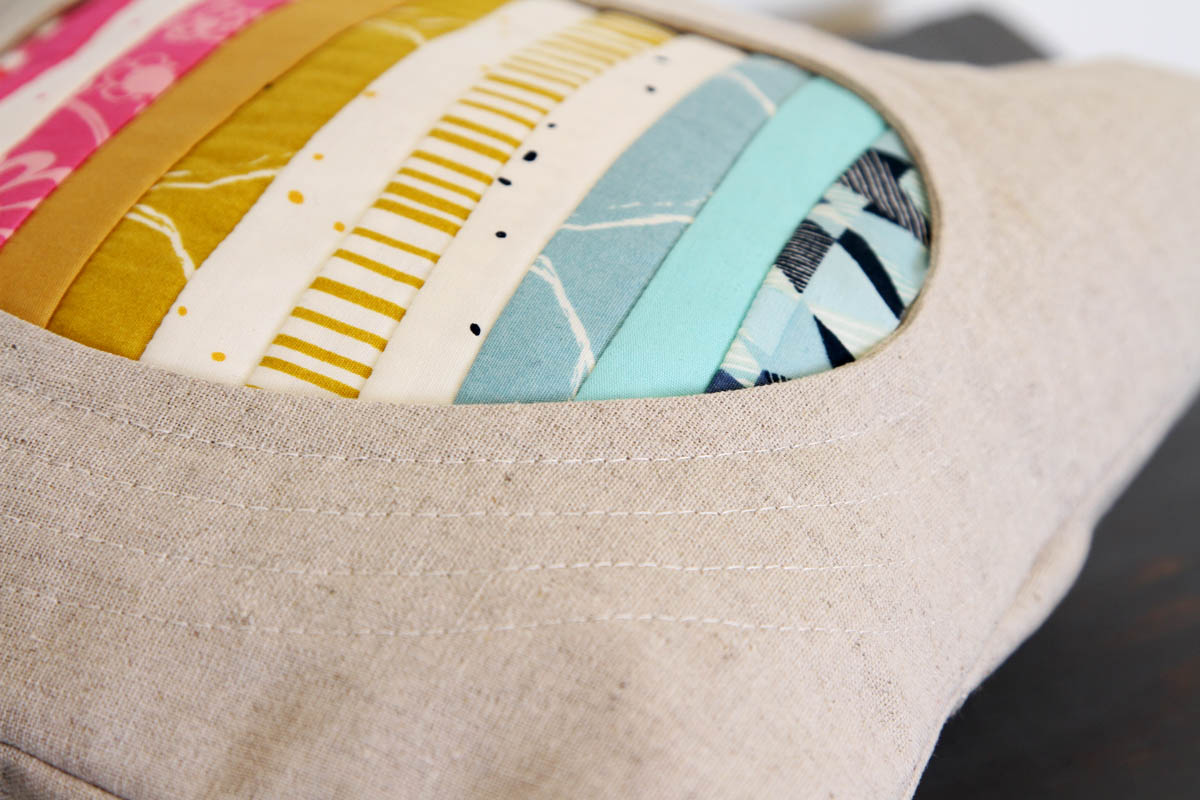
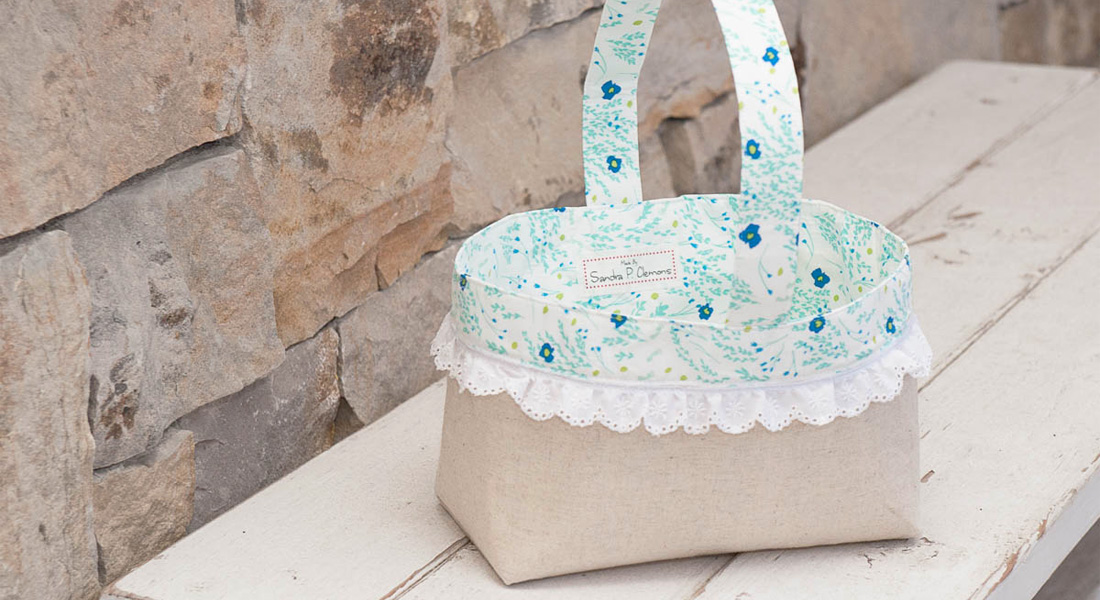
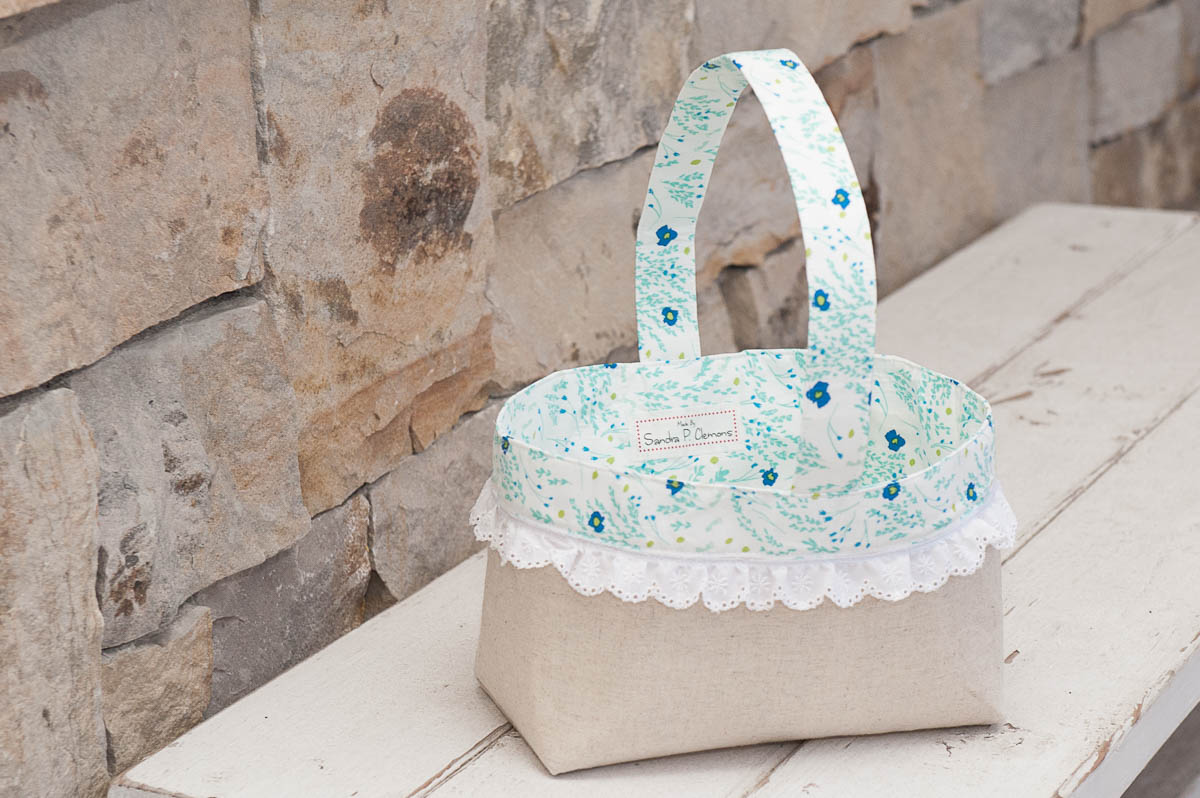
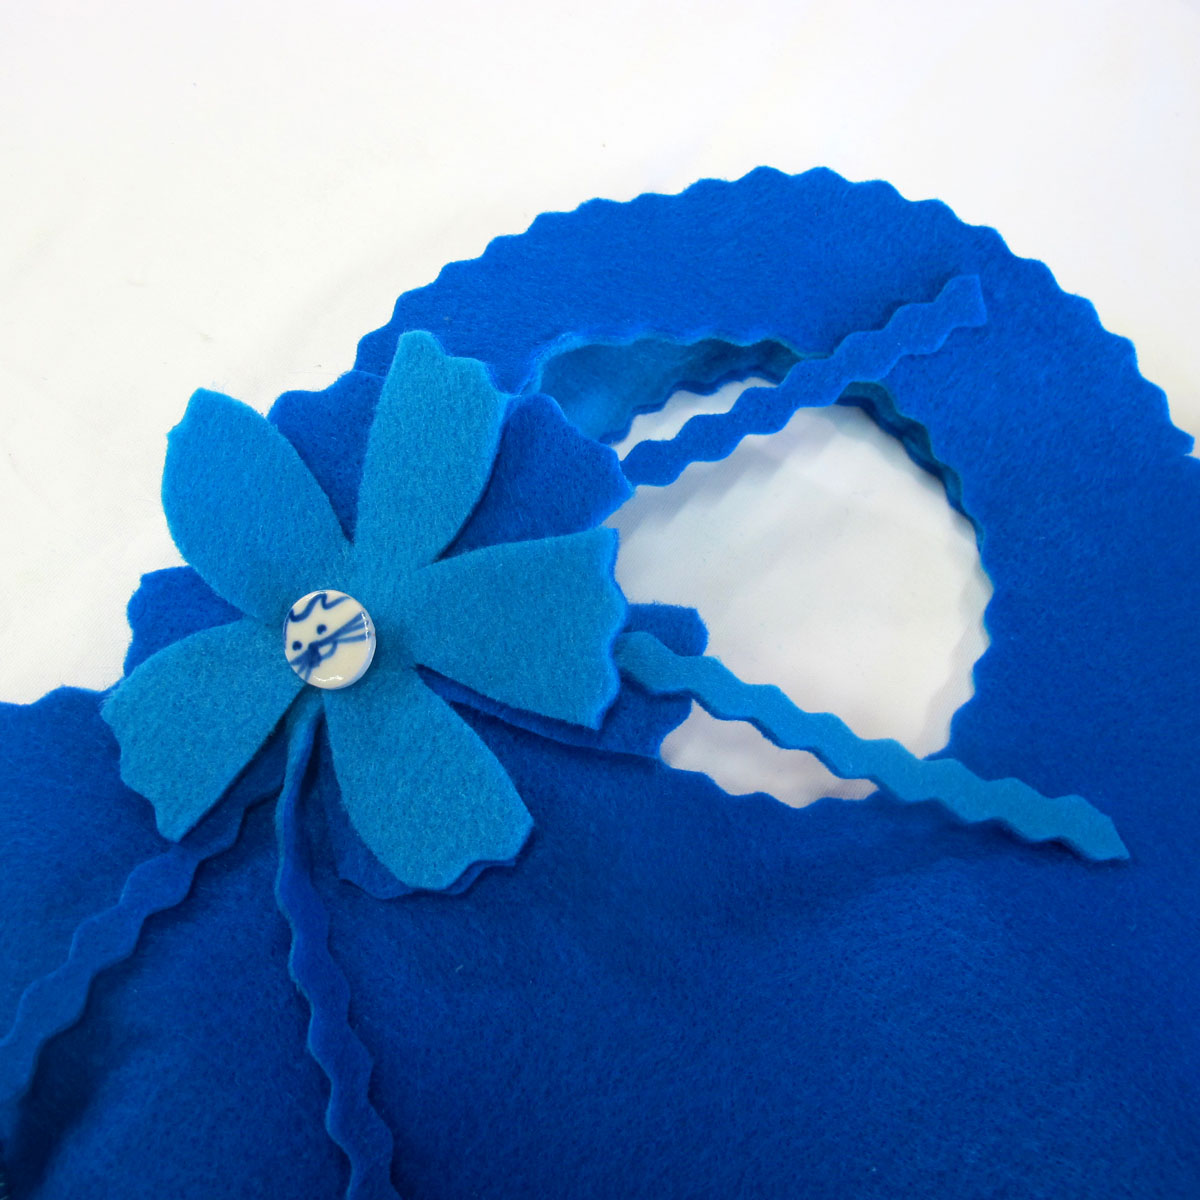
- The fun part: fabric remnants! You’ll need 2 pieces at least 16″ x 16″ for your front and back, and feel free to get creative with your decorating fabric/trim choices. (If you don’t have fabric remnants, thrifting materials is preferred, but any fabric will work.)
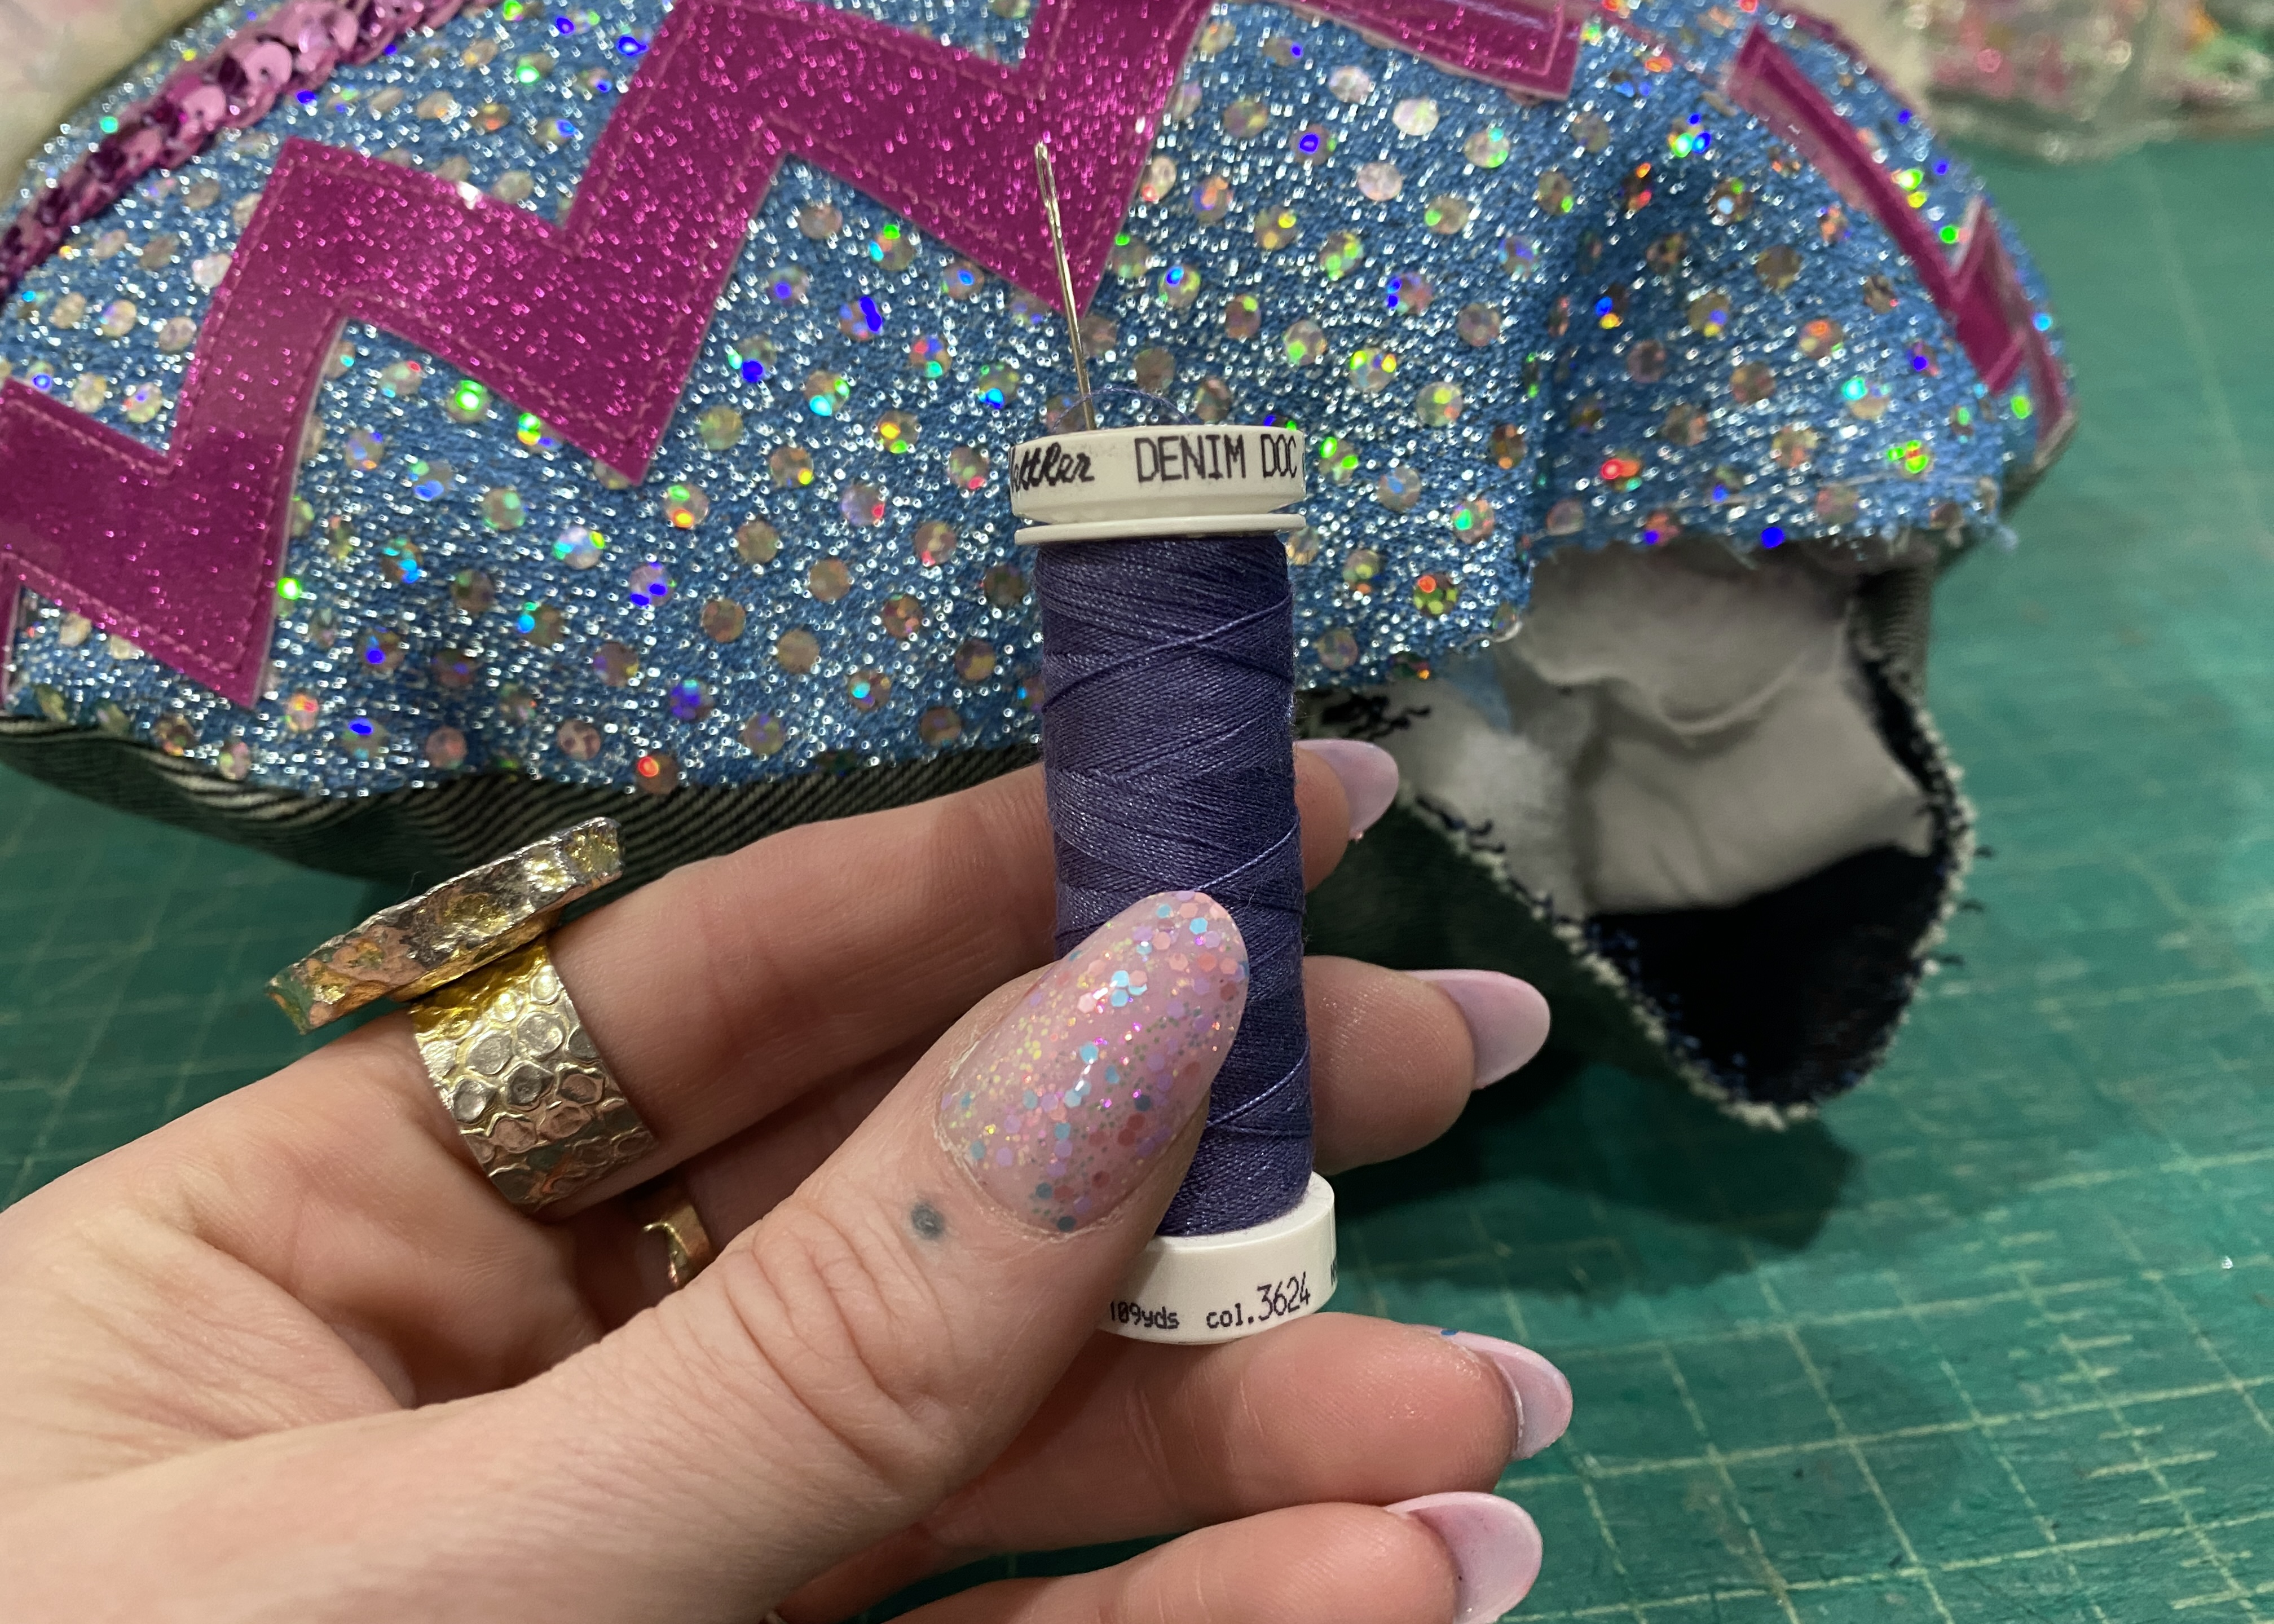
- Coordinating thread


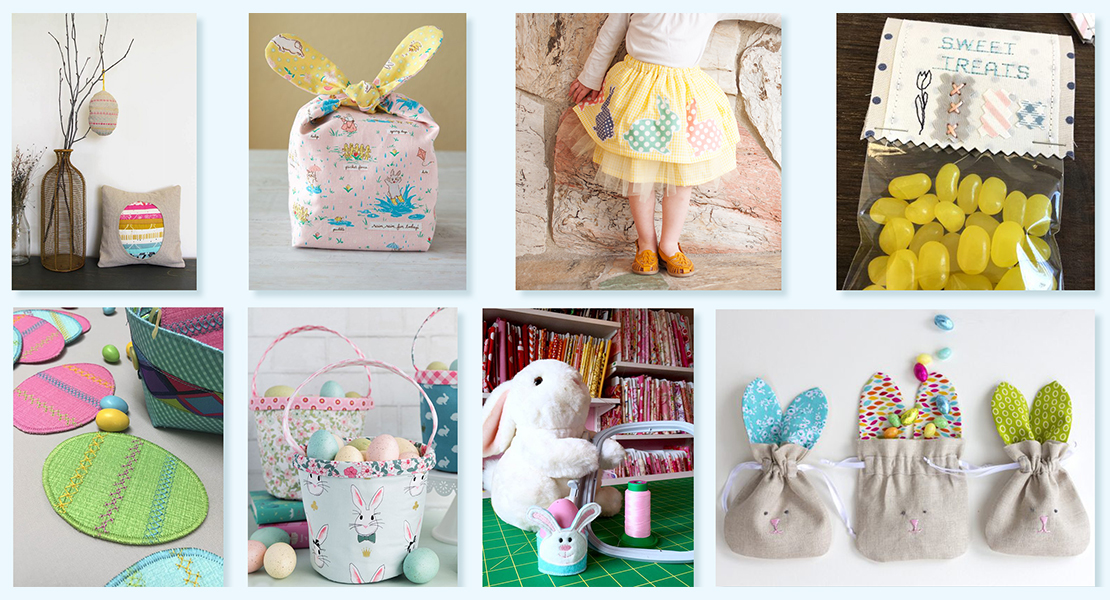
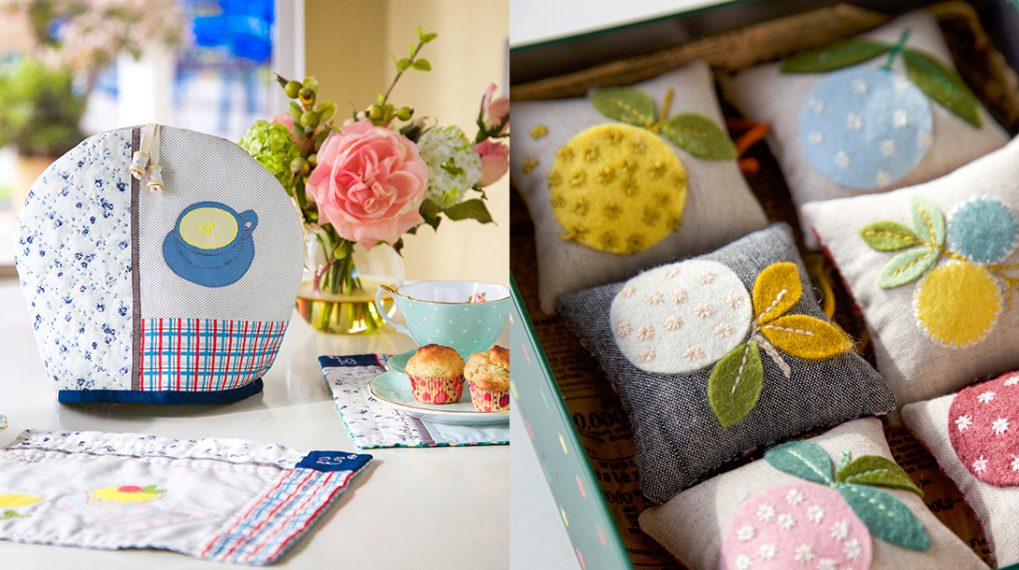
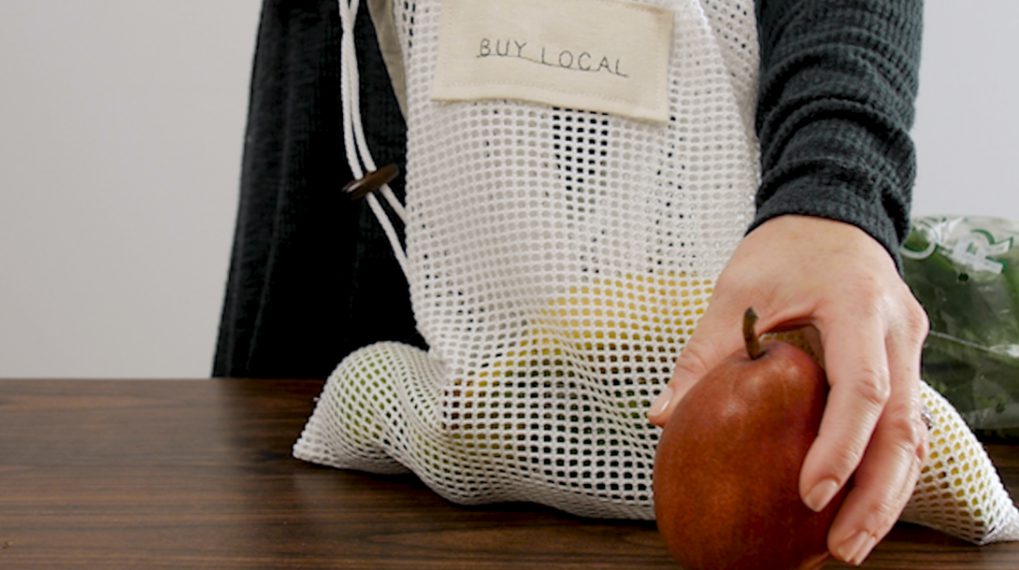
What you might also like


One comment on “Remnant Eco Easter Egg Pillow”
Leave a Reply
You must be logged in to post a comment.

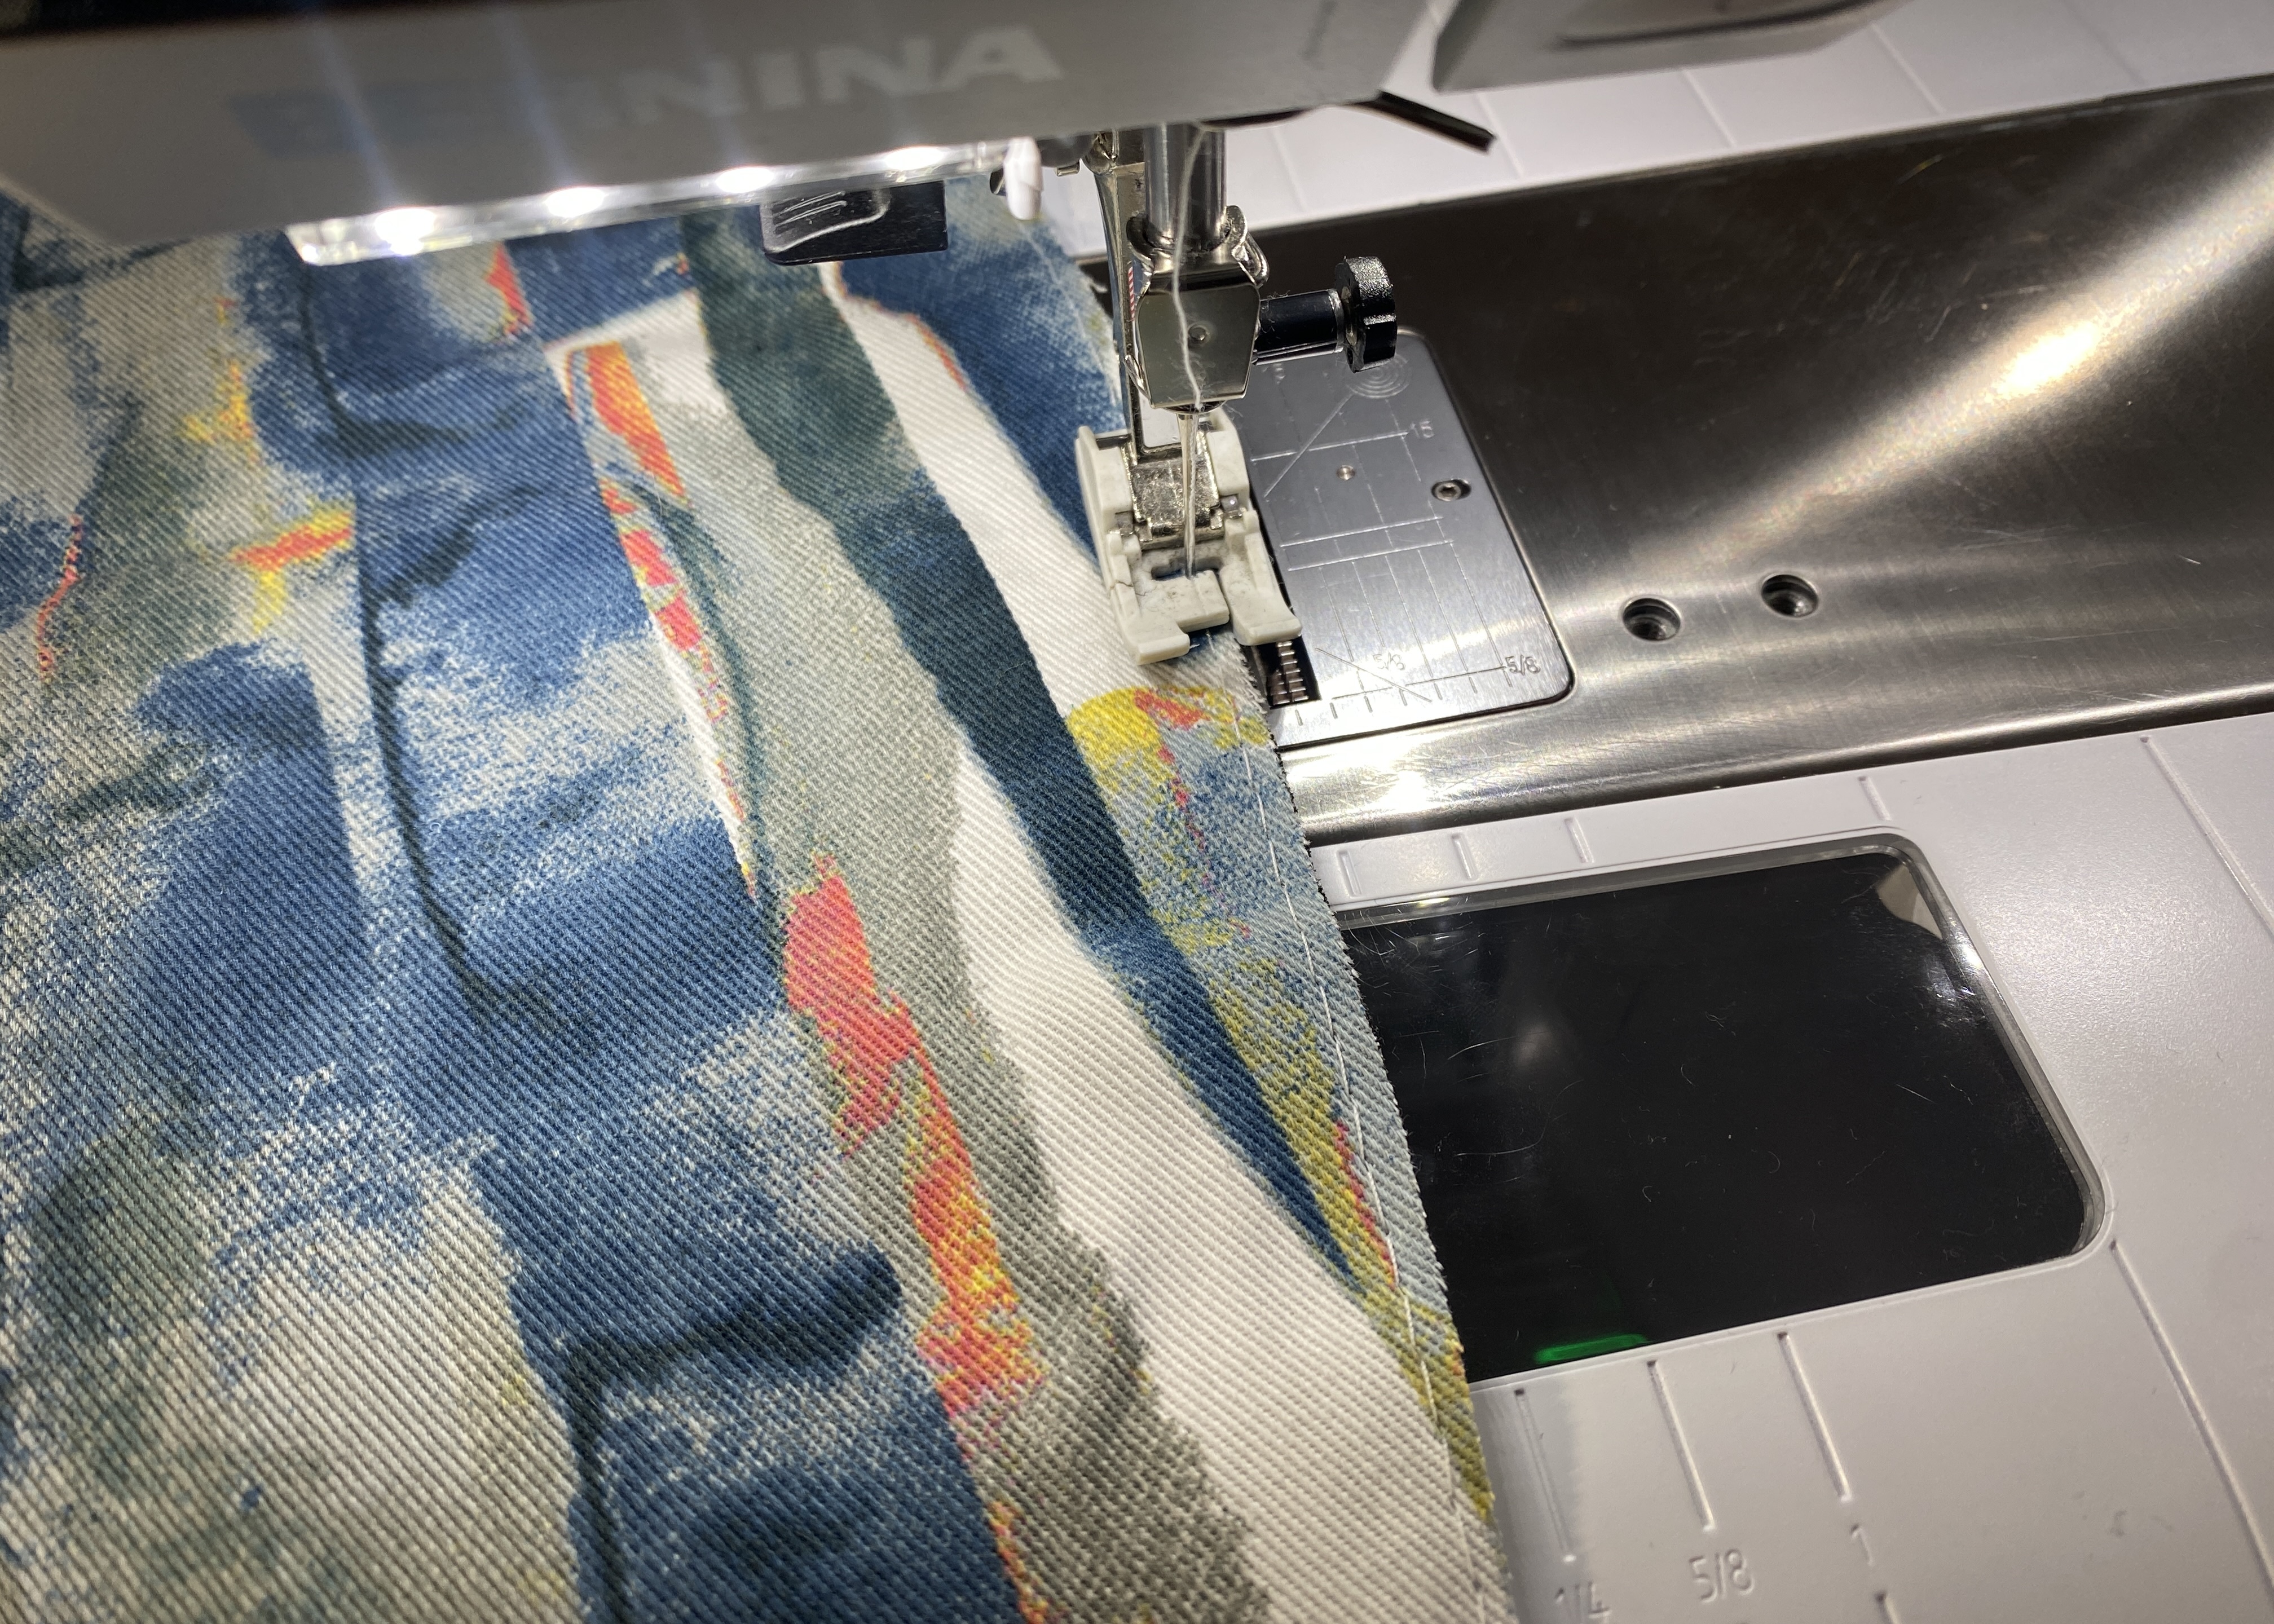
Do you mean non-STICK presser foot?
“PS: If you have a non-stitch presser foot, now is the time you want to use it 🙂”