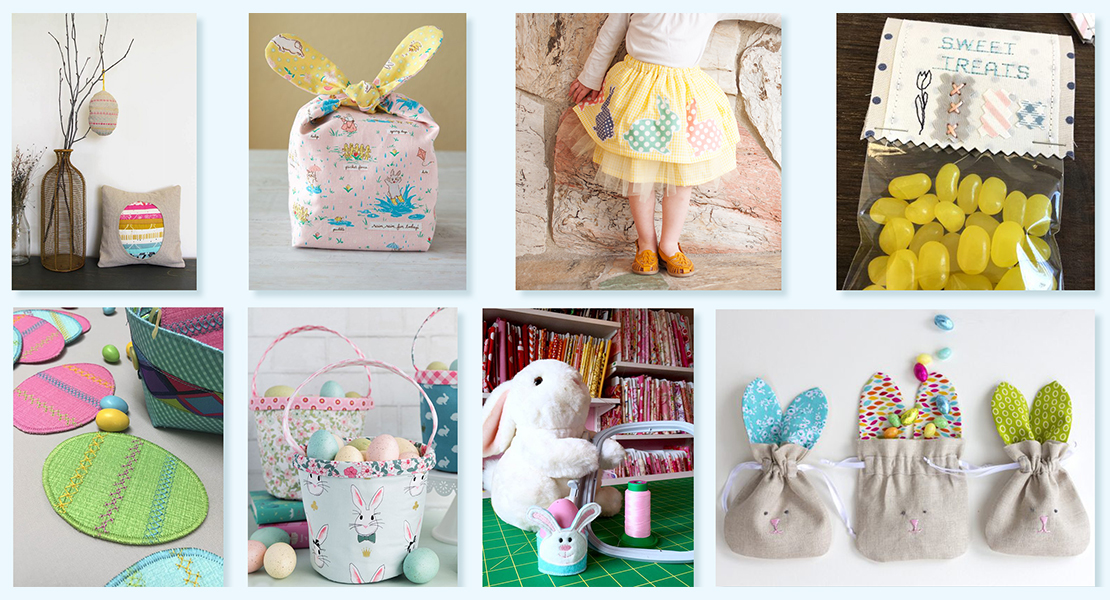
Quilted Easter Basket Tutorial
Hello WeAllSew readers,
It’s Minki Kim, and you can find me at Instagram @zeriano and MinkiKim.com. I also design fabric for Riley Blake Designs and I have my own line of sewing patterns.
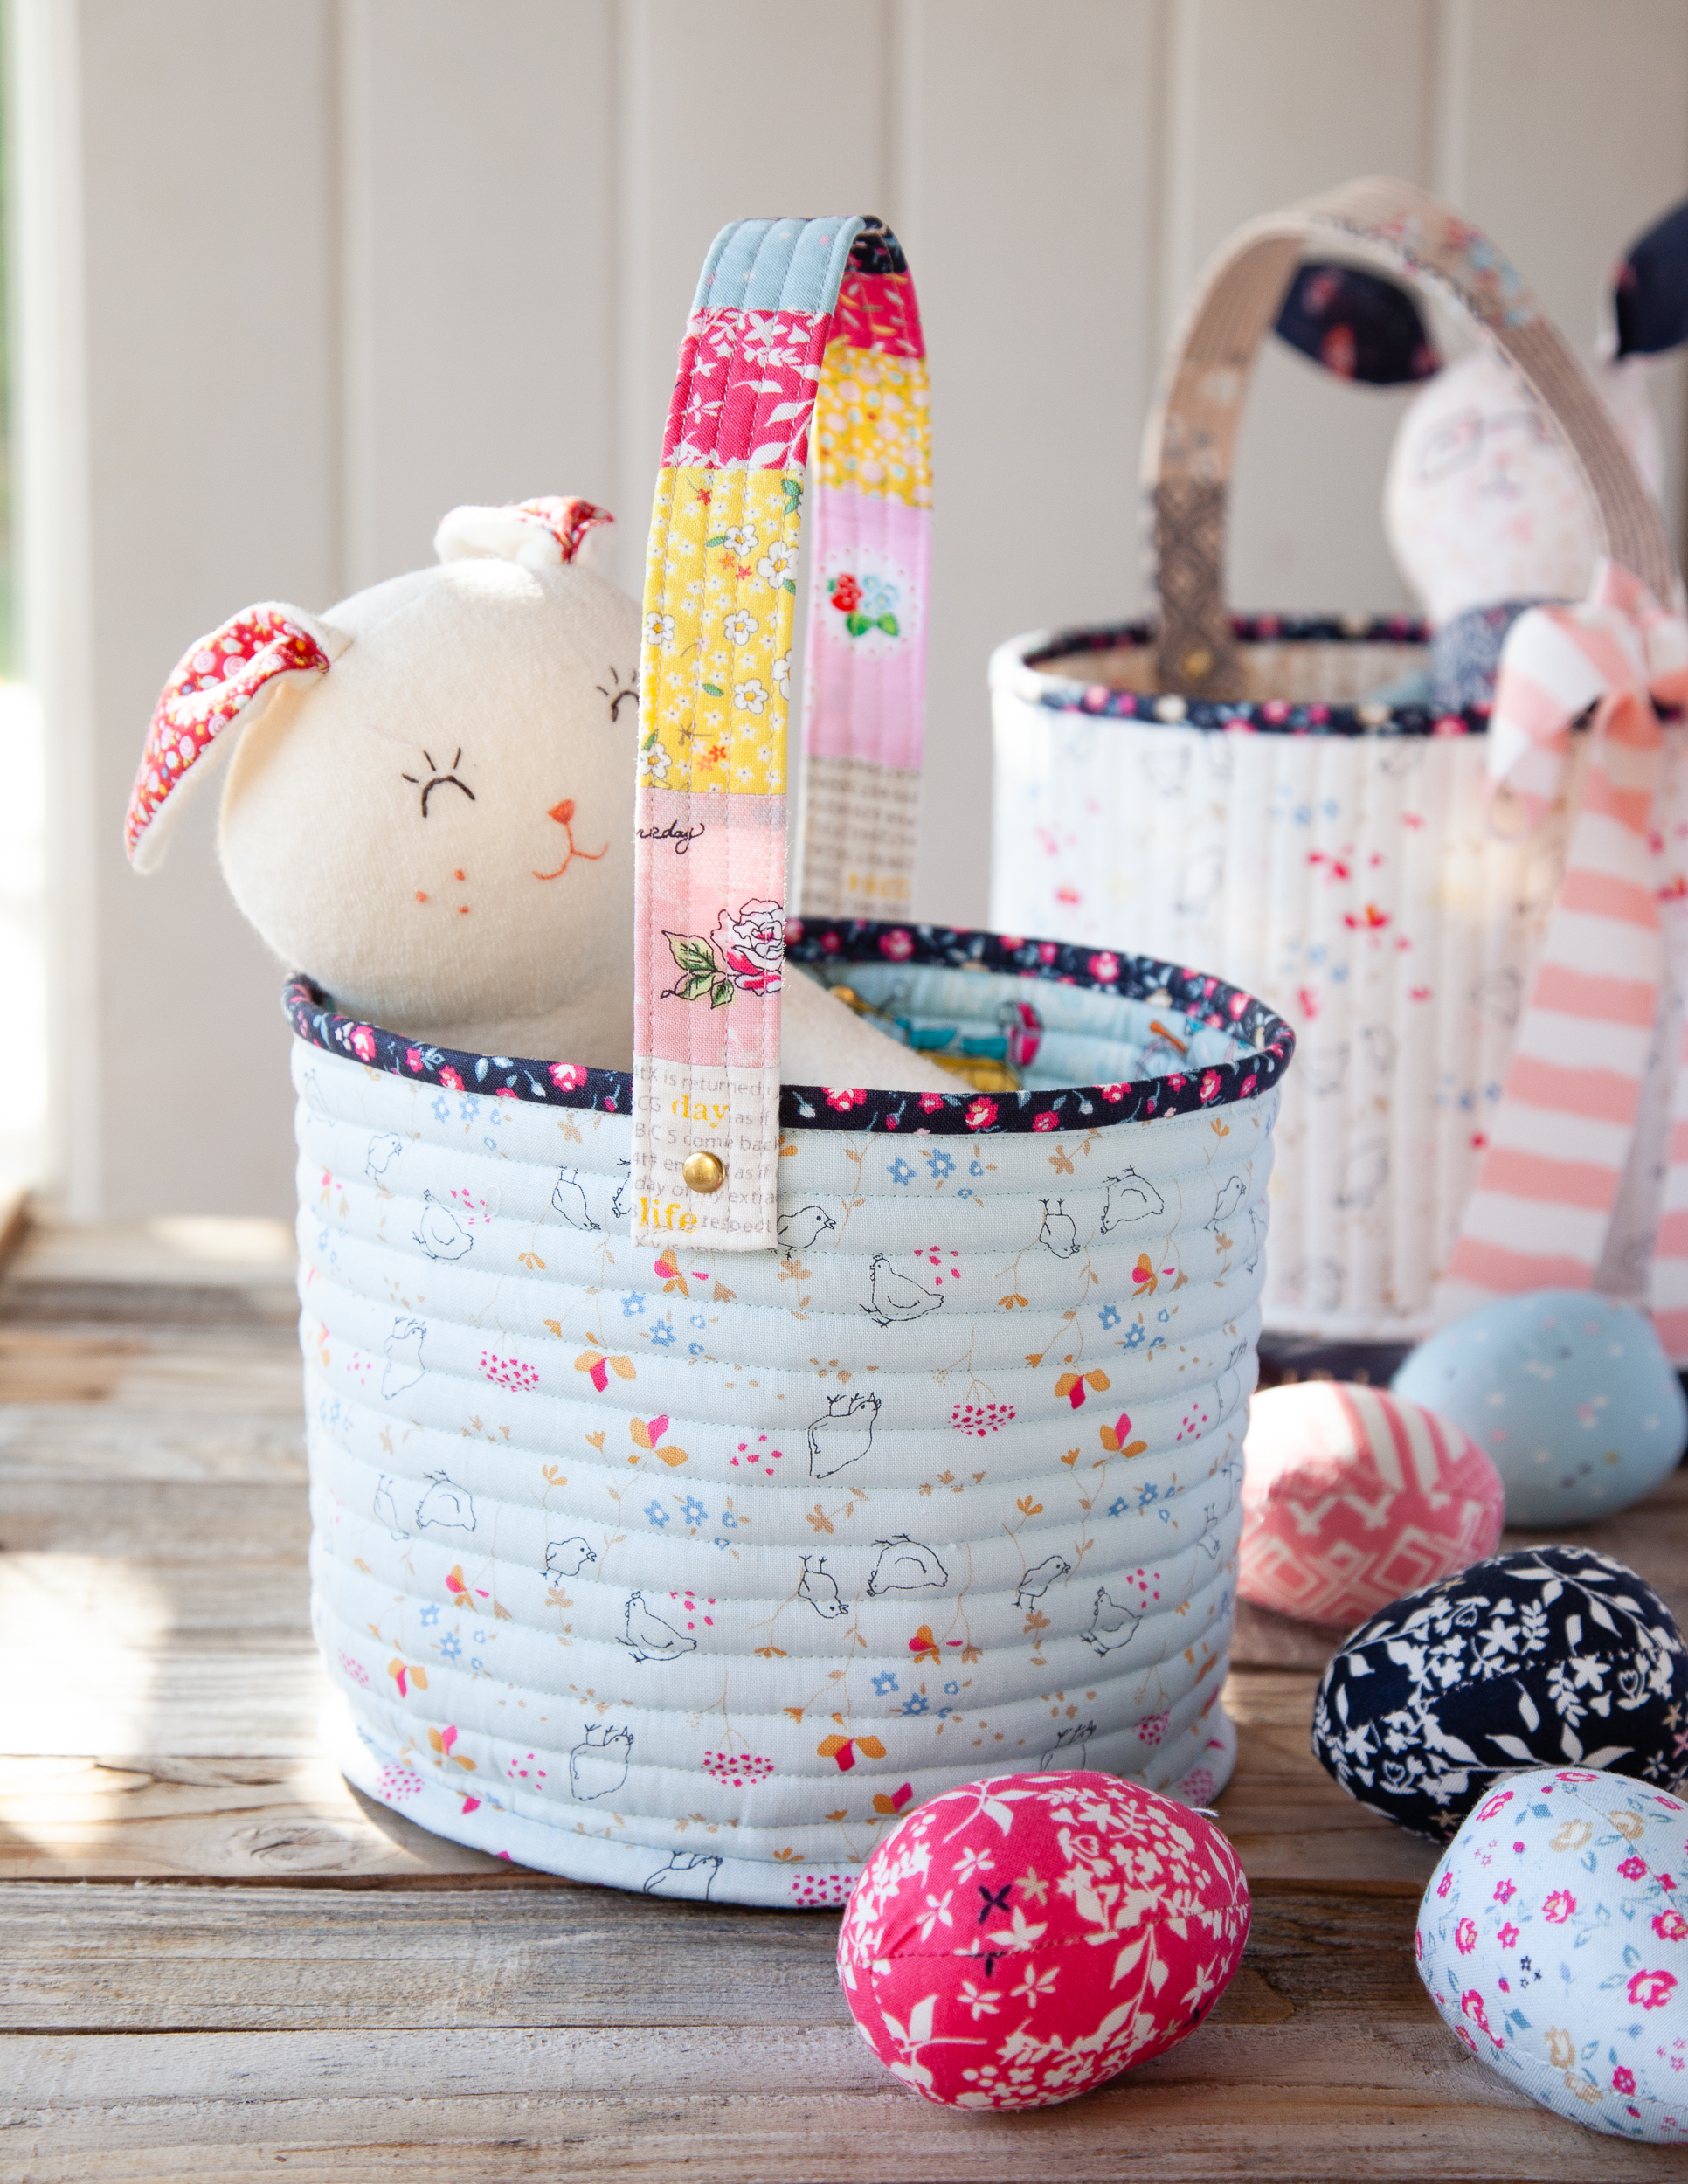
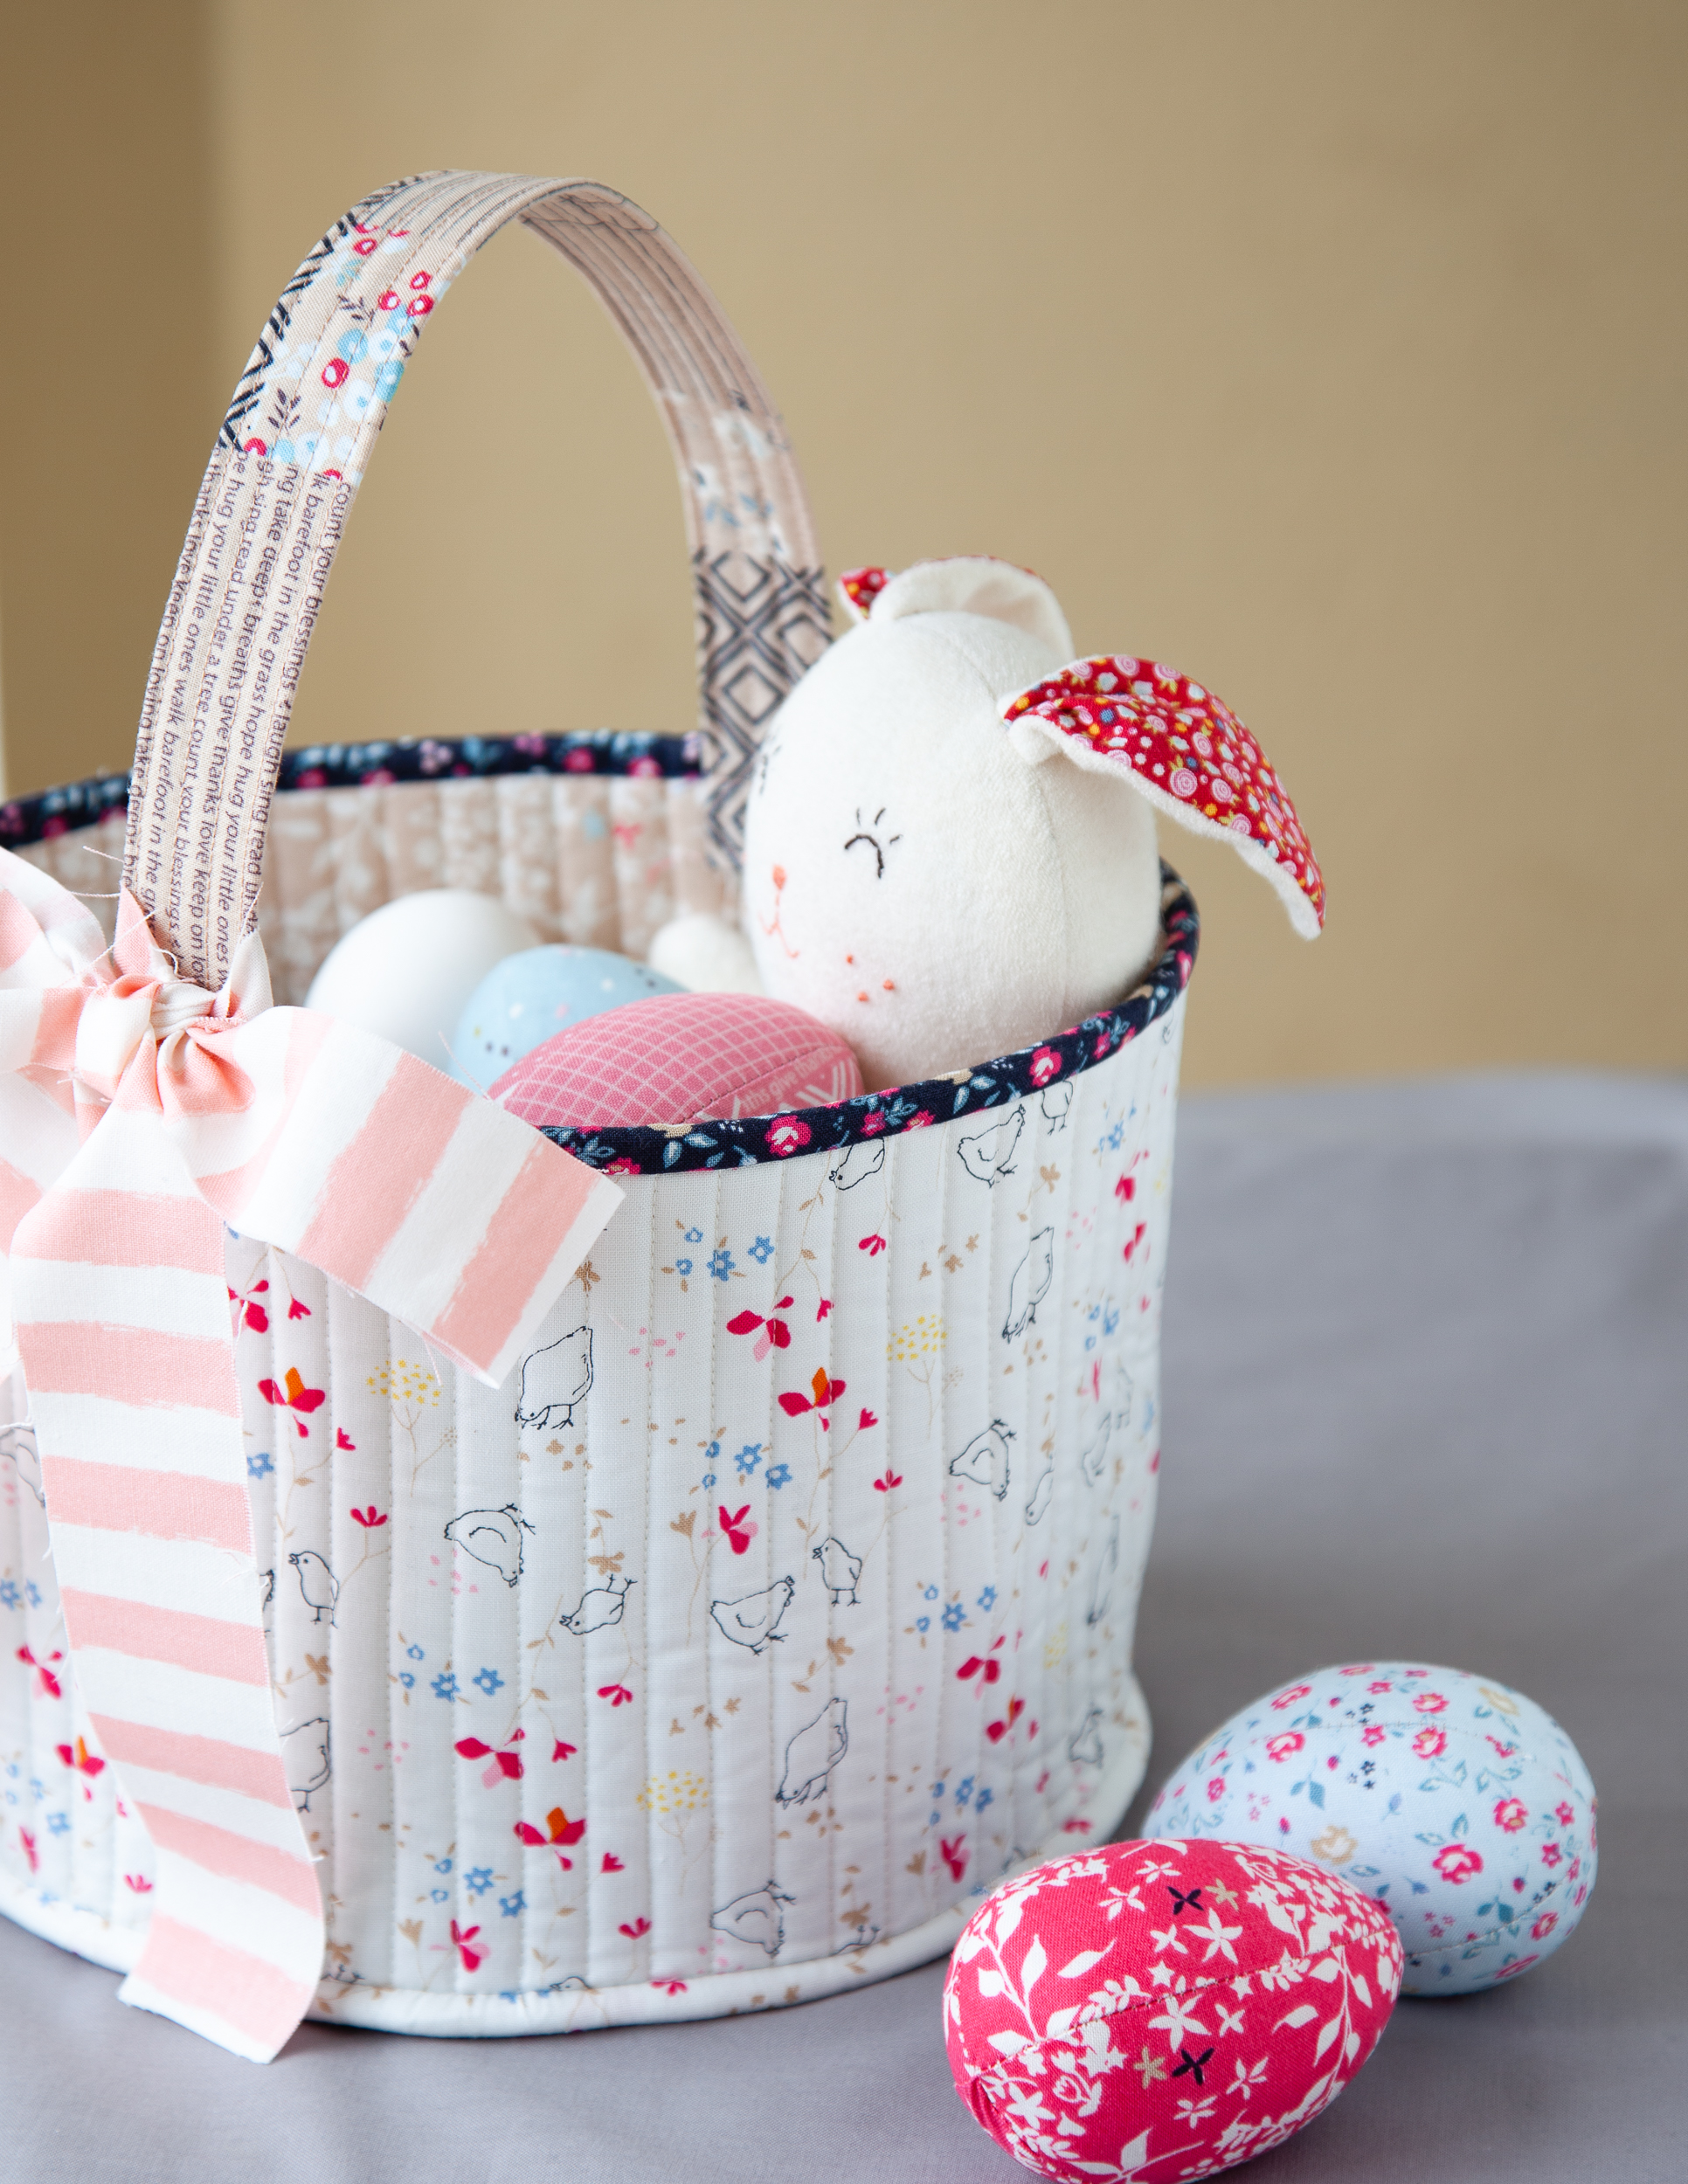
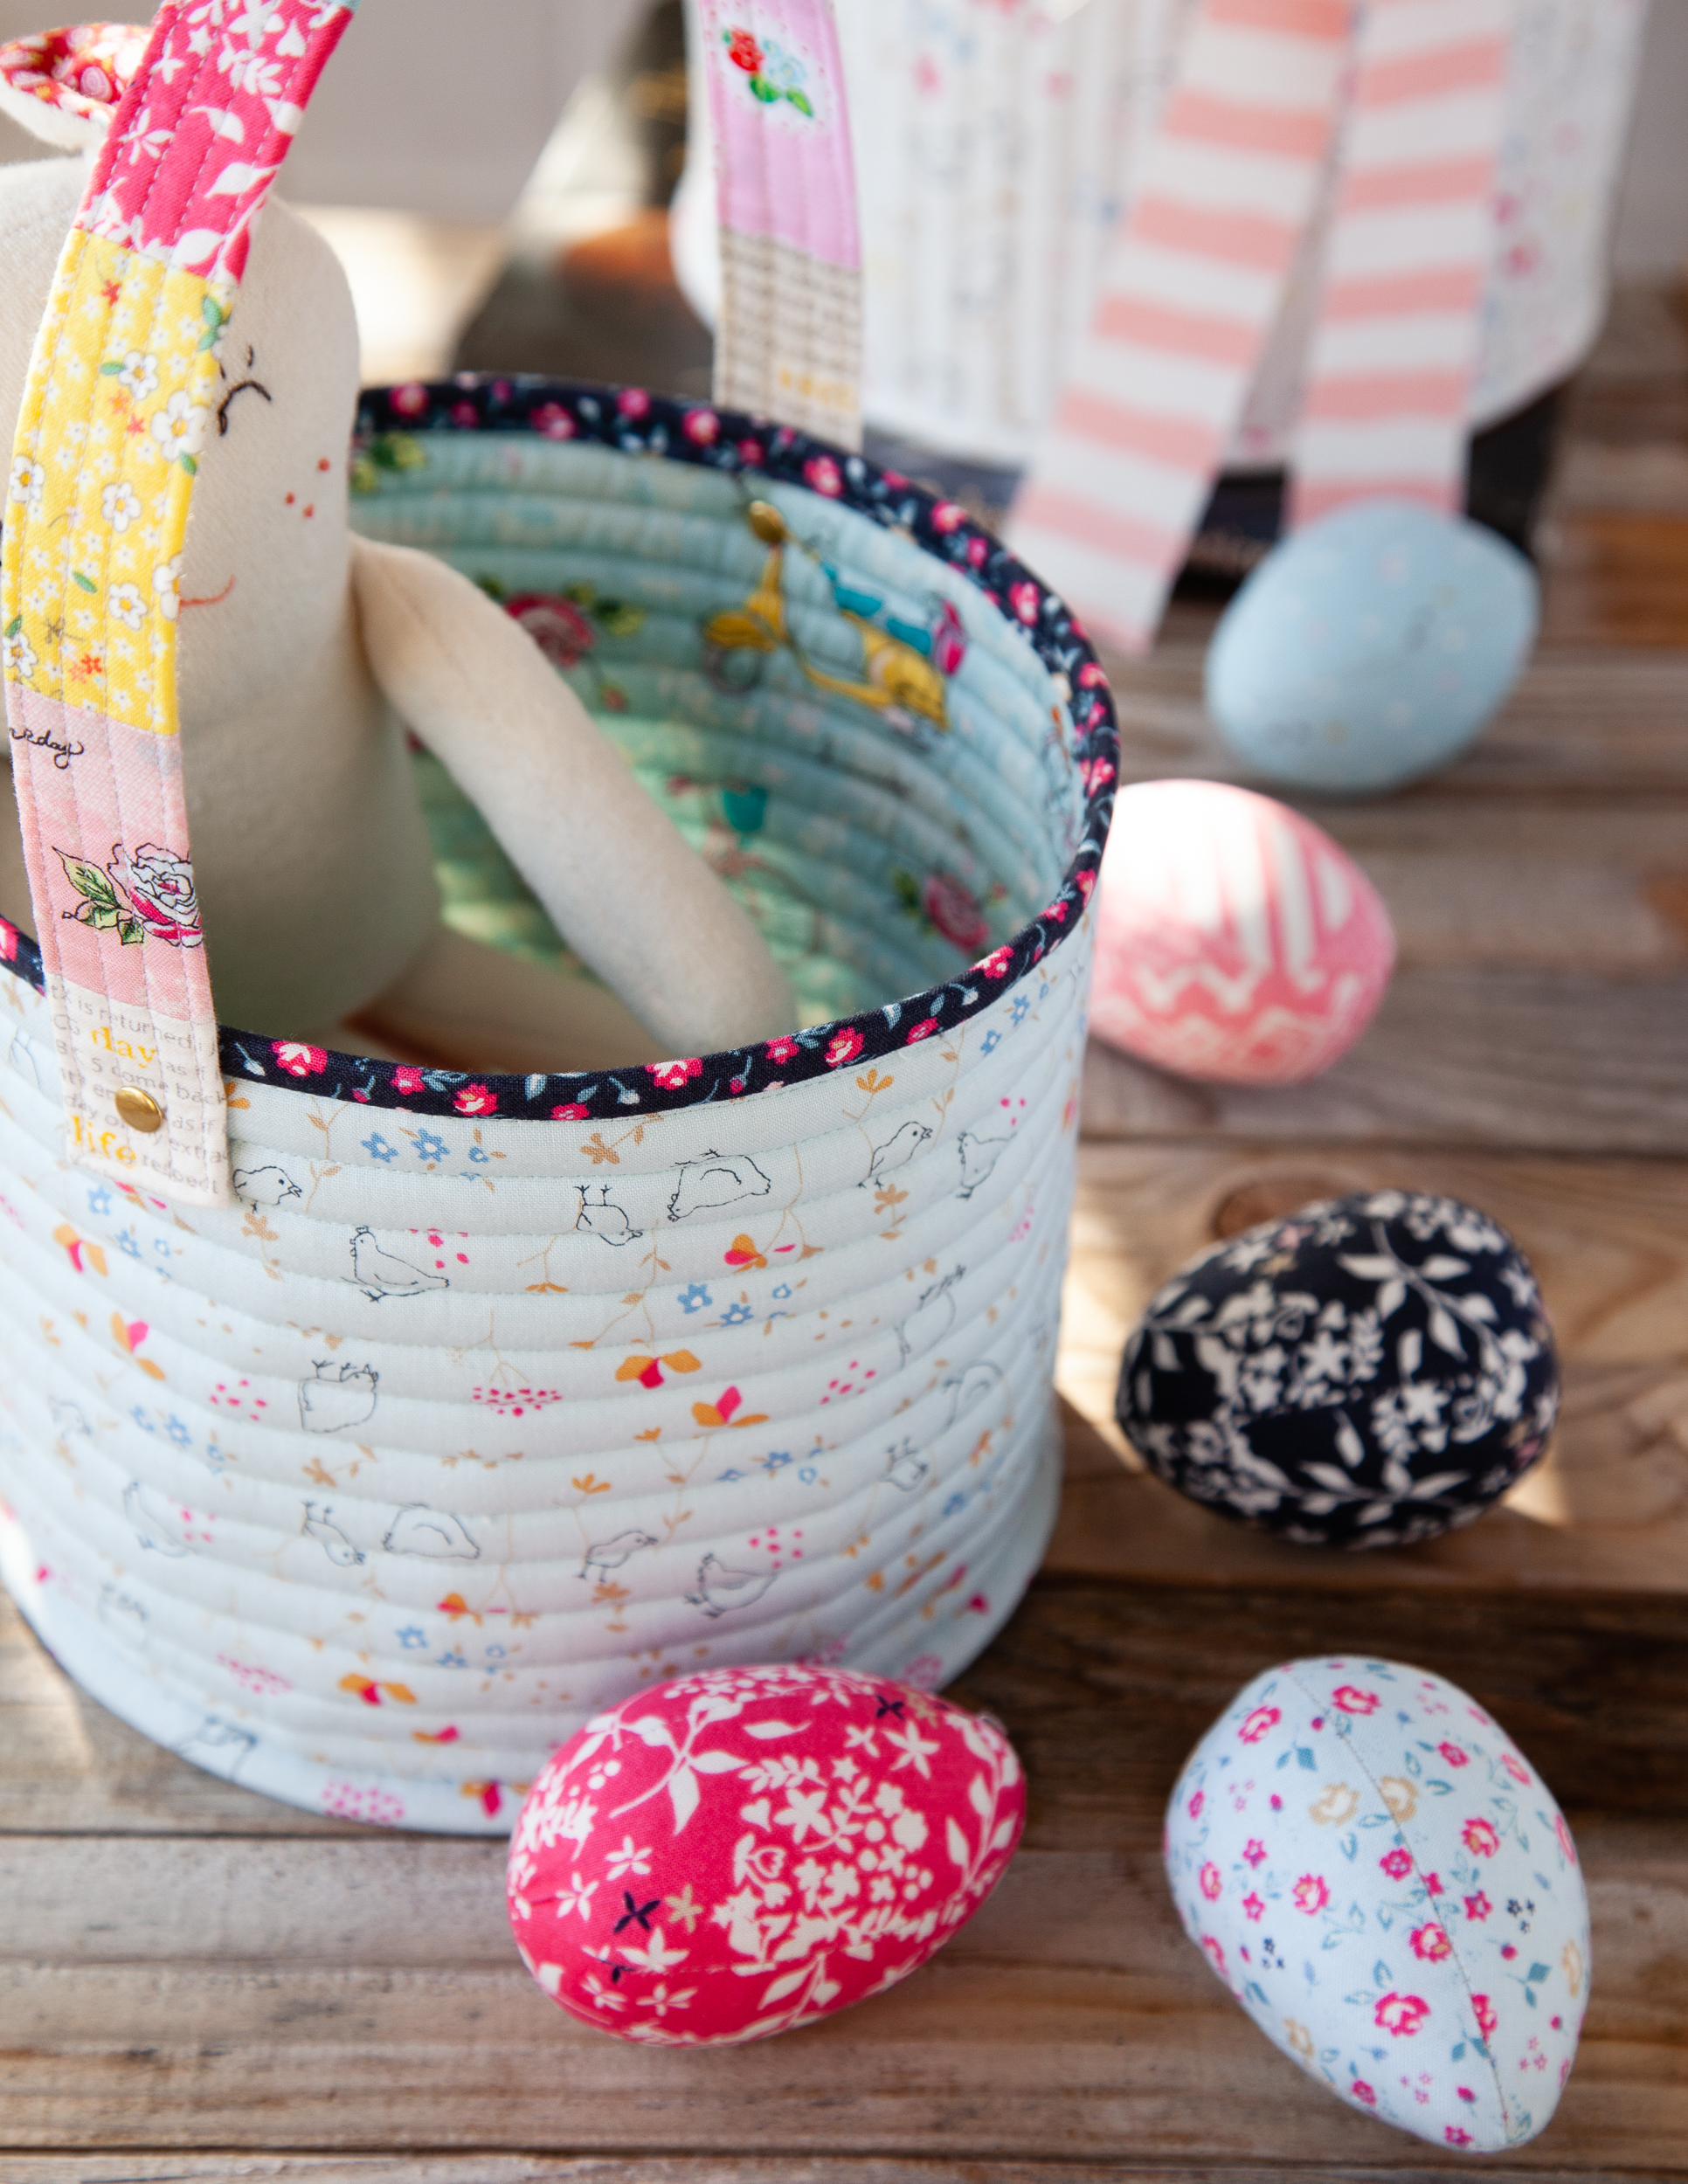
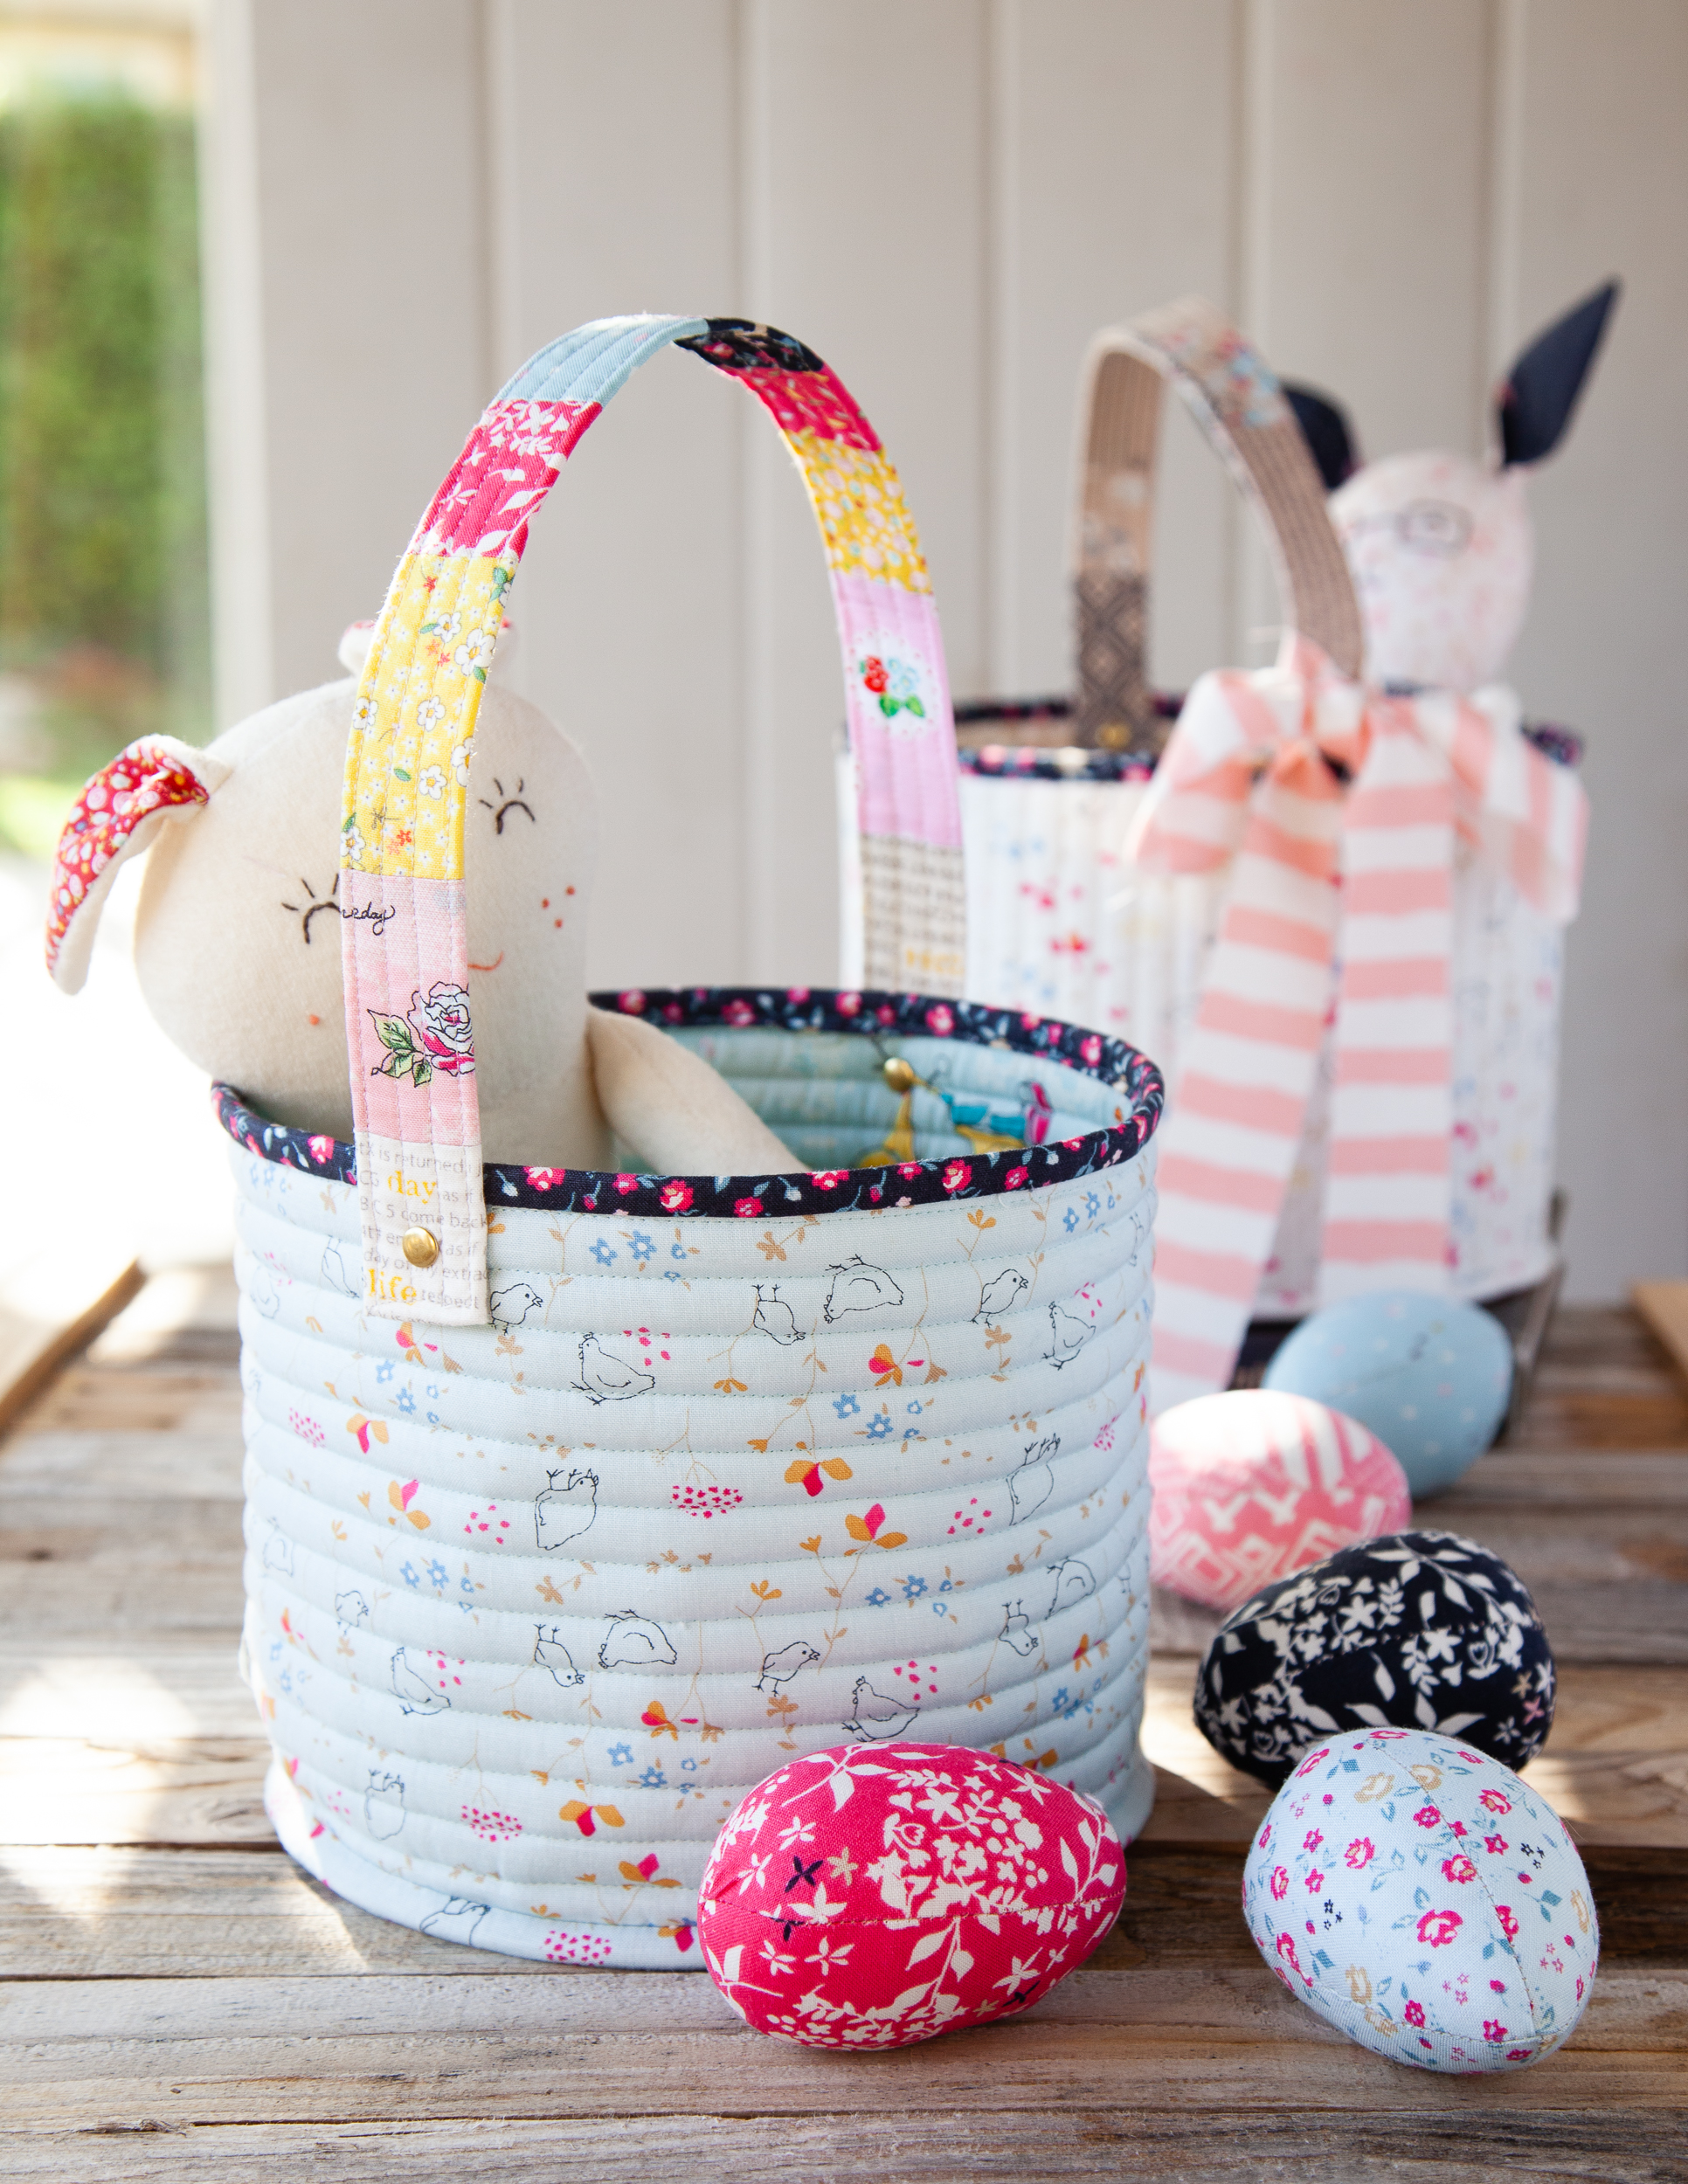
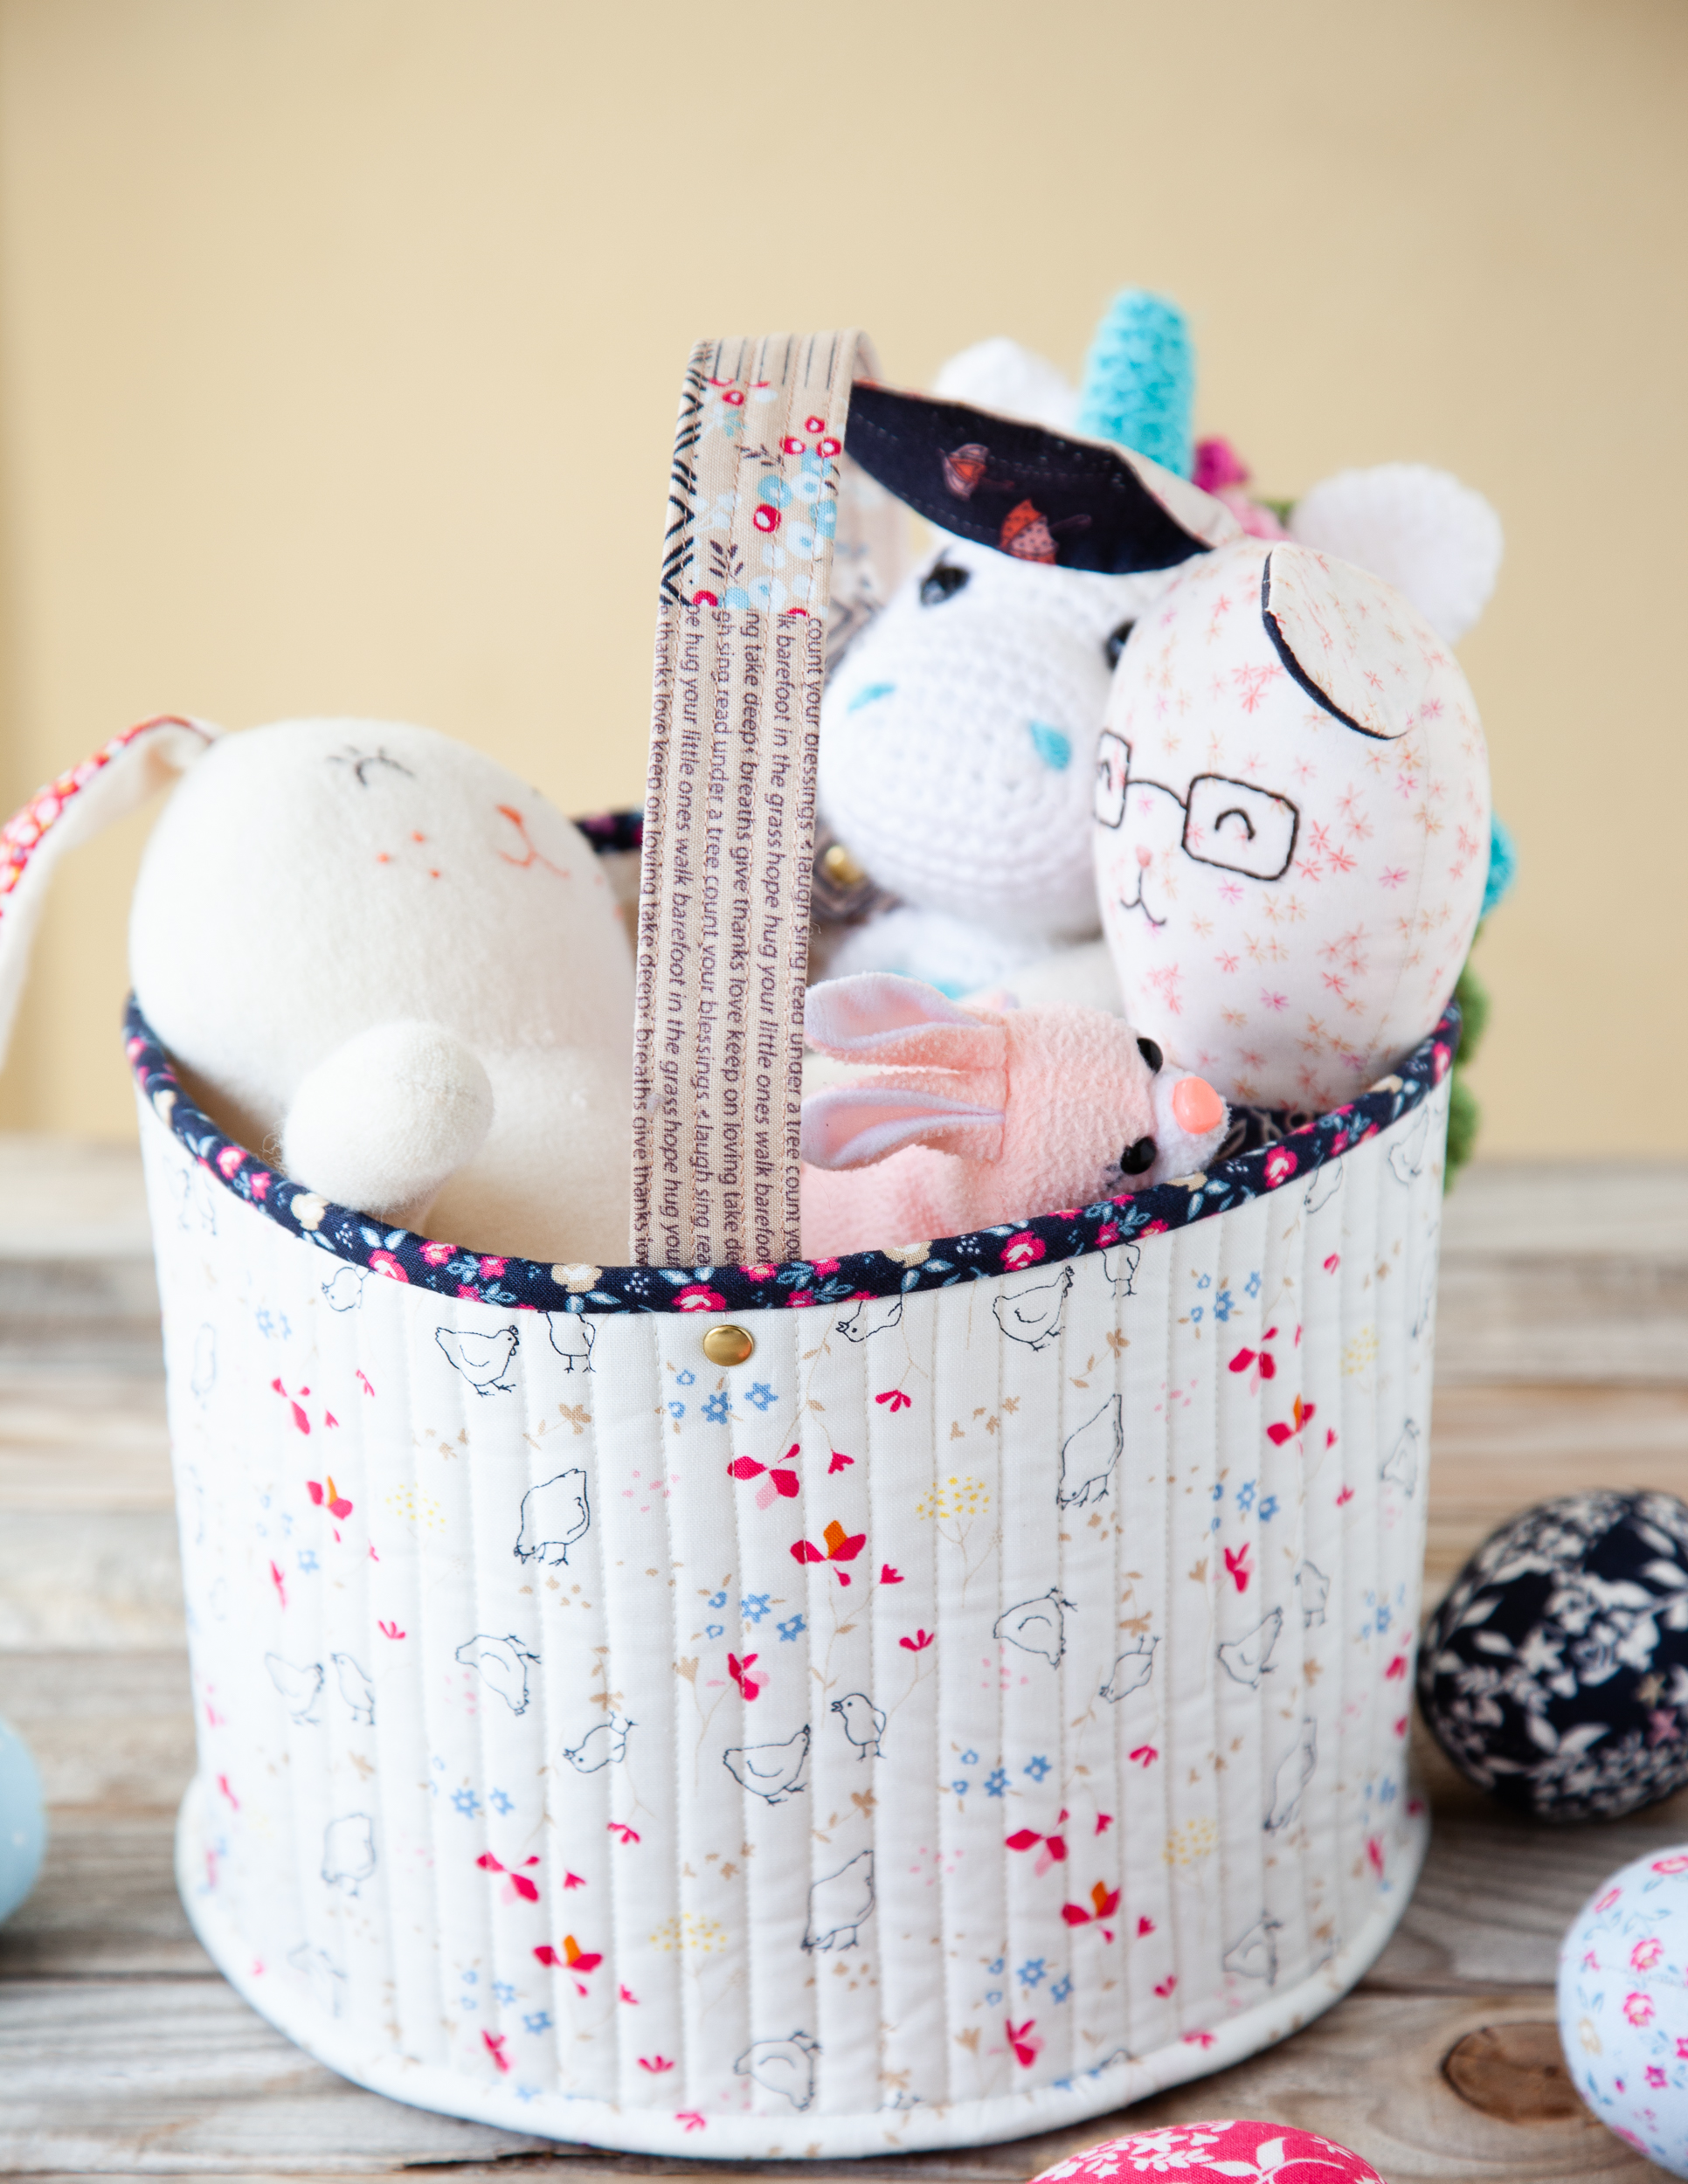
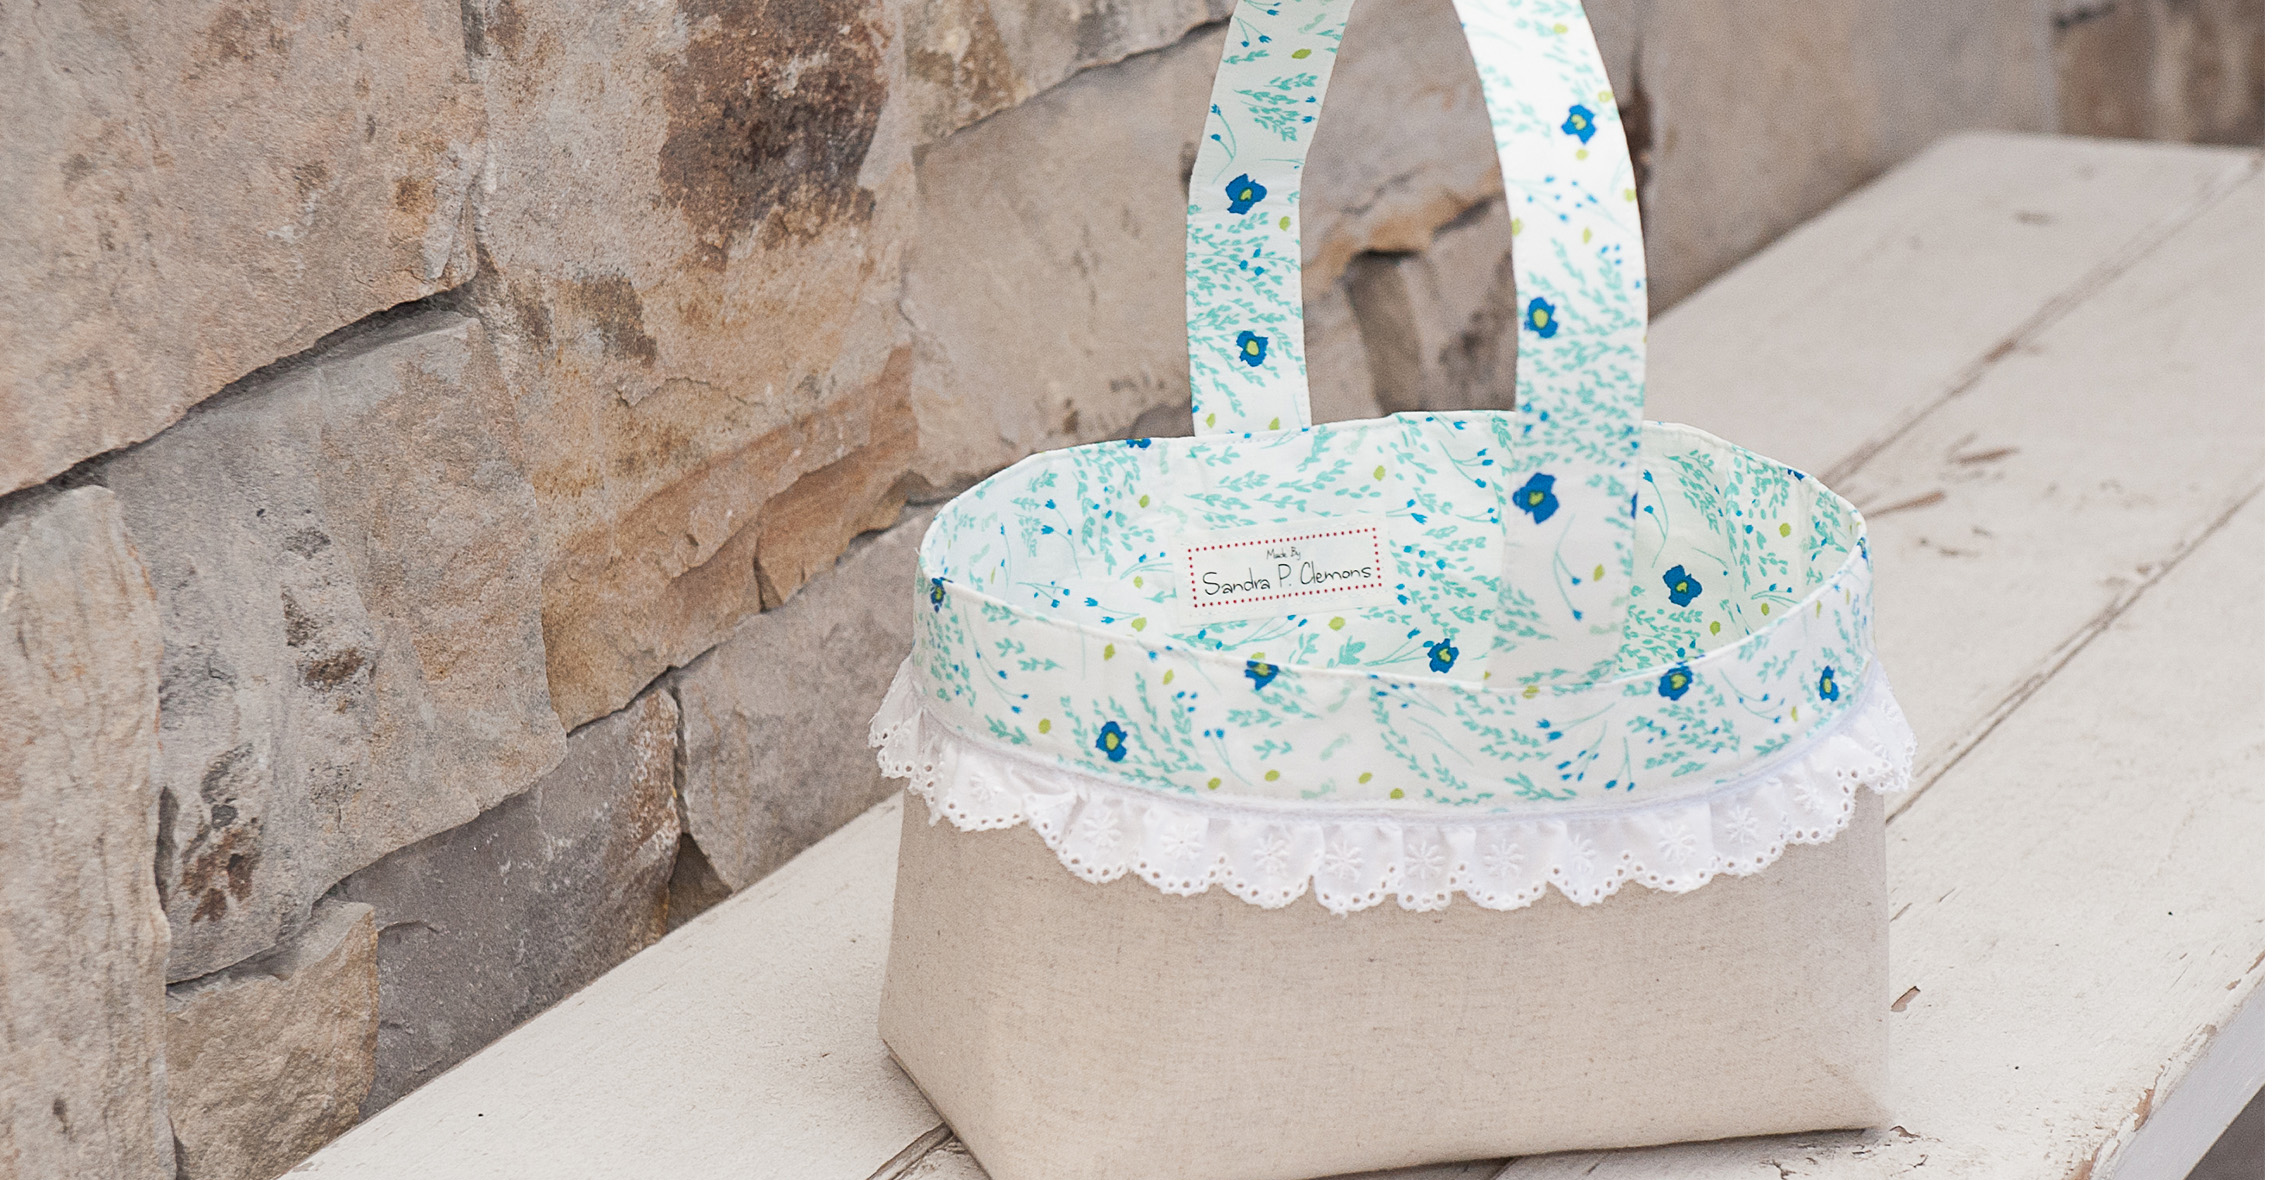
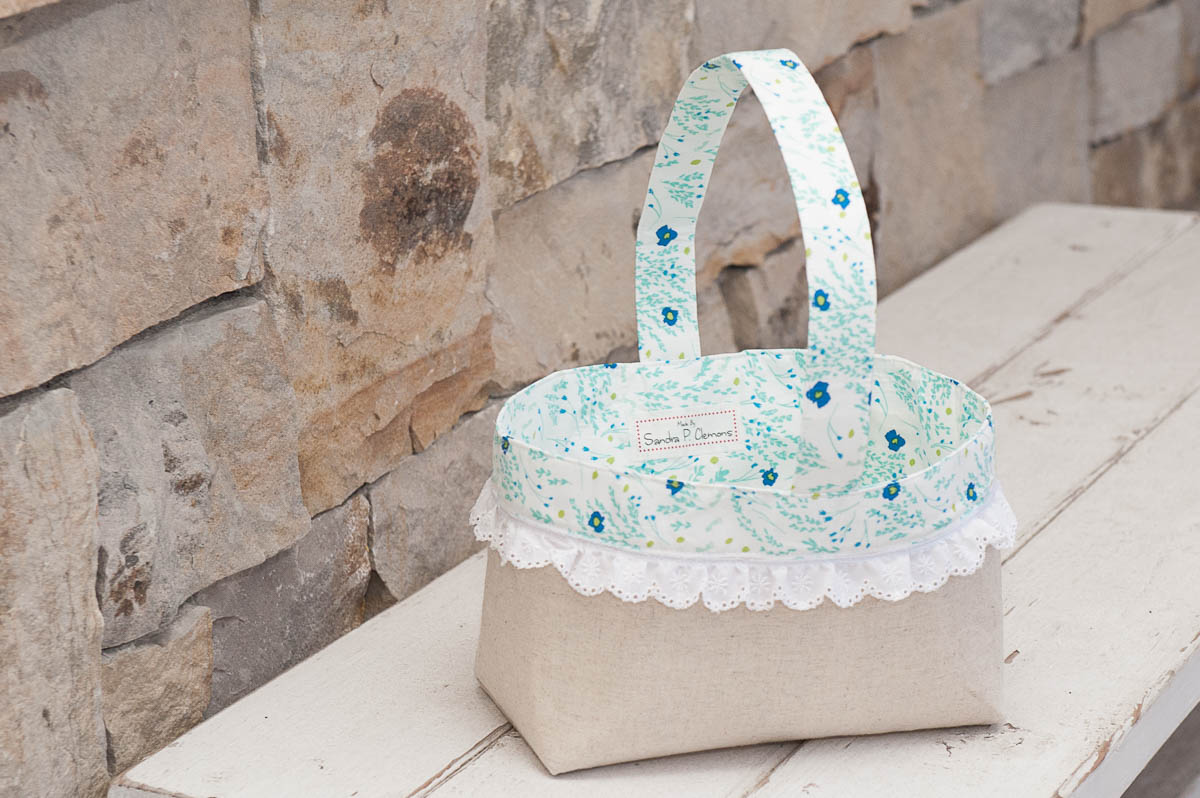
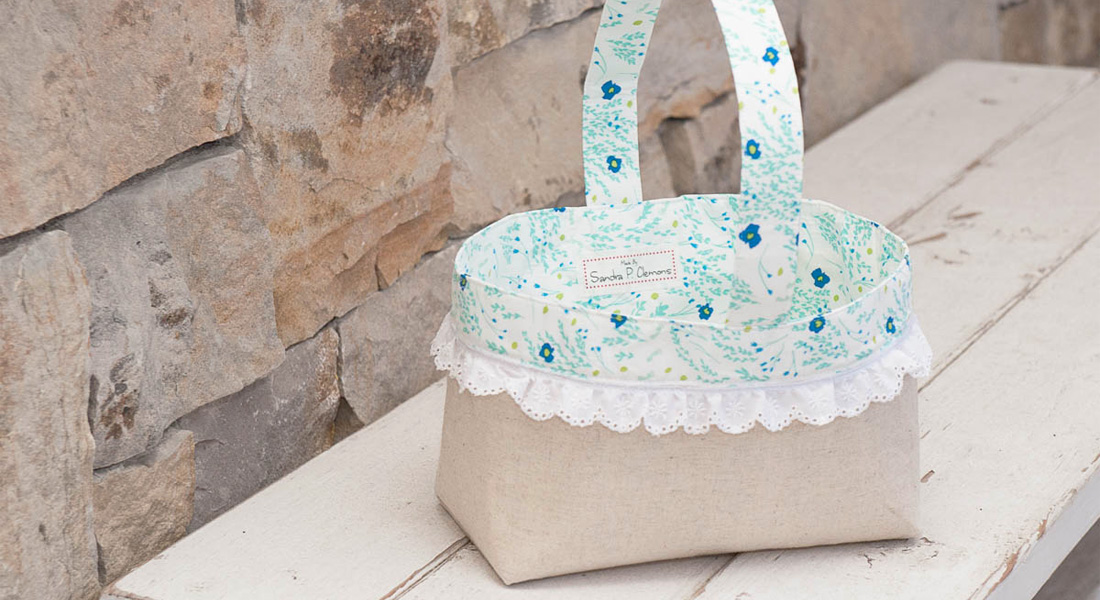
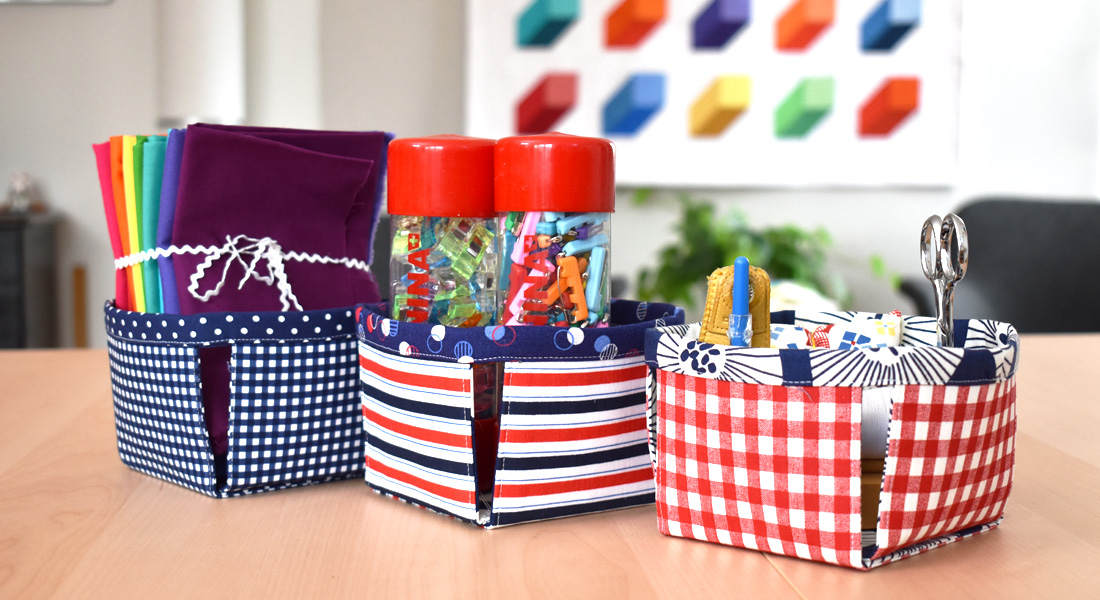
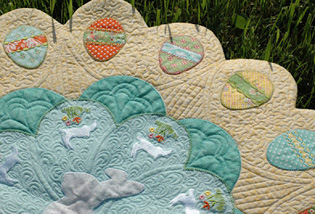
I would like to share these quilted fabric baskets that are easy to sew, and fun to fill with Easter treats and goodies. Perfect for kids and adults, too, this is a basket you can use year-round in your sewing room, kitchen or kids room to store all kinds of things.
I hope you enjoy!
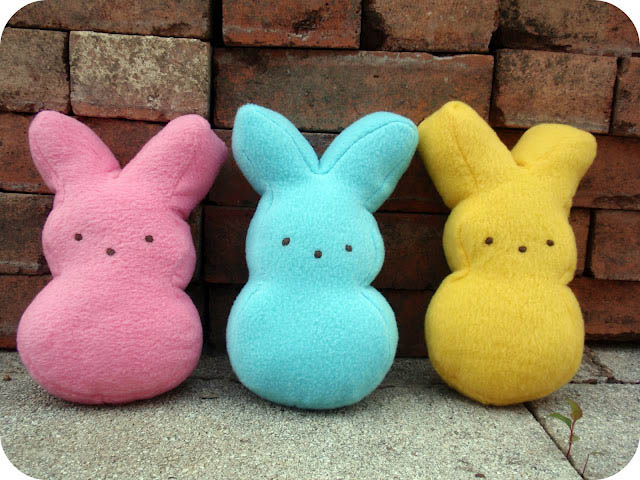
These bunny dolls are called “Rabbit Soft Toy”, one of the beautiful projects from Made for Baby book by Ayda Algin (Tuva publishing).
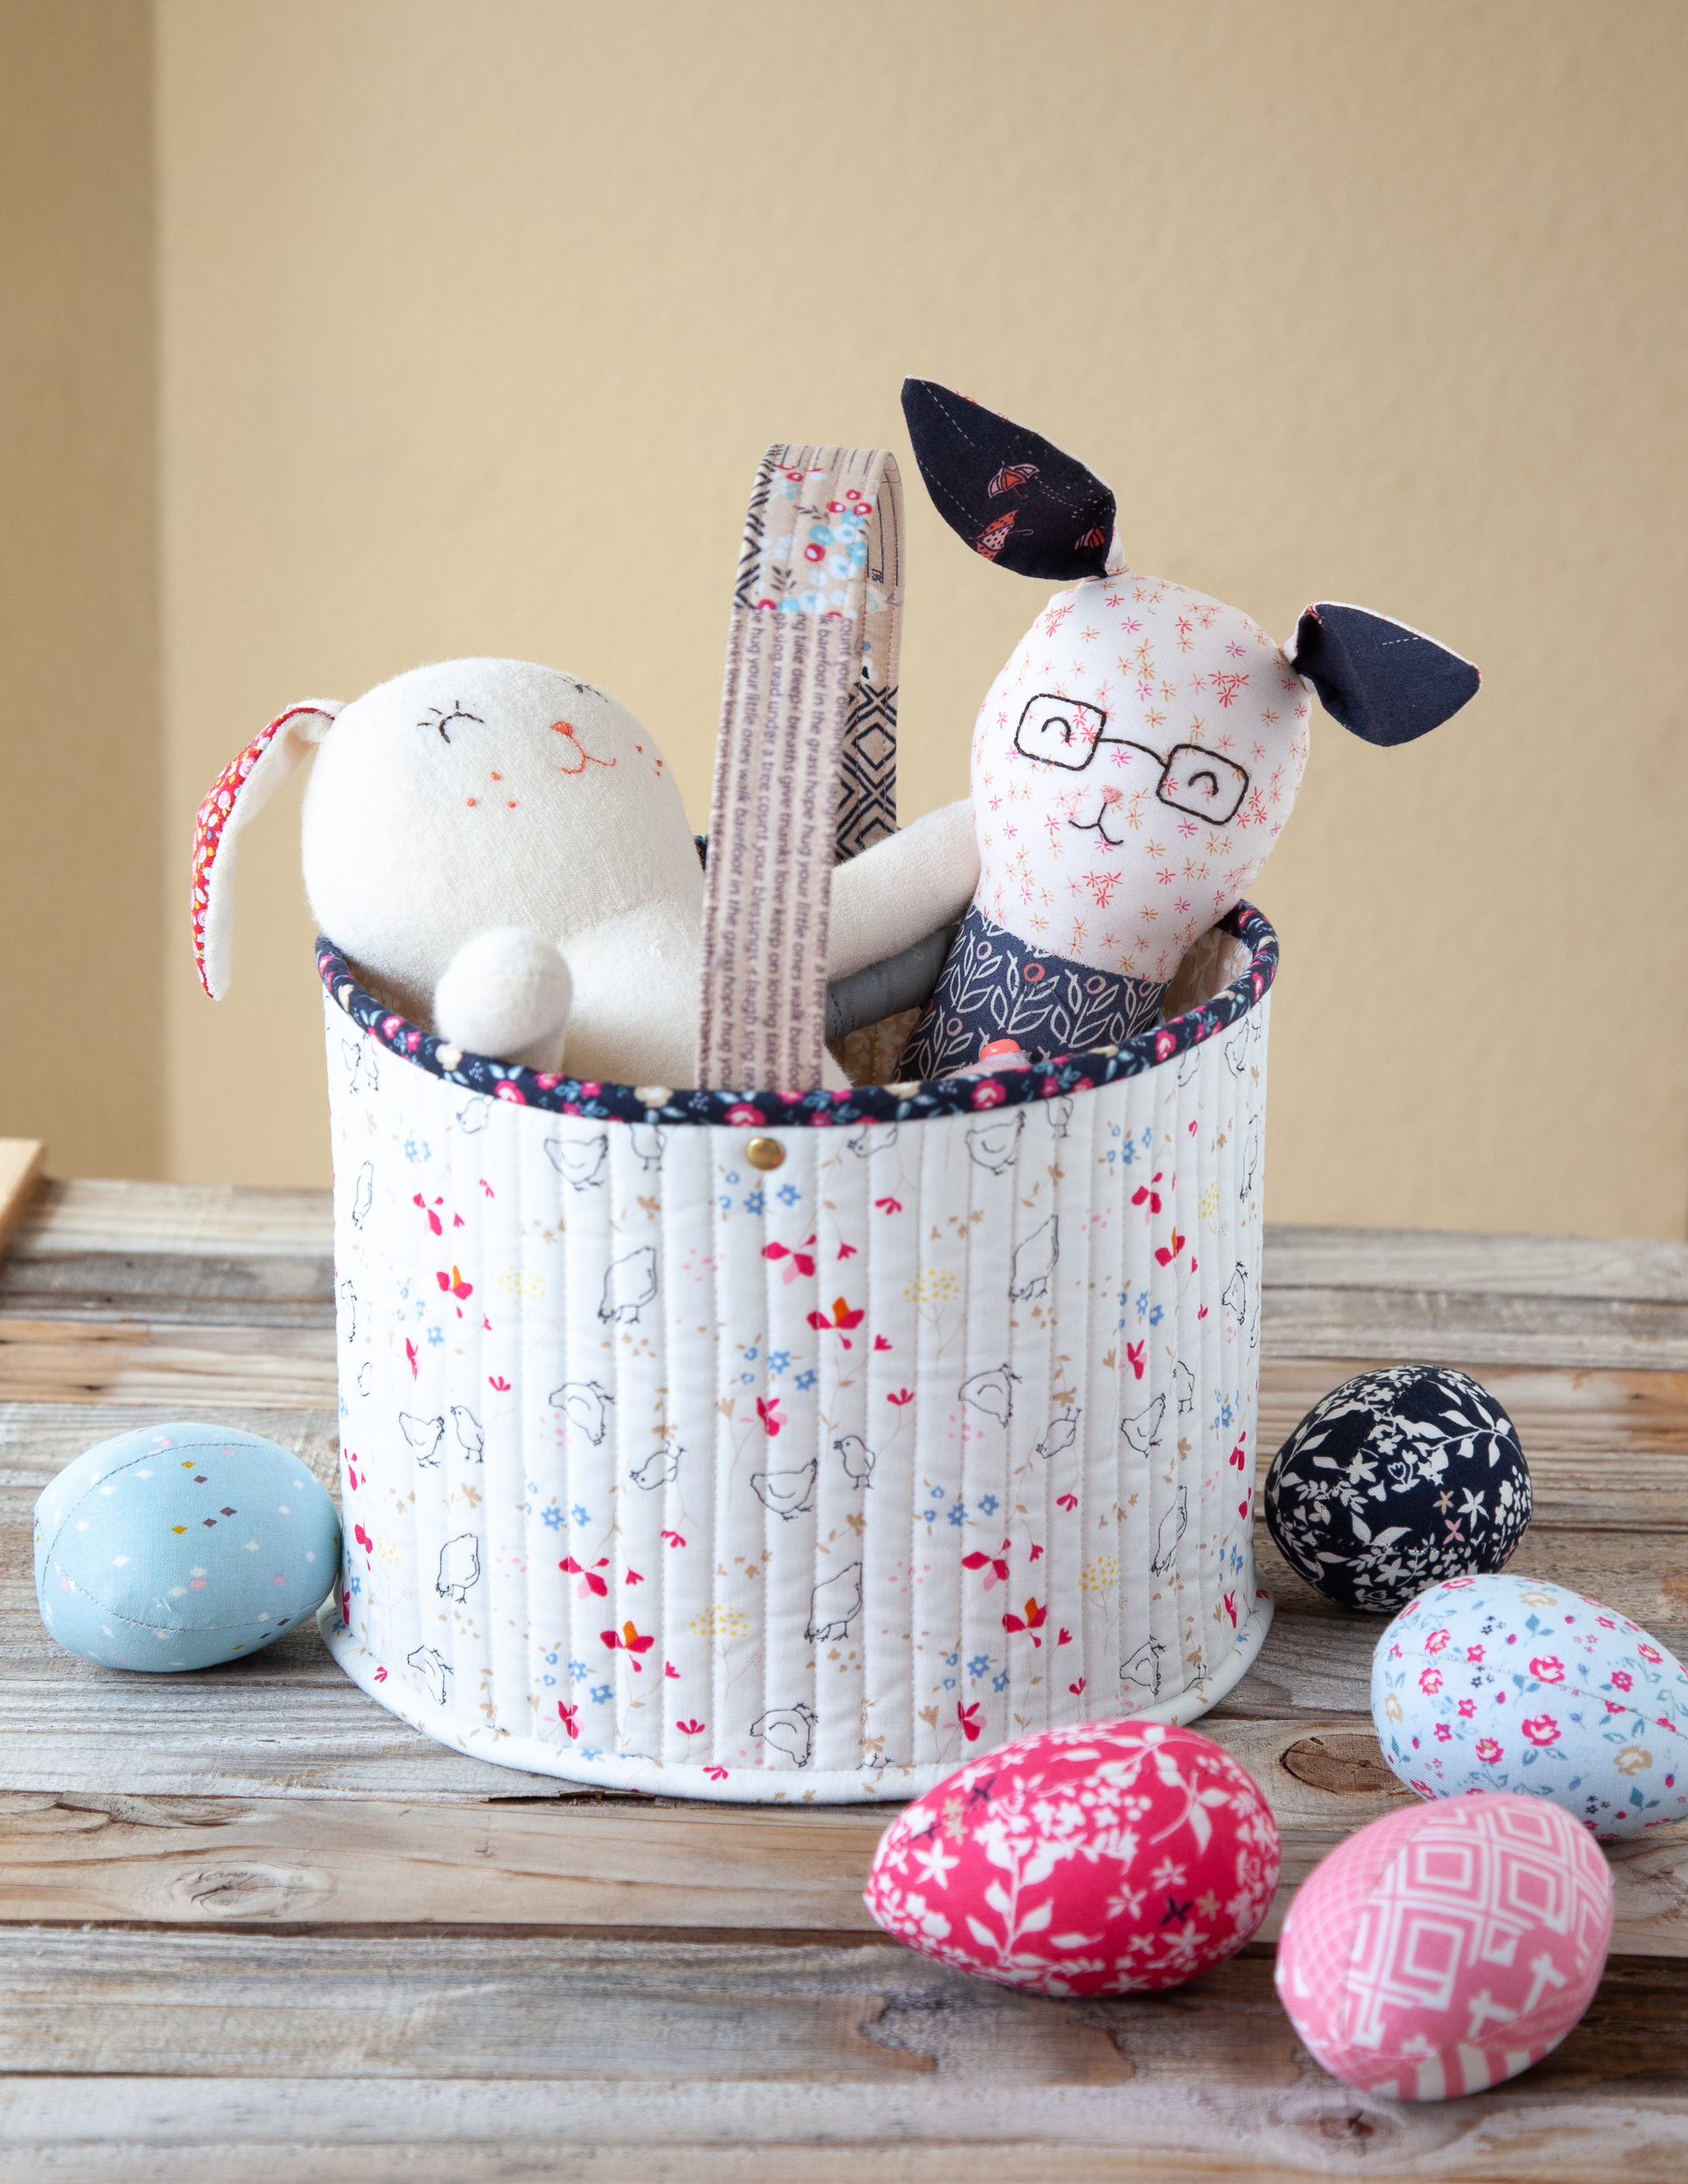
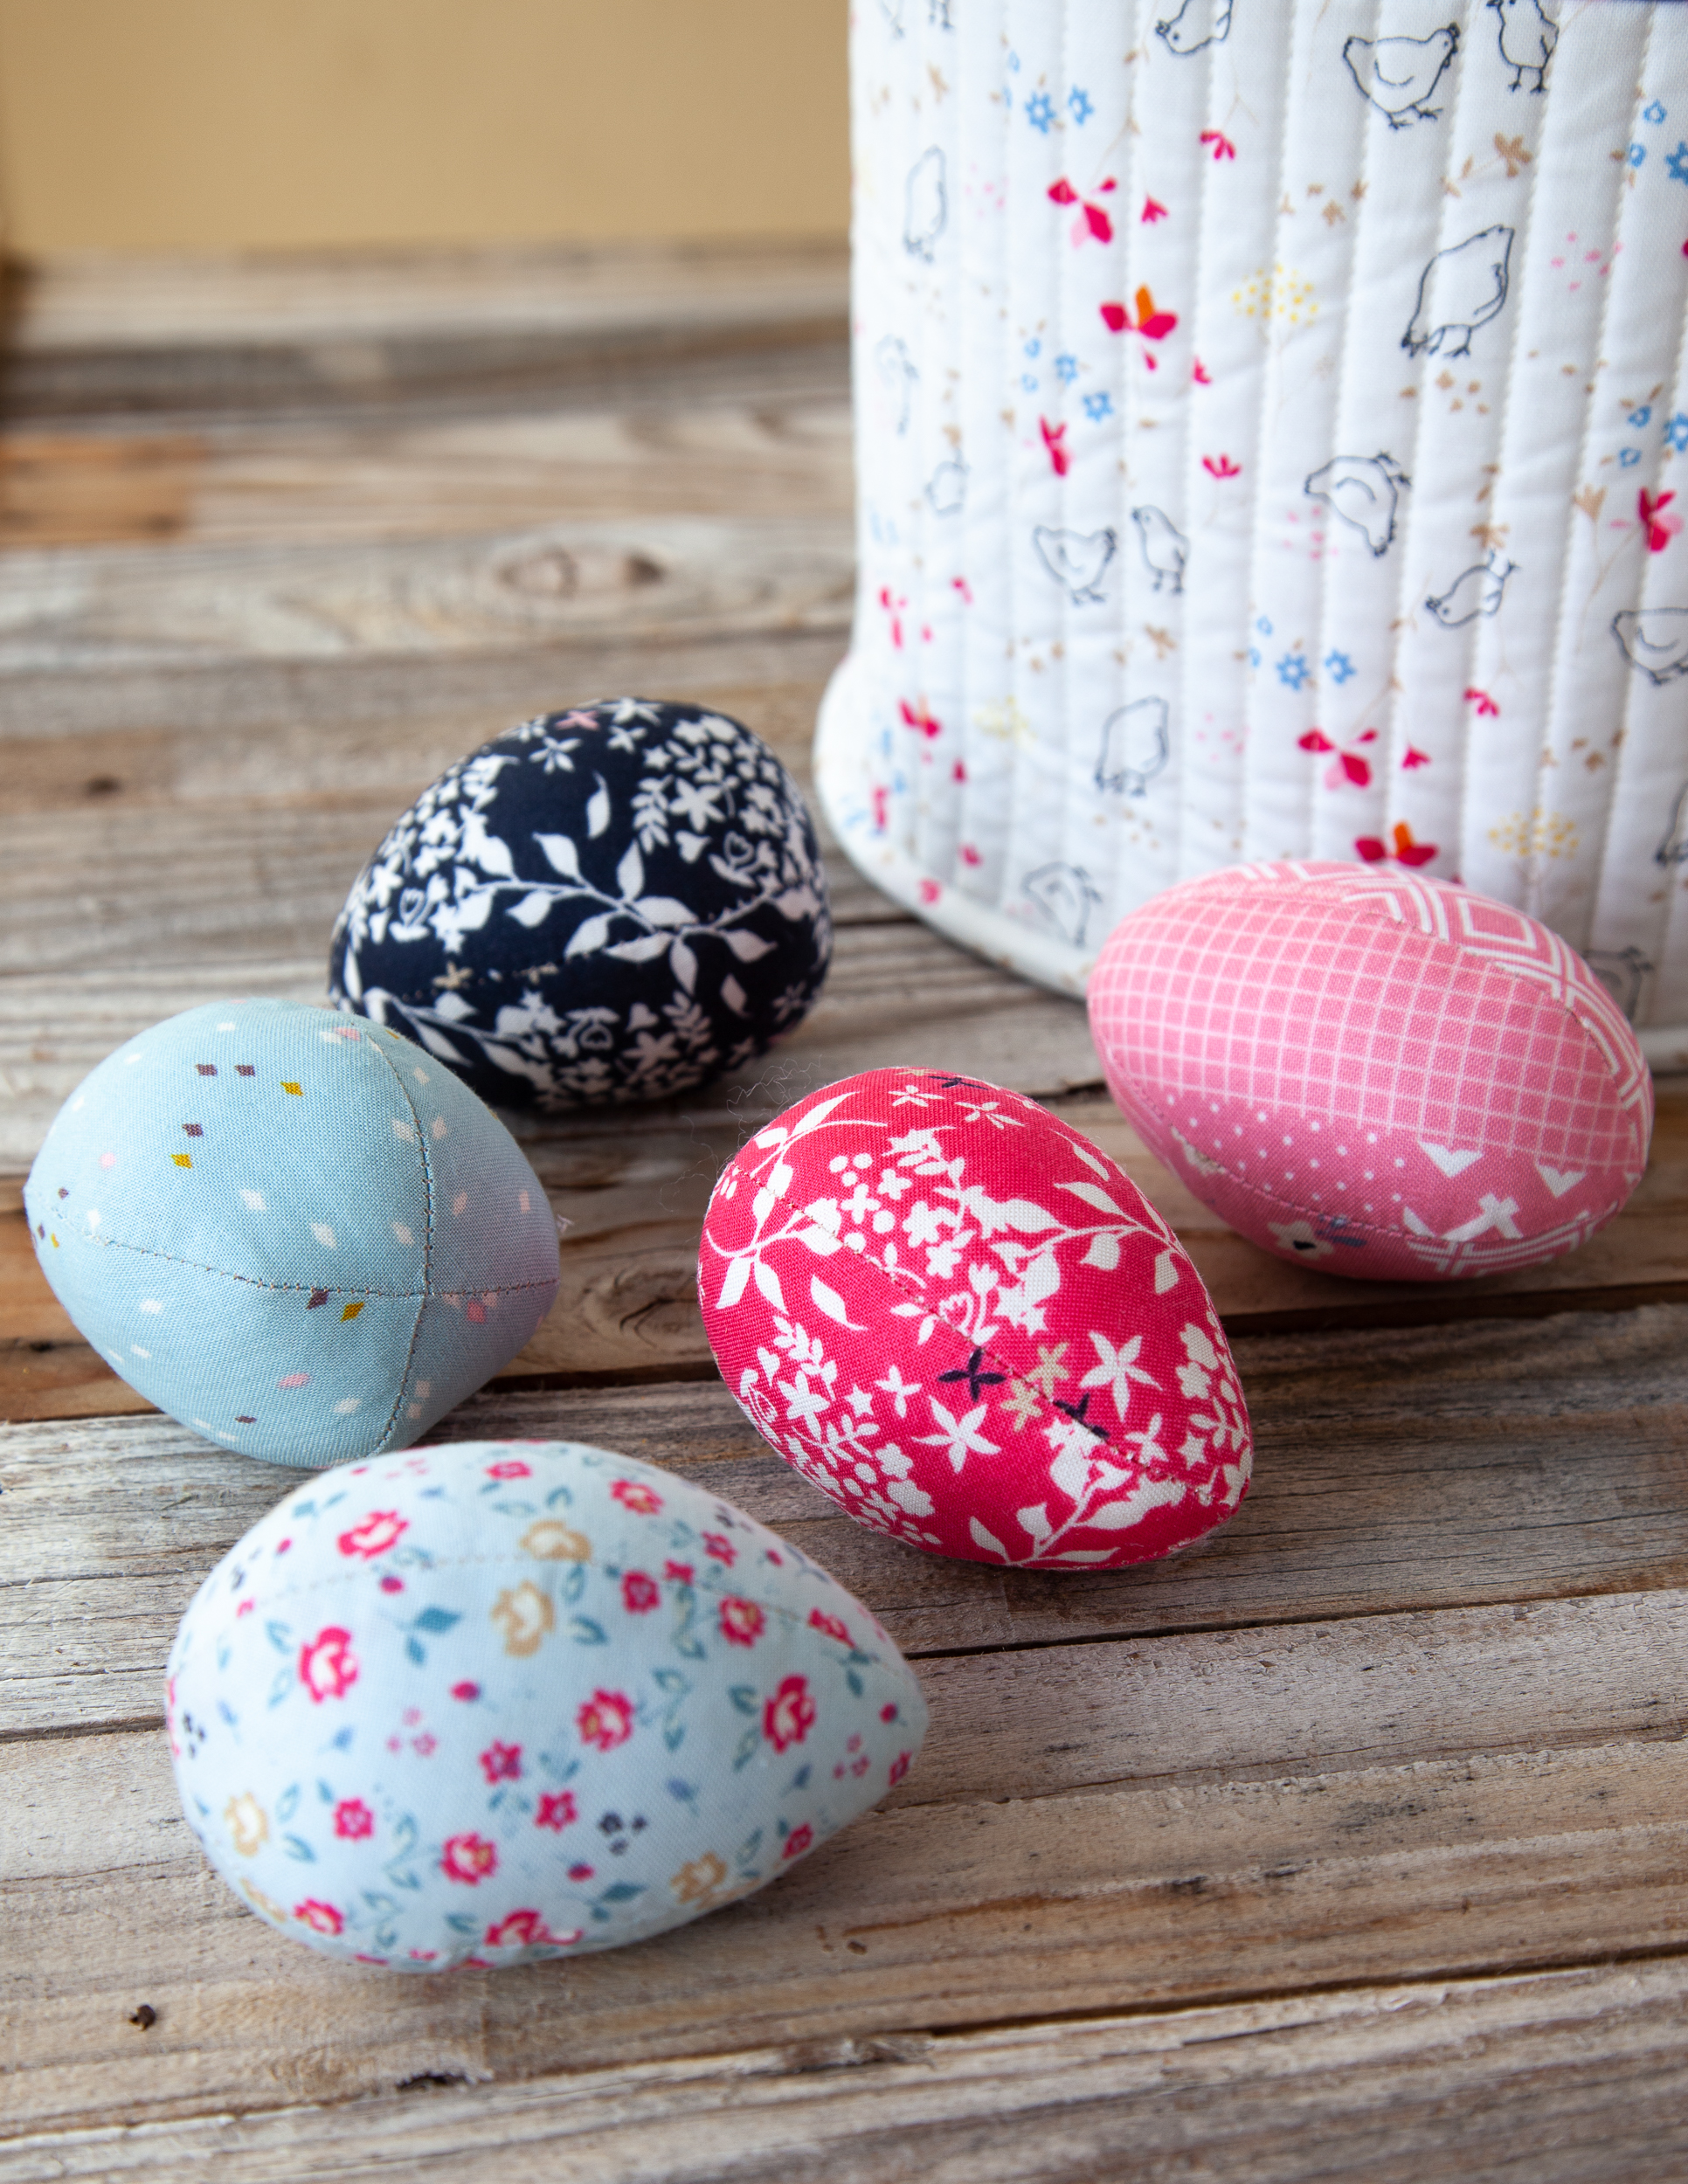
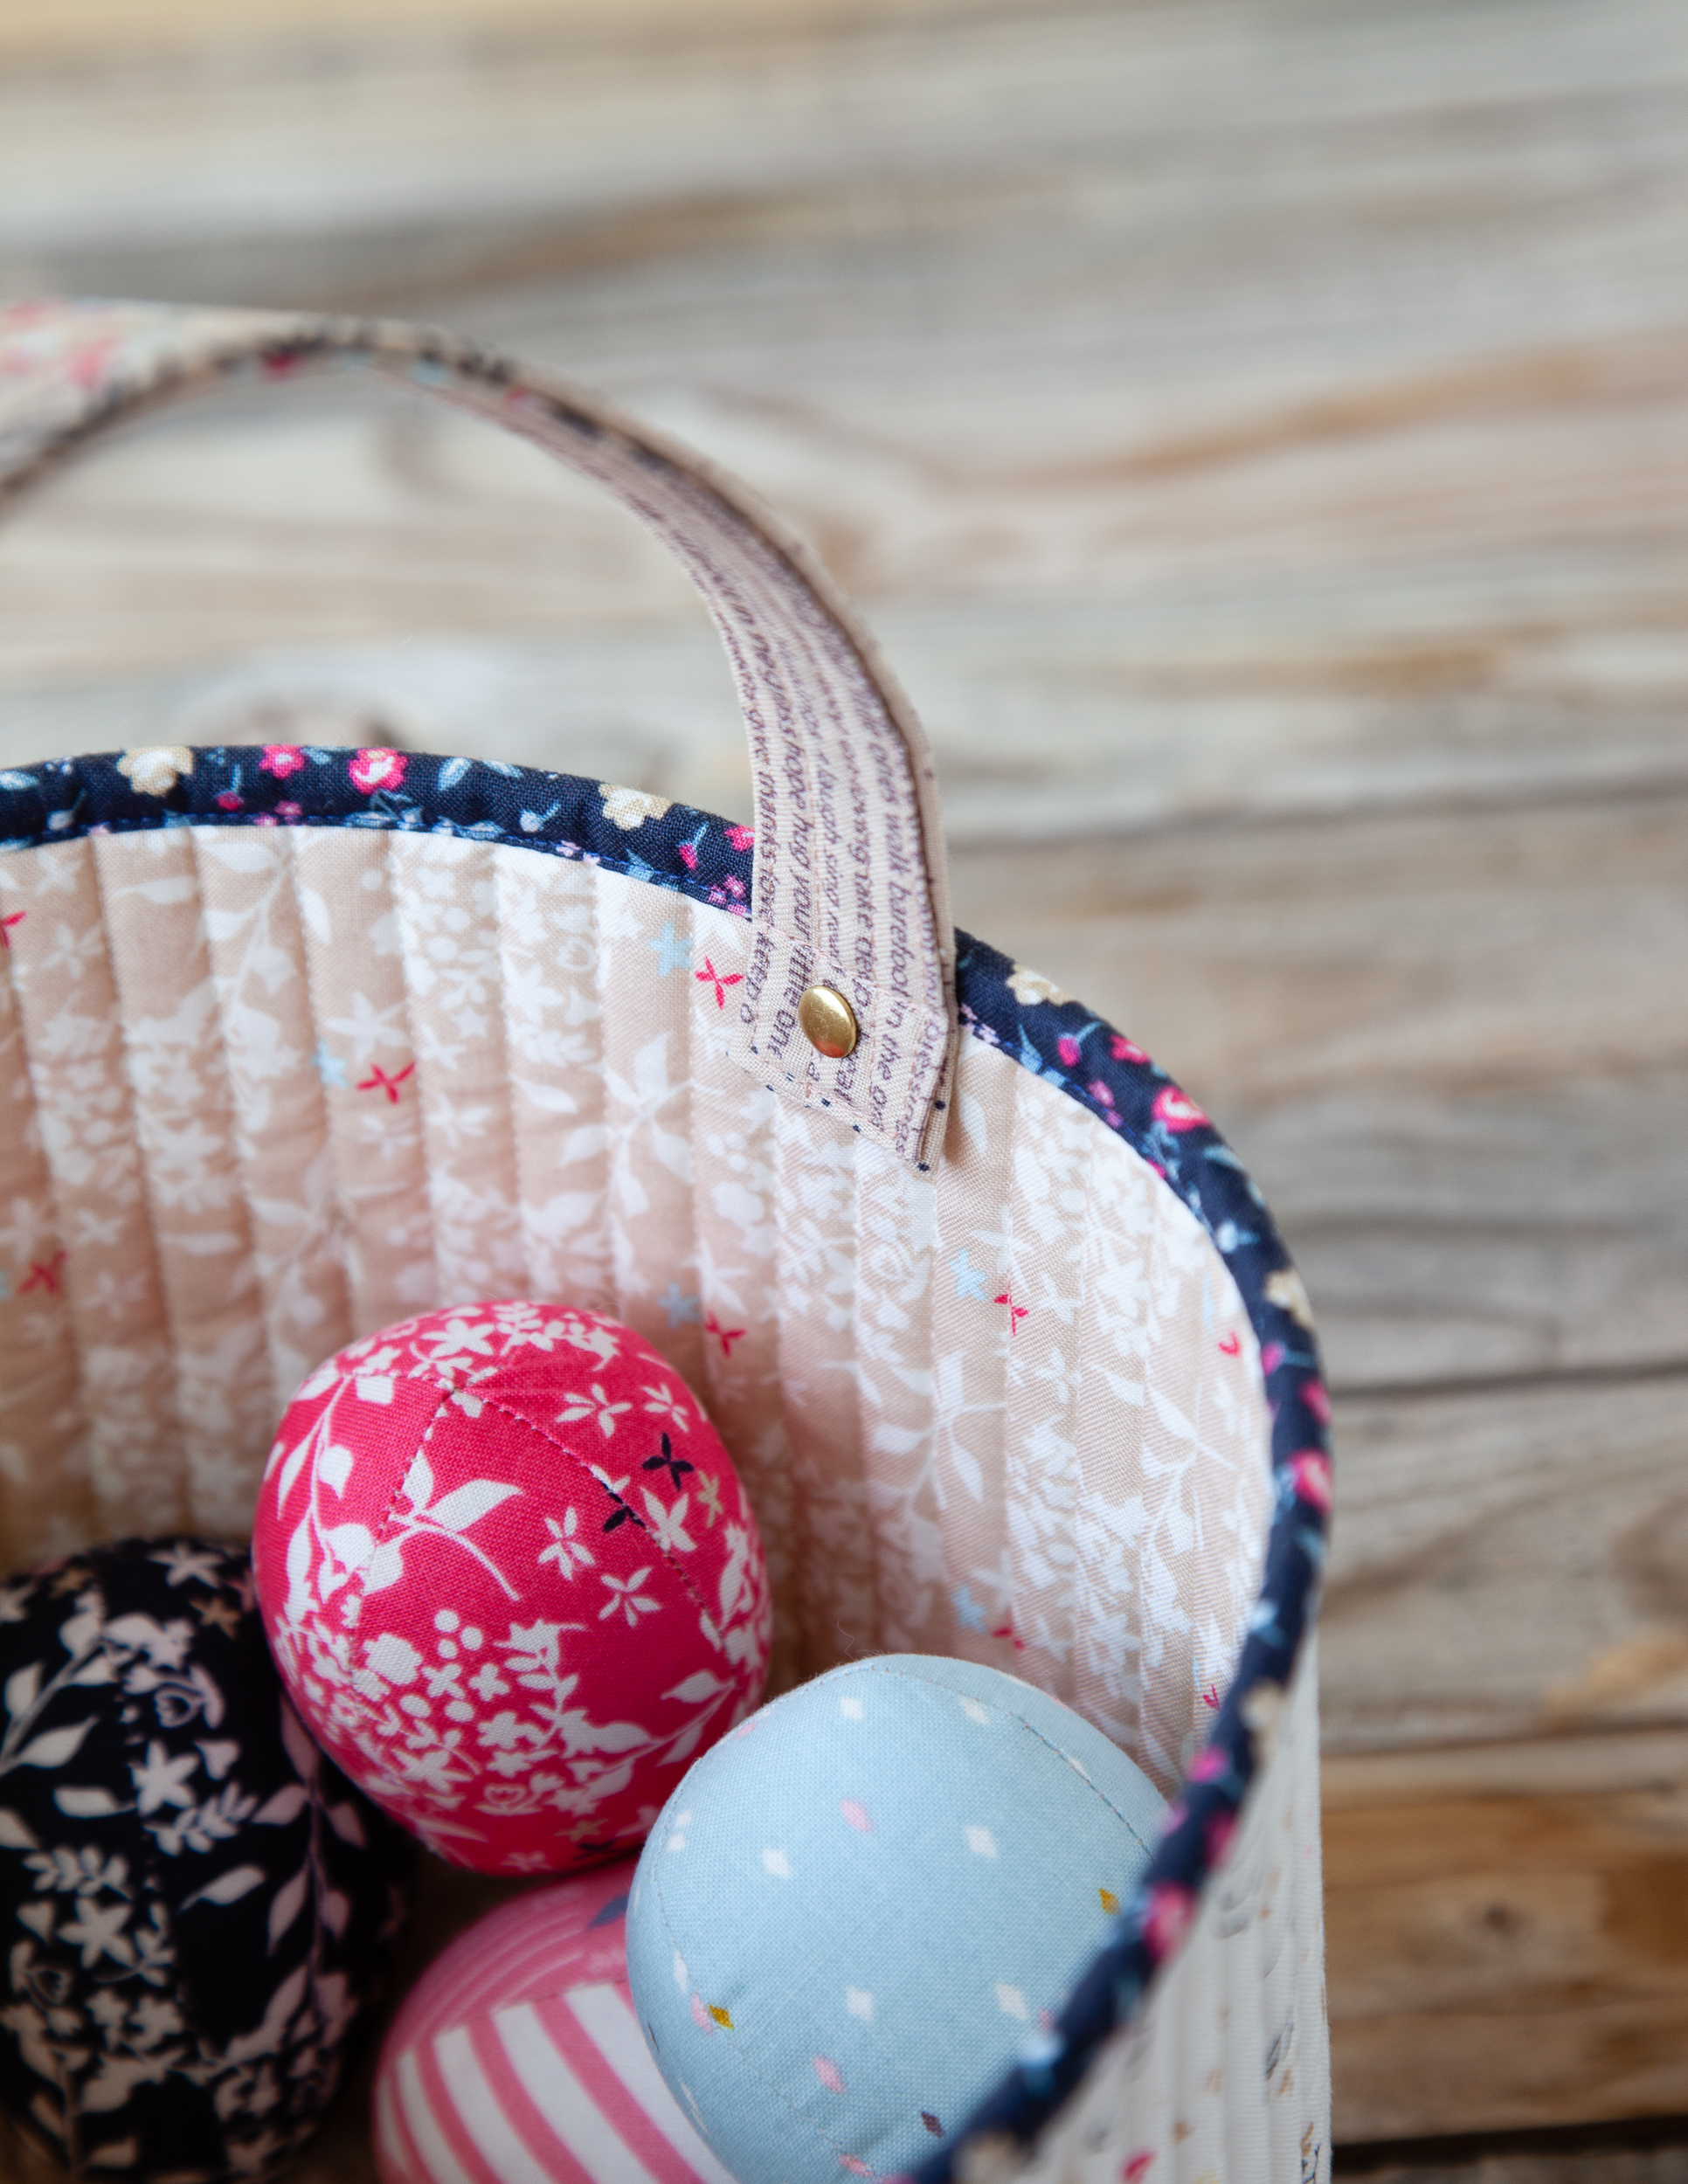
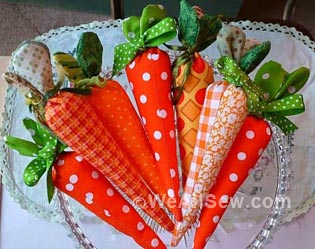
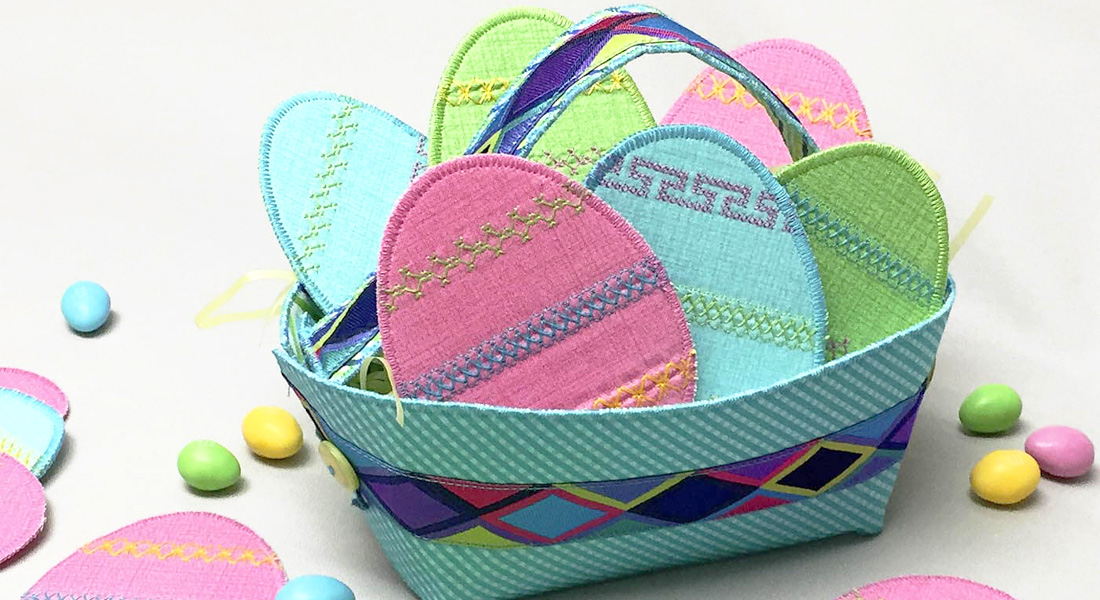
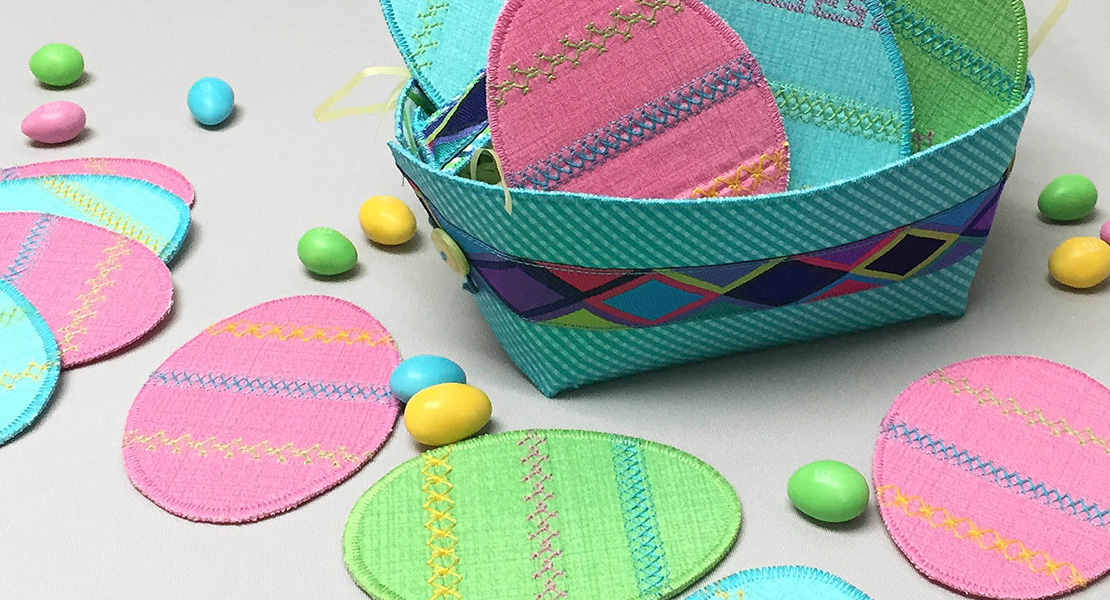
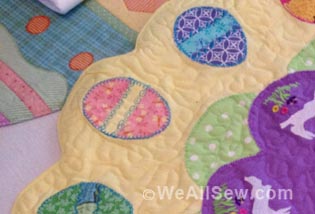
I also made a bunch of fabric eggs to go in my baskets. I used the Fabric Easter Egg tutorial from Retro Mama.
Materials to Make a Quilted Easter Basket
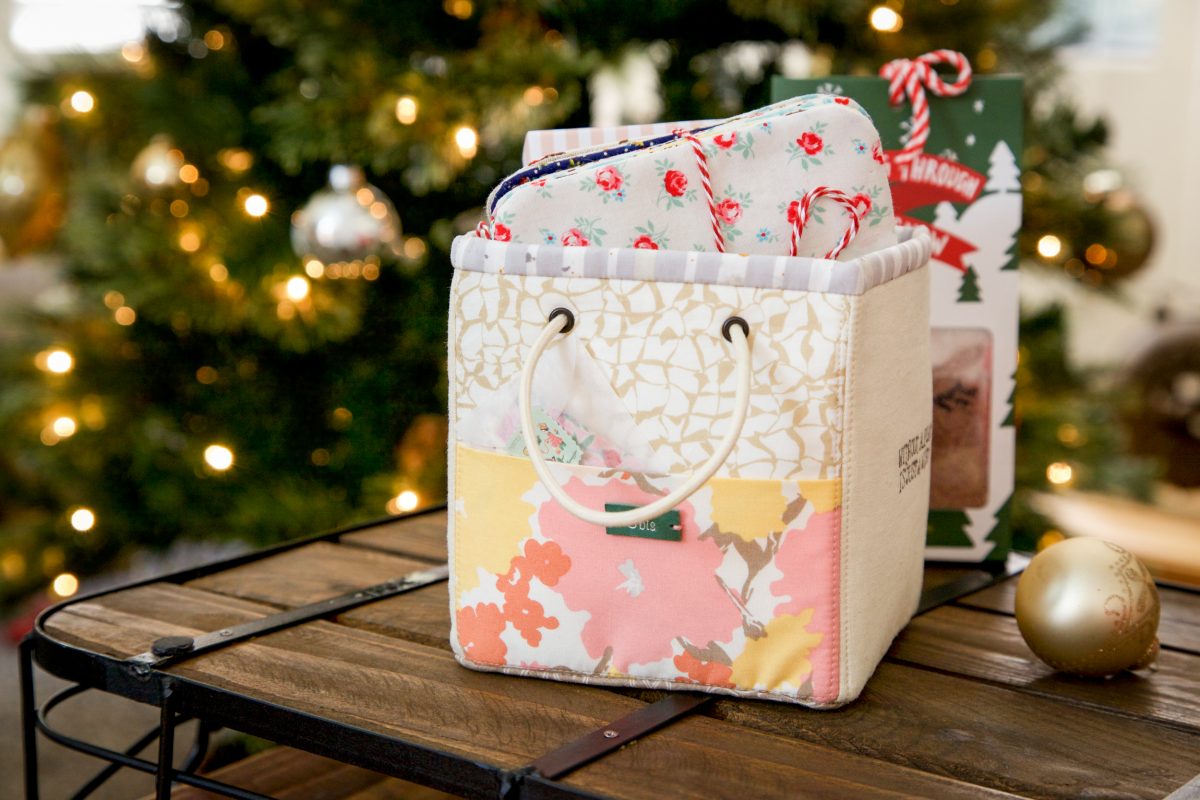
Finished size is approximately 7 1/2″ diameter x 6 1/4″ tall. (without handle height)
I used my Someday fabric collection for Riley Blake Designs.
- 1/4 yard quilt fabric for basket exterior
- 10” square quilt fabric for basket bottom
- 1/2 yard quilt fabric for lining
- 1/4 yard quilt fabric for basket top binding
- assorted fabric scraps for handle
- 1/2 yard foam batting ( I used Soft and Stable by ByAnnie.com)
- 18” x 1” webbing ( I used the polypro strapping from ByAnnies.com)
- rotary cutter
- ruler
- cutting mat
- Binding Clips
- Basic Sewing Supplies
- Download the Quilted Easter Basket Template (7 1/2” circle)
Cutting
- from basket exterior fabric, cut: one (1) 25” x 7”, one (1) 1 1/2” x 26” binding strip
- from lining fabric, cut: one (1) 26” x 8” for basket, one (1) 9” square for bottom, one (1) 1 1/2” x 7 binding strip
- from bottom fabric, cut: one (1) 9” square
- from basket top binding fabric, cut: one (1) 2 1/4” x 26” binding strip
- from batting, cut: one (1) 25 1/2” x 7 1/2” for basket, one (1) 9” square for bottom
Note: All seam allowances are 1/4″ unless otherwise noted.
Make the basket parts
1. Lay the basket bottom lining right side down, with the basket bottom batting on top. Then center the basket bottom exterior on top, right side up. Baste and quilt as desired. I sewed criss-cross lines 1/2” apart. Trace the bottom template using a fabric pen and cut out the circle using a pair of scissors.

2. Lay the basket lining right side down, with the basket batting on top. Then center basket exterior on top, right side up. Baste and quilt as desired. I sewed horizontal lines 1/2” apart. Trim to 23 3/4” x 6 1/4”.
Note: I recommend to check the fit before trimming the basket exterior for the size on the basket bottom, it could be slightly different depends on your batting.

3. With right side inside, sew together short ends of basket unit to make a tube. When sewing, place 1 1/2” x 7” binding strip on the seam, with the right sides together and raw edges matching, and sew through the layers. See photo below for reference.
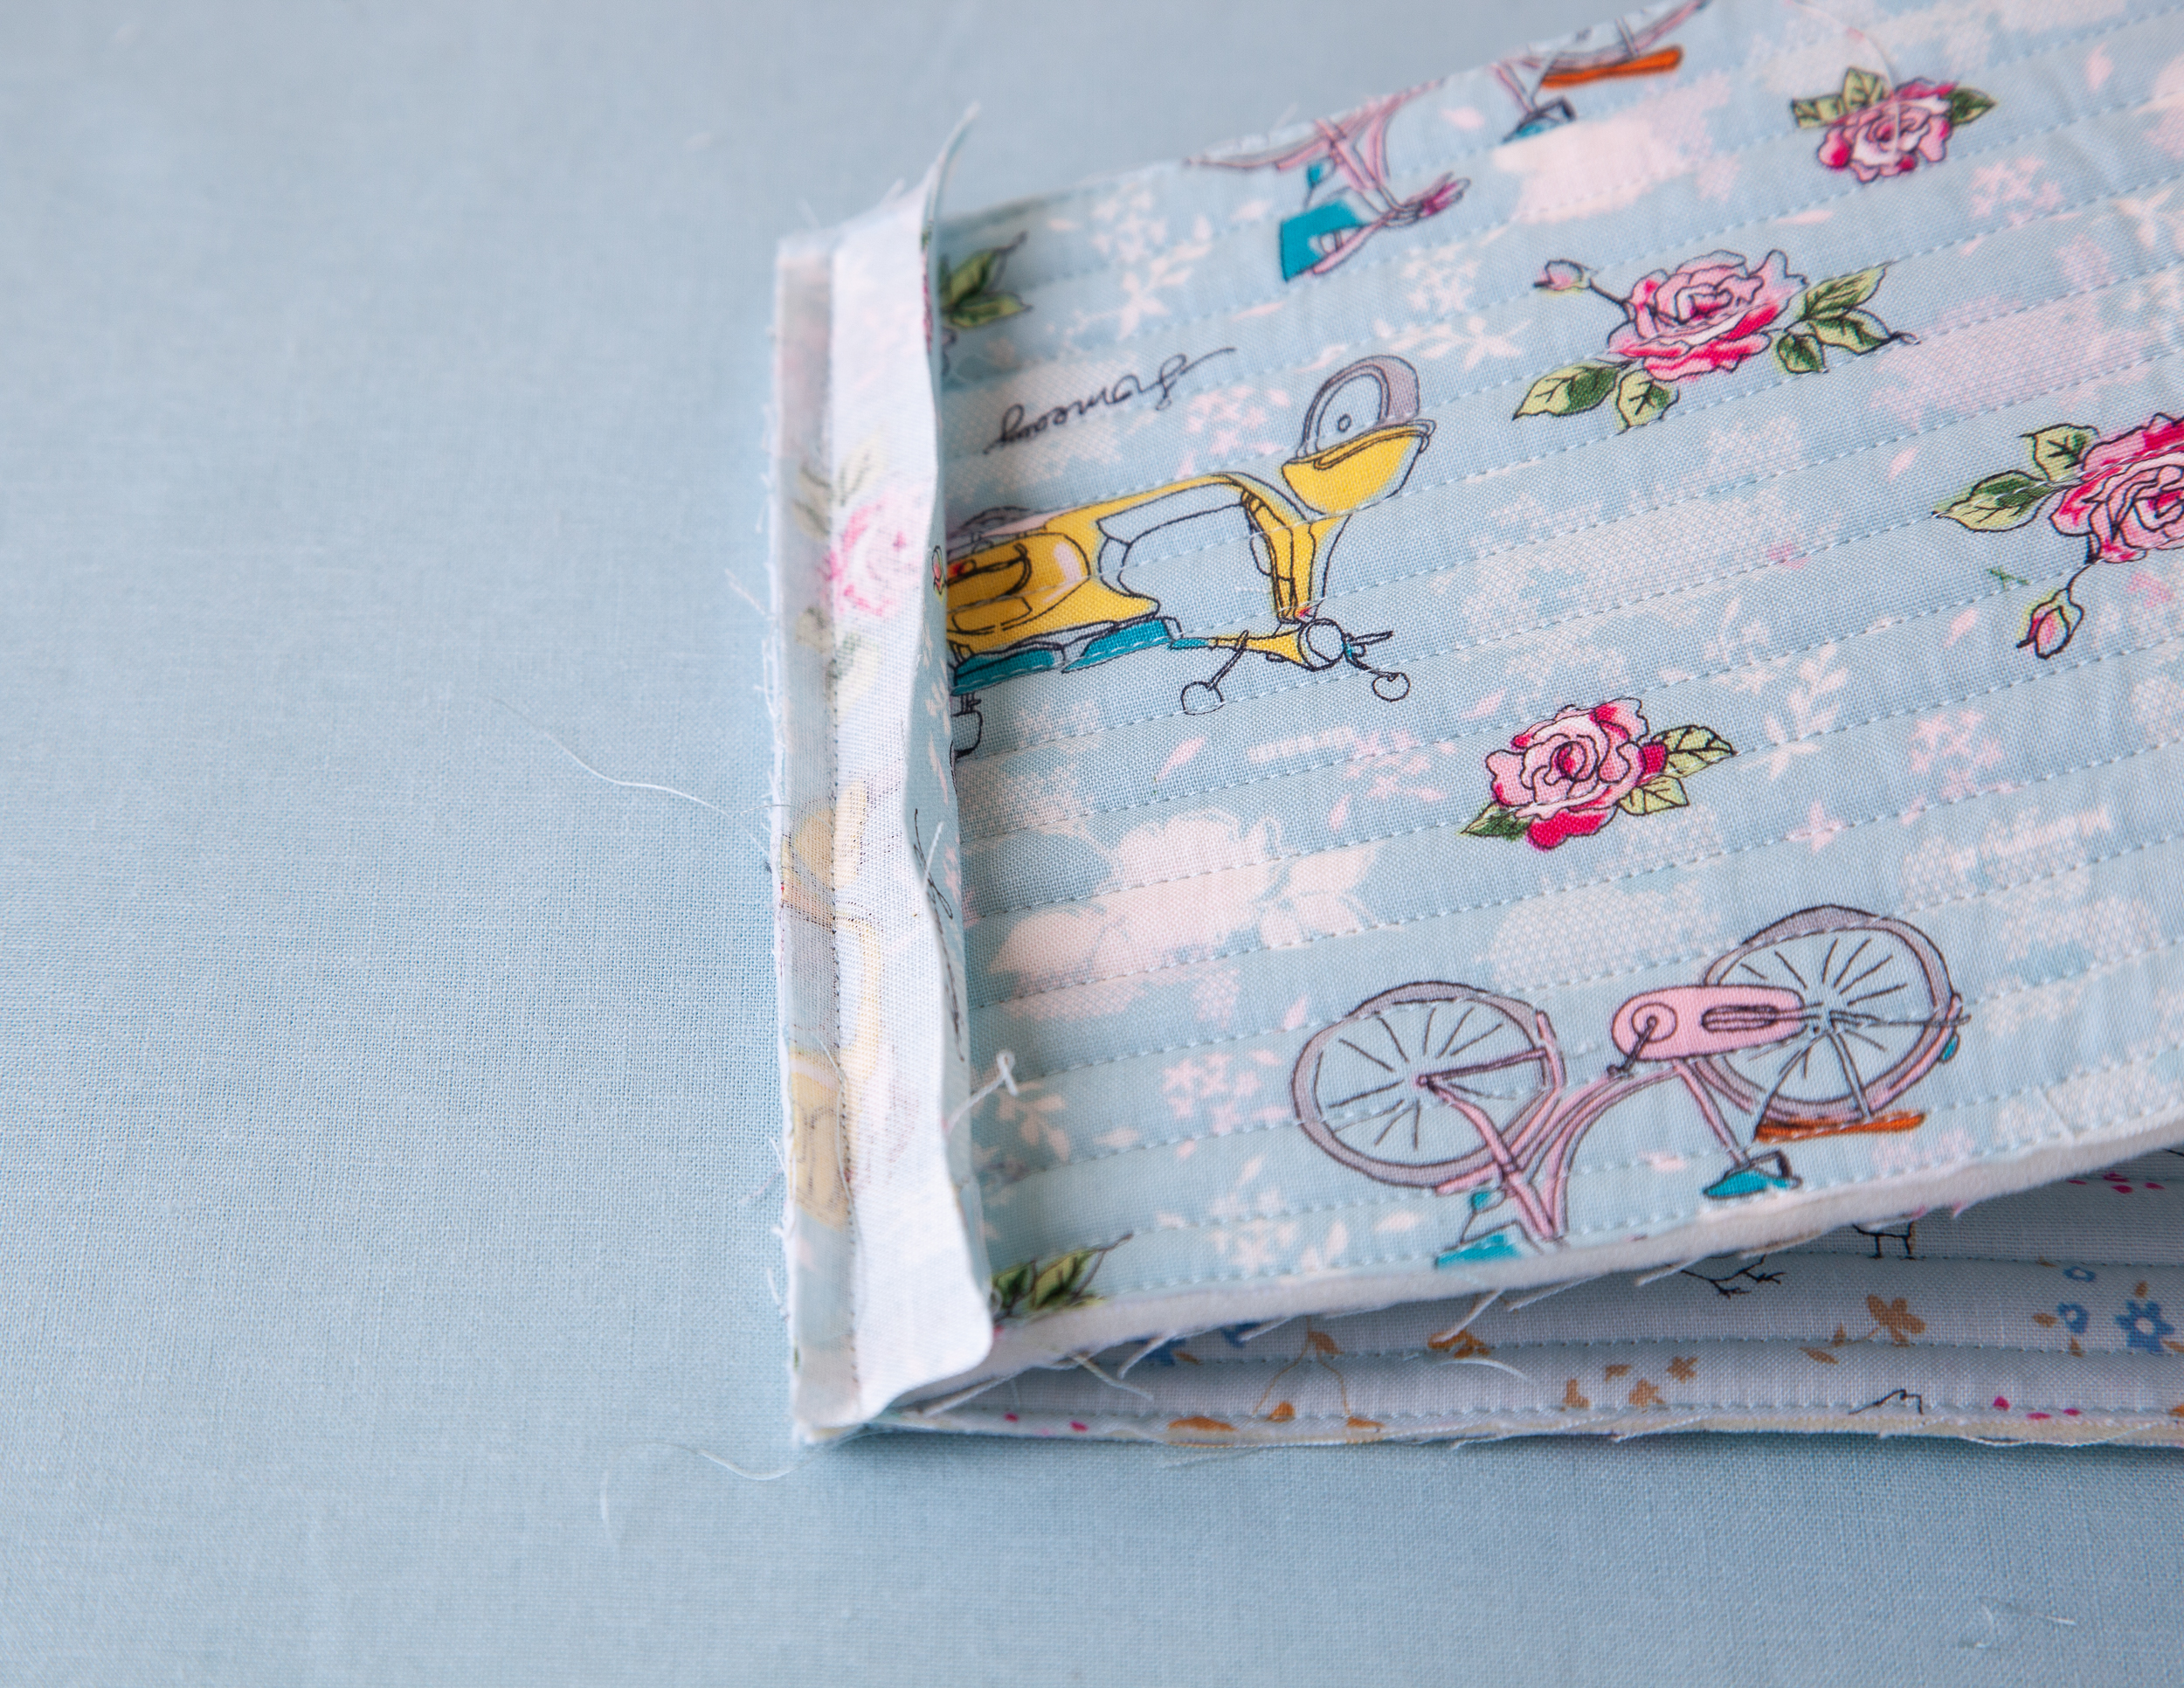
4. Fold in the raw edges of the binding strip over to cover the seams. Topstitch as shown.

Assemble the Basket
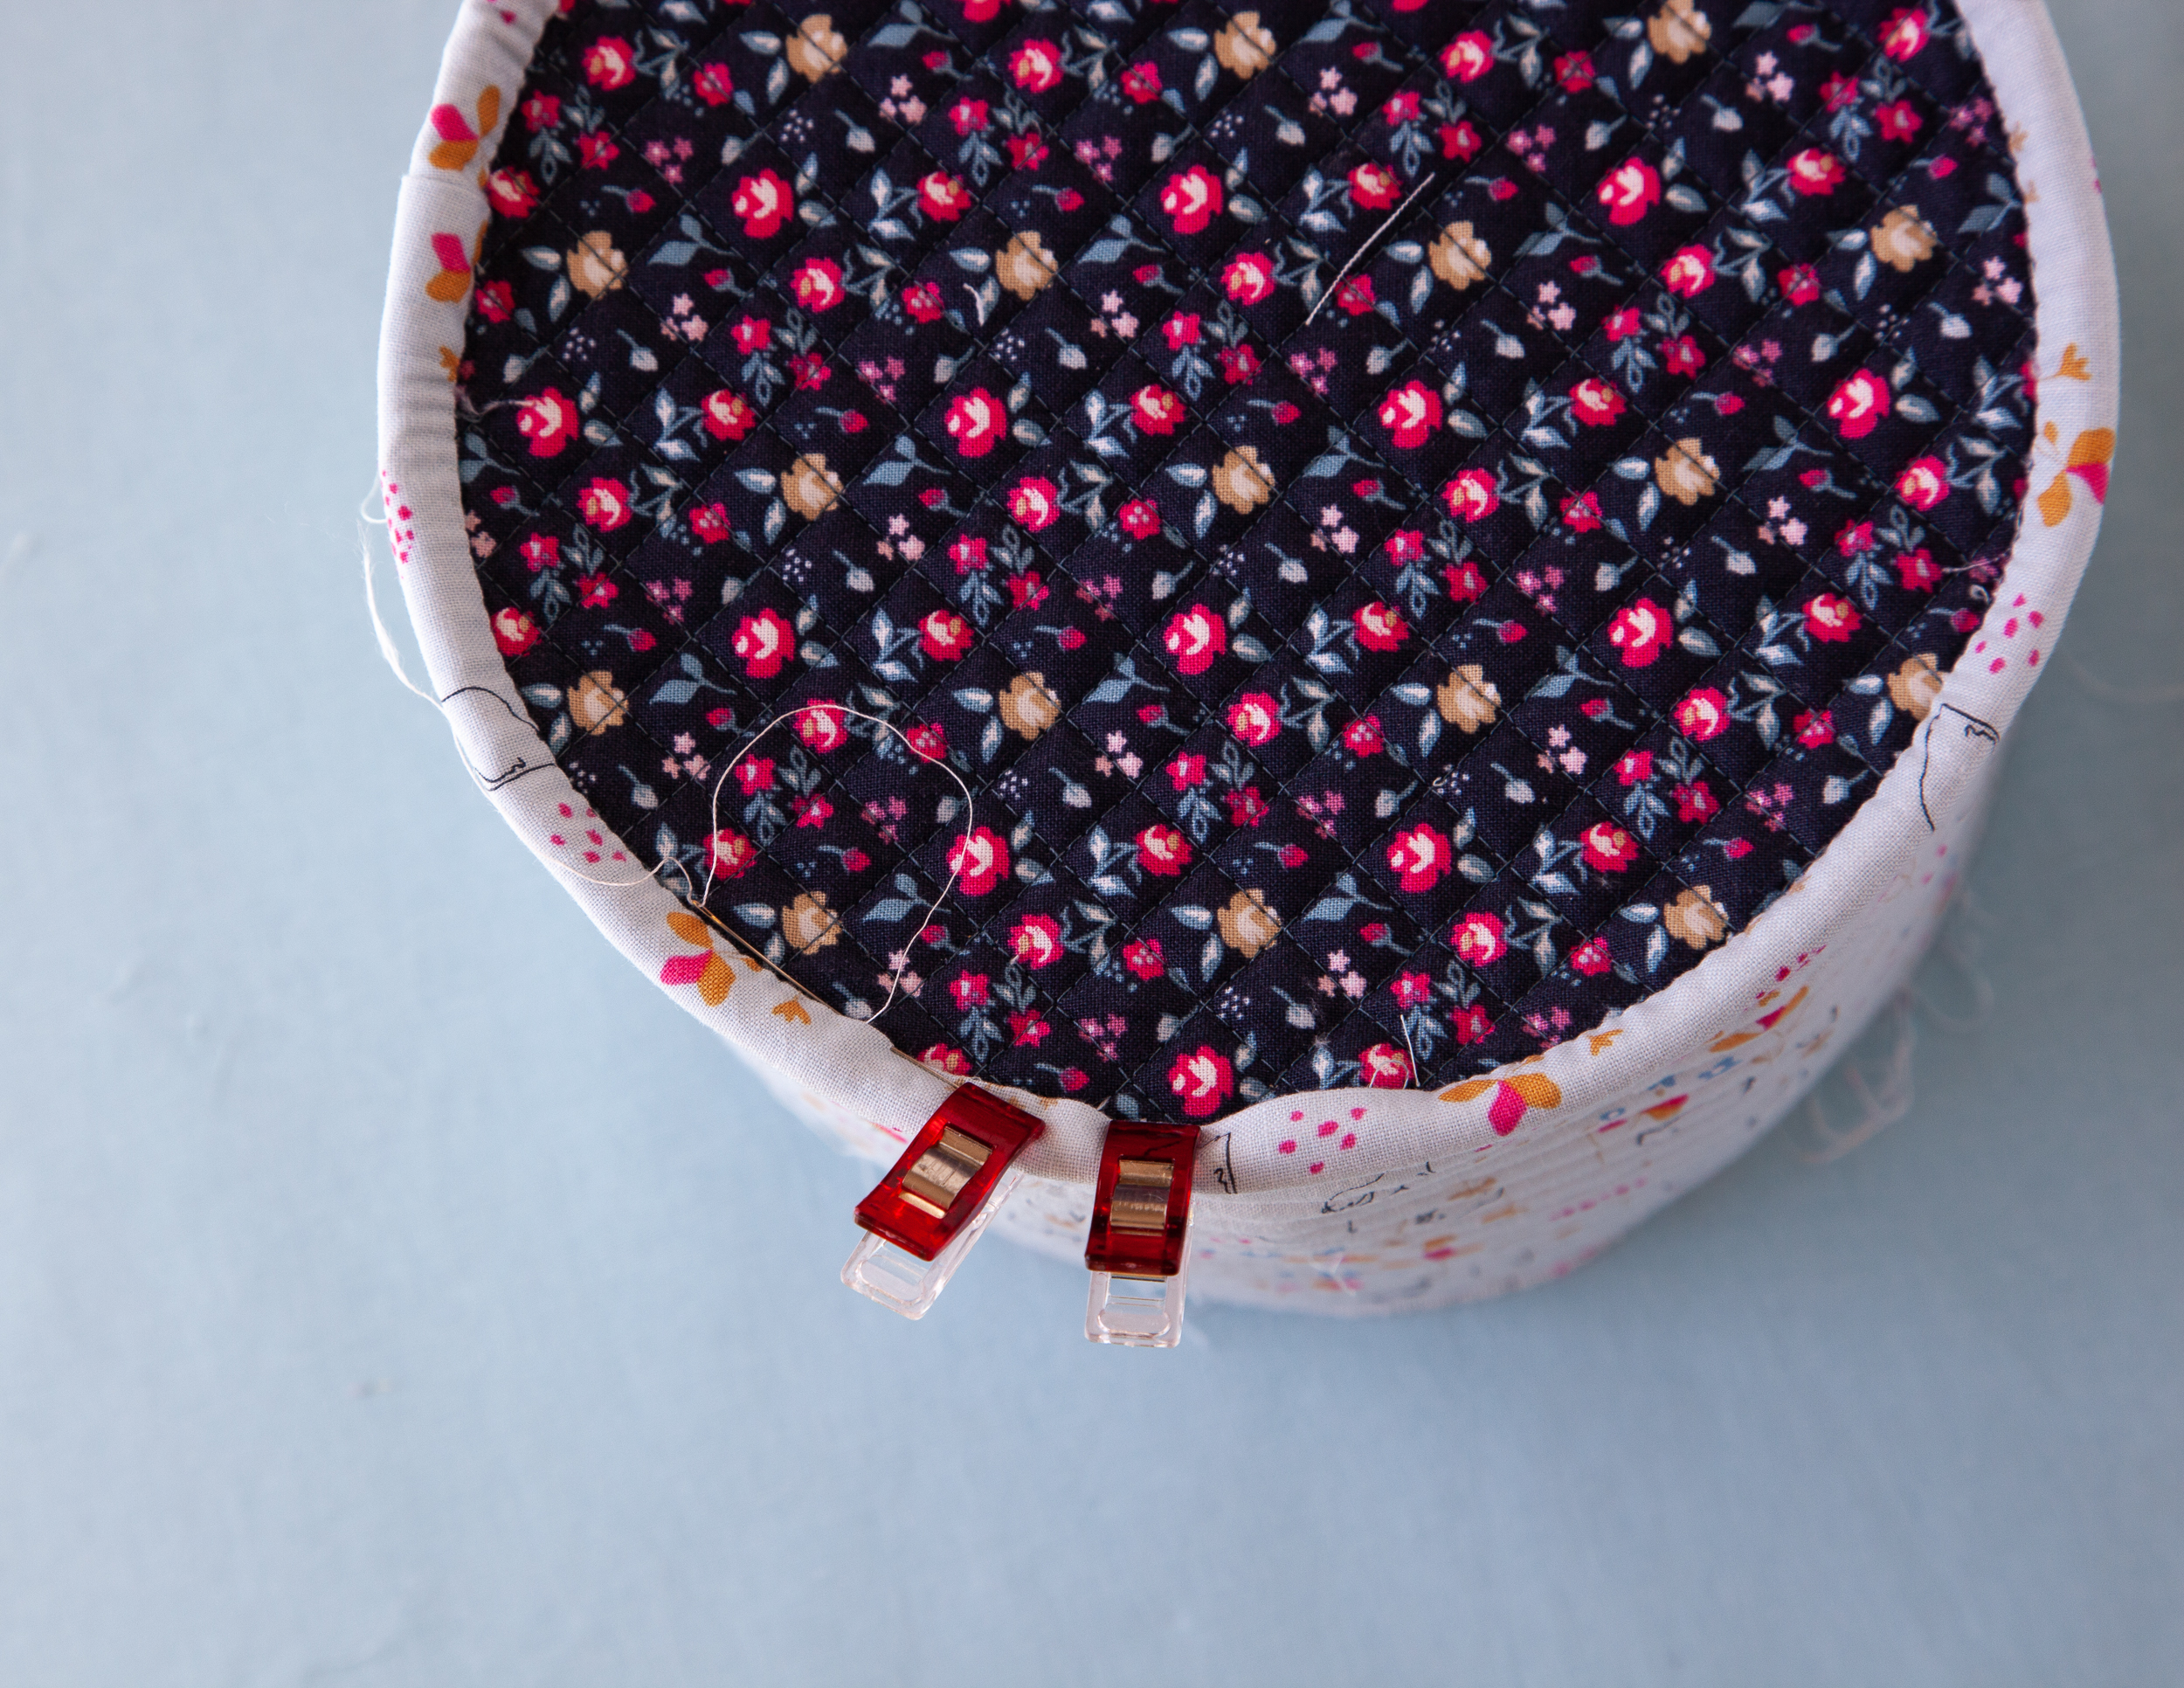
5. Matching the raw edges, pin the bottom piece to the basket piece, lining sides facing.
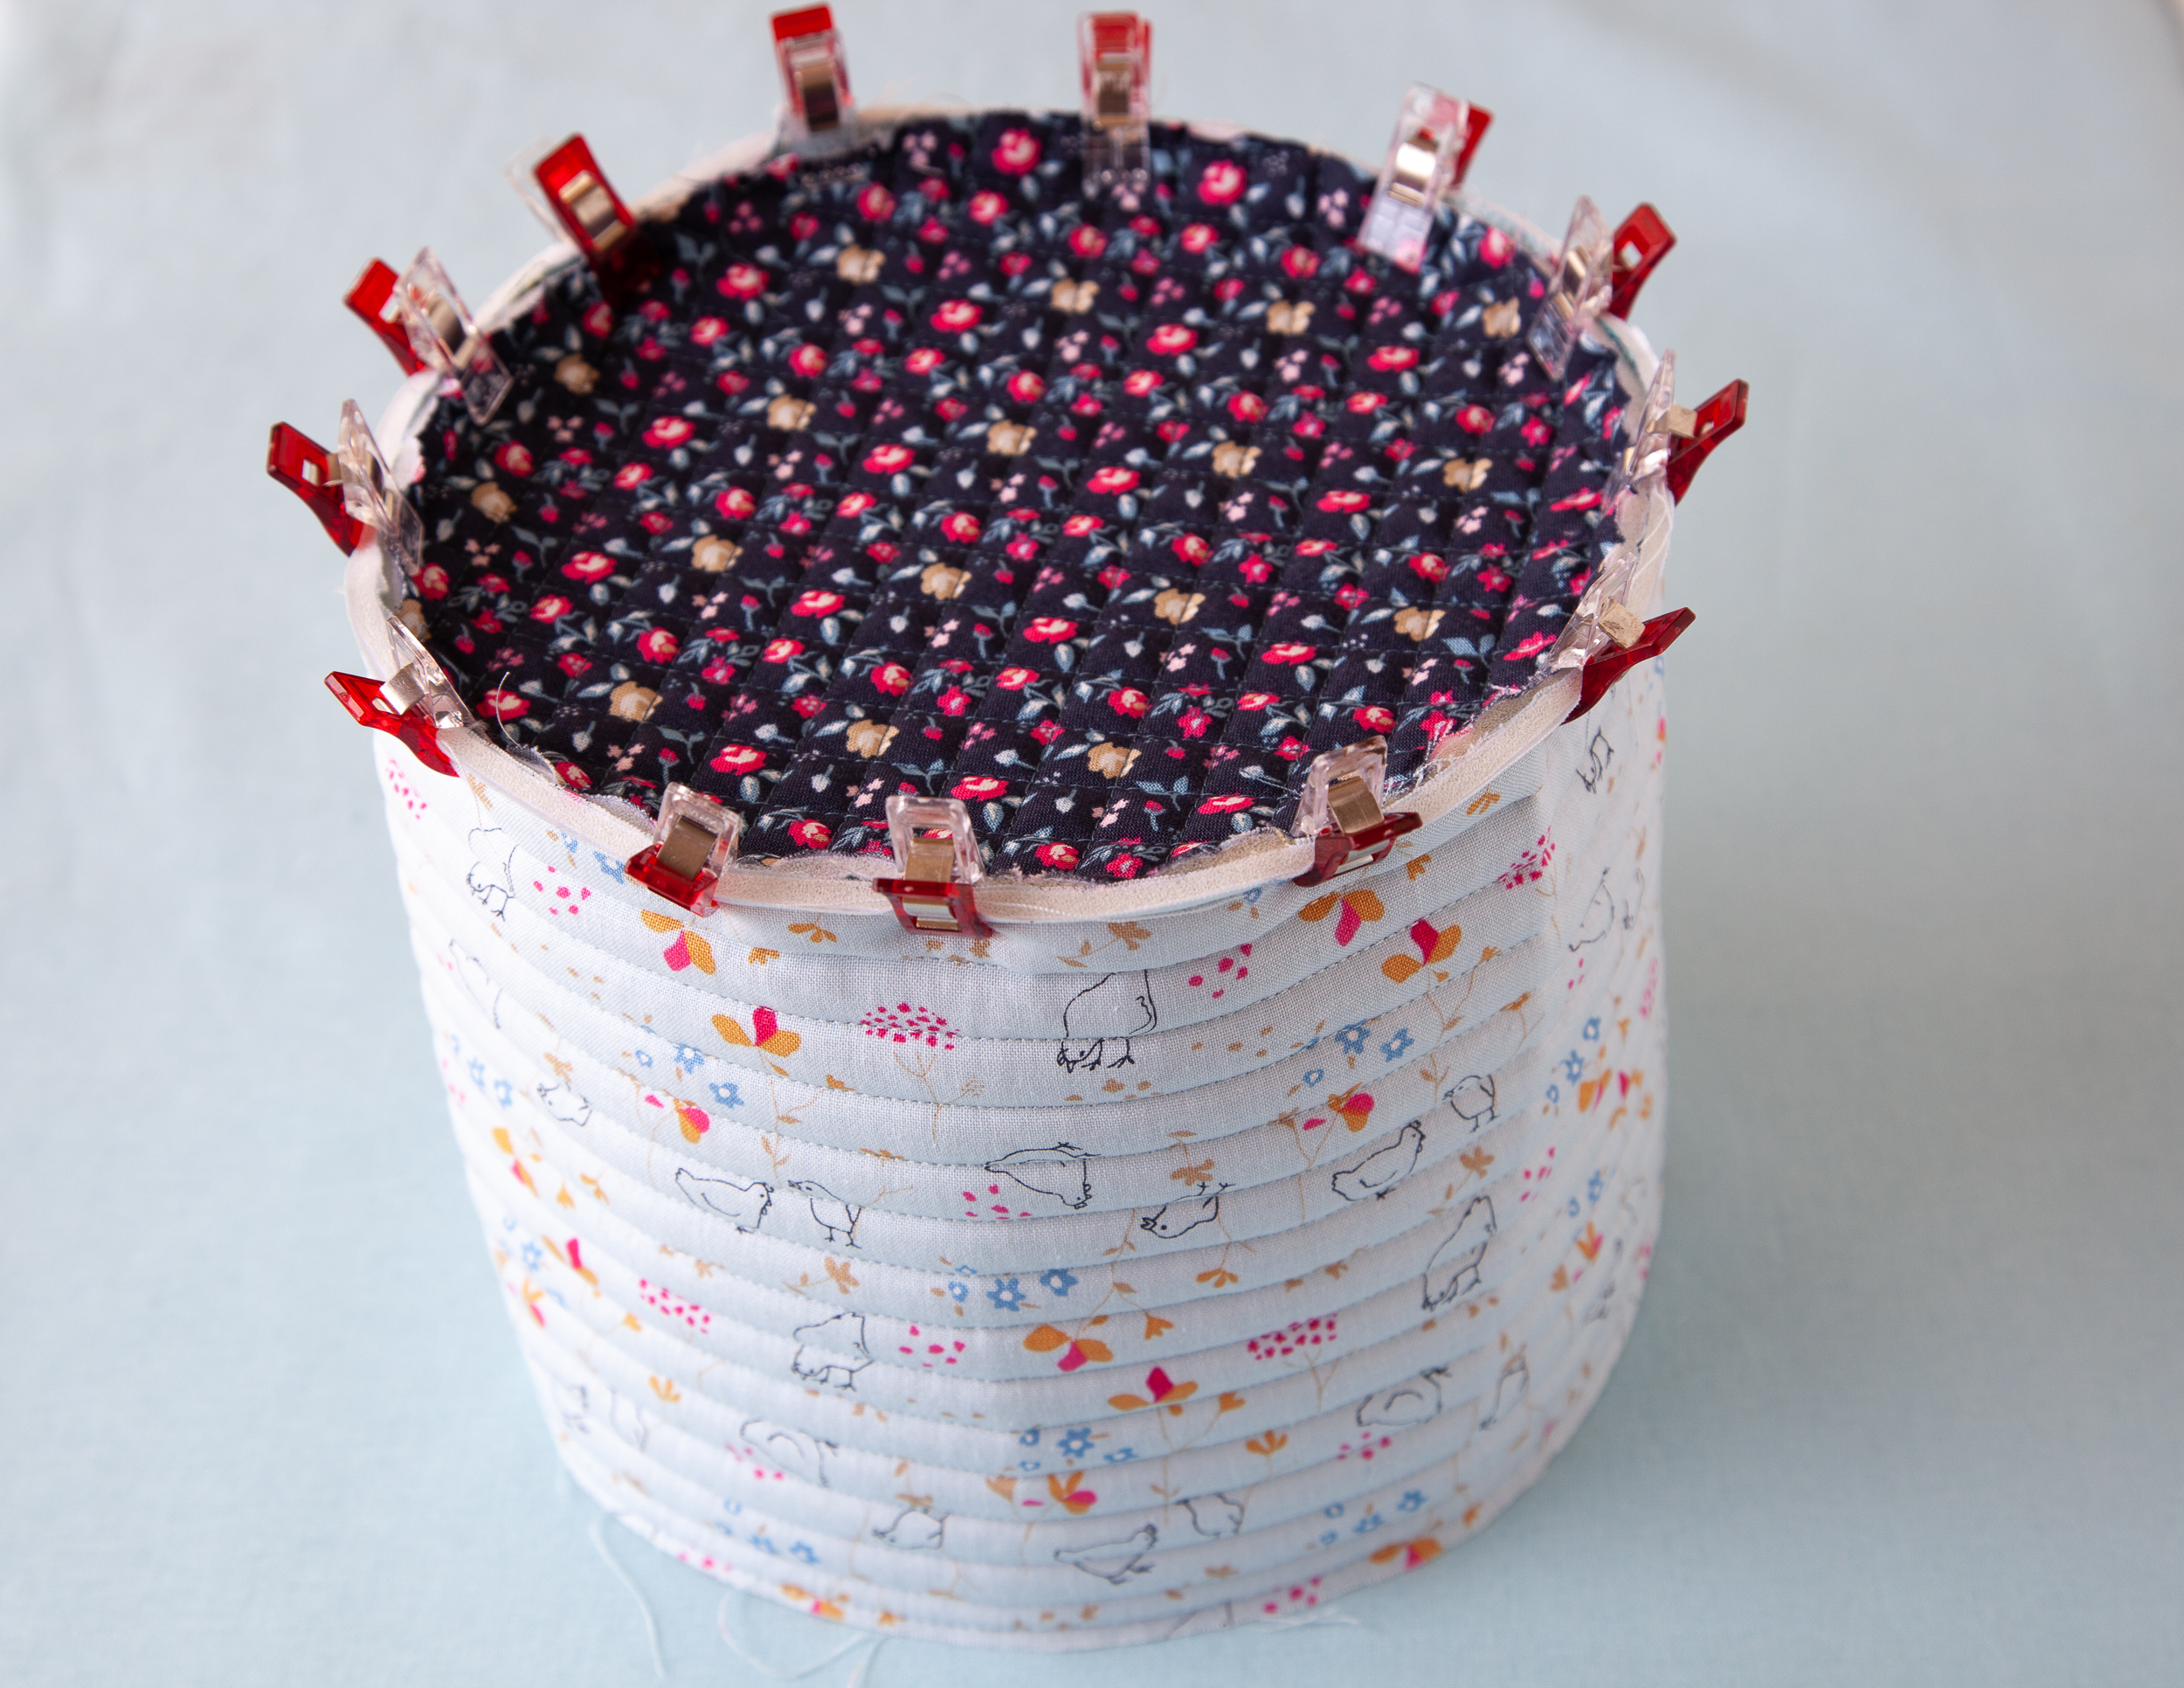
6. Sew the basket bottom piece to the basket piece. Bind the seams with the bias binding strip.
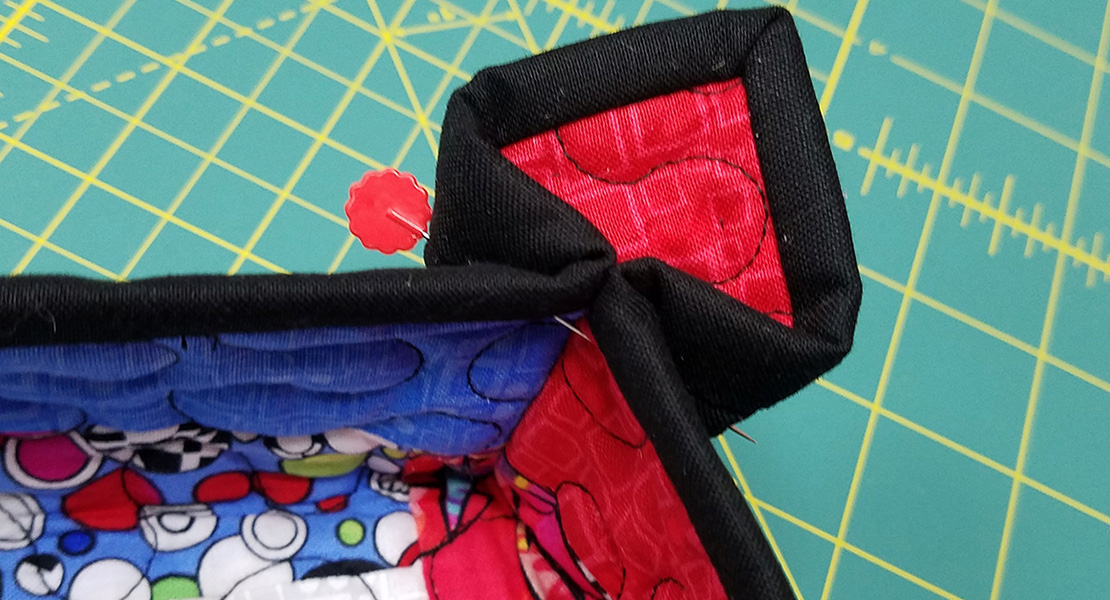
7. Fold the basket top binding in half lengthwise, wrong sides together. Pin to secure the binding to the outer edge of the basket, matching raw edges. Sew the binding along the top edge.
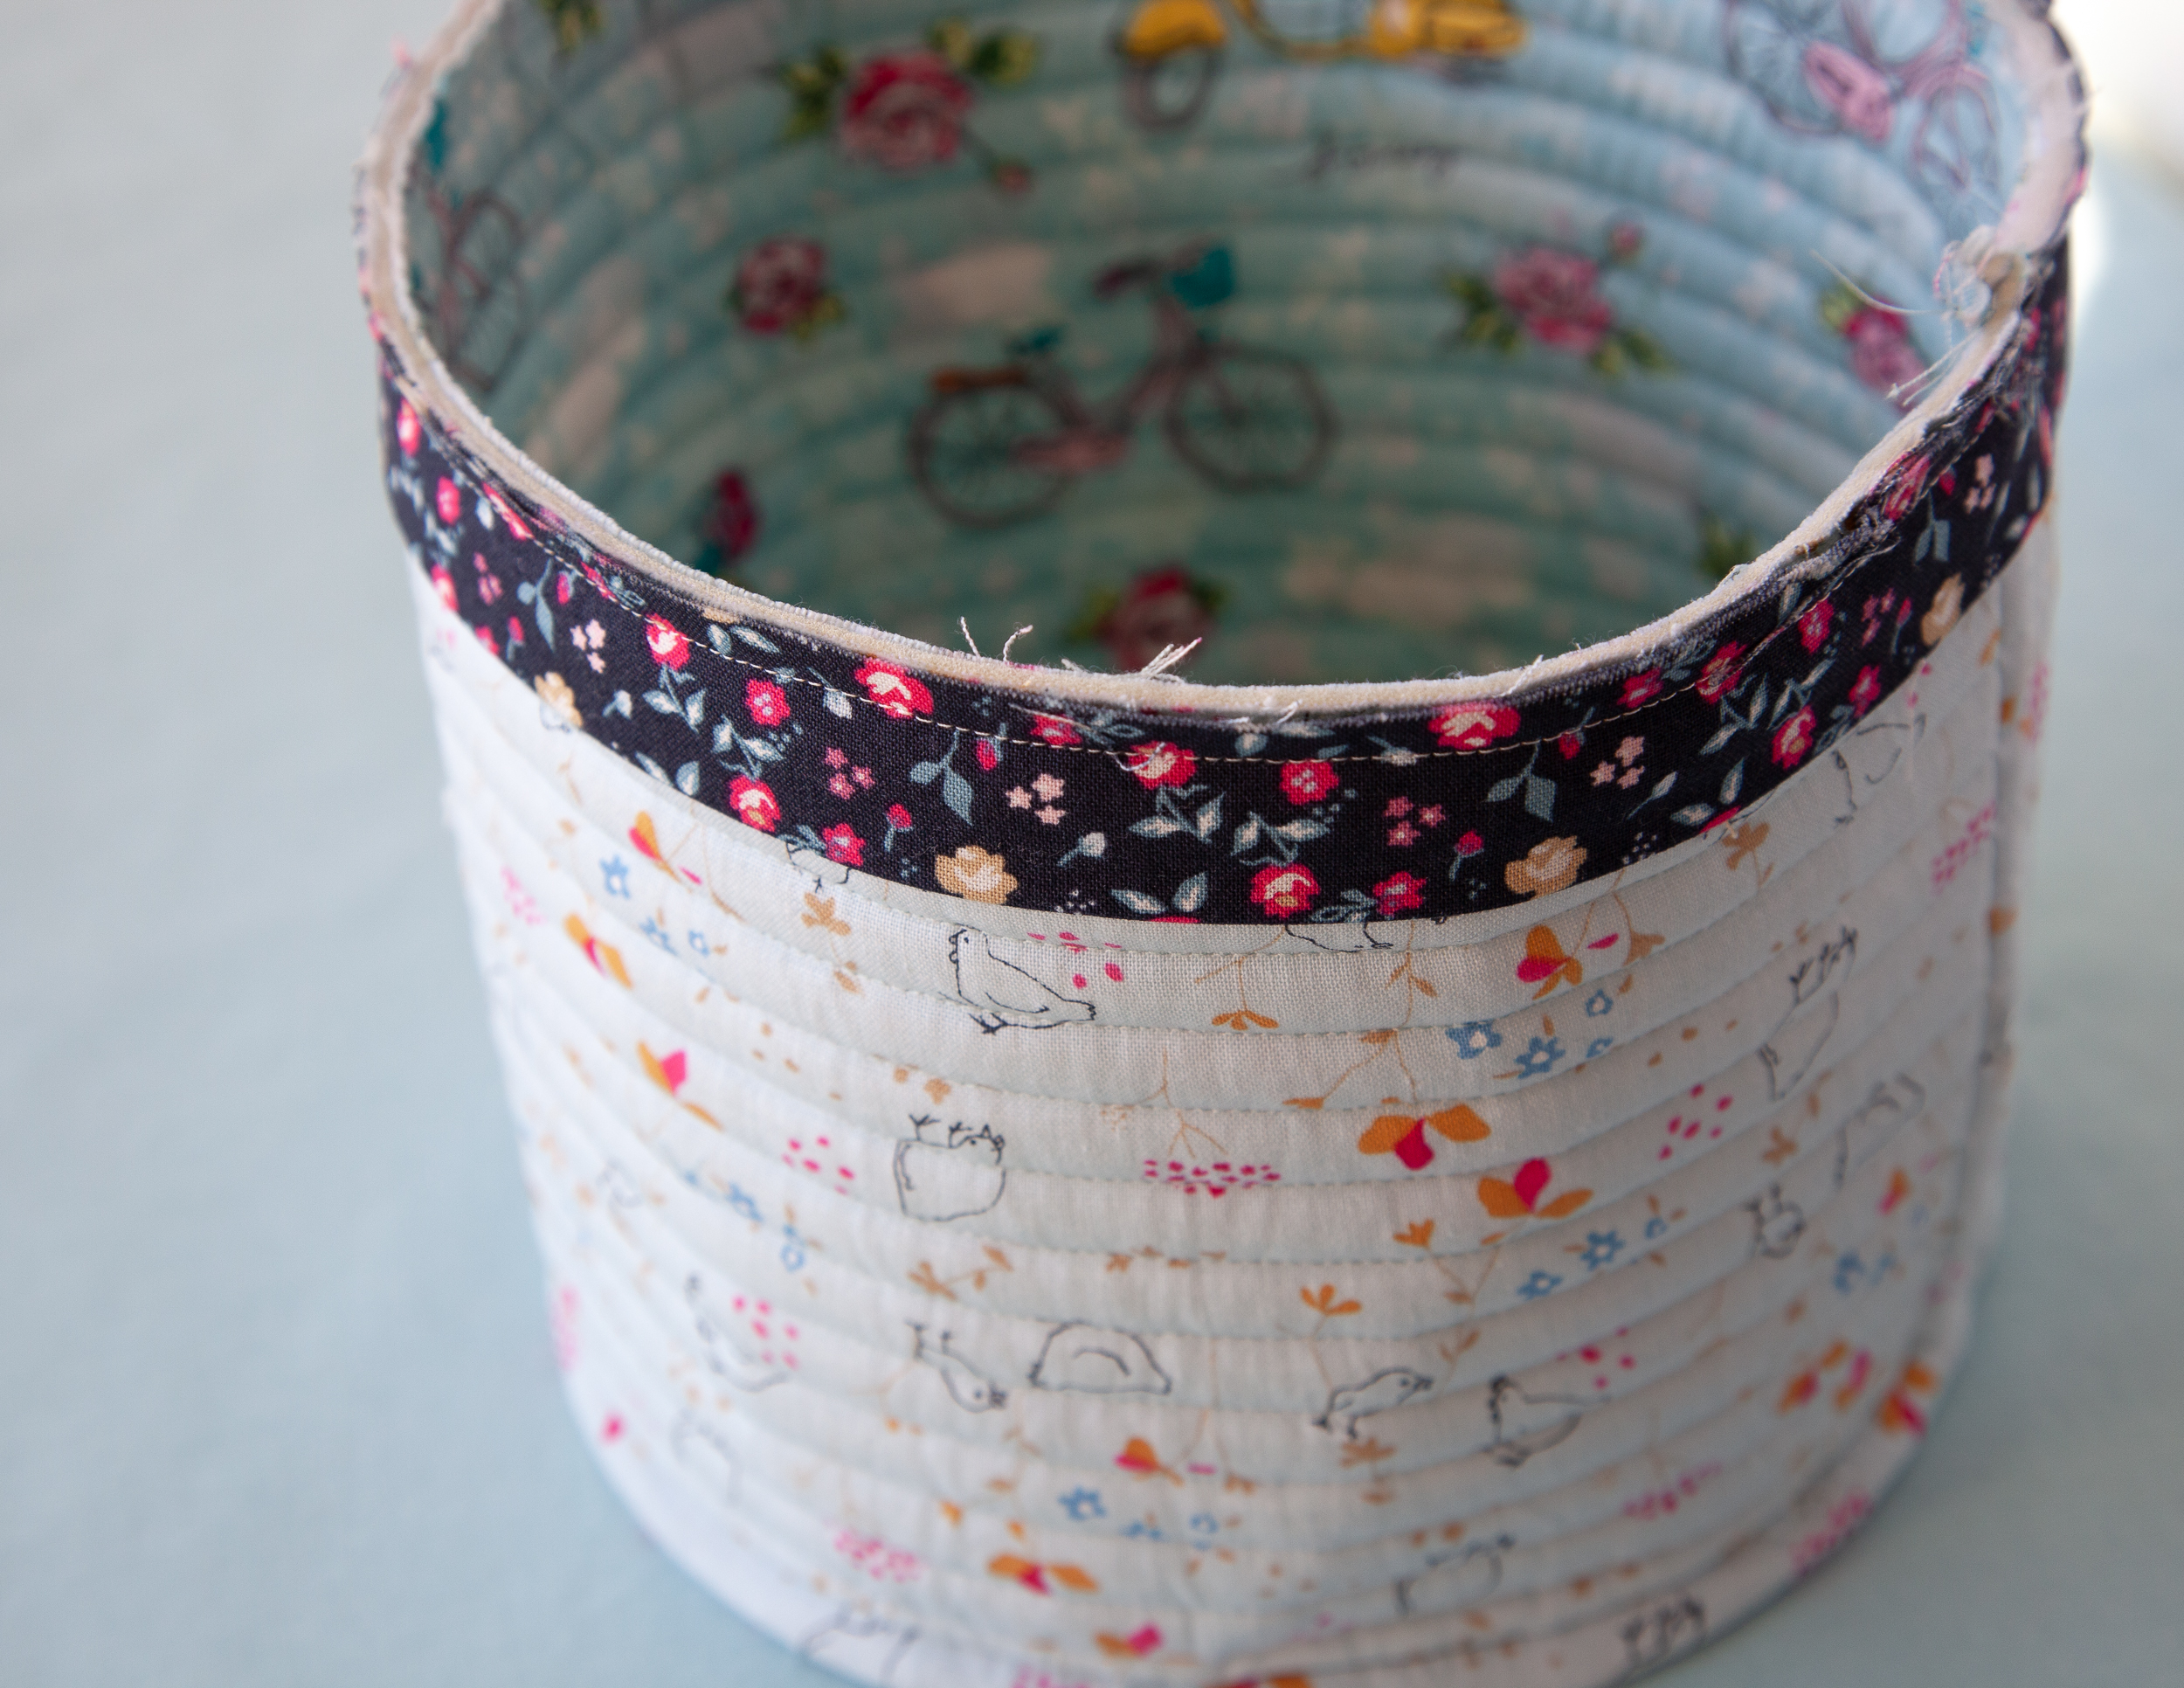
8. Fold the binding to the inside of the basket and press. Machine sew or hand stitch to finish. I machine stitched right under the binding from the exterior using a walking foot.
Note: Make sure to match bobbin thread to the binding color.

Make the Handle
9. Sew the fabric scraps together to make 19 1/2” x 3” handle strip. Press the seams open.

10. Wrap the webbing (poly strapping) with the handle strip and pin in place as shown.
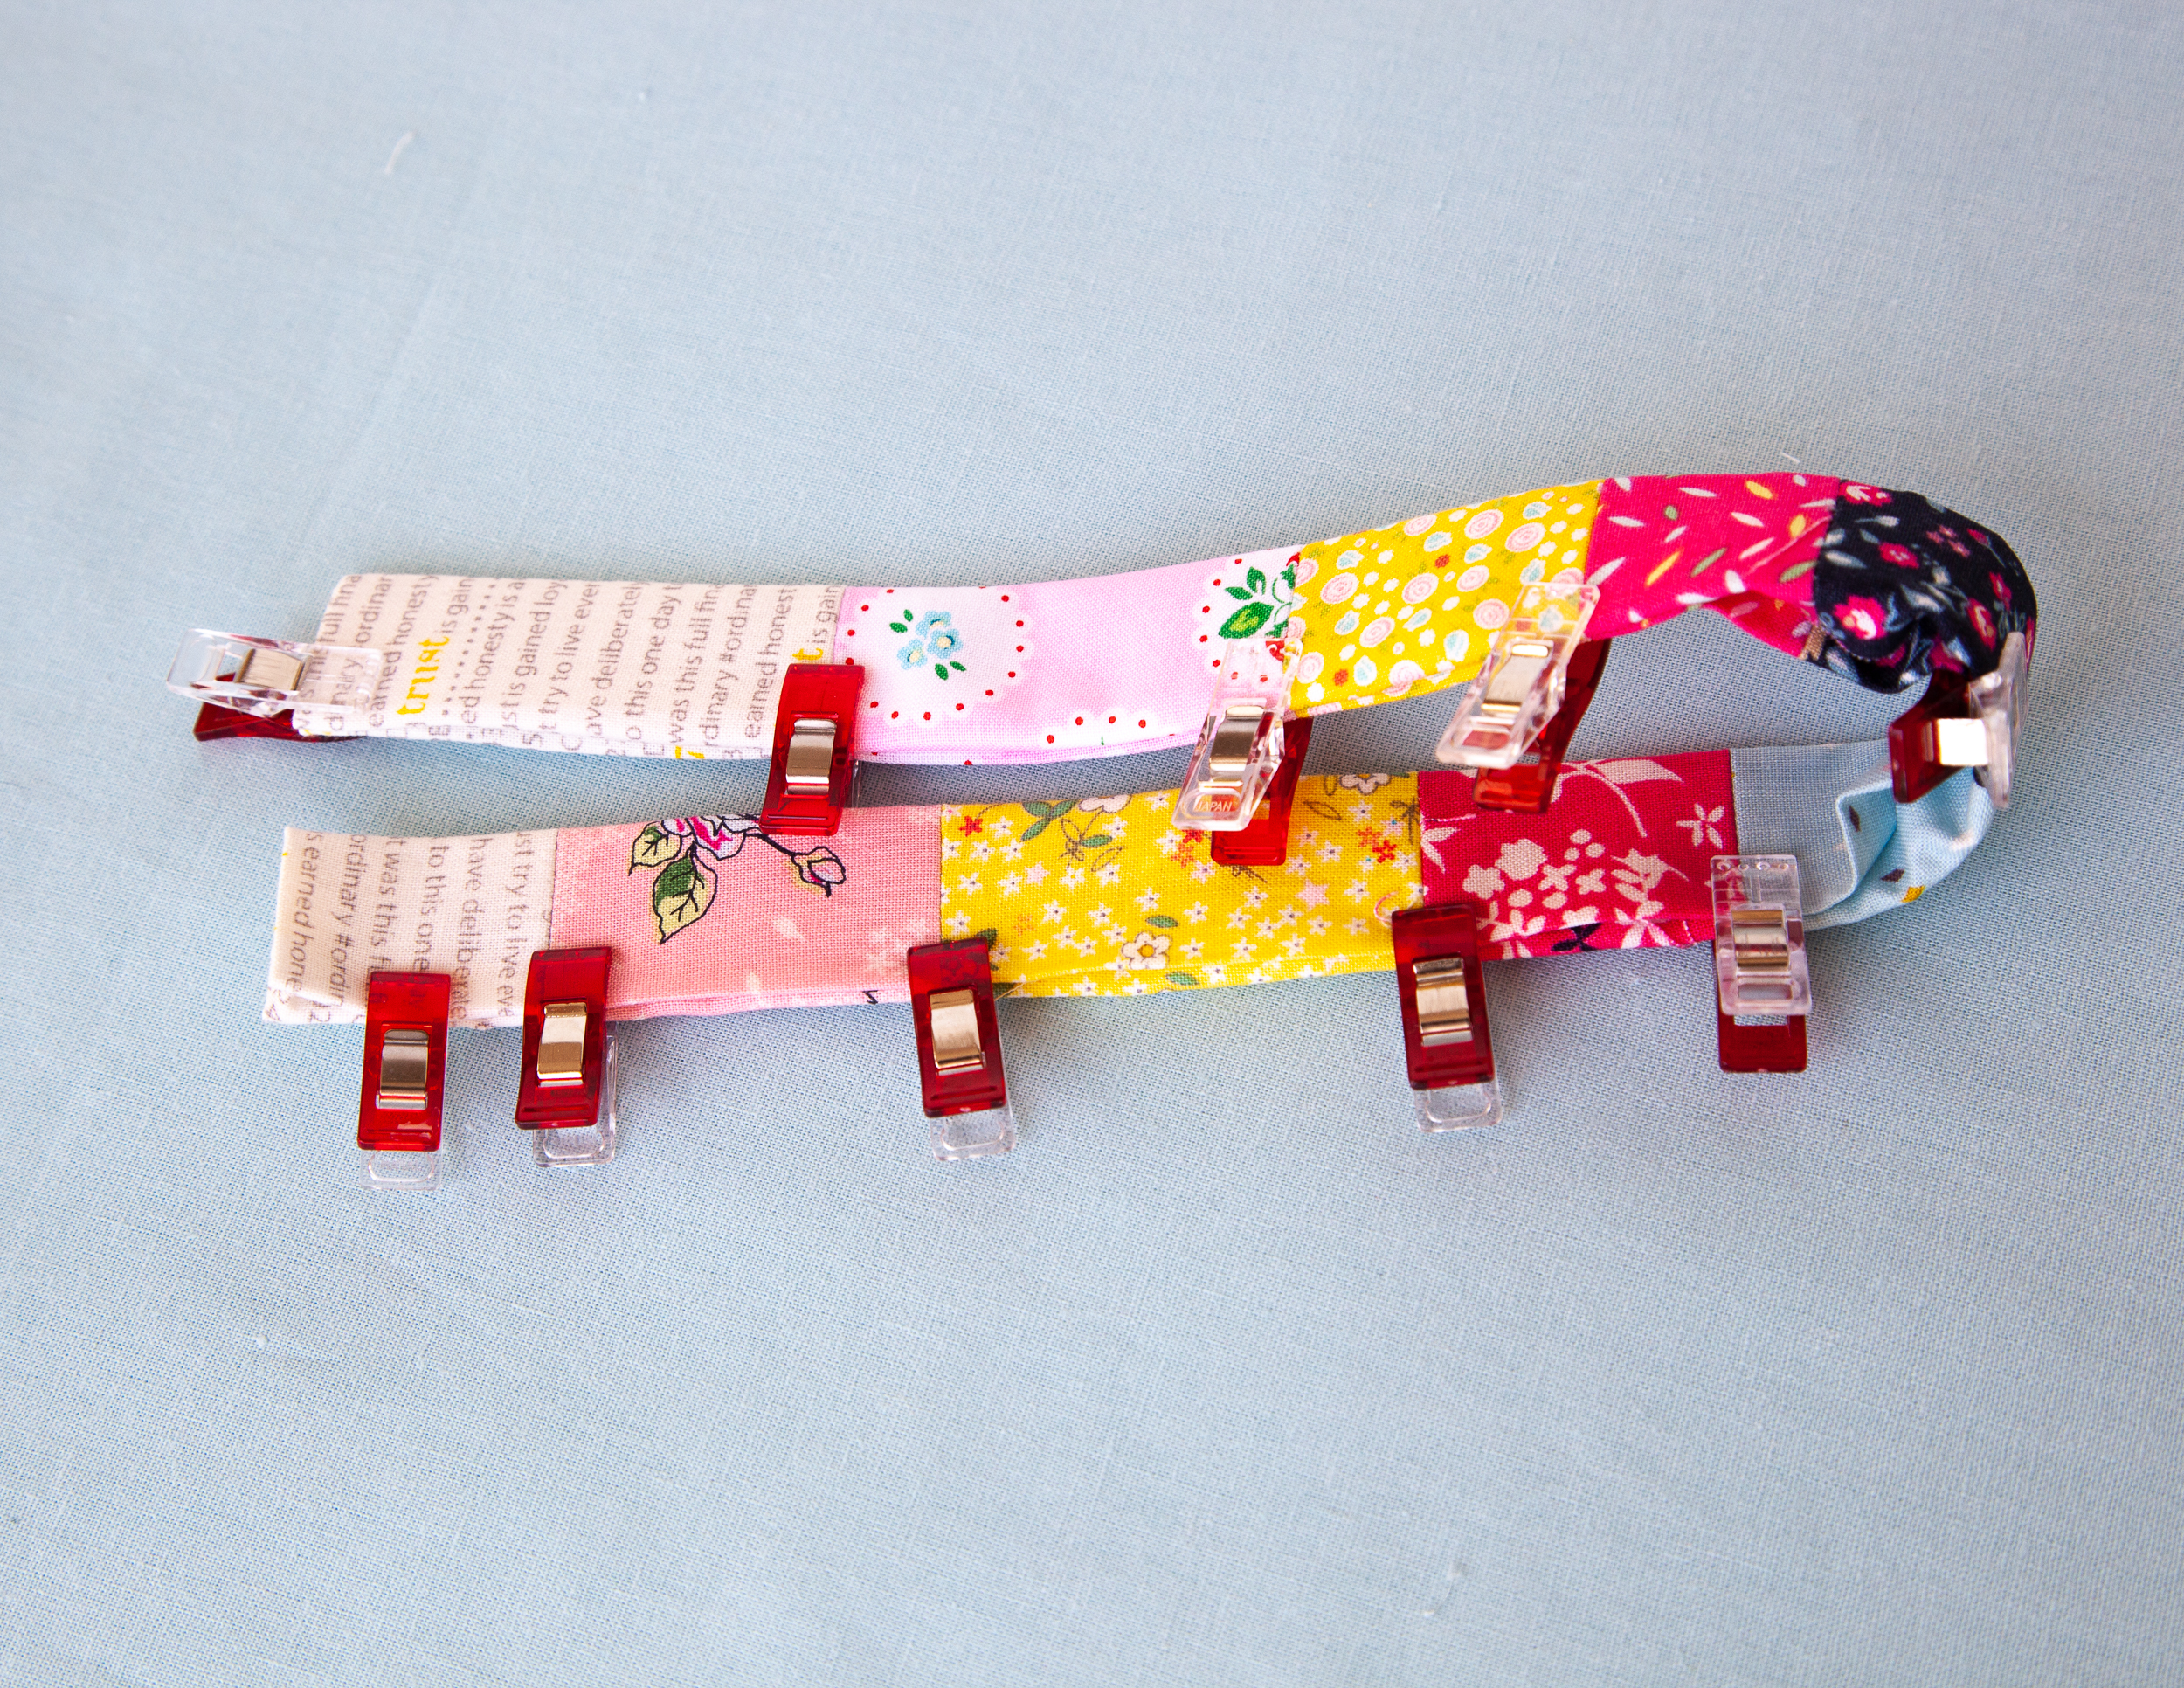
11. Topstitch all the way around the outer edge to finish the handle.

Add the Handle
12. Mark the center of basket and attach the handle using double-cap rivets, following manufacturer’s instructions. Or, you can machine sew the handle to the basket.
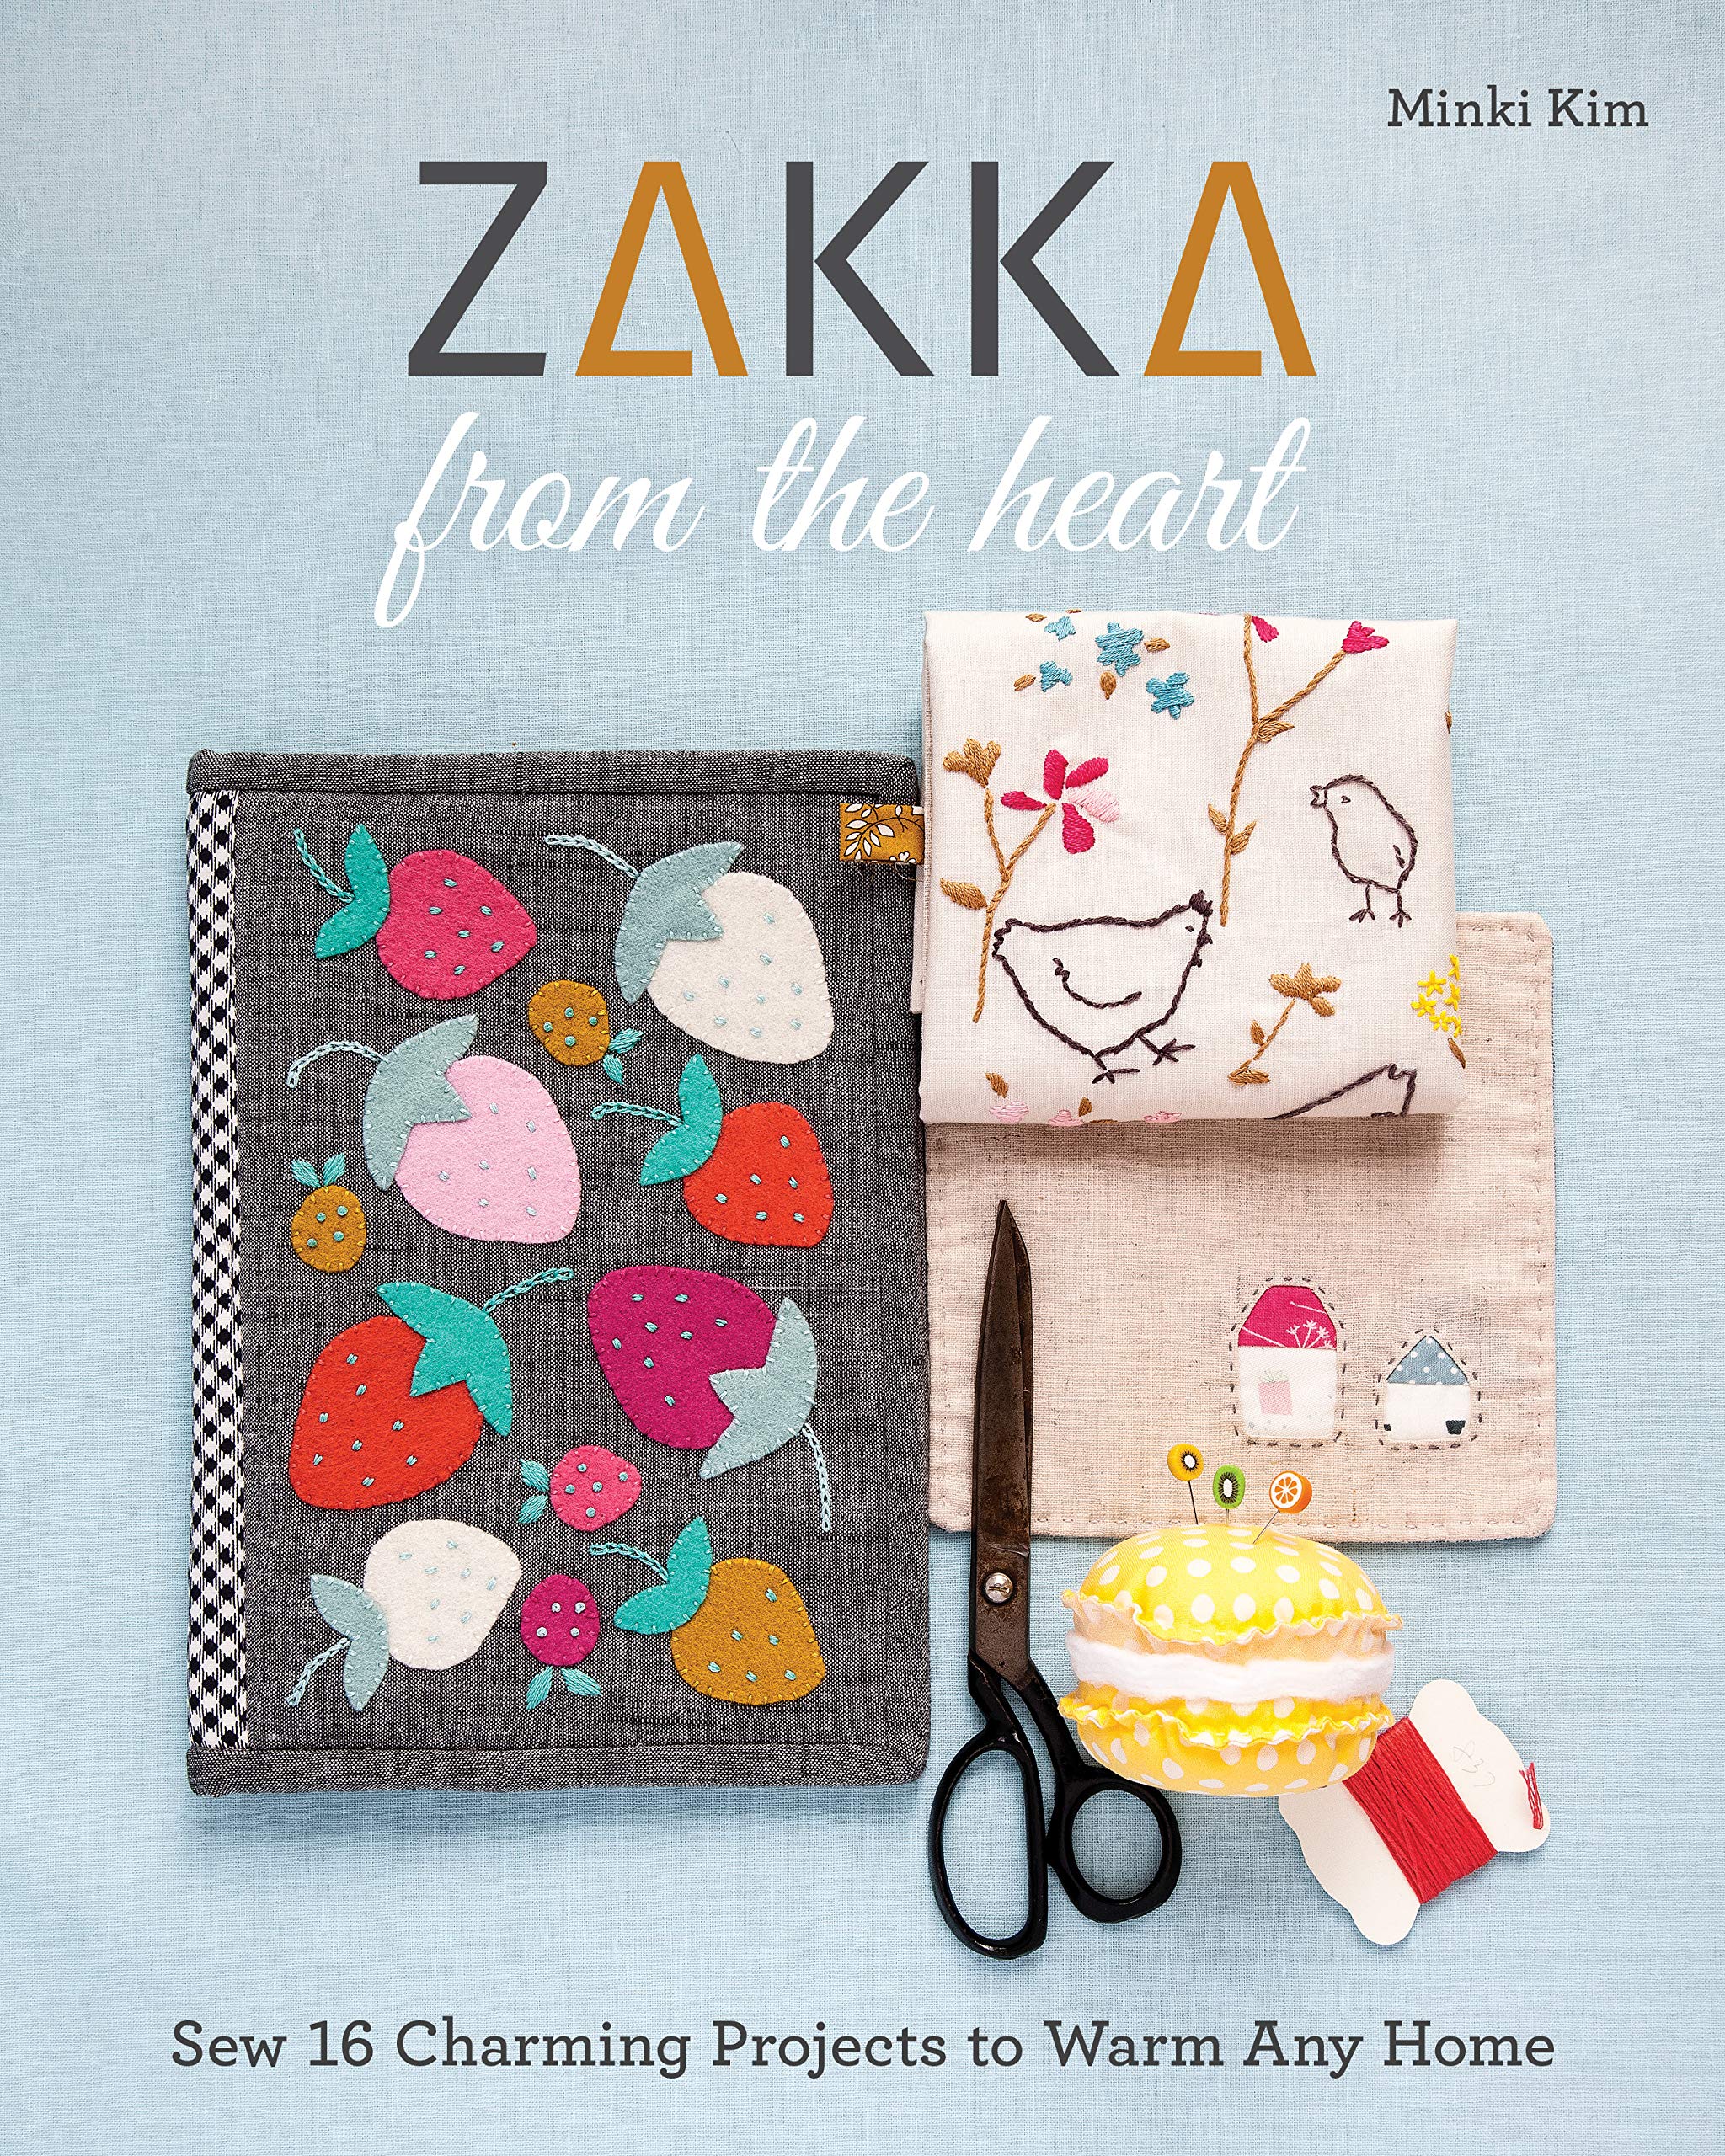
My new book Zakka from the Heart will be out this October from Stash Books.
I can’t wait to put it in your hands and hope to share more when it’s the time!
Used Products

What you might also like


7 comments on “Quilted Easter Basket Tutorial”
-
-
very cute. instructions done very well thank you
-
Thank you for sharing this. I’m not able to print this – anyone else having this problem? I could print the round pattern, but not the instructions. Ideas? Thanks!
-
Use the upload or share icon in the address bar of the page. It looks like a box with an upward arrow in the middle. You will get a drop down window with options. Scroll down in the little window to the print option. I wish there was a way I could add a screen shot to illustrate.
-
-
To PRINT … open in a browser first … then you can print.
-
What Foot are you using on your machine, and what feet are appropriate for this?
-
Step 6 mentions a bias strip that comes out of thin air. Was the binding strip of exterior of basket suppose to be bias?
Leave a Reply
You must be logged in to post a comment.

So cute