Creating Custom Cord with BERNINA Braiding Foot #21
If you are a midnight sewer like I am, you know the feeling of being in the “zone”, making progress on a project you love, and then it happens. You don’t have the right fabric, the best tool, or the perfect color cord to finish your project. Well, when you need the perfect color cord, try creating custom cord with BERNINA Braiding Foot #21. You can make almost any color cord and use it for creating ties, finishing edges, or couching embellishments. And, the best part is, that you probably already have the supplies to make it.
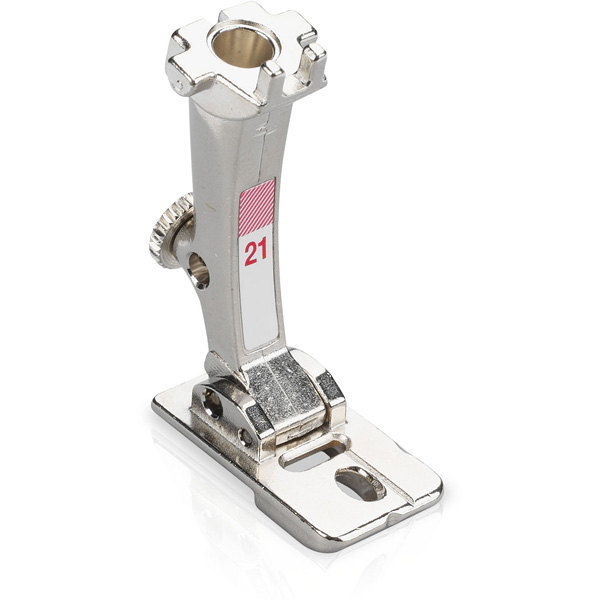
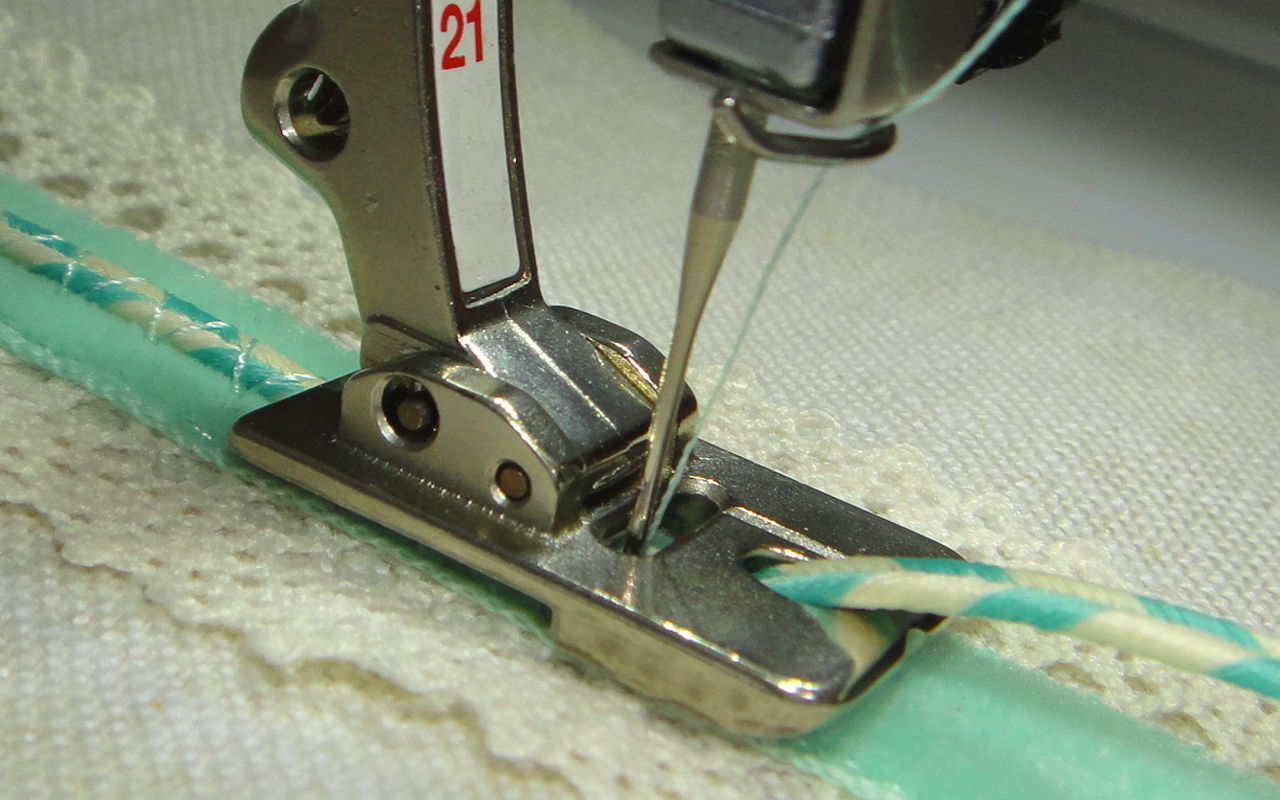
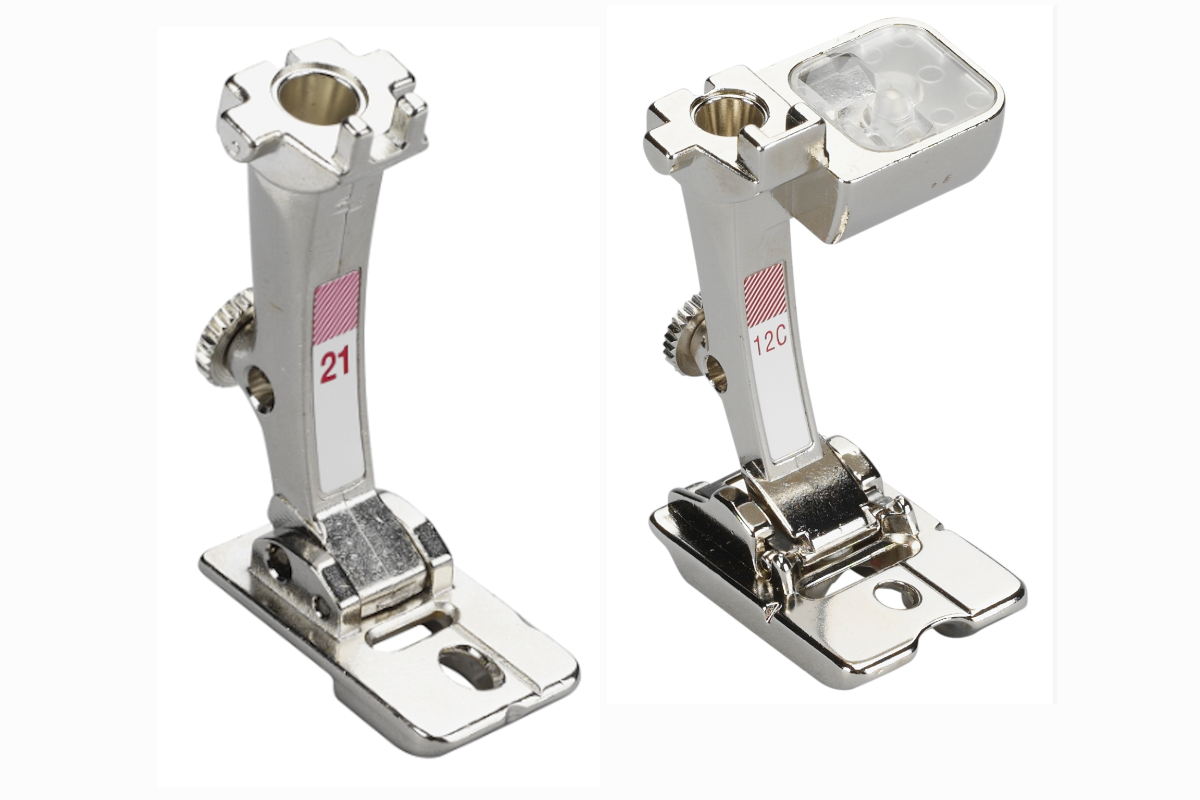
Braiding Foot #21
This foot holds cords and yarns in place for stitching. Couching is a technique where you sew cords to the surface of fabric to add color and texture. The hole on top holds cord or yarn so it can be stitched to fabric. This hole is beveled so it is fairly easy to feed the cord or yarn through the hole. Foot #12C is a hybrid of Bulky Overlock Foot #12 and Braiding Foot #21. The hole in the top of the foot is the same as on Foot #21 and holds cords and yarn in place for couching. If you have a BERNINA model that has a maximum stitch width of 9mm, use Foot #12C for this technique.
Materials for Making Custom Cords
- Braiding Foot #21 or Bulky Overlock Foot #12C
- Any color yarn – must fit into the round hole on the top of the sole of Foot #21
- Thread in the desired color of the finished cord.
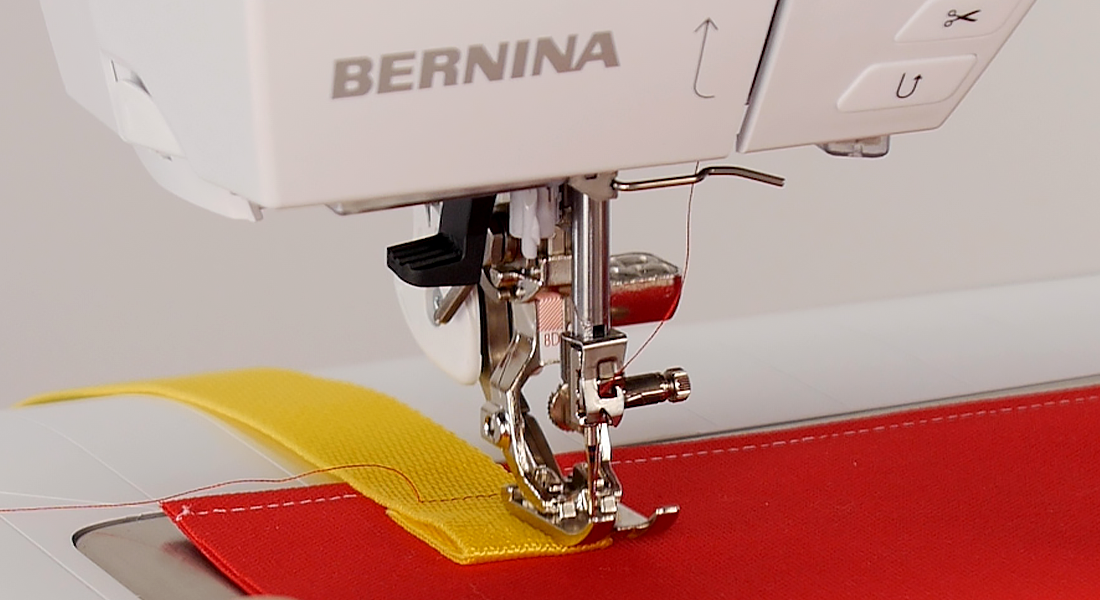
Making the Cord
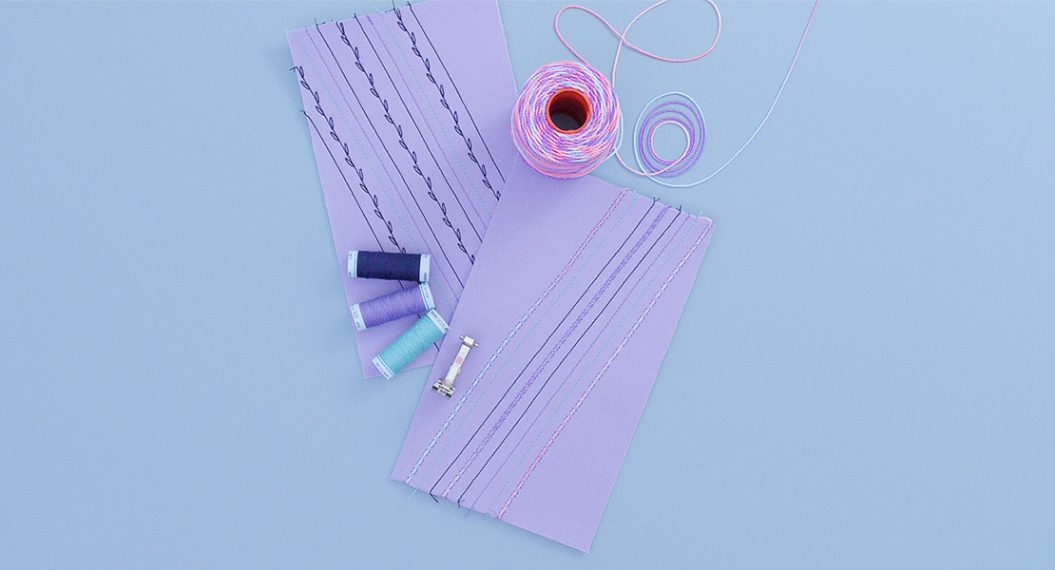
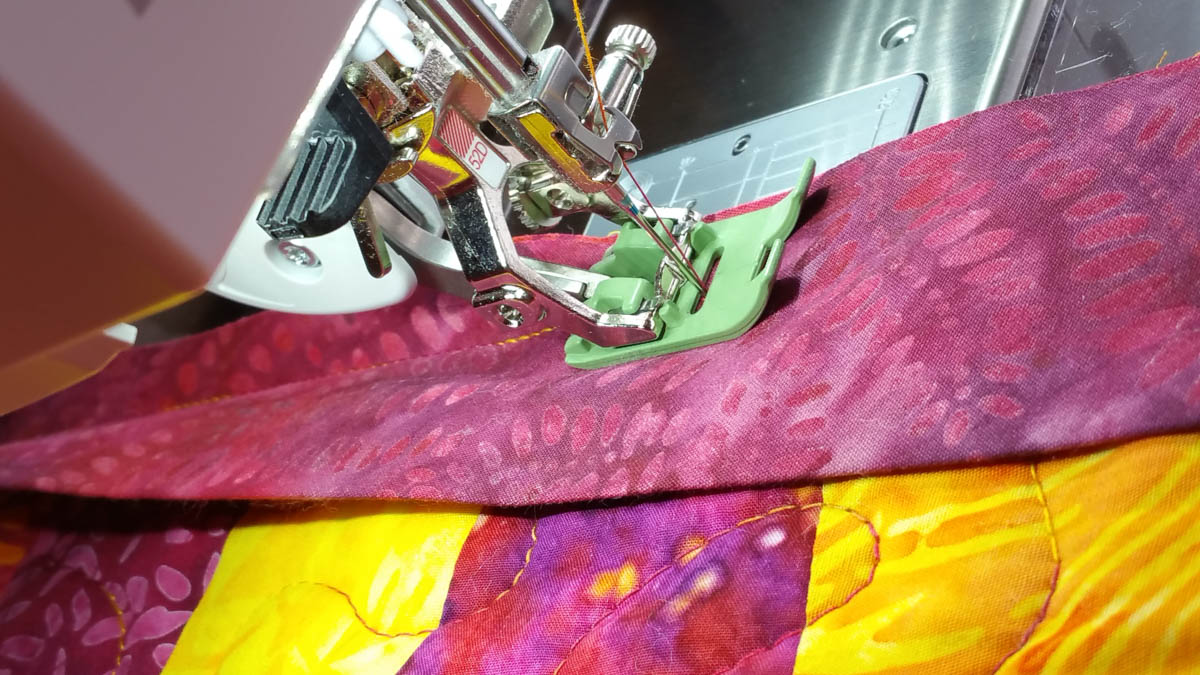
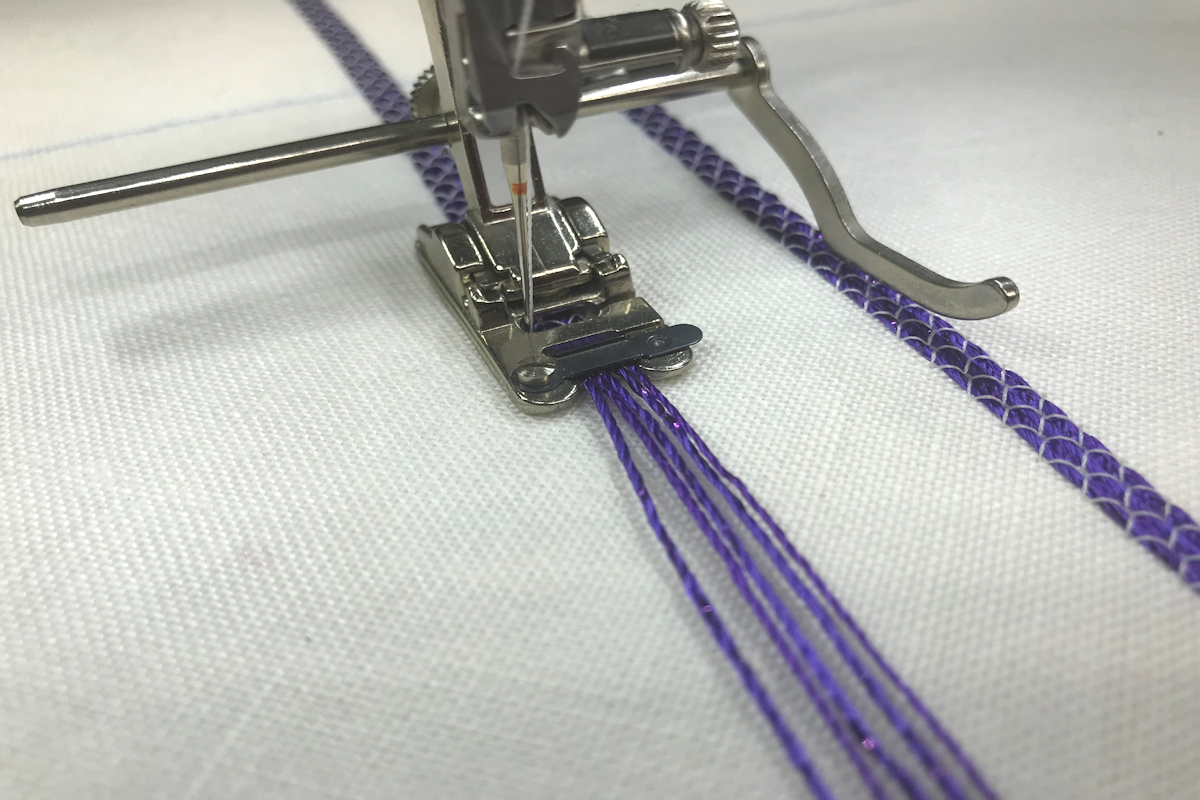
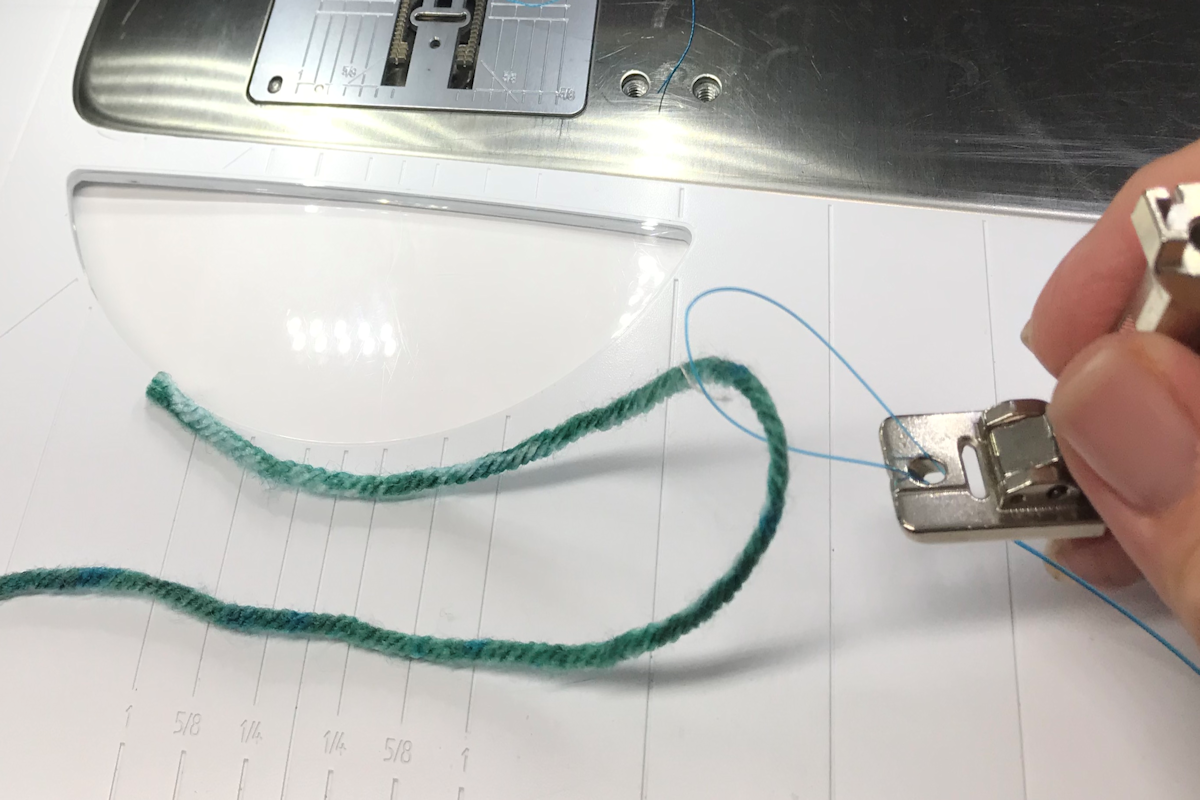
Start by inserting yarn into the hole on Foot #21. This can be done before or after attaching the foot to the machine. If you are having trouble, use a thread loop (piece of thread folded in half to form a loop) or a dental floss threader (available at drugstores). Place the yarn into the loop or threader, and then place the straight end of the loop or threader into the hole on the foot. Pull it through the hole until there is about 6”-7” of yarn behind the foot. You may use several strands of yarn if they fit into the hole and feed easily.
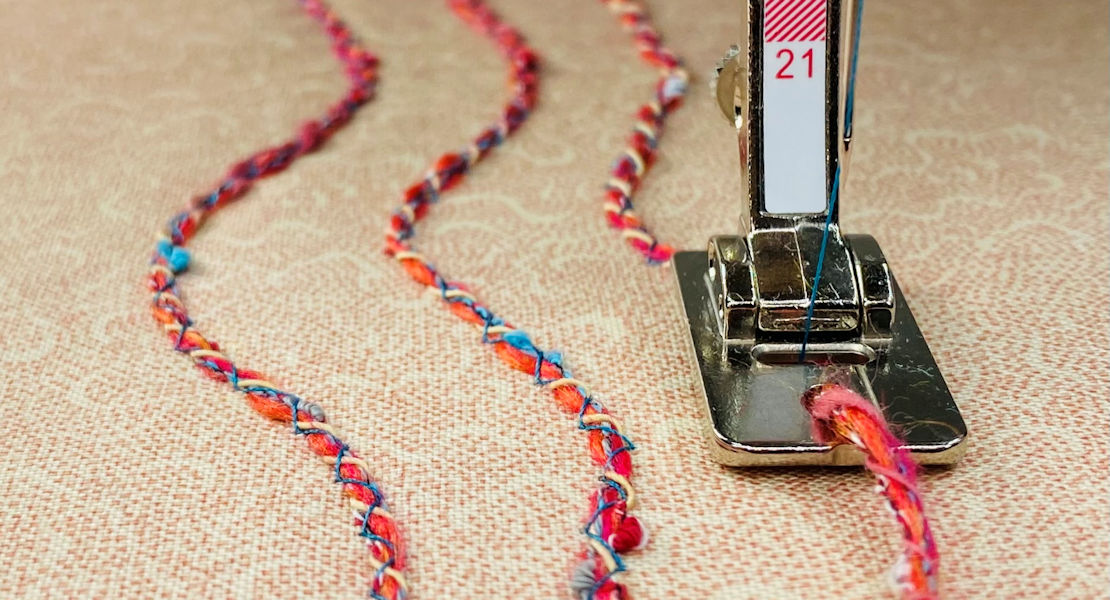
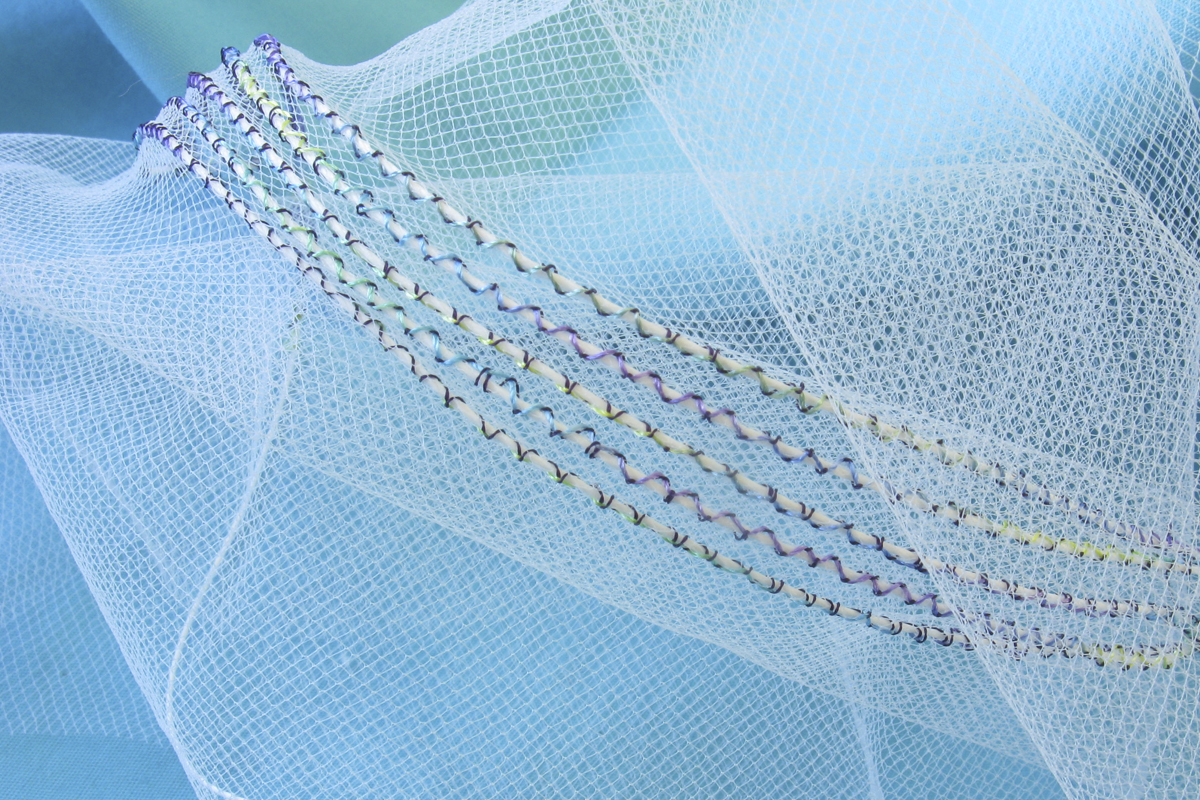
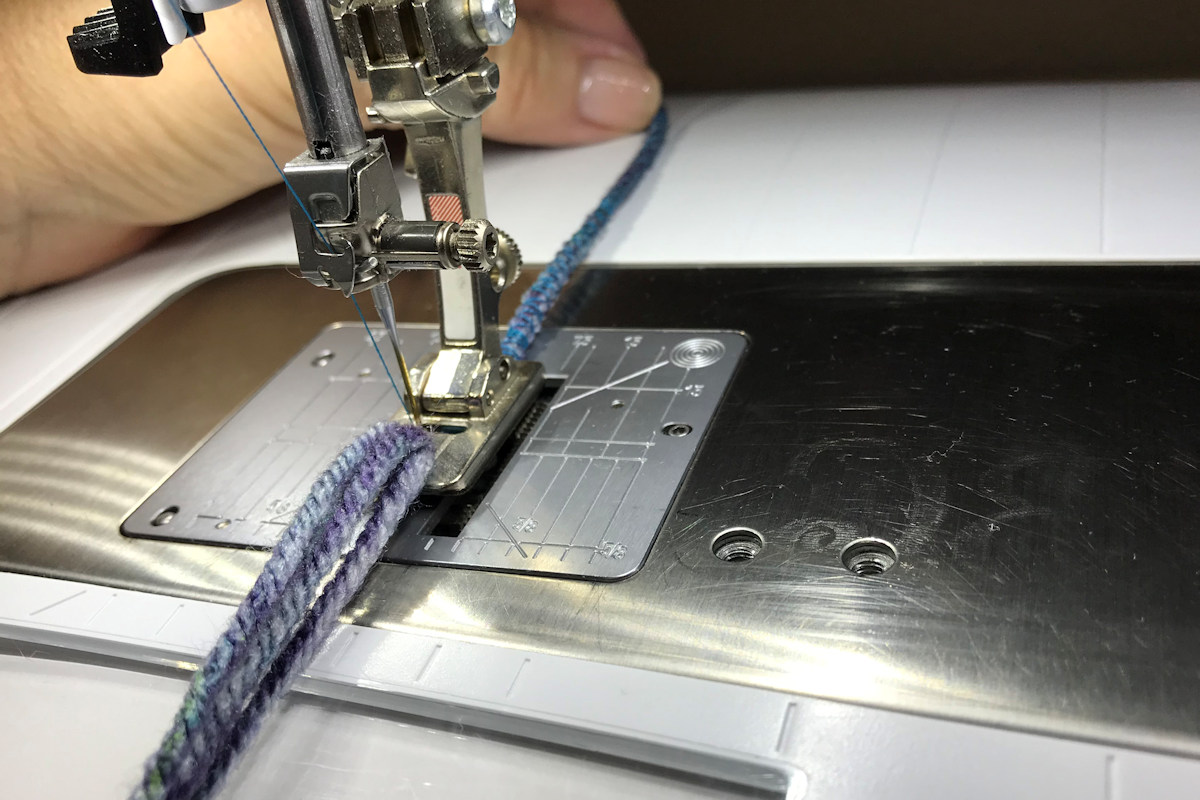
Once the thread is on the machine, select the zigzag stitch and adjust the width to 5.5mm. Adjust the stitch length as desired. A satin stitch setting (length of 0.5-0.8mm) for more coverage or a longer length of open stitching where the yarn will be visible. Sew over the yarn, holding it taut behind the needle. Because the yarn is touching only a small part of the feed teeth, you may need to gently pull it though as the needle stitches. The first pass will compress the yarn, turning it into a round cord. If you want more coverage, stitch over the cord again until the look of the cord suits you.
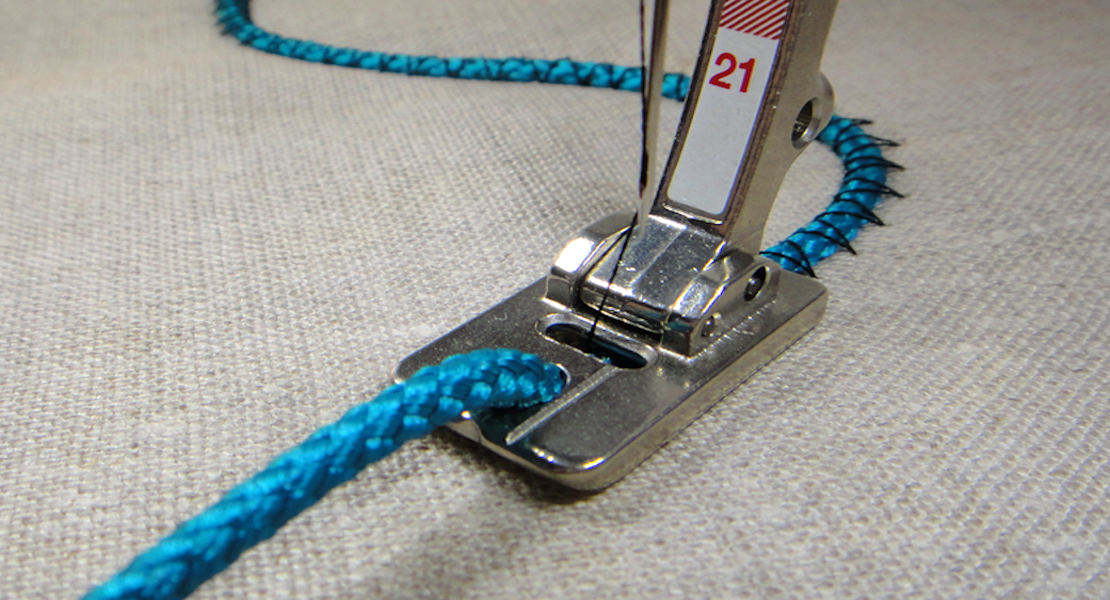
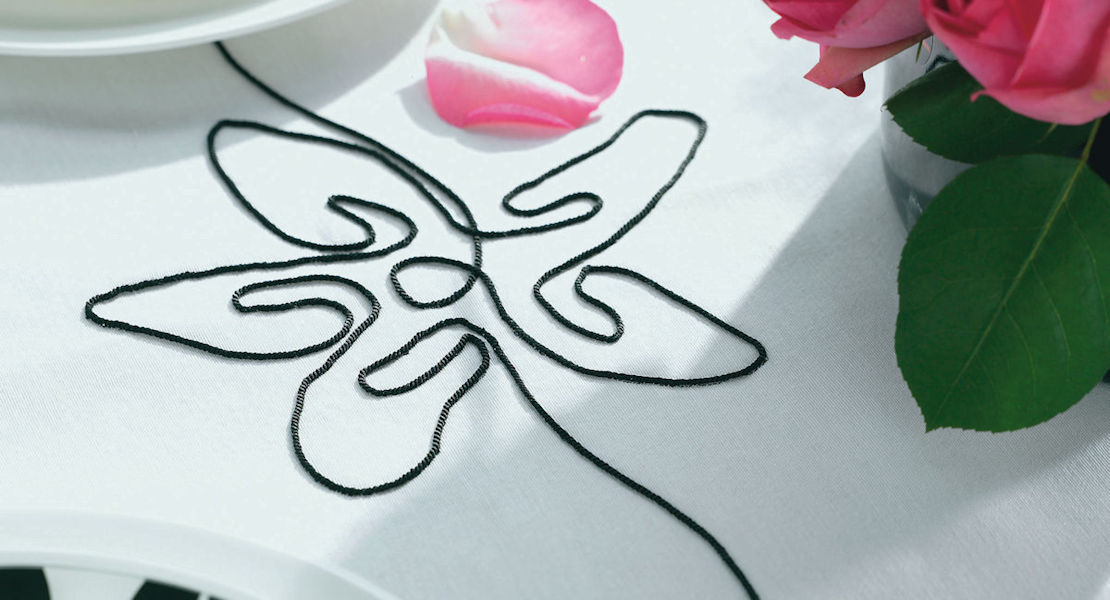
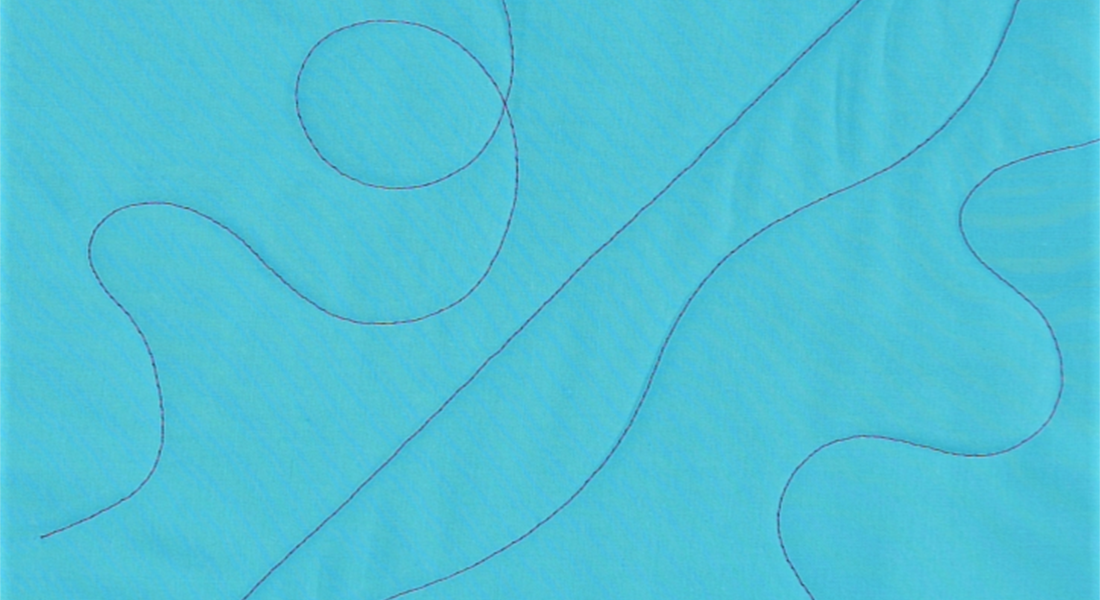
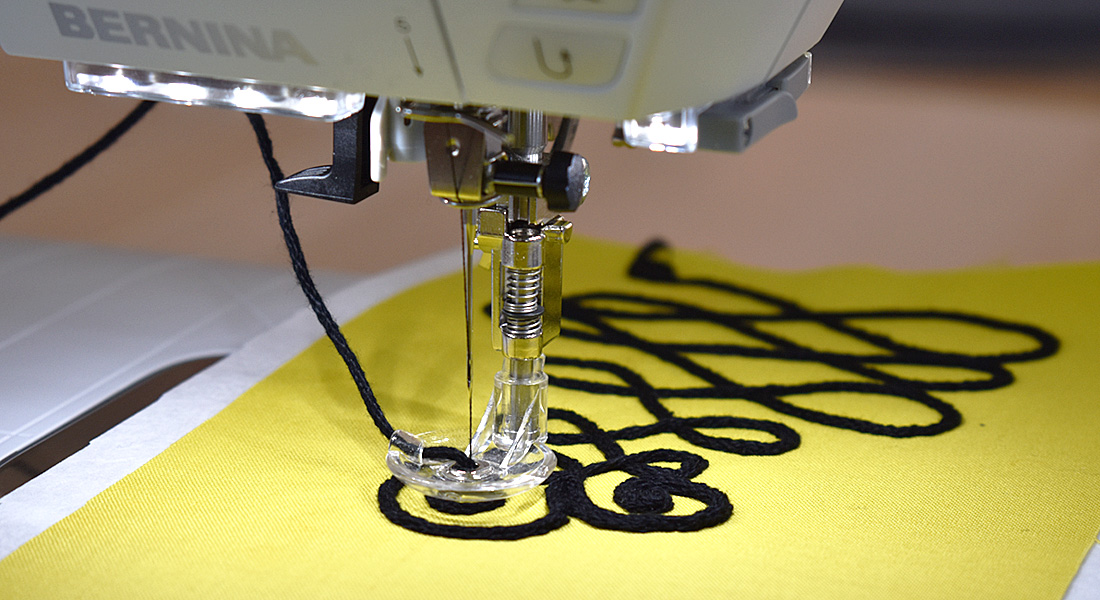
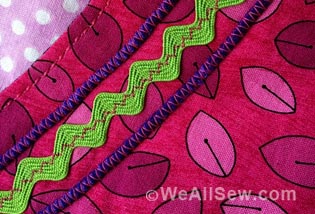
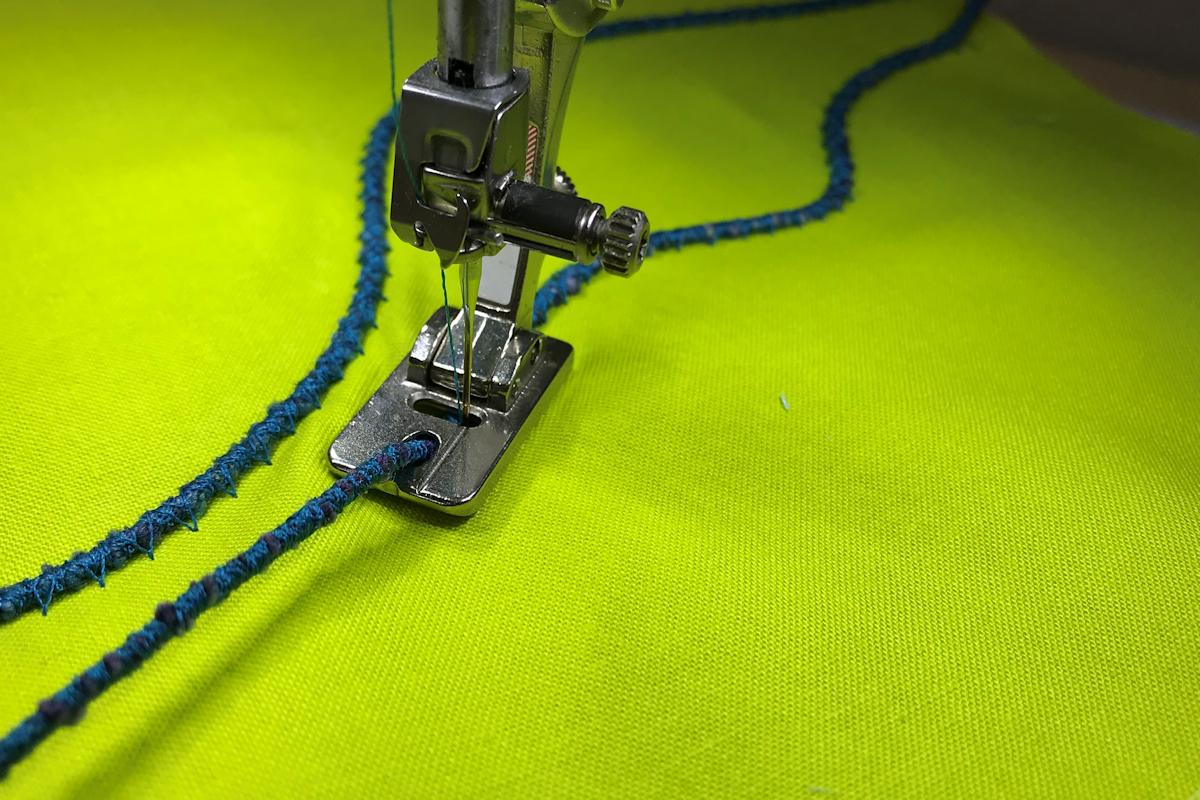
Couching the Cord
To couch the finished cord onto fabric, thread it into the hole of the foot. For simple couching, select the zigzag stitch and adjust the width to fit the cord. The needle should drop on each side of the cord, stitching into the fabric. Stitch the cord on the fabric as desired.
For more information about Braiding Foot #21 and Bulky Overlock Foot #12, see The Big Book of Feet, available at your local BERNINA Store.

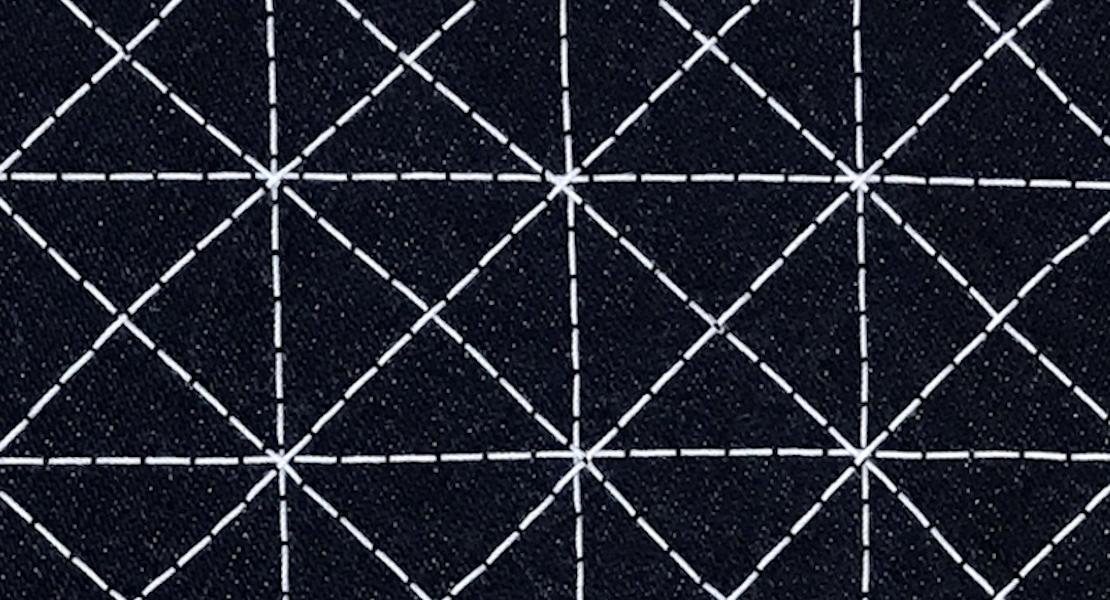
Click here for more fun with couching.