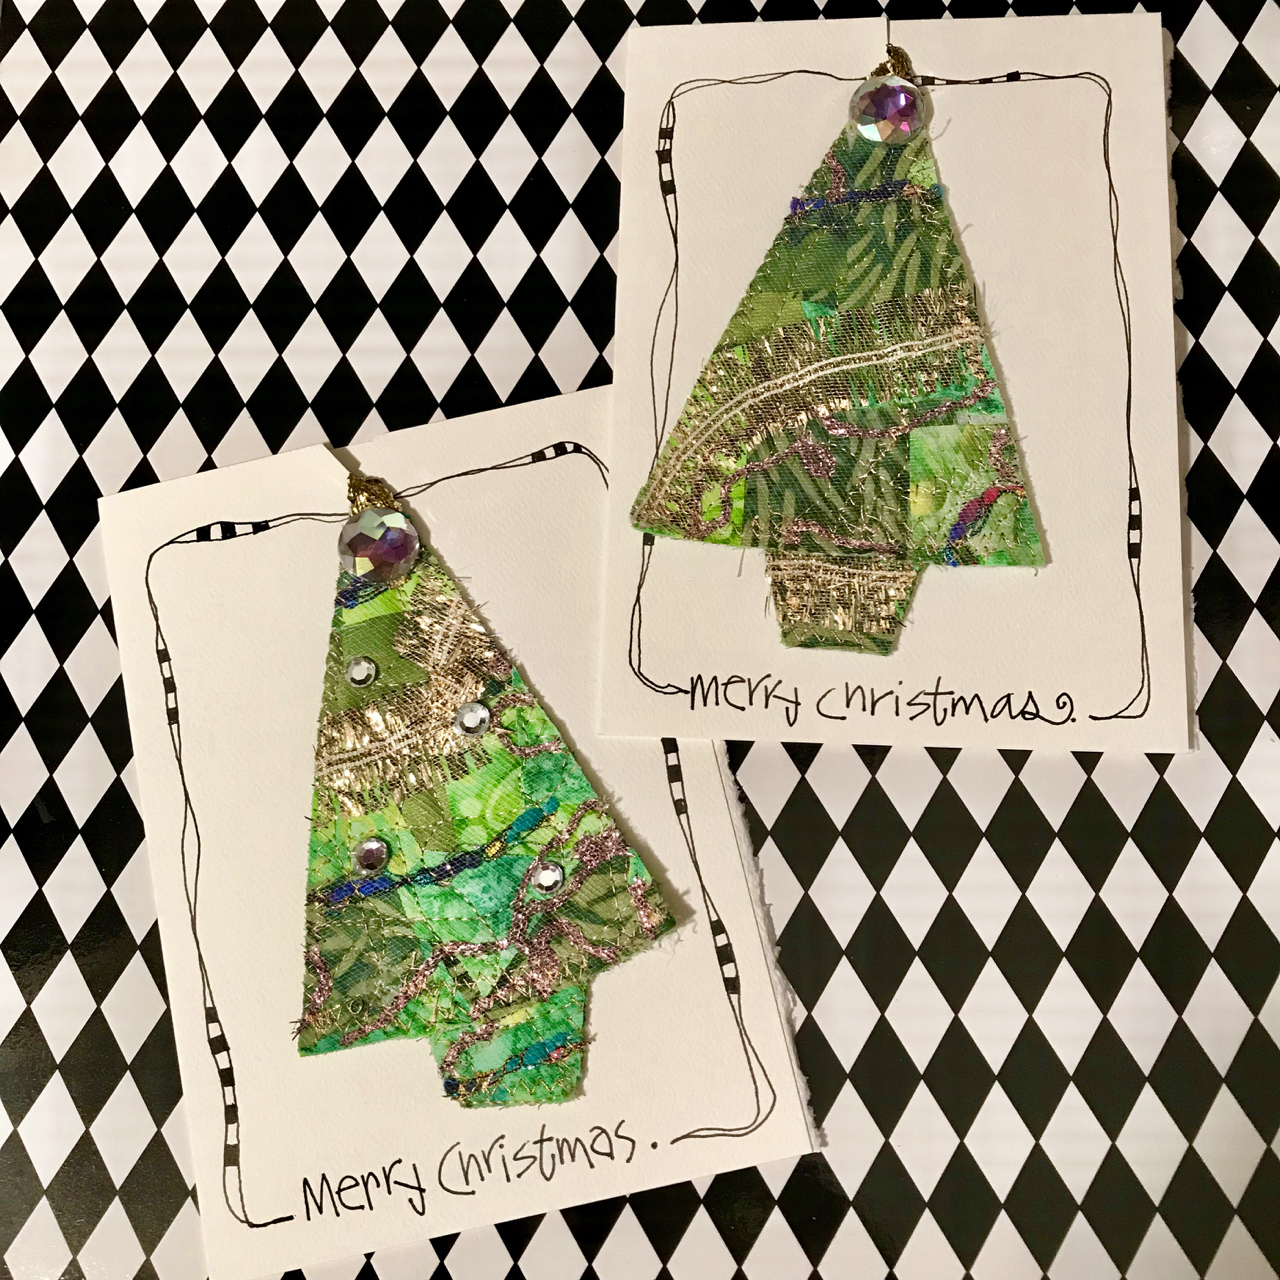
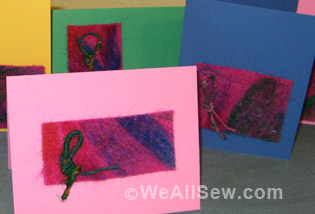
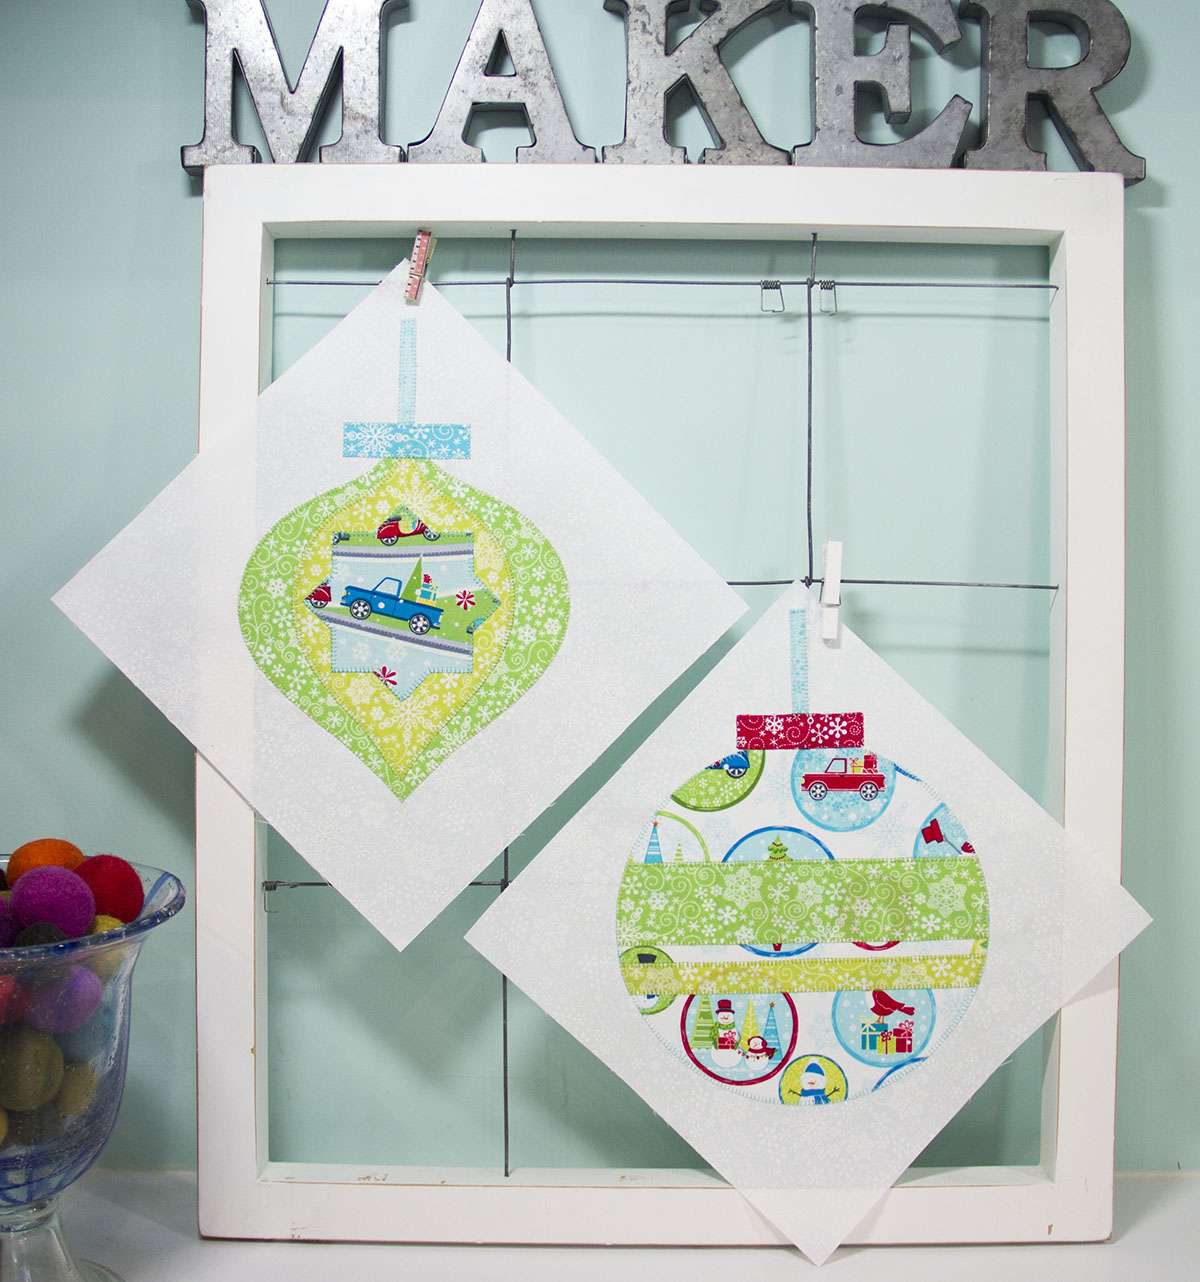
Stitched Collage Ornament Cards
Stitched Collage Ornament Cards by Joanne Sharpe
During this busy time of year, I find myself looking to my favorite creative projects to take the edge off the holiday flurry. Sewing to “just sew” is my preferred activity to keep busy and create something wonderful without a complicated pattern or concern over perfect seams. Making my “stitched collage” fabric with loose, expressive free motion stitching is perfect for this needed escape, while creating a few extra handmade gifts.
As an artist, I am inspired by interesting fabric design and texture, especially given the opportunity to create my own. In this quick and easy Christmas project I construct quilted sheets of whimsical fabric with tiny scraps and threads to serve as a base for a simple tree ornament. The small ornaments are attached to a plain white card front and add a special touch holiday gift for family and friends. ve fun with your sewing machine creating these quick and easy treasures to be cherished and deck the tree every Christmas.
Materials to Create Stitched Collage Ornament Cards
- Green and red fabric scraps
- Assorted metallic threads and yarns (various thicknesses)
- Tulle
- Gold thread
- Fusible fleece
- Backing fabric
- Ribbon for hanging
- Buttons or craft gems for embellishing
- Tacky glue
- Rotary cutter or scissors
- Blank pre-made cards or 8 ½”x11” cardstock paper
- Black fine line marker pen
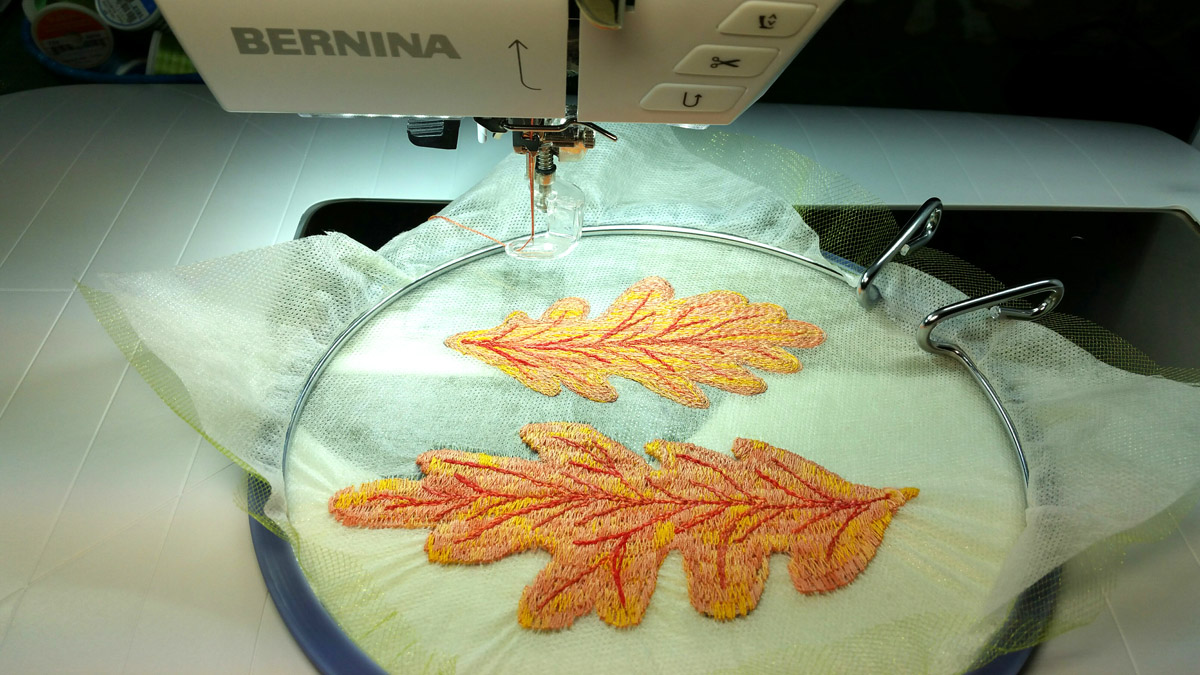
- Your sewing machine. I sew on a BERNINA 790
- BERNINA Stitch Regulator (BSR)
STEP ONE
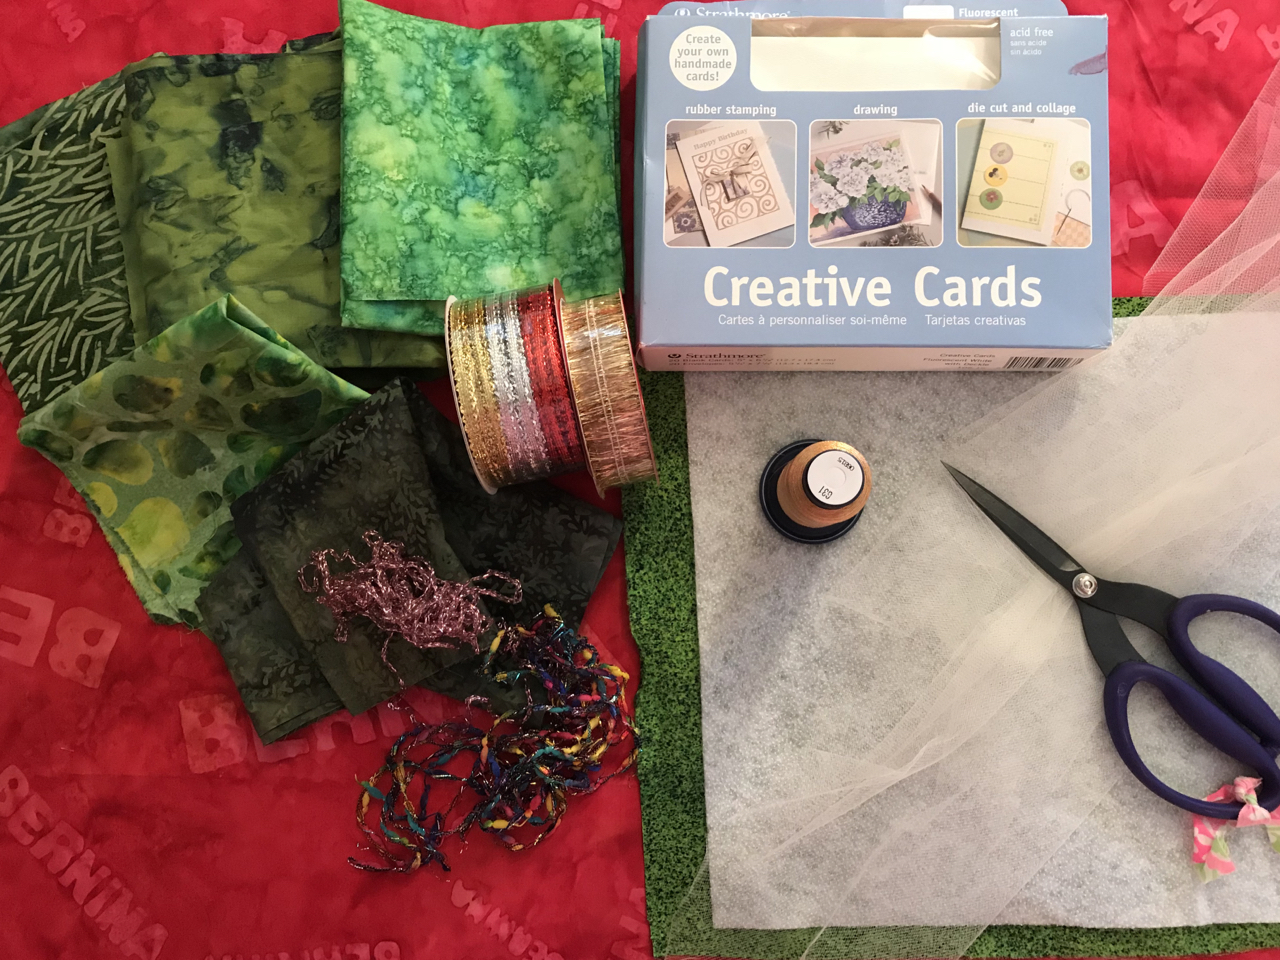
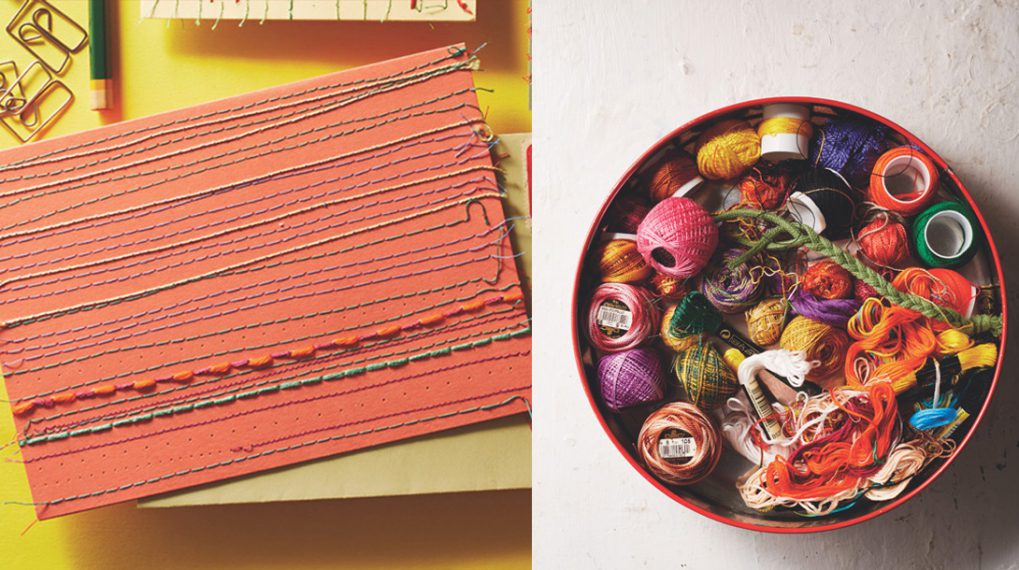
Gather supplies, green fabric scraps, and metallic thread scraps. Cut fabric scraps into small squares, strips and triangle pieces approximately 1”-”.
STEP TWO
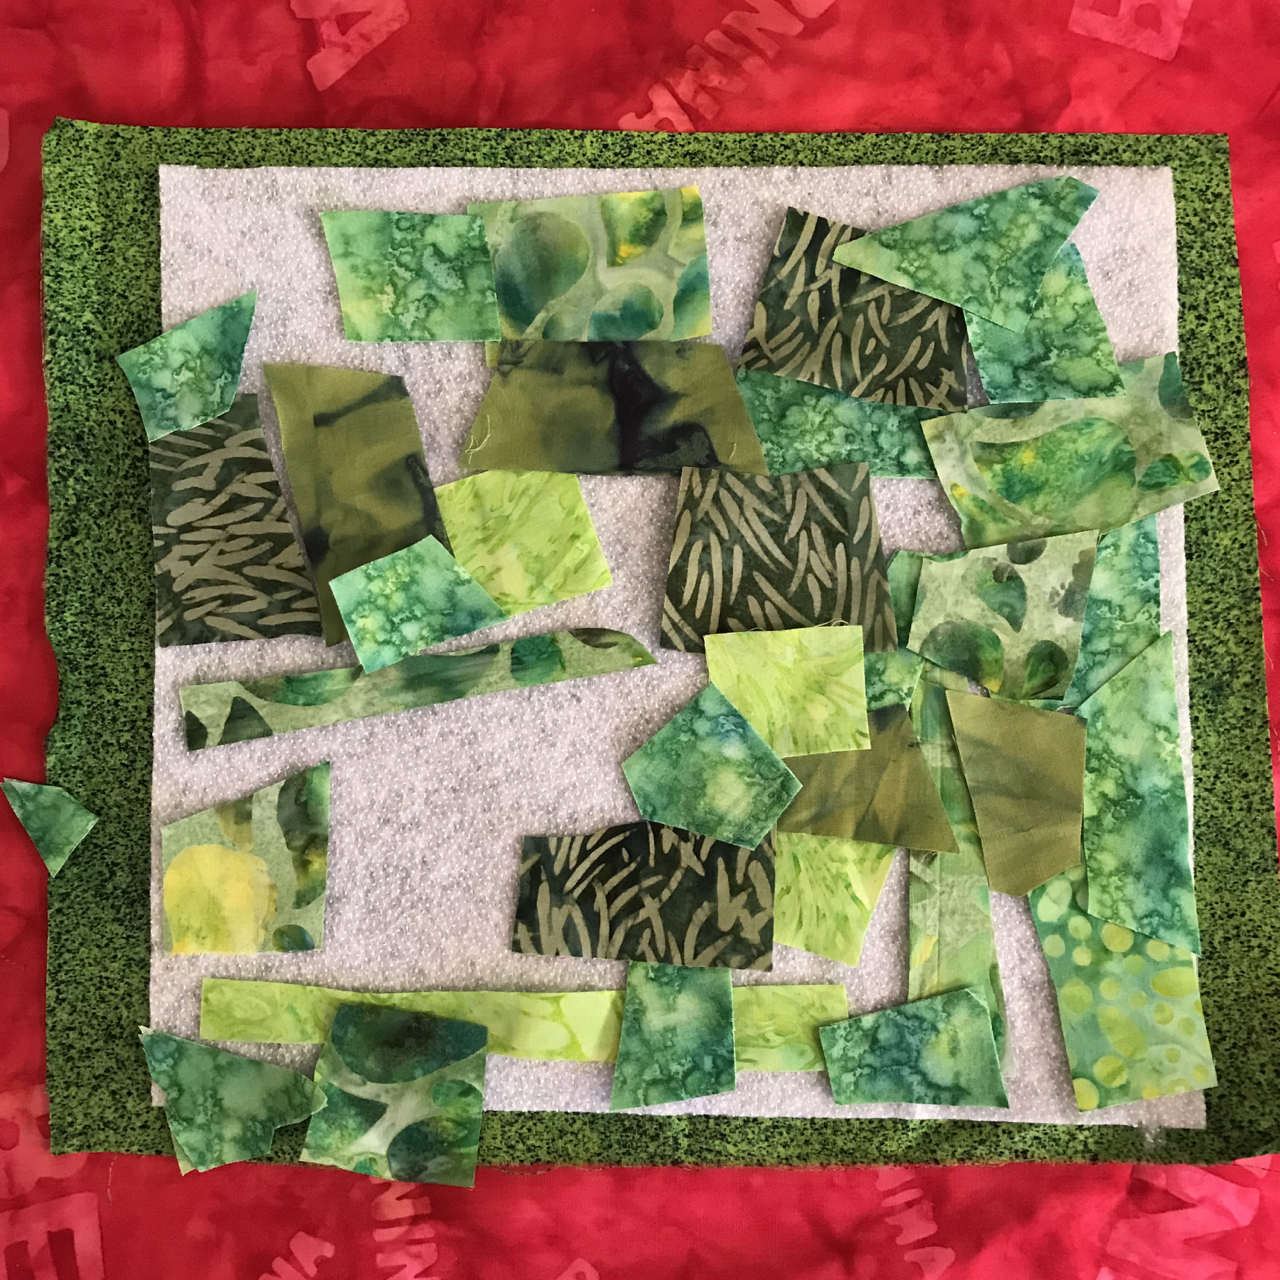
Layer a 10″ x 10″ piece of green backing fabric over the fusible fleece with the glue side up. Begin placing the assorted green pieces in a random collage fashion, each overlapping by about 1/8″. Make sure the fusible is all covered and heat set the collage pieces to the glue side.
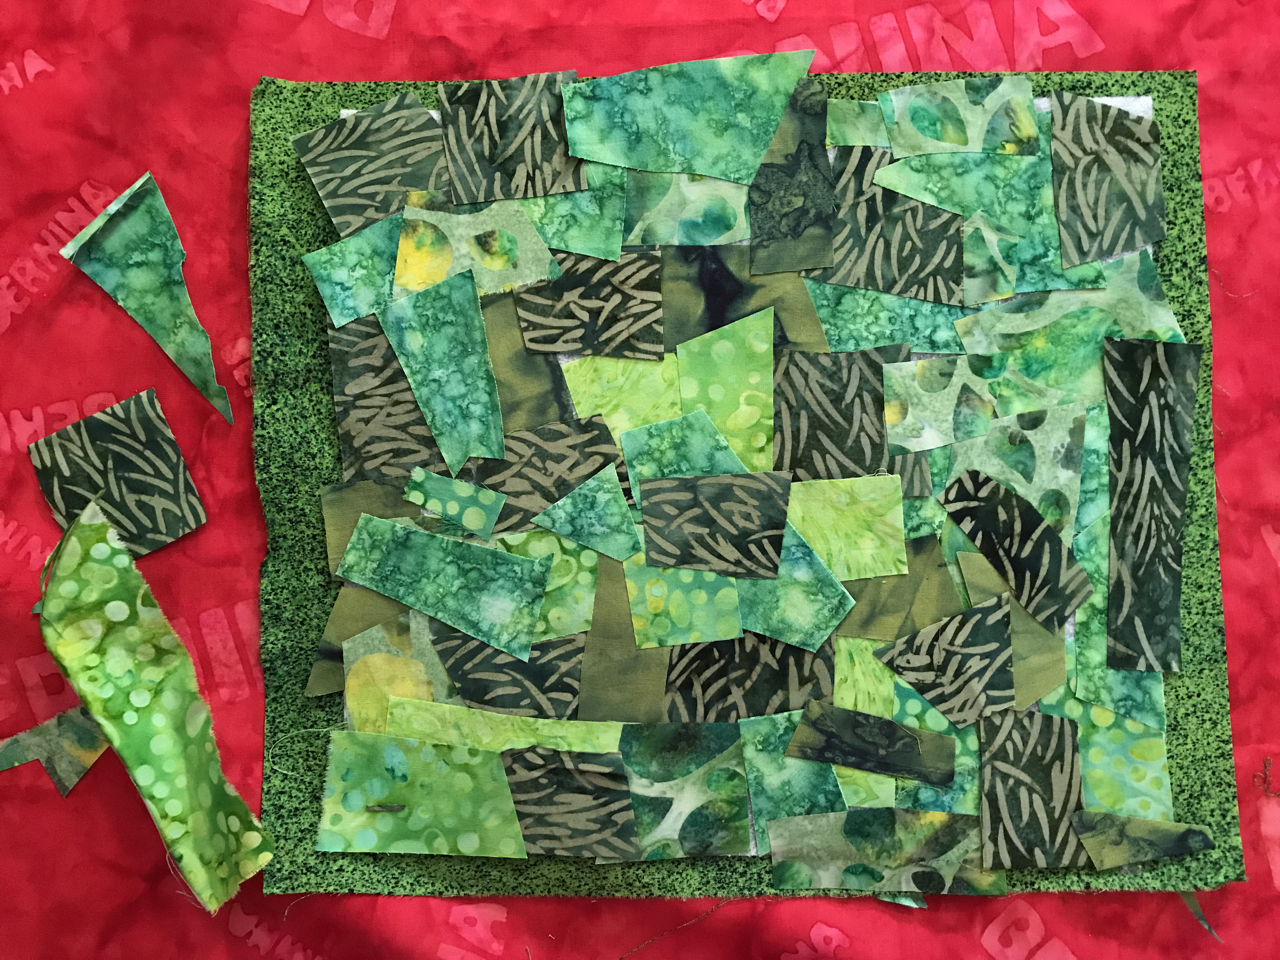
STEP THREE
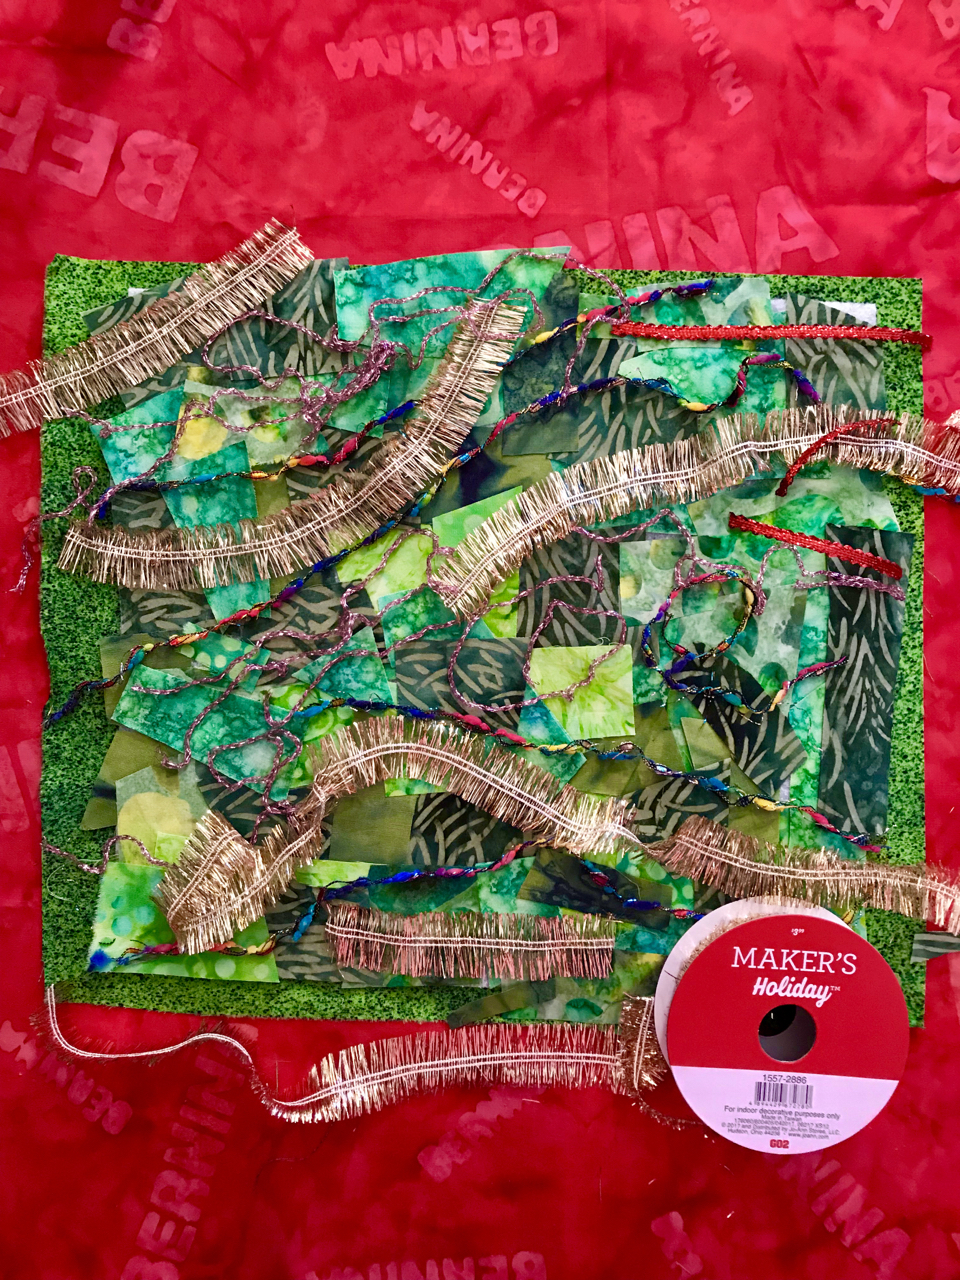
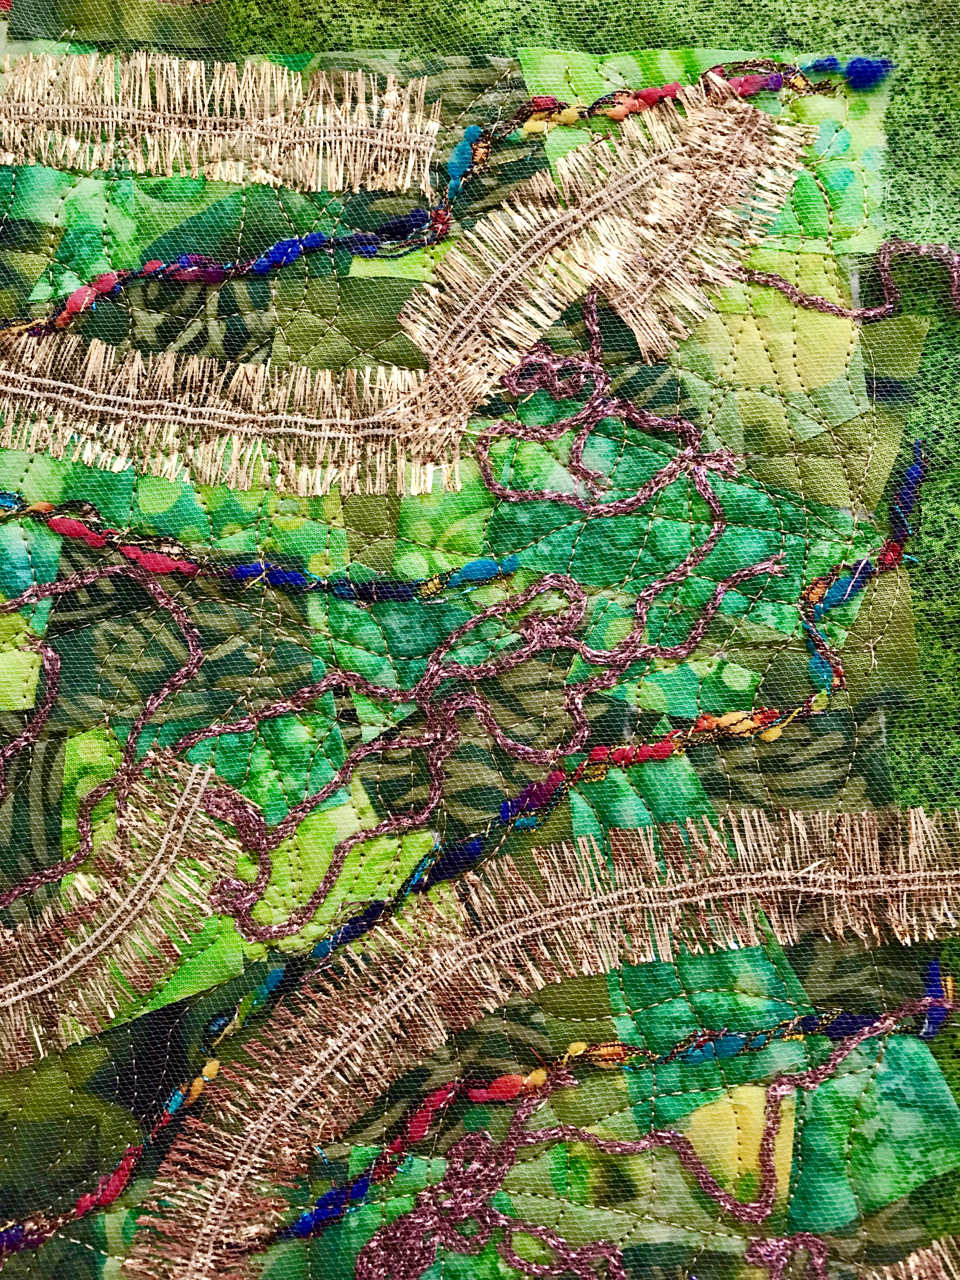
When the piece is covered with fabrics add the metallic thread strands and bits by placing them randomly over the entire piece in an organic, flowing arrangement.
STEP FOUR
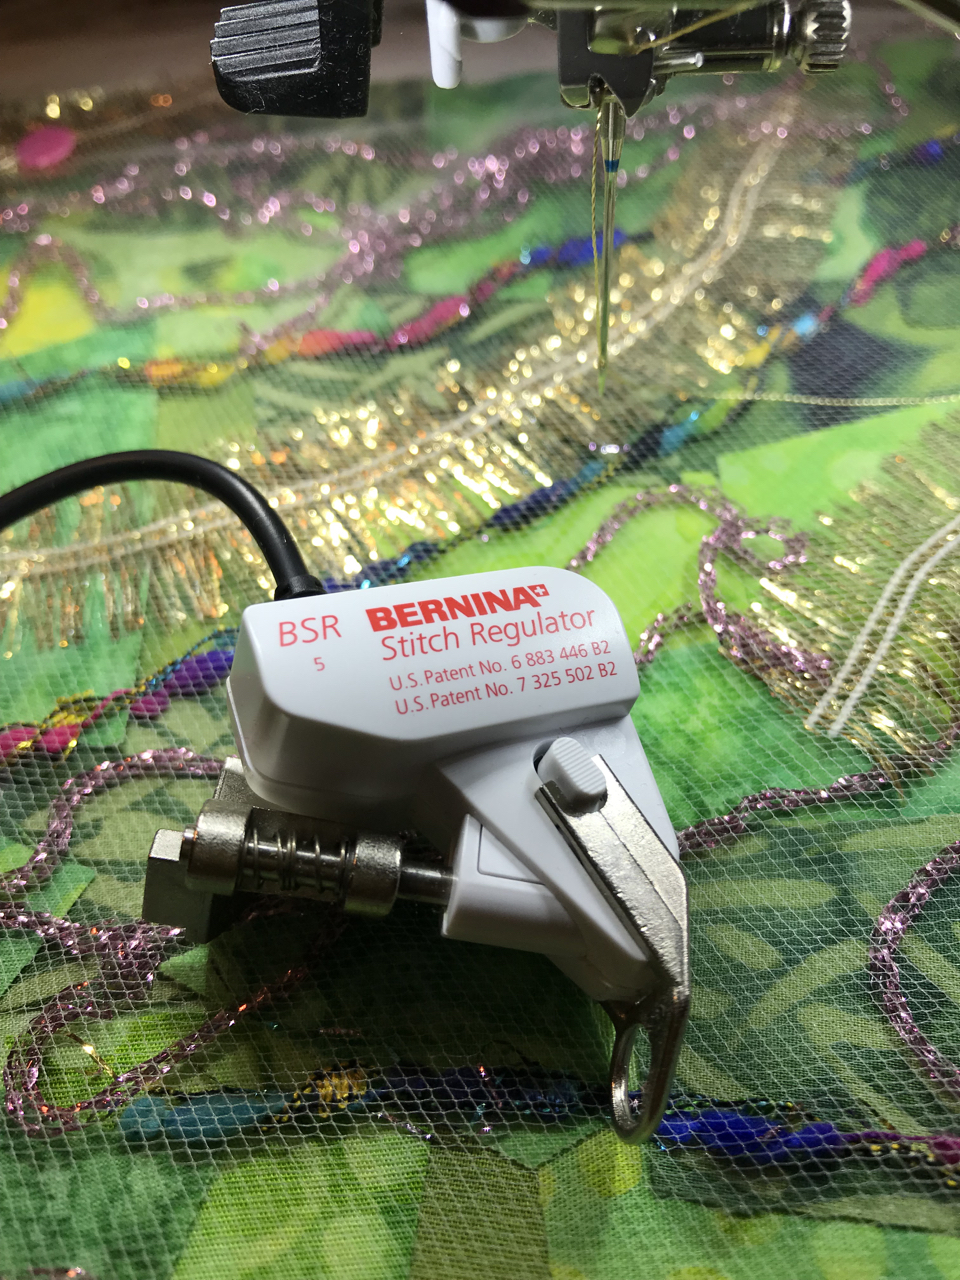
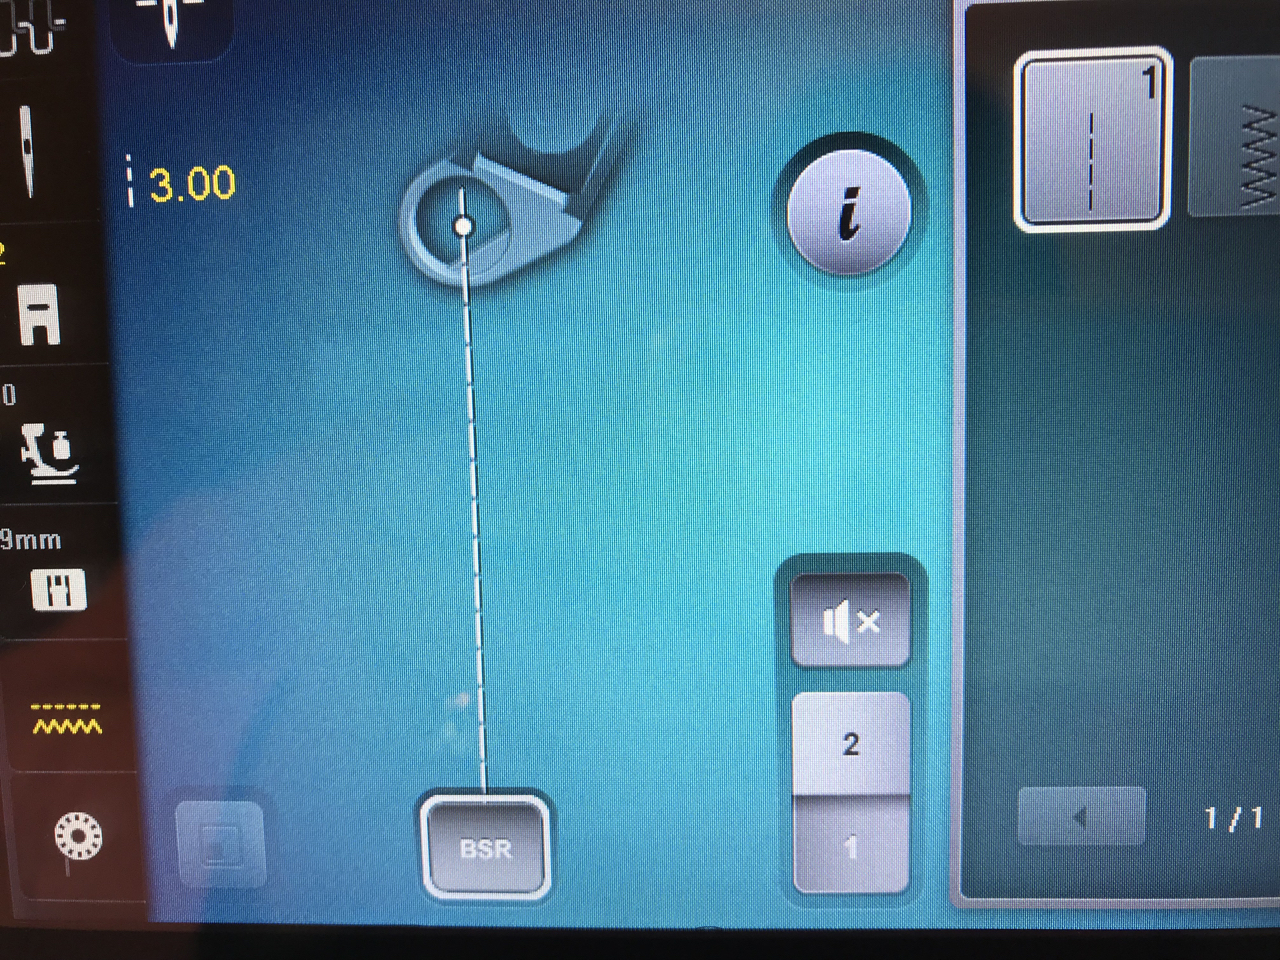
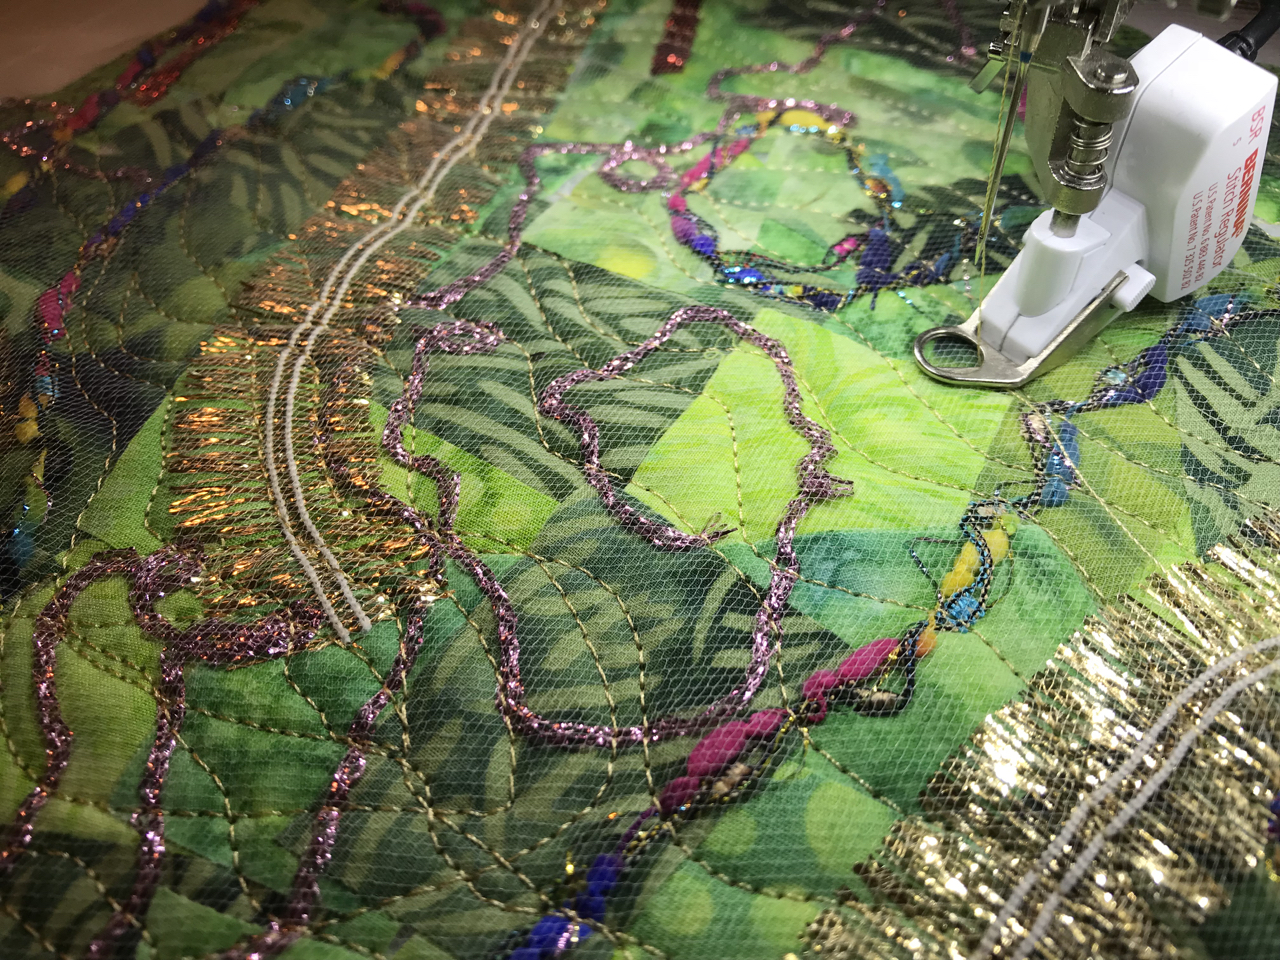

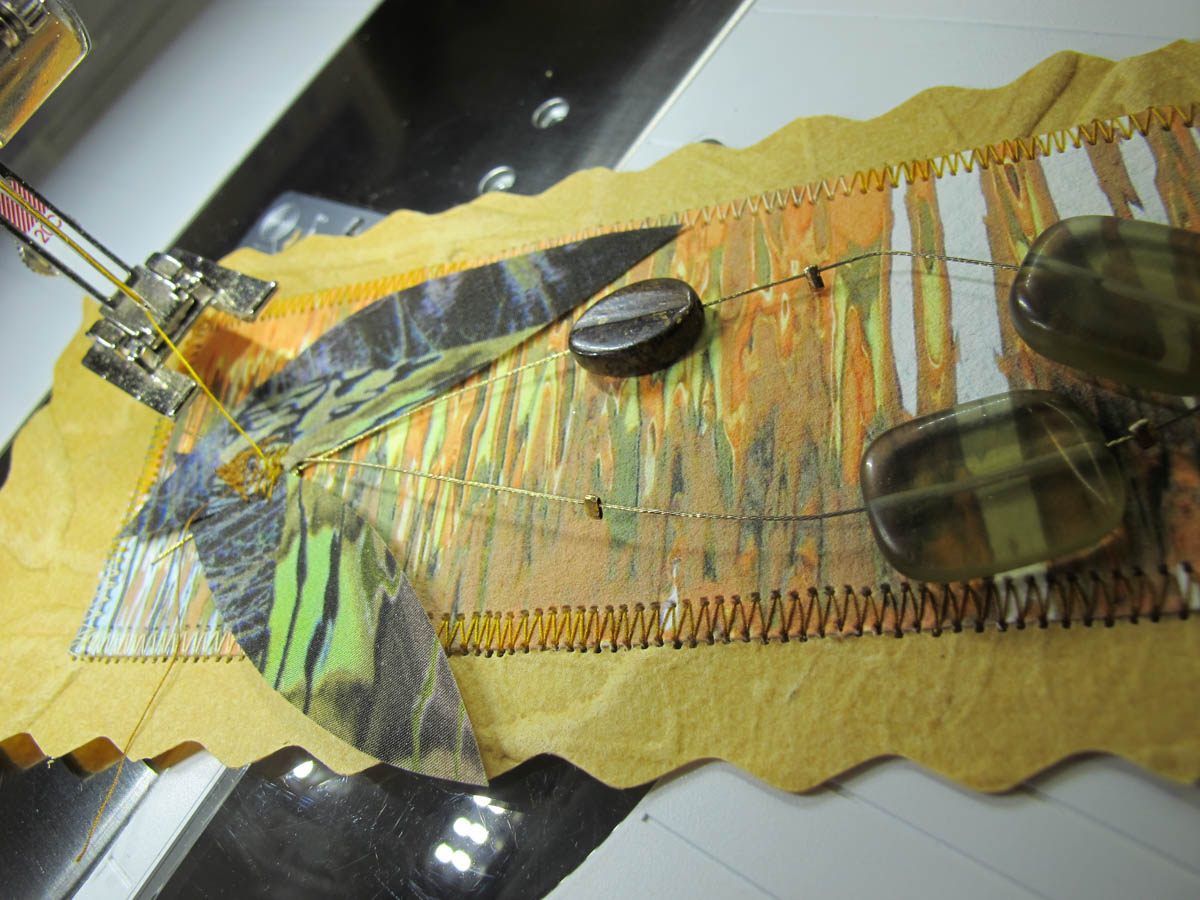
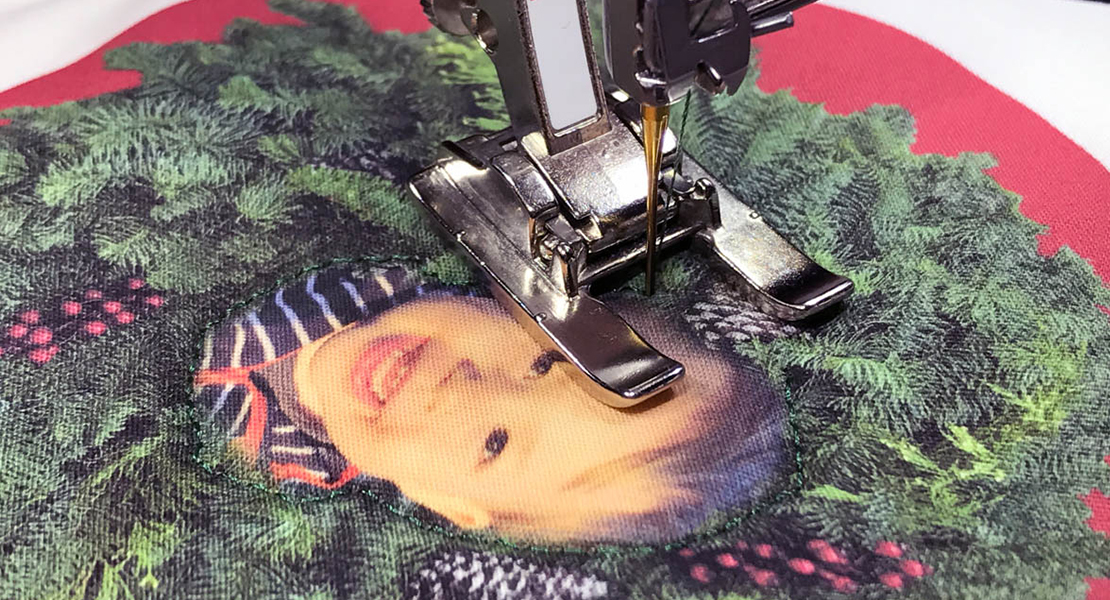
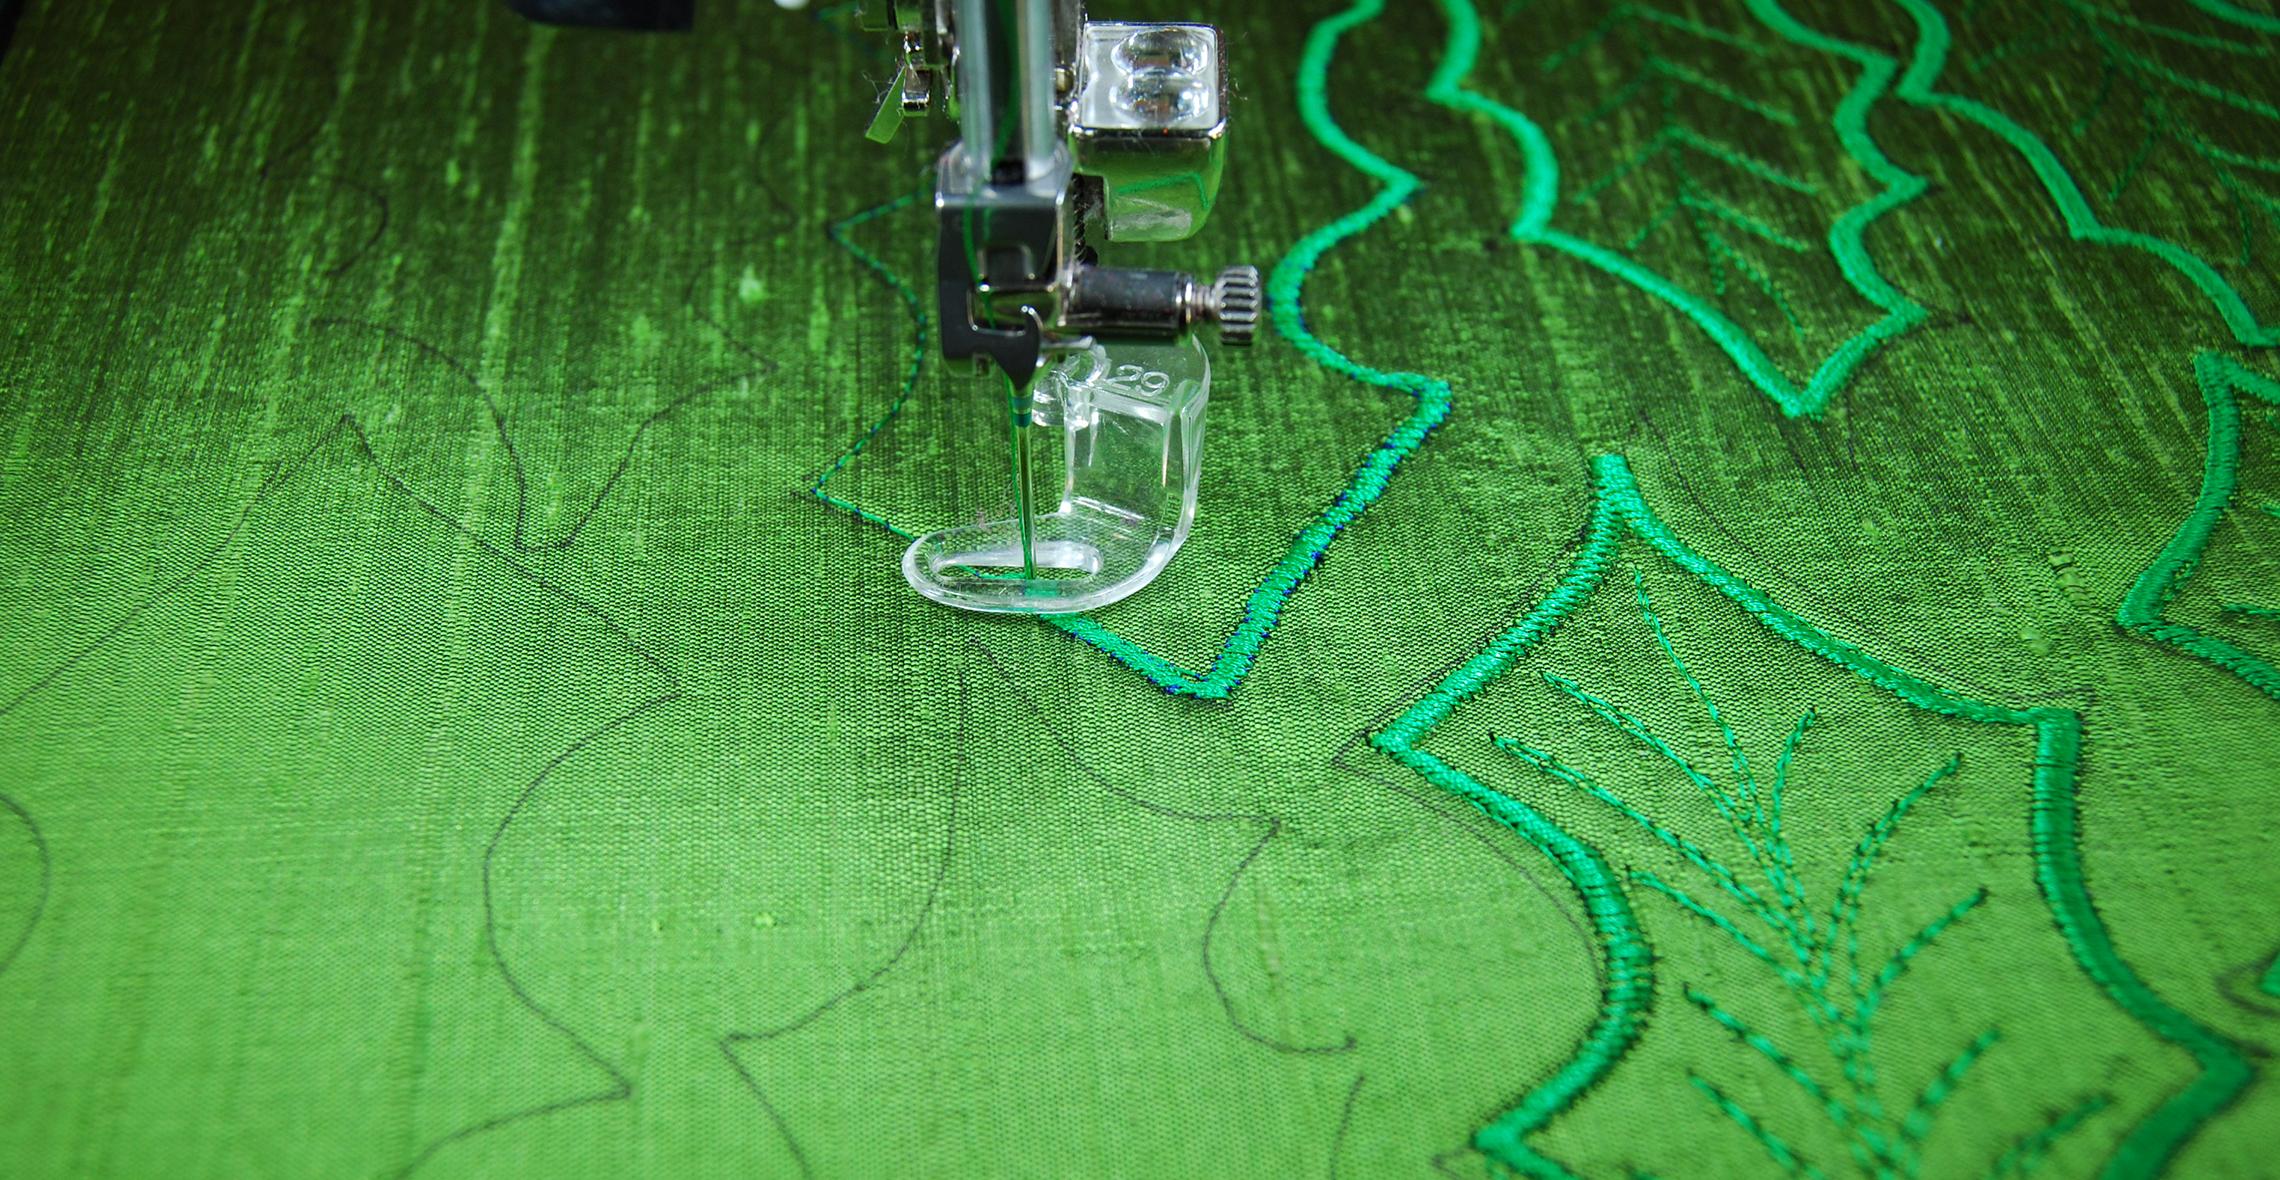
Pin an oversized piece of tulle (approx. 13″ x 13″) over the collaged piece and pin around the edges so it doesn’t slip around as you sew. I used my BERNINIA Stitch Regulator (BSR) to create the free-motion stitched lines. With gold thread, start in the middle of the piece and begin free-motion stitching undulating lines from top to bottom and side to side repeating over the tulle. Turn the piece 180 degrees and repeat the free-motion stitched lines creating a wavy grid pattern that covers the whole piece.
STEP FIVE
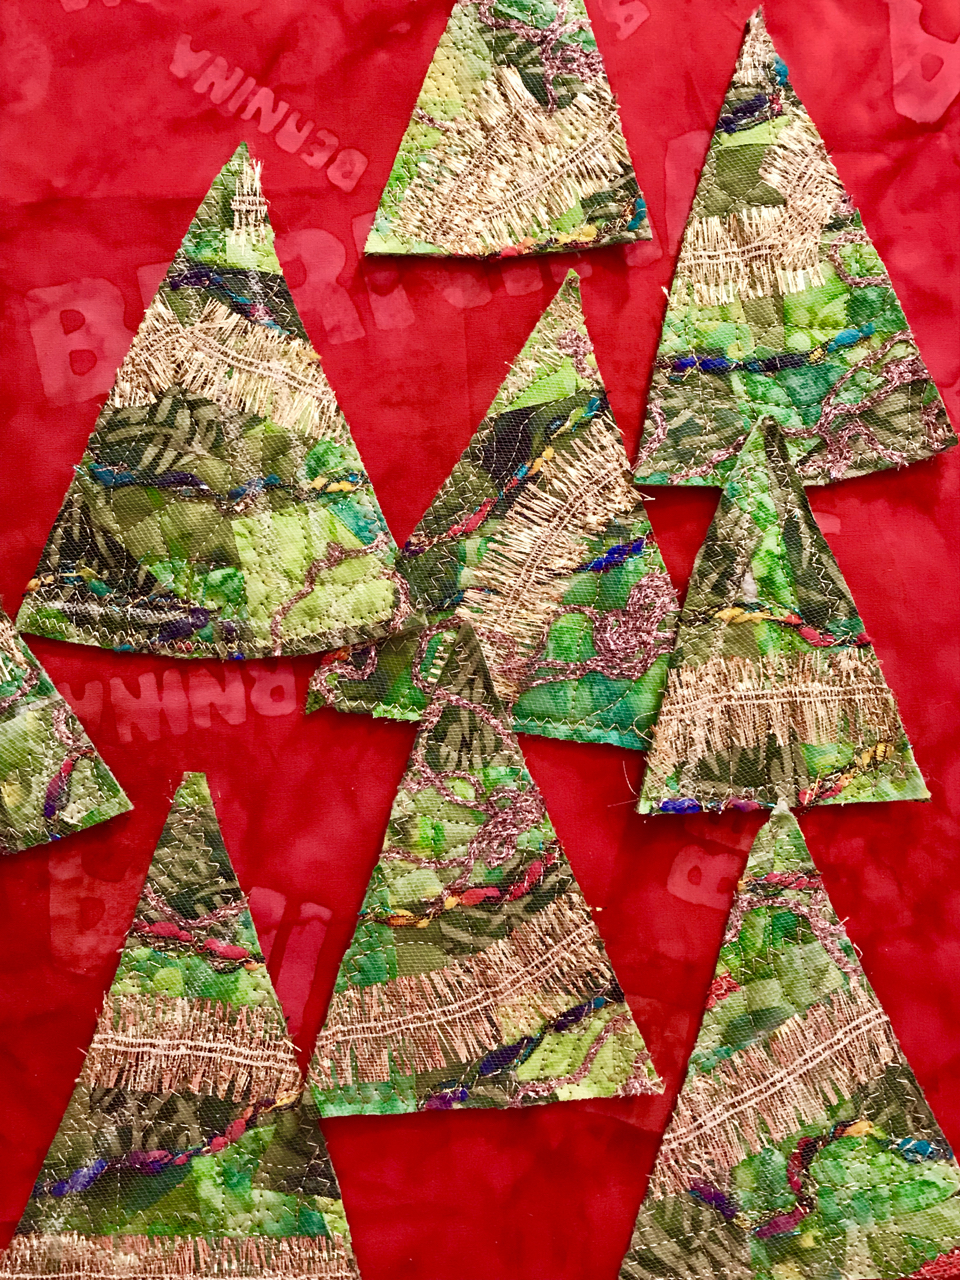
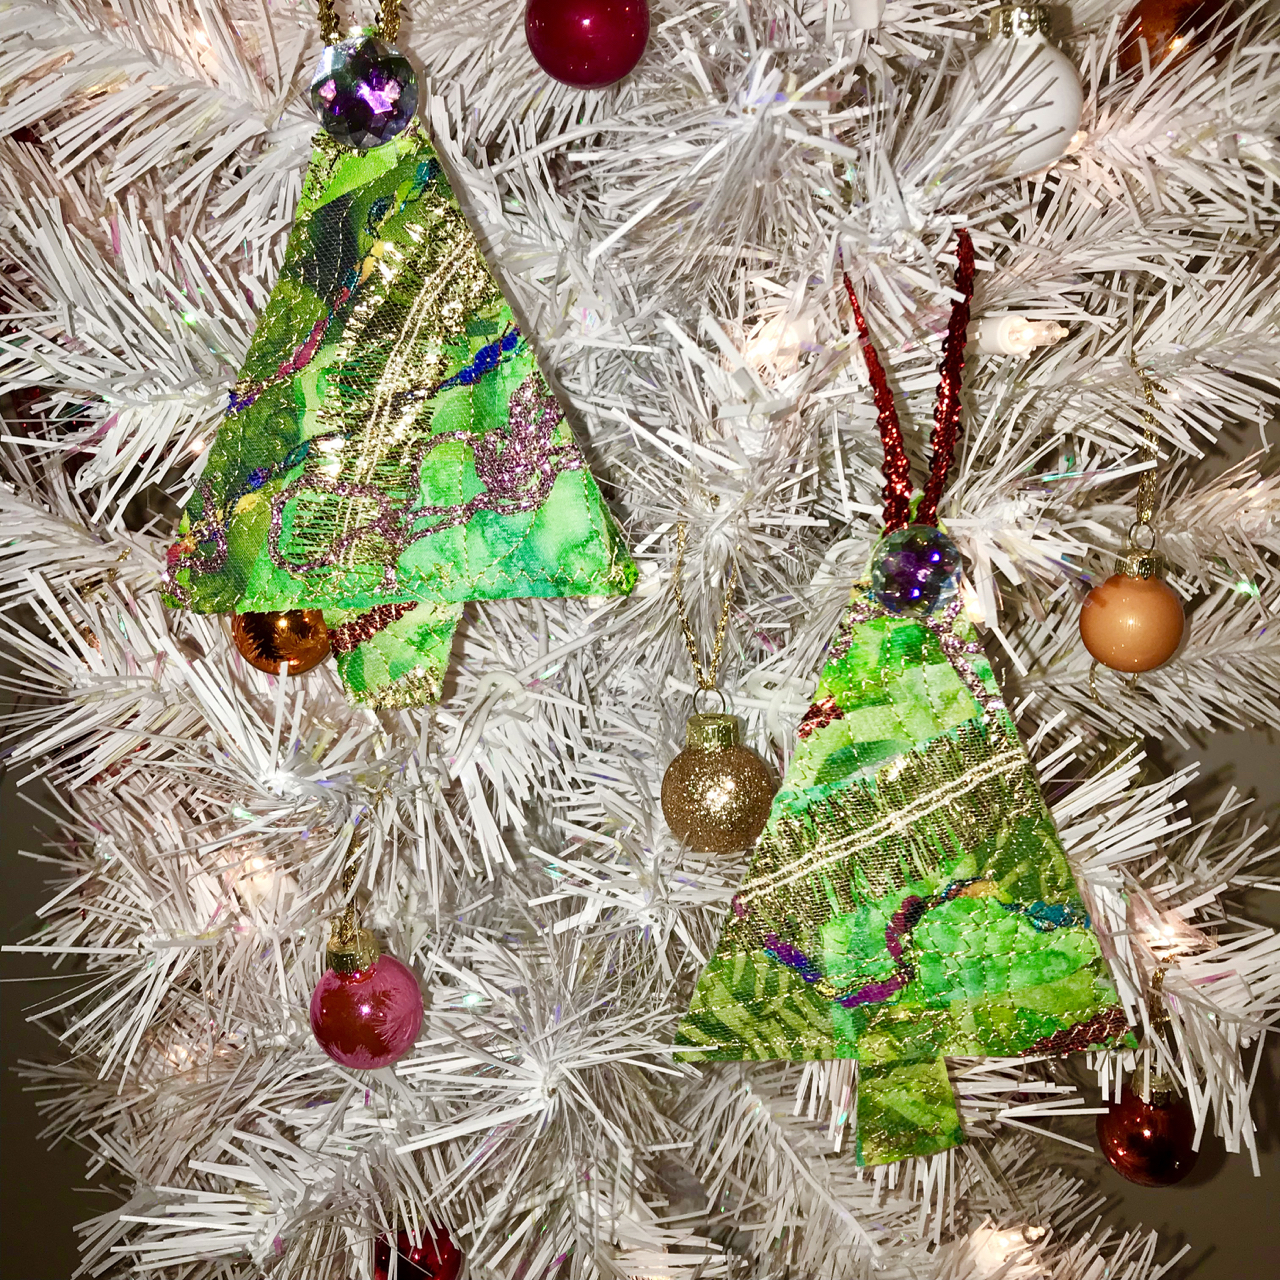
With scissors or a rotary cutter, cut out tree shaped triangles from your stitched collage fabric. Don’t be concerned with perfection, it’s okay to vary each tree shape slightly. If desired, make a simple triangular paper Christmas tree template to use to mark the shape.
STEP SIX
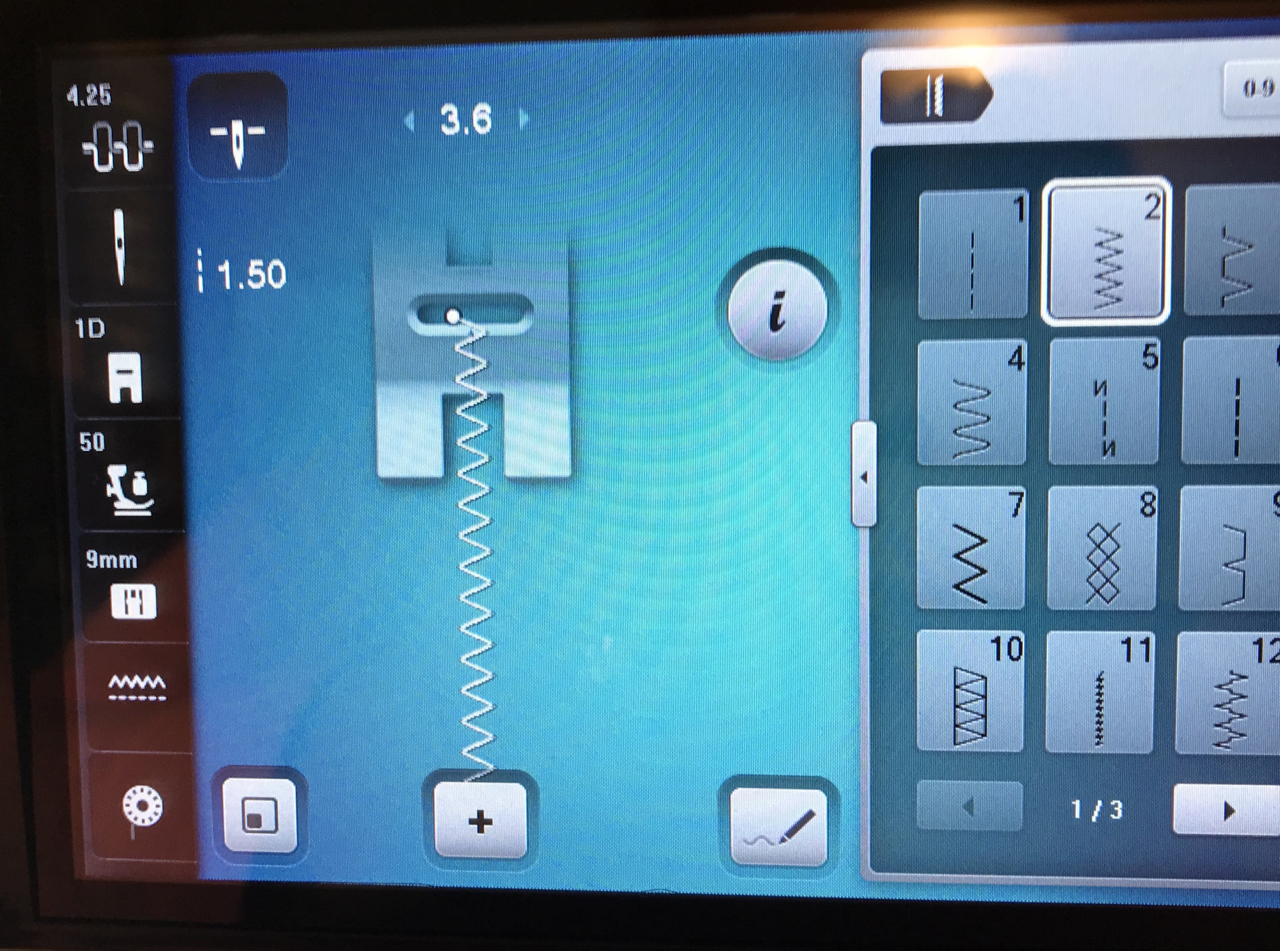
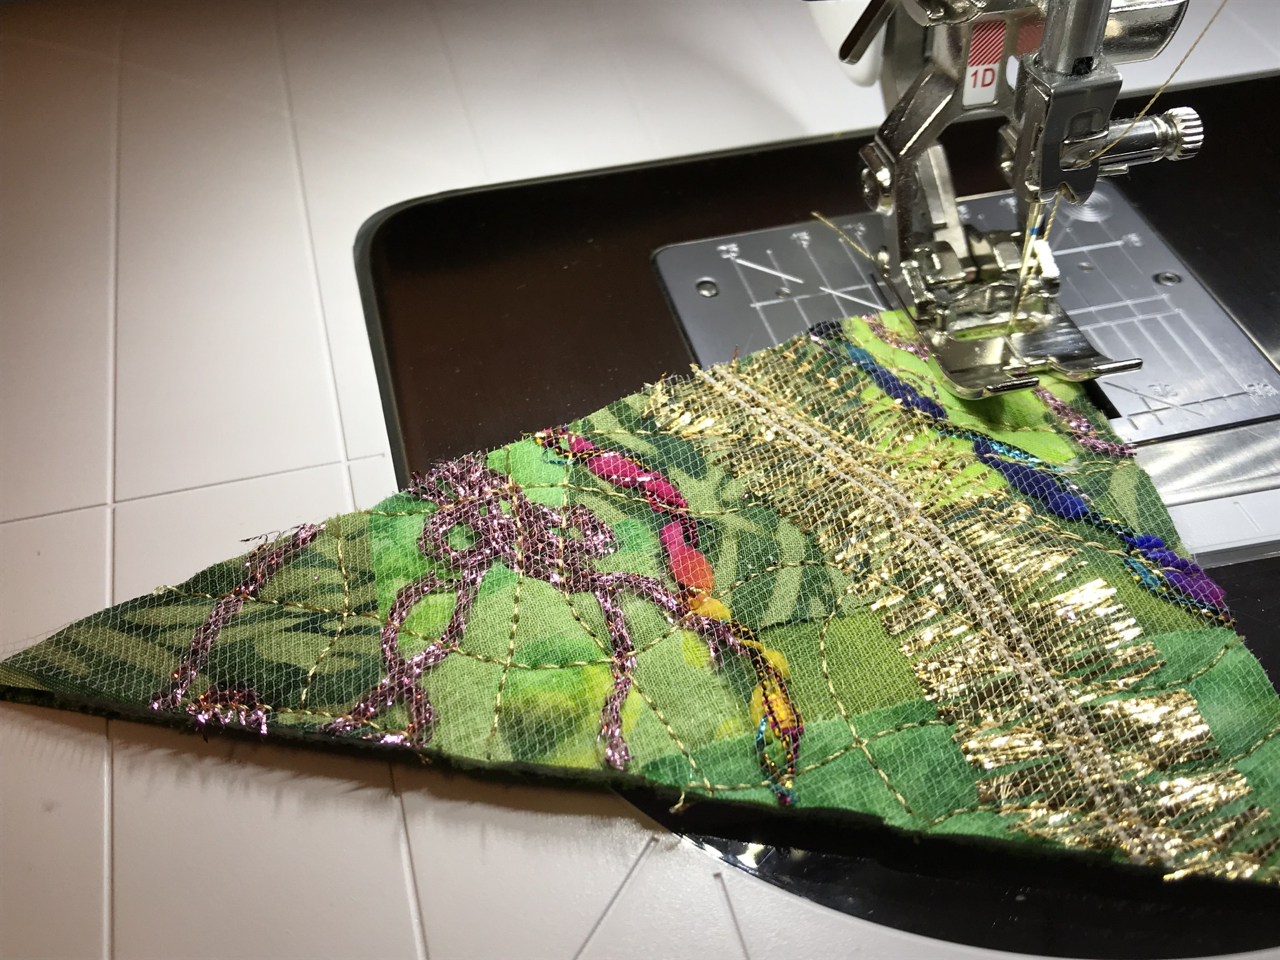
Finish the edges of the tree shapes with a straight stitch presser foot (1D on my BERNINA 790) zigzag stitch so that everything is secure. For the ornament hanger, glue a decorative ribbon at the top and embellish with buttons or craft gems.
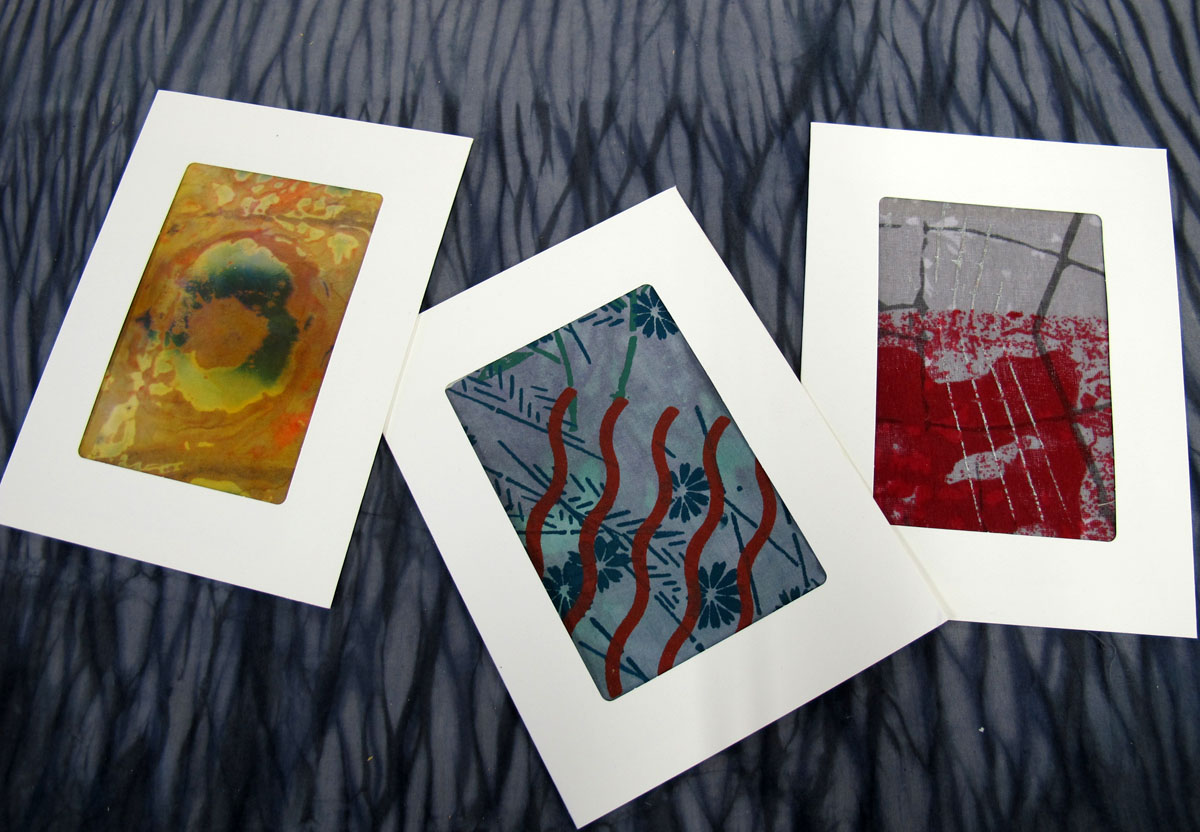
STEP SEVEN

Make the card. Use pre-made card sets or fold heavier cardstock paper to display and gift the ornament. Cut a 1″ slit at the top of the card and tuck the ribbon hanger over the top. Add a holiday message on the front in a black fine line marker pen and write a note inside the card. Attach the card to a gift, mail as your holiday greetings or wrap in festive tissue paper to give as a simple, thoughtful, handmade gift. This is the sewn art card that can be enjoyed year after year.
Yours Joanne Sharpe
Instagram: @joannesharpe
Used Products


What you might also like


One comment on “Stitched Collage Ornament Cards”
Leave a Reply
You must be logged in to post a comment.

What a fun project and allows for so many variables. It was very helpful seeing the sequence and the great results.