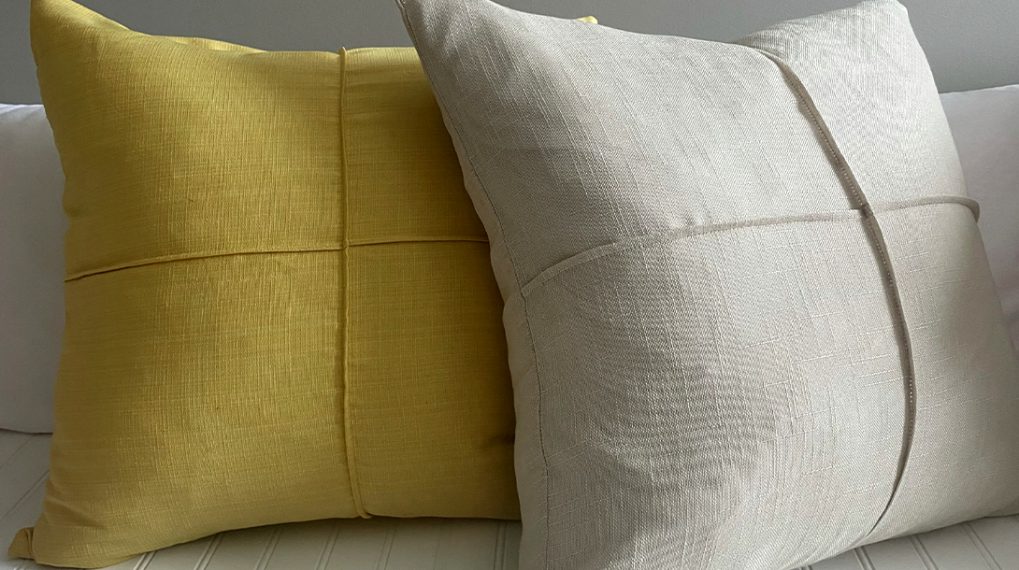
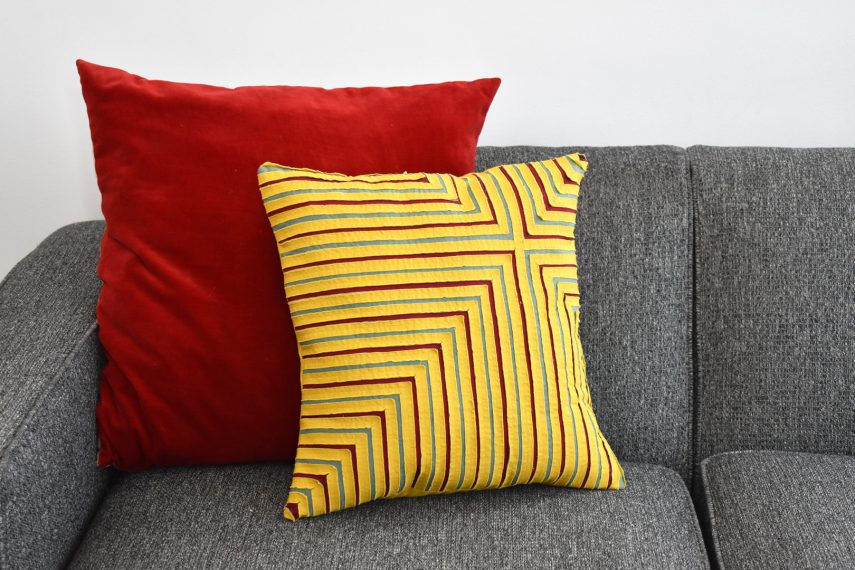
Channel Stitched Pillow Cover
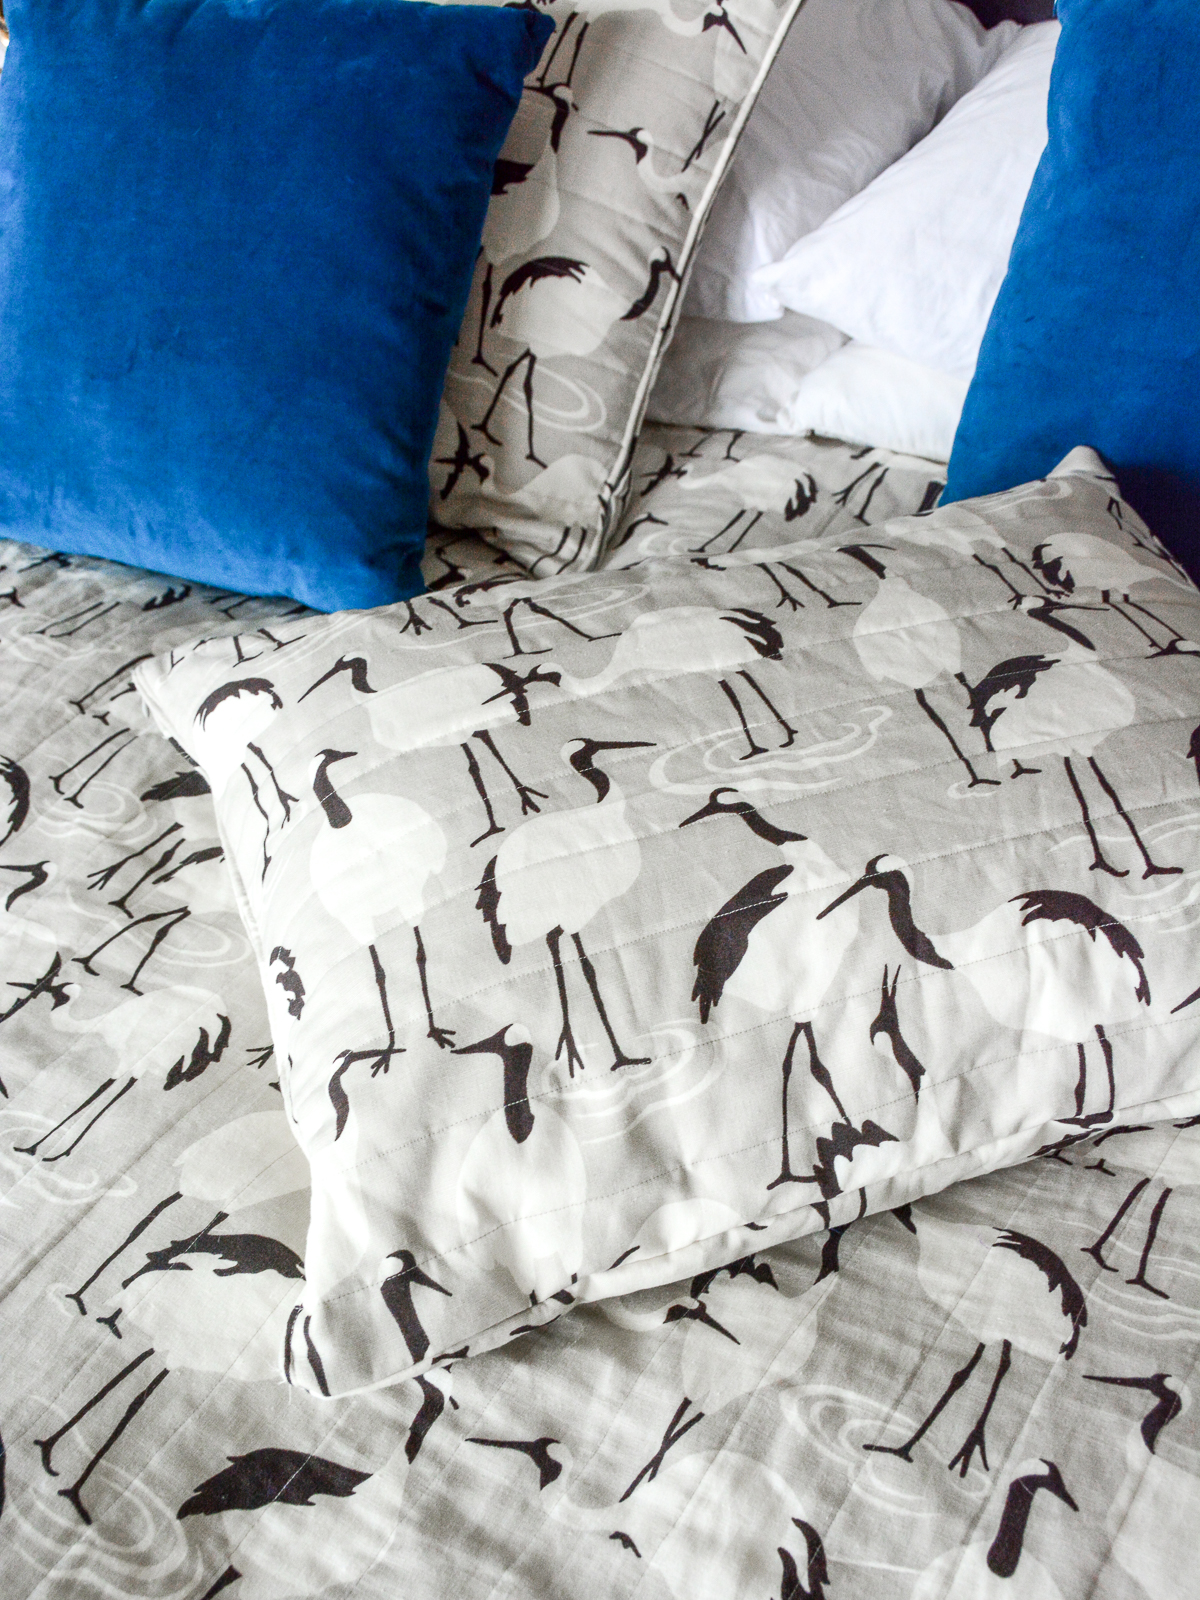
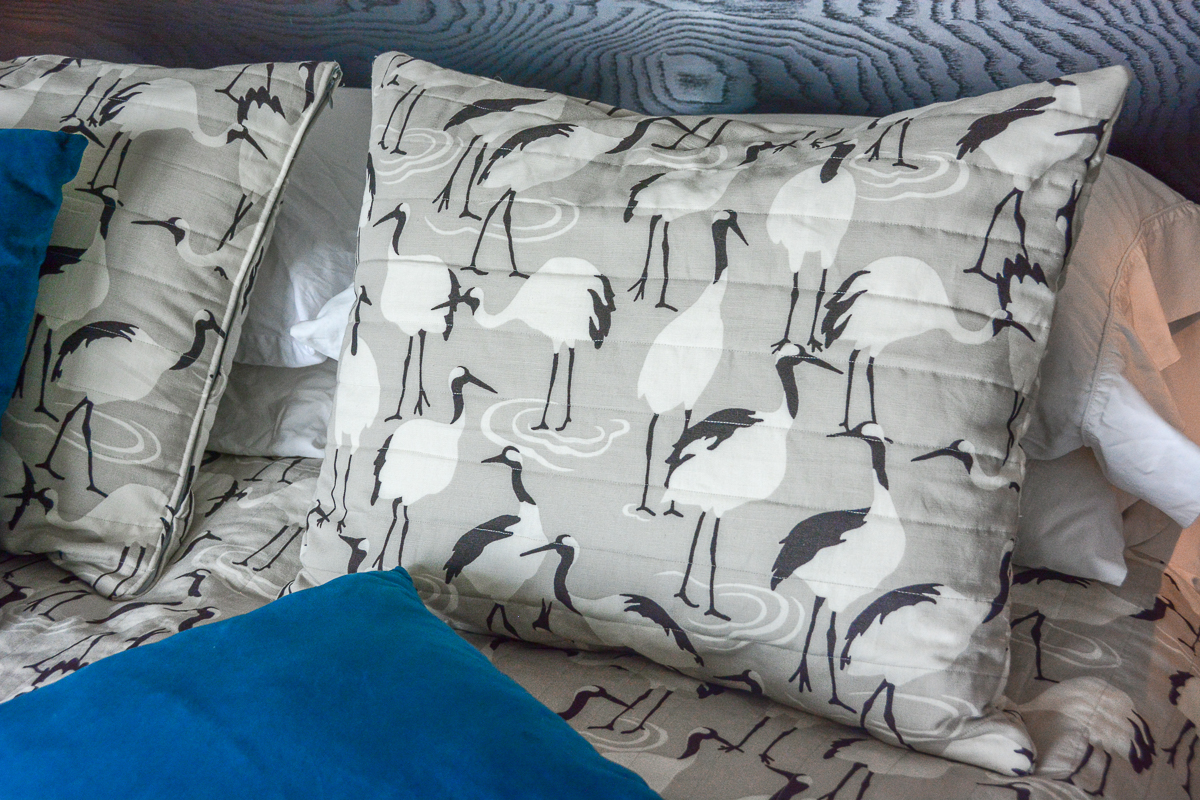
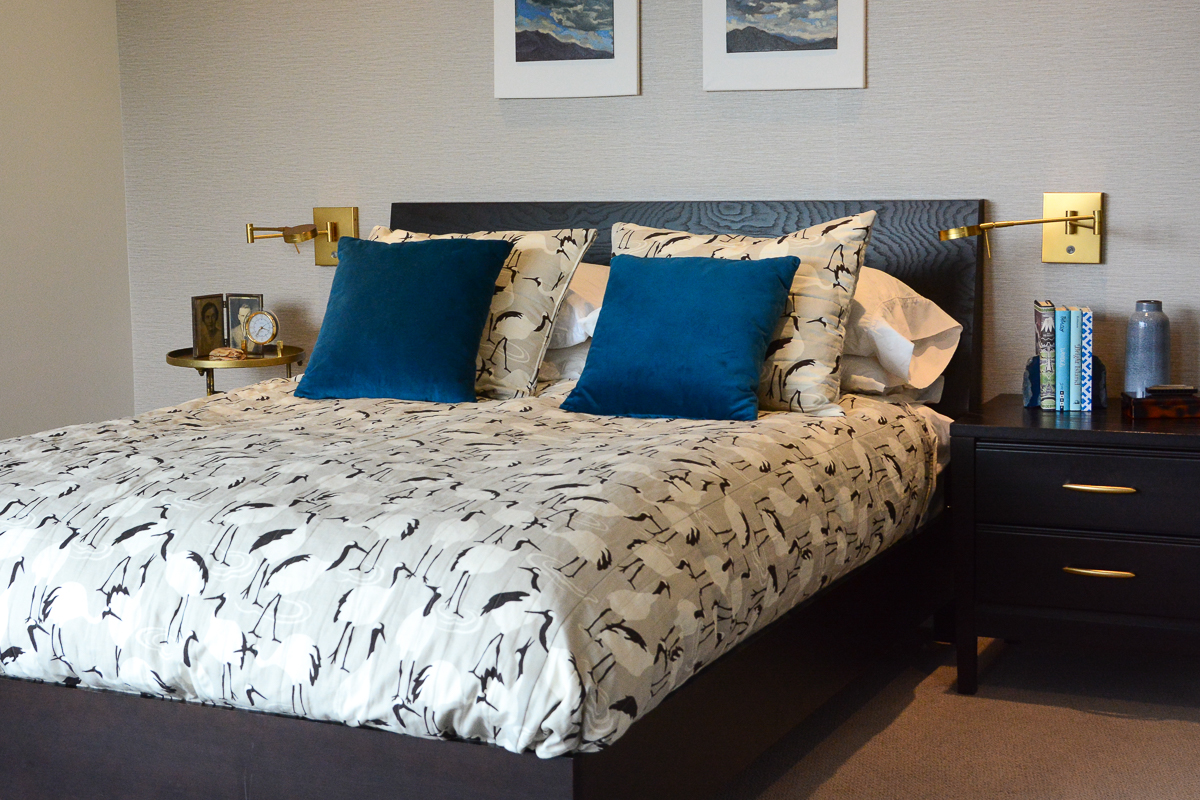
I wanted a simple and modern pillow to match my channel stitched bed quilt, so I designed the simplest of pillow covers with horizontally stitched quilting lines. A zippered pillow cover the size of a standard pillow would be boring, but add some quilting and it’s, well, not boring at all! Understated? Yes. But definitely not boring.
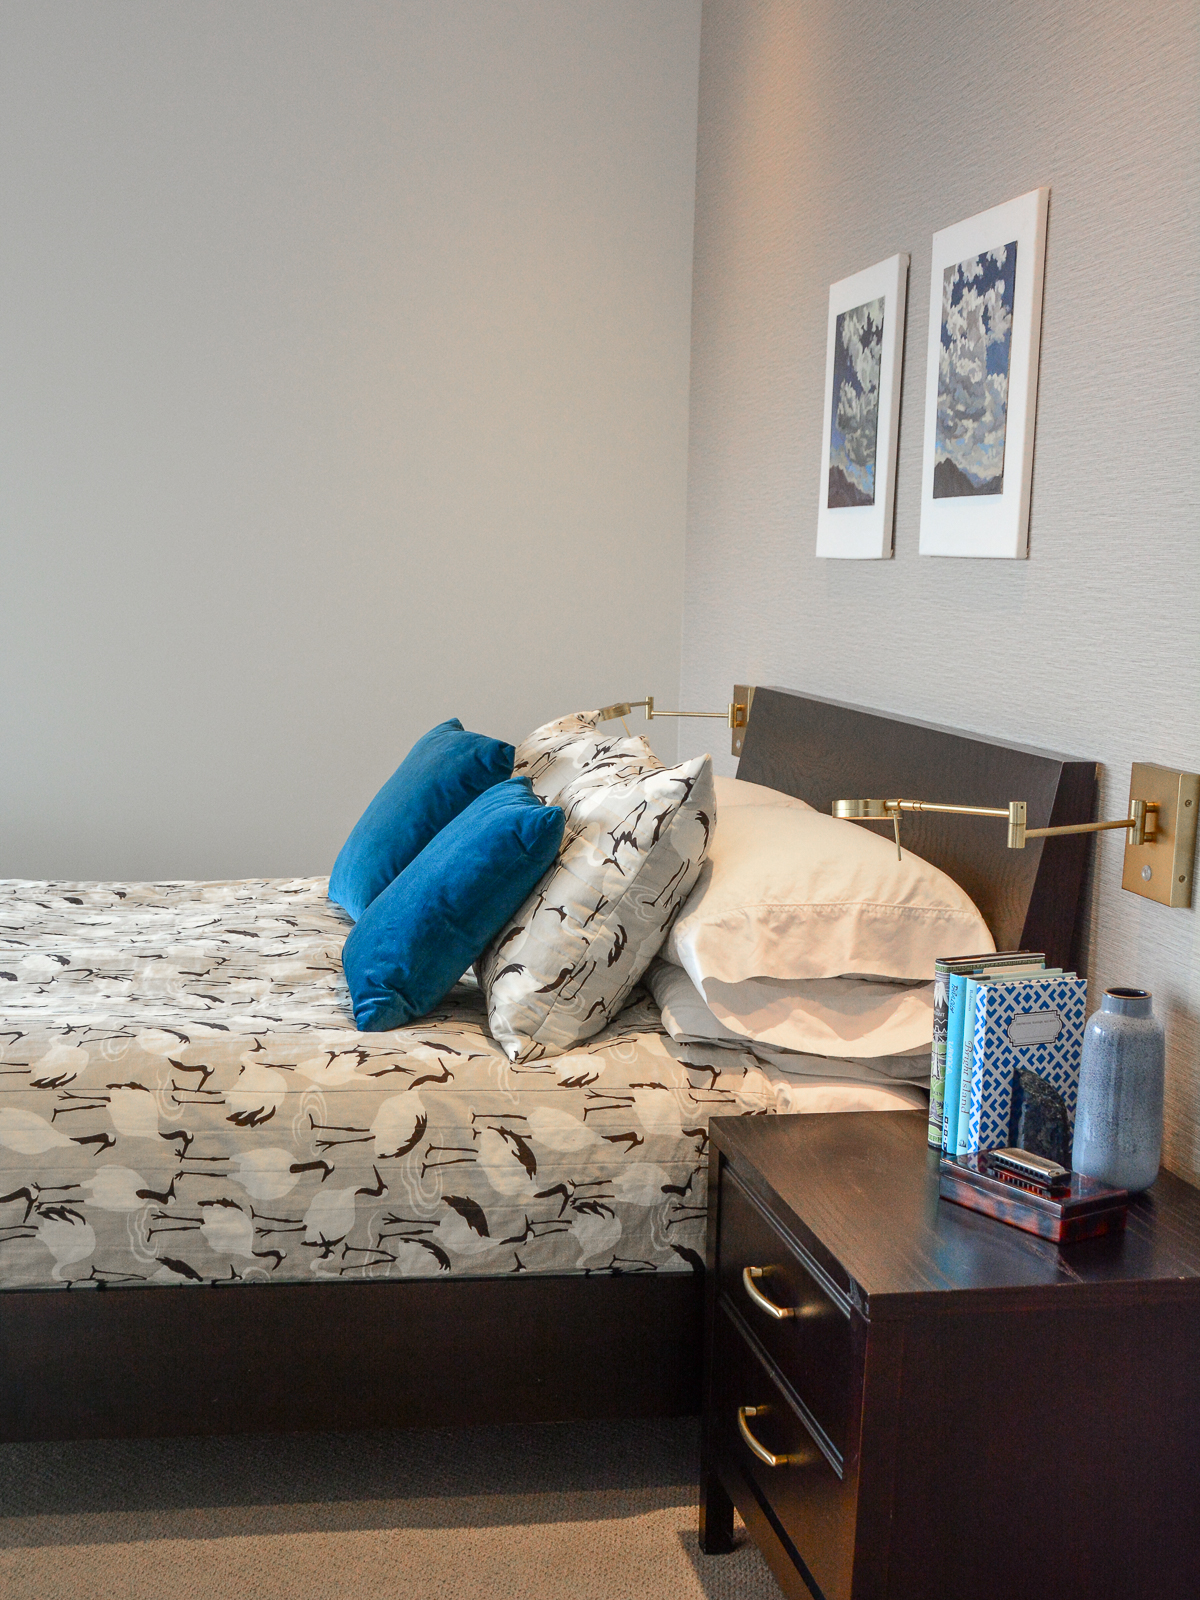
I love the texture and heft of these pillows on the bed.
Materials to Make Two Channel Stitched Pillow Covers
- 1 1/2 yards of your chosen 54″- 60″ home decorating fabric
- The finished pillow covers measure 25″ wide x 19.5″ tall.
- Cotton batting measuring at least 52″ x 41″
- 1 1/2 yards backing fabric (this fabric won’t show at all as it will be inside the pillow cover)
- Coordinating thread
- Two 20″ zippers
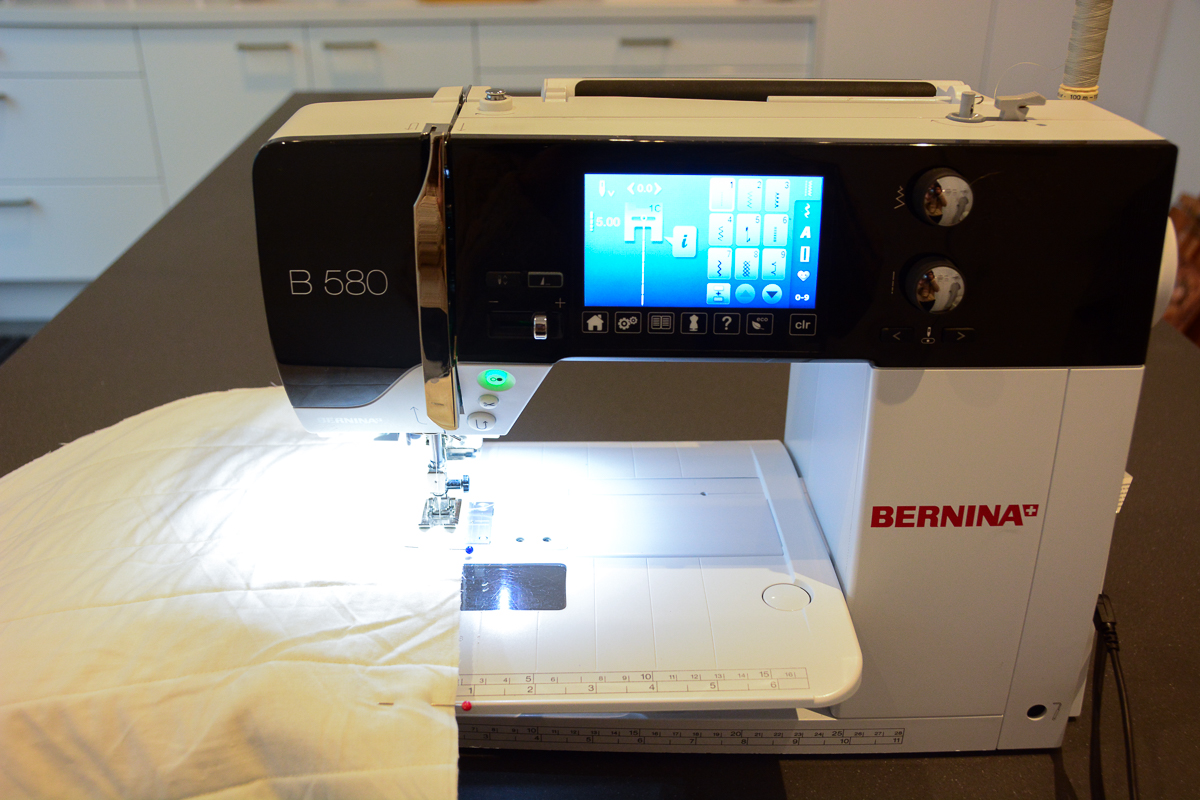
- Your BERNINA sewing machine (I use the BERNINA 580), Reverse pattern foot #1/#1C/#1D and and Zipper foot #4
-
- Optional for quilting, the Walking foot #50 or the Reverse pattern foot #1D used with Dual Feed
- Two standard sized pillows
How To Sew Channel Stitched Pillow Covers
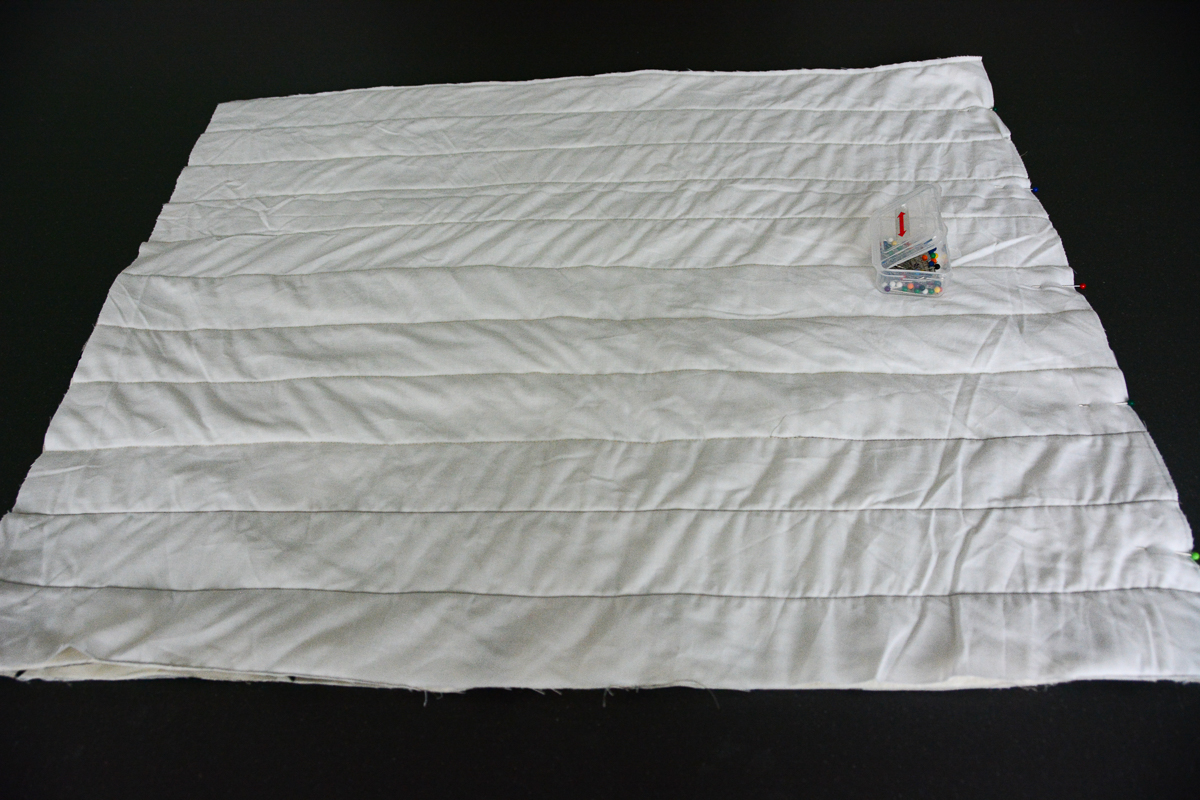
- Create a quilt “sandwich” measuring at least 52″ wide and 41″ tall. Place your batting between your backing and your home dec fabric with the wrong sides of the fabric facing the batting. You will create a quilt this size and later cut it into four rectangles to sew your pillow covers.

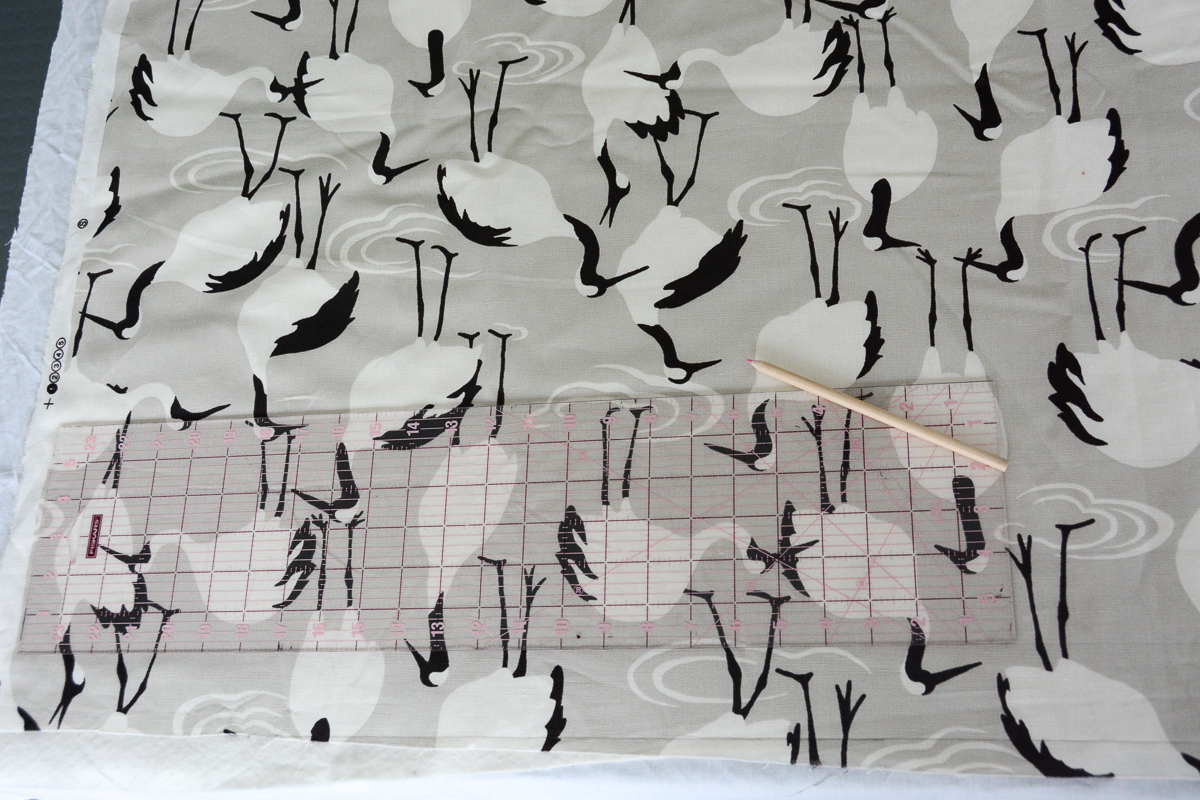
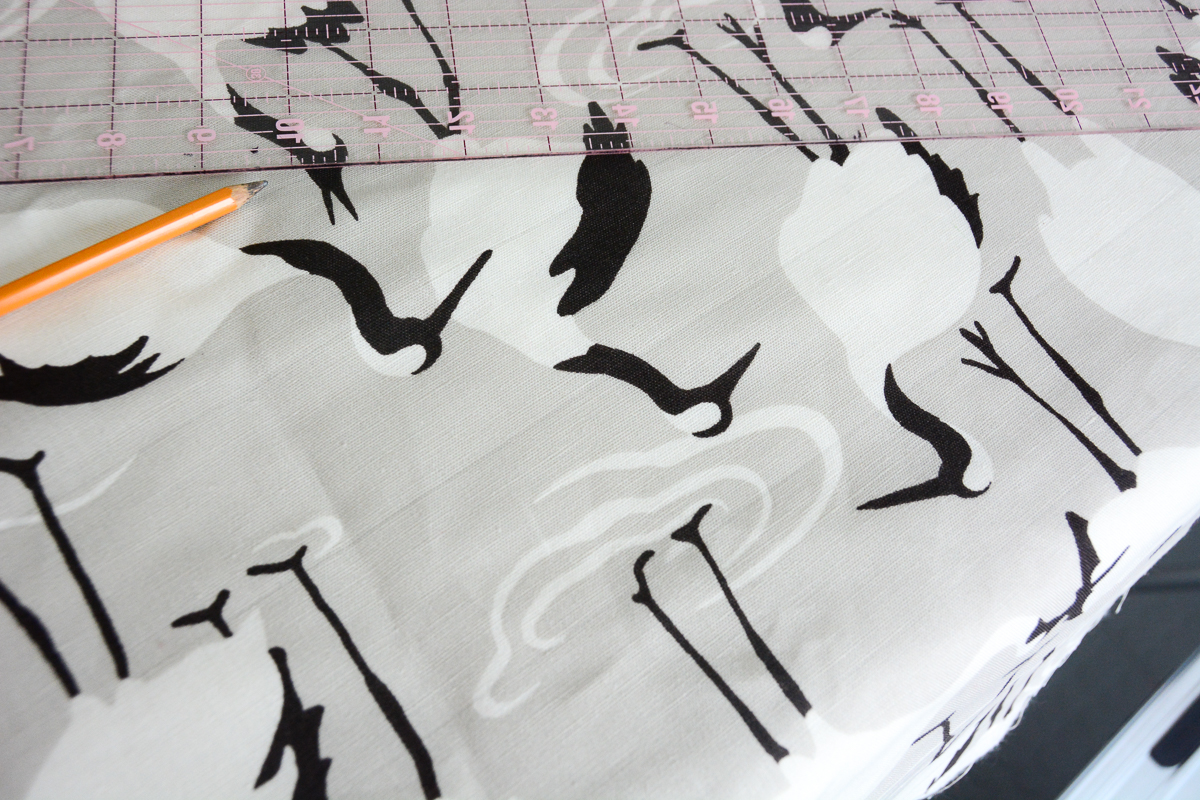
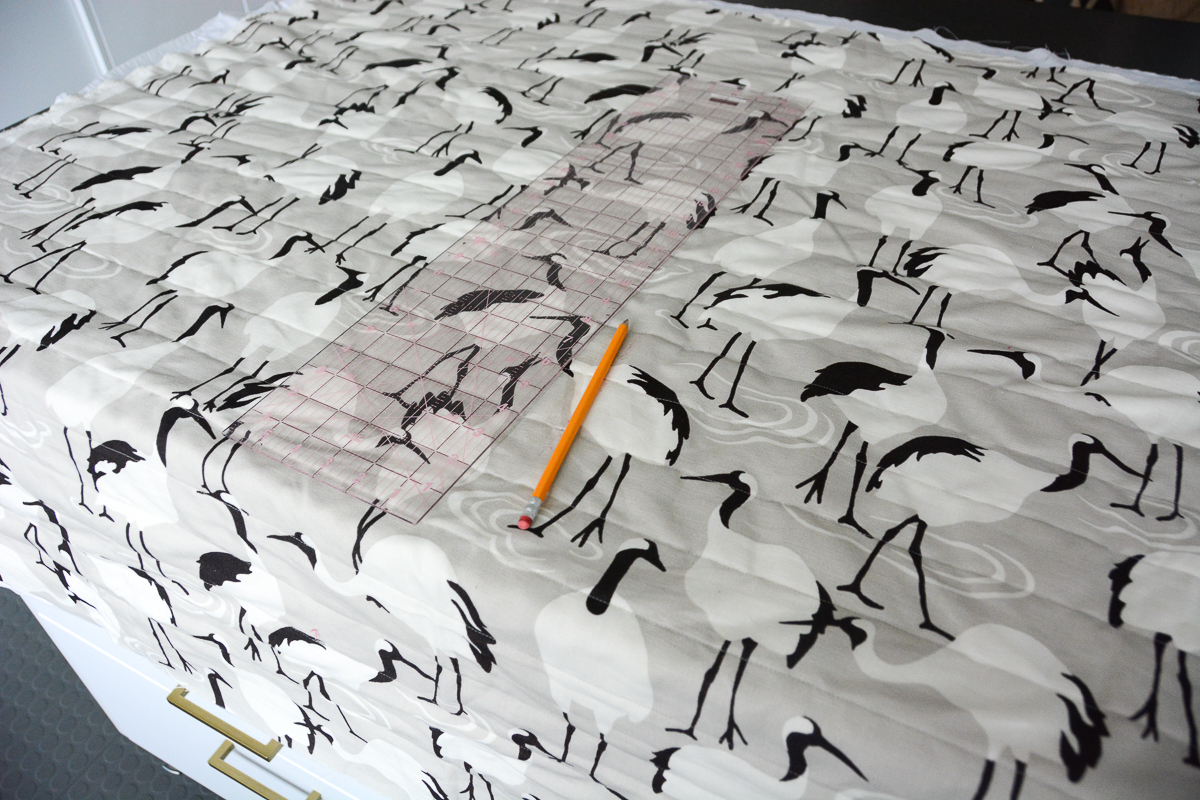
2. Mark your quilting lines. Use a clear quilting ruler and a fabric pencil to mark horizontal lines (running along the width) 2″ apart from the top to the bottom of your quilt sandwich.
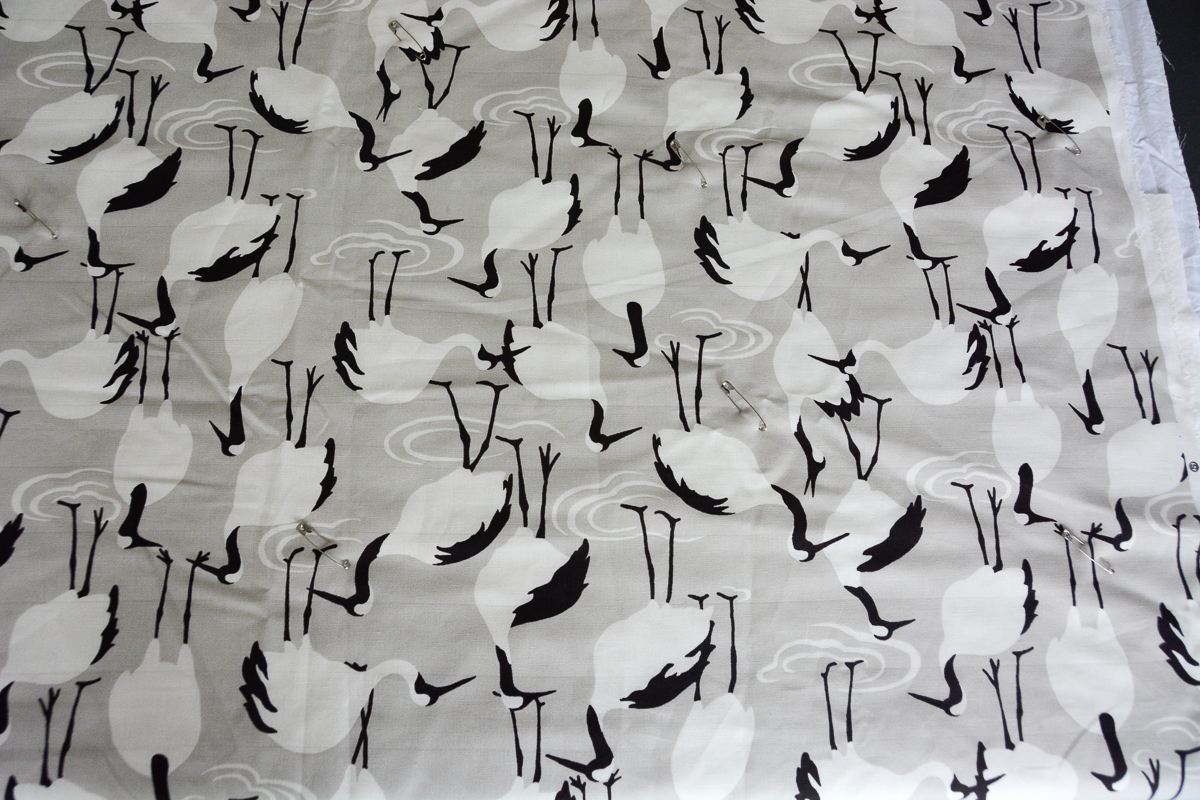
3. Pin your quilt layers together using large safety pins every 12″ or so.
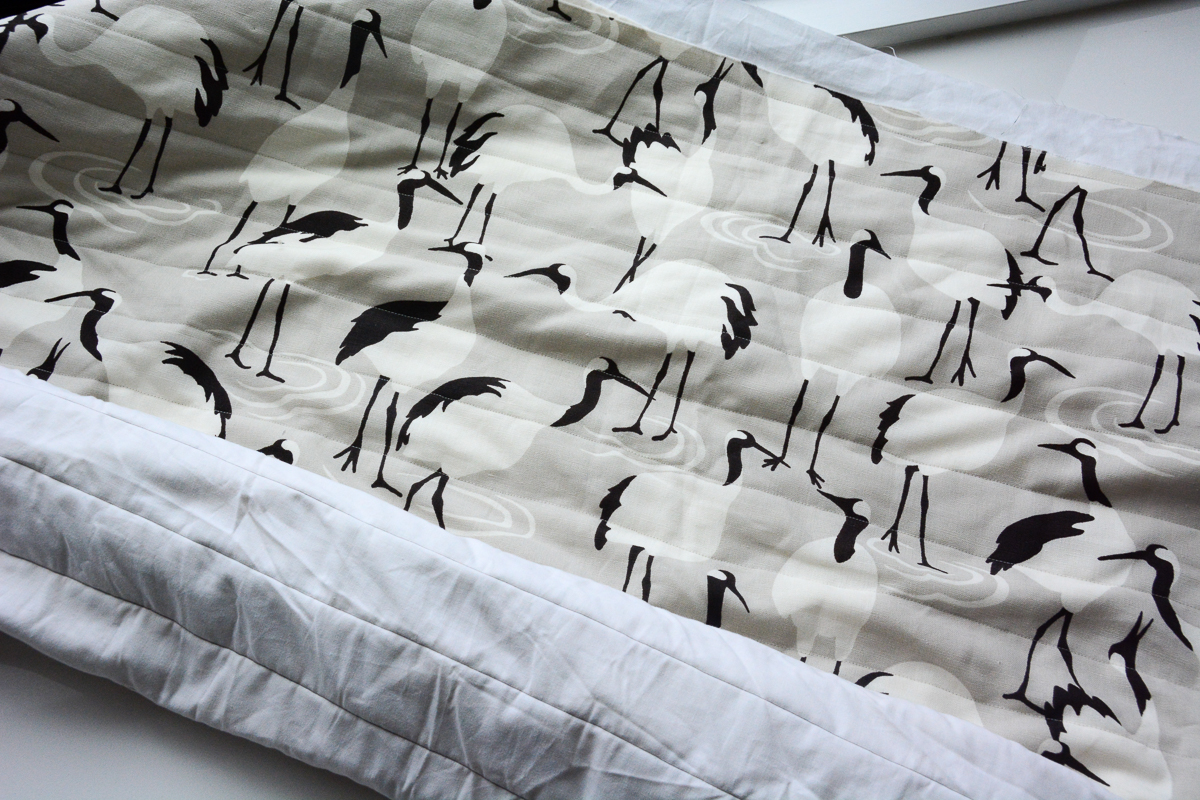
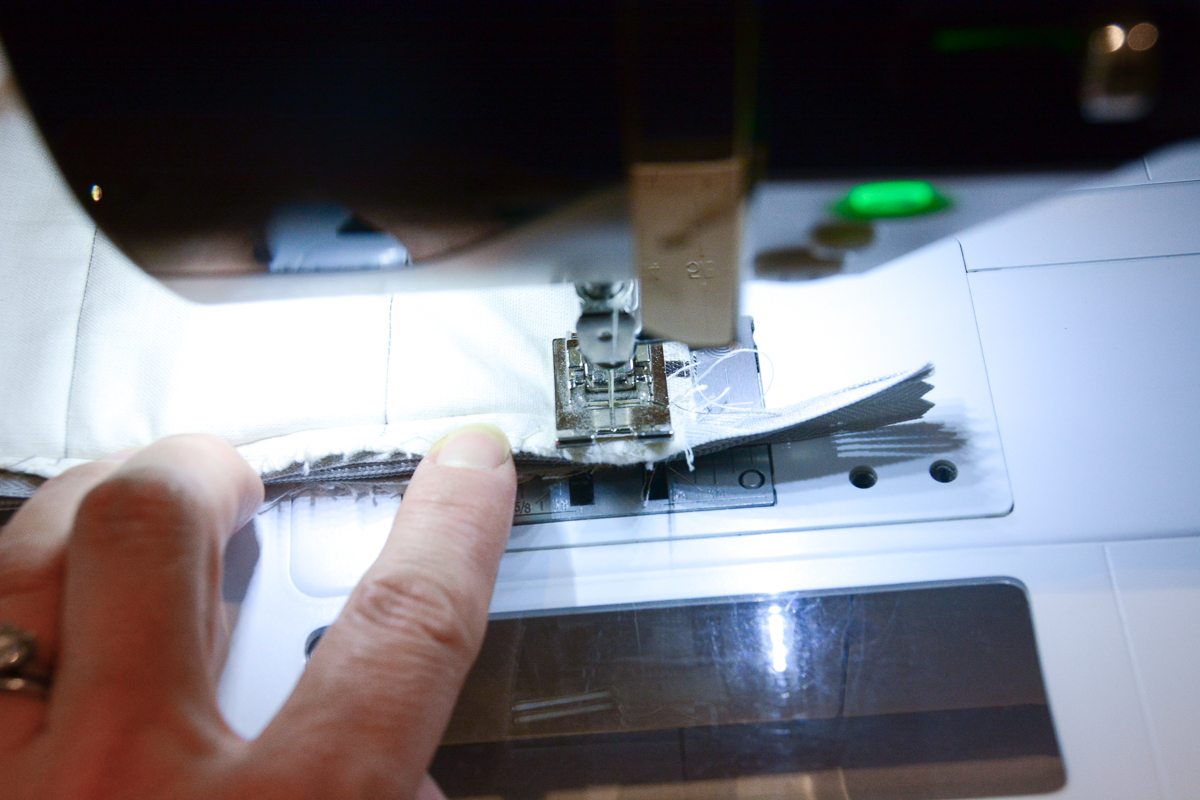
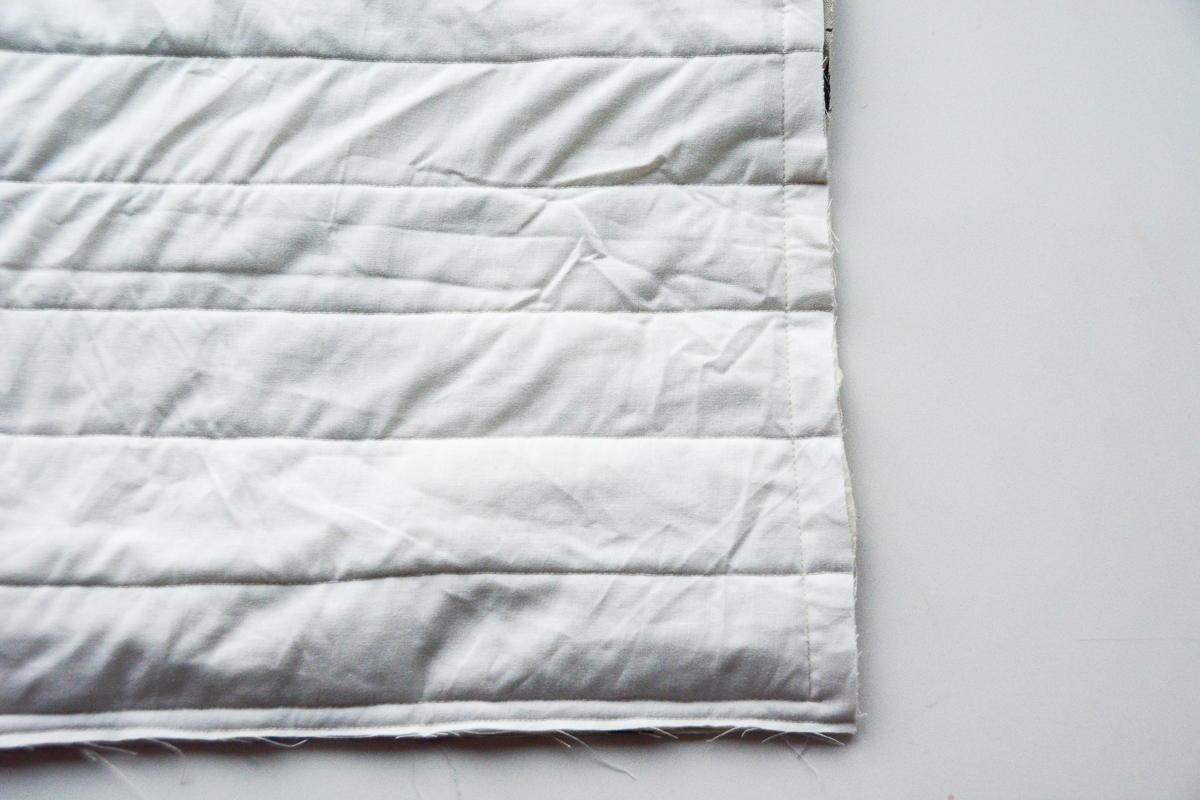
4. Quilt! Stitch along your quilting lines removing the safety pins as you come to them. Smooth your fabric to avoid wrinkles and roll your quilt after stitching to make it easier to work with.

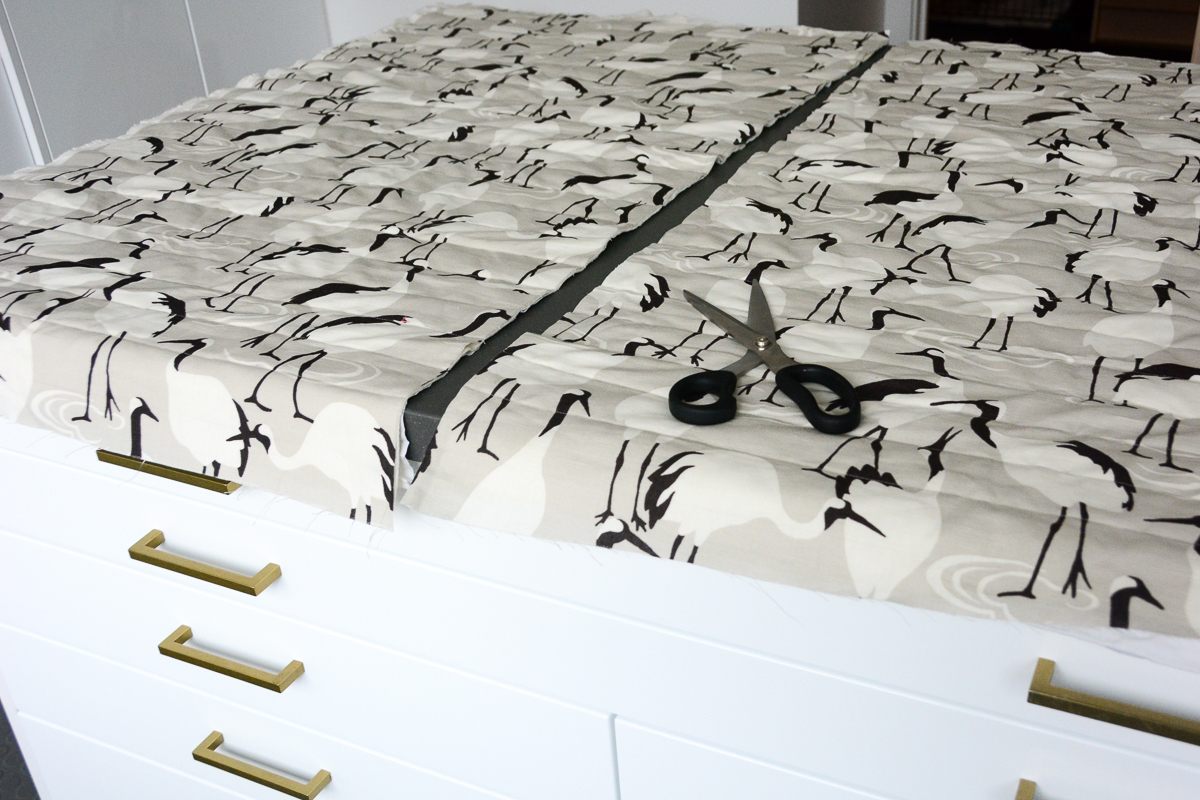
5. Cut rectangles for the fronts and backs of your pillow covers. To do this, measure 26″ from one selvedge and mark.
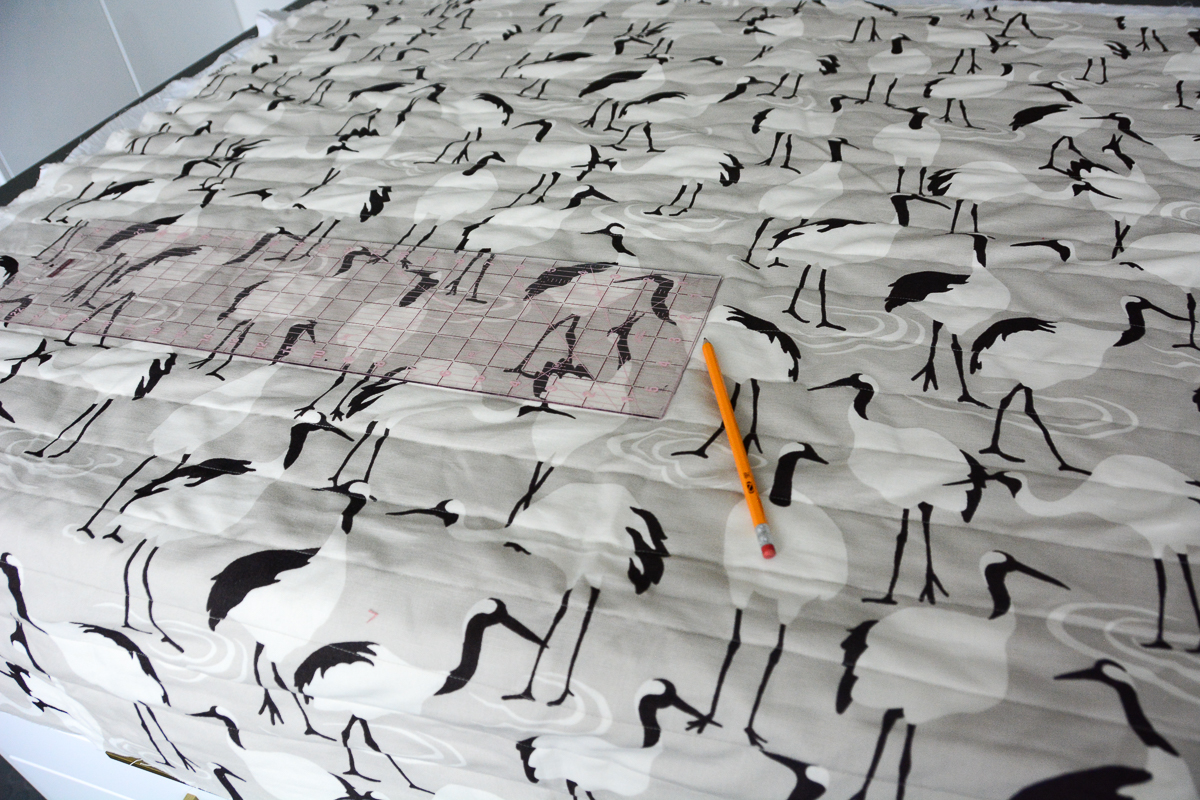
Draw a cutting line from the top to bottom of your quilt perpendicular to the quilting.
Cut your quilt in half from top to bottom.
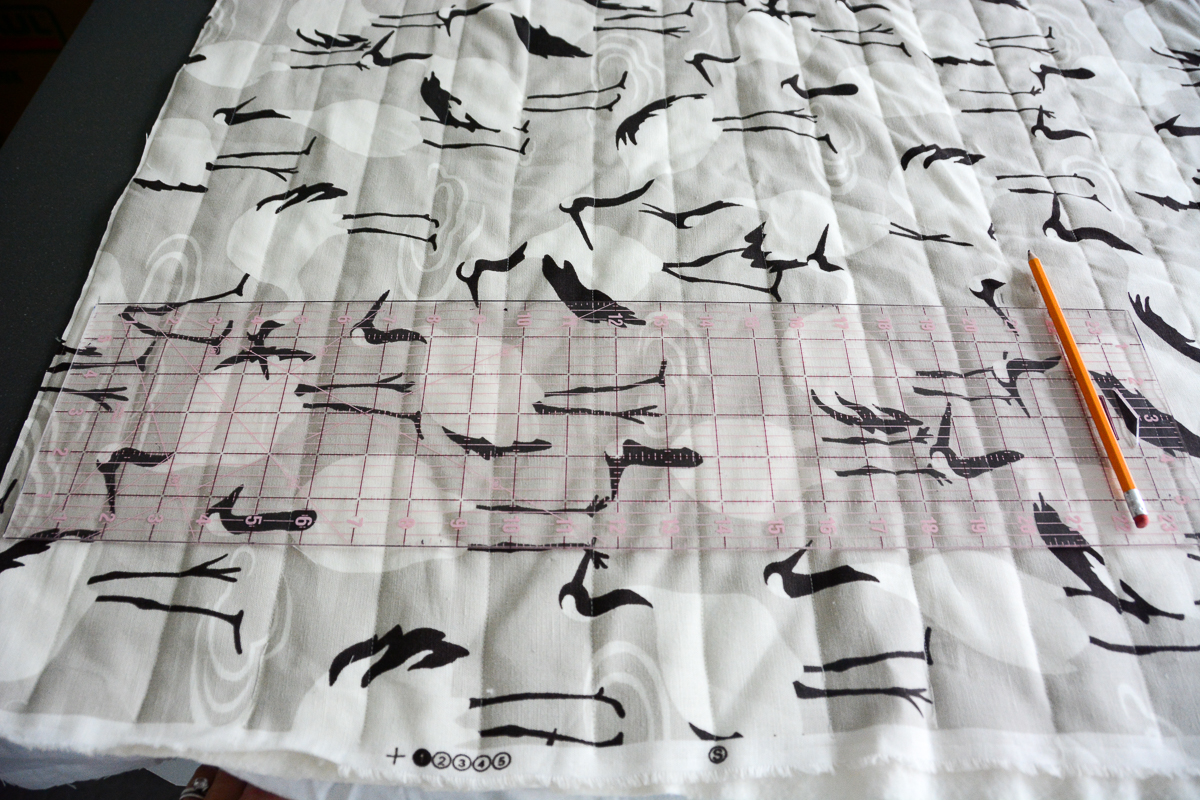
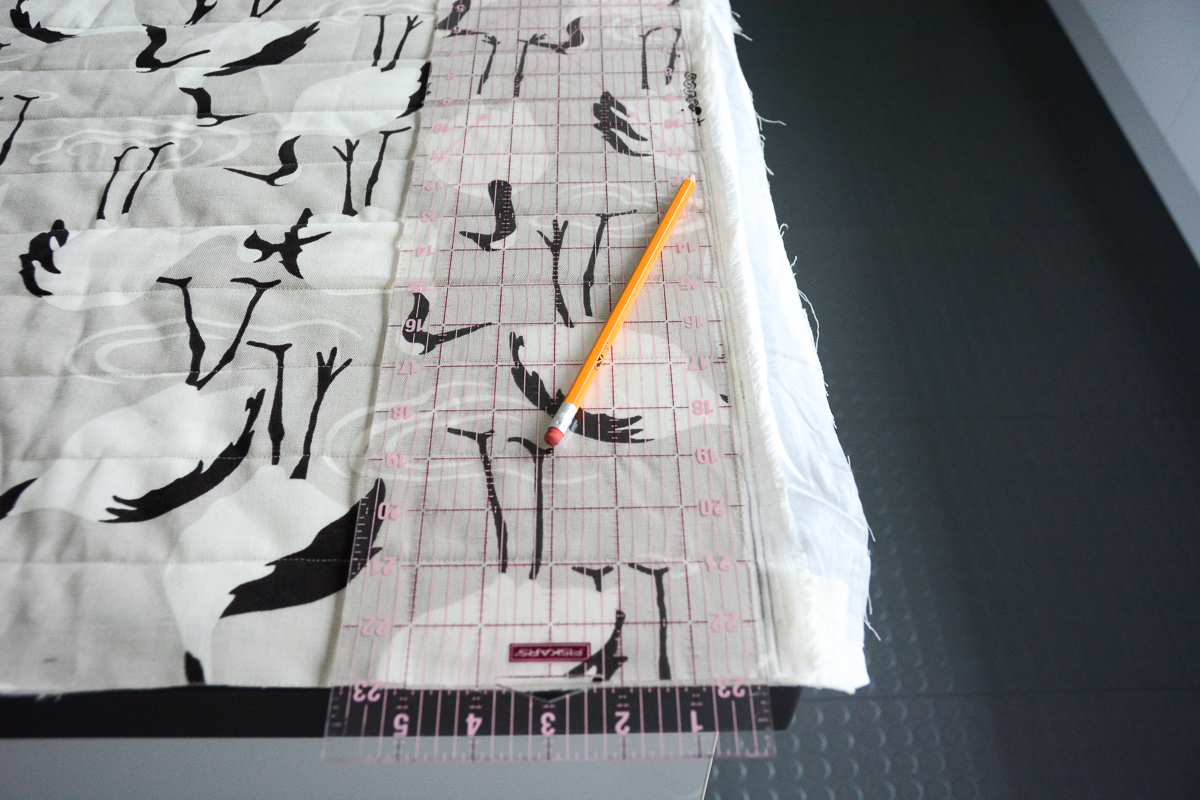
Trim the top edges of your two quilt halves so they are straight. Measure down 20.5″ from the top of your two quilt halves. Mark a cutting line parallel to your quilting.
Cut your two quilt halves in half horizontally to create four rectangles.

Trim excess fabric and square your edges so you have four rectangles each measuring 26″ wide and 20.5″ tall.
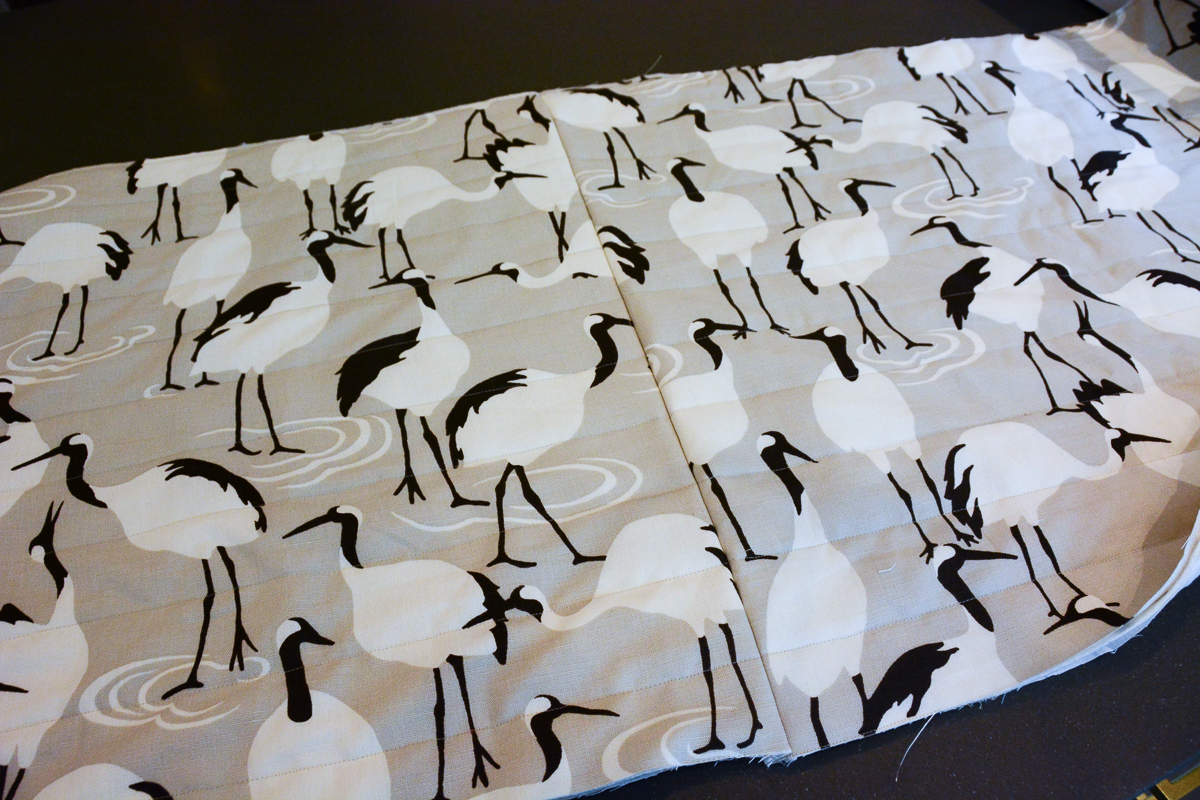
6. Sew fronts and backs of pillow cover together. Place two rectangles right sides together. (If your fabric is directional be sure that both front and back are oriented the same way.) Pin along one of the short edges.
Baste along this short edge using the reverse pattern foot #1/#1C/#1D with a .5″ seam allowance.
Press this seam open.
Finish the seam allowances with a zigzag stitch.
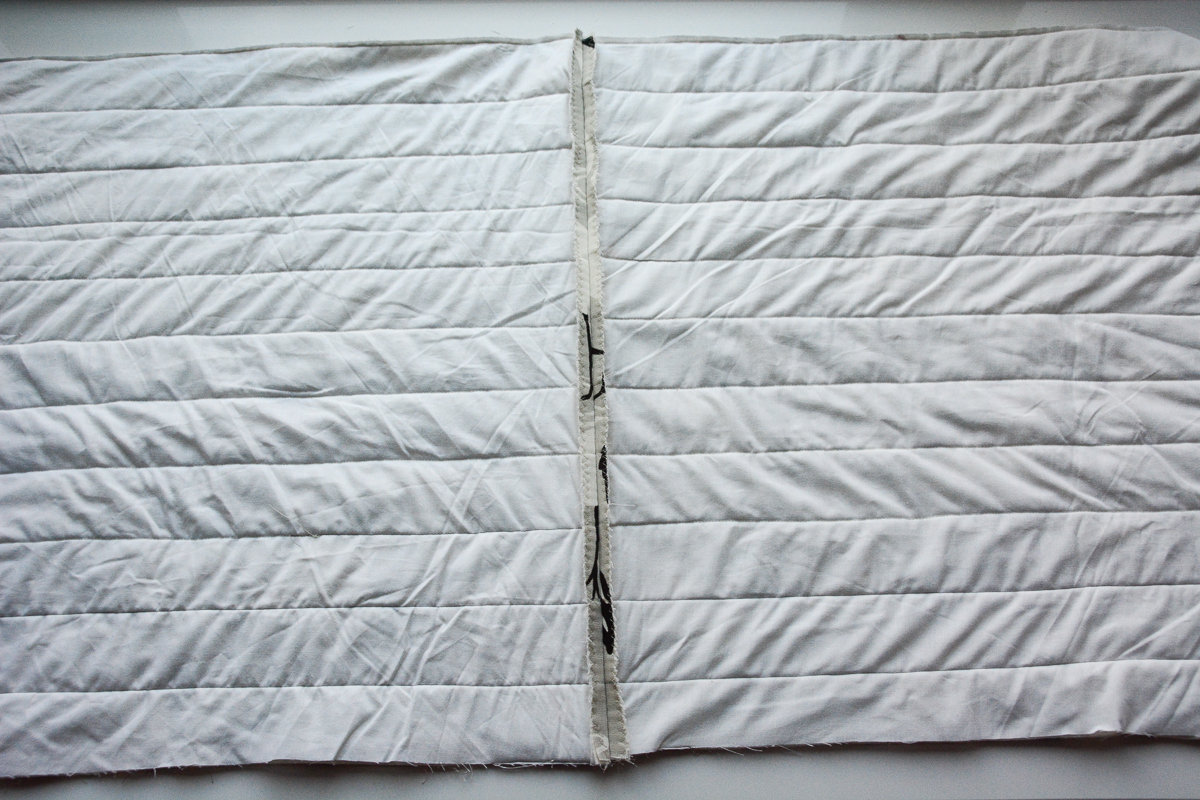
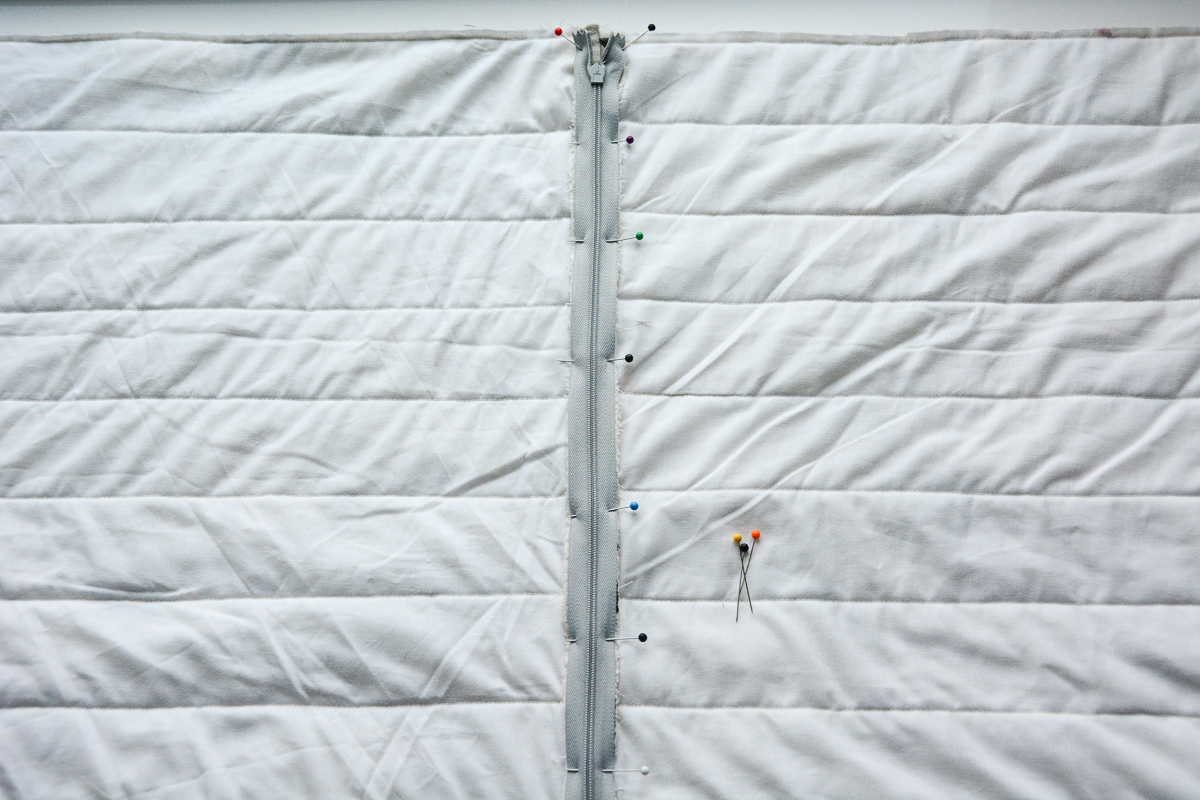
Install a zipper by pinning it face down along the center of this seam . . .
. . . and stitching down 1/4″ to the right of this seam, on the right side of the fabric, using a zipper foot #4.
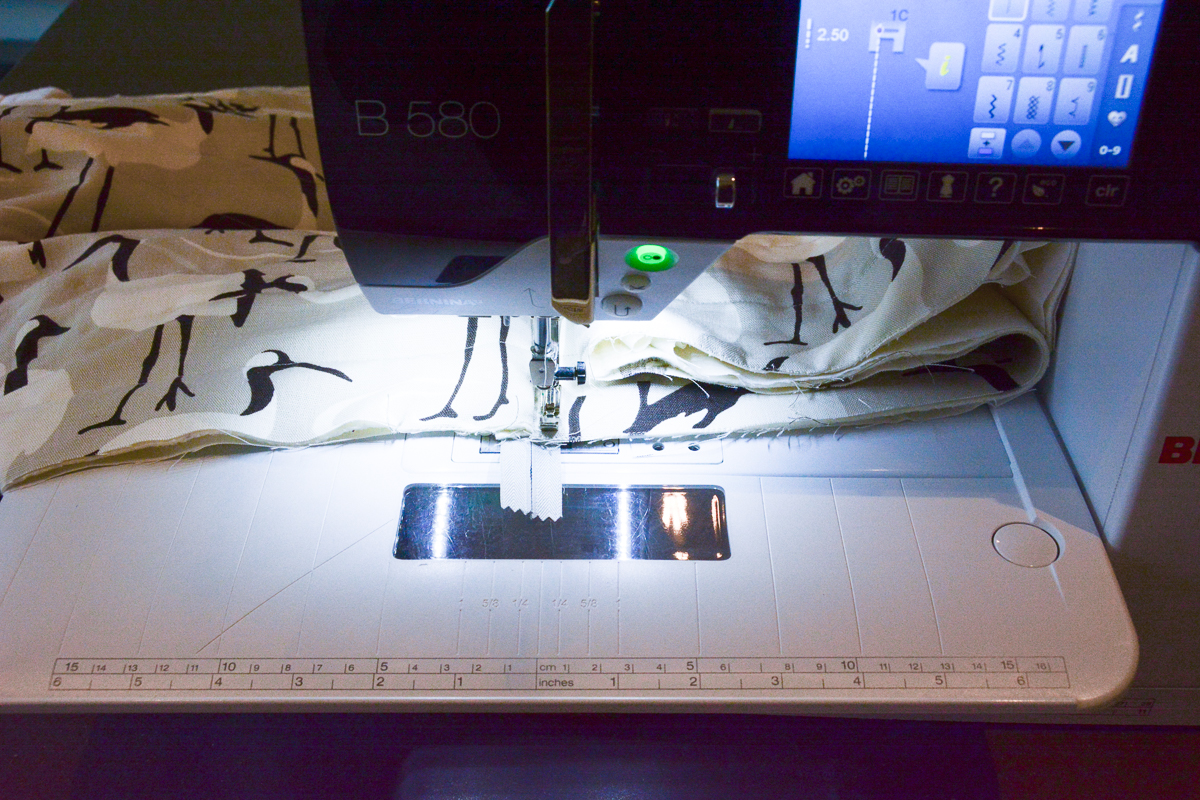
Start at the top of the pillow cover and finish at the bottom, backstitching at either end to secure your stitches.
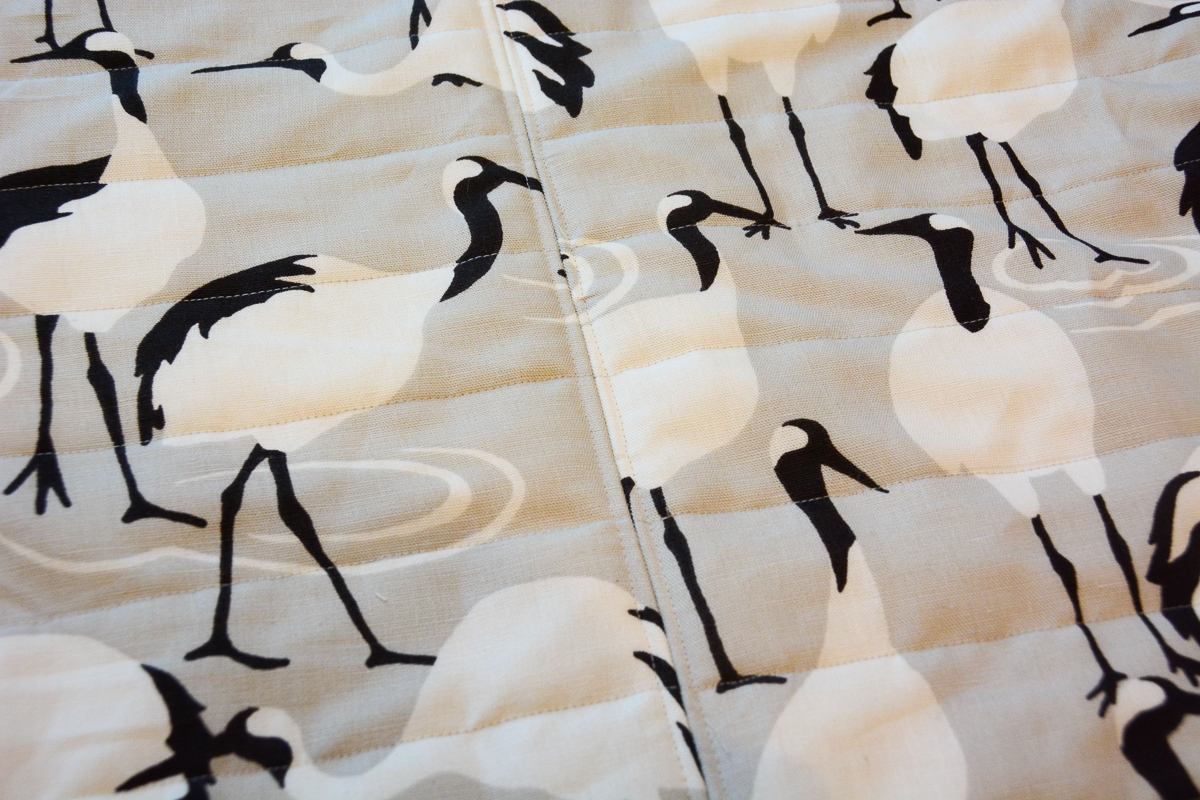
Turn your pillow cover around and stitch down the other side of the seam from the bottom to the top of the pillow cover.
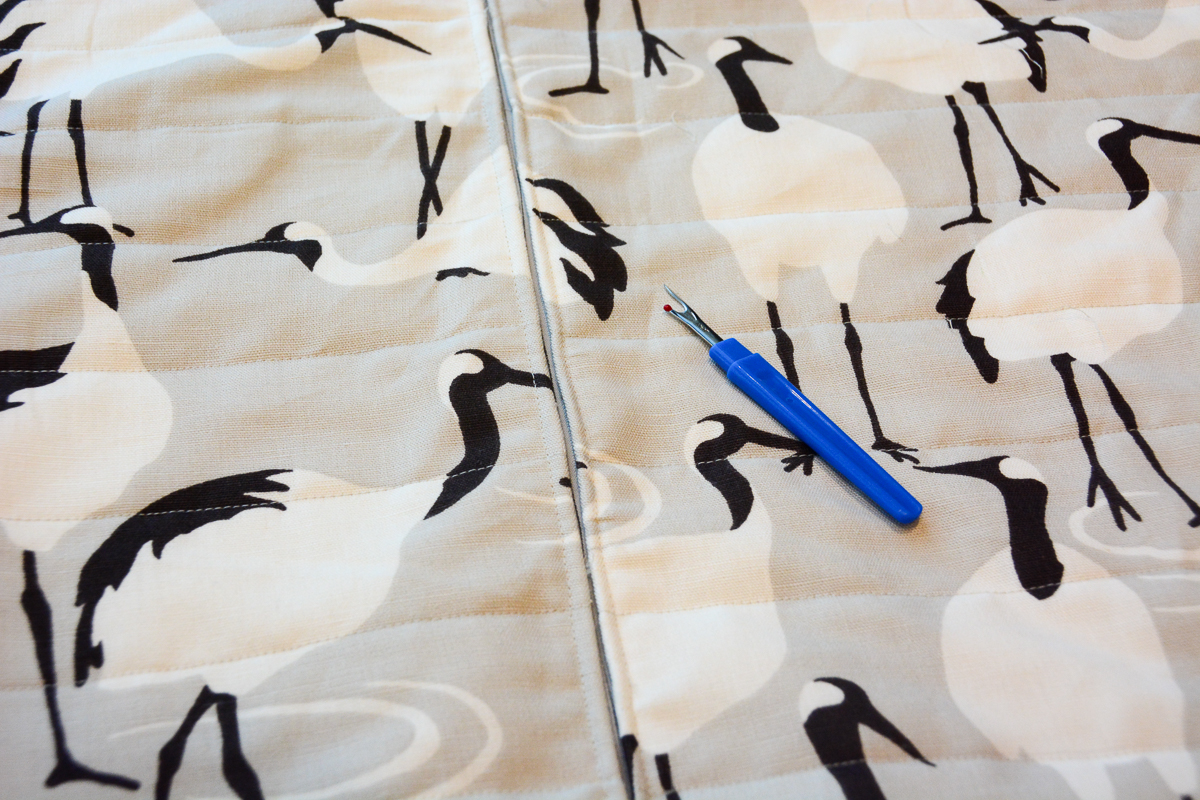
Use a seam ripper to remove your basting and reveal the zipper.
Fold your pillow cover at the zipper with right sides together and pin along the remaining three raw edges.

Using the reverse pattern foot #1/#1C/#1D stitch around these three sides of the pillow cover with a .5″ seam allowance. Be sure your stitching crosses the tails of your zipper.

Clip your corners at an angle, open the zipper, and turn your pillow covers right side out. Insert your pillows and enjoy this modern look on your bed.

You might also want to check out my posts in this bedroom home decoration series on how to sew a:


What you might also like


2 comments on “Channel Stitched Pillow Cover”
-
-
Hello sewfuntoys, we suggest testing out your fabric marking pen or pencil on a scrap of fabric first to see if it will be easy to remove before using it to mark on your project. You may want to try a few different options such as a washable marking pencil or an iron-away marking pen.
-
Leave a Reply
You must be logged in to post a comment.

Nice post. I like seeing Home Dec type projects. I especially enjoyed the way you install your zips so easy & everything line up nicely this way. What type of marking pen/chalk did you use & did it come out with ease once completed? You have a light fabric color & I’m hesitant about using a quilt marker for these projects for fear the marks won’t remove.