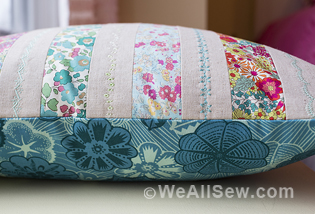
Sew Classic Pillow Covers with a Twist

In this tutorial, I will show you how to Sew Classic Pillow Covers with a Twist. This is one of my favorite simple and super-quick methods to add texture, warmth, and style to a room. It’s SEW easy, you’ll want to create pillow covers for each season. One of my favorite things about this favorite method is that you only need ONE pillow (or a pair if you wish) and won’t need to worry about taking up space to store them. Because they have ZIPPERS, they can be washed and swapped out as needed and you only need to store the covers. And my other favorite thing? I absolutely LOVE finding fabric to repurpose for this project.
For the pillow covers I’ll show you here, I am using a set of drapes I found at the bin store. What is a bin store, you ask? Oh, don’t get me started. Here’s a little peek at our local bin store, Bin Lucky, here in Knoxville. It’s awesome. These panels? I bought them on a Monday ($3 day) – yep, that’s a lot of fabric for $3! ? Repurposing is my next favorite hobby after shopping at the bin store! If you’re not lucky enough (see what I did there?) to have a bin store near you, try your local thrift shop, clearance sections at your favorite discount store, etc. Just think outside the box and try to find the MOST fabric for the LEAST money and let your creative energy do the rest! It’s SEW fun!
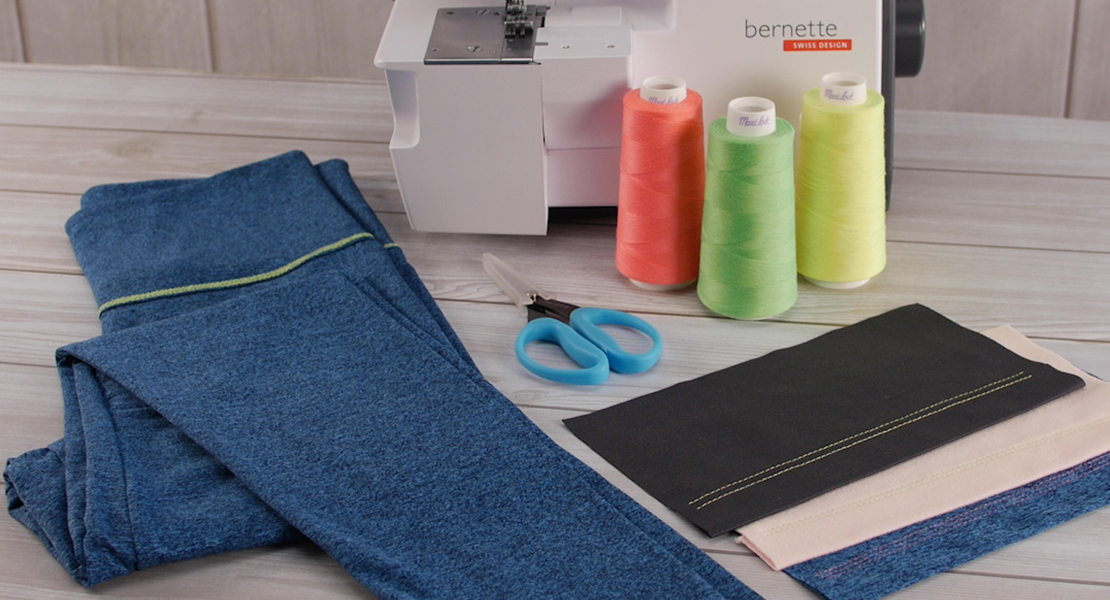
Materials to Sew Classic Pillow Covers with a Twist
- Pillow Insert(s)
- Fabric (new or repurposed)
- Measuring Tape (flexible)
- Yard Stick
- Sewing Shears
- Thread
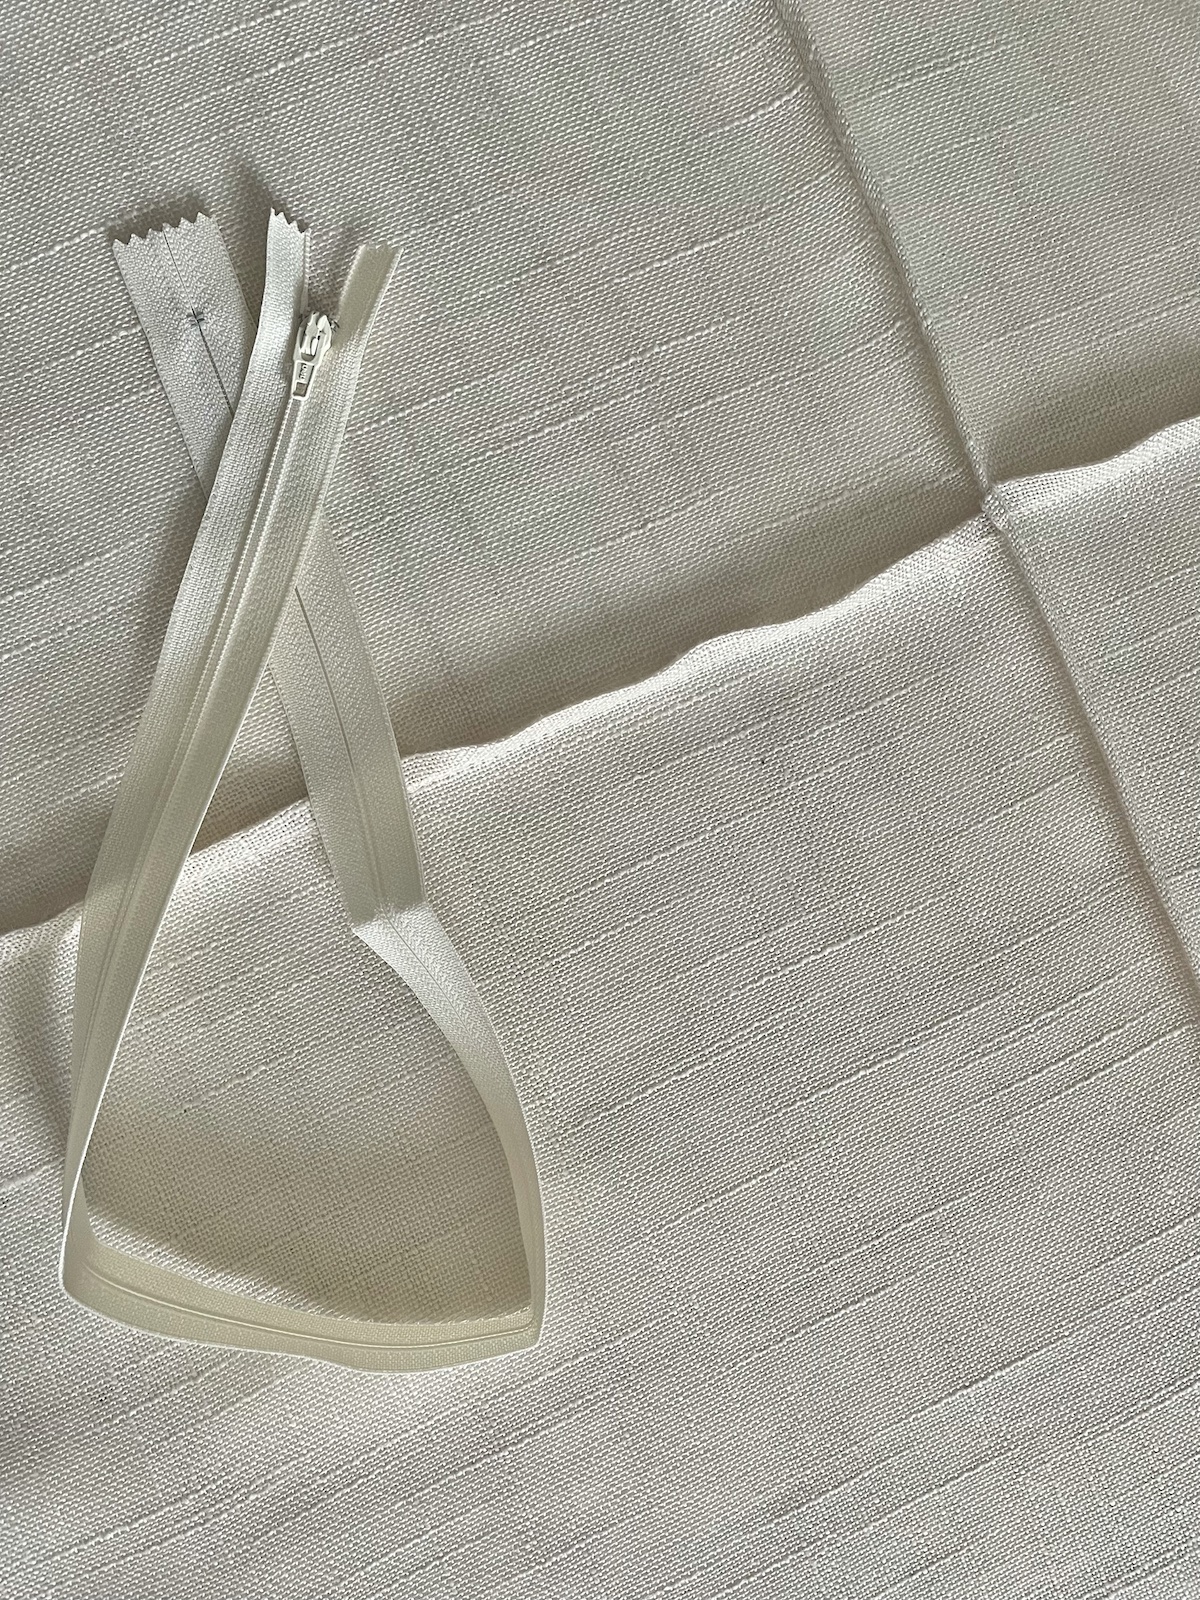
- Zipper
- Choose a zipper as close to your pillow size as possible. If you choose a zipper that is too short, placing your insert into the finished pillow cover will not be your favorite part of this project! Trust me.
- Iron/Ironing Board
Instructions to Sew Classic Pillow Covers with a Twist
Thrift when you can!
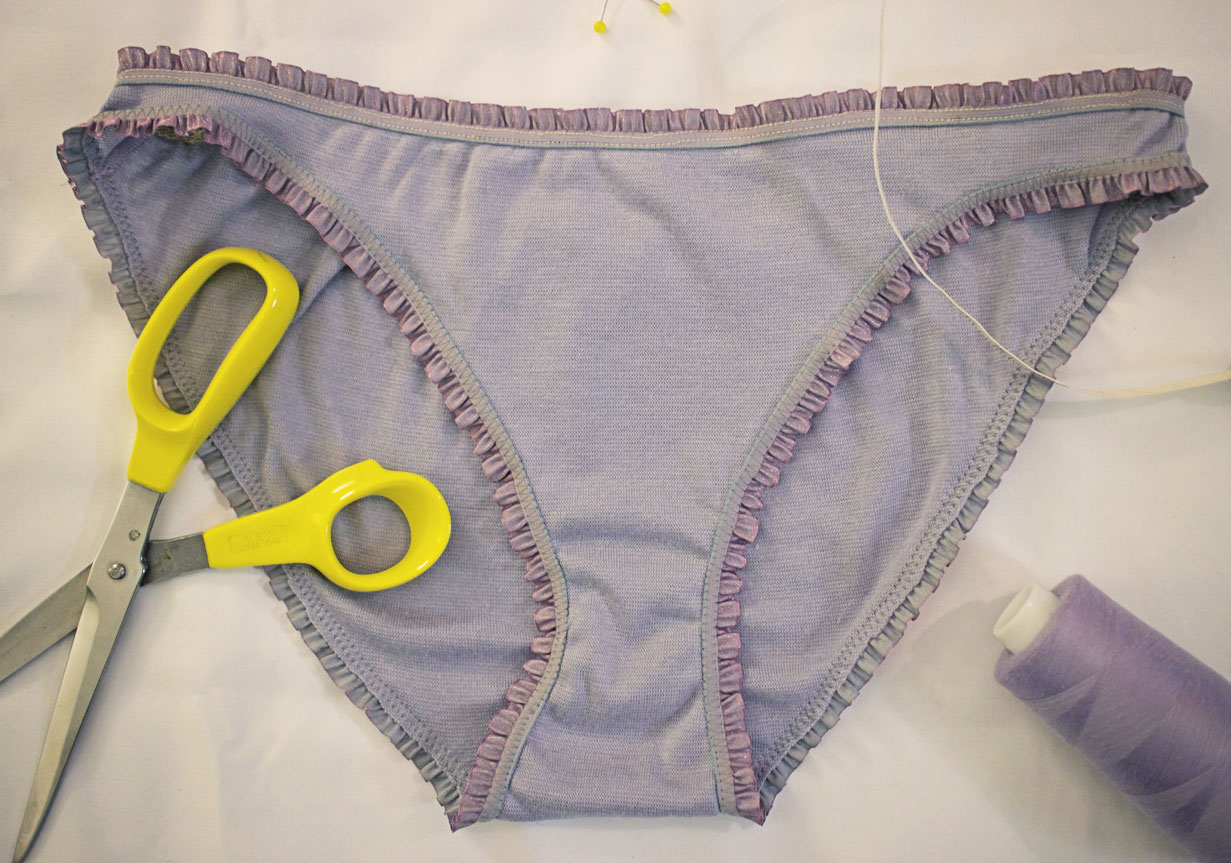
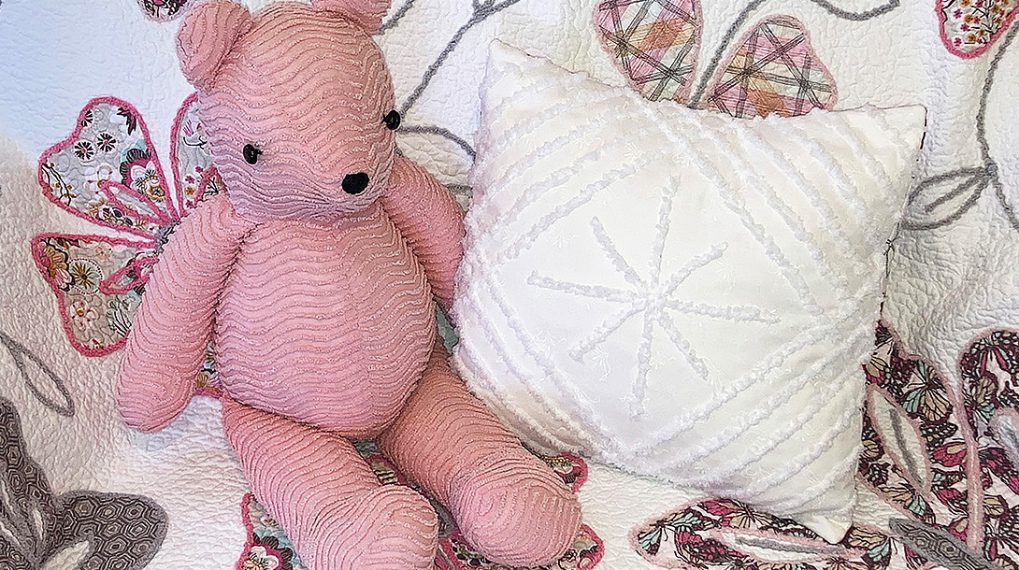
I really love feather pillows. They make great throw pillows for sofas, beds, etc. They are comfy enough to nap on, but can be fluffed and reshaped a million times. Try doing that with your standard fiberfill pillow. I got SUPER lucky and found THREE large BRIGHT YELLOW pillows at our local thrift store. Once I discovered they had feather inserts, I was sold. Or, rather, they were. Three for $15. Yep, five dollars a piece! Yay me.
I loved the cute tuck detail, but yellow is not in my color palette, so I decided to remake them in a fabric that would work in my house. Not to fear, I passed on the three happy yellow covers to my daughter who has a much more cheerful color palette than me. She’s on her own for the inserts though. Oops.
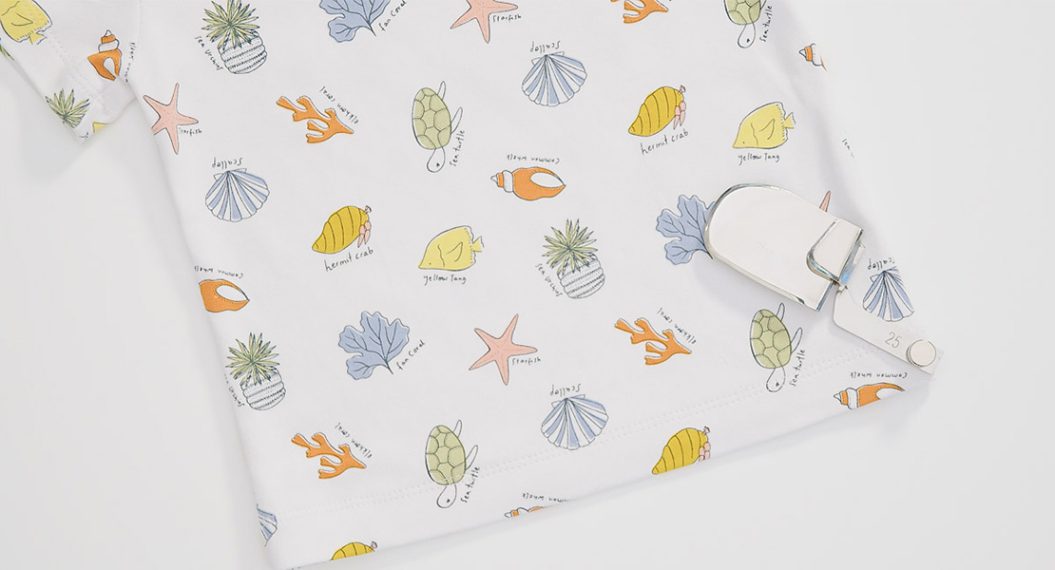
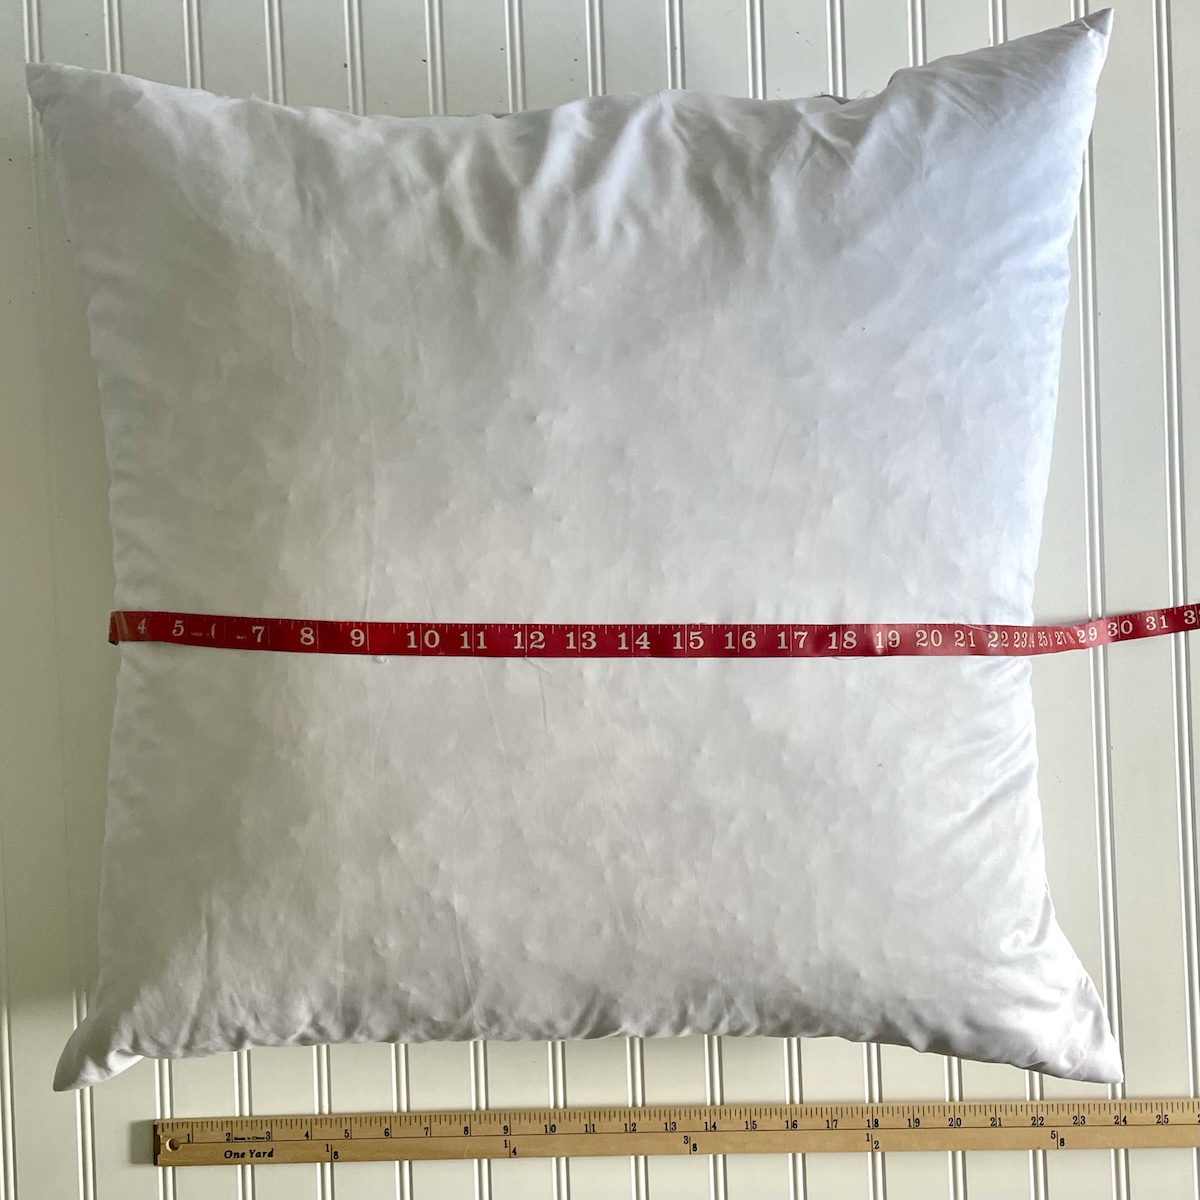
Step 1. Measure the Pillow Inserts
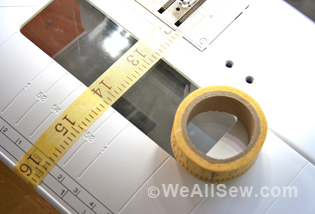
Measure your pillow insert from seam to seam with a flexible tape measure. Assuming your pillow is square, you’ll have the same measurement from top to bottom and side to side. Be sure not to just lay your pillow insert on a ruler, because that won’t give you enough fabric to account for the depth of the pillow from front to back. If you’re using a rectangular pillow, you’ll have two different measurements. I don’t recommend this method on a circular pillow because the design lends itself to angles more than curves.
My Example: My pillow inserts are 22 inches square, but when I measure across from seam to seam, they are 25 x 25. Add 2 inches for seam allowance and zipper insertion. A standard 1/2 inch or 5/8 inch seam is NOT sufficient for this project. Ask me how I know this.
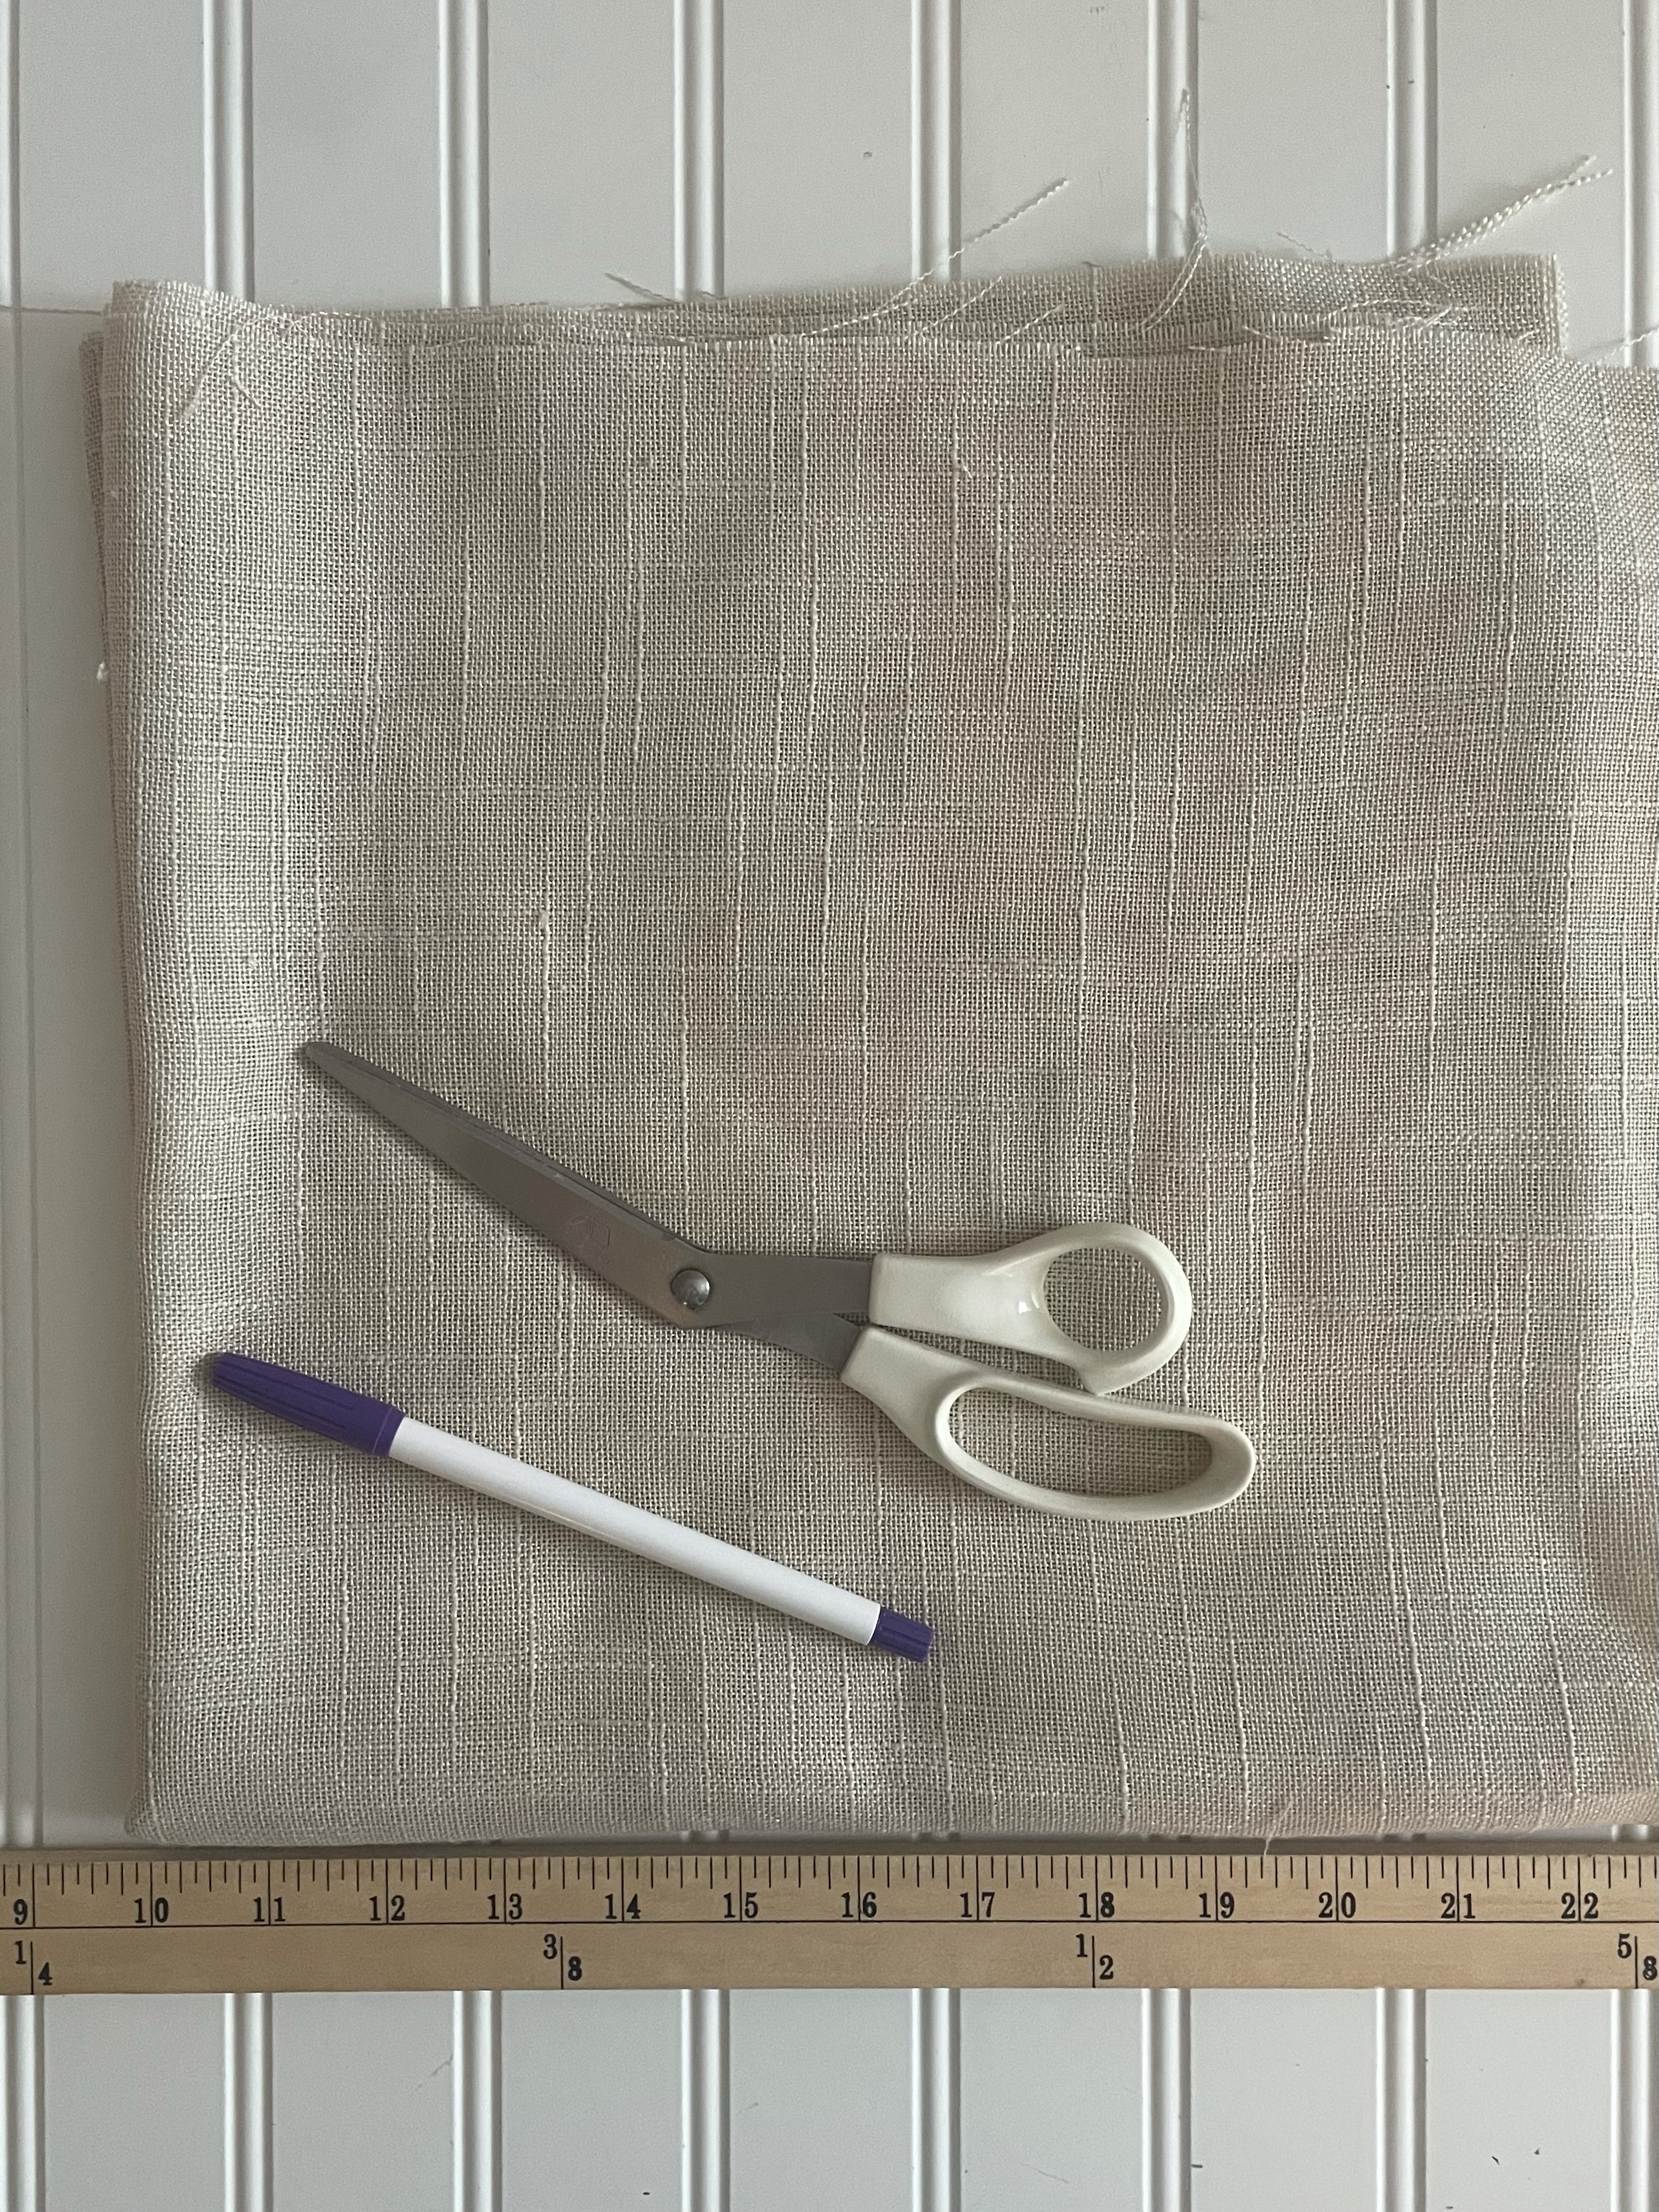
Step 2. Cut the Fabric
Cut two layers the size of your final measurements. Use your cutting mat or quilting rulers to help ensure your corners are squared up at 90 degree angles. My pillow forms are pretty big, so I used my yard stick and marking pen to assist me in cutting my squares.
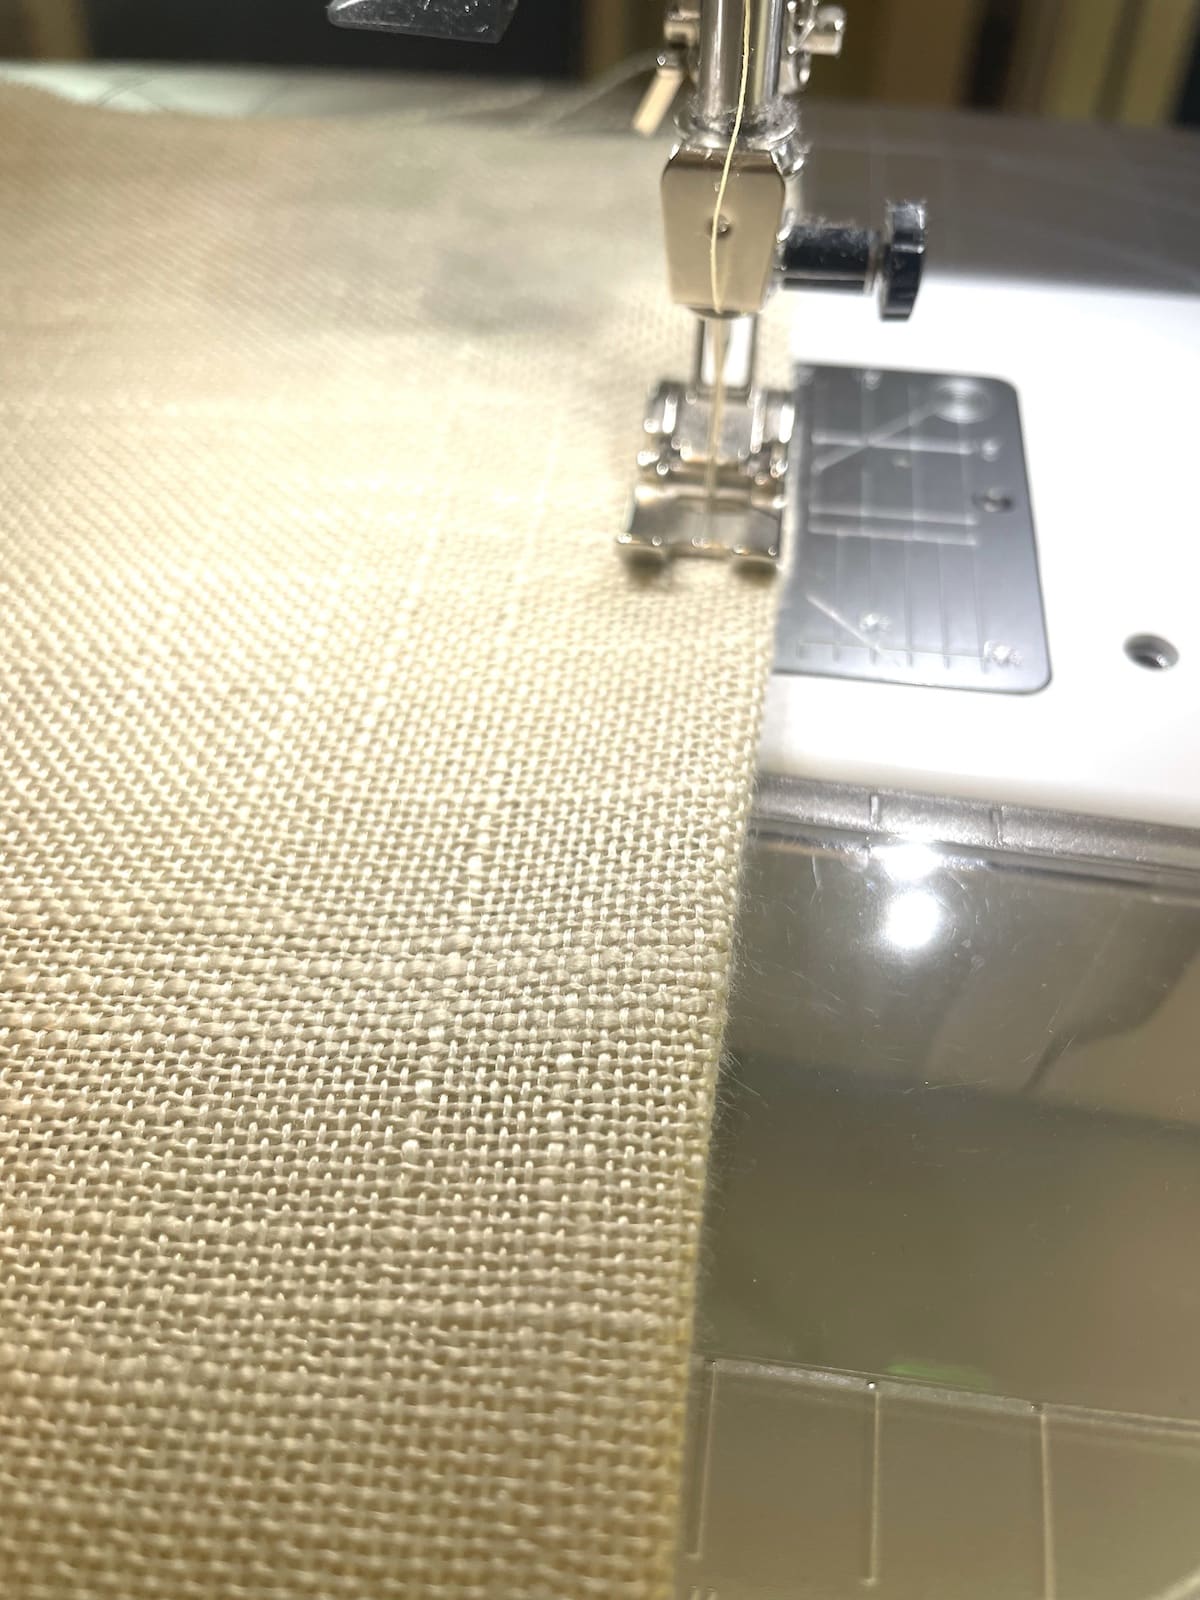
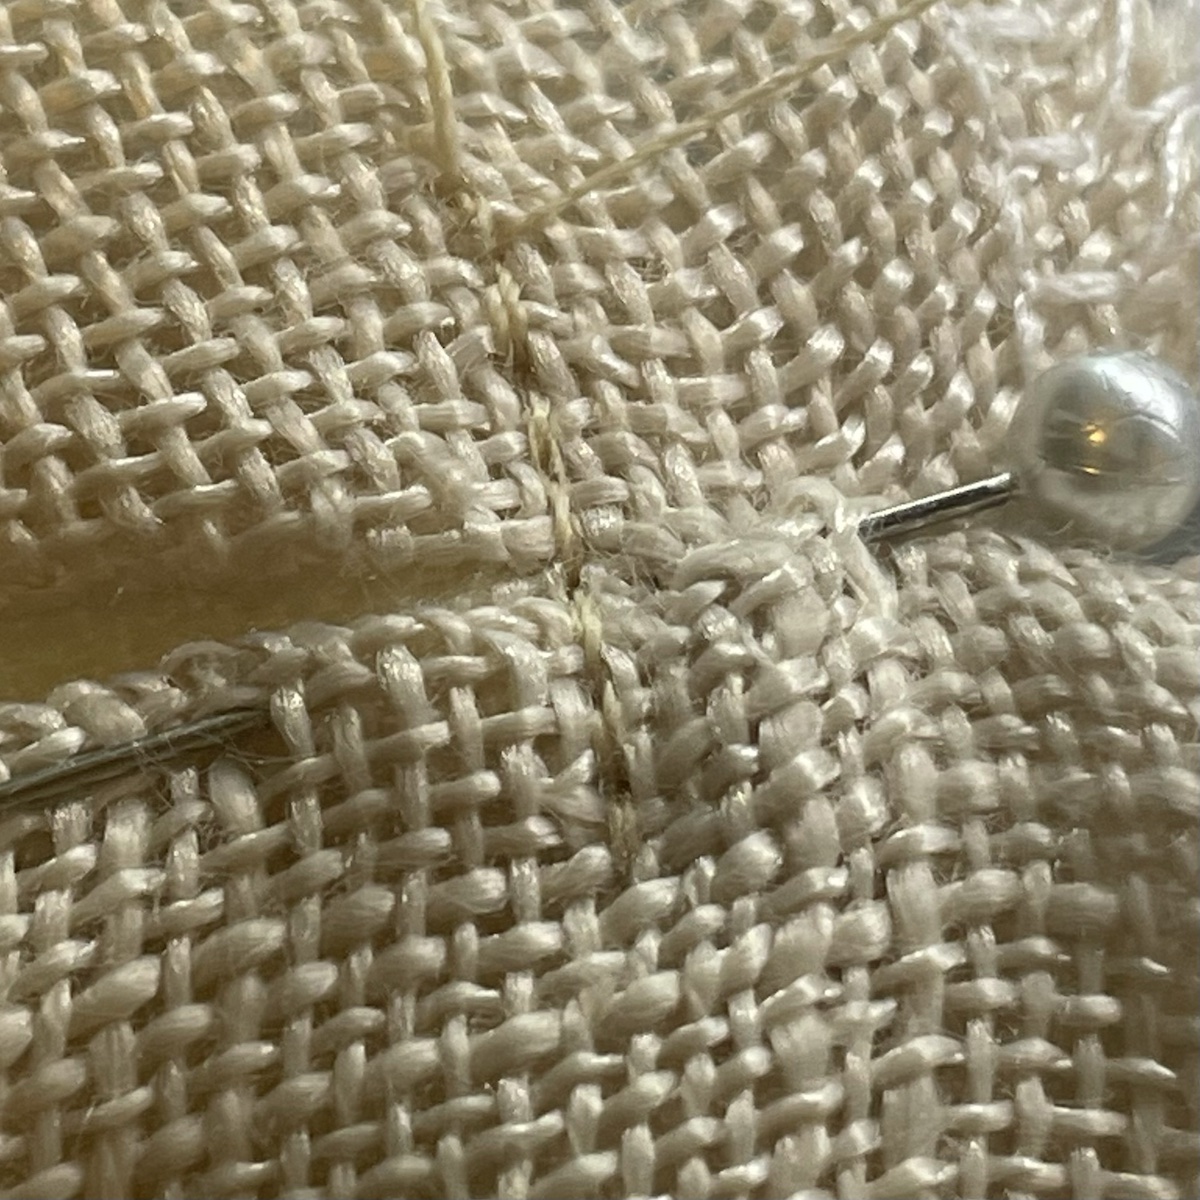
Step 3. Finish Fabric Edges (Optional)
My fabric is a not-so-tight linen weave that unravels pretty easily. I suggest completing a zigzag stitch or overlock stitch to protect your fabric from wear and tear as it is used in your home.
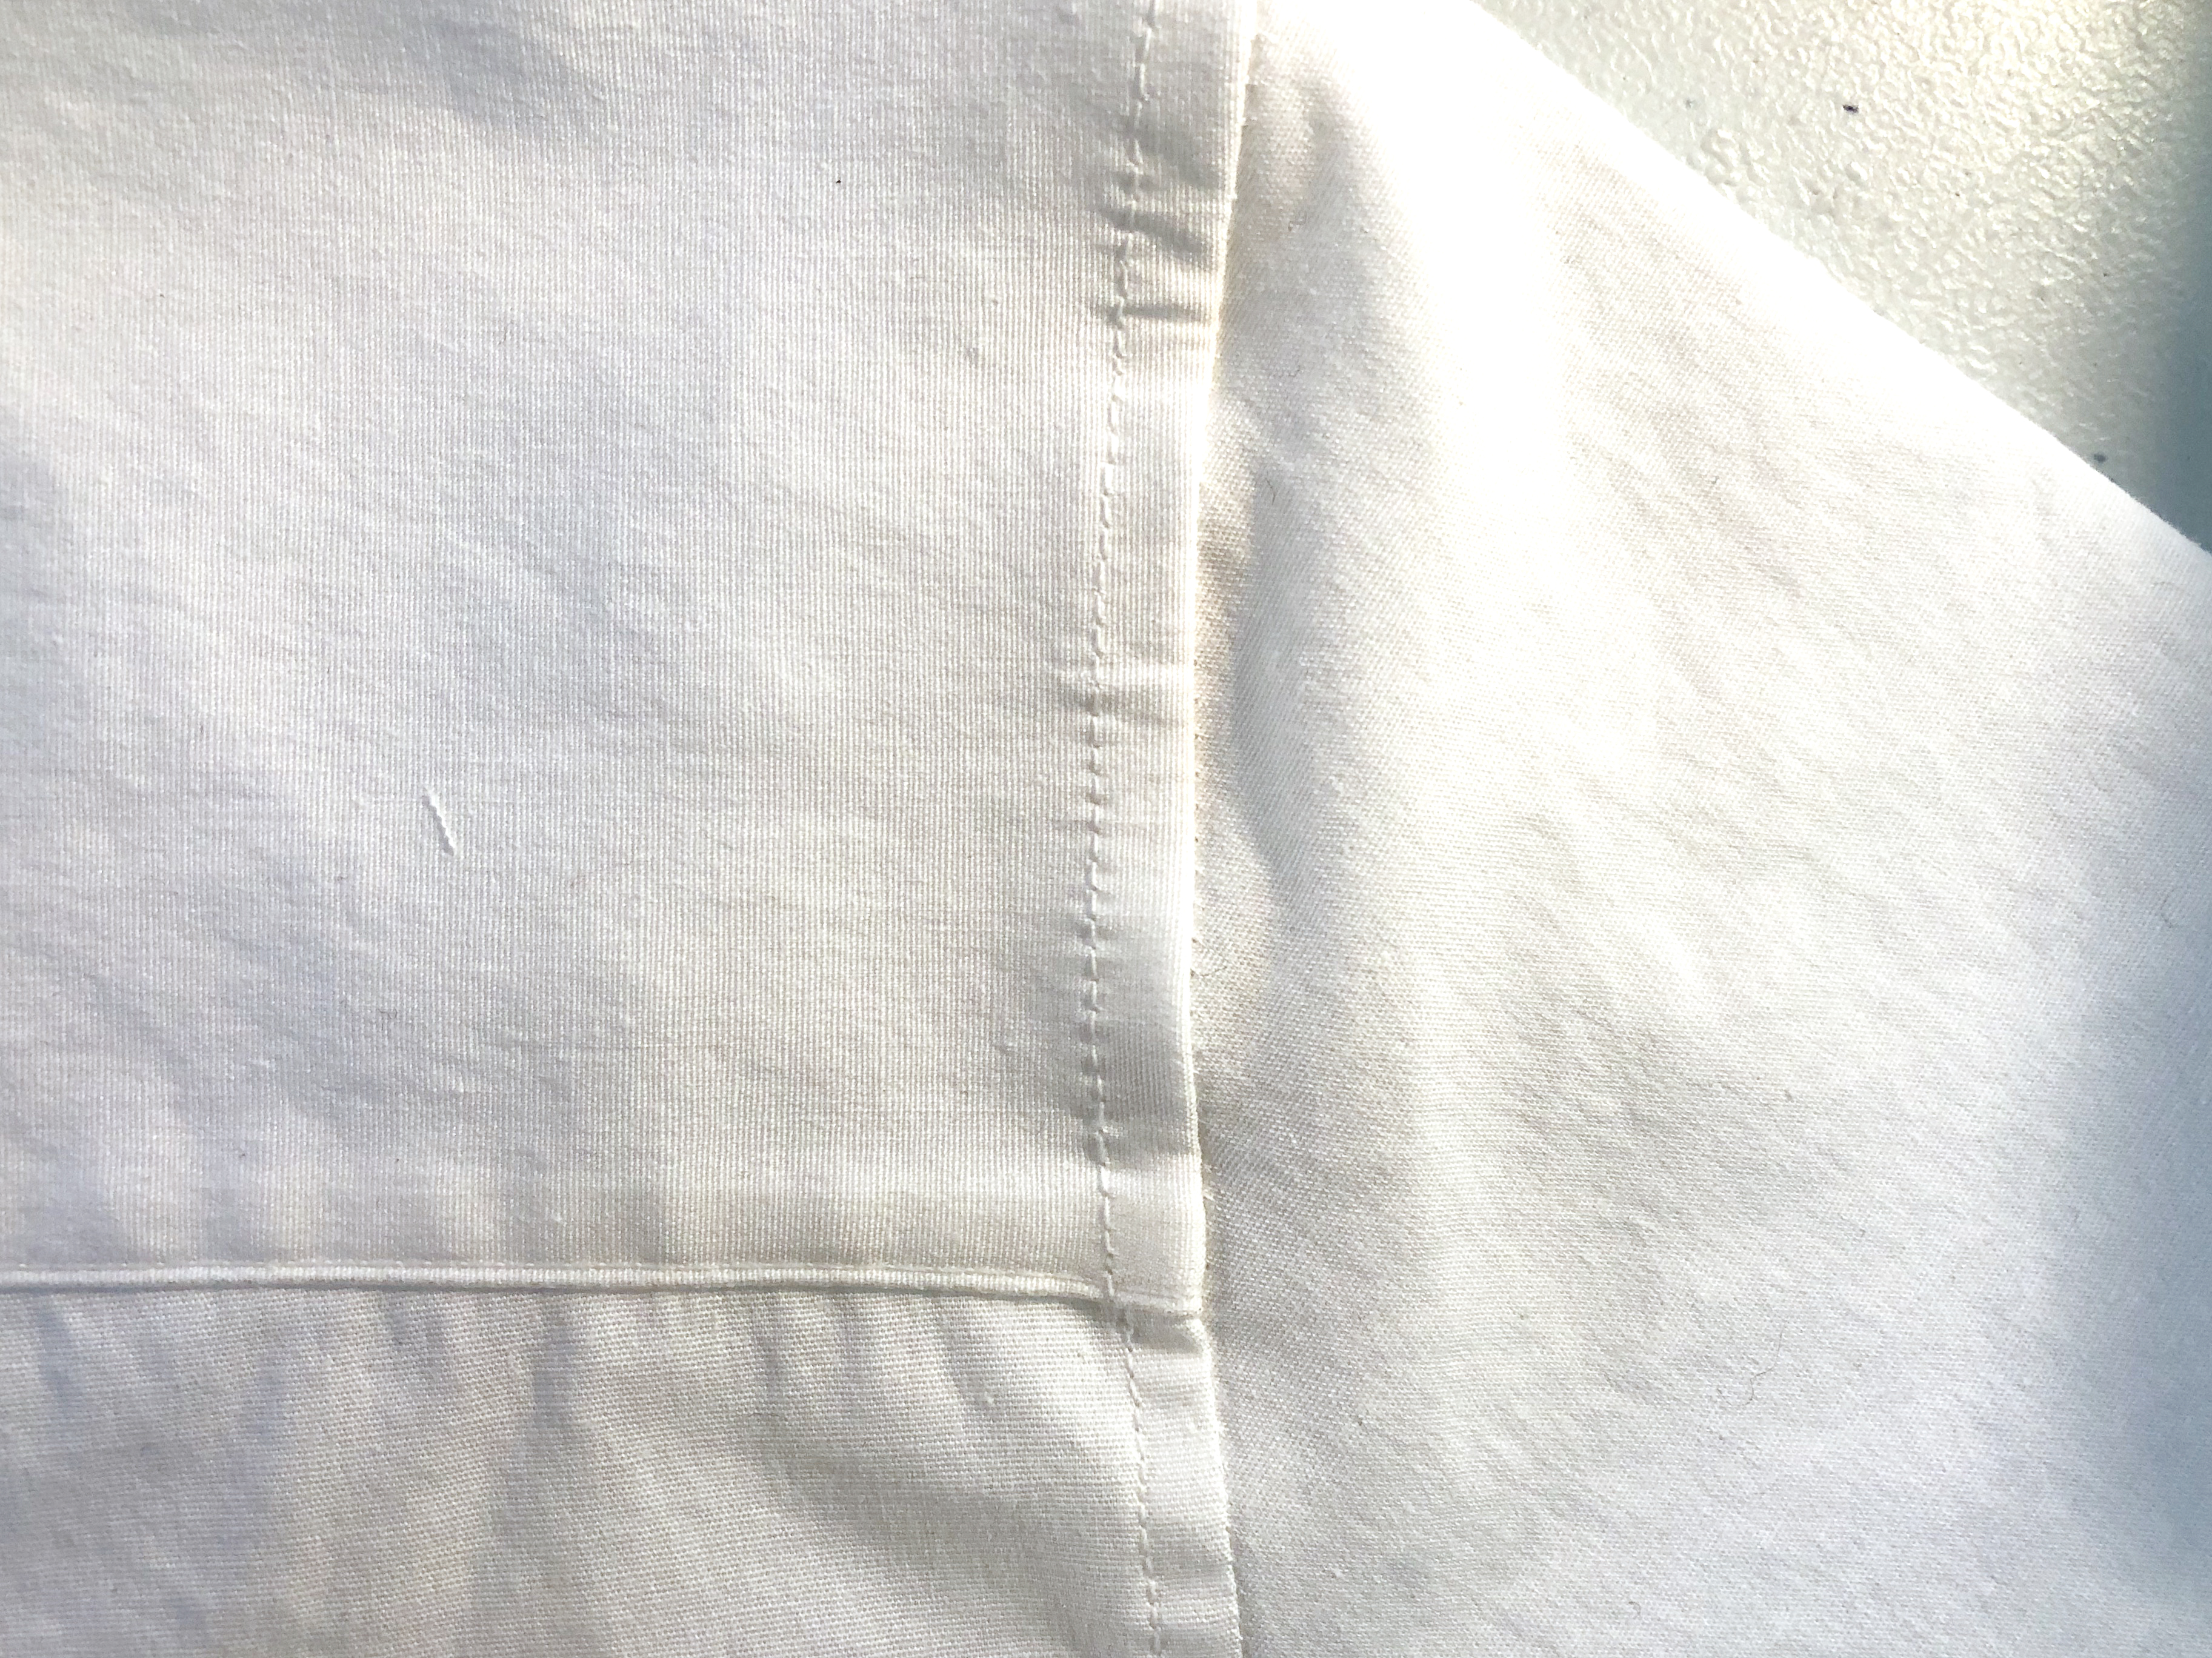
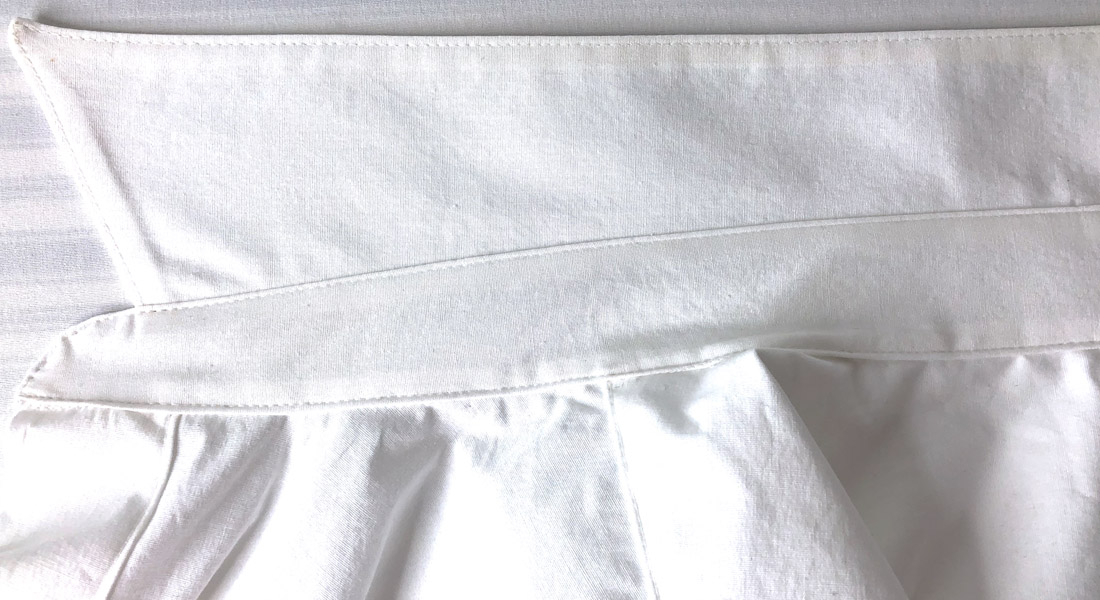
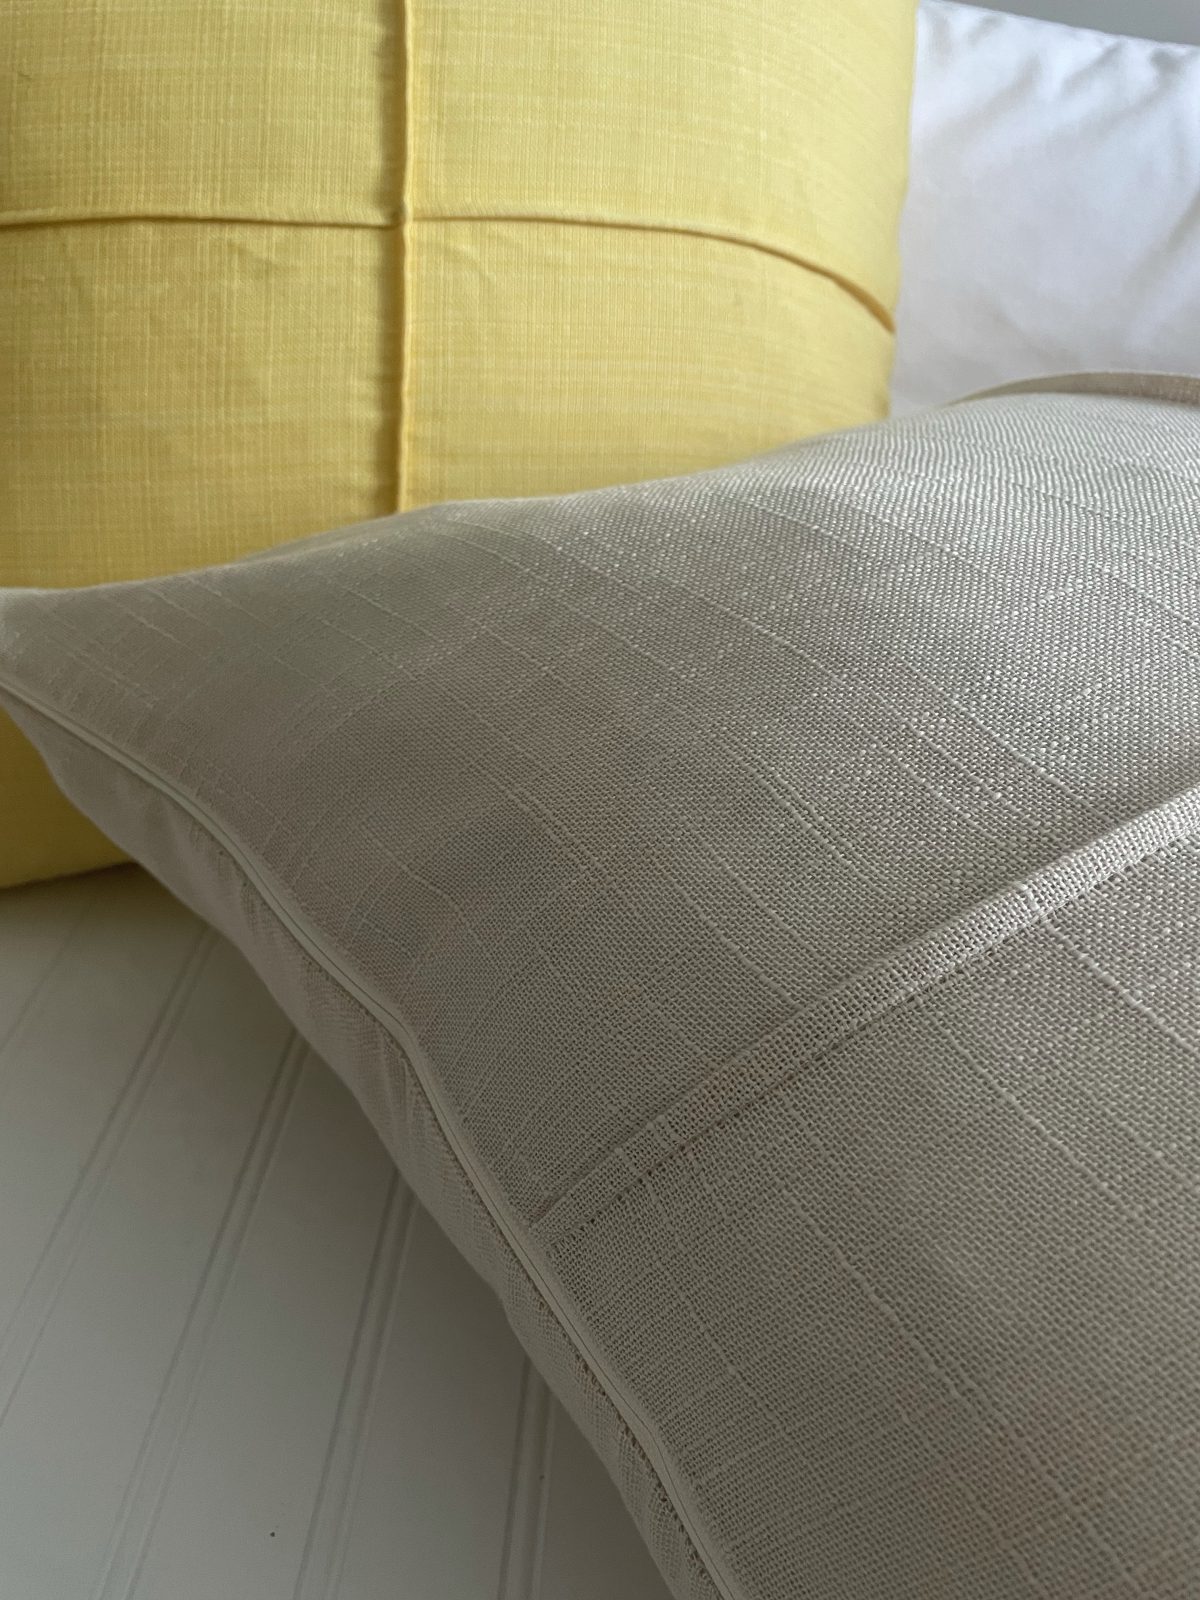
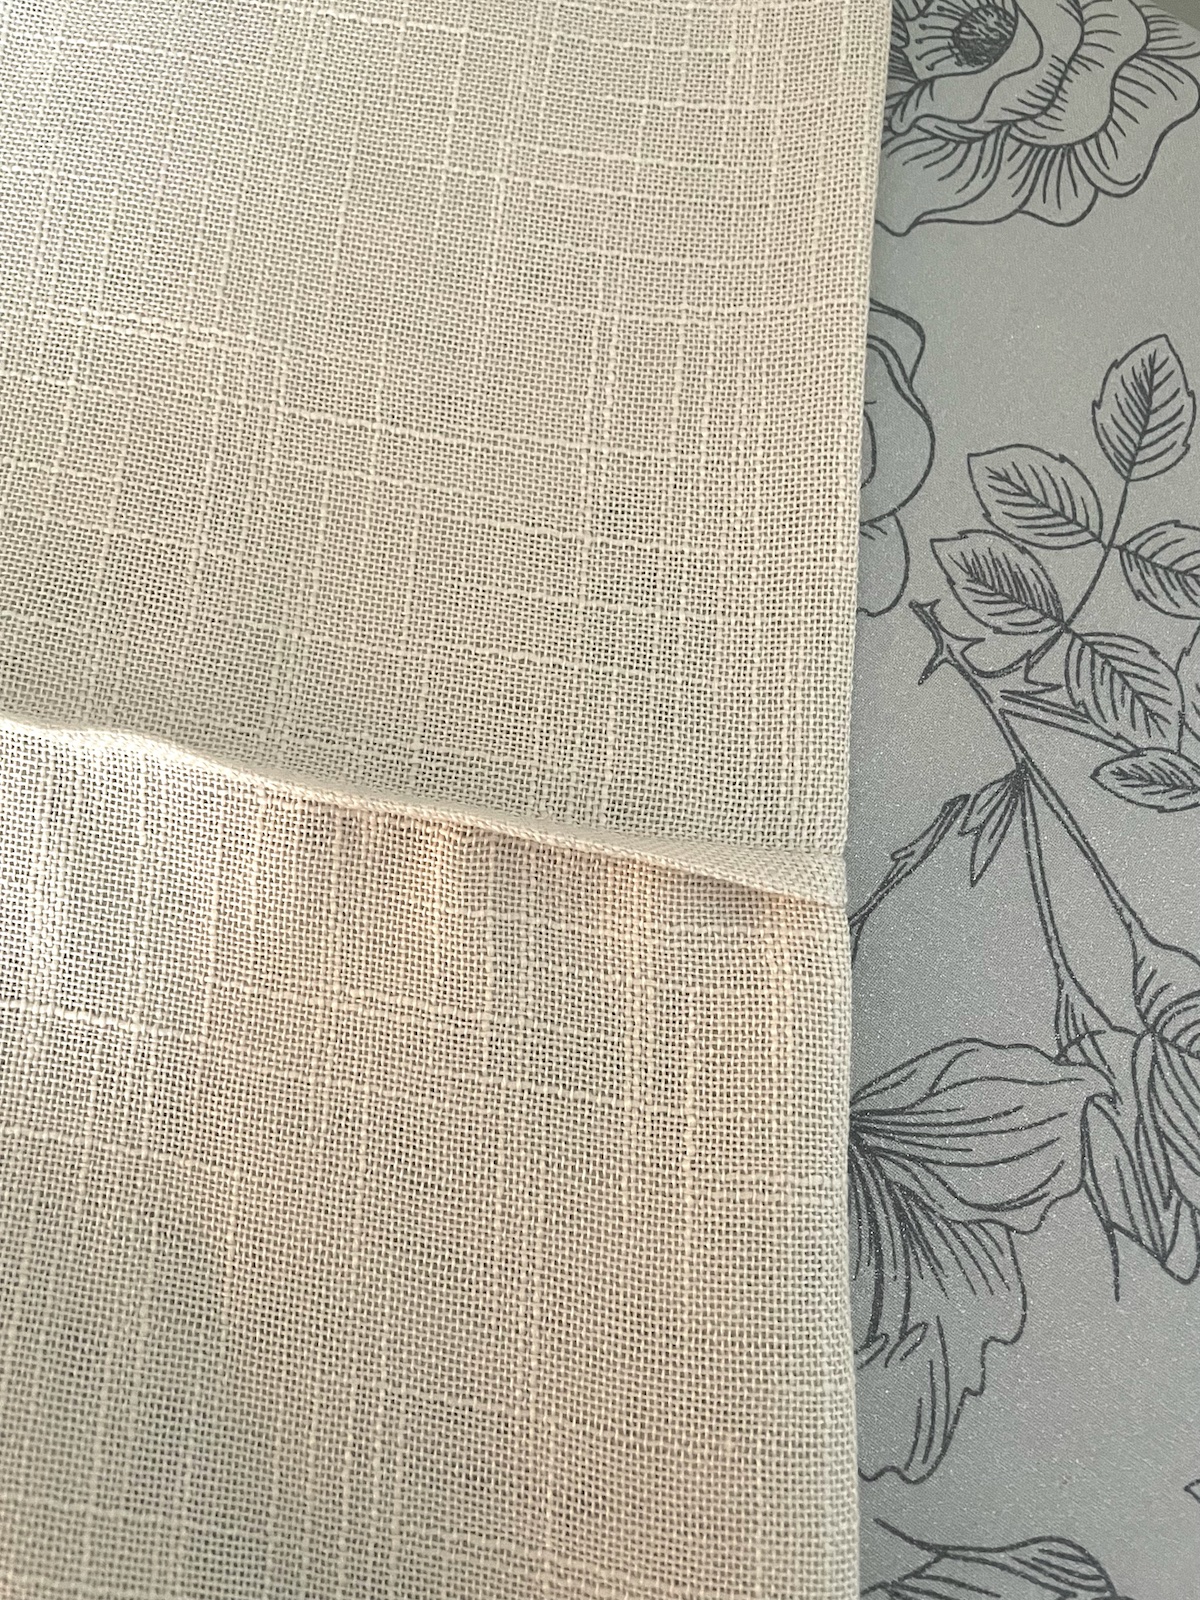
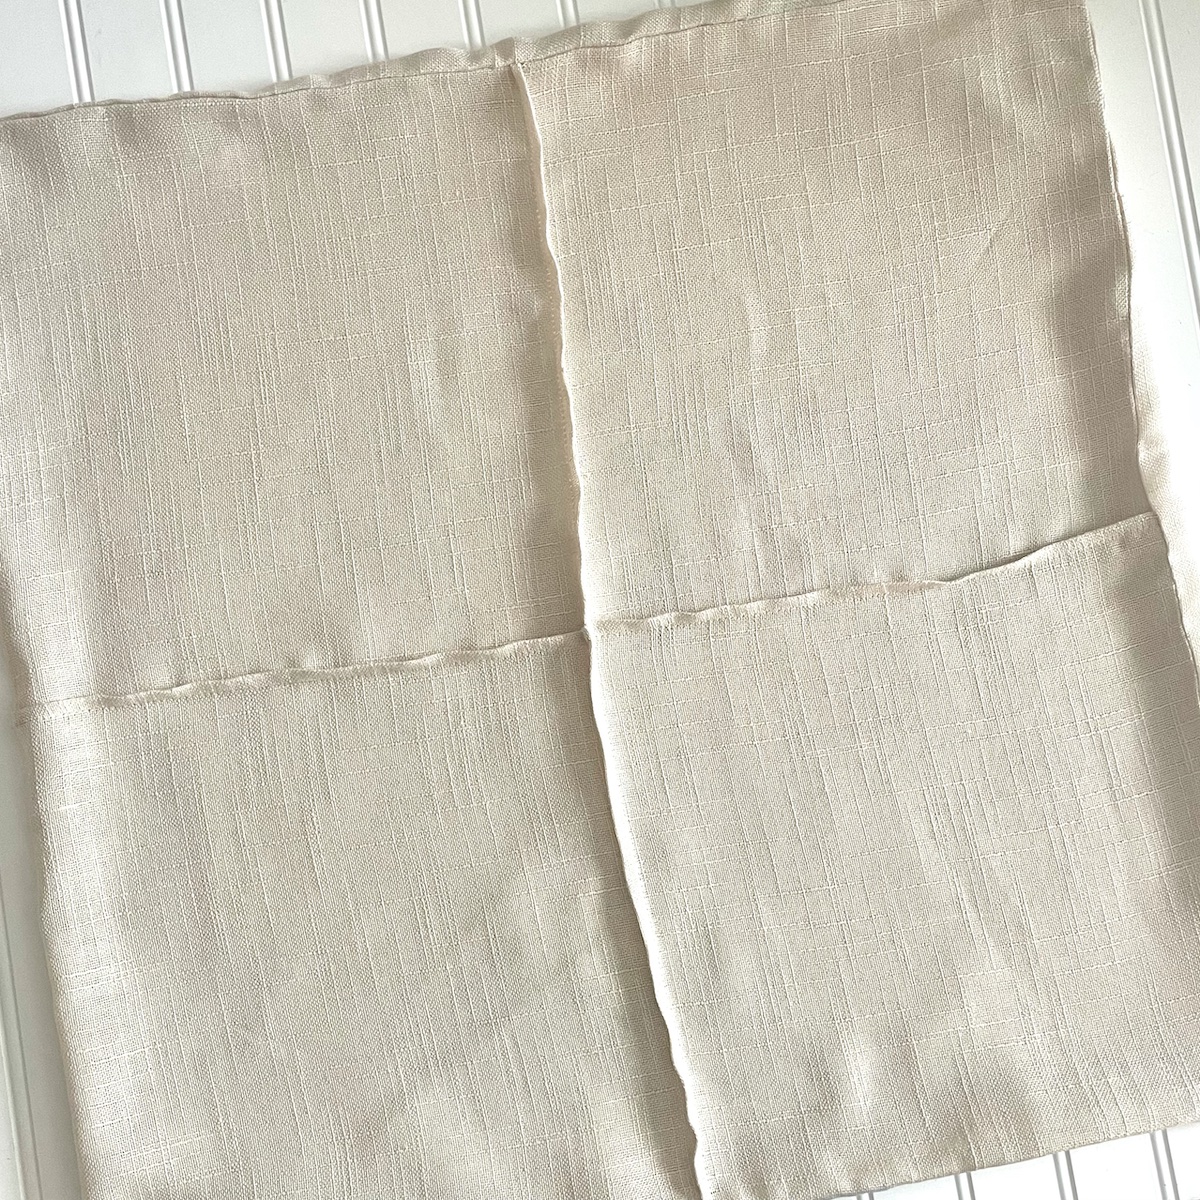
Step 4. Sew a Vertical Tuck on the Front Panel
Set the back panel aside for now. Fold the front panel in half and press. Stitch using a 1/4 inch allowance from the fold to create a tuck. Press to one side.
Step 5. Sew Horizontal Tuck
Turn the panel 90 degrees and repeat Step 4, creating a second tuck intersecting the first.
Step 6. Insert Zipper
Sew the zipper according to the manufacturer’s instructions. This is NOT hard at all when you have two separate pieces of fabric. If you’re unsure, check out this tutorial for tips on zippers. Be careful to insert the zipper so the right side of the fabric will show when the zipper is closed. I may or may not have experience taking out zippers when I’ve sewn them in backward. ??♀️

Pin zipper in place according to manufacturer’s instructions.
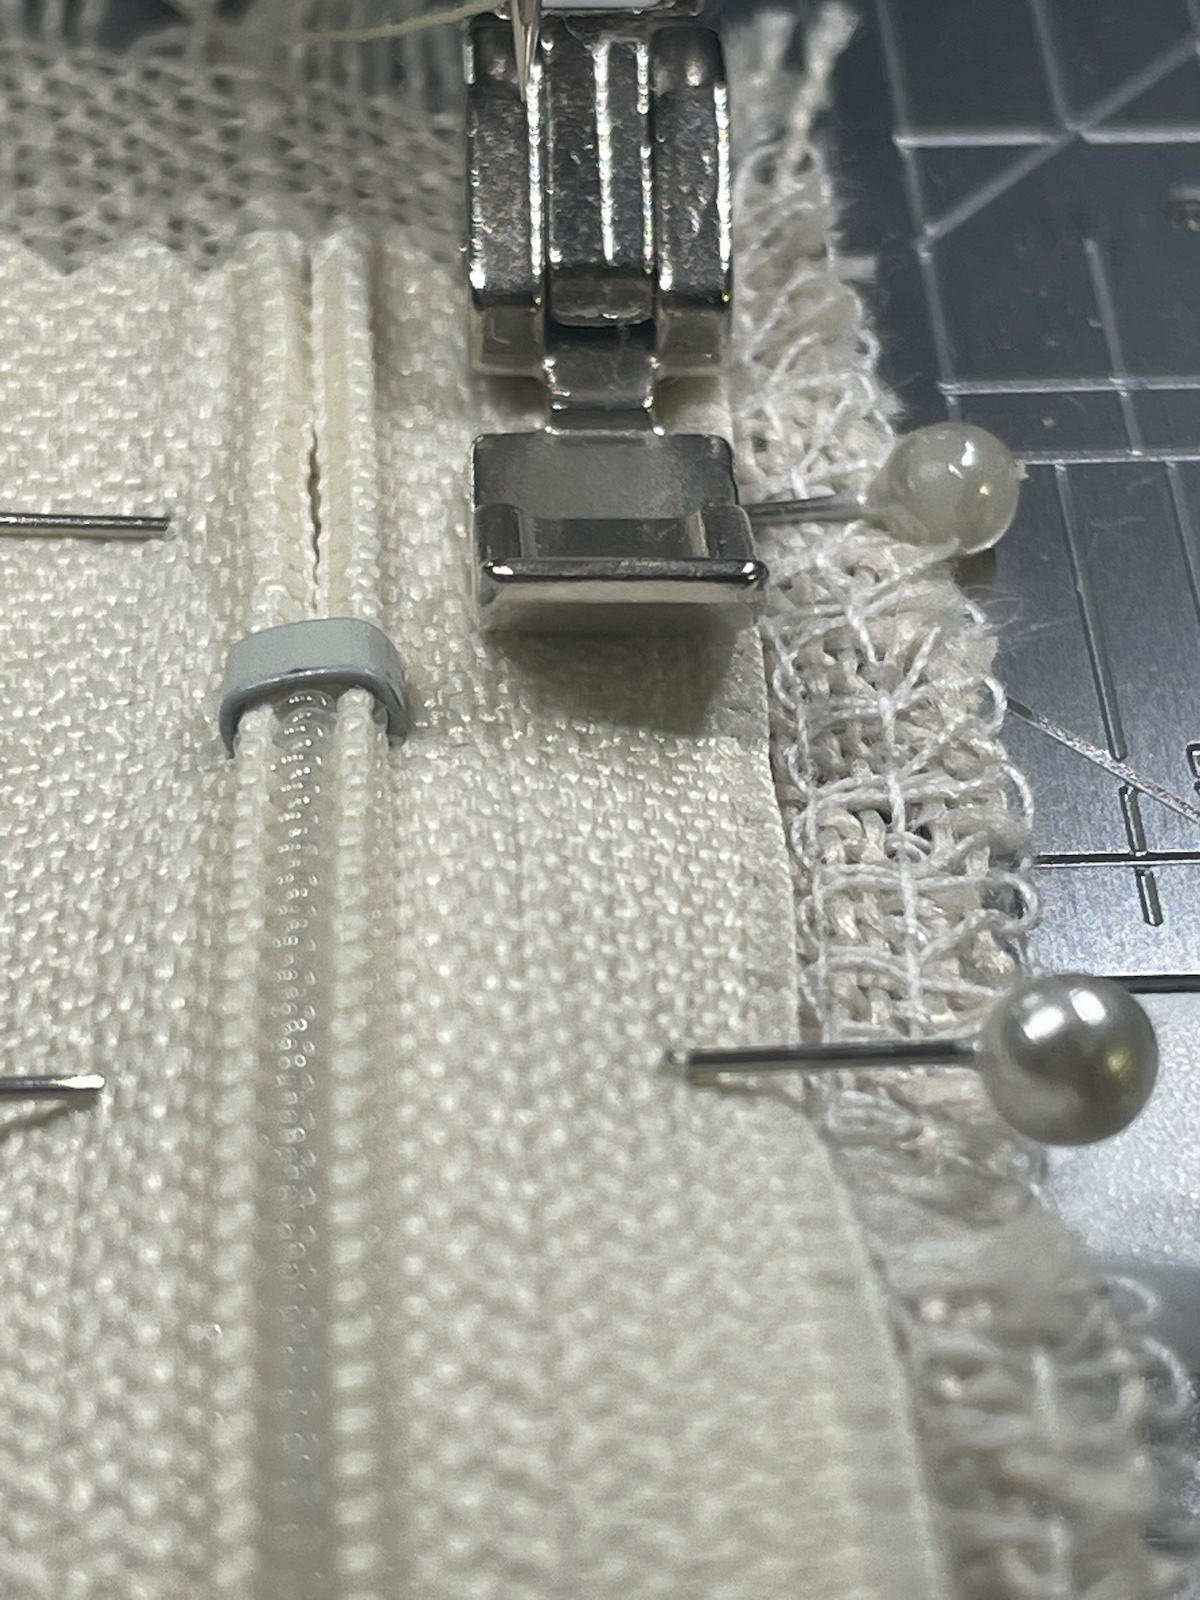
Sew the first side of the zipper to the pillow front.
Press the first side, then pin the second side to the pillow back.
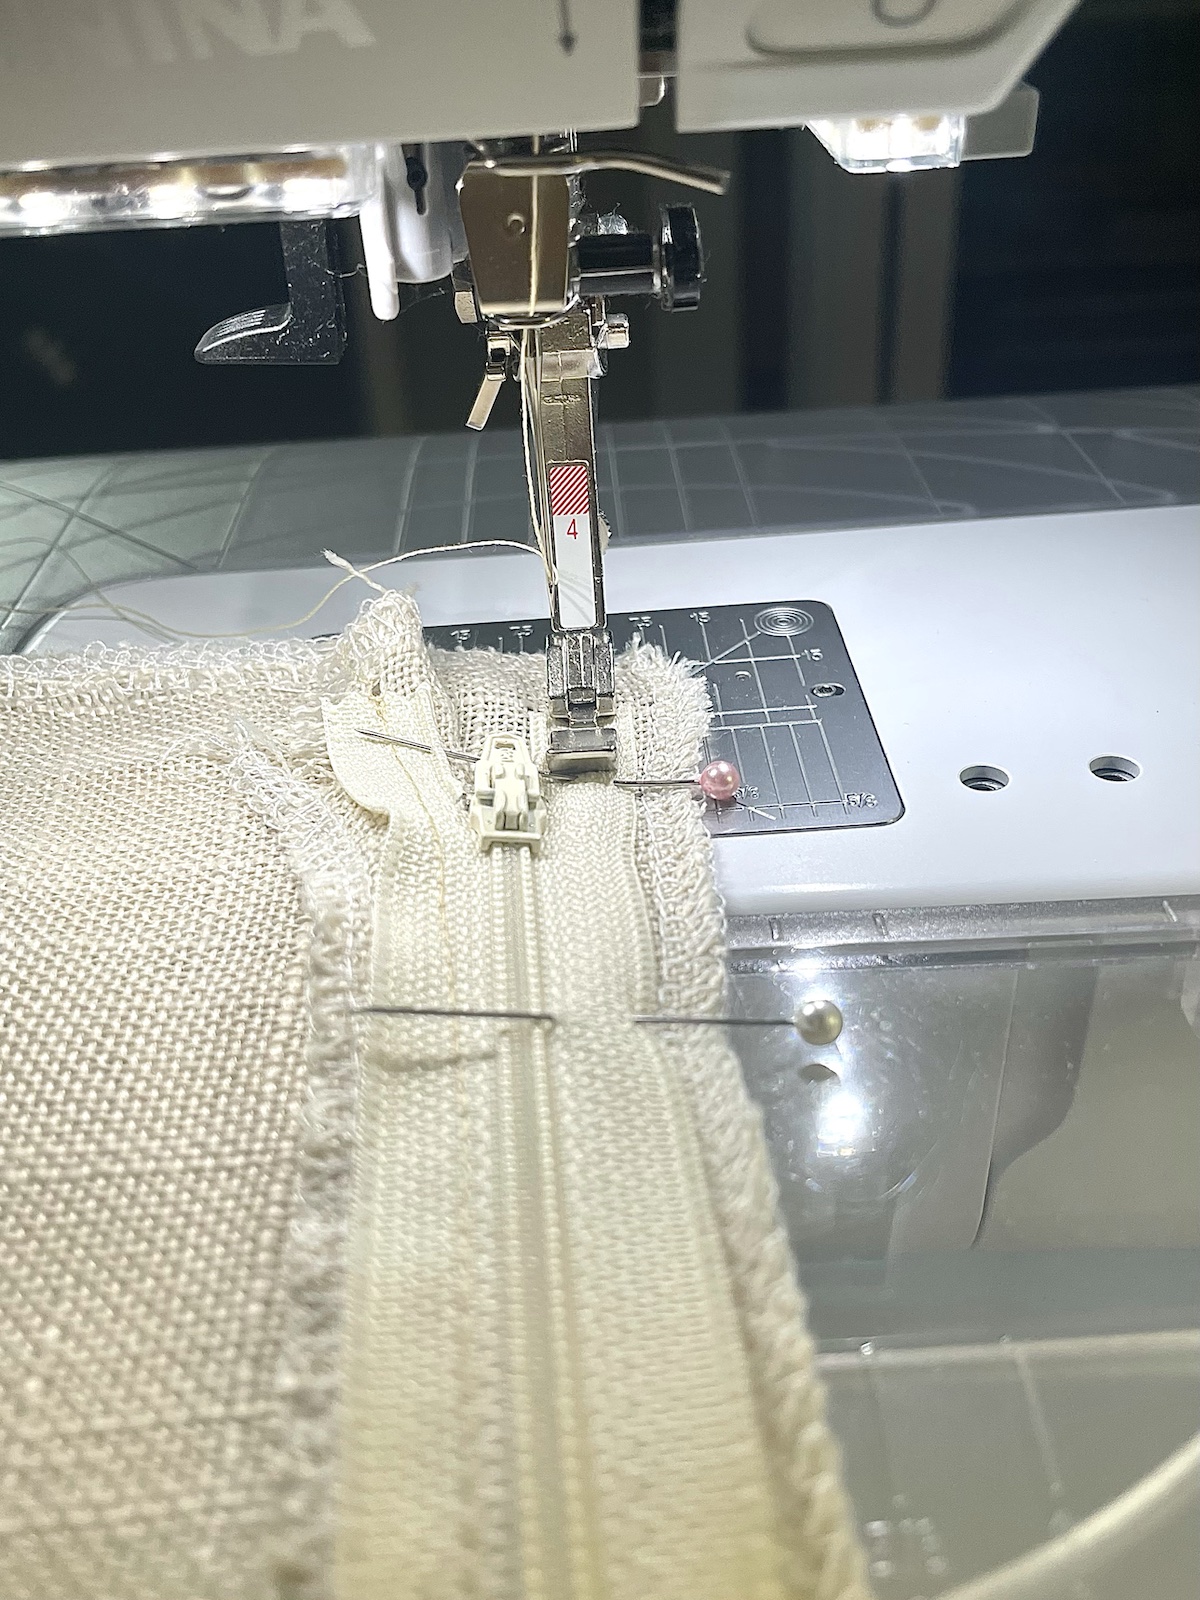
Stitch the second side of the zipper.
Sew across the top and bottom of the zipper tape to secure ends.
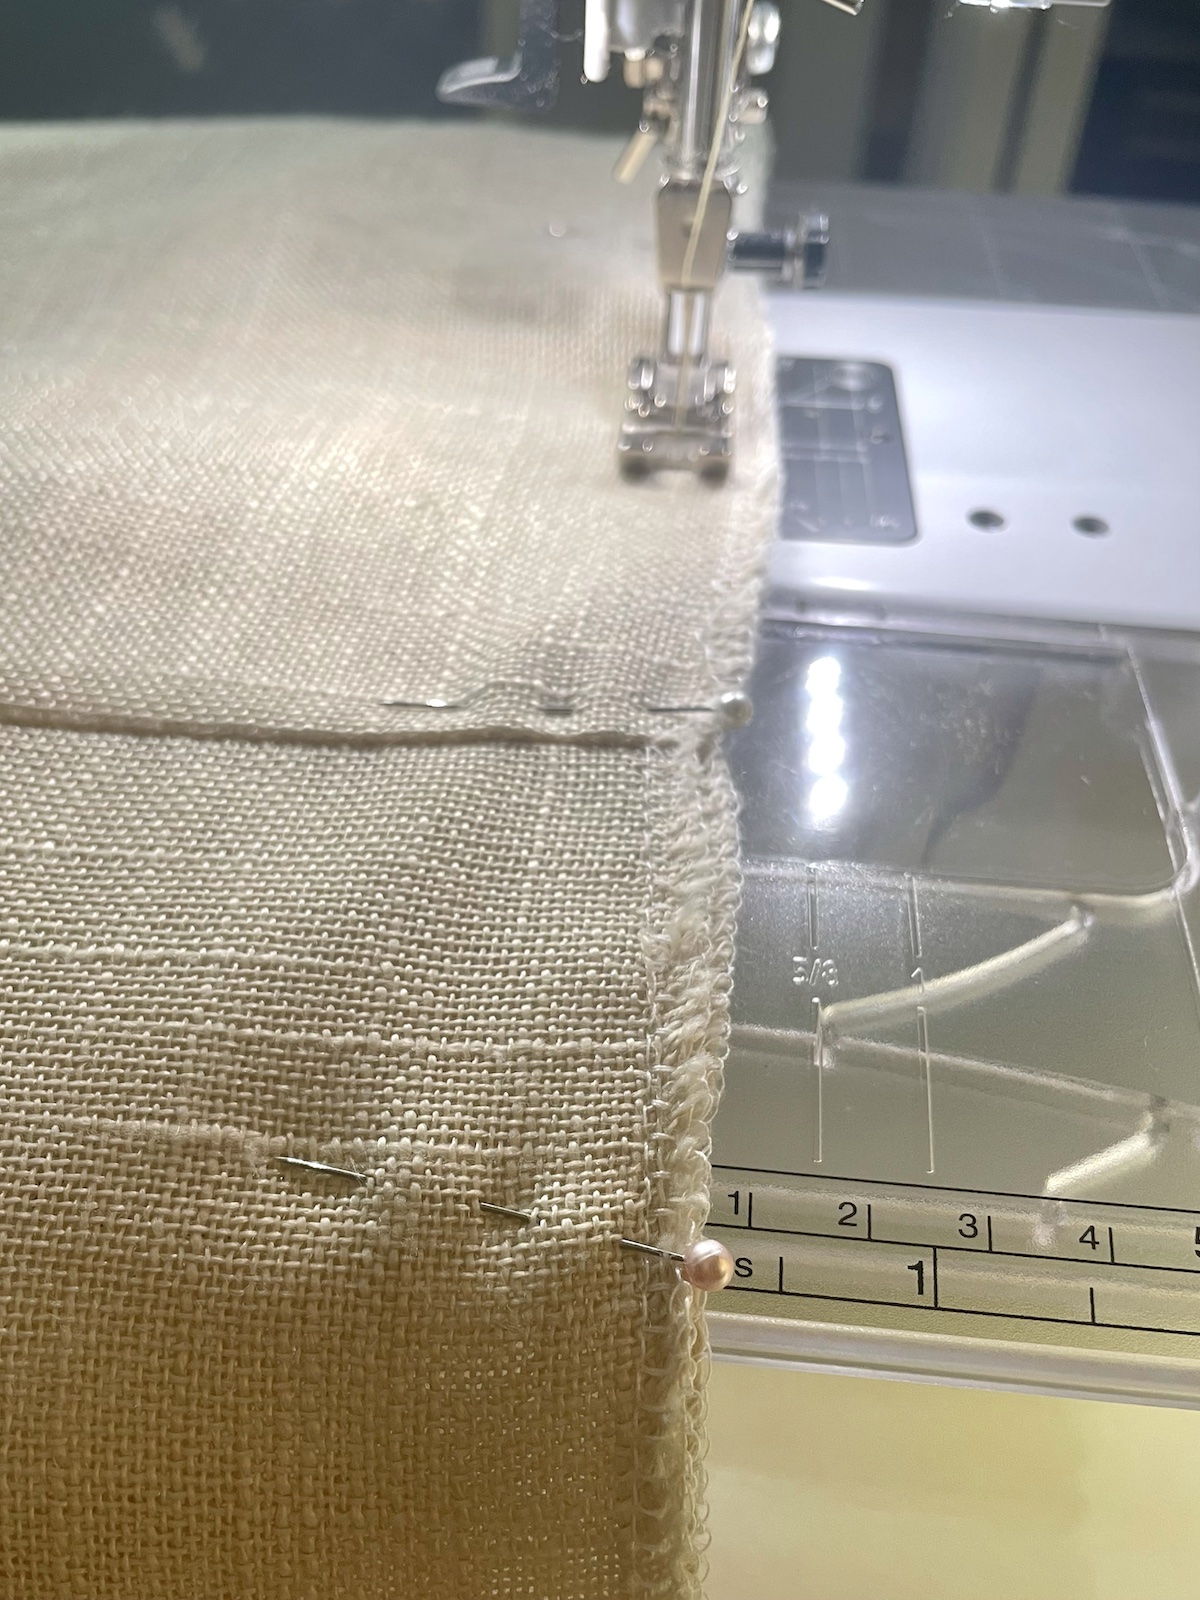
Step 7. Sew Remaining Three Sides
Place the front and back right sides together. Pin to secure. Use an inch seam allowance to stitch around the remaining three sides of the pillow. This will give a nice snug fit and prevent your pillow cover from looking wrinkled after the first few uses.
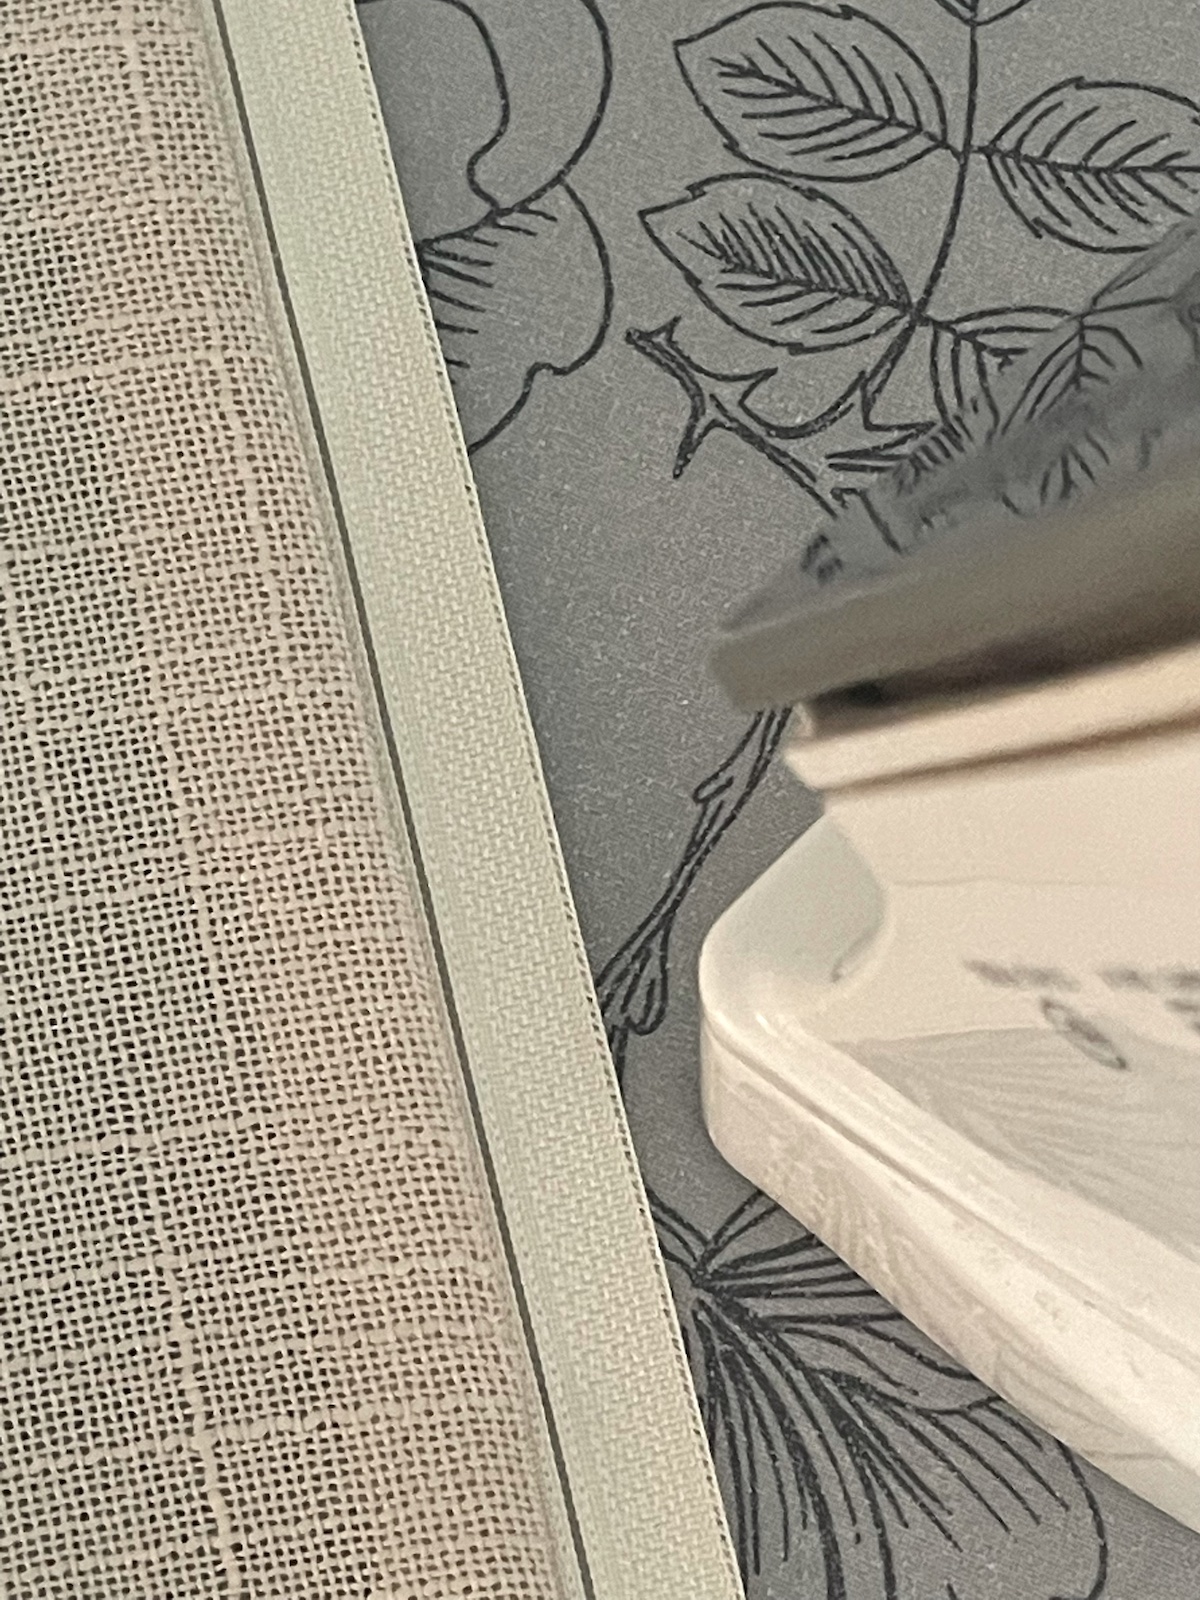
Step 8. Turn and Press
This is the fun part- seeing how your pillow cover looks!
It definitely needed to be pressed!
Step 9. Place Pillow Insert into Cover
If you find yourself with a tighter fit through the zipper than you’d like, fold your pillow in half (or thirds if it’s a softer pillow) and pull the cover over the top, allowing it to unfold once you have it all the way to the top. Then sneak the bottom corners in and use your hand to smooth out the pillow. Depending on how thick your fabric is, any wrinkles in the pillow insert may show through.
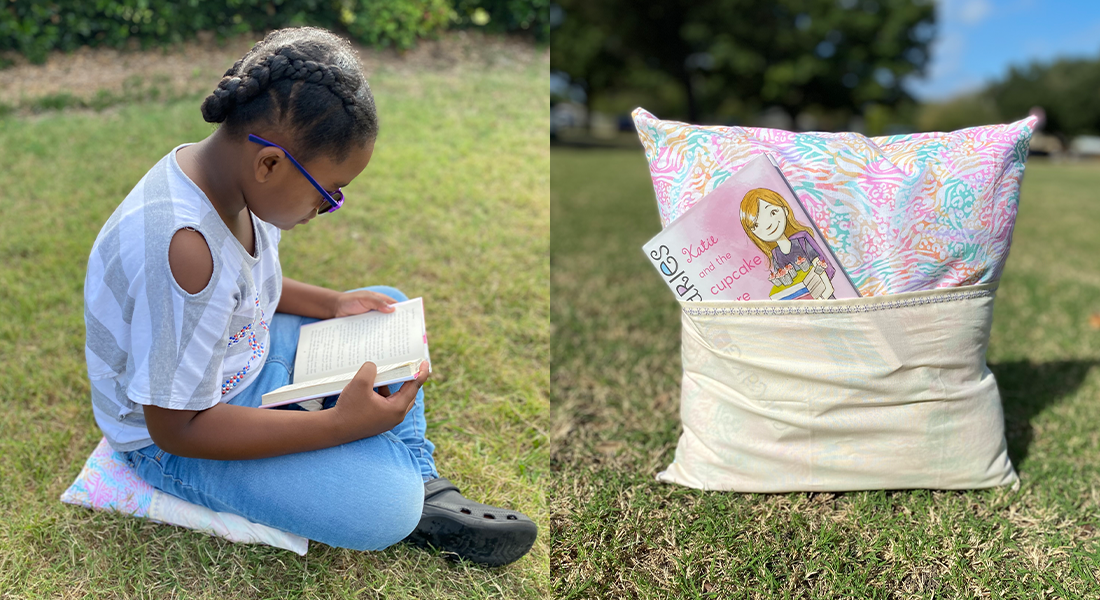
Step 10. Zip and Enjoy
Zip and fluff your pillow. That was so quick, you even have time to take a nap!
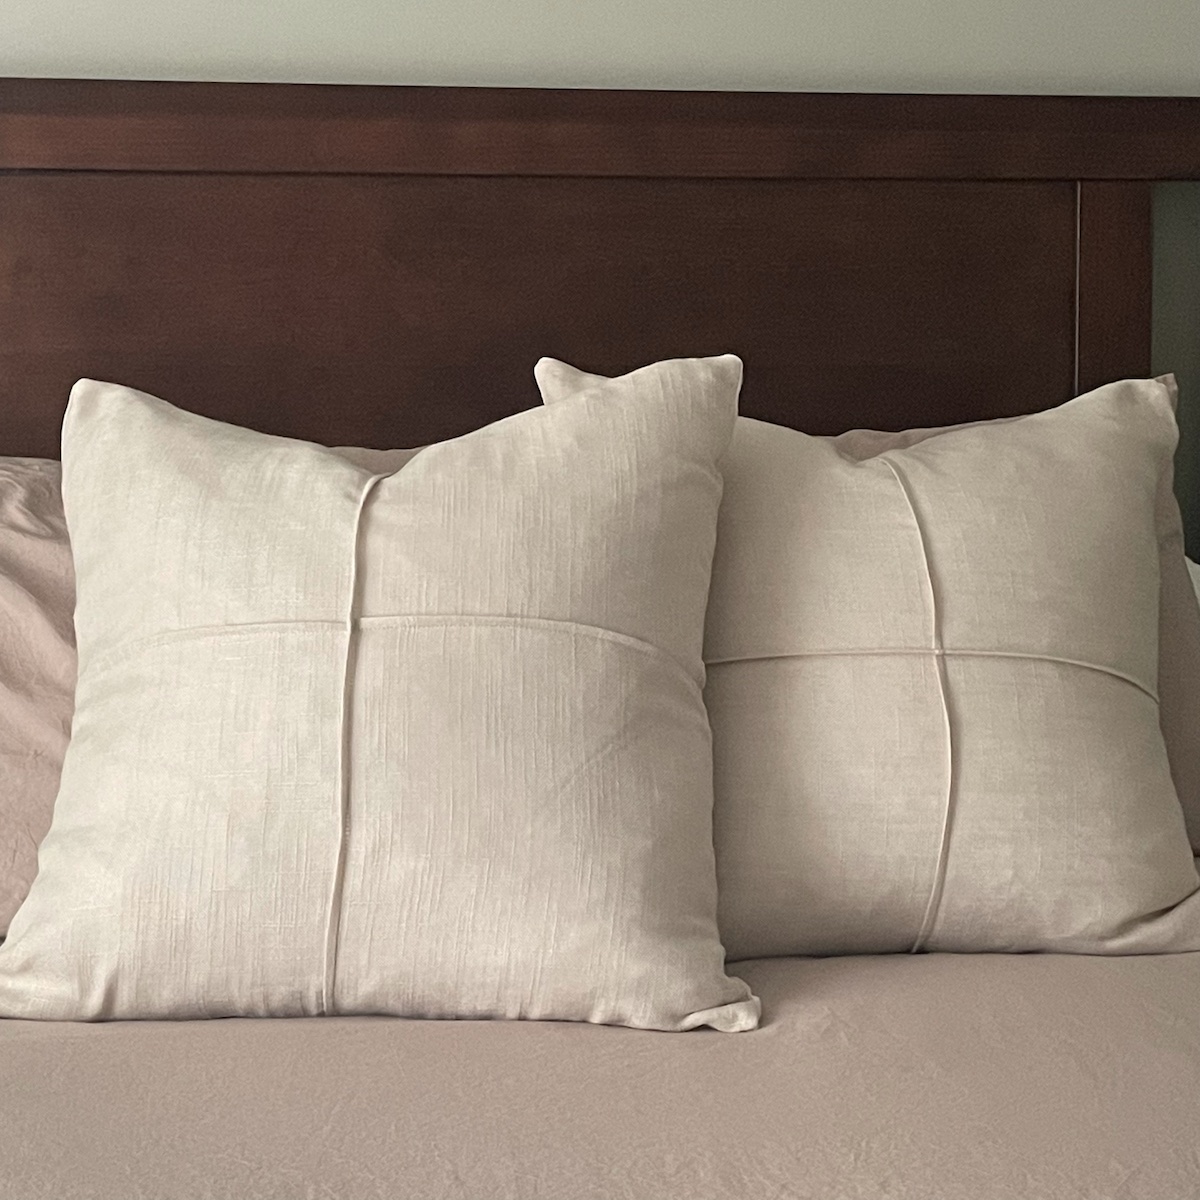
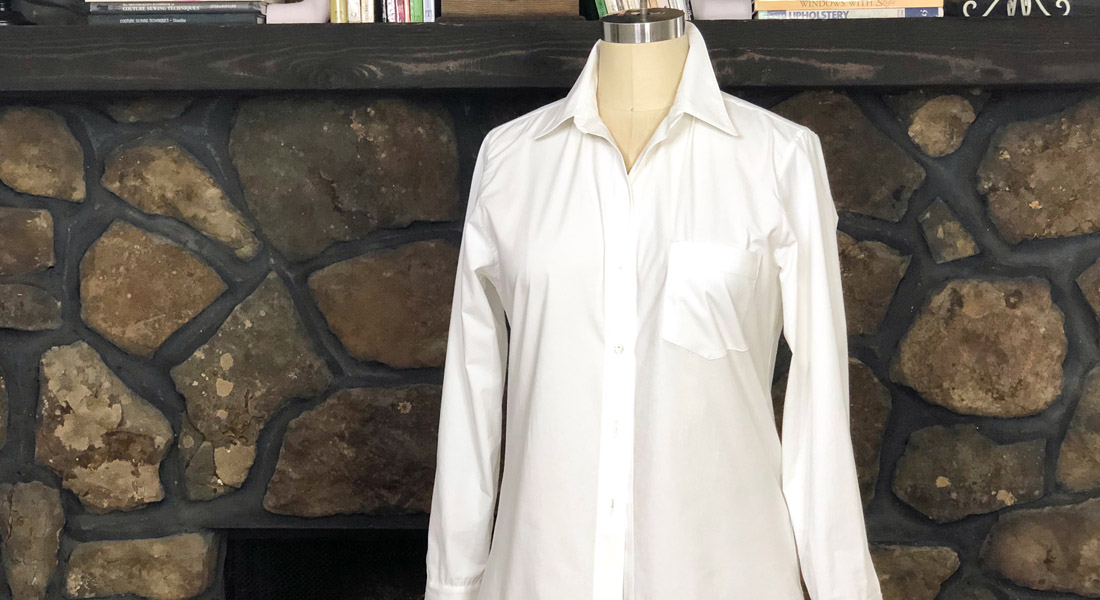
I hope you’ve enjoyed learning this simple method to Sew Classic Pillow Covers with a Twist! Check out mine!
Be sure to share your creations on the WeAllSew Community section! You might just get featured in an upcoming WeAllSew newsletter!