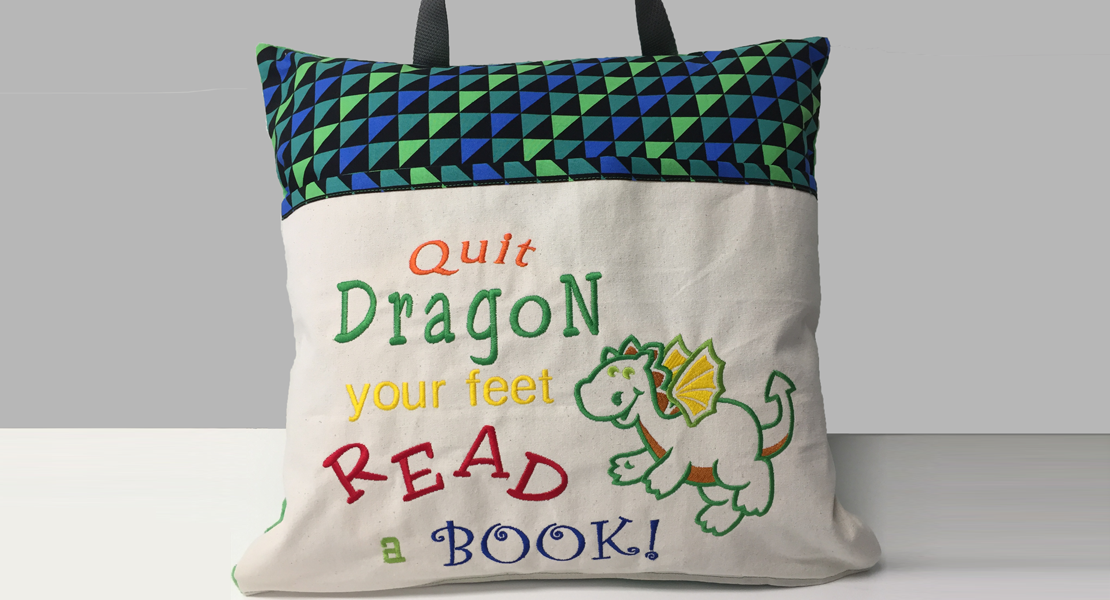
How to Sew a Reading Pillow With a Pocket
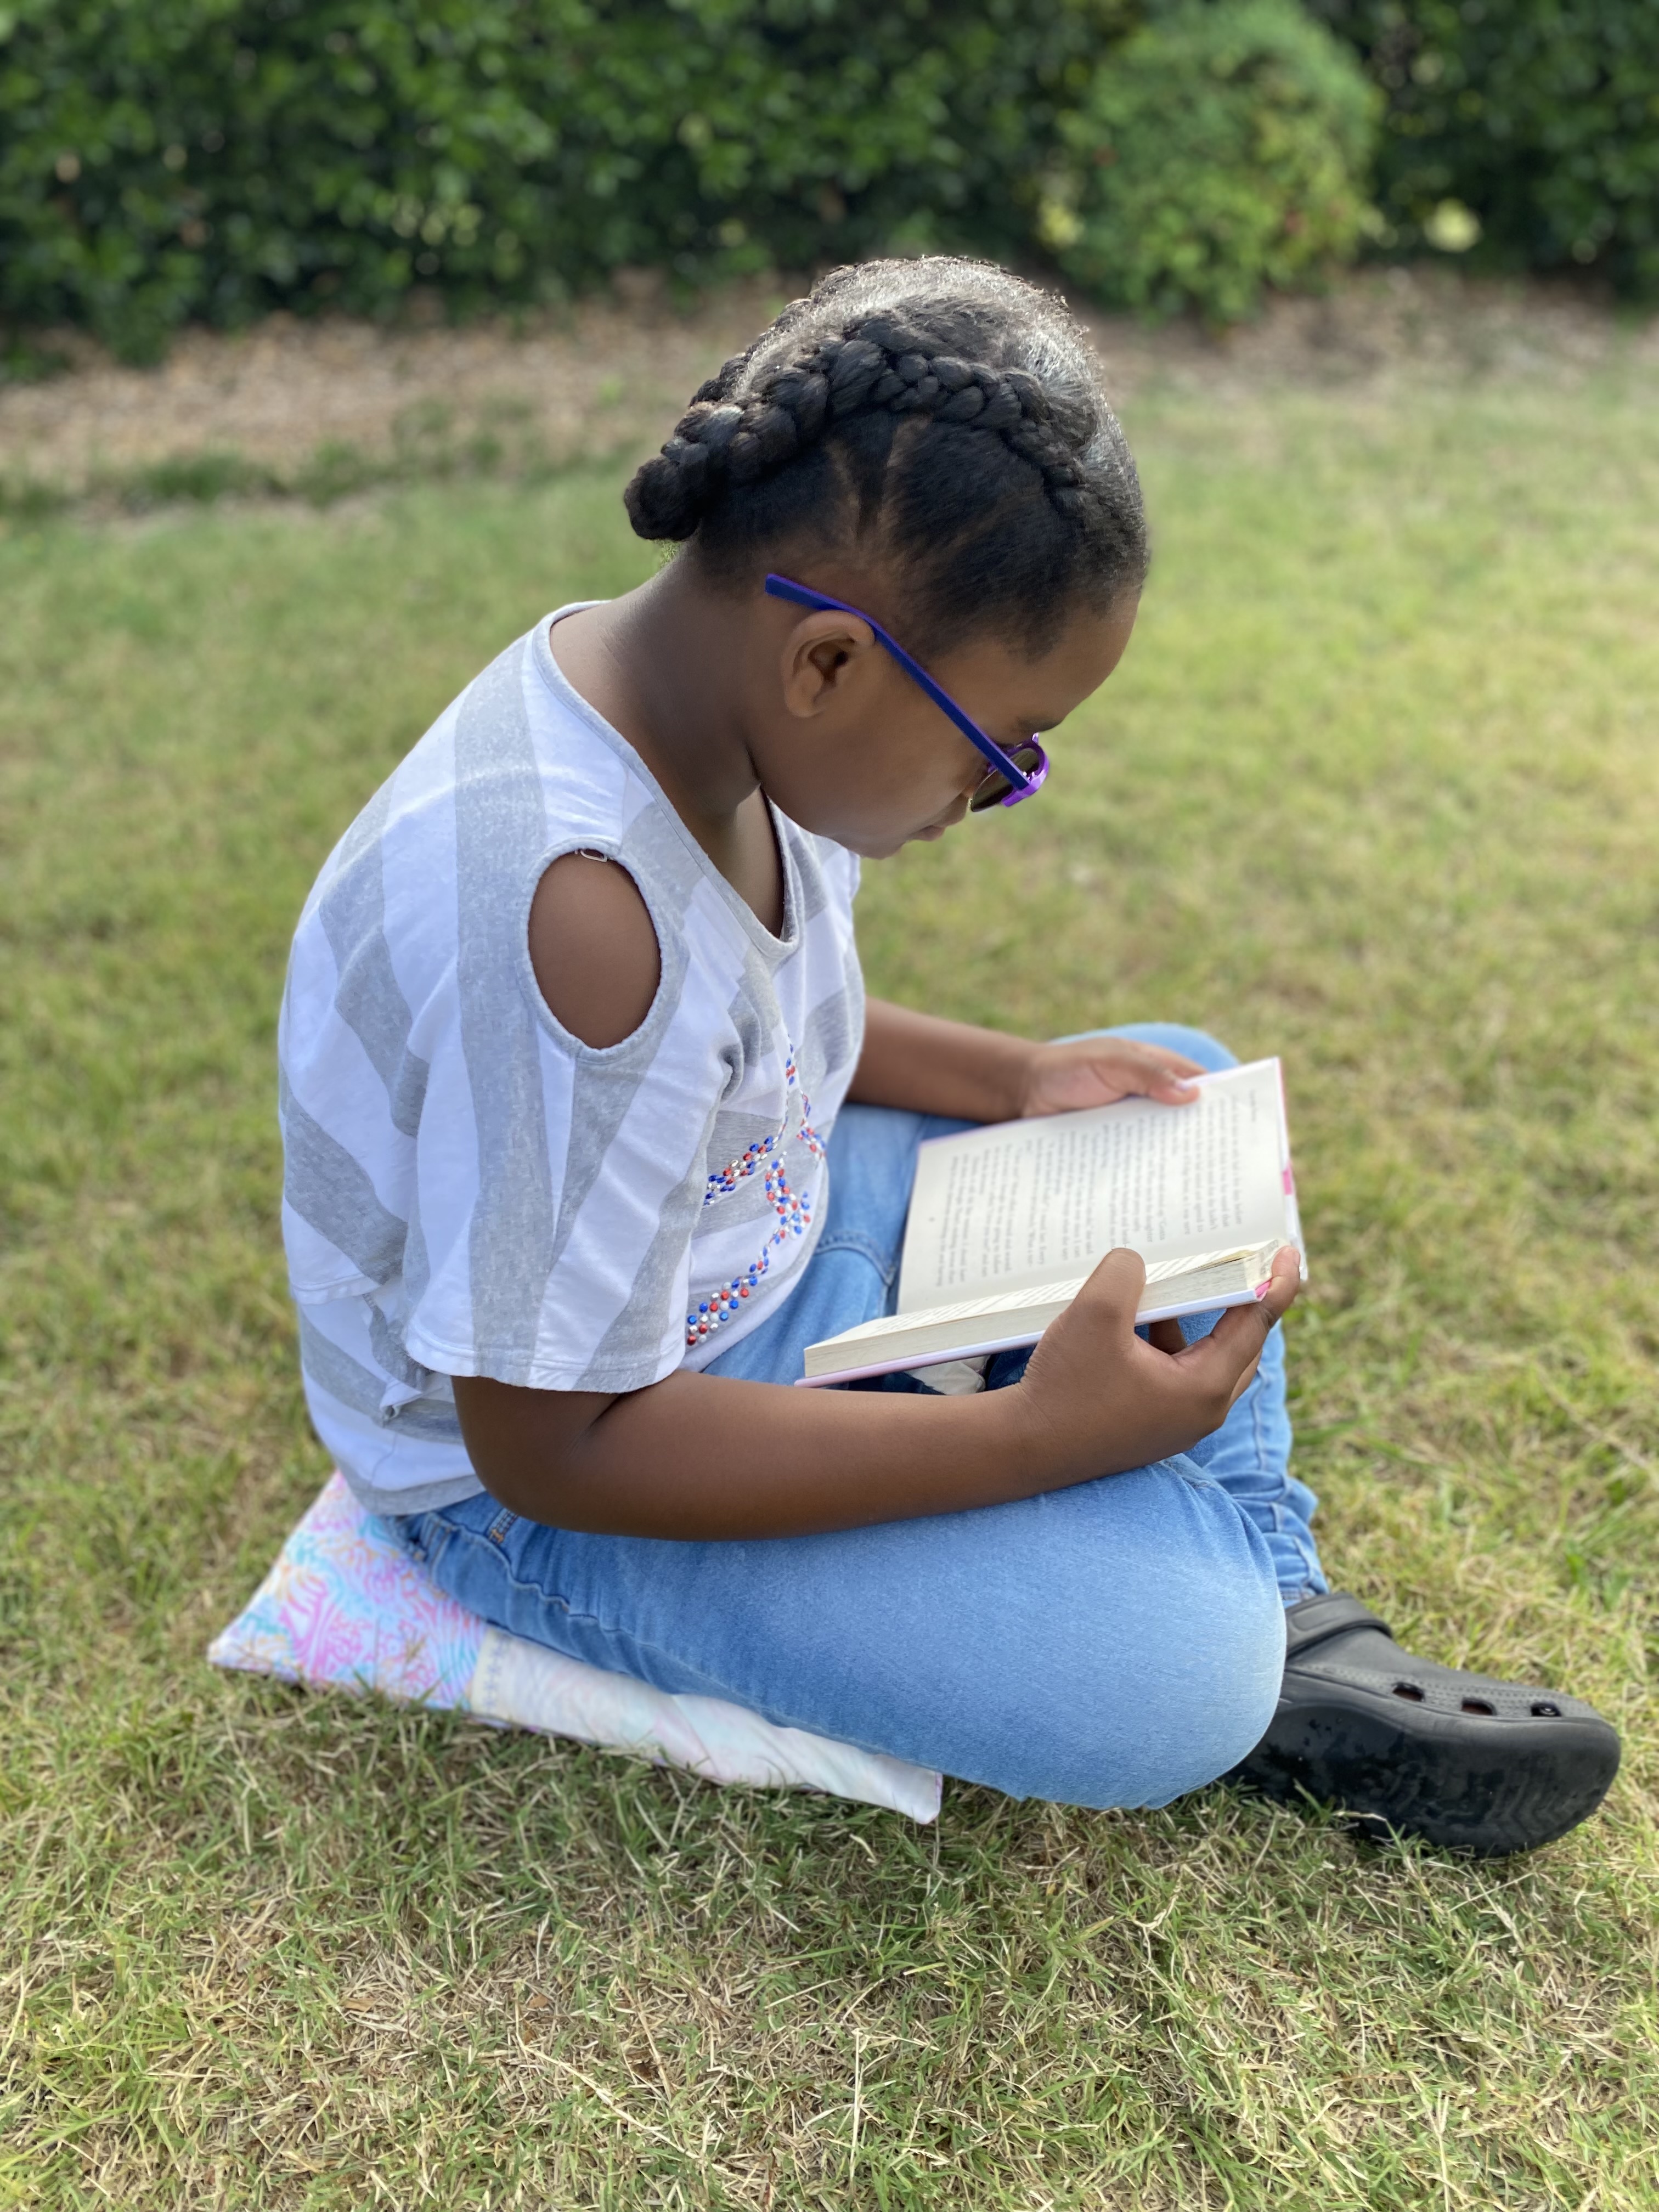
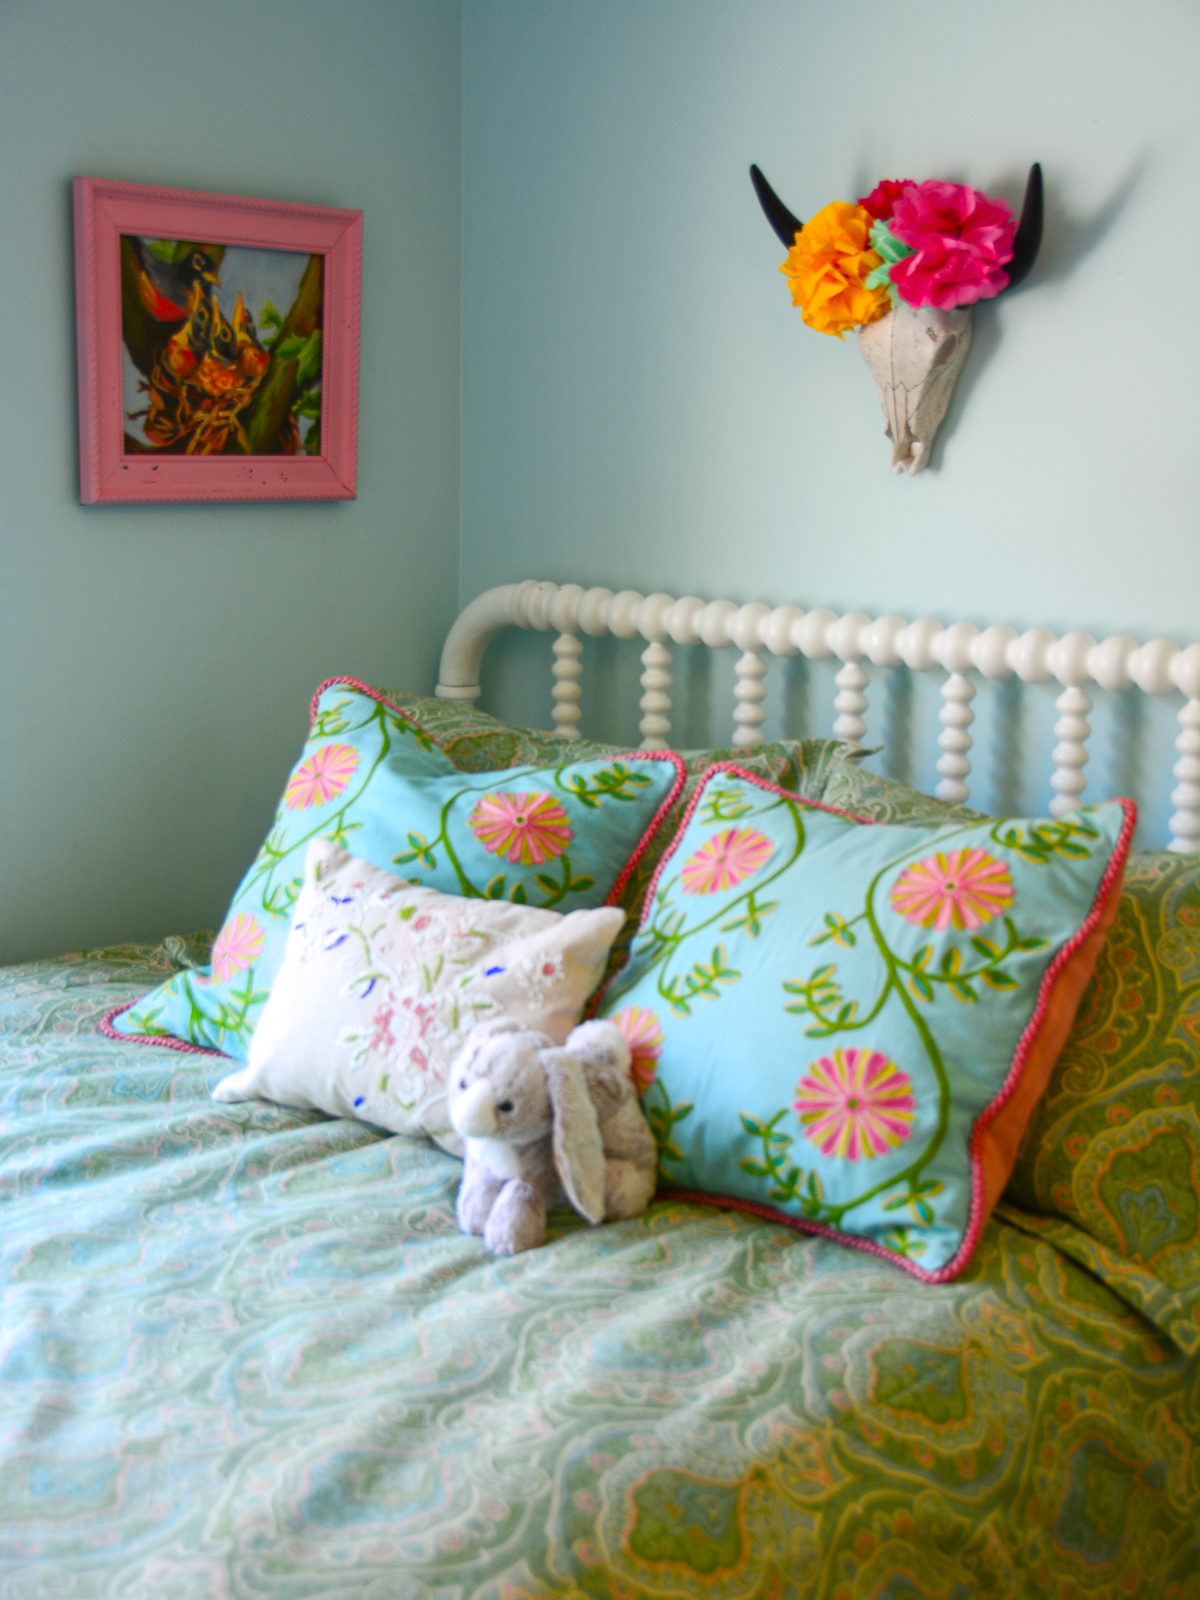
In my house, one of our favorite things to do is read. My brother and I really enjoy reading with our reading pillow. We try to make time in the evening where every device is turned off and we spend time quietly reading our favorite book. Everyone in our family will silently sit and read their book of choice, but I like to read sitting on my reading pillow. It’s really simple to make, and I like to make several and give them as gifts to my friends and family that also enjoy reading.

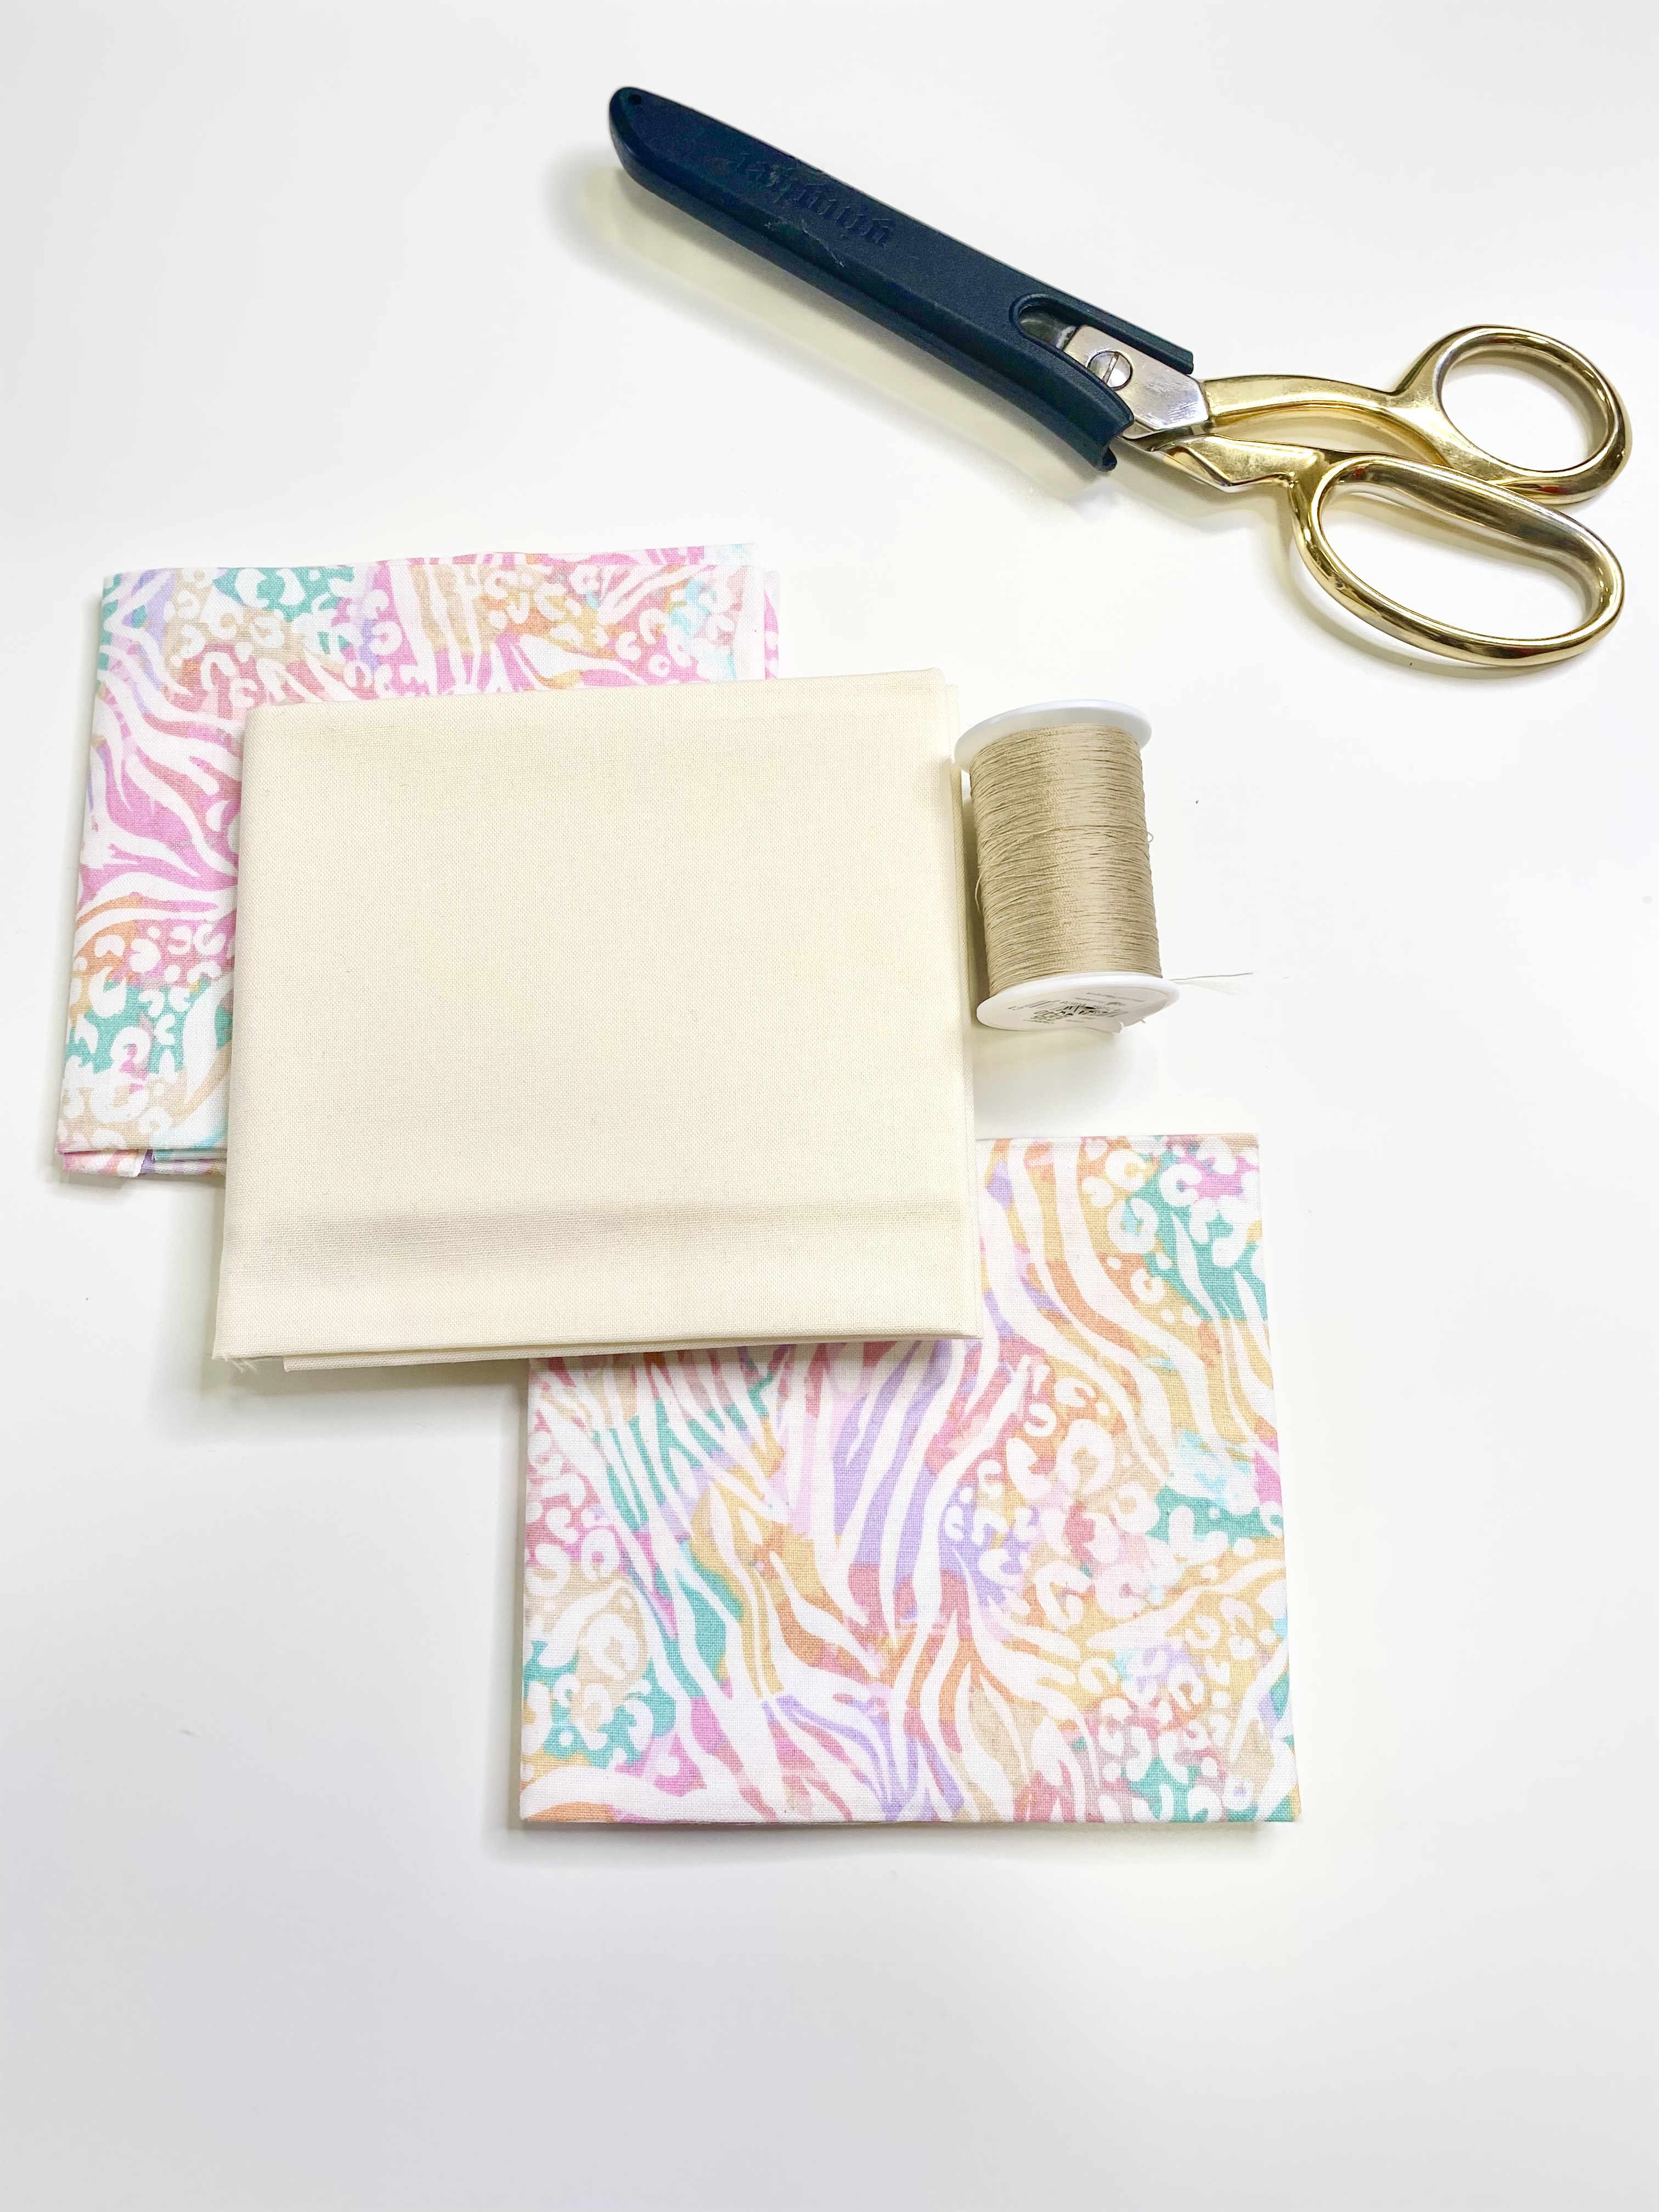
Materials to Sew a Reading Pillow with a Pocket
- (1) 16″ Pillow Form
- Main fabric (1) piece 17″ x 17″ quilting cotton
- Main fabric (2) pieces 17″ x 11.5″ quilting cotton
- Pocket (1) piece 17″ x 11.5″ coordinating quilting cotton
- Fabric shears
- Ruler
- Iron and ironing board
- Marking tool
- Straight pins
- Matching thread
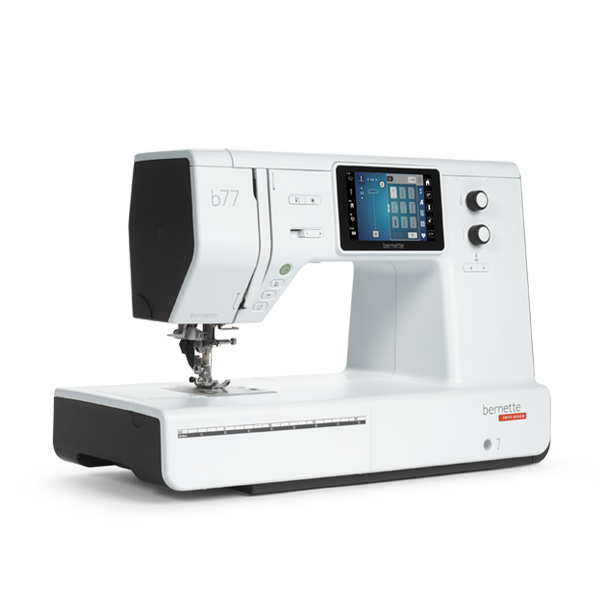
- Sewing machine (I used my bernette 77)
Steps to Sew a Reading Pillow
Step 1: Choose Coordinating Fabrics
Step 2: Cutting the Fabric for Your Reading Pillow
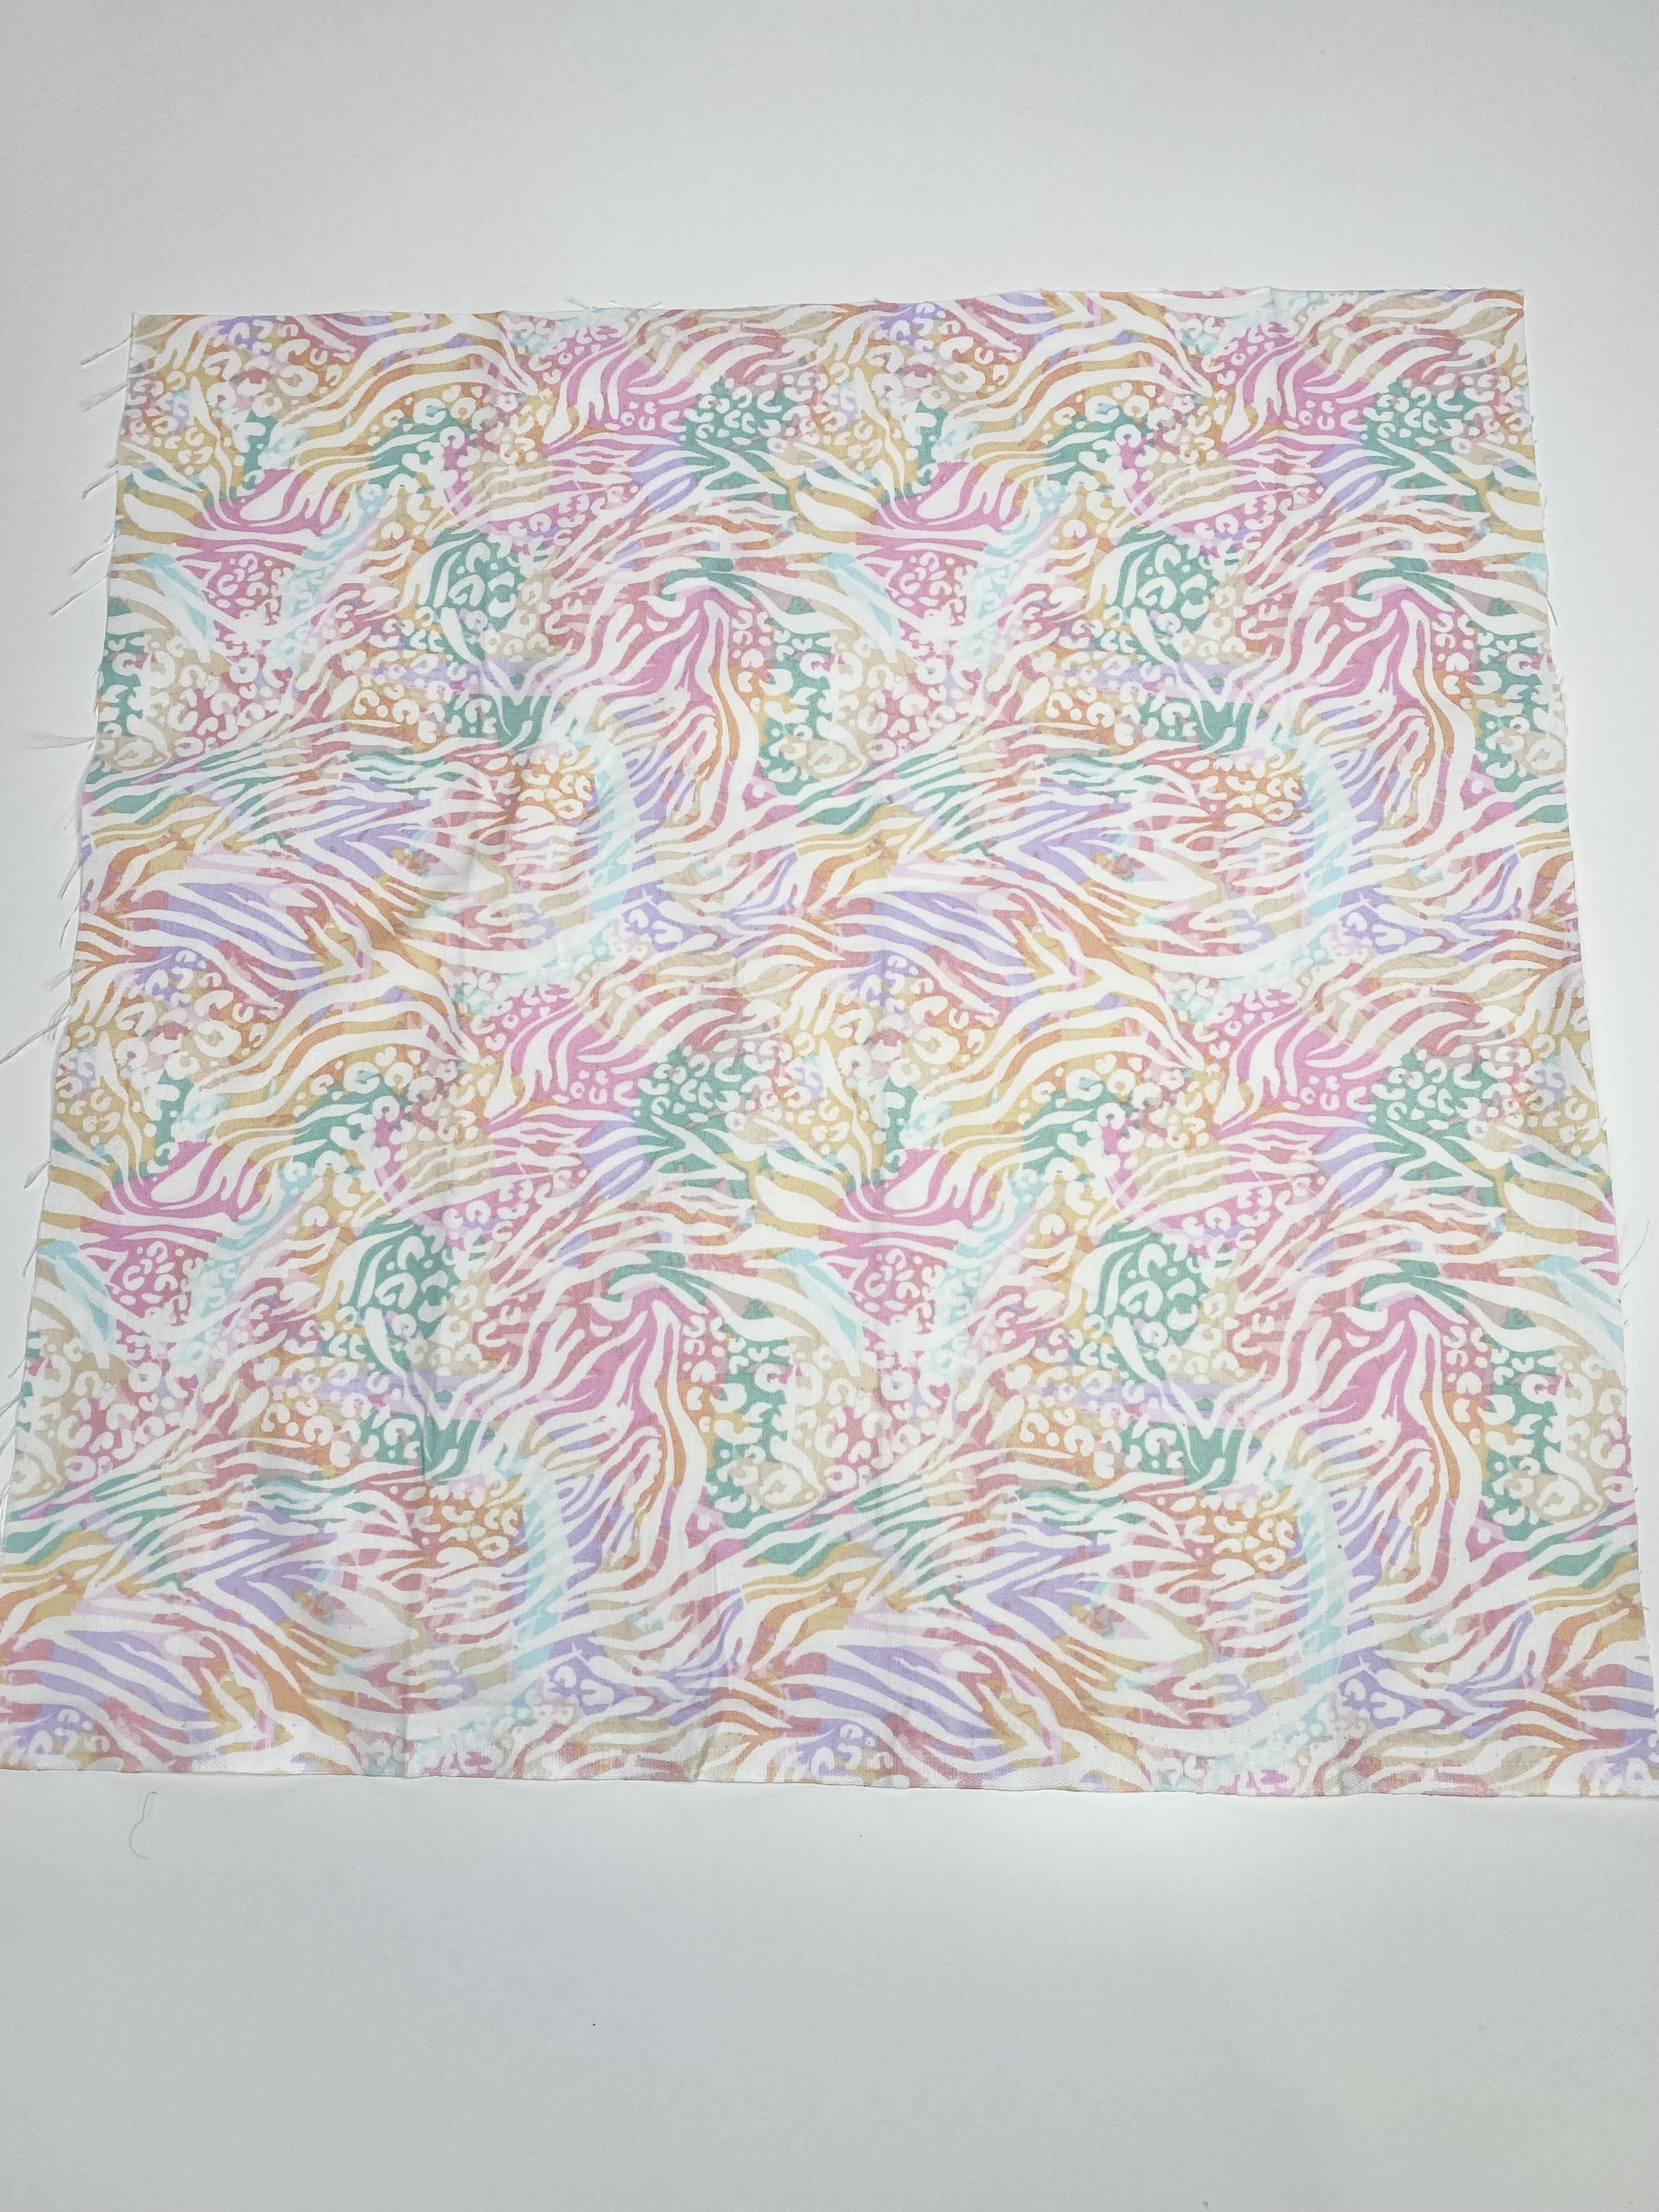
Begin by ironing all of your fabric to remove all wrinkles. Take your main fabric and turn it so the wrong sides are facing up. Mark a 17″ x 17″ square and cut it out. This piece will be used for the front of the pillow. Now mark (2) 17″ x 11.5″ rectangles and cut them out. These pieces will be used for the back of the pillow.
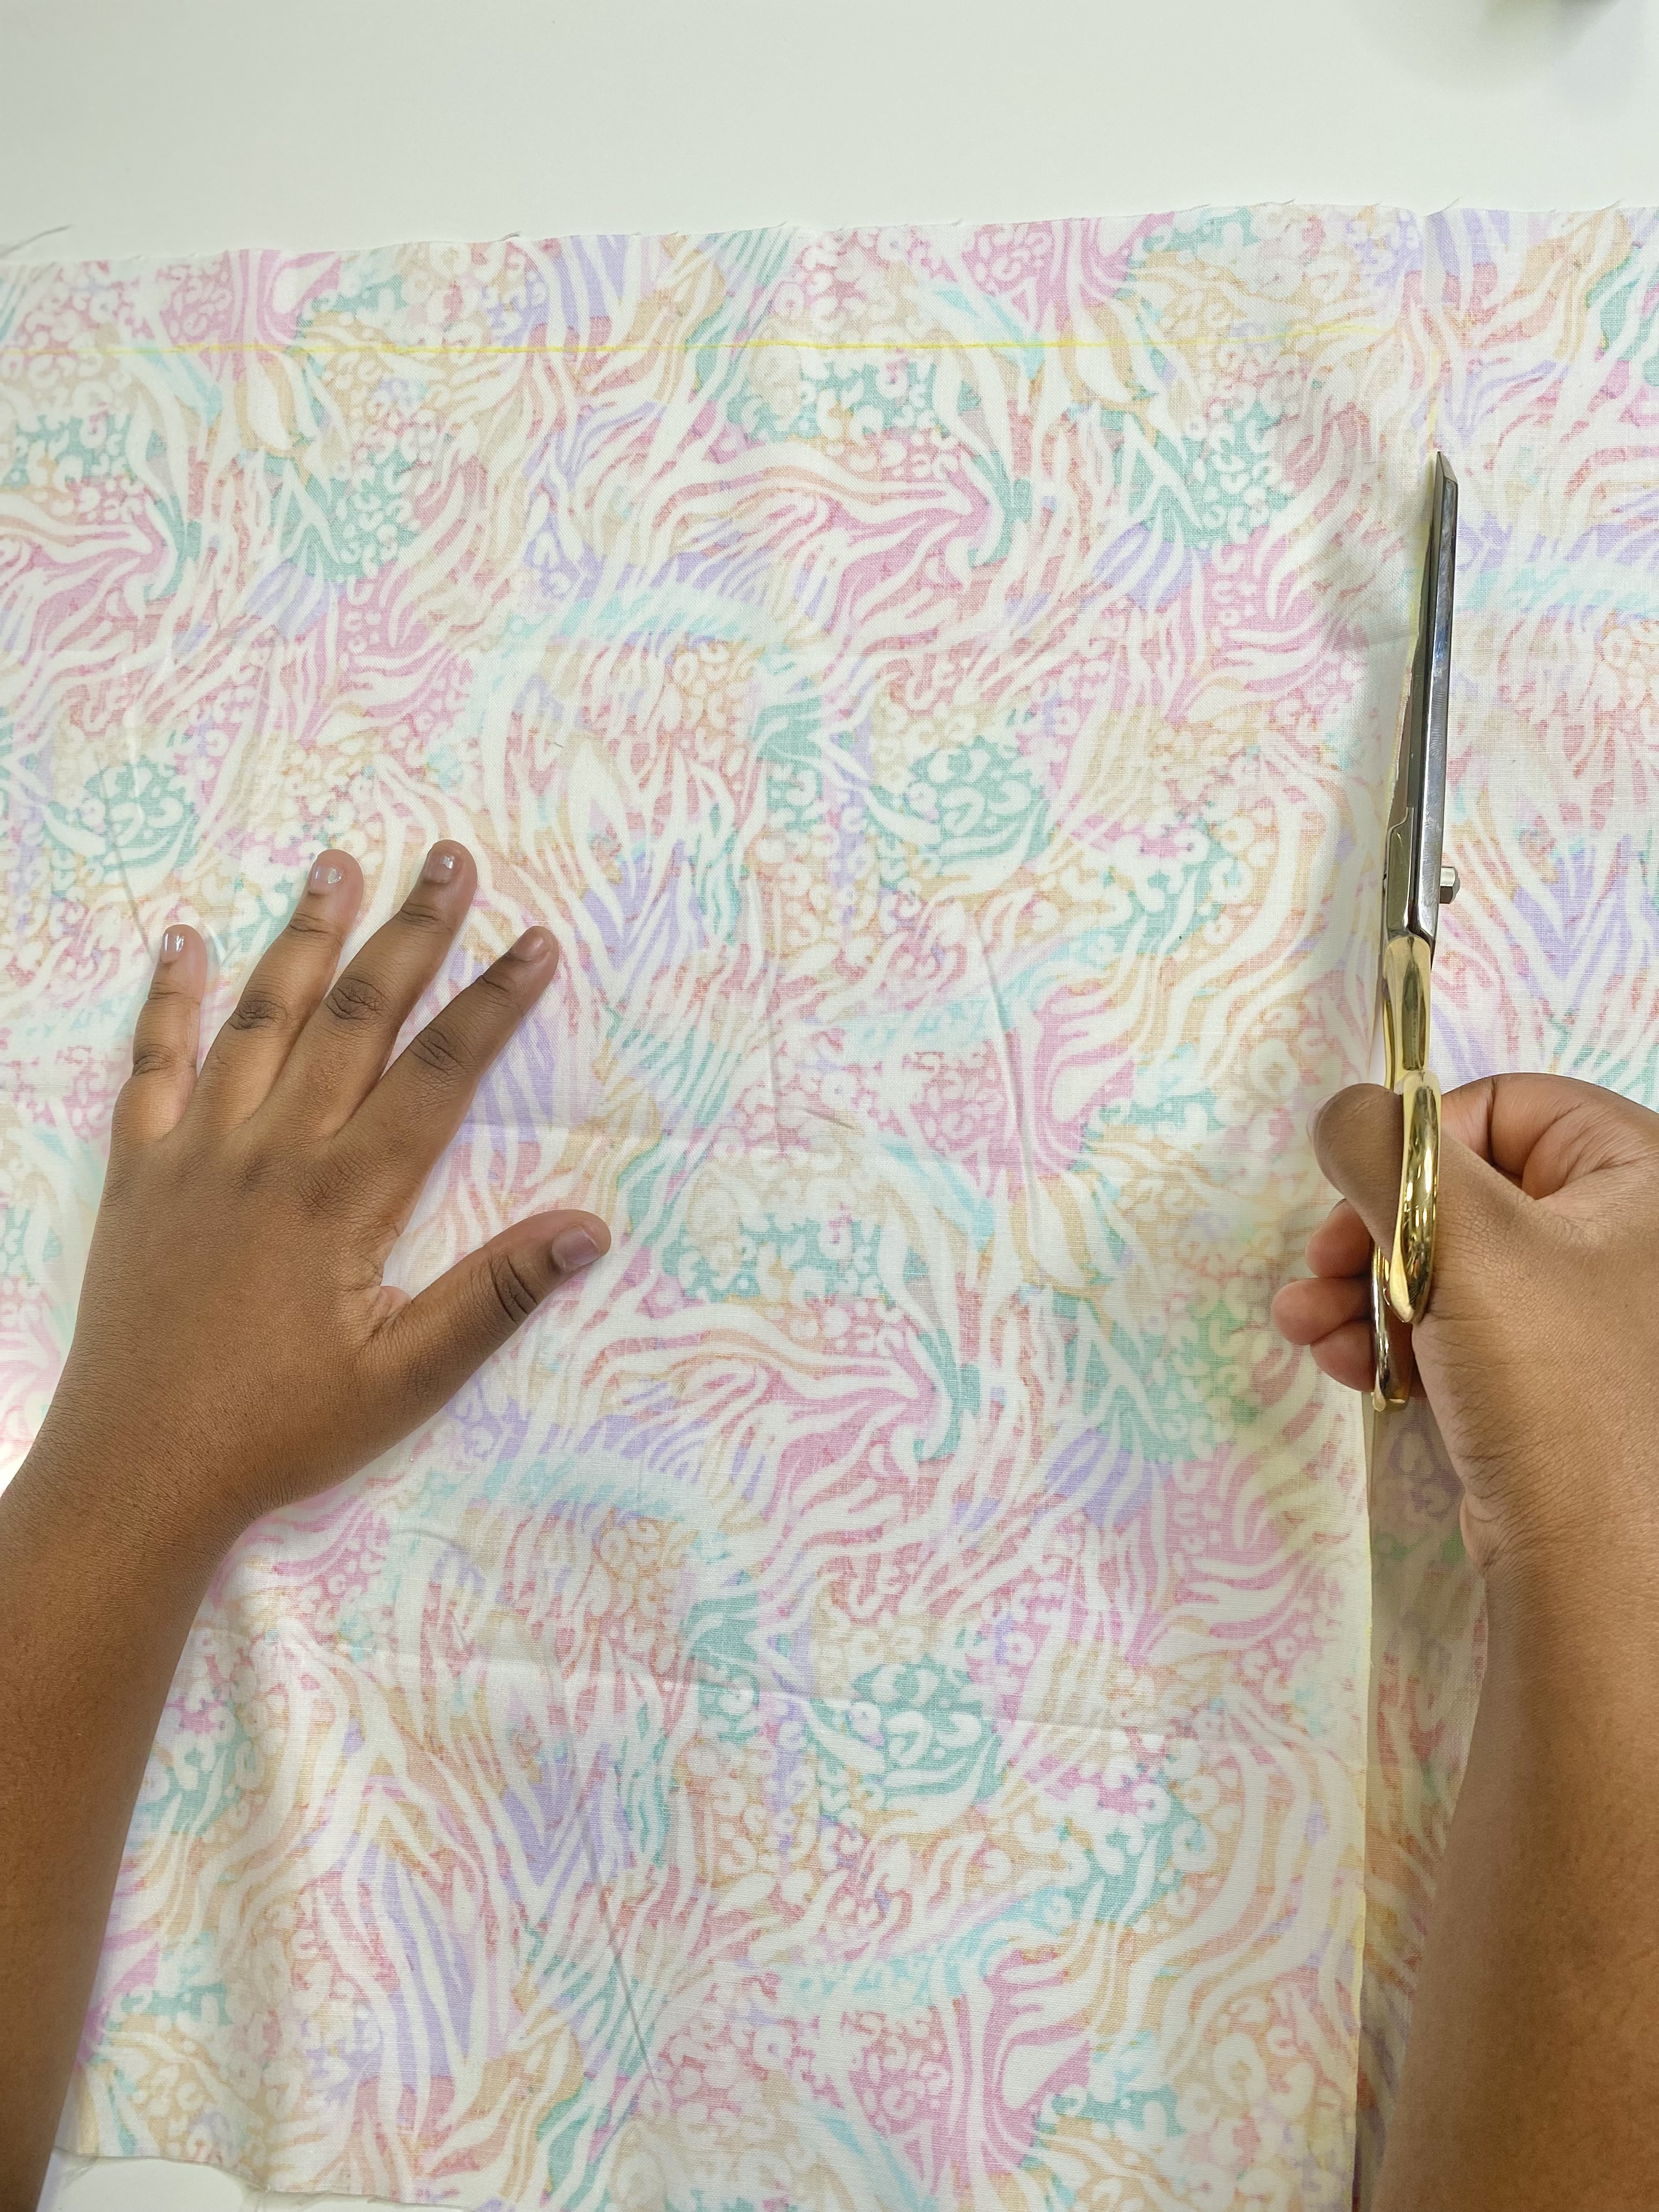
For your pocket piece use a coordinating fabric or you can use something totally fun and unique. Mark a third piece out of this fabric that is 17″ x 11.5″ and cut it out.

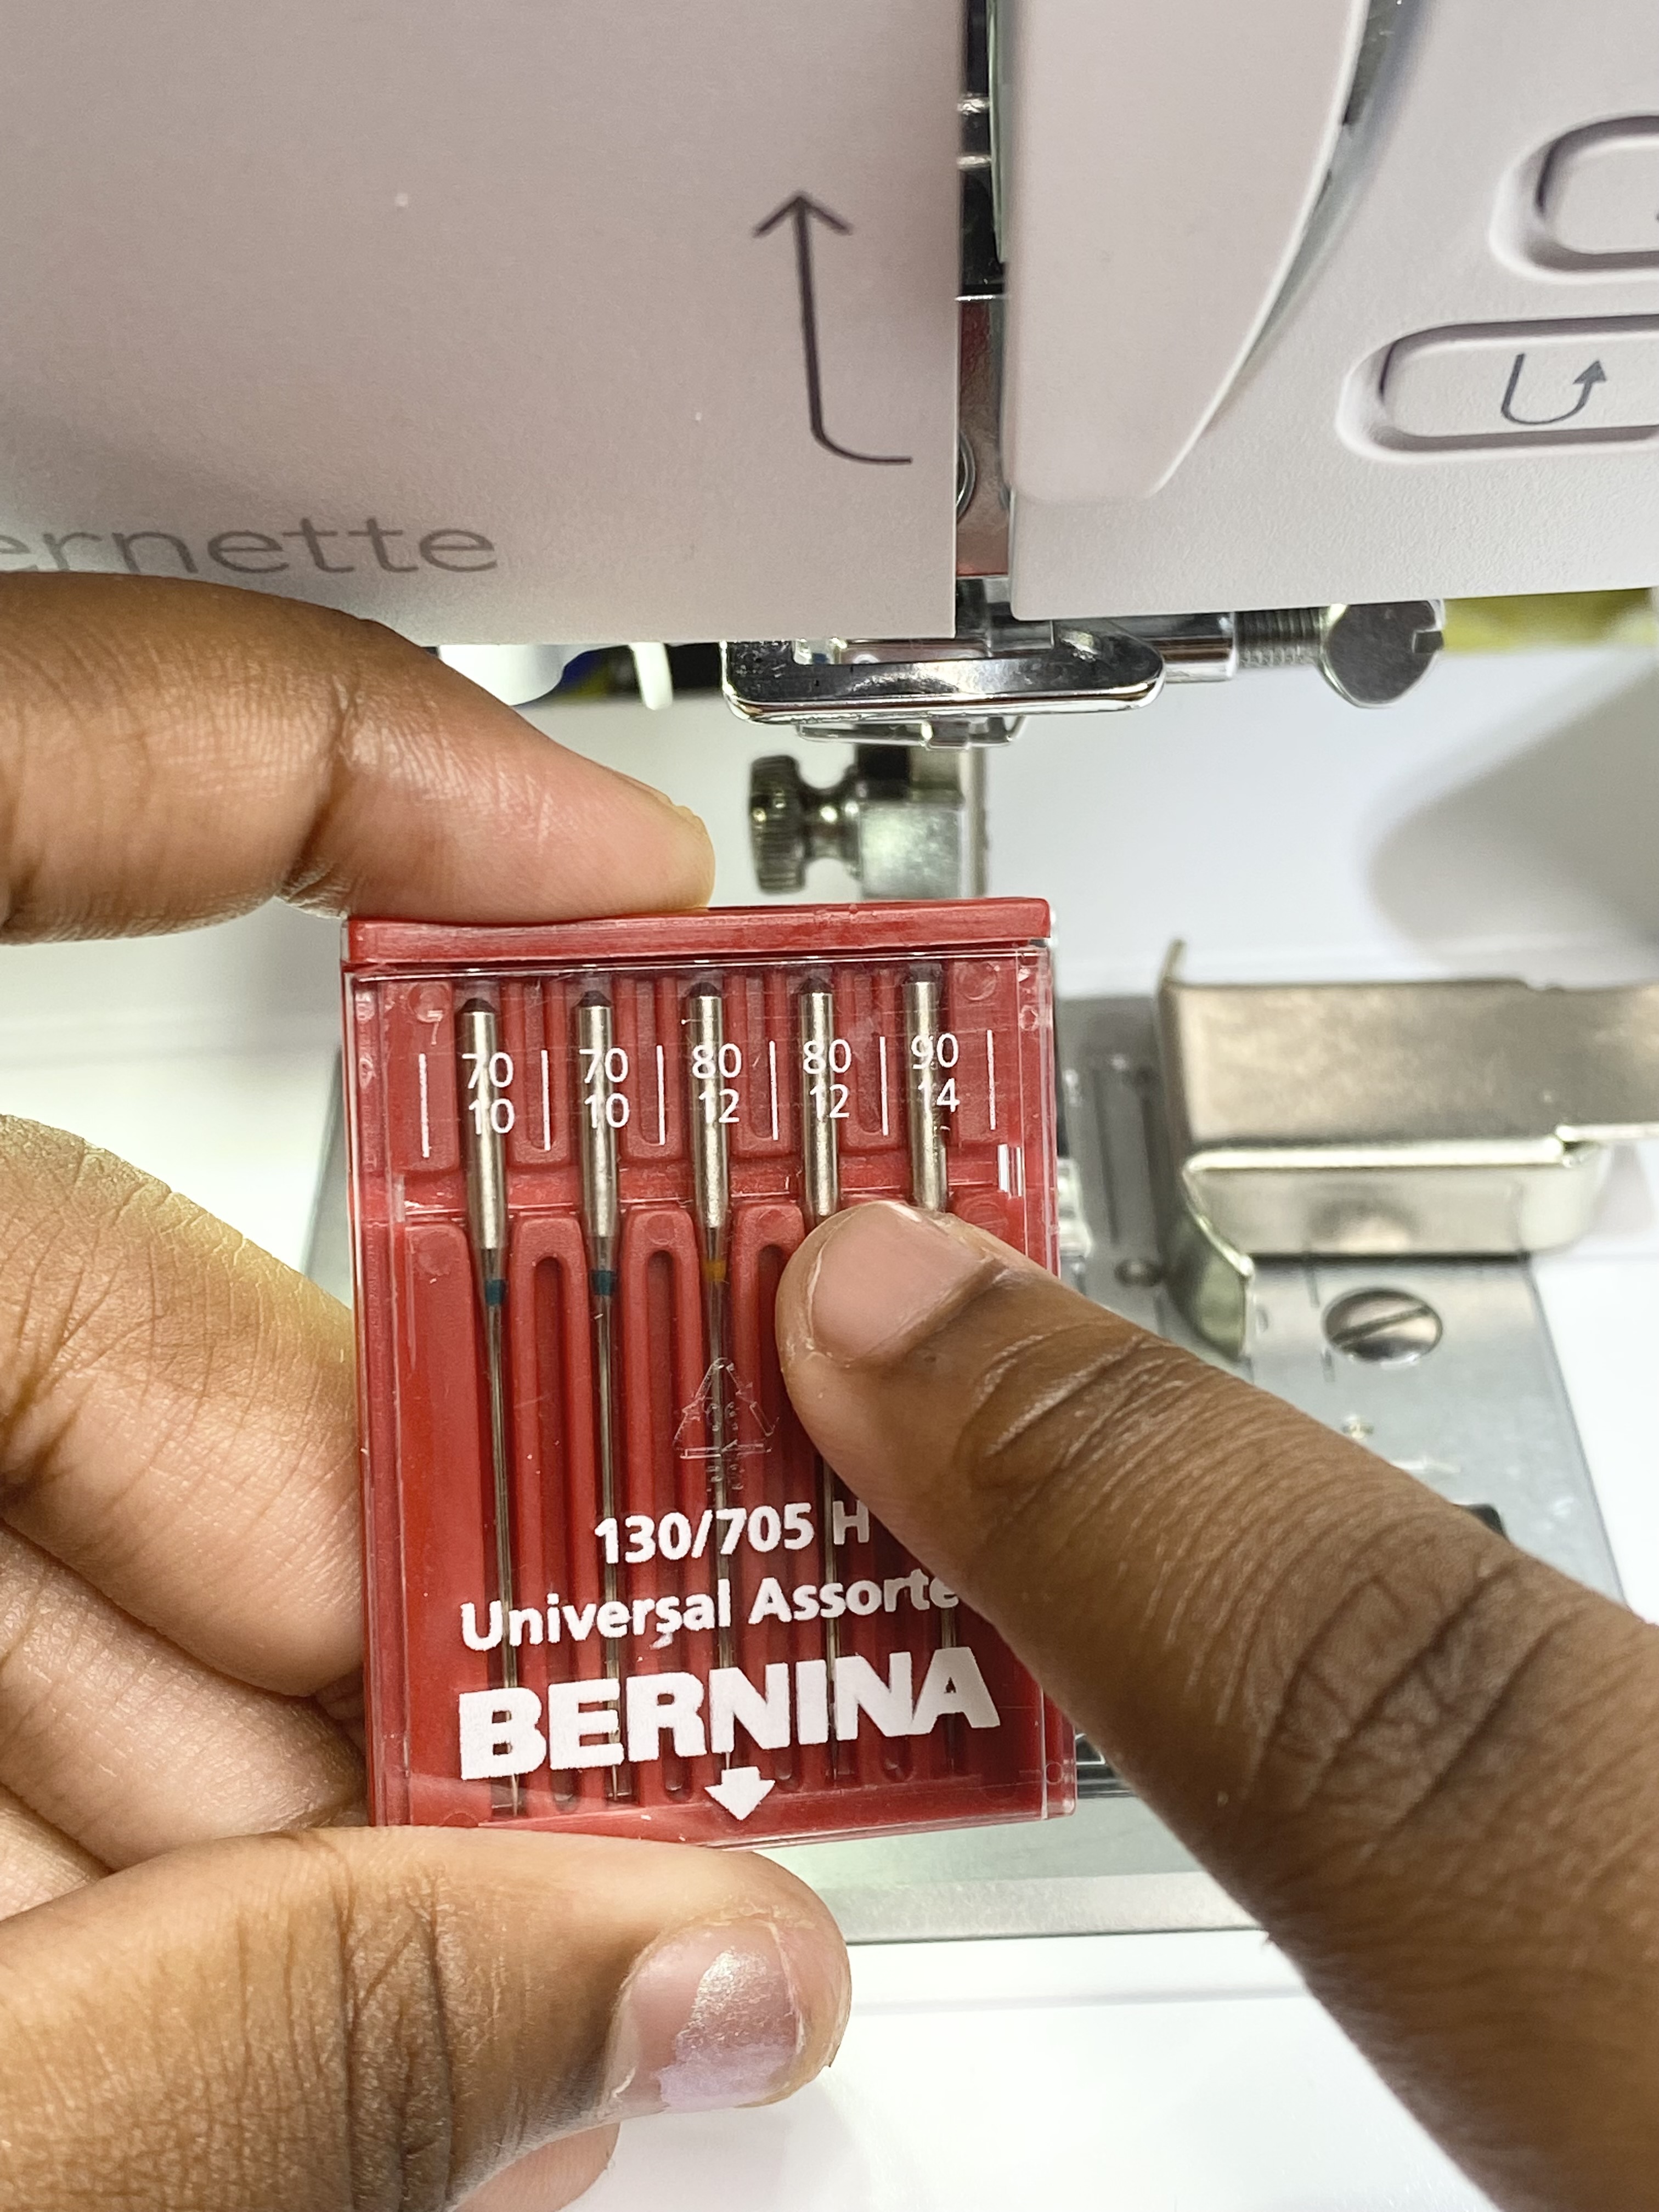
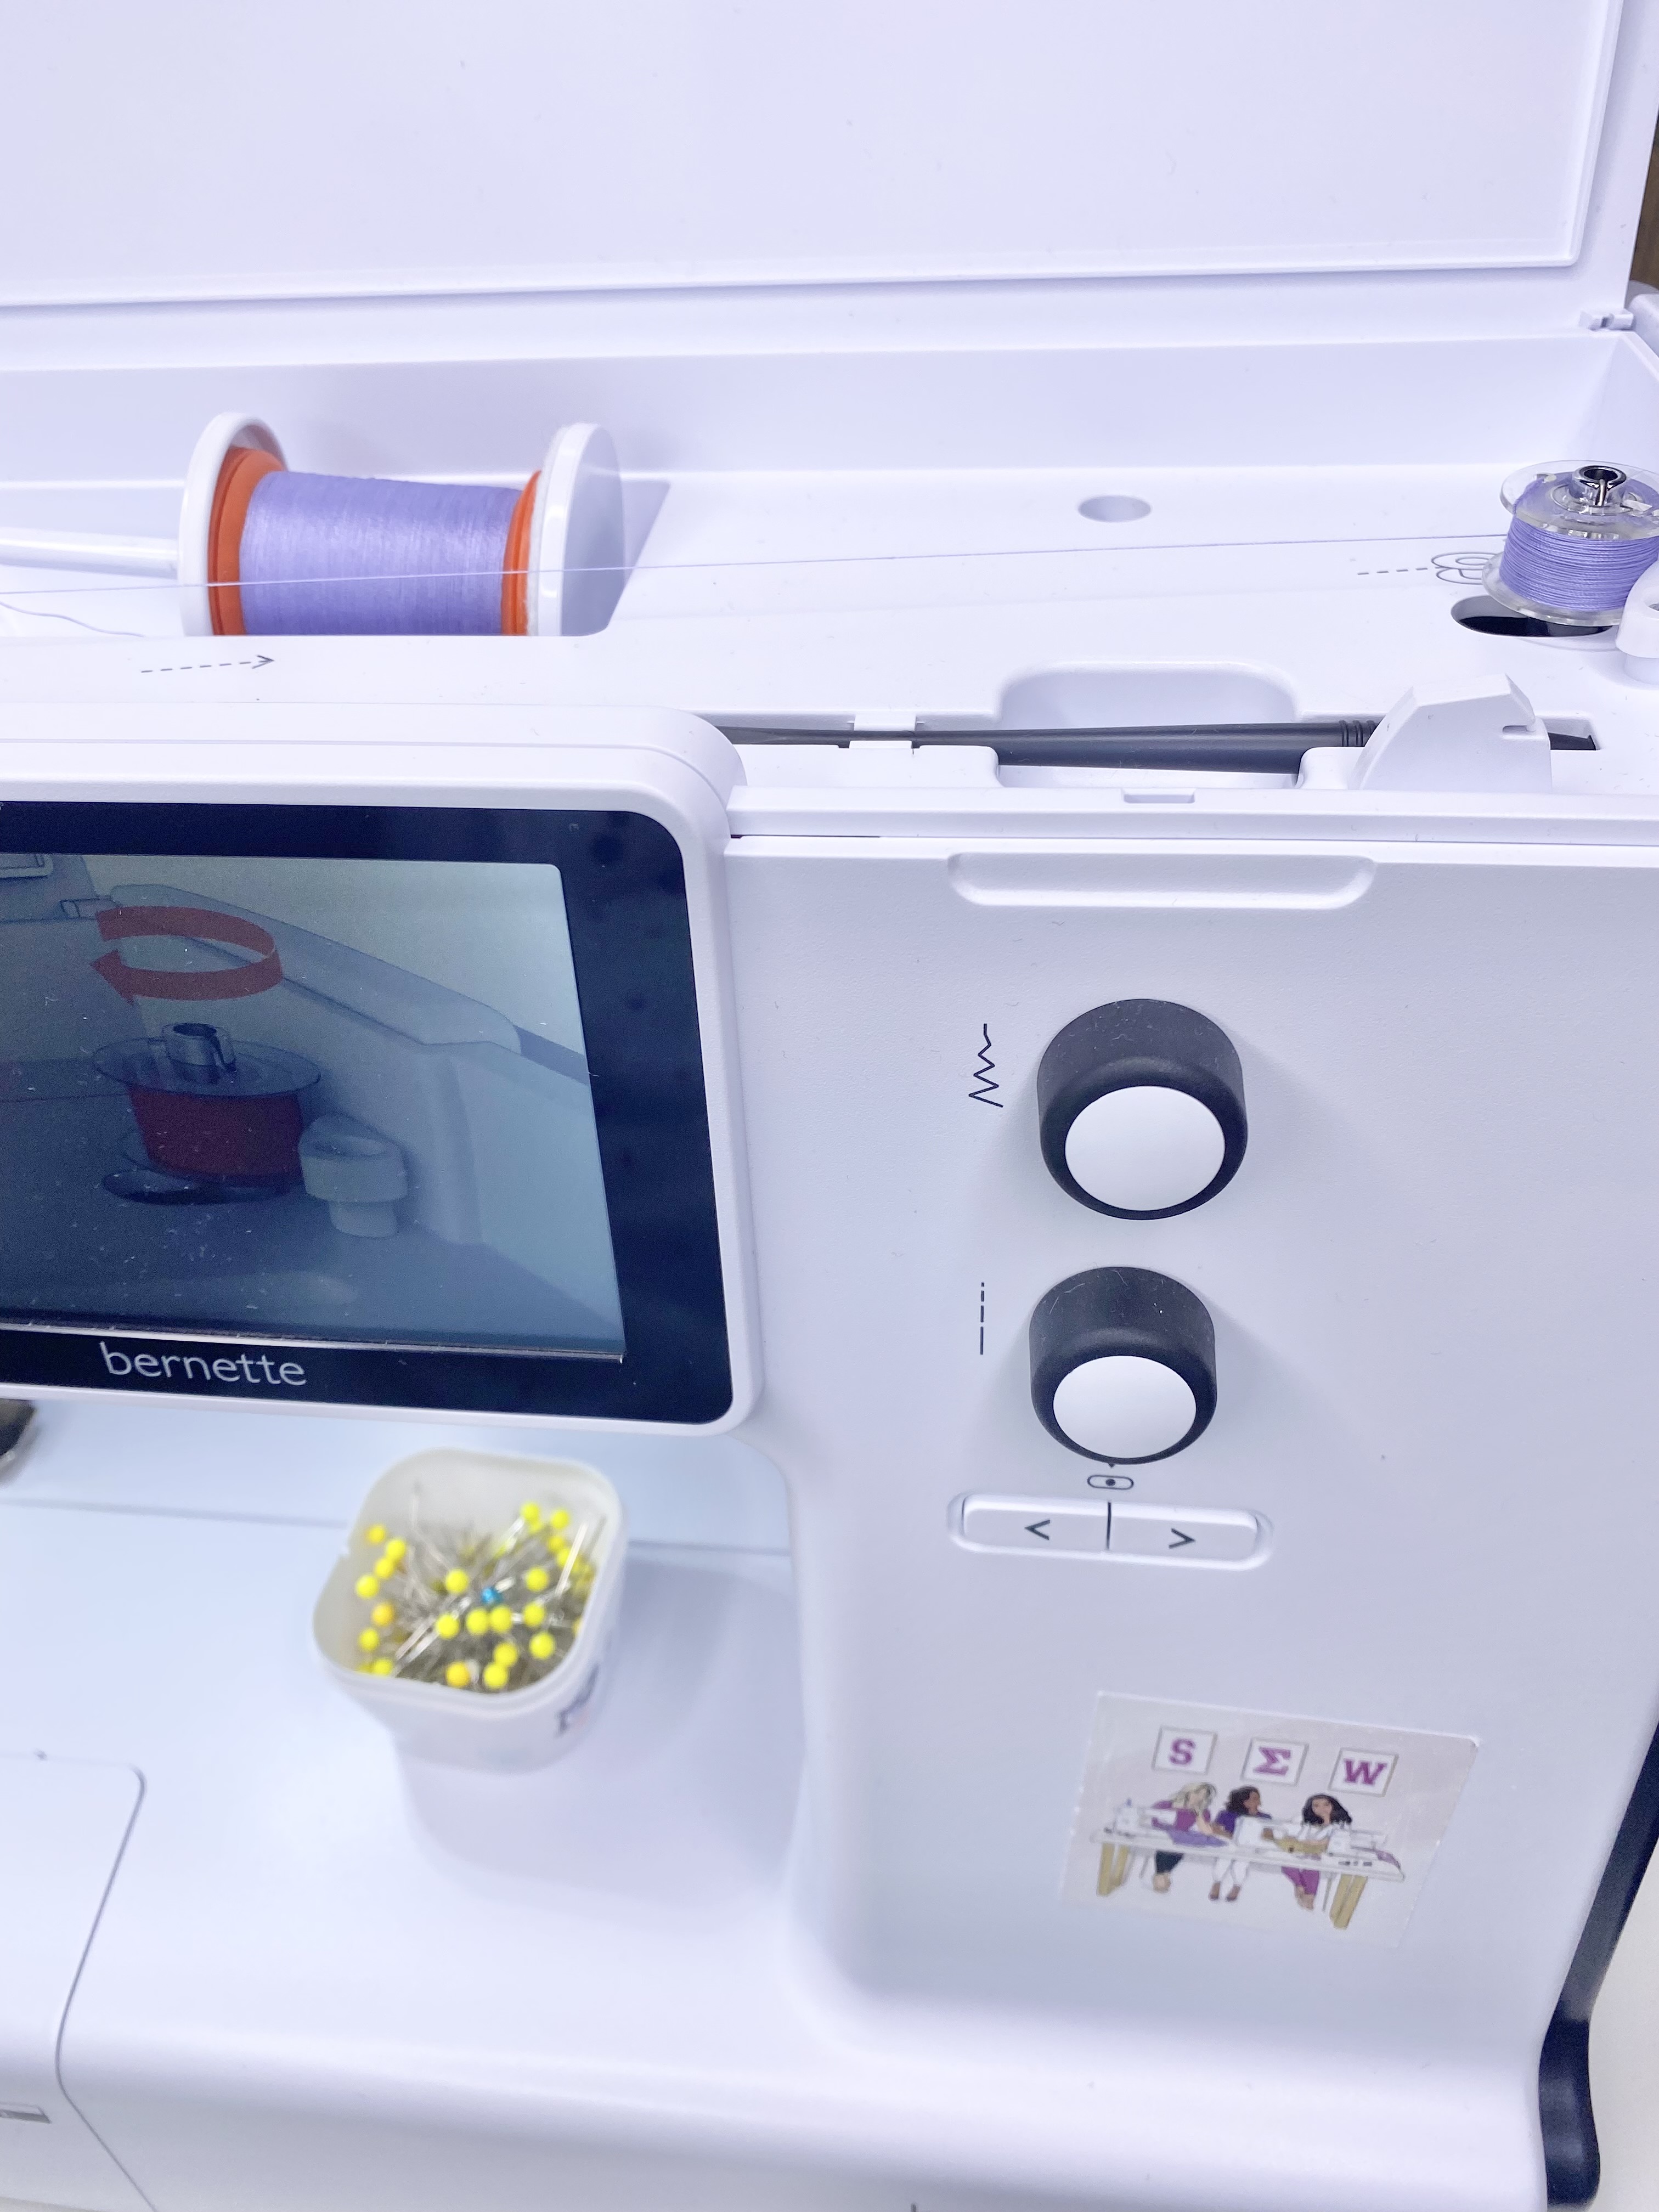
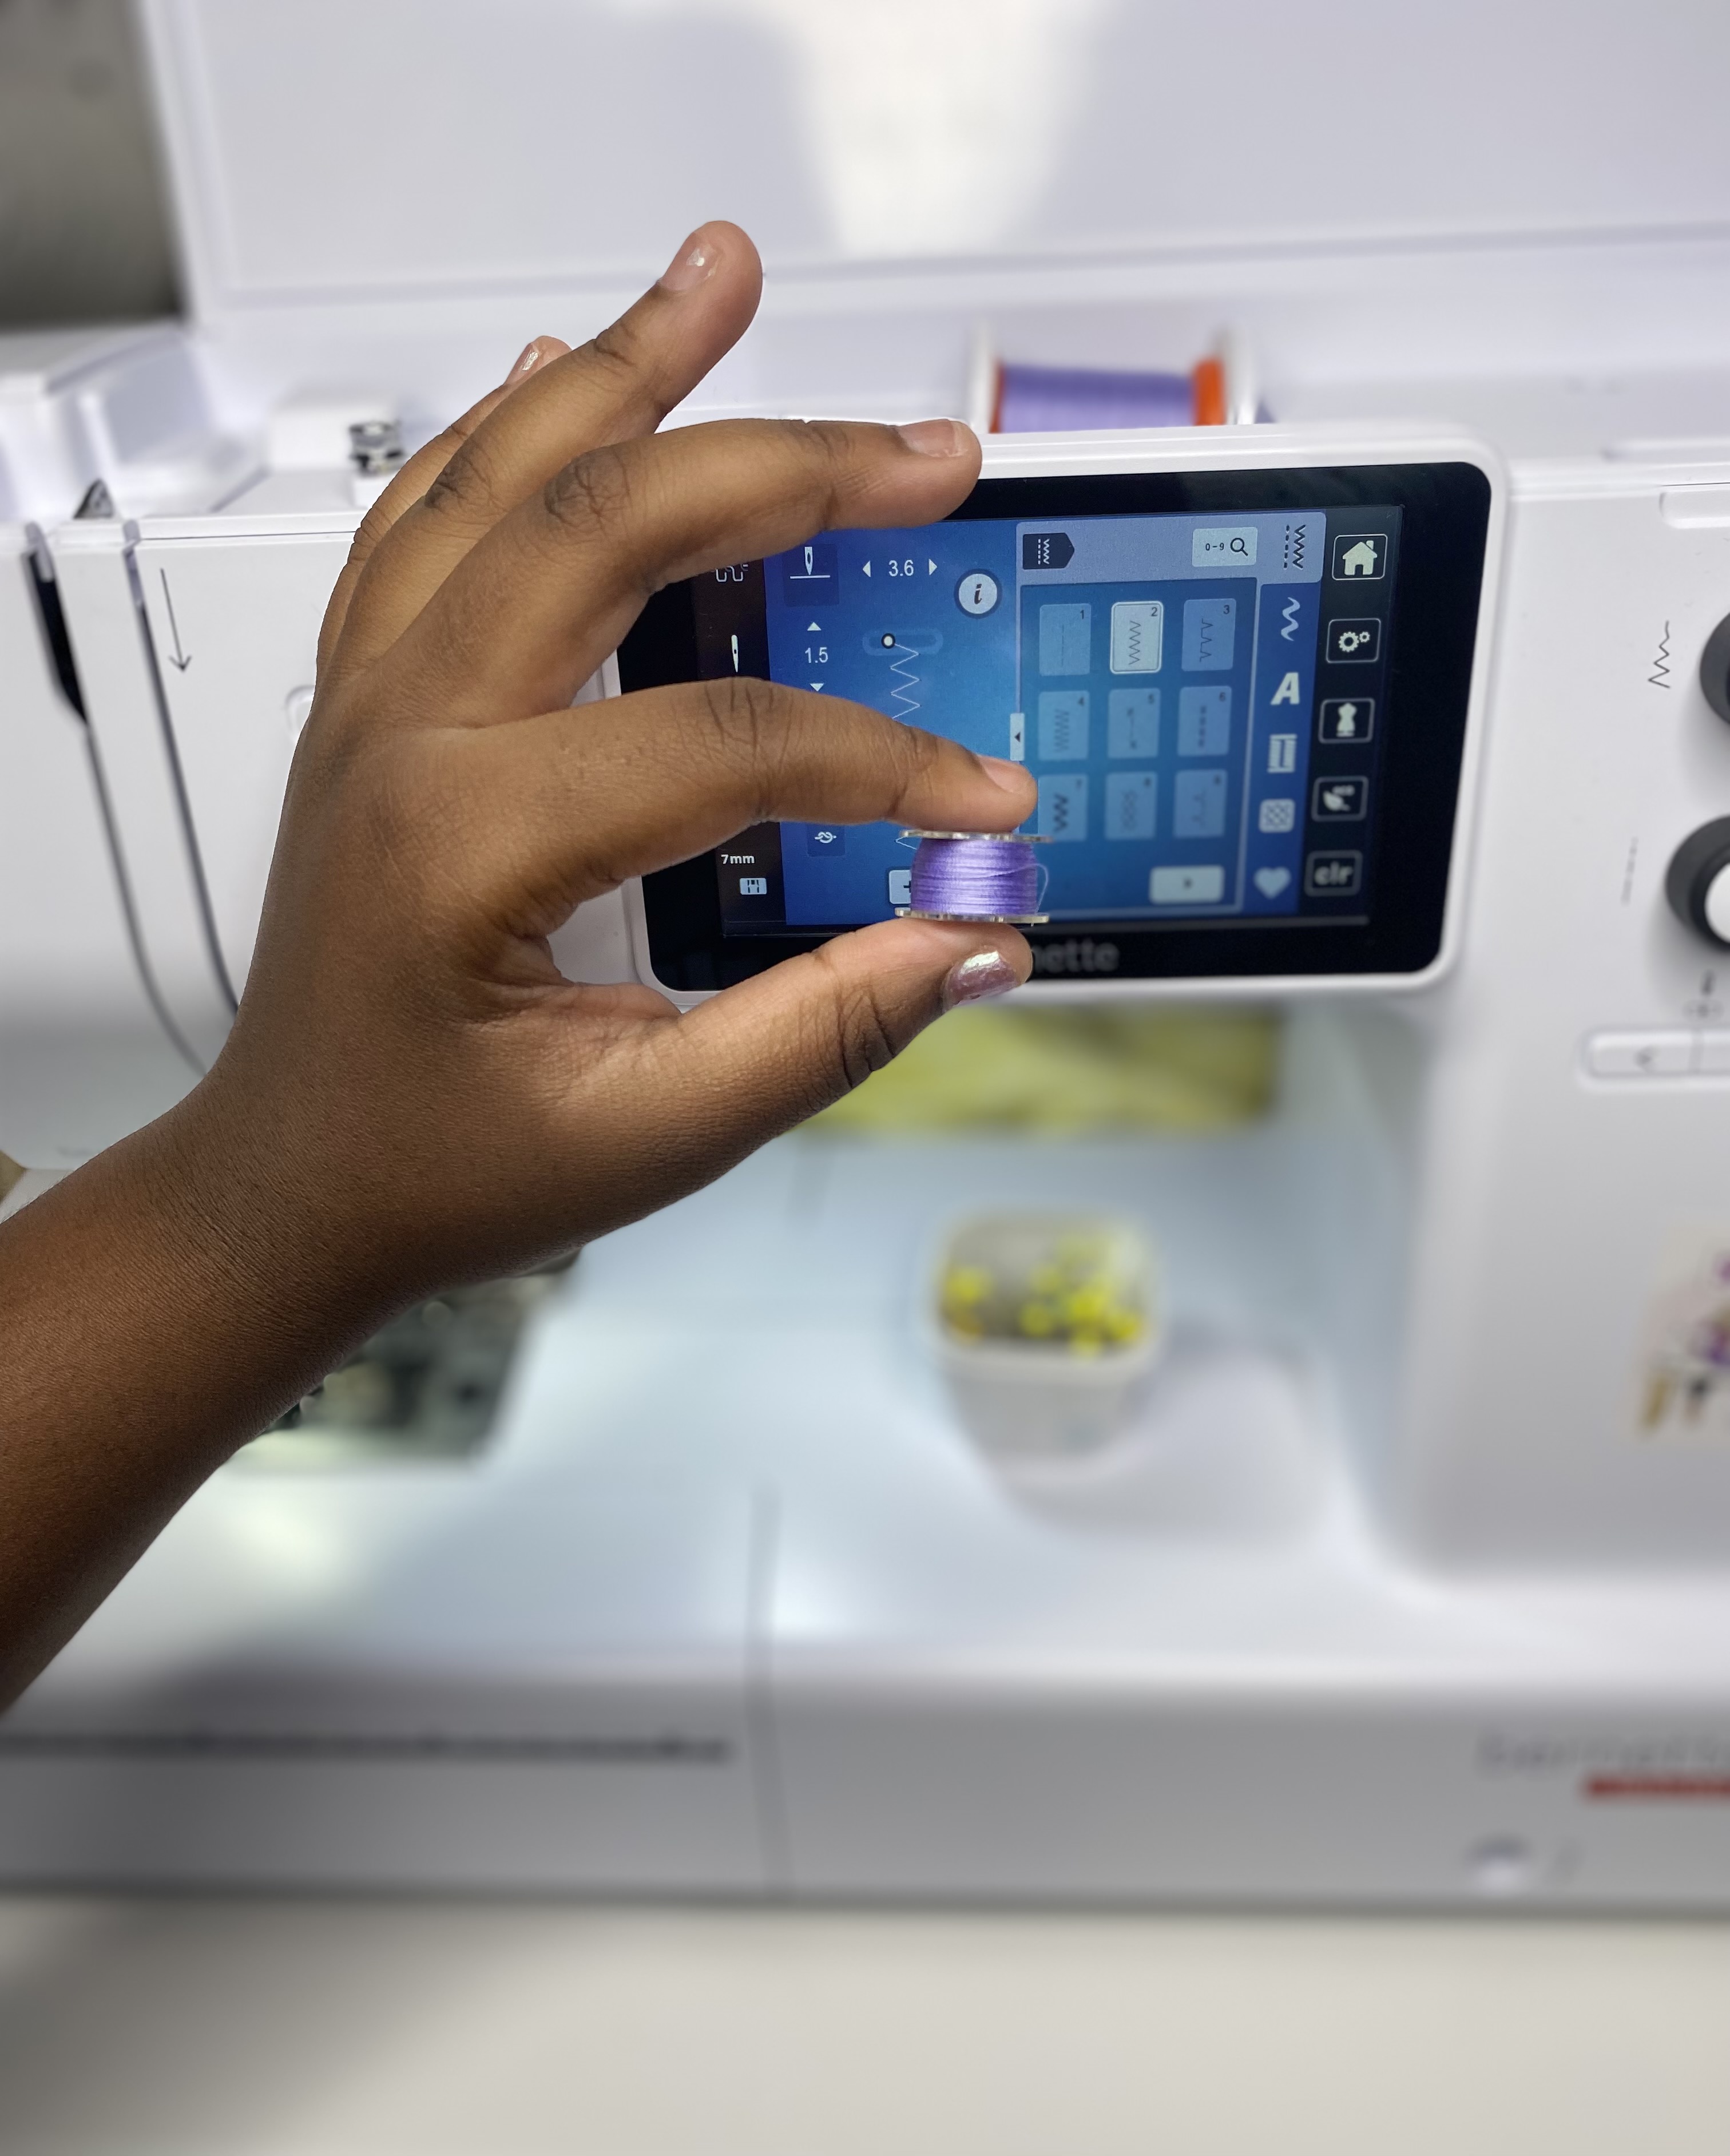
Step 3: Prepping the Sewing Machine
Prep your machine with a new universal needle size 12.
Thread your machine with matching thread and make sure your bobbin is full.
Step 4: Pressing the Pattern Pieces
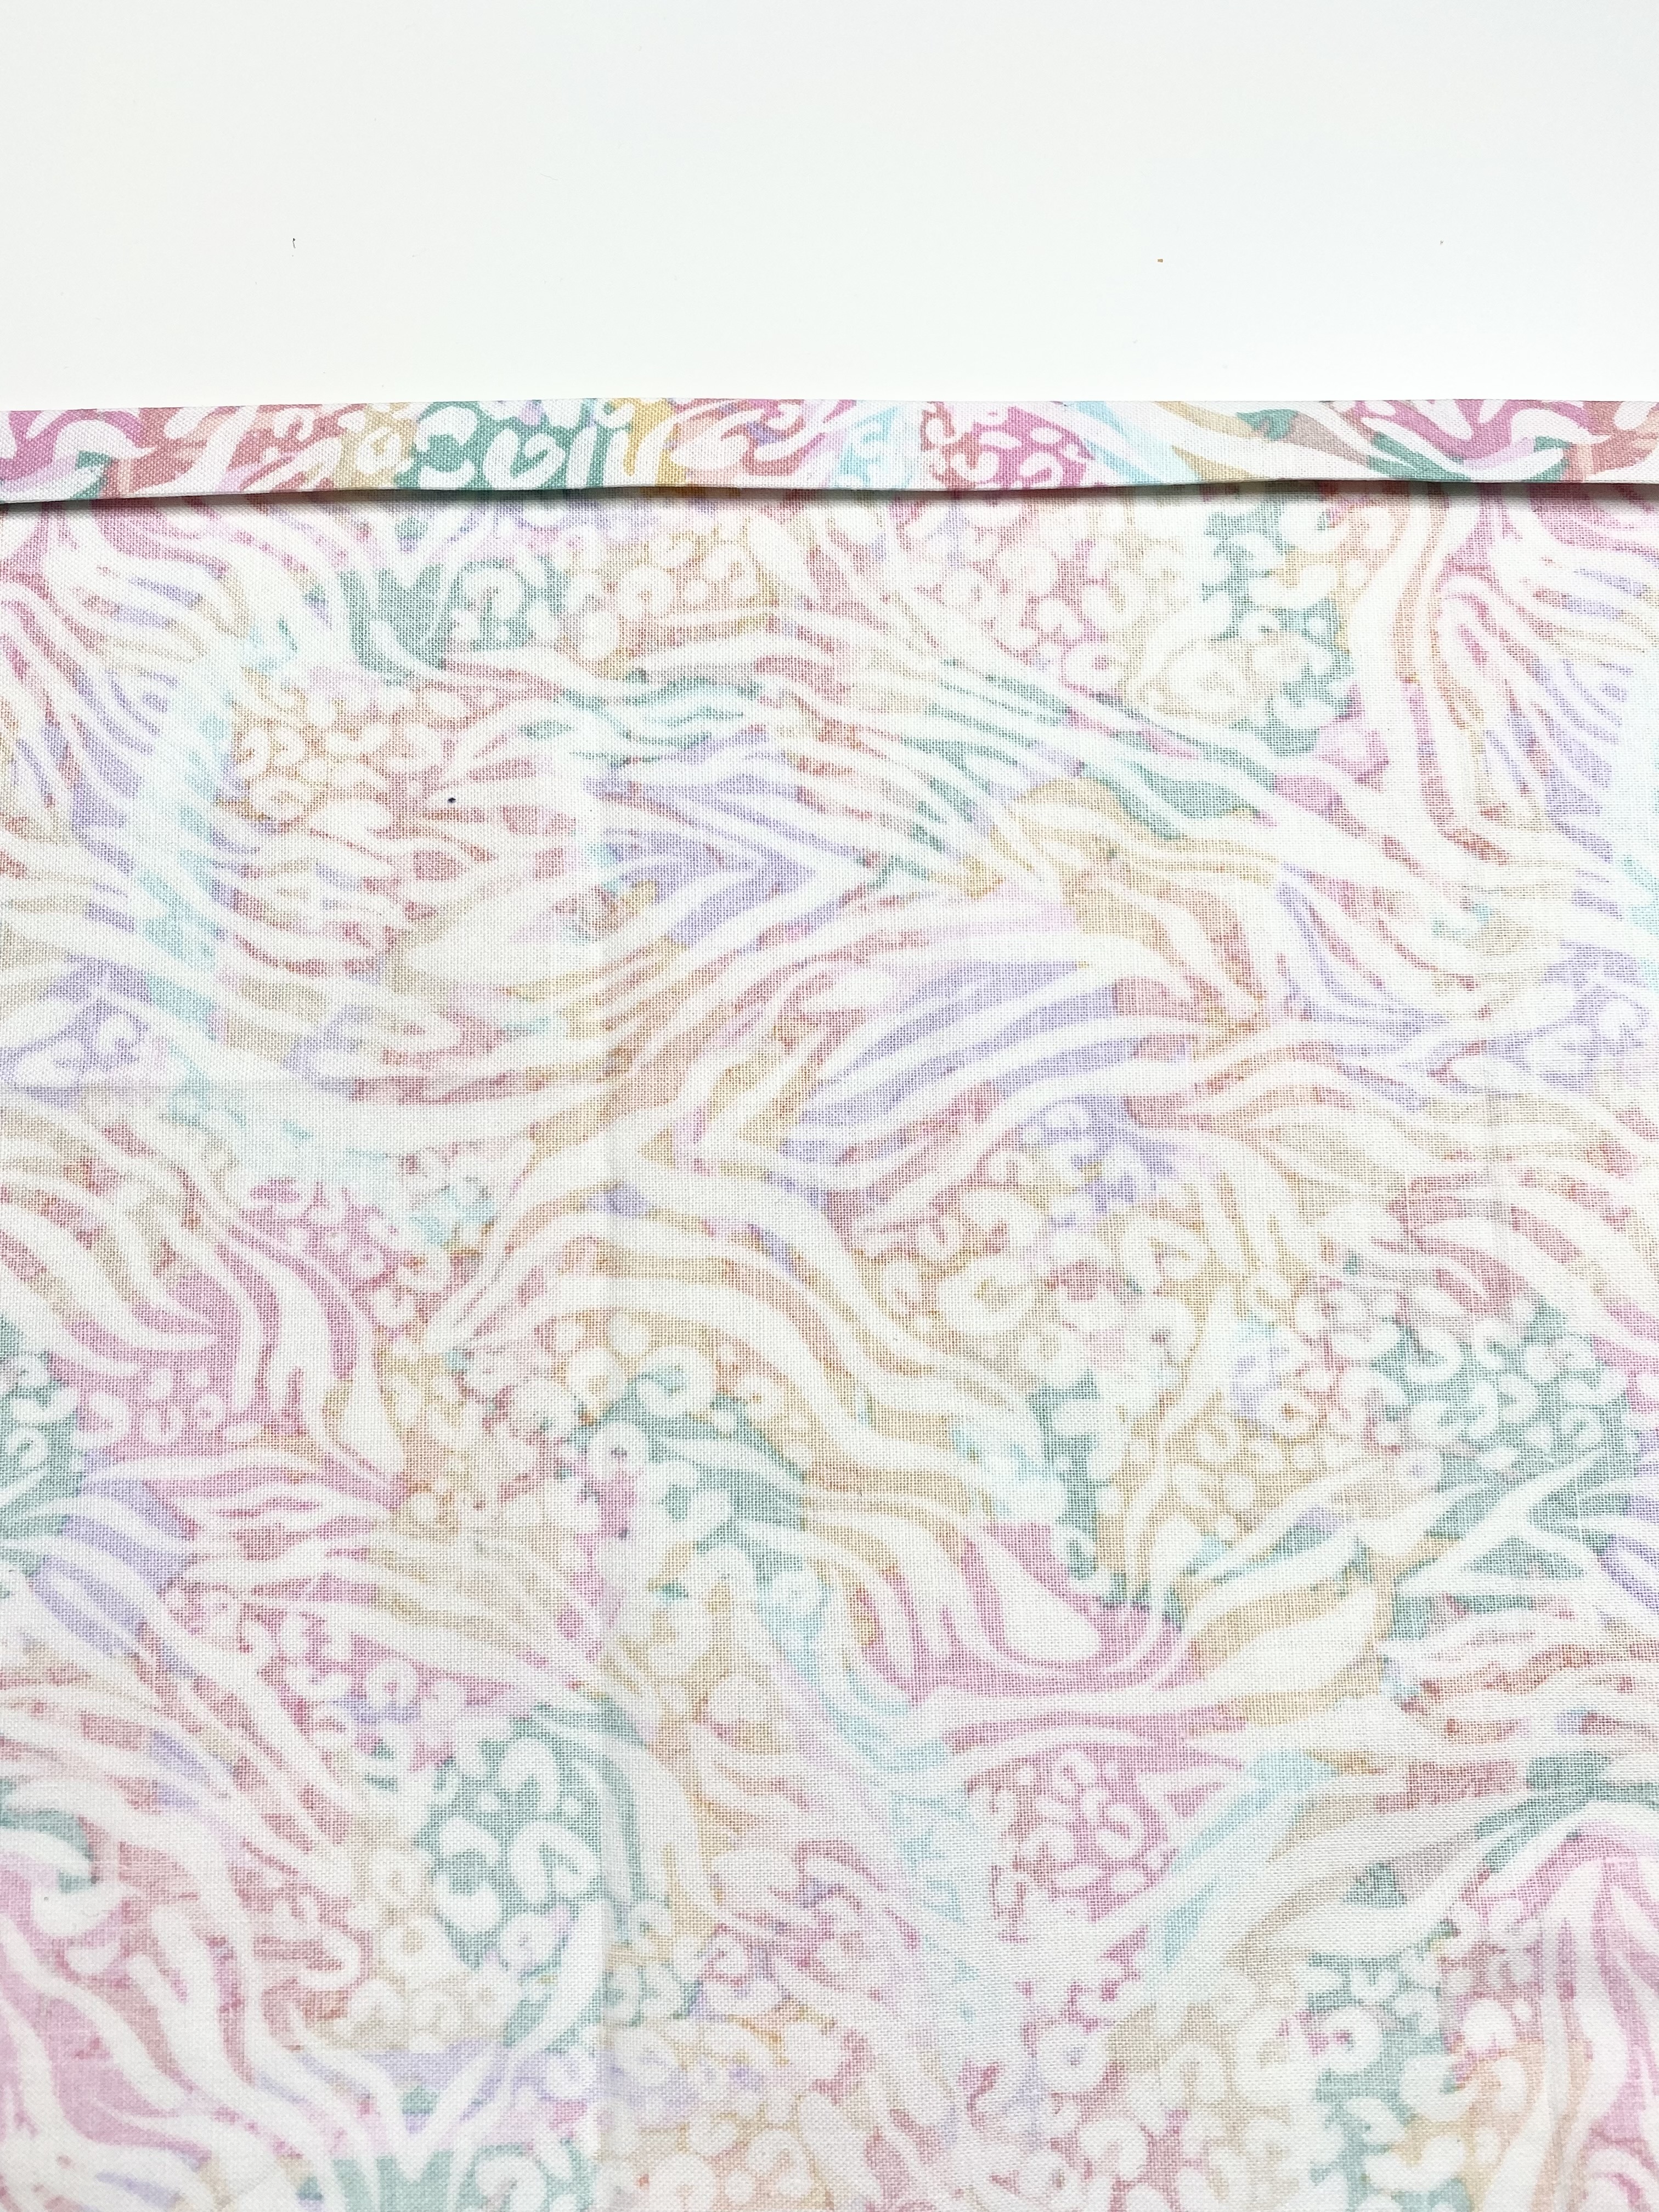
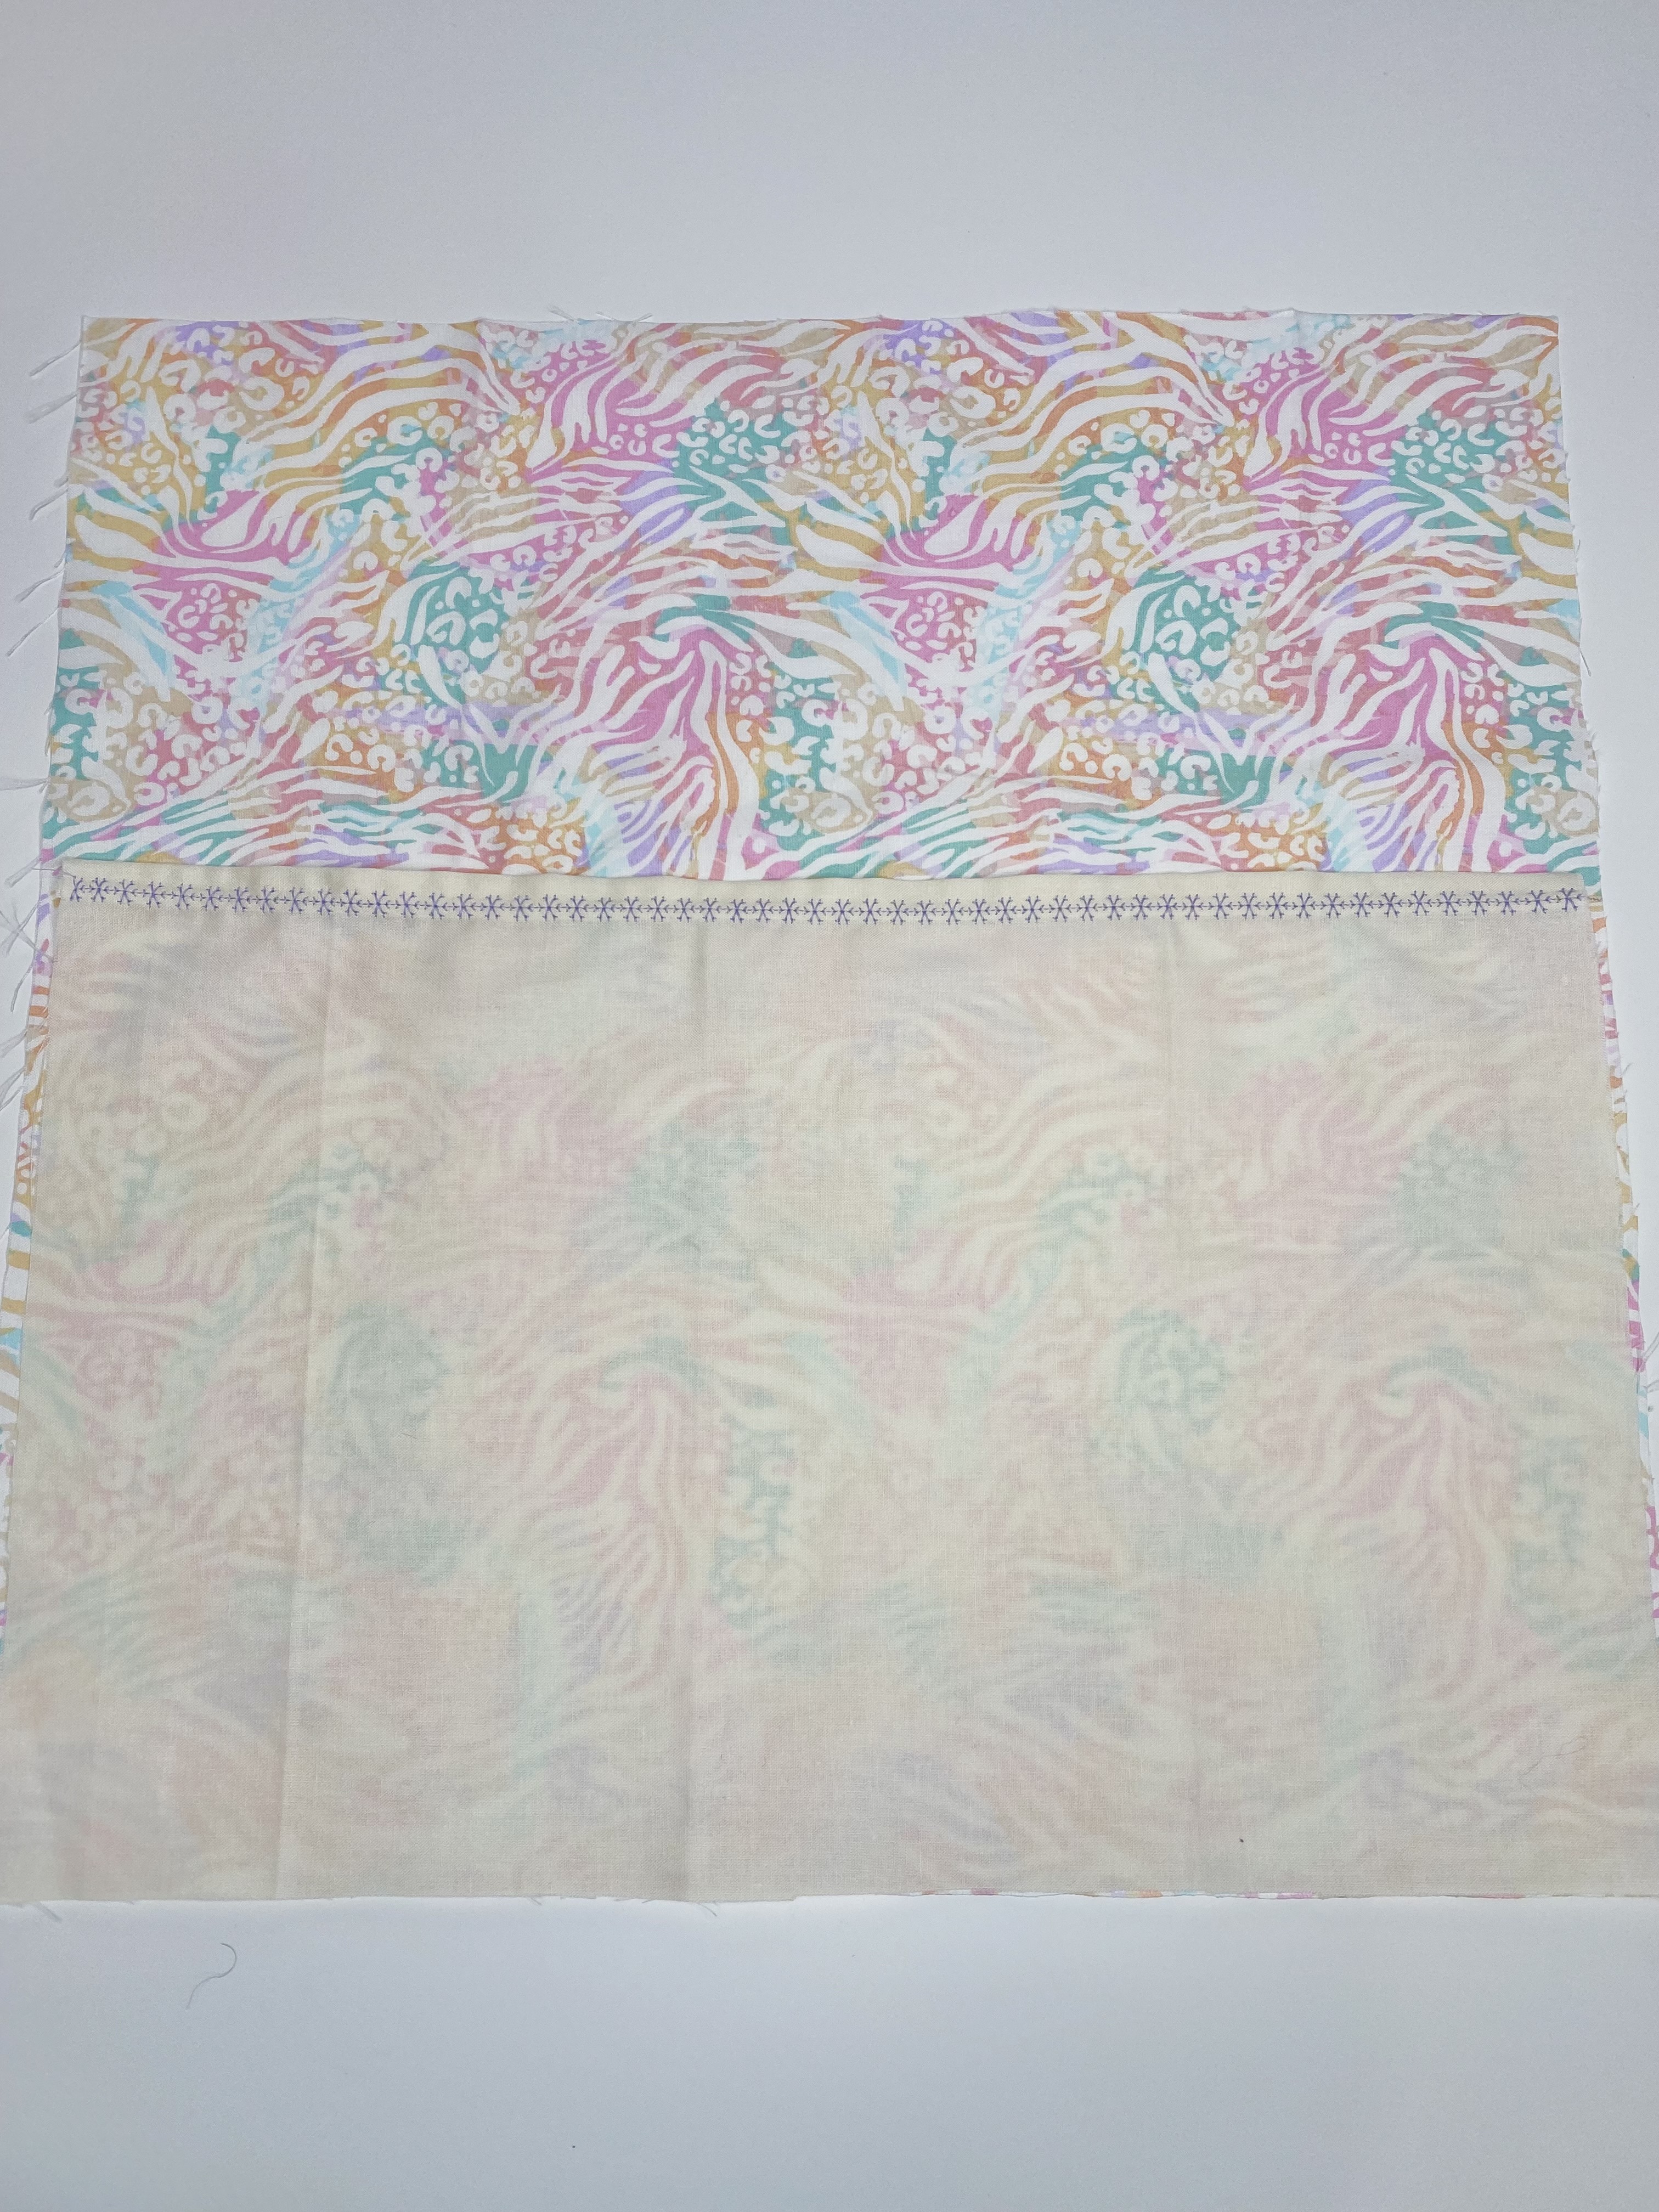
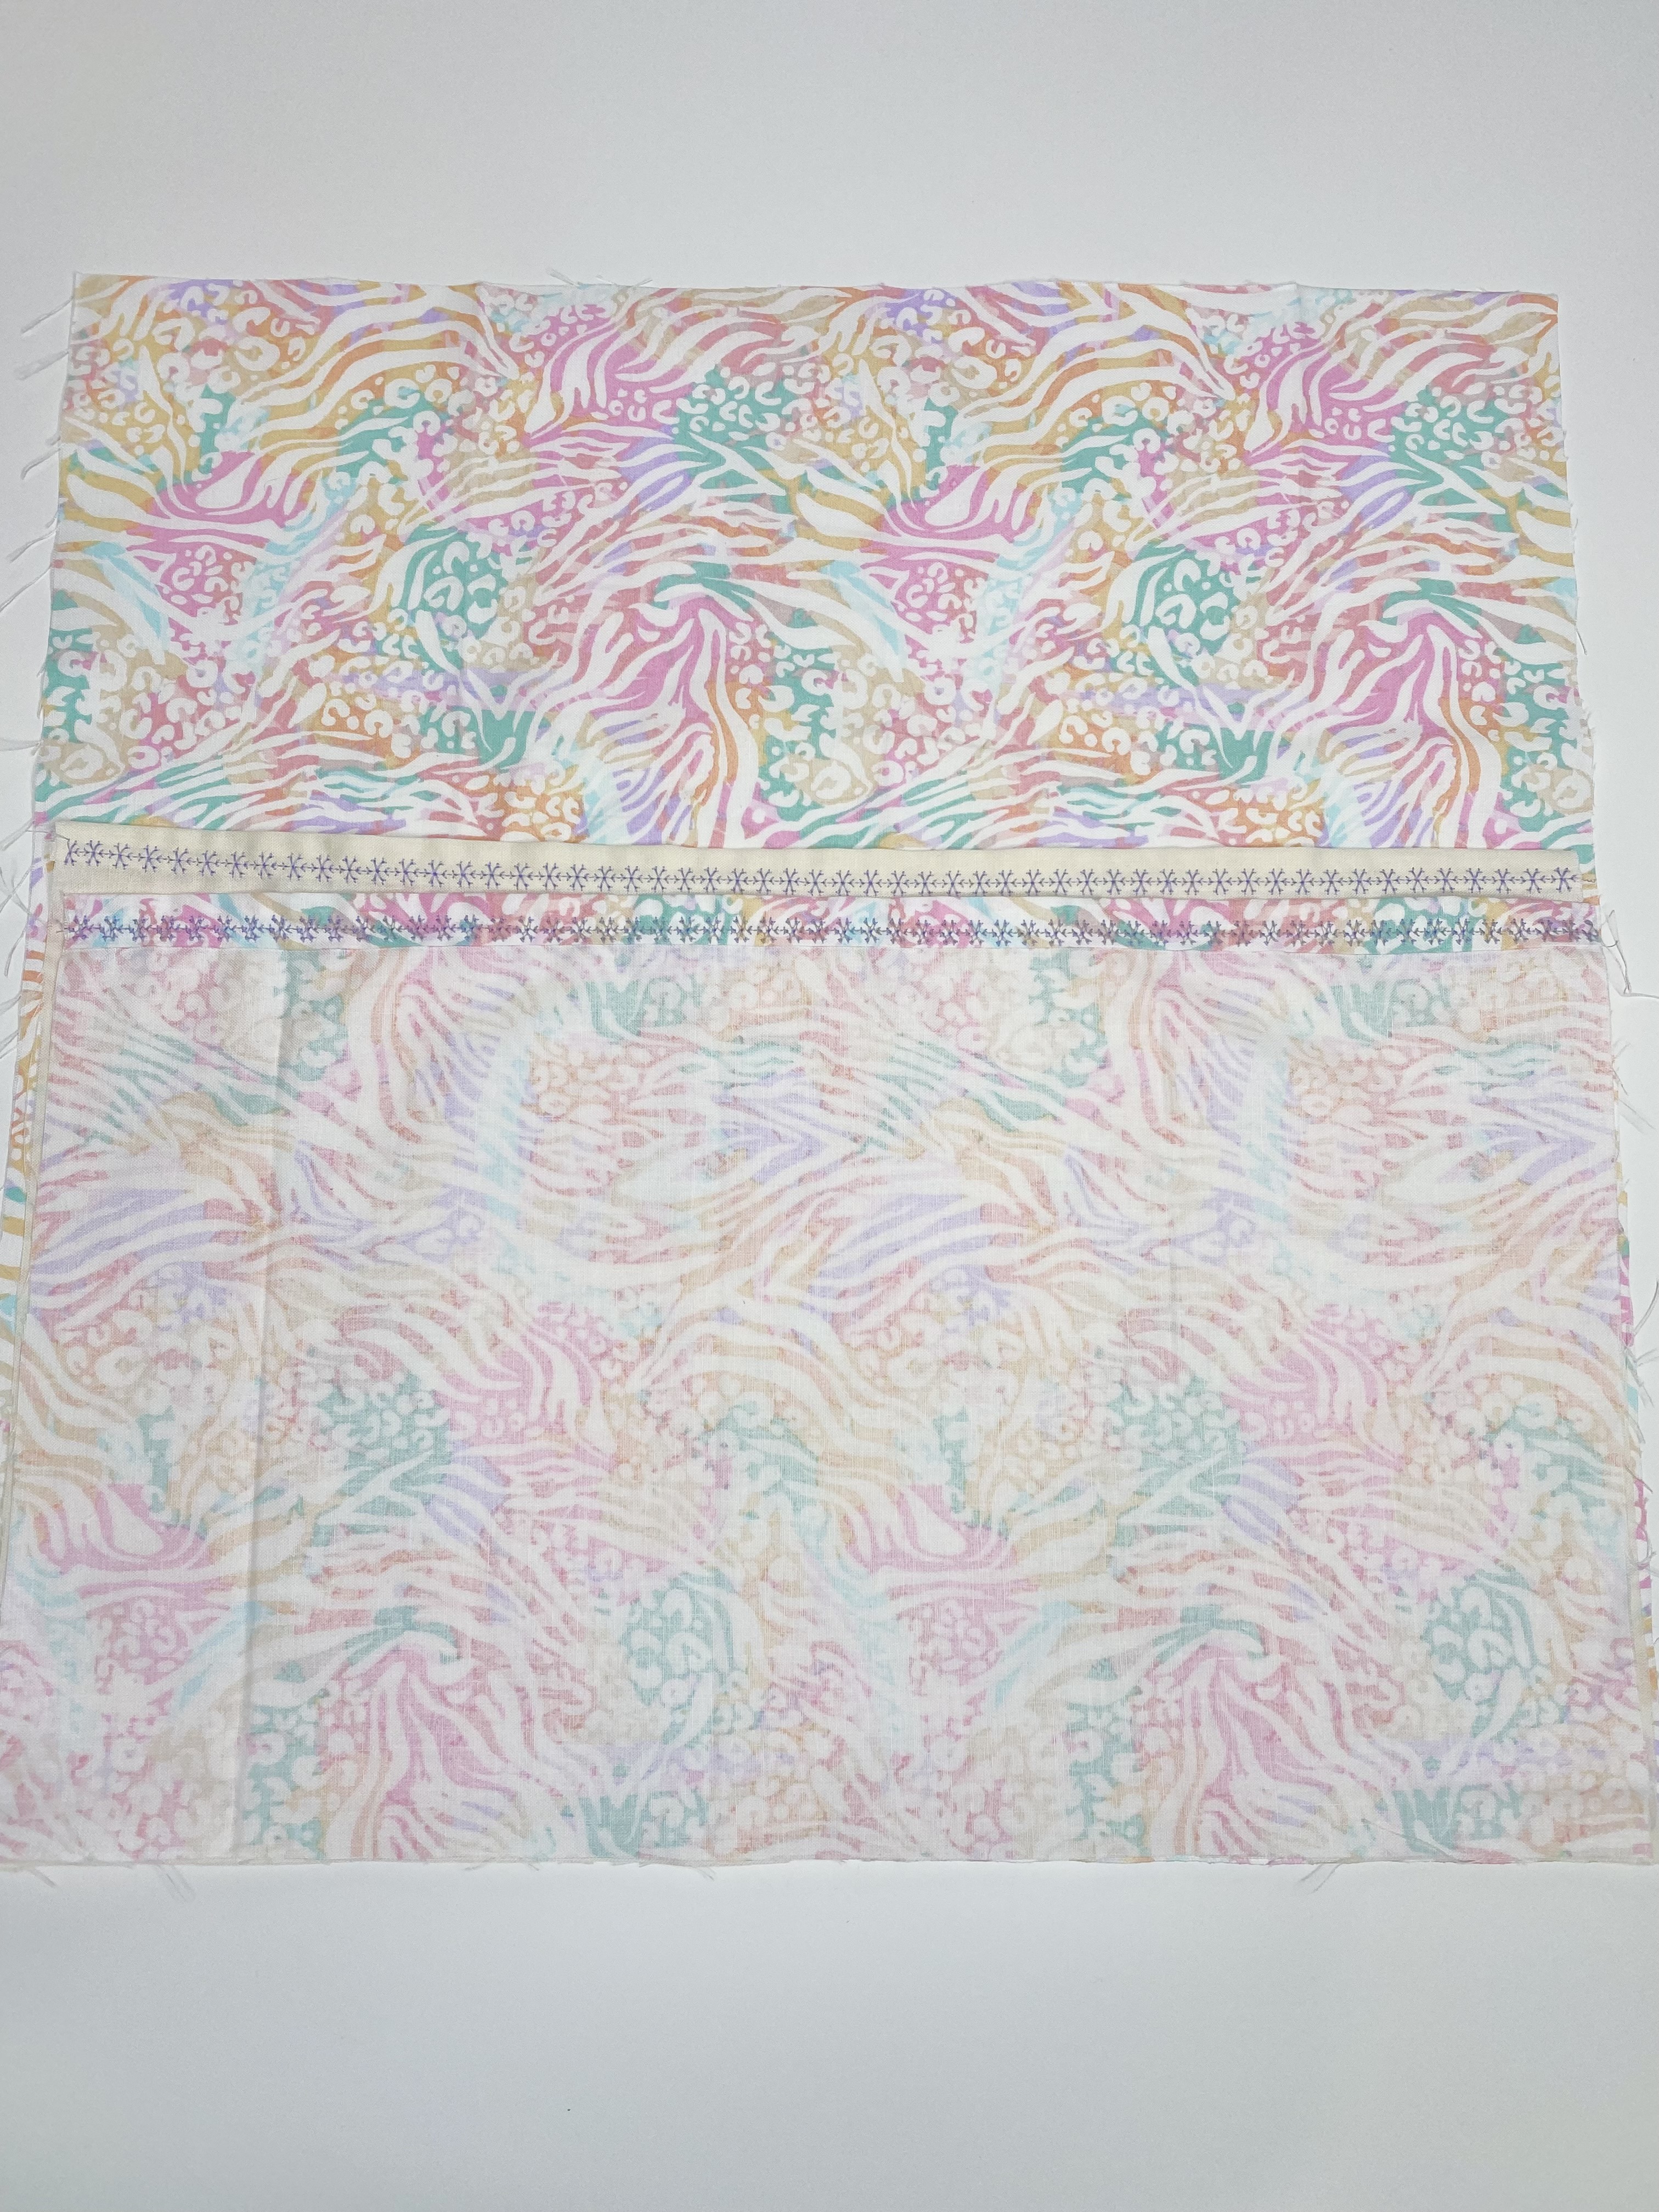
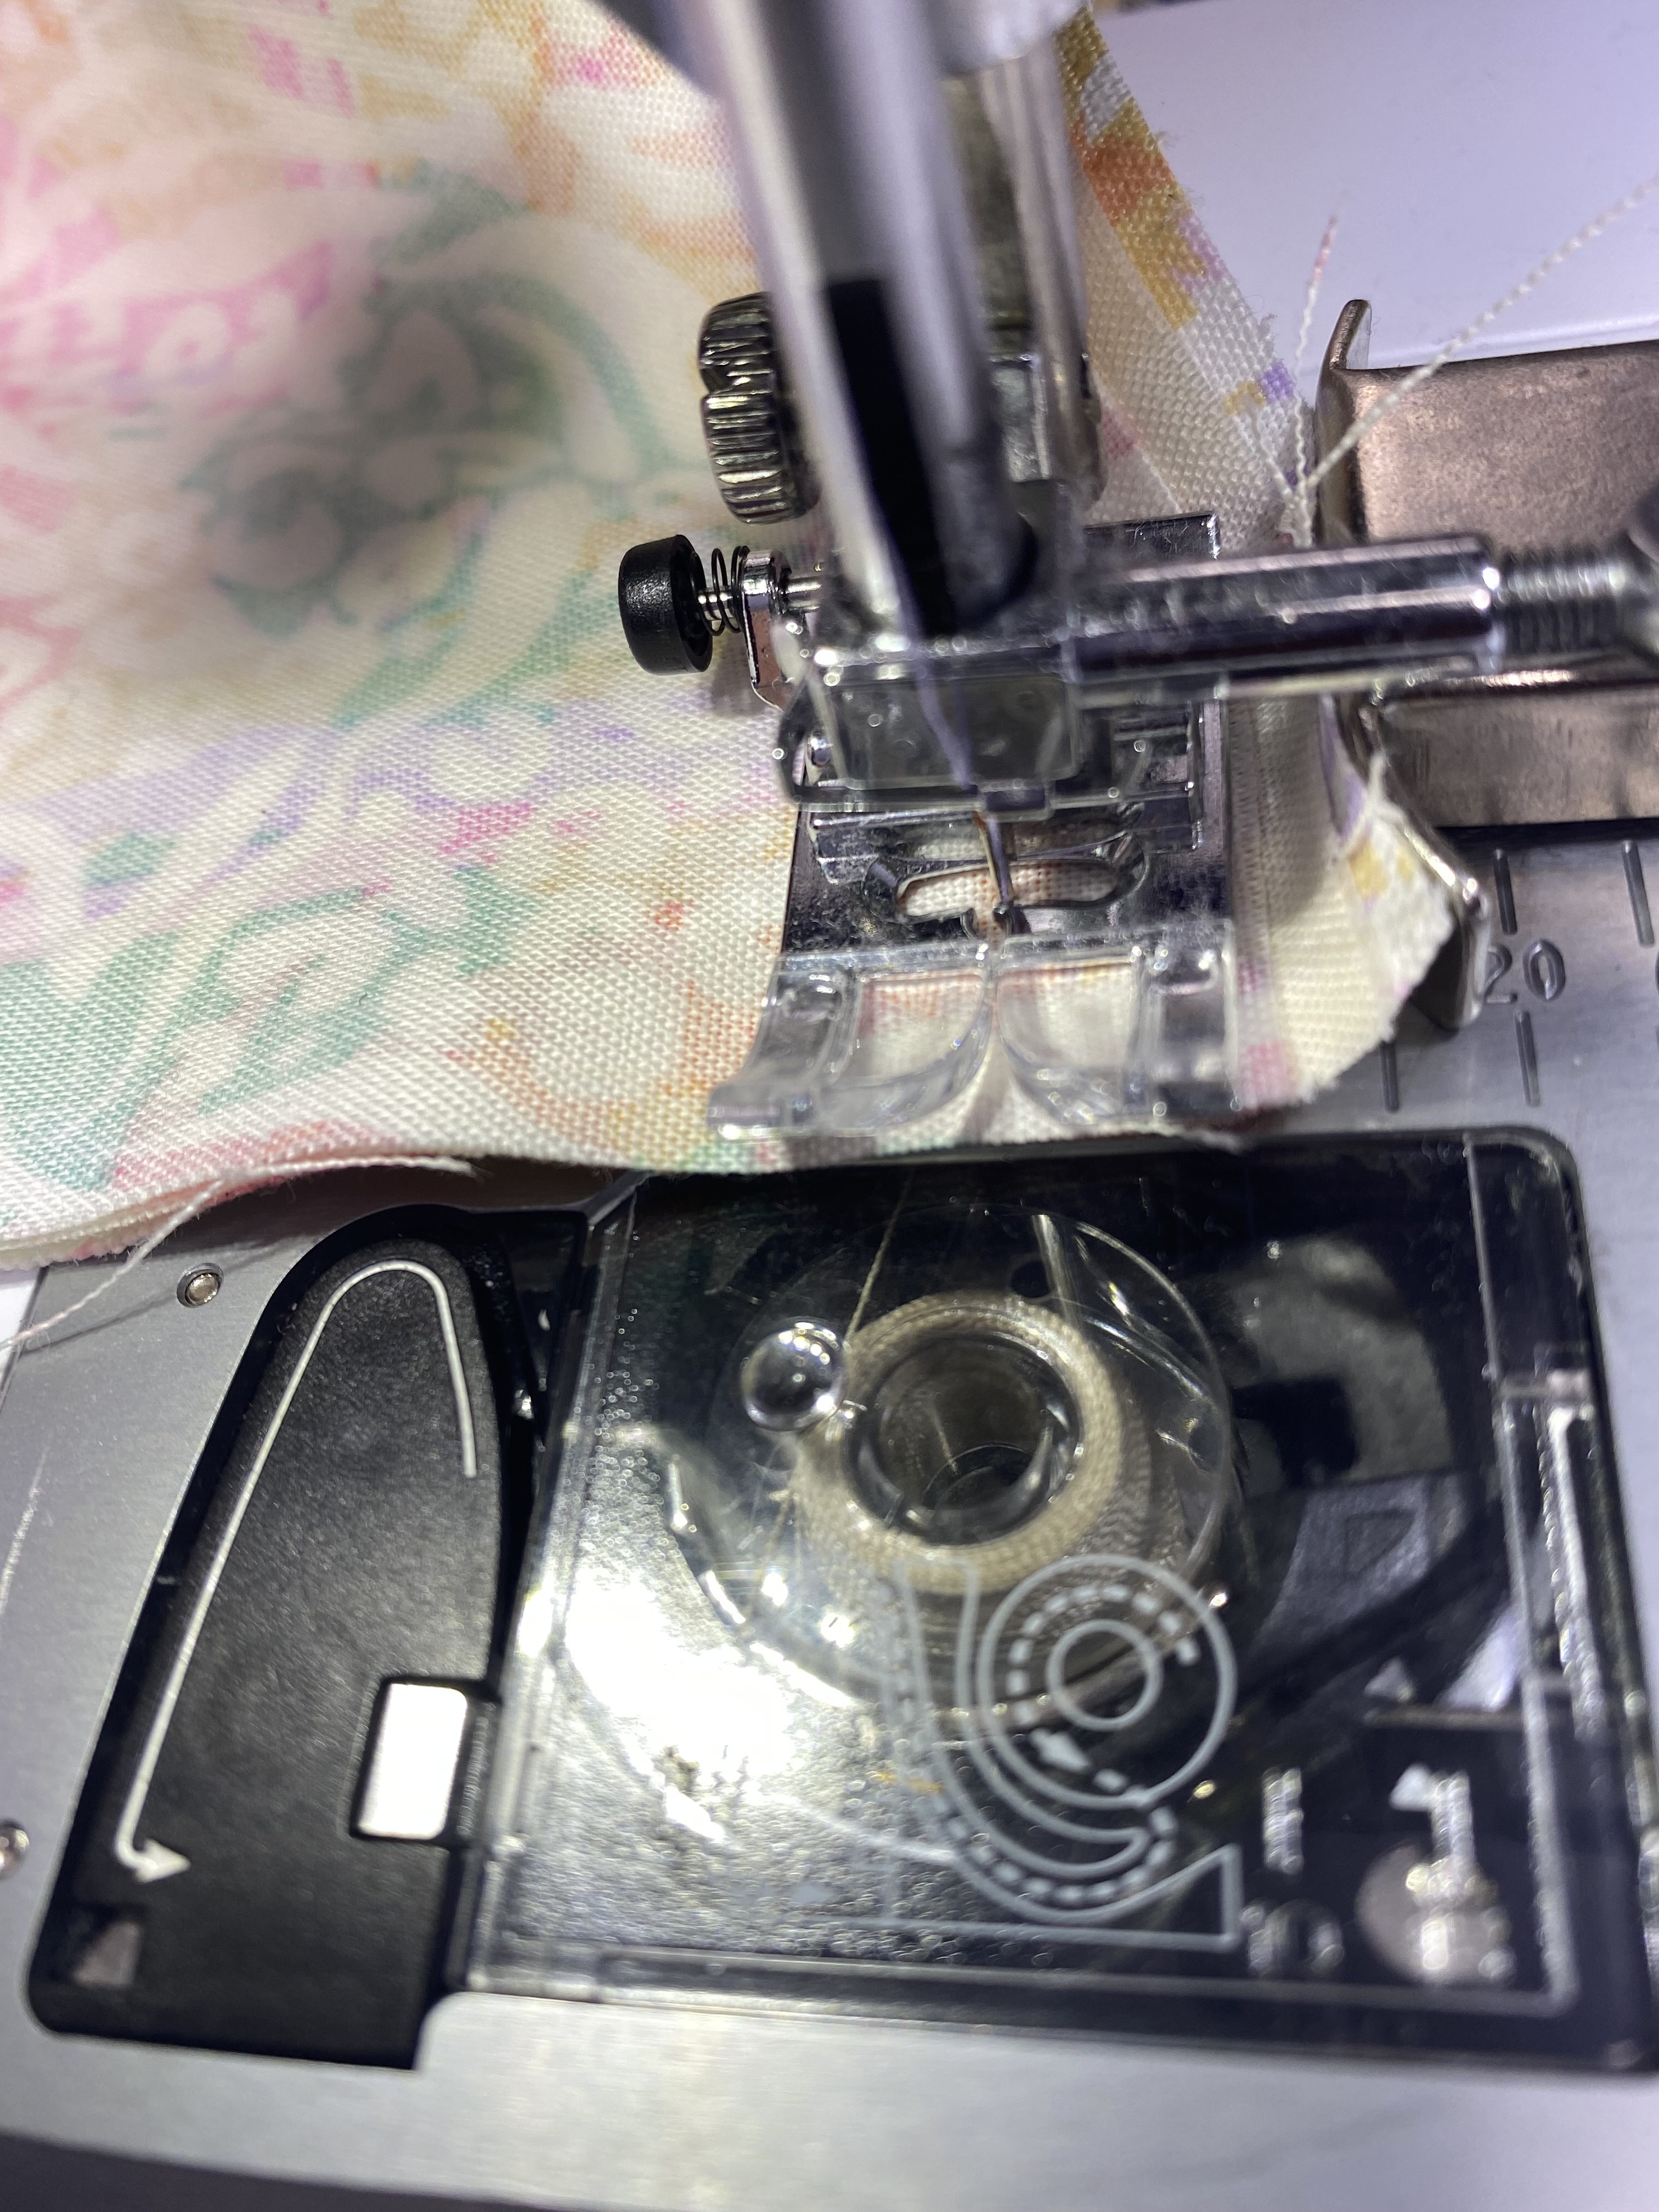
Take one (1) of your three (3) rectangle pieces that are 17″ x 11.5″ and press one of the long edges 1/2″ towards the wrong side of the fabric.
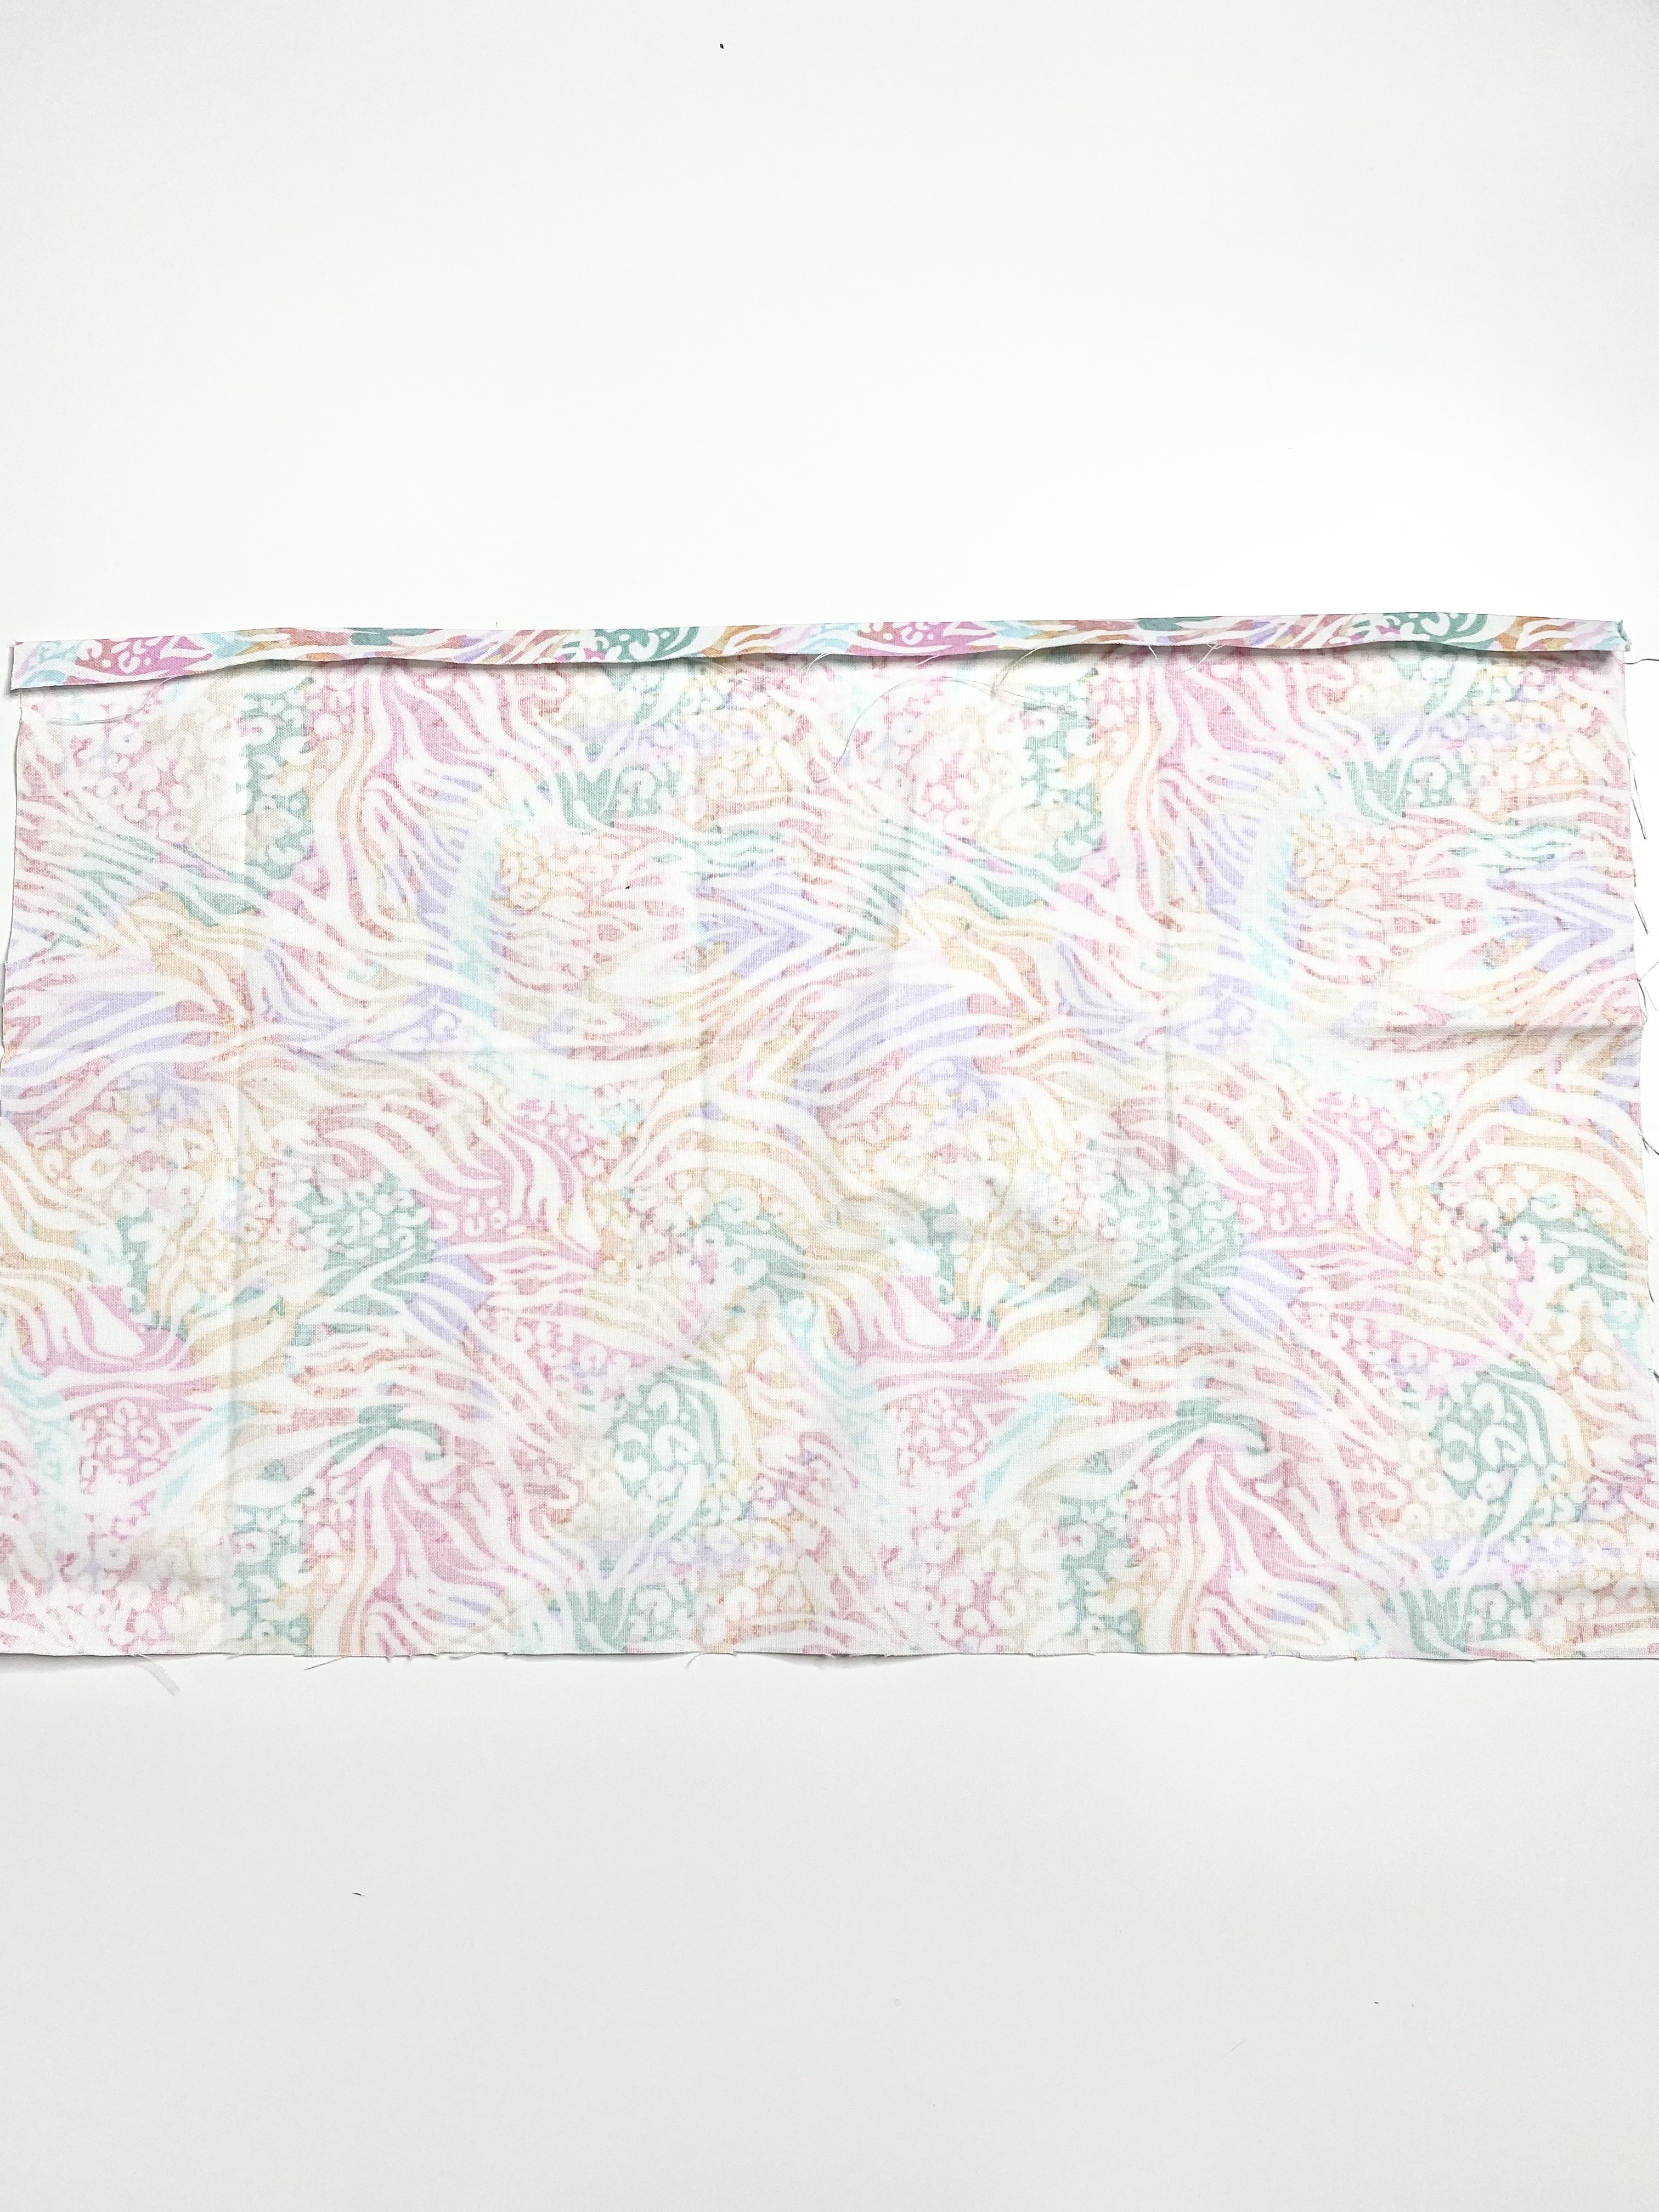
Now press that same edge again another 1/2″ so that you’ve turned the long edge in a total of 1″ and your raw edge is hidden in the fold.
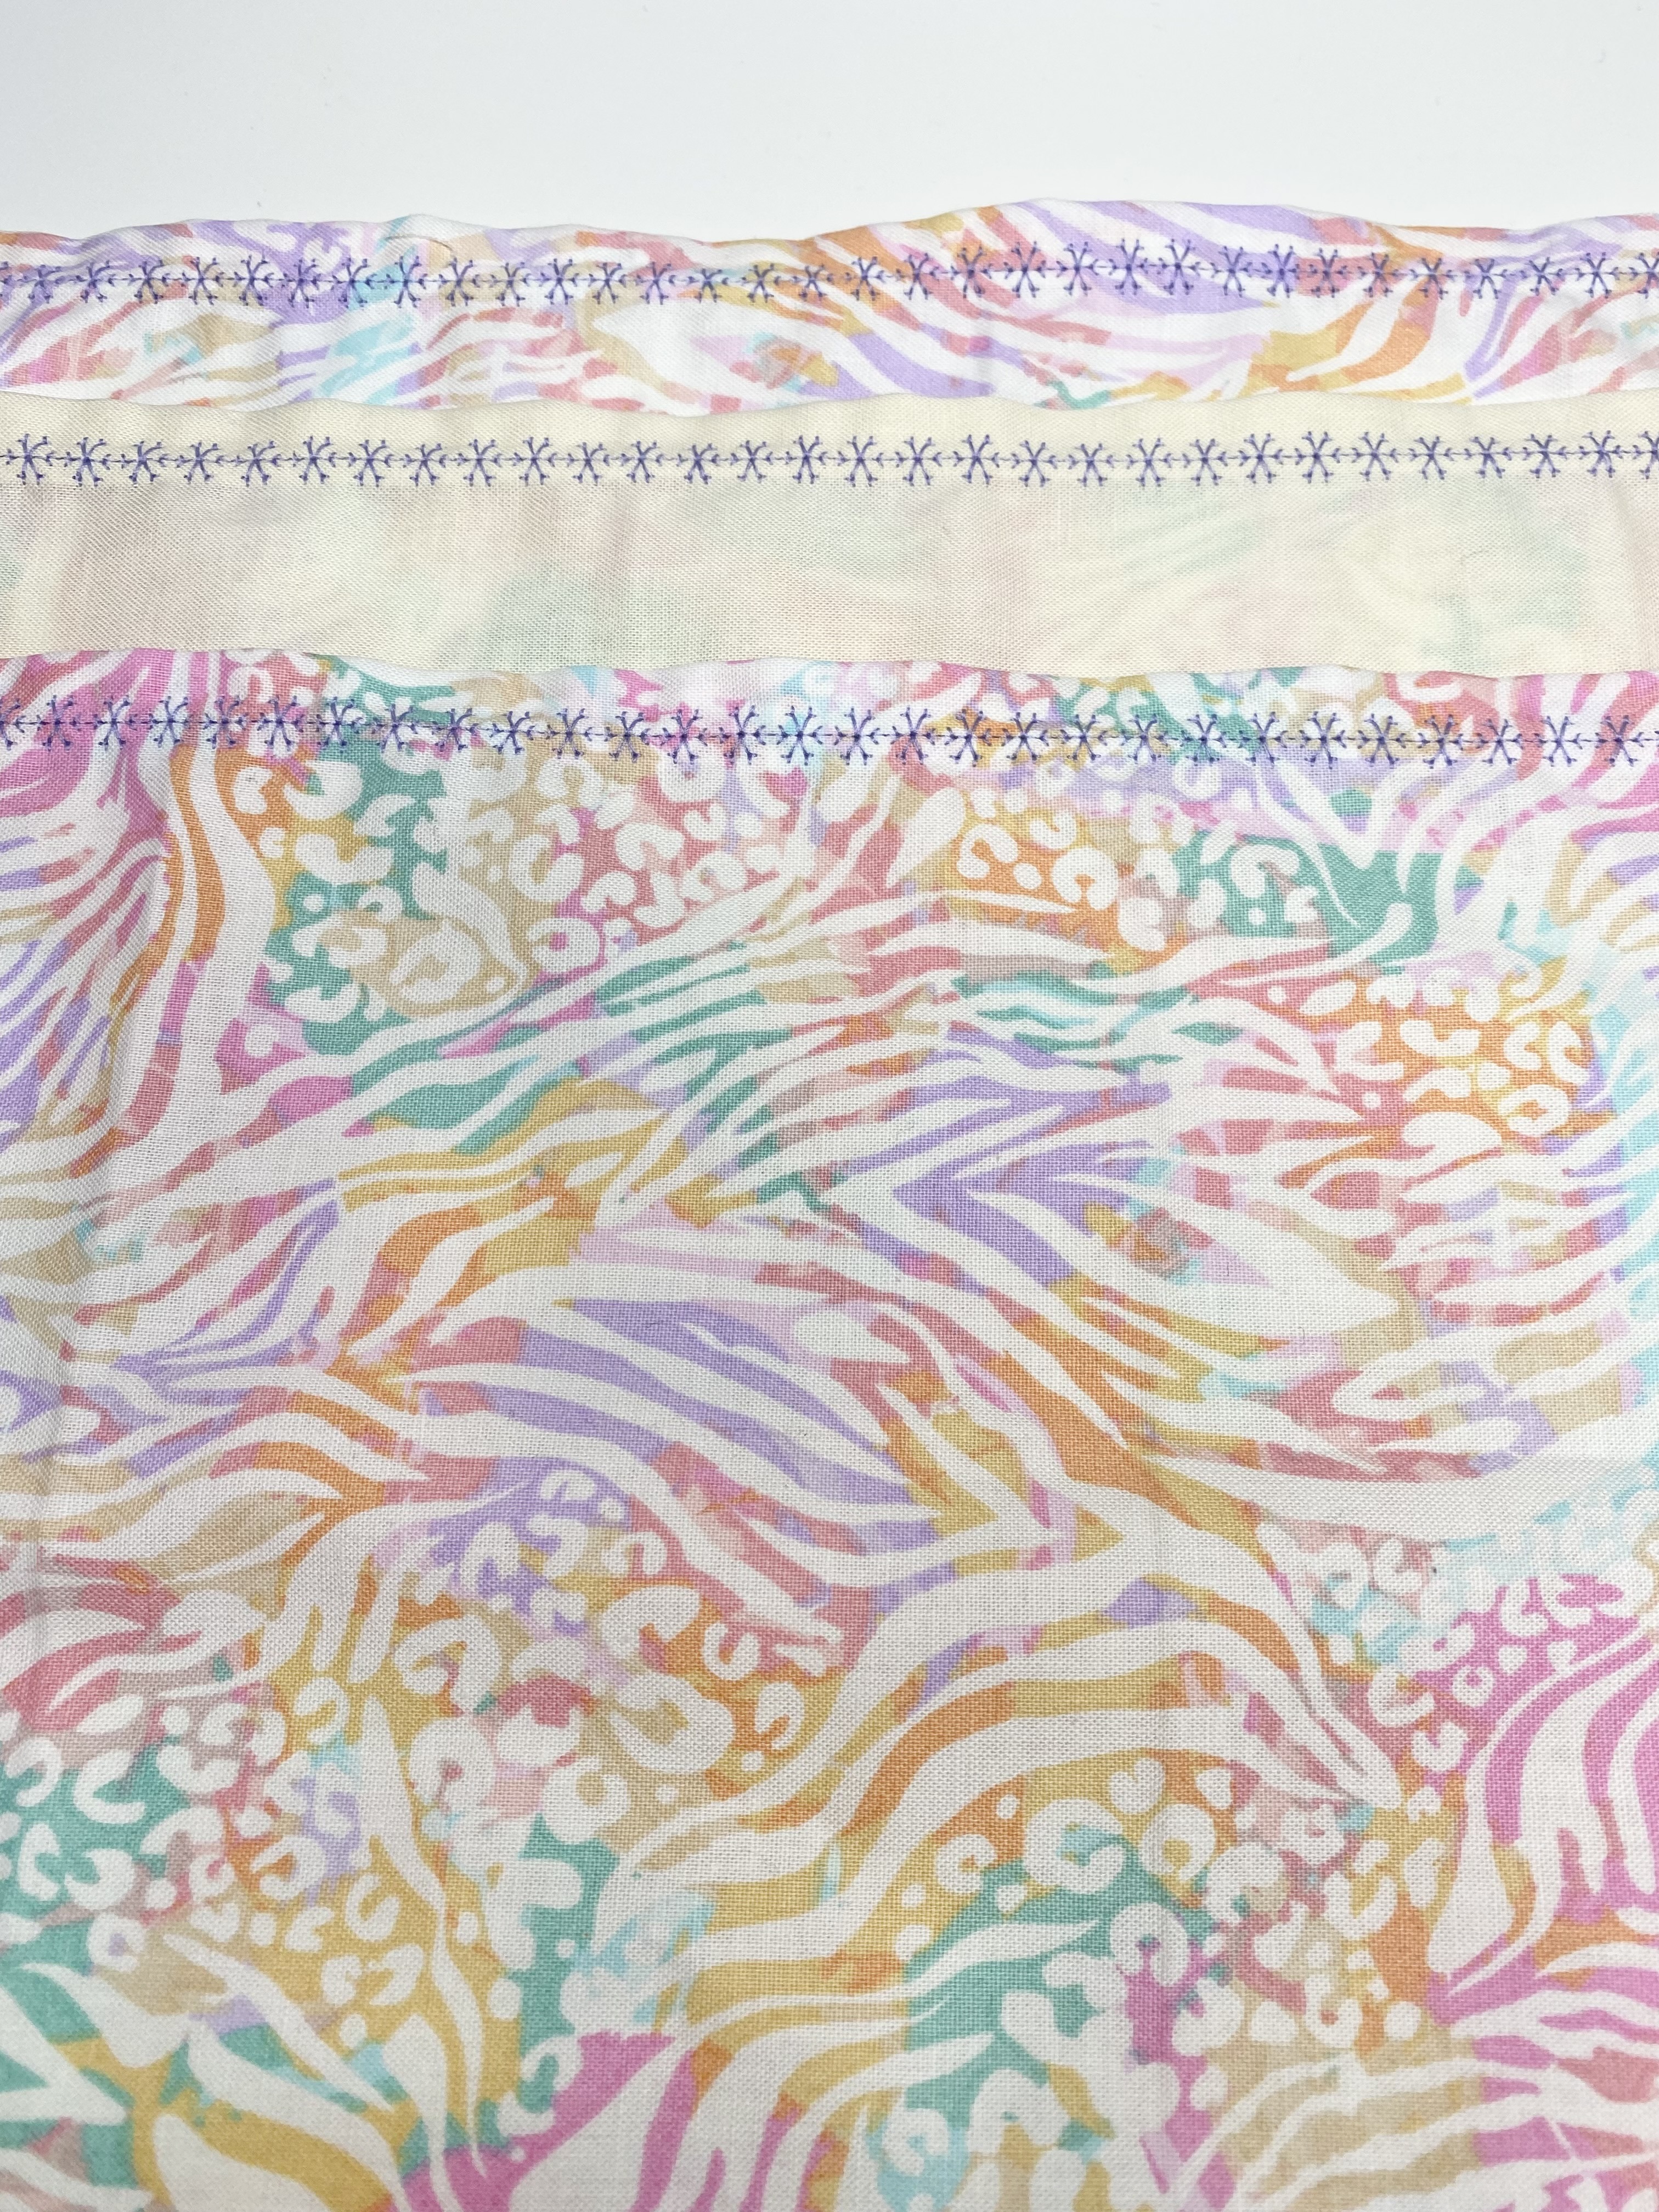
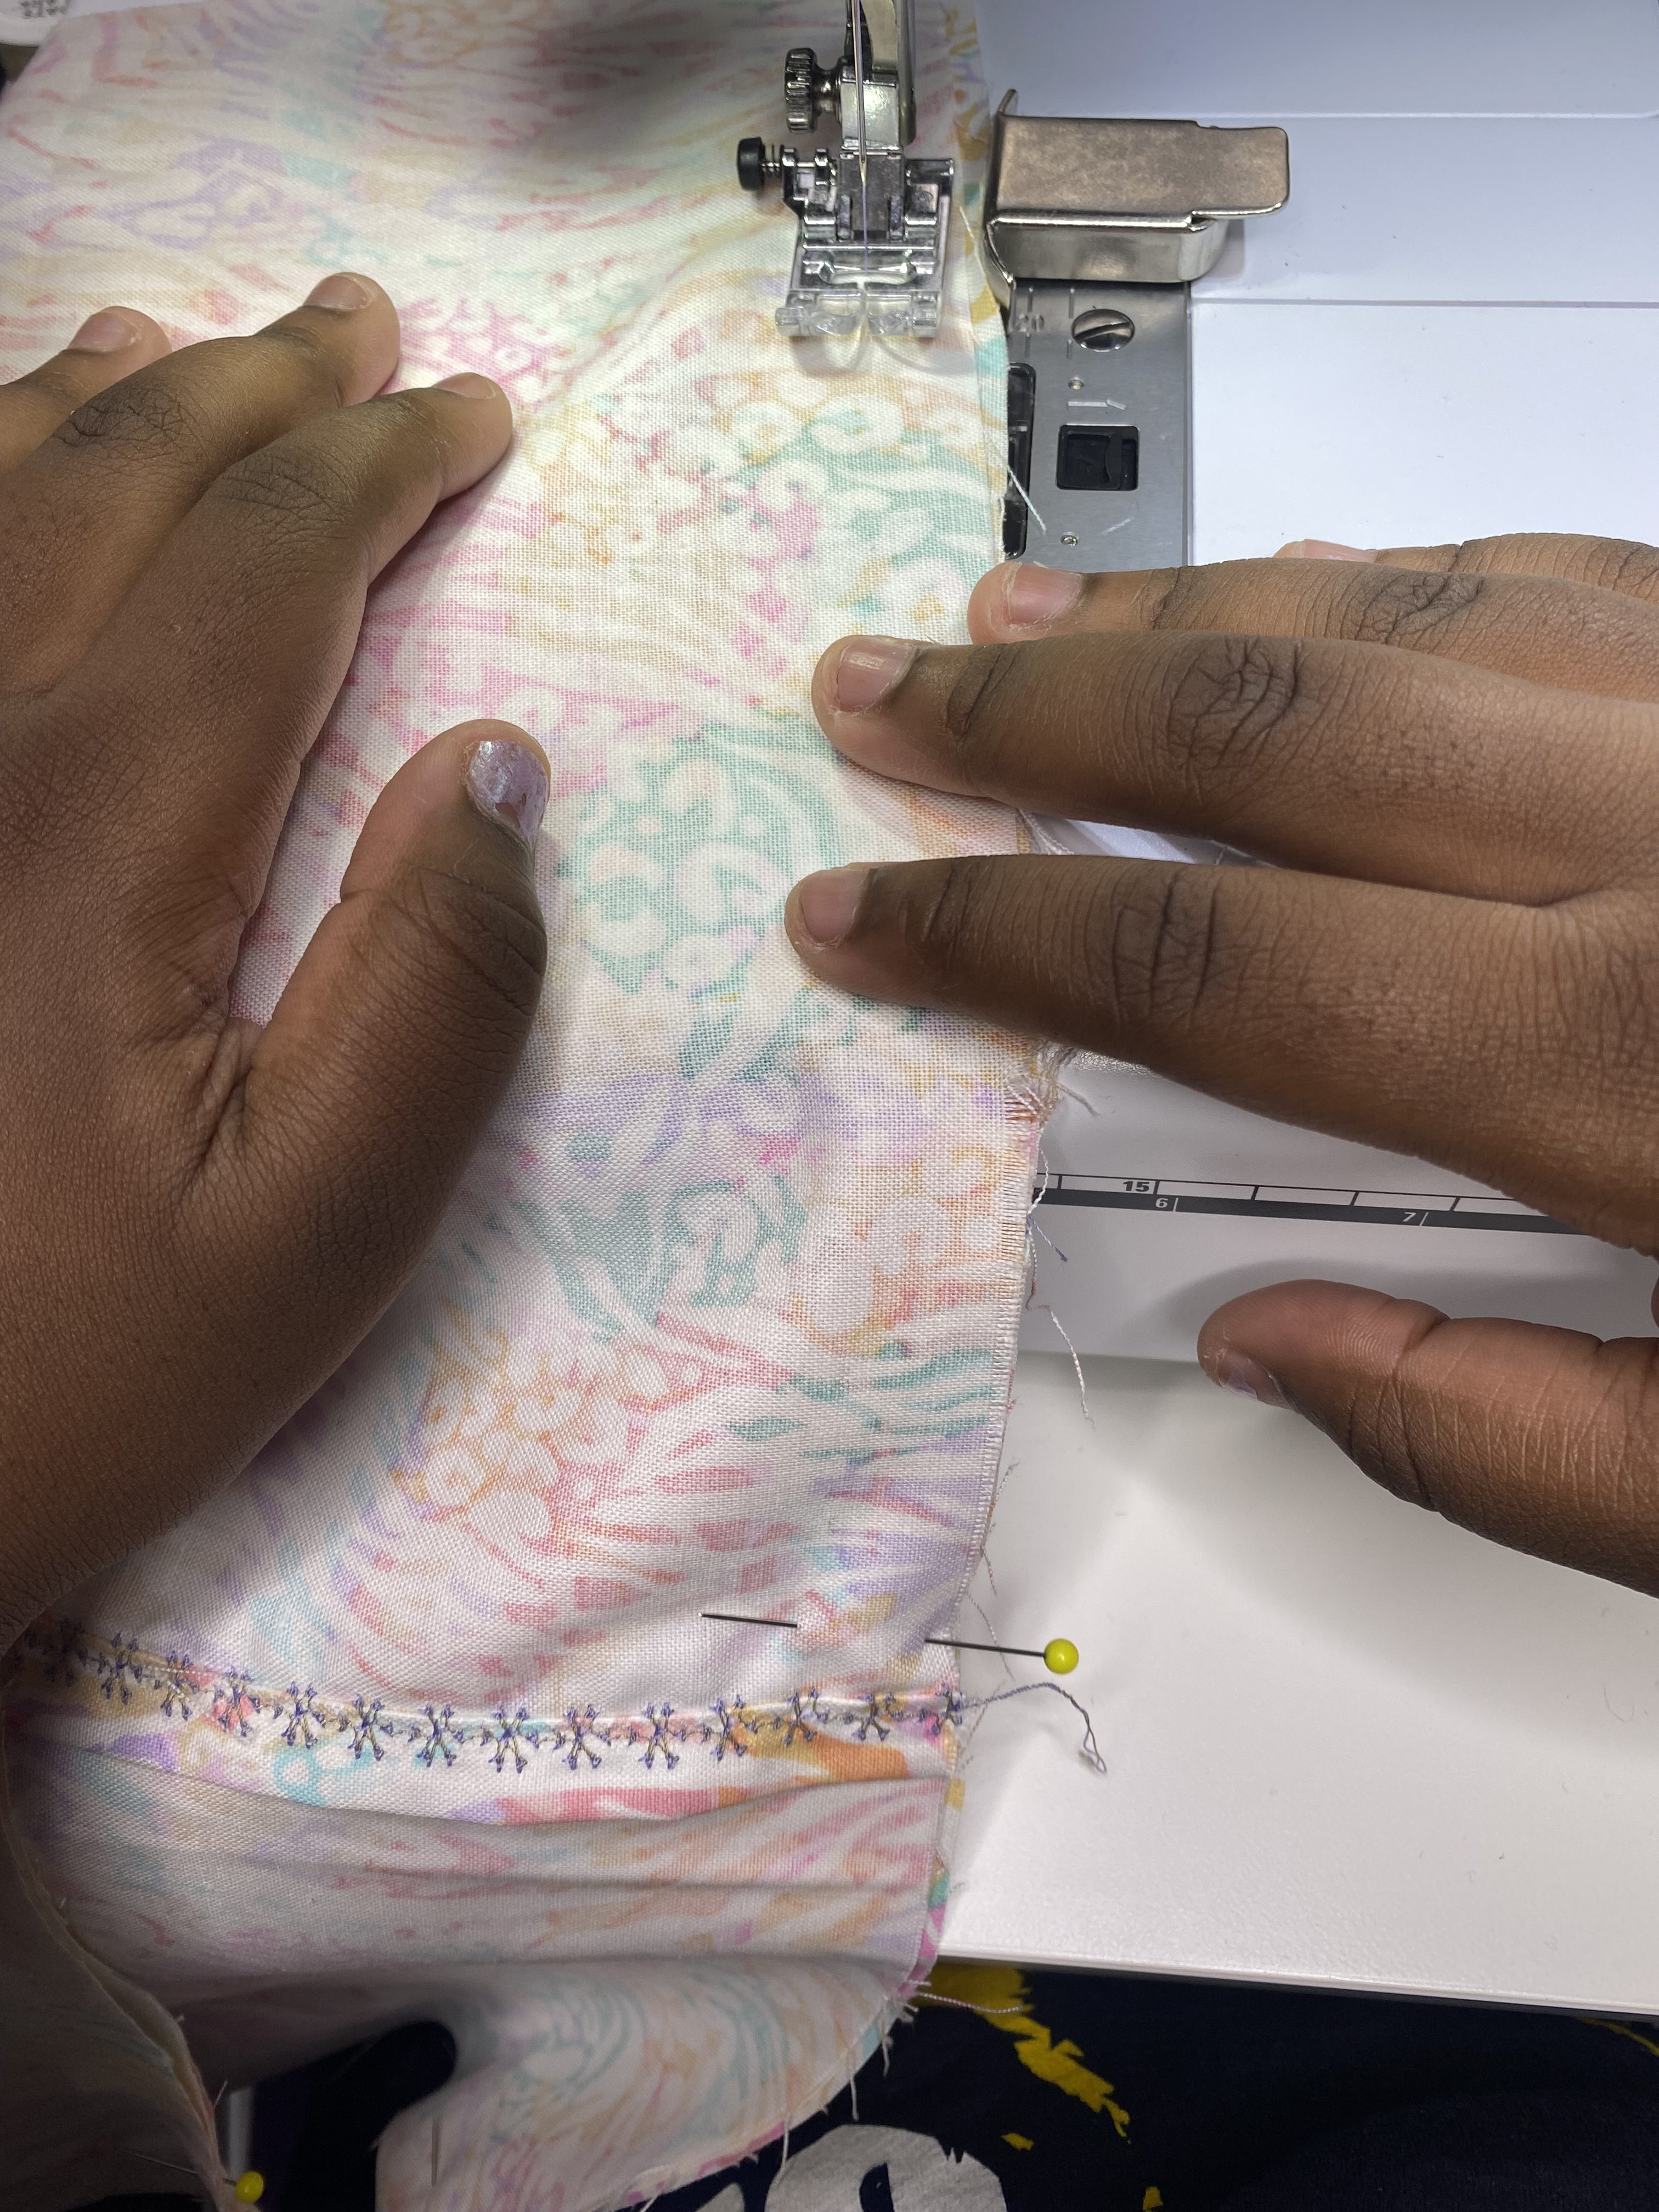
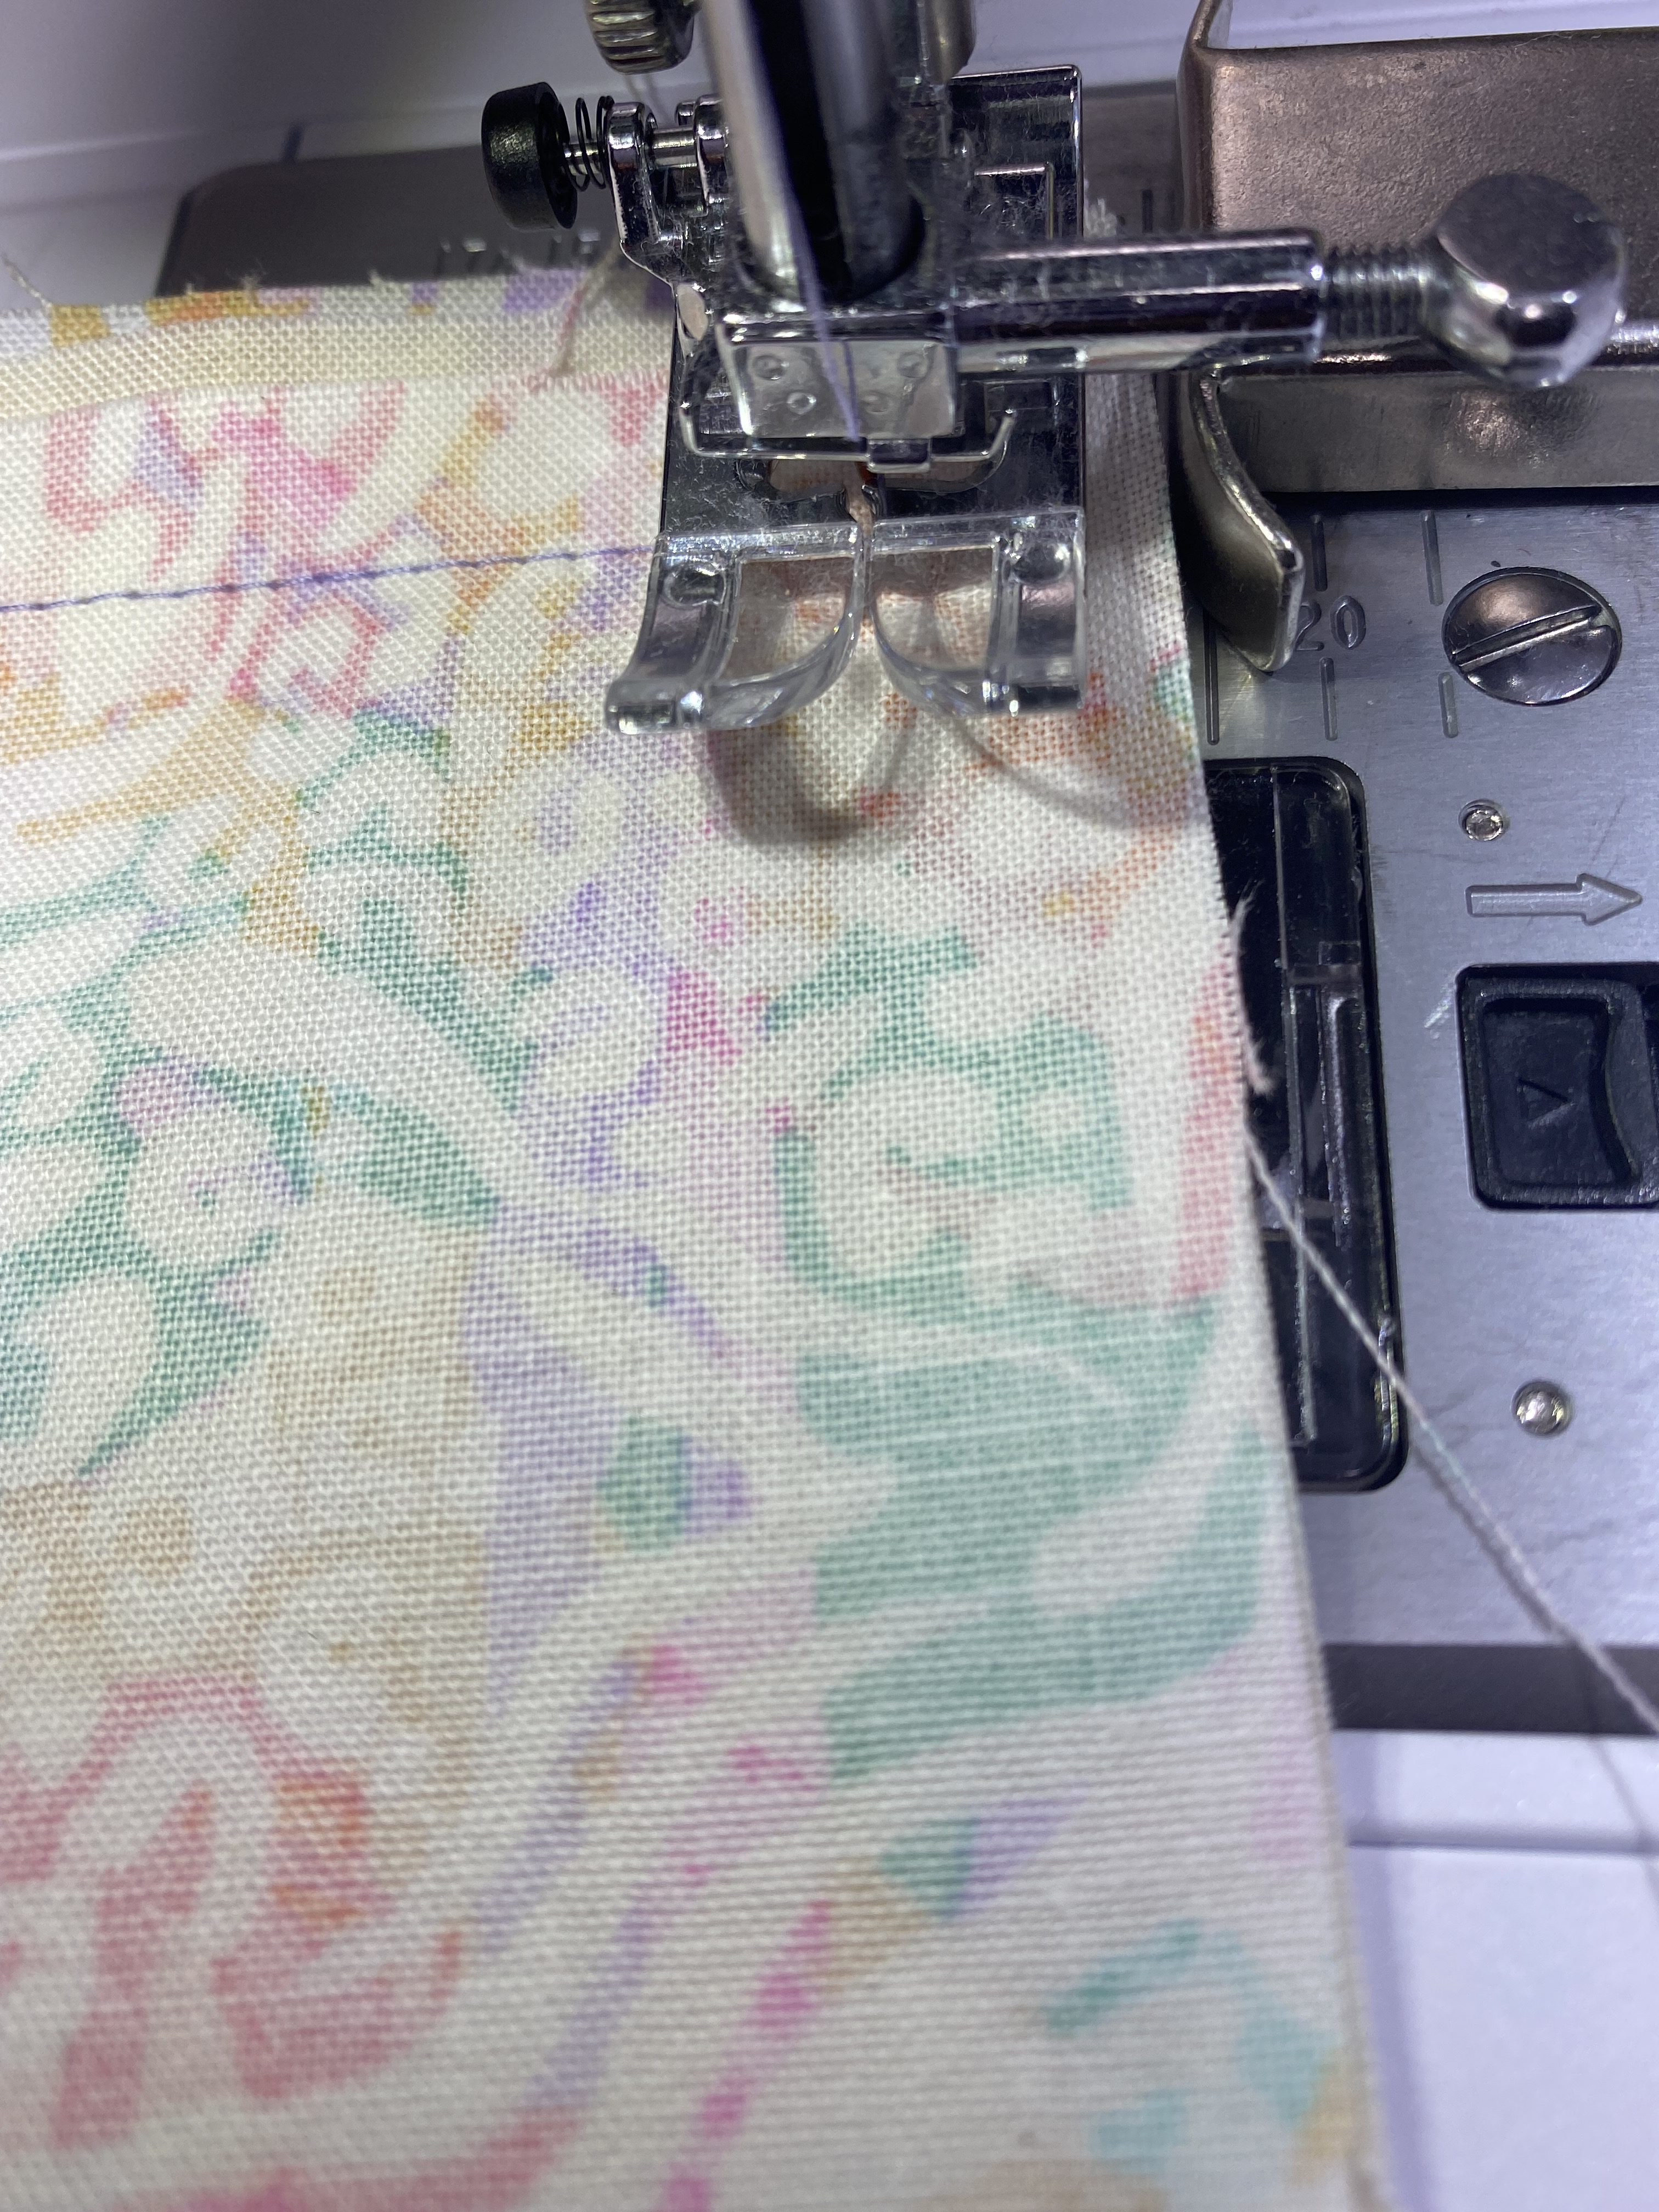
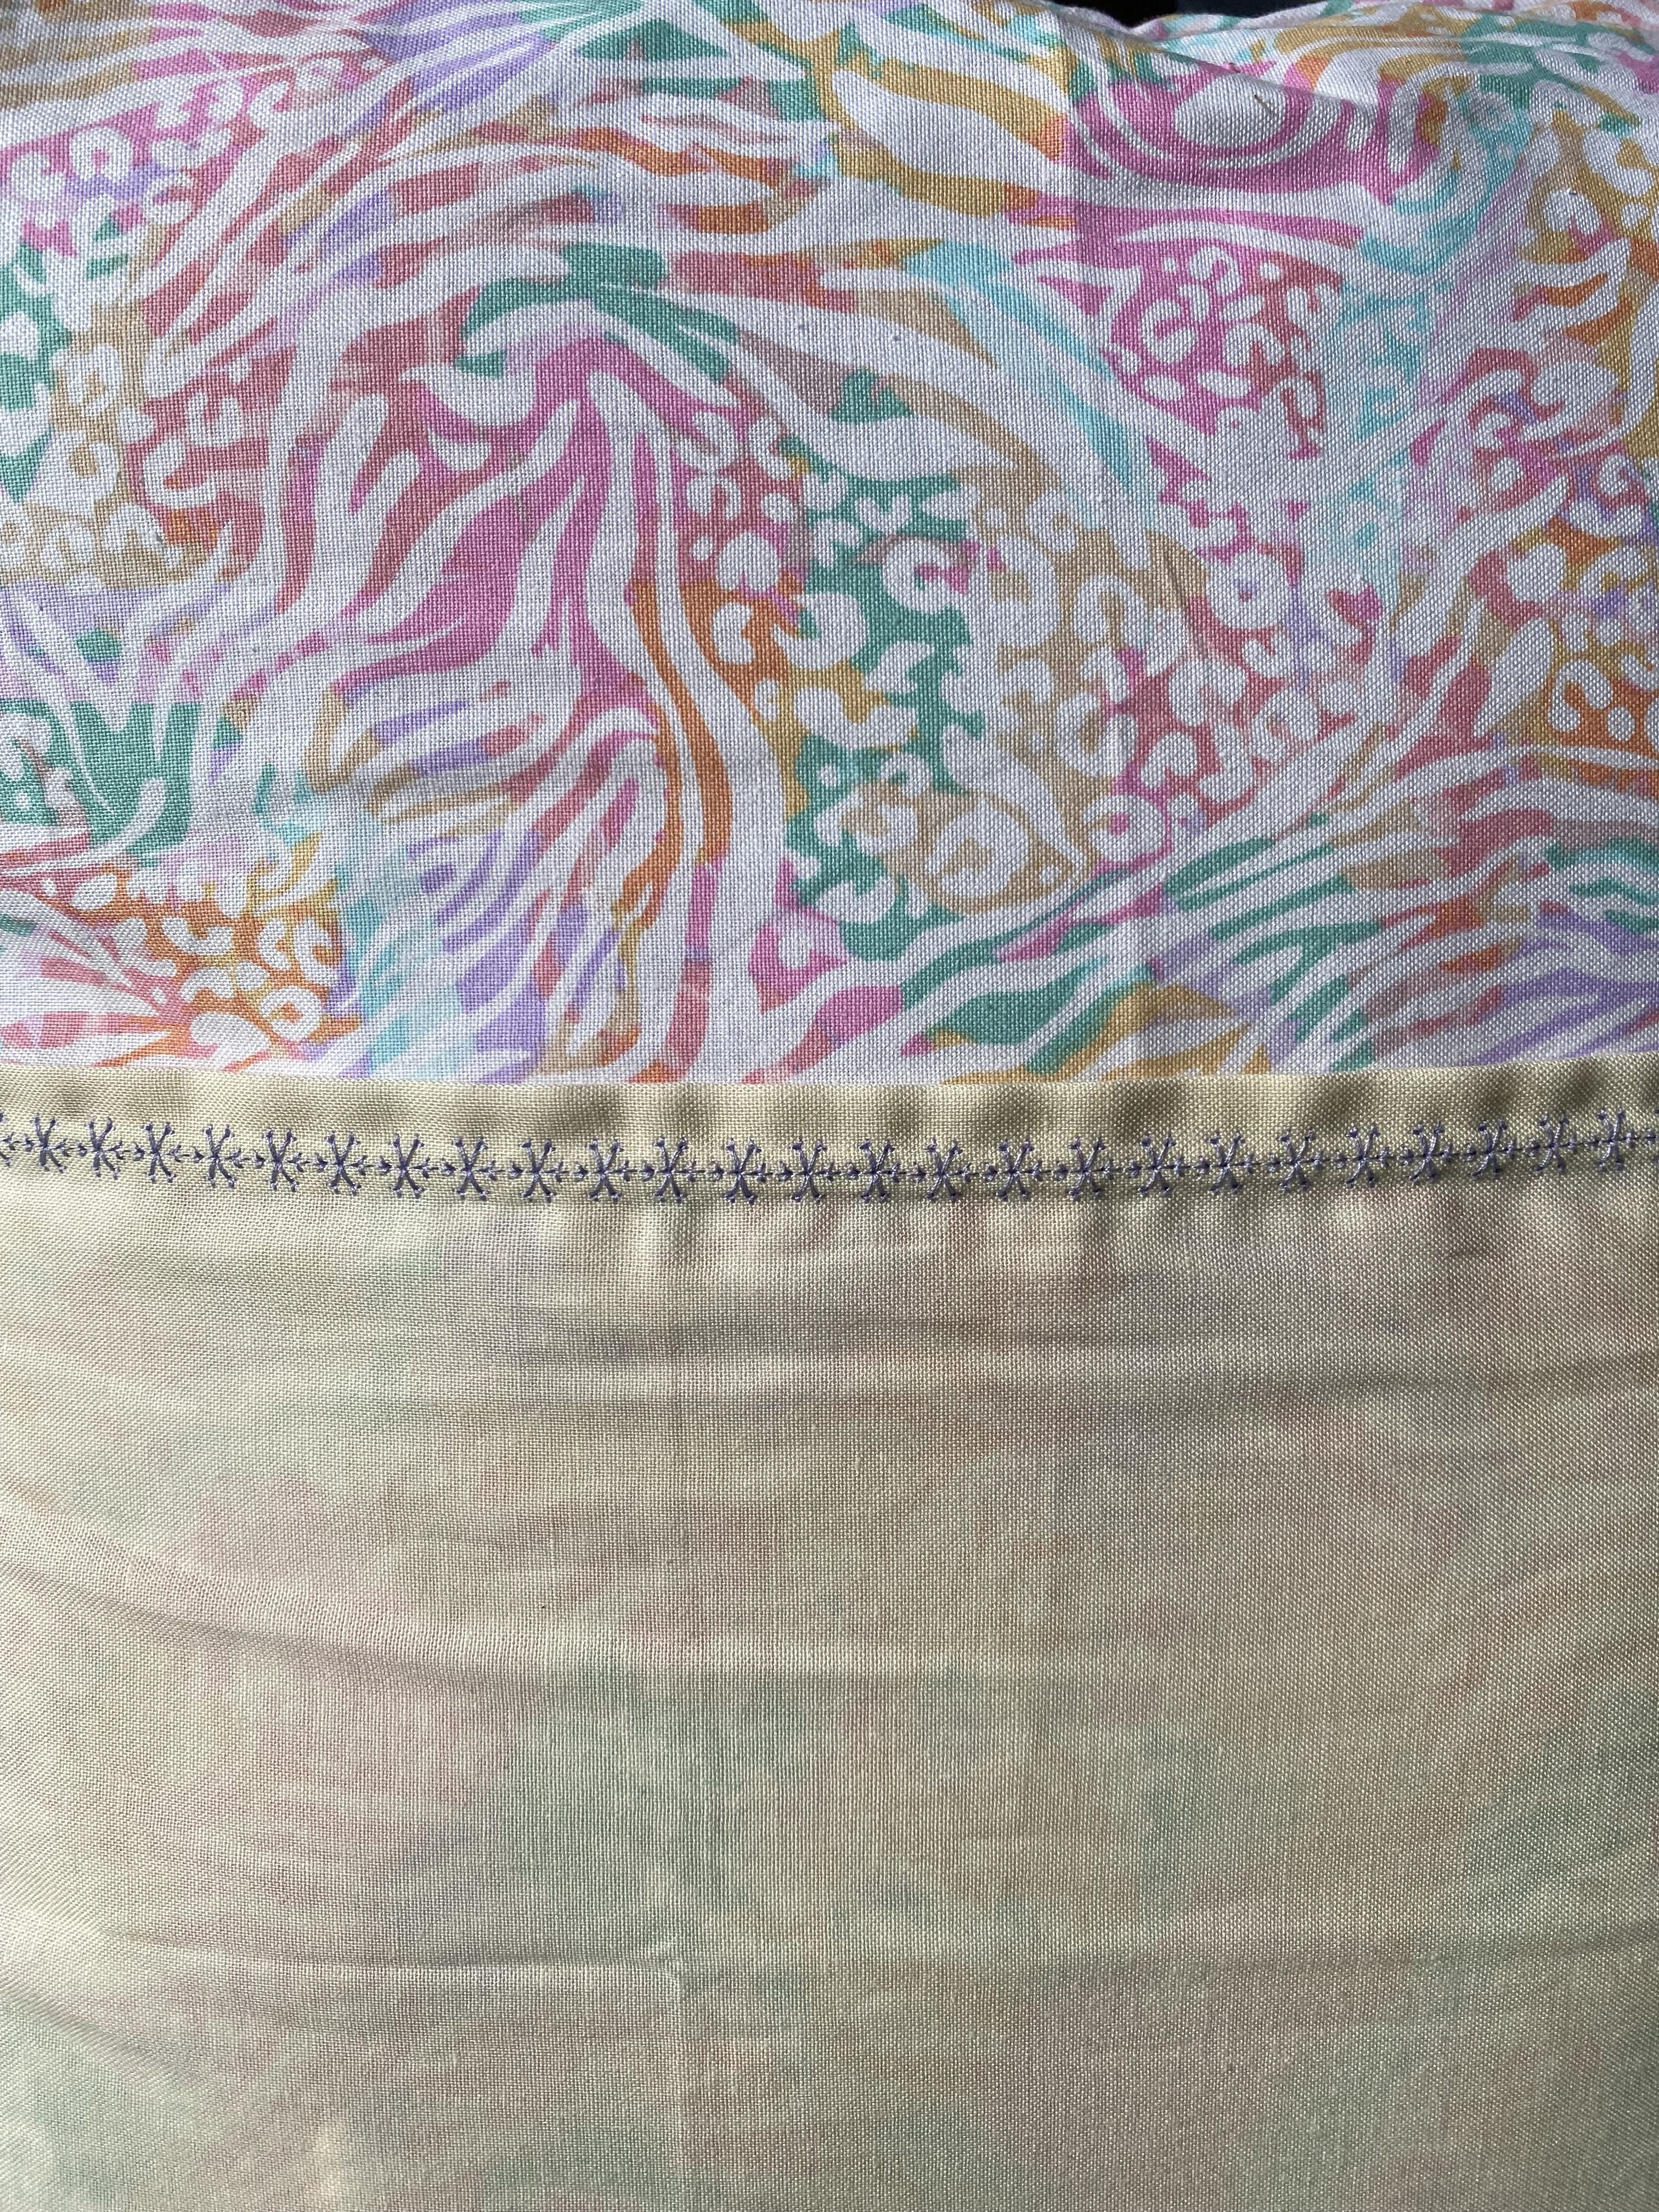
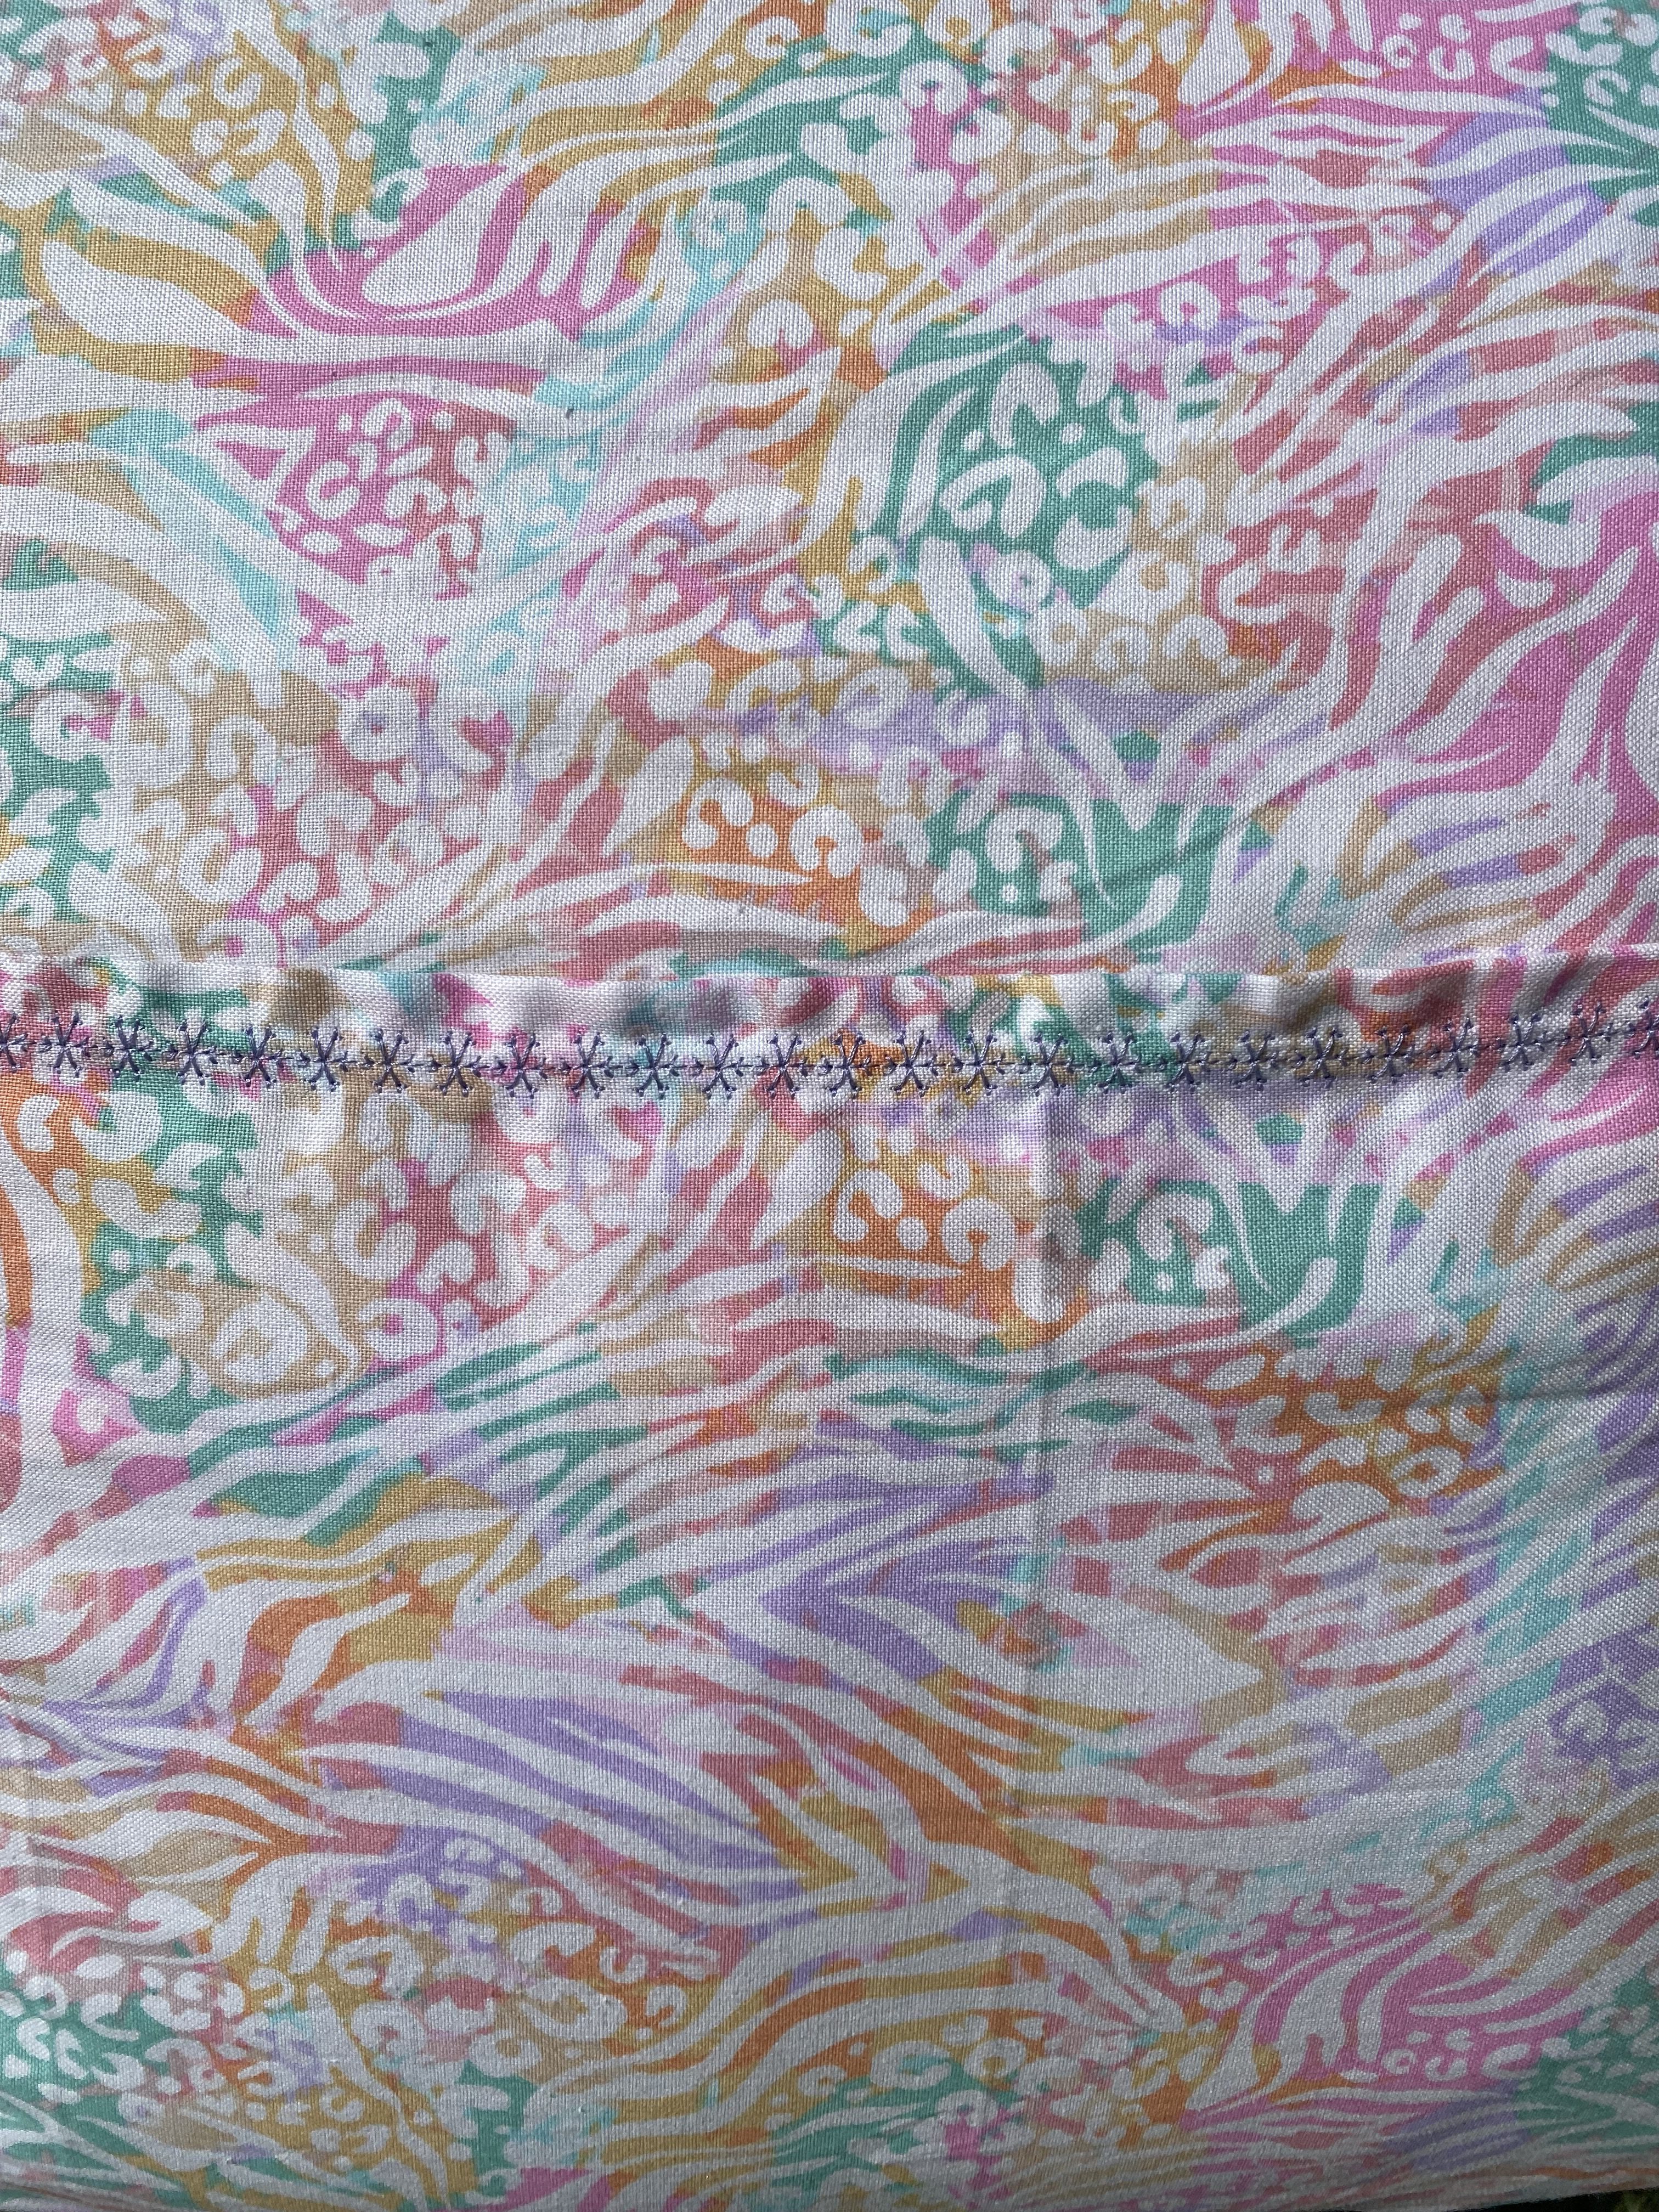
Edgestitch close to the fold of the fabric.
Here’s a great tip: This is a good time to try out some decorative stitches on your machine if you’ve never done so. The decorative stitches can add a little touch of fun to your pillow.
 Repeat the process above with the other two (2) rectangle pieces.
Assembling the Front Pieces
Grab the large front pillow piece (the piece that is 17″ x 17″) and lay it down on your work table with the right side facing up.
Now, take your pocket piece and place it directly on top of your front piece. You want to have the part of the pocket piece that you stitched facing up towards the middle of the front pillow piece. Make sure you line up the raw edges on the sides and bottom.
Note: Remember, we normally place all pieces so that the right sides are together, but for this part, the pocket piece will have the right side facing up so the wrong side of the pocket piece will be touching the right side of the pillow’s front piece.
Assembling the Back Pieces
Next, take your second rectangle piece and place it right side facing down on top of the front piece and pocket piece. Place the part of this rectangle that you folded over twice and stitched in the center of the pillow. It should be facing upward toward the top of the pillow.
Align the raw edges as best you can along the sides and bottom of the pillow, but if they don’t line up perfectly it’s ok because we will use a half-inch seam allowance that will cover any part of the edges that are misaligned.
Repeat this process with your final rectangle piece; however, this time place the part of the rectangle that you folded over twice in the center of the pillow facing downward. This piece will overlap the bottom piece and that’s ok, and this time you’ll align the raw edges of the top and sides of the pillow.
Take some pins and pin all of your pieces together all around the pillow so that they stay in place as you sew.

Sewing the Pillow Together
It’s time to start sewing! You can start at any corner of the pillow that you would like.
Place your pillow under the needle and sew all the way around the pillow using a 1/2 inch seam allowance. Remember to backstitch at the beginning so that you lock your stitches.
When you reach a corner you want to pivot or turn your work under the needle. In order to do that smoothly, you want to make sure that you stop sewing about a 1/2 inch before the end of the pillow.
Make sure that your needle is in the down position and raise your pressure foot so that you can turn your work. Once you’ve turned your work under the needle you will be on the next side.
Lower your pressure foot and continue sewing with a 1/2″ seam allowance.
Repeat the previous steps on the remaining sides until you end up back at your starting point. Once you’ve reached your starting point backstitch again to lock your stitches.
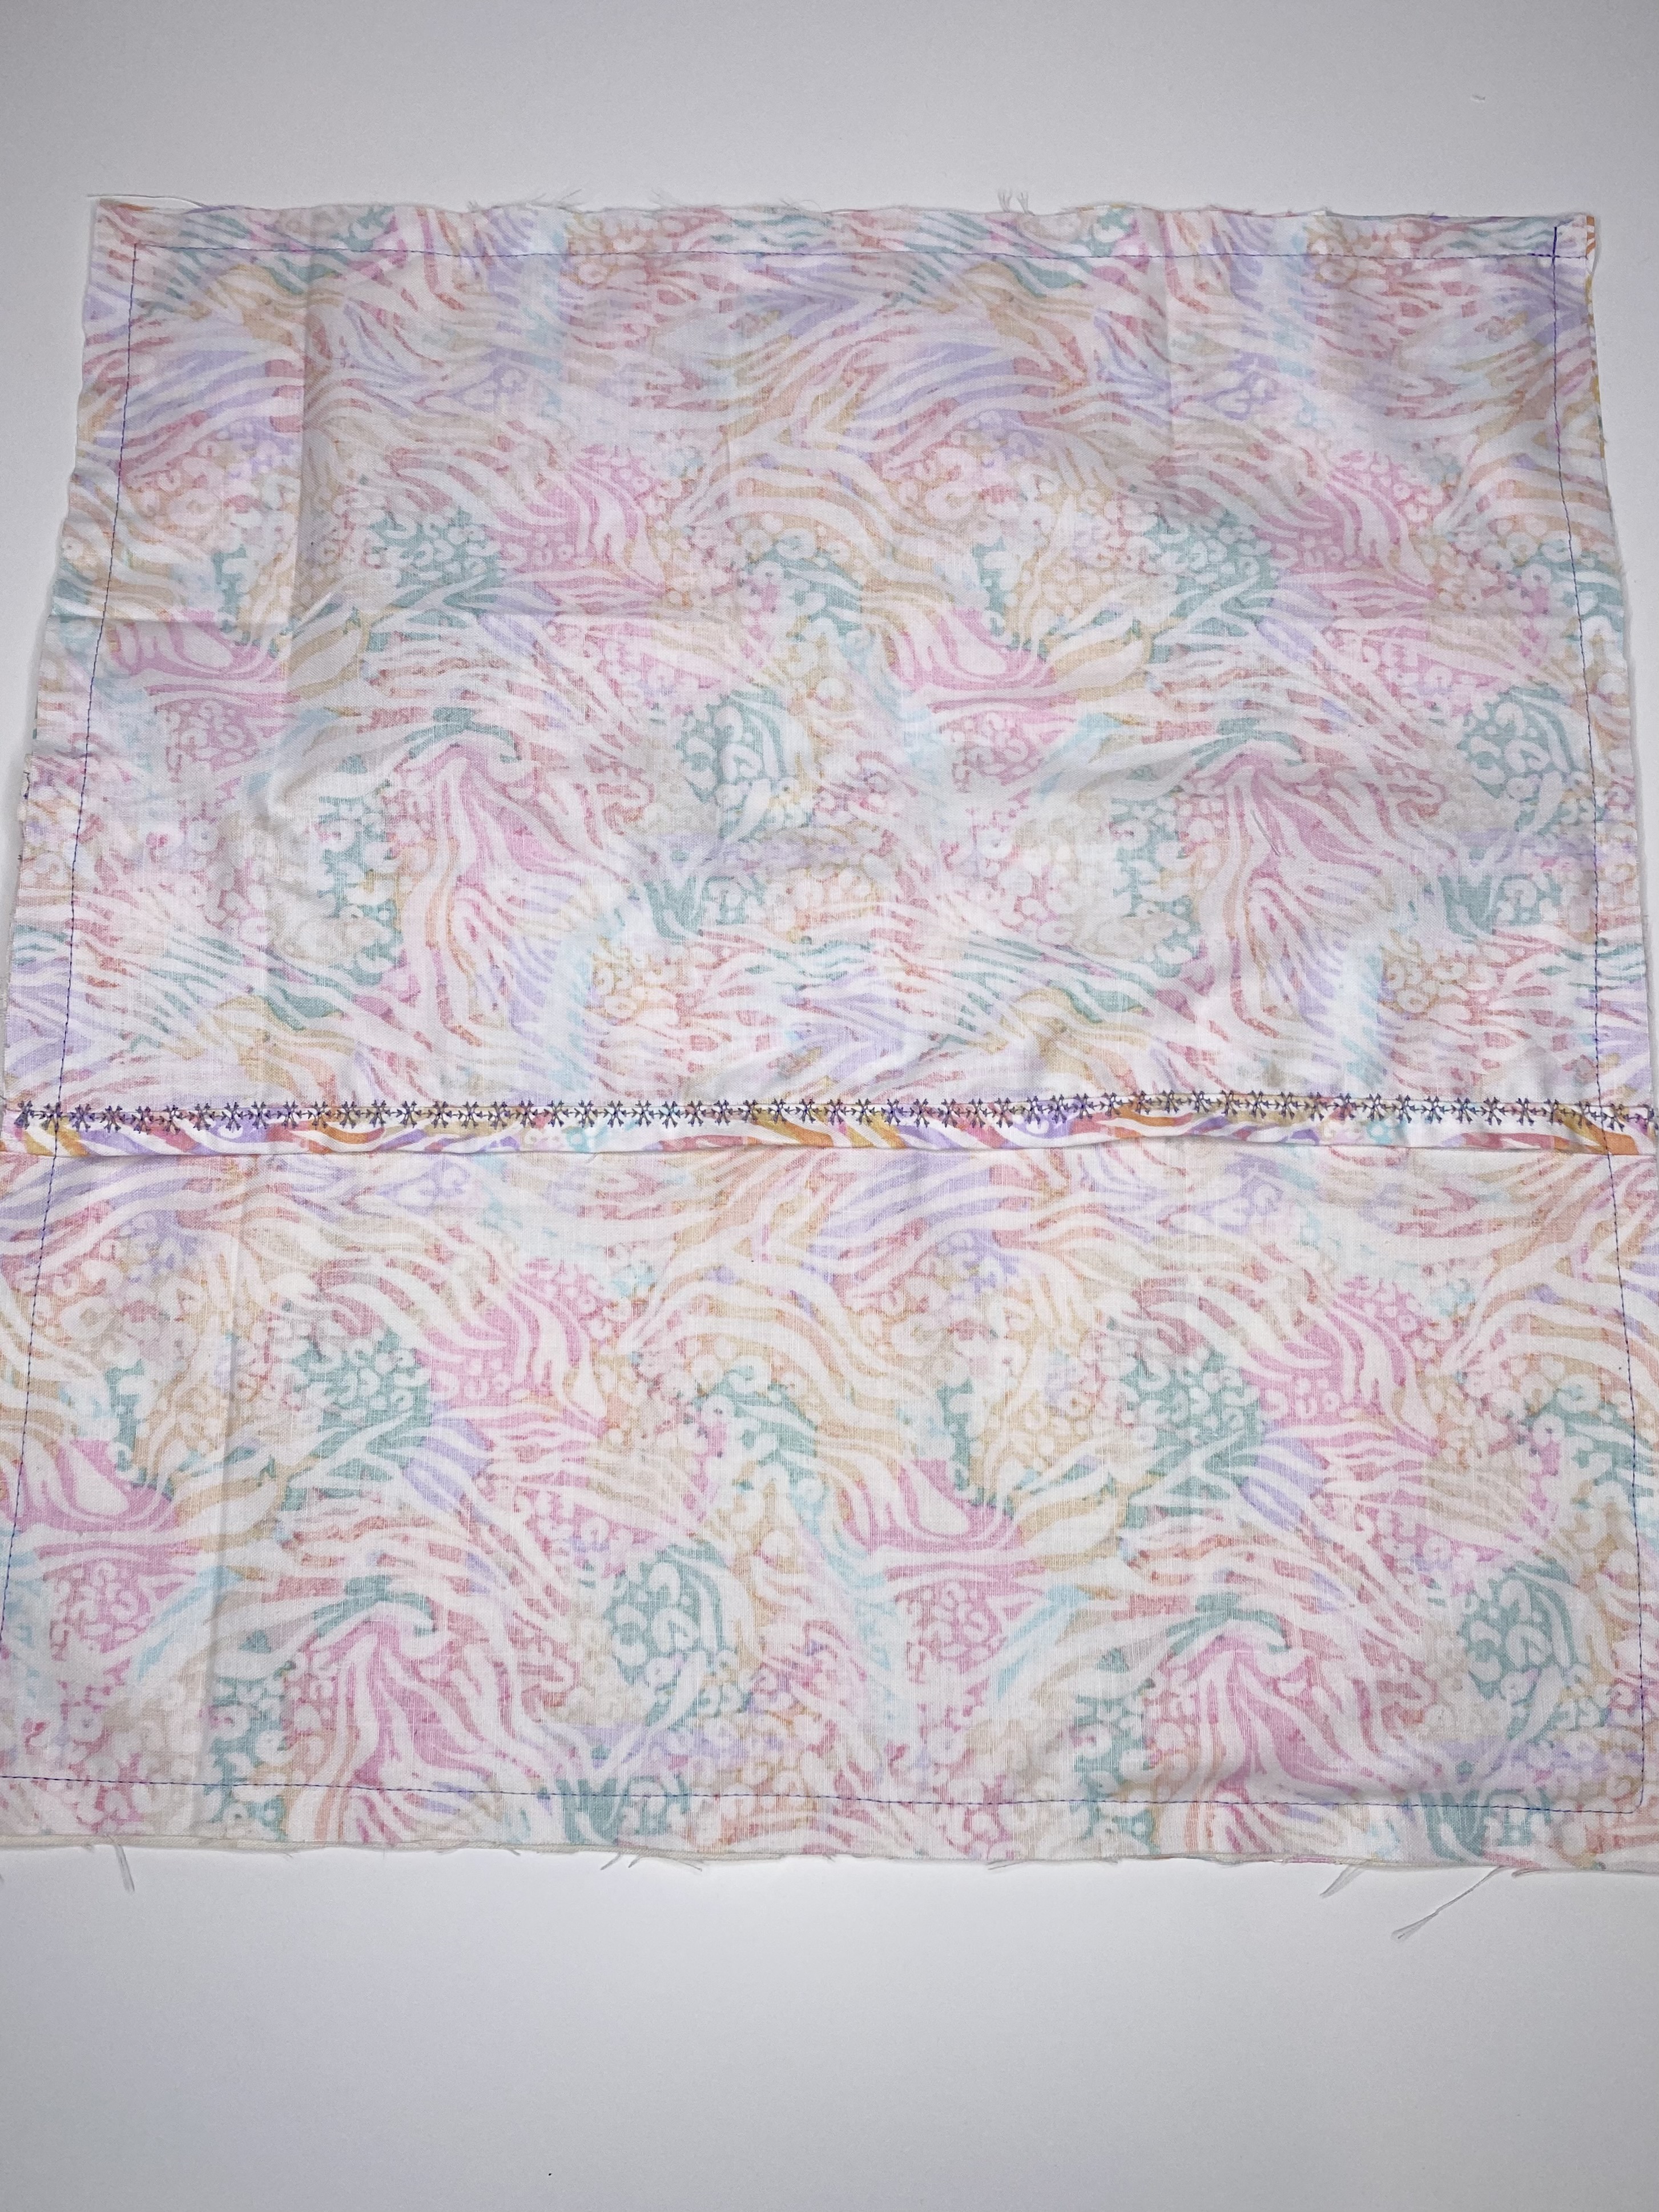
This is what your pillow should look like once you’ve finished sewing around all four sides.
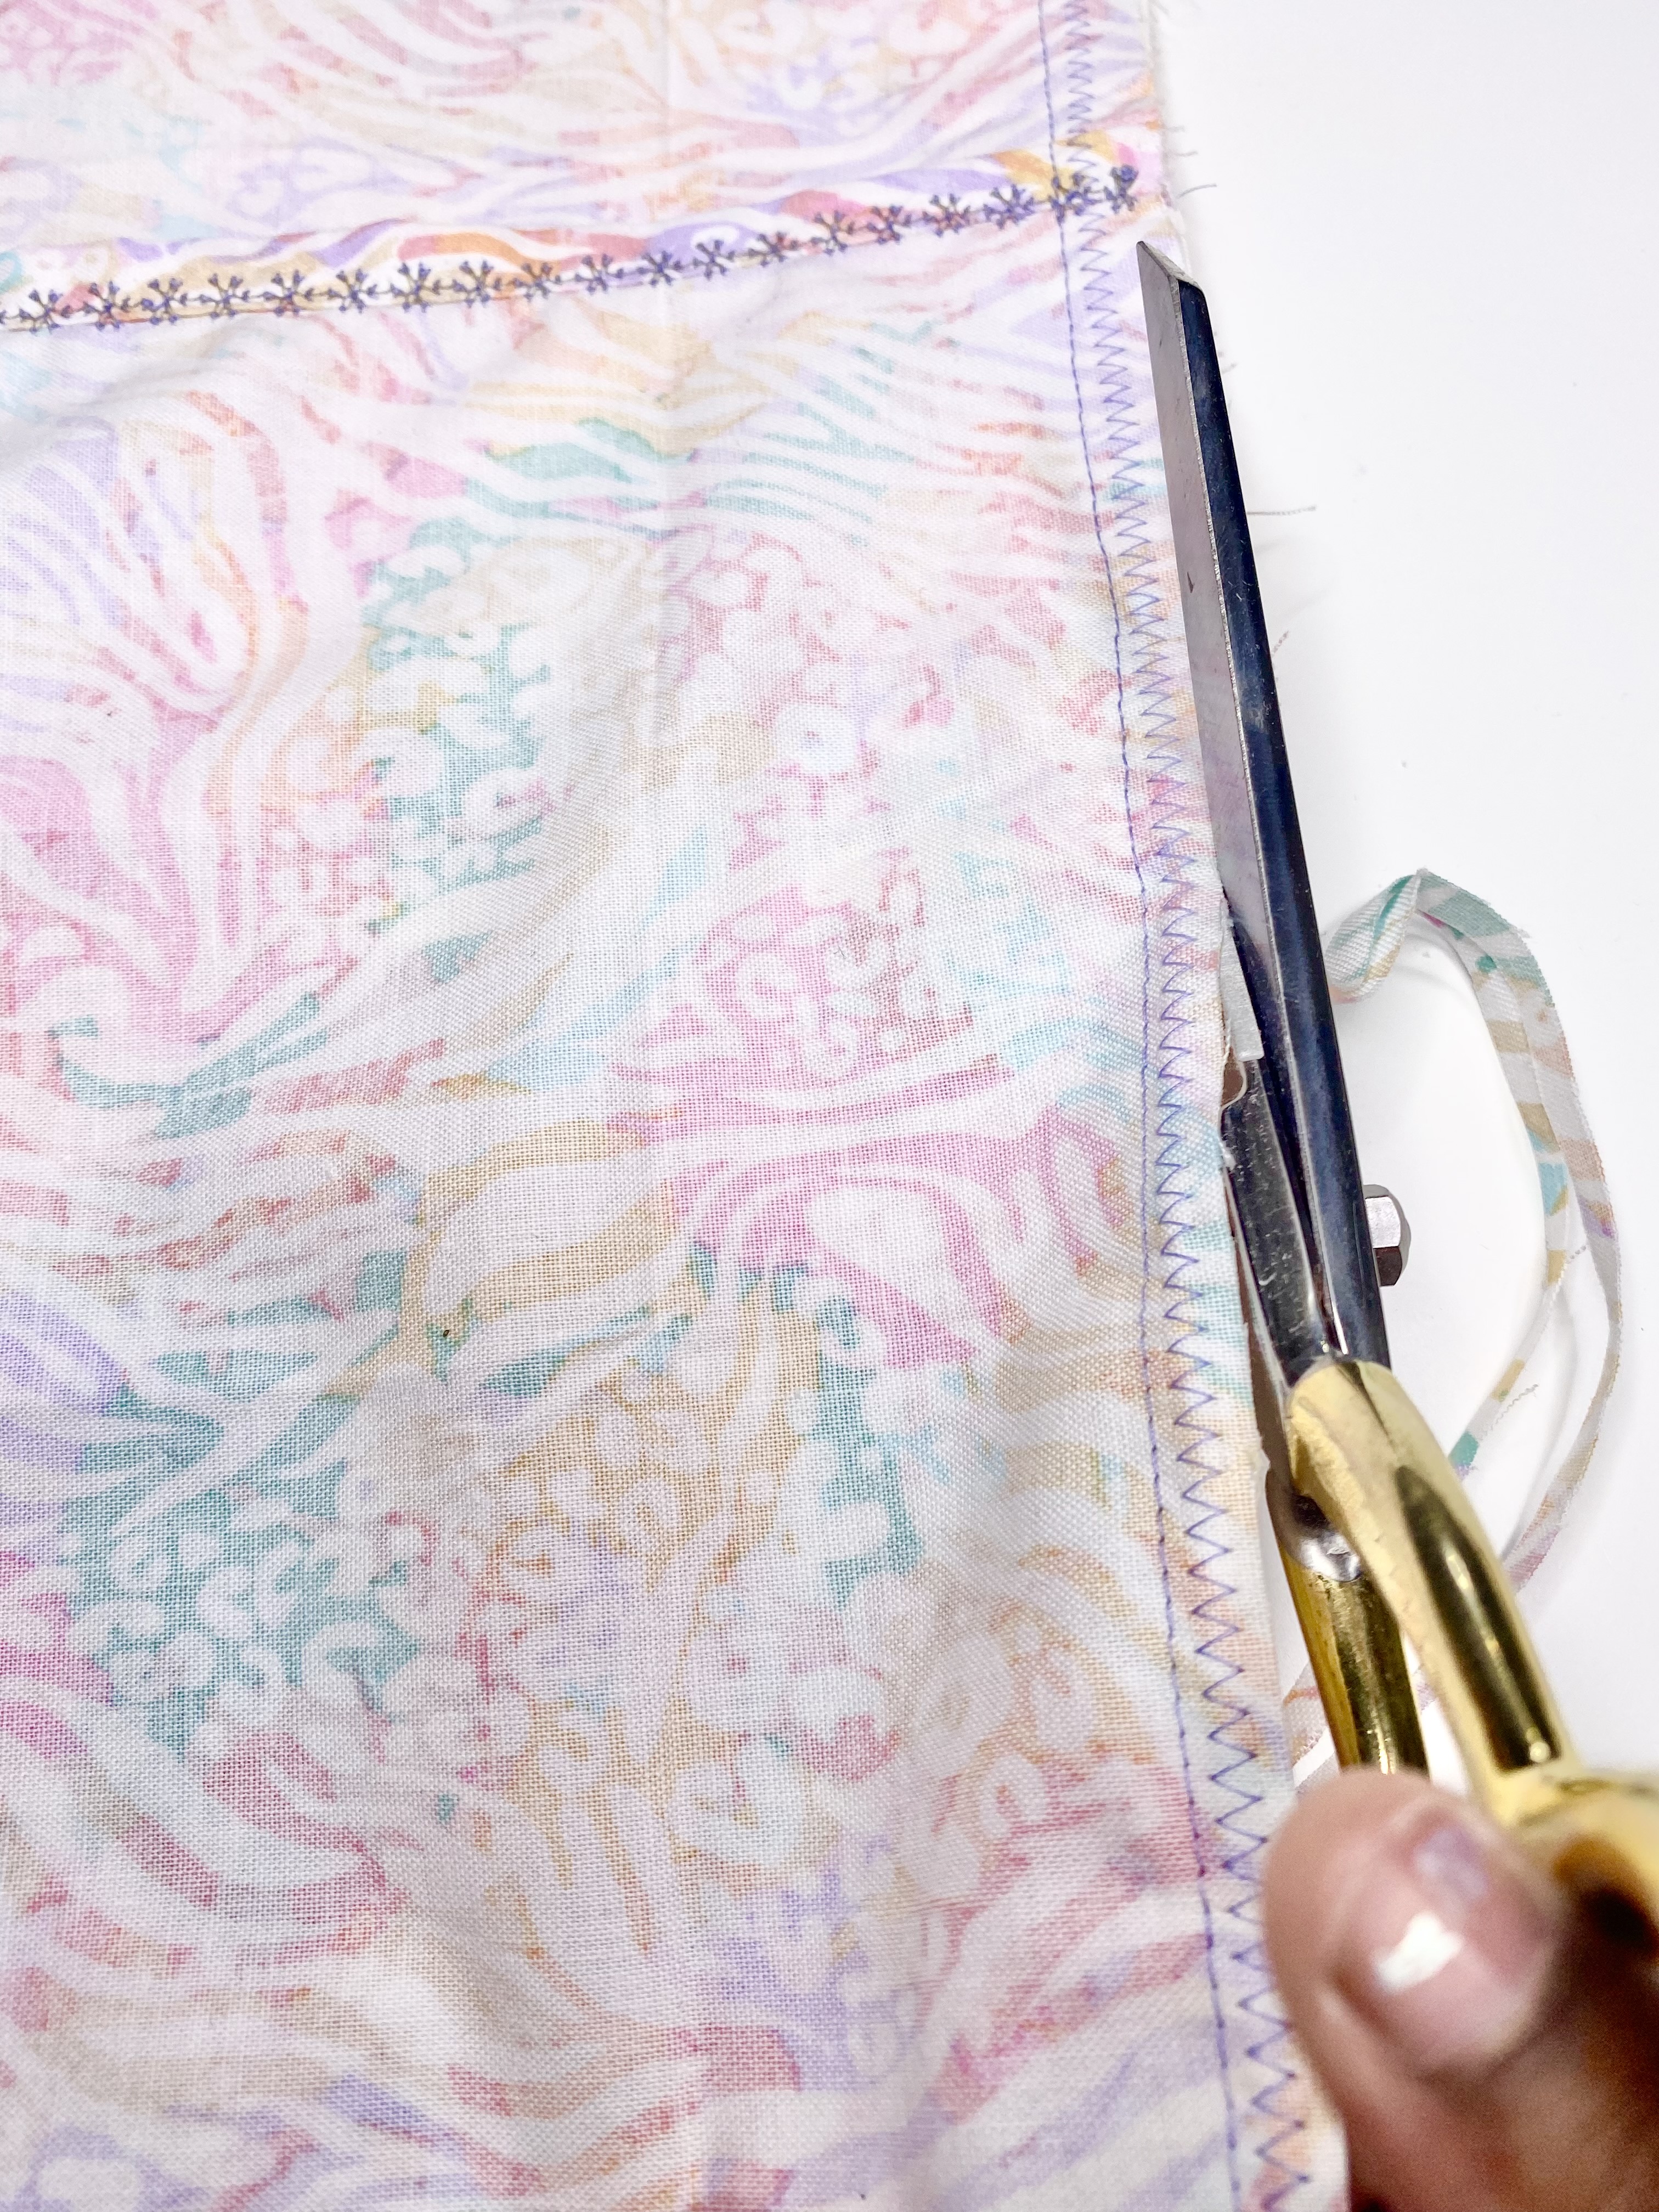
Once you’ve finished your edges you can remove any excess seam allowance that you may have. Be very careful not to accidentally cut the stitches you just made.
Completing Your Reading Pillow
Your pillow cover is now complete and ready to be turned right side out. Turn the cover right side out through the opening that the two rectangles made on the back of the pillow.
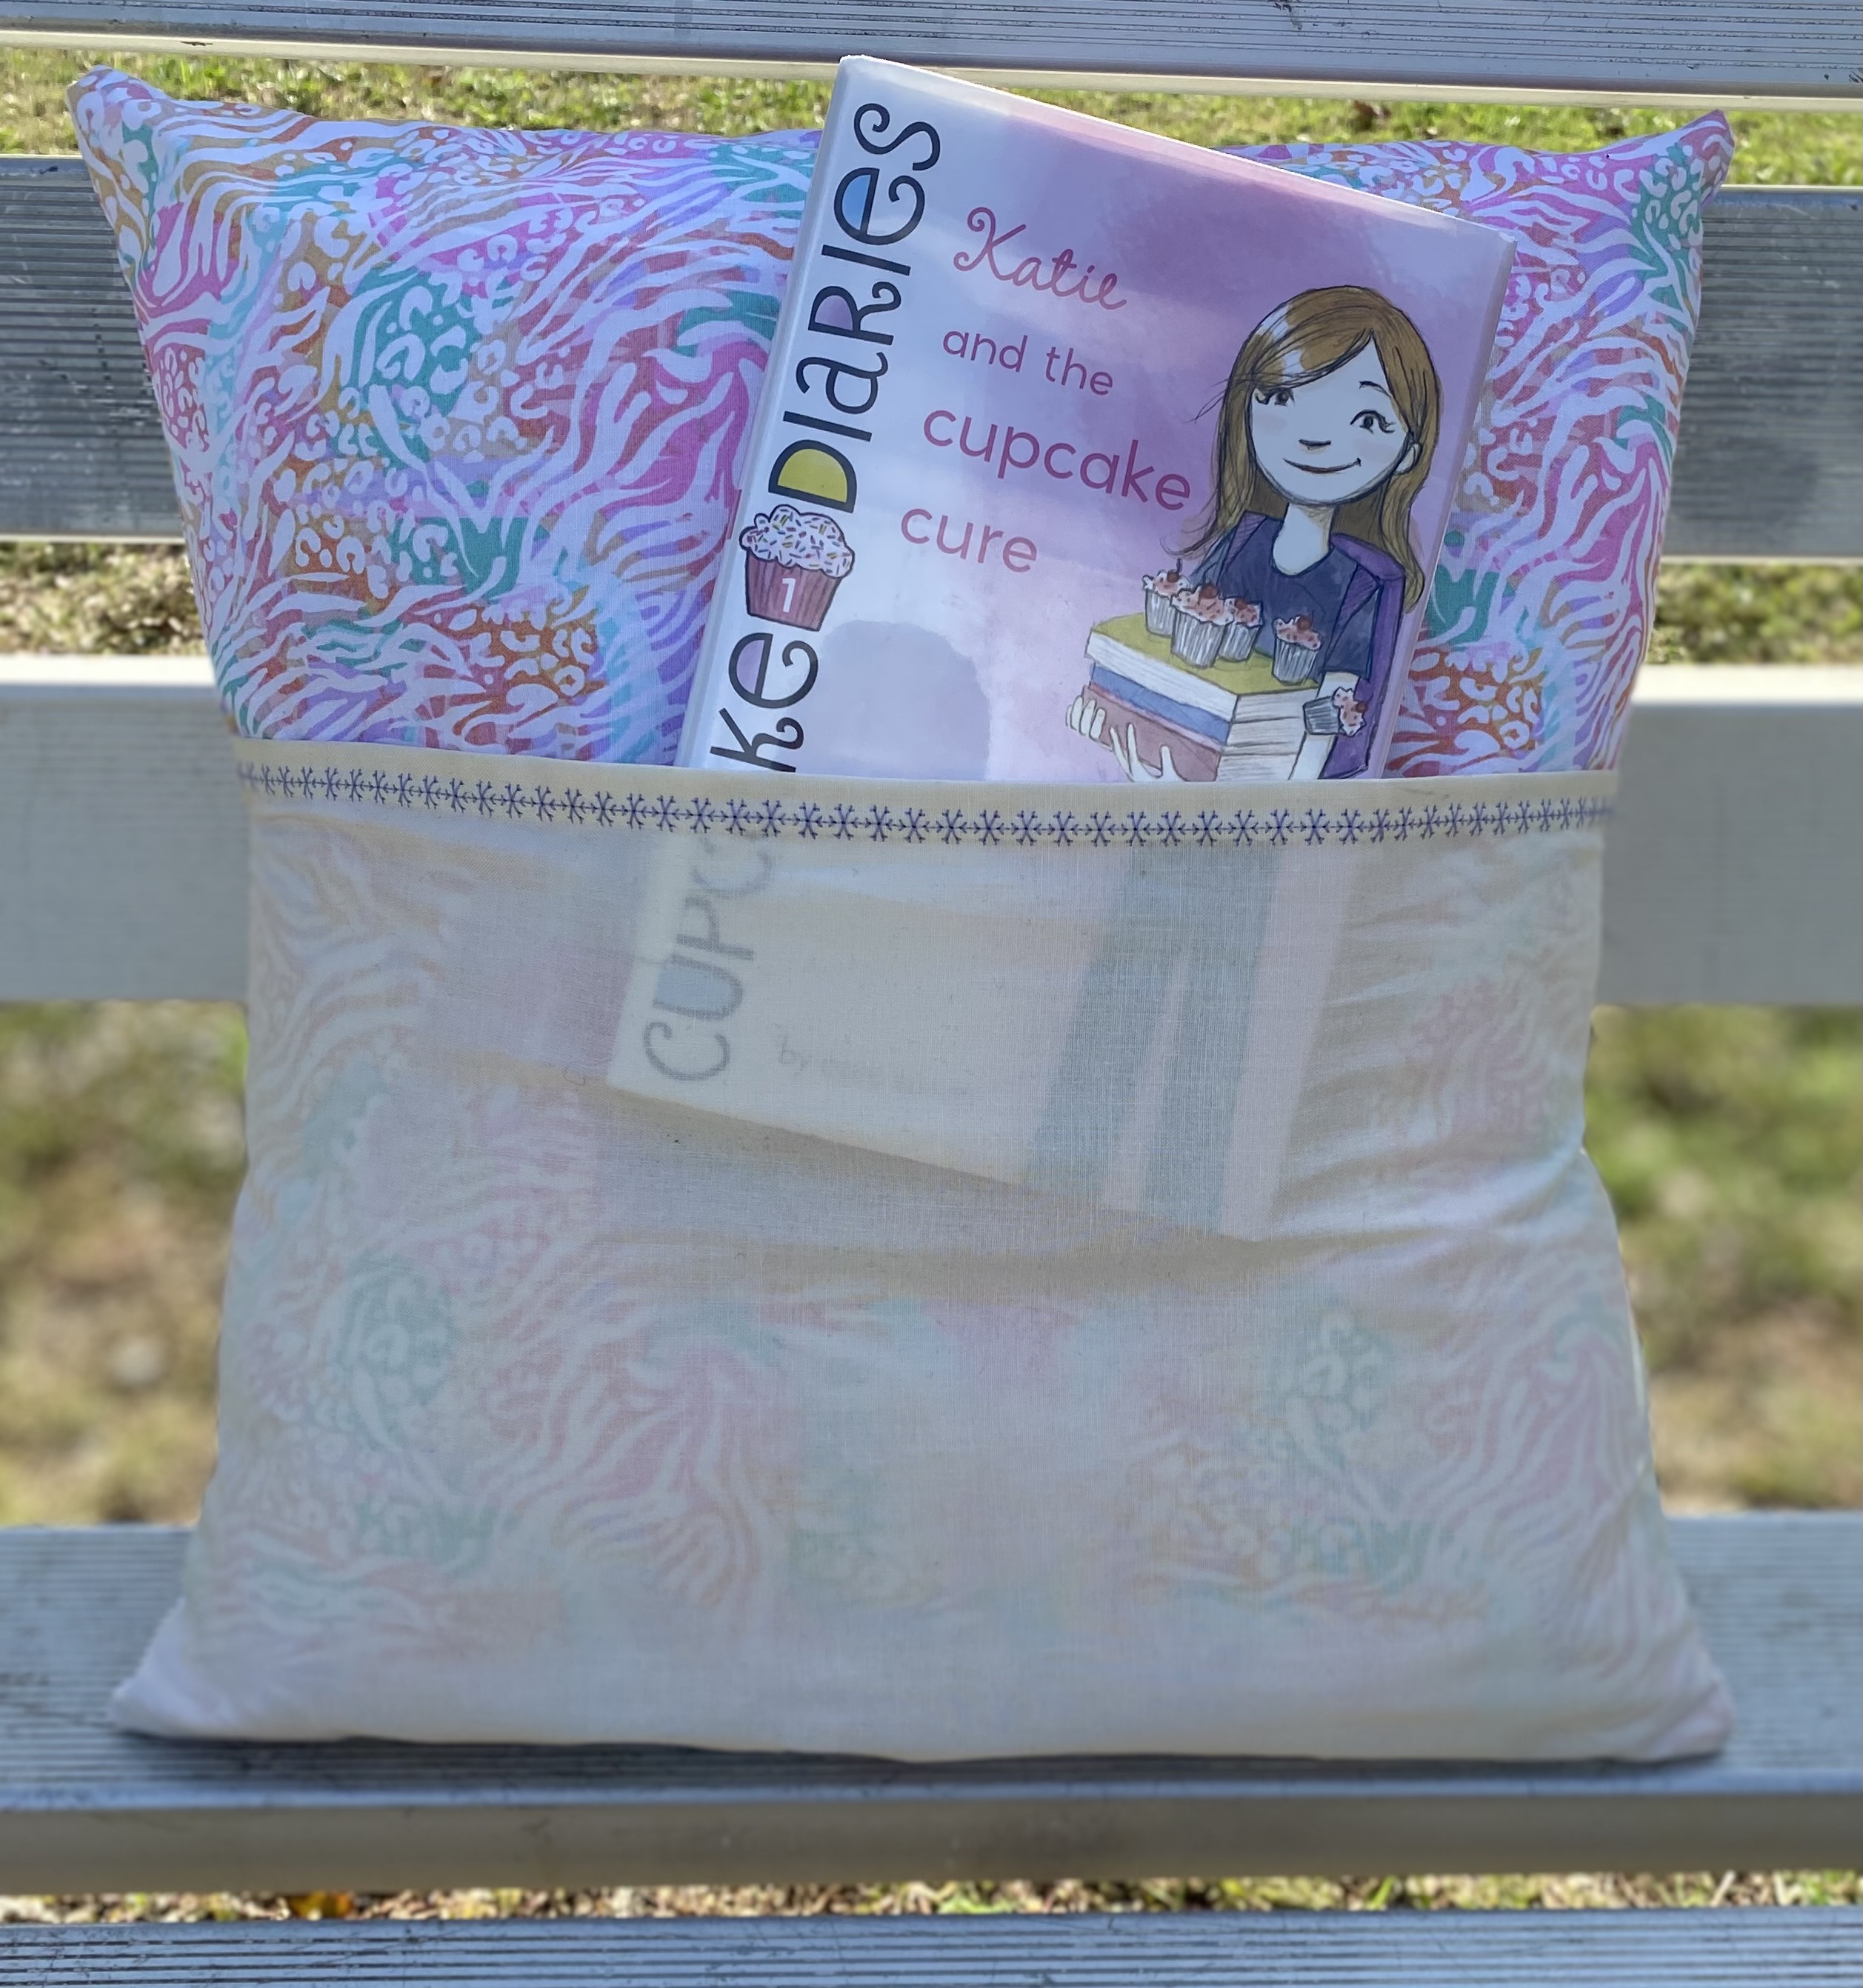
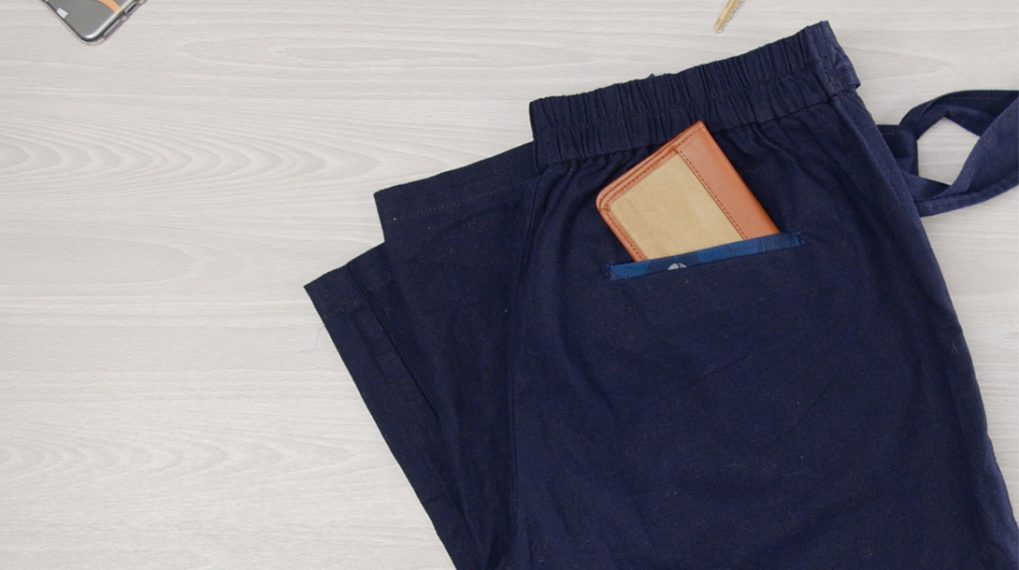
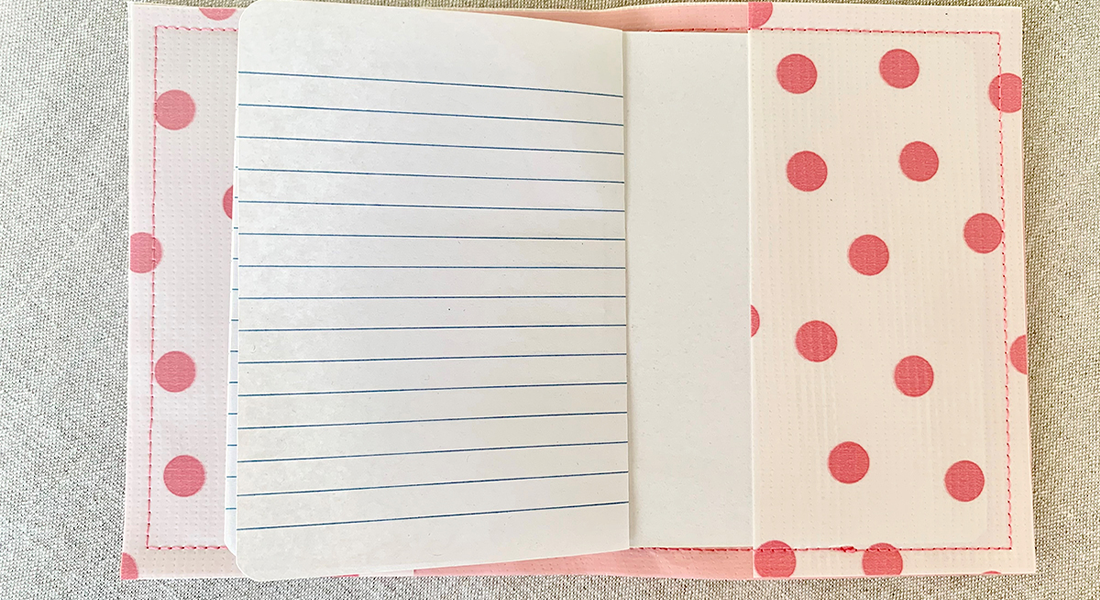
Make sure that when you turn your pillow cover right side out that you poke out the four corners, and that you don’t accidentally turn the pocket piece to the wrong side as you’re flipping it. The pocket piece should be on the front of the pillow right side out just like the pic below.

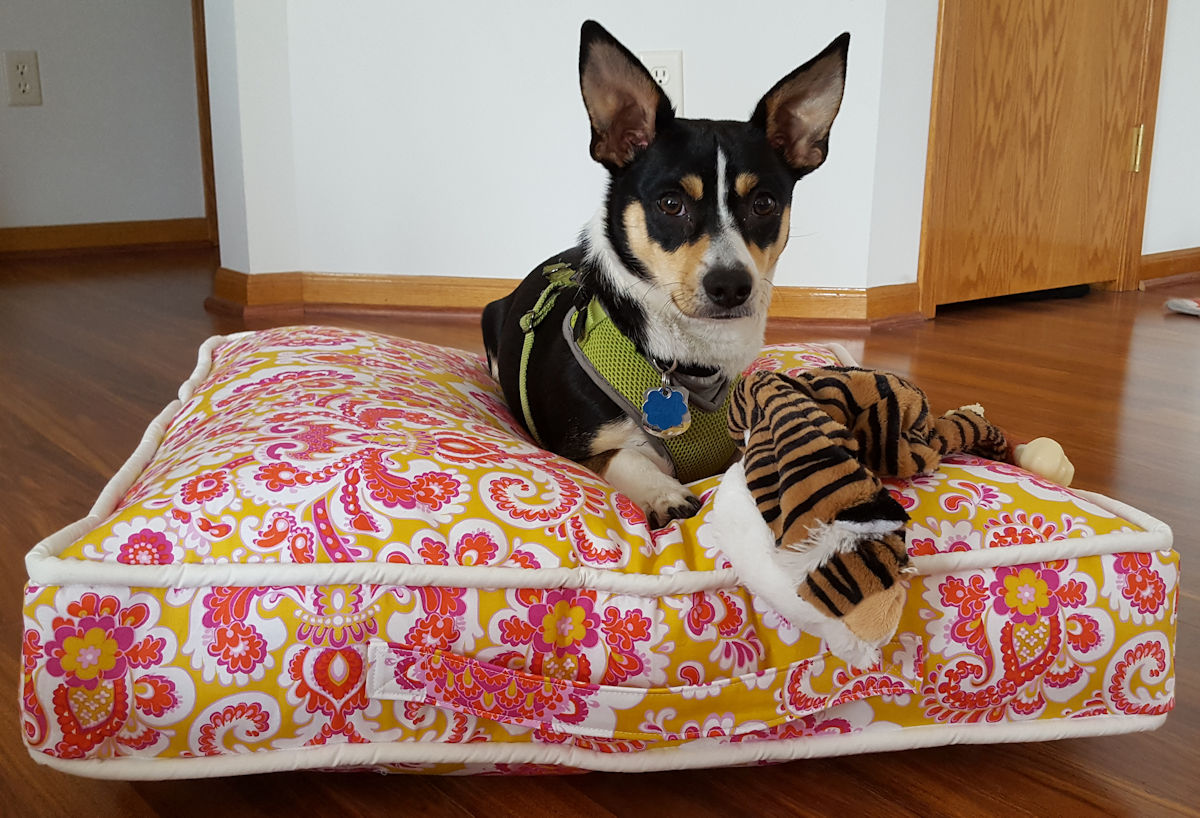
Take your pillow form and stuff it inside of the reading pillow cover that you just created and you’re ready to comfortably start reading your favorite book. When you’re done reading simply place your book inside the pillow pocket for storage until you’re ready to start reading again.
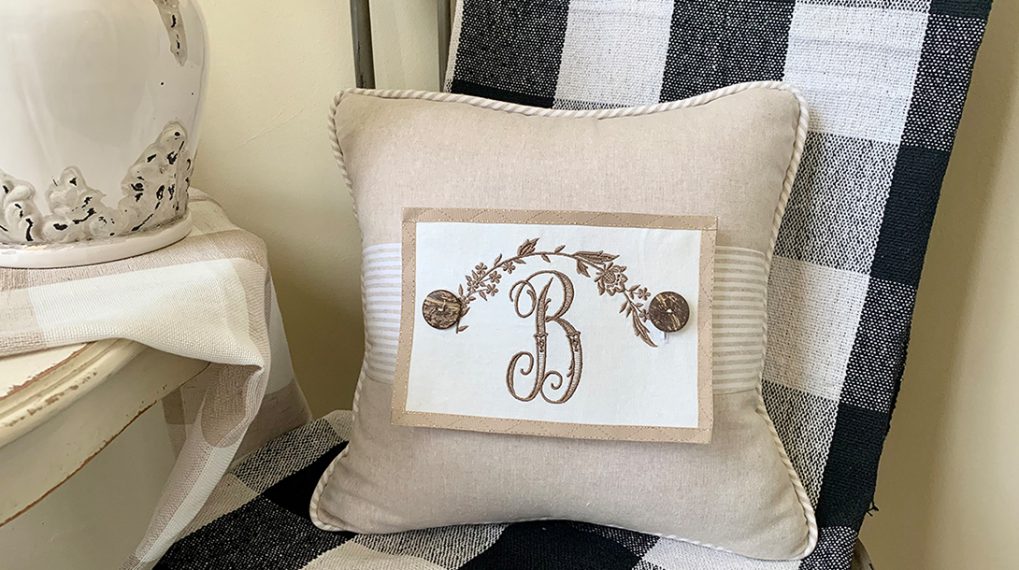
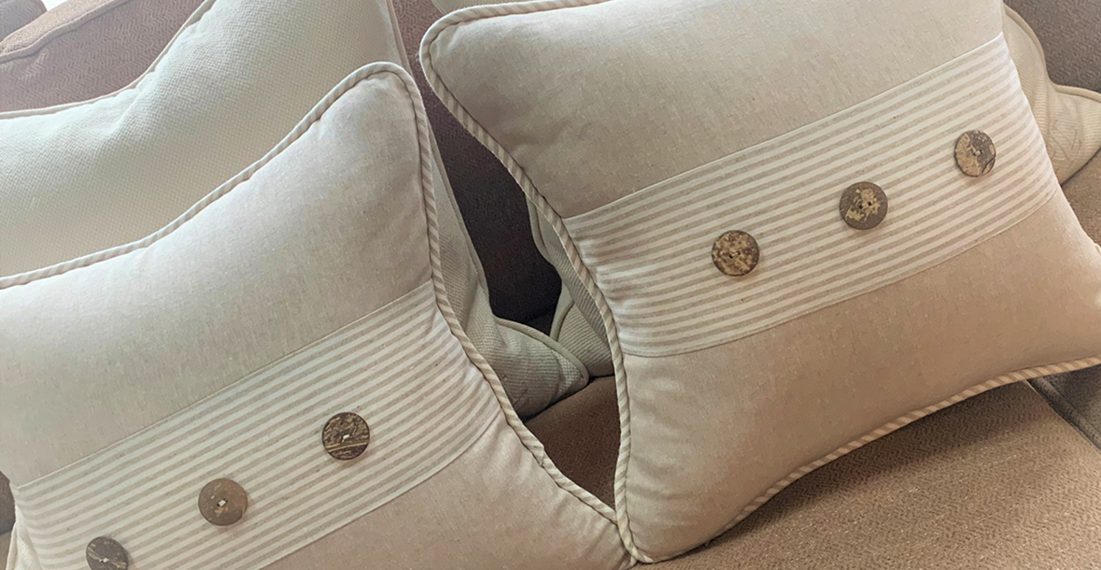
Here’s a close-up look at the pillow from the front and the back.
This pillow is a great project to sew for teachers, friends, and family. It is a quick and easy sew and makes a wonderful gift for those in your life that enjoy spending many hours reading.
Used Products
What you might also like


6 comments on “How to Sew a Reading Pillow With a Pocket”
-
-
Thank you I appreciate it!
-
-
Such an easy project and great way to experiment with the decorative stitches. Can’t wait to try it.
-
Thanks! Decorative stitches are so much fun! I hope you enjoy them.
-
-
Love this idea. Plan to make my daughter and her mother in law pillows for Christmas ?
-
Yes! Great Christmas gifts!
-
Leave a Reply
You must be logged in to post a comment.

Paris what an awesome project!!!! Keep up the great work and I look forward to seeing more of your projects in very near future!!! “TEXAS do everything BIG” … FIESTA 🙂