How to Sew a Pillowcase
Want a quick project for yourself or for a gift? How about making a quick and simple pillowcase?
This is a great project for all skill levels, and the fun fabric color combinations can make any occasion special.
Materials to Sew a Pillowcase
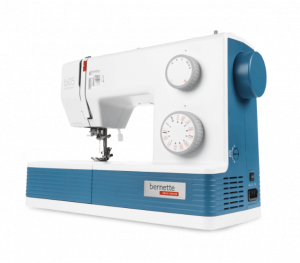
- bernette 05 Academy Sewing Machine
- All-purpose sewing thread
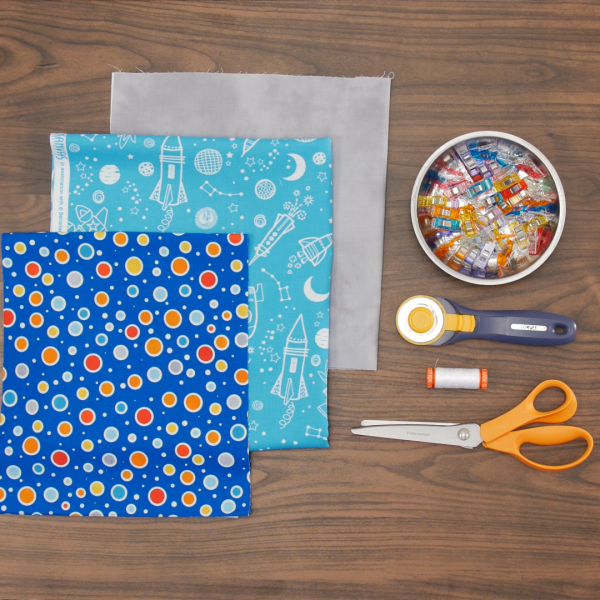
- Fabric
- Main Body Fabric: 27” x 40”
- Cuff Fabric: 9” x 40”
- Accent Flange Fabric: 2 ½” x 40”
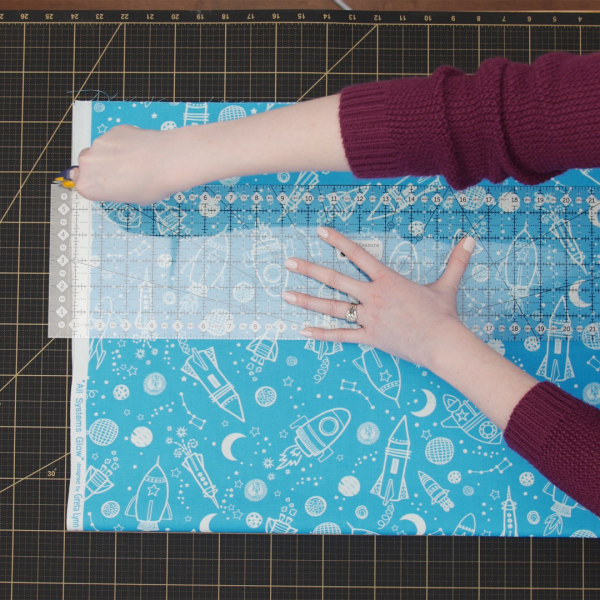
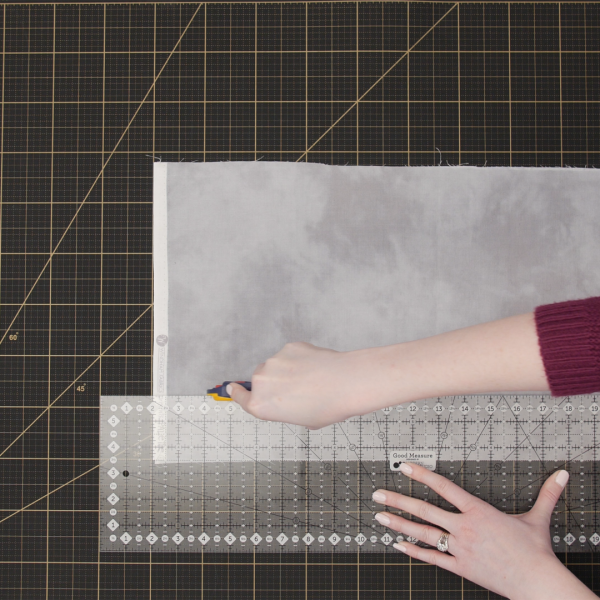
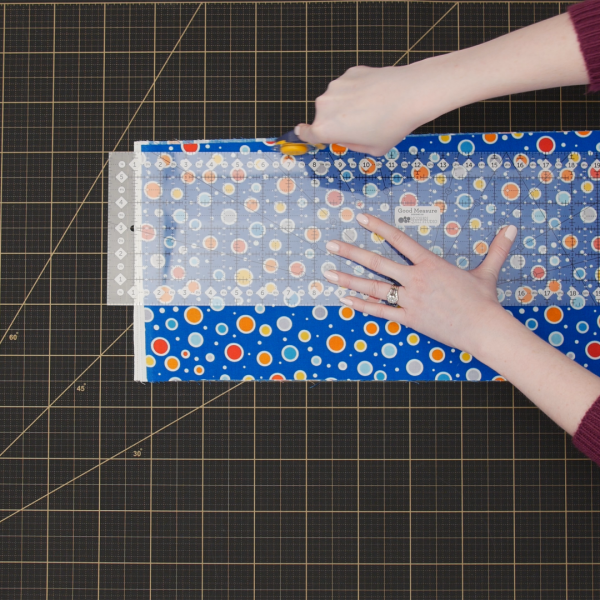
- Rotary cutter
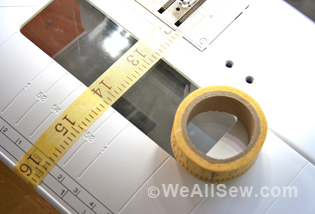
- 6” x 24” Ruler
- Wonder Clips
Steps to Sew a Pillowcase
Step 1. Cut out Fabrics
To get started on your pillowcase, you will need to cut the fabrics you have chosen.
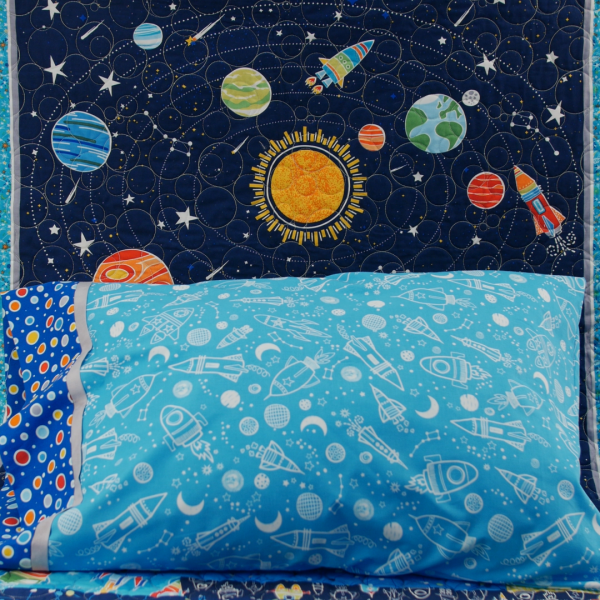
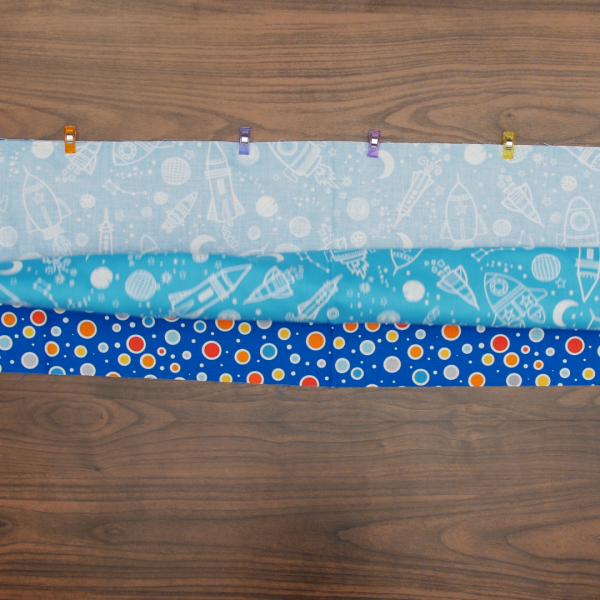
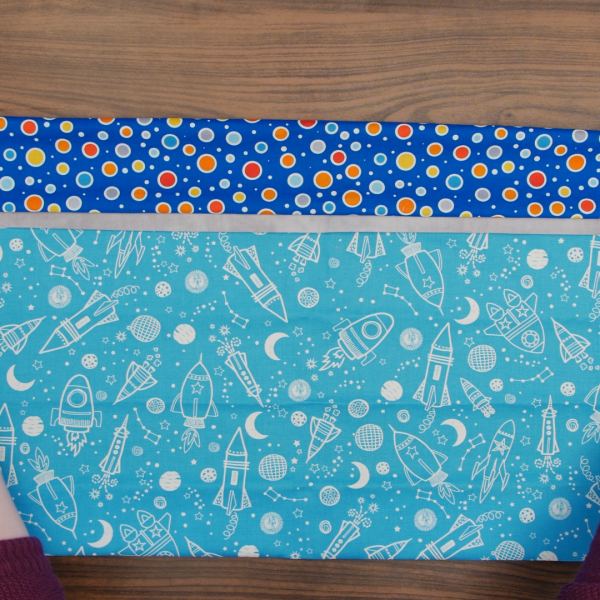
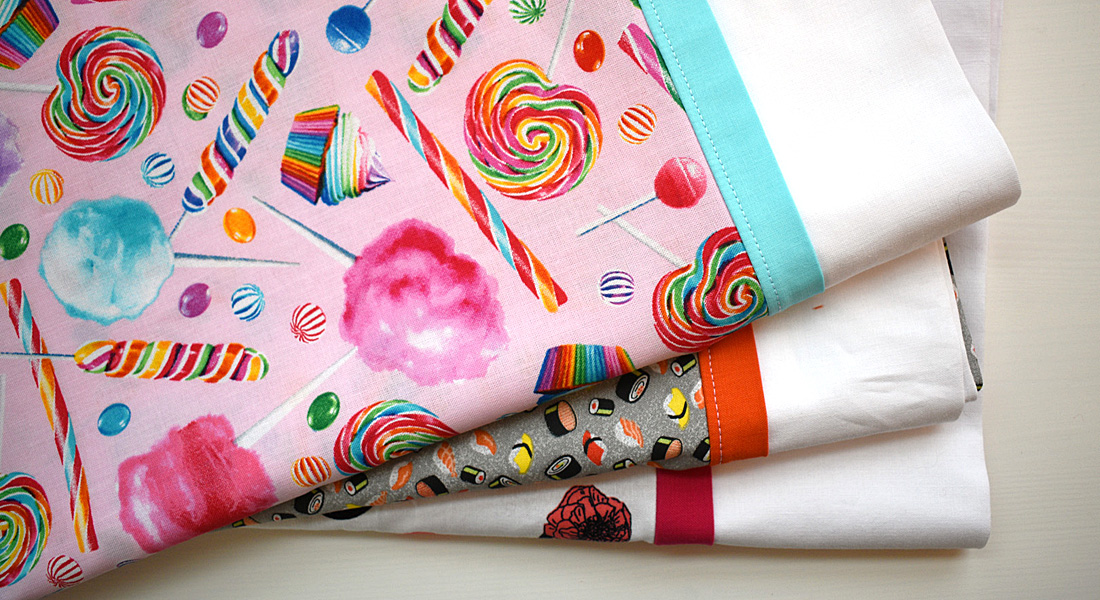
For my Main Fabric (the part you will rest your head on), I used Outer Space Glow-Sky Blue from Benartex. Cut 1 piece that is 27” x 40”.
Trim Accent Flange Fabric (the smallest piece). Cut 1 piece that is 2 1/2” x 40”
For the Cuff Fabric (the edge of the pillowcase) I used Dot Dot Dot in Blue from Benartex. Cut 1 piece that is 9”x 40”.
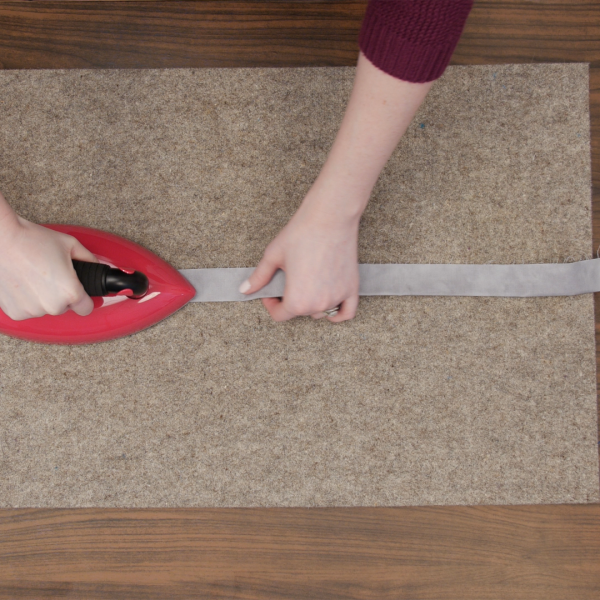
Next, take your 2 1/2″ x 40” Accent Flange Fabric piece and press in half with wrong sides together; set aside.
Step 2. Assemble Layers (Burrito Method)
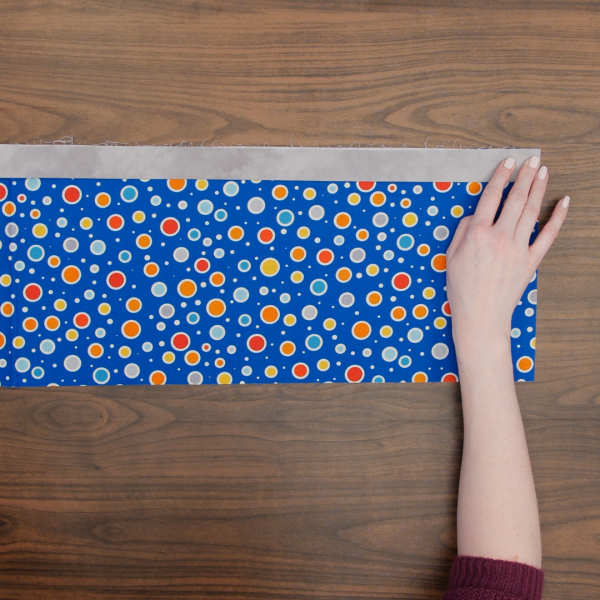
Now, this is the fun part of layering all your fabric to get ready to sew! The first piece you need is the Cuff Fabric (9” x 40”); lay this piece out on your table right side up with the 40” length positioned horizontally.
Next, take your Accent Flange Fabric (the piece that was pressed in half with the wrong sides together) and match up the raw edges to the top of the cuff piece.
We need to add the Main Fabric next. Place the main fabric right sides together with cuff/trim, line up raw edges and clip all three together.
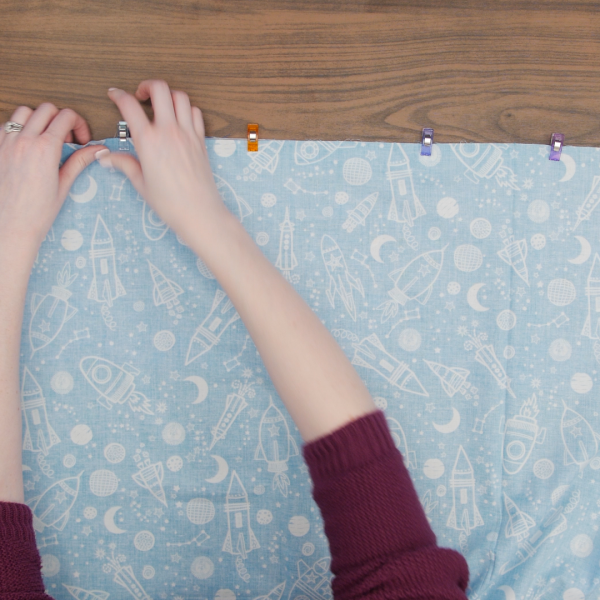
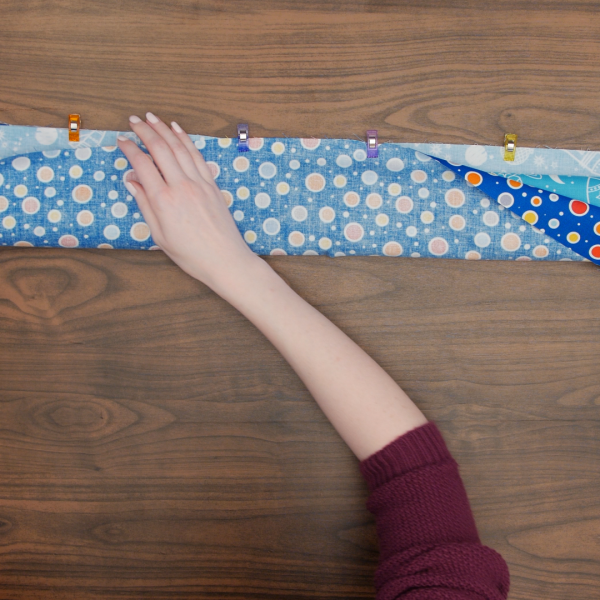
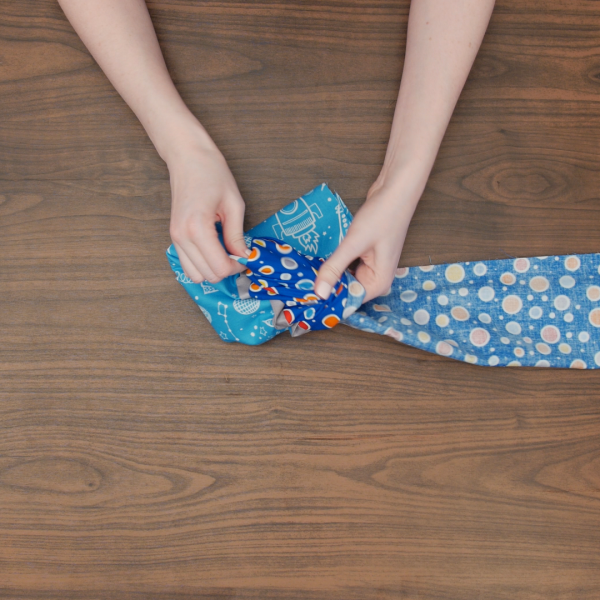
Take the Main Fabric and start to roll the bottom to the top of the cuff.
Once you get your roll to the top of your clips, carefully take the bottom of your Cuff Fabric and bring to the top of your layers, unclip the fabric and re-clip all the layers together.
Step 3. Sew Layer Together at Cuff
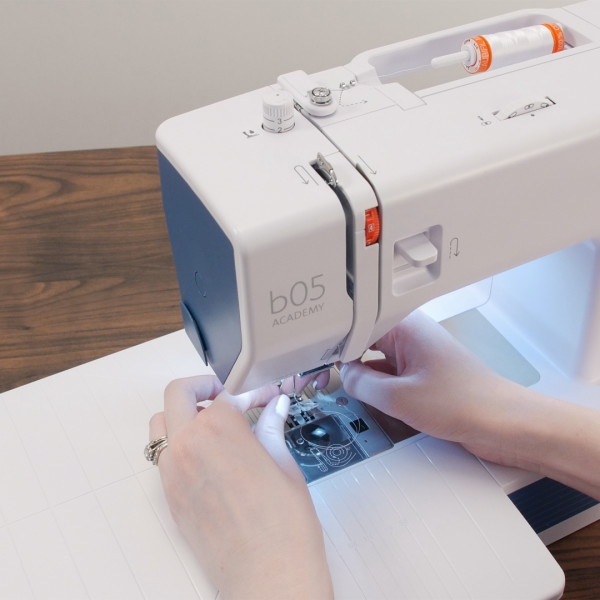
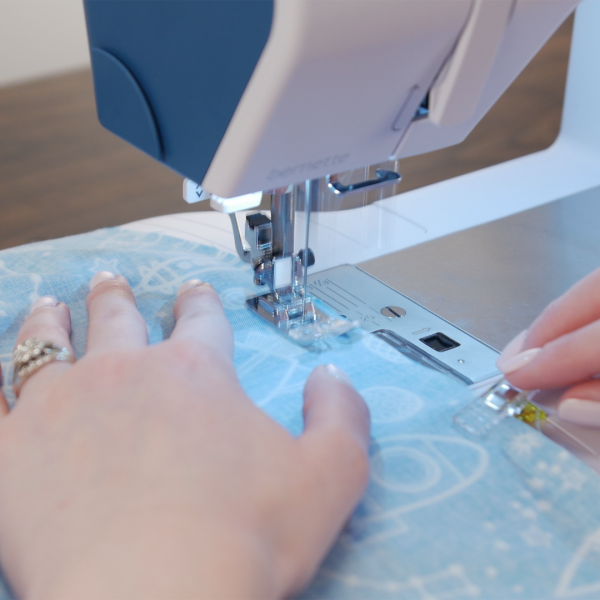
For this project, I used the bernette 05 ACADEMY sewing machine, which I absolutely love.
You will need to take your thread and wind a bobbin and then thread your machine. The b05 thread path is so simple—the path is marked clearly on the machine for both winding a bobbin and threading the needle. It even has a built-in needle threader!
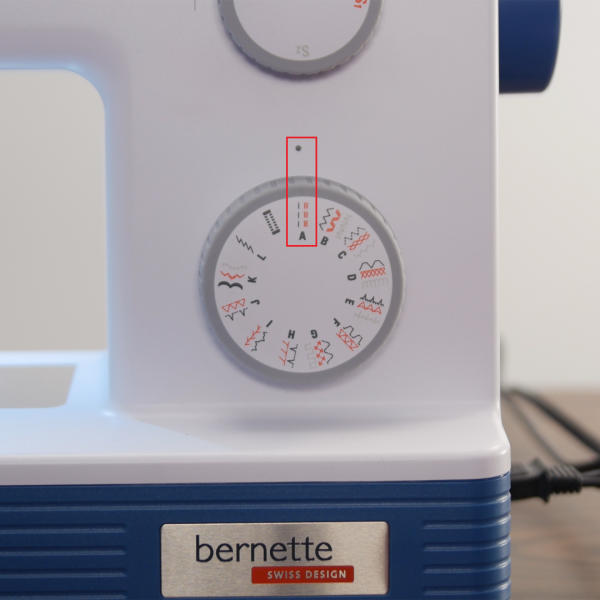
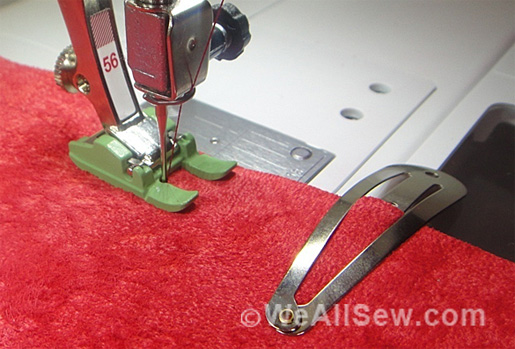
Now we get to sew our first seam. All we need is the straight stitch selected with the lower knob on the front of the b05.
Stitch along the raw edges of the tube you just clipped together, using 1/2″ seam allowance. Sew down the tube removing the Wonder Clips as you go.

This is where the sewing magic happens! We need to unfurl your fabric tube. Choose an end and carefully pull the pillowcase body from the tube of fabric.
Now you have a beautiful sewn cuff and trim piece! Your pillowcase might be a bit wrinkly, so I pressed my pillowcase really well before sewing up the sides.
Step 4. Sew the Side Seams
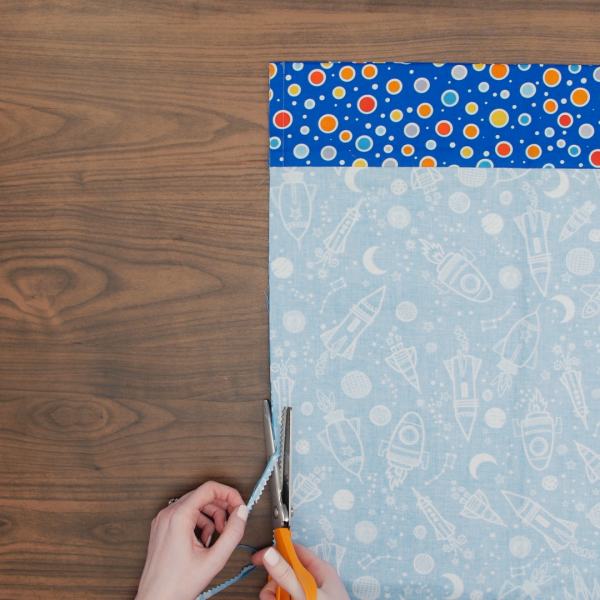
Now is time to sew the side seams. Fold the pillowcase in half- RST (Right Sides Together) and clip along the open side seam and the non-cuff end of the pillowcase. Sew these seams using a 1/2″ seam allowance, backstitching at the beginning and the end.
Once done sewing, take your pinking shears and trim your seam to lessen bulk and slow down unraveling from wash and use.
Turn your pillowcase right side out and stuff with a pillow for a cozy nap!
About the Fabric
Back in early 2020, I purchased the Ready to Launch quilt kit from my local BERNINA Dealer to make for my son. This fabric panel by Benartex has a corresponding fabric line with cute prints—several of which glow in the dark. You can check out the updated fabric line Lift Off, here. I used this coordinating prints to make a pillowcase to match this quilt. The Ready to Launch quilt kit is a great beginner quilt project and if you want a little extra fun, add some glow-in-the-dark thread for the quilting, I used Wonderfil’s Lemon-Lime Ahrora. My son loves the glow-in-the-dark effect!


Used Products
What you might also like


8 comments on “How to Sew a Pillowcase”
-
-
For directional fabric, I buy 42” of the directional fabric for the main piece. Cut 2 pieces – 27” across the width x 21” along the length. You have some waste. Flip one piece. Sew the “top” edges together so your opened piece is 27” wide x 40” long with the pattern going up on one half, going down on the other. Now you have a custom made piece 27” x 40” for the main pillowcase. Then continue as instructed. I’ve never used cuff material where direction mattered.
Note: I use French seams to do this and also to sew the main end and other side seam after making the burrito. No fraying inside.
I also sew the narrow trim in place before doing the burrito assembly so it doesn’t roll and need to be pressed after washing. Press it in half so you see the center line. Open it up and pin it to the propped edge of the main piece. Sew down the center line. Then fold it and continue with the directions. One tiny bit of extra work, but the trim stays flat.
-
Typo – *prepped edge
-
-
-
Thank you for this tutorial. You did an excellent job with the instructions, video, and pictures. I will use this to teach my young cousin how to sew. This is very well coordinated and easy to understand and follow.
-
Great tutorial! I had never sewn a pillowcase before, and my niece wanted to make an old duvet into some pillowcases. we used this method and it turned out fabulous!
-
Thank you for these instructions. I plan to give my great niece her first sewing lesson by helping her make a set of pillowcases for her bed. Wish us luck!
I did note a possible typo in the instructions that the author may wish to check. In “Step 2. Assemble Layers (Burrito Method)”, it reads, “. . . The first piece you need is the Cuff Fabric (27” x 40”) . . .” Shouldn’t this dimension read, “. . . Cuff Fabric (9″ x 40″) . . .” ?
Thanks, again!
-
Hi Steve,
Good catch, we will get that fixed. I am so glad that you enjoyed the tutorial.
We would love to see your pillowcases in the Community section, https://weallsew.com/community/create/. Happy Sewing!
-
-
Hello, this is how I make my pillowcases, with the exception that I do all the sewing on my serger. No need for the pinking shears step, as all the seams are so nicely enclosed.
Leave a Reply
You must be logged in to post a comment.

Very nice, clear, tutorial.
I have made many pillowcases using this method. My trouble comes with directional prints (the band and the body). Haven’t figured that out as yet.