Sewing Tip: How to Sew Ruffles
Hi! It’s Jen from The Smitten Chicken. Most of the sewing I do is quilting. But with a house full of girls; I also make outfits, costumes . . . whatever they can dream up! Most of the time these clothing items include RUFFLES! I always dreaded making ruffles. Until I discovered a new way to create ruffles. Now we put ruffles on everything! Would you like to learn a new way to sew ruffles? Follow along for my tips and tricks!
The traditional way to create ruffles is to sew a basting stitch at 5/8″ and then another basting stitch at 3/8″. Then you would pull both ends of the thread to create the ruffles. If you have made ruffles this way, chances are the thread would break!!! Then you would be left with uneven ruffles and a headache.
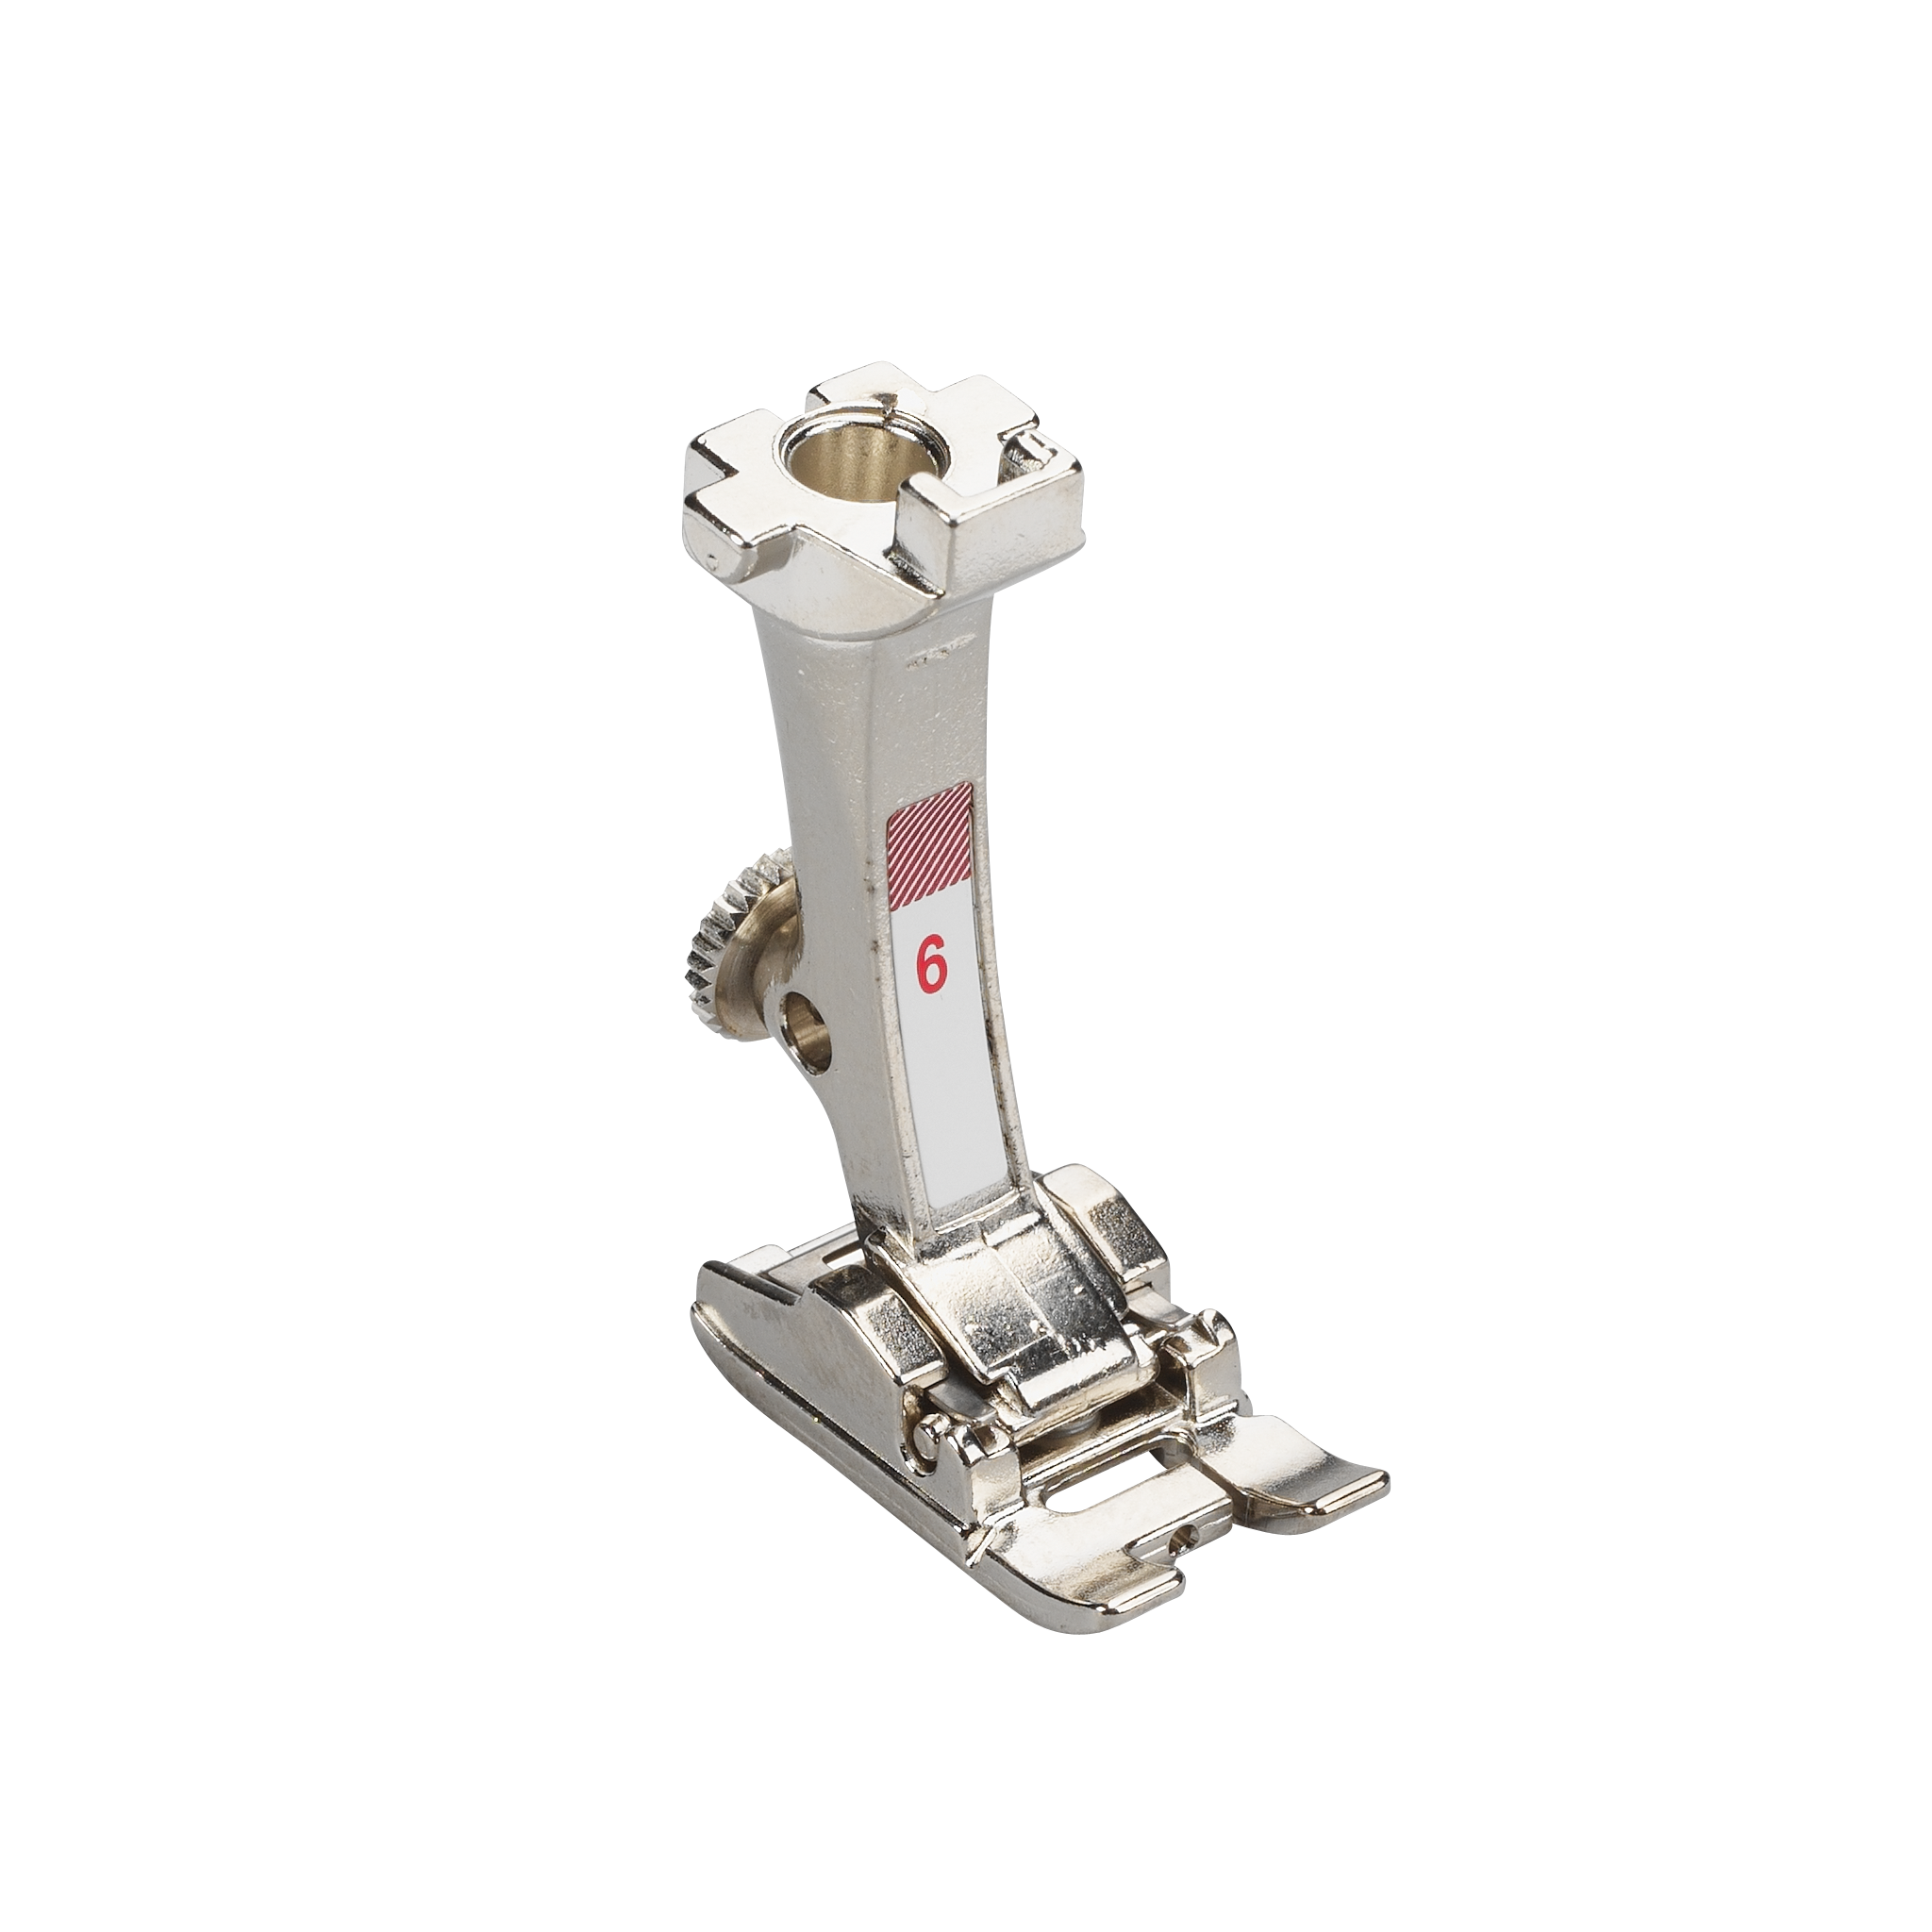
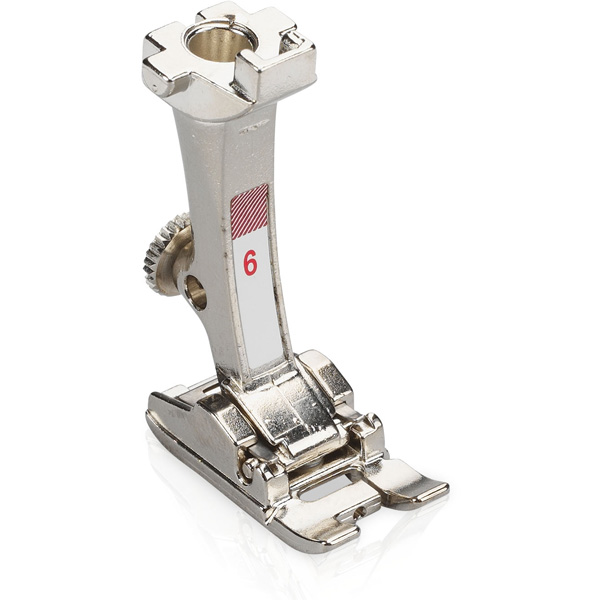
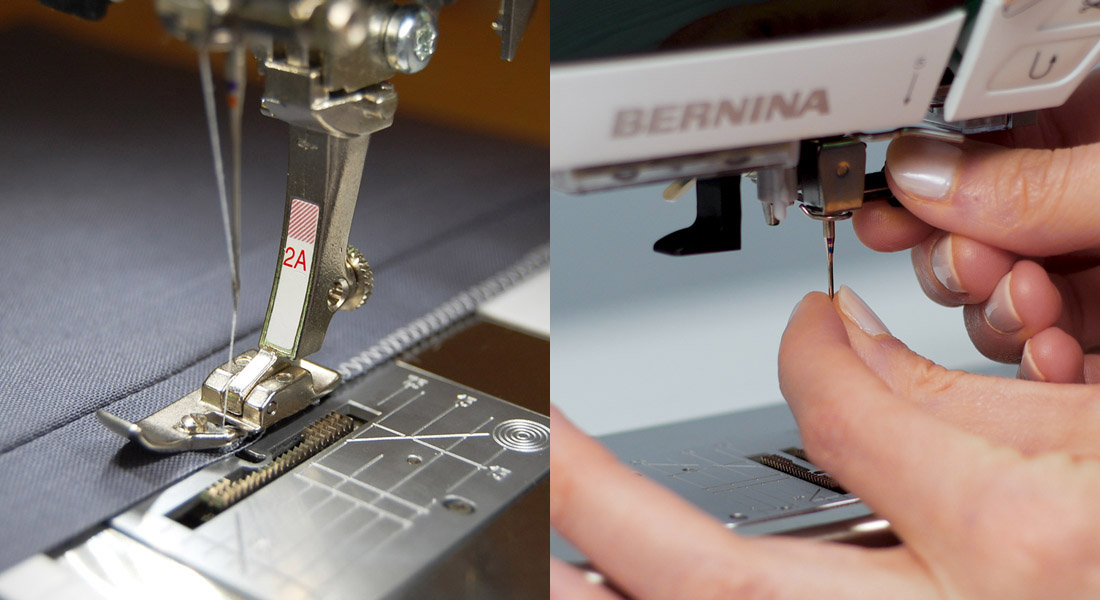
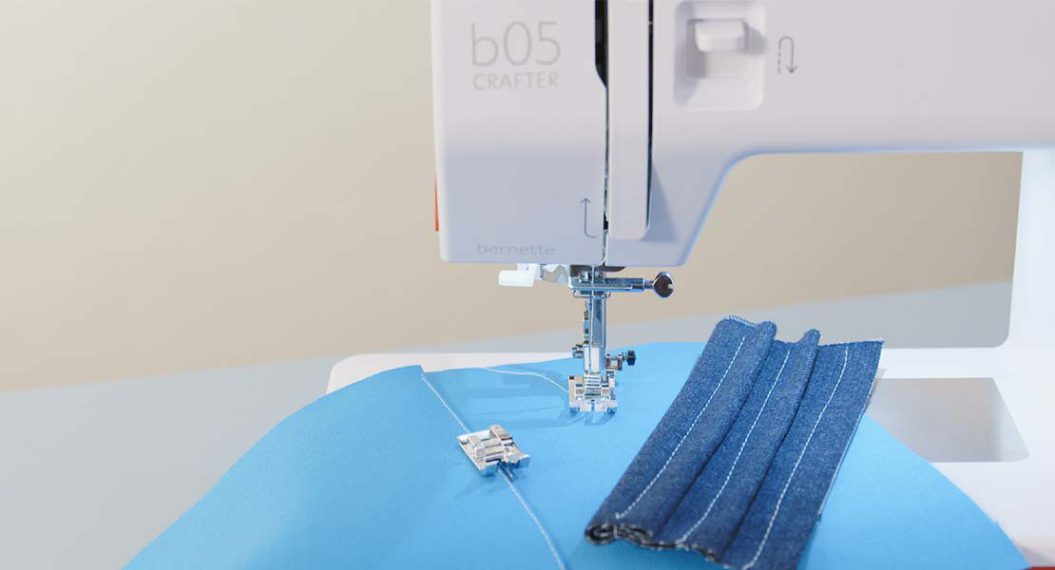
Let me introduce you to my favorite ruffle-making foot . . . the BERNINA Embroidery Foot #6!
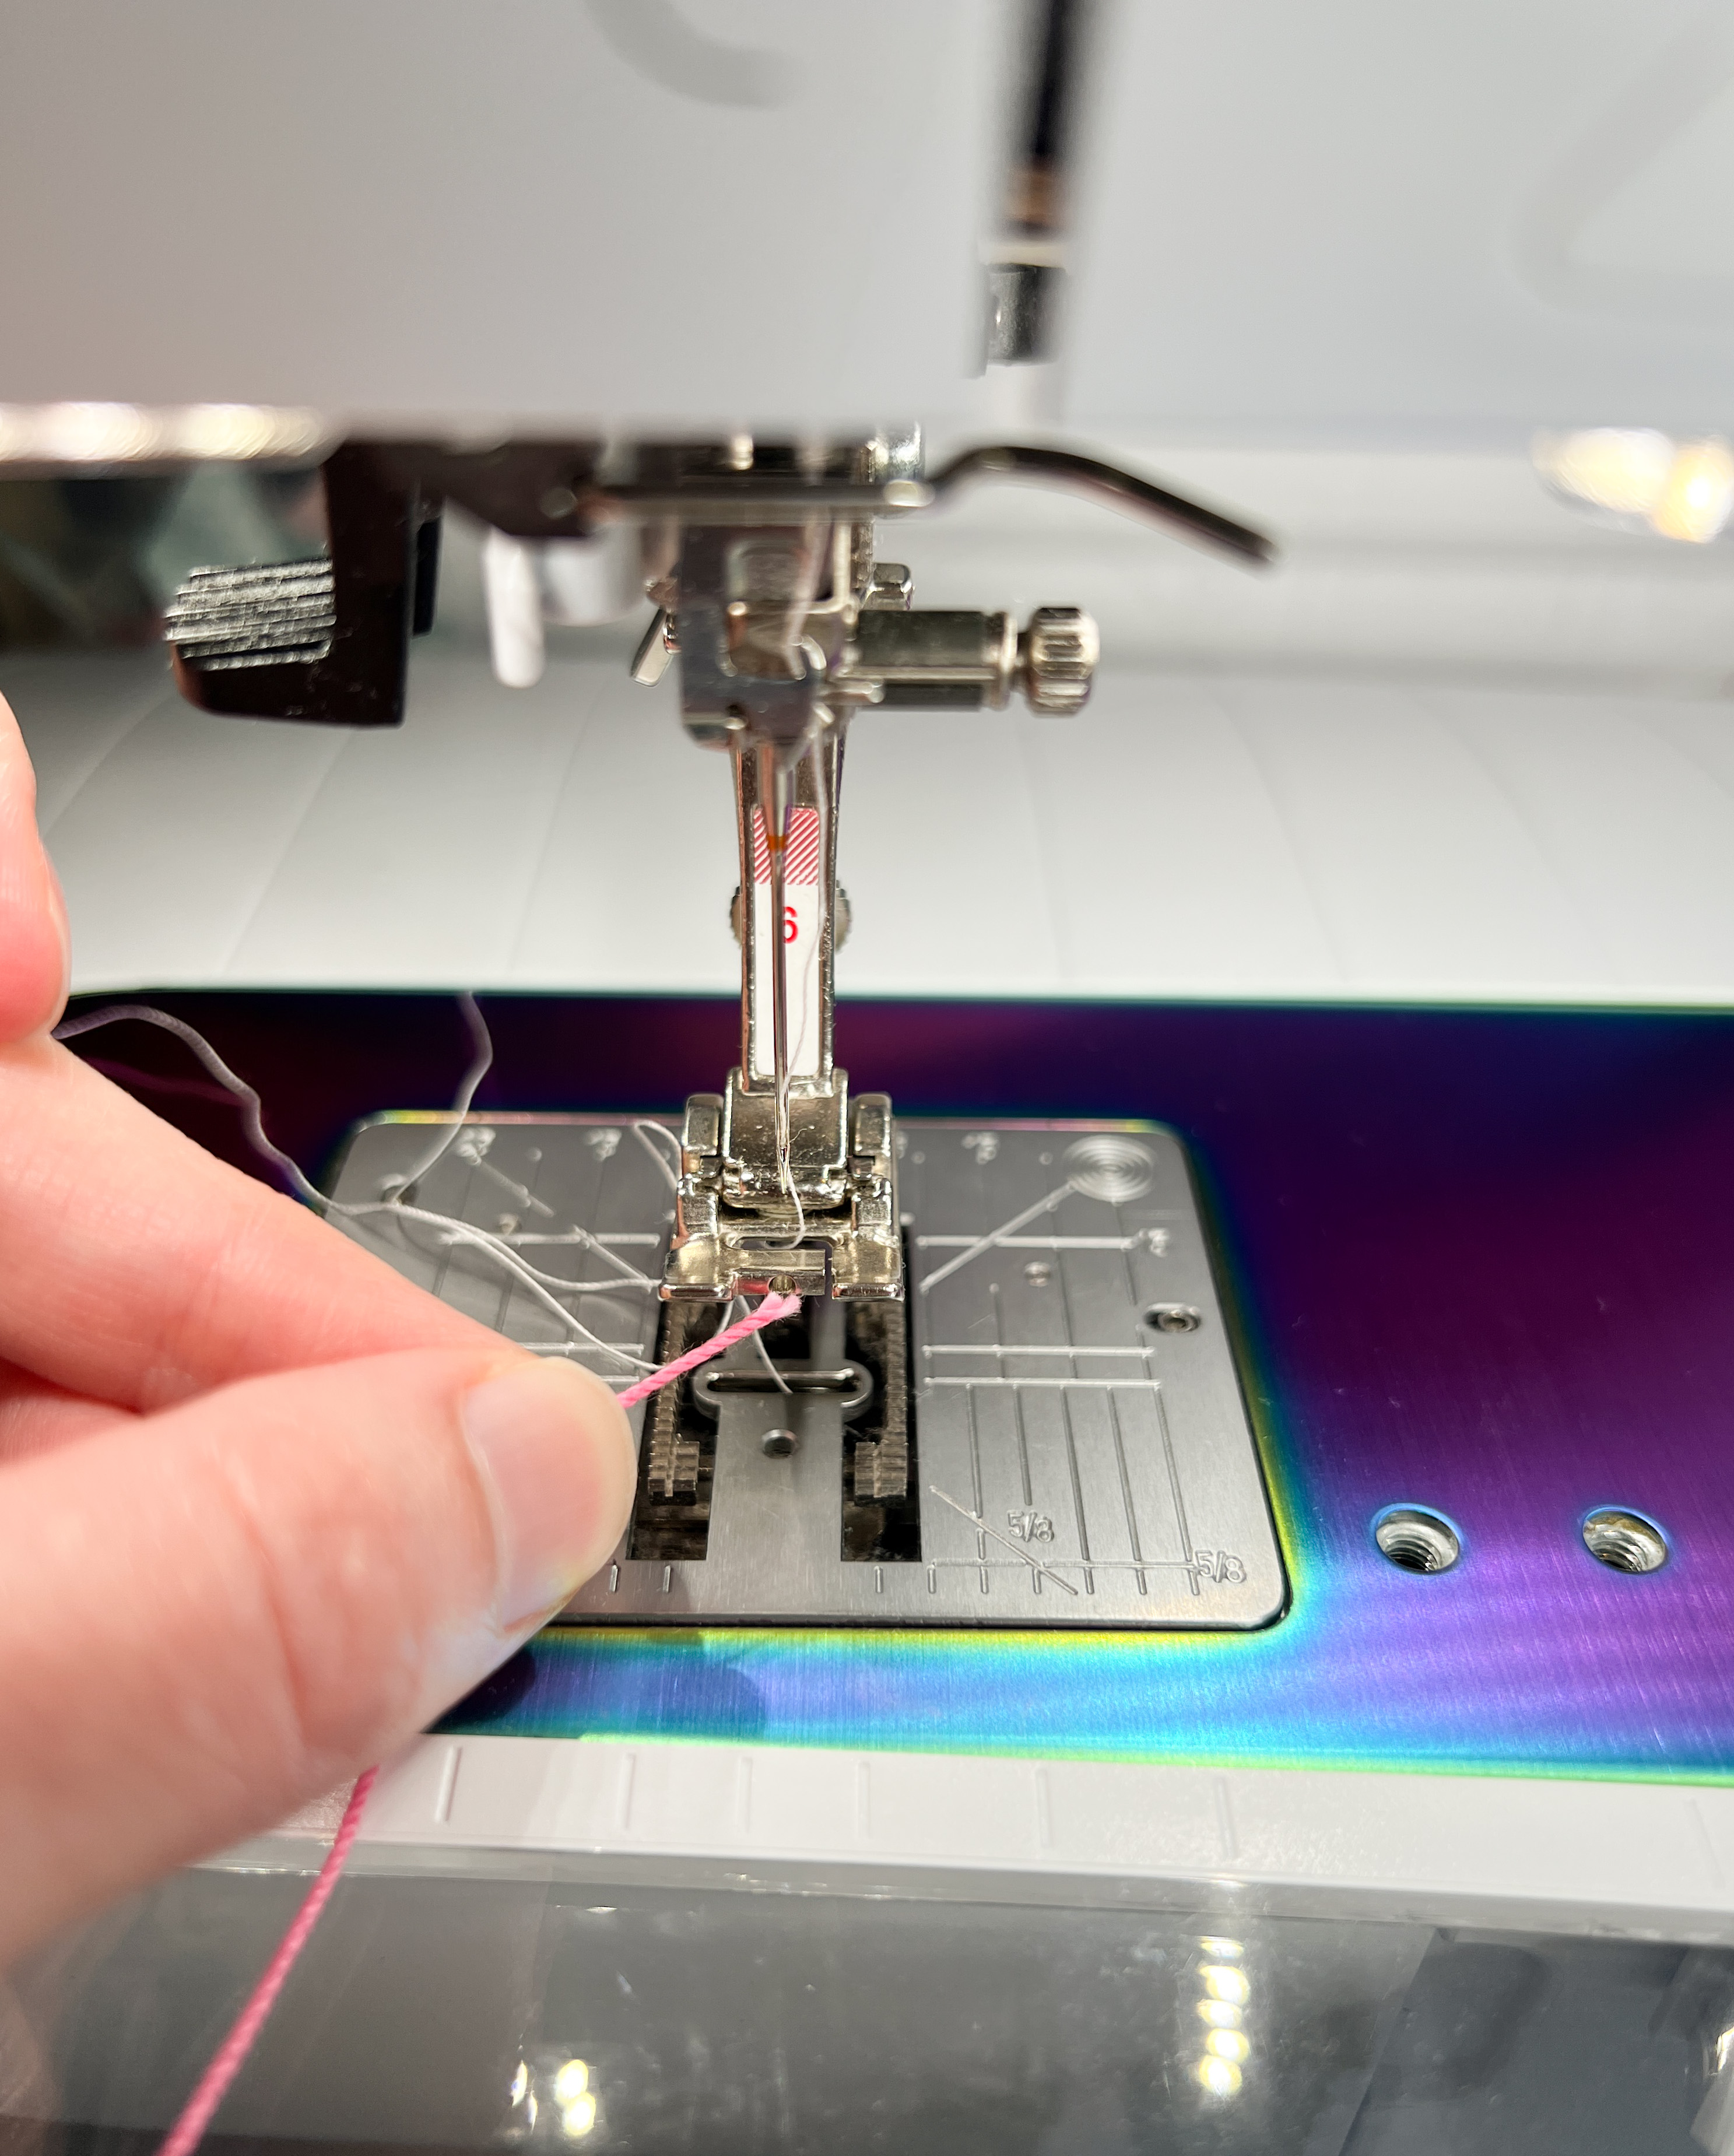
Let’s get started! Do you see that little hole in the front of the Embroidery foot? Using any crochet thread you want, thread the crochet thread through that little hole.
With your machine threaded, join the crochet thread with the top thread and the bobbin thread at the back of the machine. Leave about 2-3 inches for a tail.
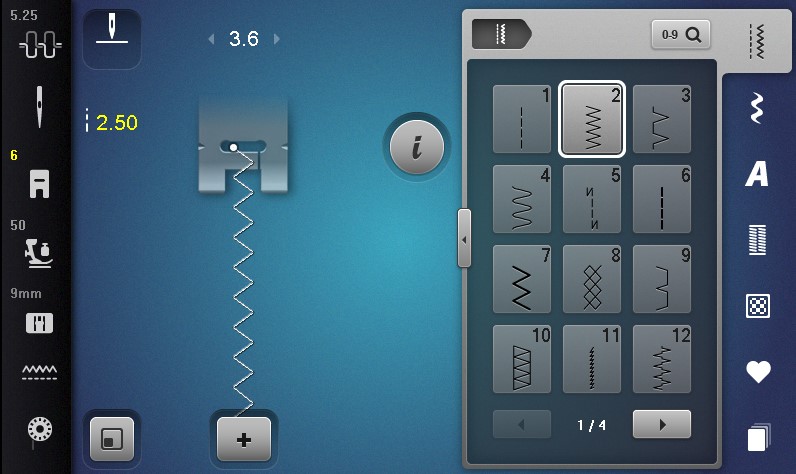
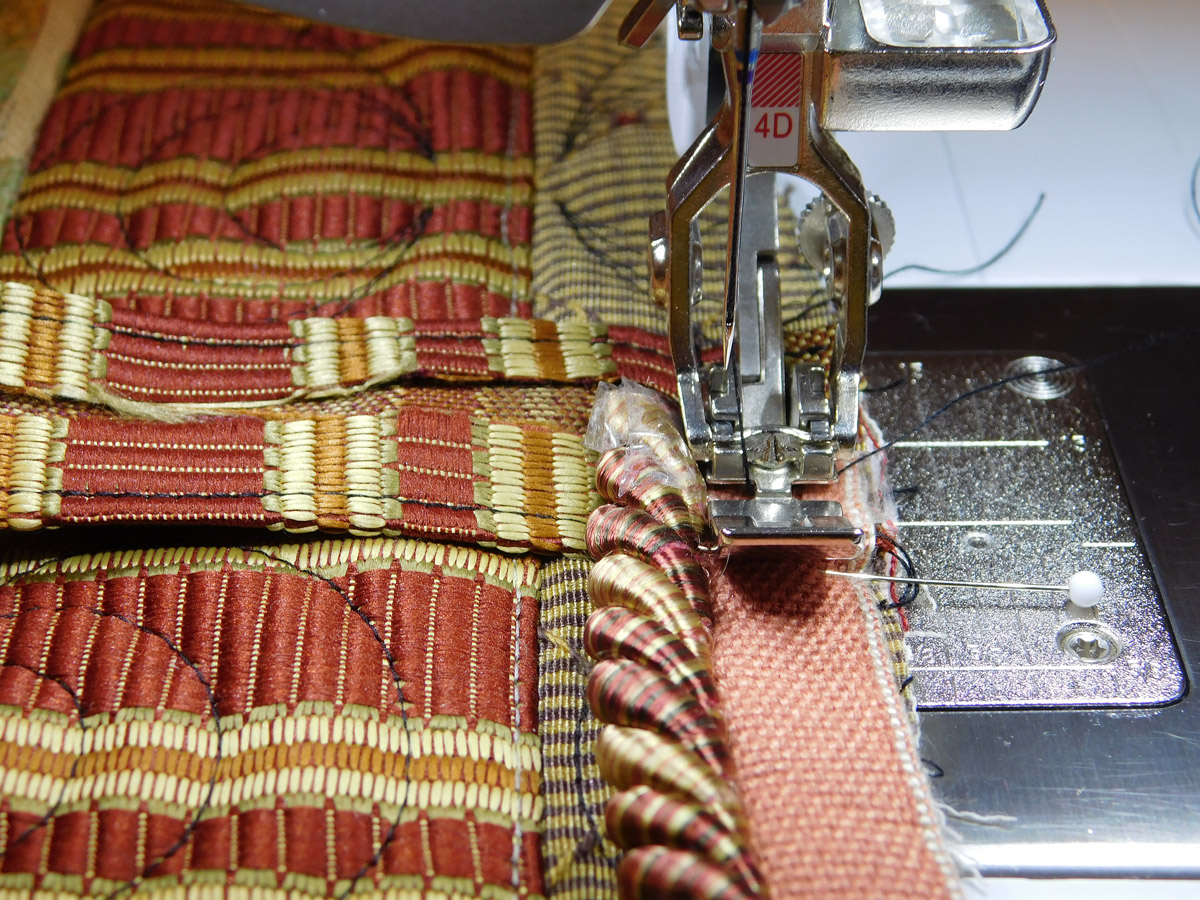
Then select the zig-zag stitch or stitch number 2. I typically sew with a stitch length of 2.50. Your zig-zag stitch width should be 3.9.
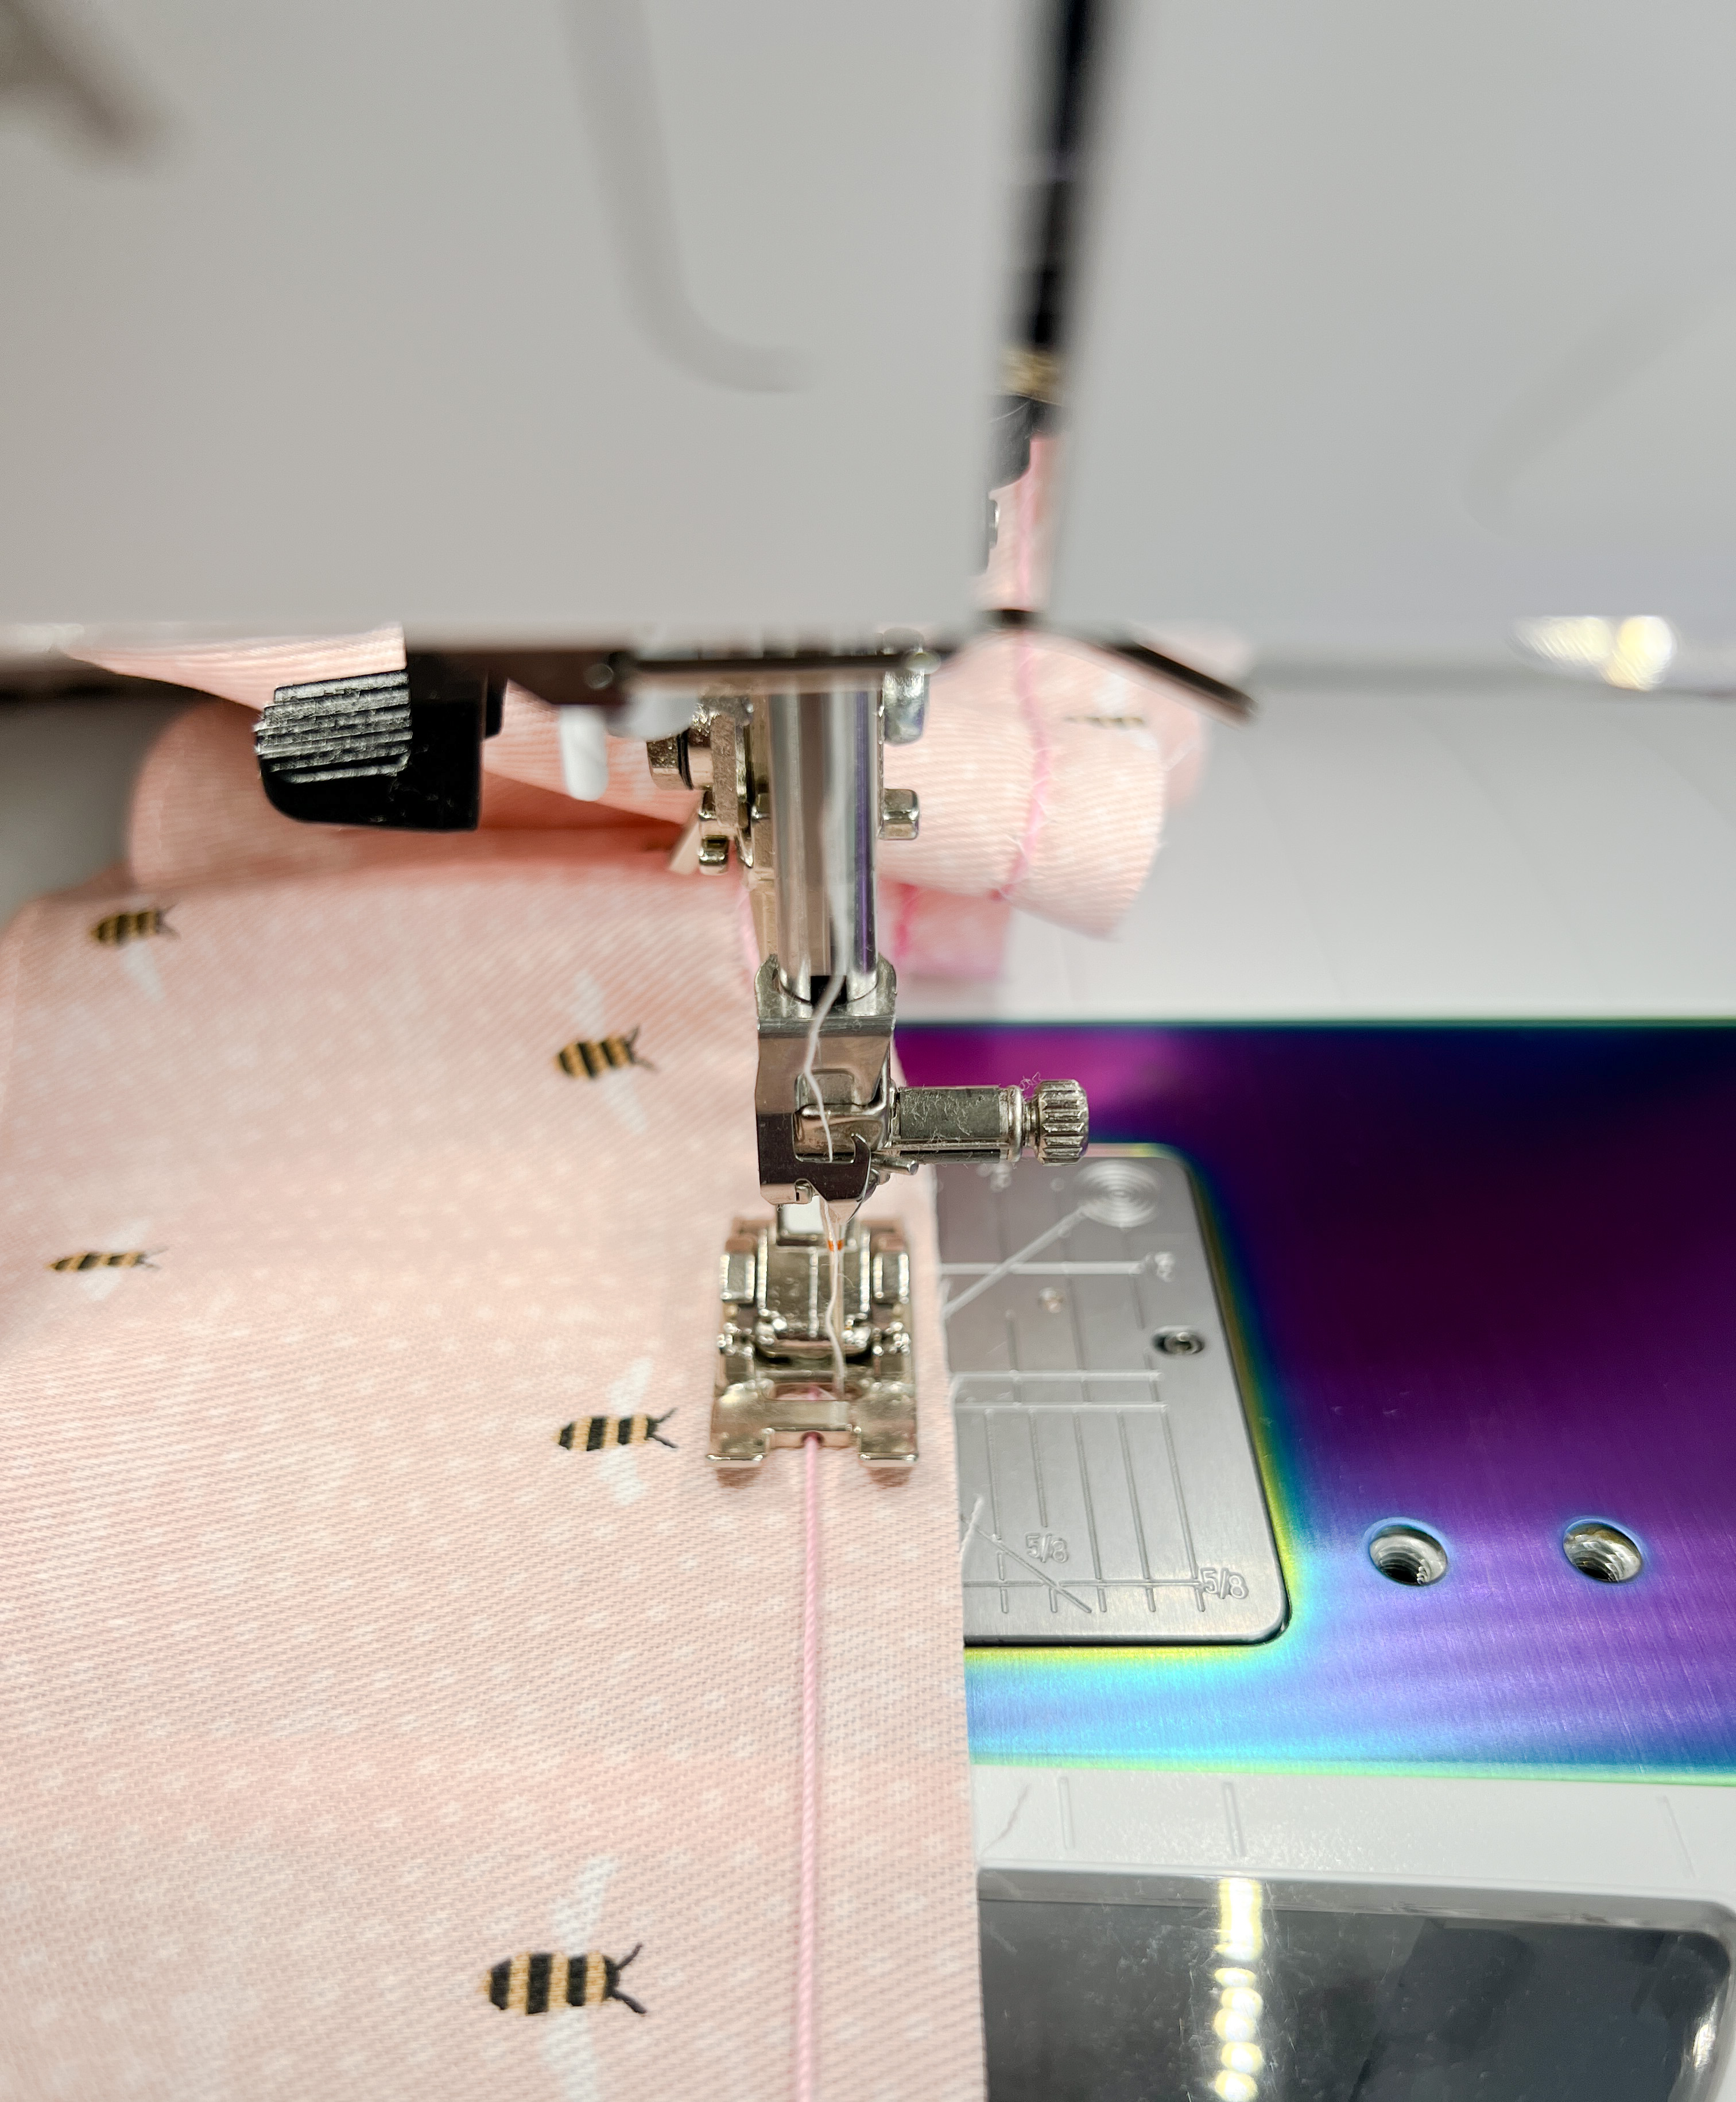
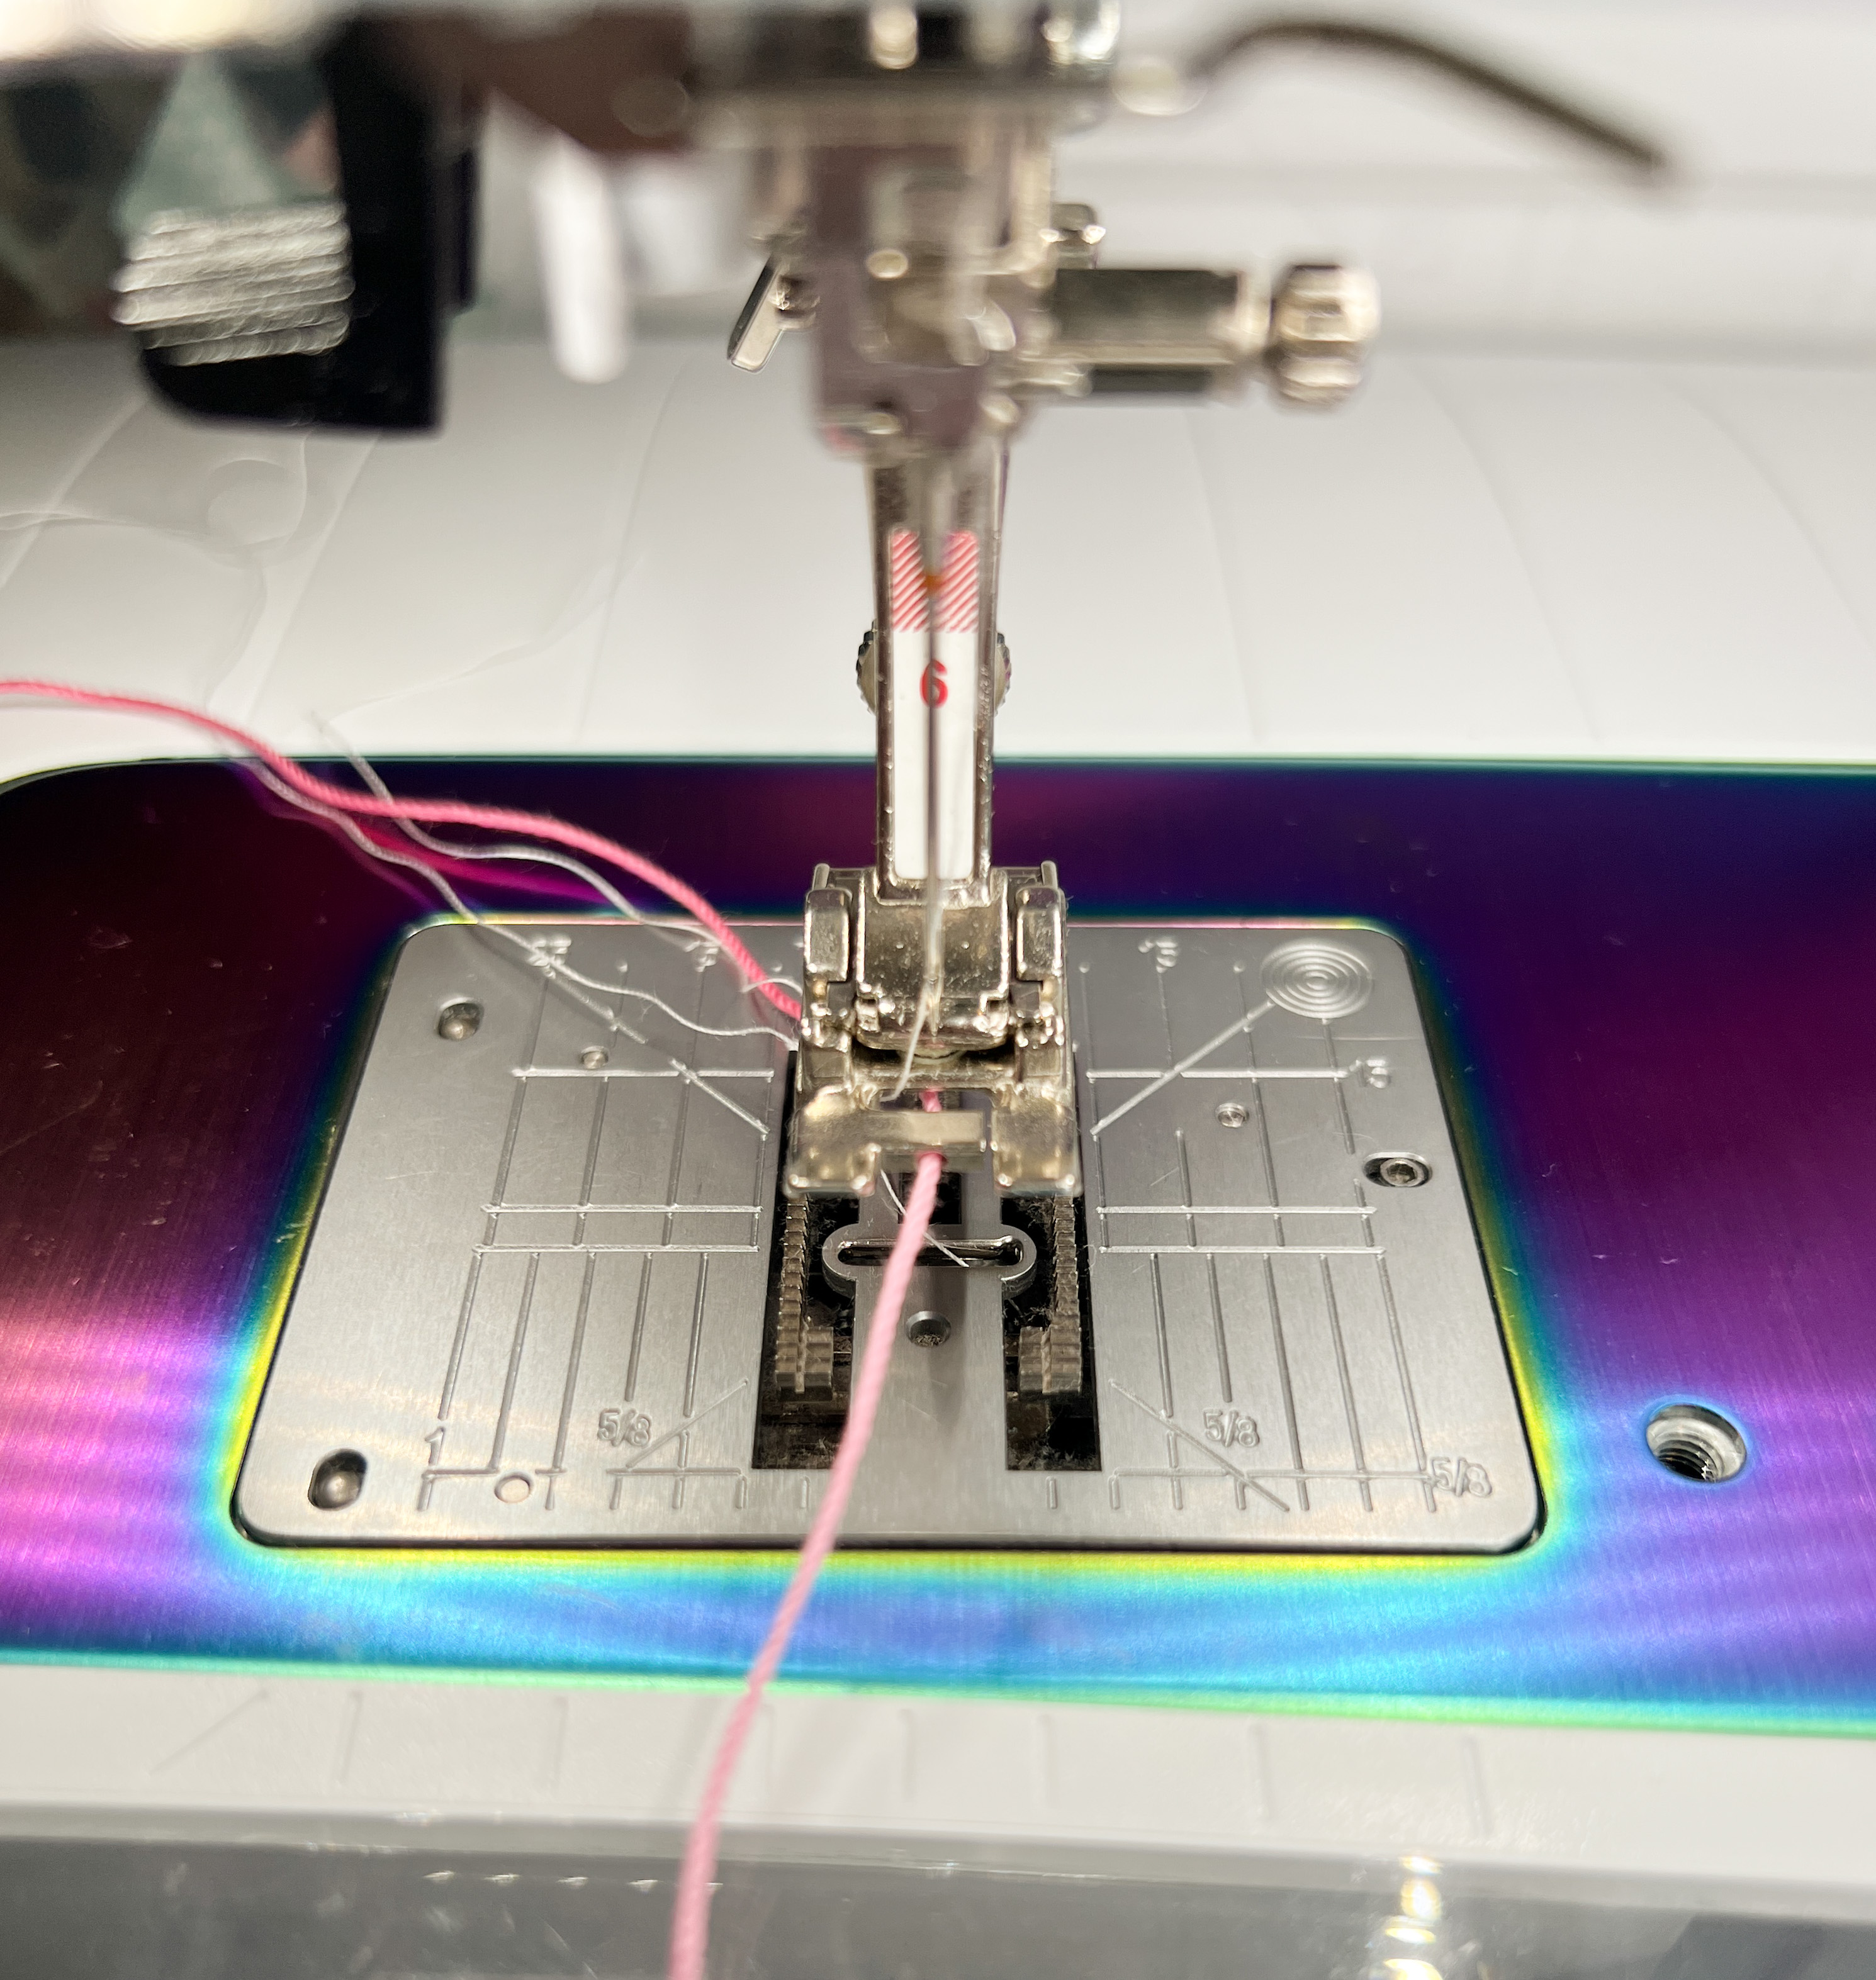
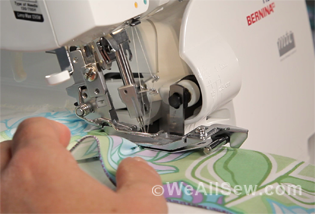
Let the Embroidery foot do its magic! The zig-zag stitch will sew over the crochet thread. The Embroidery foot will feed the crochet thread through the machine. I typically use a 3/8″ seam allowance.

Stitch the entire length of your ruffle. Leave a 2-3 inch tail at the end and then cut your threads.
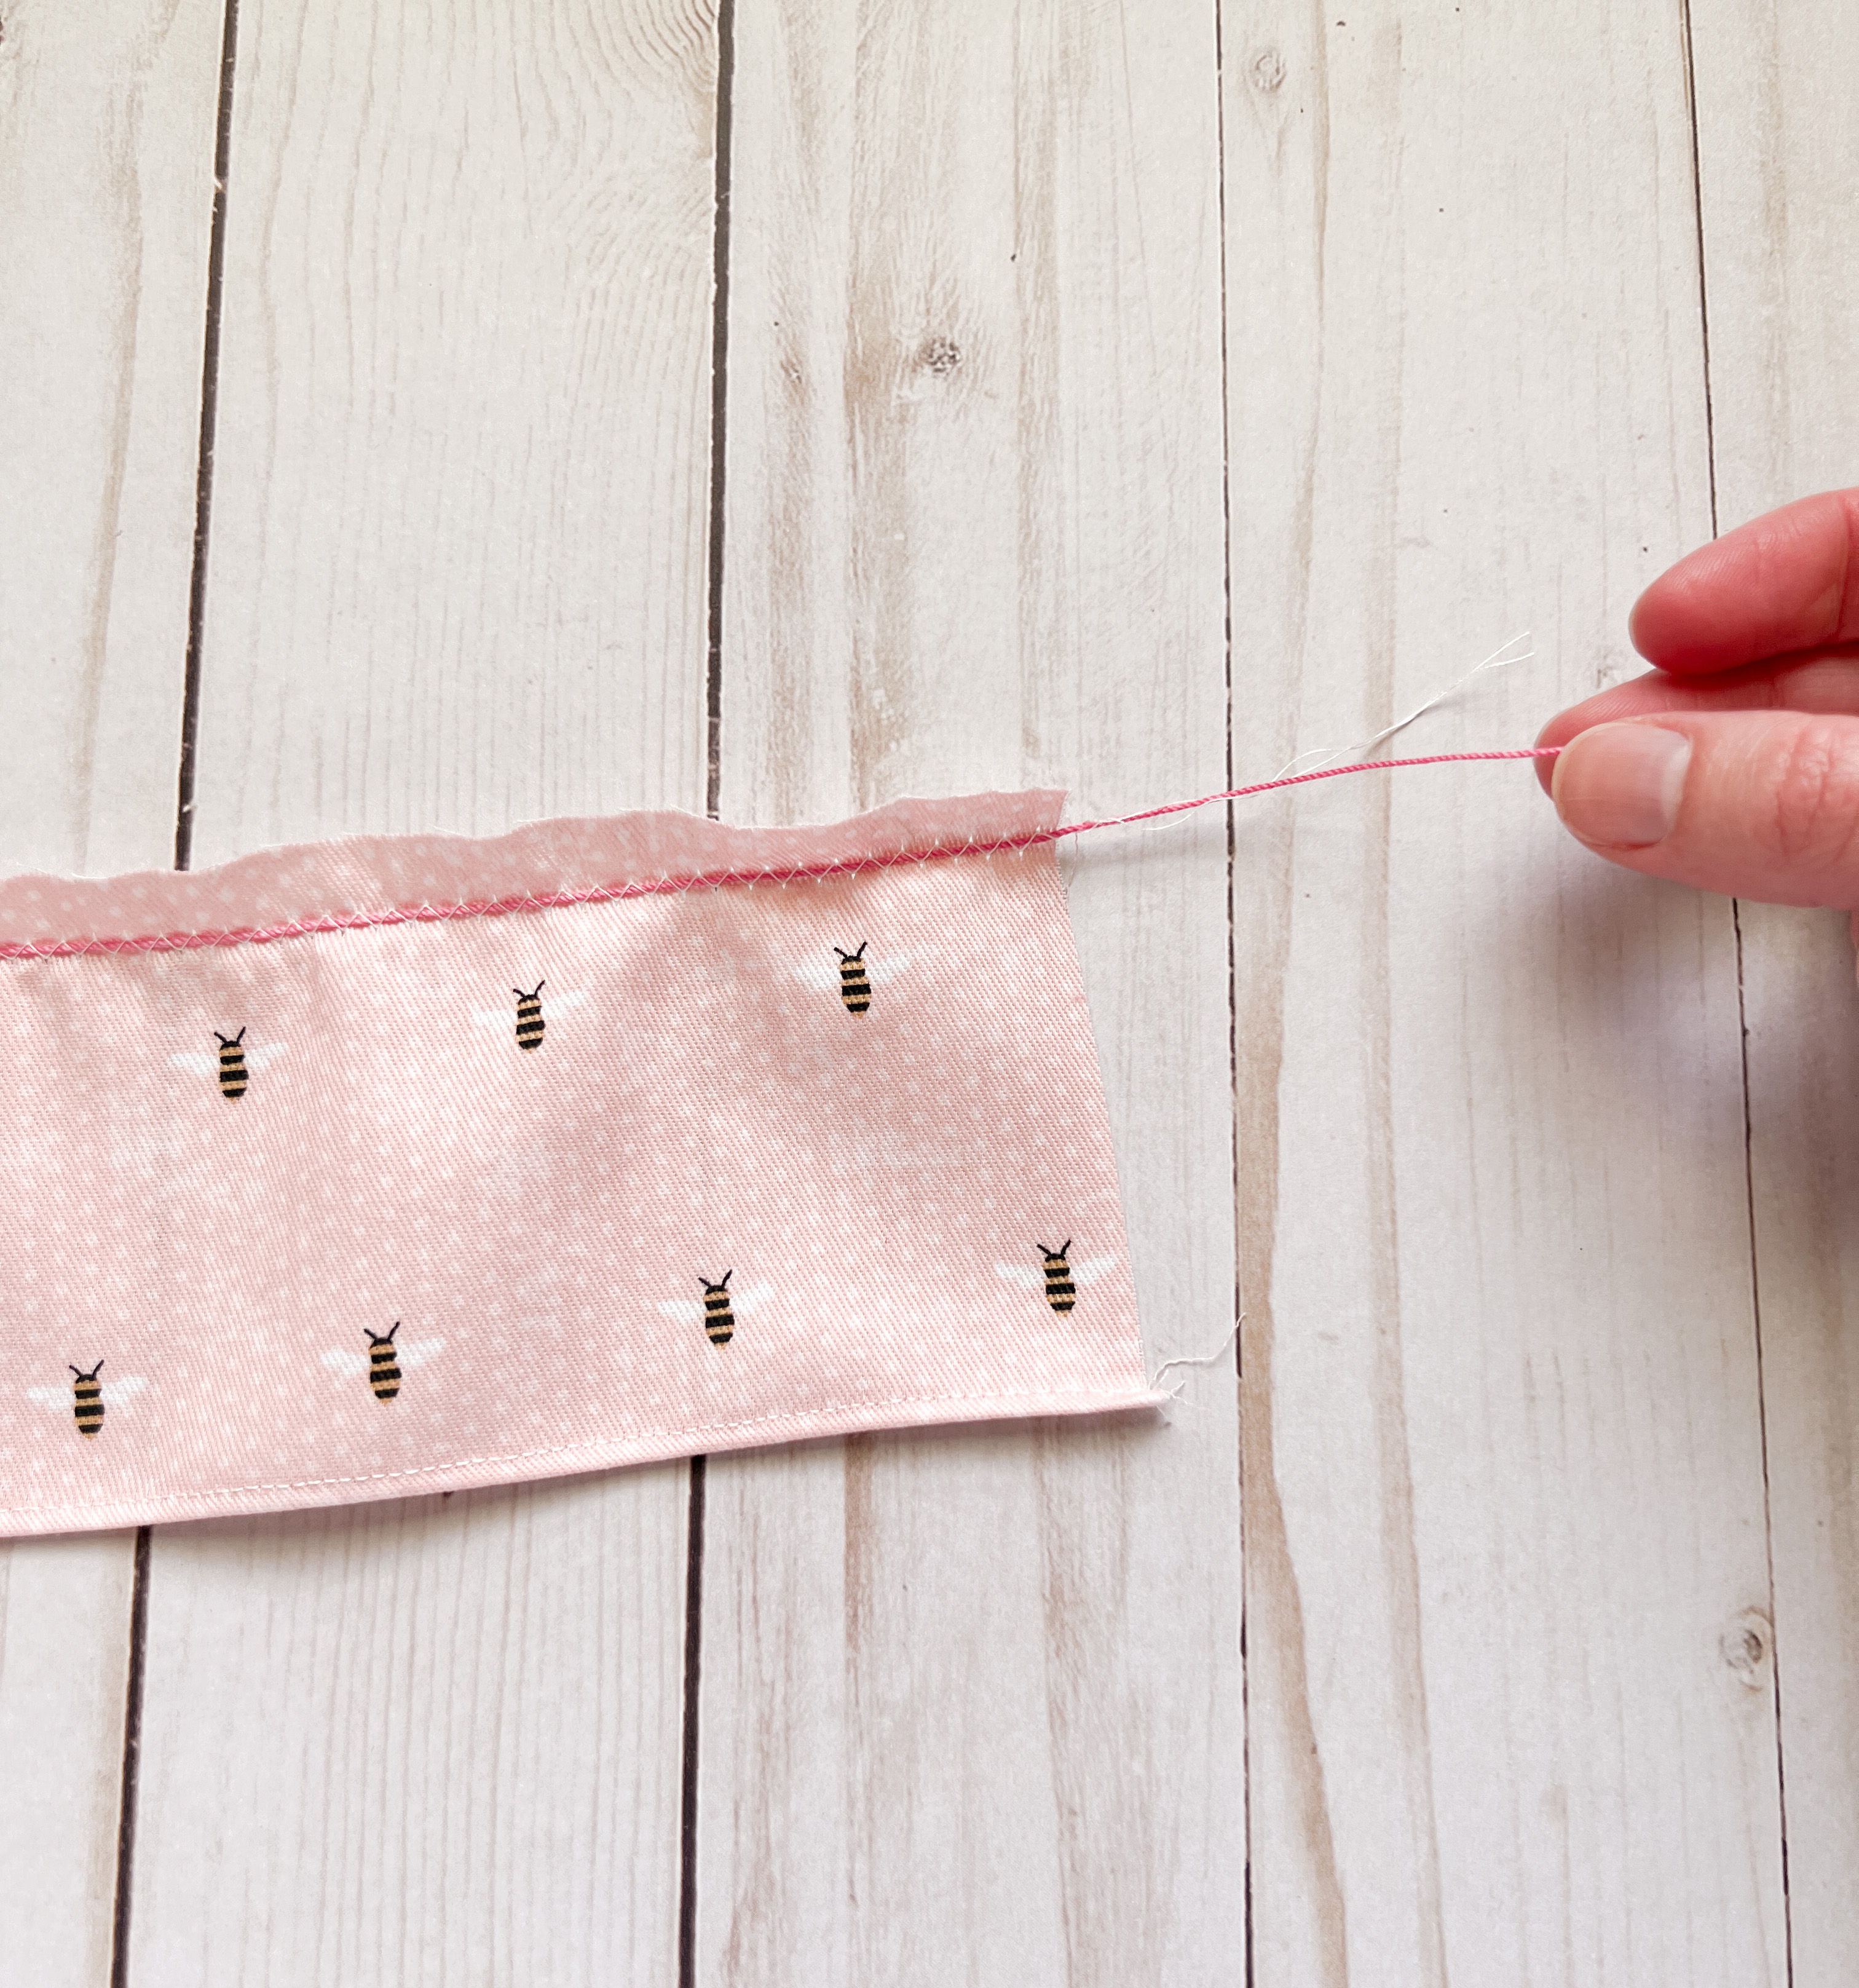
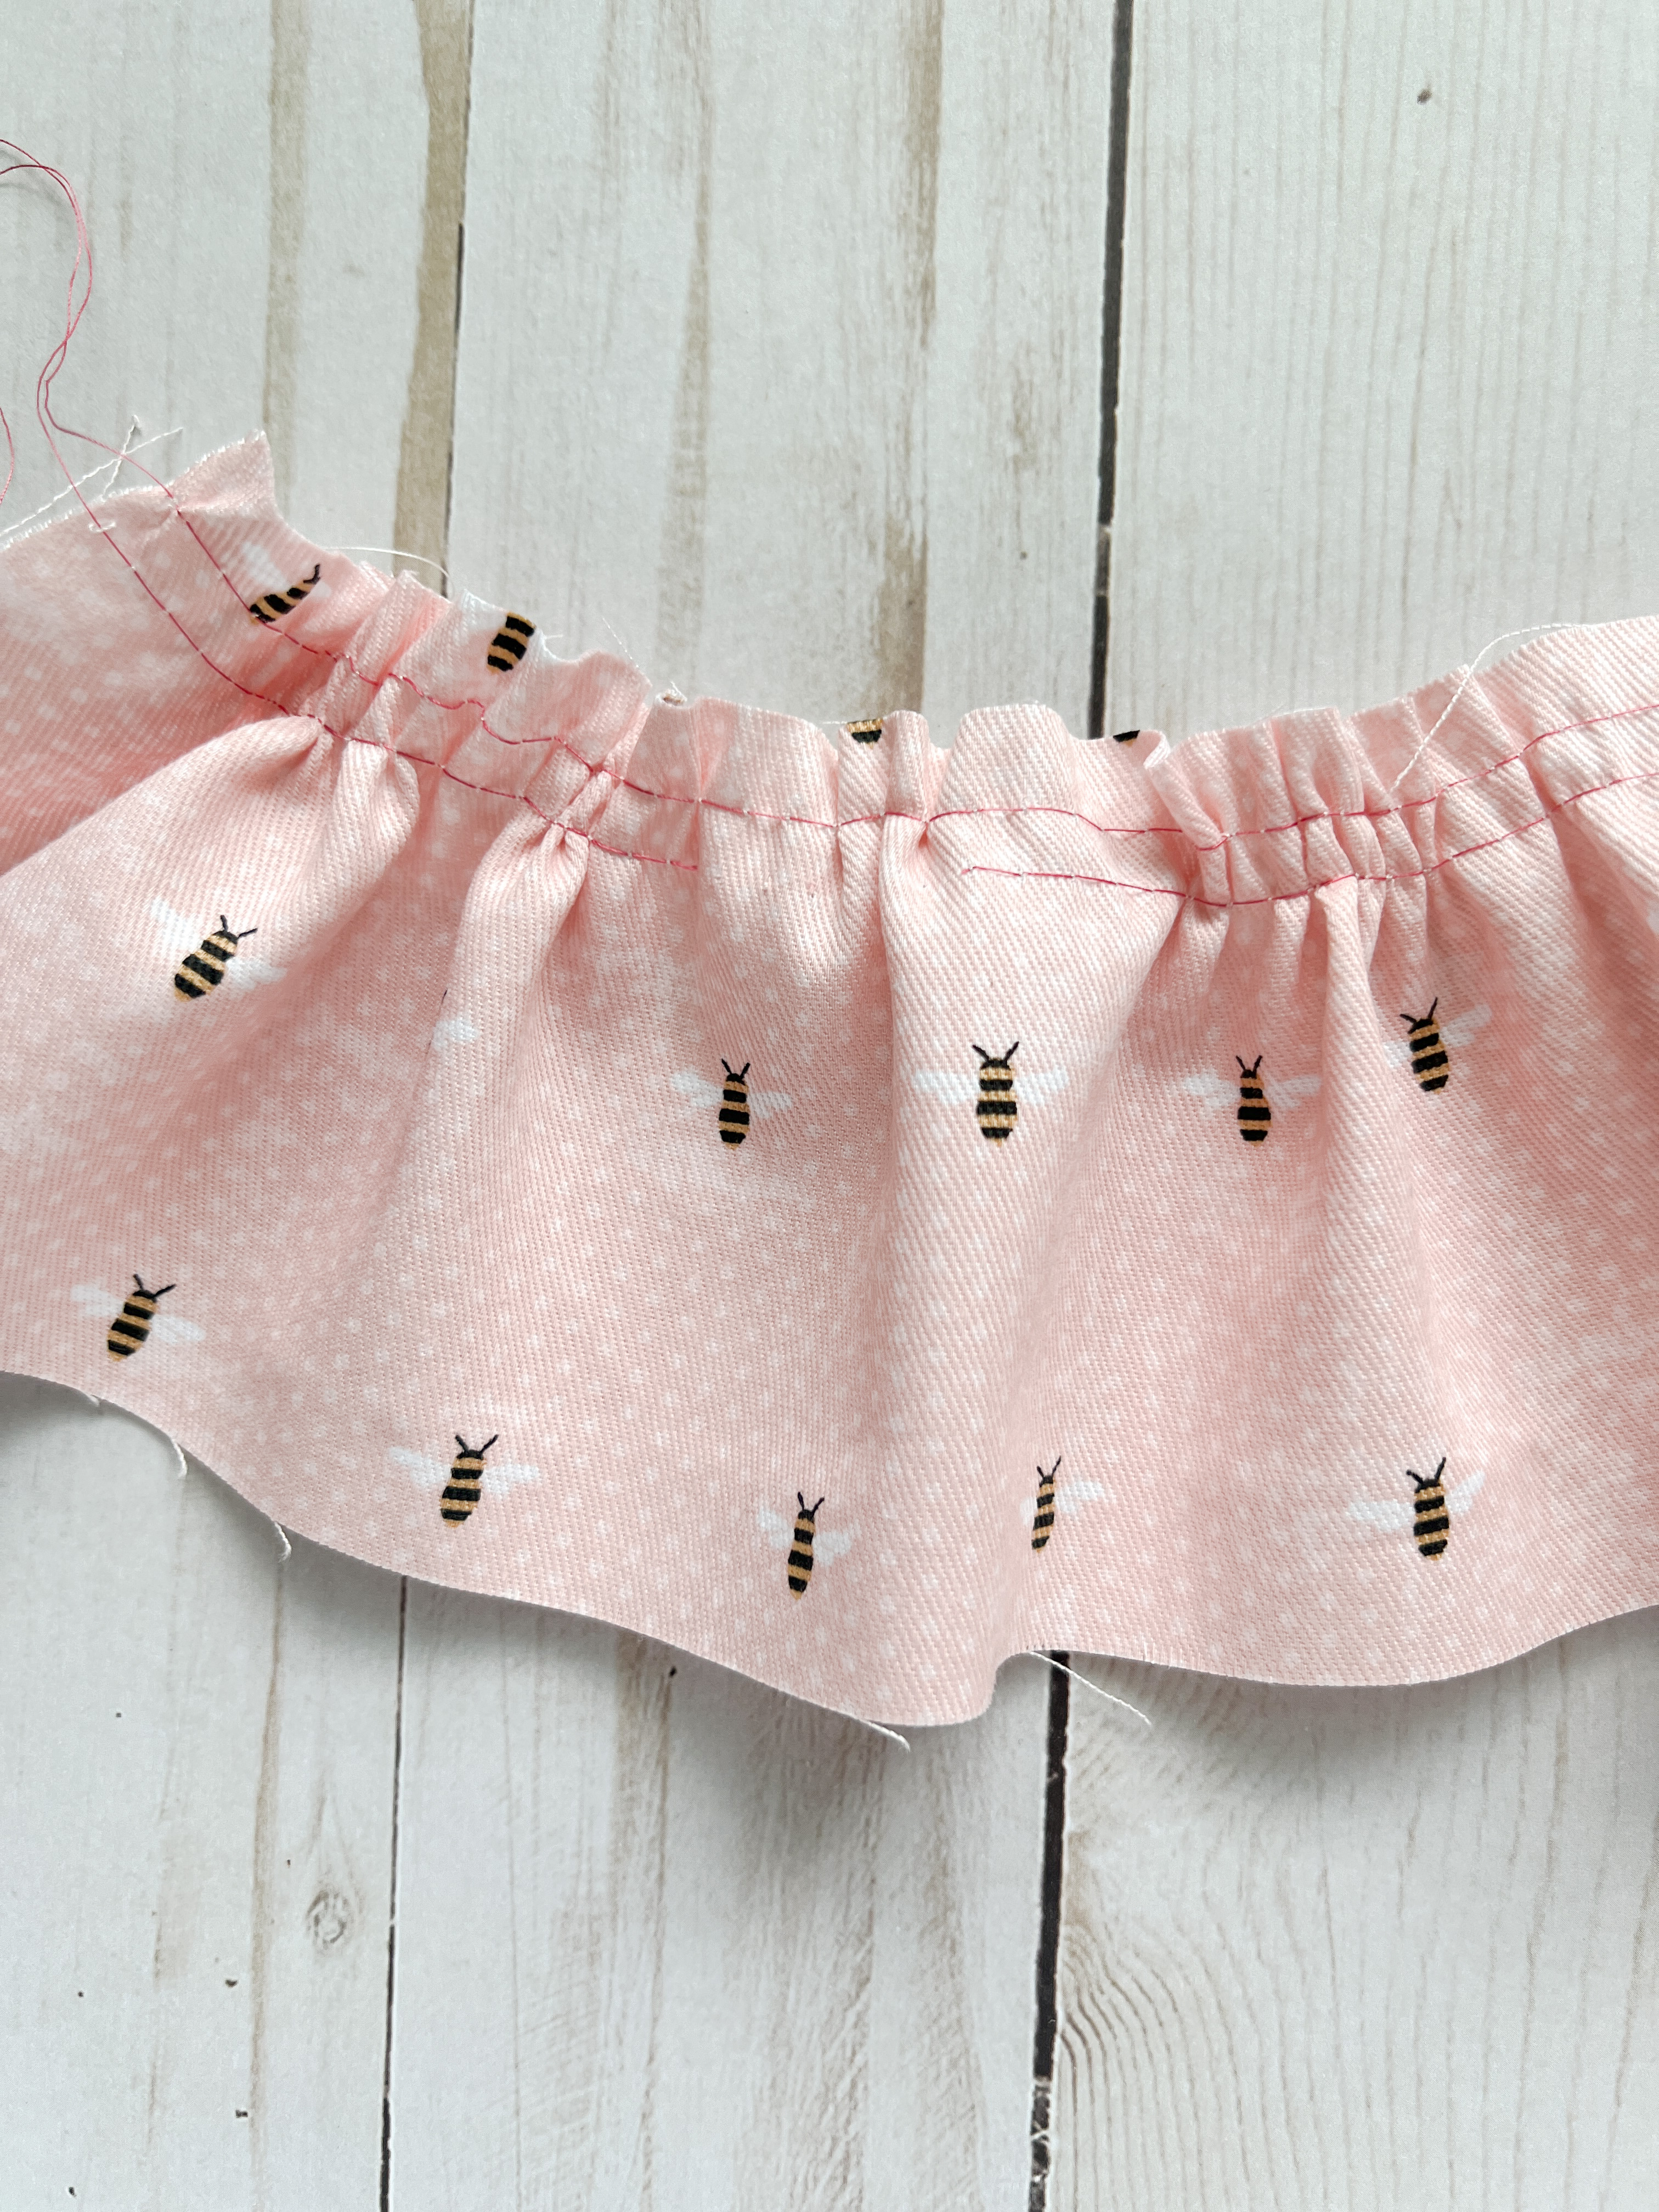
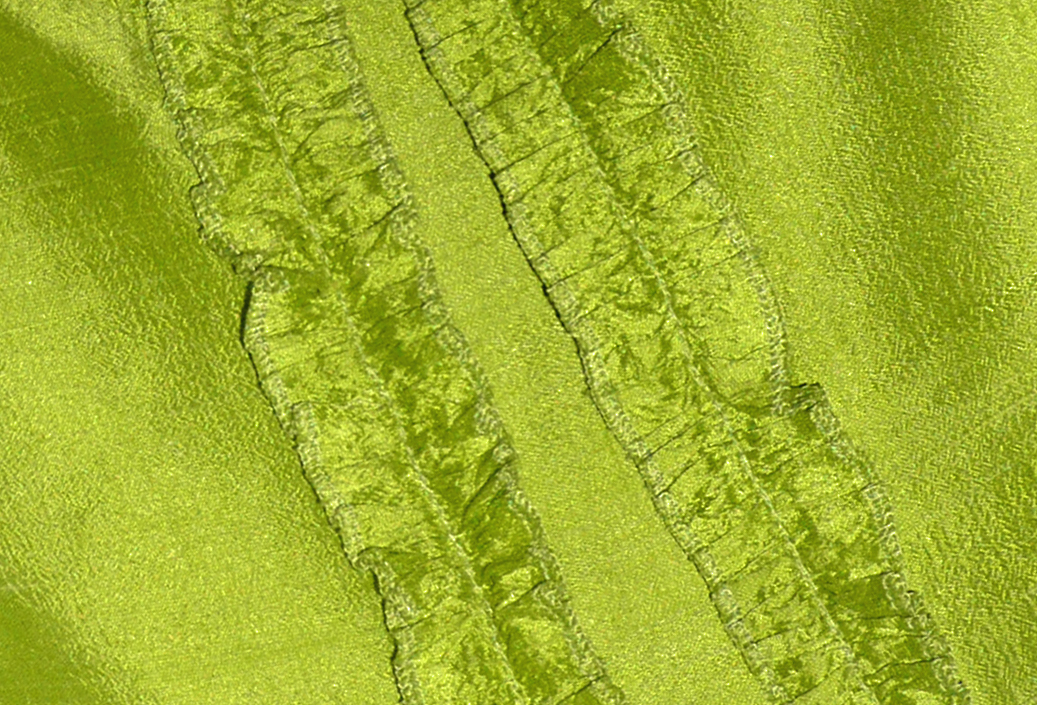
Then pull on your crochet thread and watch your fabric start to ruffle! And NO threads will break. It is easy to adjust the size of your ruffles and make them consistent in your project.

Once you have sewn the ruffle into your project, you can remove the crochet thread if you want. Or if you want to leave it in, no one will see it since it is in the seam allowance. Now you can put ruffles on everything. Happy ruffle-making!
Thanks for stopping by! If you would like to see more of what I am up to you can follow me on Instagram, Facebook, Pinterest and subscribe to my YouTube Channel!
Chirp Out!
Jen
Used Products
What you might also like


One comment on “Sewing Tip: How to Sew Ruffles”
Leave a Reply
You must be logged in to post a comment.

Hi, that is a wonderful tip. However, having the ruffle attachment makes it 100% easier!