10 Tips on How to Sew a Y-seam
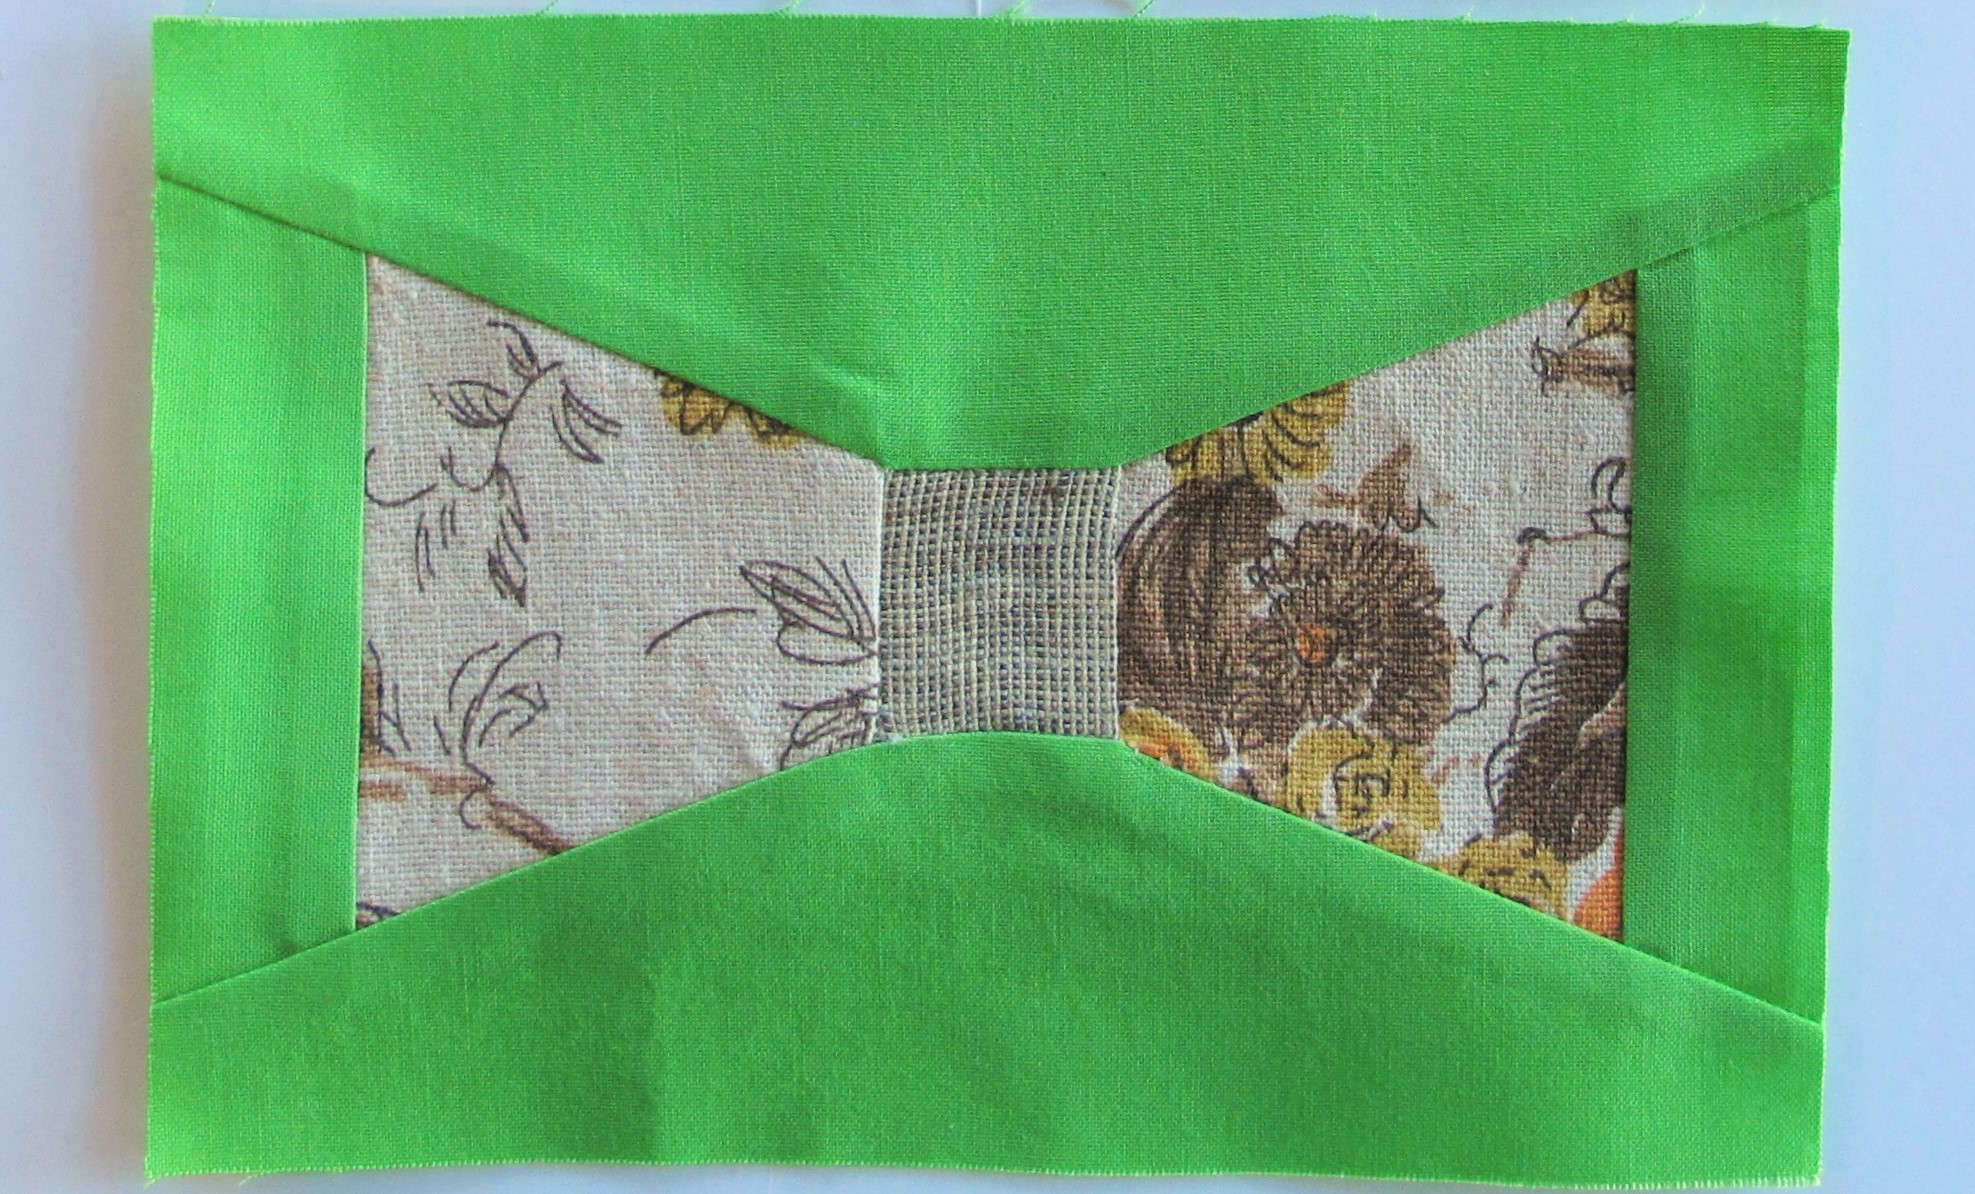
Let’s talk about Y-seams—most quilters will avoid a pattern that has a Y-seam like a stack of bad quality fabric, yet there are so many wonderful quilting patterns that have the Y-seam technique. Take the Tumbling Blocks or 8-point Star, both blocks contain Y-seams. I have found that if you take your time, you can achieve beautiful blocks with this seam. I also discovered that BERNINA has a few feet and accessories that make Y-seams a dream to sew. Let me share my Top Ten Tips & Tricks to assist you with Y-seams.
Top Ten Tips to Sew a Y-Seam
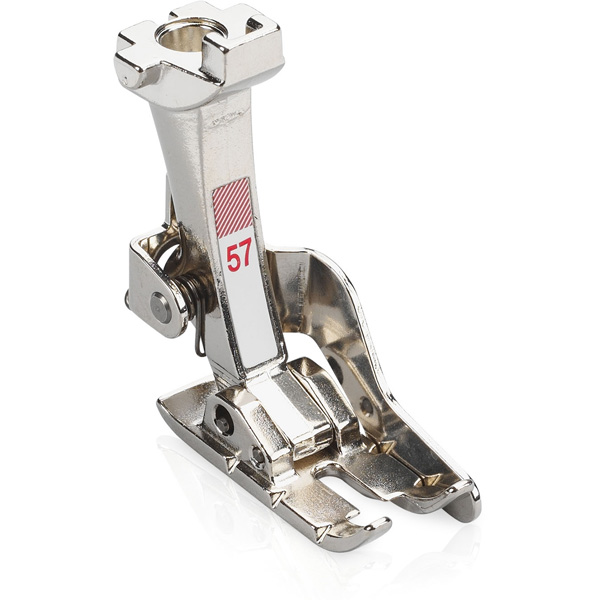
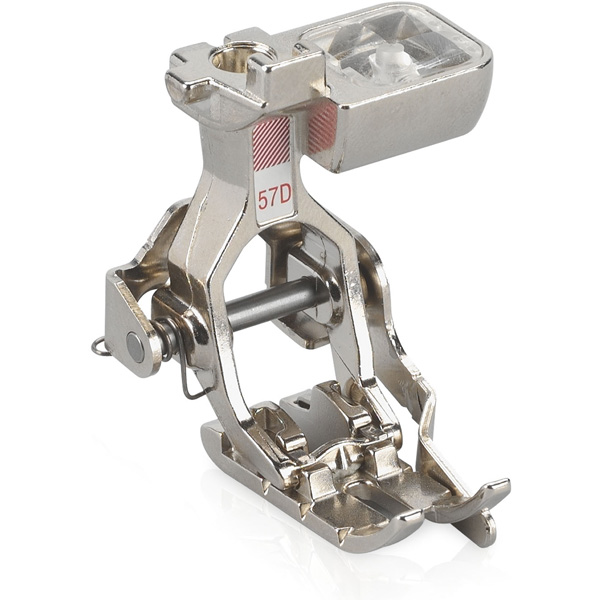
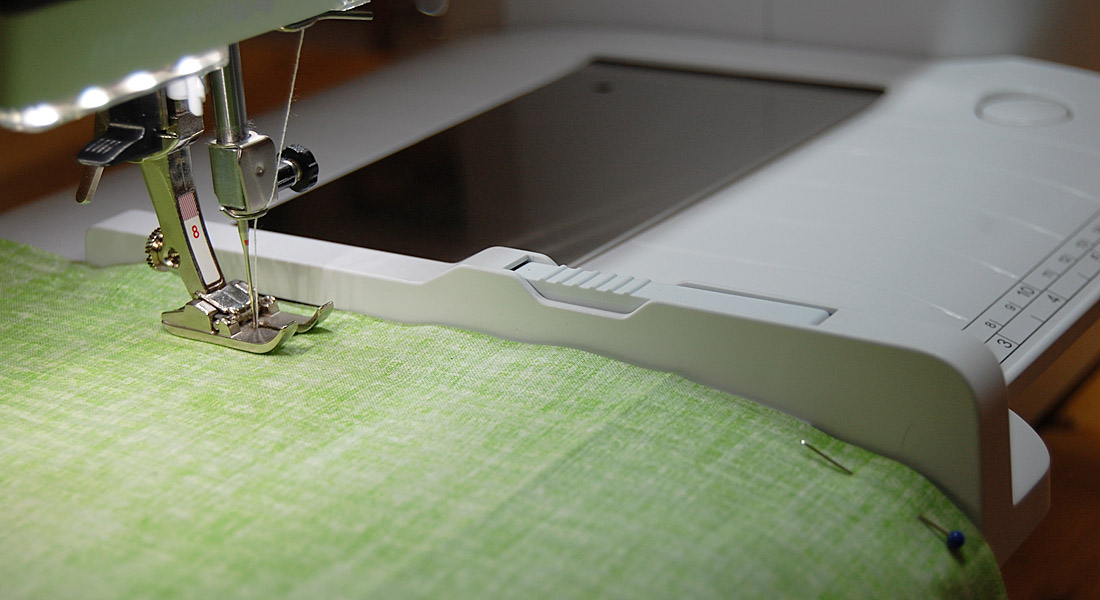
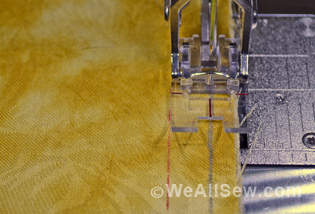
Tip #1: Use BERNINA’s quarter-inch presser feet—known as “patchwork feet.”
Did you know that all of our quarter-inch presser feet have ¼ inch markings in front of and behind the needle? This makes it super easy to start a ¼ inch away from the outer edge of the fabric and stop ¼ inch before the end of the seam.
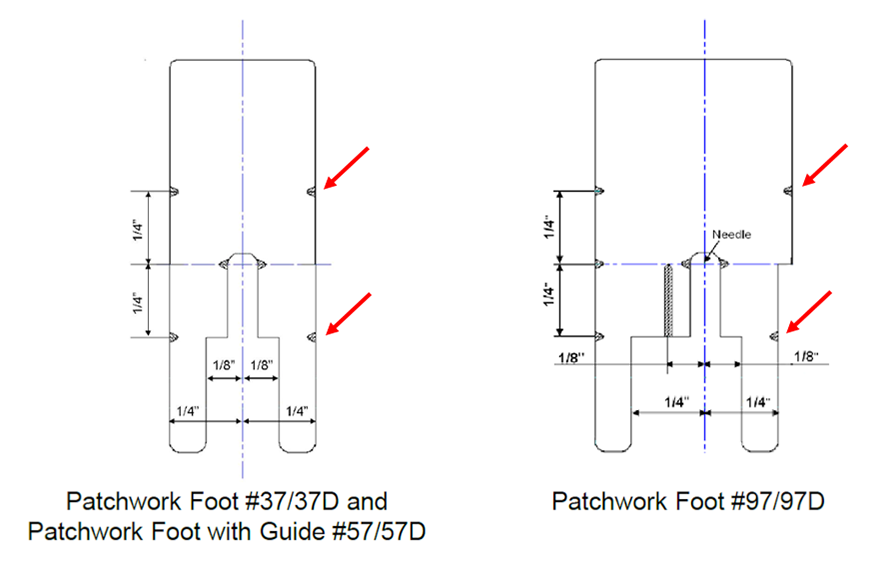
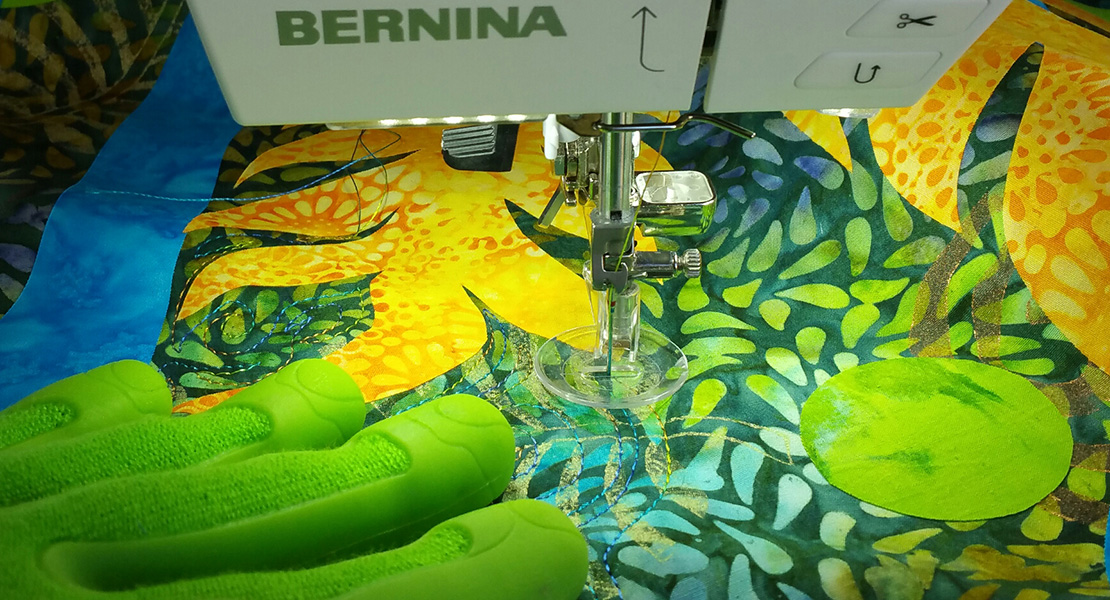
Notice where I used my presser foot to align my starting and stopping points.


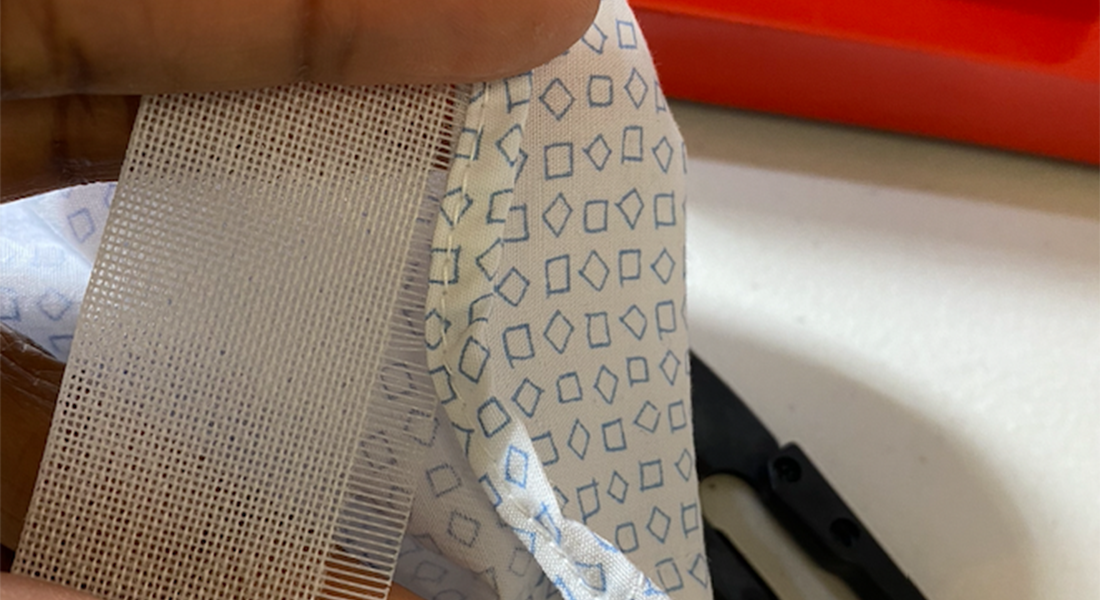
Tip #2: Using a Straight Stitch Plate when piecing Y-seams makes all the difference.
Sometimes when piecing Y-seams, you are working with bias edges of fabric that tend to want to shift and stretch easily. A straight stitch plate will ensure that the needle will not distort the fabrics as you are piecing.
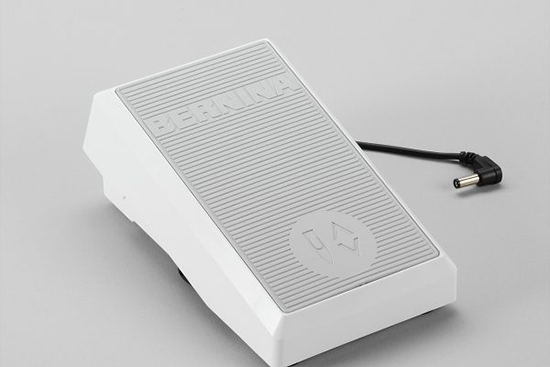
Tip #3: BERNINA’s Electronic Foot Control is a wonderful feature for having total stitch control.
You can use the Back-Kick function to raise and lower the needles, essentially taking one half-stitch at a time. So if you are approaching the end of your seam, you can use the Back-Kick feature to stitch one stitch at a time, until you reach the perfect stopping point.
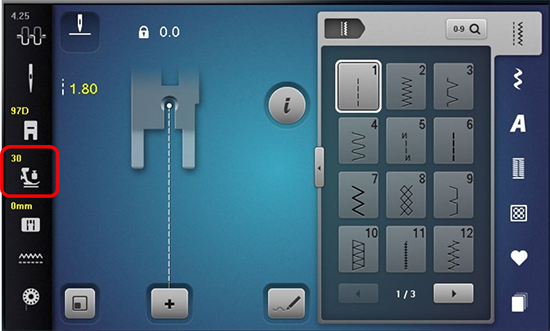
Tip #4: Adjust your stitch length and presser foot pressure for smooth piecing.
Ok, this is really two tips in one! Adjusting your stitch length to a shorter stitch length will aid in a nice tight seam. I like to use a stitch length of 1.8.
Then, as you adjust your presser foot pressure, you will be surprised at what a difference this can make in your piecing. When sewing Y-seams, you are usually dealing with bias edge fabric, so less pressure means less stretching. I like to adjust my presser foot pressure from 50 to 30 on my BERNINA 790 PLUS. I find that adjusting my presser foot pressure down a bit helps me to have more even piecing. My seams lay nice and flat with these two simple setting adjustments.
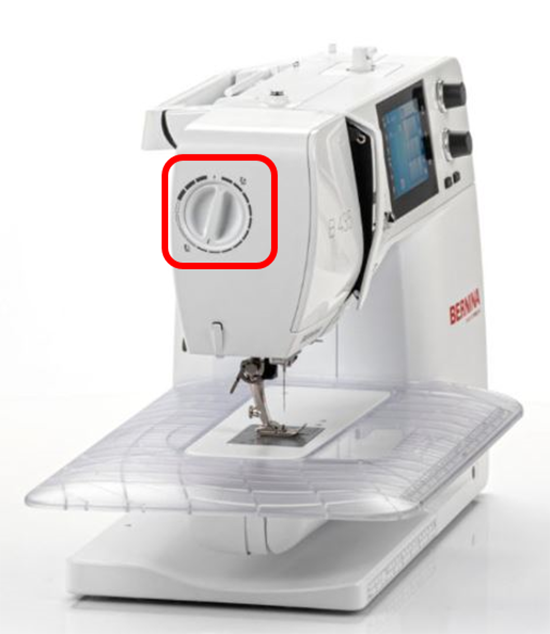
On some machines, presser foot pressure is an adjustment made on the screen of the machine.
On other machines, this adjustment is a manual adjustment found as a dial on the side of the machine.
Tip #5: Use the machine’s Quick Reverse Button to secure the stitch because Y-Seams simply meet instead of crossing over a seam.
This helps to anchor seams with a reverse stitch. I generally take two stitches forward and use the Quick Reverse Button to take a couple of stitches backwards to secure the starting point. At the end of the seam, I use the Quick Reverse Button to take to stitches backward to secure the ending point of the seam.
Tip #6: Stop with the needle in the down position, by using the Needle Stop Up/Down feature.
This is extremely helpful when stitching your Y-seams. Having the machine set to stop with the needle in the down position assures that all your layers of fabric stay nested together nicely. This also allows you to make any adjustments to the fabrics without the seams shifting under your needle.
Tip #7: If your pattern calls for marking your quarter-inch points (beginning or ending points), or if you find it helpful to mark this on each piece of fabric—then do it!
I sometimes will mark my quarter-inch starting and/or stopping points on my fabrics for the first few blocks until I get “in the groove”. Then I rely on my quarter inch markings on my presser foot for my remaining seams. Use a fabric marking pen that you like that has been tested on your fabric type and gives you a visible mark. There are so many fabric marking pens on the market, that it is really just a matter of personal preference.
Tip #8: Using sewing pins to secure your layers together is extremely helpful when beginning to sew Y-seams.
You can place a pin at your seam intersections to help assure you that all your pieces will align exactly as needed.
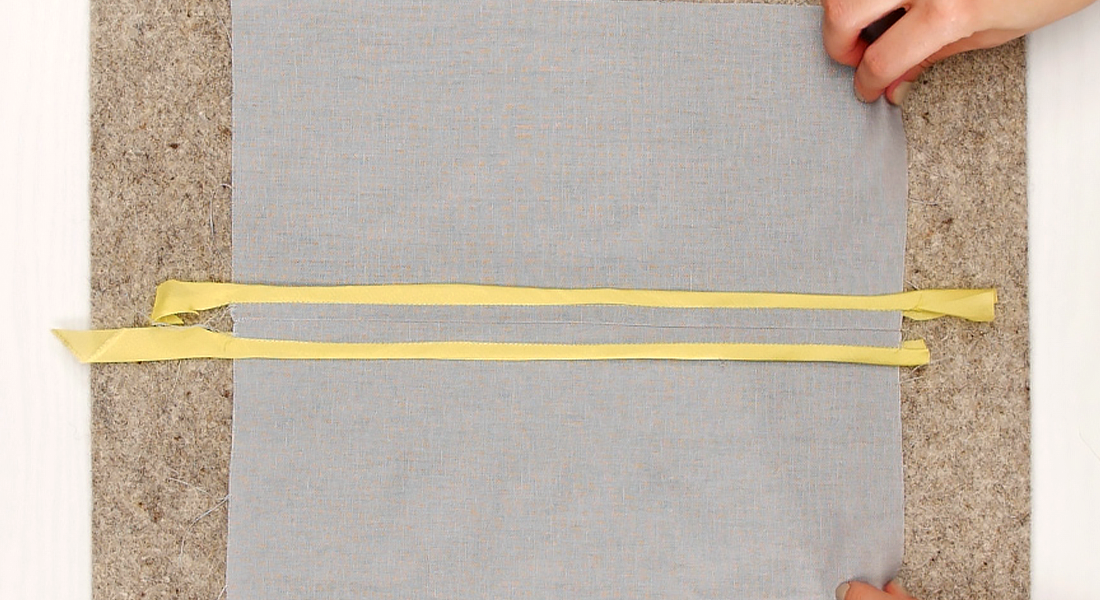
Tip #9: Stitch from the center of your block to the outside edge to achieve the most precise result.
It is best to fold any fabrics not being stitched out of your way and start from the center of your block, then stitch towards the outside edge. In final block composition, your eye will naturally land at the center of the block, so you want all of those points to match exactly.
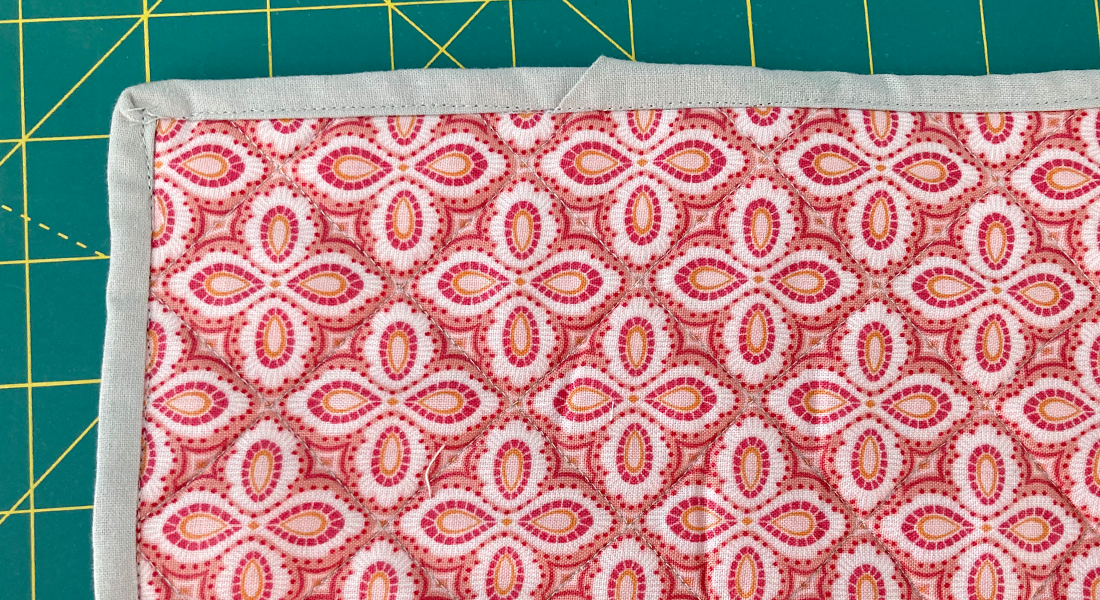
Tip #10: Pressing matters!
Yes, please press your seams. Some quilters say to press your seam open. Others say to press your seam in one direction or the other. My best tip is to press according to how the fabrics naturally lay. However, if I find that there is a lot of bulk I recommend pressing the seams open. Also, finger pressing helps when working with Y-seams. To press the fabric, just finger press to see how the fabrics best lay so that you can achieve a flat seam. Then follow up with a good press from your iron. After I have all my seams pressed from the backside of the block, I then flip the block over and give it a good press from the right side.
In closing, remember to take your time and enjoy the process! Y-seams can be very rewarding and you can achieve blocks that look very complex on your quilts.

Used Products


What you might also like


5 comments on “10 Tips on How to Sew a Y-seam”
-
-
Check your Manuel or make inquiries at your Bernina dealer. Also look for direction online.
-
Good Morning,
The feature for the 1/2 stitch is already programmed into the foot control. If you tap the heel area (needle icon) of the Electronic foot control, it will lower the needle, taking half of a stitch. Then if you tap the heel area again, it will bring up the needle, completing the other half of the stitch.
Hope this helps.Happy Stitching,
Heather~
-
-
Would you recommend lowering the foot pressure for all piecing or just for Y seams?
-
Hello,
I actually do lower my presser foot pressure for all of my piecing. But especially if I am sewing on the bias edge or Y seams.
On my B790 PLUS I lower my presser foot pressure to around 35 to 40 for regular piecing. I find for my style of sewing/piecing that works best. I also use the dual feed whenever possible. And of course a straight stitch plate. These adjustments help to insure that my piecing is accurate and lays nice and flat.
Play around with your presser foot pressure on your machine and see what works best for your stitching techniques.Happy Piecing~
Heather
Leave a Reply
You must be logged in to post a comment.

I’m confused by Tip #3 where you state you can use the back kick function to stitch 1/2 stitch at a time. How does one program the foot control to do this on a 790?