Tips on Writing a Sewing Tutorial
Have you ever thought about sharing one of your own original projects or techniques in a tutorial, but you’re not quite sure where to begin? Our WeAllSew Experts have written hundreds of online tutorials, and now we’re sharing our top tutorial writing tips to help you put together your own tutorial!
Who is it for?
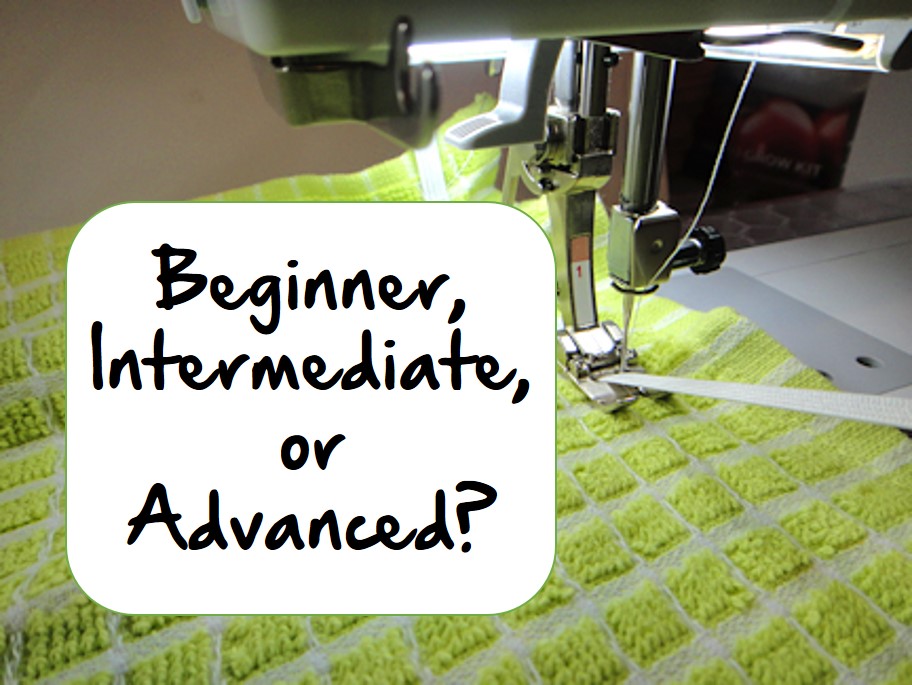
Before beginning any new tutorial, we always ask the question, “Who is it for?” If the project you want to share is for an absolute beginner, you will need to include more information about specific terms, tools or techniques than if you were creating a tutorial for someone with more sewing experience.
For example, if your project includes instructions to “baste” layers, you may need to explain more about this term and the technique to an absolute beginner, but anyone with more sewing experience under their belt will understand what it means to “baste” without further explanation. Deciding who your audience will be is an important step, remember who will be reading and following your tutorial while you are writing the steps.
Whatever it is, make it your own!
There are lots of sewing tutorials out there today, many of them share very similar projects or techniques. Find what makes your project different and unique to make it relevant to the people who will read and follow along. For instance, if you’d like to create a tutorial for a zippered pouch, you might notice there are already lots of zippered pouch tutorials out there – so instead of duplicating something that already exists, focus on what is special about your zippered pouch that people won’t see in any other tutorial.
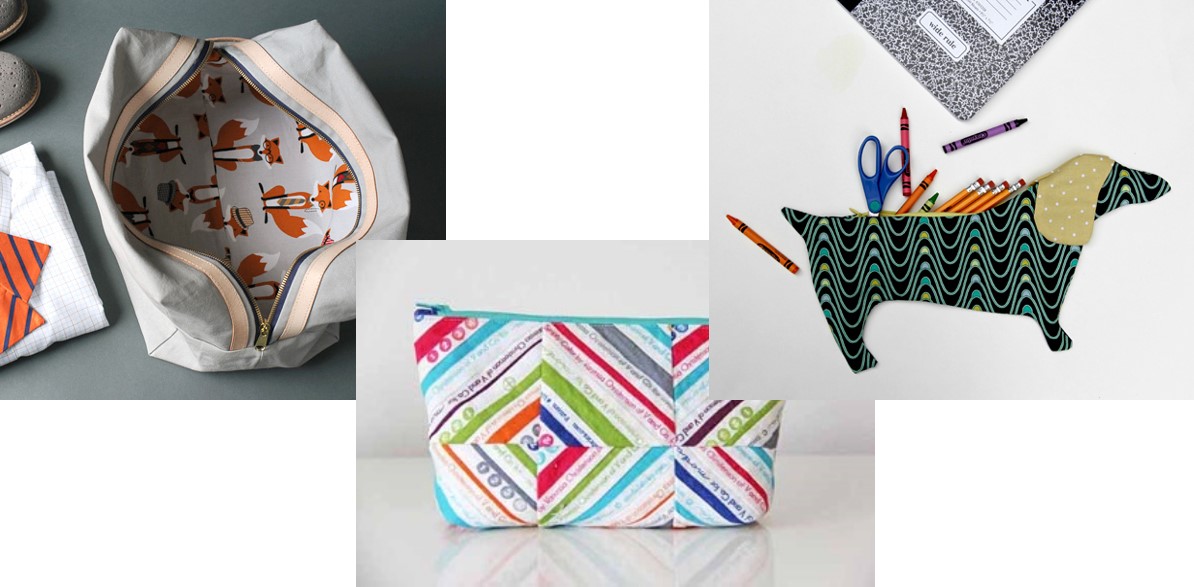
Have a clear idea about what your tutorial will be, and write down some thoughts to help clarify; is it a zippered pouch with a unique shape and trim, or is it a tutorial to make a zippered pouch with patchwork? Or perhaps it is a zipper pouch in the shape of a dog? Once you have an absolute idea of what you’re planning on sharing it’s easy to move on to the next steps.
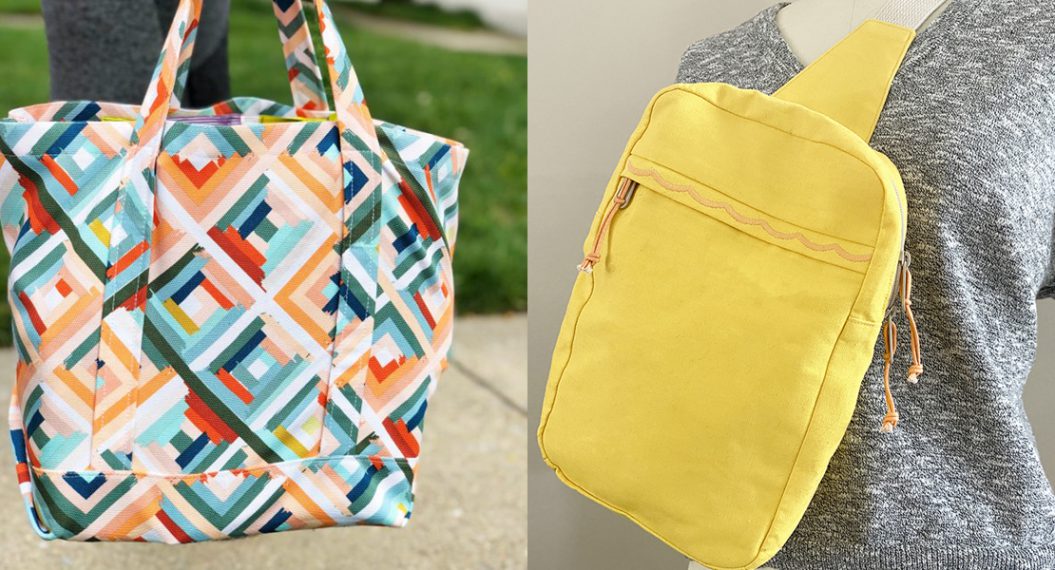
Check out the three great zipper pouch tutorials pictured above to see an example of a finished tutorial: How To Make A Zippered Travel Pouch For Dad, the Zippered Up Selvage Pouch Tutorial, and the Dachshund Pencil Case Tutorial.
Find a method that works for you
While we all have our own personal methods for writing tutorials, most of us follow one of two methods; the “step-out” method and the “as-you-go” method.
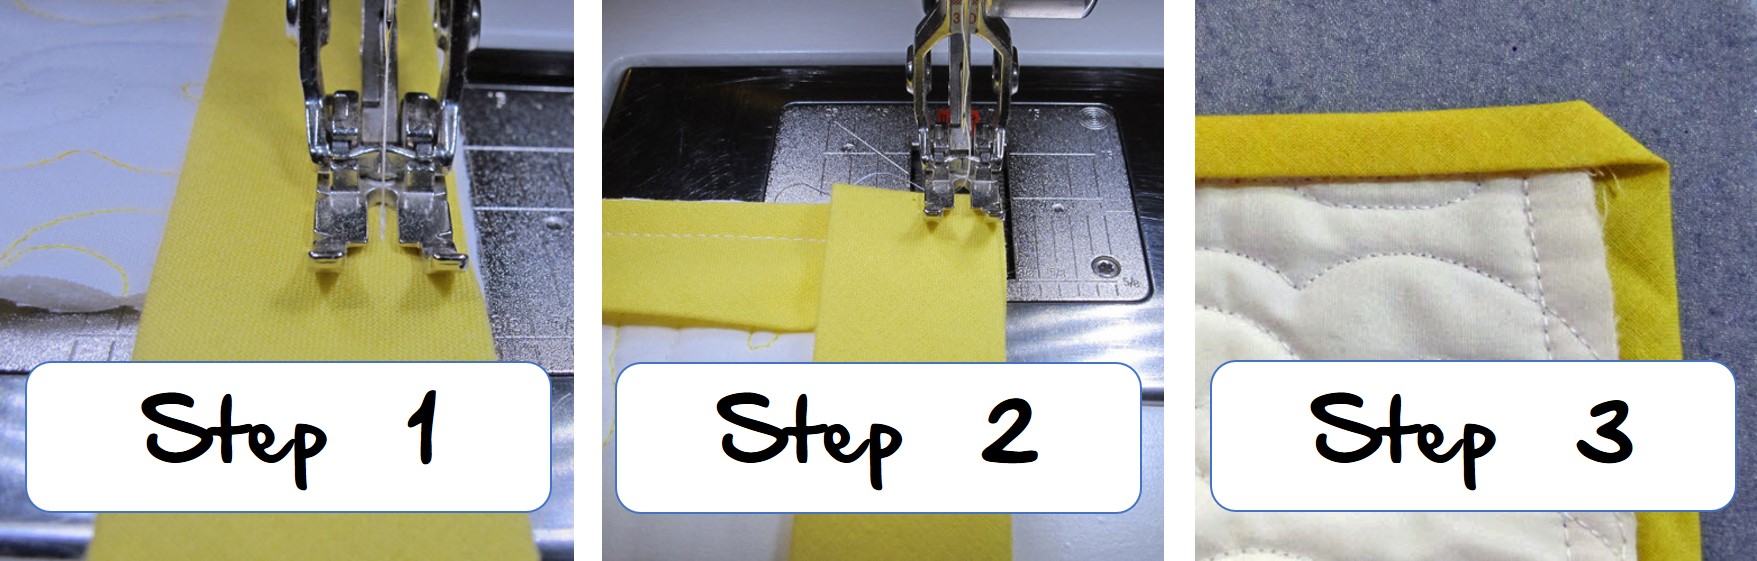
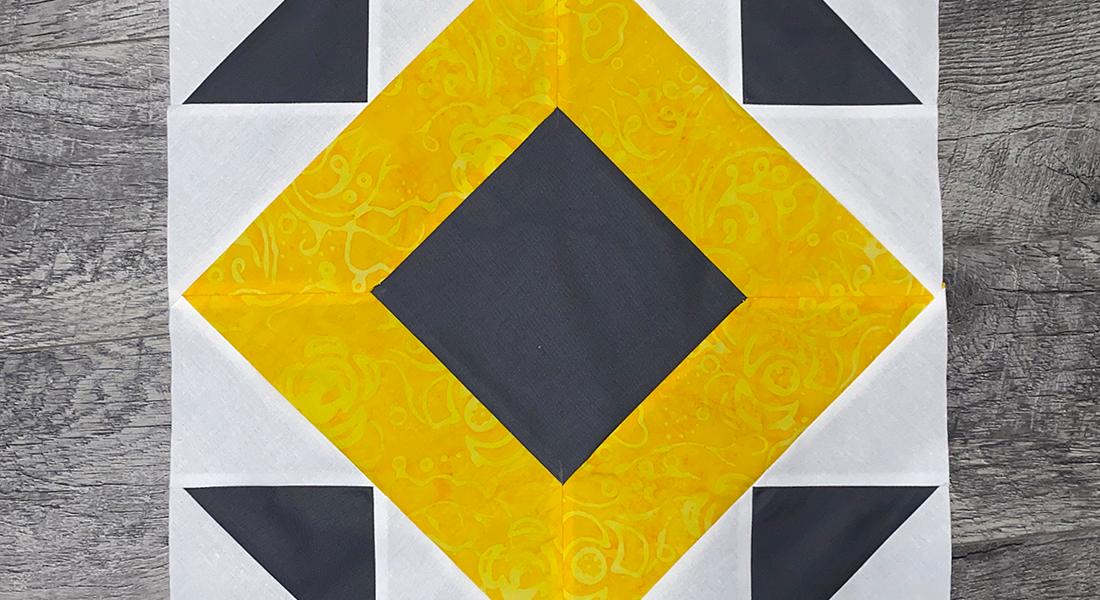
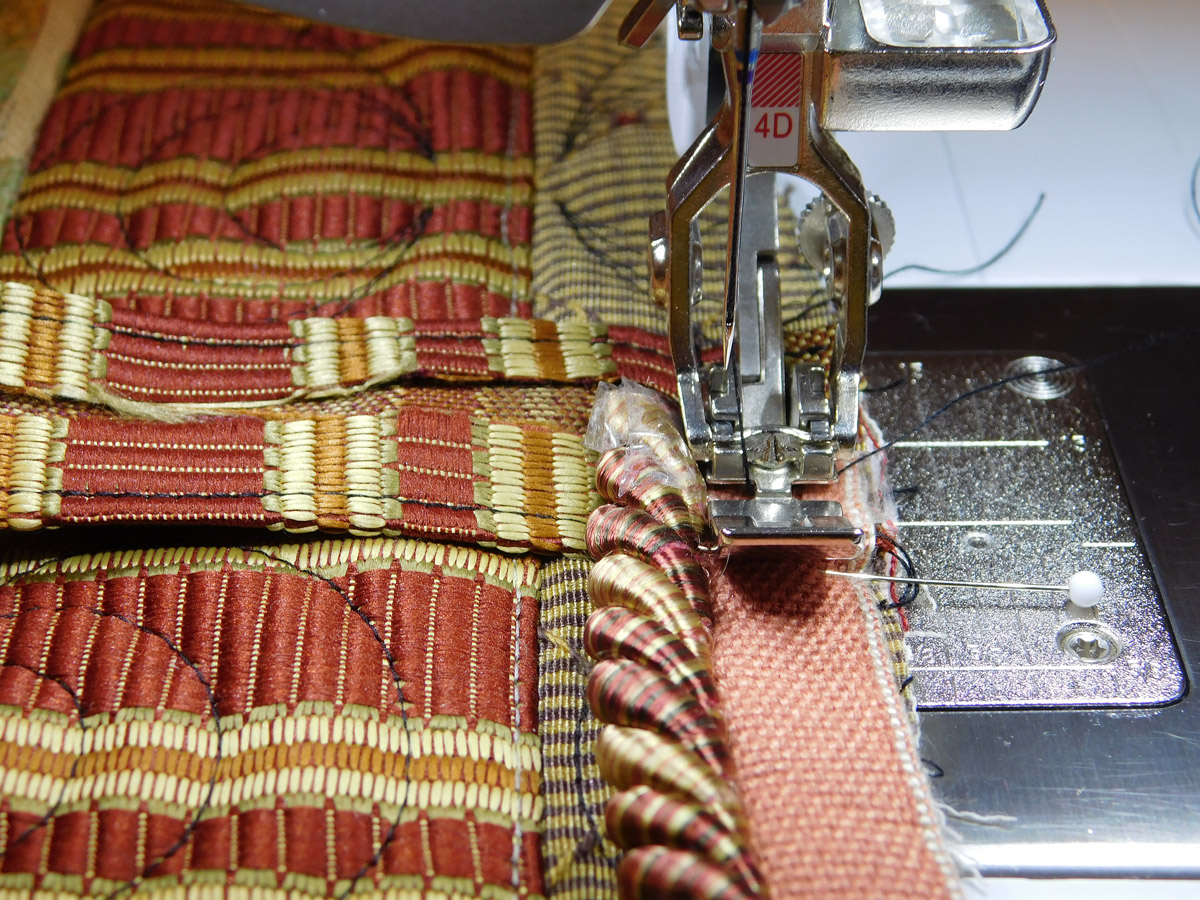
The step-out method includes creating a separate example of the project to represent each important step along the way. These step-outs are photographed to illustrate each of the steps, and also serve to remind the writer what needs to be described for each step. So, if there are four steps to finishing your zippered pouch, you’d make four separate step-outs for this tutorial; one complete set that shows each of the four steps. When your step-outs are complete, you can set about photographing each step and writing the instructions.
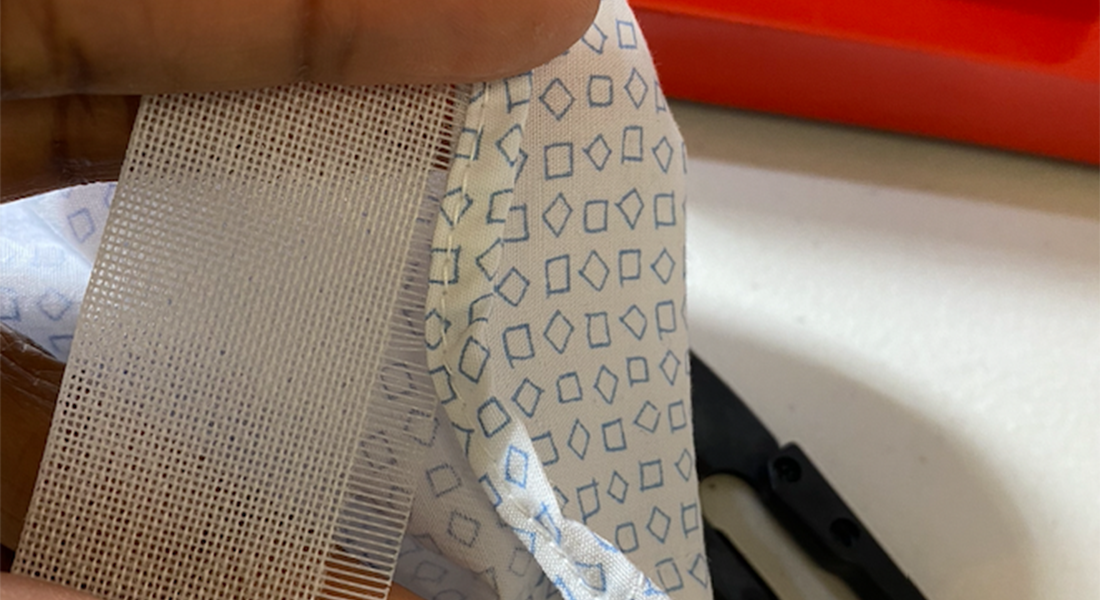
The as-you-go method includes starting with the tutorial from the beginning, and pausing at each major step to photograph and take notes about important things to share for each step. This technique requires that you have pen and paper, a tablet, or your laptop right there with you so you can keep track of what happens in each step, and which steps will go along with which photographs you are taking. When finished, you will have all the notes and photos needed to put together your tutorial.
As I mentioned, we all find what works best for us, it might be step-outs, it might be as-you-go, it might be a little of both, or it might be something all your own.
Photos
Nothing makes it easier to understand the steps in a tutorial like nice, clear pictures! Use the best camera you can get your hands on, and follow some of these tips.

- Keep the extra background to a minimum in your photo; focus just on filling the frame of the picture with the information you want to show.
- Use natural light whenever possible; open all the shades or curtains in your room, or take the photos outside (keep out of direct sunlight to cut down on harsh shadows, try full shade or when the sun is lower in the sky).
- Use photo editing software to crop unnecessary stuff out of your photo, and to help adjust any color or lighting issues.
- If you are making a finished project, make sure to get a few nice shots of your project in action. If it is a handbag, talk a friend into modeling it for you. If it is a laptop cover, take a shot of the cover with a laptop.
Learn about the basics of photography in this set of free simple lessons from Digital Photography School. These photo tutorials and tips from Etsy are based on taking better pictures of finished products, but there are several good tips that help with tutorial step-by-steps as well. And here’s a fun post from A Pretty Cool Life about backdrops, you might get some great ideas for shooting your finished projects. And if you’re creating a quilting tutorial, check out Kerby Smith’s 5 Tips for Taking Pictures of your Quilt.
It’s the little things
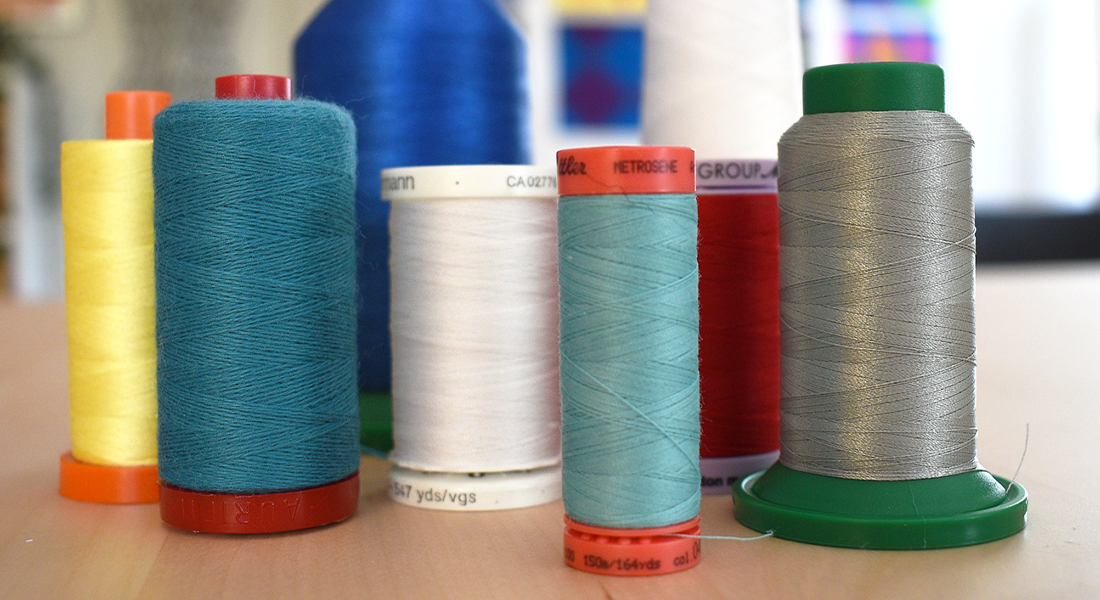
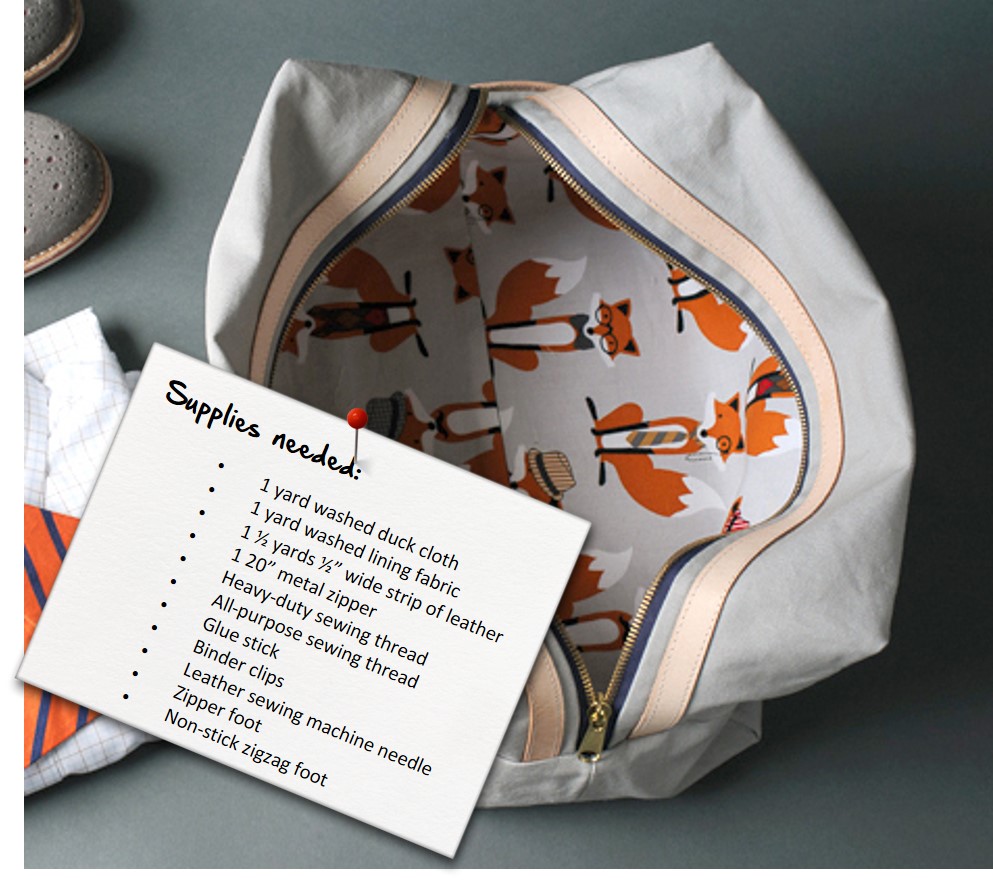
When putting it all together, don’t forget to include a concise list of all the tools and materials you need to put together the project. Did you use any special sewing machine presser feet? Did you use one standard pair of sewing shears, or did you also use a rotary cutter, mat, and ruler? What kind of thread or other notions did you use? Including all of the correct materials needed to complete the project plus a list of all the right tools will help your tutorial readers complete the project successfully.
After you’ve put your tutorial together, it helps to have a friend follow along and test-sew the project from your instructions. Your friend can let you know if there were any problems along the way, and you may end up with another cool version of your project to use for photos.
One thing that all of us WeAllSew Experts do the same way is to have another Expert proof-read our tutorials. Having a fresh set of eyes look at your written instructions is invaluable! Sometimes I can skip right over the same mistake in my own work again and again, probably because I’ve been looking at it for so long – but my friend who has never seen it can find the errors right off the bat.
Enjoy!
Once you’ve written your first sewing tutorial, you’ll find that it can be really enjoyable! I think the thing we all love most about sharing sewing tutorials with you here at BERNINA’s WeAllSew blog is the joy of passing on our love of sewing to you.