How to Make a DIY Seatbelt Cover Pillow
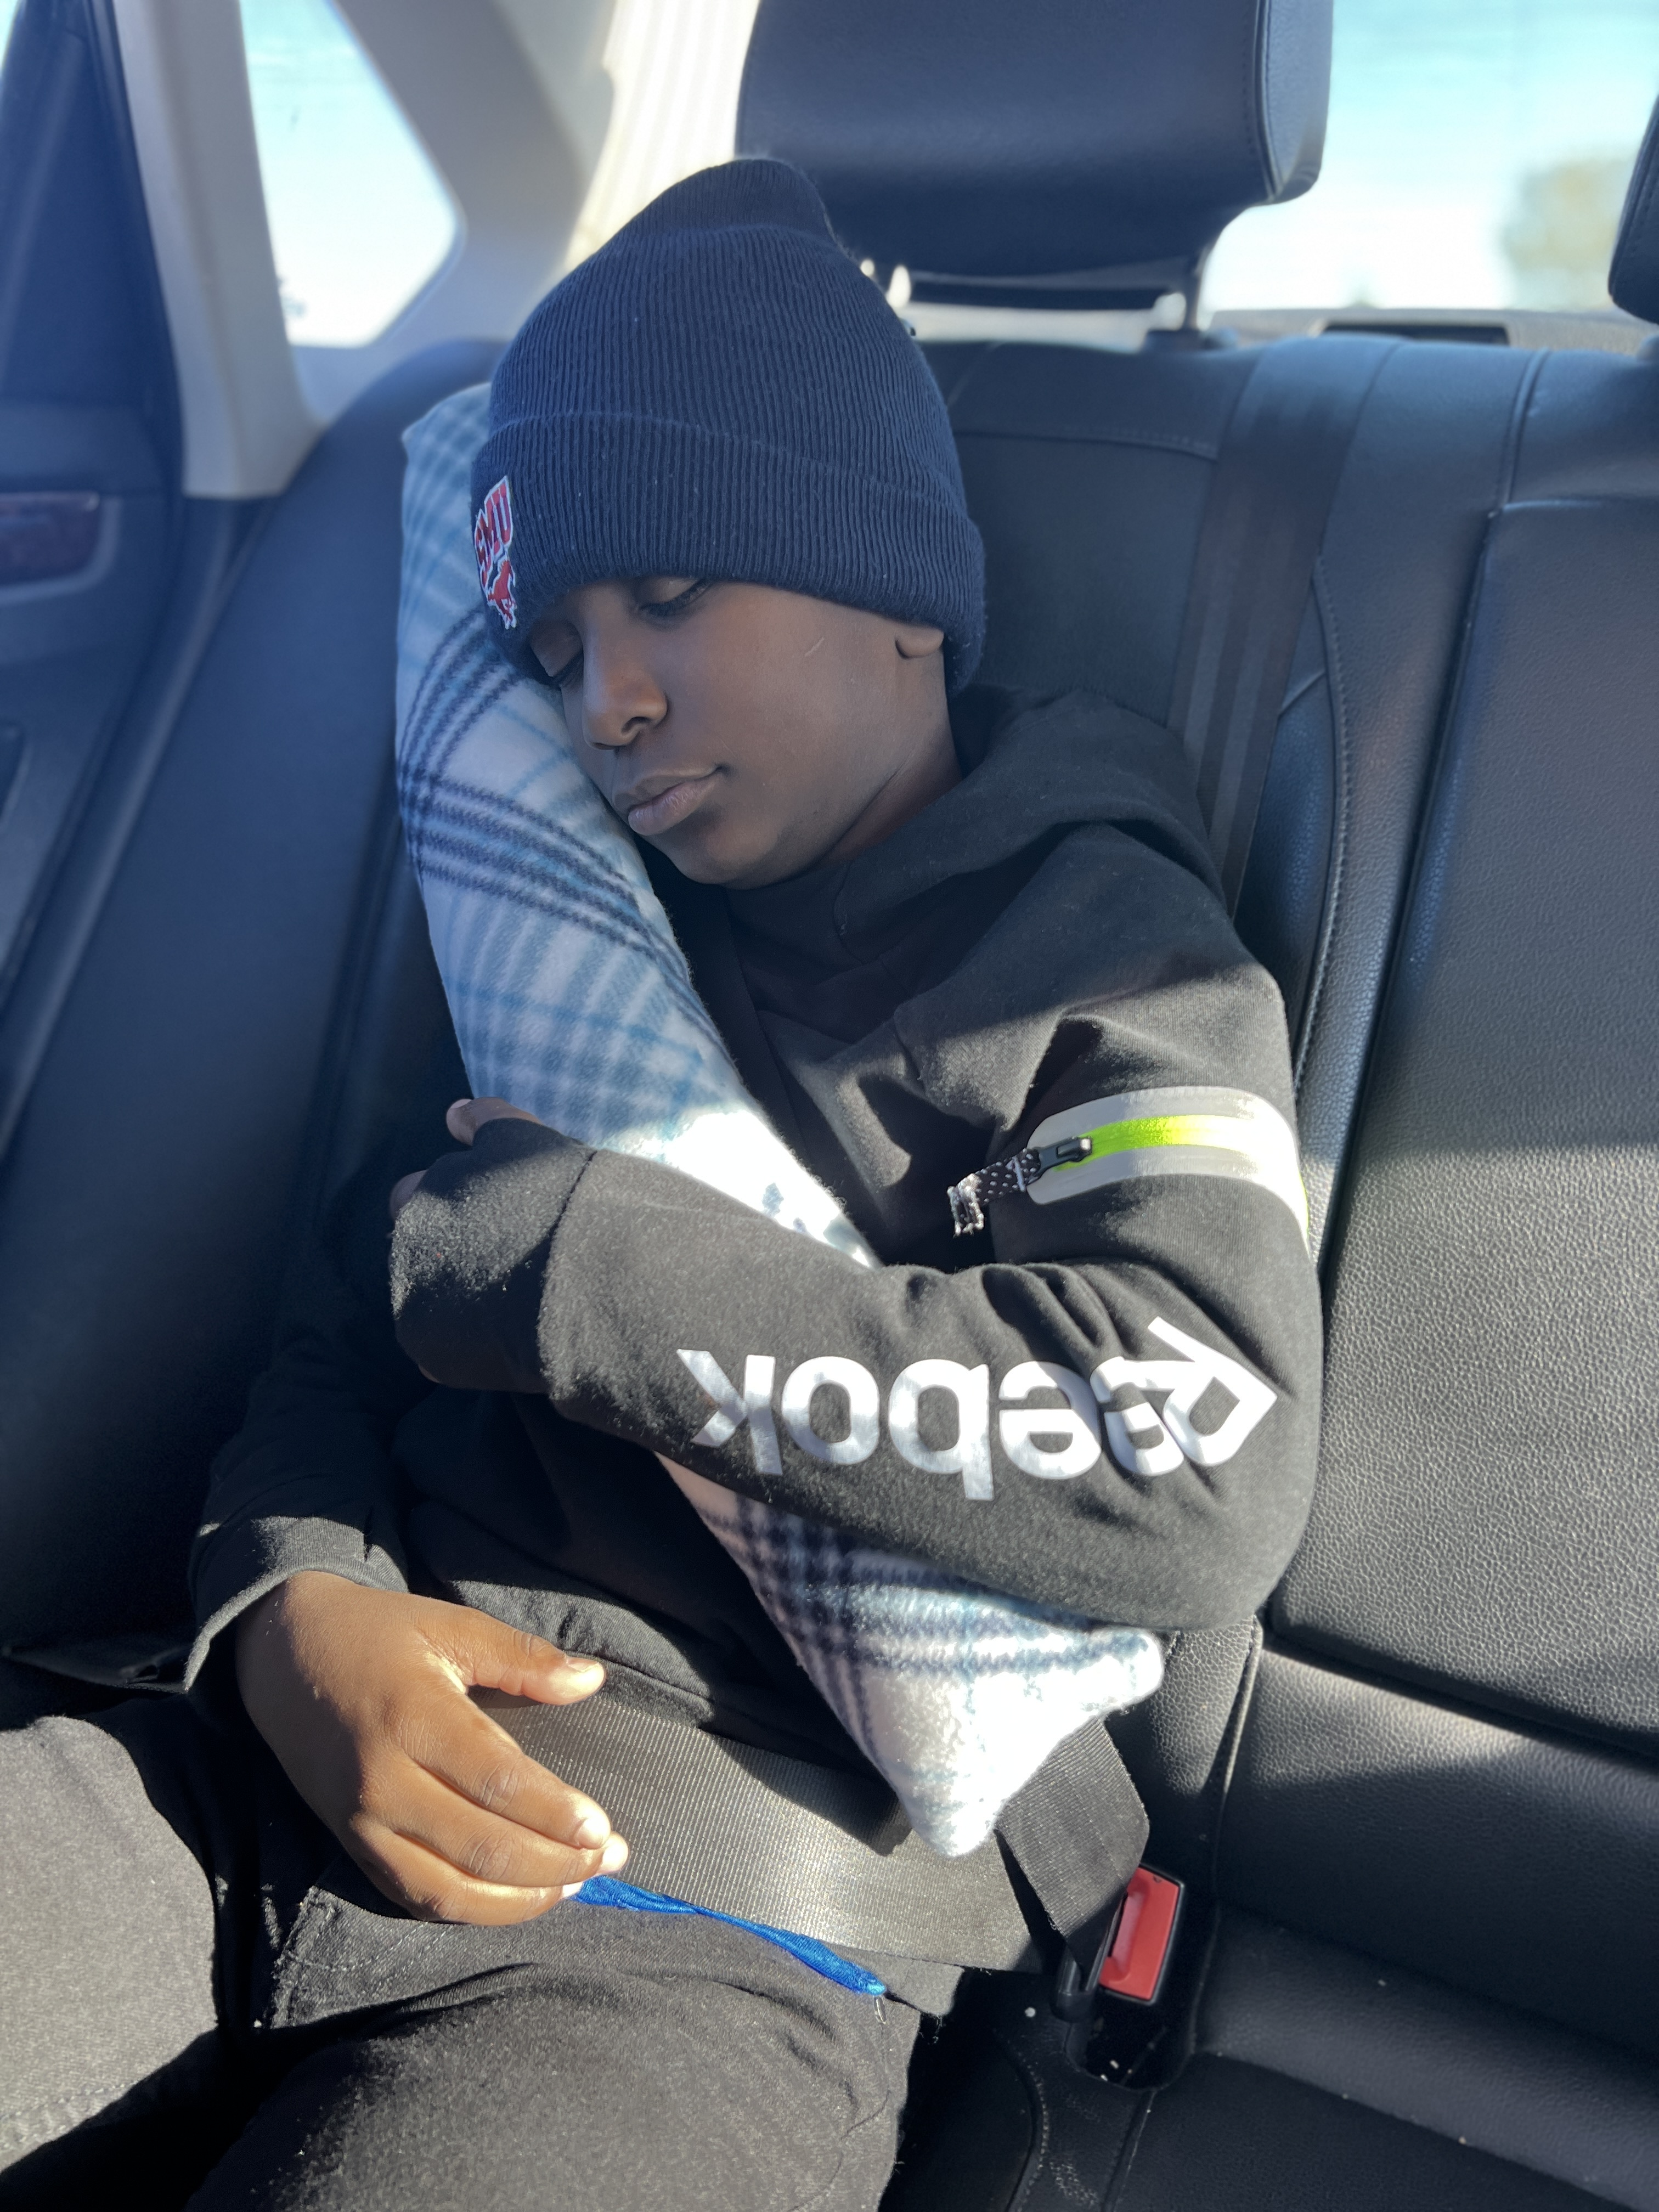
Have you ever heard of a seatbelt pillow? On long trips or even short ones, you can rest comfortably with this pillow wrapped around your seatbelt! Well, as long as YOU are not the driver!
Whenever we get in the car to go anywhere before we even make it to the stop sign my little brother always falls asleep. I find it funny because the hum and rock of the vehicle put him to sleep. To keep his head from slouching in the car while we are riding around town, I made him a seatbelt cover. It’s super easy to make, and it’s great for road trips and vacations to grandma’s house.

Materials to Sew a Seatbelt Cover Pillow
- 1/4 Yard of fleece (or any fabric that you prefer)
- Velcro
- A small bag of polyfill
- Matching thread
- Scissors
- Cutting mat
- Ruler
- Marking pen
- Pins
- Bernette b77 sewing machine
Steps to Sew a Seatbelt Cover Pillow
Step 1: Choosing a Fabric
Choose a fabric that is soft and feels cuddly on the skin since your face can potentially rub up against the seatbelt if you’re sleeping.
Step 2: Cutting Your Fabric
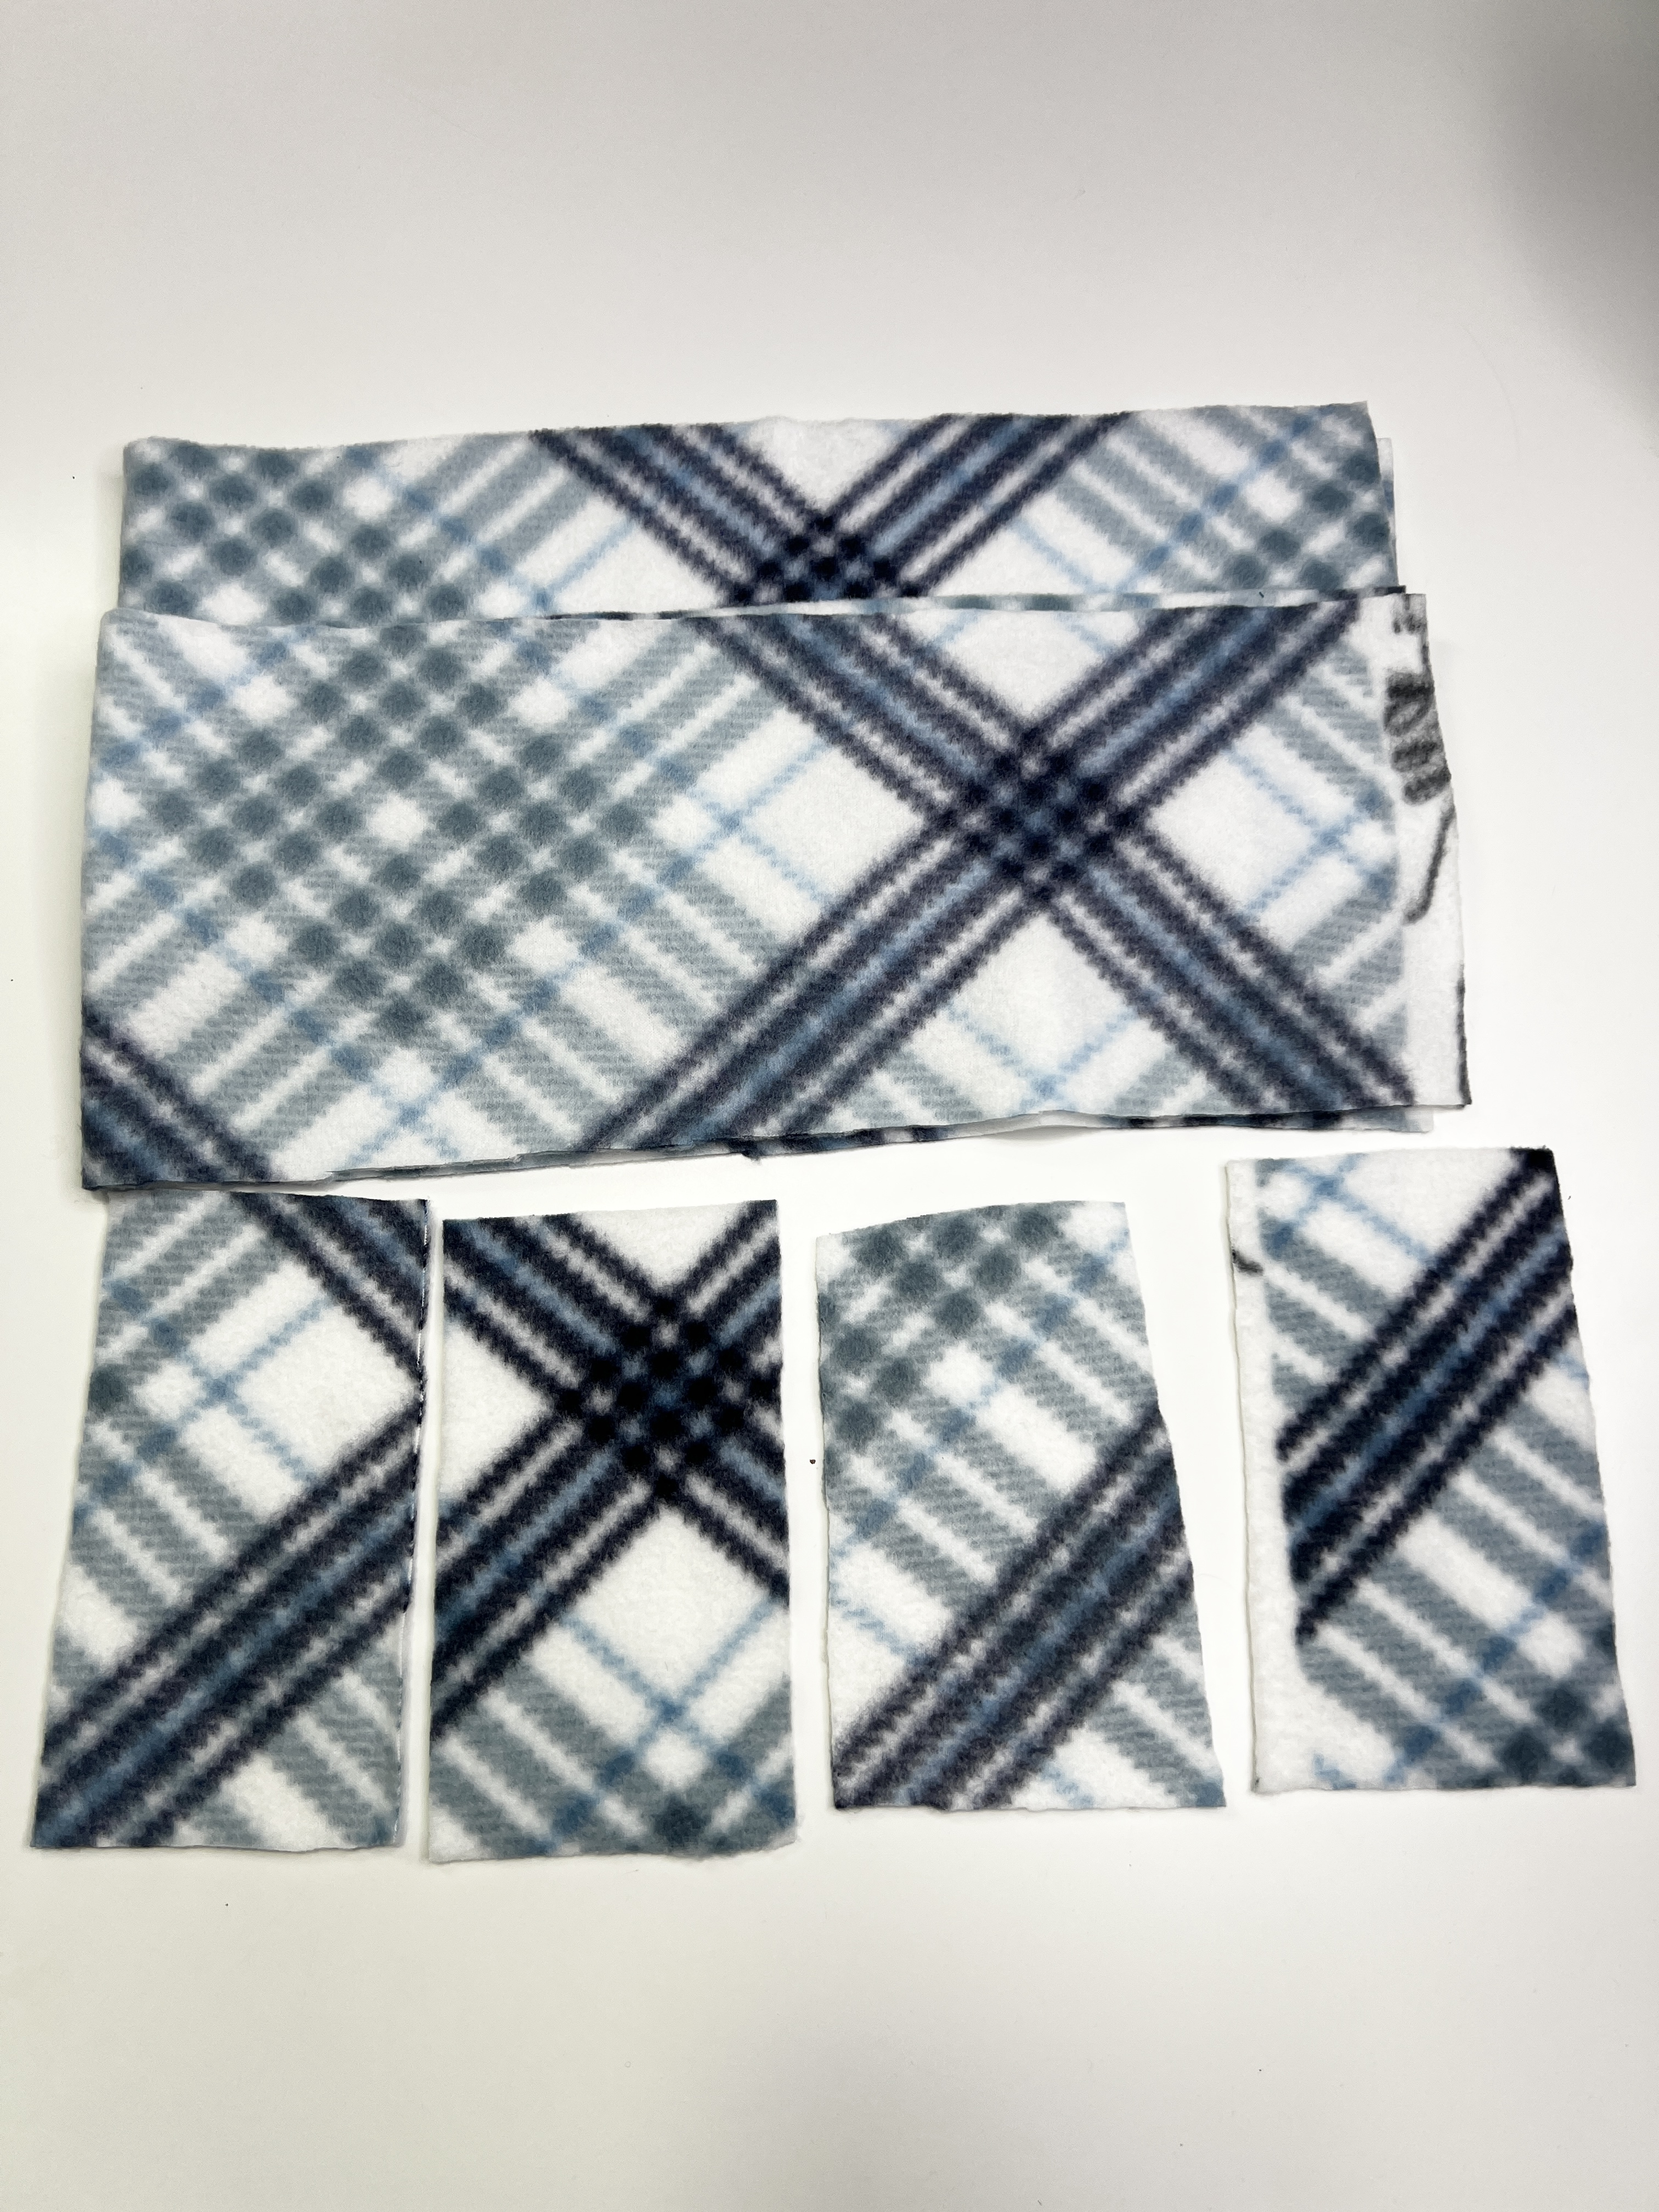
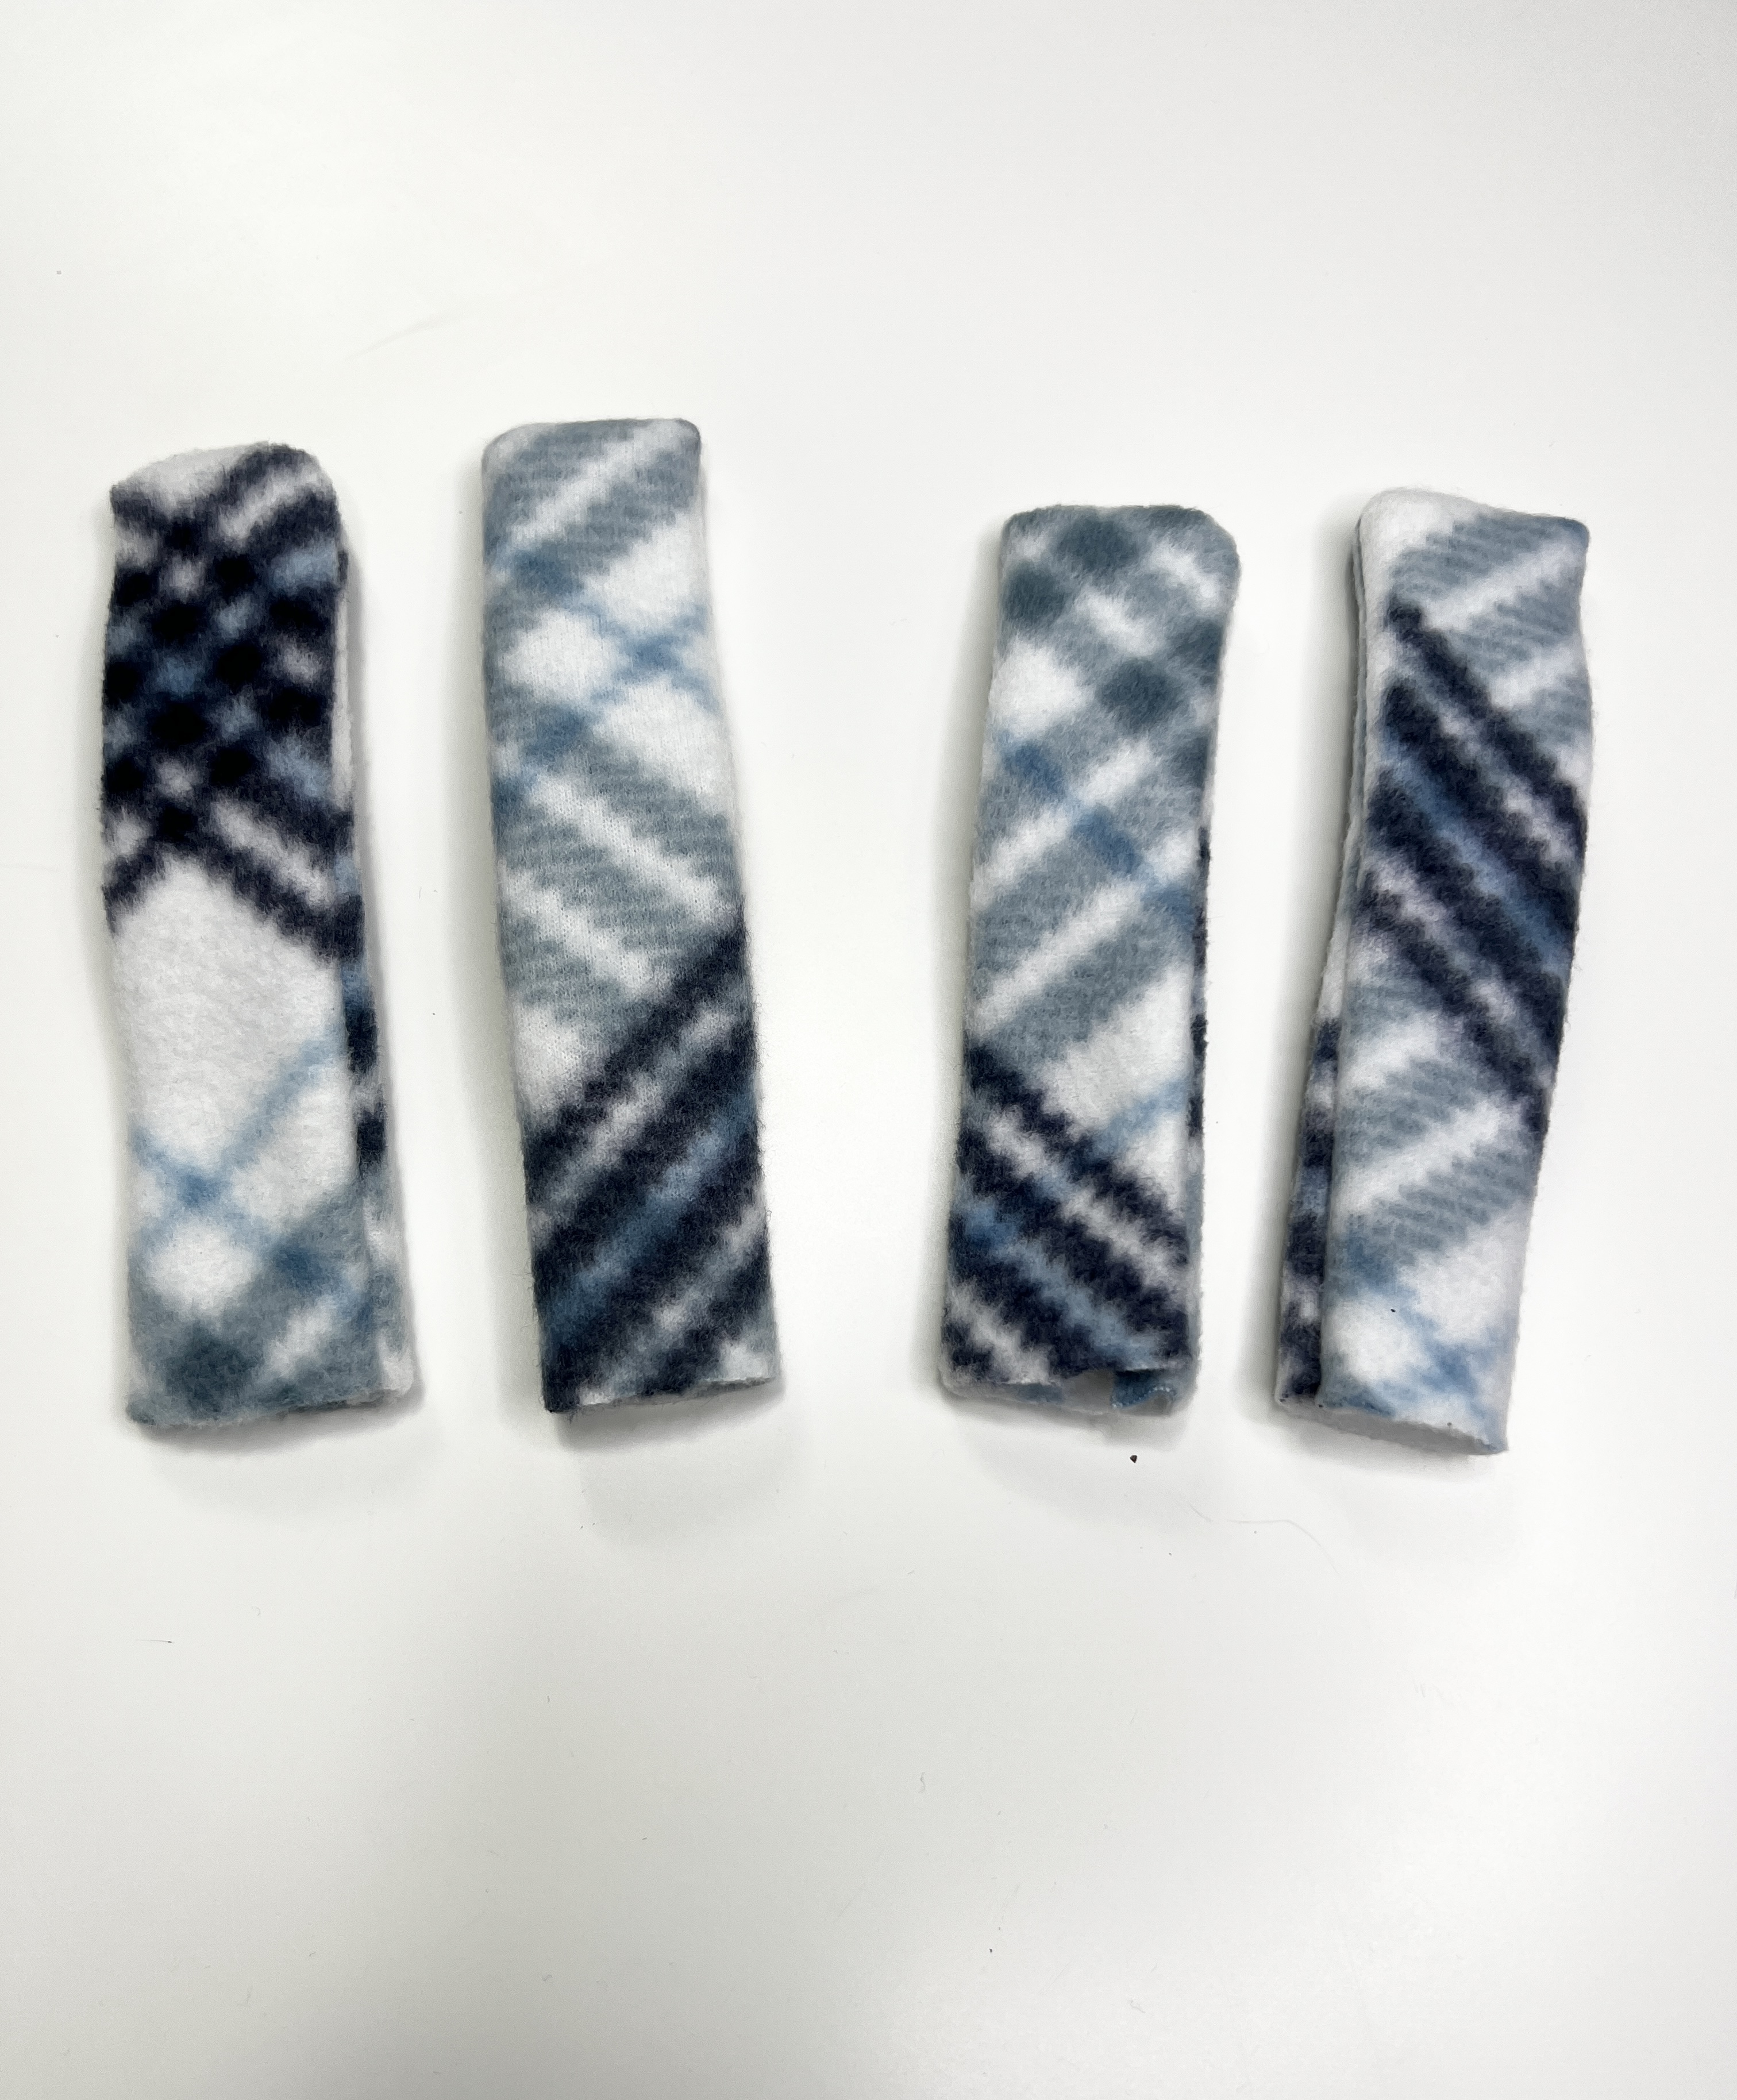
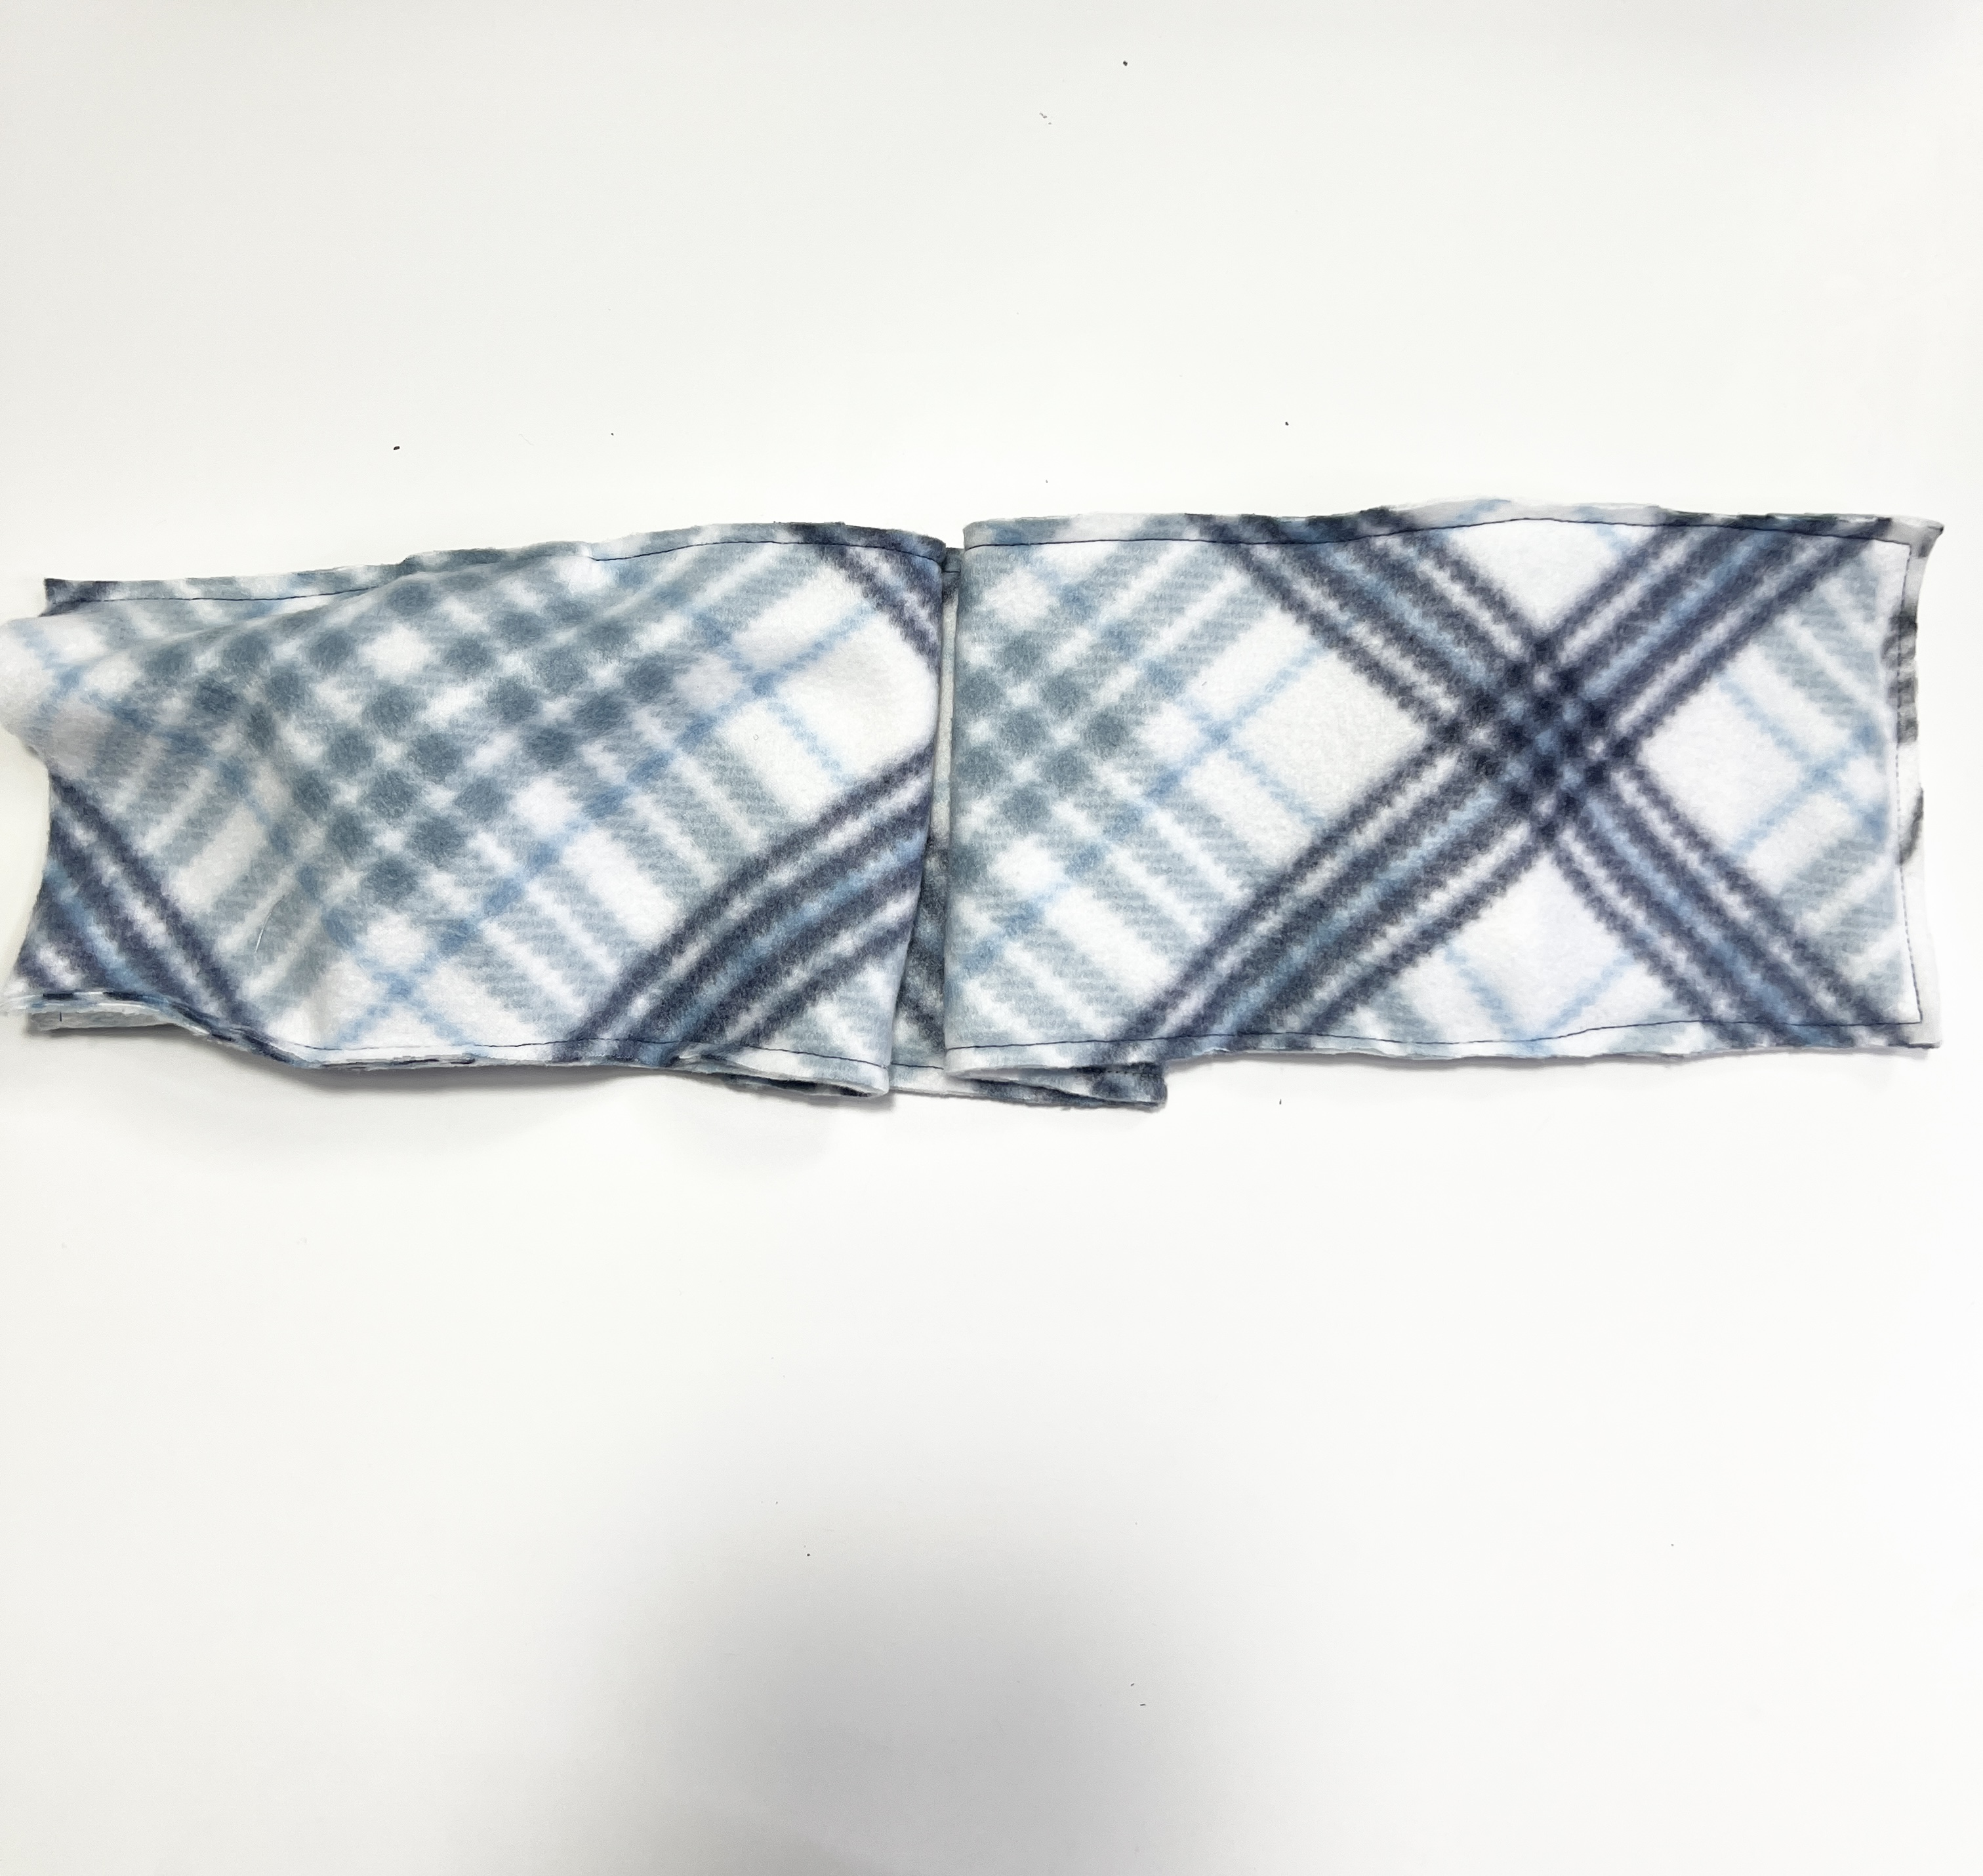
You want to take your fabric and cut it into the following 6 pieces. Cut (2) two large pieces 26″ x 6″, and (4) four small pieces 6.5″ x 3.5″. You also want to cut (2) strips of velcro that are 4.5″ long. All of your cut pieces should look like the picture below.
Step 3: Assembling Your Pillow Cover
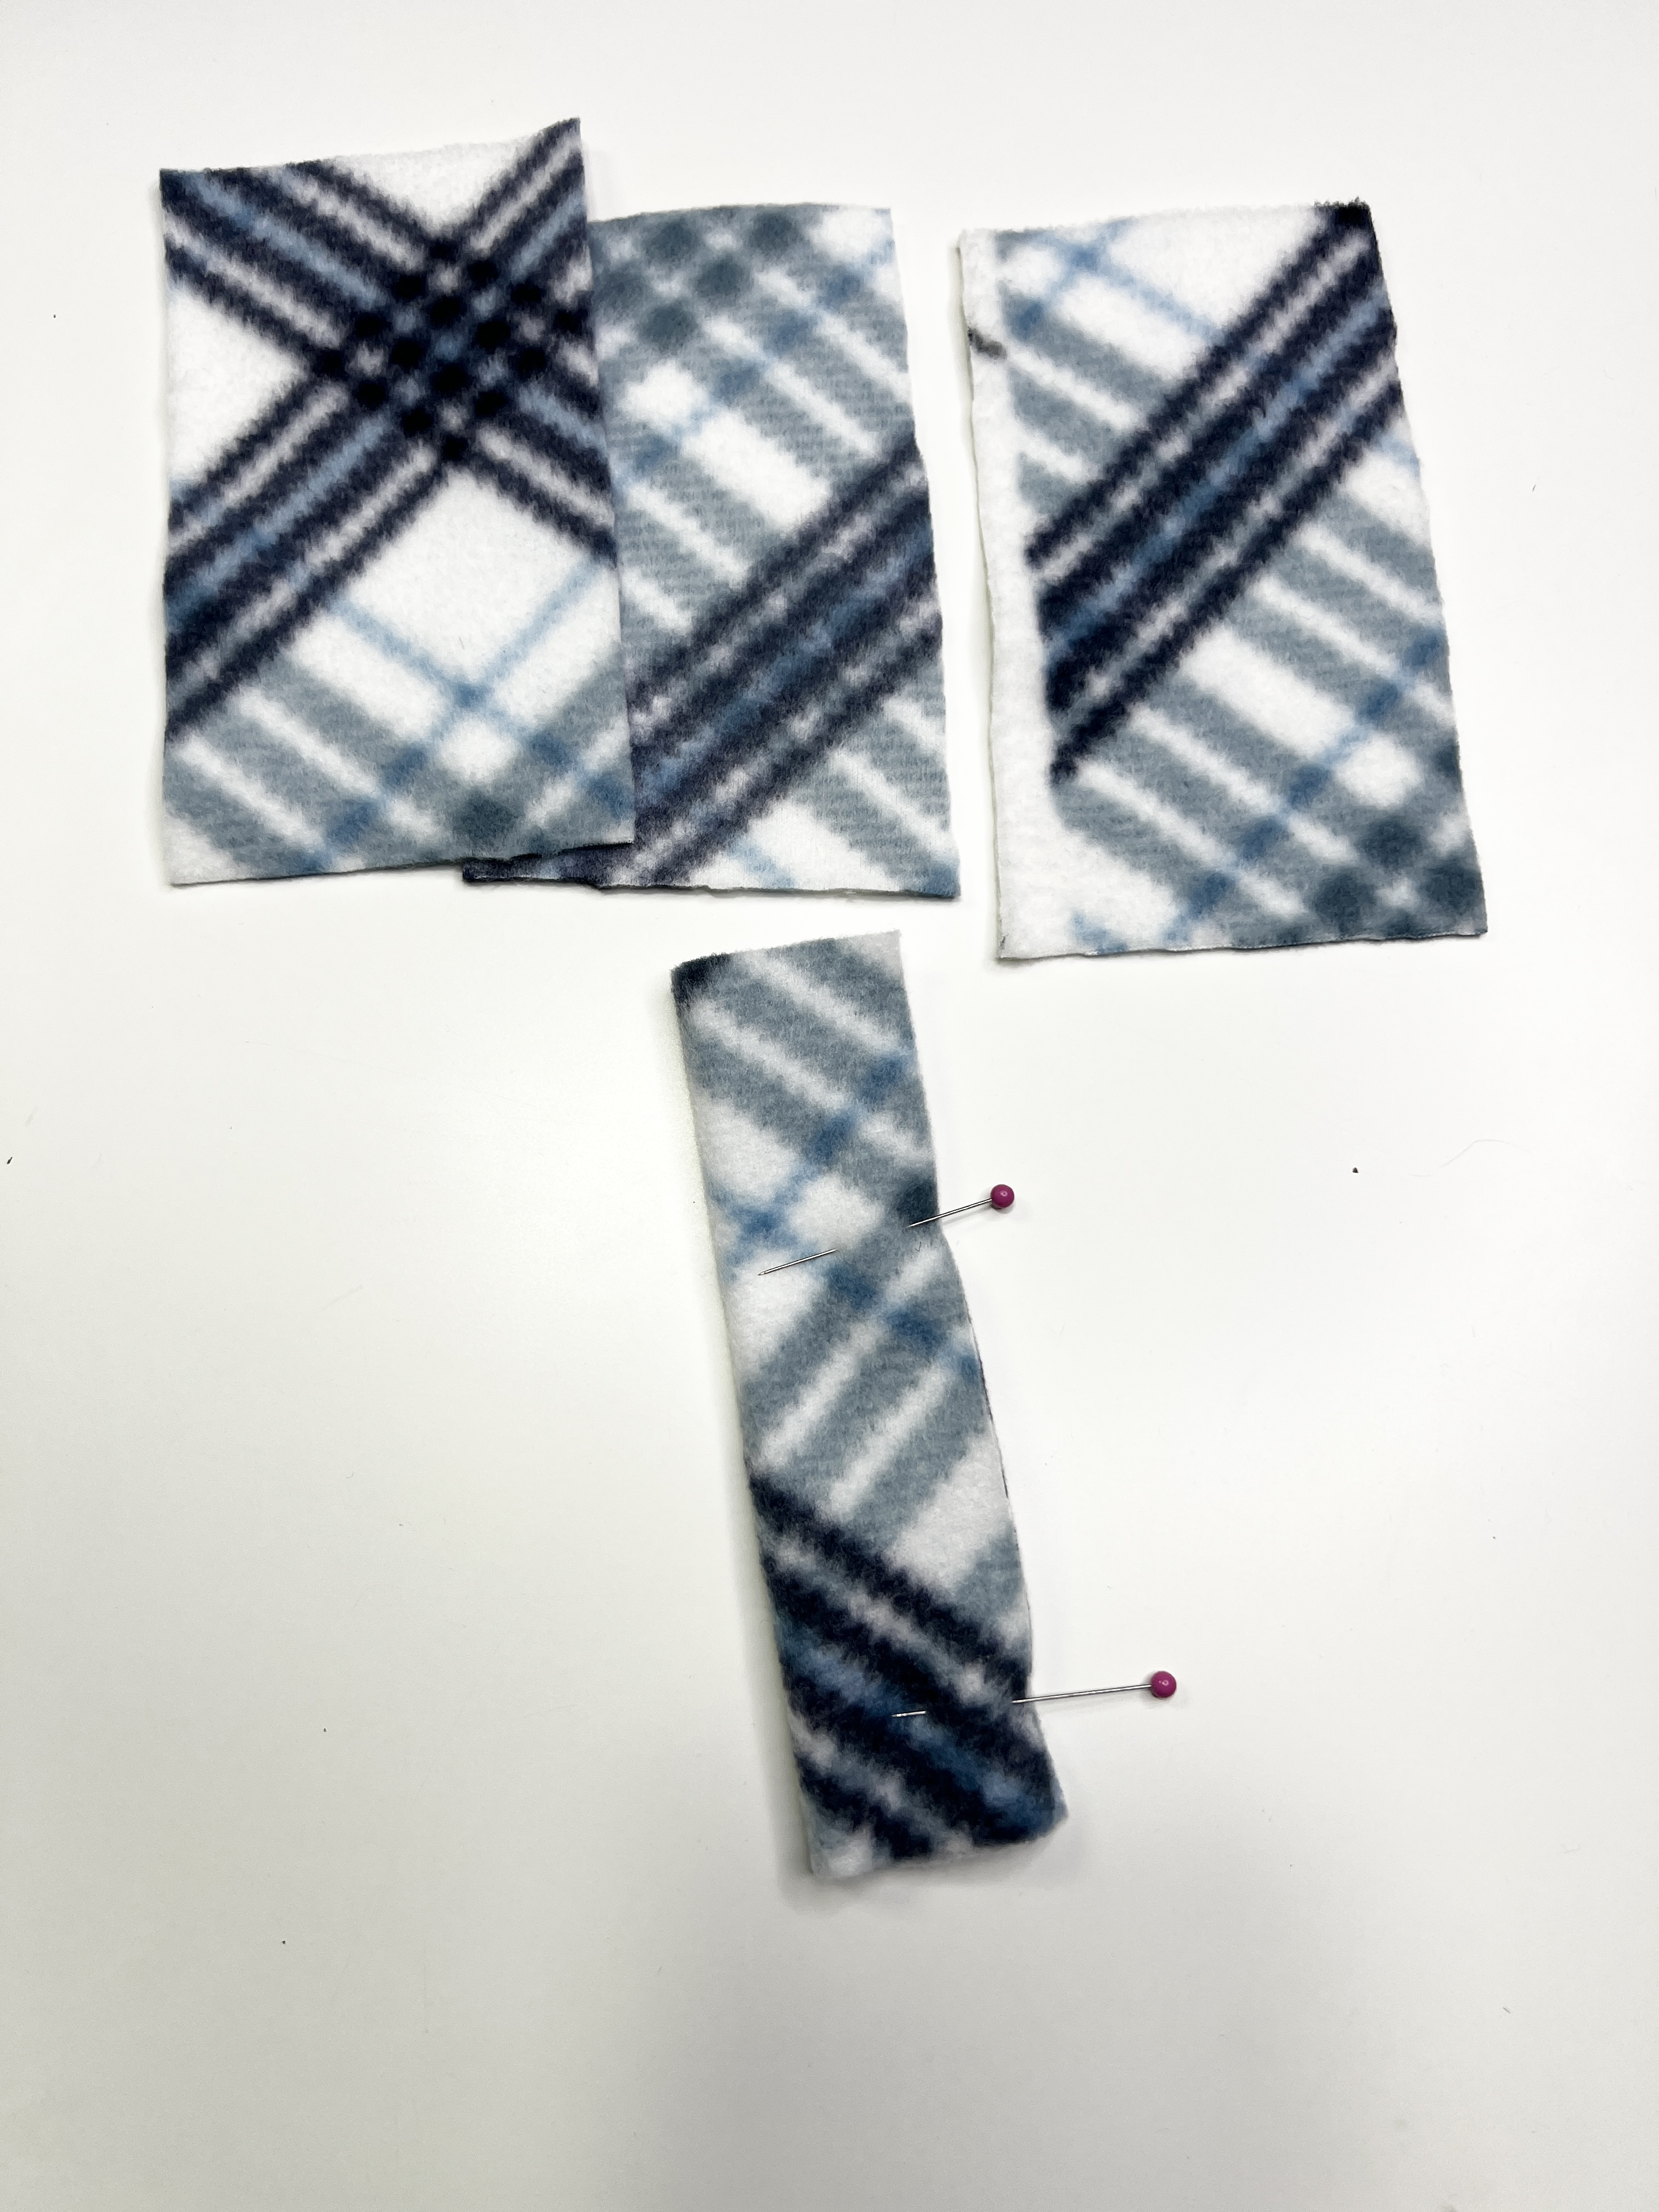
Take (1) one of your short strips of fabric that is 6.5″ x 3.5″ fold it in half and pin.
Using a 1/4 inch seam allowance sew down one of the short sides and then pivot and sew the long side. You will only sew (1) one of the short sides the other will remain open so that you can turn the tube right side out.
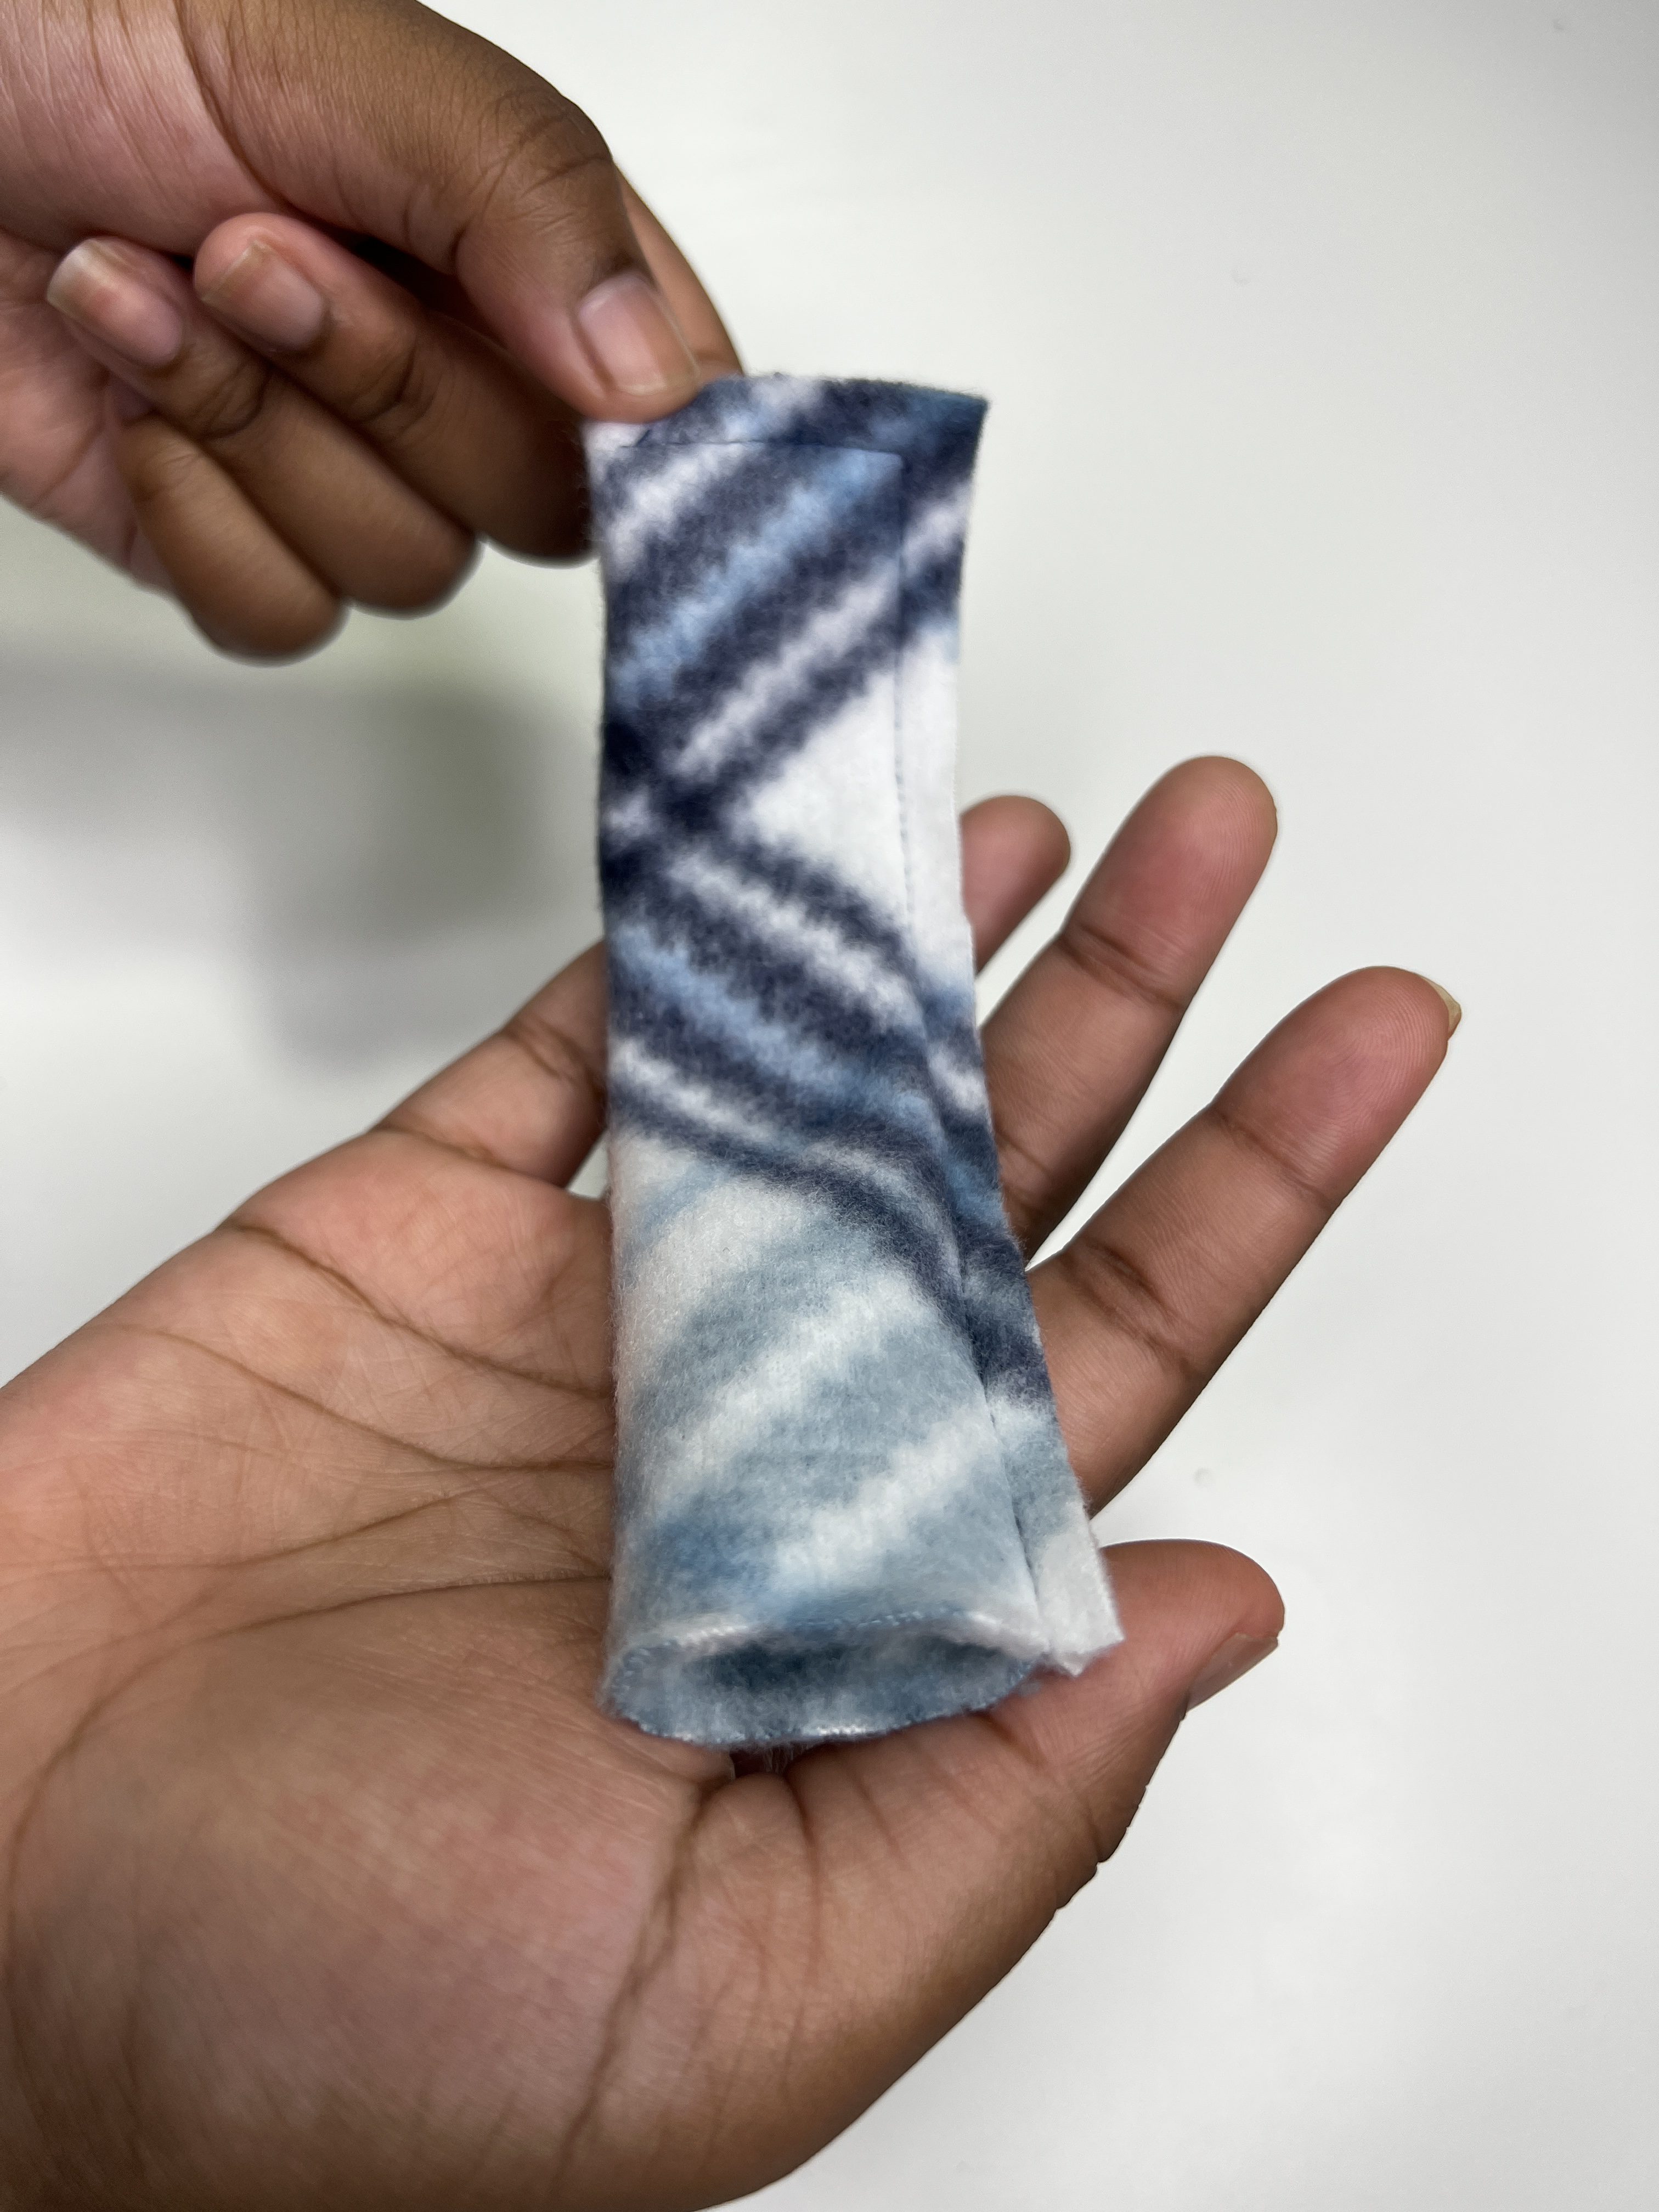
Repeat the step above with the following (3) three short strips of fabric. After you have sewn all four of the strips turn them all right side out as shown in the pic below. These will become the tabs that hold your seatbelt pillow to your seatbelt.
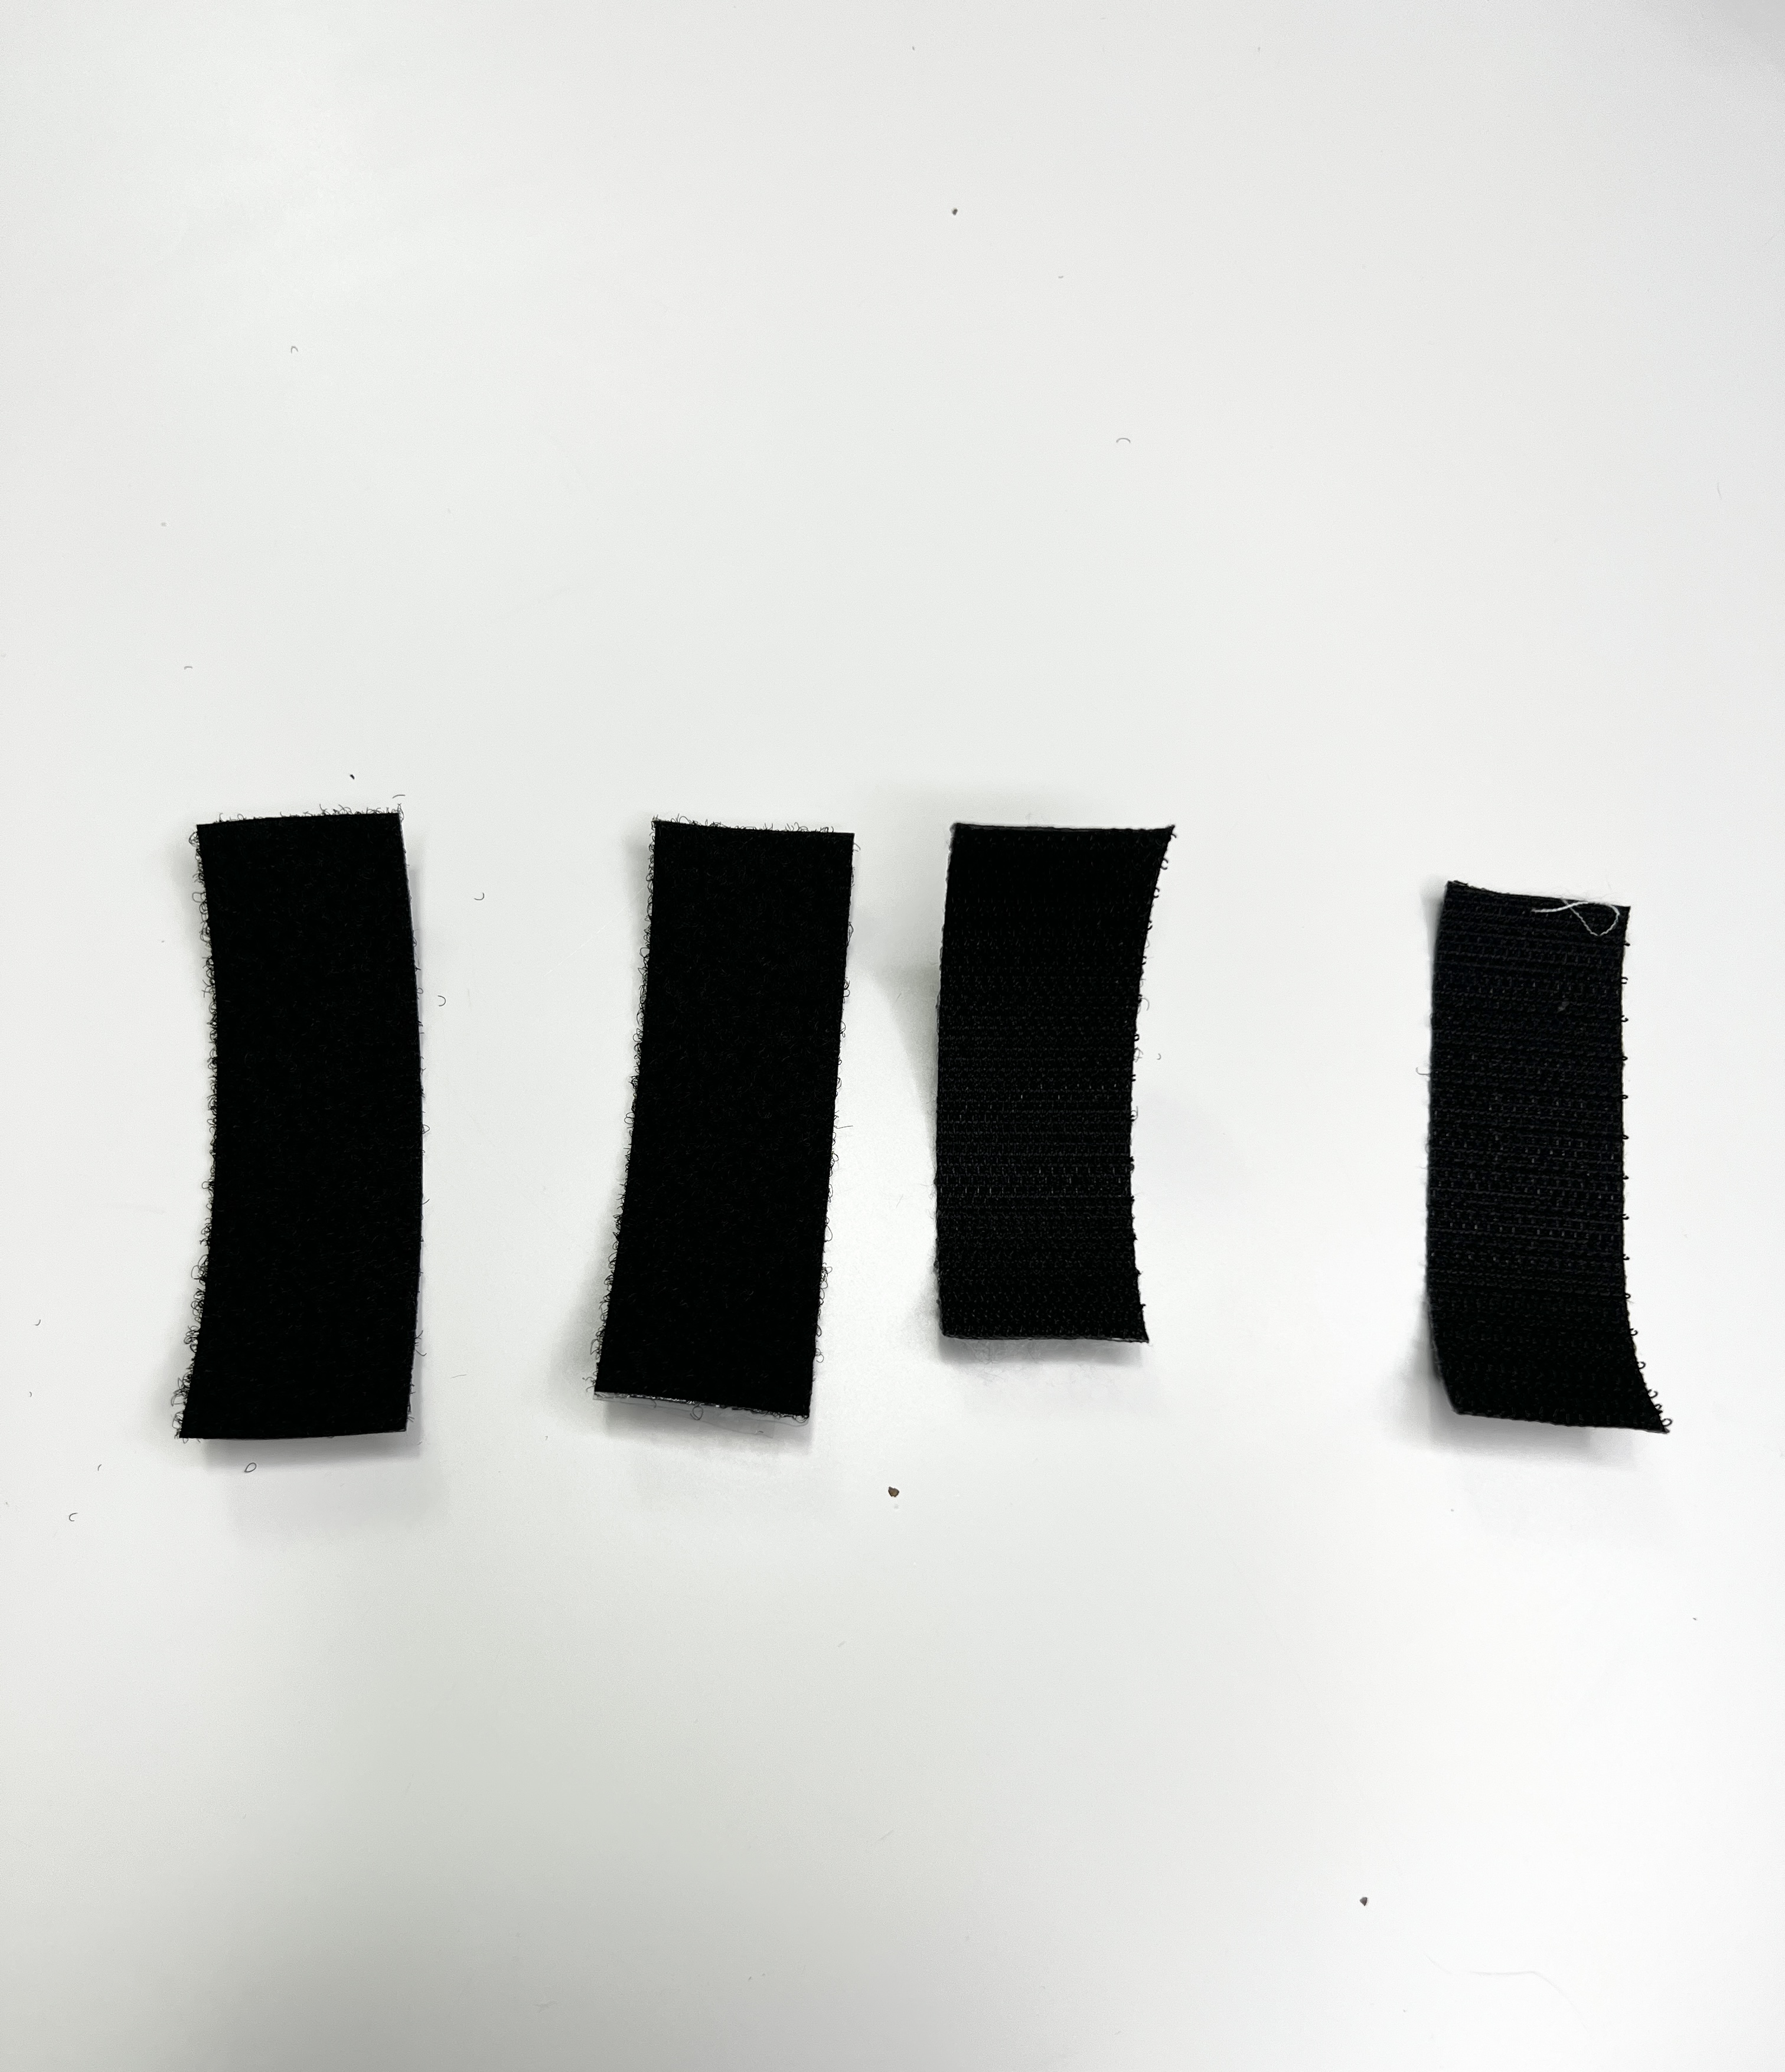
Next, take your velcro and separate the pieces. You should have cut 2 pieces of velcro, but when you separate them you’ll have (4) four strips.
Place one strip of velcro in the center of each tab that you just created in the step above. Now sew all around the corner of the velcro attaching it to the tabs.
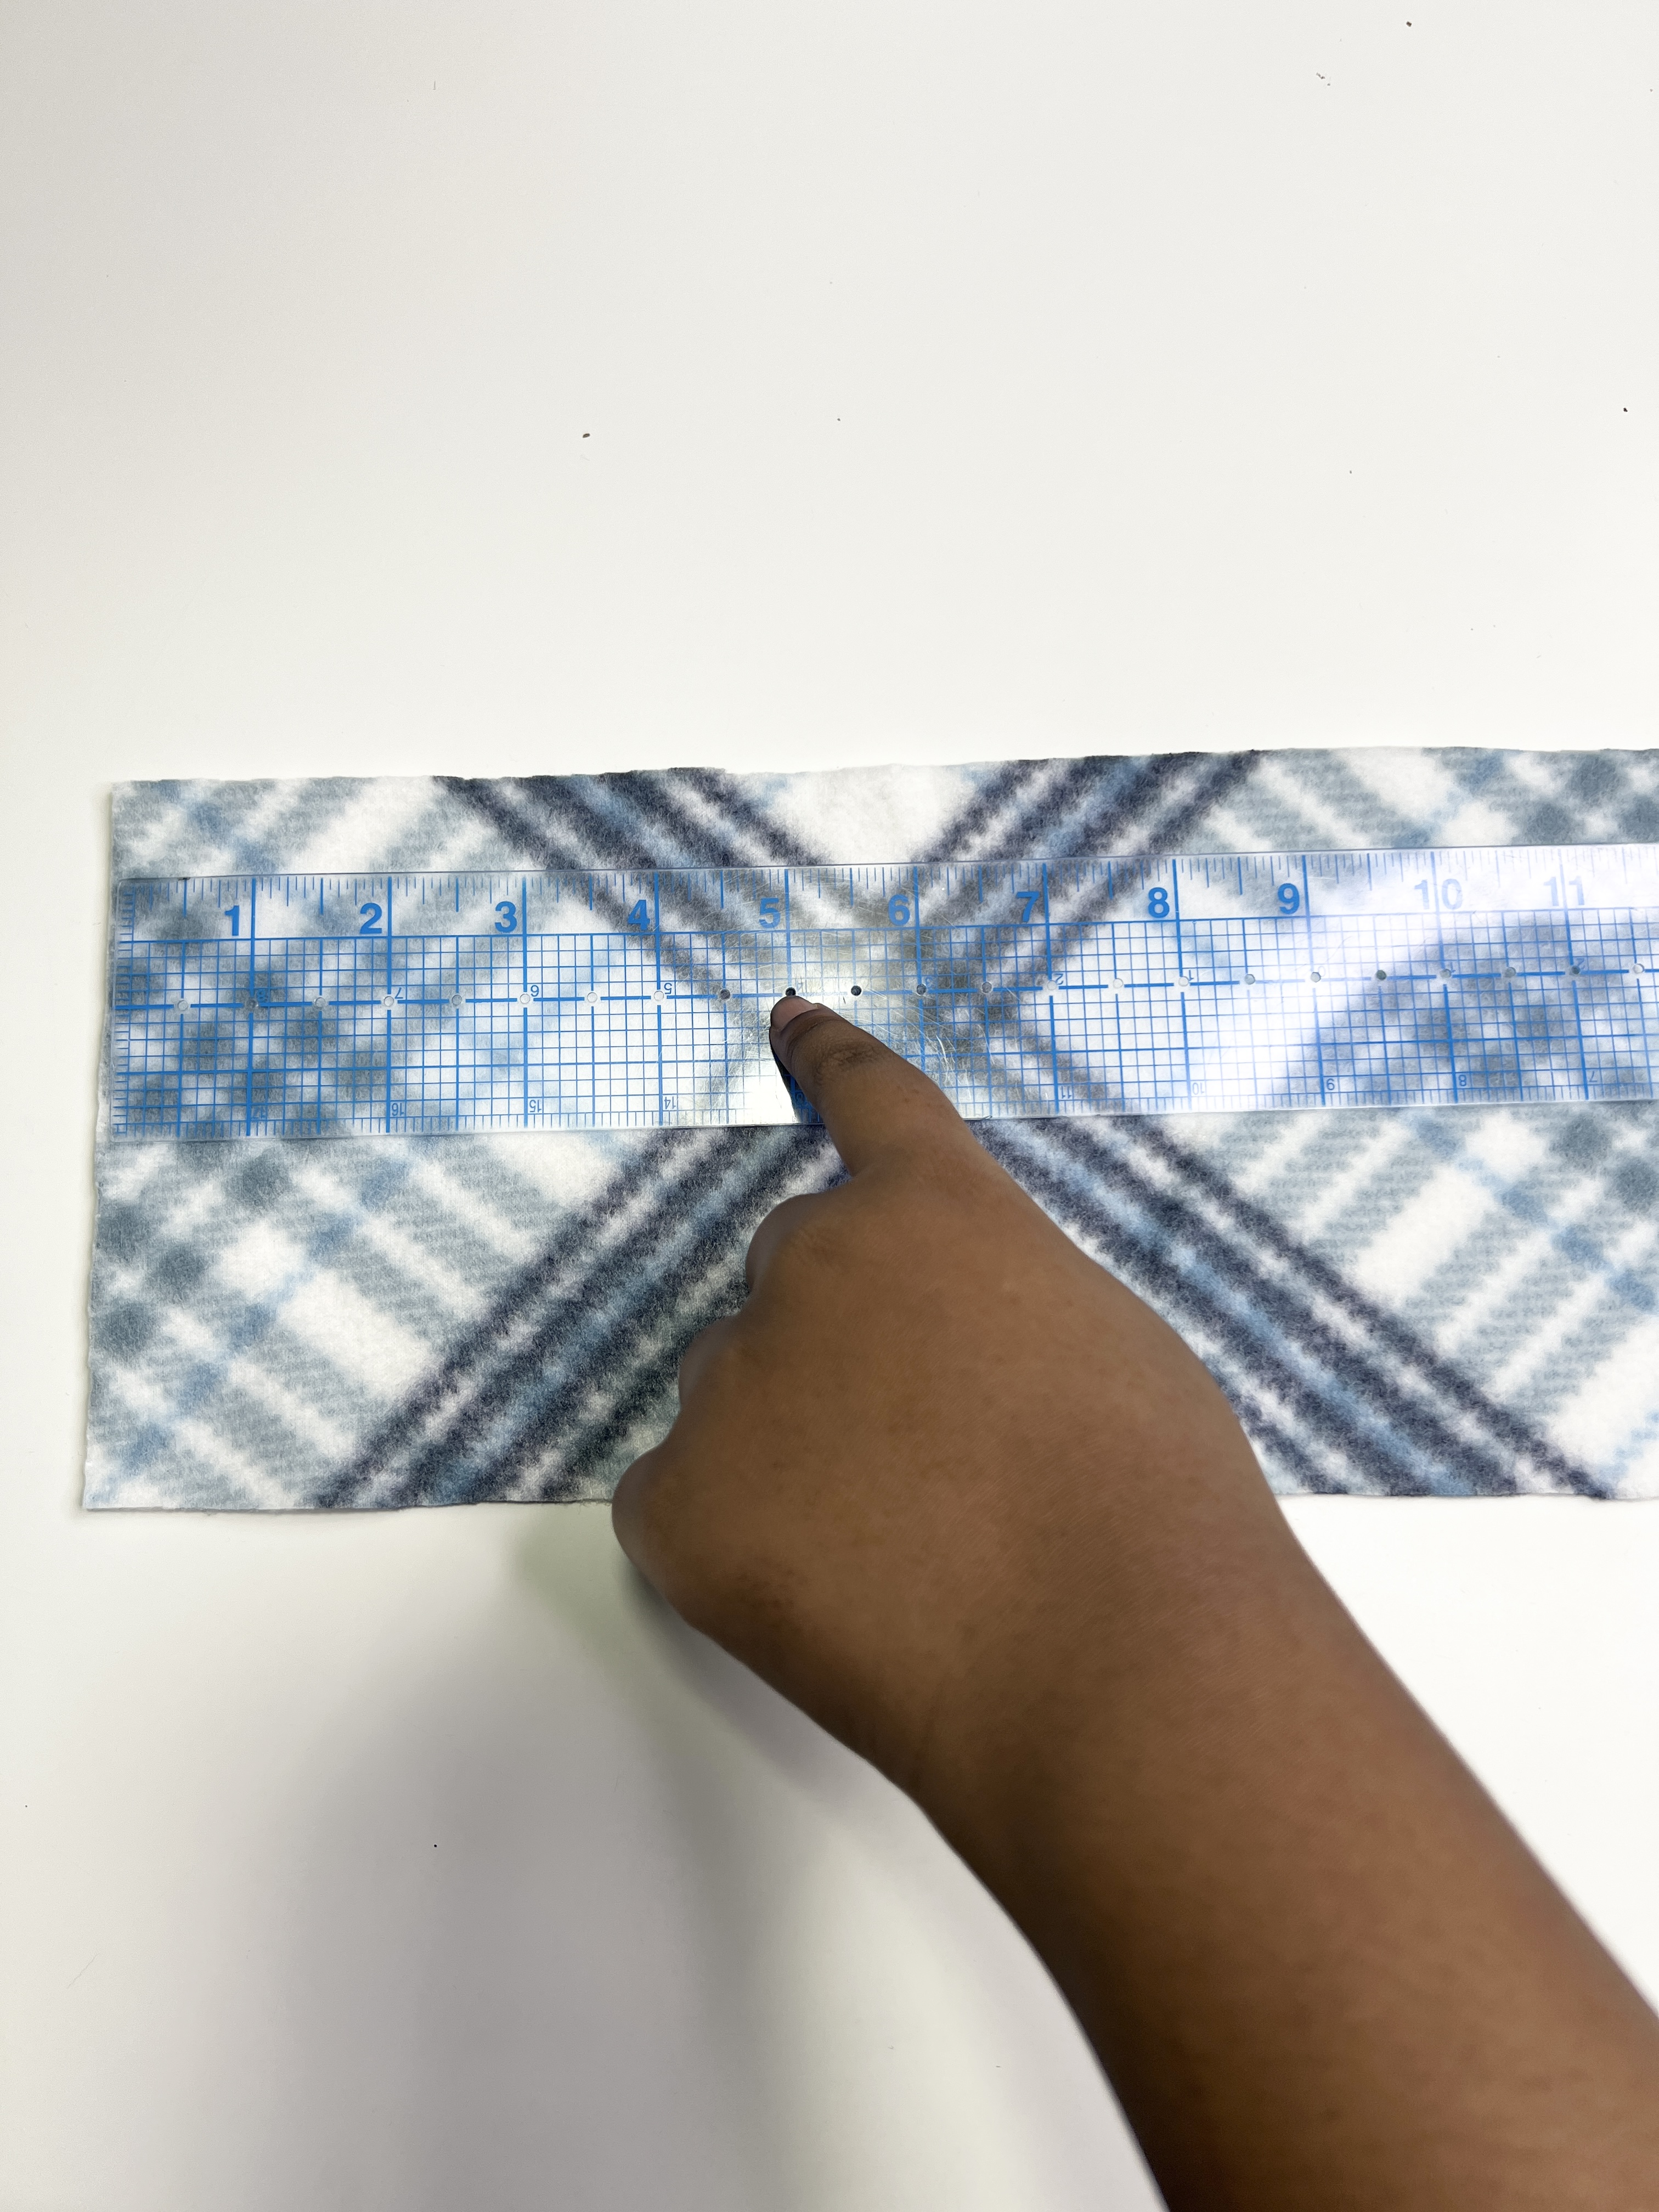
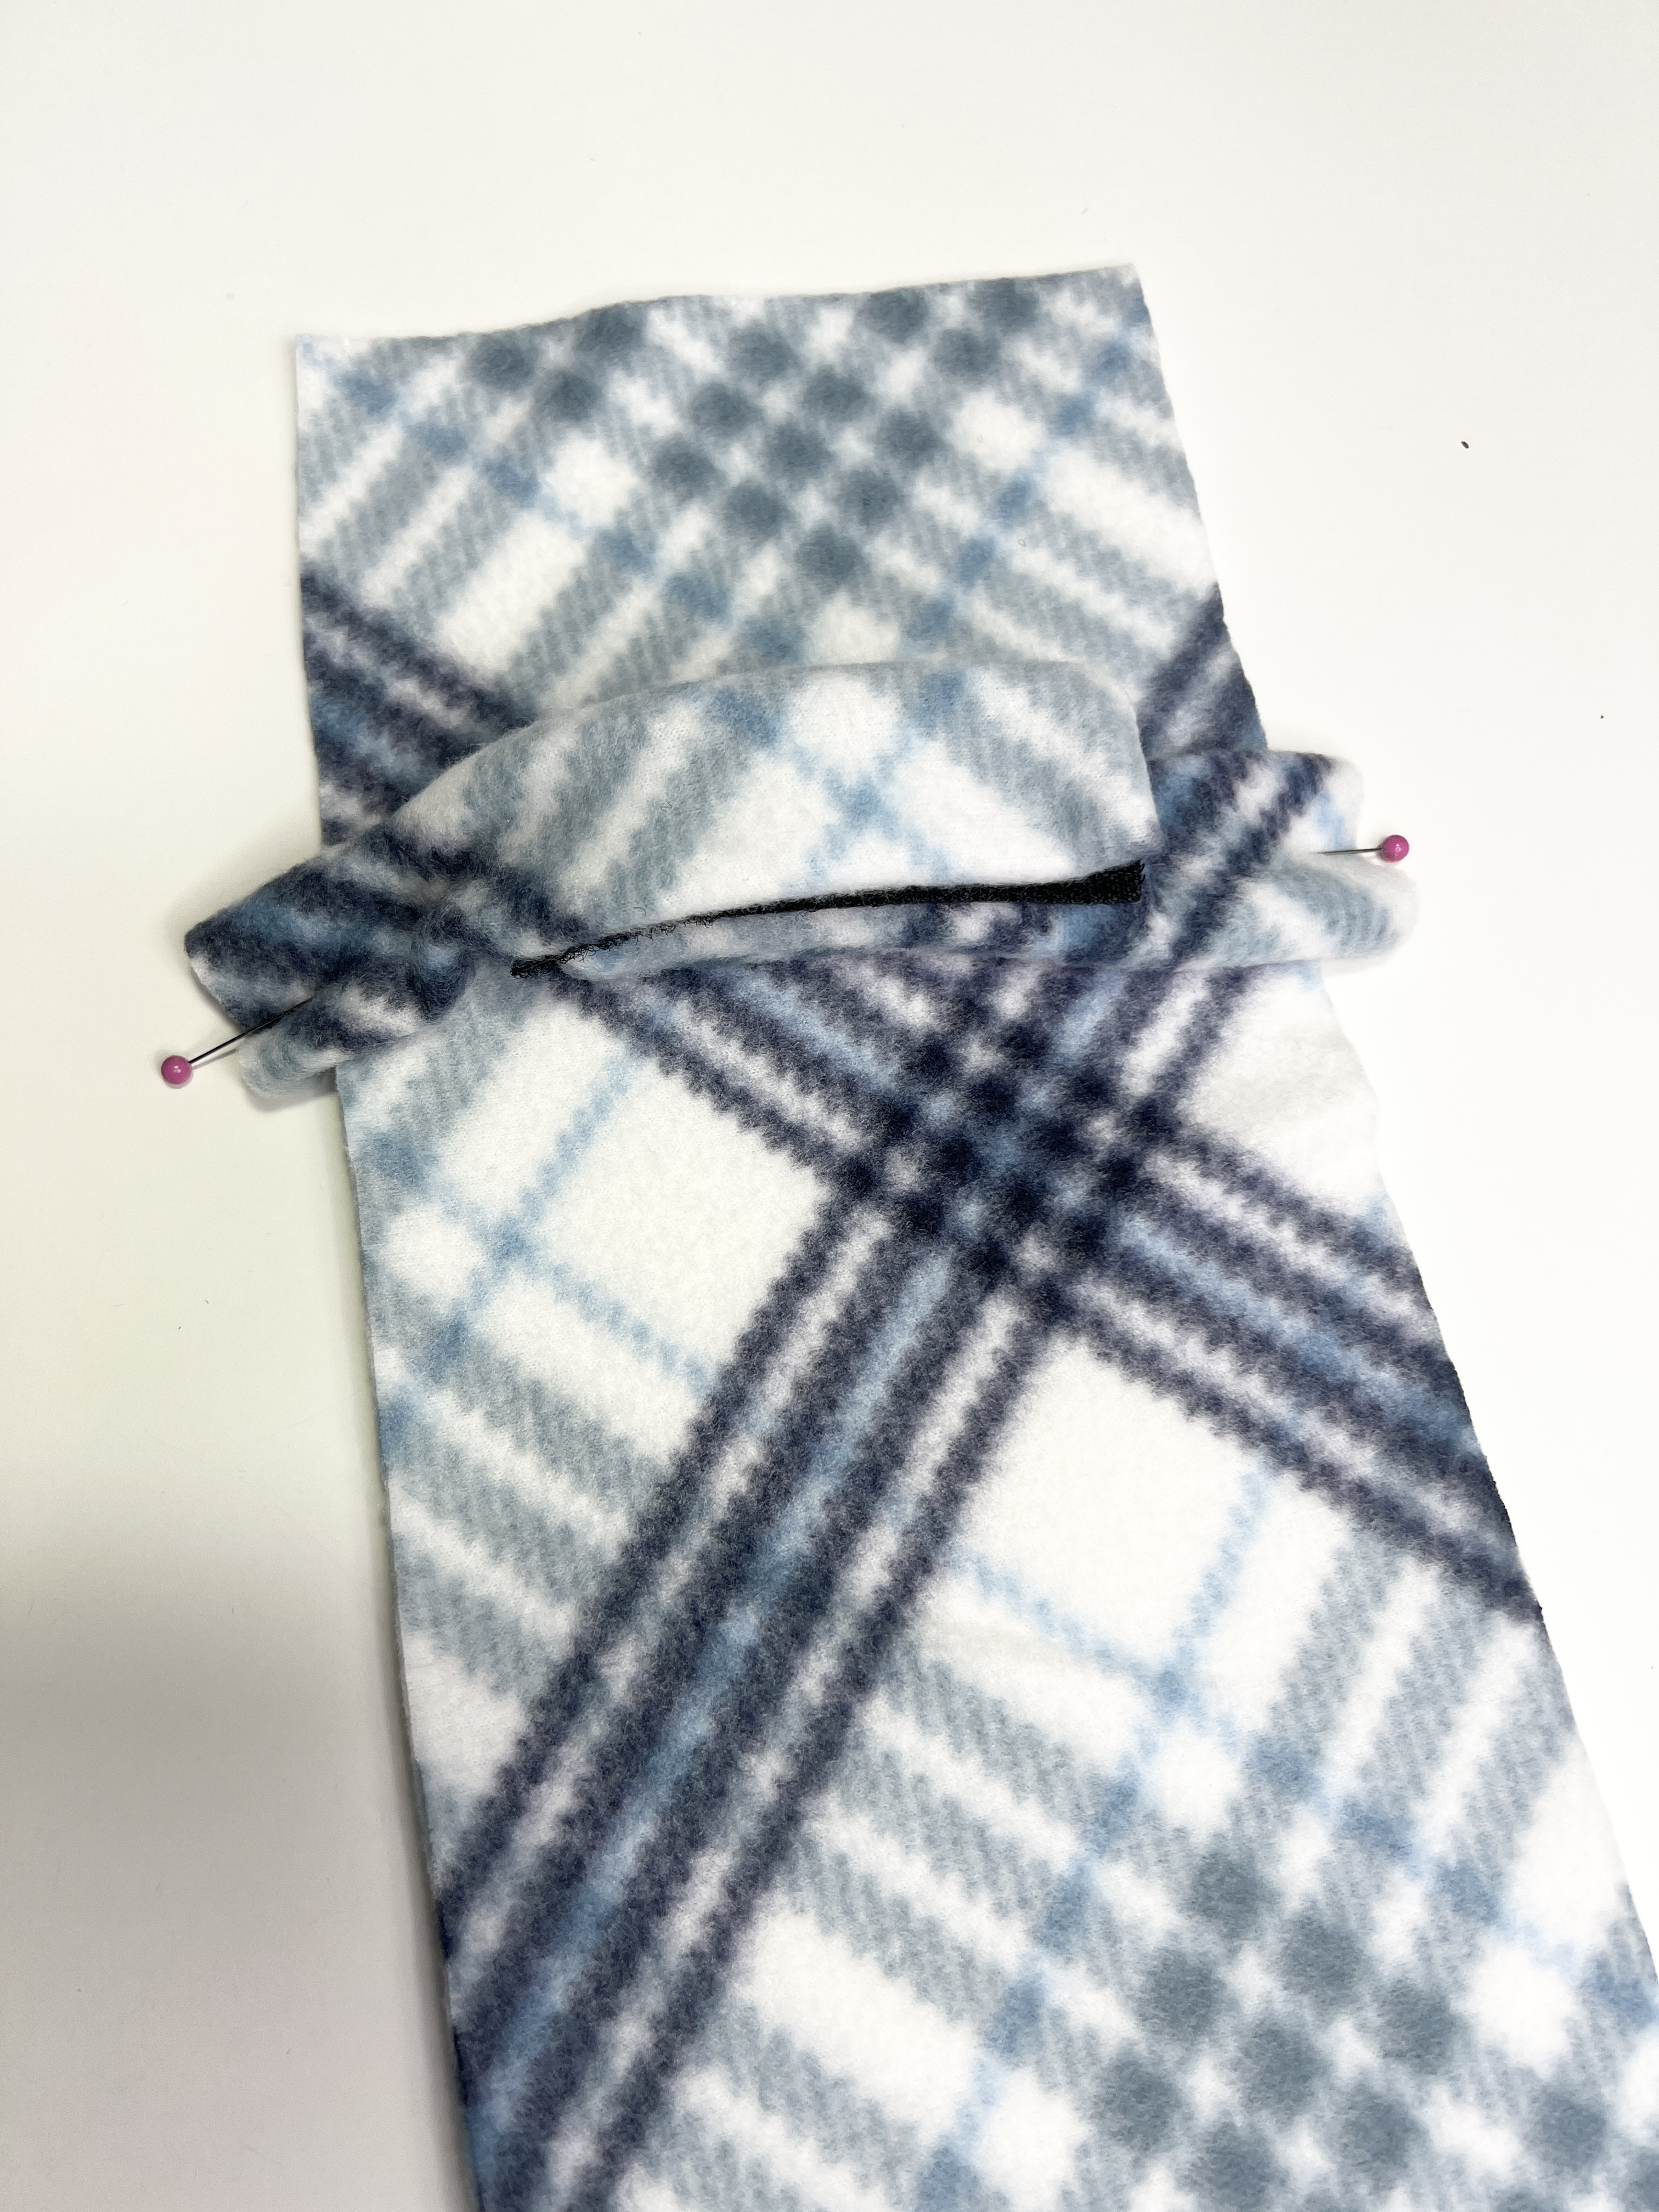
Grab one of your long strips of fabric that is 26″ x 6″ and lay it out on your table with the right side facing up. Measure down about (5) inches from one of the short ends and place one of your tabs right there face up with the raw edges lined up together and pin.
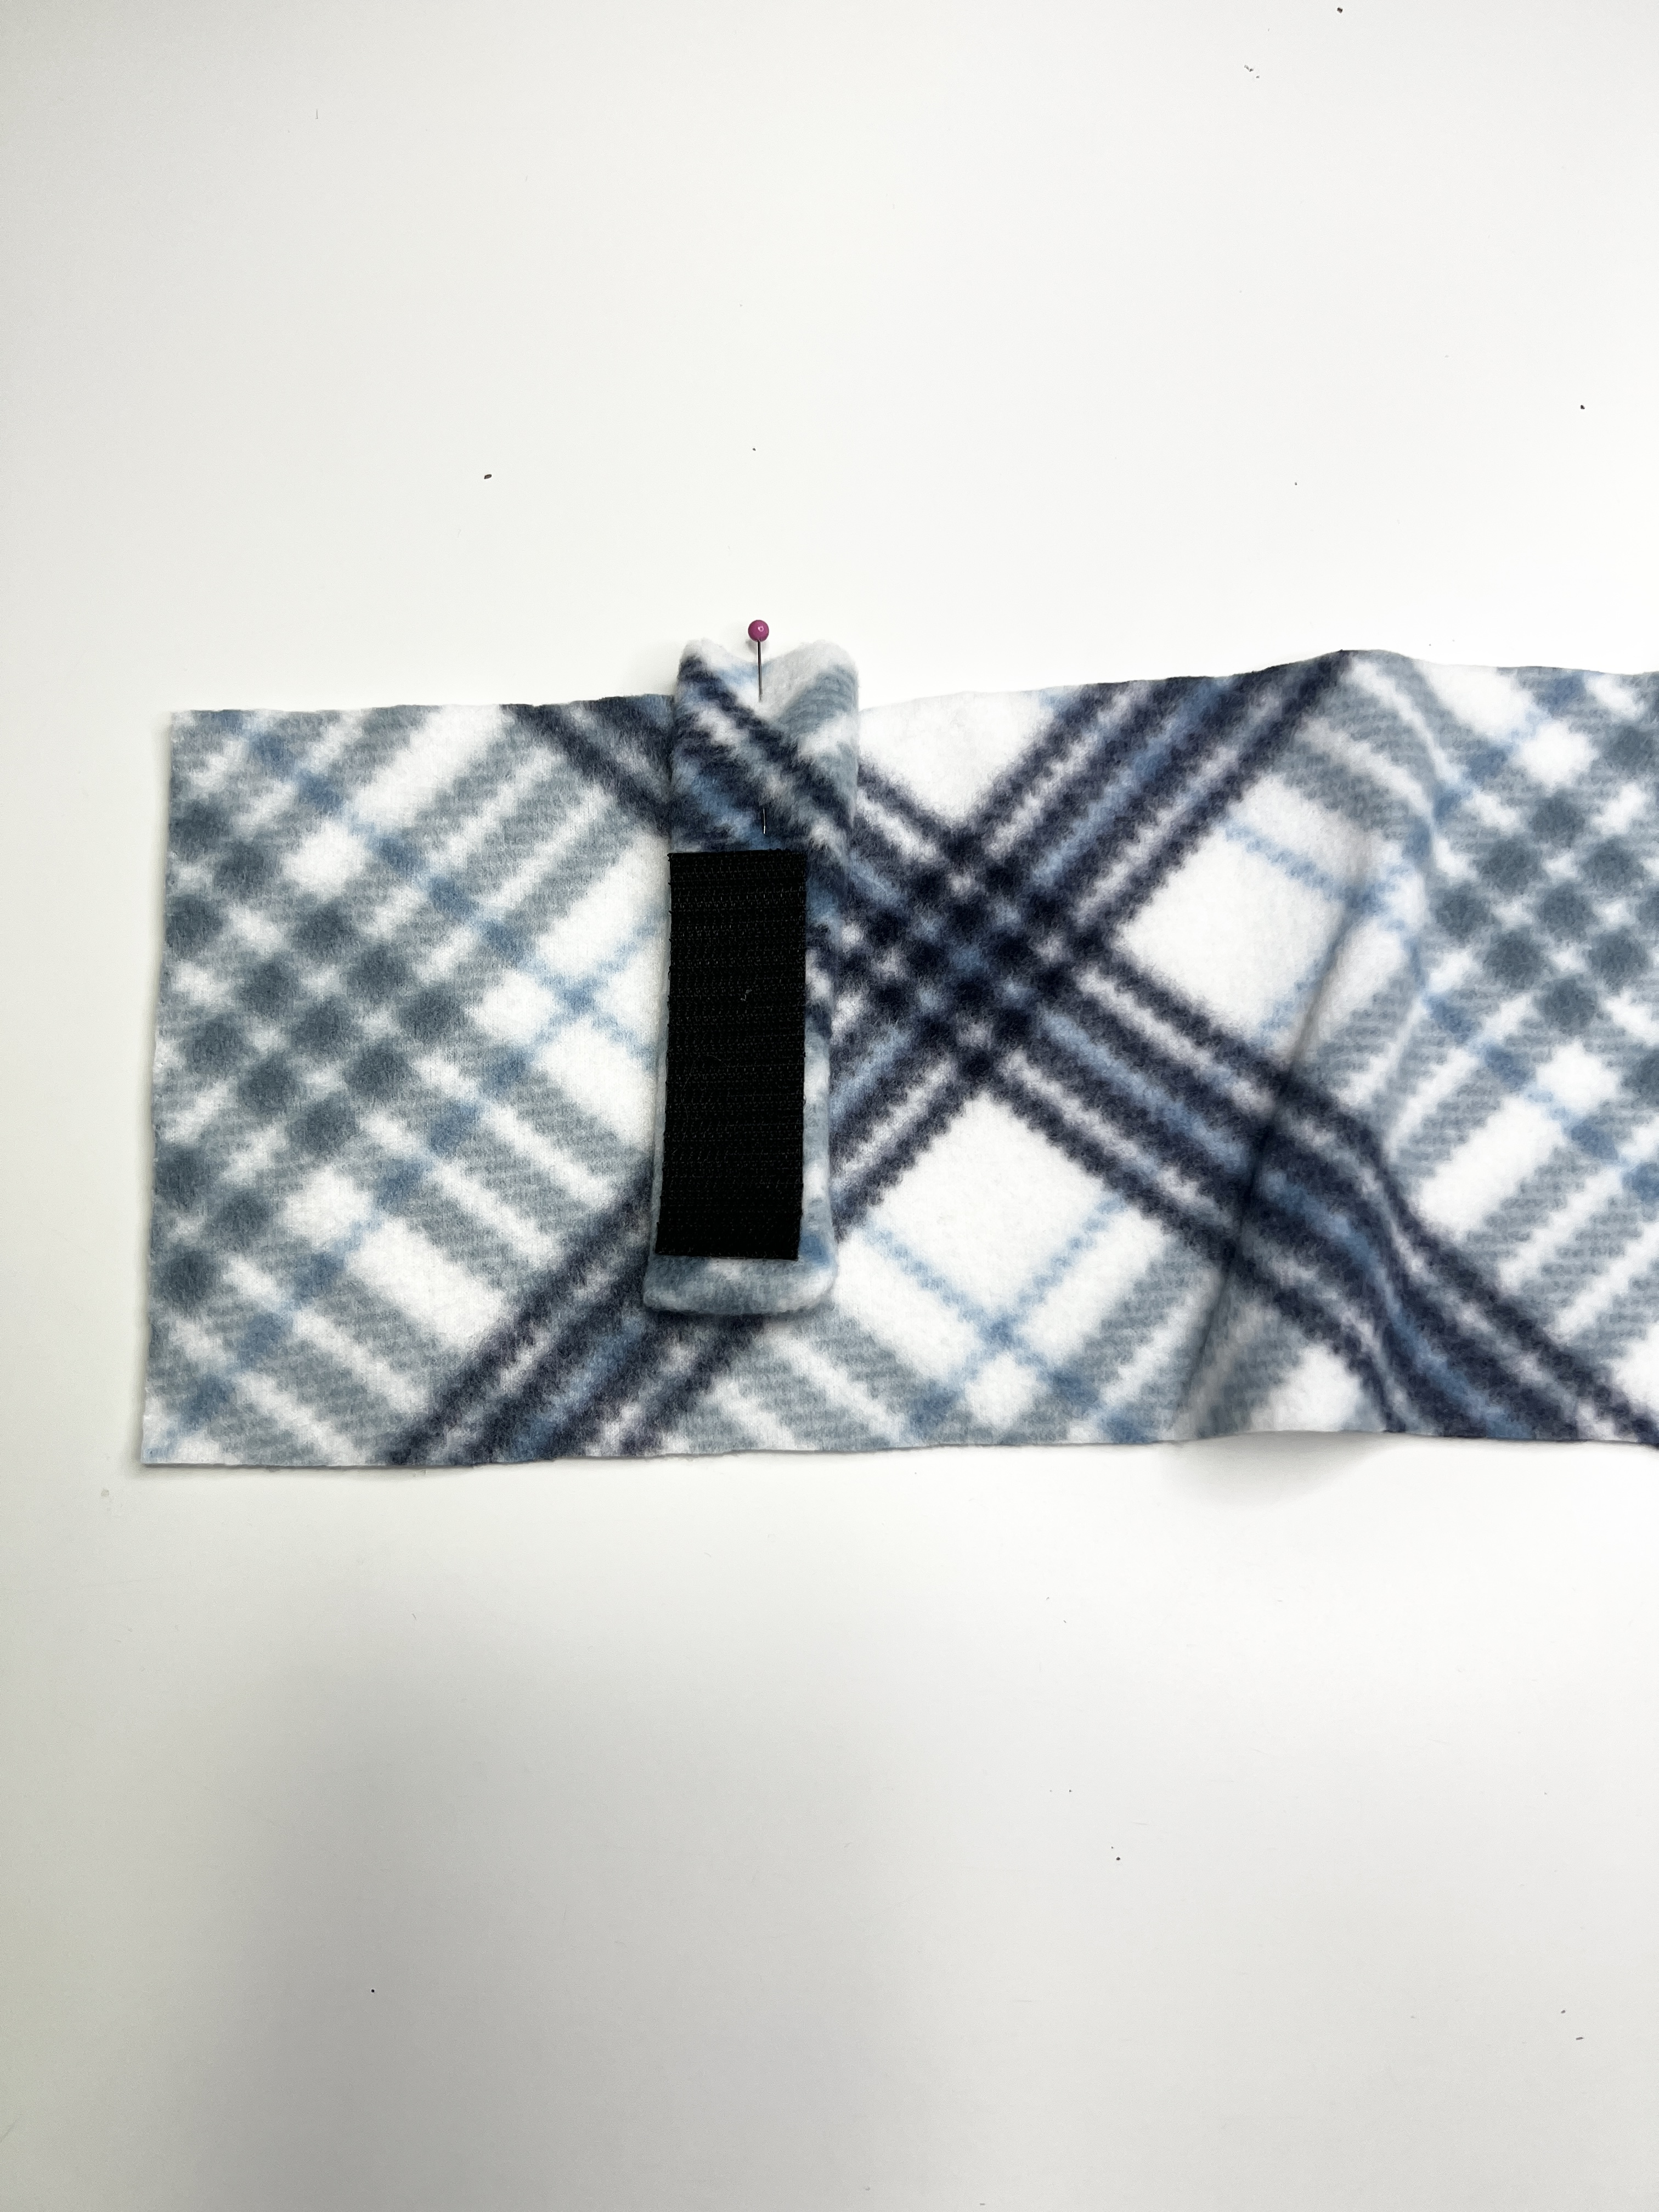
Directly across from that tab place another tab on your fabric facing down with the raw edges lined up together. Your tabs should have the velcro facing each other as shown below. Be sure that the raw edges of the tabs stick out so that you attach them correctly.
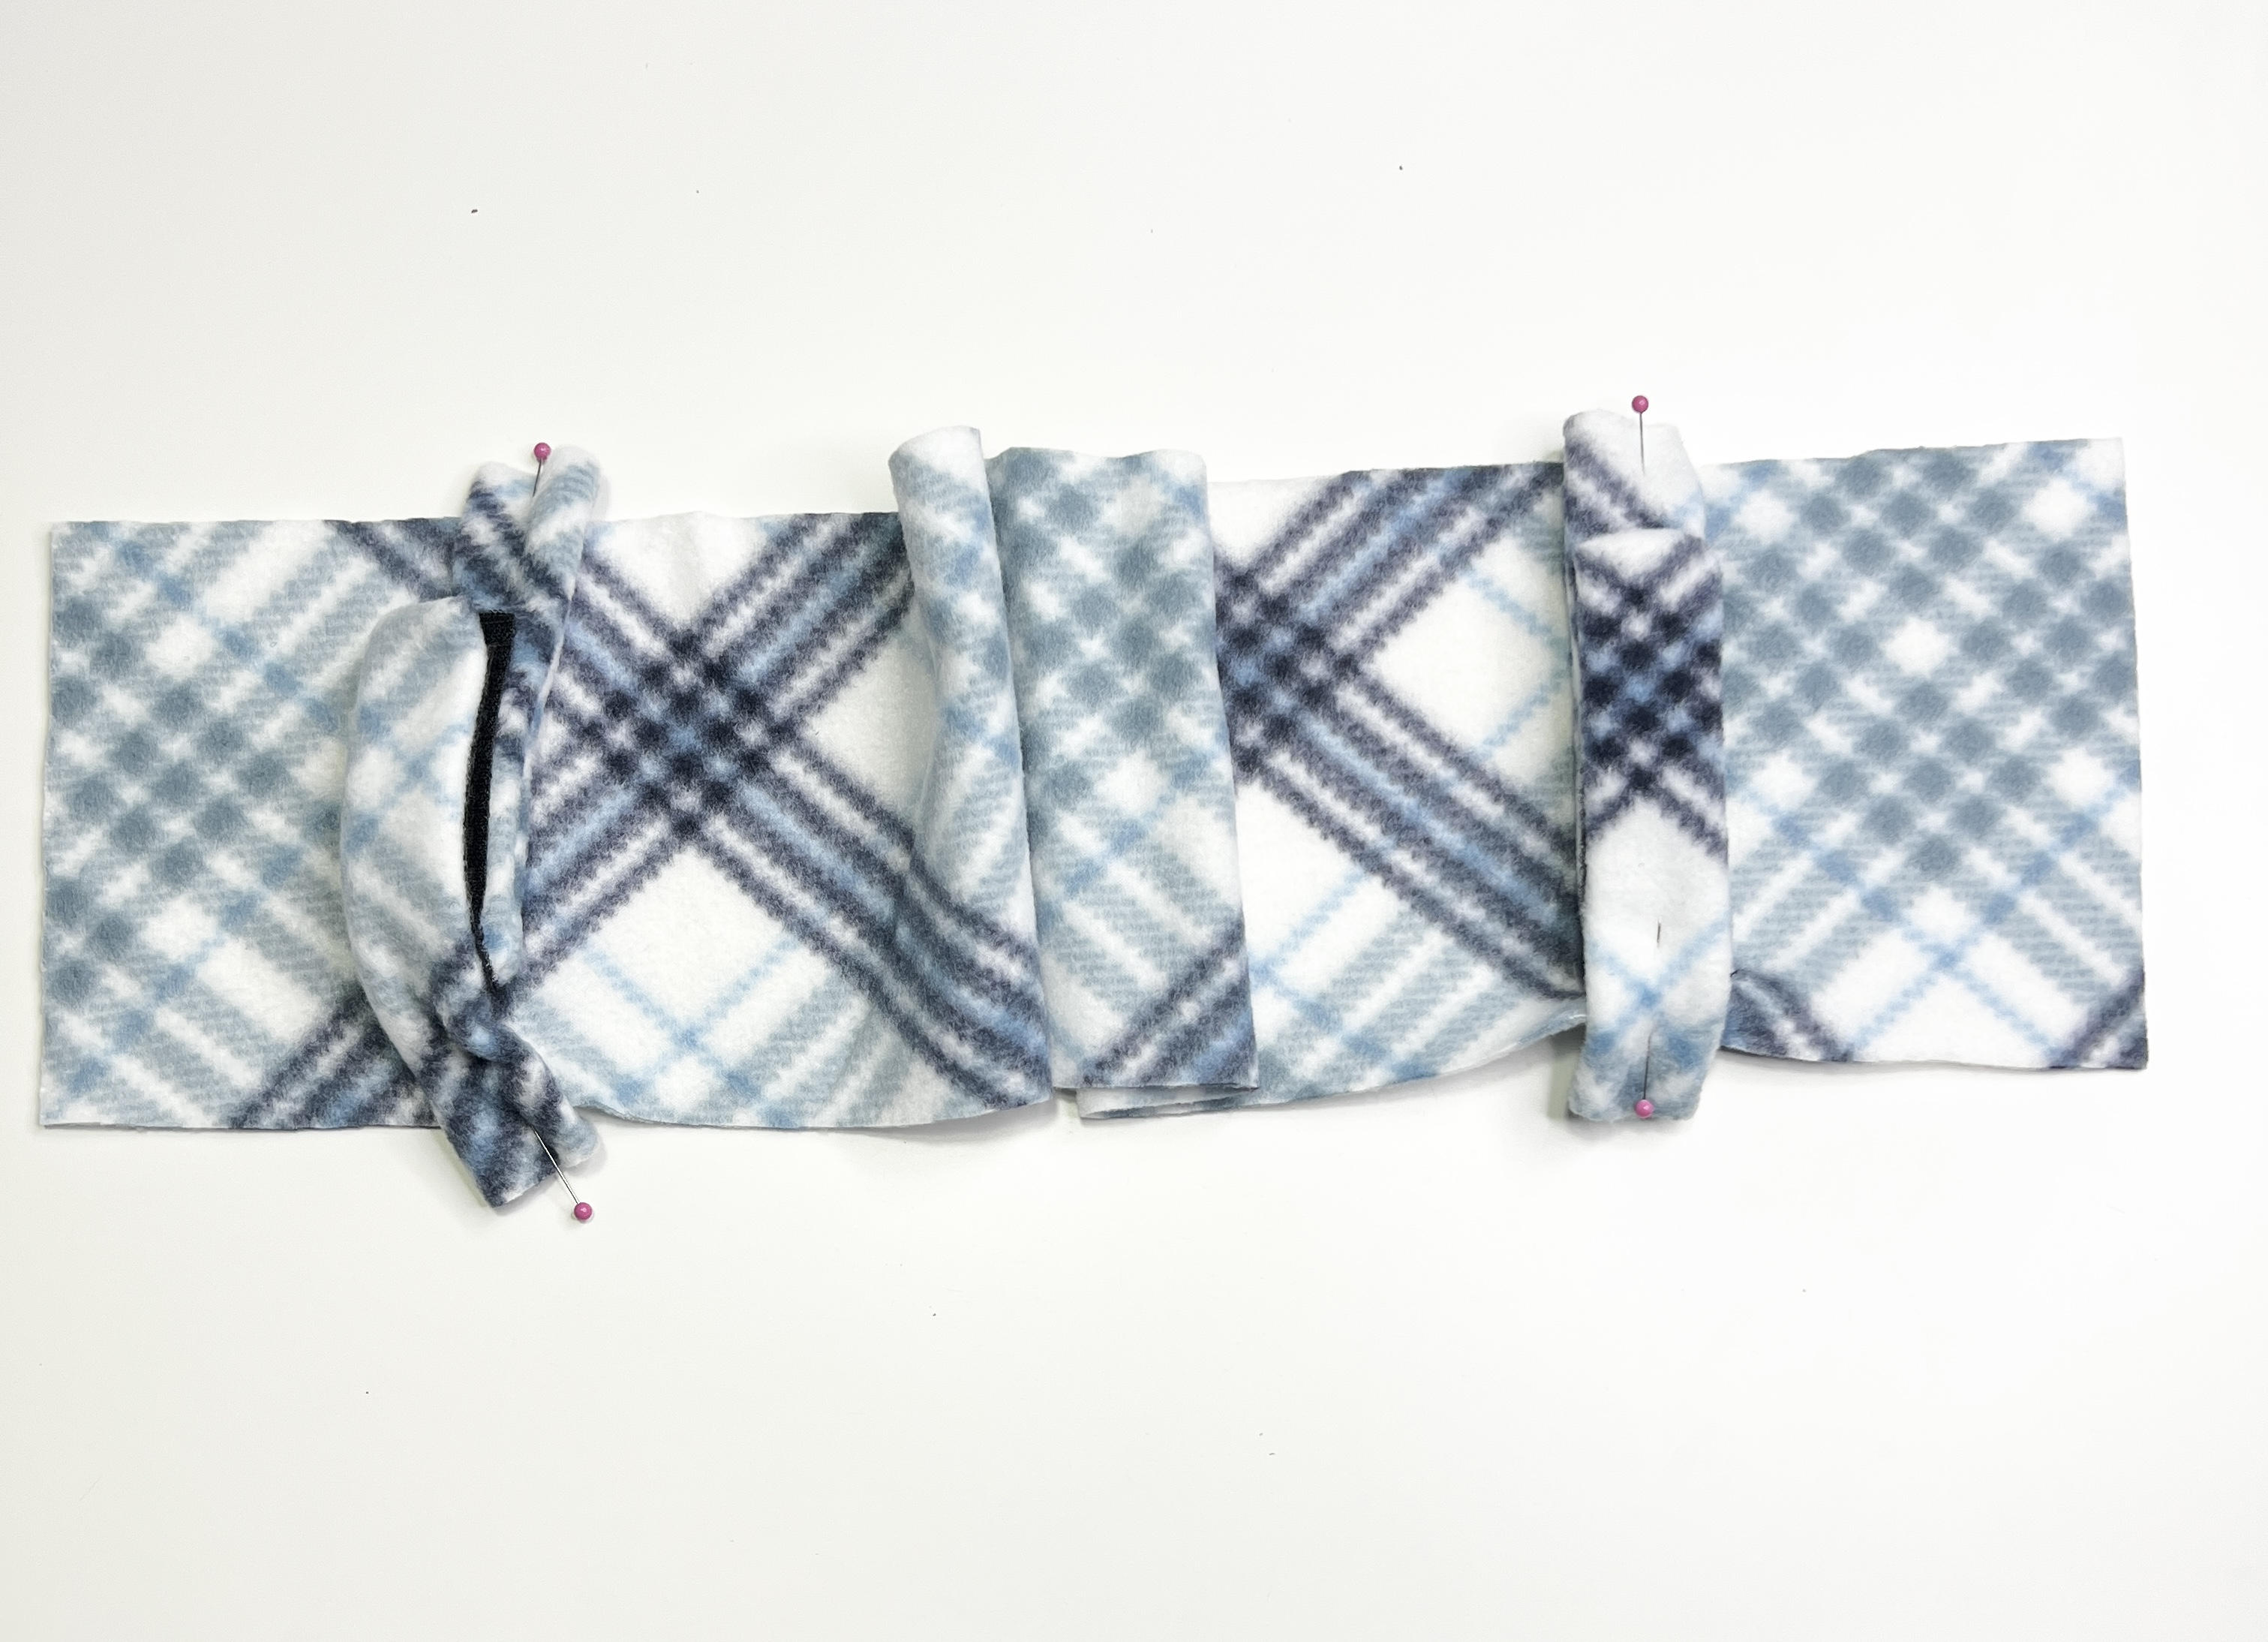
Repeat this process with the remaining tabs on the other short end of the cover. Your cover should now look like this.
Now, take your second long strip of fabric and place it right side facing down on top of the strip with the tabs making sure that the body of the velcro tabs are directly in the center of the cover so that you don’t accidentally catch the main body of the velcro tabs as you sew the seatbelt pillow together.
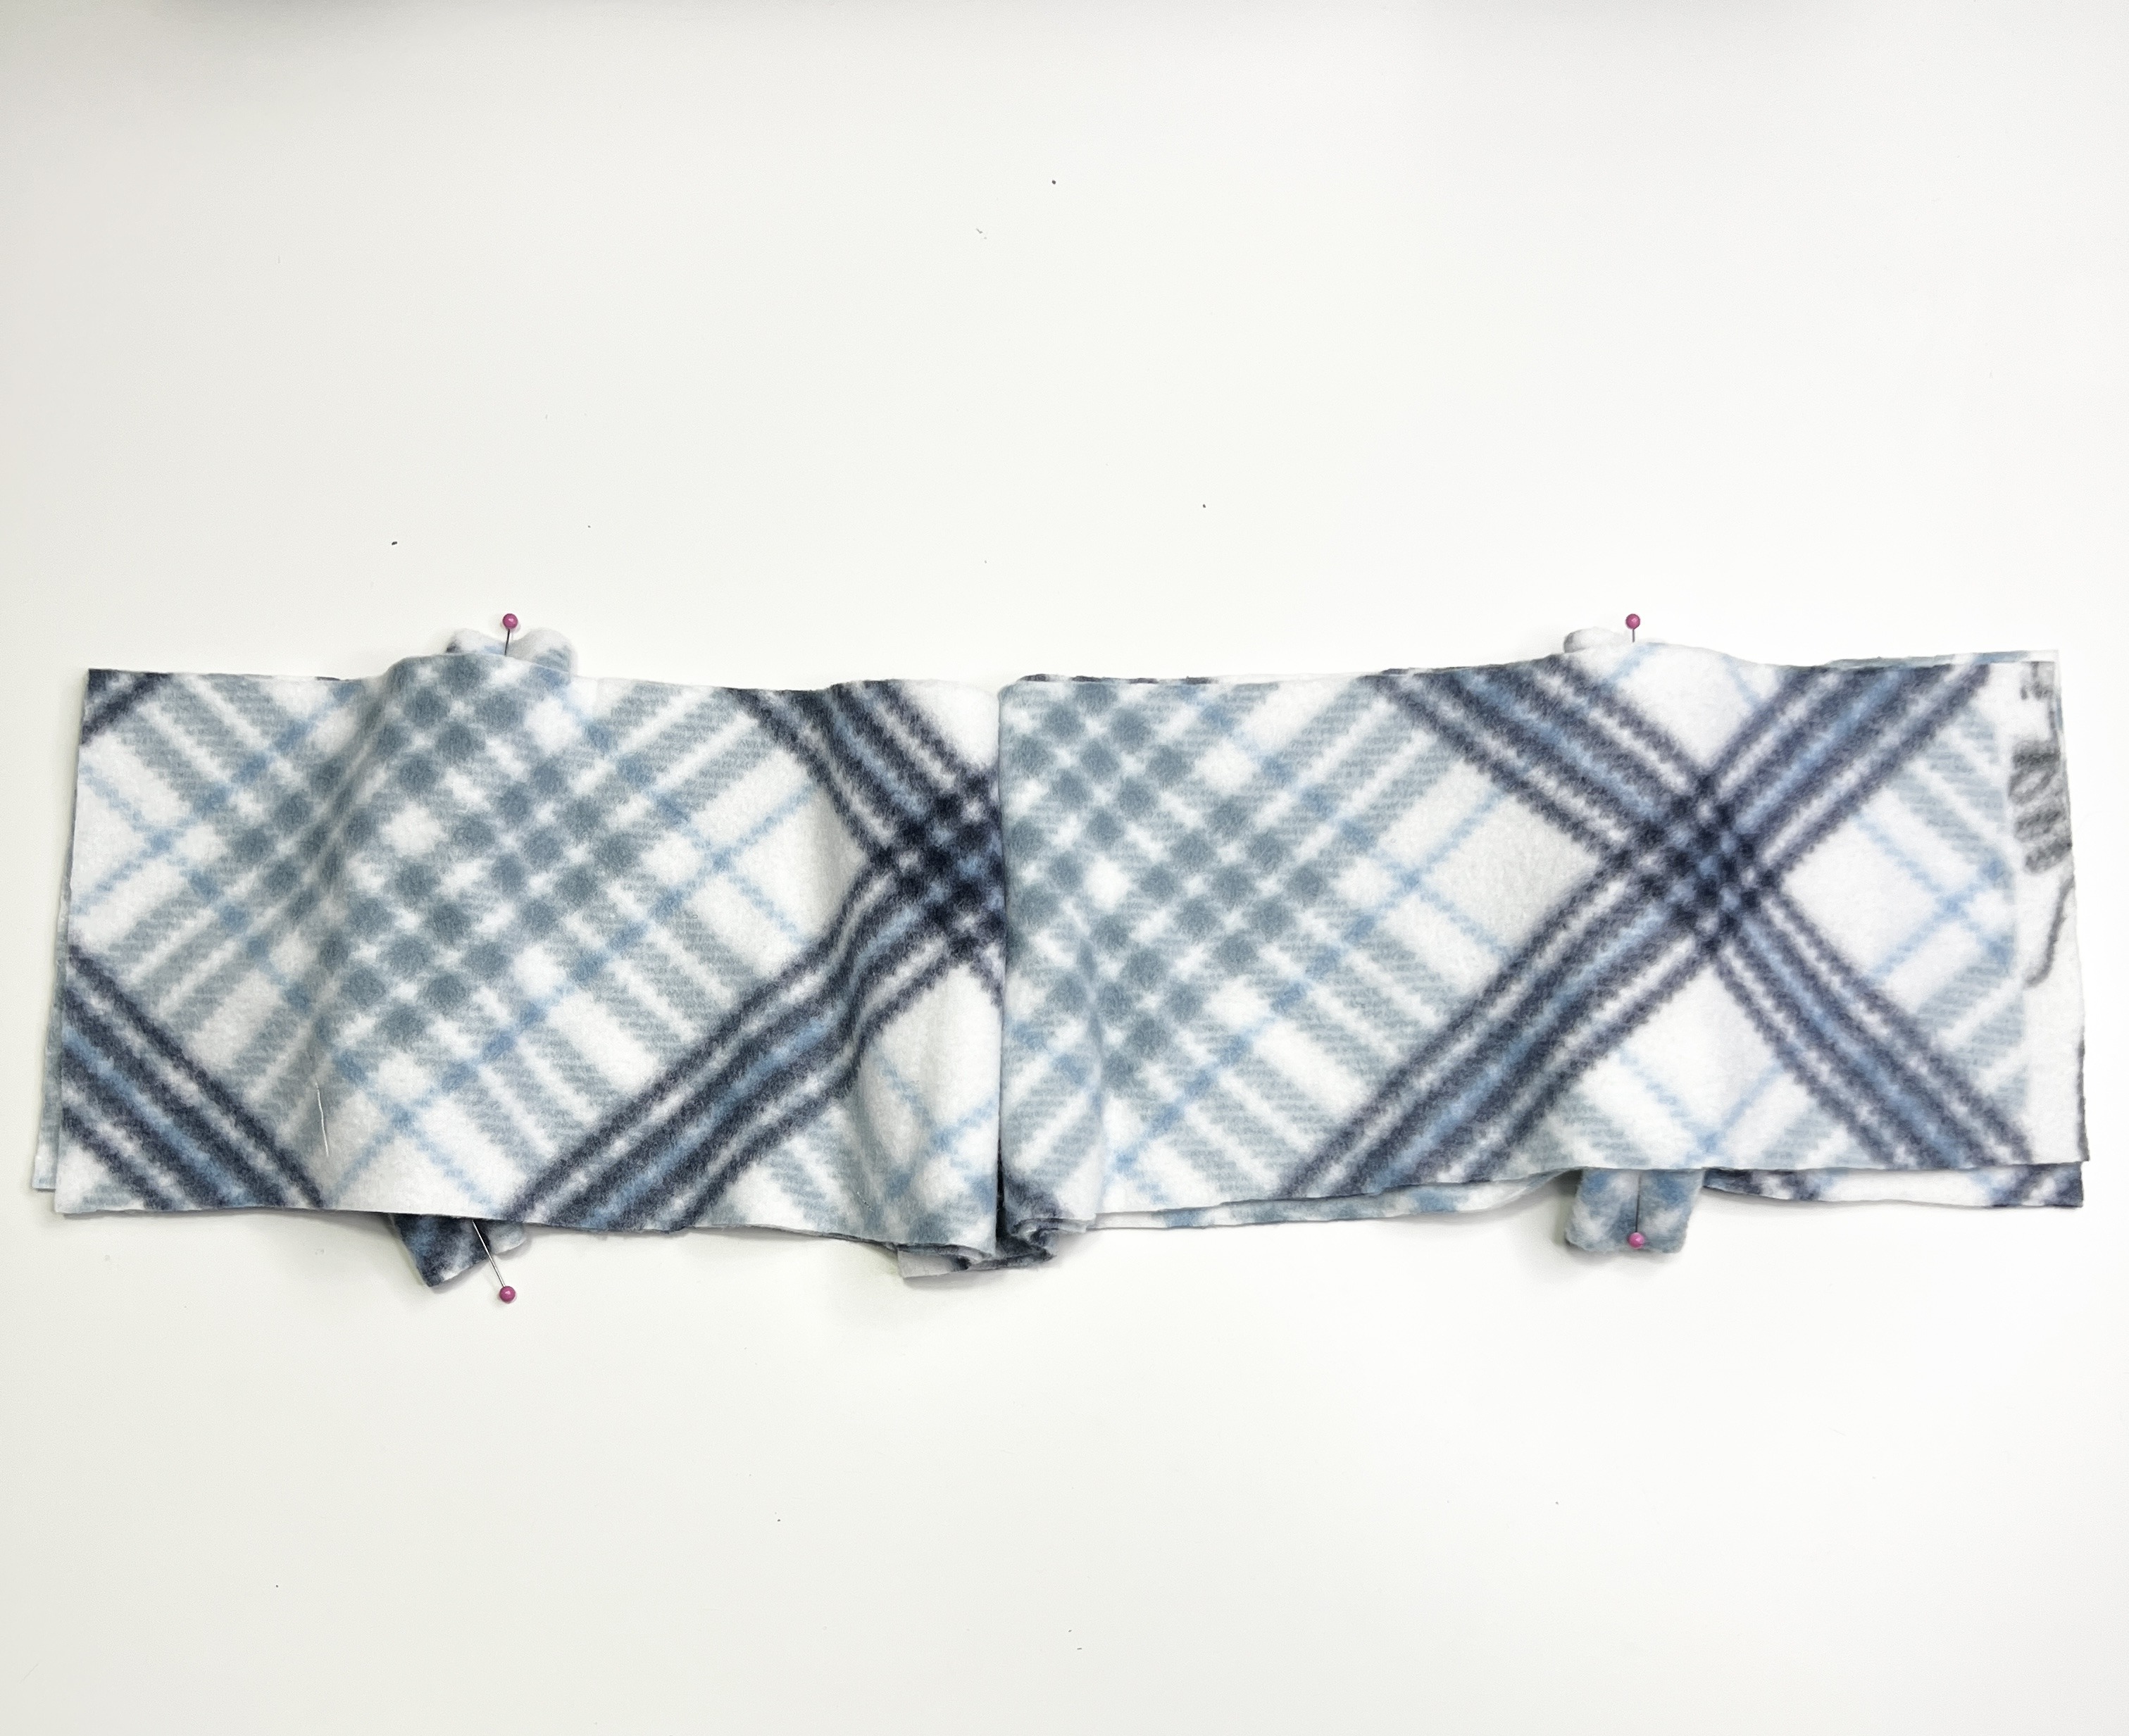
Next, you’ll want to pin around three sides of the seatbelt cover leaving one of the short ends open so that we can turn the entire cover right sides out.

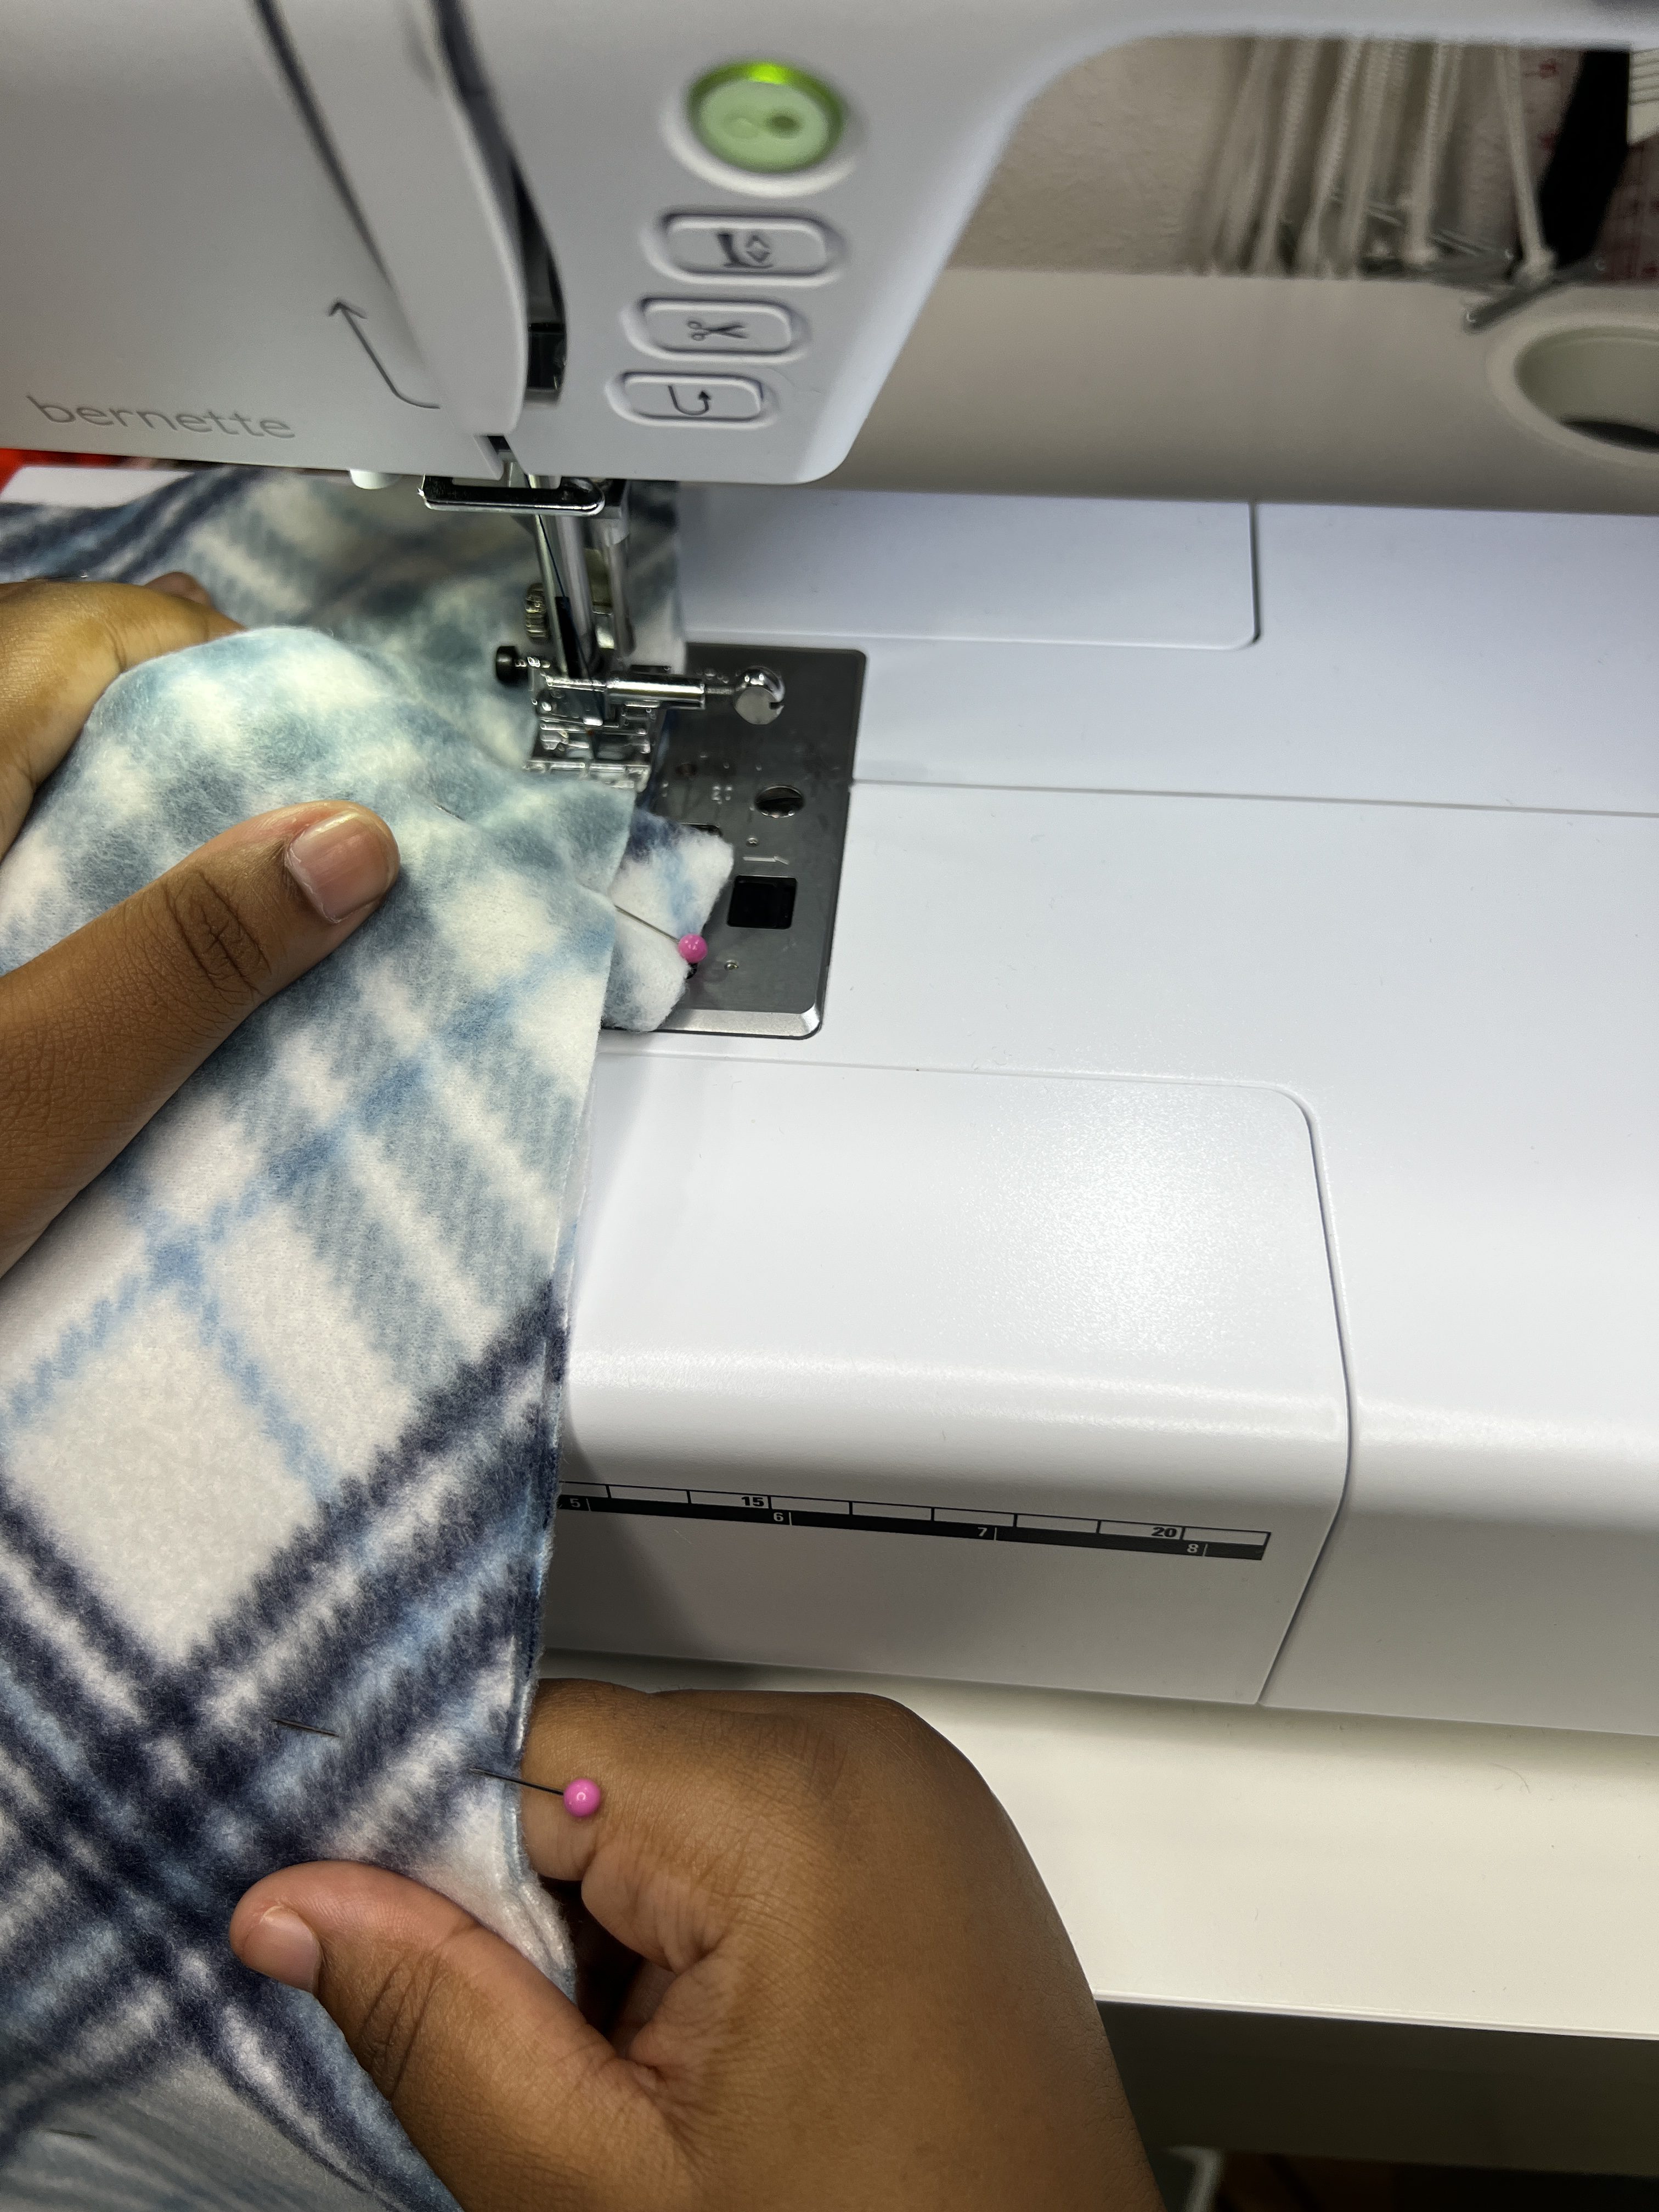
Once you’ve made sure that your velcro tabs are securely centered on the cover with the raw edges sticking out slightly, you can sew around the three edges using a 1/4″ seam allowance.
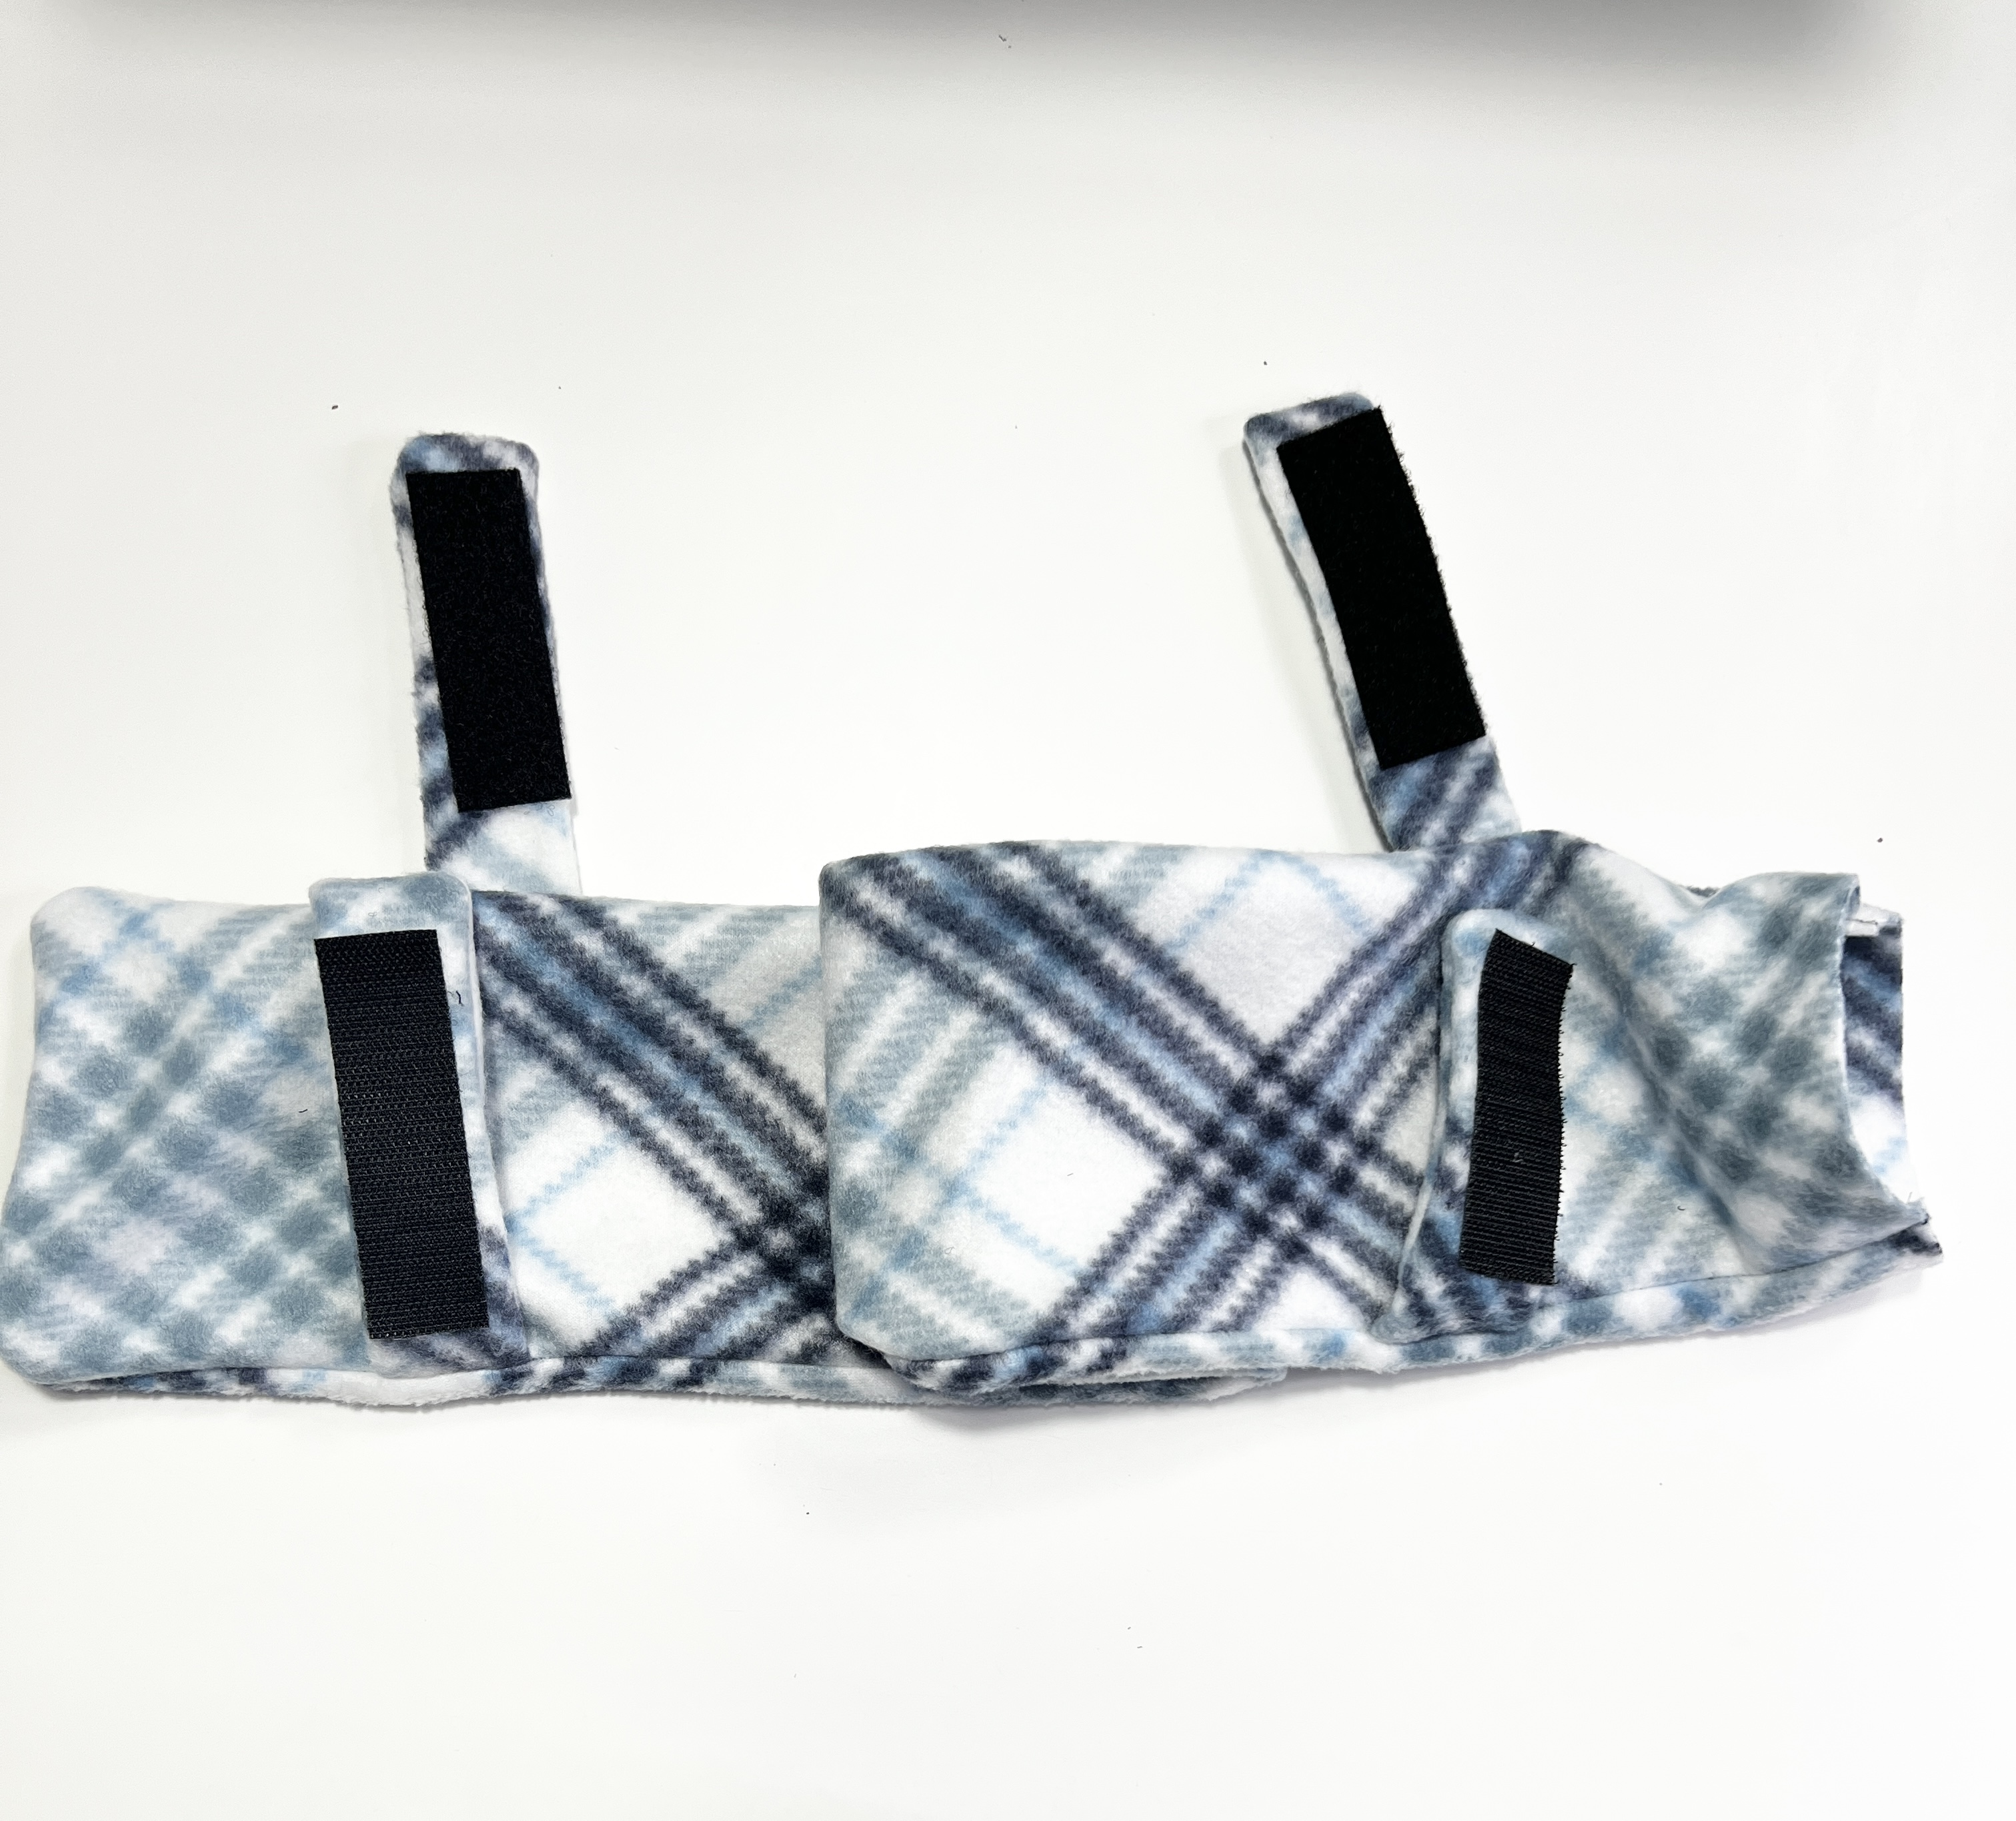
Your seatbelt pillow should now look like this with the sides completely sewn and ready to be turned right side out.
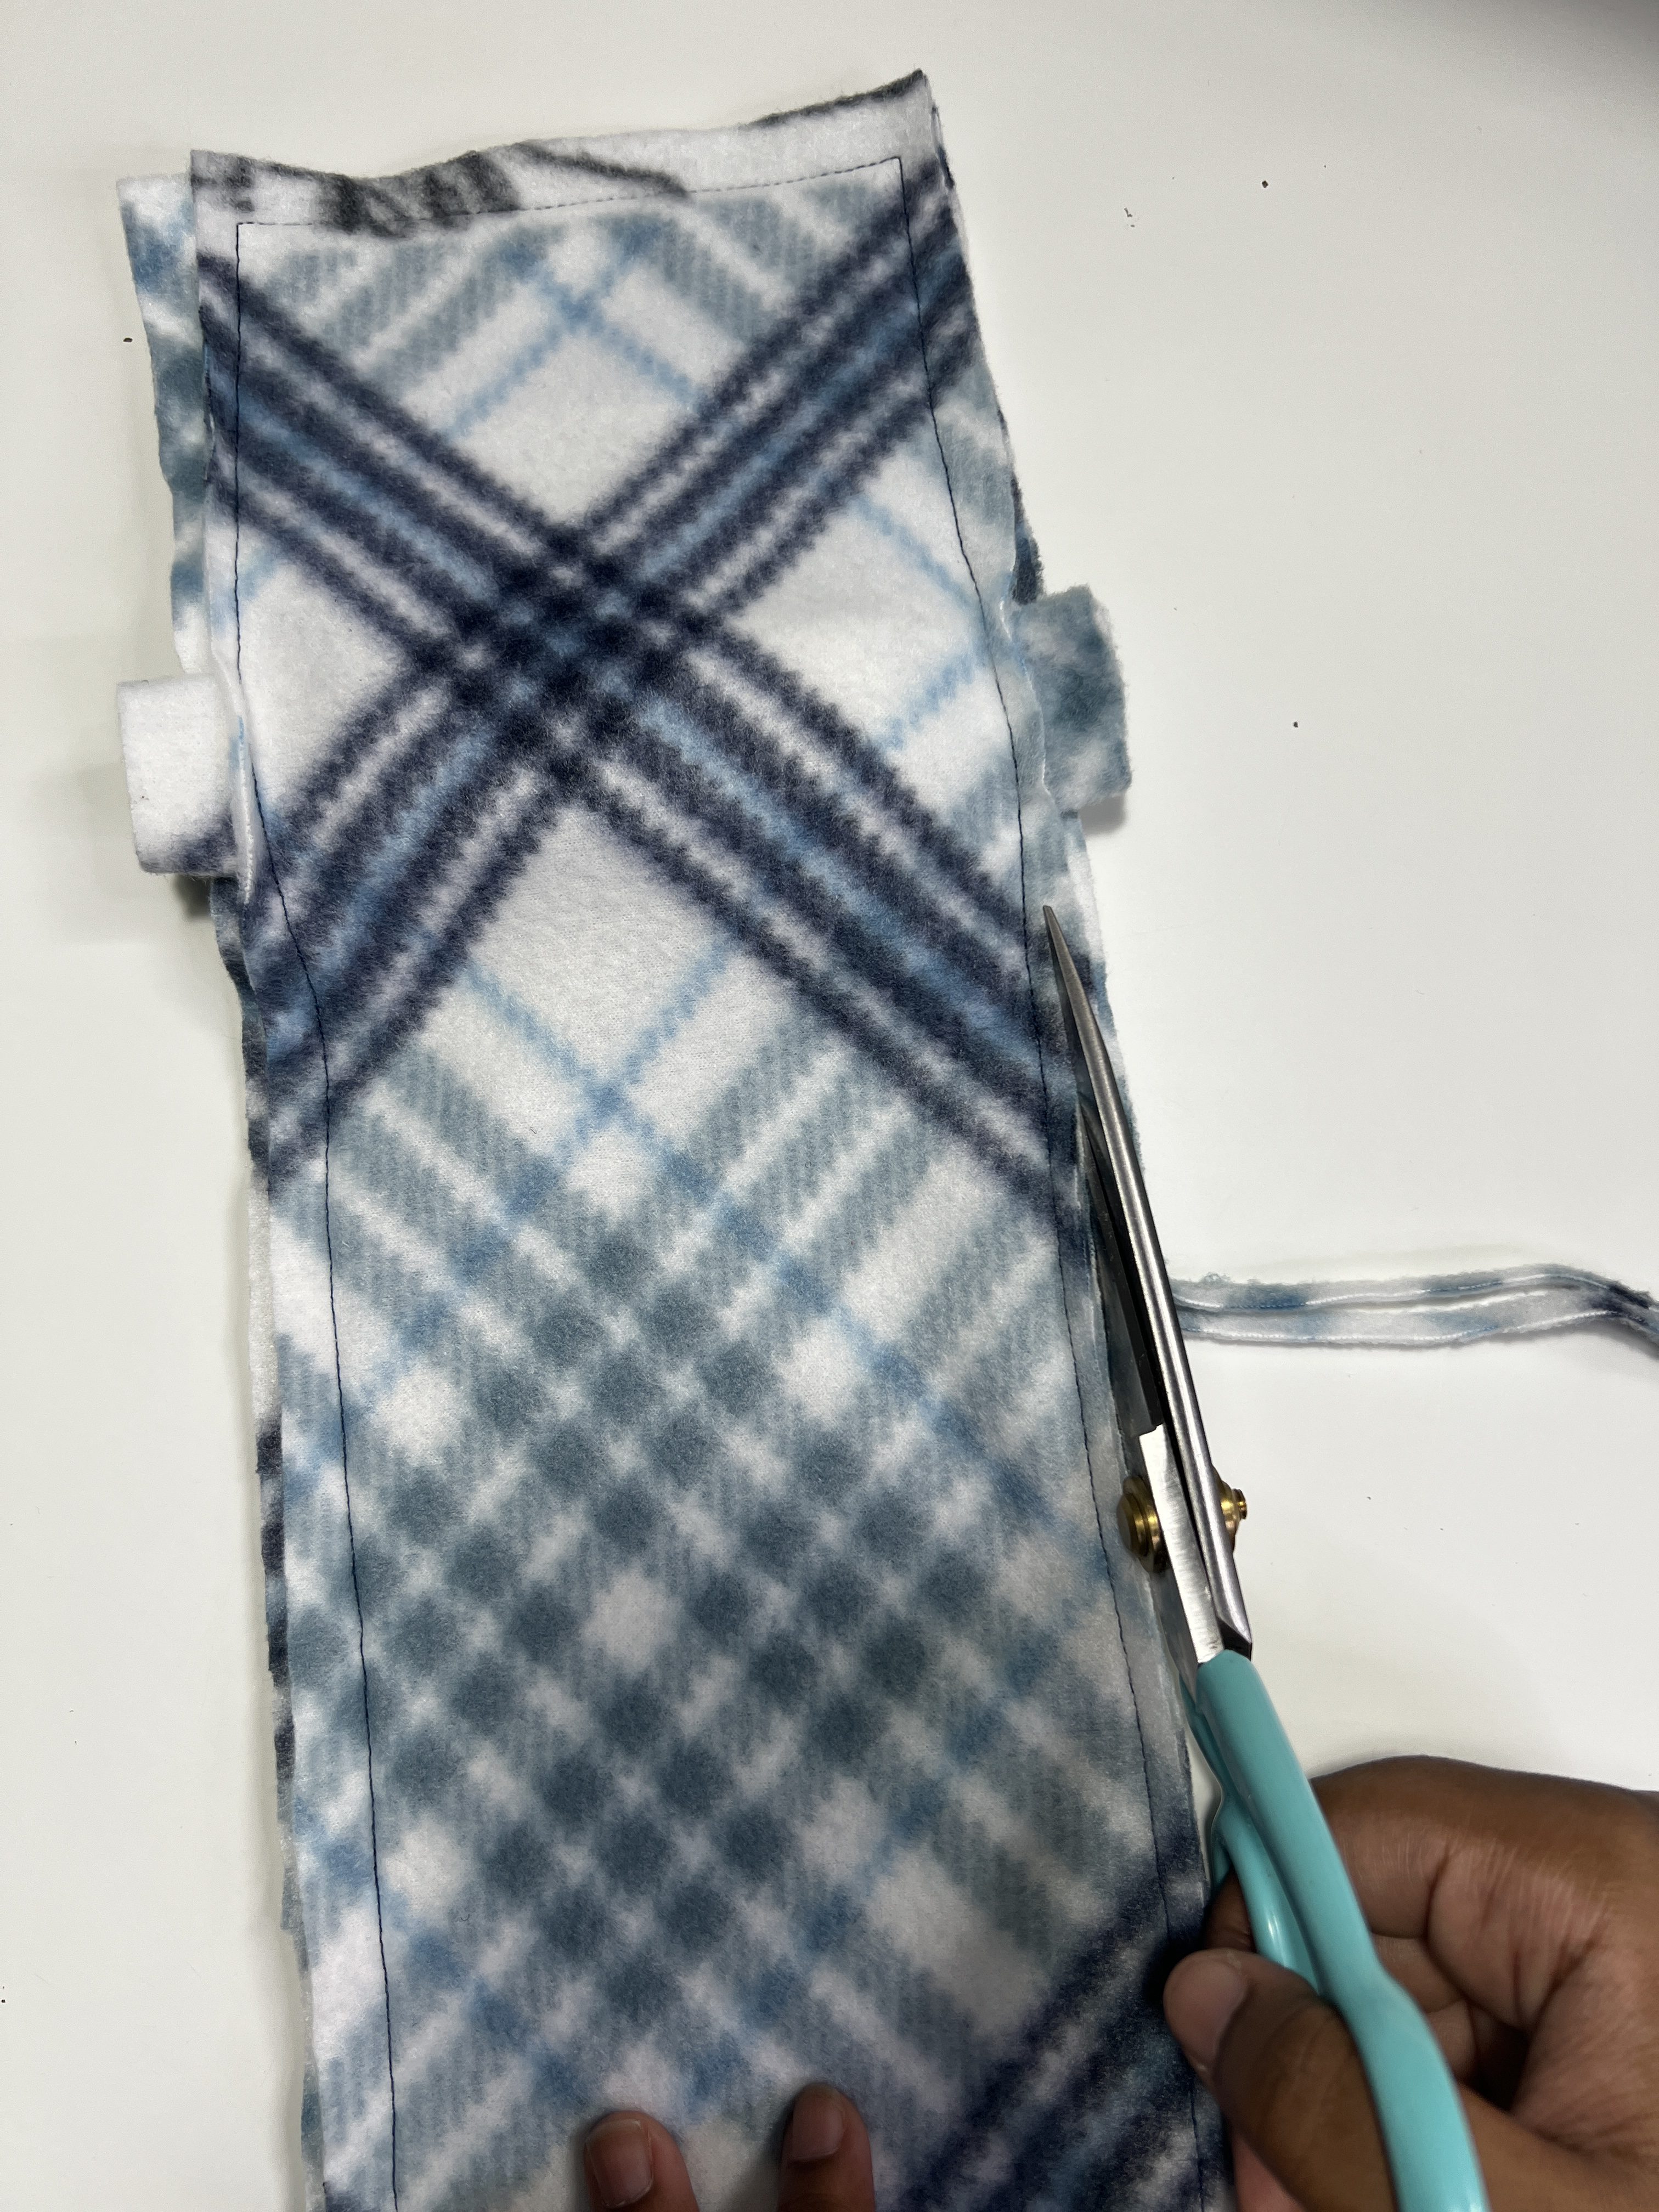
Trim any excess seam allowance down so that there won’t be too much bulk when we turn the pillow right side out.
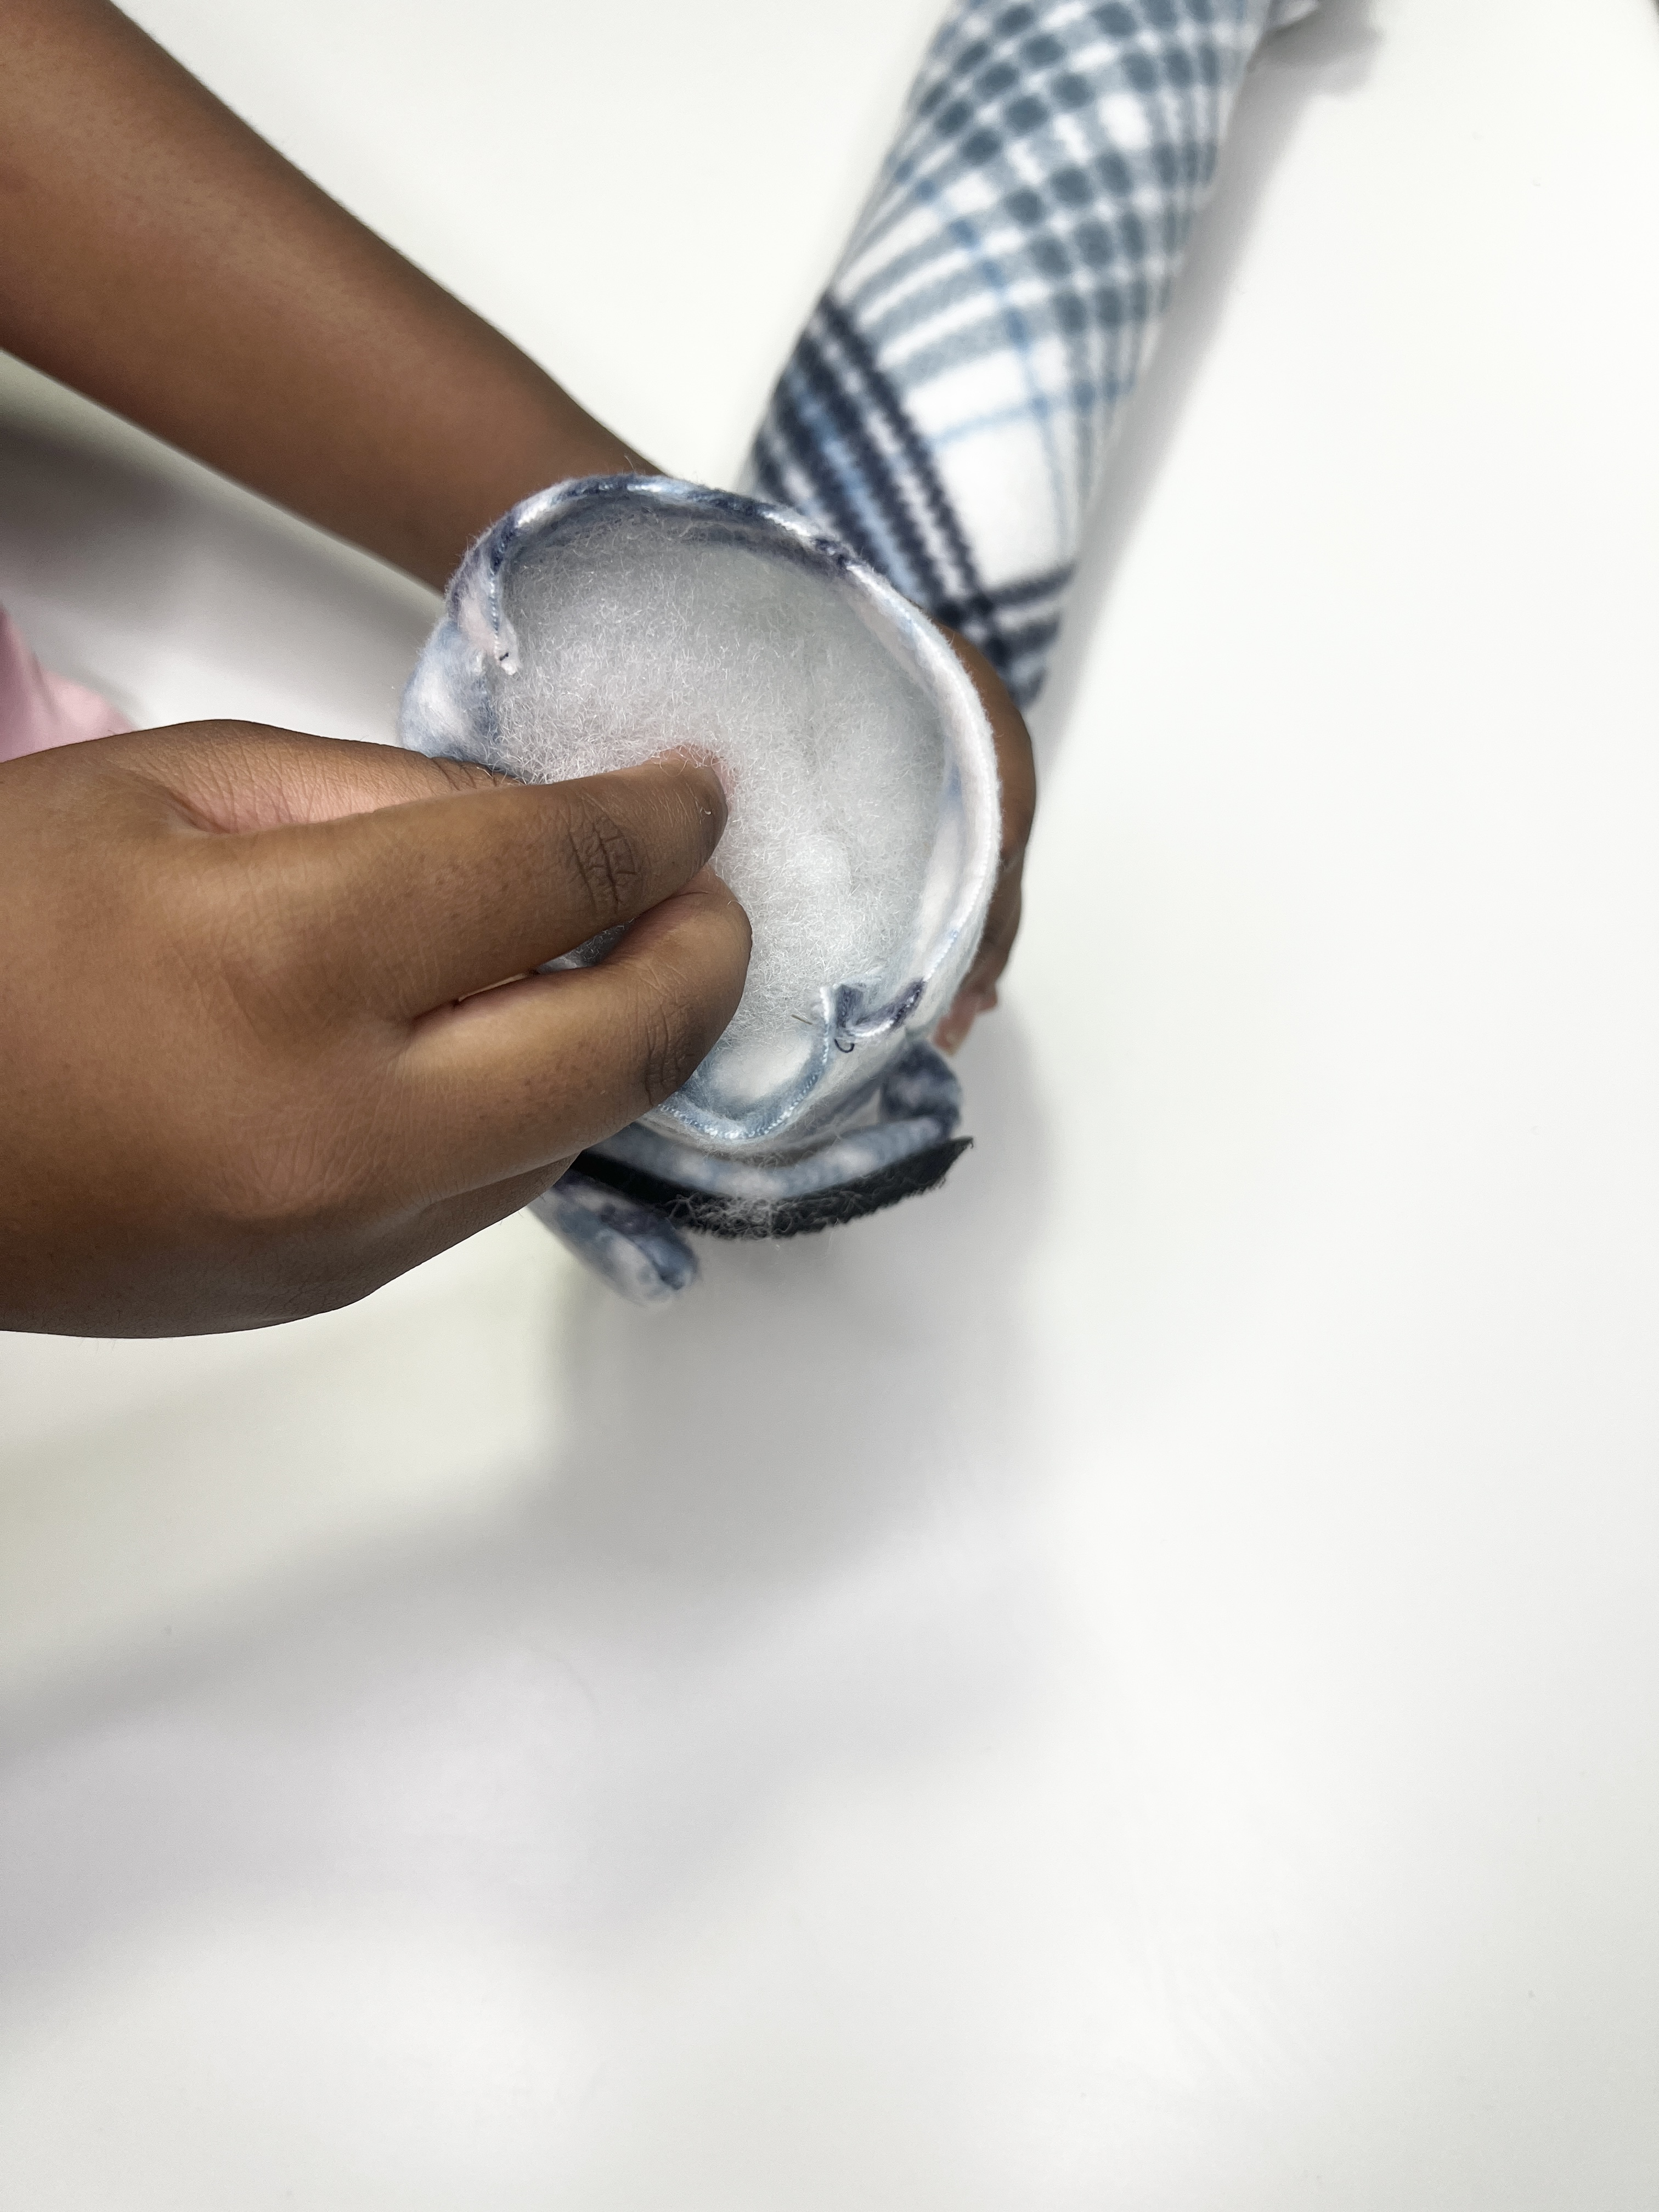
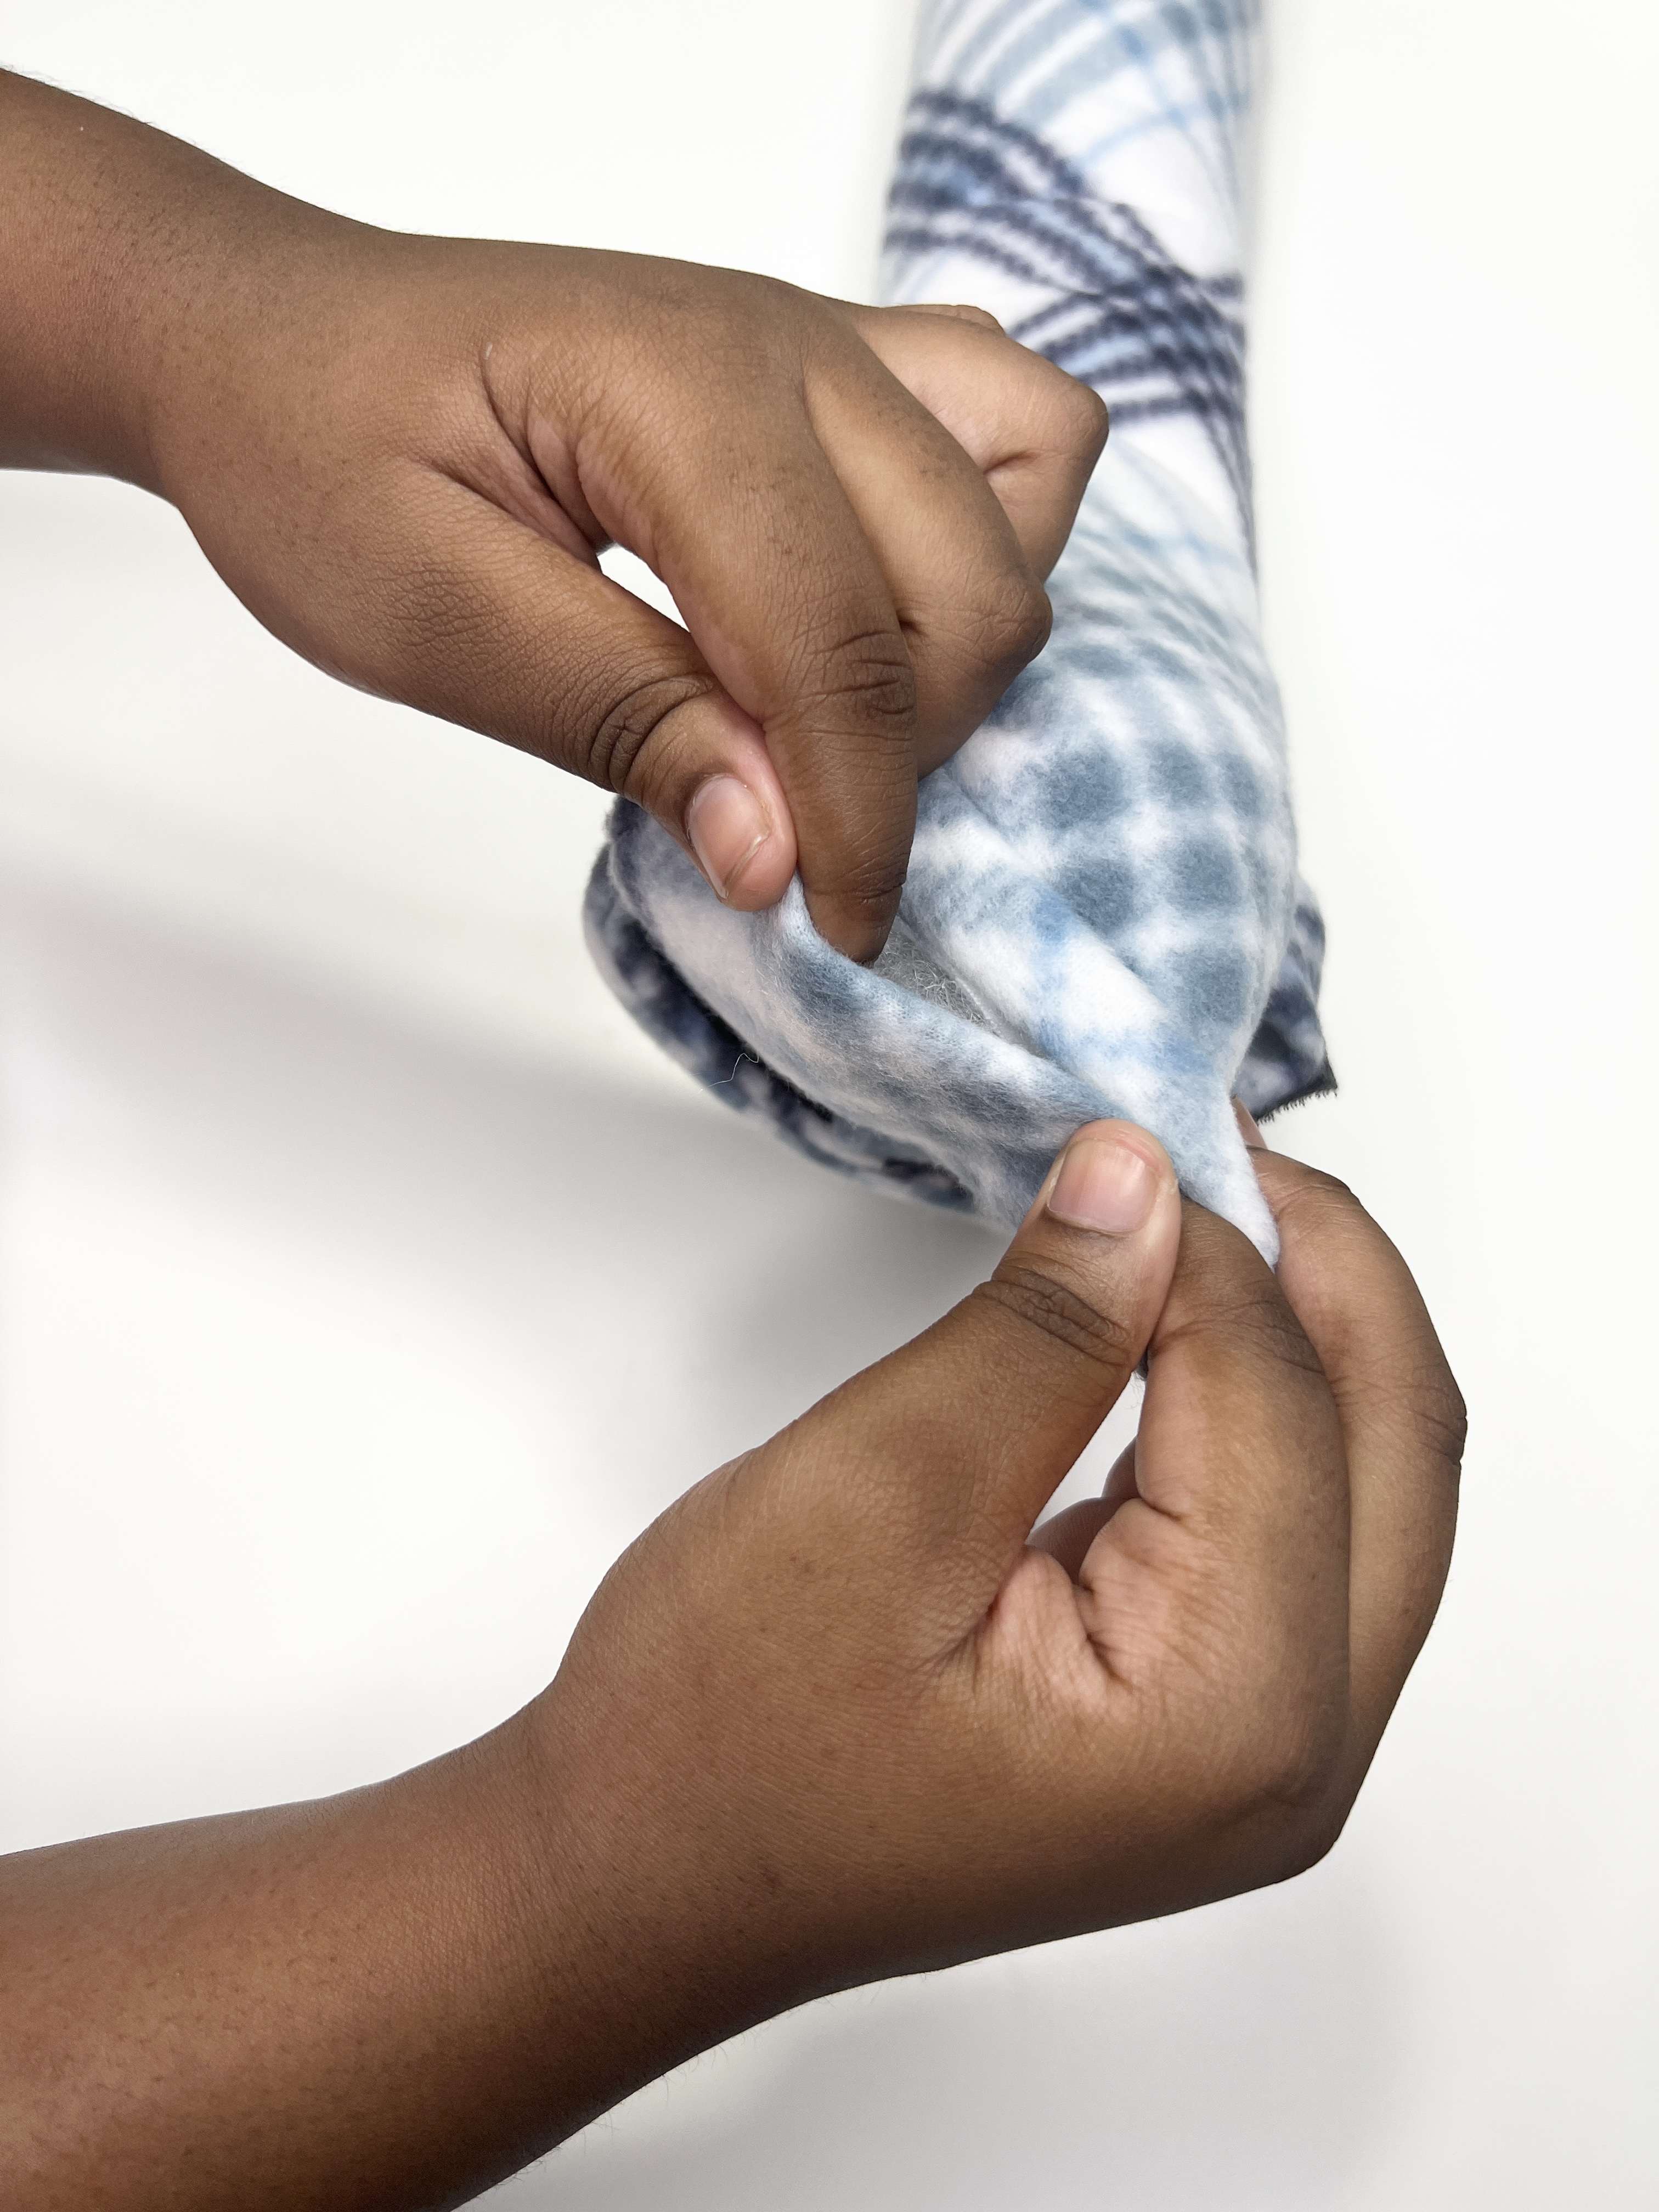
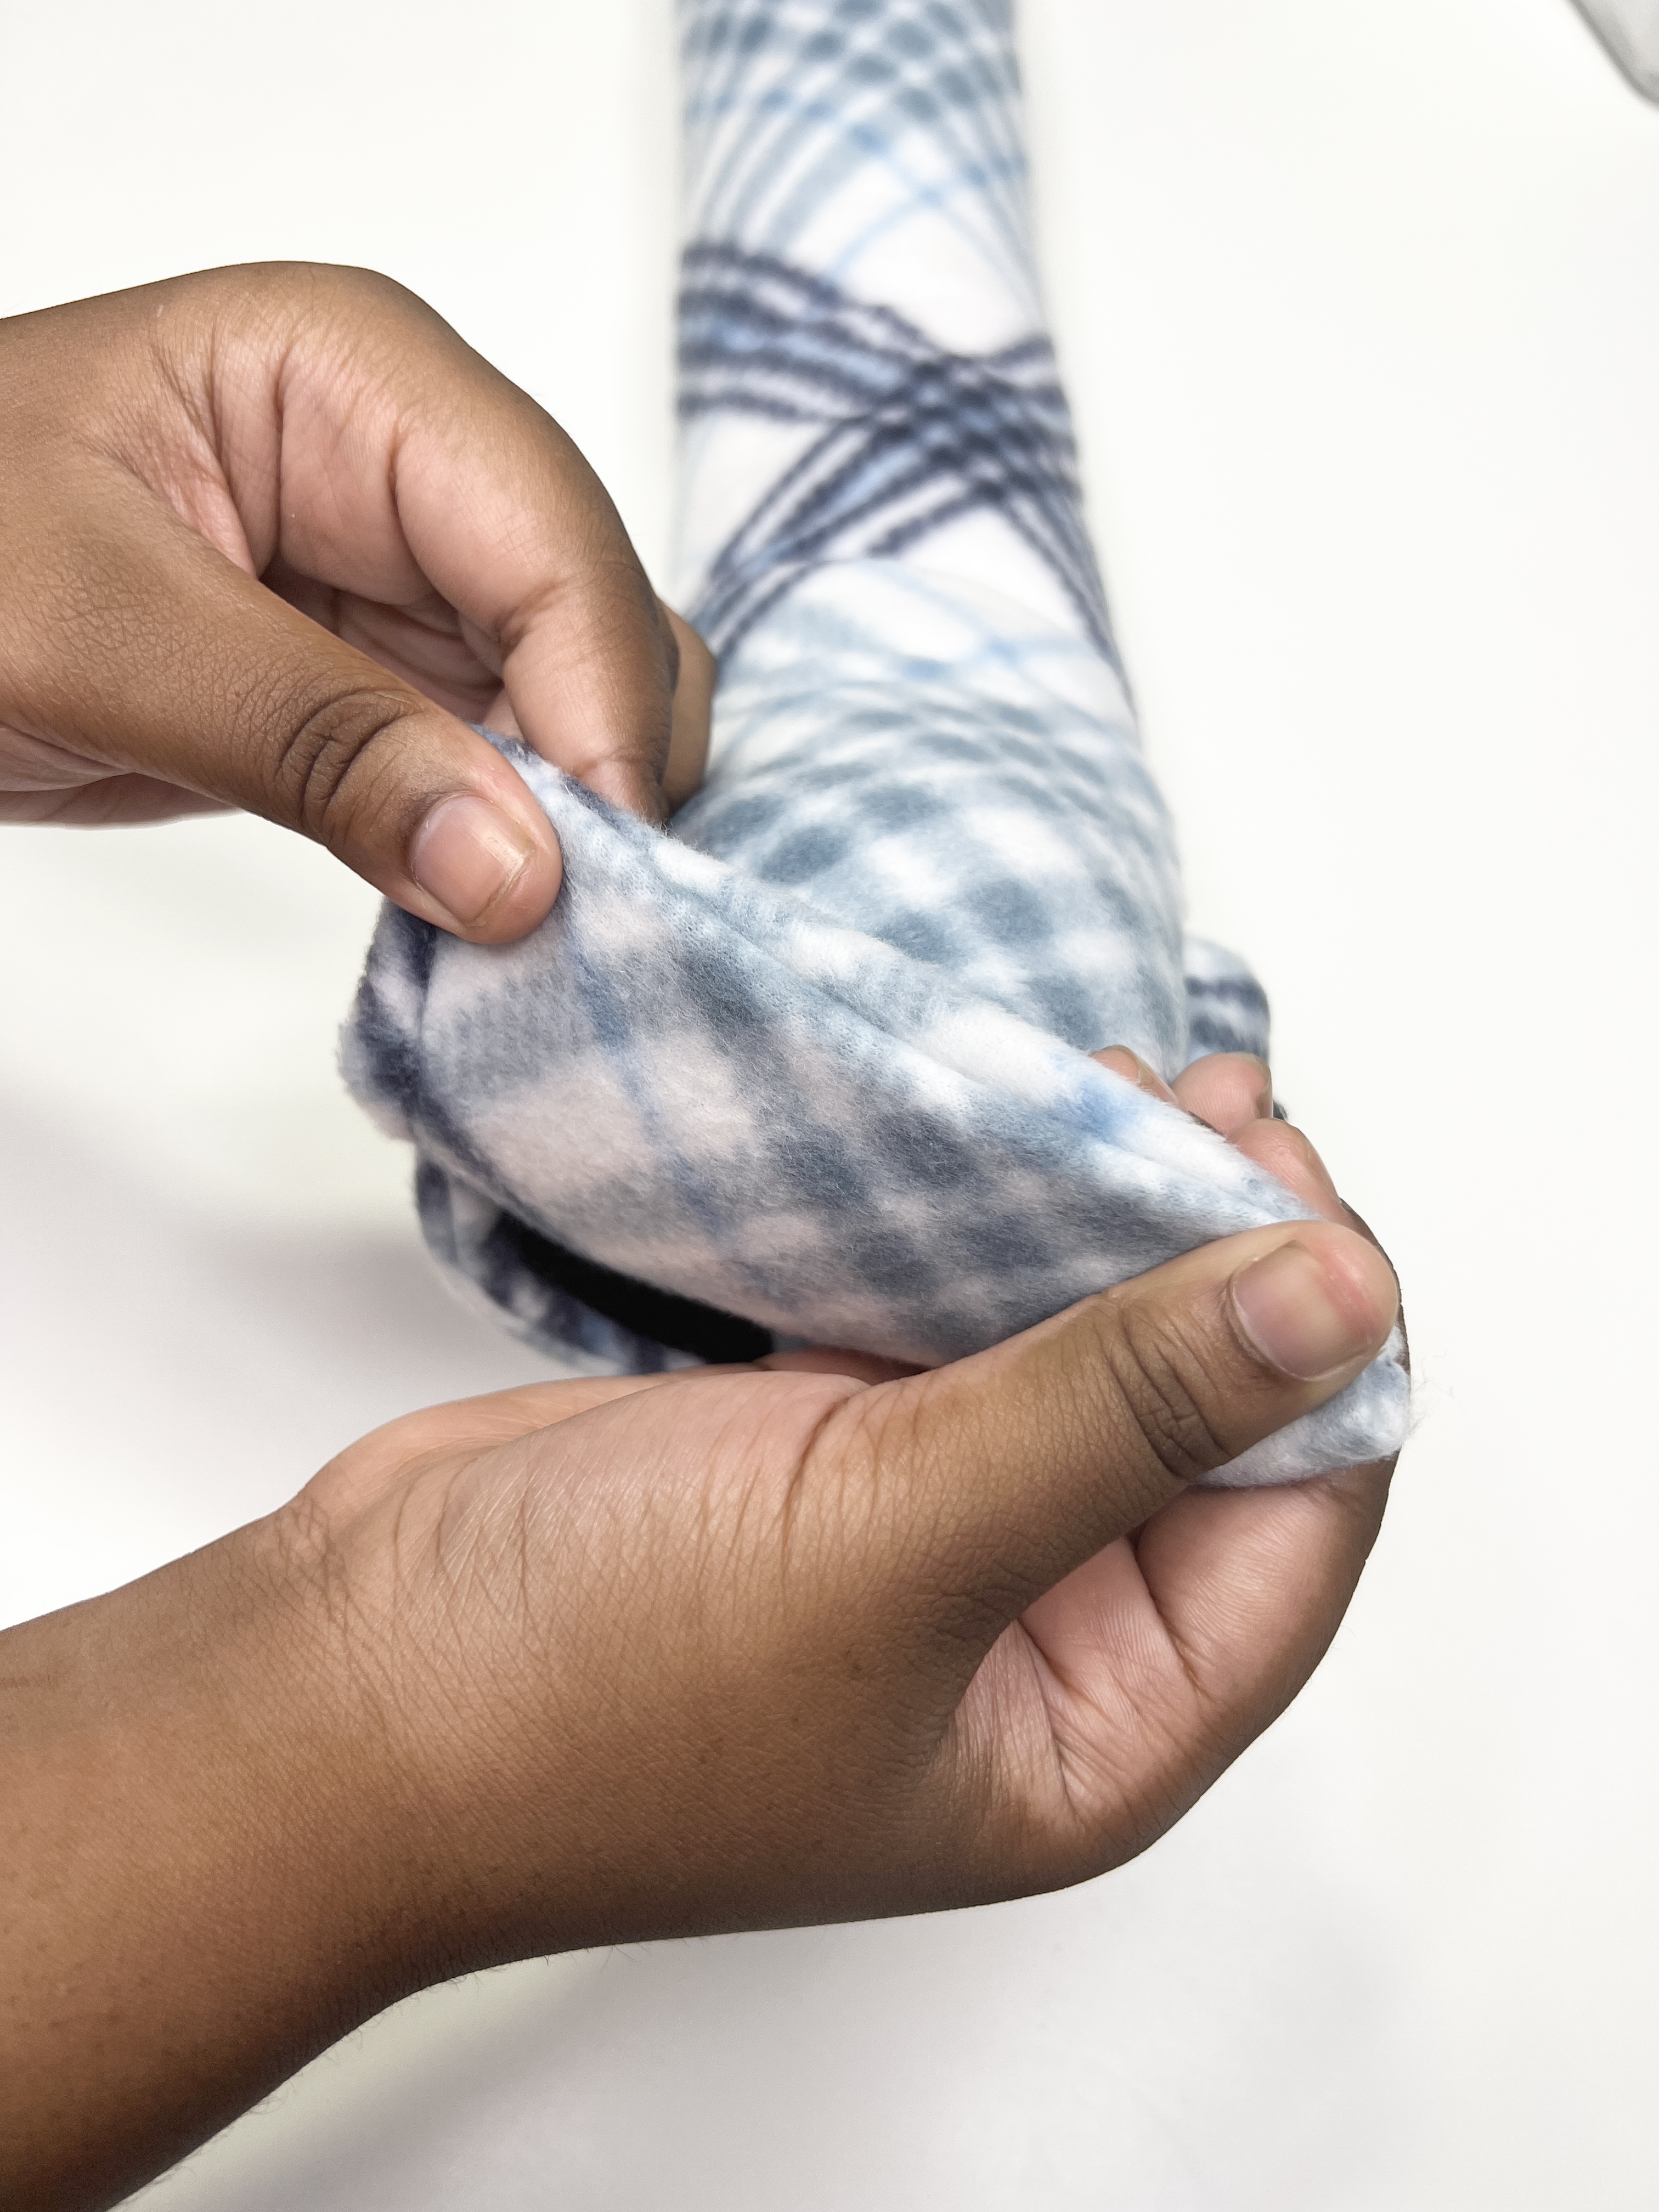
Now put your hand inside of the tube you just created and turn the seatbelt pillow right side out.

The seatbelt cover is ready to be stuffed with polyfill which will turn it into a pillow. You can fill the cover until it has your preferred stiffness. If you prefer a more firm pillow then stuff it with more polyfill, but if you prefer a softer more fluffy pillow then stuff it with less.
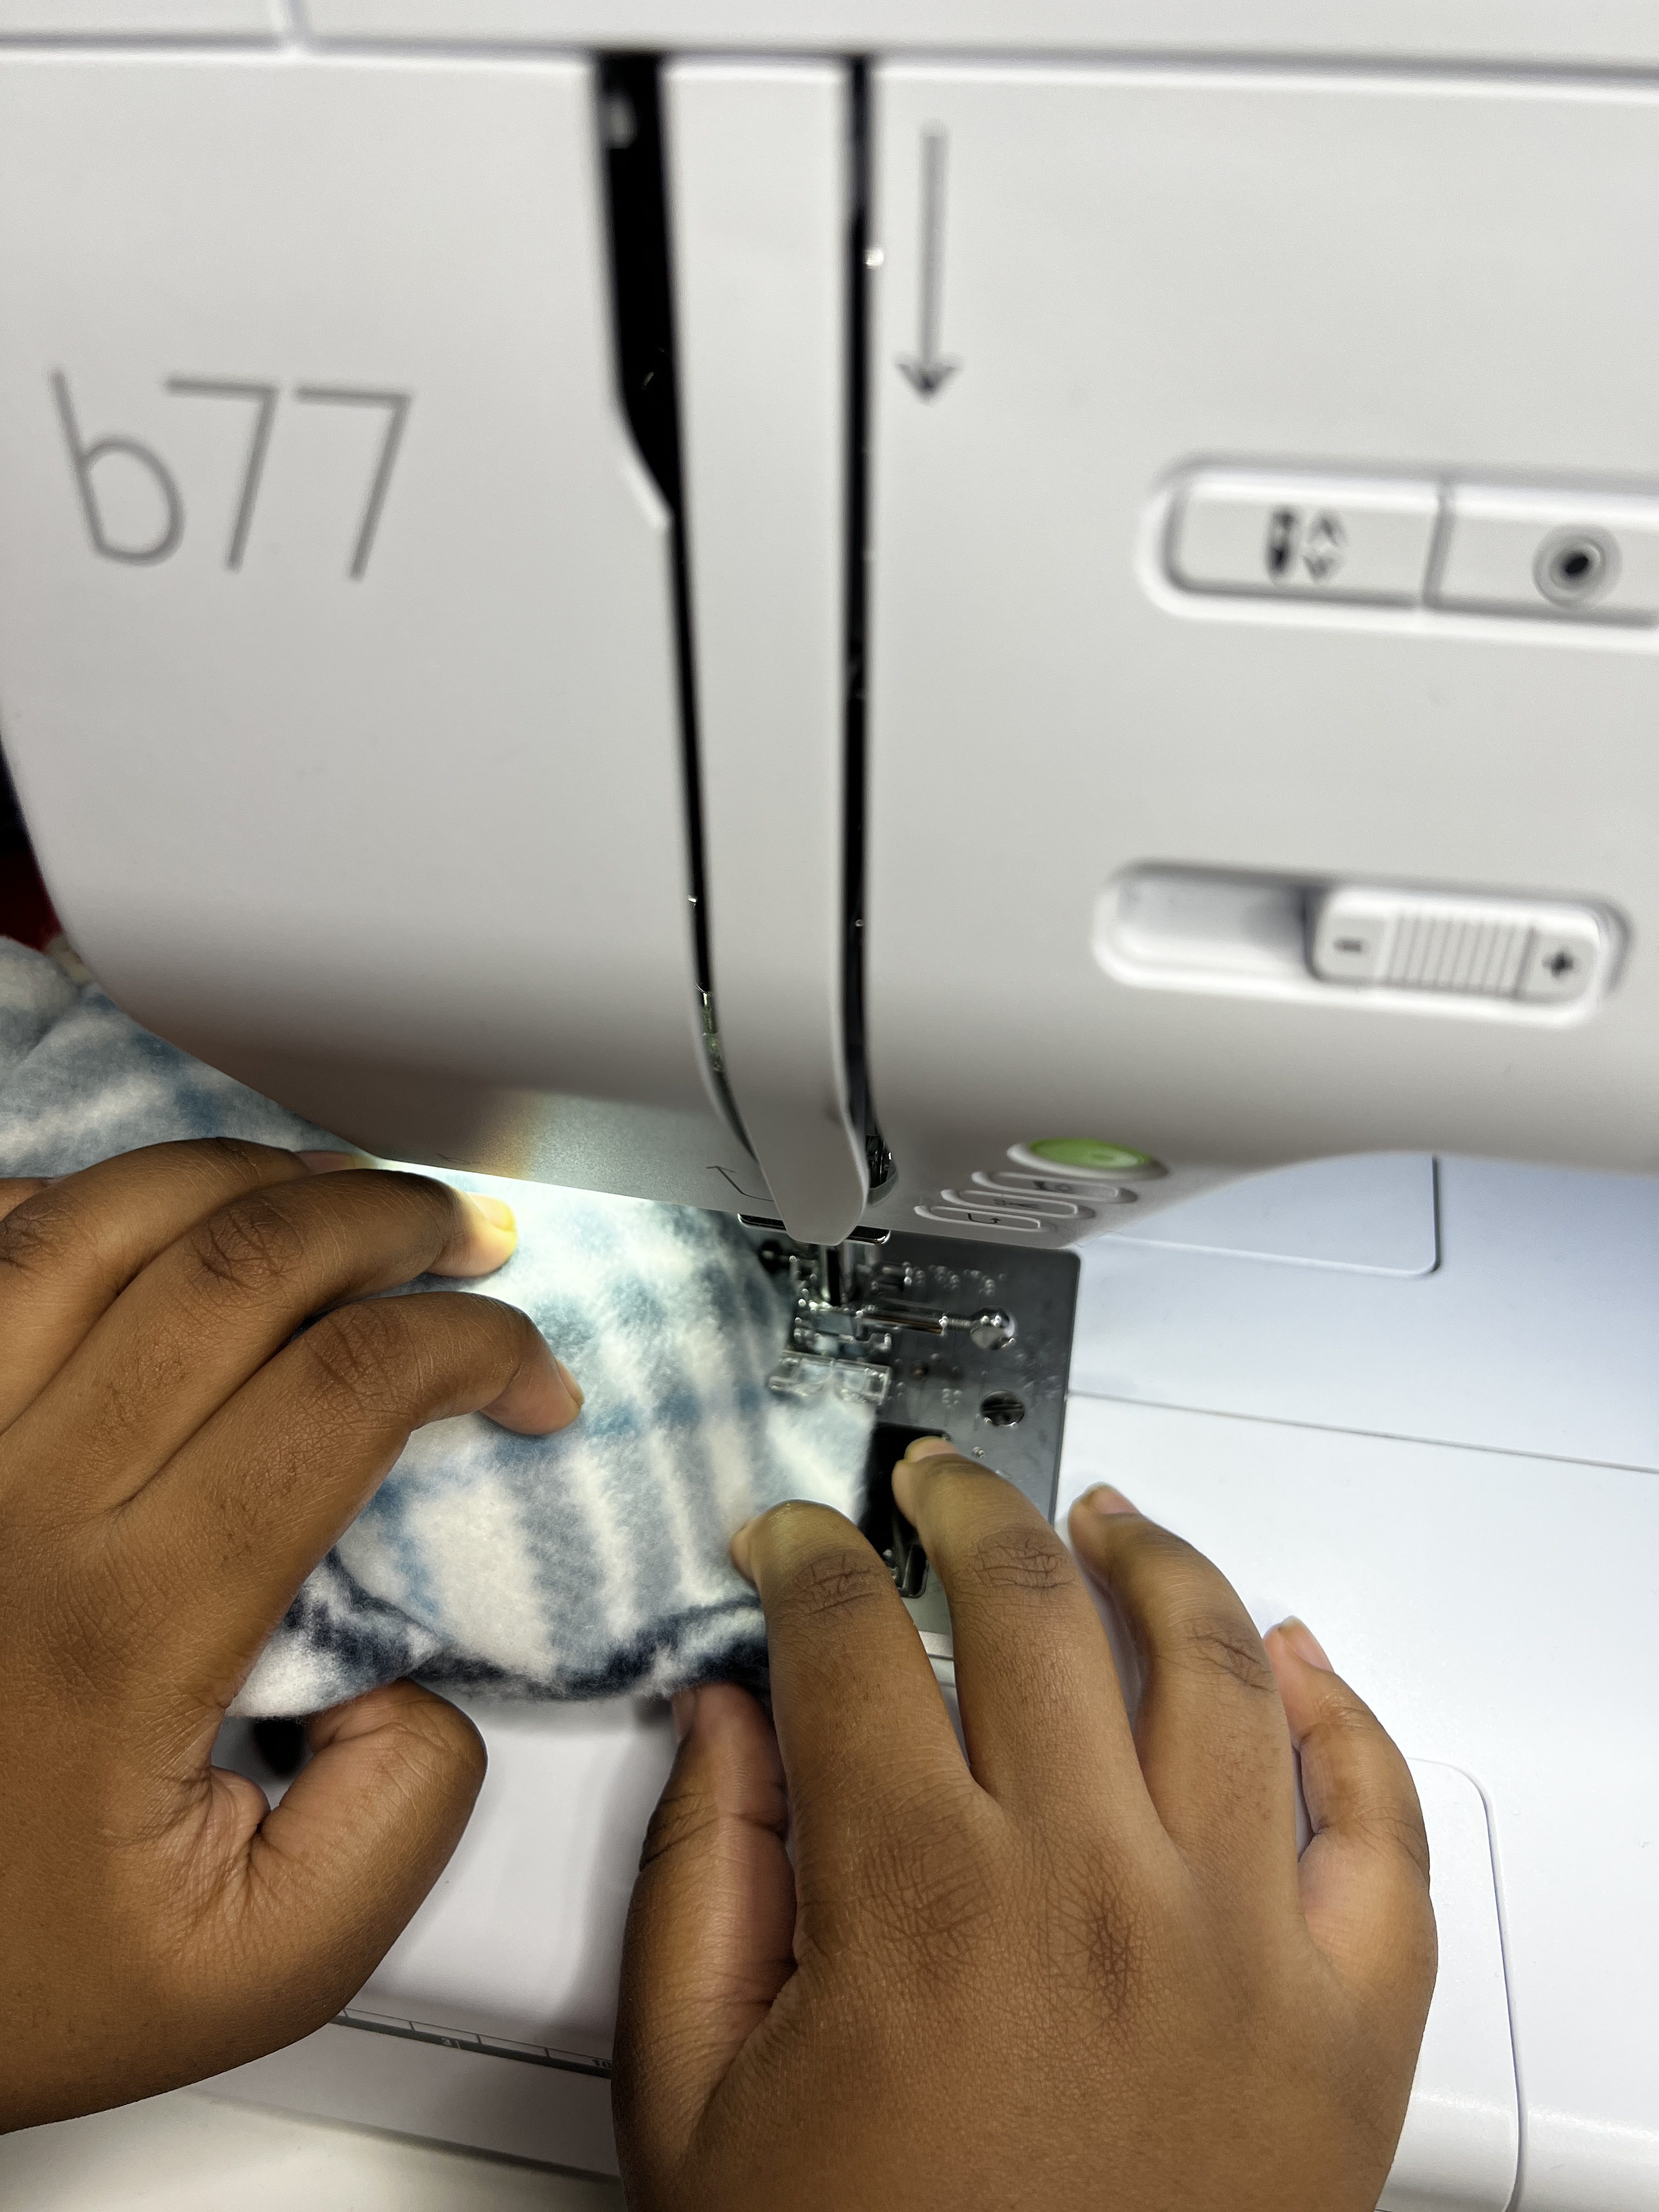
The only thing left to do is close up the opening of the cover. To do this, simply take the ends of the opening and turn them inward. Then, pin the opening closed like in the picture below.
Stitch the opening closed and your new seatbelt pillow is ready to be attached to your seatbelt.
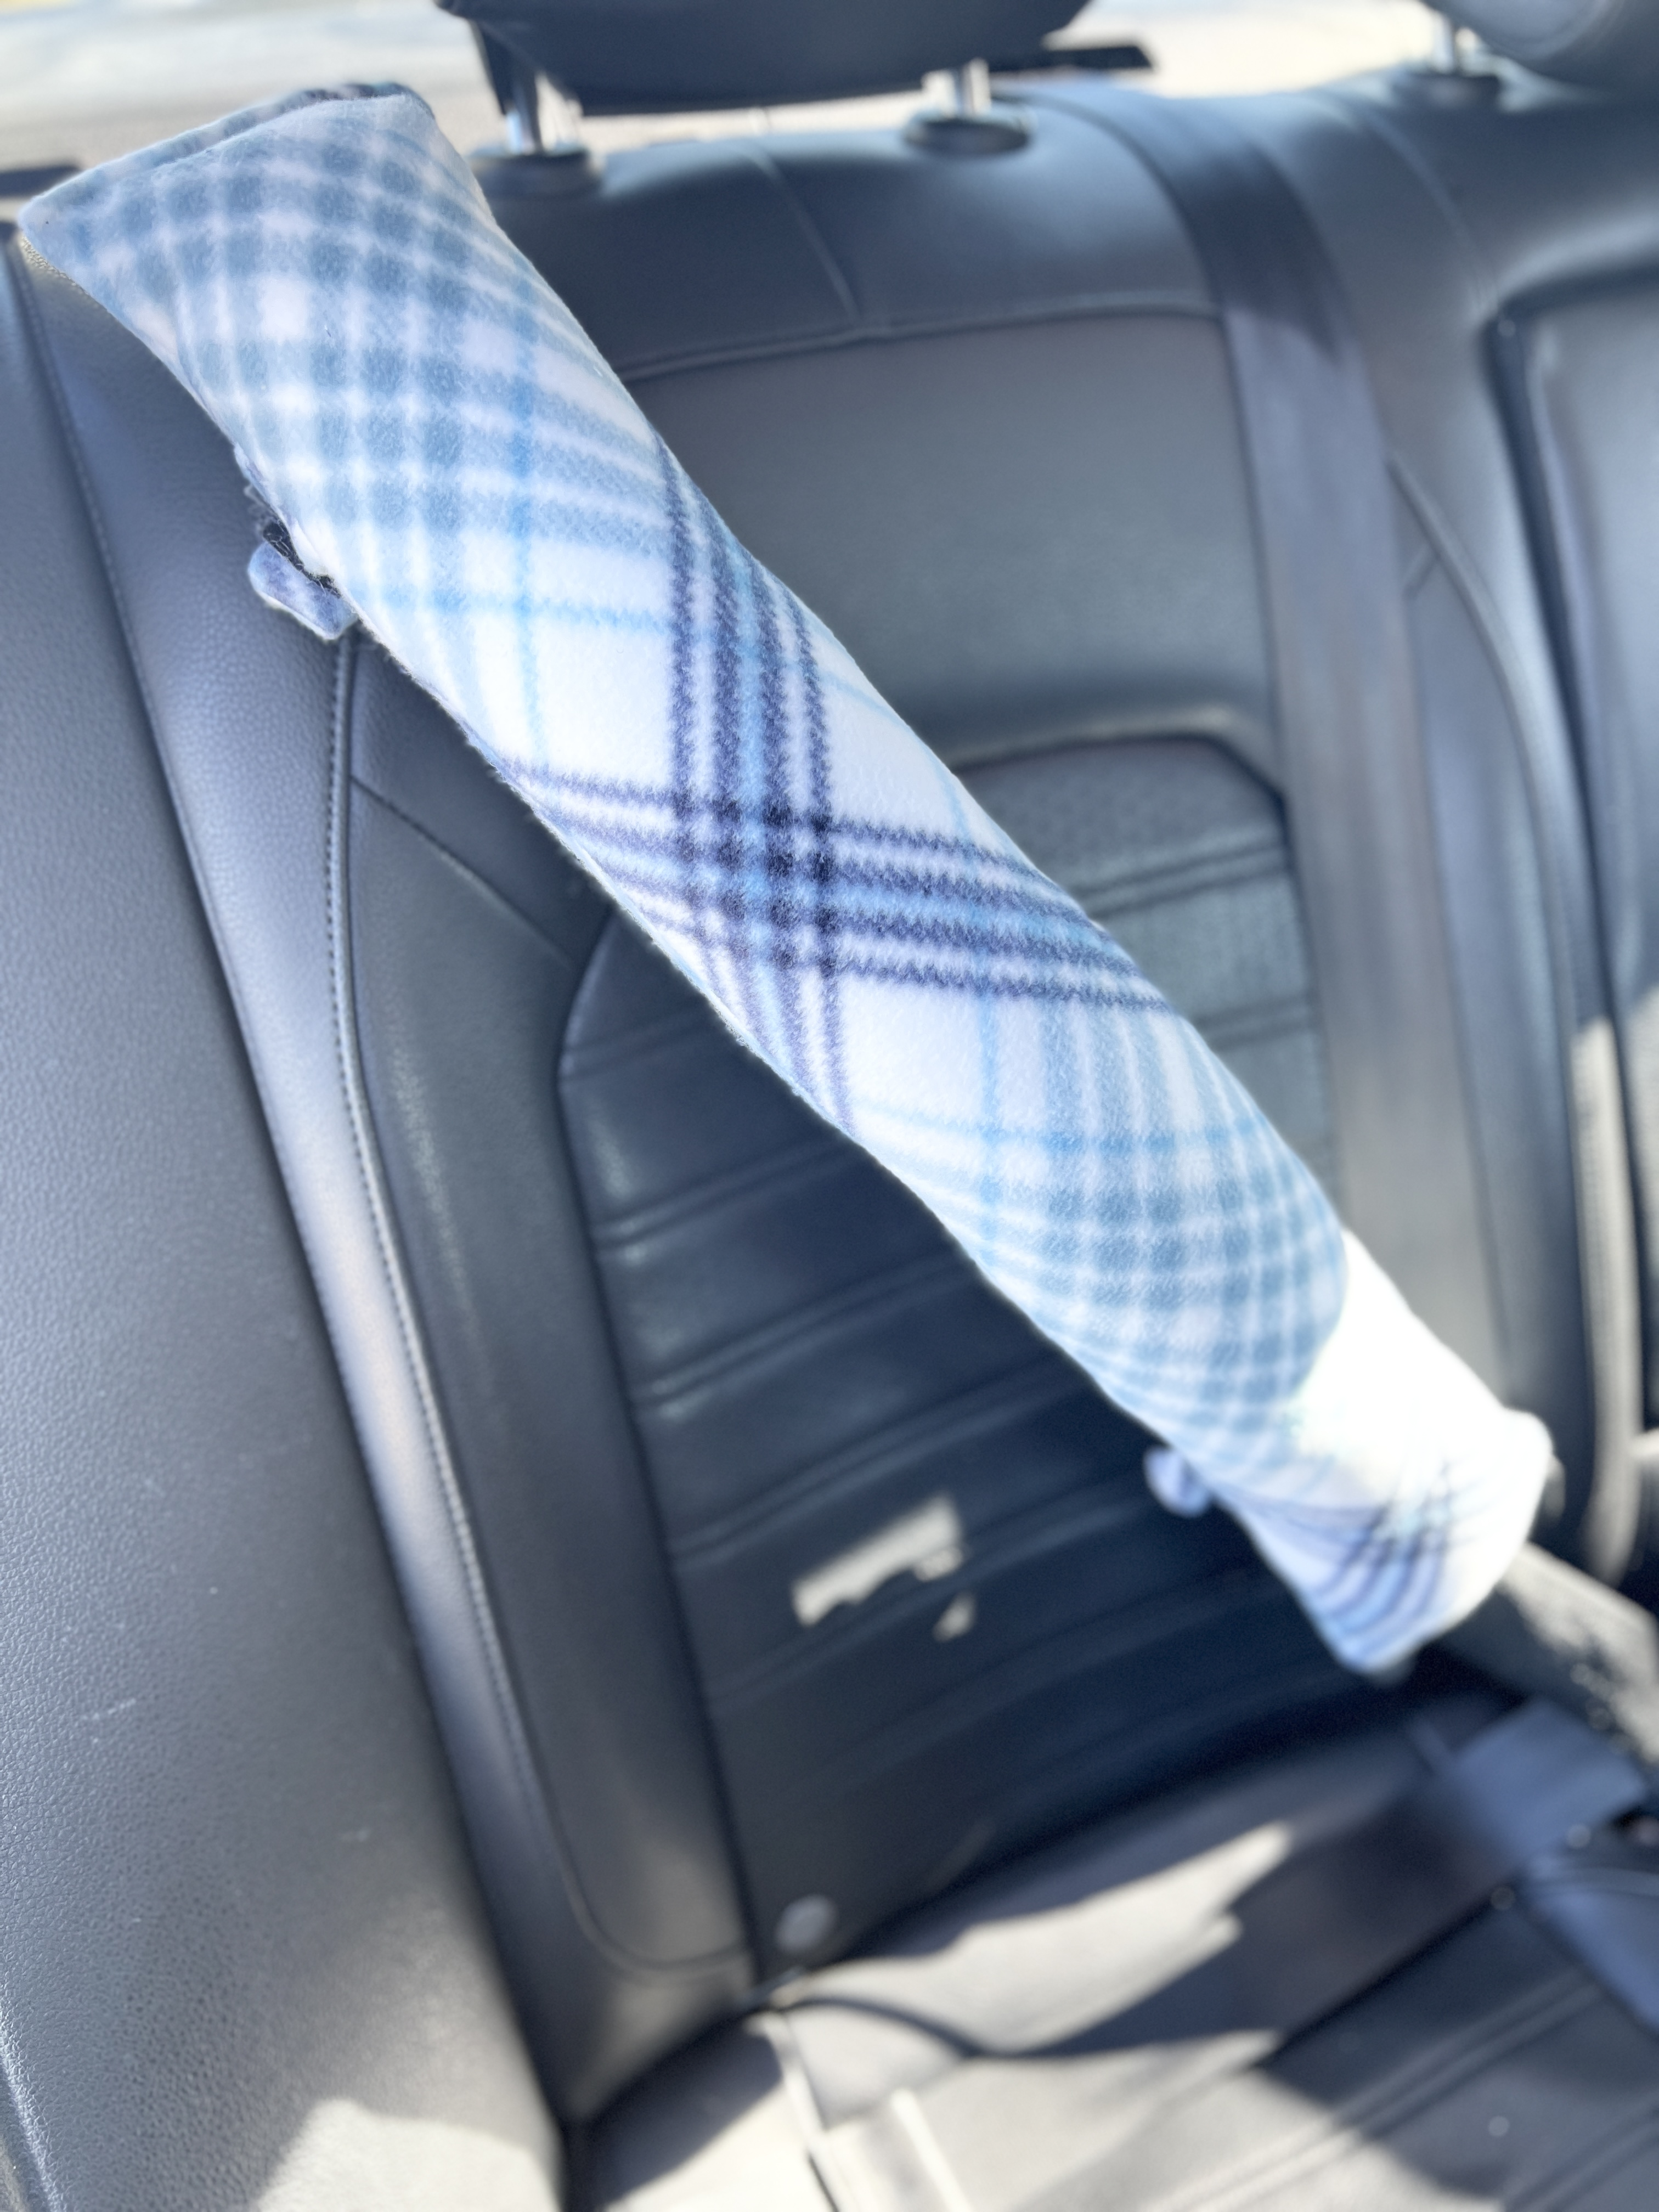
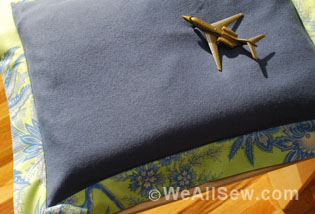
This pillow makes a super great gift for friends or family that spend a lot of time traveling in cars. To me, it’s perfect for long road trips during the holidays or summer vacations.
Also, anyone can make this. Beginners can easily complete this project if they are comfortable using a sewing machine and sewing straight lines.
Used Products
What you might also like


5 comments on “How to Make a DIY Seatbelt Cover Pillow”
-
-
This is a great idea! Thank you for sharing. I plan on making one for me!!!!
-
I love this project! Perfect for long road trips, and would make great gifts too!
-
This is a great project. Thank you. Also agree with previous comment, please devise one for children in the child seats when they can face forward. The children always drop off to sleep and their little heads drop down.
-
I am concerned this could be a safety hazard and interfere with the seat belt functioning if a crash occurred. Have you checked with the National Highway Traffic Safety Administration to ensure this is safe? After market add-ones are usually not safe unless they have gone through appropriate safety testing.
Leave a Reply
You must be logged in to post a comment.

Have you developed a pattern for similar item for infant car seats?