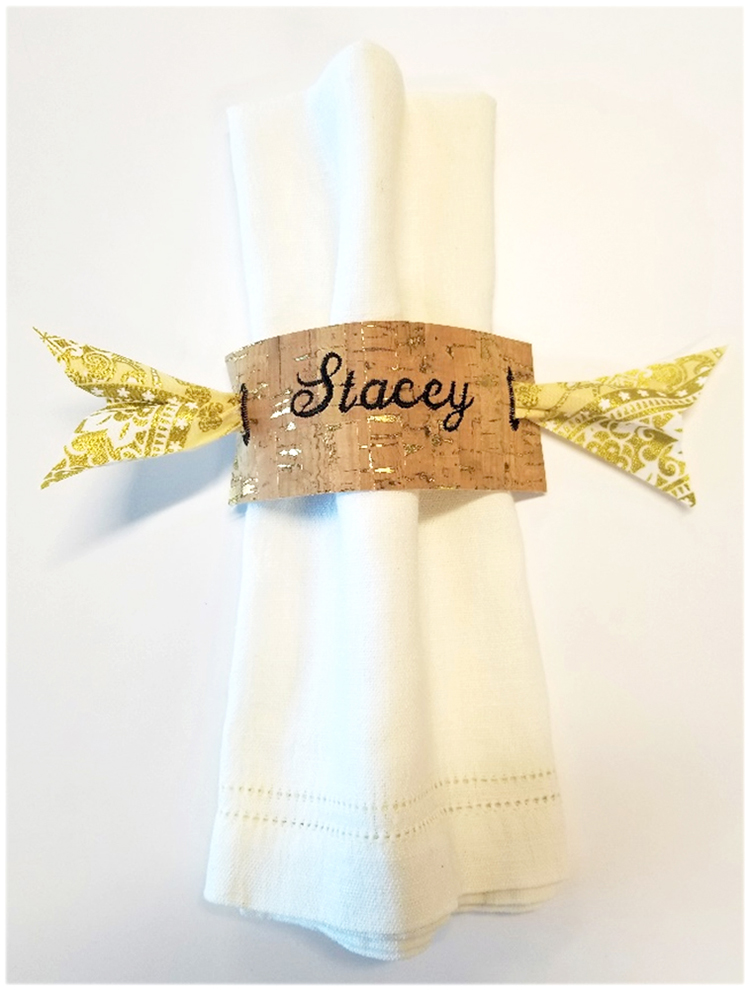
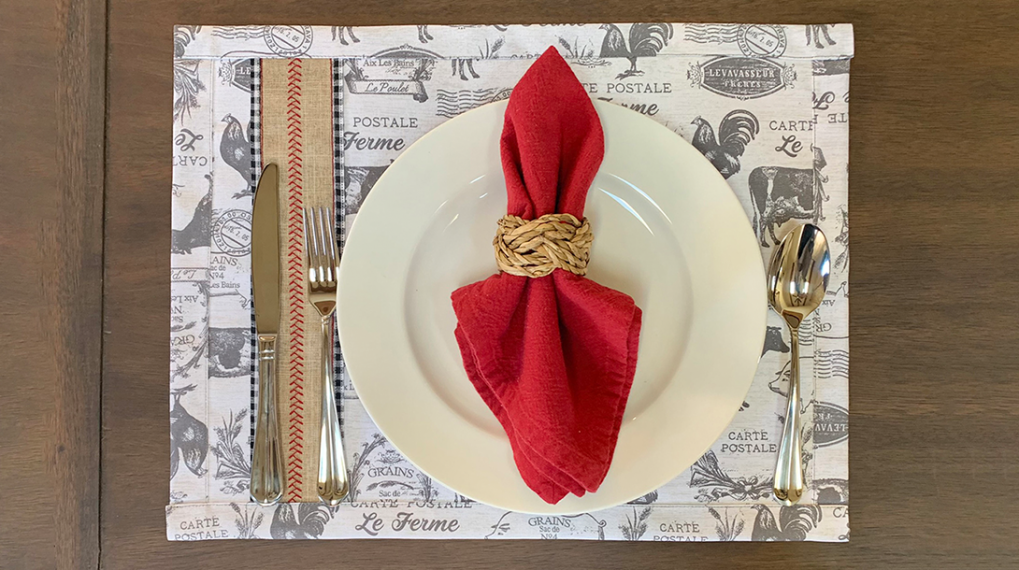
Embroidered Place Settings
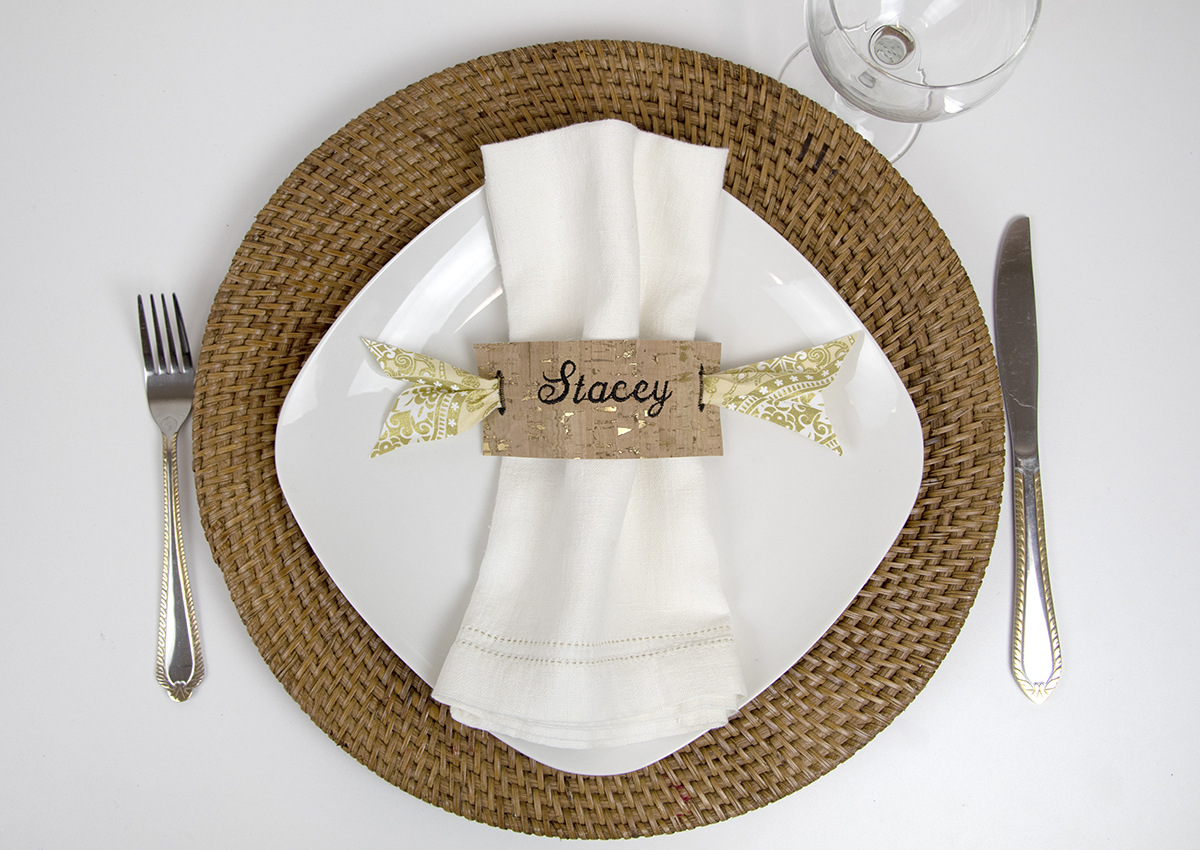
Your BERNINA embroidery machine enables you to make fancy place setting name tags and napkin rings, all with built-in features. This kind of project used to require computer software. Current BERNINA embroidery machines now include all the features you will need for this project, right in the machine!

Machines:
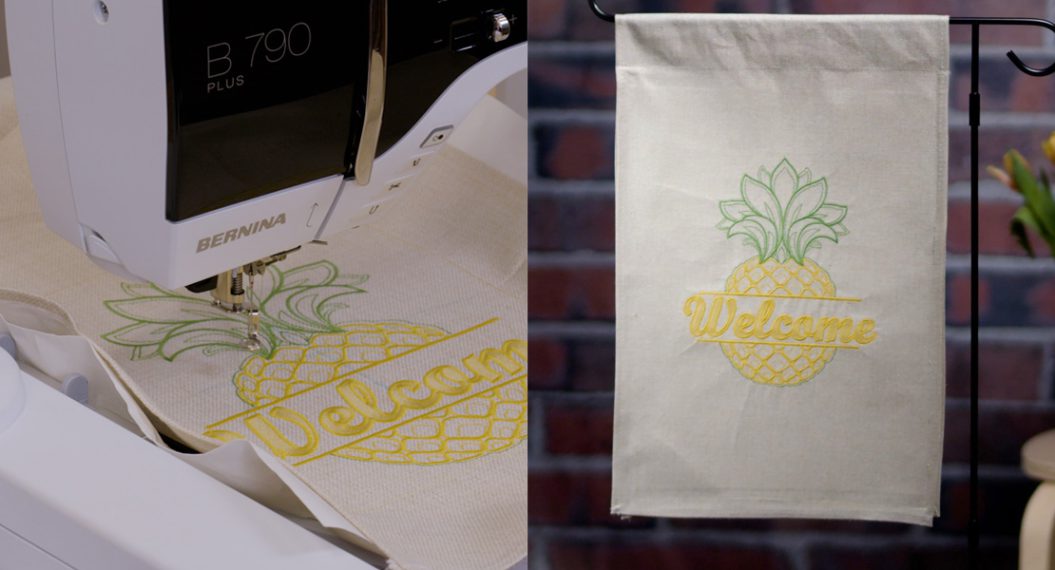
Embroidery machine: BERNINA 570 QE E
Any domestic BERNINA embroidery machine may be used including:
BERNINA 880 PLUS, B 790 PLUS, B 770 QE E, B 700, B 590, B 535 E, B 500
- BERNINA Drop-Shaped Embroidery Foot # 26
- Embroidery needle (Schmetz Embroidery 75 or Organ Titanium Sharp 80)
- Bobbin Fill thread in bobbin
- Isacord thread in the needle
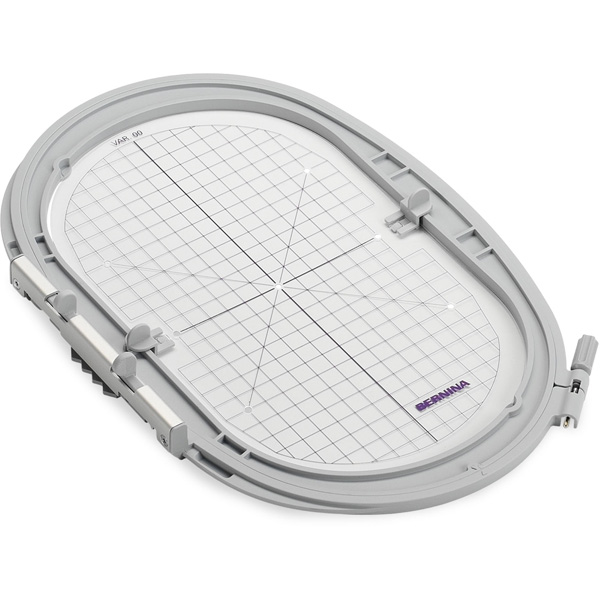
- Large Oval Hoop
Notions:
- Cork fabric
- Cut one 6” x 9” piece
- OESD StabilStick Tear Away Embroidery Stabilizer (15 inch roll)
- Cut one 10” x 15” piece
- OESD Fusible Woven Lining
- Cut one 6” x 9” piece
- Isacord Embroidery Thread (color of choice)
- OESD Bobbin Thread
Did you know that you can bring the last stitch that was on your sewing screen to the embroidery side? It will be displayed in magenta color in the ‘My Motifs’ folder in embroidery. Which means the first thing we need to do for this project is to create the buttonhole we will use on our tags on the sewing side of the machine. Let’s use a double rounded buttonhole for a more decorative effect on the finished item.
Setting up the Buttonhole
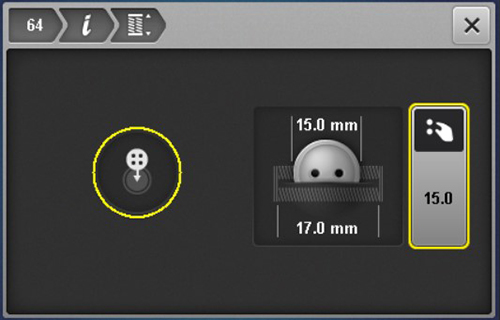
Start in Sewing mode on the machine and select Buttonhole # 67 on a B570 QE (or similar style on any machine. E.g. # 64 on a B 790) Open the Information menu and select Buttonhole Length. Change the size of the buttonhole to 15 mm (~ 5/8 in)
The buttonhole is now ready to import into embroidery.
Opening the Buttonhole in Embroidery
Touch the Home icon on your machine and select Embroidery mode. Select the My Motifs folder and select the buttonhole stitch you just created. Next, open Hoop Options and select the Large Oval 145 x 255mm hoop, activate the Grid (2 touches to full grid). Close the menu.
Layout the First Pair of Buttonholes
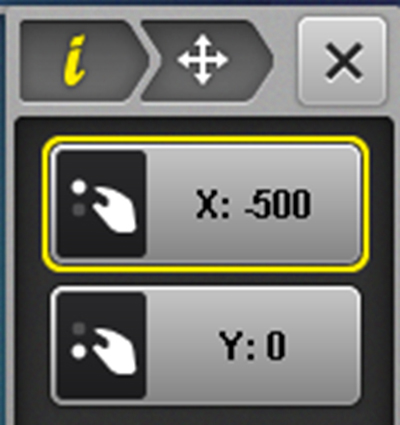
Move the buttonhole to the left with Upper Multifunction knob, five grid lines away from center (X = -500).
Use the Breadcrumb navigation in the Information menu to step back to its main menu of functions and select Duplicate.
Move the second buttonhole to the right of center with Upper Multifunction knob, five grid lines away from center to position (X = 500). Select the bottom layer to Select All.
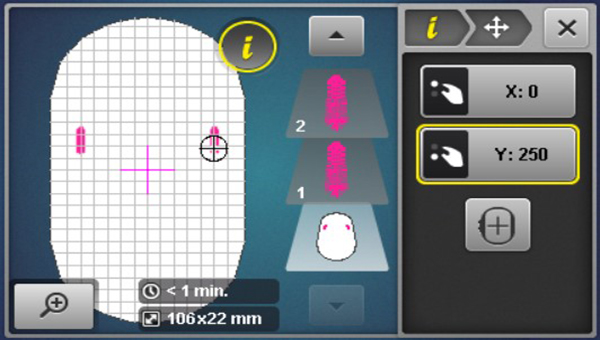
Move the first pair above the center to Y = 250 (2.5 cm above the center of the hoop).
Laying Out Four Pairs of Buttonholes
To make the second pair of buttonholes:
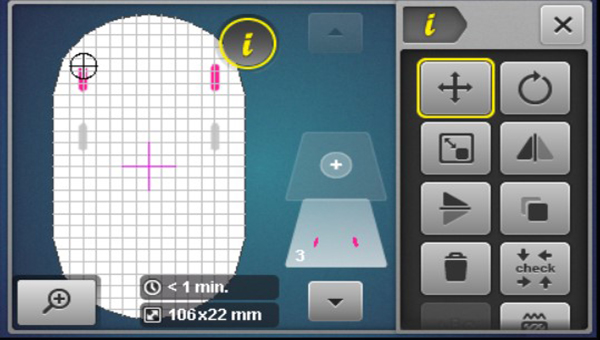
With the first pair still selected (and the Information menu still open), use the Duplicate tool and a second pair of buttonholes will be created and offset from the original pair).
Move the second pair to position Y=750 (5 cm, 2 inches above the first pair) and X= 0.
Going from two to four pairs of buttonholes:
Choose Select All (the bottommost layer) and select Duplicate. Move the duplicate to Y=-500.
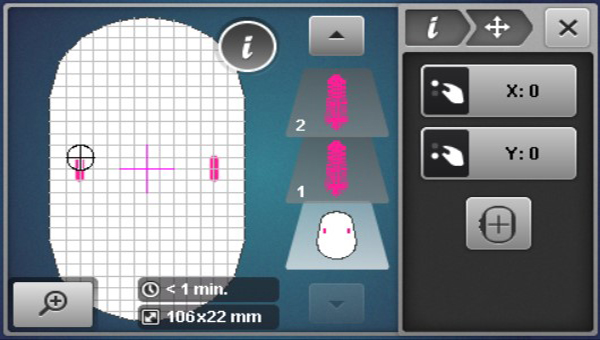
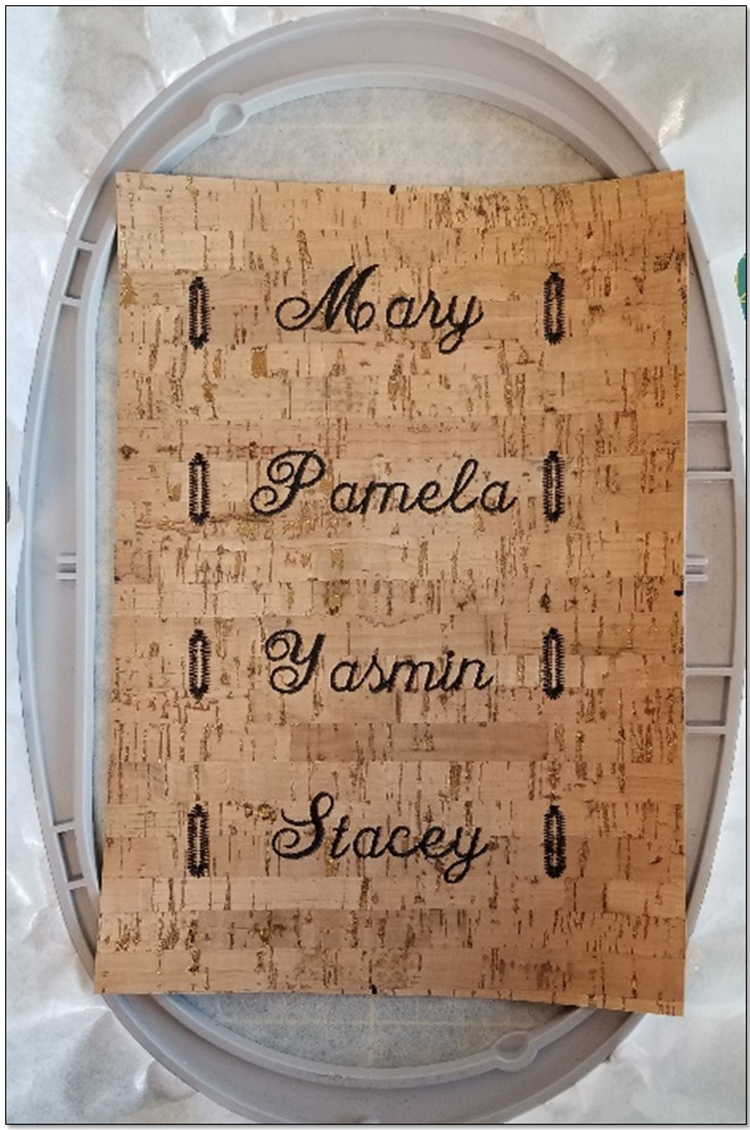
At this point, your embroidery design should look like the following:
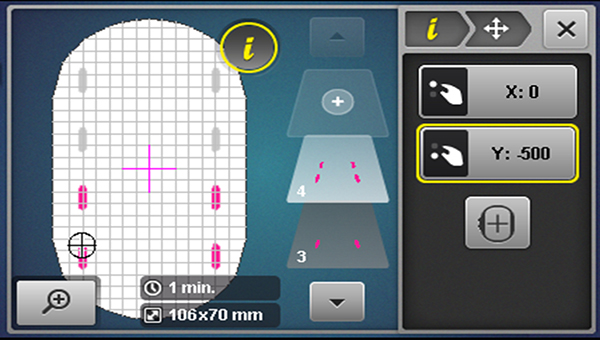
TIP: The Y position of -500 doesn’t seem to match the positions used for the first pair.
Remember that the center of the four buttonhole selection will fall half way between Y= -250 and Y= -750, so it will have to be at Y= -500.
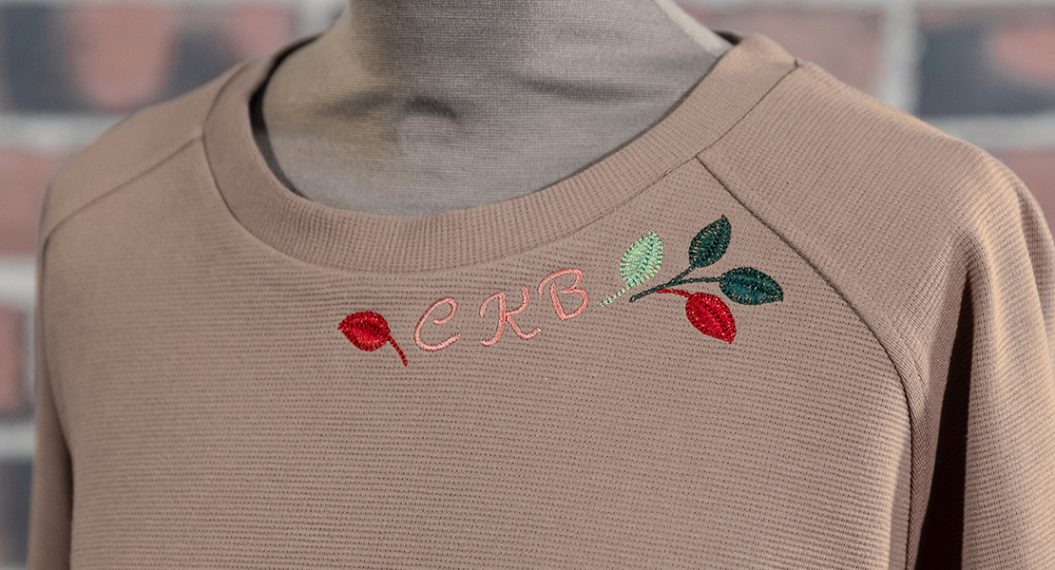
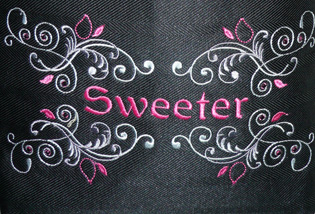
Adding Names
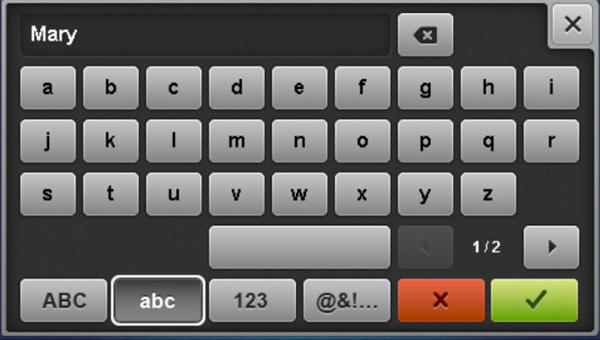
Adding the names will be very simple. For each name, select Add (layer) in the Layer Panel. Select the Alphabets folder and select the Alphabet of your choice. Select the letters (upper and lower case) on the screen and touch the OK icon.
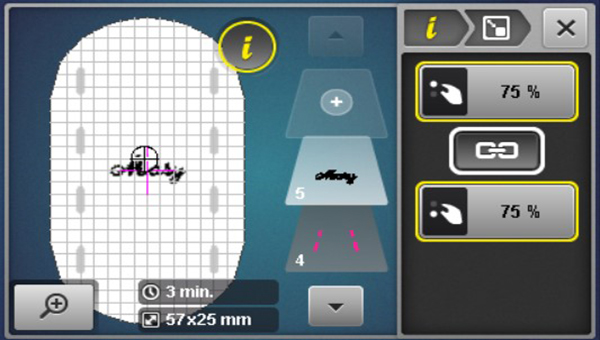
Downsize to about 25 mm (1 inch) tall or 75% (or to desired size).
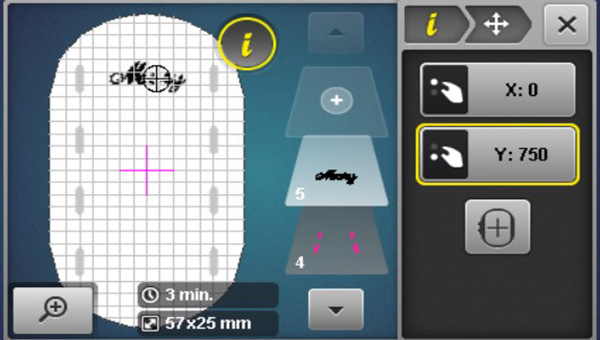
Next, move the first name up to the first tag at the top (Y= 750). This will align the name with the buttonhole pair.
Remember that the Y (vertical) position is based on the center of the selection. Some names have letters that dip and/or rise above the body of the letters and this can lead to lettering appearing ‘off center’ since one tall letter will cause the geometric center of the name/selection to shift. Feel free to adjust positioning to taste to restore harmony in the alignment of a name with its flanking buttonholes.
To add the remaining names, repeat the process for the 2nd, 3rd and 4th name, positioning them at Y=250, Y= -250 and Y= -750.

Stitching Out the Design
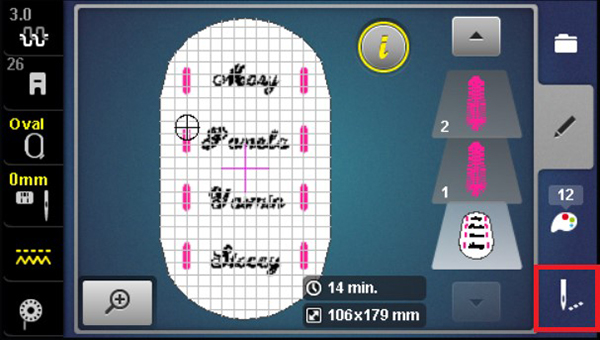
The design is now ready to stitch out.
Notice that the buttonholes are a different color than the names. This can be useful if you plan on using different thread colors for the buttonholes than for the names.
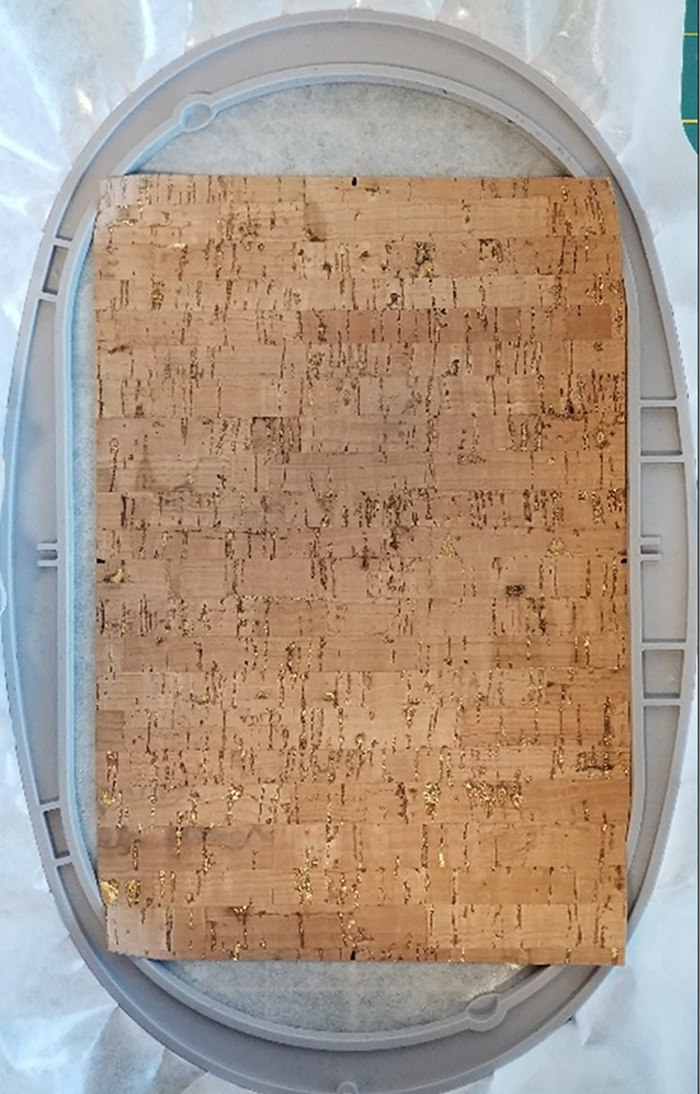
Cut a 10” x 15” piece of OESD StabilStick Tear Away stabilizer and peel off the protective waxy paper and discard. Hoop the stabilizer sticky side up.
TIP: By hooping the exposed stabilizer, it will cling to the inner hoop ring more securely. It will be easy to remove from the hoop after stitching out the embroidery.
Place a piece of cork fabric (6” x 9”) on the stabilizer, centered in the hoop. Smooth out by hand to adhere
Now it is time to embroider! Select the needle icon to go to the stitch out screen.
Embroider the design.
Once the embroidery is finished, unhoop the project and peel off the StabilStick stabilizer. Trim off embroidery thread tails on the back side (optional). Fuse a piece of OESD Fusible Woven to the back of the embroidered piece.
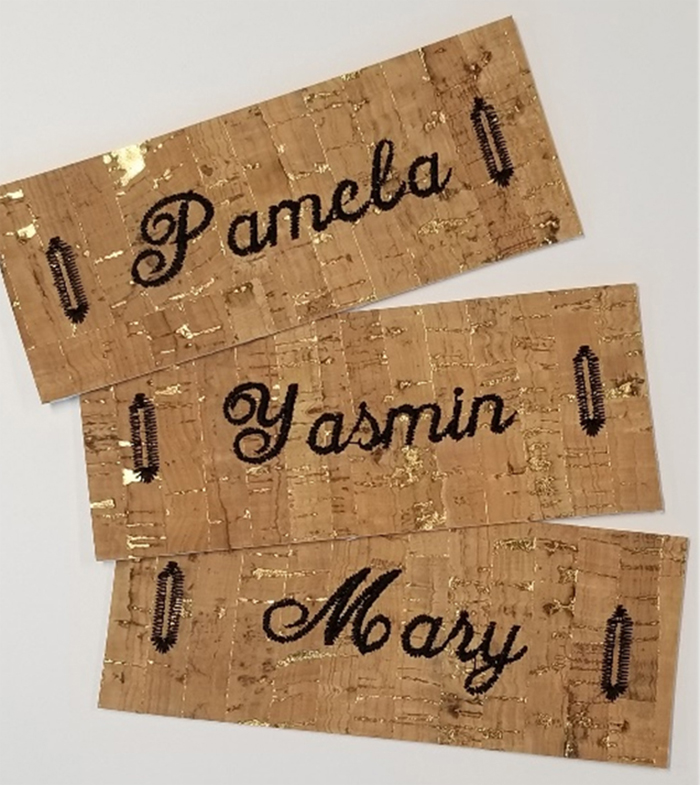
Finishing the Napkin Rings
Using a rotary cutter and ruler, trim the sides of the embroidered panel 1/2” outside the buttonholes.
Cut across the project in between each name tag (equidistant), using the buttonholes as your reference points. Each tag should be 2” tall.
Use the buttonhole cutter and block to cut each buttonhole open.
To finish up this project, cut a piece of fabric in strips 2” x 8” (or use a piece of wide ribbon).
Pass the fabric strip or ribbon through one buttonhole, from front to back. Wrap around the napkin and pass the ribbon through the second buttonhole from back to front.
Pull to cinch and to even out the length of ribbon on either side of the tag and adjust the napkin so it lies evenly in the ring.