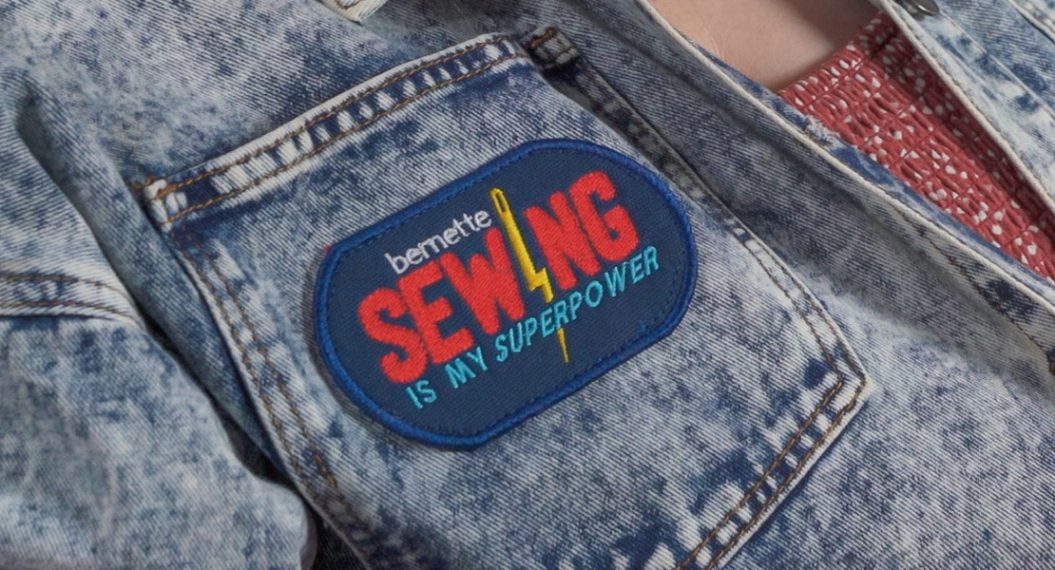
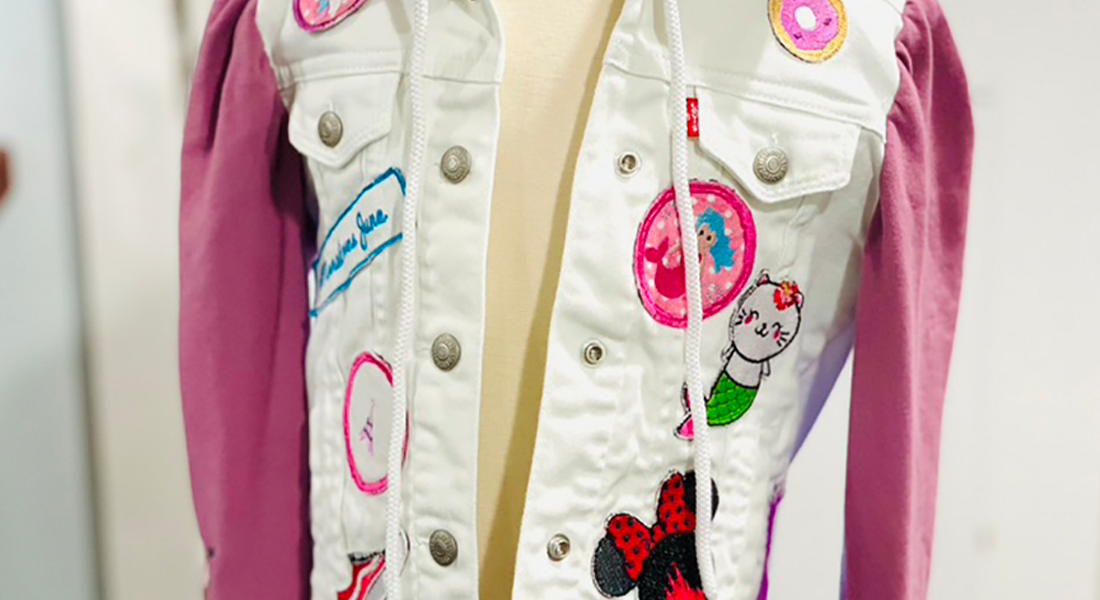
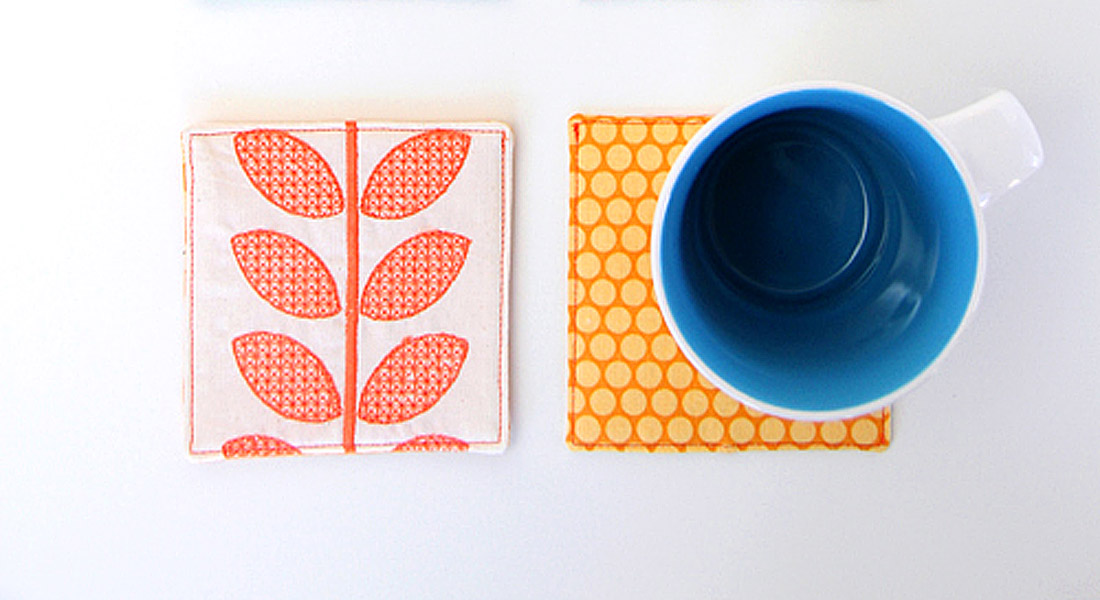
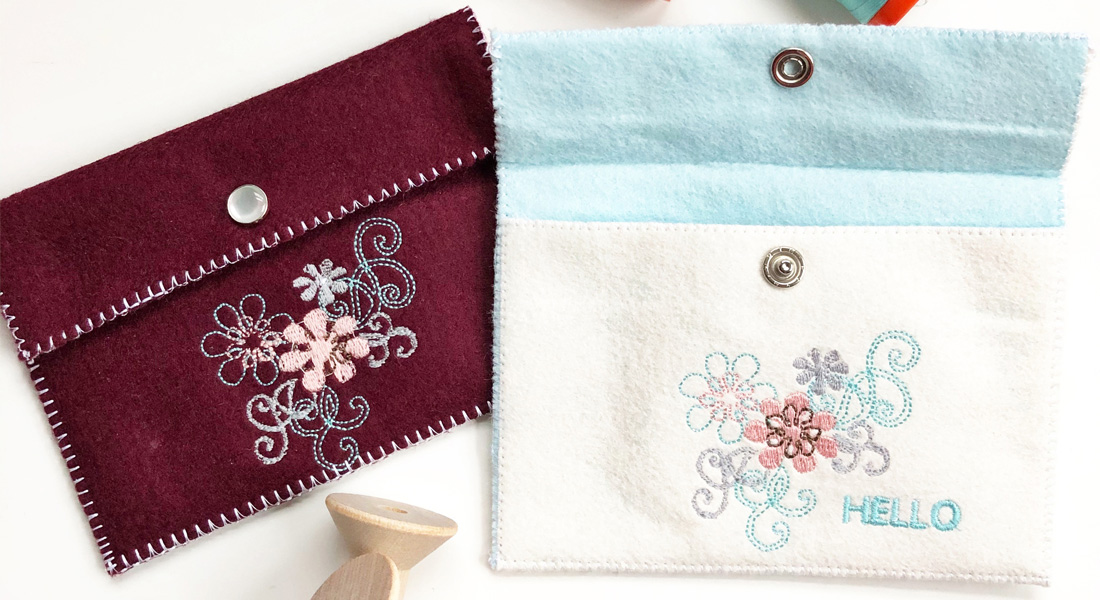
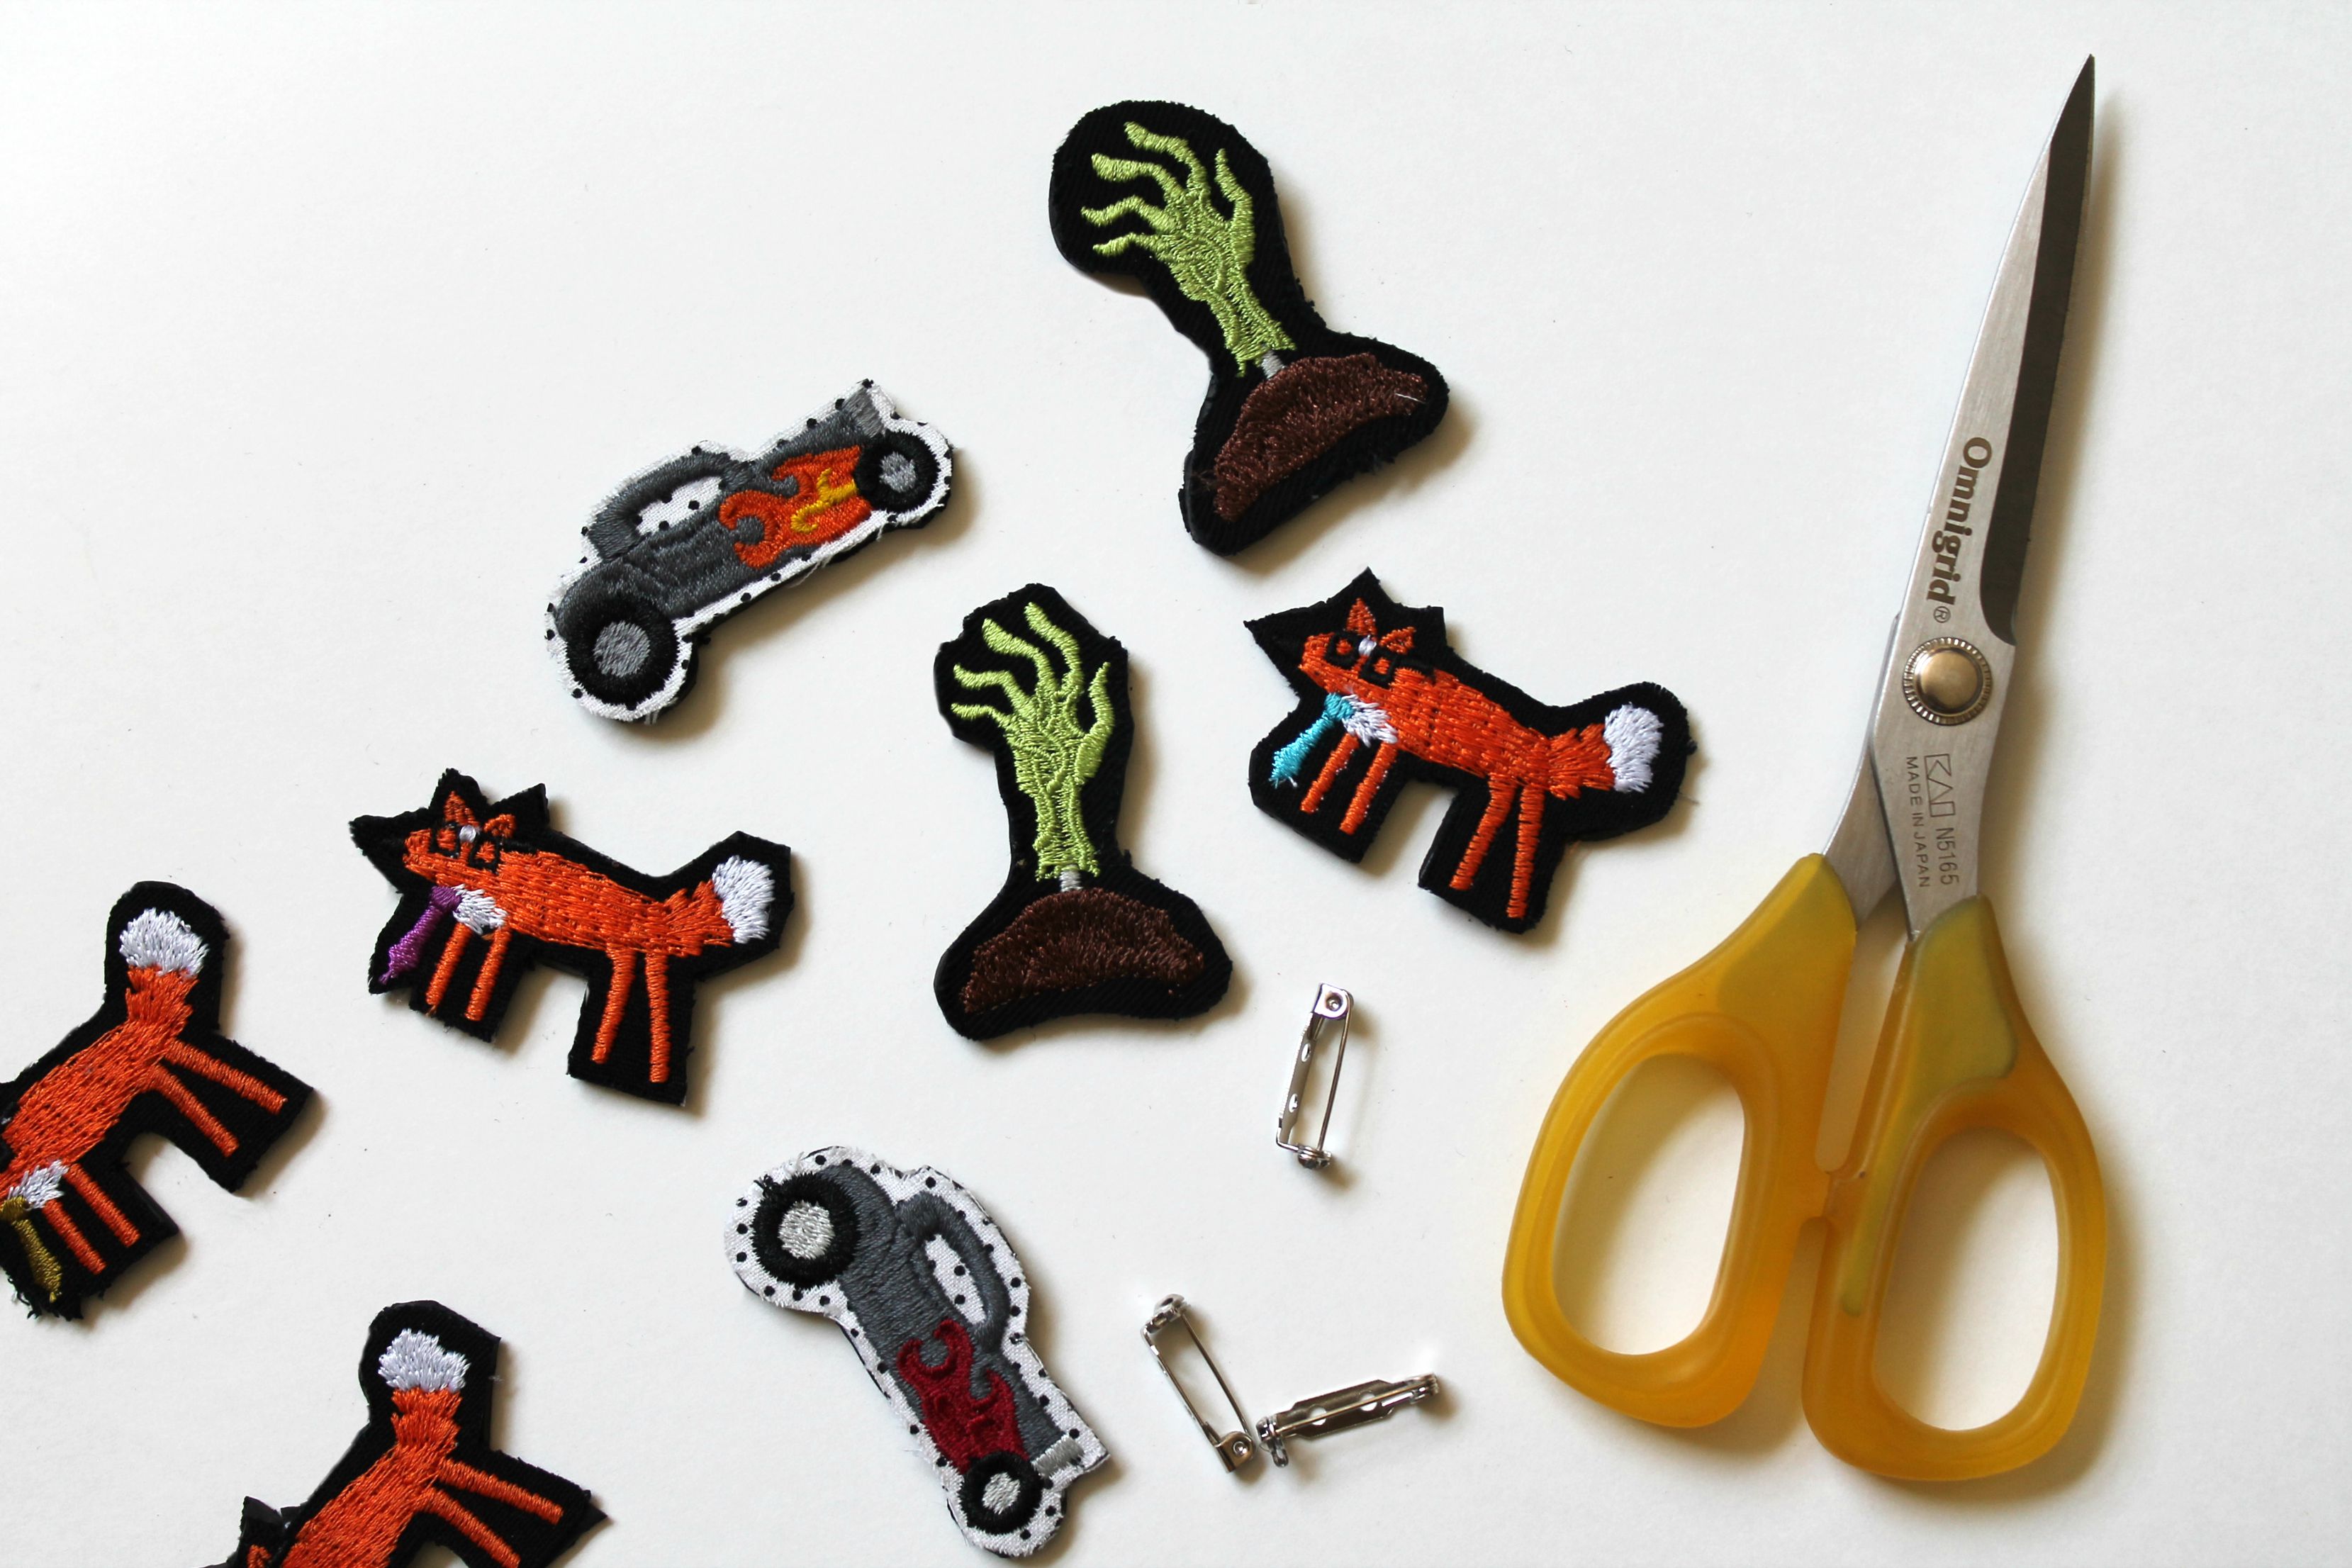
DIY Embroidered Merit Patch
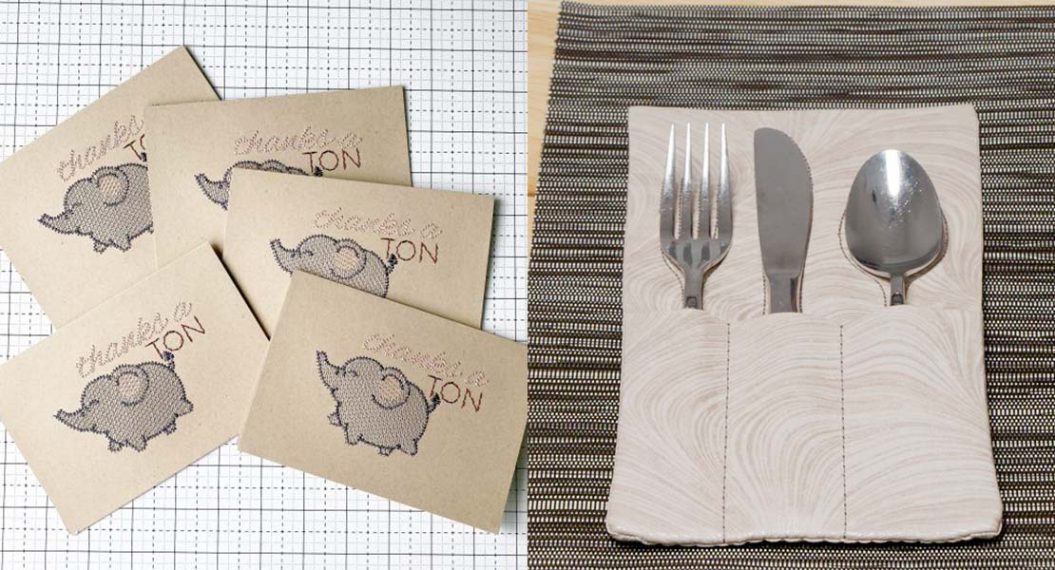
Add custom flair to your jean jackets and backpacks! Patches are a fun way to put your embroidery skills to a fun and modern use—they’re just a simple applique created in the hoop! Combine designs with lettering and you can even create custom merit badges for your friends. Make just one for a special (and lucky) friend or stitch multiples in a mega or jumbo hoop for party favors or group gifts.
![]()
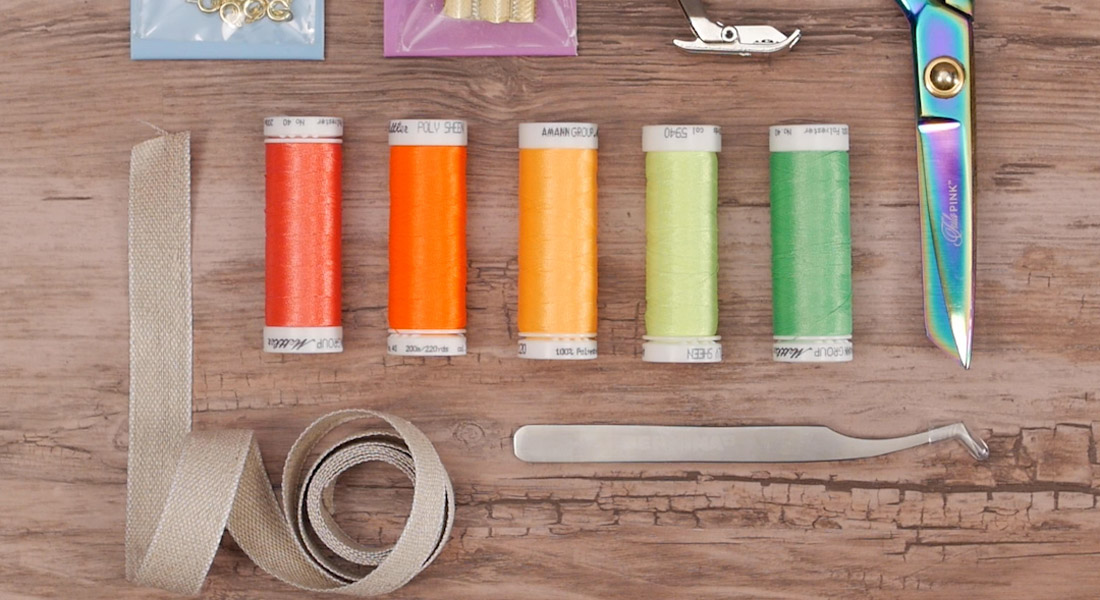
Materials to Create an Embroidered Merit Badge
- Main fabric
- I chose a cotton-linen blend canvas to add some strength and rigidity to the patch
- Backing fabric
- Cotton sheeting (like quilting cotton) works great
- 505 Spray Adhesive
- Isacord embroidery thread
- OESD AquaMesh water soluble stabilizer
- OESD Fuse N Seal permanent iron-on adhesive
- OESD Perfect Embroidery Press Cloth
- Tula Pink Hardware Duckbill Applique 6” Micro Serrated Scissors
- Drop-shaped embroidery foot #26
- Large oval embroidery hoop
- B 500
- Scout by Cotton + Steel for OESD
- Sushi The Cat design available in this design package or individually
- Lettering setup with Toolbox software
![]()
Steps to Create an Embroidered Patch
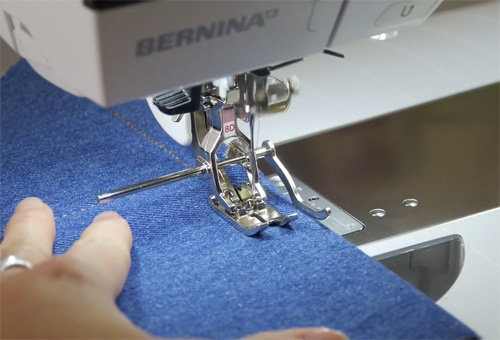
Step 1. Prepare fabric & hoop
Our first step is preparing our materials to stitch out. Begin by hooping two layers of OESD AquaMesh. AquaMesh is a wash-away stabilizer meaning that once we stitch on it, we can rinse it away completely. Our patch is an embroidered, free-standing applique so we will stitch it out on the AquaMesh as the stabilizer holds everything in the hoop then remove the stabilizer when we’re done.
![]()
Once we have our stabilizer hooped, set the fabric in the hoop by lightly spraying the stabilizer with 505 Spray and pressing your backing fabric right side down in the middle of the hoop. Your placement does not need to be exact as we can move the design once it is loaded in the machine.
![]()
Next, spray the backing fabric with some 505 Spray and place the main fabric on top of it, right side up.
![]()
Step 2. Prepare design
Load your design into the machine. I have mine set up in two parts— the applique outline and then the main design with lettering. Cotton+Steel’s Scout design pack includes several patch applique outlines and we will be using the largest circle which is approximately 3” in diameter.
Bring in both elements of your design, align them to one another, and Group them. Then align the grouped design to your hooped fabric.
![]()
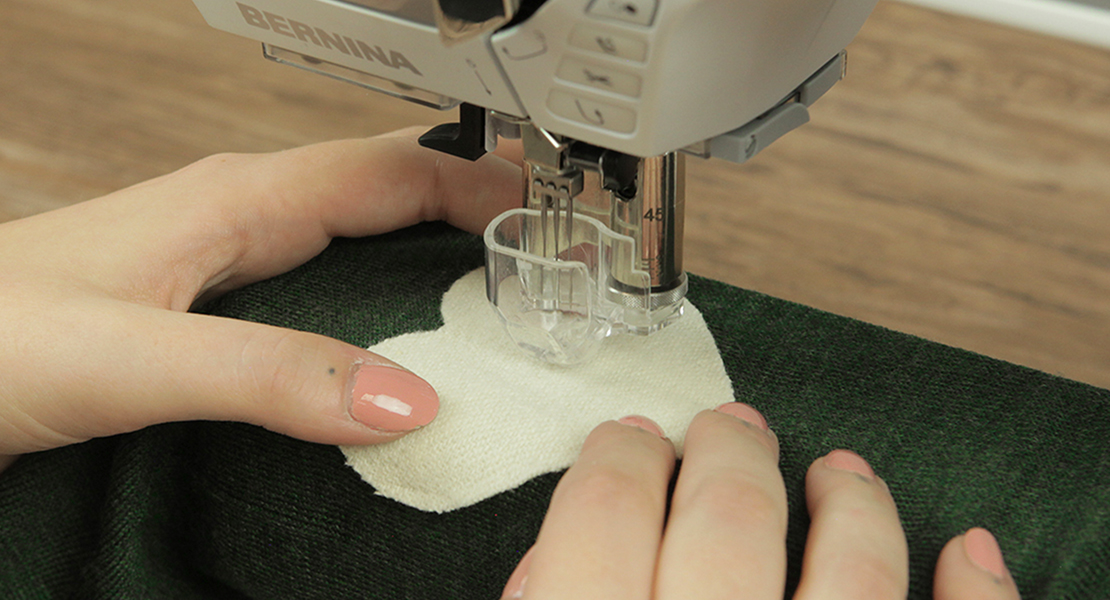
Step 3. Stitch out design
When your design is moved into place, it is ready to stitch out. Since our outline is the bottom layer, it will be the first to stitch out. The machine will sew anchoring stitches to secure our fabric to the stabilizer.
![]()
After those are sewn, use duckbill applique scissors to cut away the excess fabric as close to the stitching as possible, being sure to not snip the stitches themselves.
![]()
Once the excess fabric is trimmed away, the next layer of stitching is a dense satin stitch that will secure the raw edge around your applique and then the rest of the design will continue to stitch out as usual.
![]()
Step 4. Unhoop & remove stabilizer
When the design has completed stitching out, remove the patch and stabilizer from the hoop. Then, trim away most of the excess stabilizer.
![]()
Place your patch in a half-filled bowl or under running warm water. Move the applique around in the water and lightly massage to dissolve the AquaMesh stabilizer.
![]()
With the stabilizer removed, dry the patch and press it flat.
![]()
Step 5. Make it fusible
When your patch is dry and pressed nice and flat, trace the outline on the paper backing of OESD Fuse & Seal. Fuse & Seal is a permanent fusible adhesive that is great for when you want a durable, strong bond.
![]()
Now cut out the traced shape, cutting just inside the line you drew. This ensures that the fusible adhesive will not overhang the applique patch.
![]()
Place the textured side of the Fuse & Seal on the wrong side of the patch and press. Be sure to leave the paper on for this step and for several minutes after pressing! This step adheres the fusible glue to the patch and you want to give it time to cool and set after pressing.
![]()
Once the Fuse & Seal has set, remove the paper backing and iron your new merit badge onto whatever you choose!
![]()
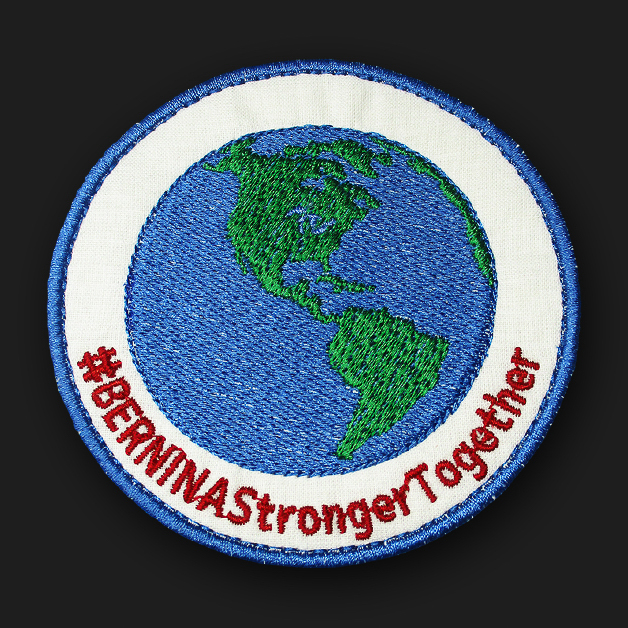
Download the Free #BERNINAStrongerTogether Embroidery Design Here
Used Products


What you might also like


3 comments on “DIY Embroidered Merit Patch”
-
-
Hi, Alice! The Cotton+Steel Scout design pack includes a total of 31 different embroidery designs, four of which are the outline/border for your patch. When you download the collection to your computer, copy the designs you would like to use on to a USB stick. Note that not all the designs in the collection will fit on a patch. You can then plug the USB into your B 590, combine the designs on the machine, and stitch out following the directions above.
If you want to create custom patches with your own art and lettering, I suggest visiting your local dealer for one-on-one instruction with our basic embroidery software, Toolbox. It’s really simple and easy to use and you can also download a 30-day free trial. There are lots of tutorials using Toolbox here on our blog if you’d like to read through those to get a feel for what it can do!-
Also– you can purchase and download the Scout embroidery design pack here:
https://embroideryonline.com/products/designs/brand/oesd/scout-by-cottonsteel/
-
-
Leave a Reply
You must be logged in to post a comment.

I am very interested in making merit badges, both round and free form. Is Cotton+Steel’s Scout design pack the software I need to do this on my Bernina 590? How can I get that software? Thanks!
Alice Brubaker