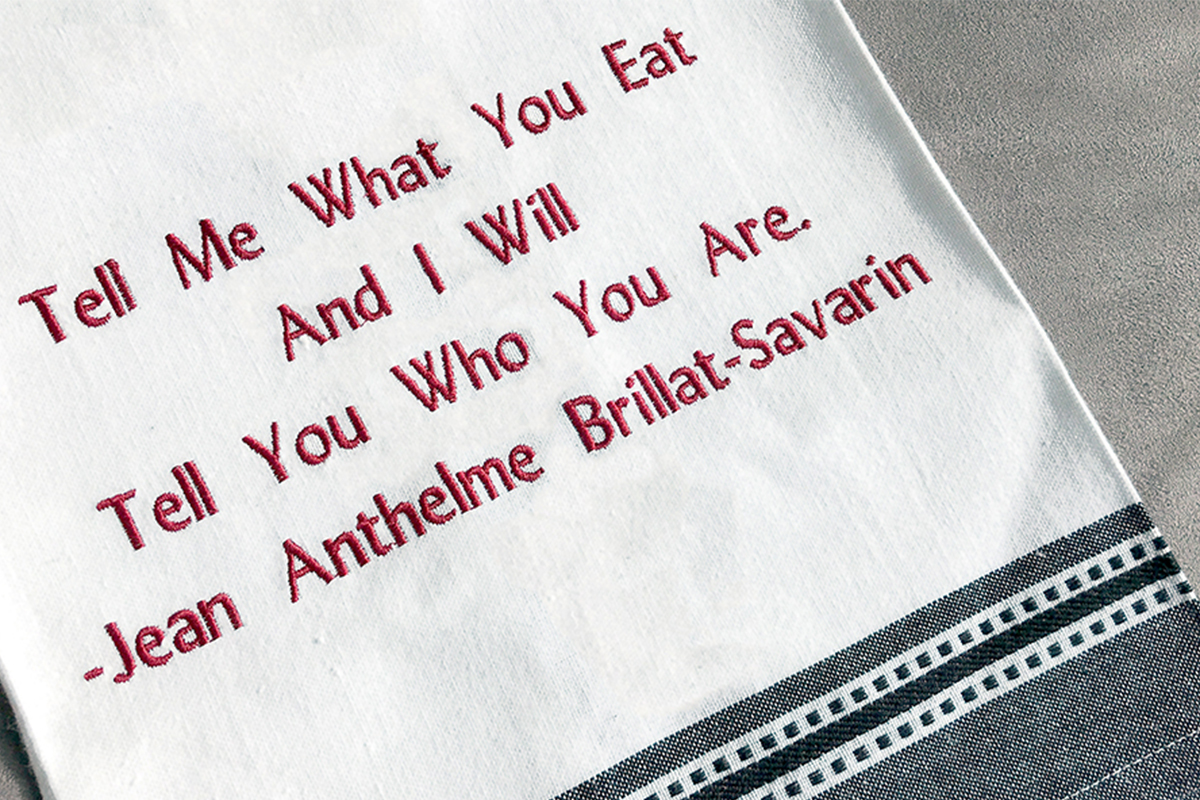
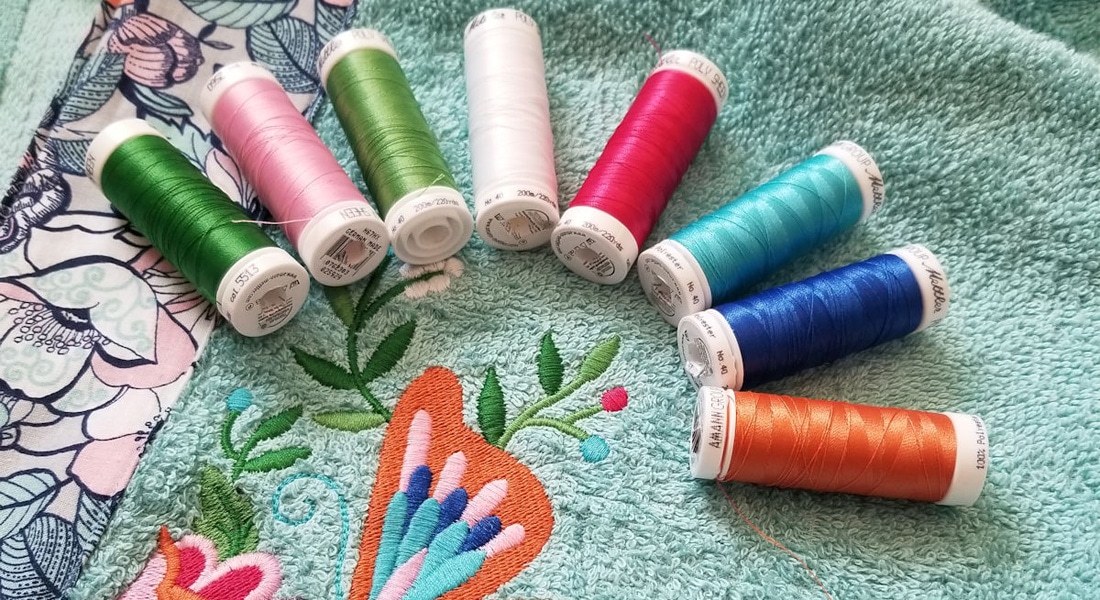
Embroidered Kitchen Towel
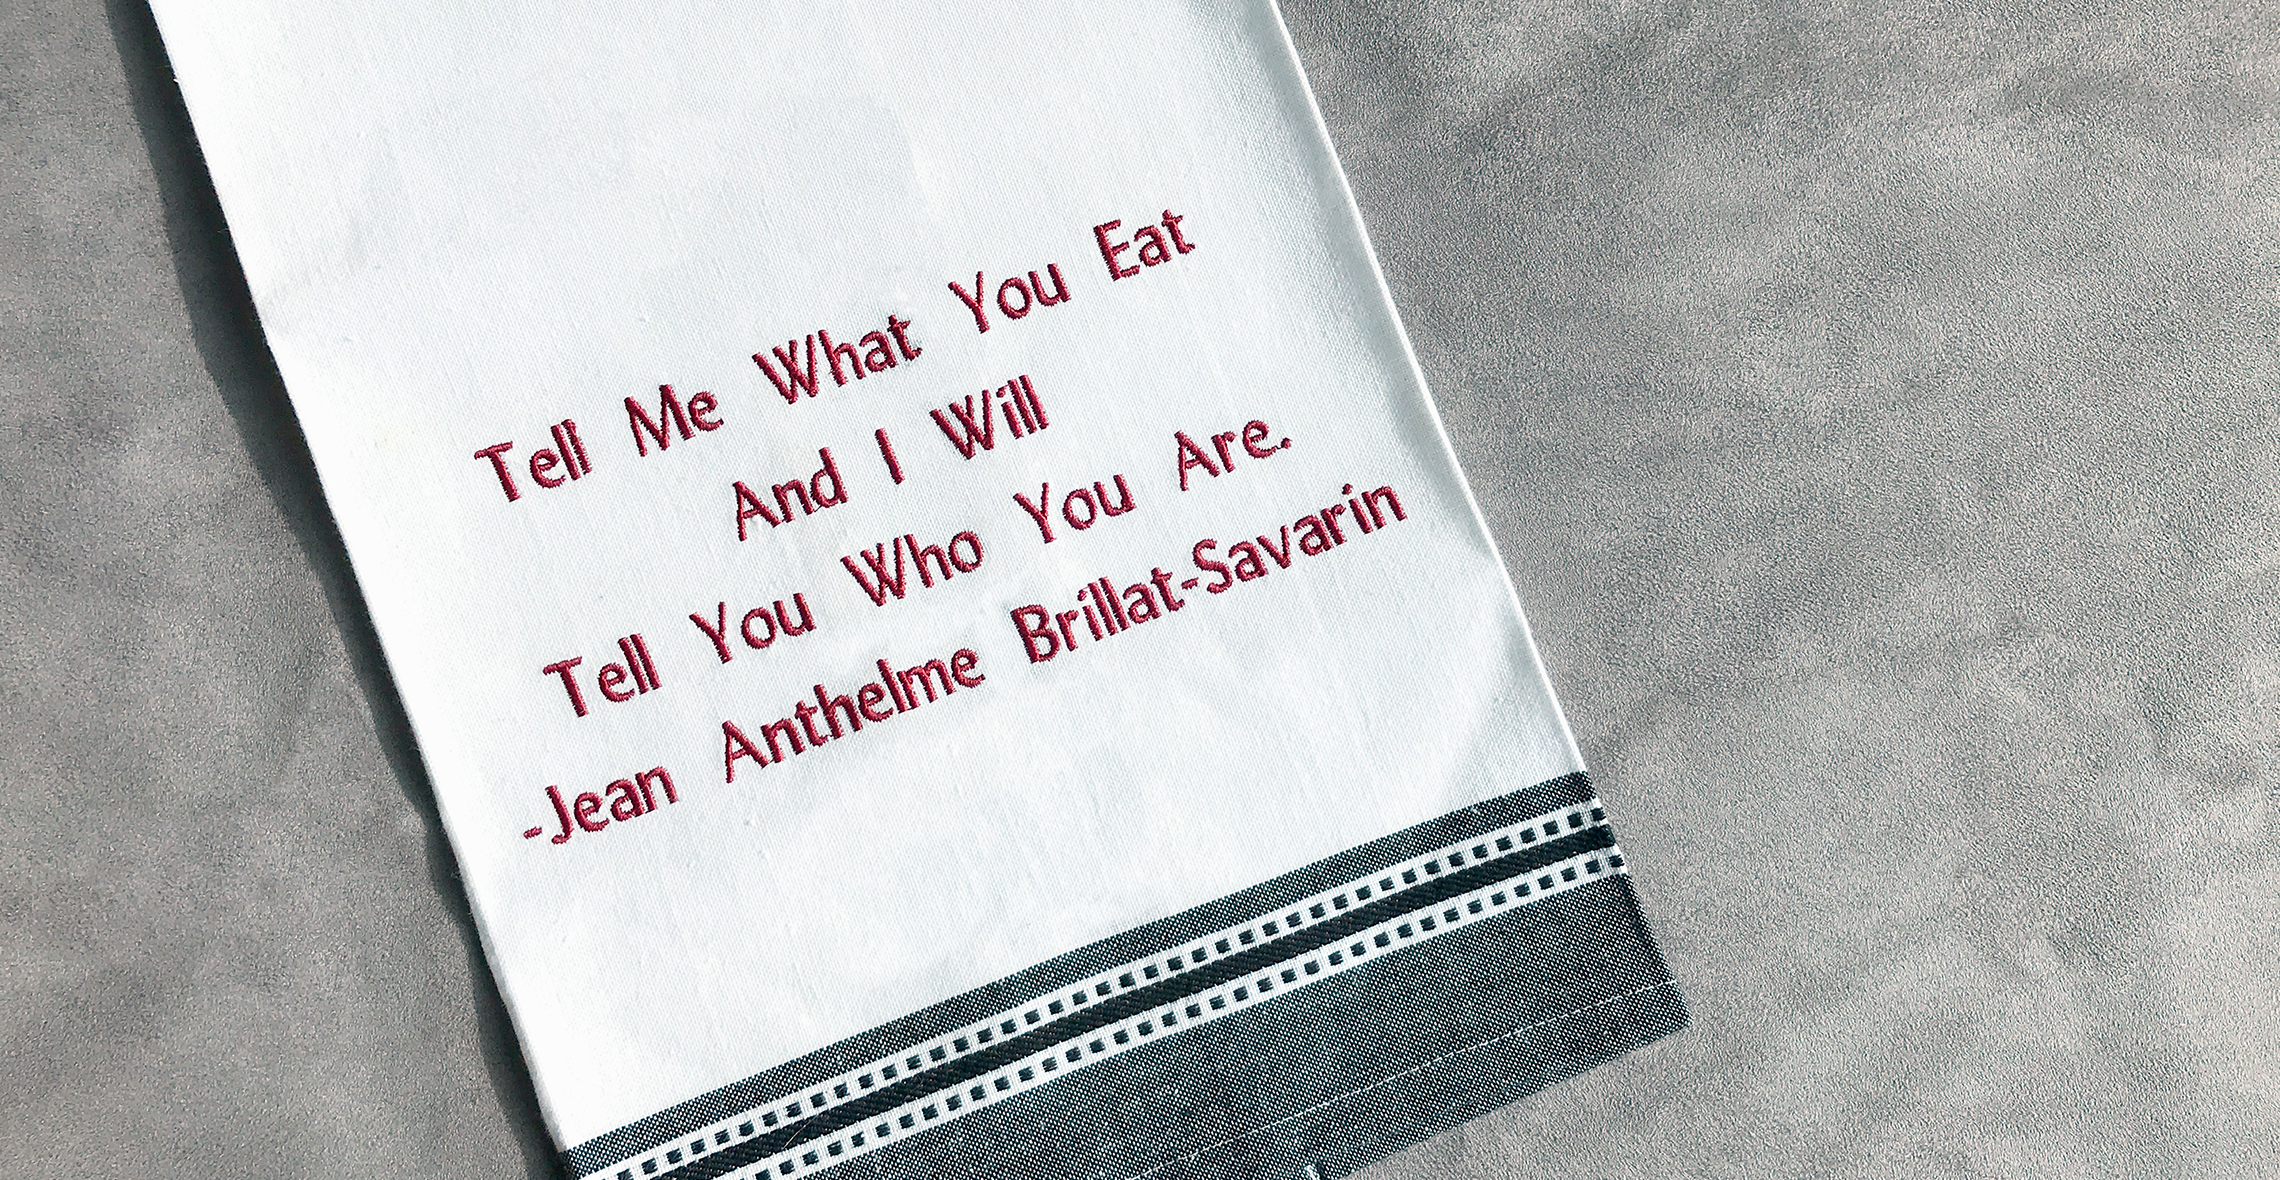
When asked to come up with a gift idea for a friend’s newly renovated kitchen, a quote by the French gastronome, Jean Anthelme Brillat-Savarin, immediately came to mind: Tell me what you eat and I will tell you who you are. I know the saying in its original French version (Dis-moi ce que tu manges, je te dirai ce que tu es.), French being my mother tongue. It was the quote printed on the opening page of the first cookbook I ever bought, and while the original quote was published in 1825, it still rings true to me today.
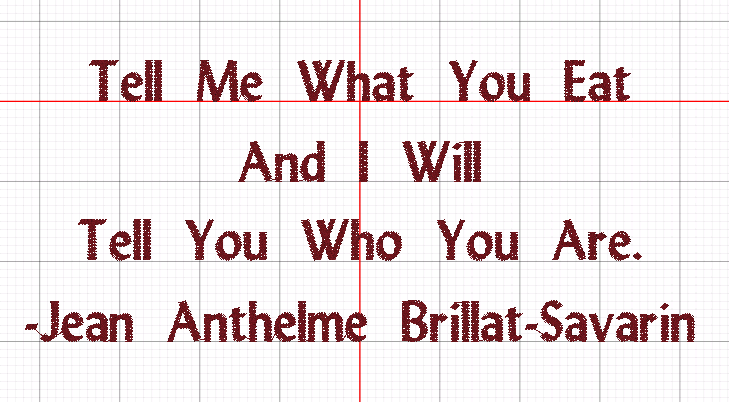
With BERNINA Toolbox Software, it was quick work to embroider the saying on a kitchen towel. My design guidelines were to use a clean font, to let the saying speak for itself, and split the saying into three lines to limit the width and help it fit in a hoop. The saying ends up as follows:
Tell Me What You Eat
And I Will
Tell You What You Are
– Jean Anthelme Brillat-Savarin
Now Let’s Make Some Embroidery!
Start with a New design file.

- Type the file name: Kitchen Towel Saying.
- Click OK.
Create the Text
Create the first line of text:
Select the Lettering Tool and use a Straight baseline as the Lettering Shape.


In the Choose Alphabet section, click on the Lydian Alphabet.

In the Enter Text section, type the text: Tell Me What You Eat. Press Enter.
In the Character Style Section, make sure the letter height is set to 0.5 inch (13 mm).
NOTE: This first line will be centered on the grid. Any additional lines of text you create will be generated in the same location, so they will pile up on the first. We will drag lines 2, 3, and 4 down as we create them so they form the saying needed.
TIP: Now that you have used these settings for one line of lettering, Toolbox will remember them for your next lines.
Create the Second Line of Text
First, deselect the first line. (Or swipe across the original text in the Enter Text box and type something else, and it will replace the selected line with the new text.)
Swipe across any lettering in the Enter Text box and Type in the second line of text: And I Will.
Drag the second line down to place it under the first. I used a 1 inch grid and placed each line so that its baseline would be on the next inch line down (the 1/2 inch letters are in a 1 inch space).
Deselect the second line.
Continue adding the phrase until all 4 lines are created and placed.
You will end up with the following:
Note: When you drag a line of text down, it may not land perfectly centered from left to right. Never sweat the small stuff! We will now align all the lines perfectly.
Align the Text Lines
Select All (CTRL-A).
Select the Edit Tool and in the Alignment section, click on the Align Centers Vertical.

Note: The design isn’t centered on the grid at this point. We will take care of this later.
Final Touches to Prepare the Design for the Machine
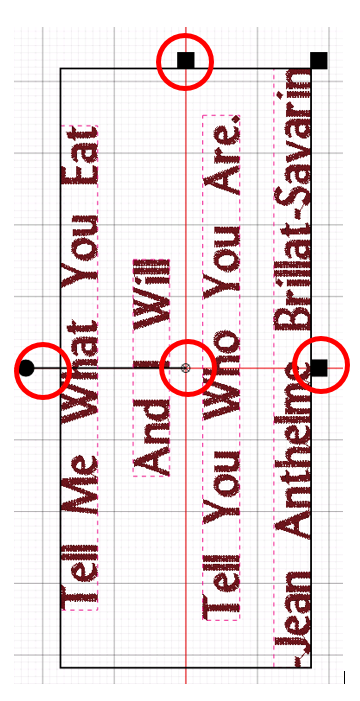
Since the saying will be embroidered near the bottom (hem) of the towel, we will rotate it to the left. This way the towel can be hooped where the hem is to the right and inside the harp of the machine. The bulk of the towel can hang over the embroidery module arm to the left. This makes the embroidery process much easier as the towel won’t get in its own way.
Rotate the design to the left
Select All (CTRL-A).
Use the Edit Tool and in the Scale/Rotate section click on the Rotate Left tool twice:

The saying is now on its side, but not necessarily centered on the grid.
To Center the saying
With the saying still all selected, drag the selected lettering until the sizing handles (small black squares) and the rotation handle (small black circle) align with the Origin lines (red lines). See the red circles in the following example:
Now it’s time for a hoop fitting!
I like to preview my hoop in Toolbox software so that I never get a surprise at the machine.
TIP: You can count the inch increments on the grid to estimate the design size, or get the info directly in the View Tool > Design Information section. The current dimensions are:
- 4 inches tall
- 5 inches wide
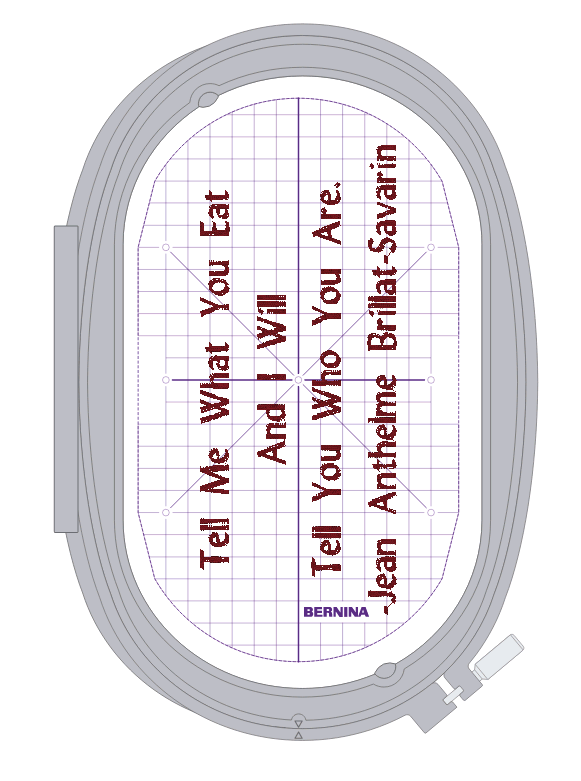
So we know we will need to use the Large Oval Hoop.
To show the hoop
In the View Tool > Choose Hoop section, select the Large Oval hoop. Toolbox will automatically show the hoop and template instead of the grid. You should now see the following:
We’re done! All that’s left to do is Export the machine file.

Pro TIP: Do you have a Midi Hoop for your BERNINA embroidery machine yet? If you own a new 5 Series, 7 Series, or the B 880 PLUS embroidery machine, the Midi Hoop is a great optional hoop. The Midi hoop cuts down on your prep time by a lot. The ergonomic twist-lock mechanism greatly speeds up the prep before stitching and after! So you can keep rolling with your embroidery.
Parting words… Just Sayin’ 😉
Here’s a couple of quotes from Julia Child that have also stayed with me:
- People who love to eat are always the best people.
- If you’re afraid of butter, use cream.
(this one’s my favorite)
I would also like to offer a couple of sayings from my own kitchen:
- Gourmands enjoy the best of both worlds.
- When life gives you lemons, make lemon meringue pie.
Used Products
What you might also like


2 comments on “Embroidered Kitchen Towel”
-
-
It’s possible your thread cutter is not holding on to the startup thread tail after trimming it when you start embroidery. There may be thread snips trapped by the thread grabber, which is part of the thread cutter on your machine. If you don’t see thread snips to the left of the feed dog, they may be hiding under the assembly. Your local BERNINA technician can review and clean your thread cutter as needed to make sure it is up to specs.
-
Leave a Reply
You must be logged in to post a comment.

Help! When my 830 starts to embroider, a piece of the top thread gets stuck in the bobbin casing and I get a broken thread message. I have rethreaded and respooled numerous times and cleaned all the thread pieces out of the casing. TY Shan