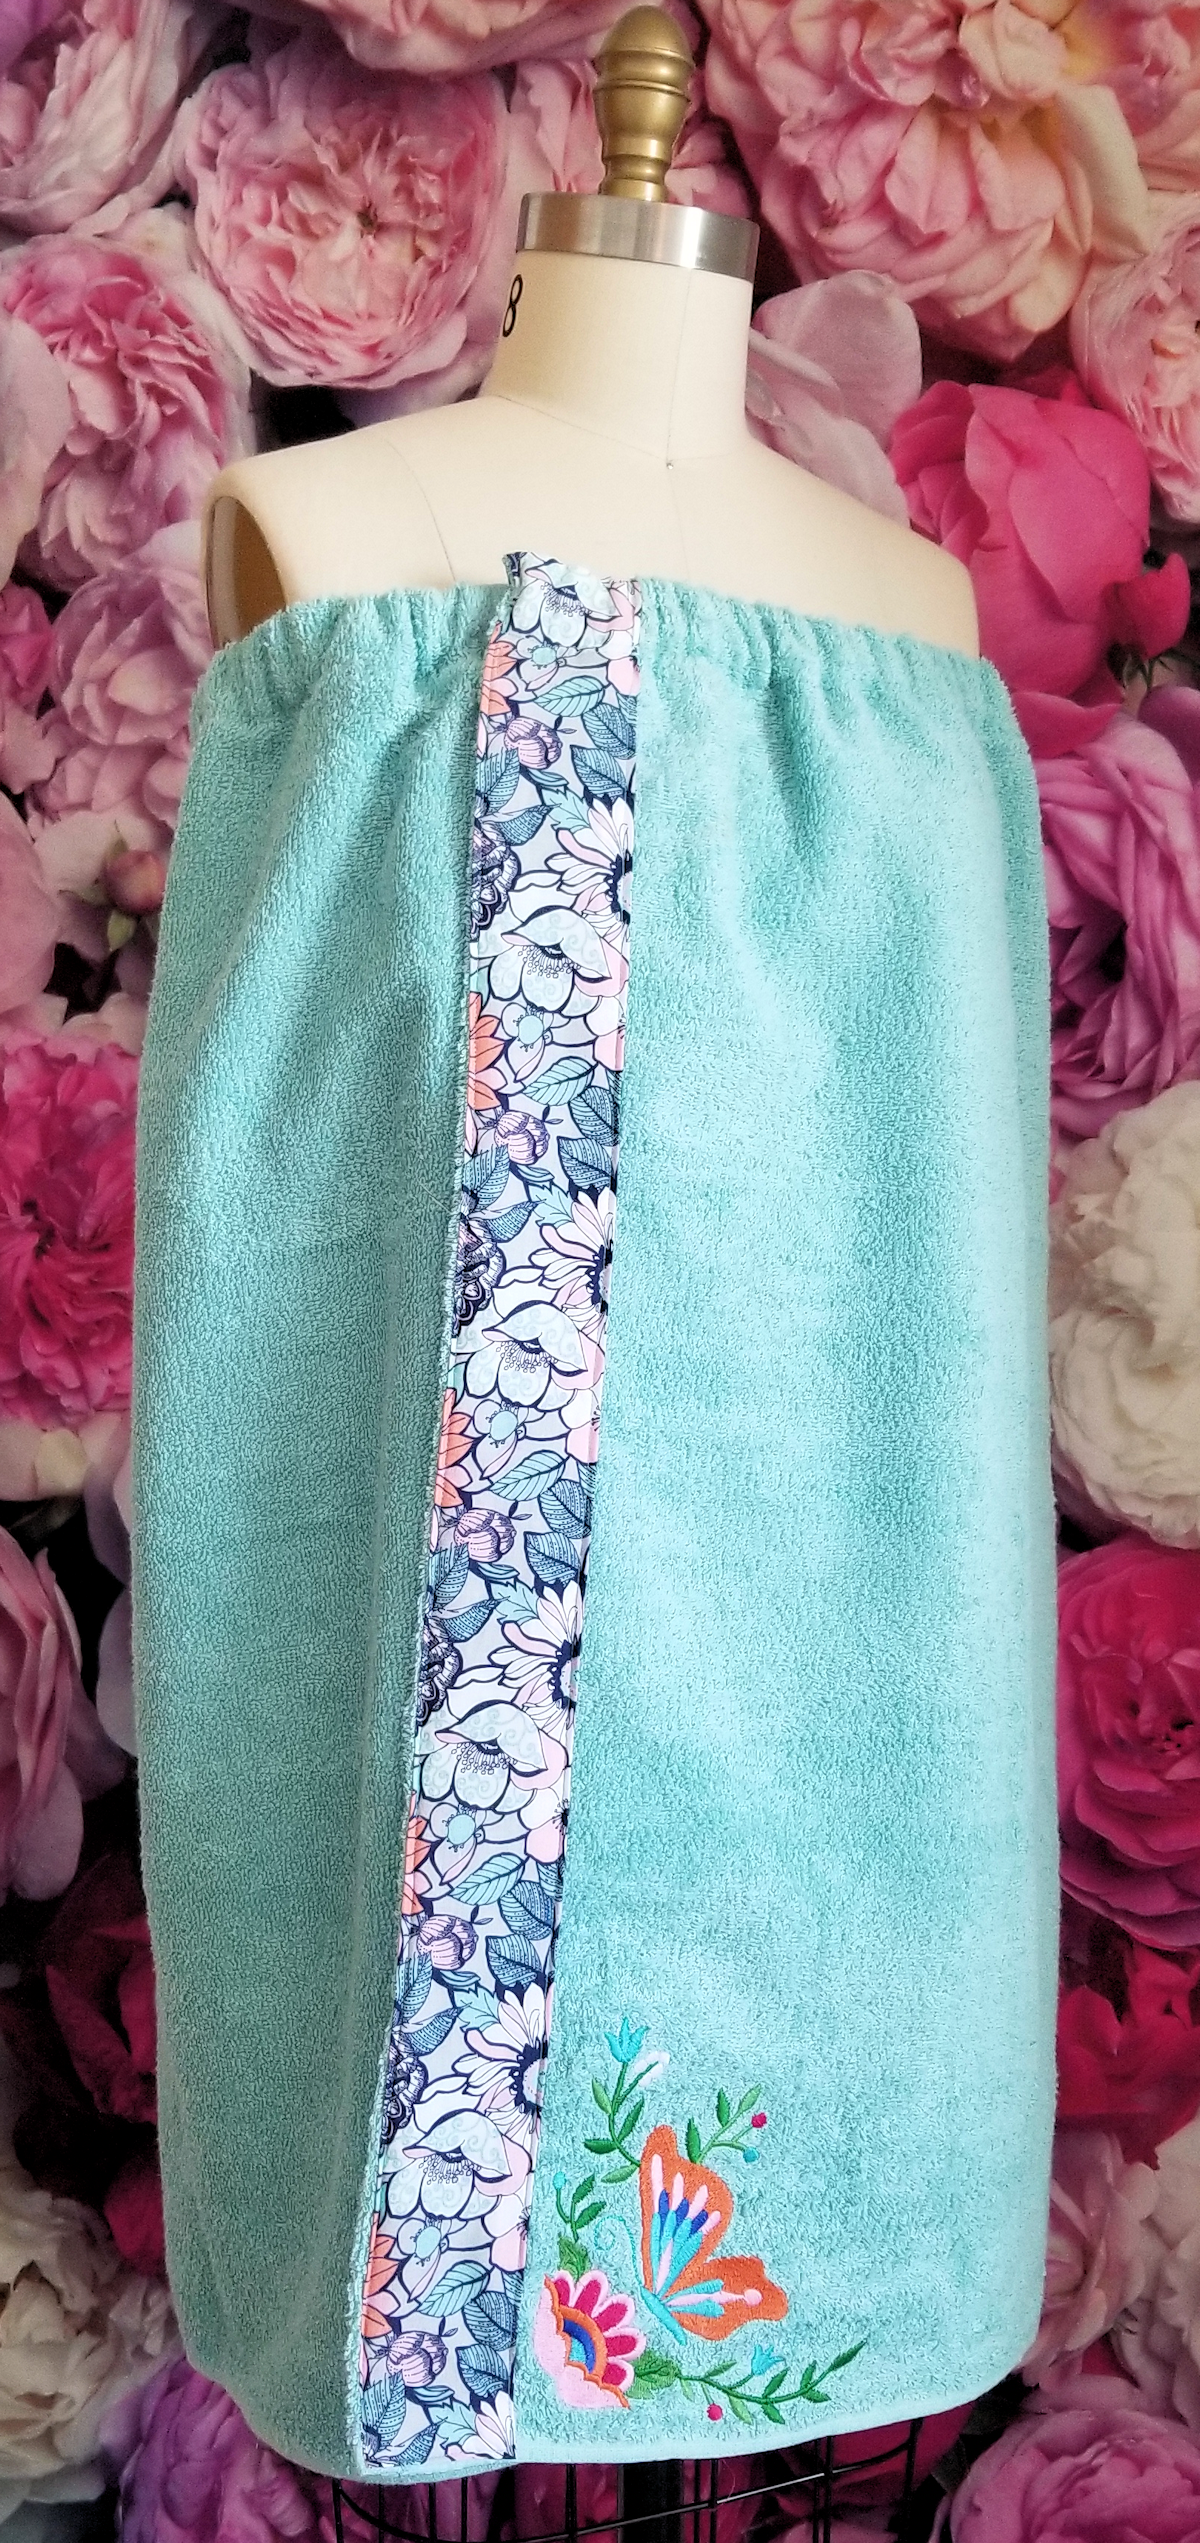
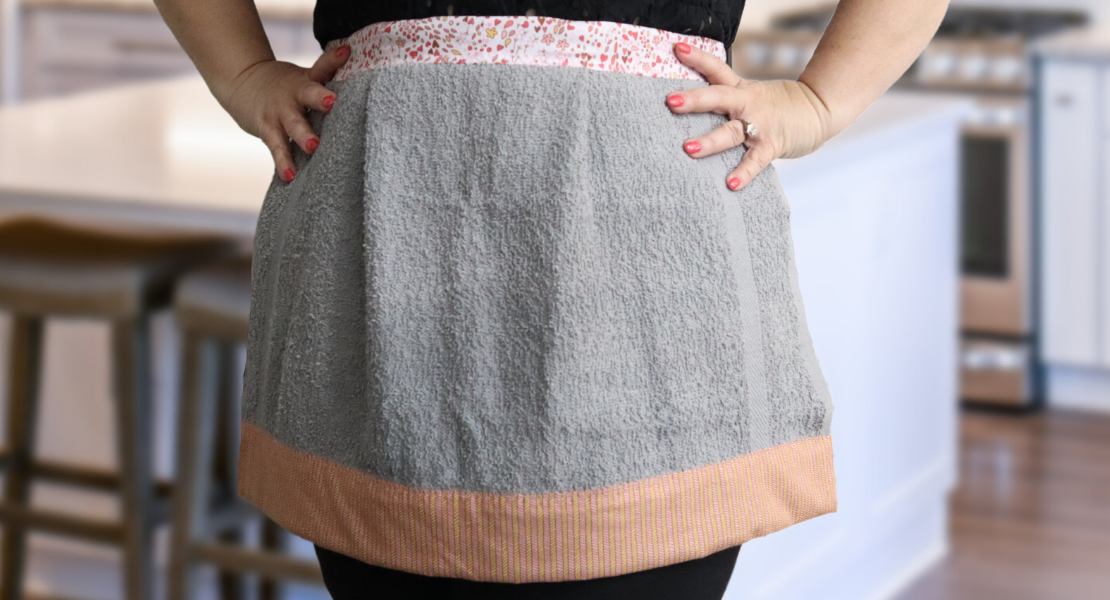
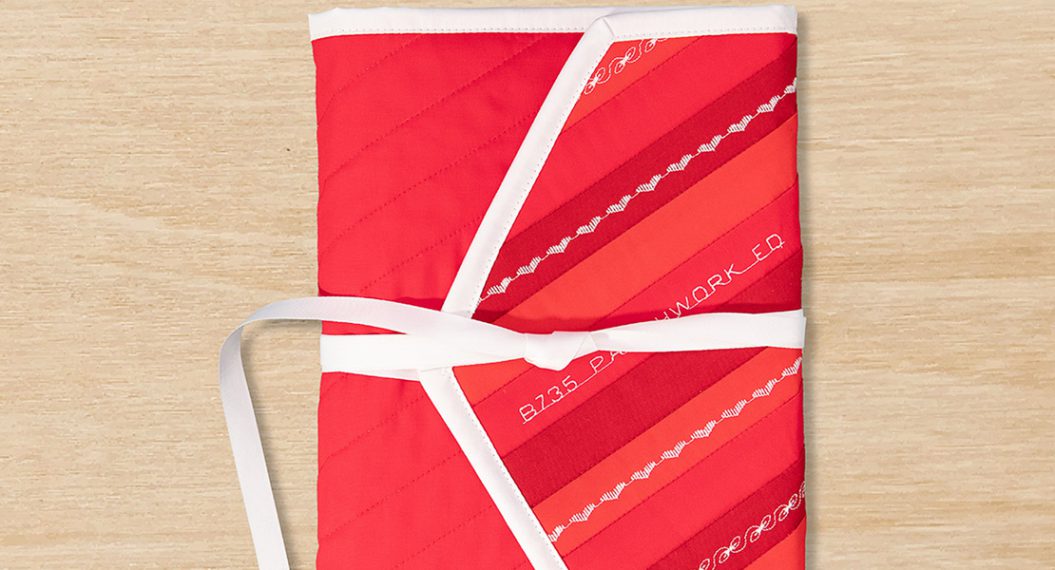
Towel Wrap
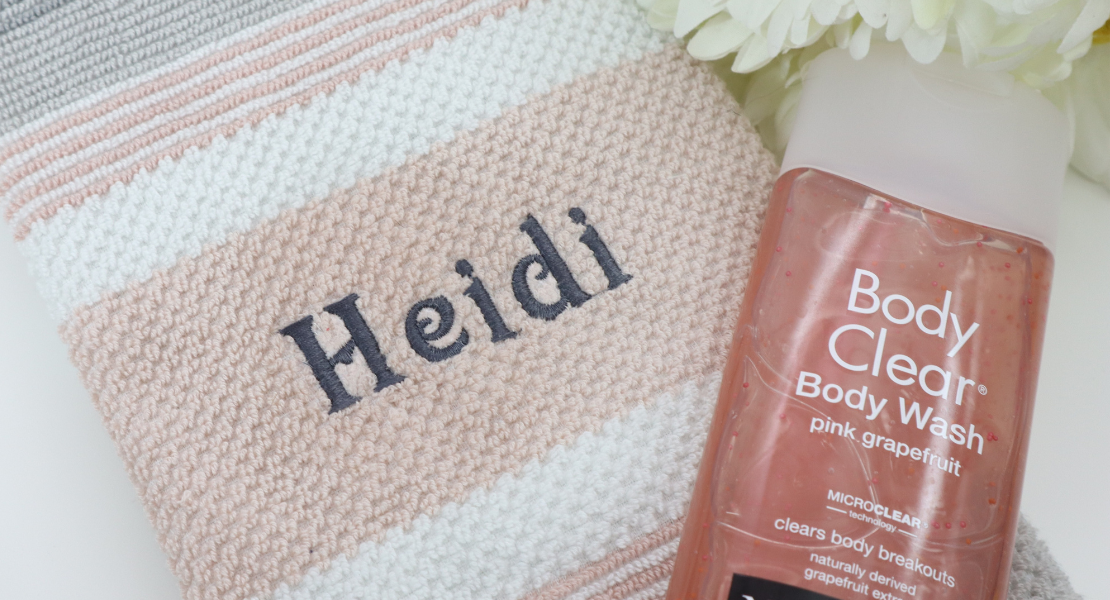
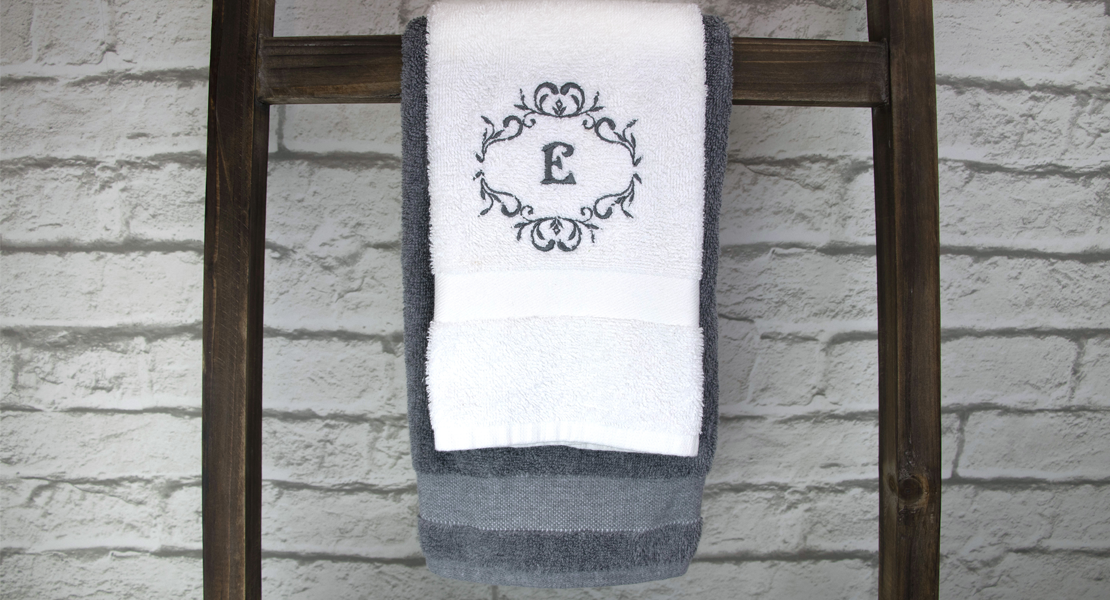
Pamper your mom this Mother’s Day by making your own DIY spa kit. Fill it with bath bombs and lotions and then sew up items like a scented hot\cold pack, shower cap, sleep mask, and this easy towel wrap. Want to make it even more special? Personalize it with your favorite embroidery design or monogram! And while you’re at it don’t forget to whip one up for your favorite college student, they make great gifts for dorm living.
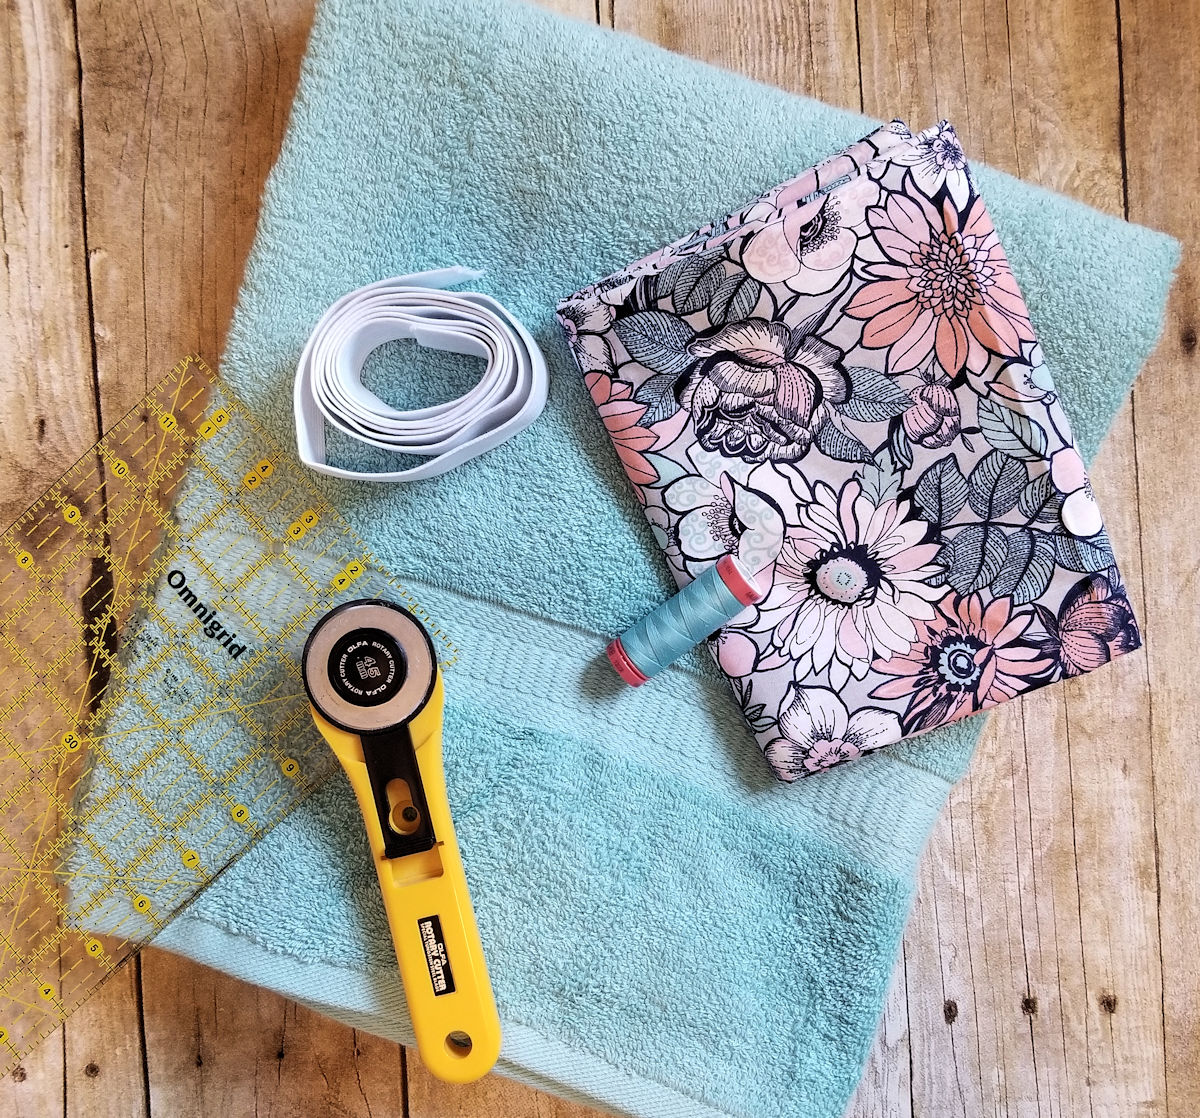
Materials to Make a Towel Wrap:
- Bath Sheet, 30″ x 60″
- 1/8 to 1/4 yard of cotton fabric for trim
- 5 1/2″ piece of hook and loop tape
- 1″ elastic
- Mettler thread to match
- Ruler
- Rotary Cutter\mat
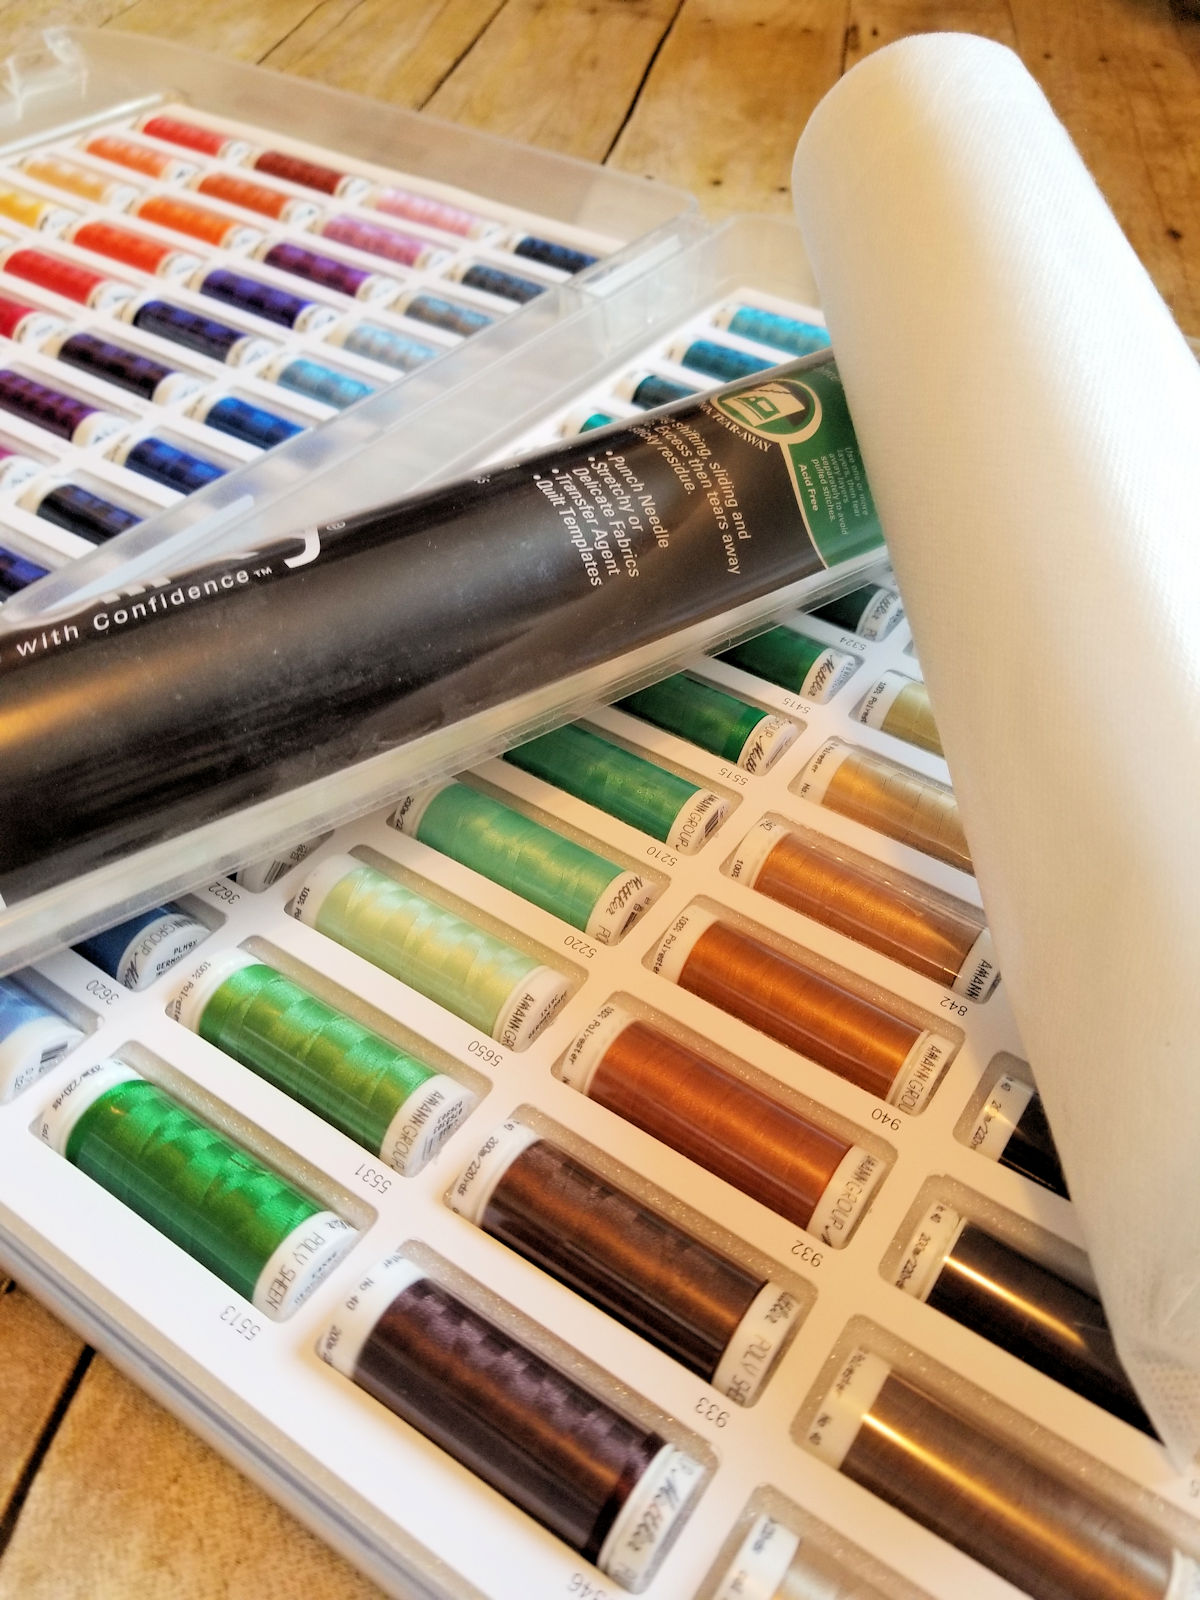
Optional:
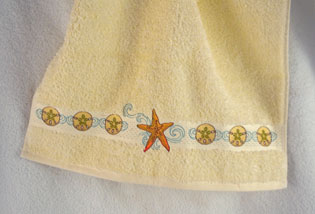
- Embroidery Design (I used Urban Threads Las Flores Corner – UT10839)
- Cut Away Stabilizer
- Wash Away Stabilizer
- Mettler Poly Sheen Embroidery Thread
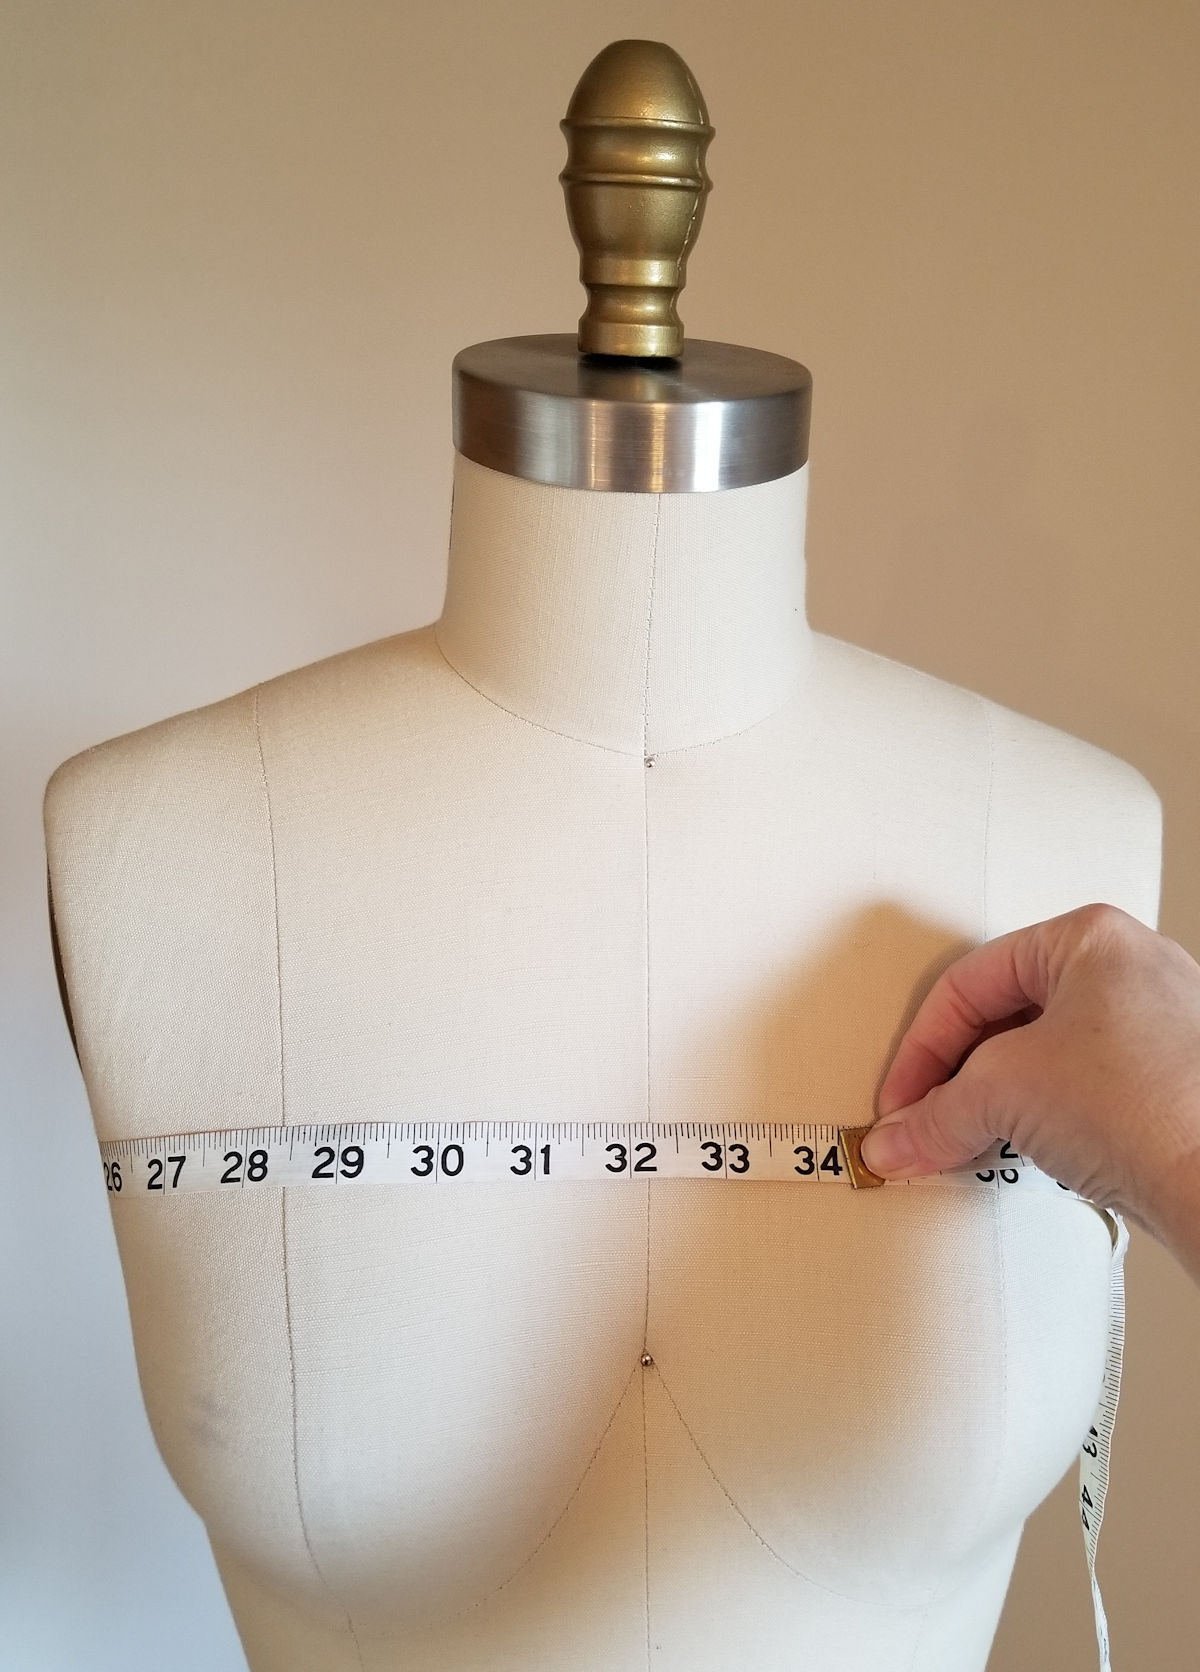
Measuring and Cutting Elastic:
Measure the upper bust (right where the towel wrap will sit when worn). Cut elastic to this measurement. For a more “secure feeling” when wearing, remove 2 additional inches from your elastic.
Prepping the Towel (optional):
Most purchased towels have a decorative woven band at each end. You can chose to keep it, or edit it so that it will be covered up by the fabric strip we will be attaching later. This is a matter of personal preference. However, I tend to like the look without it. If your towel doesn’t have these bands or you’re just wanting to omit this part, skip ahead to the Sewing the Towel Wrap section.
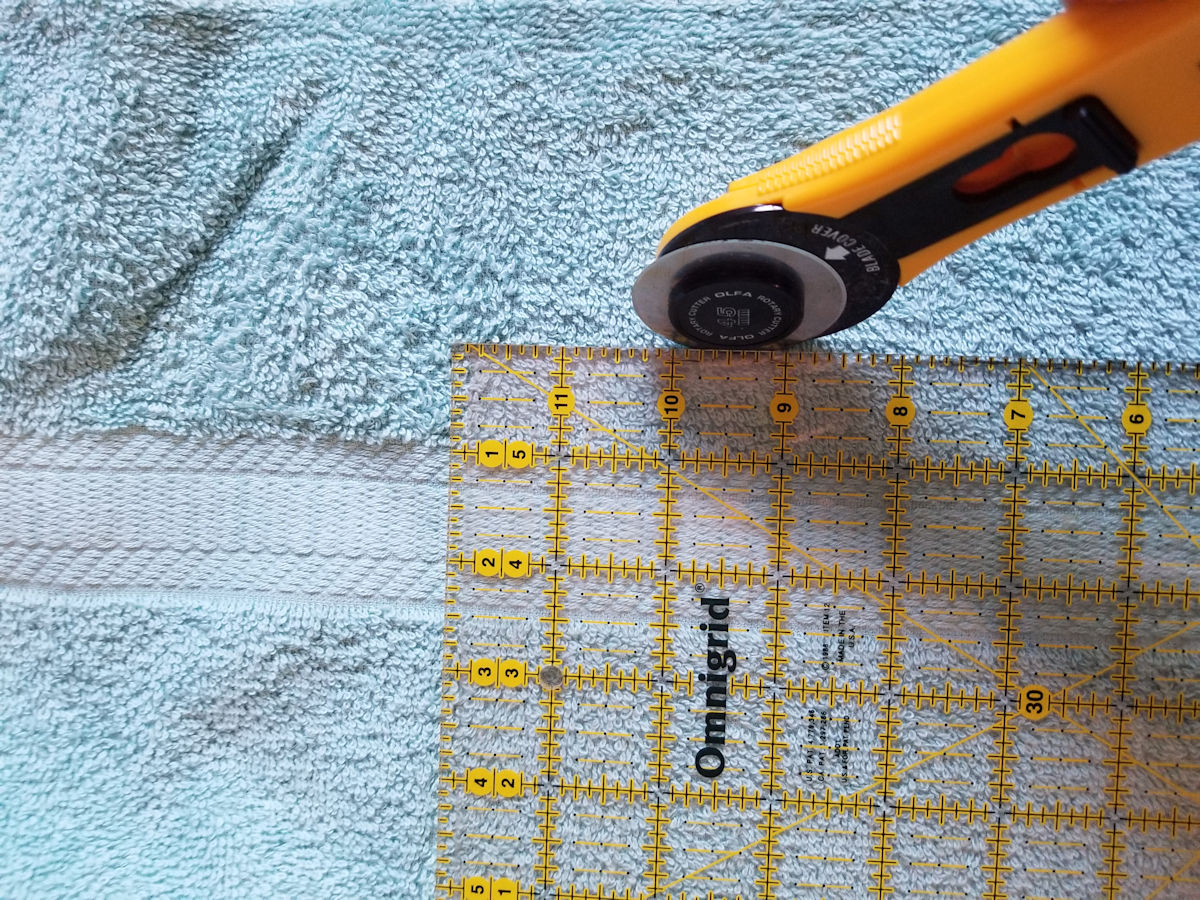
Remove the excess material at the end of the towel, by cutting 1″ away from the woven band.
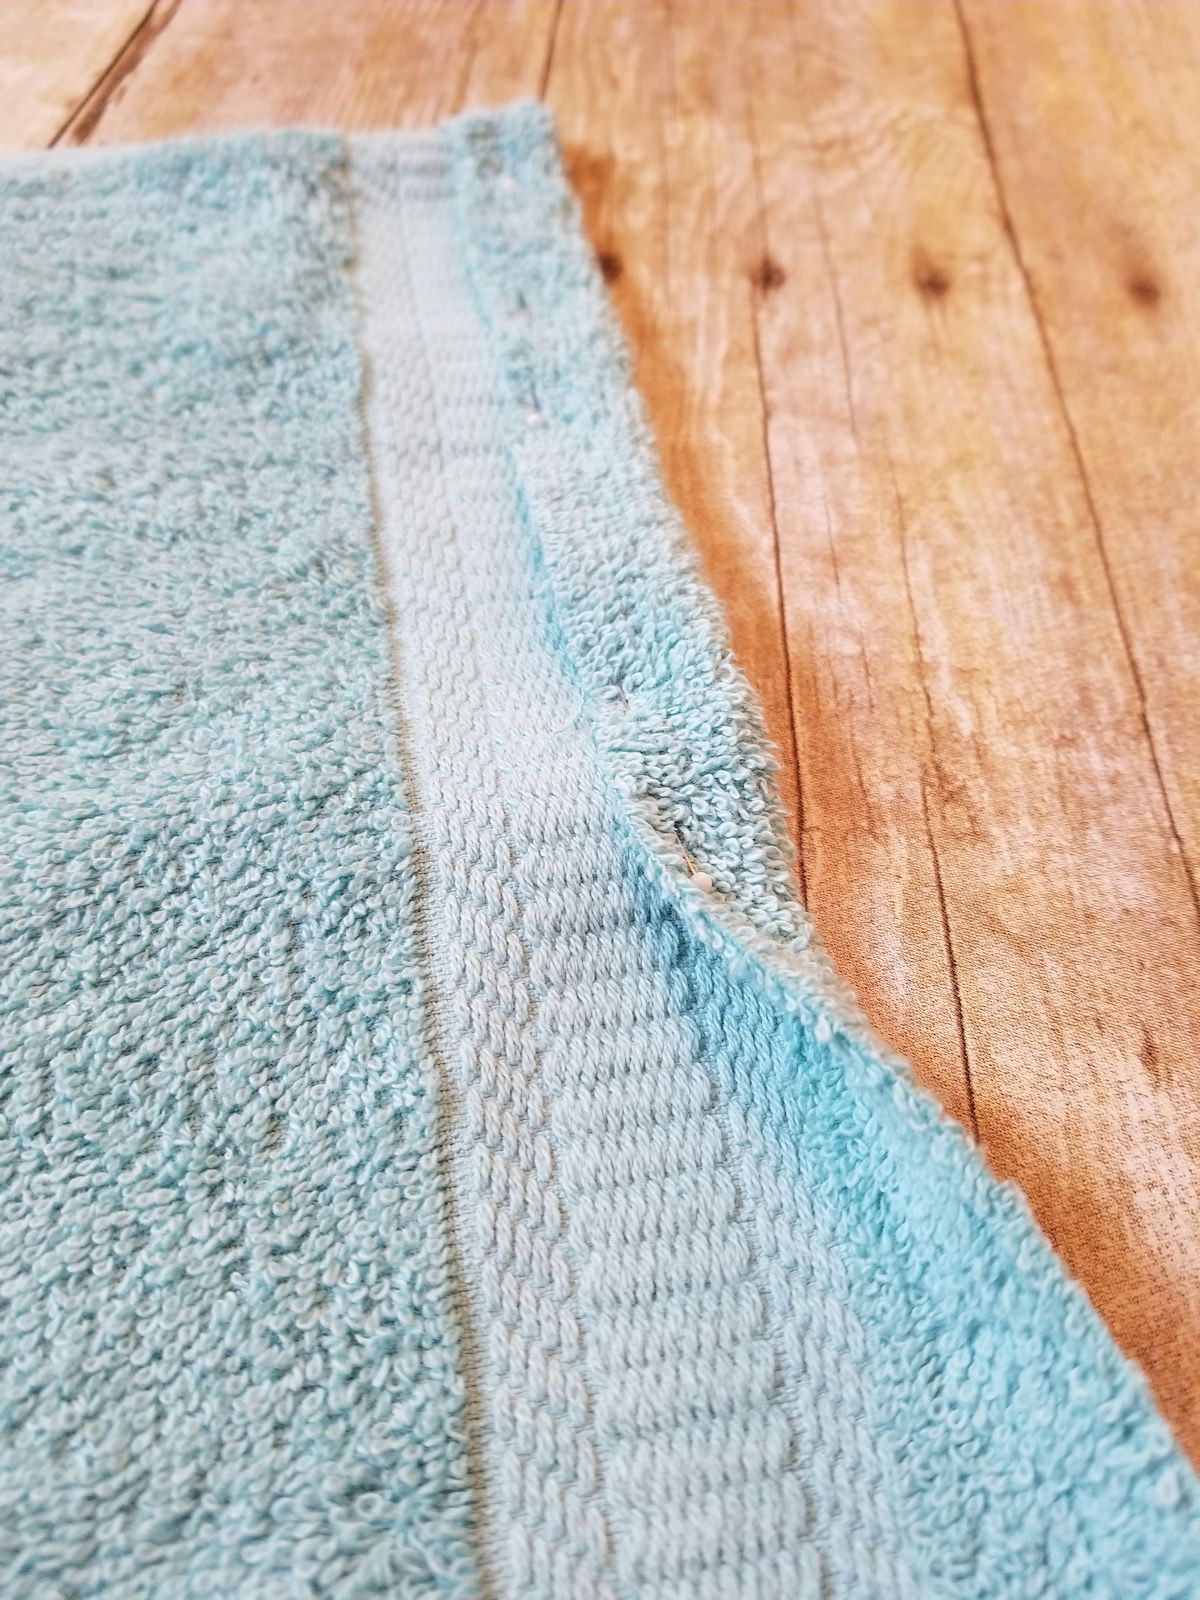
Fold the cut end 1/2″ toward the right side of the towel (I know it sounds wrong, just trust me) and sew in place.
Sewing the Towel Wrap:
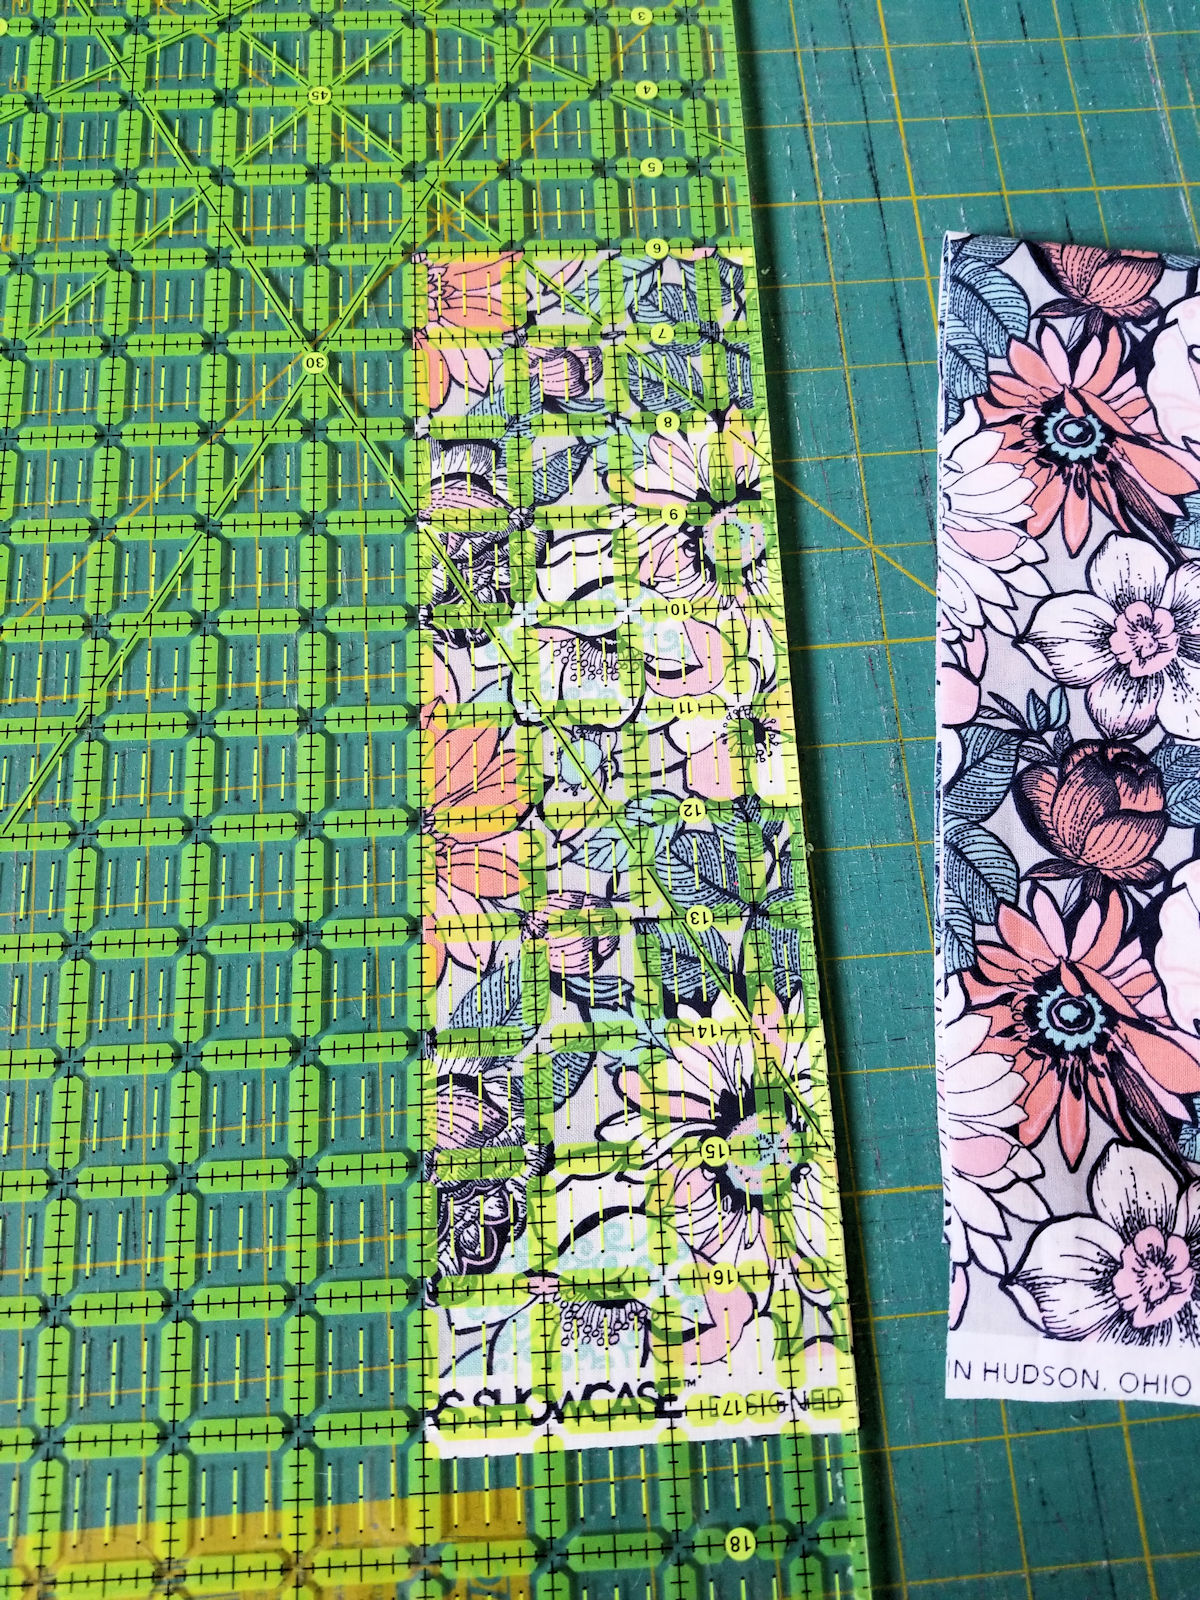
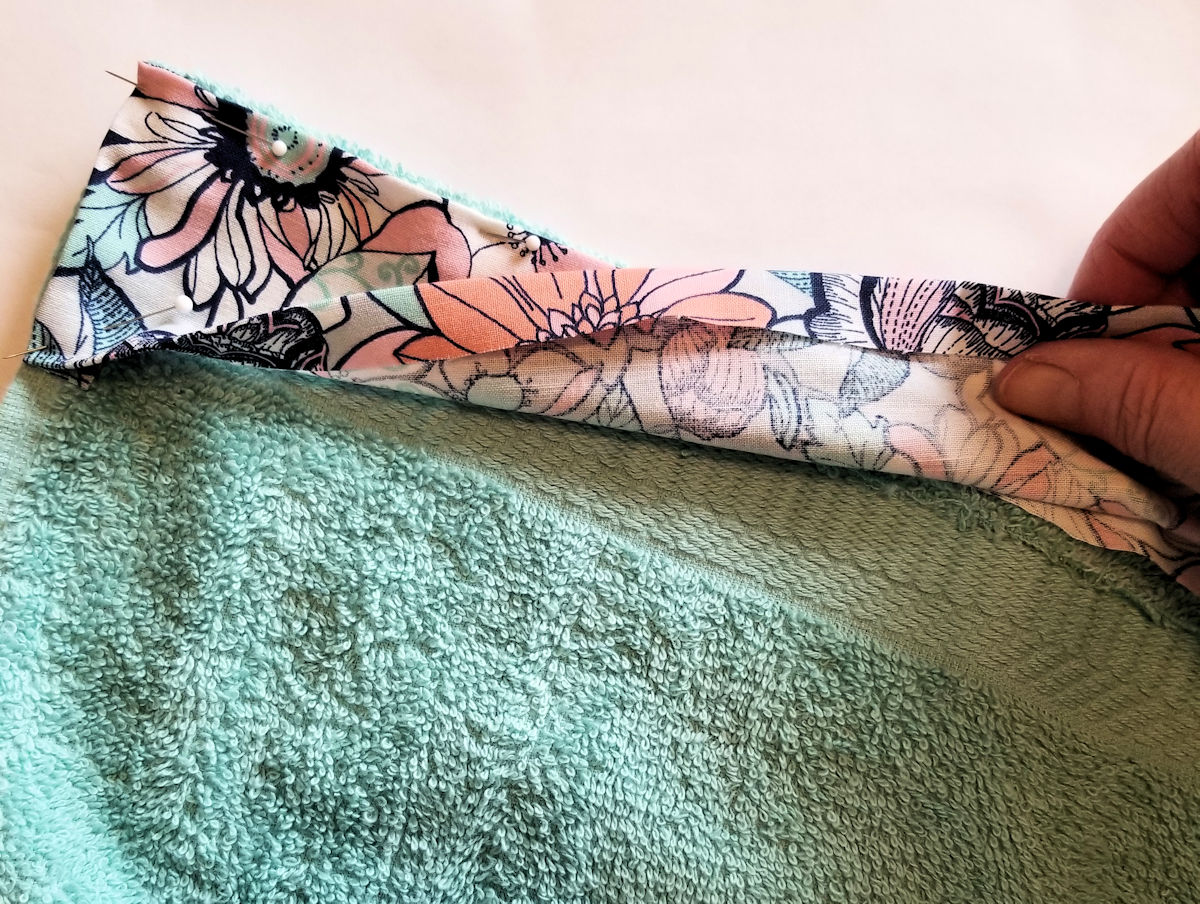
Cut a 3 1/2″ x 31″ strip from the cotton fabric.
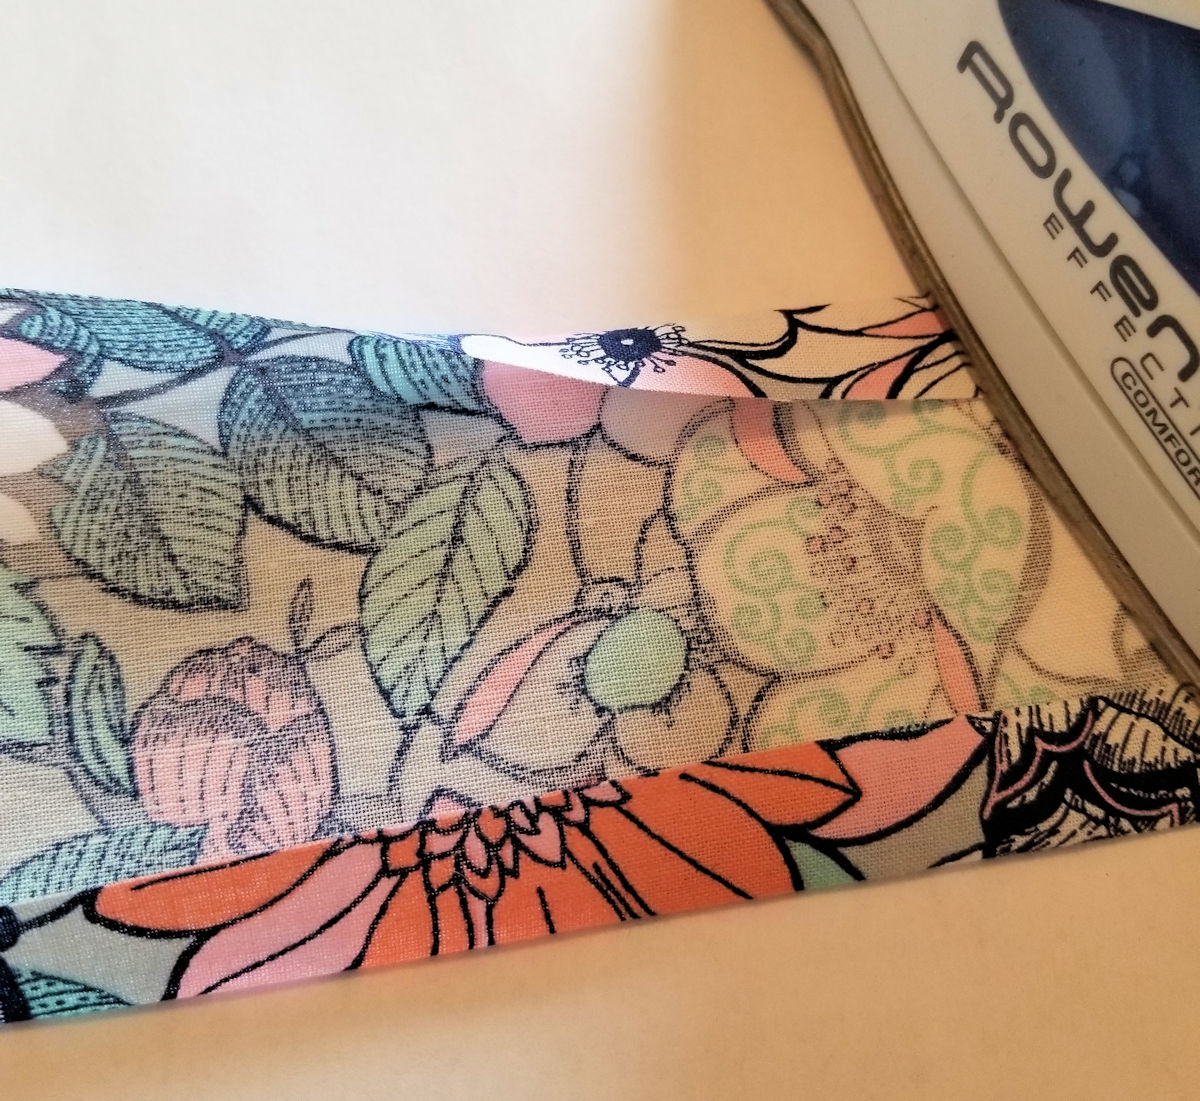
Fold under 1/2″ on each edge of the fabric (both the long and short edges).
Place cotton strip on the right side of the towel, close to the finished edge (or center it along the woven band if you don’t not remove the excess material above) and stitch in place. The strip should not only cover the woven band, but encase the raw edge from the steps above, so you never have to worry about fraying!
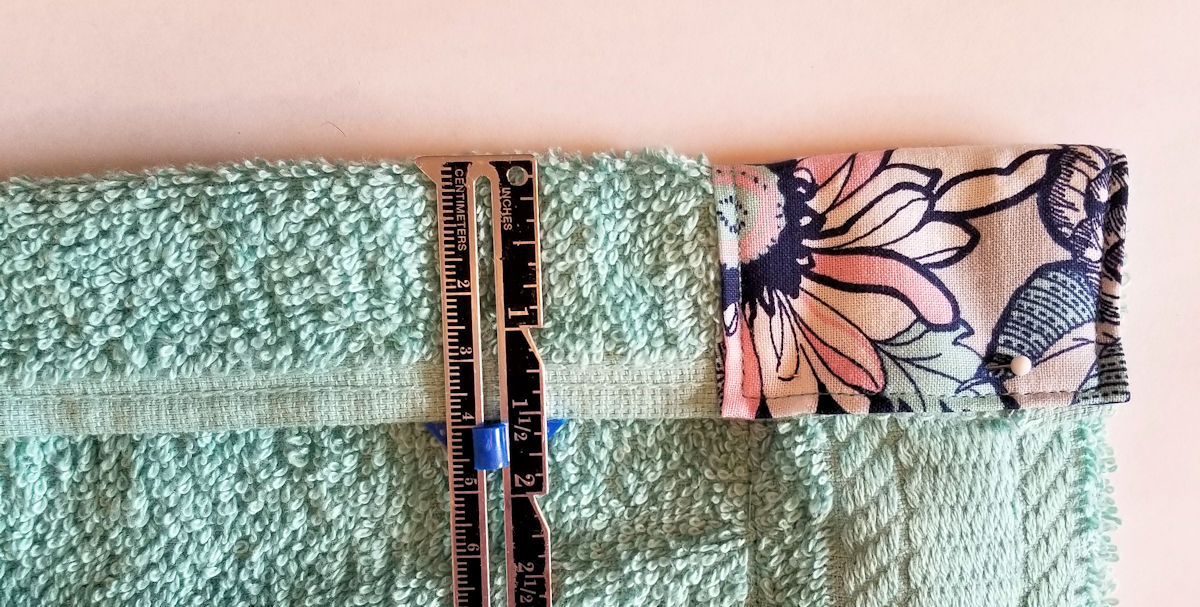
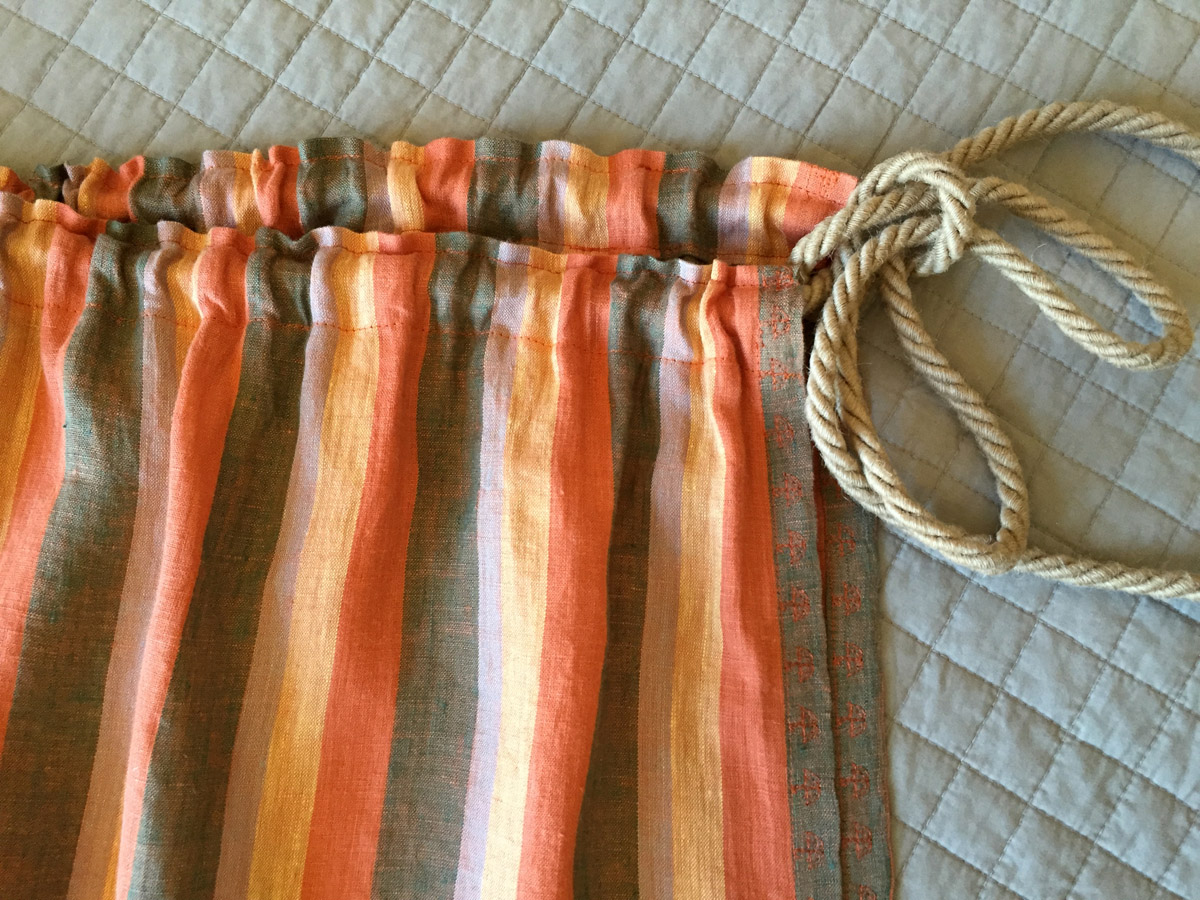
Fold under 1 1/2″ on the top edge of the towel. Stitch close to the finished edge to form a casing.
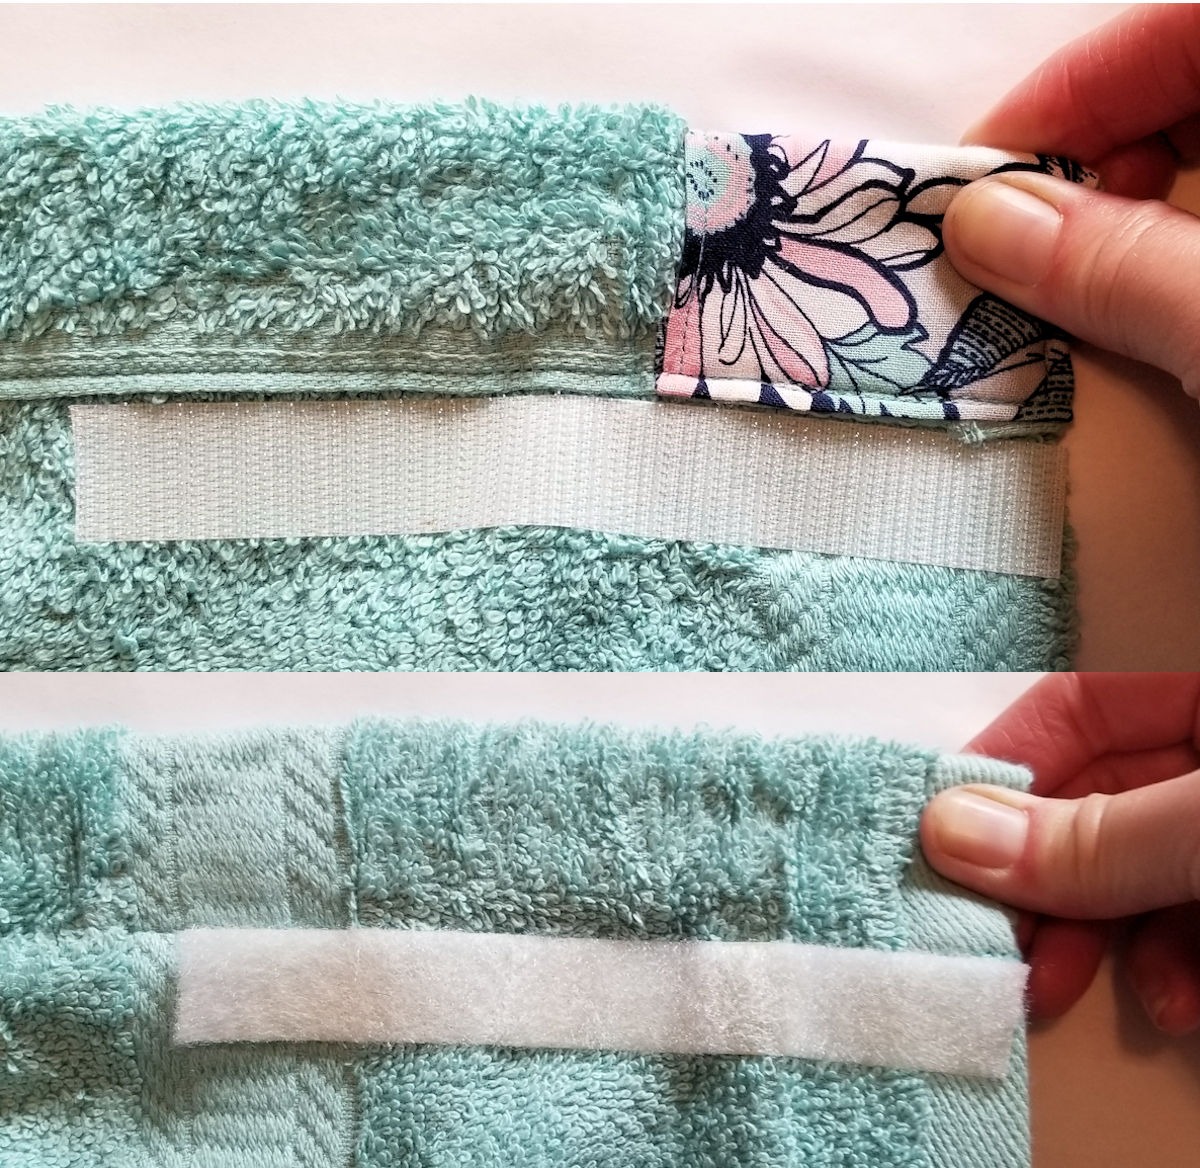
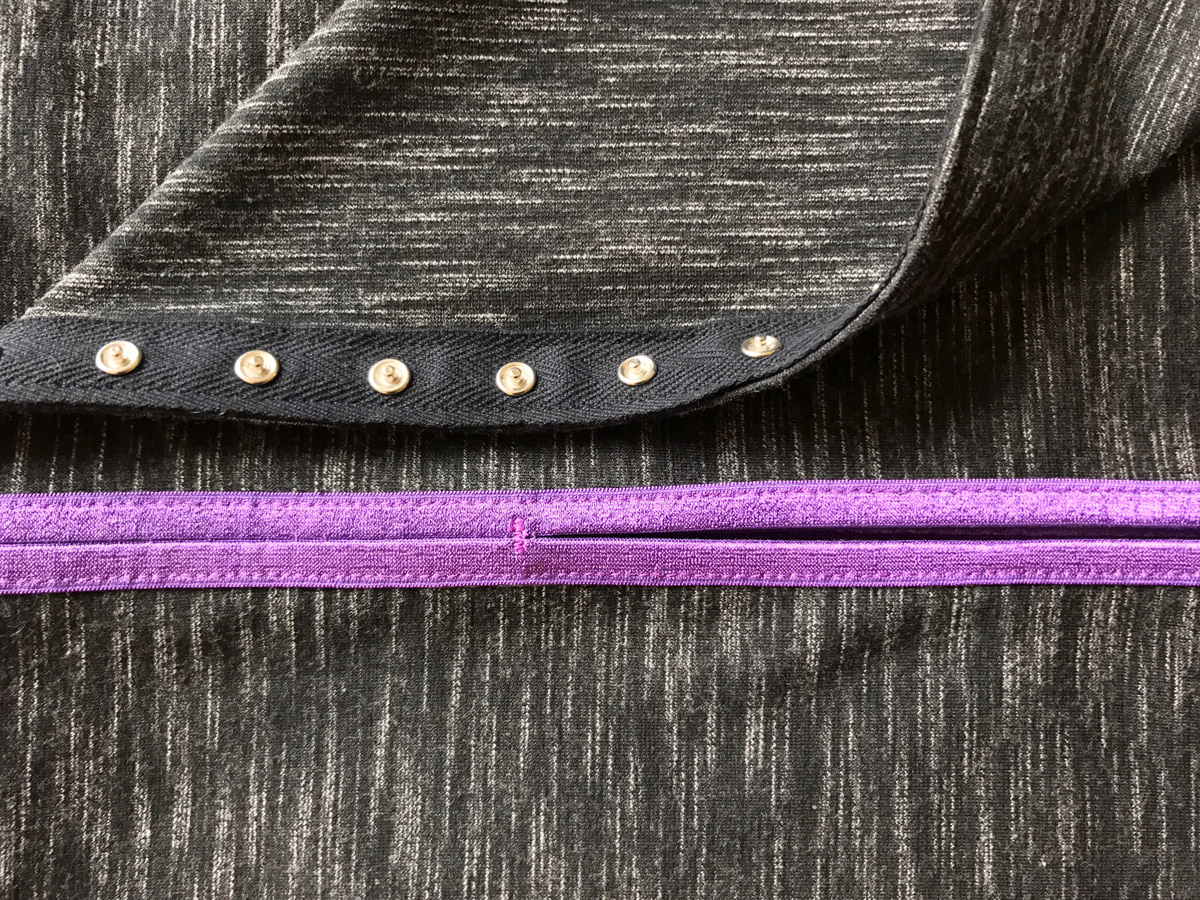
Place one side of hook and loop tape to the wrong side of towel with the decorative edge. Alight this piece so that it is close to the finished edge just under the casing and stitch in place. Place the other piece of hook and loop tape so that it is on the right side of the towel (the side without the decorative edge) just under the casing and stitch in place.
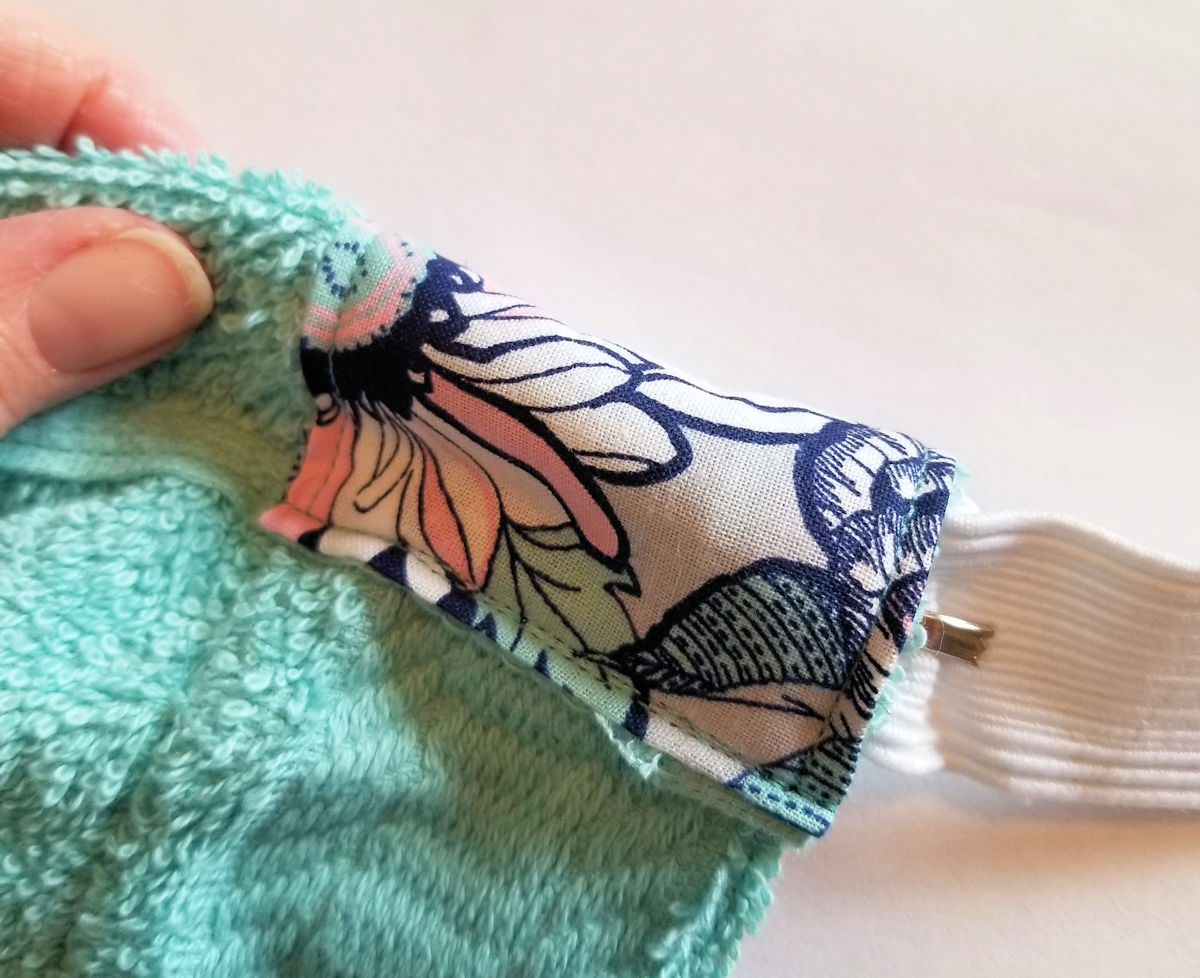
Insert the elastic through the casing. Stitch across the short edges of the casing through all the thickness to secure elastic in place.
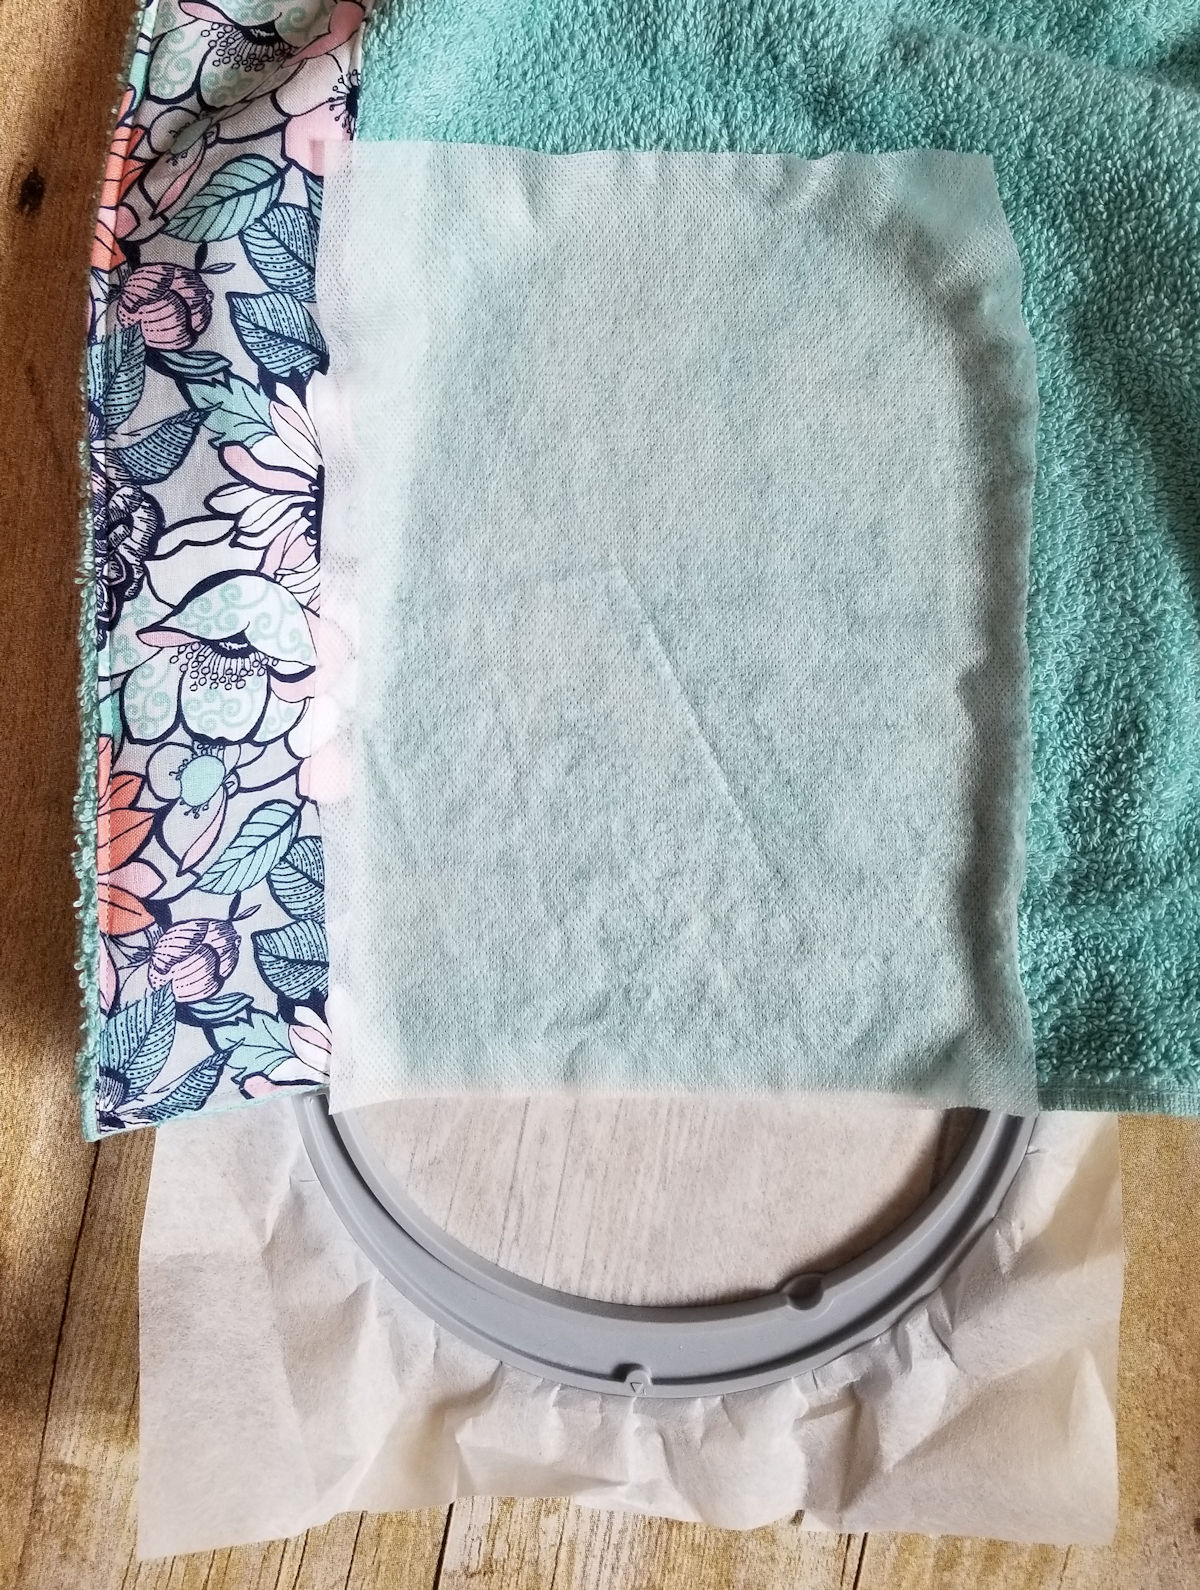
Adding Embroidery:
Hoop cut away stabilizer and towel. To keep the design from sinking into the loops of the terry cloth, place a piece of water soluble stabilizer on top of the towel prior to stitching.
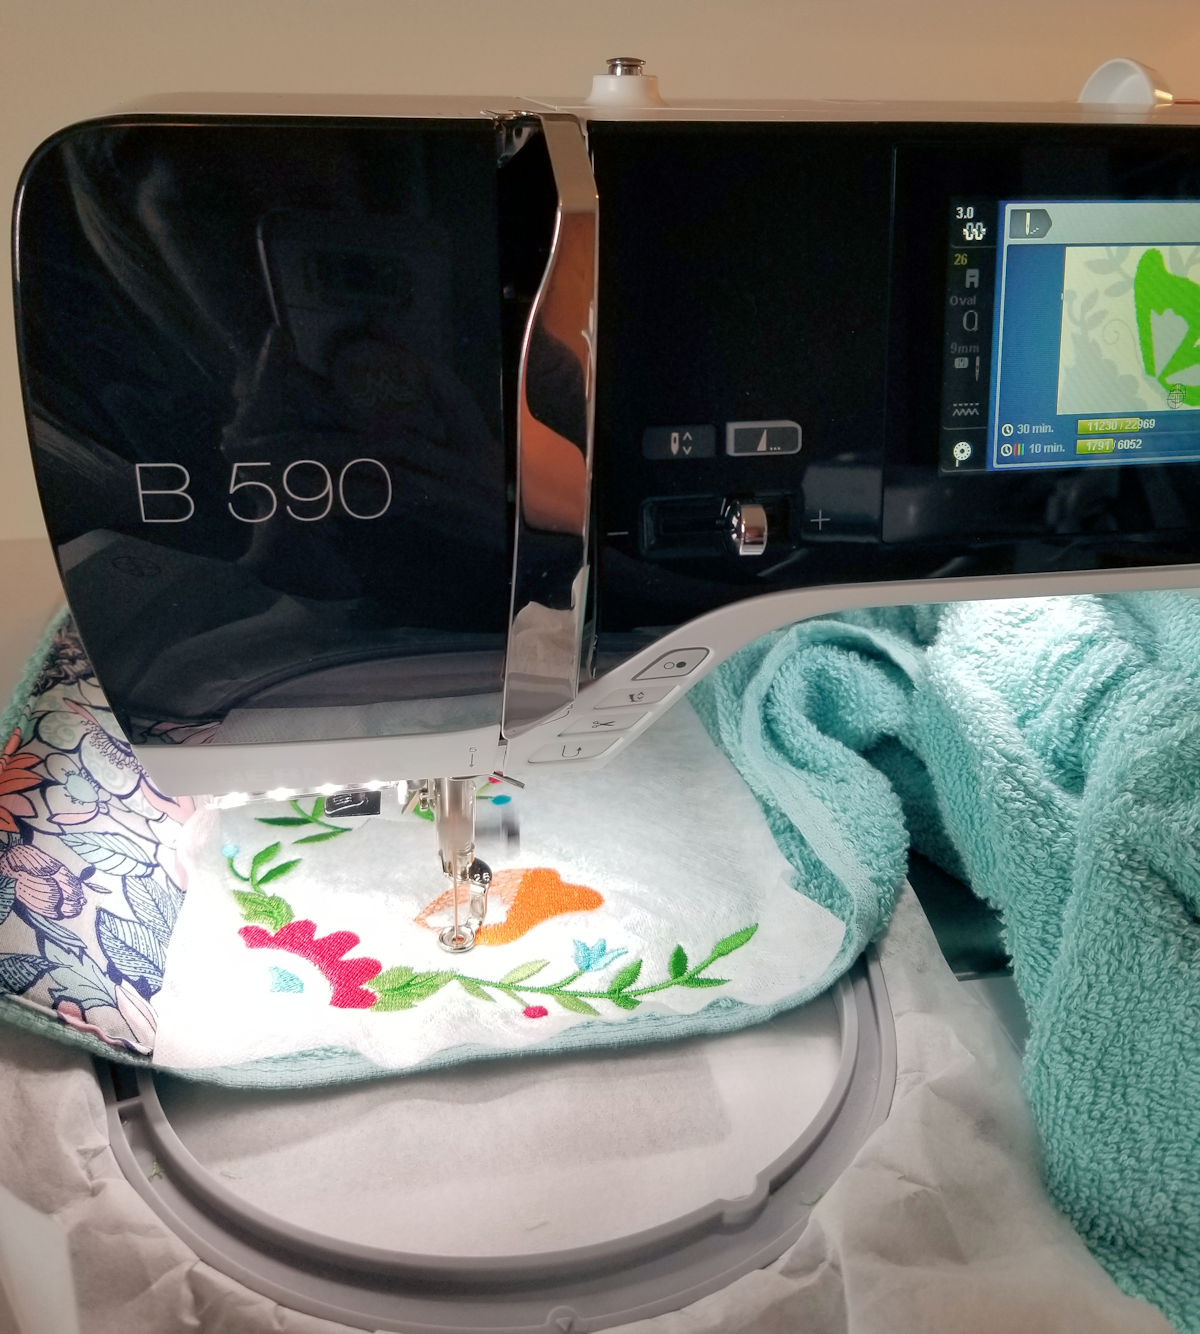
Stitch out your design.
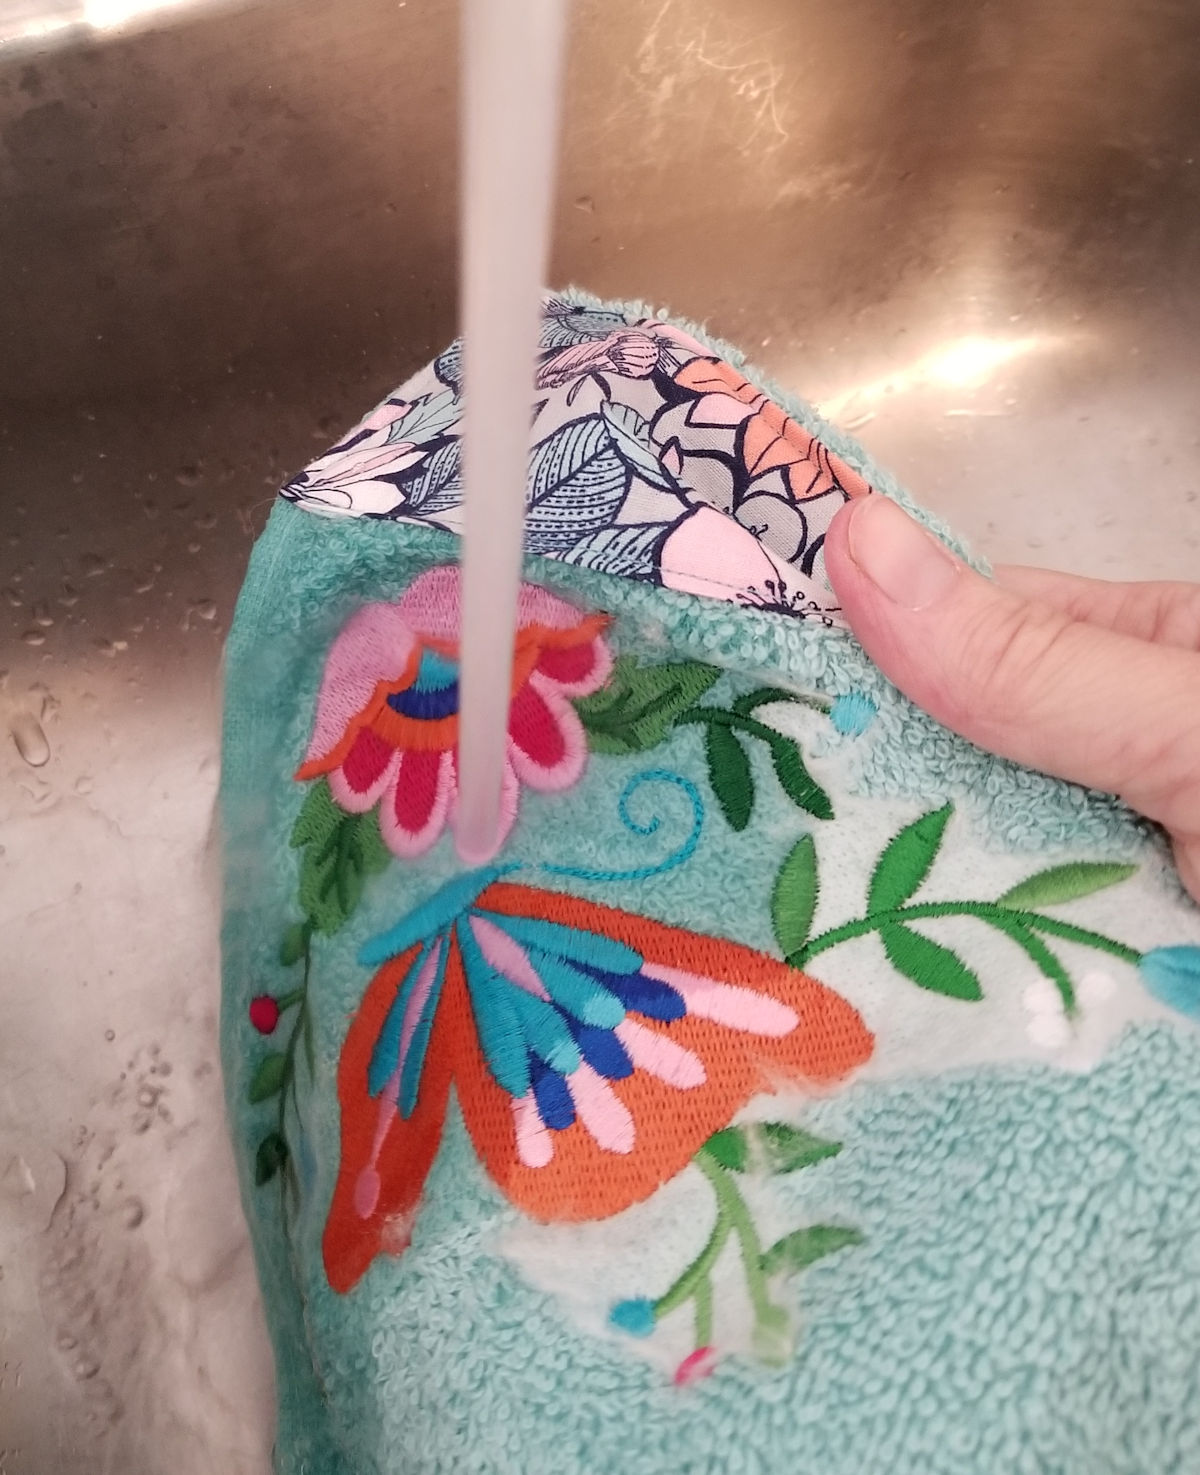
Carefully cut away the excess stabilizer from the back of the embroidery. To remove the water soluble stabilizer, cut away the excess then rinse or soak in water to remove the rest!
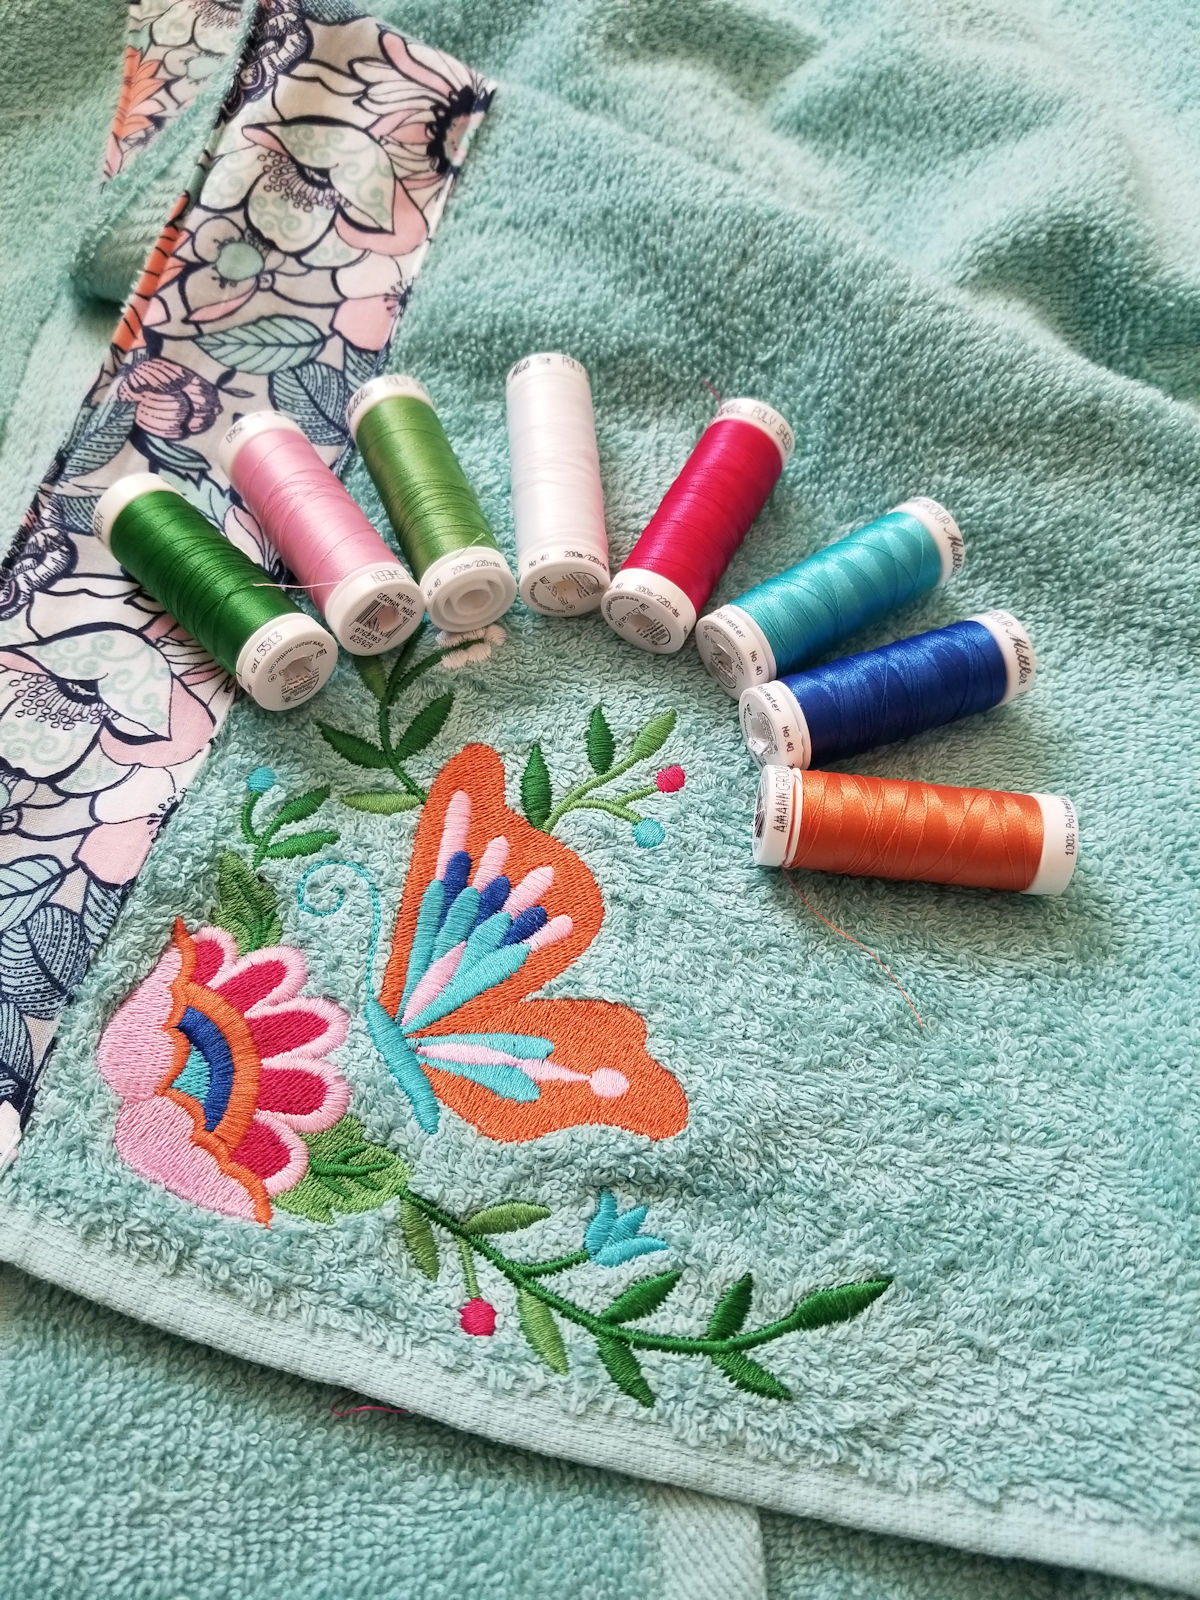
Let the towel dry. I like to place my design between water absorbing drying mats with a book on top to keep everything flat. Once dry, admire your work and give that special someone a wonderful handmade gift!


What you might also like


5 comments on “Towel Wrap”
-
-
Love this tutorial! Also, great for girls on their way to college who have to shower down the hall!
-
Thank you for this tutorial. I like to make hair towels that you wrap around your head like a turban, the kind that have a button and loop on them. I think embroidering them would dress them up a little.
-
Would you by chance have instructions for the hair towels? I had directions once upon a time, but we travel so much, they have been misplaced or lost. Thank you.
-
-
Does any one by chance have a recent Newsletter that includes this towel wrap. Do you know what month it was. I thought it was this months, but couldn’t find it. There were other projects I was interested in, but I accidentally deleted the Newsletter. Thank you and everyone be safe.
Leave a Reply
You must be logged in to post a comment.

Would make a good beach wrap!