How to Sew a Channel Stitched Quilt
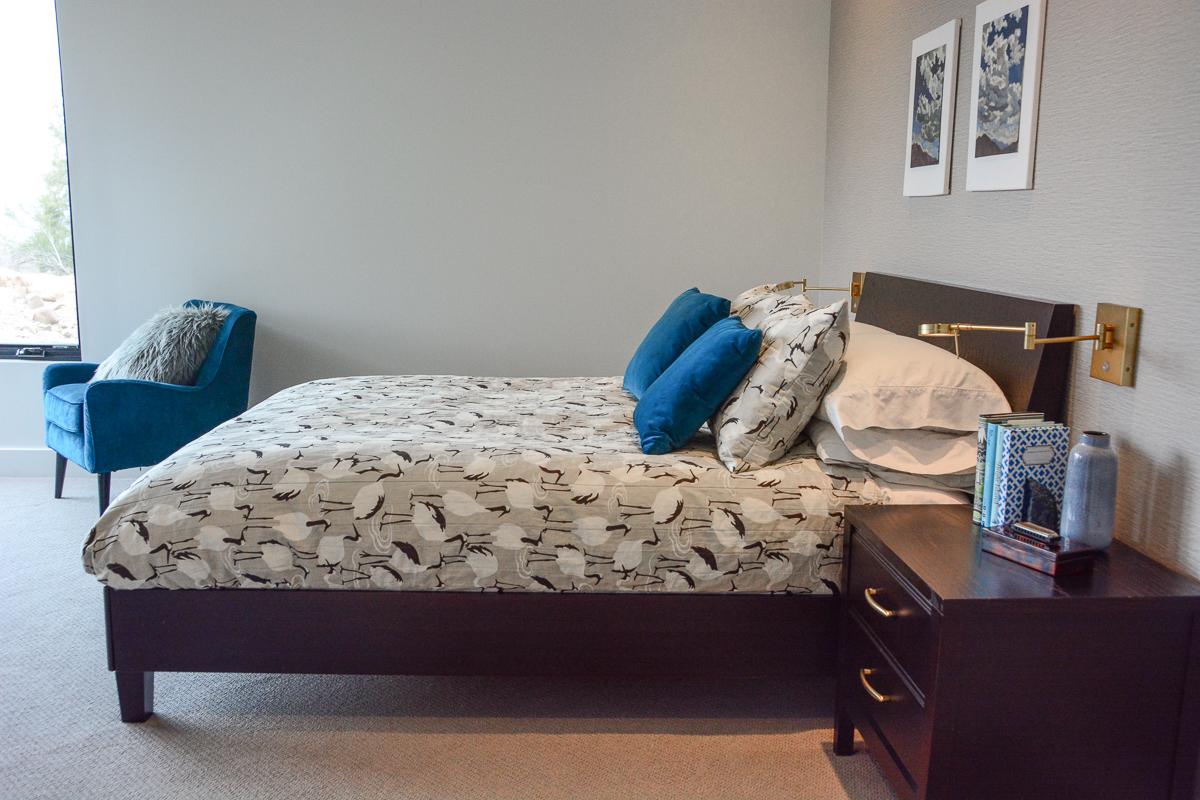
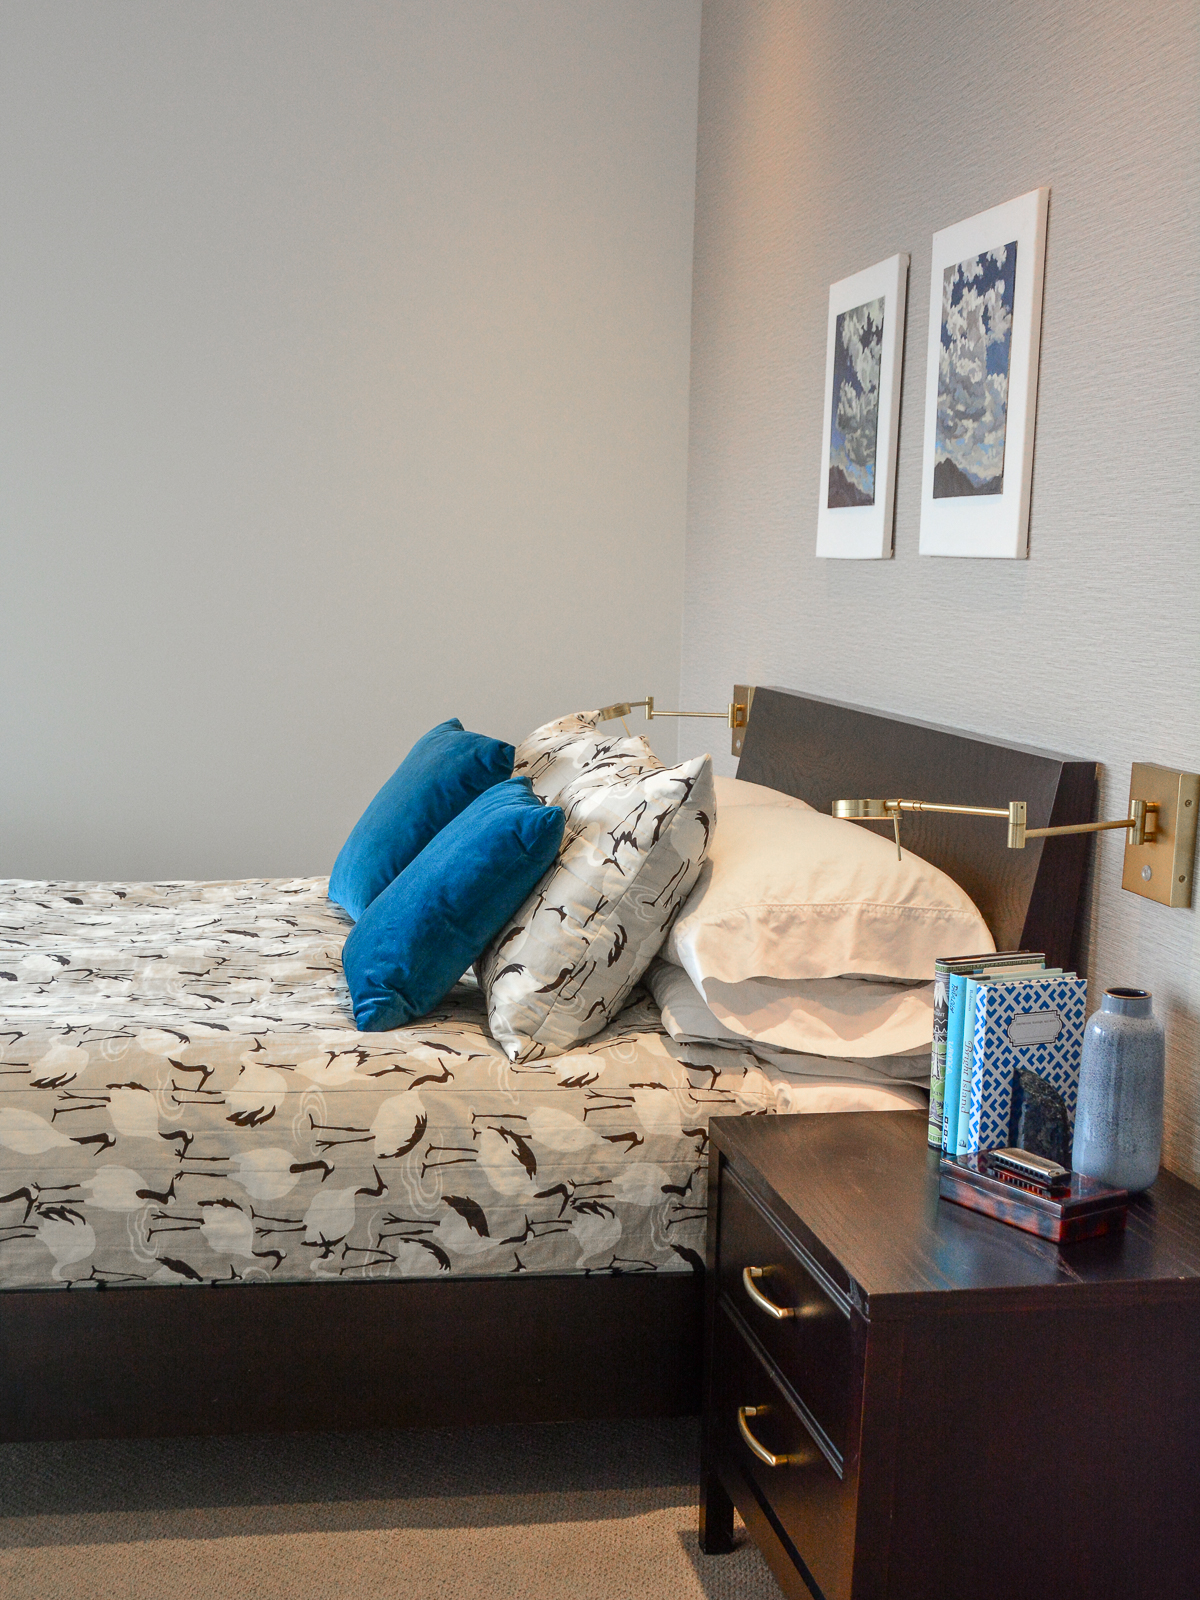
To continue this home decorating series for the bedroom, I bring you the simple channel stitched quilt. Though it may not be the most ambitious of quilting projects, it is a perfectly clean-lined and tailored way to finish a modern bed.
The simple parallel quilting lines create texture without a lot of fussiness so you can indulge in a bold fabric choice. And while I love a duvet cover, sometimes it’s nice to have a lighter cover on the bed. Tuck it around a mattress or let it drop for a more traditional look. Either way, it’s a winner.
Materials to Make a Channel Stitched Quilt
- 6 yards of your top fabric (quilting cotton or lighter weight home decorating fabric)
- Queen size cotton batting (for 90″ x 108″ sized quilt)
- 6 yards backing fabric (or a queen-sized sheet works well)
- Coordinating thread
- Your BERNINA sewing machine (I use the BERNINA 580) and Reverse pattern foot #1/#1C/#1D
- Optional for quilting, the Walking foot #50 or the Reverse pattern foot #1D used with Dual Feed
How to Make a Channel Stitched Quilt
- Before you can get to the fun of quilting, you need to sew the quilt top. Take 3 yards of your top fabric for the center panel, and cut the remaining 3 yards in half lengthwise to create the side panels. If you are using quilting cotton your dimensions may work out perfectly. If you are using wider fabric (50-60″) you will need to trim the width on the side panels so the total width, including seam allowances is 92″.
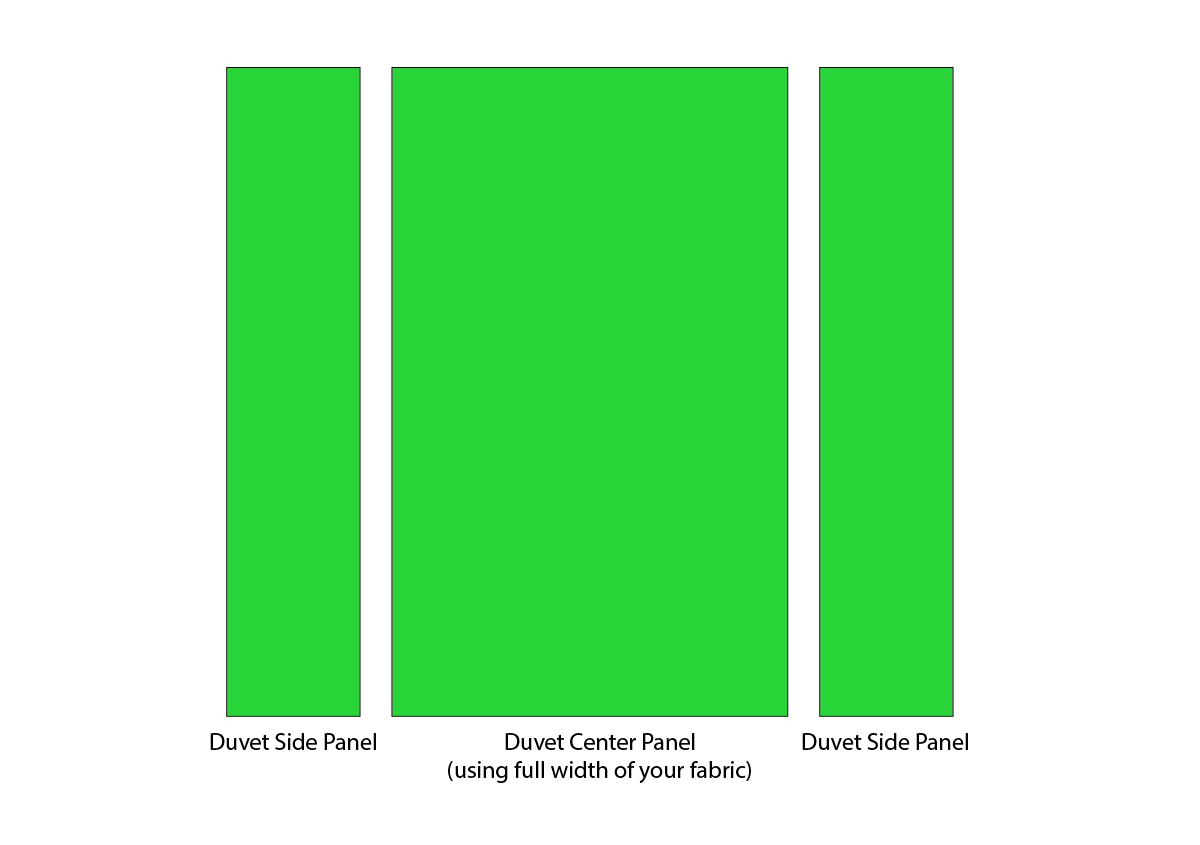
Pin the side panels to the center panel with right sides together and stitch with a .5″ seam allowance.
 Press the seam allowances to one side.
2. Create your quilting “sandwich” by placing your batting between your quilt top and quilt backing with wrong sides of your fabrics against the batting.
It’s ok if your batting and fabrics aren’t exactly the same dimensions. You can trim and square up the quilt after quilting it. It’s best to have a bit of extra batting and backing fabric as insurance against shifting while sewing.
Smooth the fabric layers to remove any significant wrinkles or folds. Pin the layers together using large safety pins every 12″ or so.

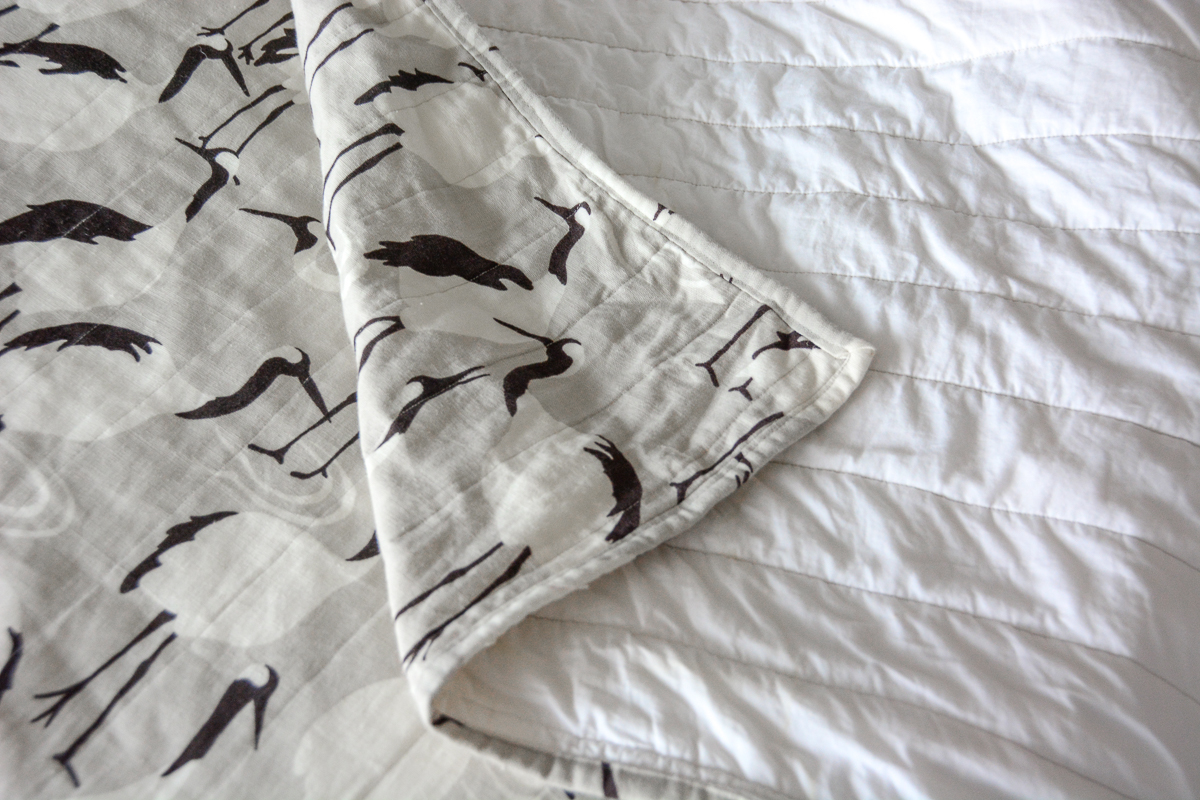
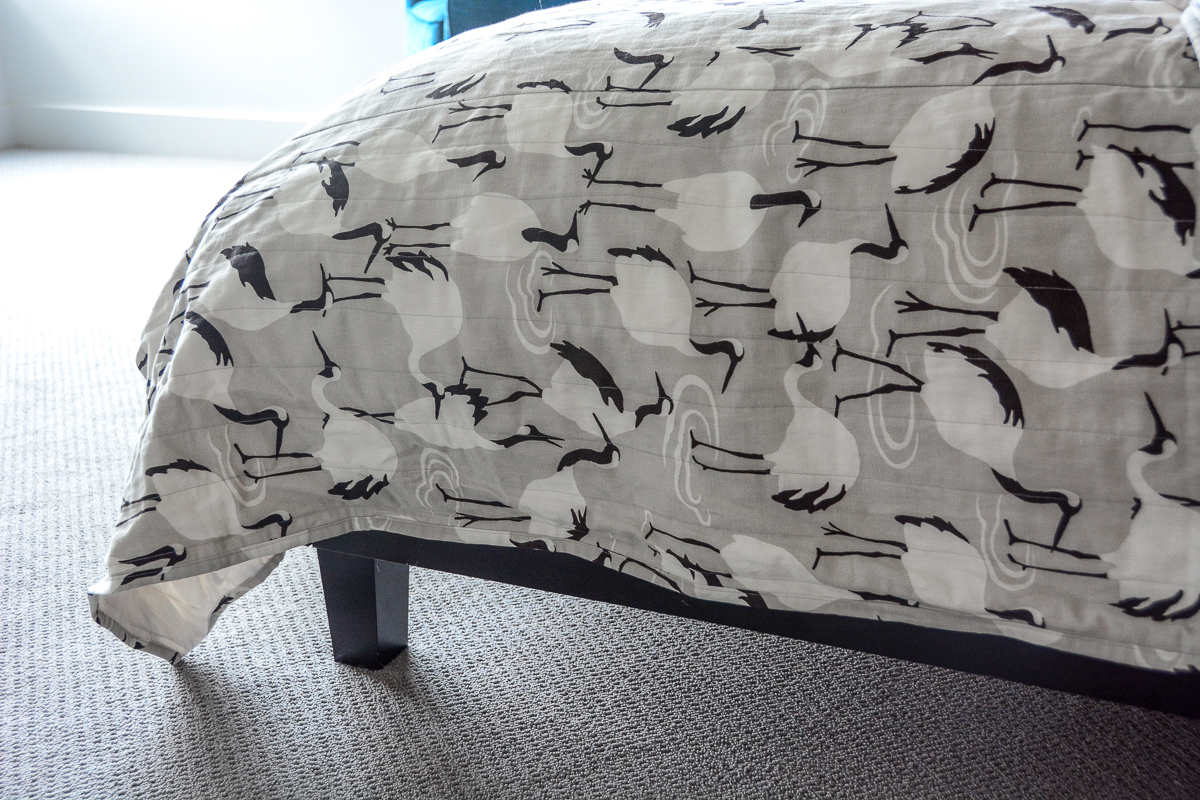
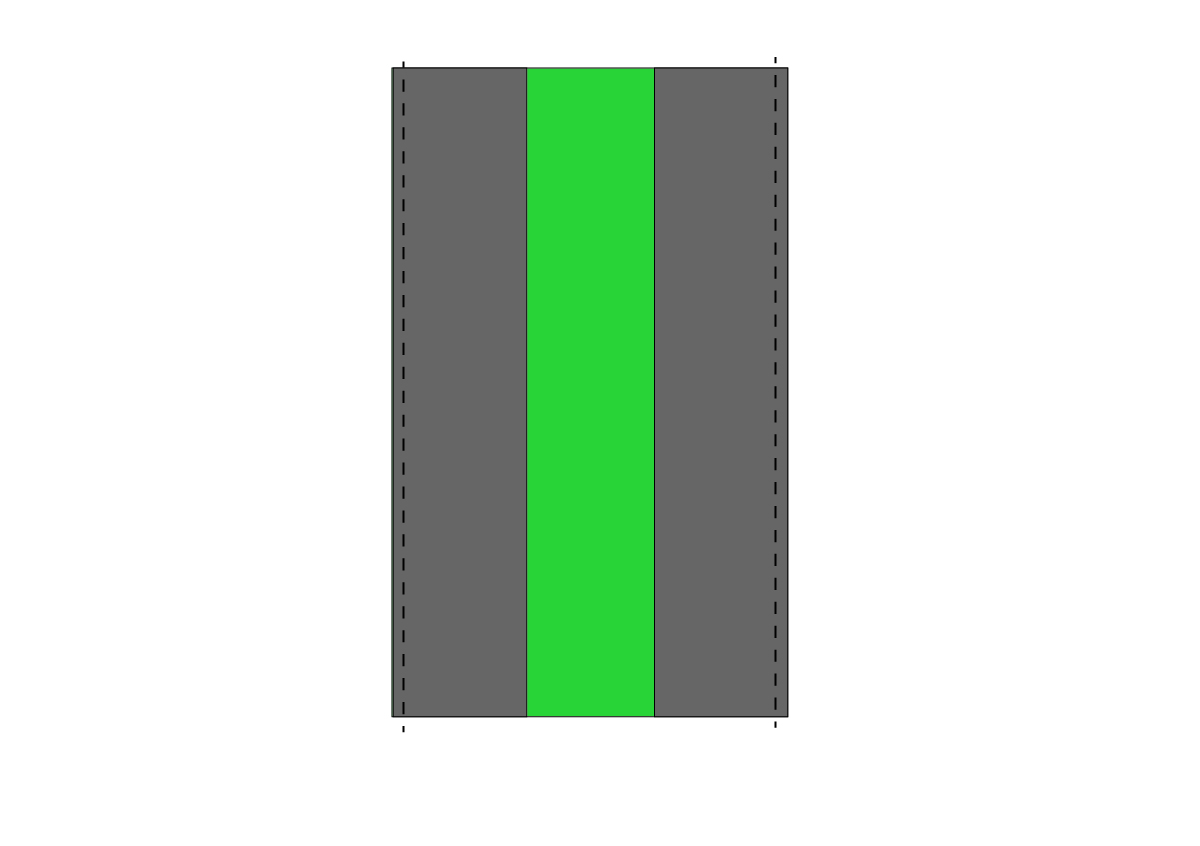
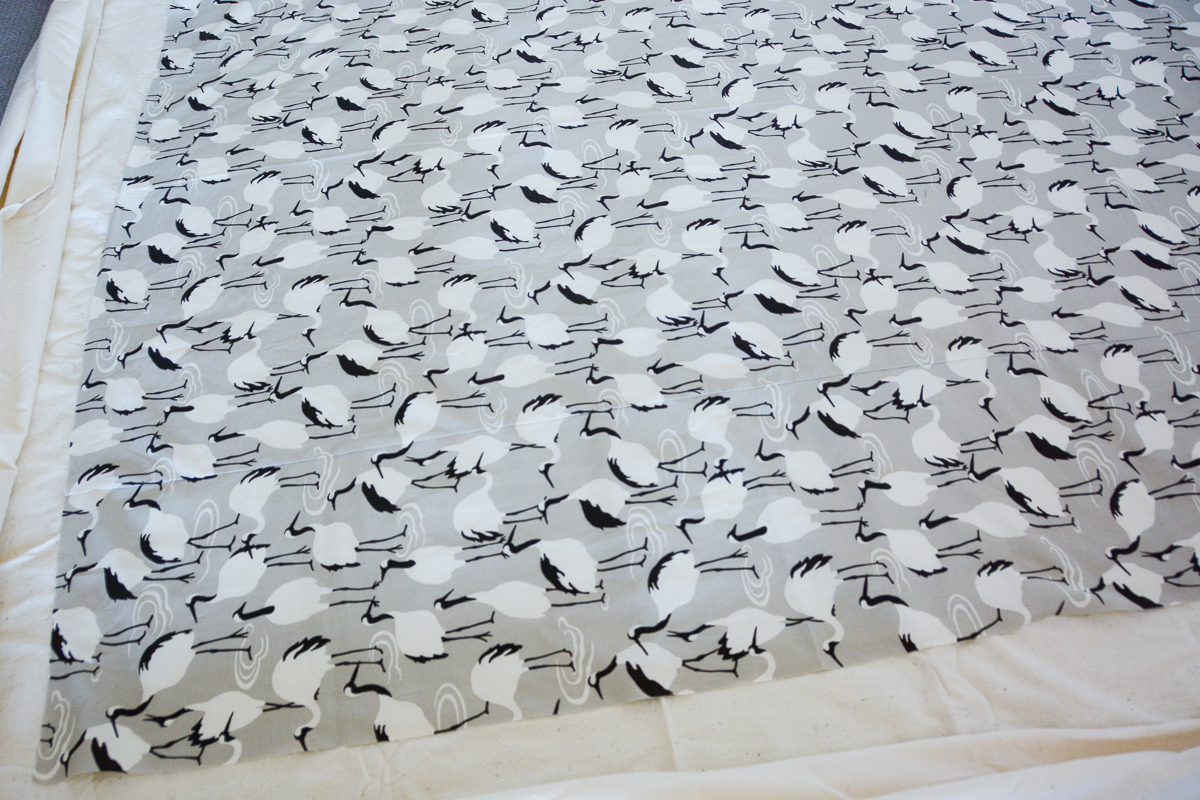
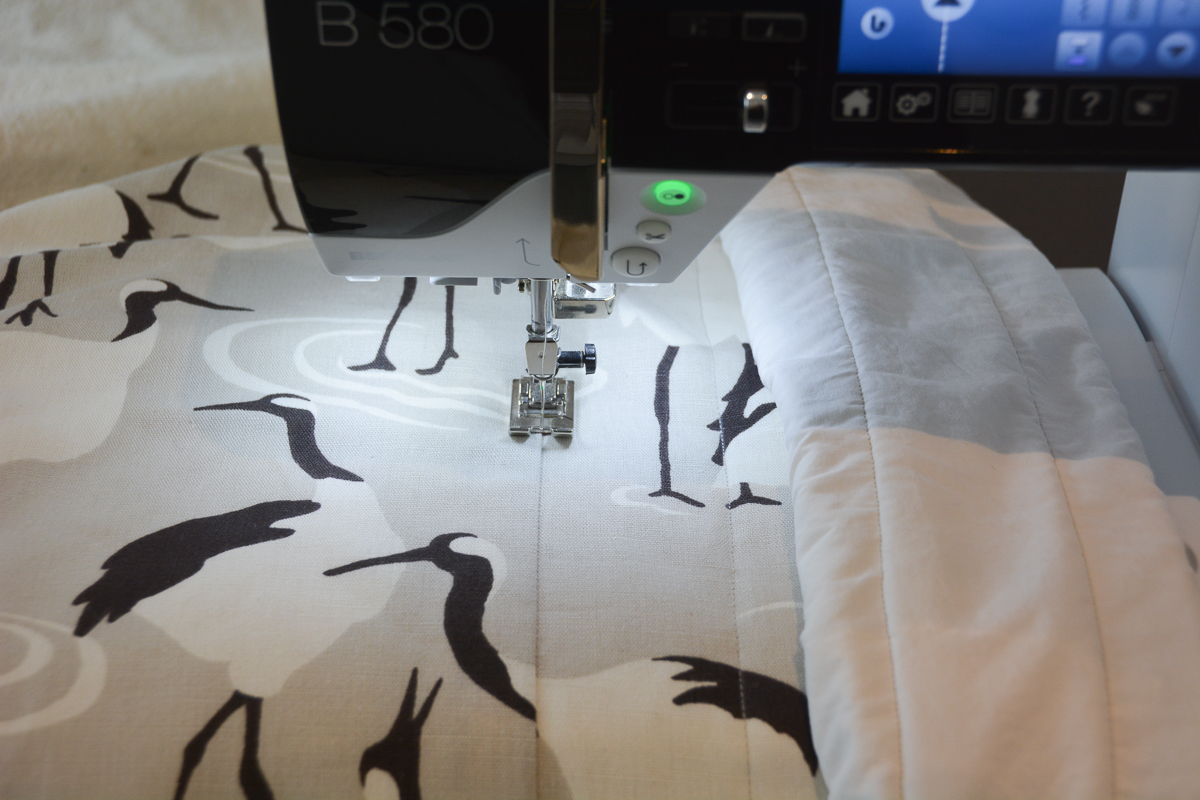
3. Plan your quilting lines. I used a clear quilting ruler and fabric pencil to mark parallel lines 2″ inches apart. Measure the width of your center panel to see if the 2″ quilting lines will meet up in a regular pattern with their panel seams. Adjust spacing of your lines as necessary.

4. Start quilting!
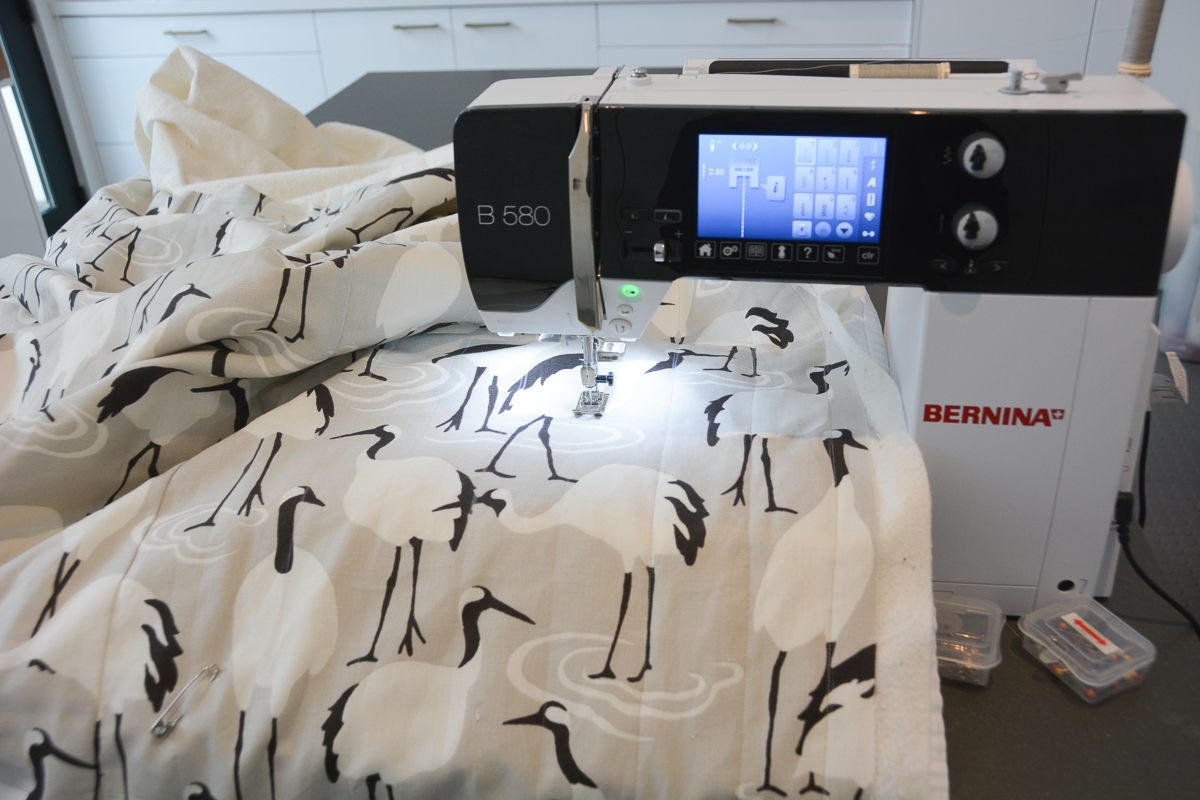
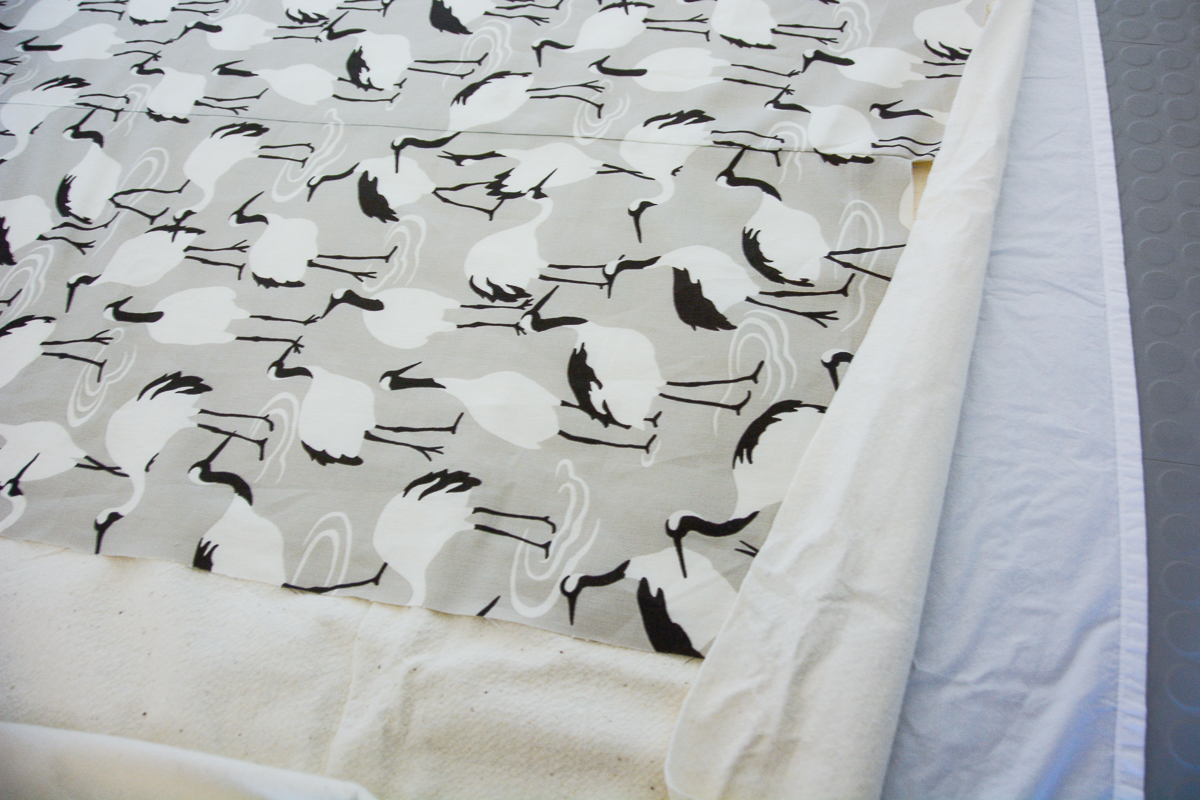
Work from one edge of the quilt and stitch down your quilting lines. Remove the safety pins as you come to them and smooth the fabric as you go to minimize the fabric shifting. Stitch down the ditch formed by the seam in between your middle and side panels.
To manage the bulk of your quilt, roll it under the neck of the machine after you have stitched it.
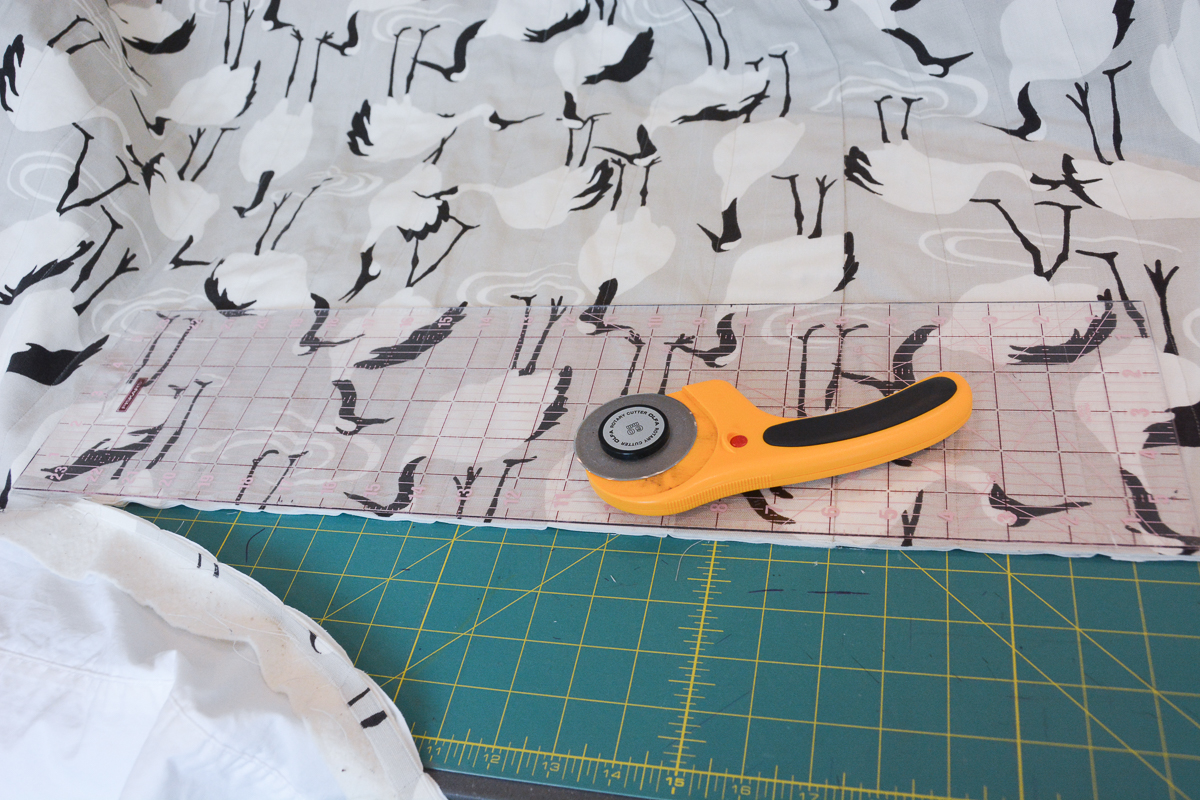
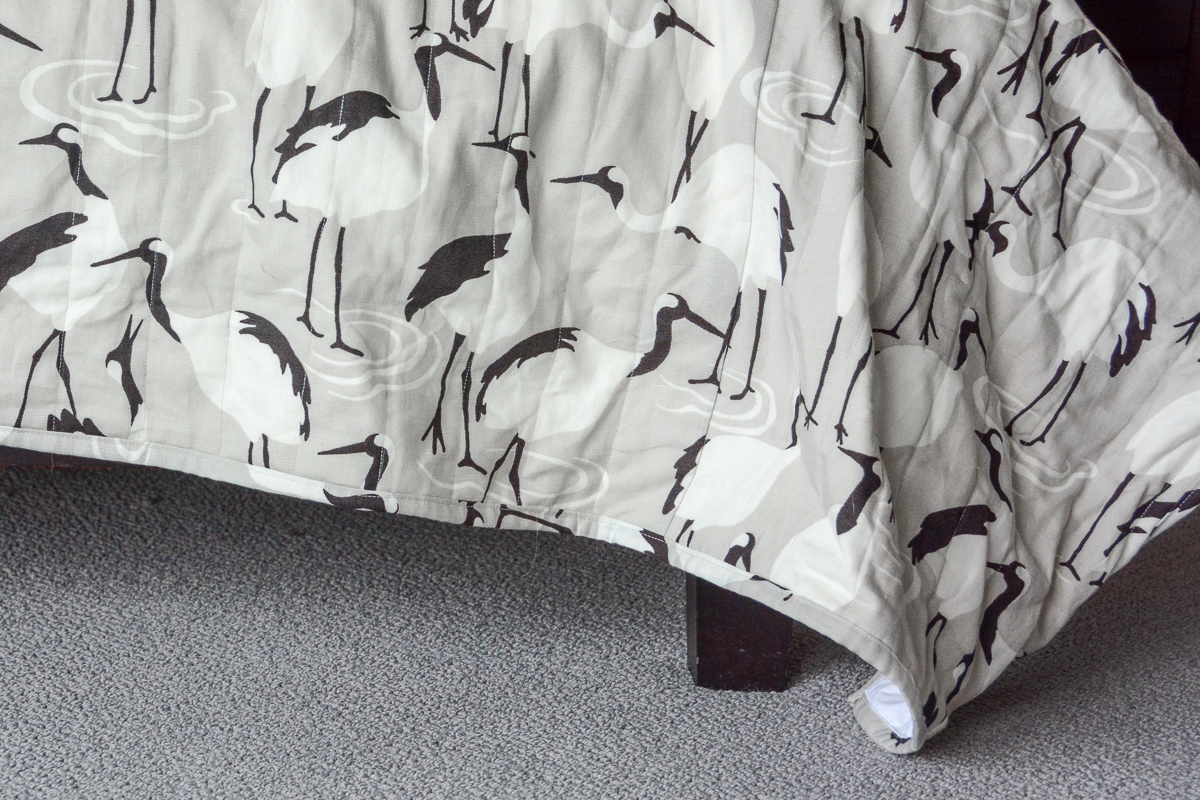
5. Square your quilt by trimming excess fabric to create straight edges and final measurements of 90″ x 108″.
6. Bind your quilt. There are many methods for doing this–choose your favorite from among them. Here is a great one on WeAllSew for a double fold binding that is finished with hand sewing.
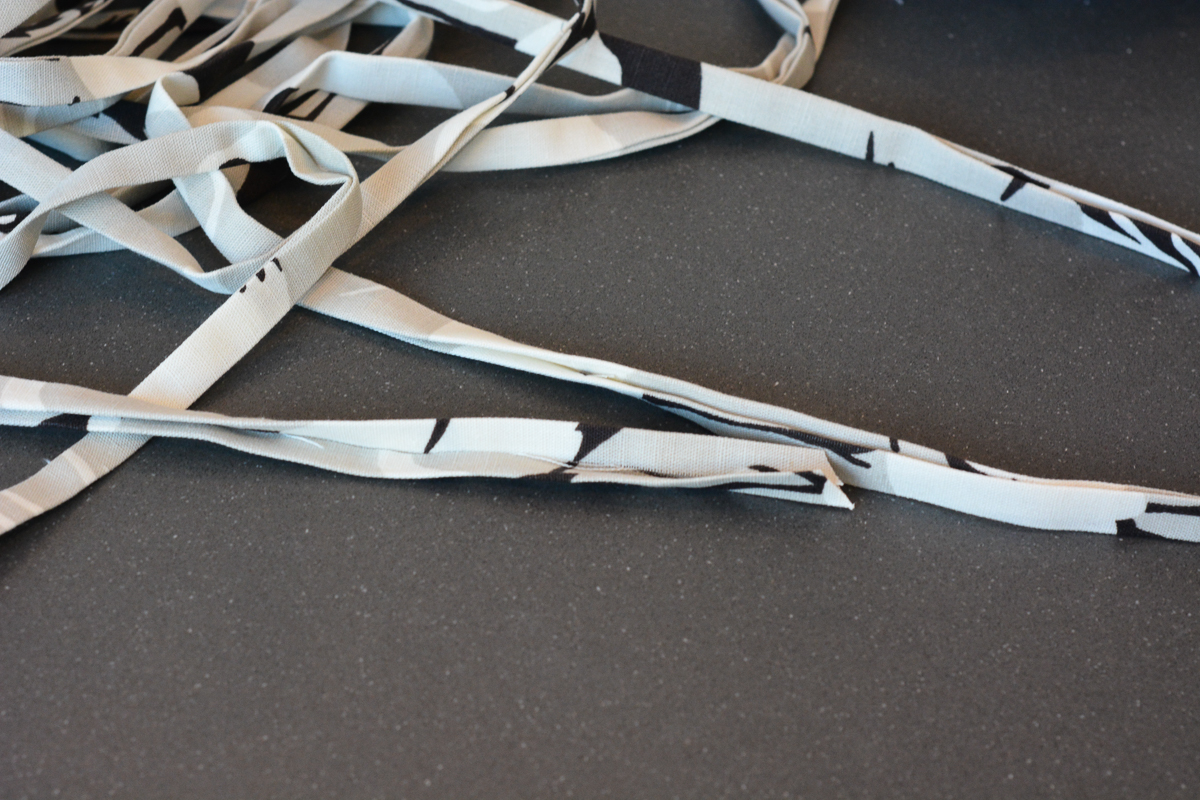
I made a double-fold 1/2″ bias binding from the same fabric as my quilt top, but you could use purchased binding or create binding from a contrasting fabric.
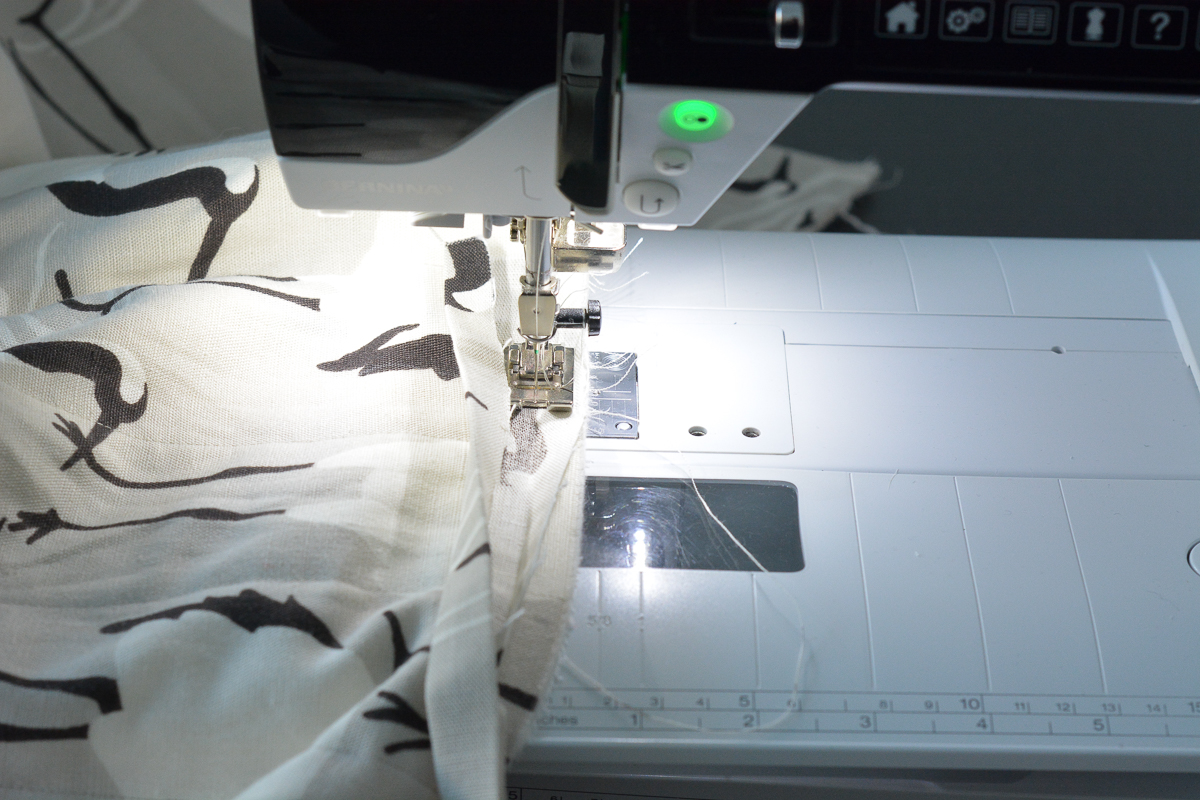
I unfolded my binding and sewed it right sides together, with raw edges aligned, around the perimeter of my quilt. I then folded it over to the back and used my machine to stitch it down on the reverse side along the folded edge of the binding.
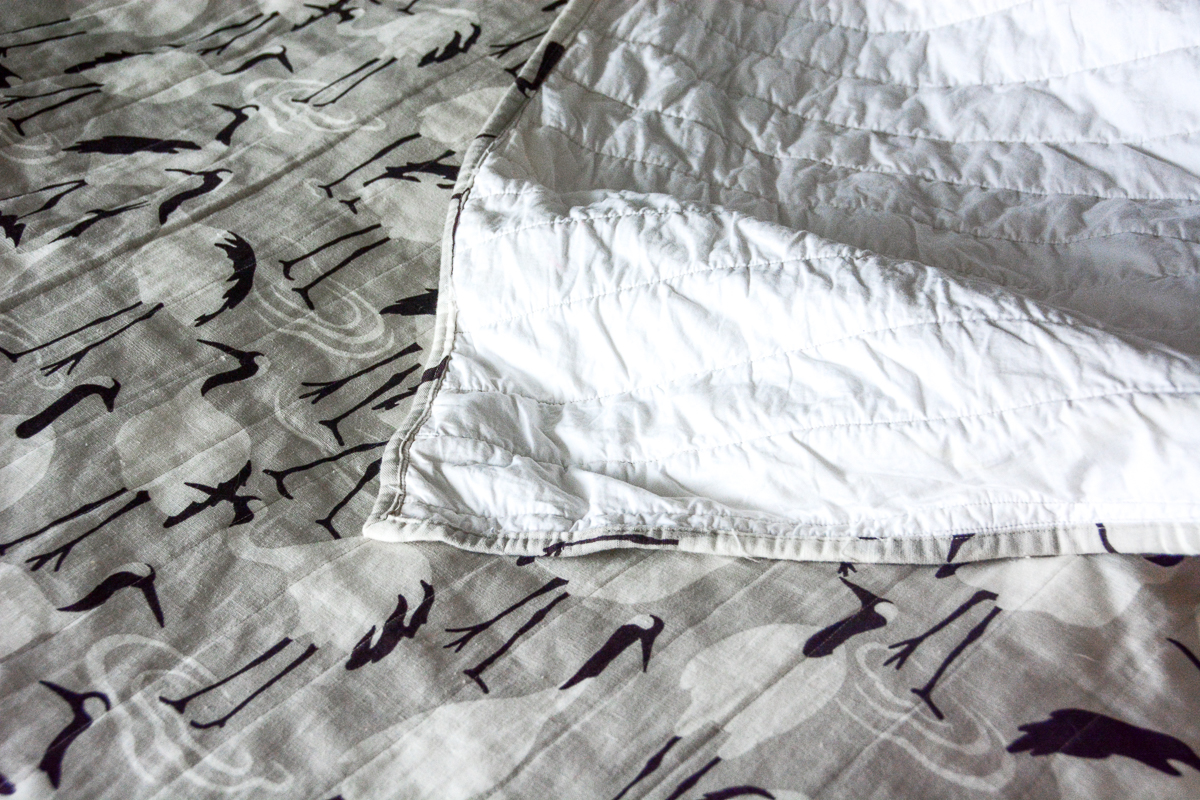
It’s a fast finish for this simple project. But the results are pretty dramatic! And as you wash the quilt the fabric will shrink a bit for even more of that fabulous puckering.
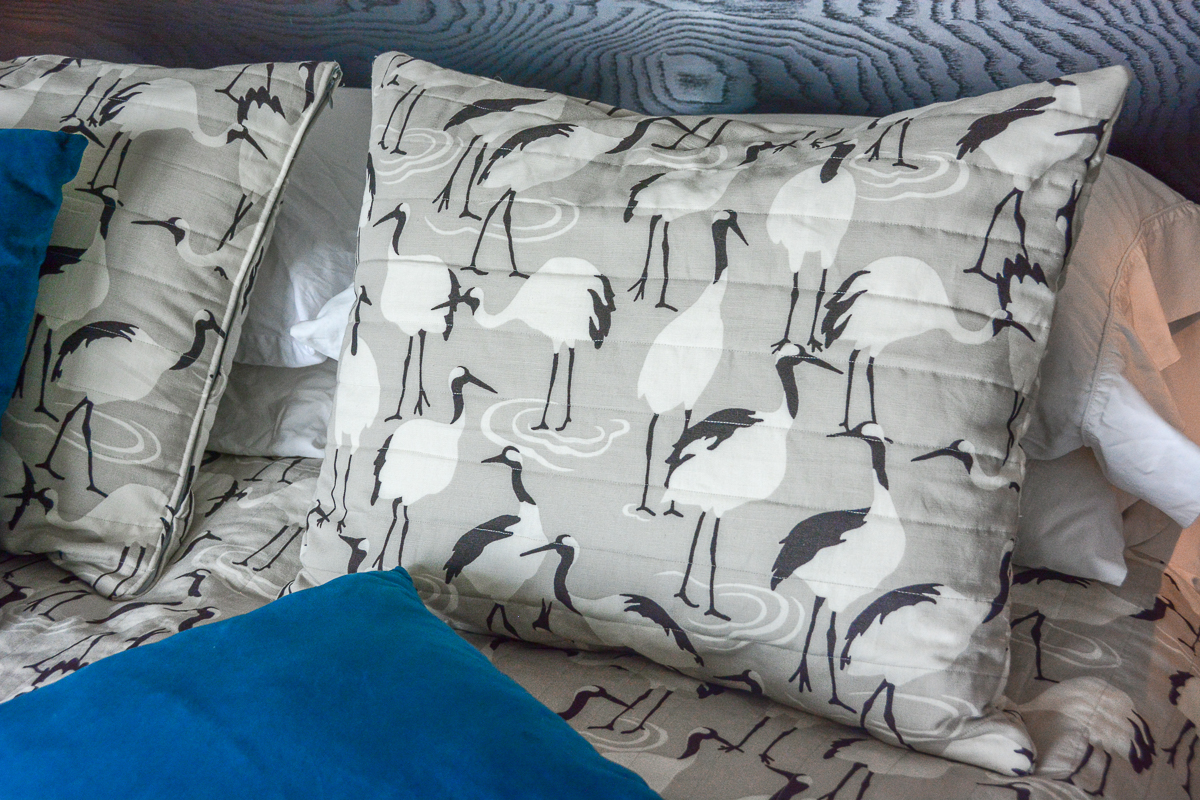
Stay tuned for a tutorial to make quilted pillow covers to matching your channel-stitched quilt.
You might also want to check out my posts in this bedroom home decoration series on how to sew a:


What you might also like


One comment on “How to Sew a Channel Stitched Quilt”
Leave a Reply
You must be logged in to post a comment.

Thank you. Just what I needed. I am going to make a bed cover and you have given me a couple more ideas.