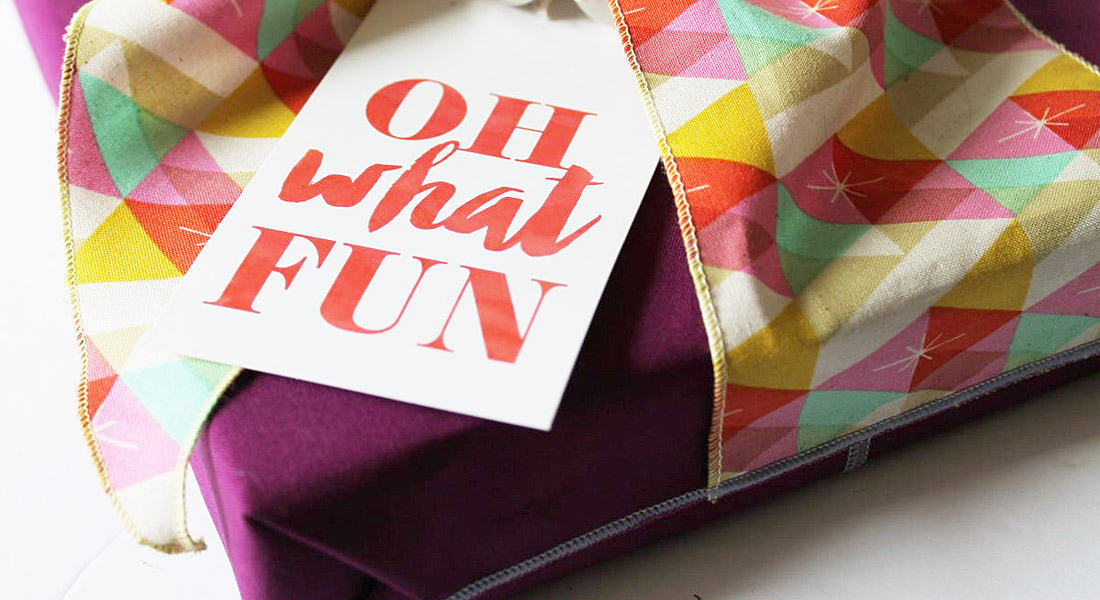
DIY Holiday Gift Bags in Under 10 Minutes
Hi everyone, it’s Kerry here from @kidgiddy with the fastest holiday gift bag tutorial ever. It’s that time of year where the holidays, dinner parties and deadlines descend upon us with a fast and furious intensity. Each day I wake up and hope I can get it all done, are you with me? Whew!
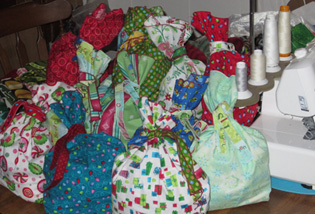
Well, I’ve got some great news for you! I’ve created a super simple tutorial for you to make your own reusable Holiday Gift Bag in less than 10 minutes! Not only are these super quick and easy to make, but you can also reuse beautiful scraps of ribbons and ditch the wrapping paper that you can’t recycle. Got some holiday helpers at home? This is a perfect project to help teach sewing to a new friend as well.
Materials to create your Holiday Gift Bags
- Bamboo, Wool or Acrylic felt
- Ribbon Scraps (best as 1″ width and at least 12-18″ long; wider width means longer length needed)
- 50 Wt Threads to match
- Mini iron (as needed to press felt and ribbons)
- Sewing machine
- Thread snips
Cutting Instructions
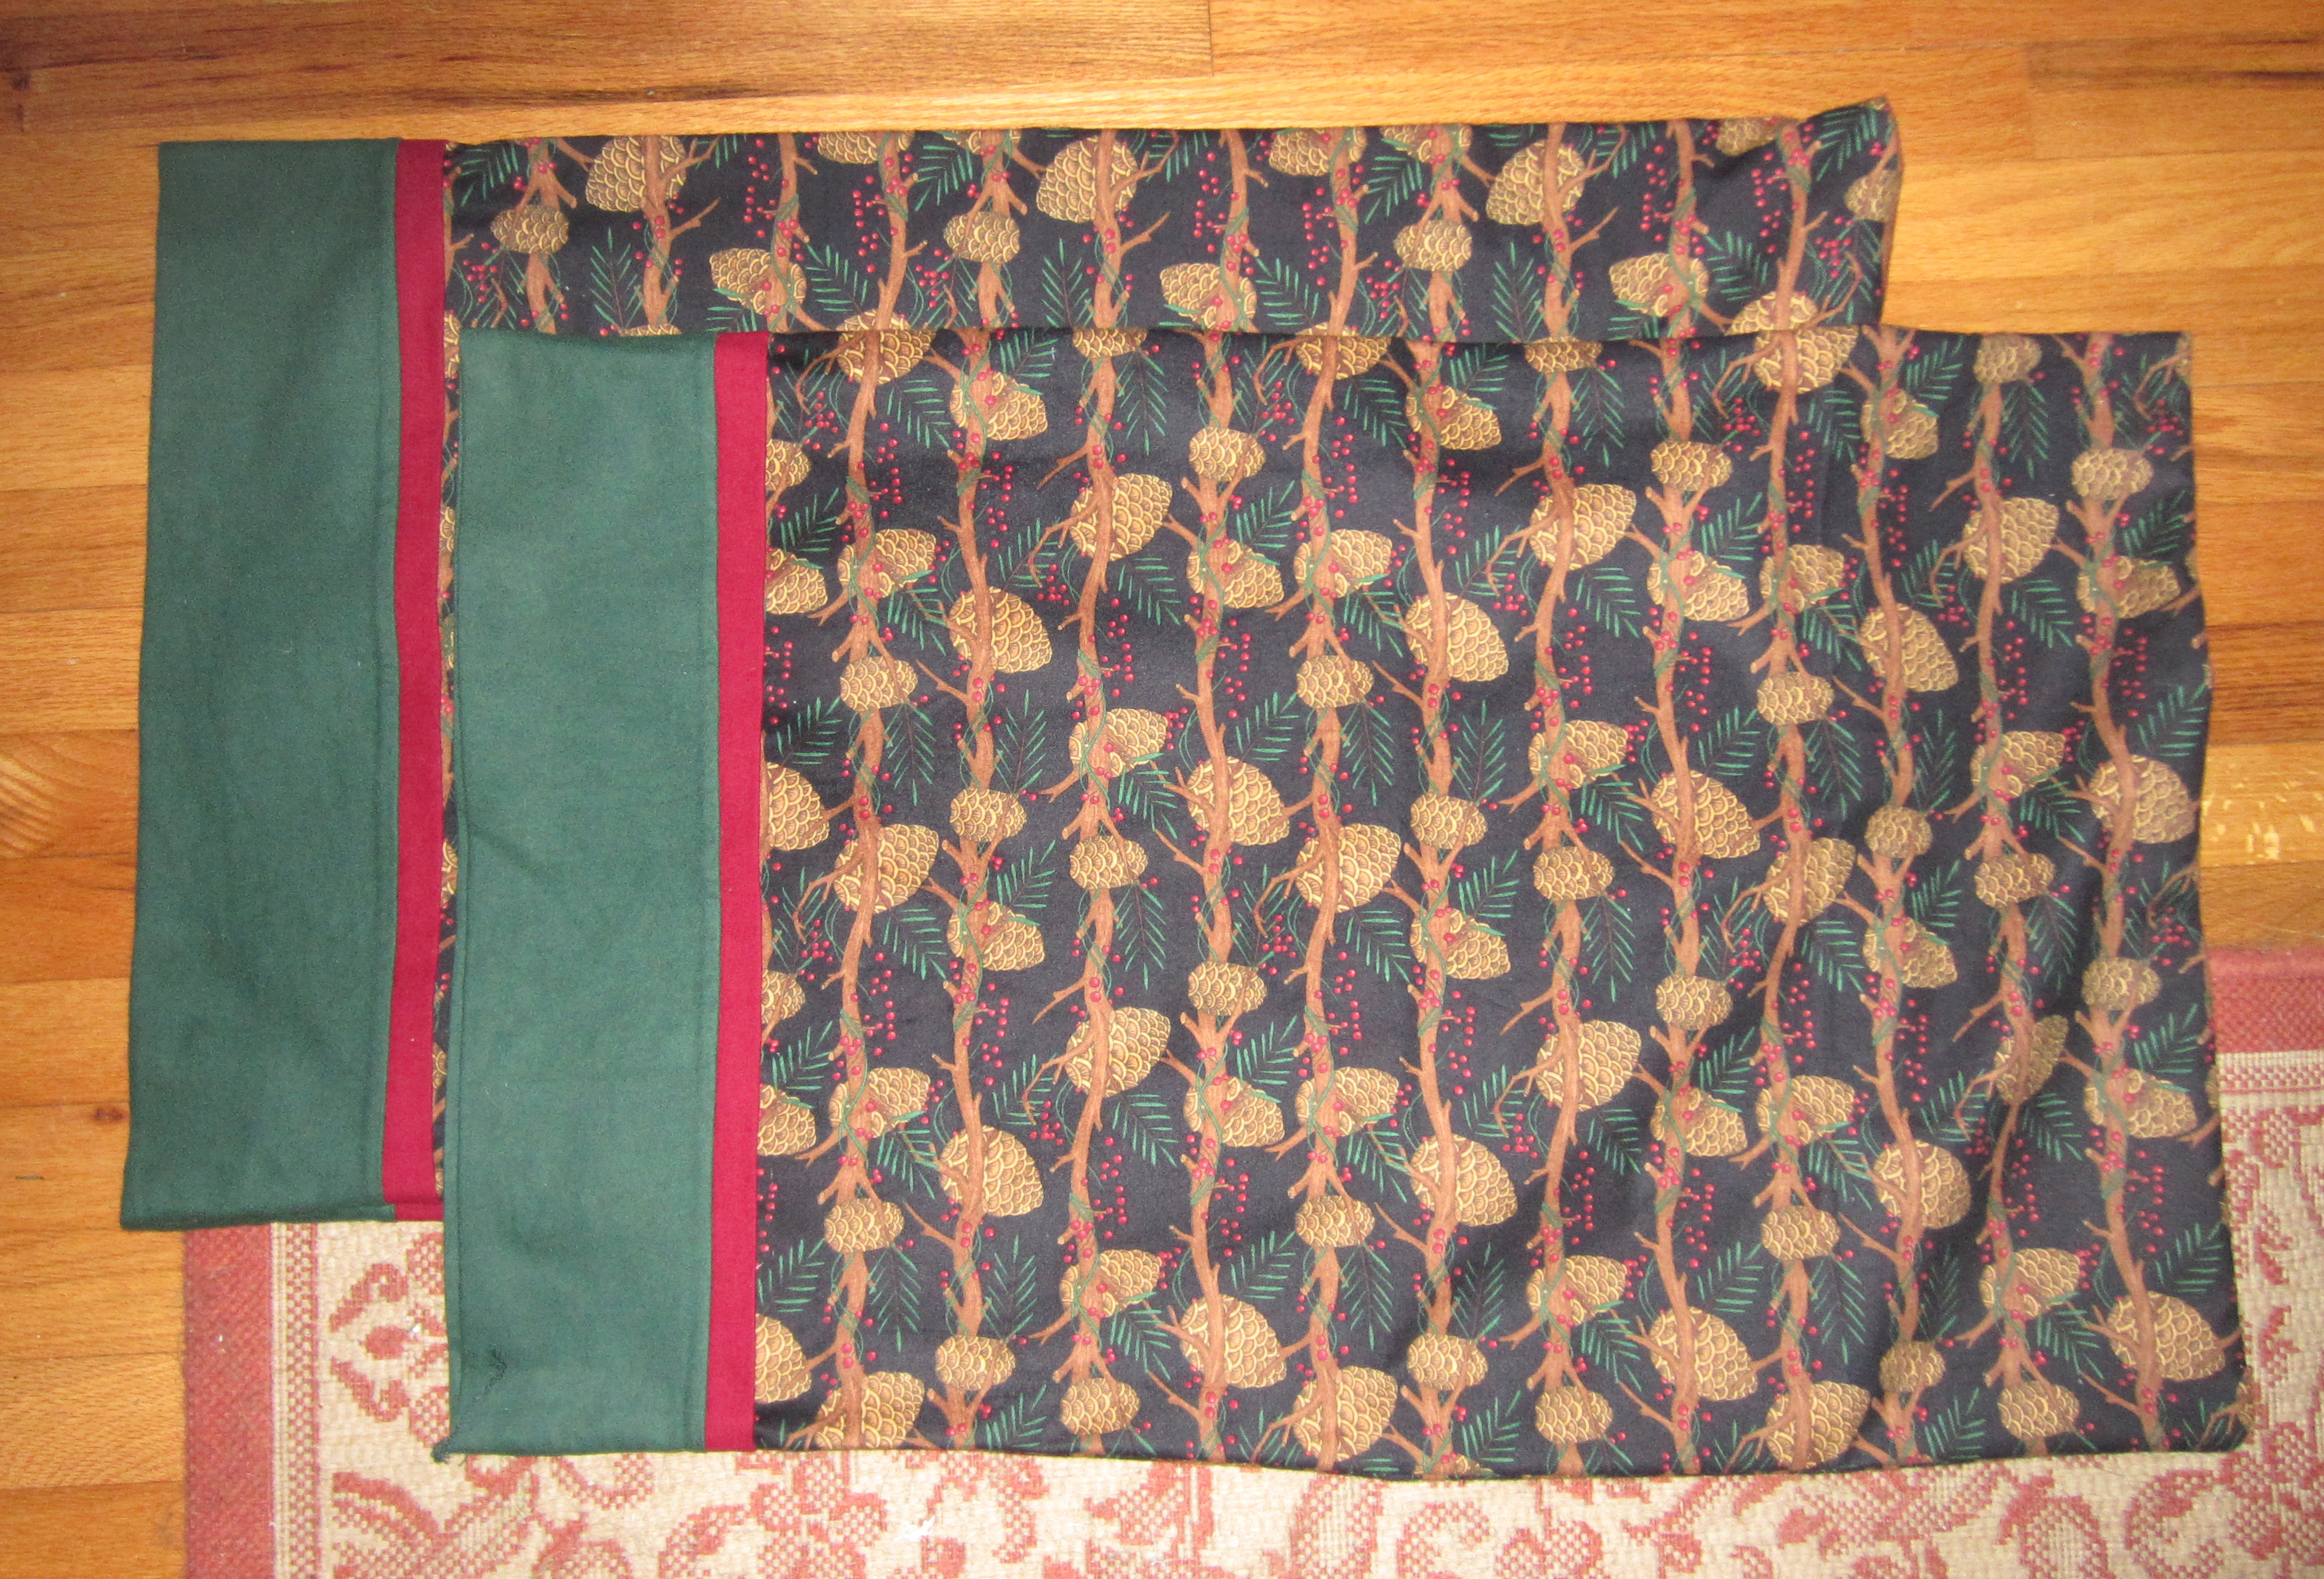
- Large Bag: 1 piece of 13″ x 36″ Felt in Glitzy Felt in White; 1 piece of Ribbon (2 1/2″ base)
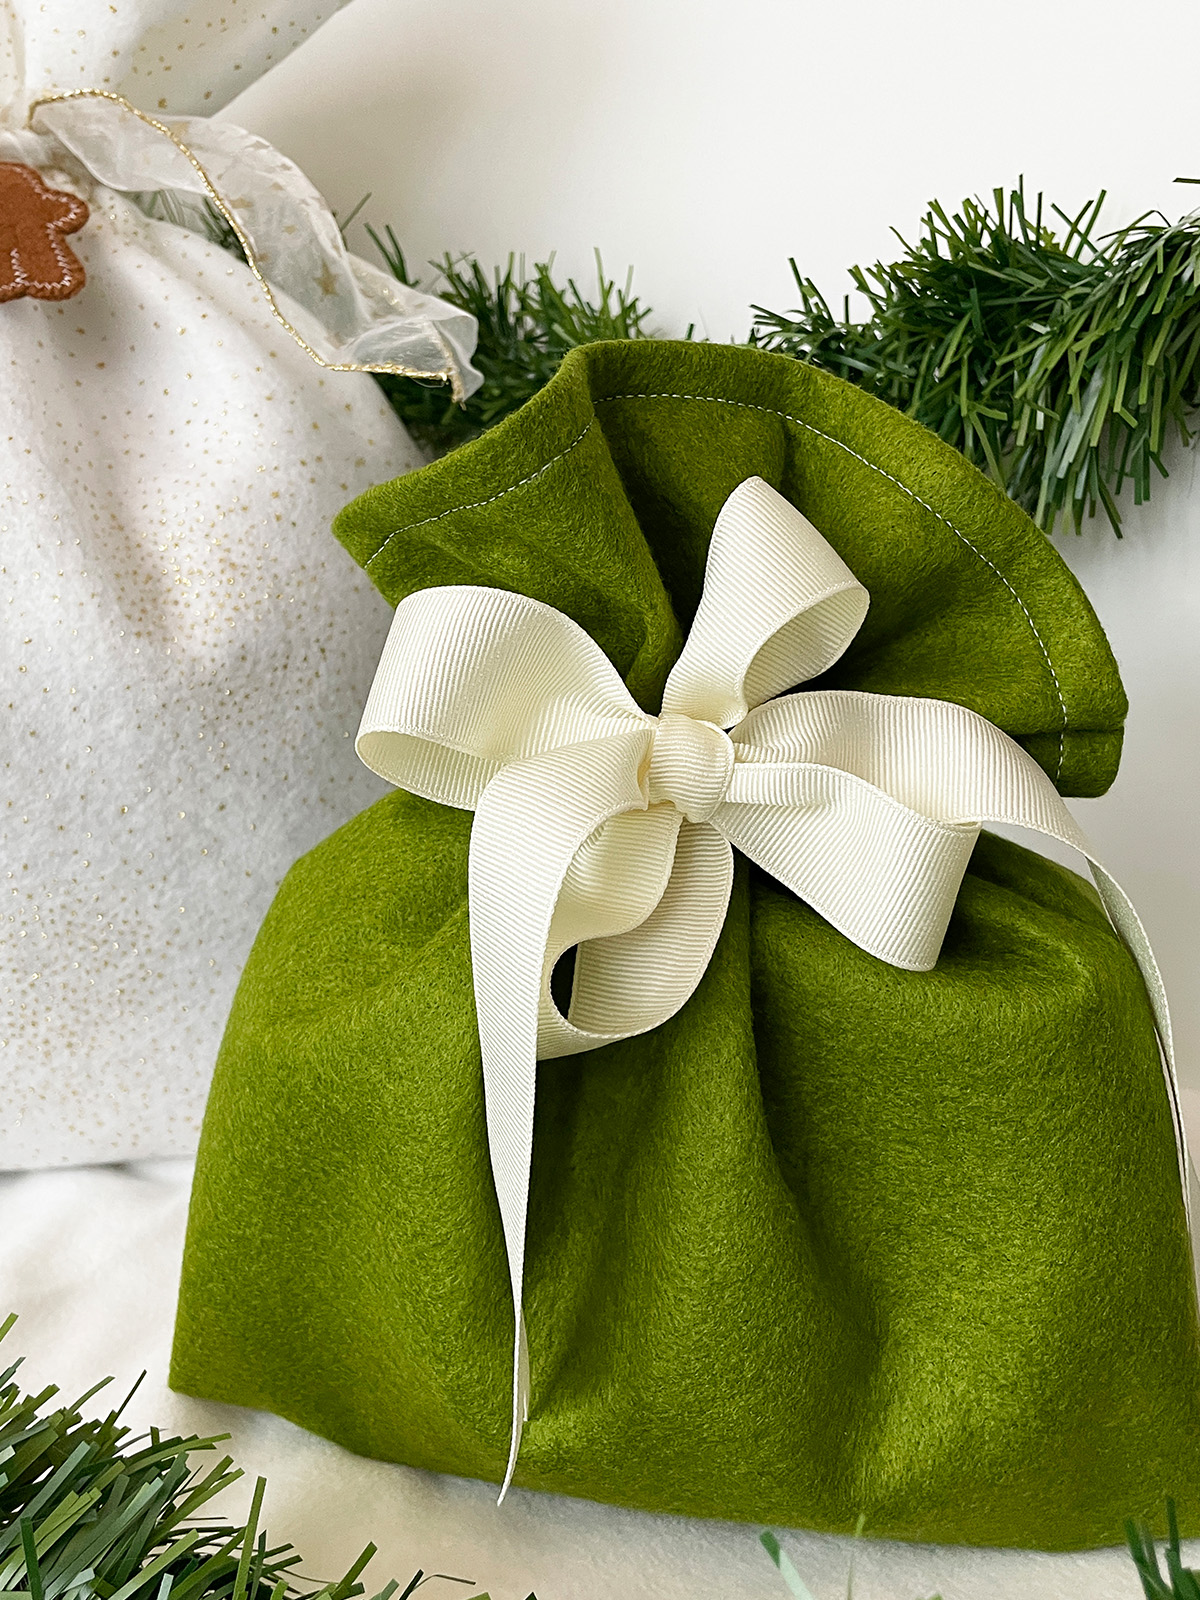
- Medium Bag: 1 piece of 10″ x 22″ Xotic Bamboo Felt in Moss; 1 piece of Ribbon (2″ base)
- Small Bag: 1 piece of 6″ x 16″ Fiesta Felt in Baby Blue; 1 piece of Ribbon (1 1/2″ base)
Presser Feet and Accessories
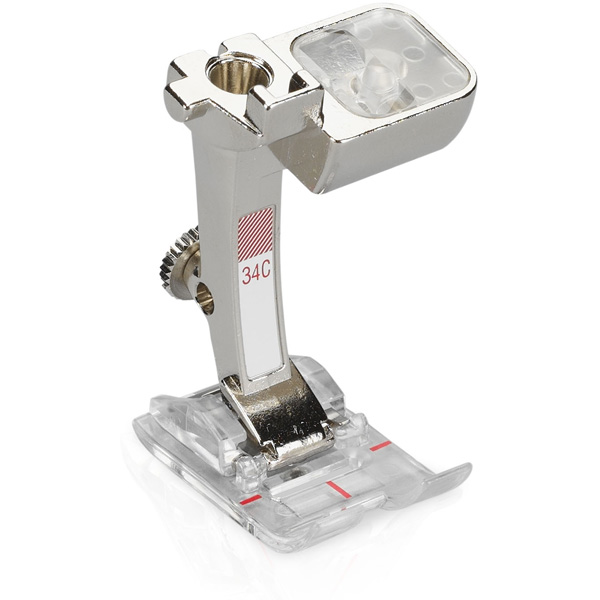
Reverse pattern foot with clear sole #34C
Let’s Get Started on Those Holiday Gift Bags
Are you ready for how quick this will be? Let’s go!
1) Place your ribbon in the center at one end of the bag, and stitch in place (I sew a rectangle and then an X for durability). It should be about 3-4″ down from the top, but this will depend on the size of your present. Do not place the ribbon at halfway or more than halfway down.
If you have a thicker ribbon, consider folding it (like binding or an accordion fold) to tie it easily in the end. The pin is there to show you how to pin it so it stays put while you begin stitching it in place. Do not try to sew over the pin. 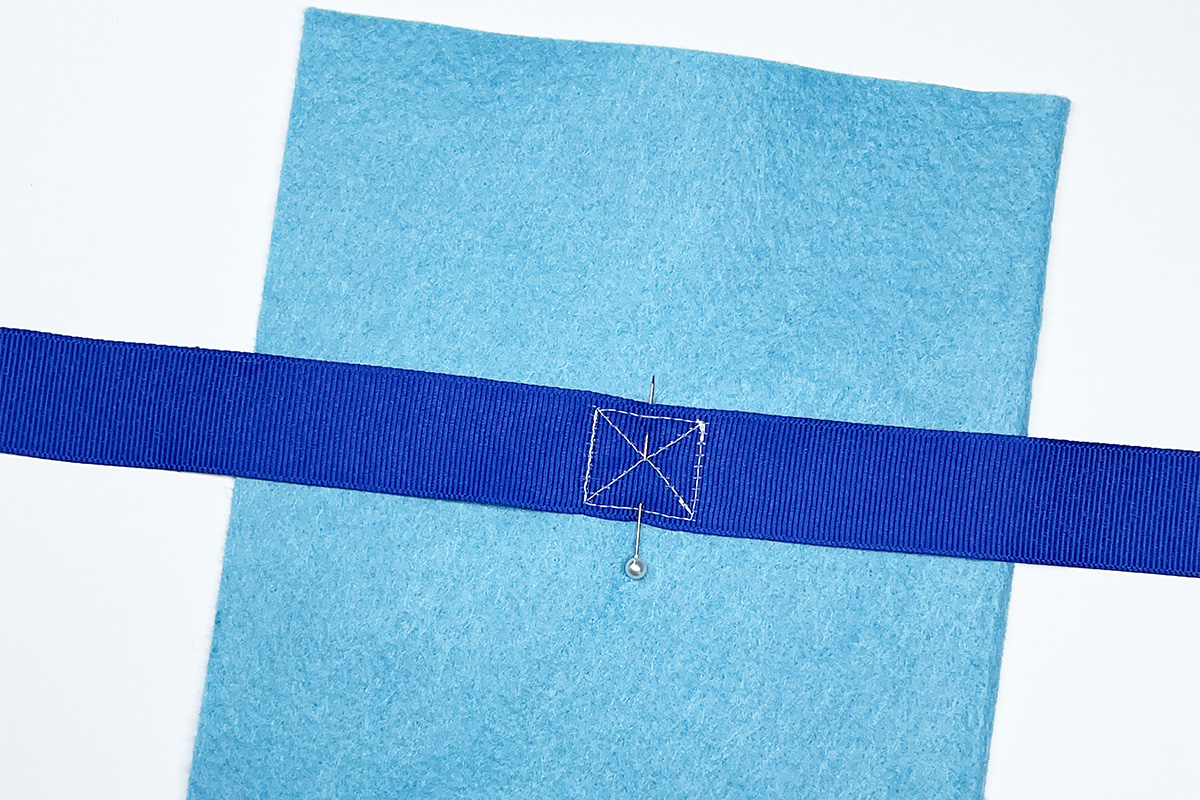 2) Fold down each top edge about 1/2″ and top stitch to secure. The raw edge should be on the opposite side of the ribbon.
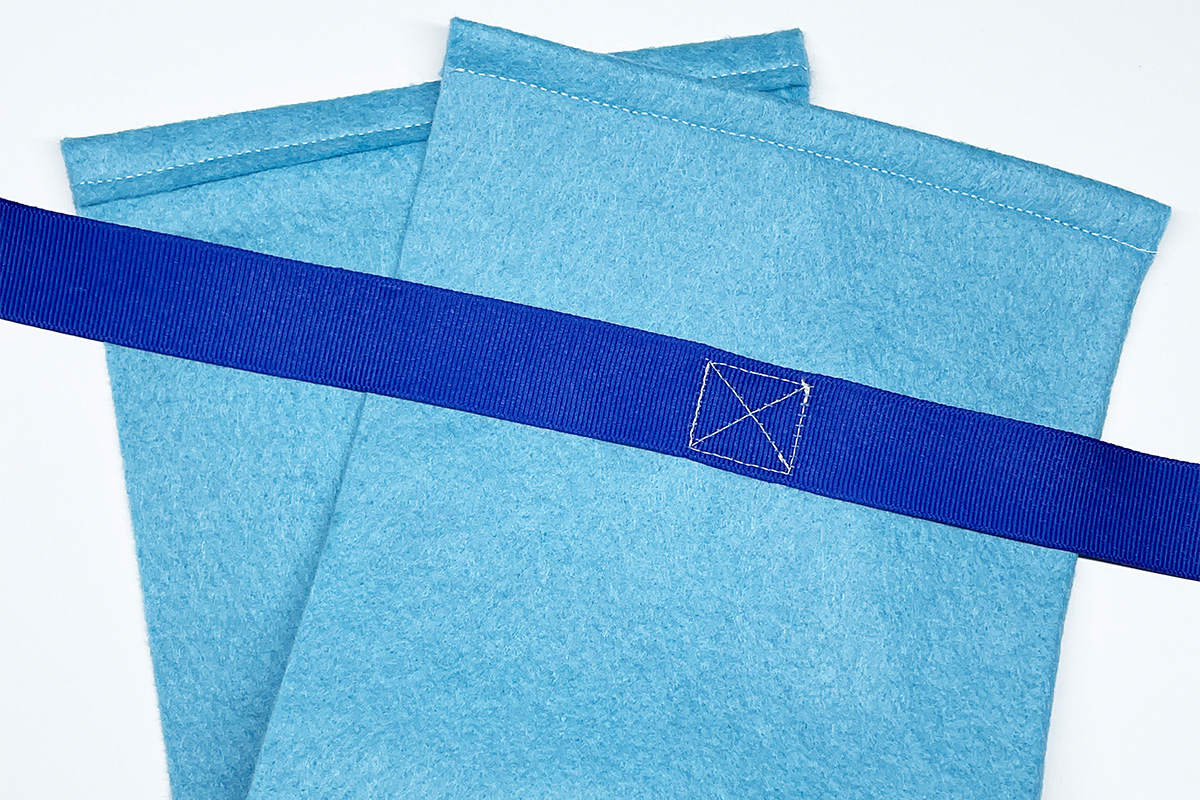 3) Fold the bag in half, right sides together, and pull the ribbon out from the top or fold into the center to be clear of the seams.
4) Place a (blue) pin on the bottom sides to indicate where to stop the pleat. If you want a 2″ base, you’ll place the pin two inches above the folded edge. If you want a 4″ base, you’ll place the pin four inches above the folded edge. With the pin in place, tuck the fold upward into the bag. Now you have two folded edges. If your base is 2″, your two folds will now be 1″ each.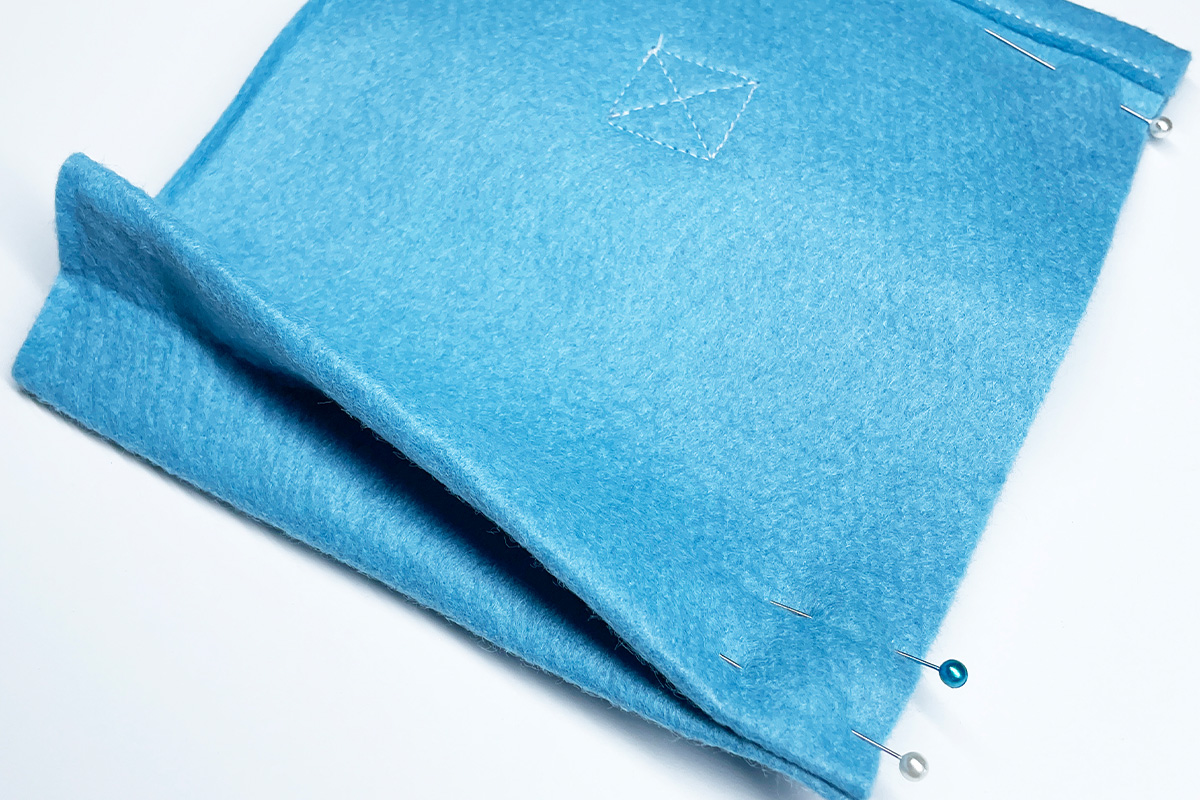 5) Sew both sides of the bag from the top edge down to the bottom folds and turn right side out.
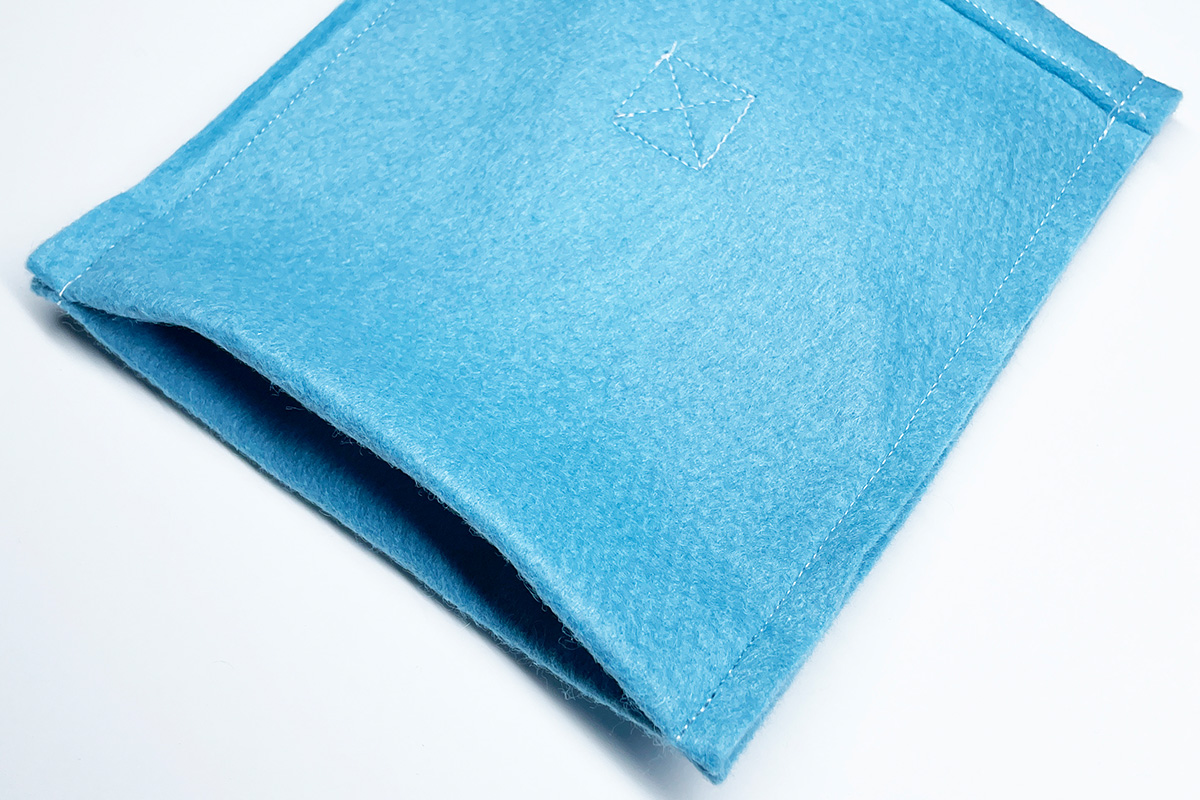 6) Stuff the bag with gifts, and tie the ribbon to finish.
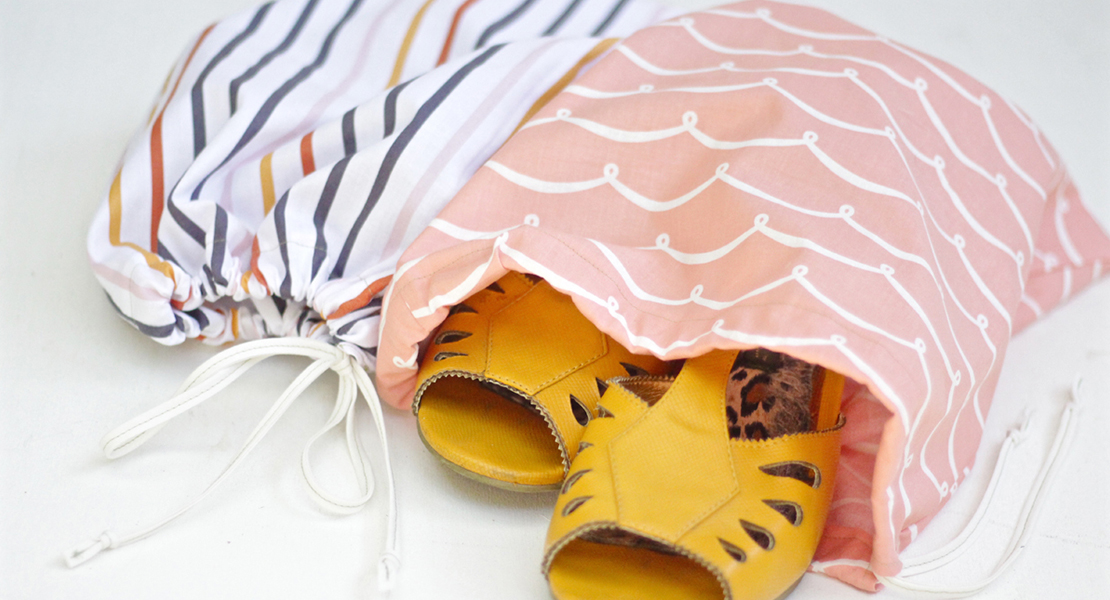
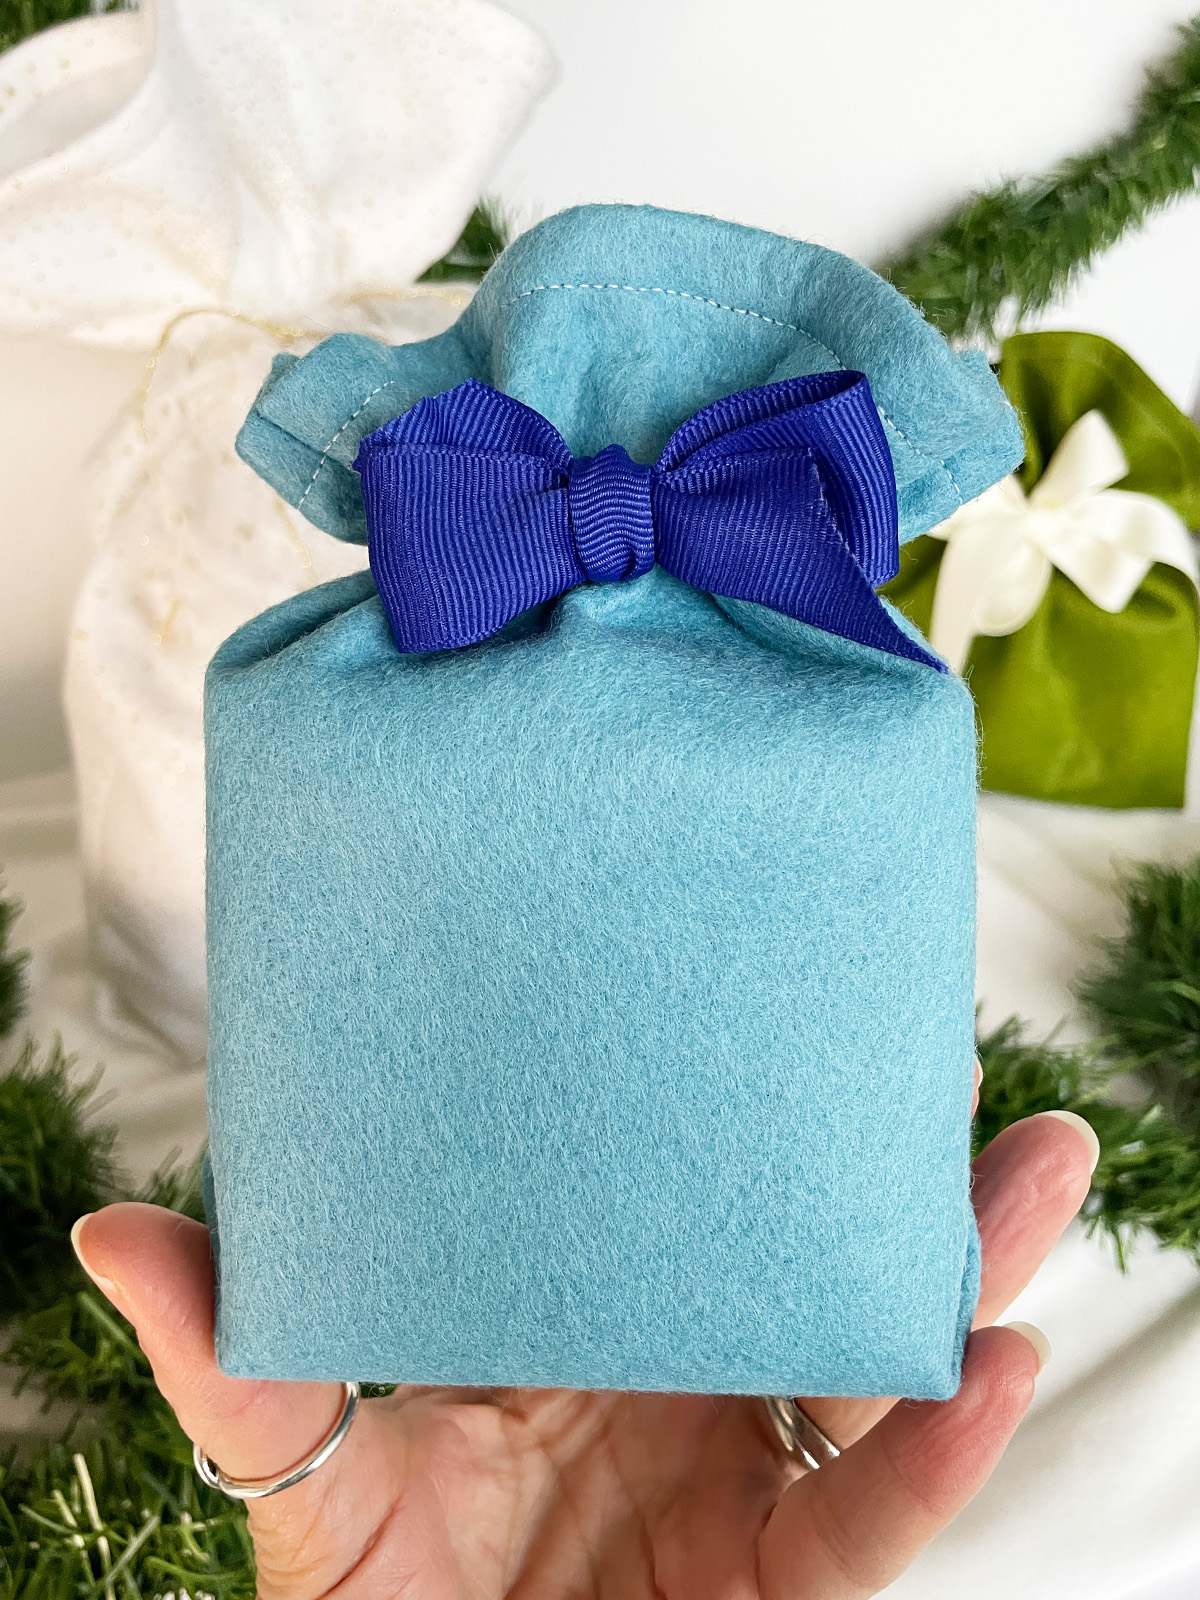 Now wasn’t that so quick and easy. The more holiday gift bags you make, the quicker and easier they will get. Eventually, you’ll be stocking up on beautiful felts and holiday ribbons because they are better than wrapping paper and tape!
Want to sew a Gift Bag for a certain-sized present you need to give this Holiday?
Measure the gift first…you’ll need the width (x), depth (y) and height (z) and these simple calculations:
- To obtain the proper width of your fabric: (x + y) + 2″ = width (the +2 is for ease and seam allowance).
- To obtain the proper length of your fabric: (y + z) x 2 + 4″ = length (the +4 is for the ruffled top and the hem allowance).
- As mentioned above, place a pin on the sides, up from the folded bottom that matches the depth. Once the first fold is tucked, both sides should be half of the total depth.
 Quick Tips:
- If you are using thicker Ribbons for your gift bag, you may need it longer to create a nice size bow. You can see my Glitzy white gift bag is using a wire ribbon. It’s not long enough to sew into a bow, but the wire will allow it to stay in place.
- Please use caution when using ribbons with wires so you don’t damage your scissors or your machine.
- I found 1″ Grosgrain ribbon to be the easiest to work with and it can be gently ironed if wrinkled from prior use.
That’s a Wrap for the Holiday!
Thank you so much for joining me! If you want to take a few more minutes to personalize your bag, my Tiny Holiday Cookie tutorial is a great way to add an image silhouette to the front of the bag, or make a cute gift bag tag. You can also add a simple monogram as well, using the same techniques shown in my Tiny Holiday Cookie tutorial. I’d love to see your holiday gift bags made from this tutorial! Tag me on IG @kidgiddy and #kidgiddy to show them off.