Understitching Tutorial
Sometimes when I am sewing a garment project, I have a little itching desire to skip all of the non-essential steps and rush my way to the finished product. Wouldn’t it be more fun to be done and finally get to wear this garment? But, I’ve learned that I actually like my clothes a bit more when I’ve taken the time to sew slowly and appreciate each step of the process. One of those steps that I used to deem non-essential was understitching.
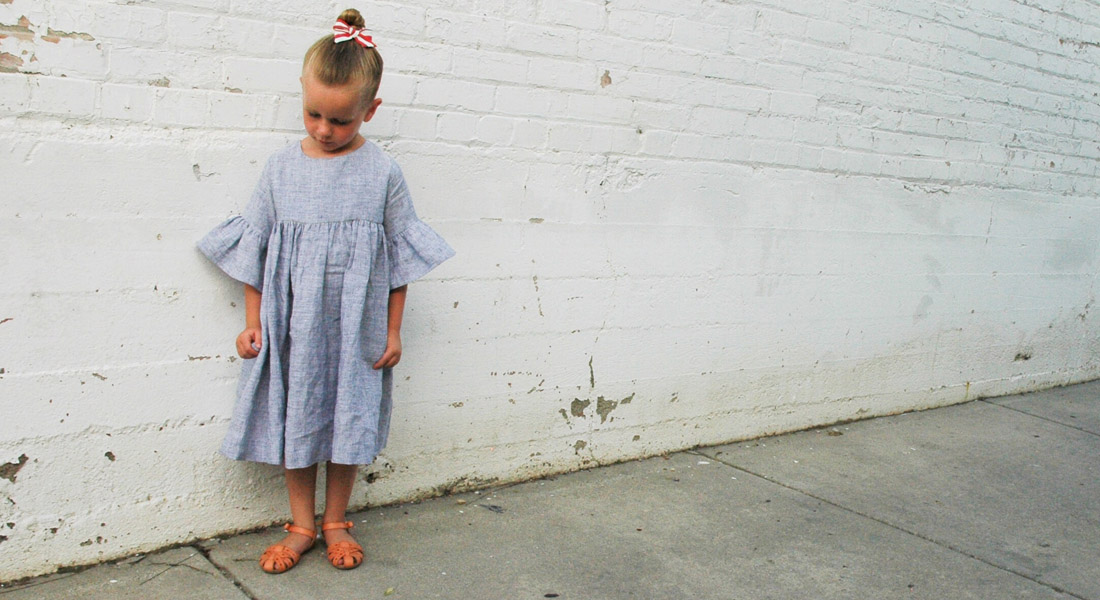
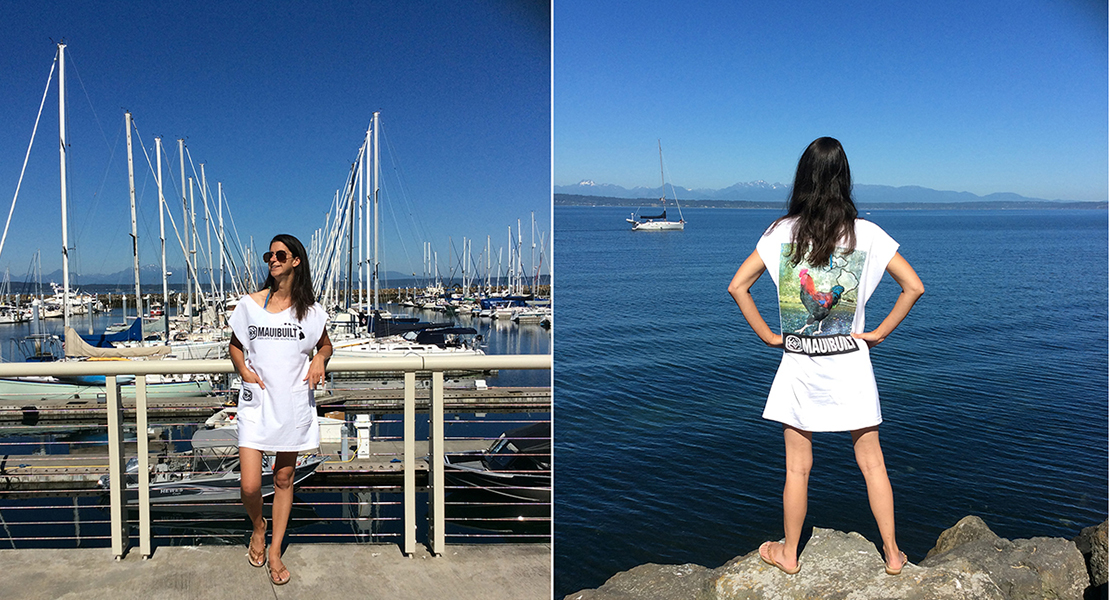
If you’re new to garment sewing you may be asking, what is underrstitching anyway? Understitching is this tiny little line of stitches that helps prevent the lining or facing from rolling to the outside of the garment. It’s used often around the neckline or armholes of a top. I’m going to show you understitching with the Ogden Cami Pattern by True Bias.

Materials for Understitching
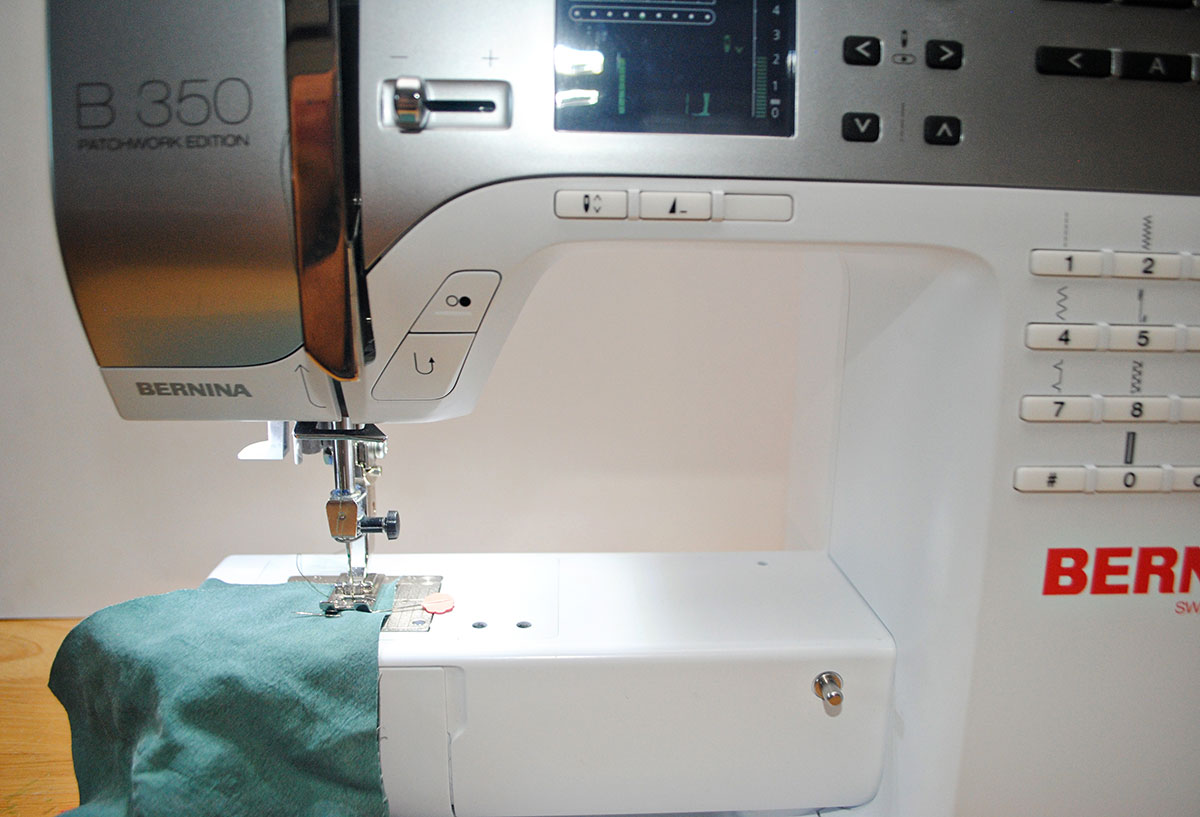
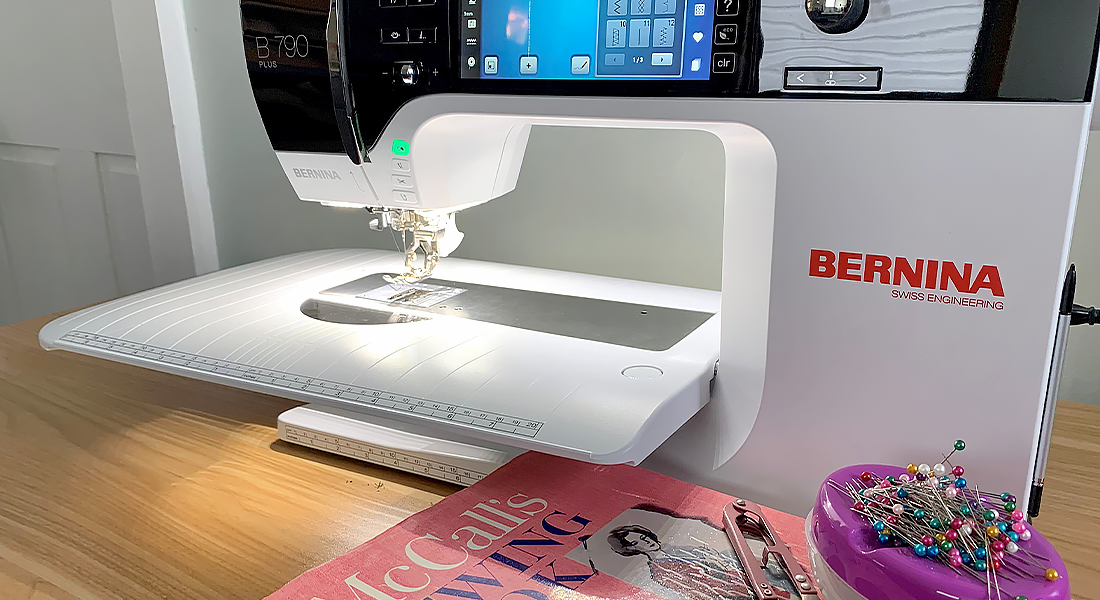
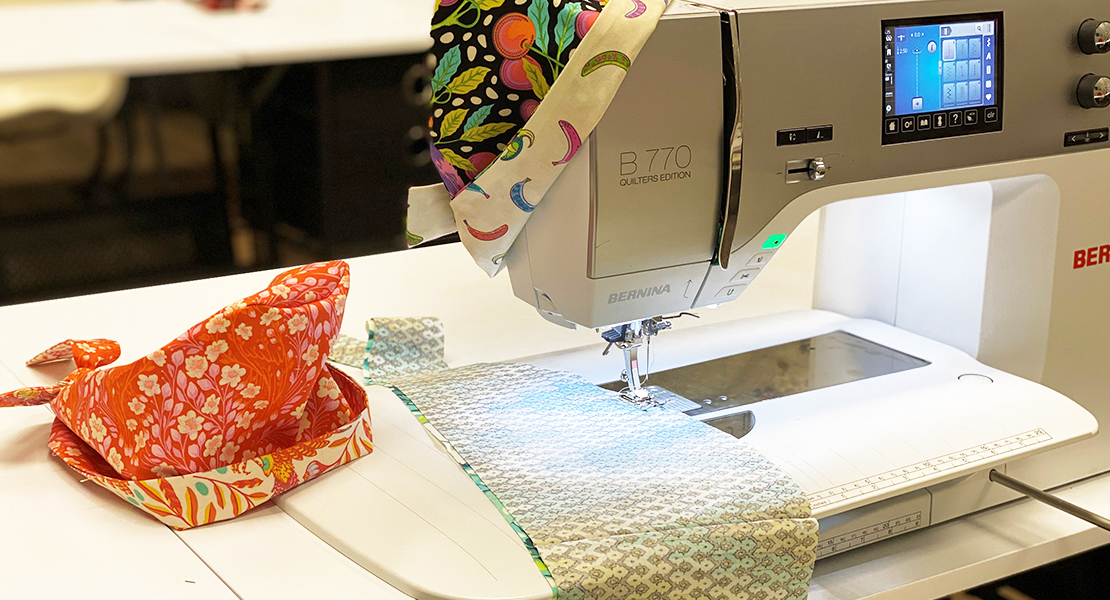
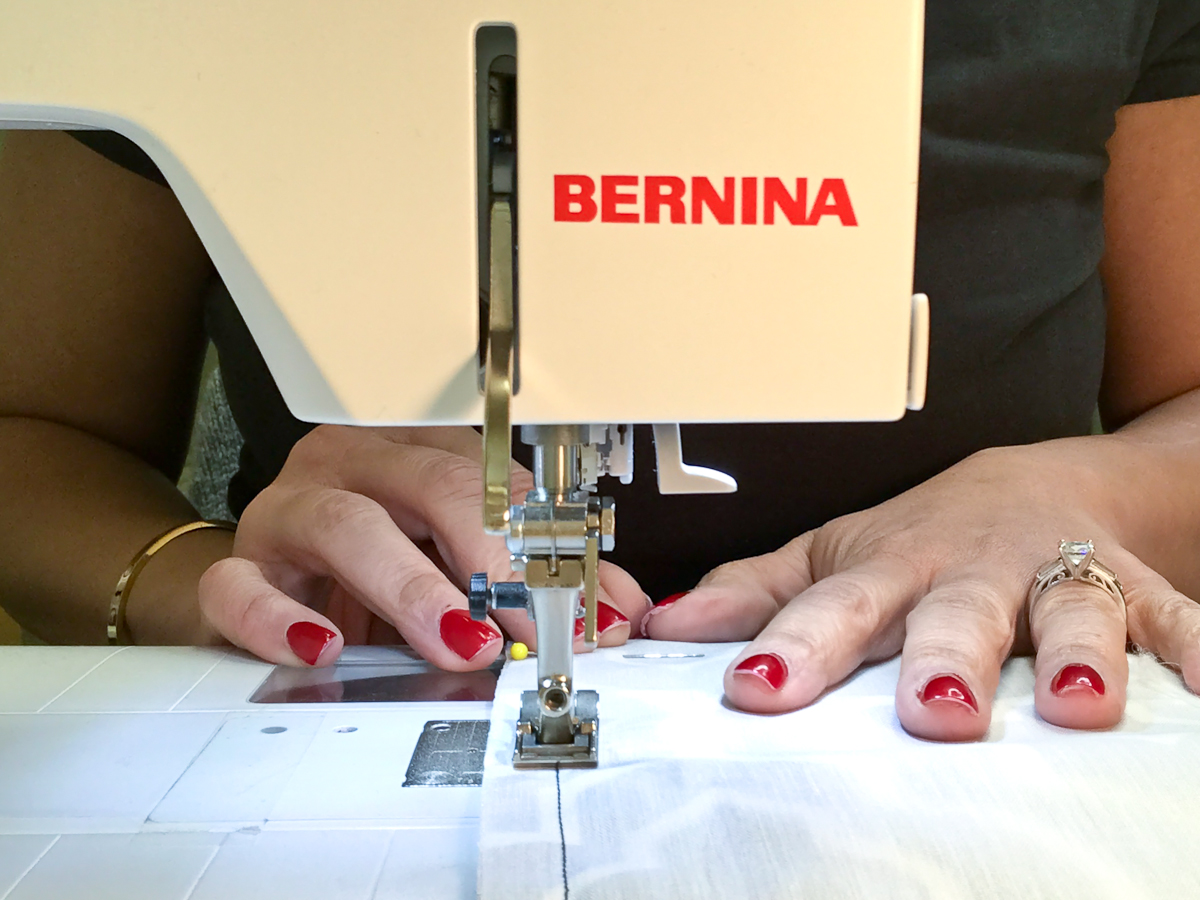
- Sewing machine (I used the BERNINA 350 PE)
- Fabric for garment sewing project
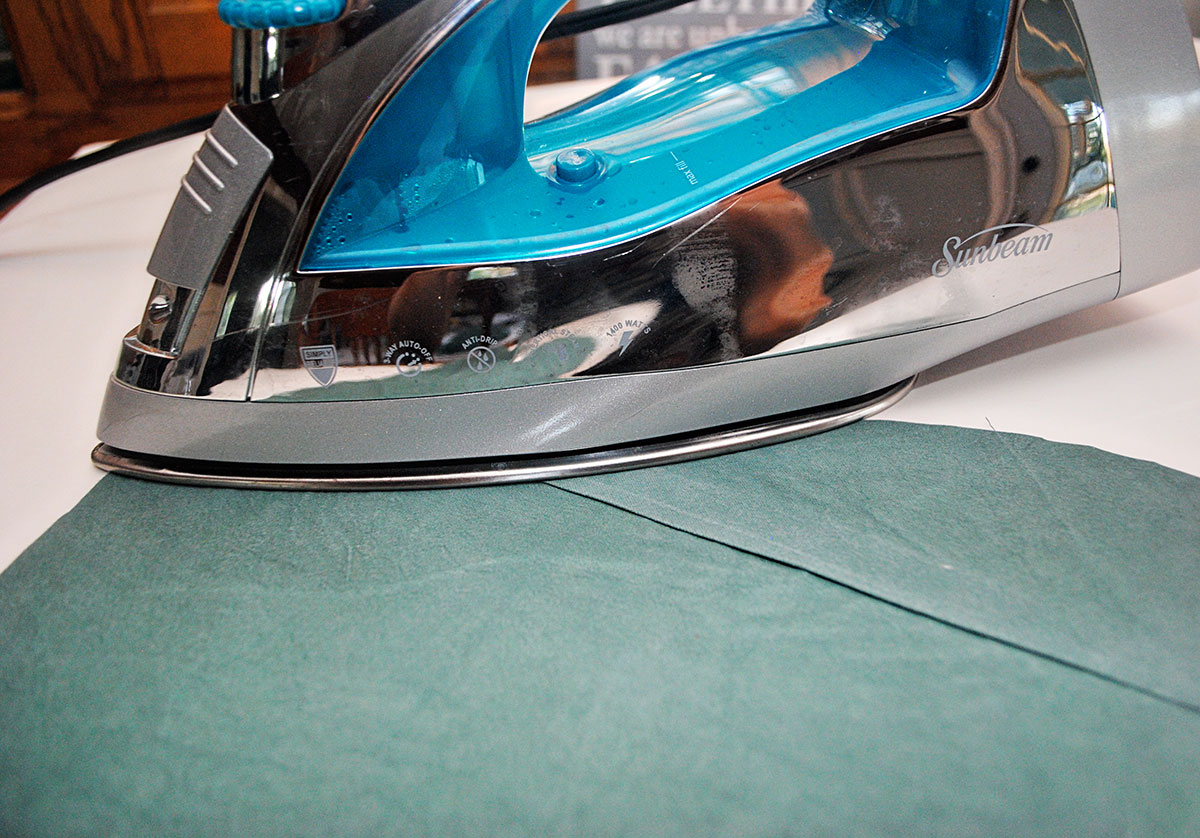
- Iron
- Pins
- Thread
Steps for Understitching
Stitch two fabric pieces together, right sides together, following your pattern’s instructions.
Iron the seam allowance towards the lining or facing.
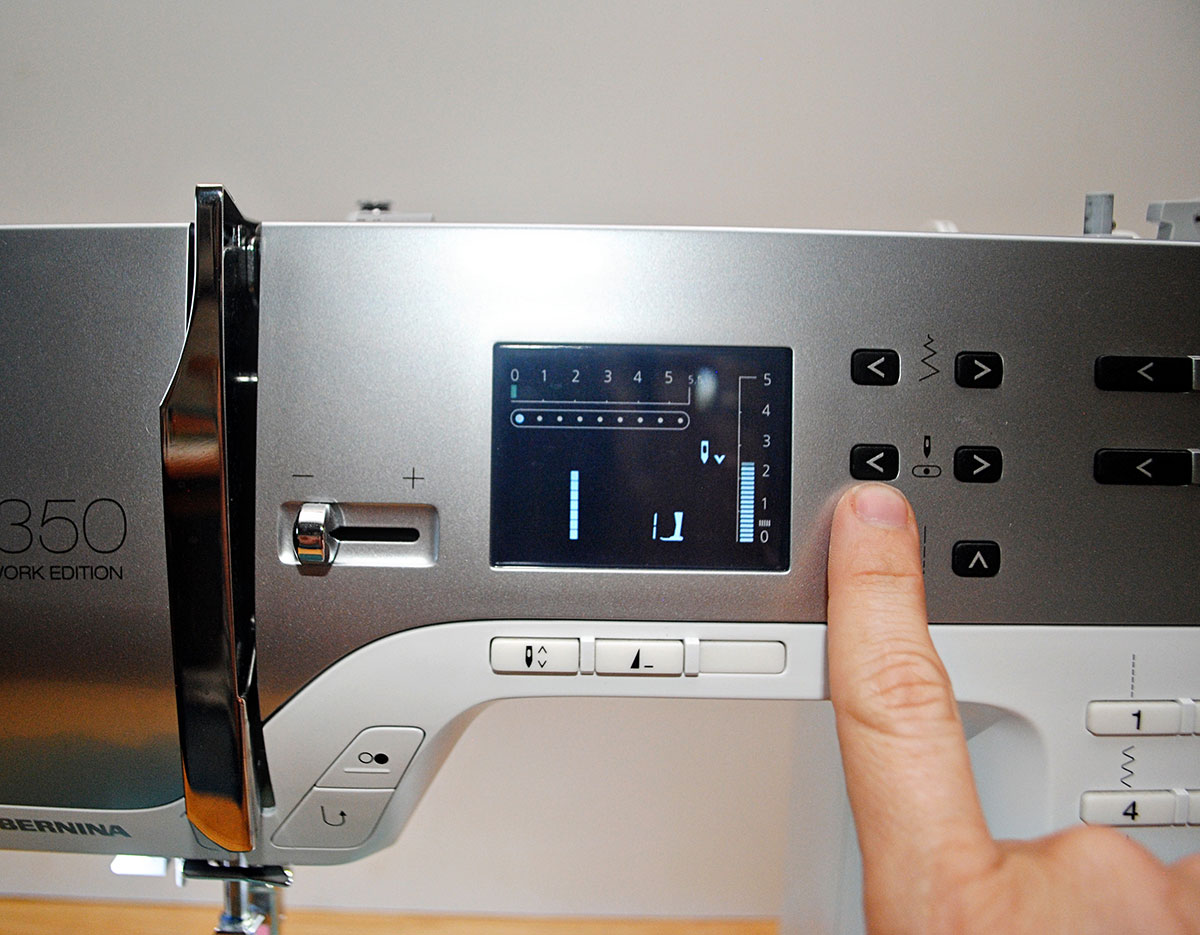
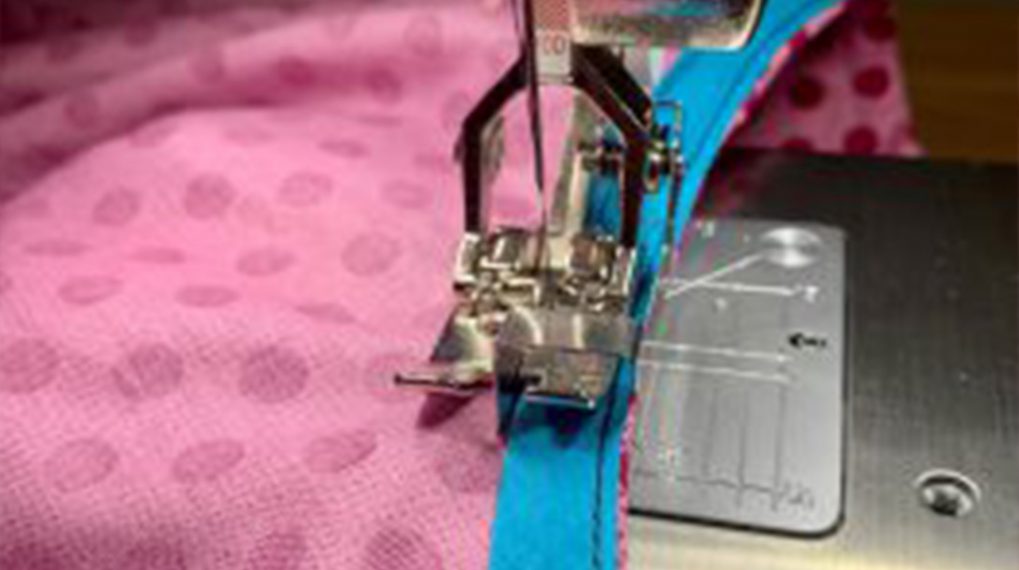
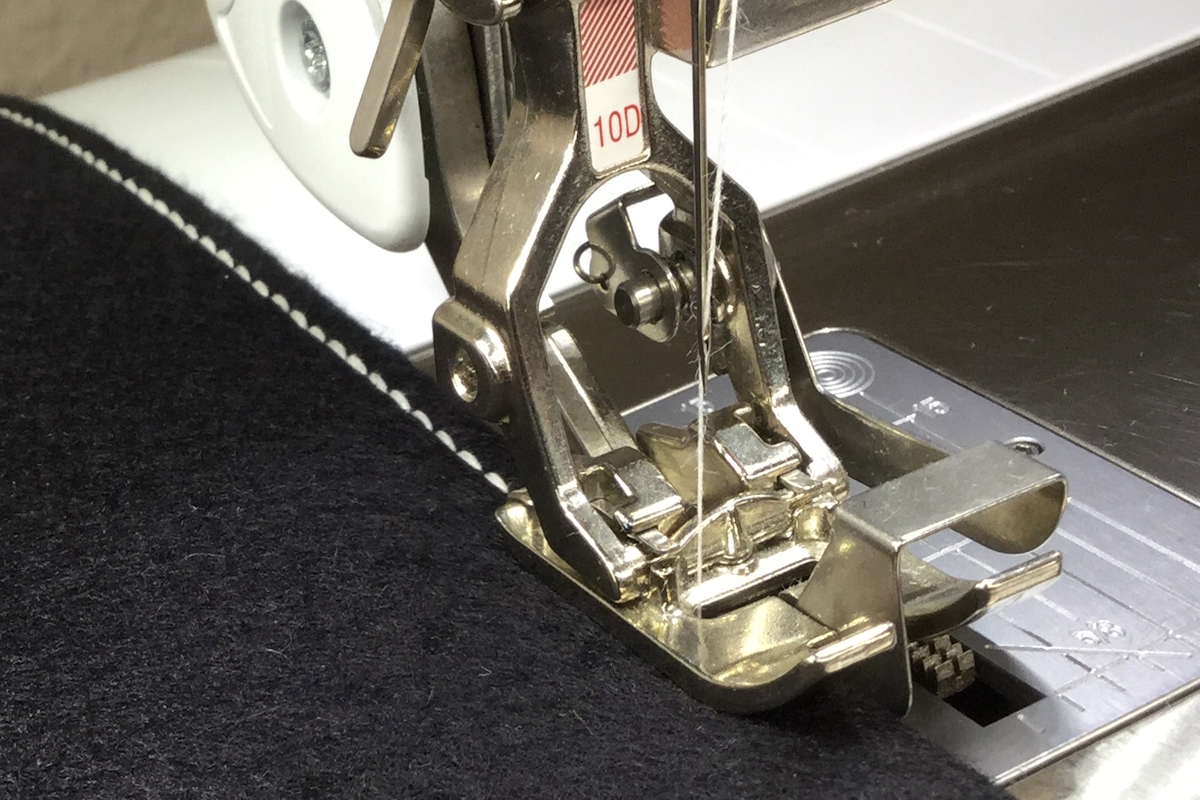
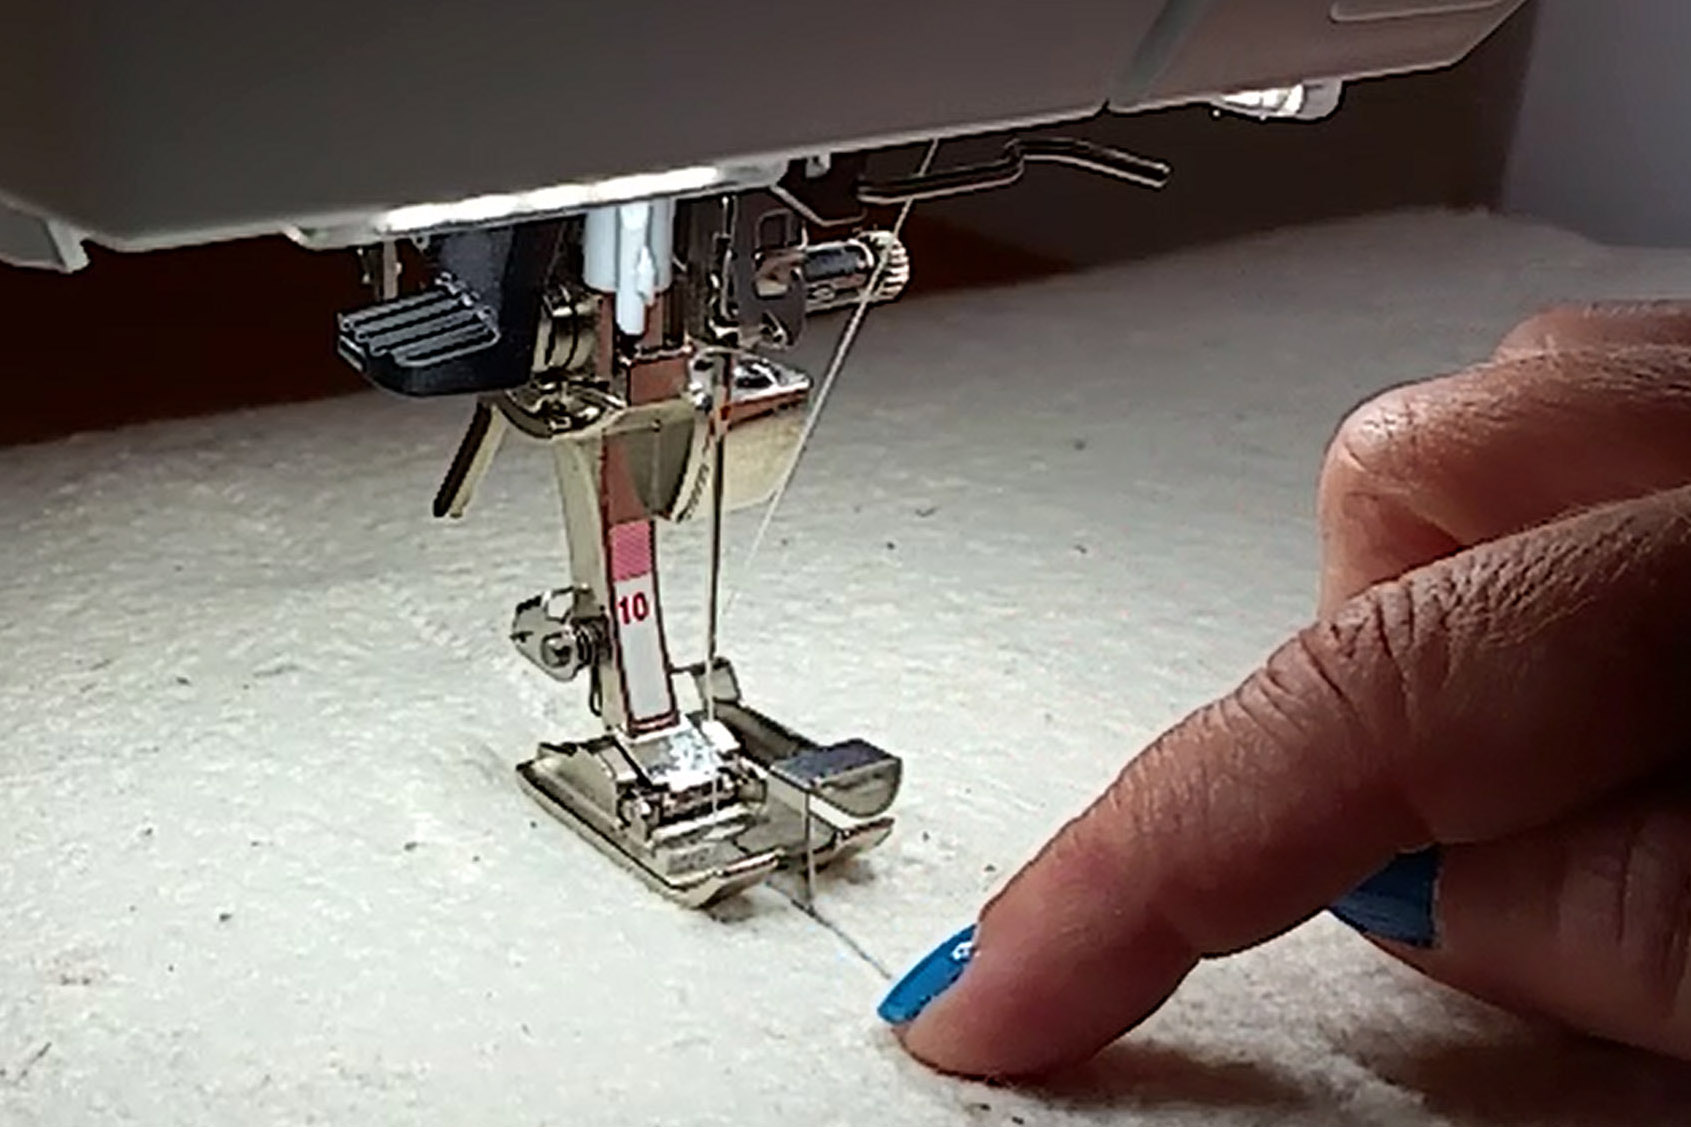
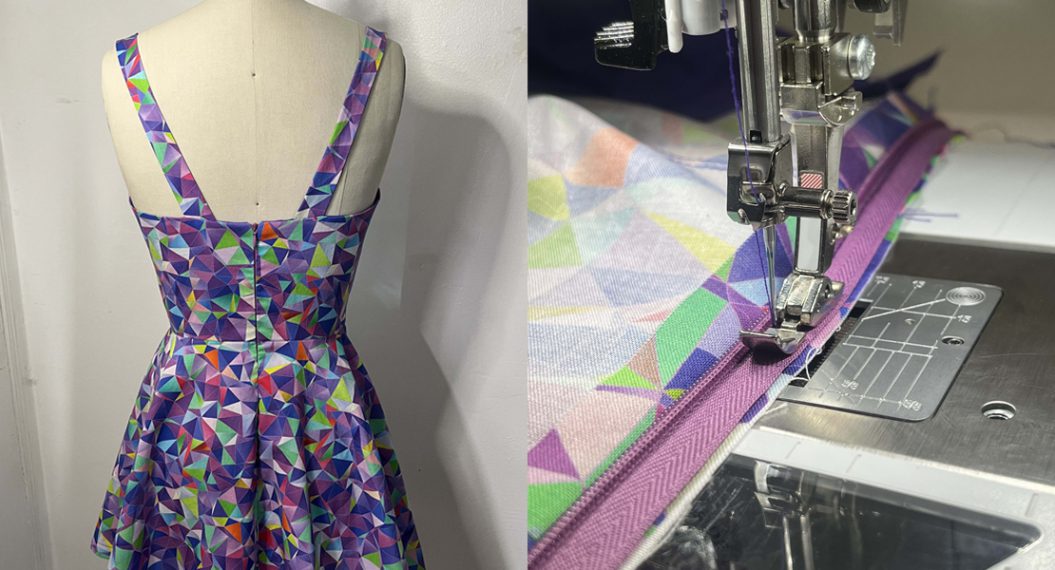
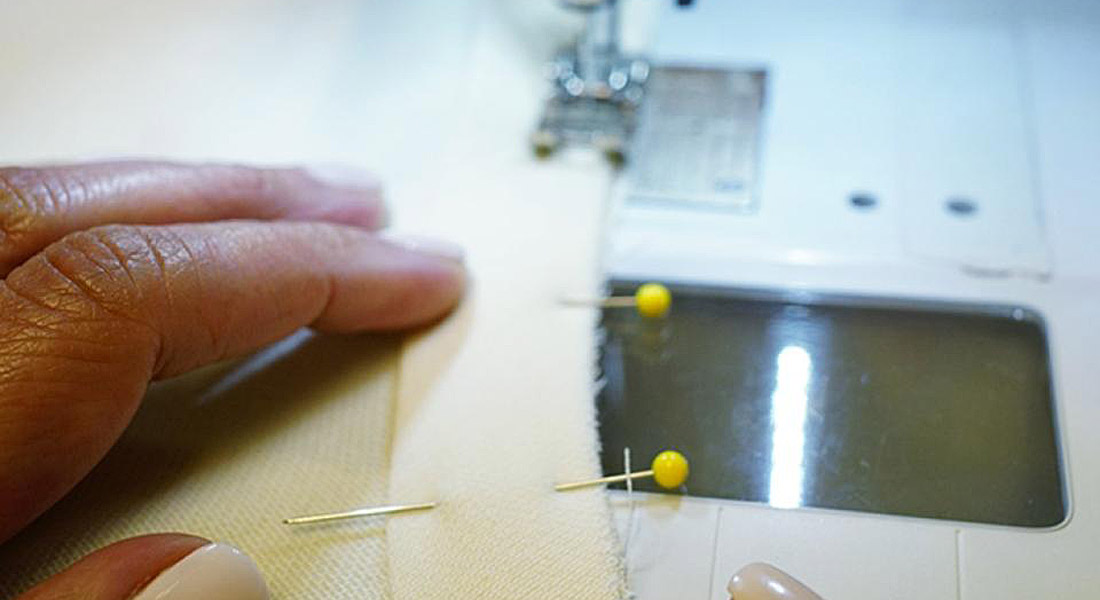
With your project facing right side up we are going to stitch along facing. Stitch between 1/8 inch to 1/4 inch from the seam line. The move needle feature of the BERNINA is very helpful here. I move the needle all the way to the left and use the presser foot as my guide to help me get a small seam allowance.
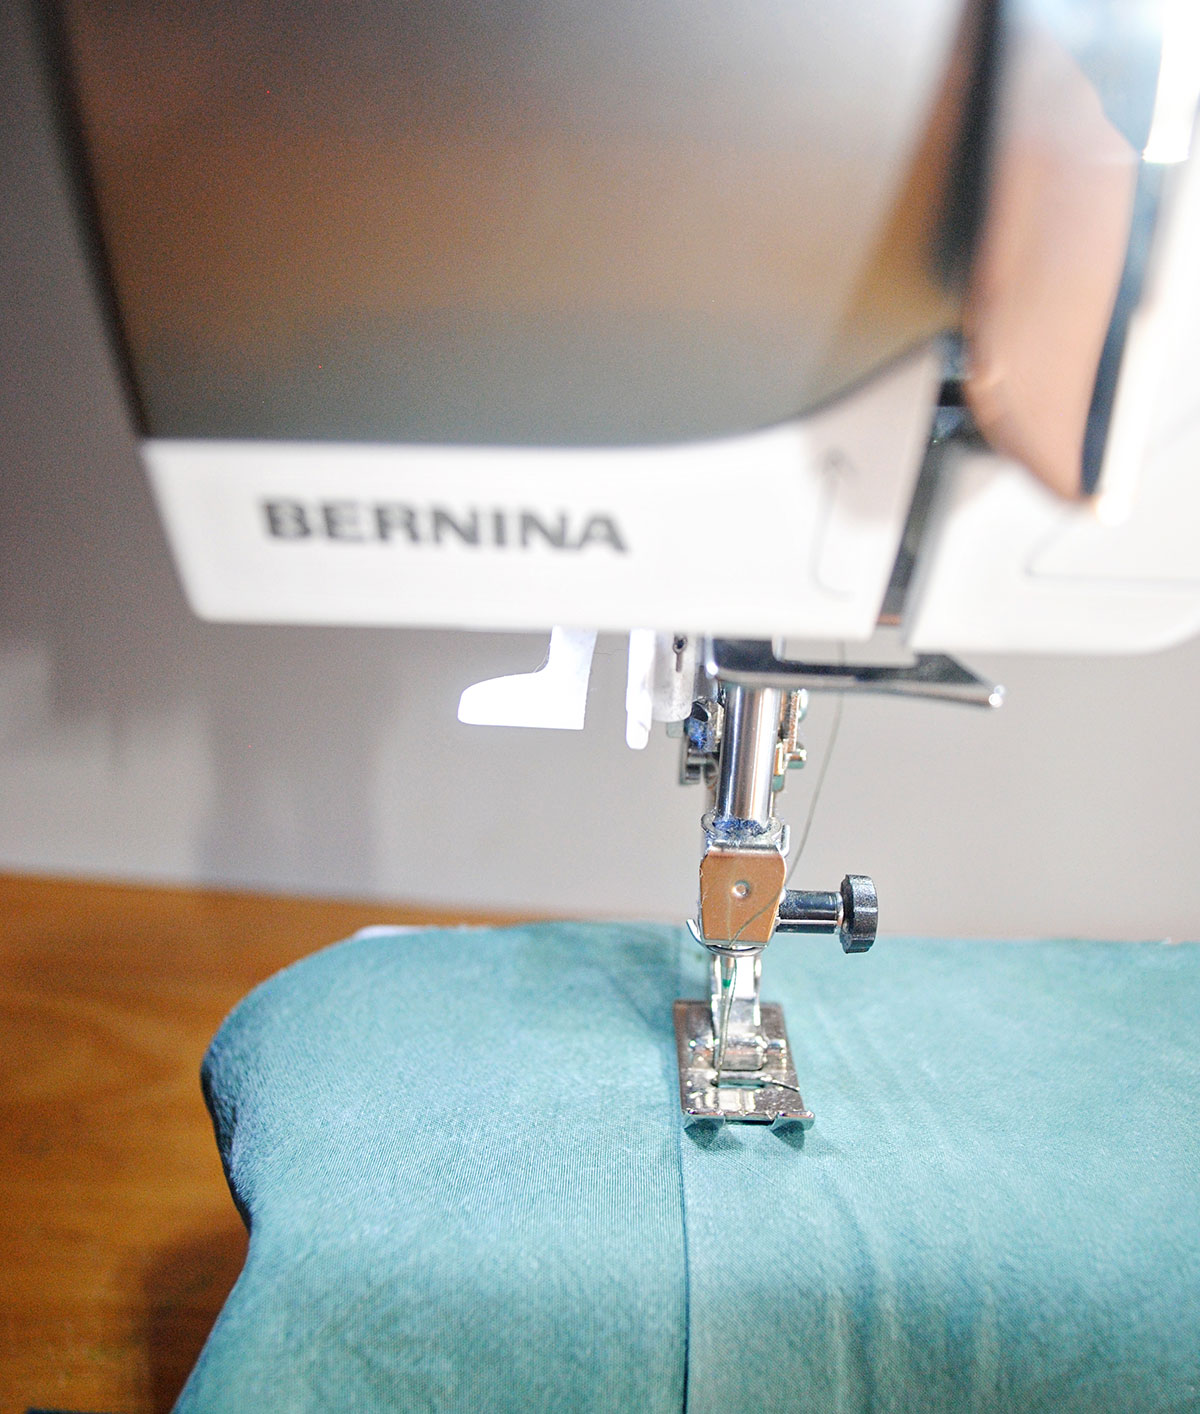
Press the facing or lining towards the inside of the garment. And you are done!
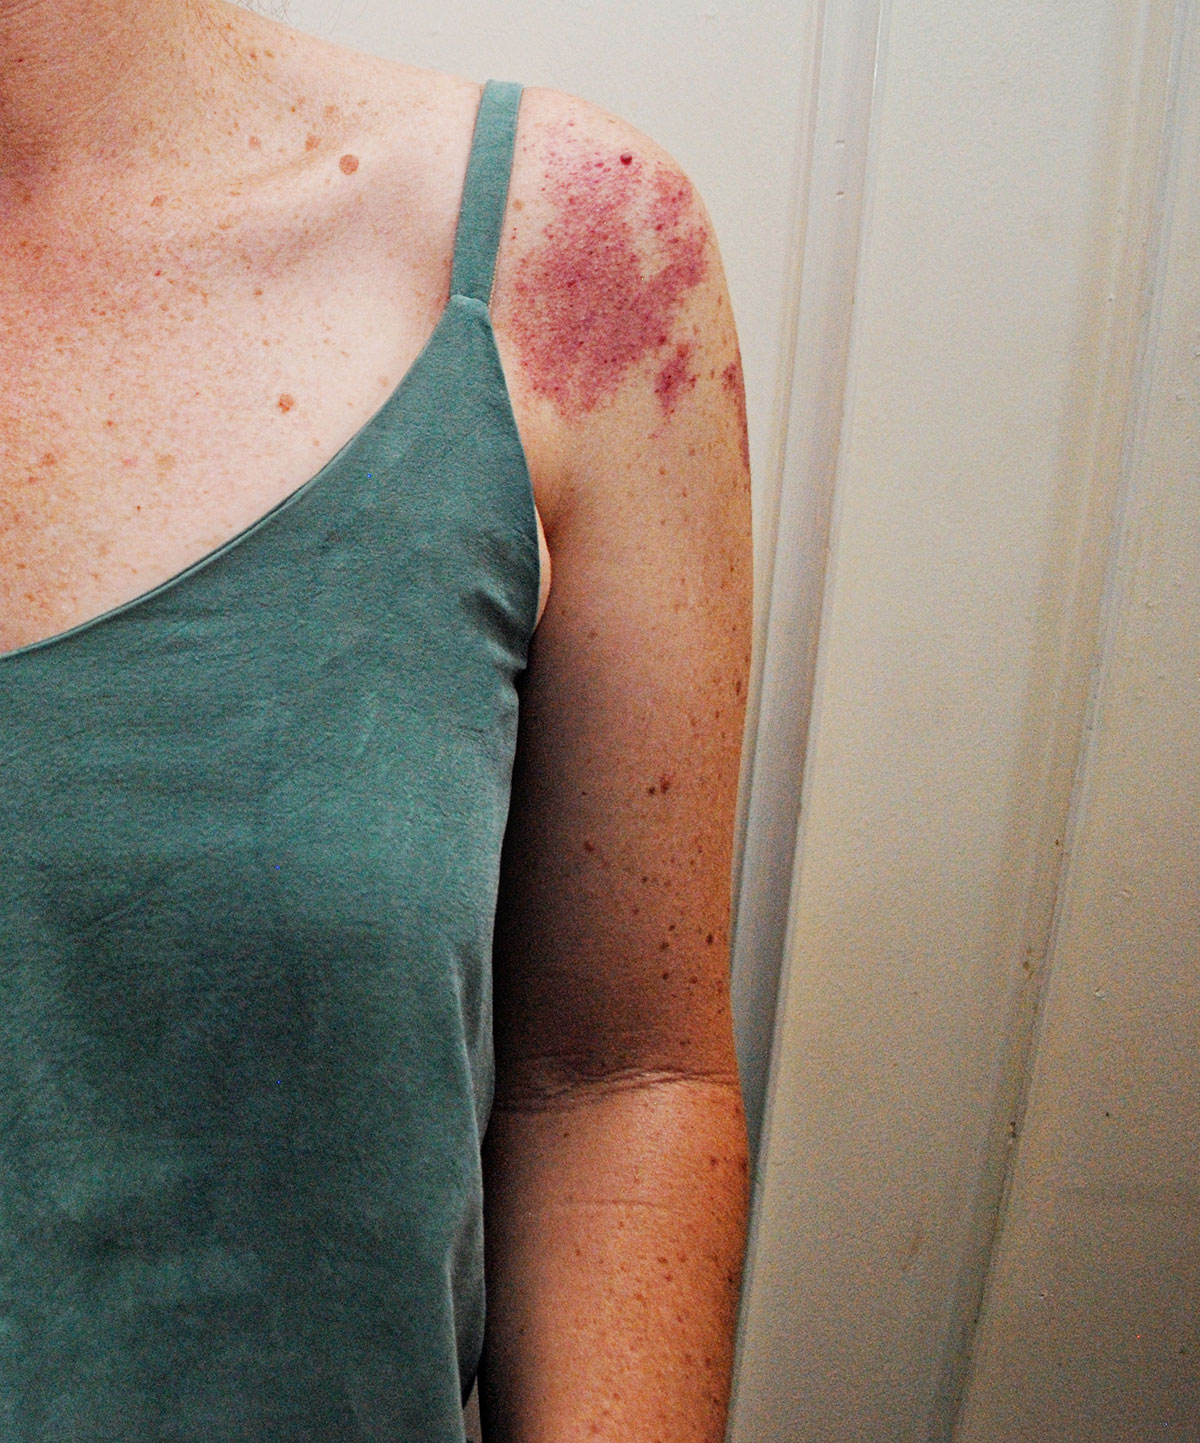
Below you can see a photo of my project without understitching. Although I ironed my shirt, the lining wants to peek out.
The next photo shows the finished top with understitching. This line of stitching (which is not visible on the outside of the project) keeps the lining or facing from rolling towards the outside. It leaves the shirt with a nice clean finish!


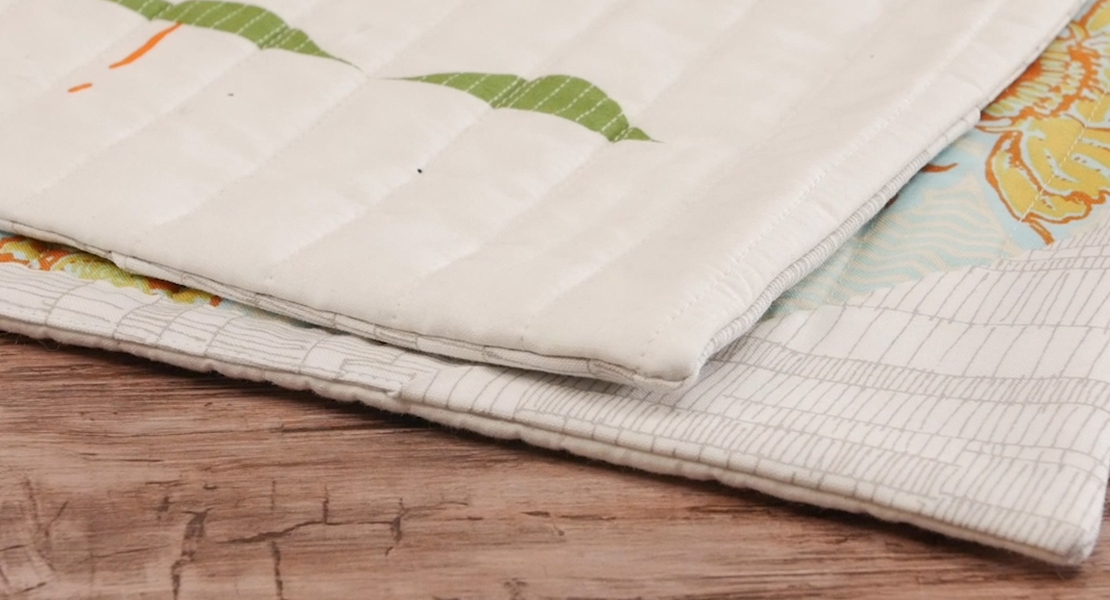
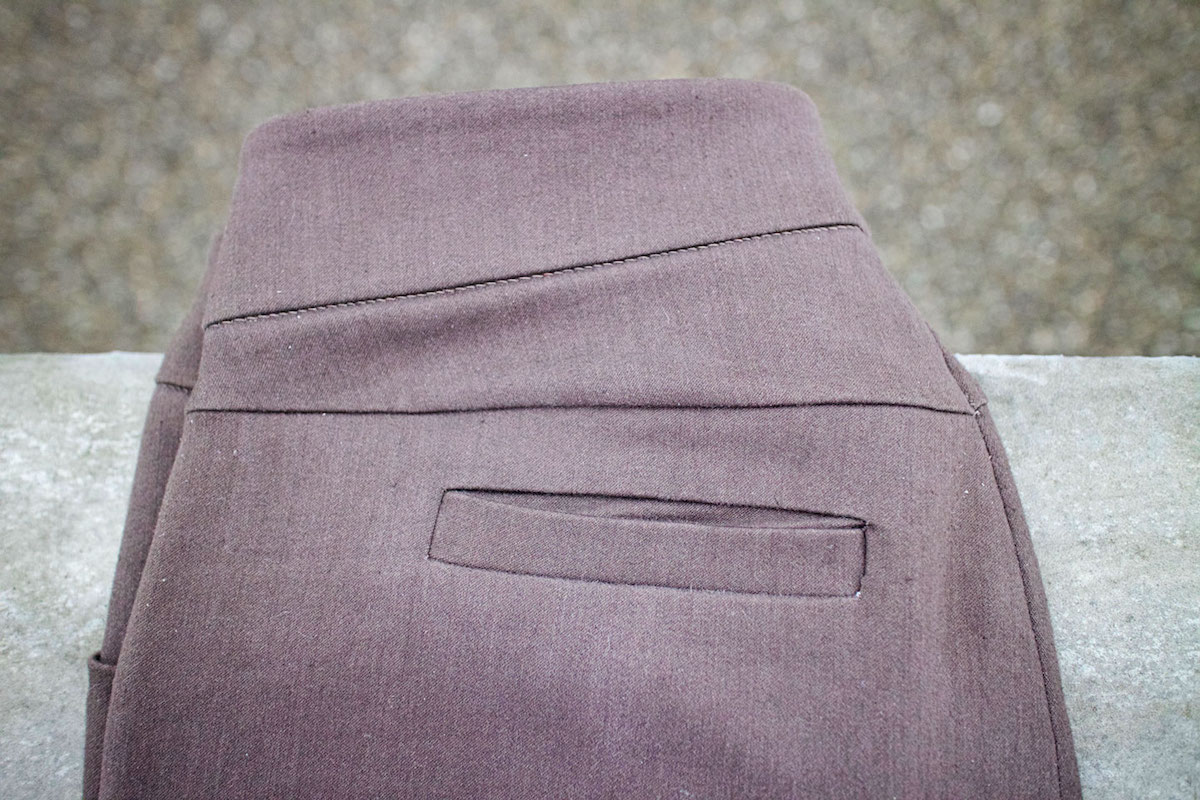

Looks very nice and professional