Draping a Custom Dress, Part Five: Final Garment
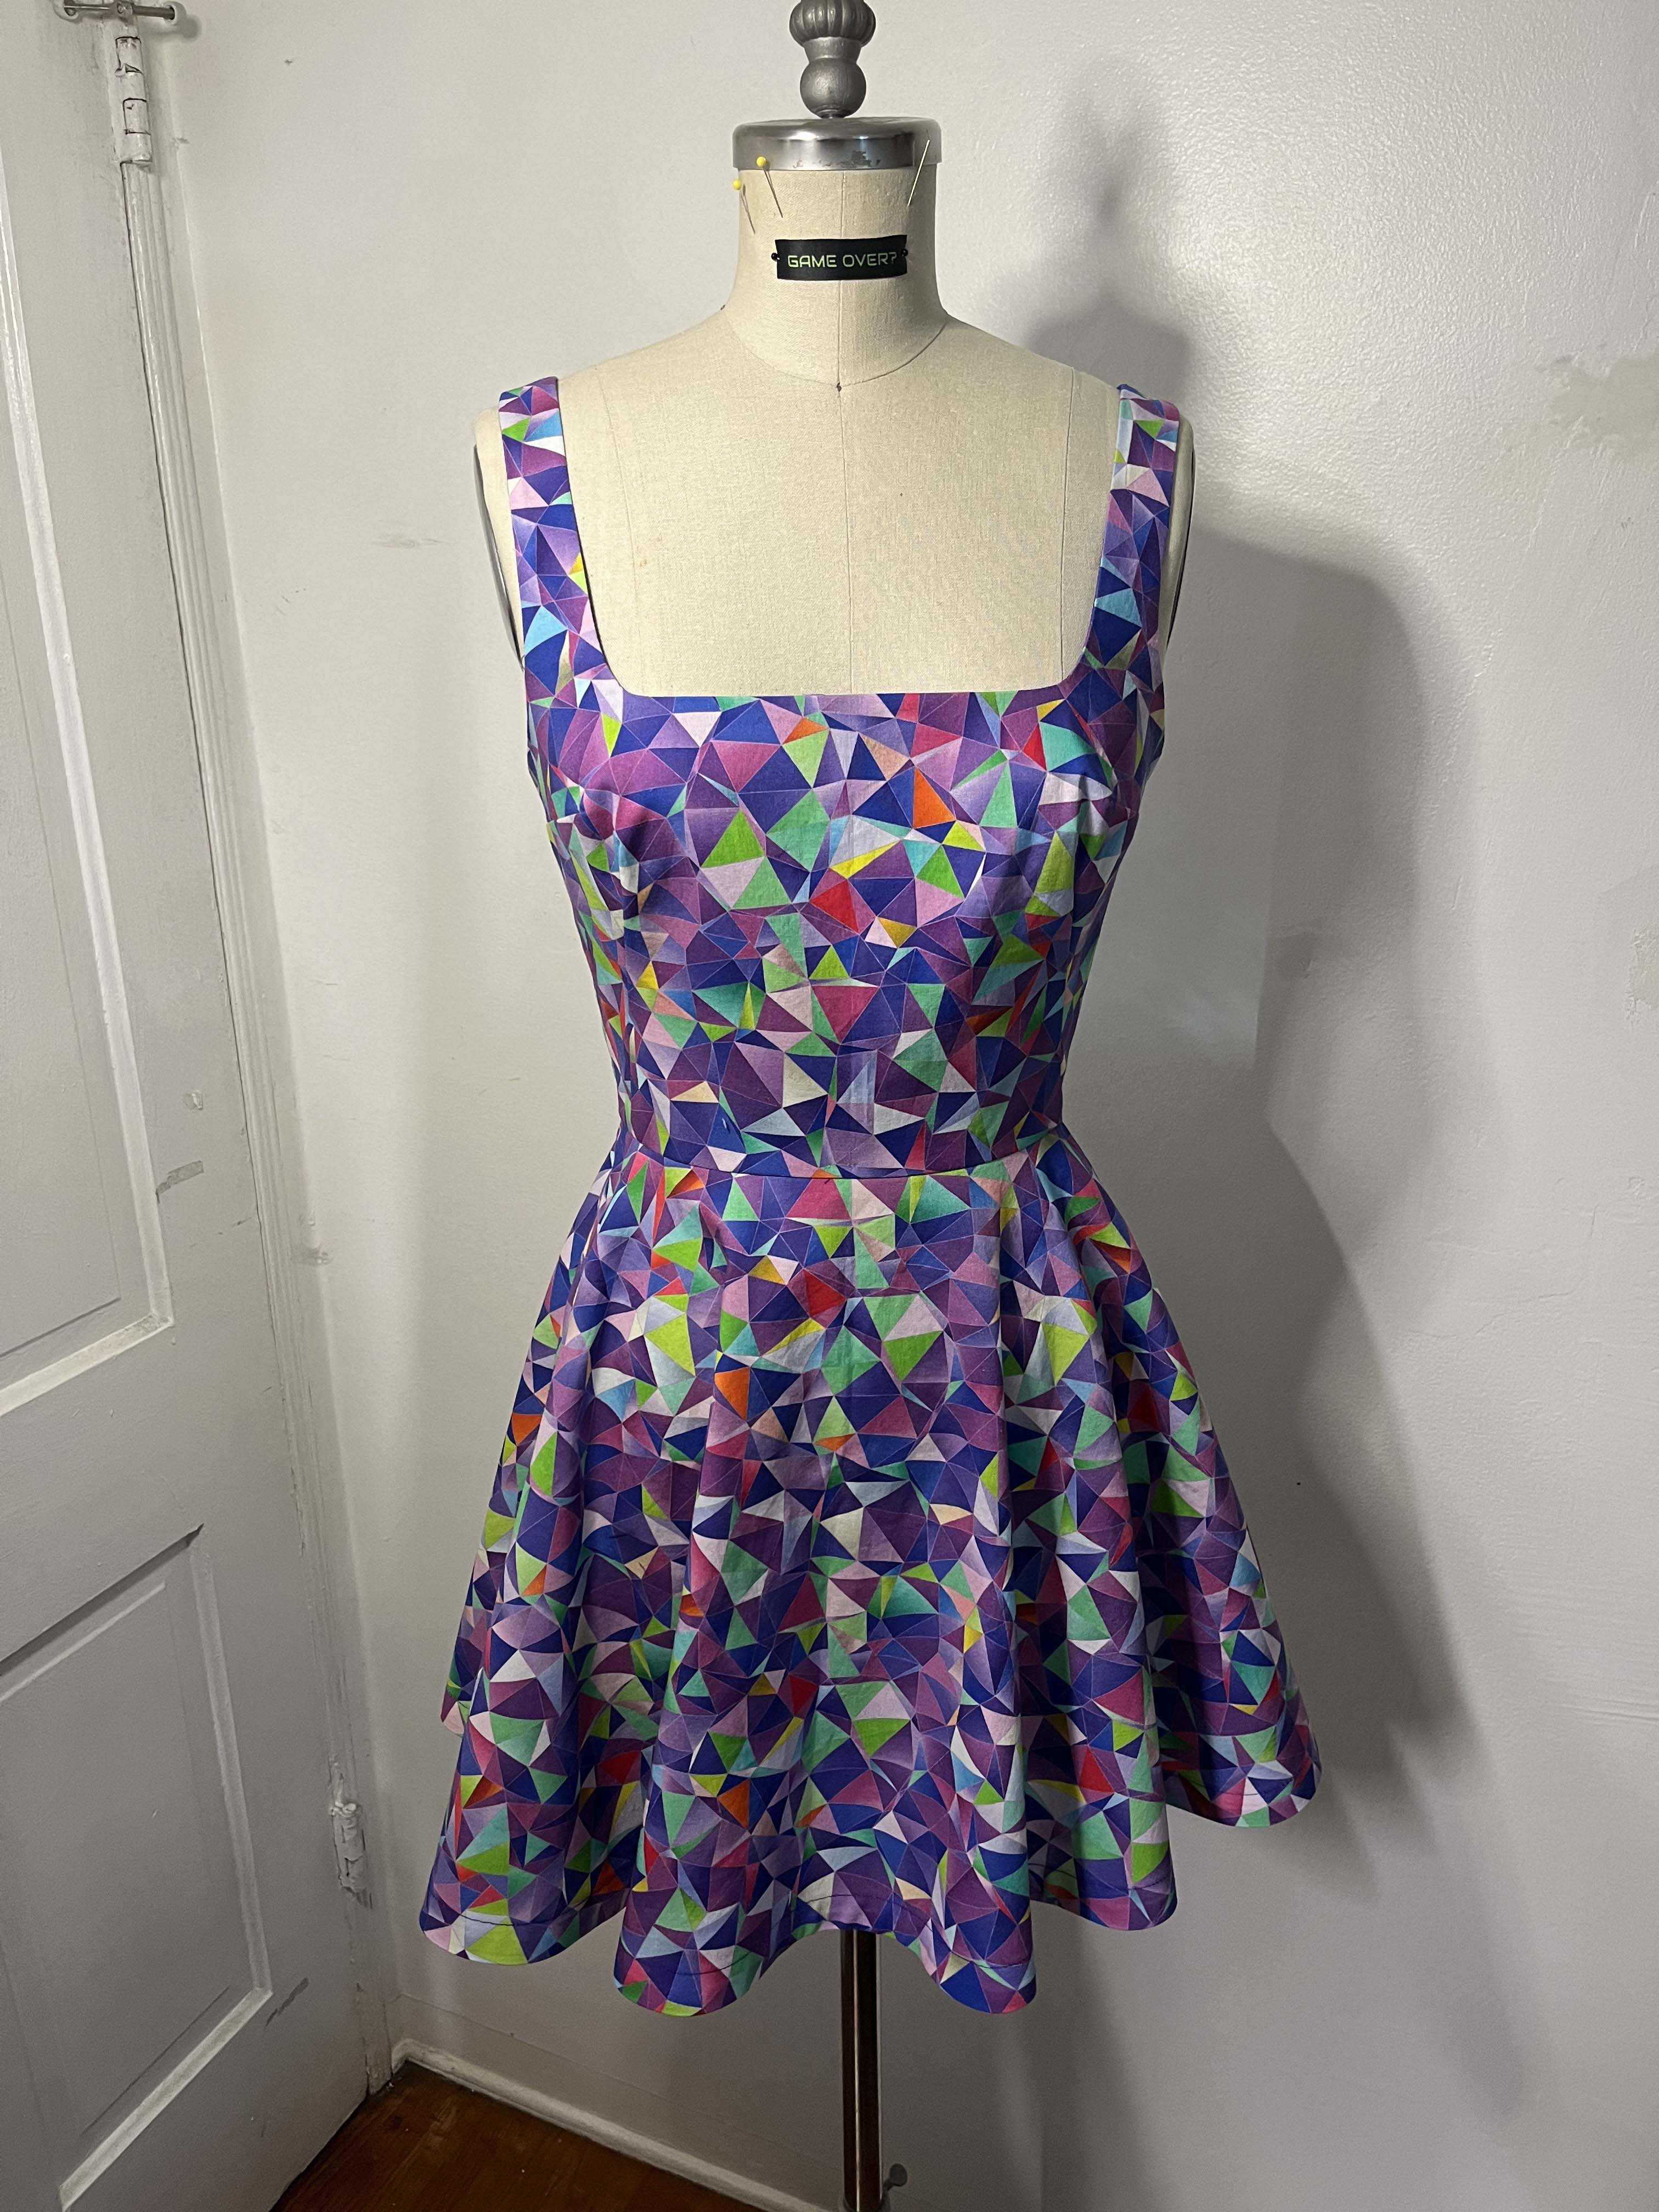
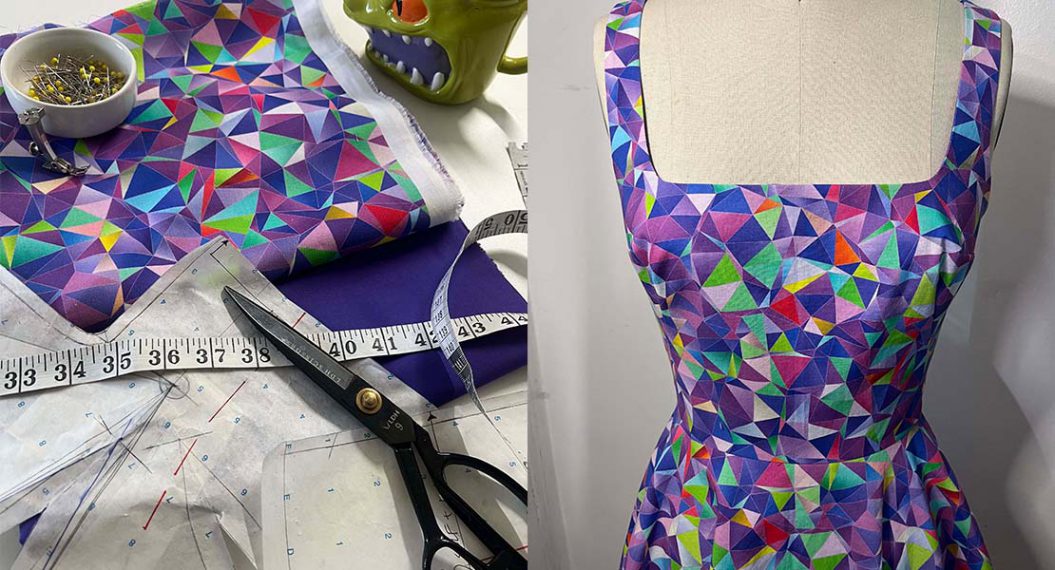
The final garment is the final stage of our draped dress. This is where we grab our fashion fabric and create the final sample. My fabric choice was a 100% cotton print with a coordinating solid for the bodice lining. This draped dress looks stunning and this is a classic silhouette. The geometric print really speaks to my angular, futuristic design aesthetic. Notice the way all of my edges are pressed nice and flat. Pressing really makes your final garments look beautiful.
My Final Draped Dress
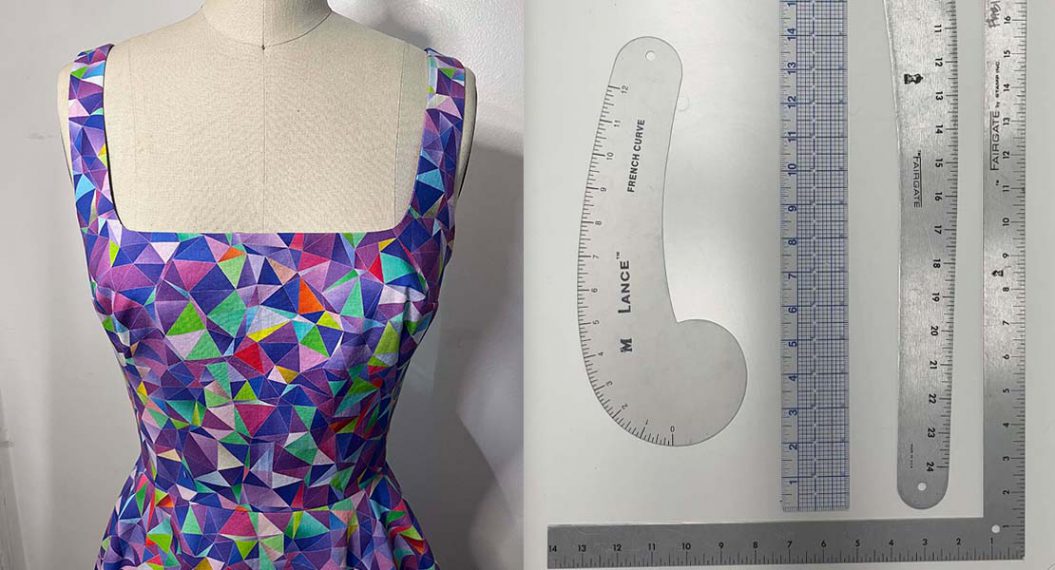
I am so happy with the way my dress turned out. Necklines like this one can be tricky but they also require a sharp eye for fit. Although we did not fit on a live person, the straps are not falling off the shoulders and are draped beautifully on the form. My skirt has just the right amount of flare and fullness. I am not fond of full circle skirts but this looks great.
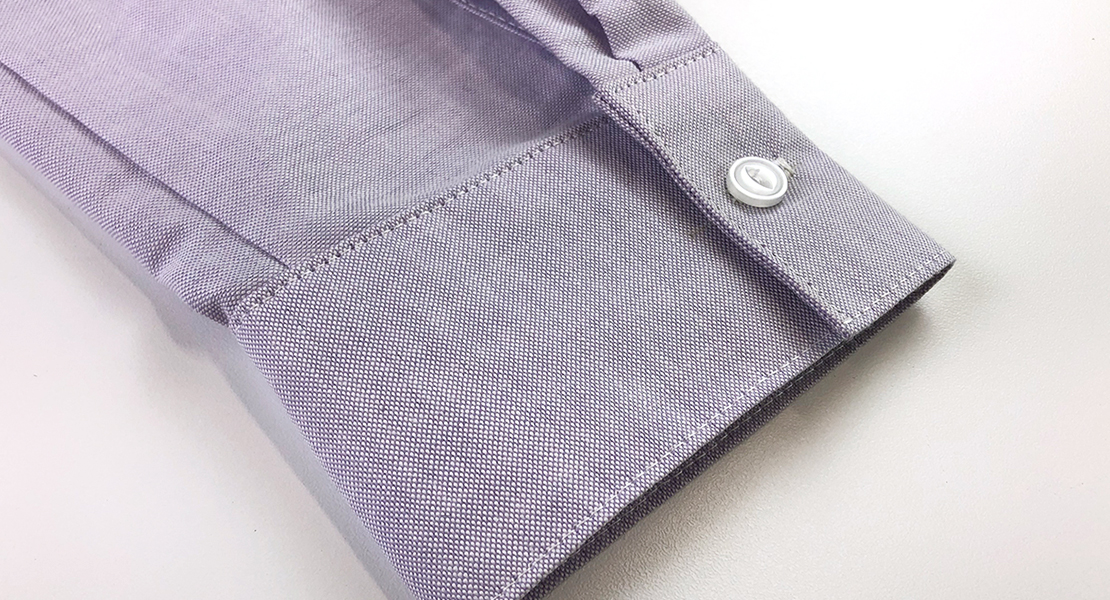
The back of my draped dress looks well done and the straps are symmetrical. I toyed with the idea of using hardware for a strap detail but decided to keep it simple for this version. My invisible zipper looks great too and you want to make sure yours is all the way invisible. My waistline seams match up nicely. This is another tell-tell sign of a homemade garment if they are not matching.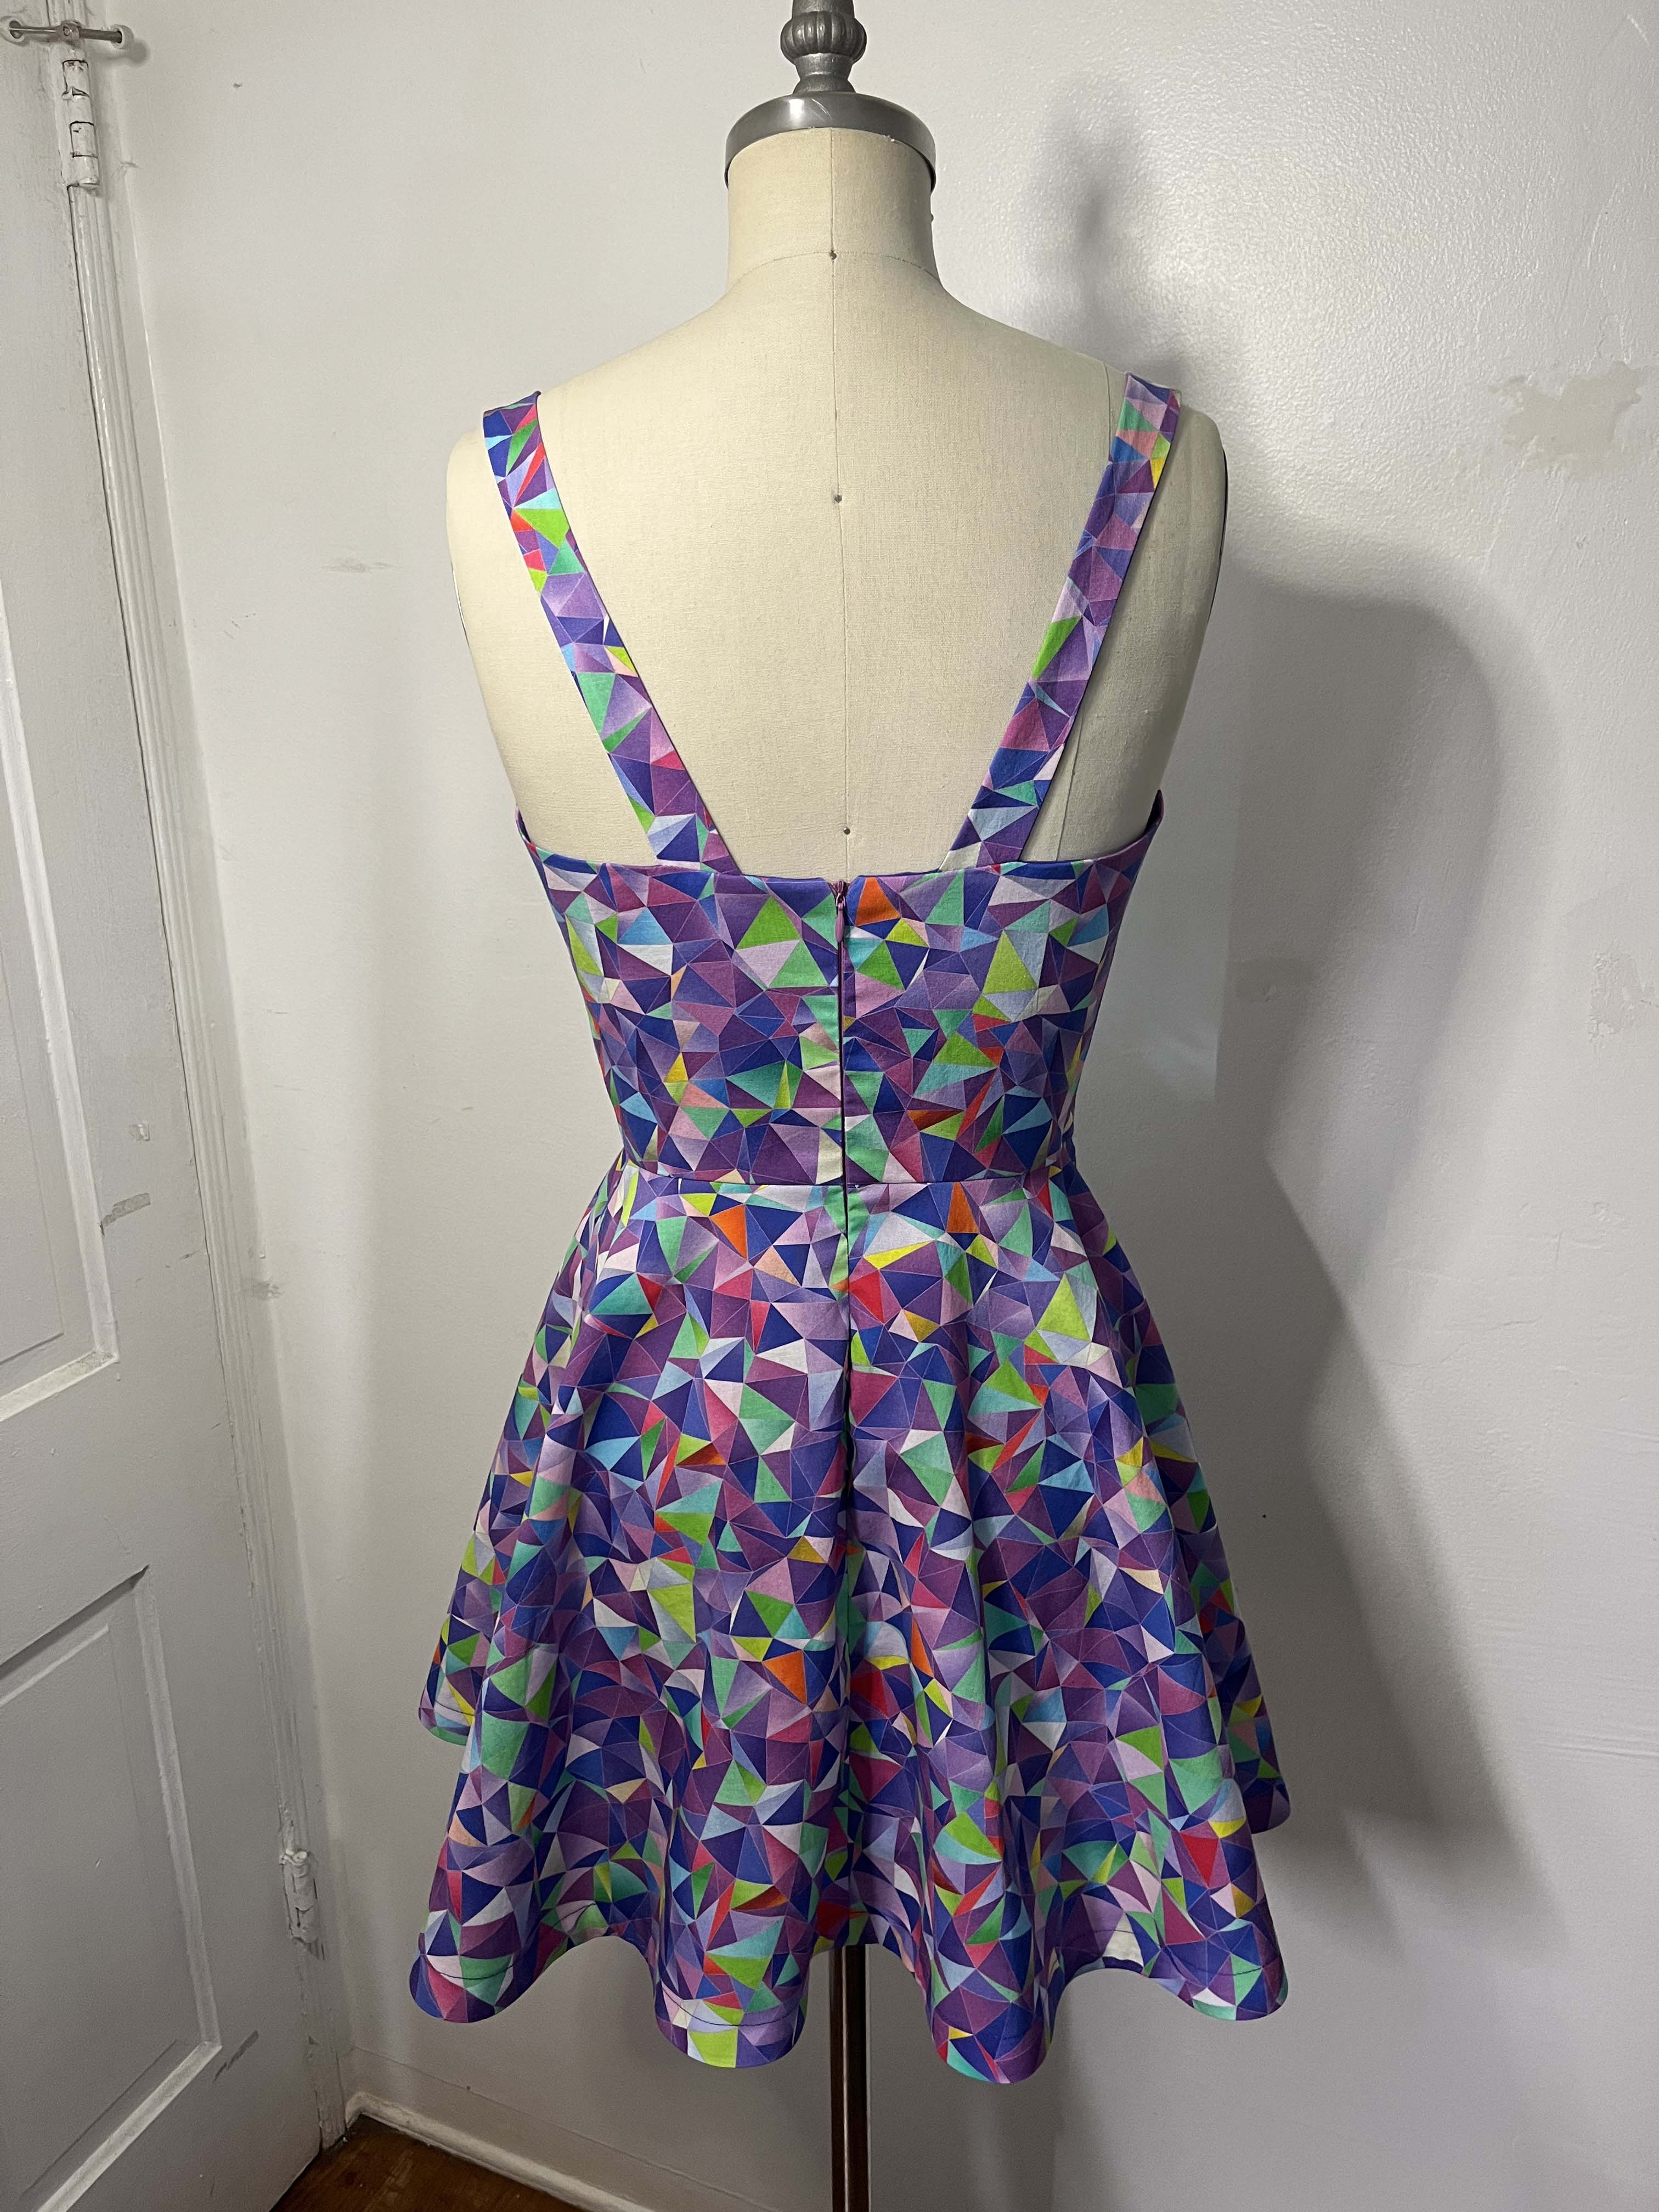
Pressing while Sewing
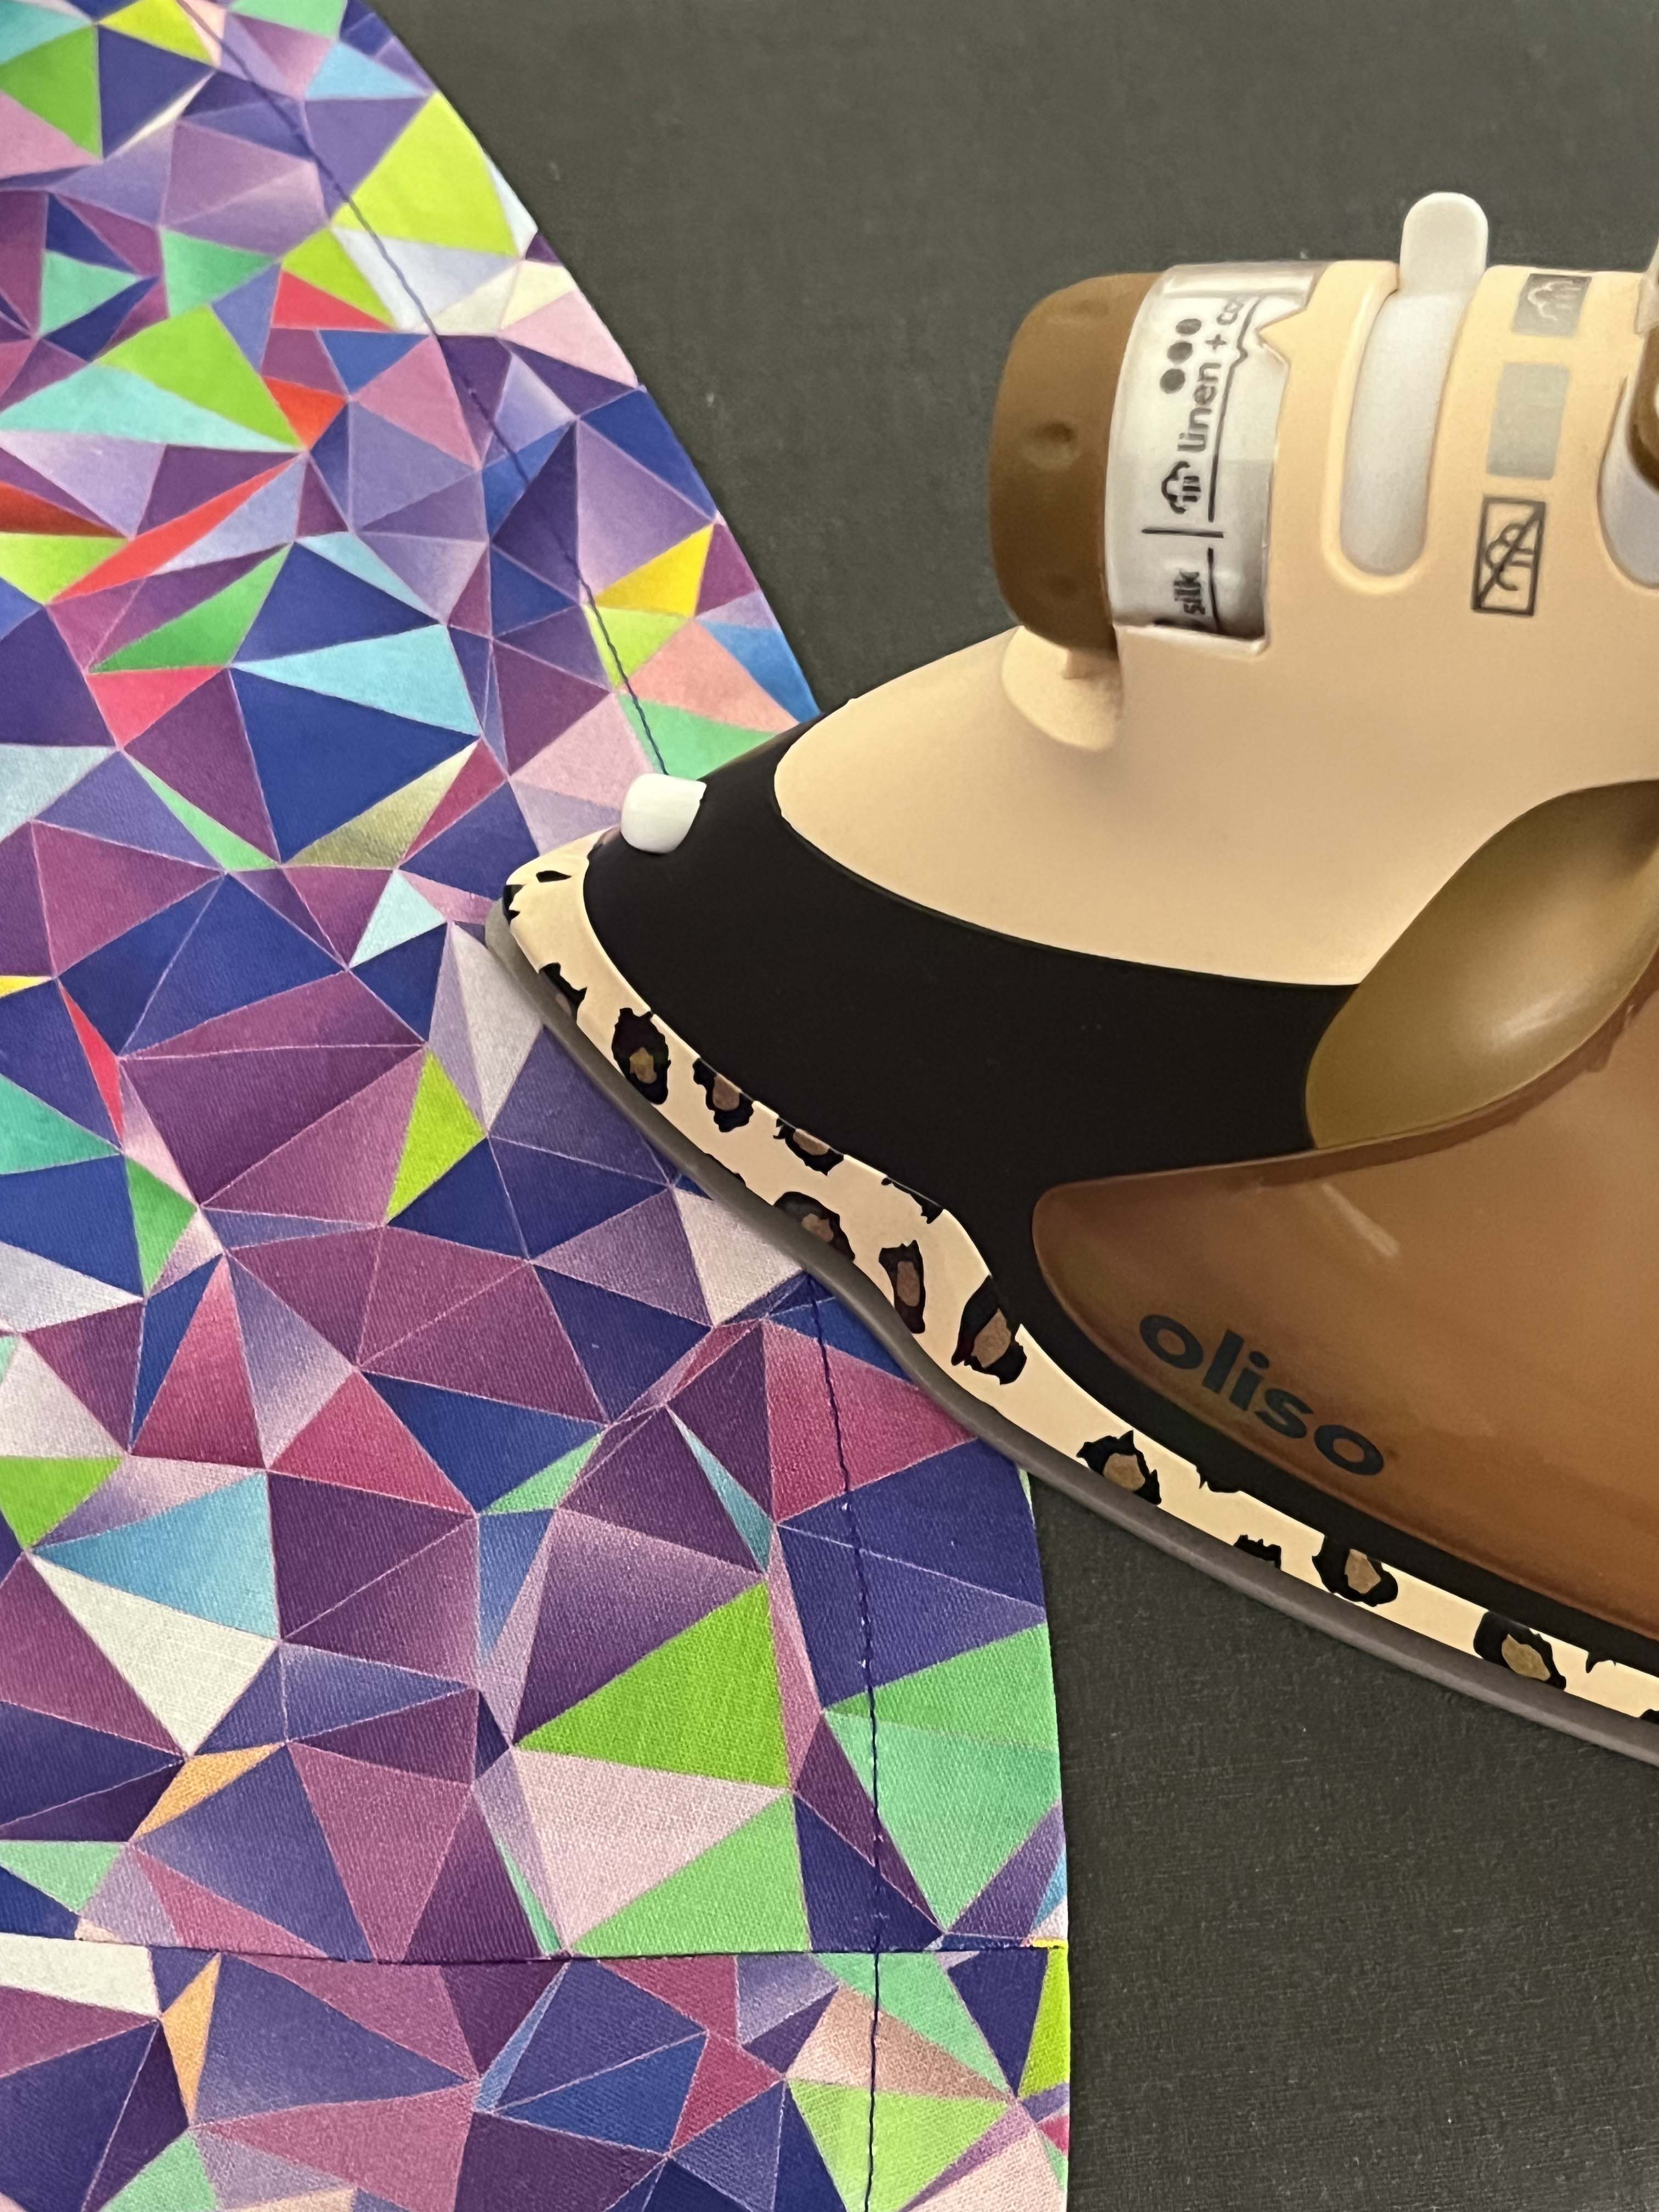
Pressing my draped dress after every seam was crucial to achieving my final results. Be sure to have the appropriate pressing equipment handy to finish off every single seam you stitch. Working with a 100% cotton fabric made this quick, easy and fun! I am actually considering making sewing a dress out of a fun print like this a regular occurrence for my social channels.
Please make use of a pressing ham or press cloth when the situation calls for it. You want to be cautious with specialty fabrics that are sensitive to the heat of an iron. When in doubt about your iron, test on a scrap fabric with a press cloth. The last thing you want is to scorch a project and ruin your iron.
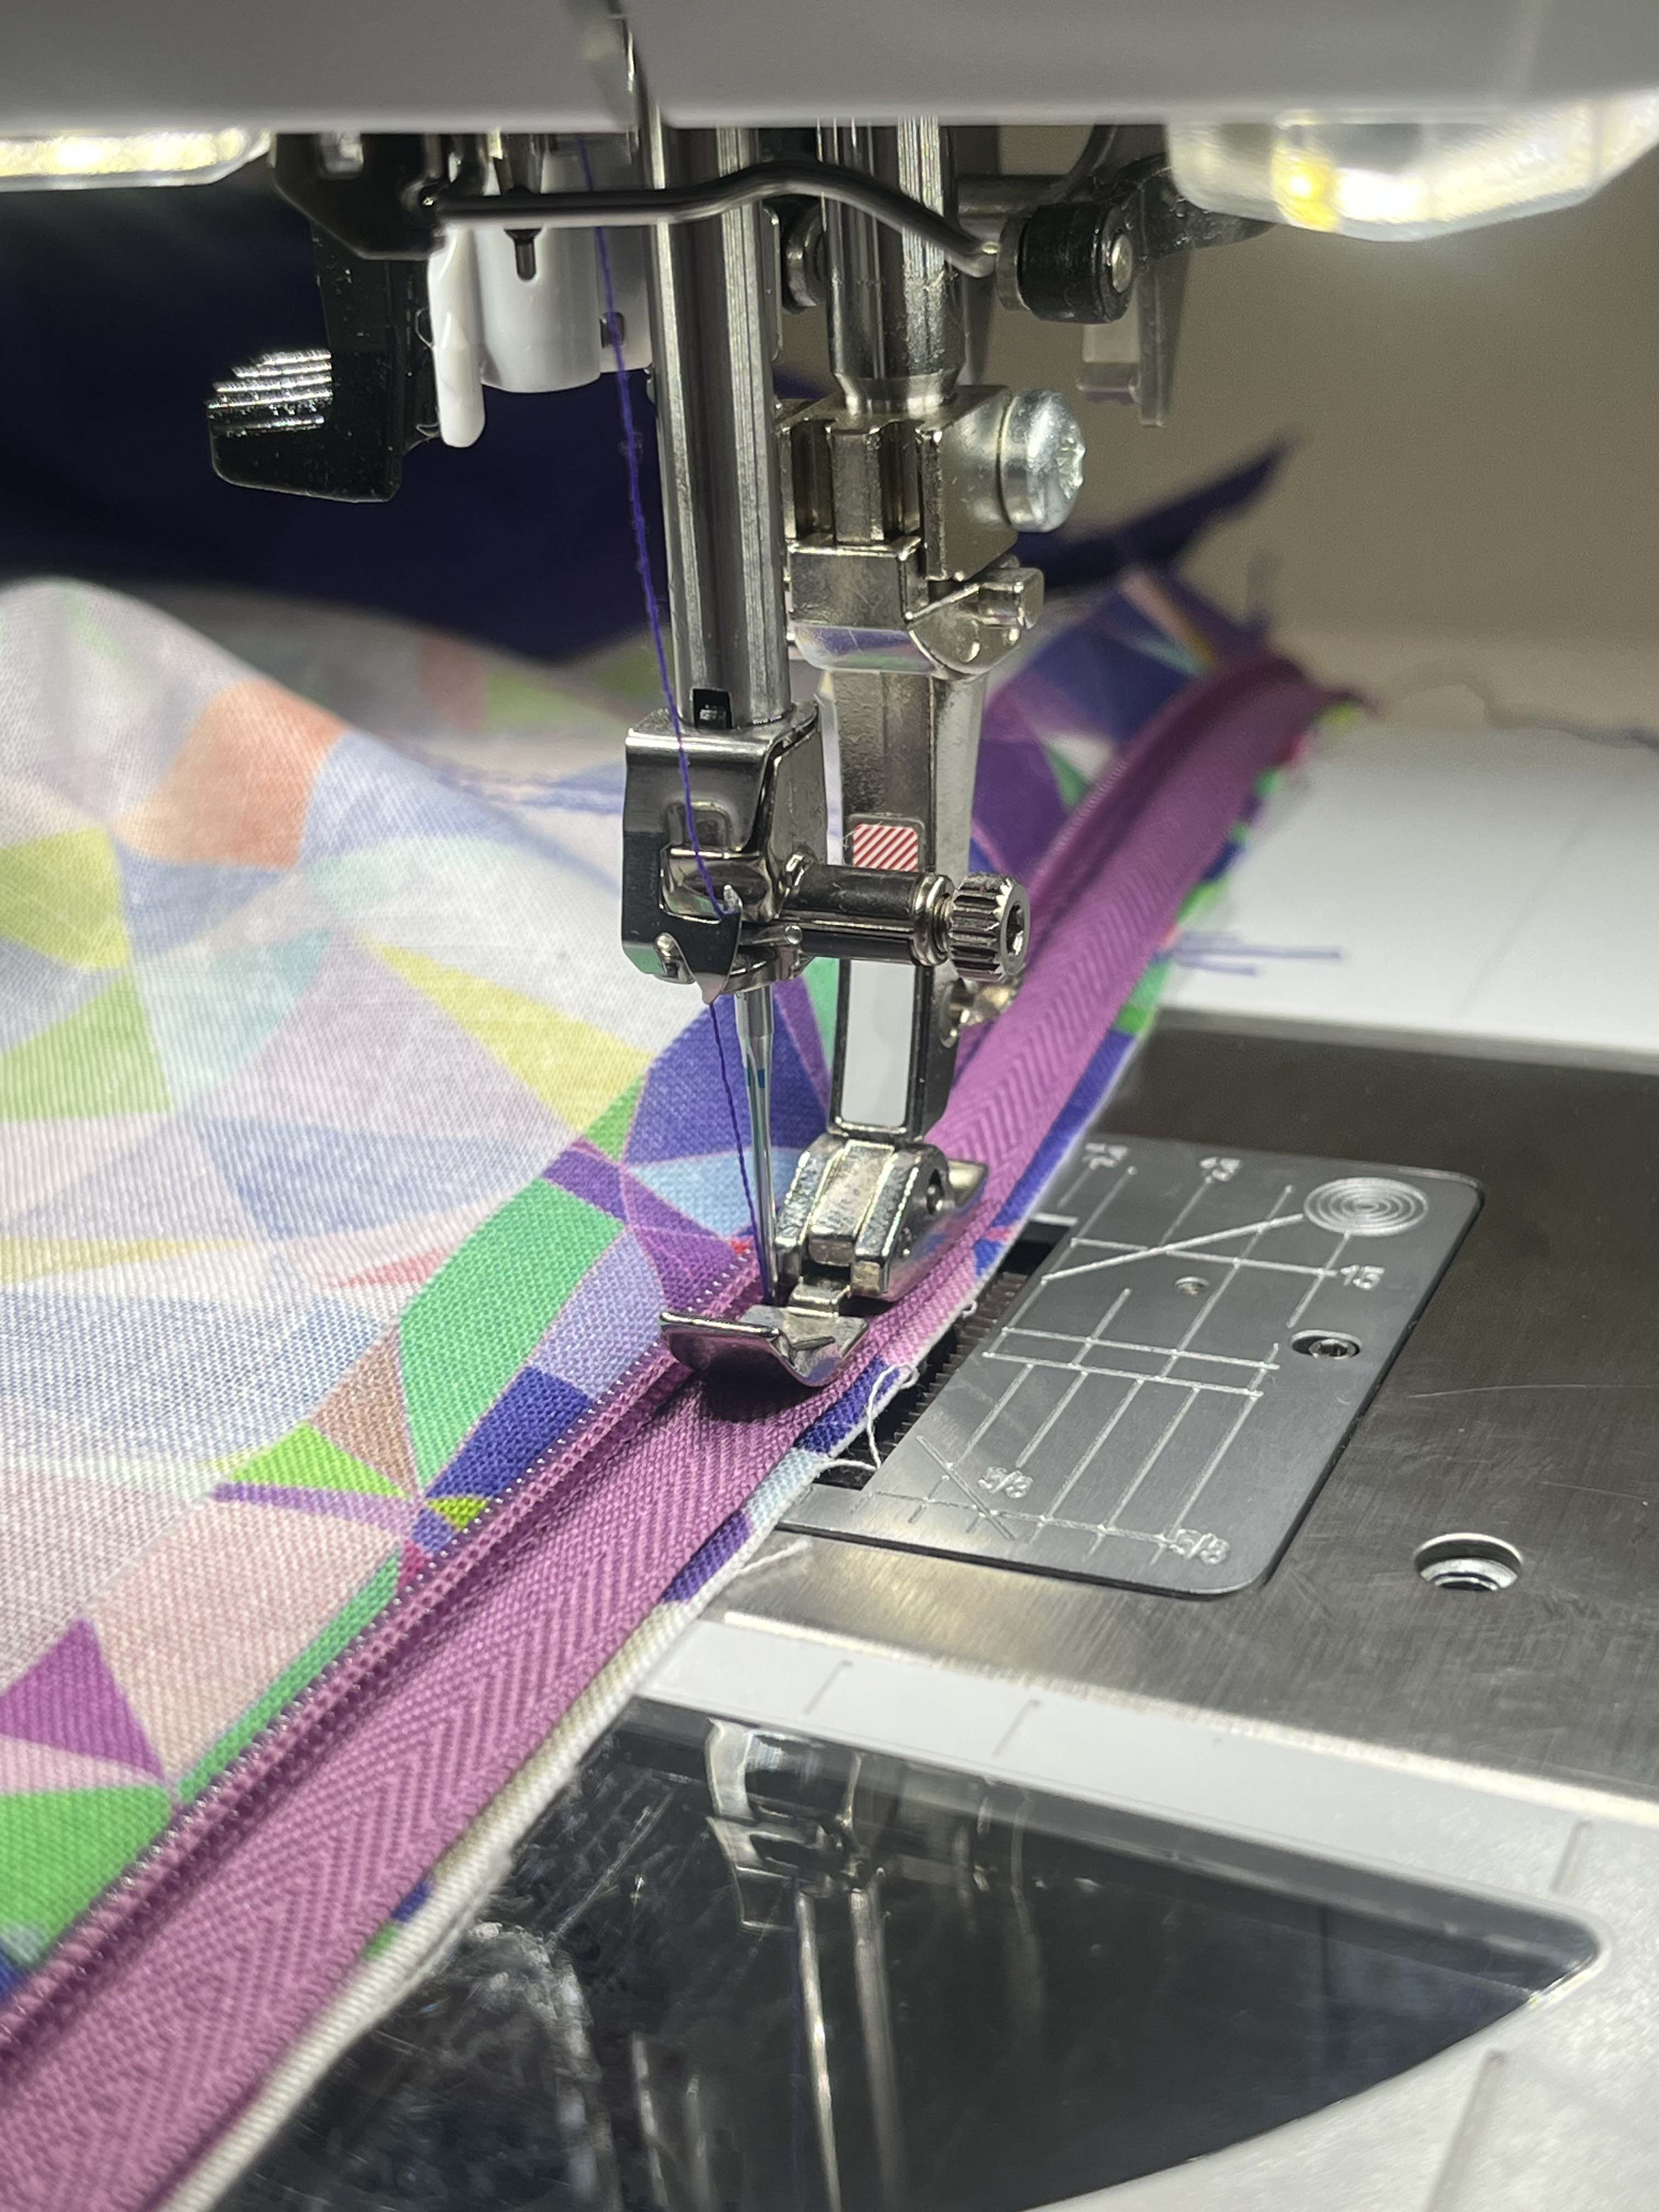
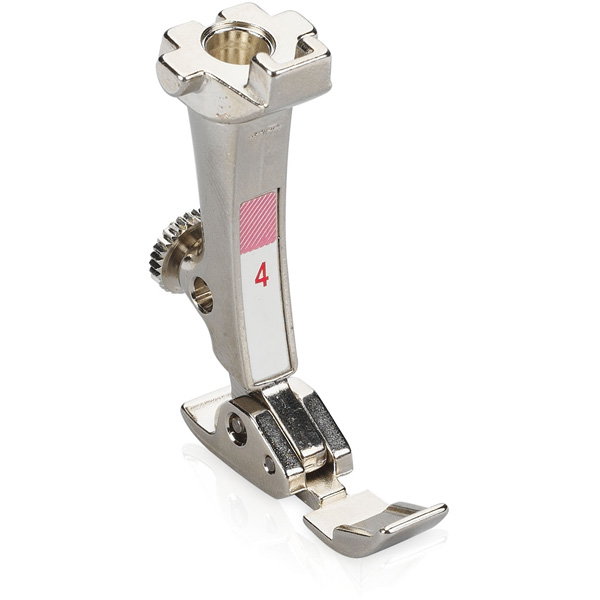
BERNINA Zipper Foot #4
BERNINA Zipper Foot #4 is the foot I used to install my invisible zipper. I used my favorite technique for this part of my stitching. I have a video for this here if you would like to learn this technique. Fast forward to 18:08 for the full technique. The key here is to have your needle in the farthest position to the left. BERNINA Invisible Zipper Foot #35 can also make this process go quicker and adjusting your needle is not necessary because it will remain in the center position the whole time.
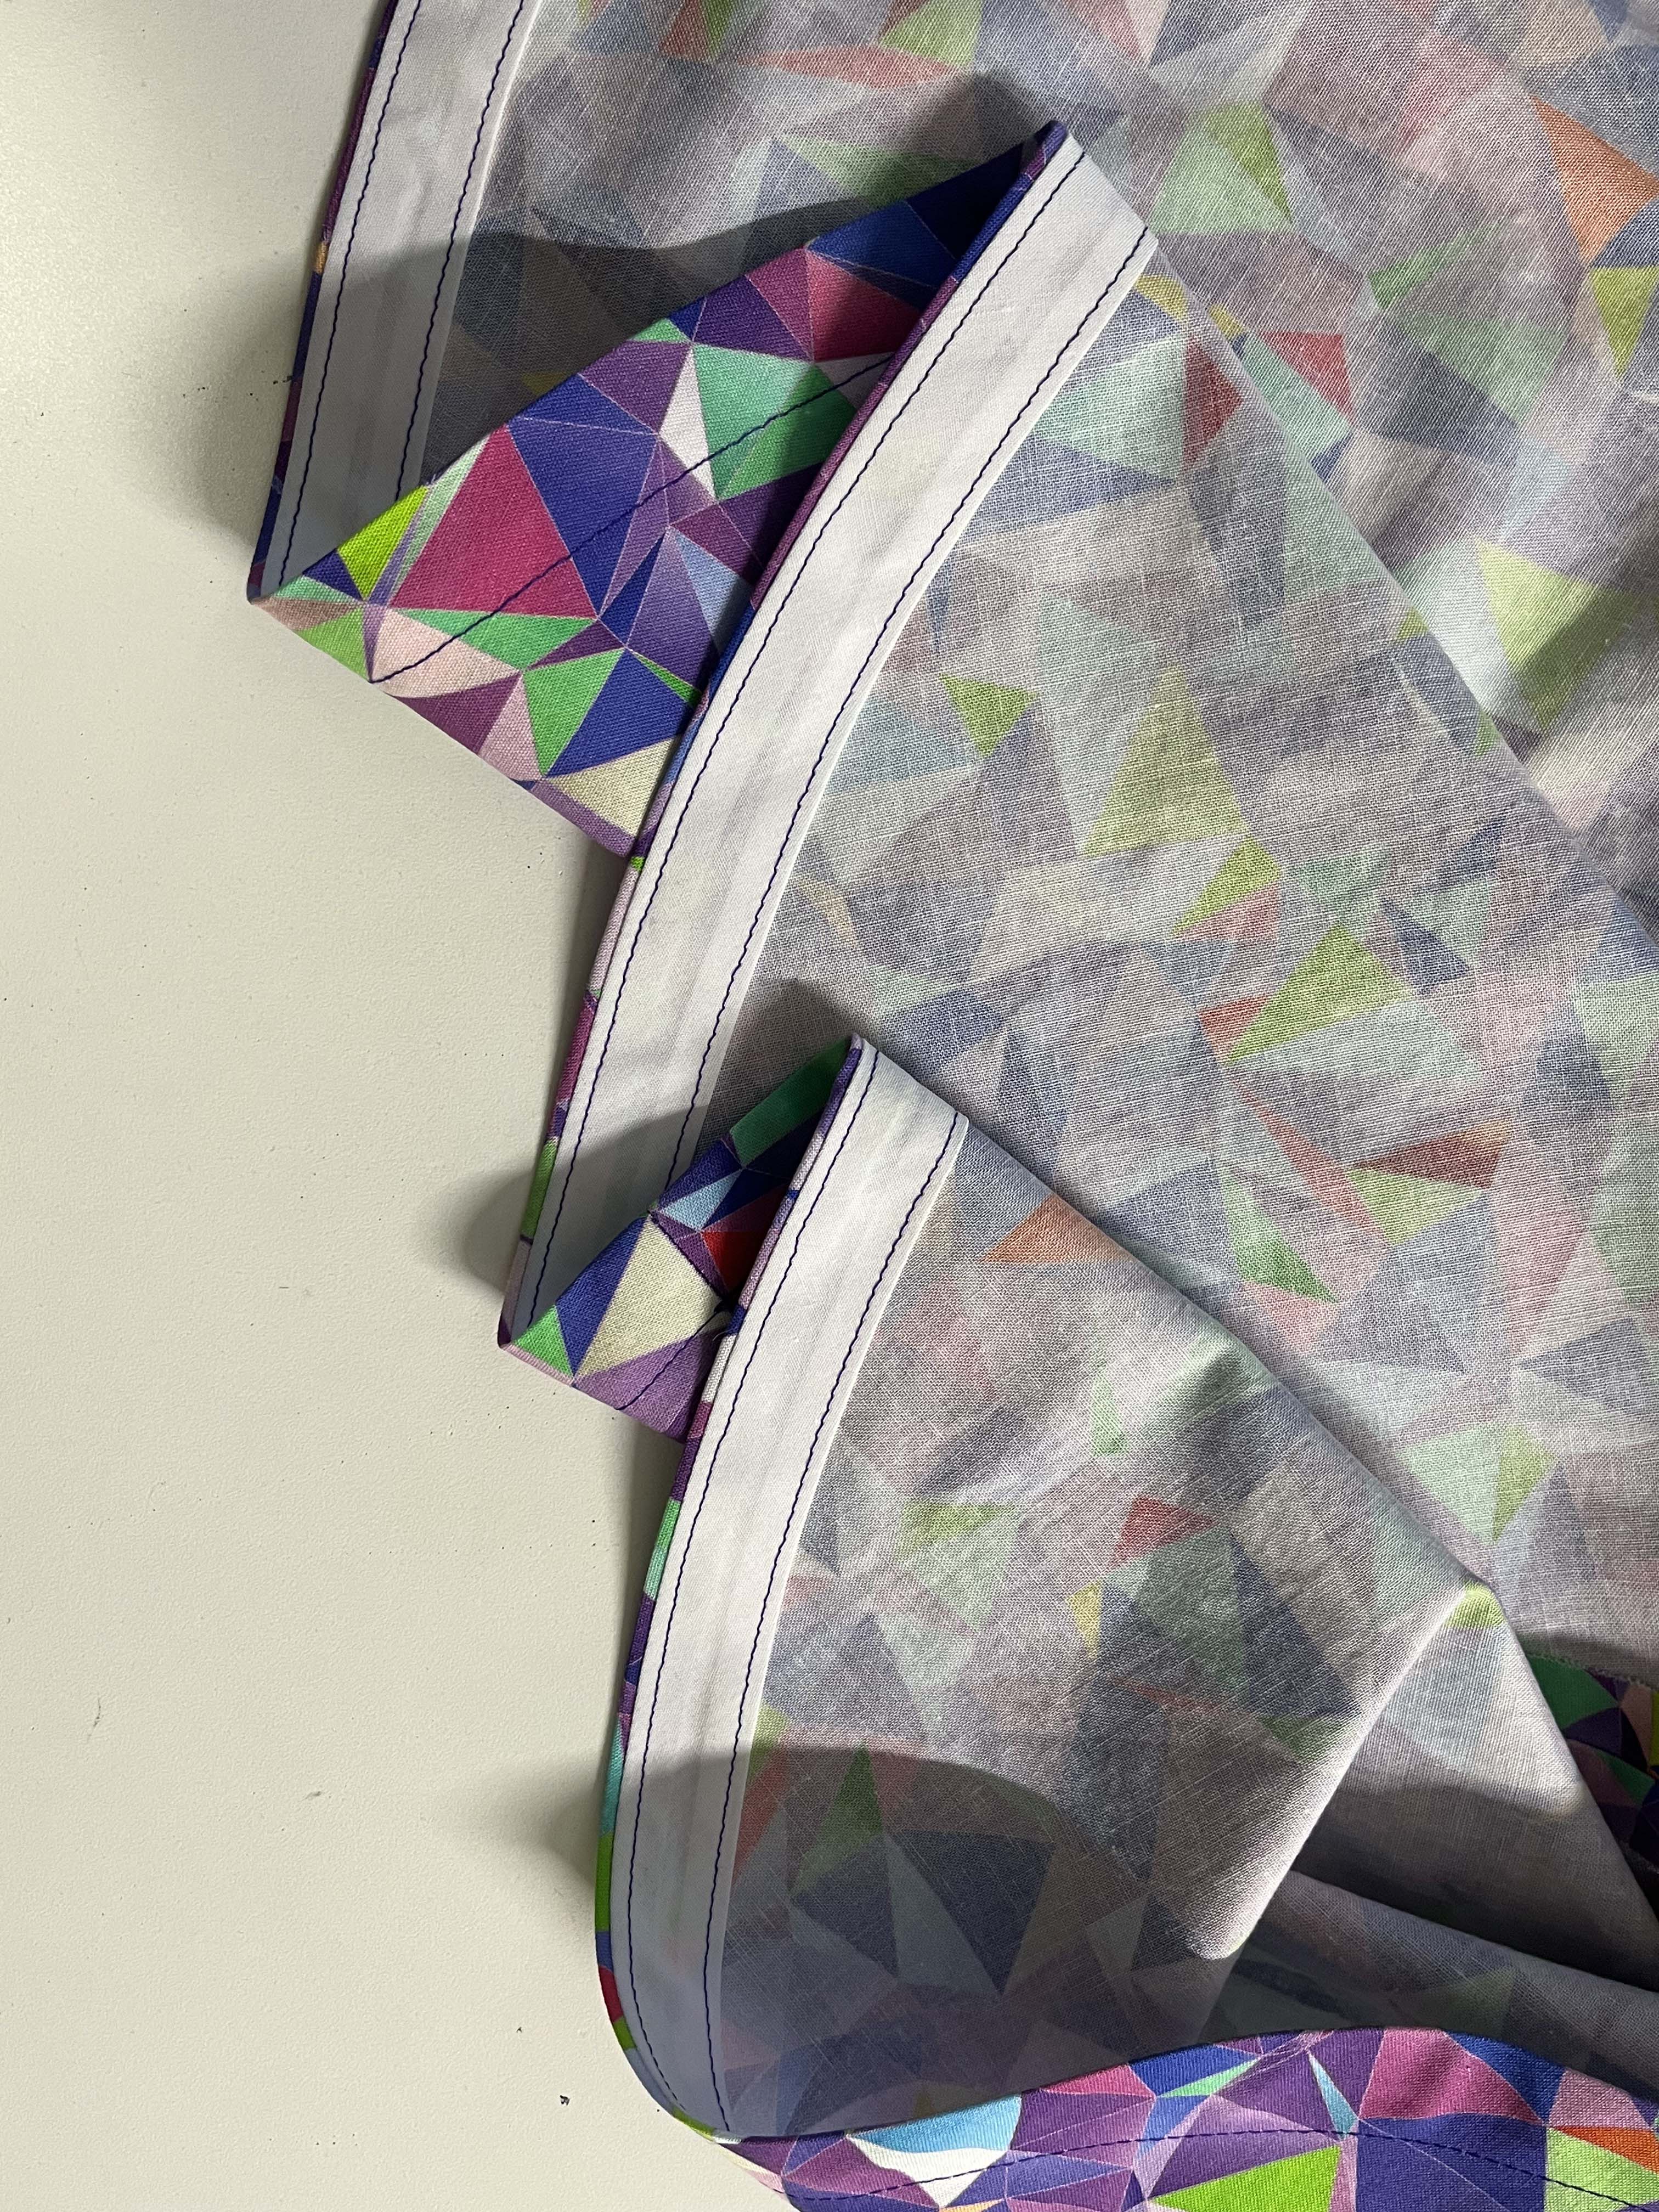
Draped Dress Hem Finish for Flared Skirt
As an added bonus in this tutorial, I share my favorite technique for hemming circle/flared skirts. It is quick, easy and very effective. Bias Tape makes this so easy and it is quite easy to find at your local fabric store! Just be sure to join your bias tape at one of the side seams for a clean finish. I am not a fan of just overlapping the ends before folding it over and stitching it down on the inside. When I use this technique I treat the bias tape almost like a facing and understitch it before folding it over to the wrong side of the fabric.
Used Products


What you might also like


One comment on “Draping a Custom Dress, Part Five: Final Garment”
Leave a Reply
You must be logged in to post a comment.

Really enjoying your posts Fabian, amazing work!