Creating the Skirt for a High Fashion Cinderella Cosplay
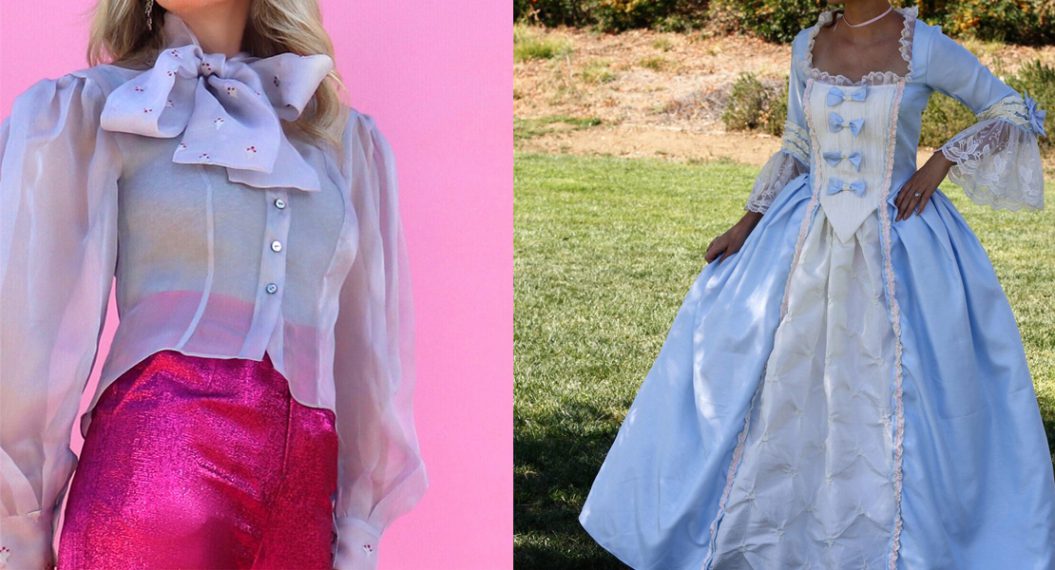
Hi, everyone! It’s Dessi-Desu and I am back with the final entry in my Cinderella cosplay project, inspired by her 2022 designer doll. In my previous post, I created her peplum. For this blog entry, I will be finishing the skirt to complete the costume.
Creating the Mock-up
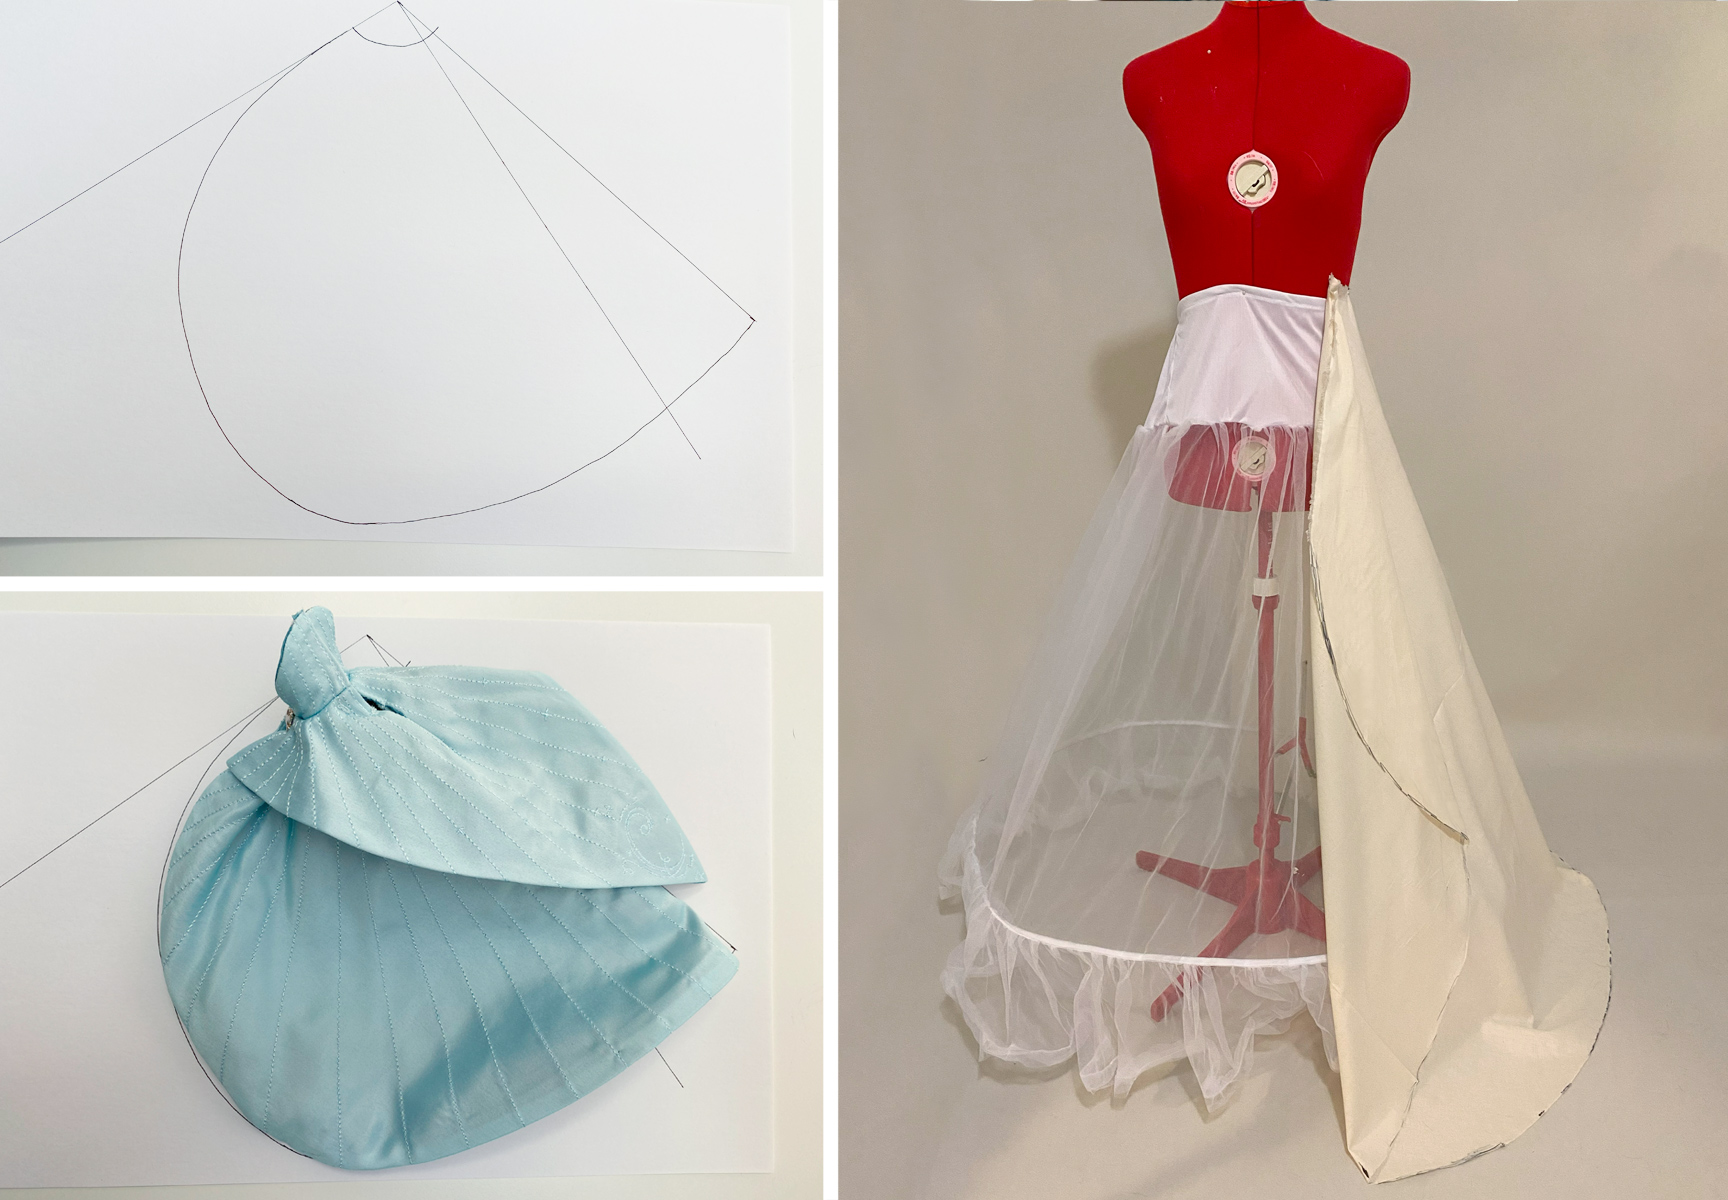
To start my skirt, I began by creating a mock-up. Cinderella’s skirting has a full appearance without much overlap. The other thing I had to consider was the stripes I would be applying to the skirting later. I ultimately decided it would be best to use a pattern that would only have a backseam. This way there would not be seams interfering with the stripe placement. After referencing the shape of the doll skirt, I basically ended up with a high low 5/8 circle skirt. Typically circular patterned skirts are broken down into 1/4 increments, based on how much volume you need. However, in this case, 5/8 of a circle ended up being just the right amount of volume I needed. I found placing my muslin mock-up over a petticoat was also helpful for getting a better idea of how the final skirt would look.
Mapping Out the Skirt Stripes
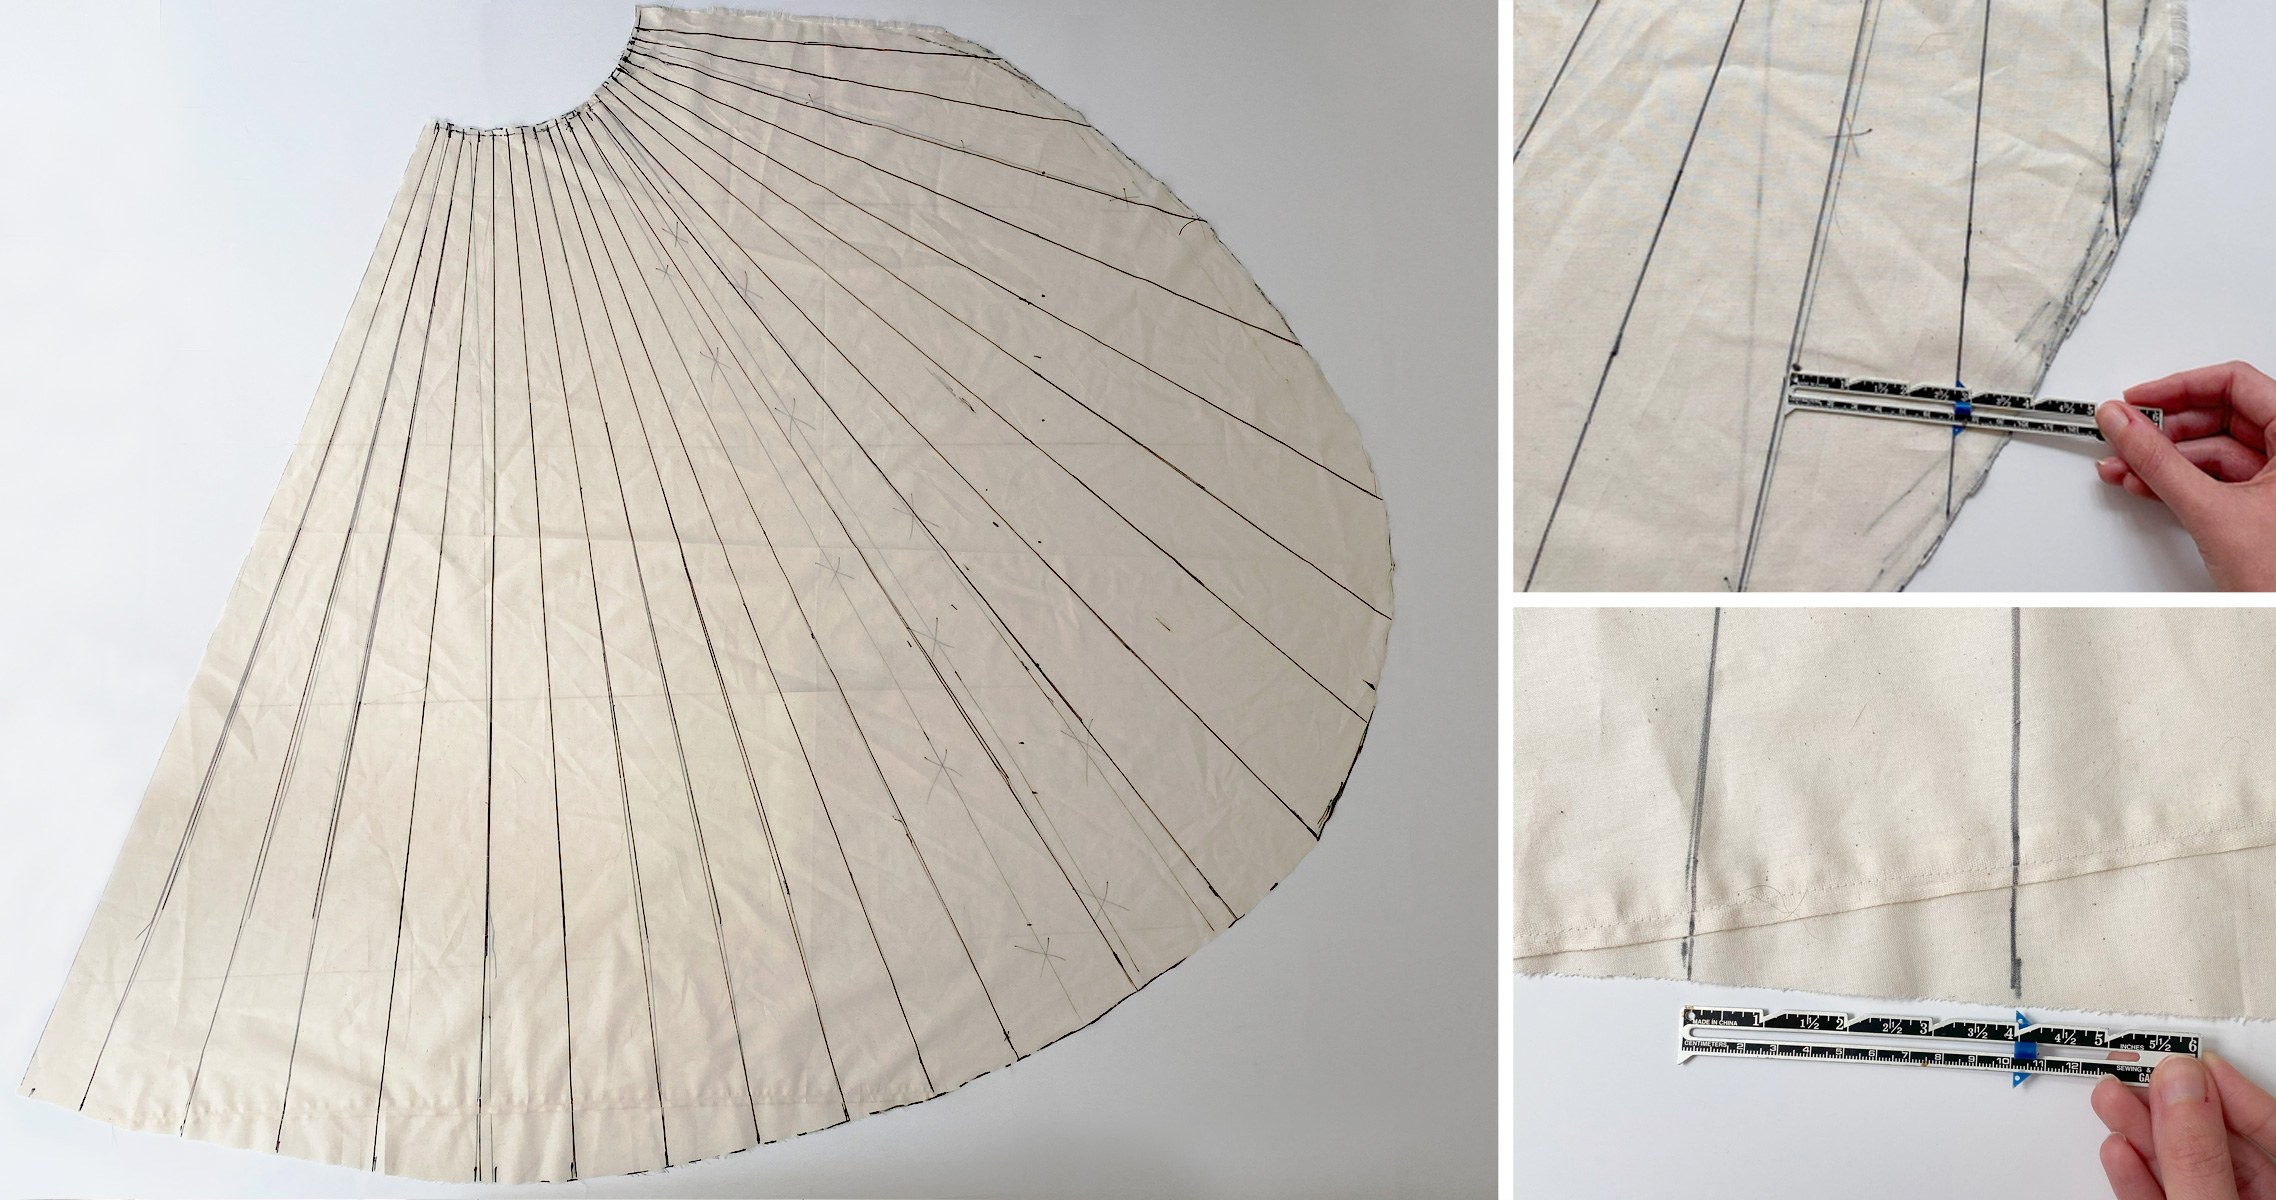
After I was happy with my mock-up, I started the process of mapping out my skirt stripes. Similar to the peplum, I used a combination of what looked visually balanced and measuring some an equal distance apart. For the front portion, I measured the stripes approximately 2 3/4″ apart. As I worked my way to the back, the stripes were measured approximately 4″ apart. The center of my pattern was where I mapped the stripes out based on what I felt looked visually balanced. This way the stripes in the front and back would run parallel with the skirt opening and back seam.
Cutting the Final Fabrics
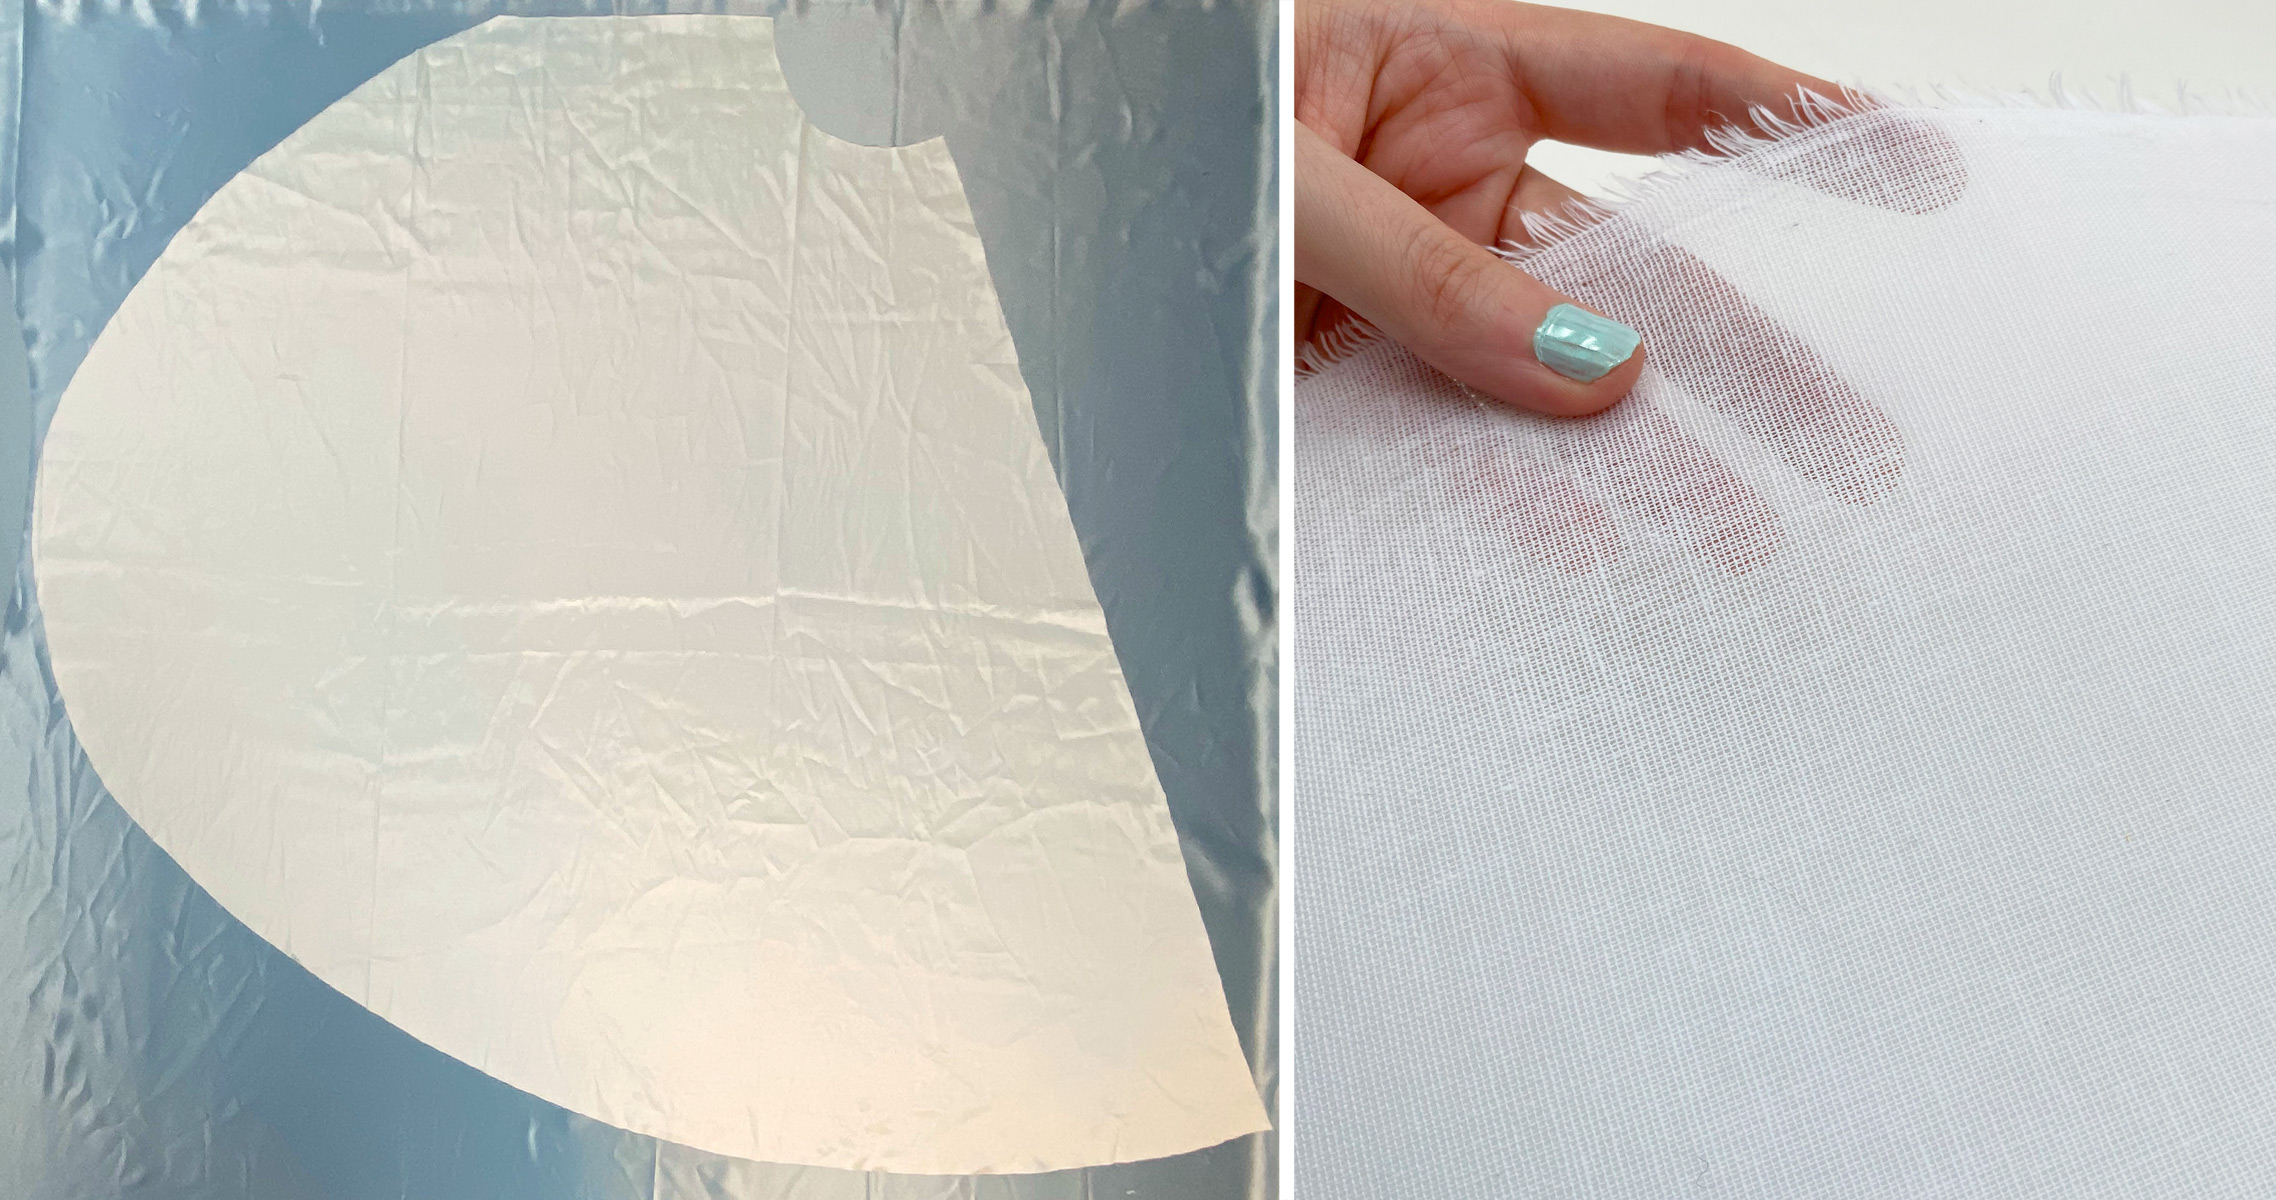
After my skirt stripes were mapped out, I cut my final fabrics. The skirting was comprised of the same taffeta and satin used on my peplum, and a crinoline fabric for an interlining. The crinoline provided the completed skirt with more structure. Crinoline fabric is often confused with tulle, but it is a fabric treated to make the fibers stiffer. This was key to giving Cinderella’s open skirt more structure without the use of a petticoat. I used a cotton crinoline fabric I purchased from Etsy.
Adding the Ribbon Stripes
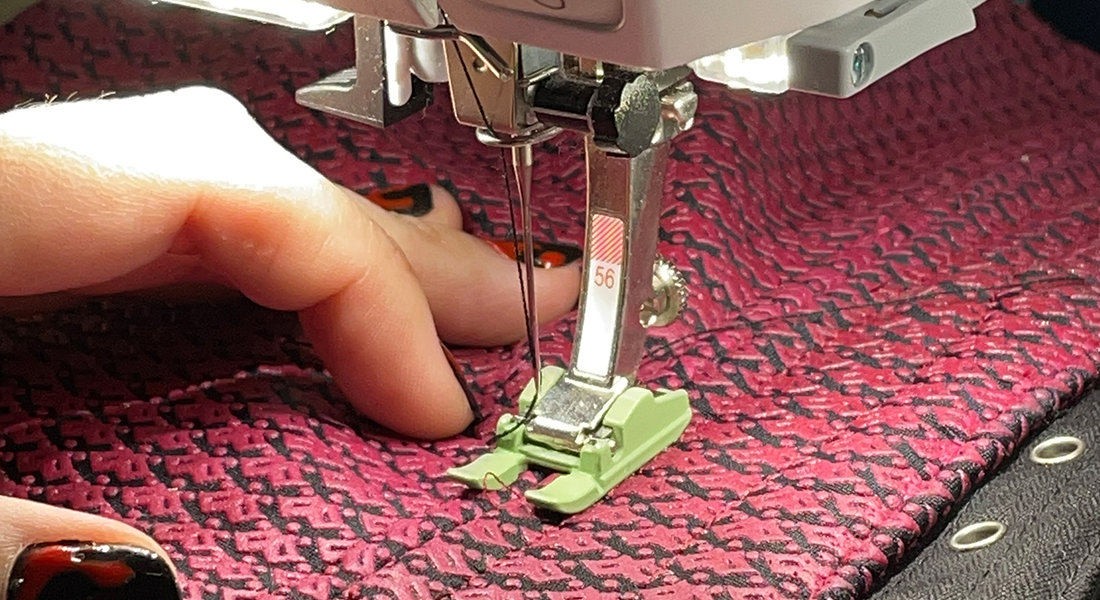
To begin the process of adding my ribbon stripes, I laid my taffeta fabric over my mock-up pattern with my mapped-up stripes. The taffeta was thin enough for me to see the stripe guide beneath. Using a straight edge and chalk, I drew the stripes on my final taffeta fabric.

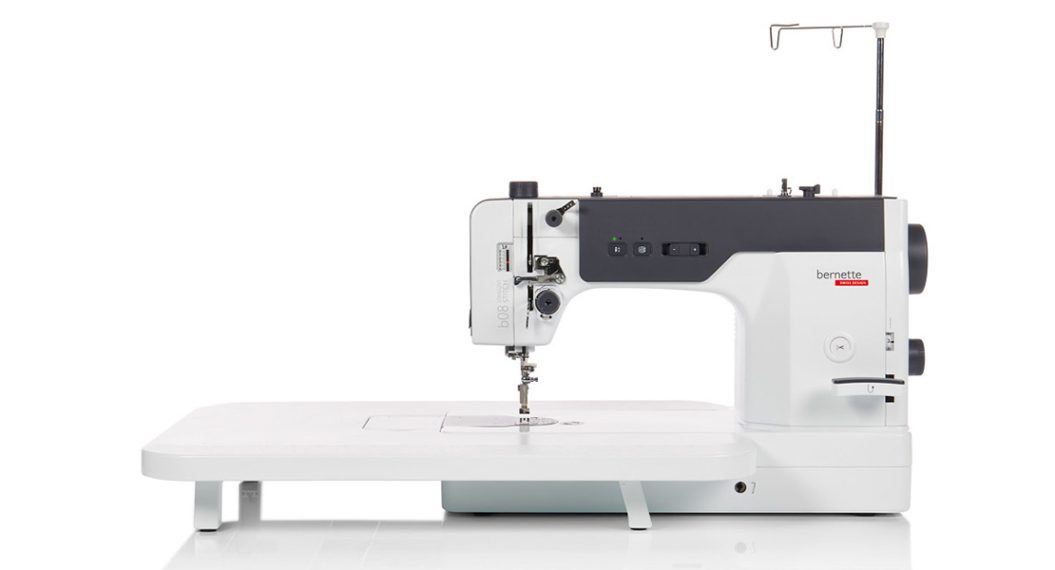
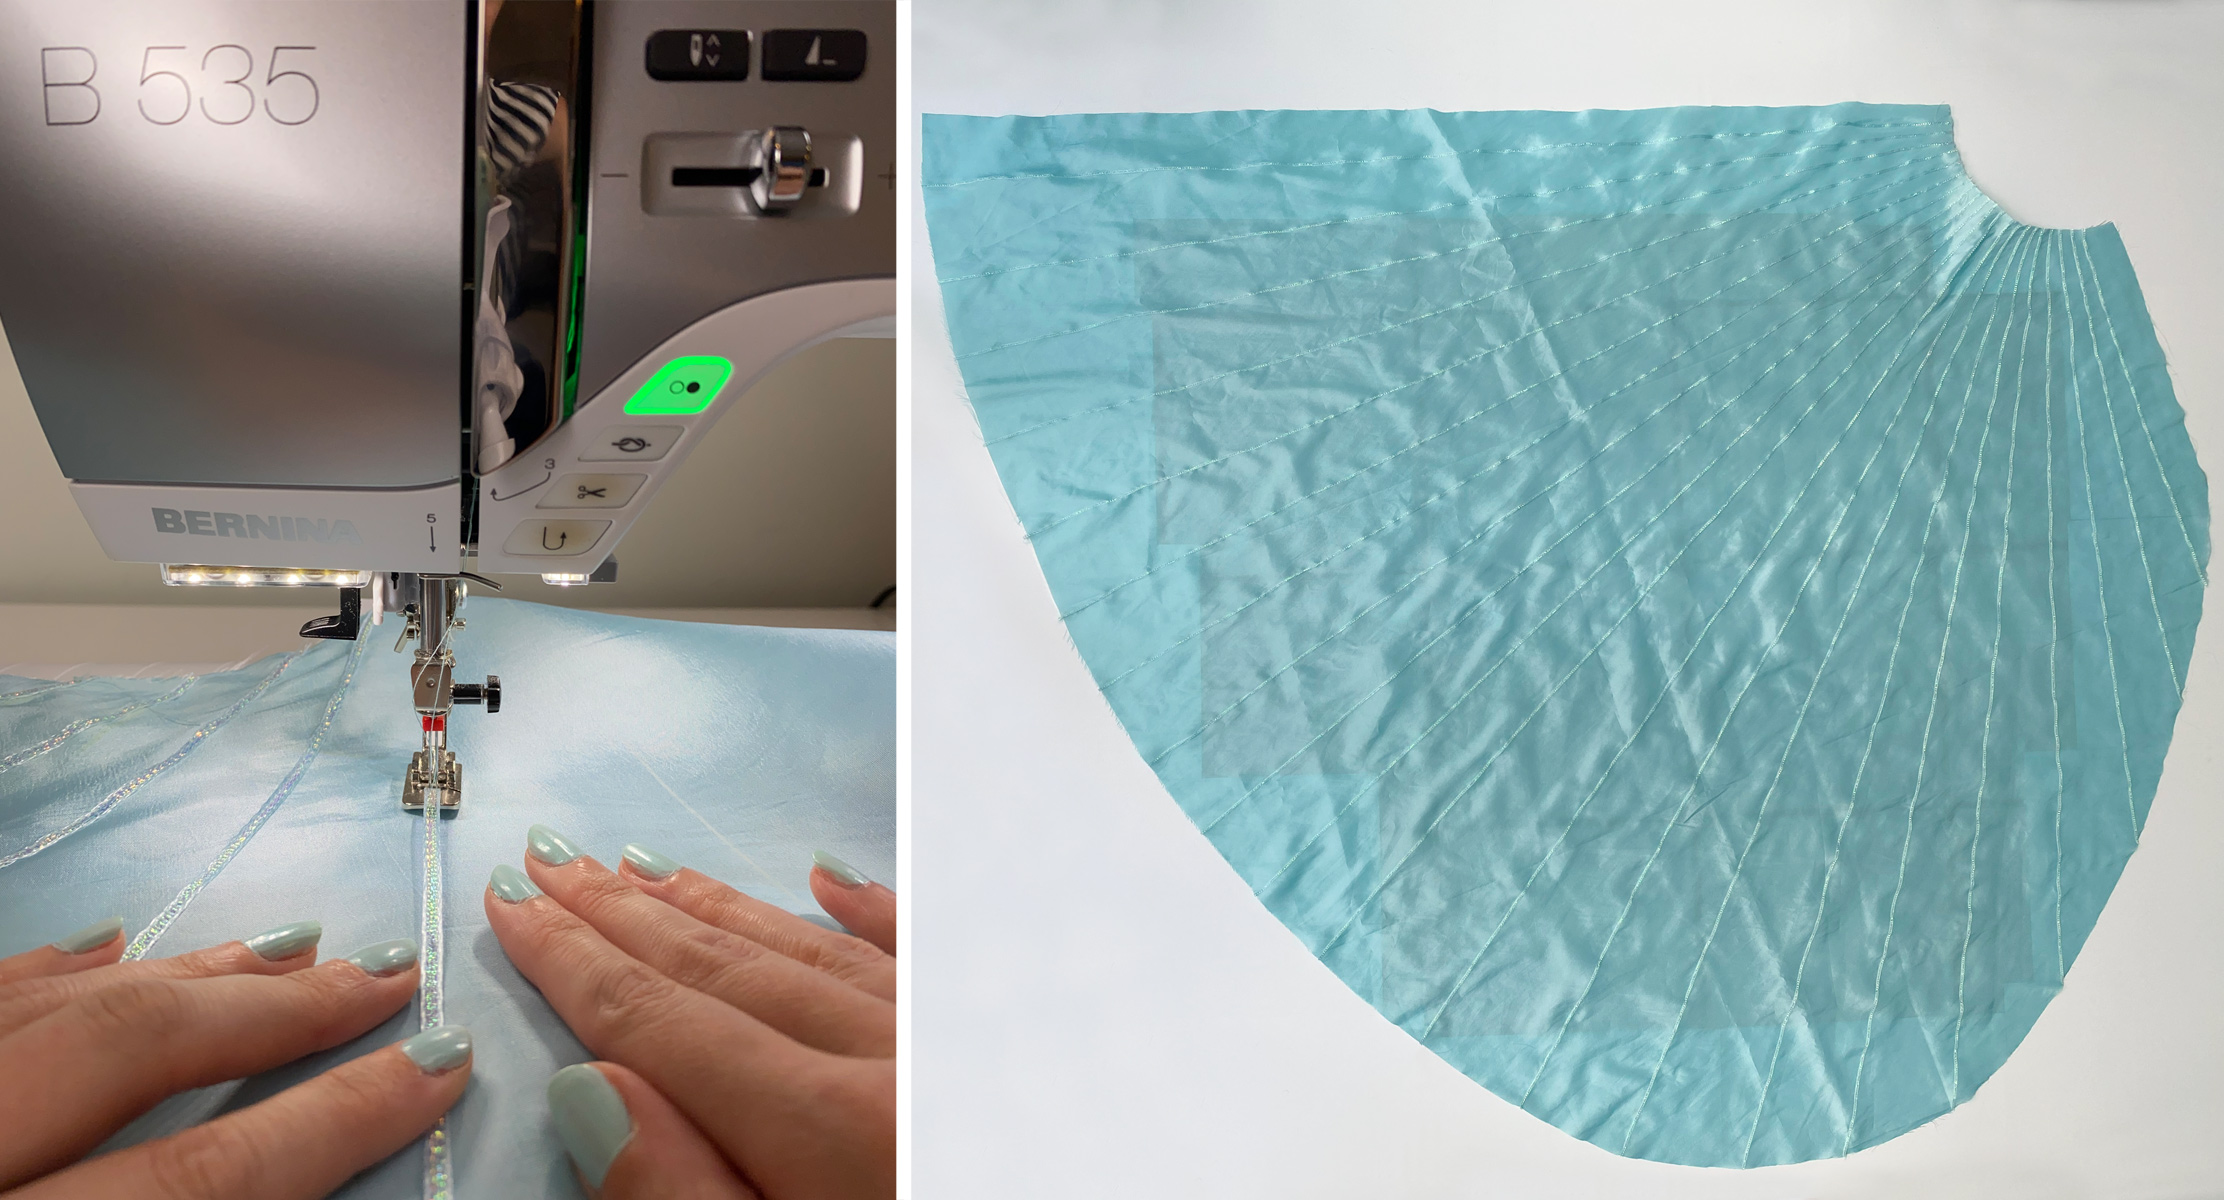
After I had my chalk stripe guide, I used the same process from creating my peplum to apply the iridescent ribbon stripes. Using Bulky Overlock Foot #12 on my B 535 E, I stitched the stripes down using a twin needle with a tear away stabilizer beneath my fabric. For more on the process I used for stitching down my ribbon stripes with Bulky Overlock Foot #12, be sure to also check out my peplum blog here. In total, I spent on average 4-6 minutes on each stripe, which greatly increased my time efficiency with completing the skirt. I am often creating cosplay projects with event deadlines, so techniques such as this one can make all the difference in completing a project on time.
Assembling the Skirting
After all the ribbon stripes were sewn onto my skirt pieces, I then sewed the skirt pieces together. Unfortunately, this is where I learned that I miscalculated my stripe placement. I had originally planned to cover the back seam with a ribbon to continue the seamless look on the skirt. Even with careful planning on a cosplay project, mistakes can still happen, so don’t get discouraged. It happens to all of us! I may go back and patch the back seam at some point. For completing this for my convention deadline I was happy enough with these results.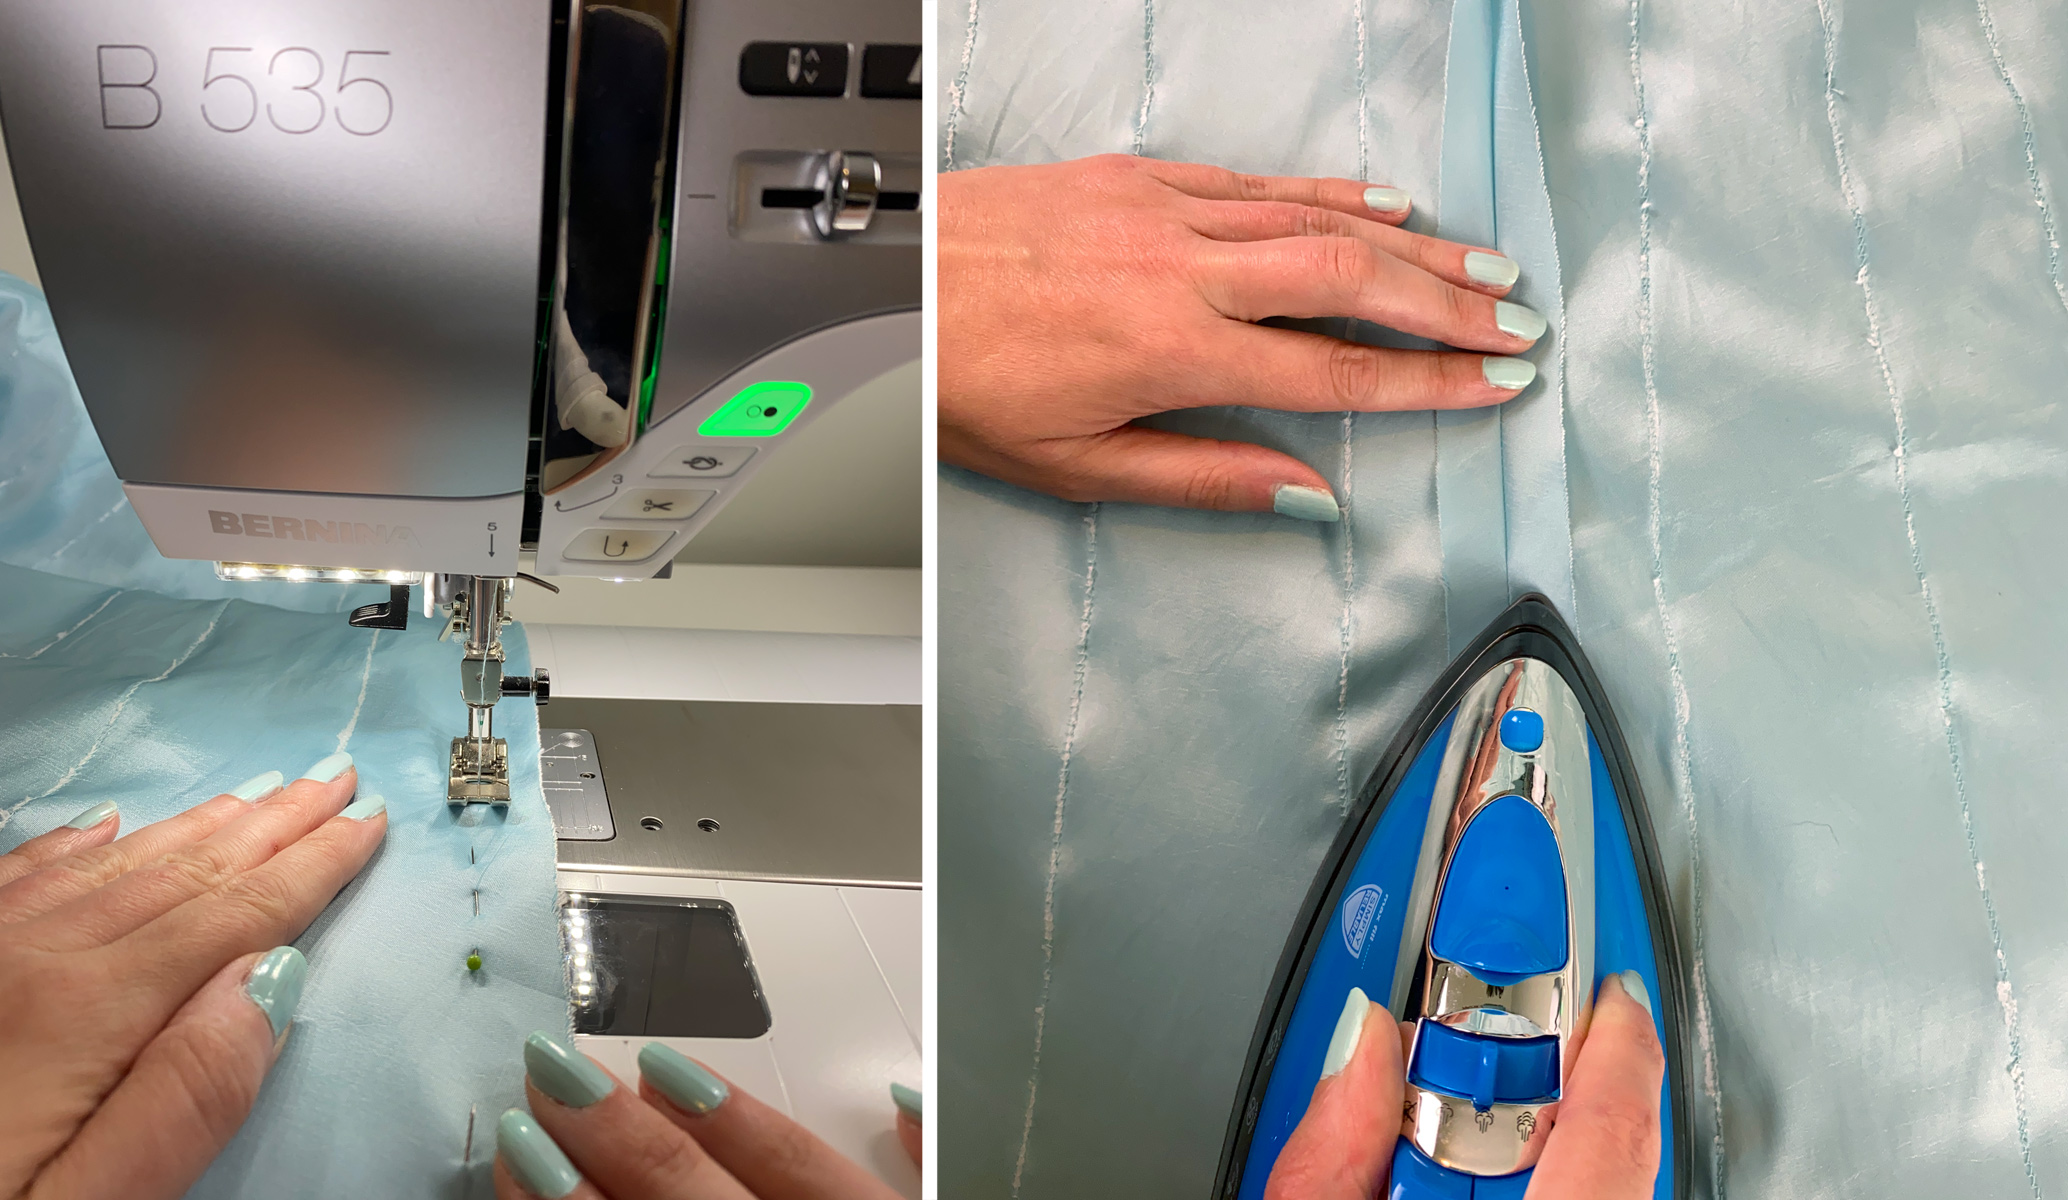
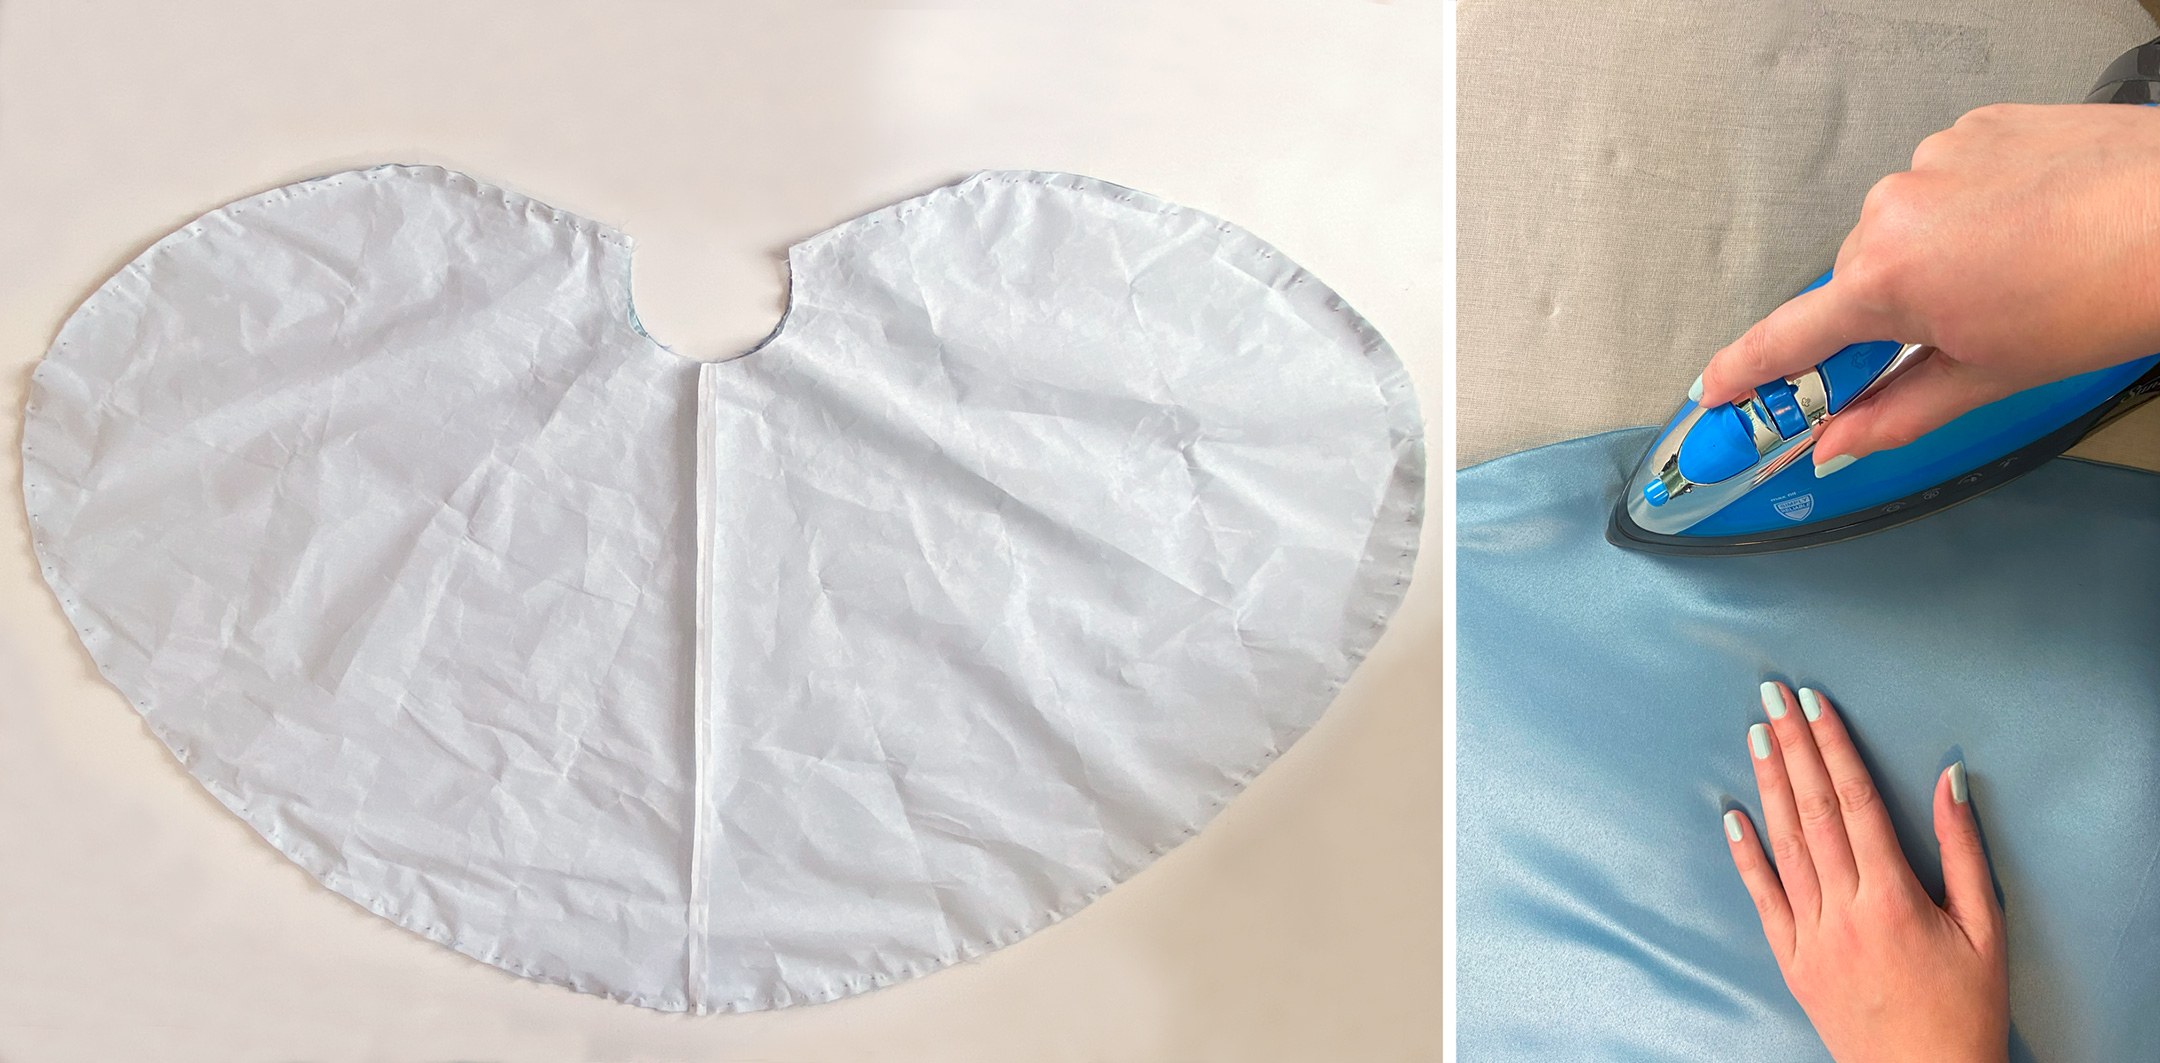
Then, attached my crinoline interlining layer, before turning my skirting right side out. After my crinoline interlining was stitched on, I turned my skirt right side out and pressed the hem.
Attaching the Skirting to the Peplum
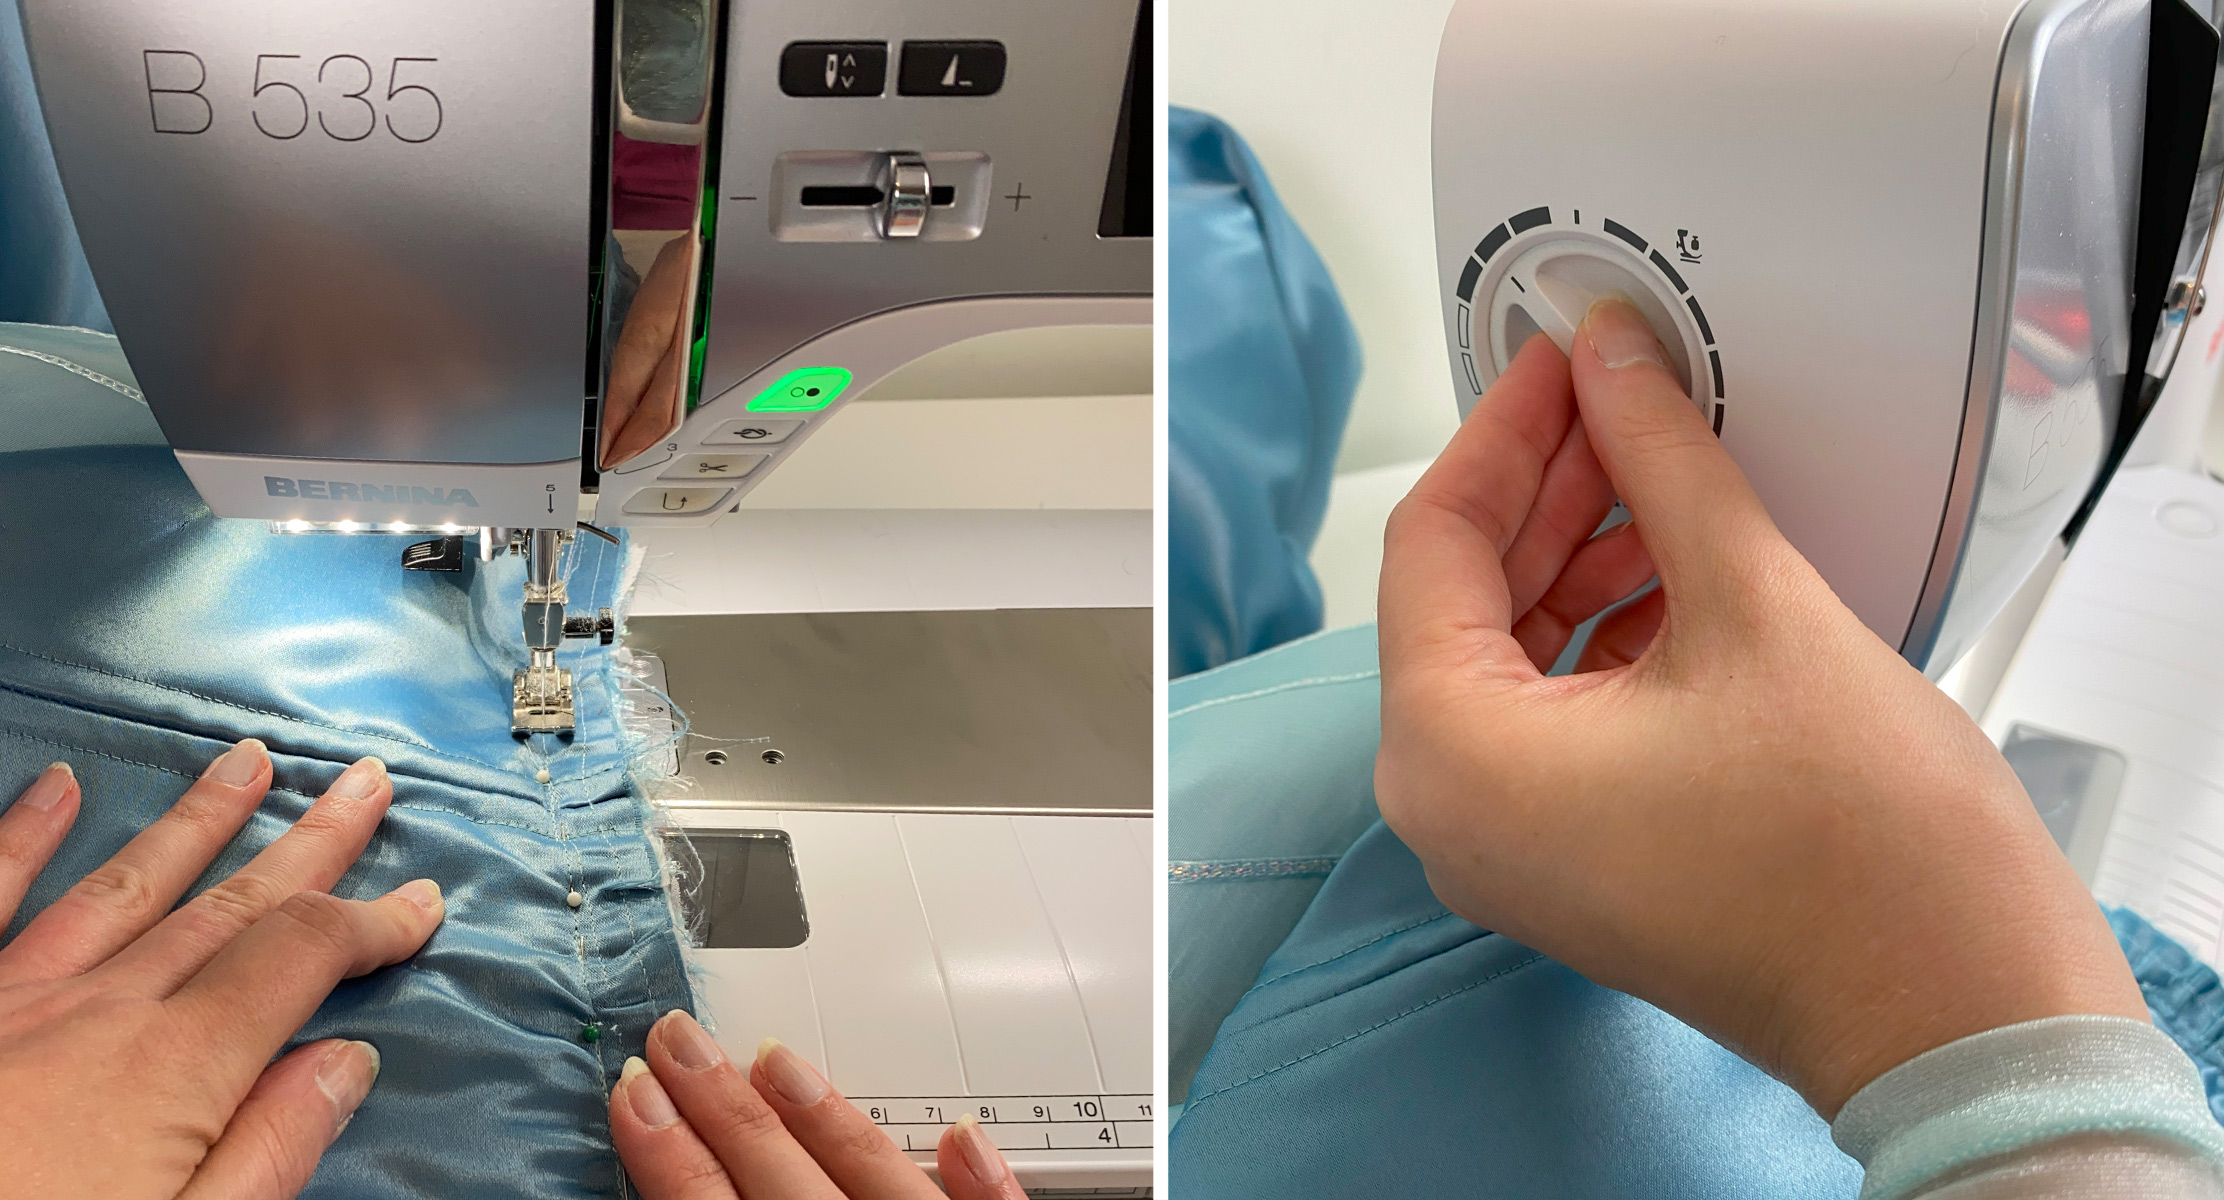
This is where my peplum pieces from my previous blog post came back into play. Avoiding the lining of my skirting, I sewed my skirting to the waist of my peplum. I used the lining of my skirt layer later, to hand sew everything closed for a tidy finish later. As a cosplayer who is often using slippery fabrics and in this case, maneuvering a heavy project, one of my favorite things about the B 535 E is being able to adjust my presser foot pressure. By simply turning the knob for my presser foot pressure to the left, I kept my skirting from shifting as it was sewn.
Hand Tacking
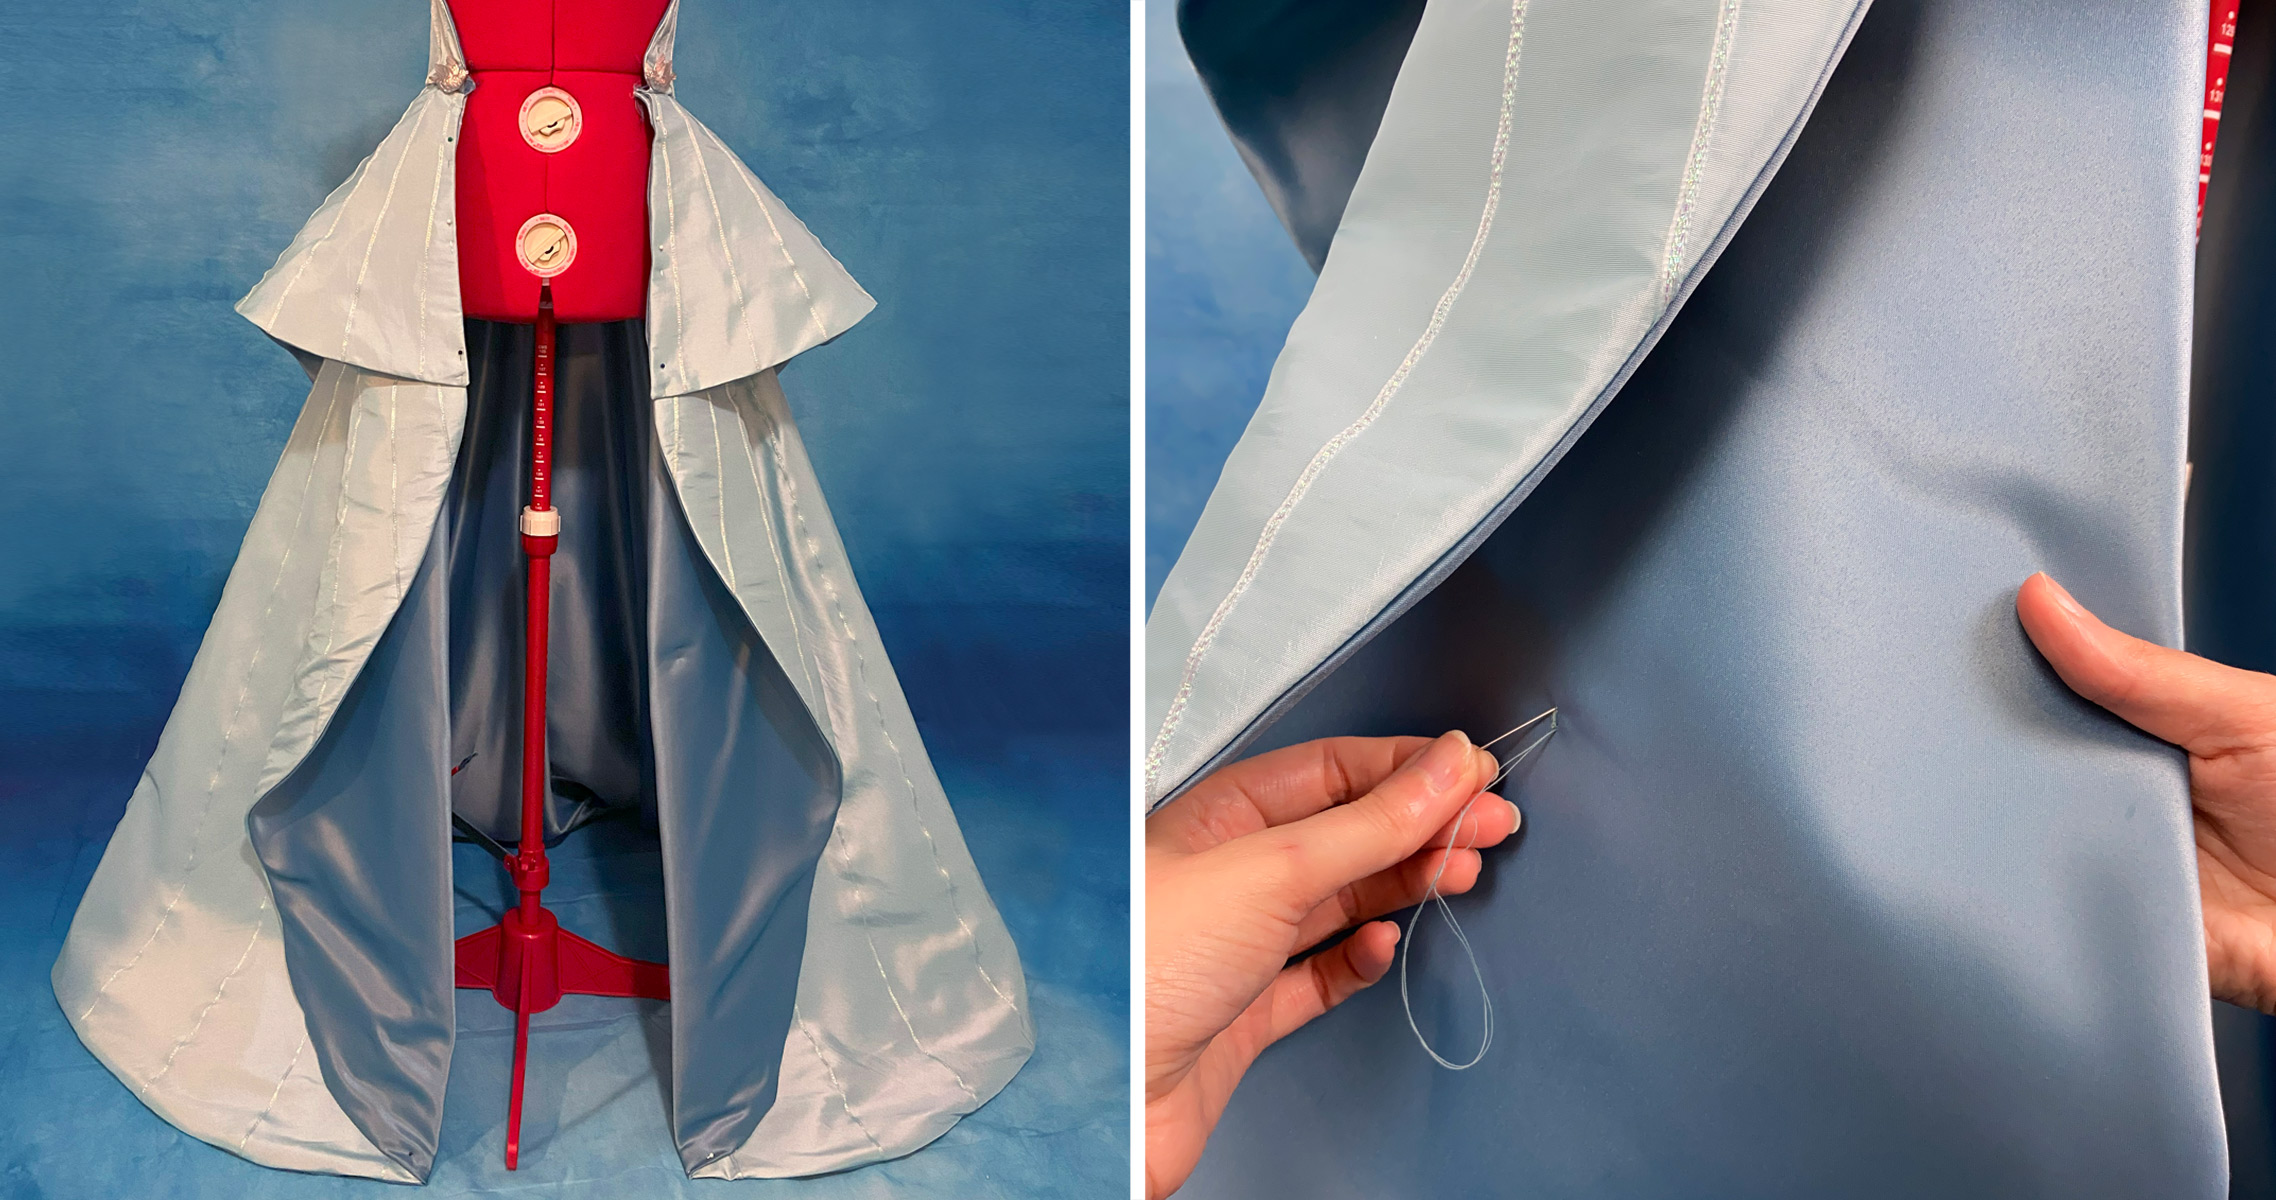
After I sewed the skirting to the waist of my peplum, I placed the skirt on my dressform. Cinderella’s skirting on her doll overlaps in a particular way in the front. To keep the skirt arranged as needed when worn, I hand tacked the skirting. I made sure the hand tacking was hidden by strategically sewing the hand tacking beneath the folds of the skirting.
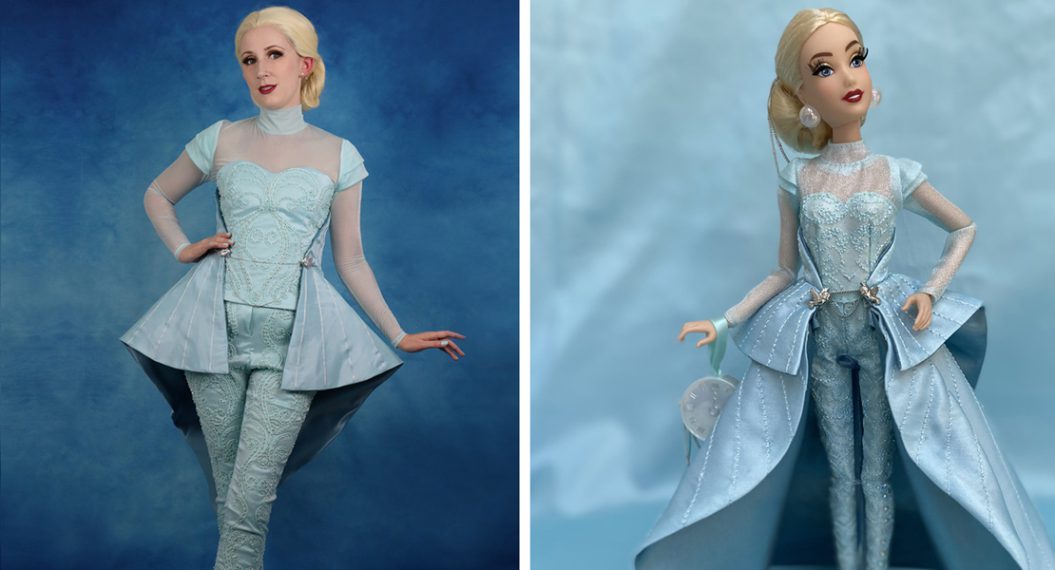
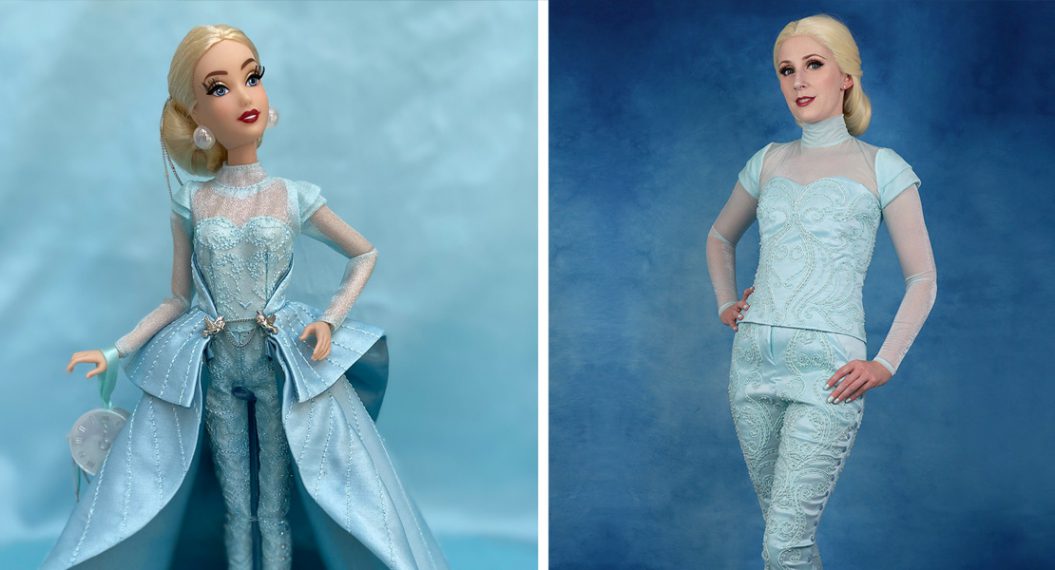
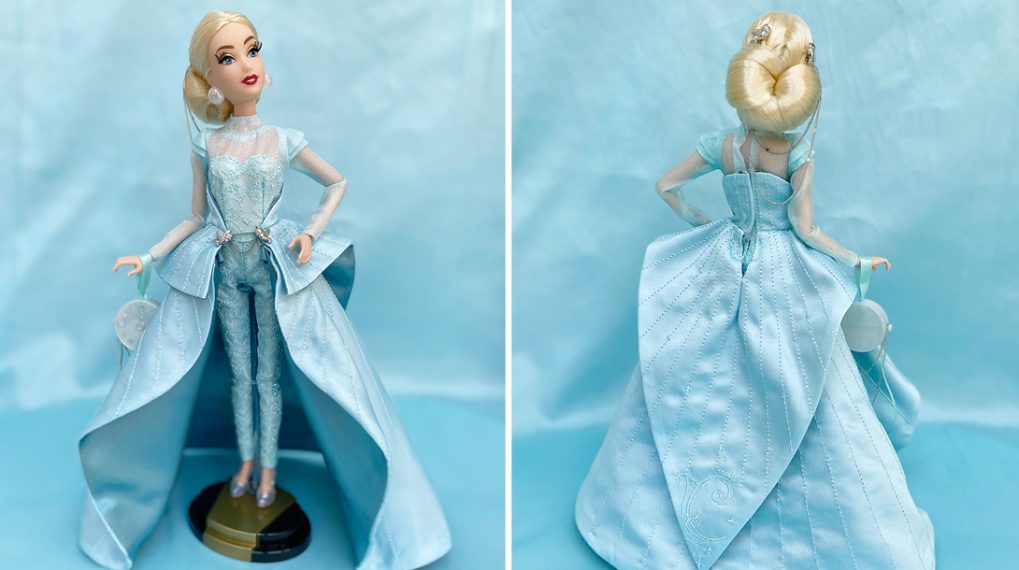
Making the Skirt Wearable
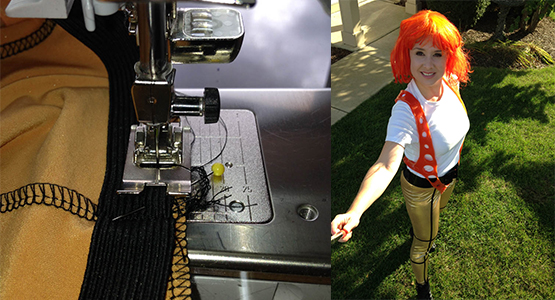
Cinderella’s designer doll skirt has a gravity-defying element to it with its open front. On the doll-sized skirt, it is worn with only a chain closing the front of the skirt. On an actual human-sized garment the doll’s chain closure would not work. I had to come up with a solution to keep the skirt on without adding any elements that would disrupt the front. Snaps are one of my favorite notions for cosplay and they ended up being the perfect solution. I sewed snaps on the inside of the waist of my skirt. Next, I matched the placement for the opposite side of my snaps on my top. To wear my skirt, I simply snap it onto my top when worn. Skirt complete!

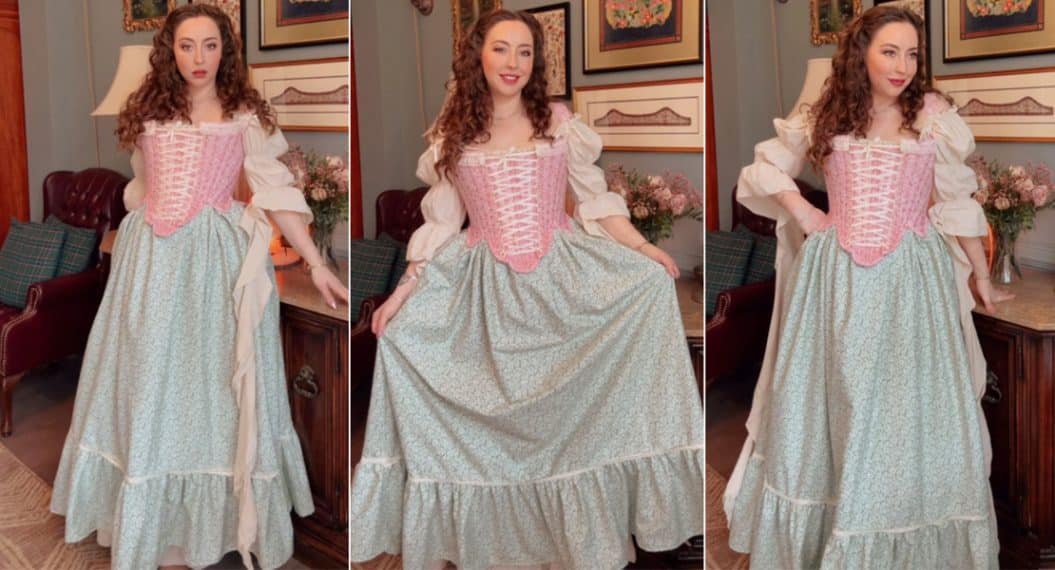
Wearing the Final Costume
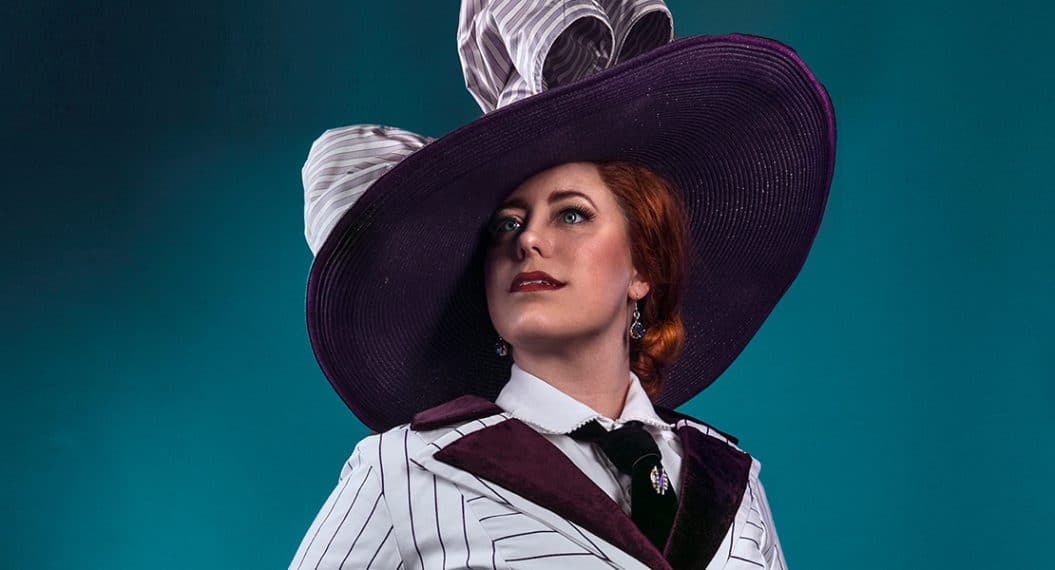
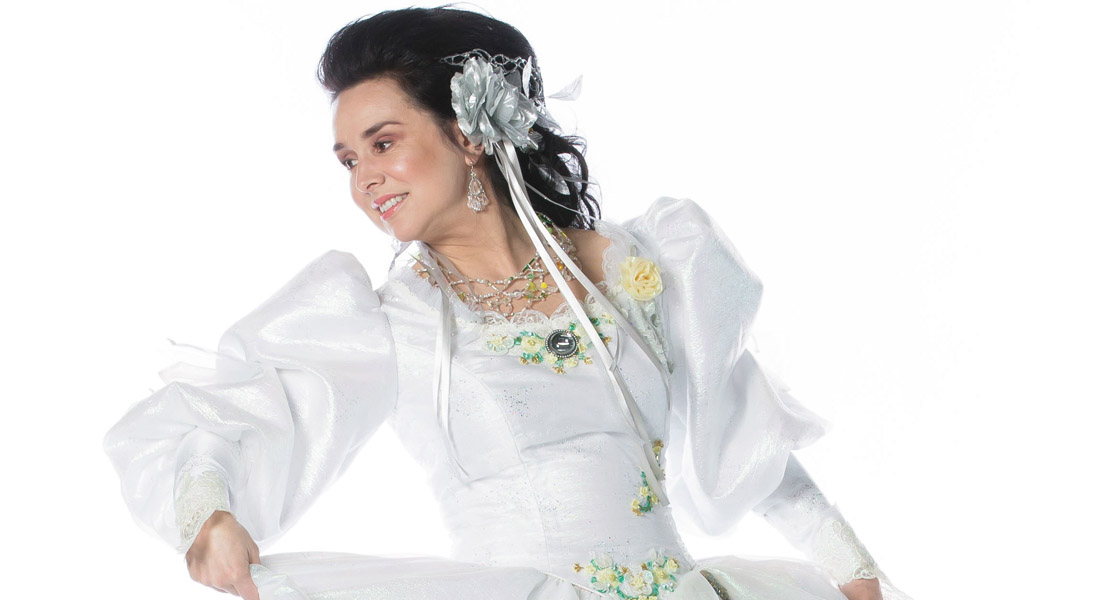
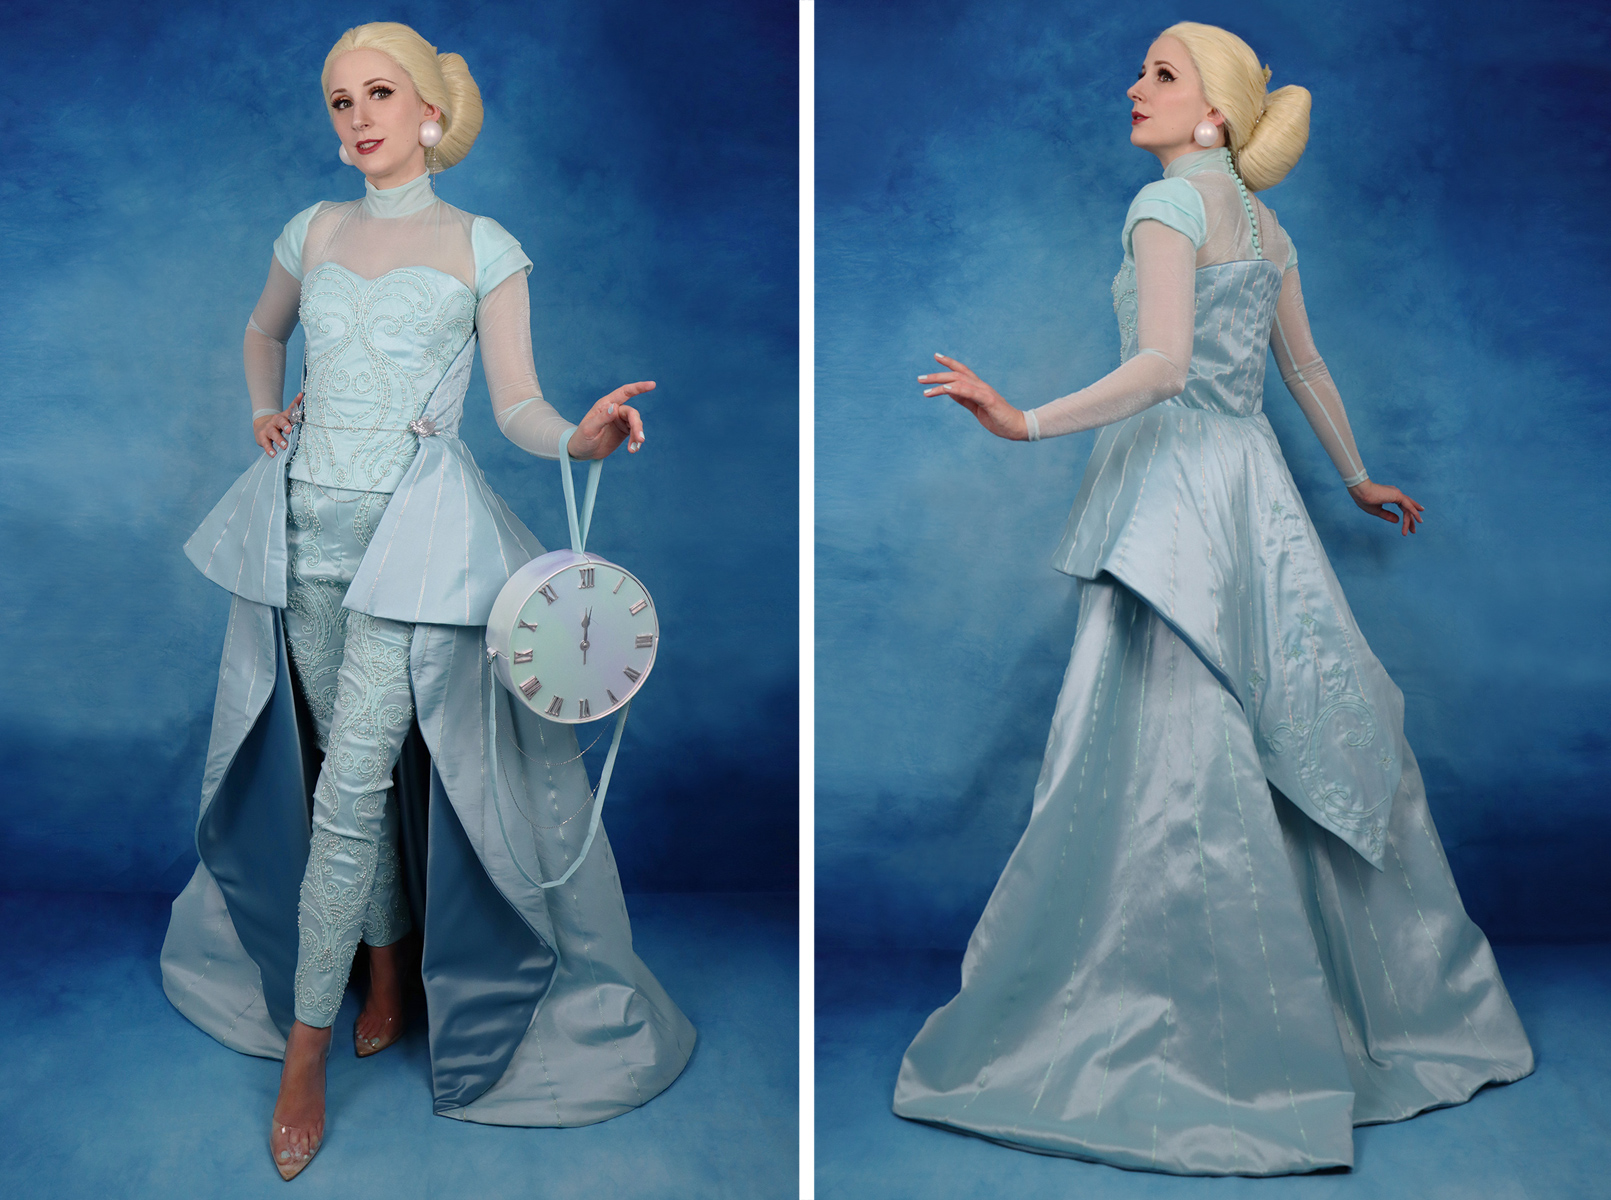
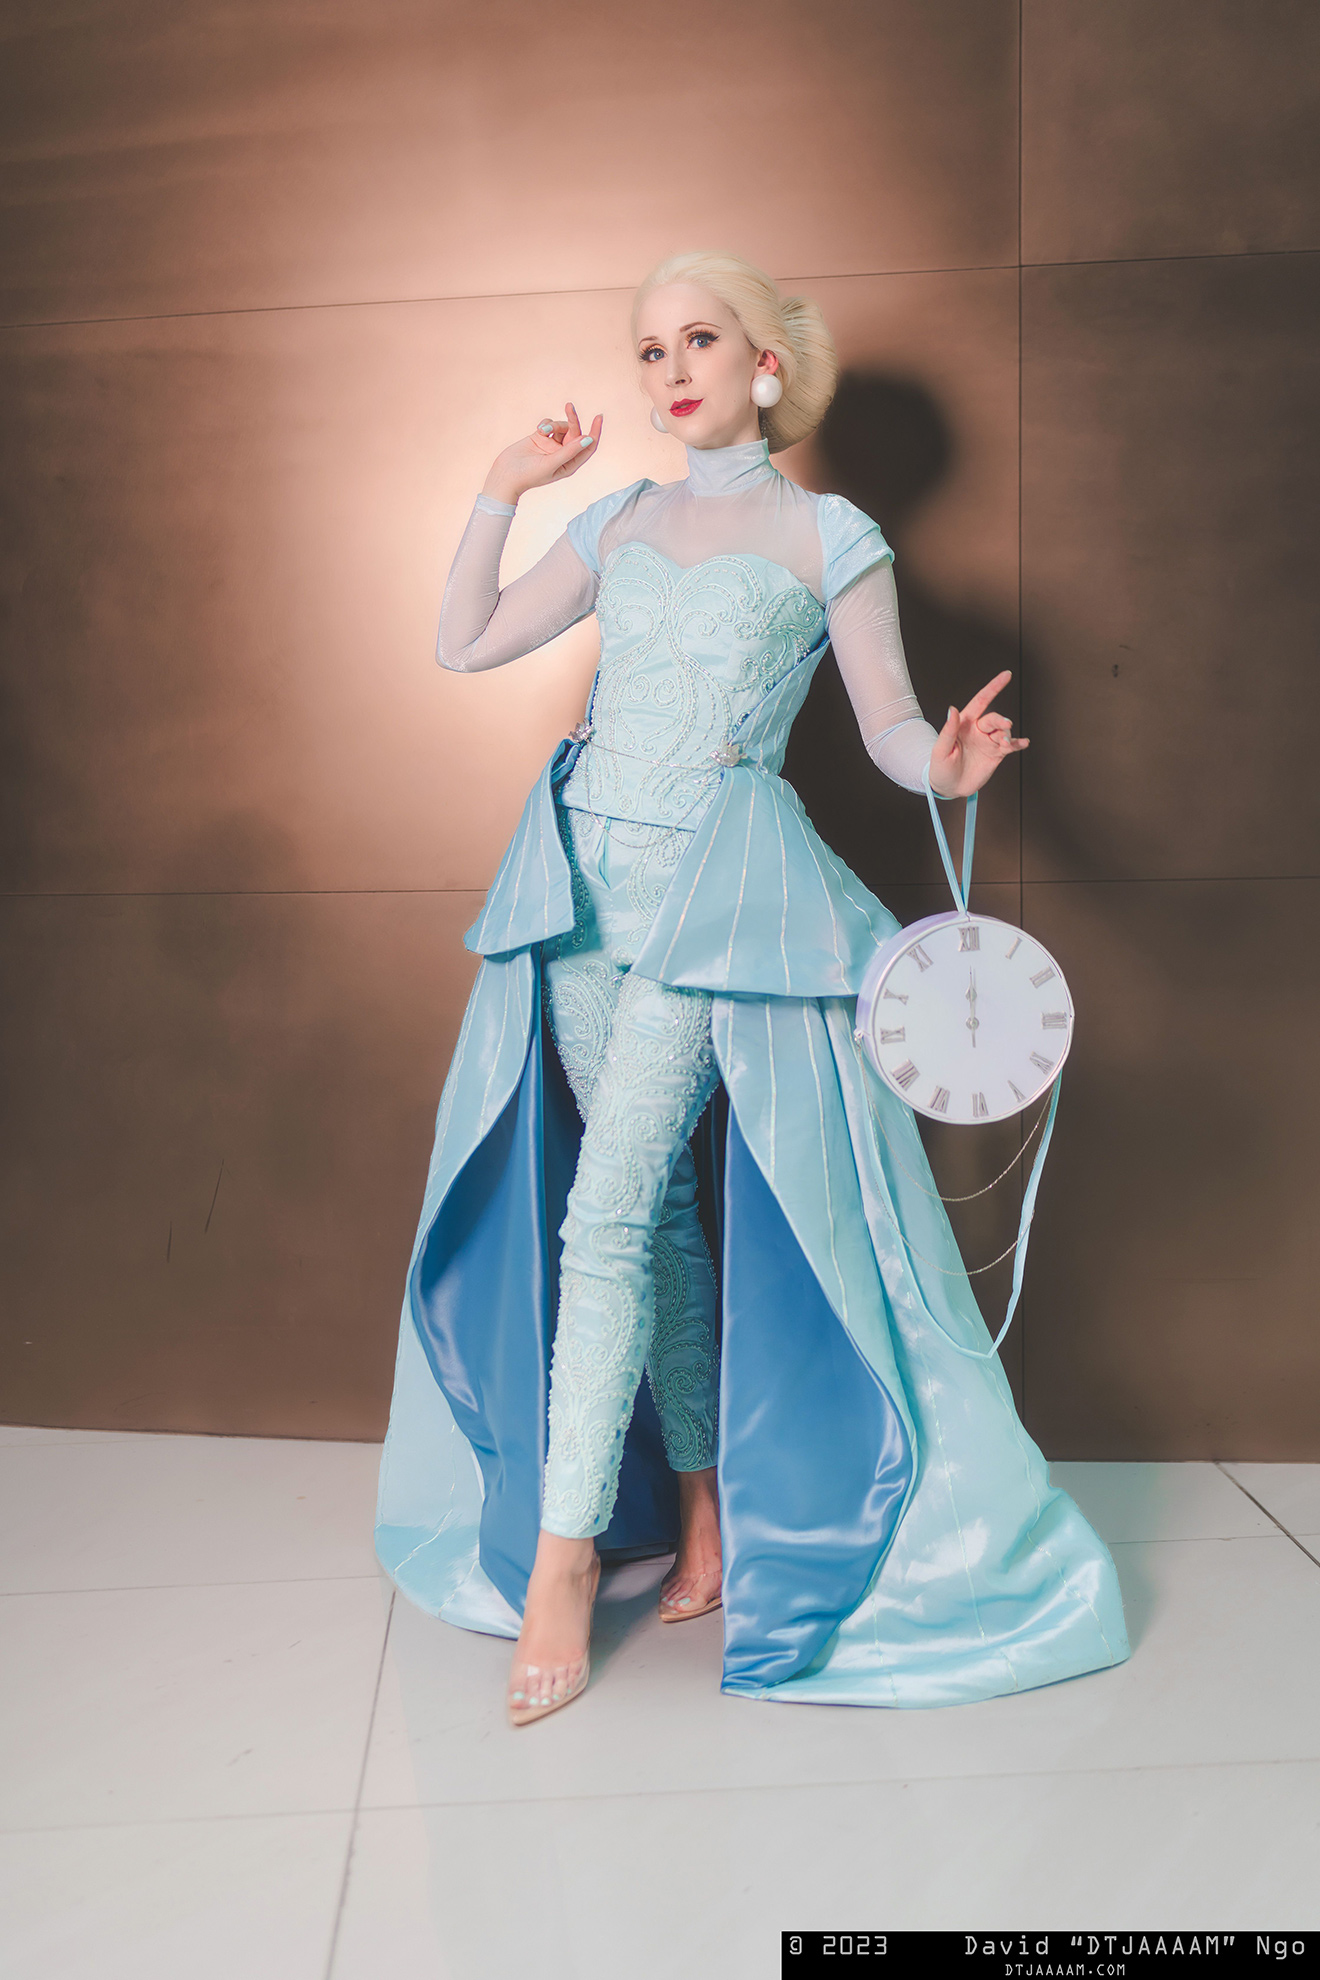
I debuted my complete Cinderella cosplay to Otakon, an anime convention located in Washington D.C. Wearing a new cosplay to an event is always exciting and wearing Cinderella to Otakon was no exception. Despite the summer heat, I enjoyed wearing this costume, interacting with other princess fans, and doing photoshoots. I was also so happy that, even though this is such a modern take on Cinderella, other Otakon attendees still recognized the character! I’ve wanted to cosplay a Cinderella designer doll look for years, so thank you to Daria Vinogradova for designing such a beautiful stylish look for her. I felt every bit like a princess as her, and look forward to having the chance to wear this cosplay to another future convention. Check out some photos below taken of Cinderella at Otakon!
Otakon Saturday morning Cinderella photoshoot. Photography credit: DTJAAAAM
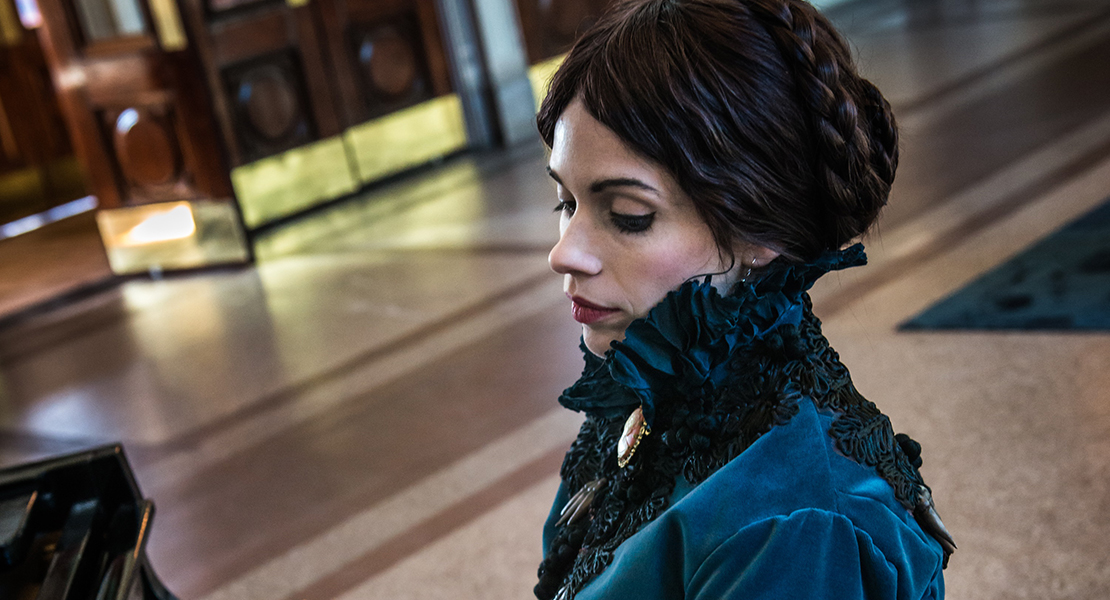
Cinderella at the Carnegie Library. Photography Credit: Giant Robot John

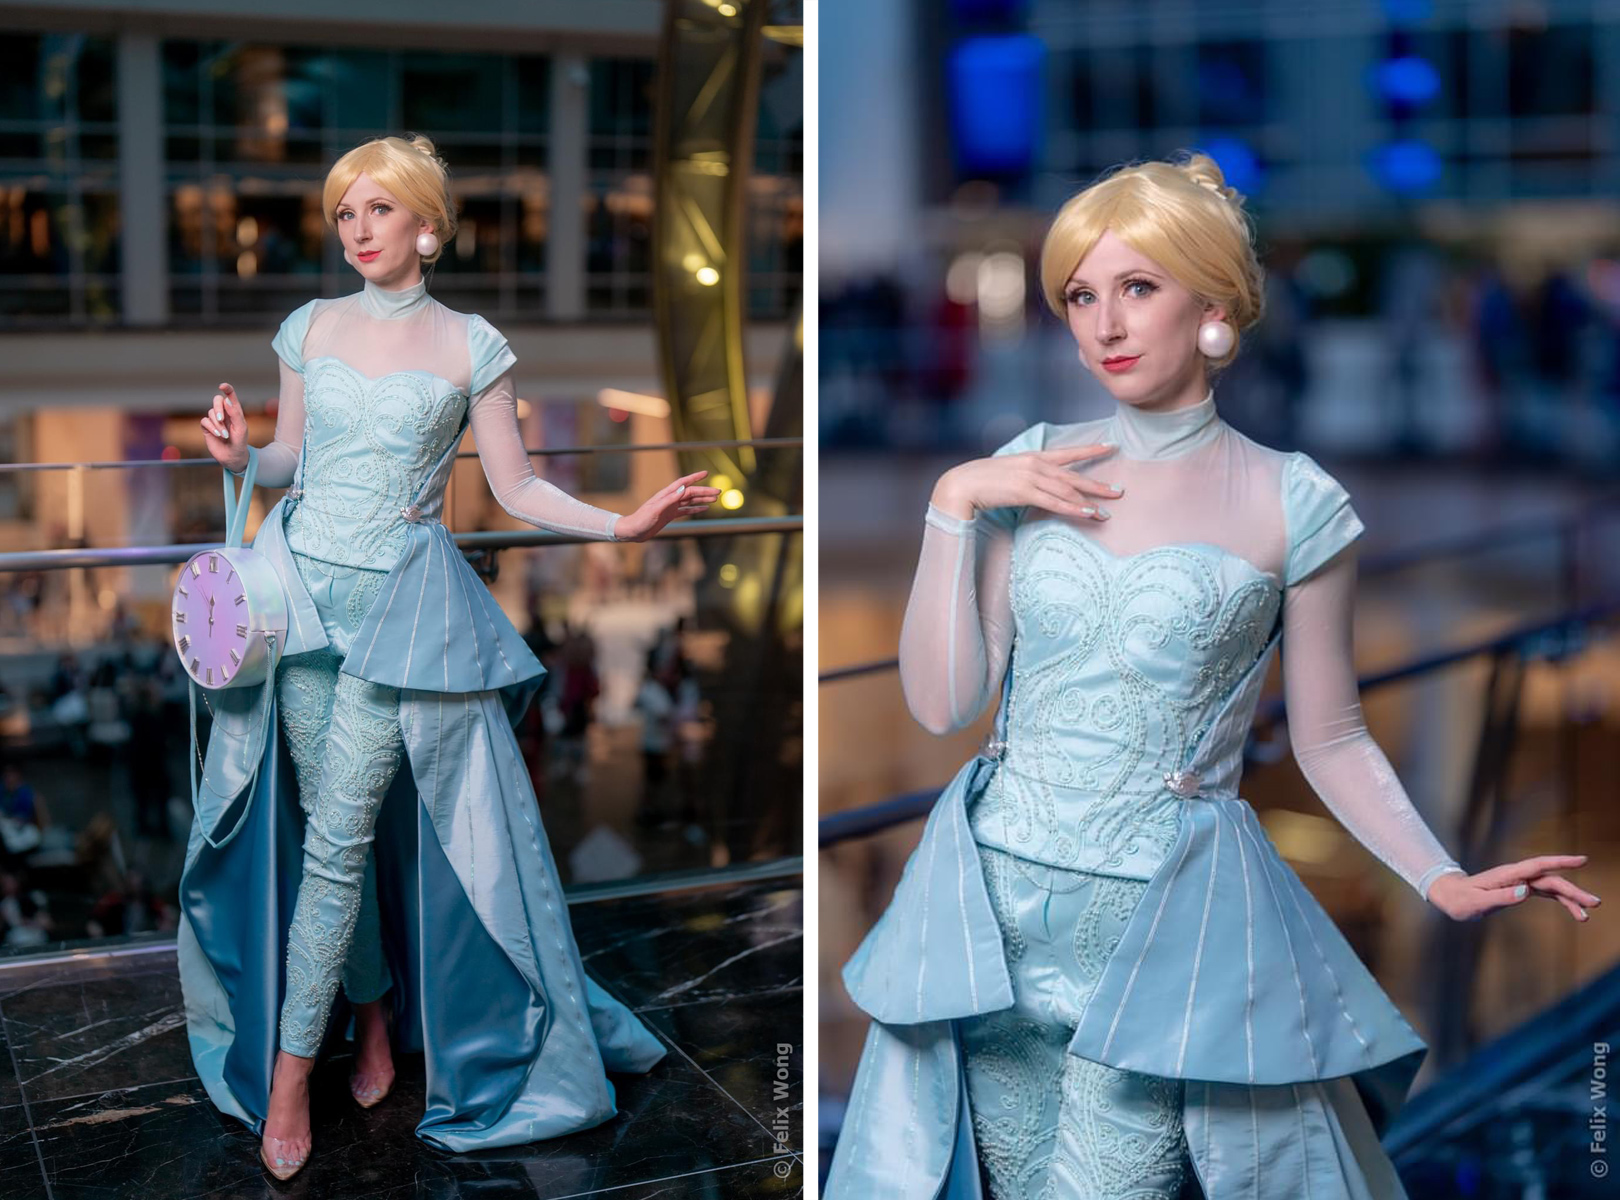
Otakon Saturday evening Cinderella photoshoot. I changed into a more comfortable wig, so I could enjoy wearing my cosplay for longer. Photography Credit: Felix Wong Photography
Thank you so much for following along on my Cinderella cosplay sewing journey! I hope it was helpful and inspiring for both newcomers to cosplay and seasoned cosplayers. To see what else I am up to, you can follow me on Instagram, TikTok, and Facebook.