Creating an Appliqué Covered Top for a High Fashion Cinderella Cosplay
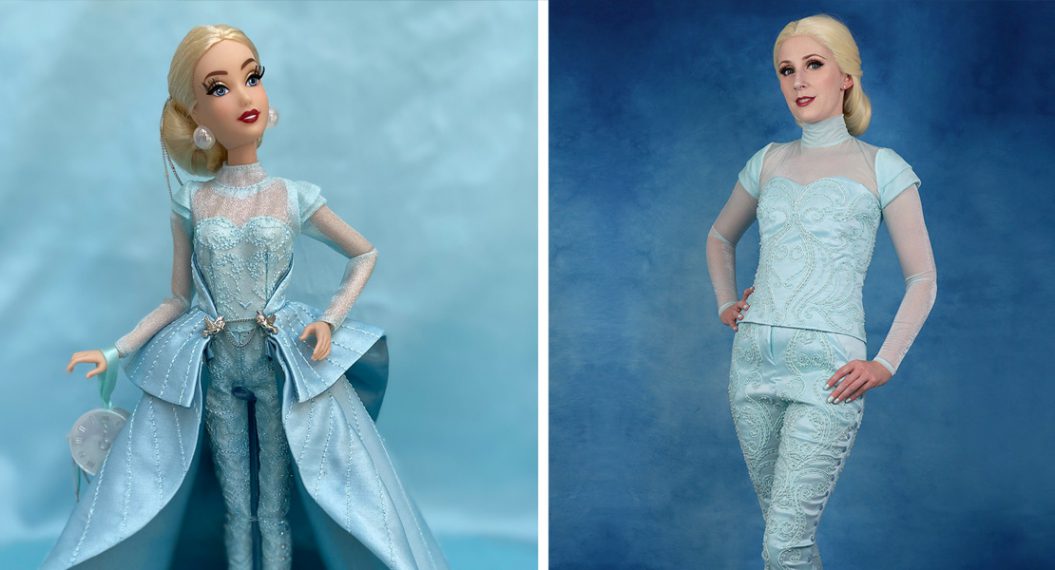
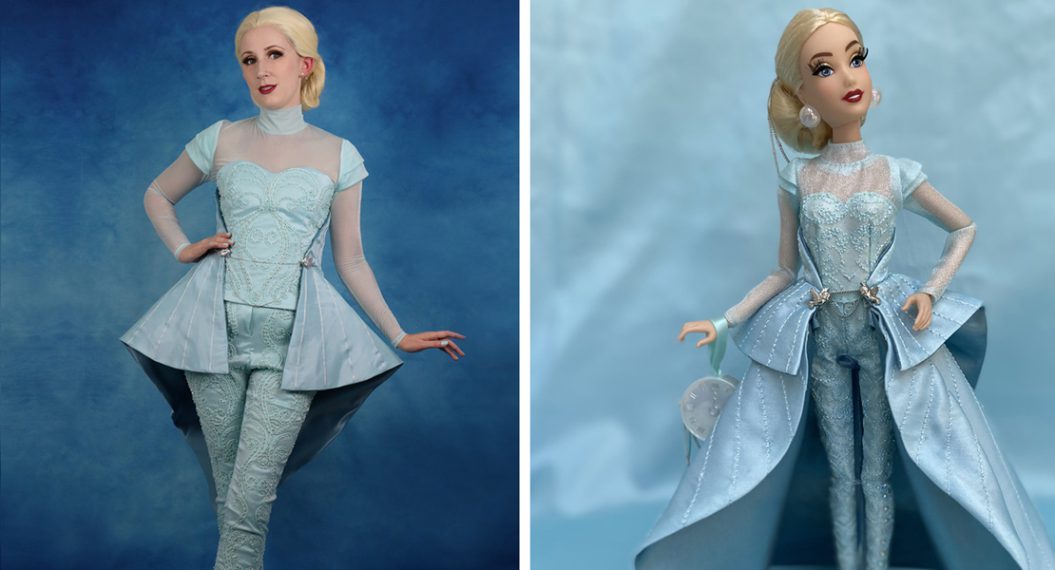
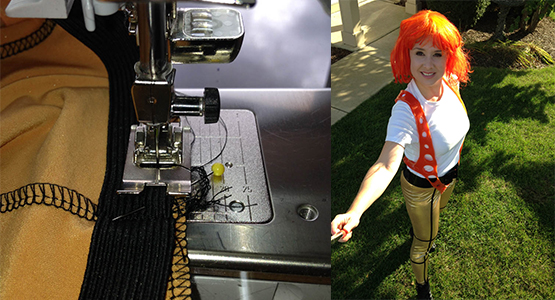
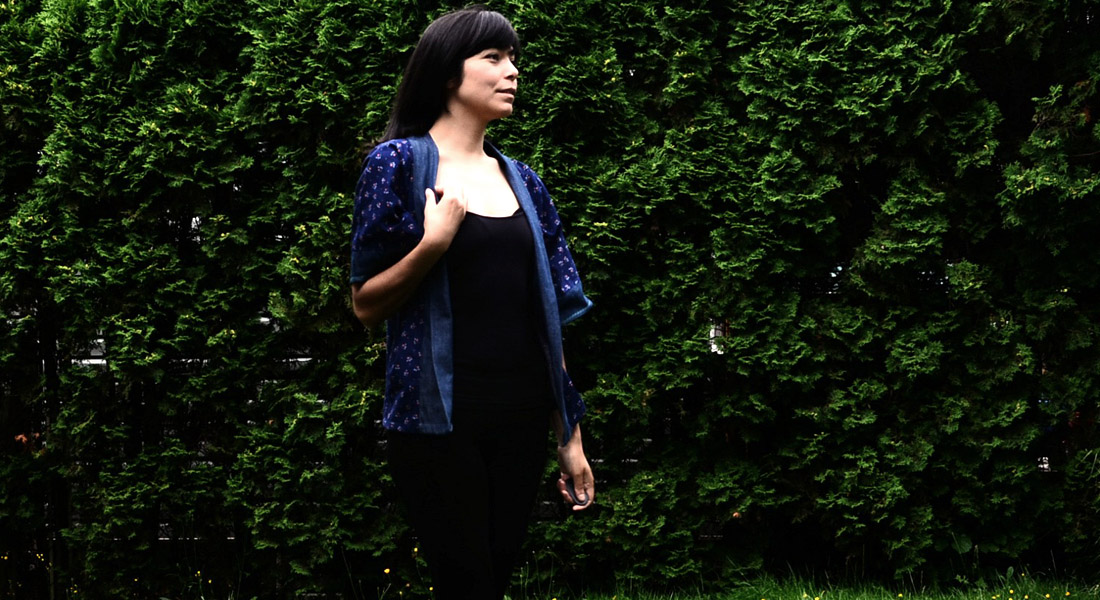
Hi, everyone! It’s Dessi-Desu and I am back with the next entry in my Cinderella cosplay project, inspired by her 2022 designer doll. In my previous post for this project, I kicked off the start of recreating this Cinderella design with some pearlescent thread machine embroidery. For this blog entry, I will be creating her top and discussing some handy tricks with machine sewing appliqué details.
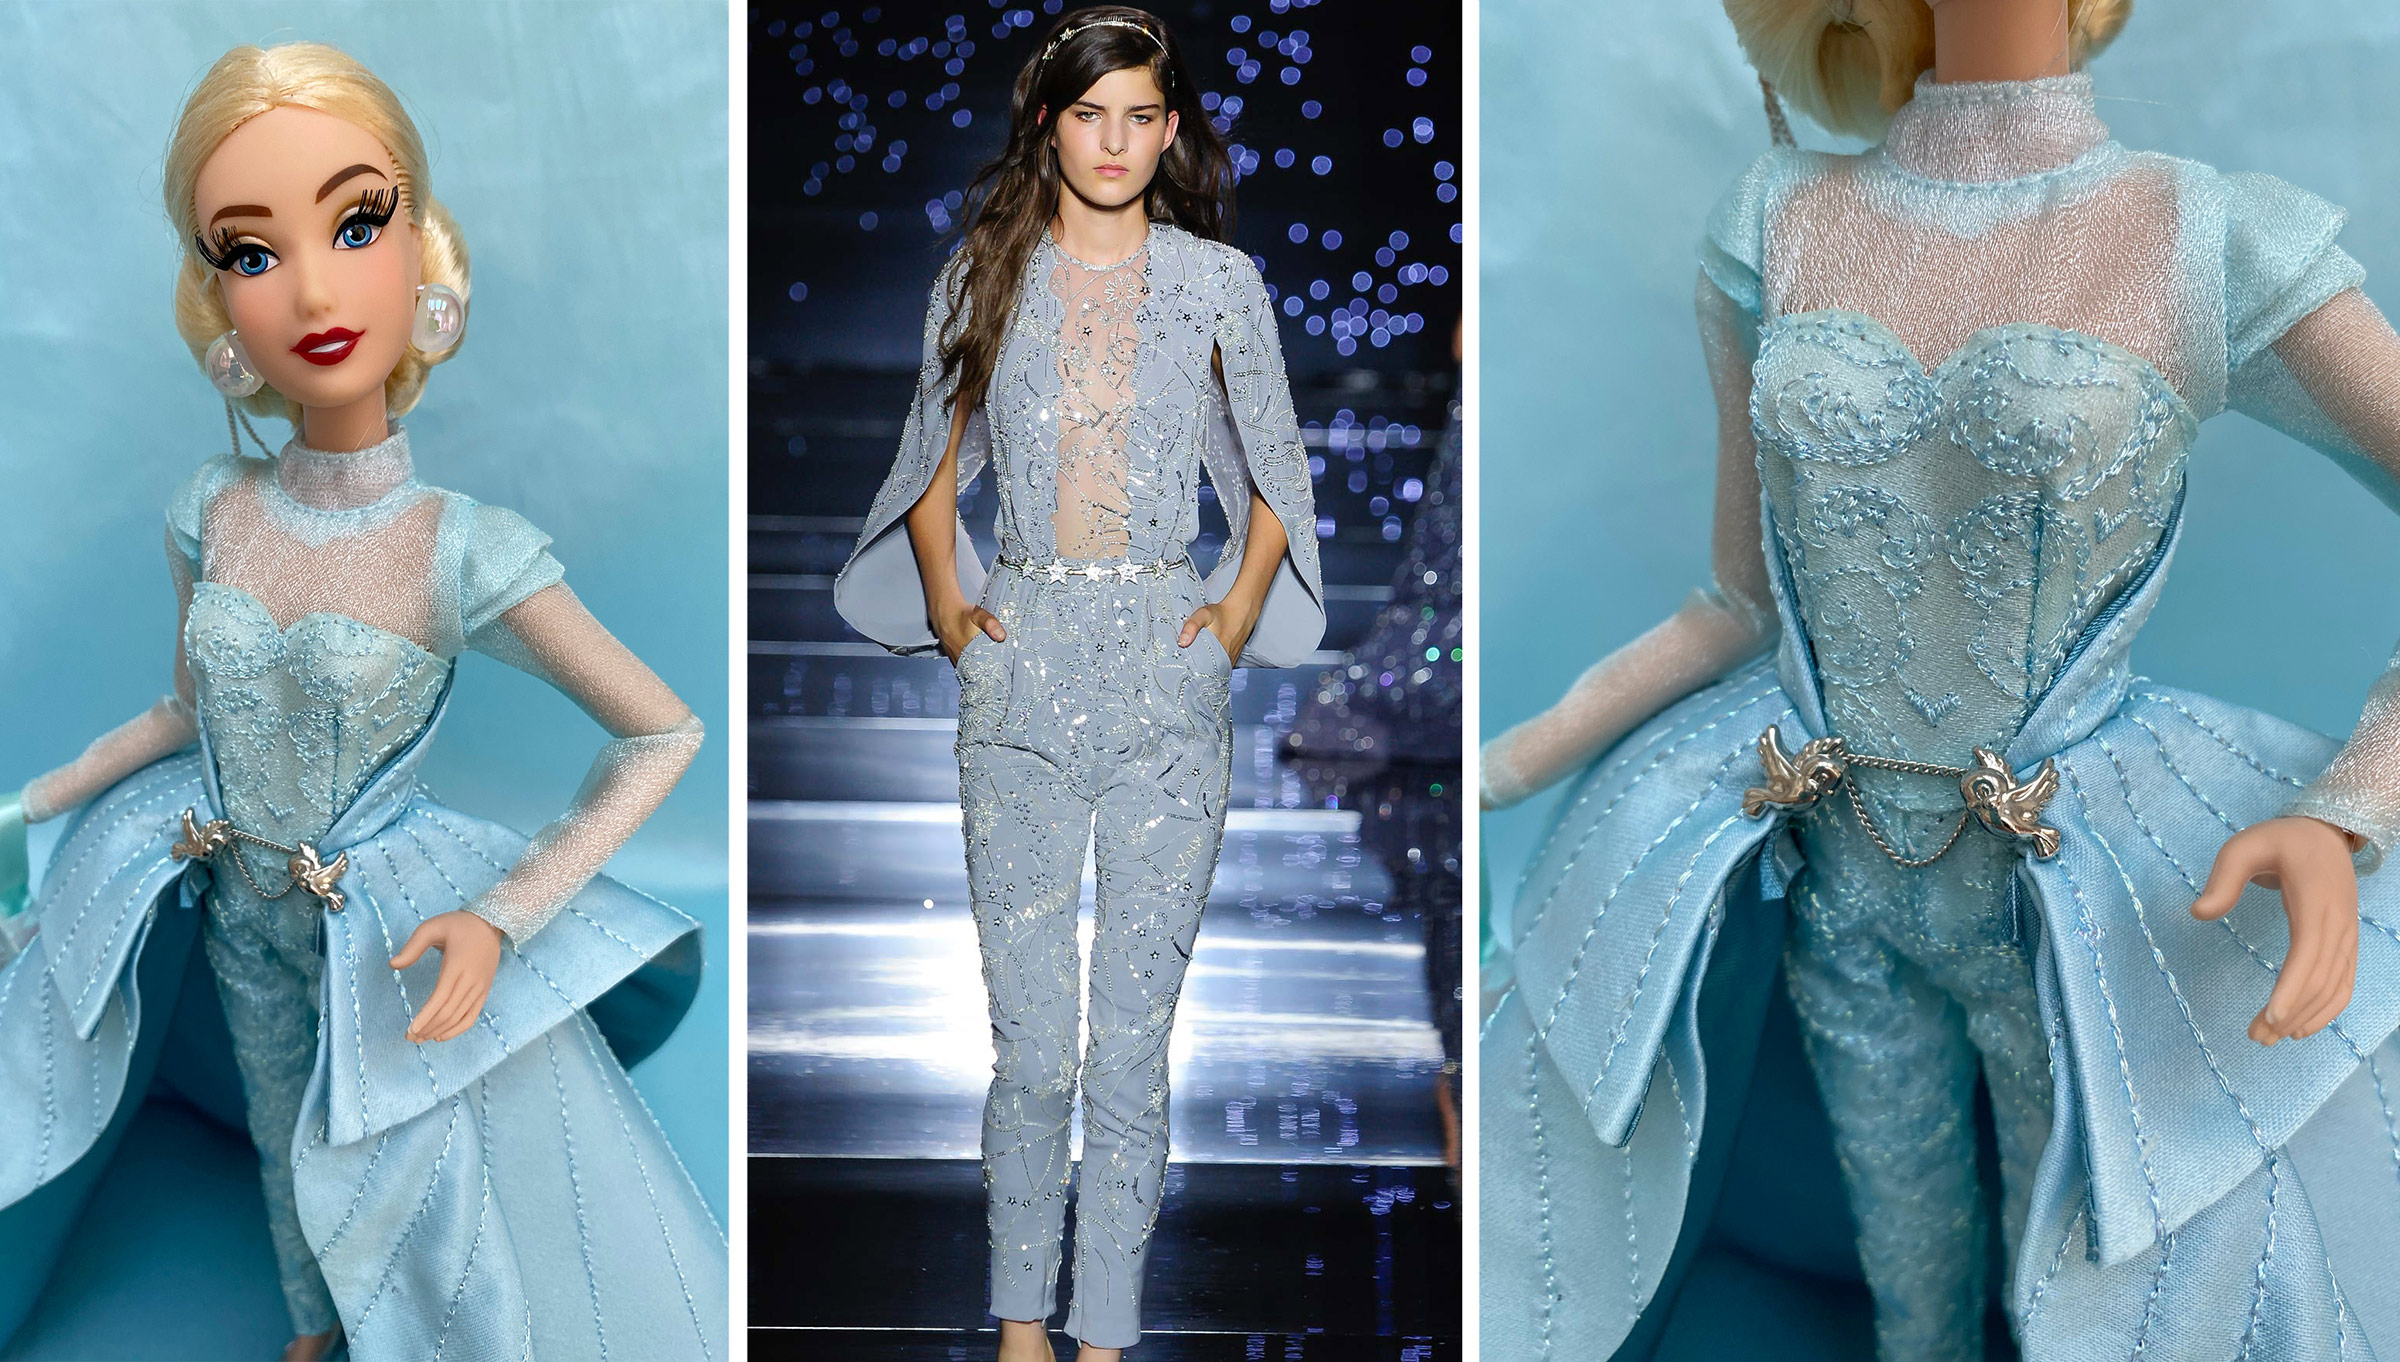
Finding Inspiration in Fashion
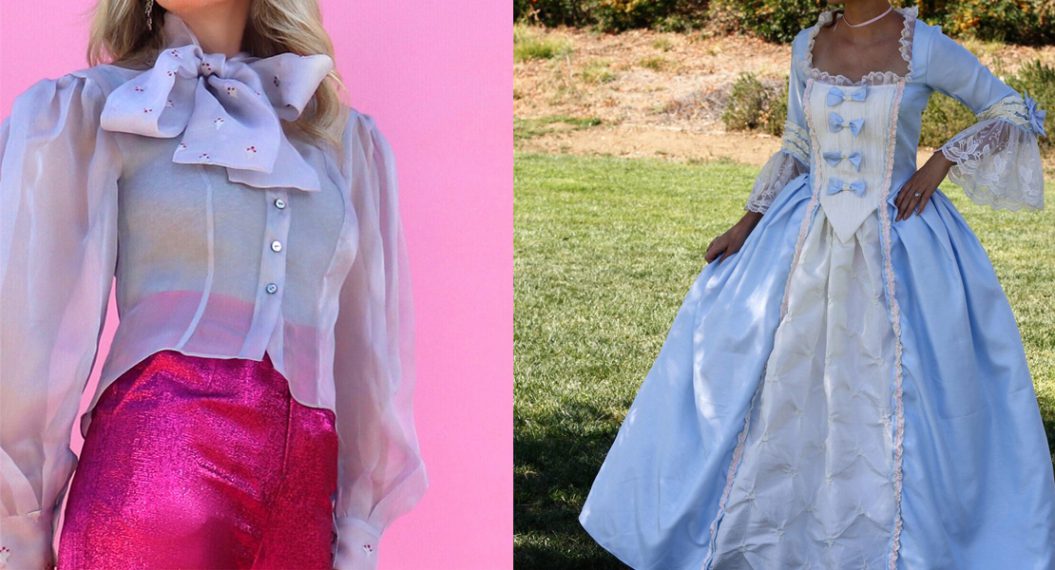
When looking at how to approach a cosplay project, I often look at existing fashion to decide how to translate a character costume on a human scale. For the top and pants, I was particularly inspired by Zuhair Murad’s embellished jumpsuits and decided I wanted to emulate a similar look for translating the doll design into a costume. I will be covering the creation of the pants in a future blog post, so be on the lookout for the completion of my Cinderella base suit in that post!
Sewing the Base Bodice
I happened to have just enough stretch taffeta in the perfect blue (leftover from a past cosplay project) for Cinderella’s top and pants. The stretch will be necessary for the pants later on, but for the top, it will need to be more structured. To start Cinderella’s top, I used a basic princess seam pattern. Each piece was interfaced with a fusible interfacing before assembling the fashion layer.

Adding Additional Structure to the Bodice
For additional structure, I also sewed a lining layer for the princess seam bodice with channels for boning. I used a plastic boning that was inserted in the channels, before closing the bottom of the bodice later in the process. The boning will help with reducing any wrinkling or scrunching on the completed top.
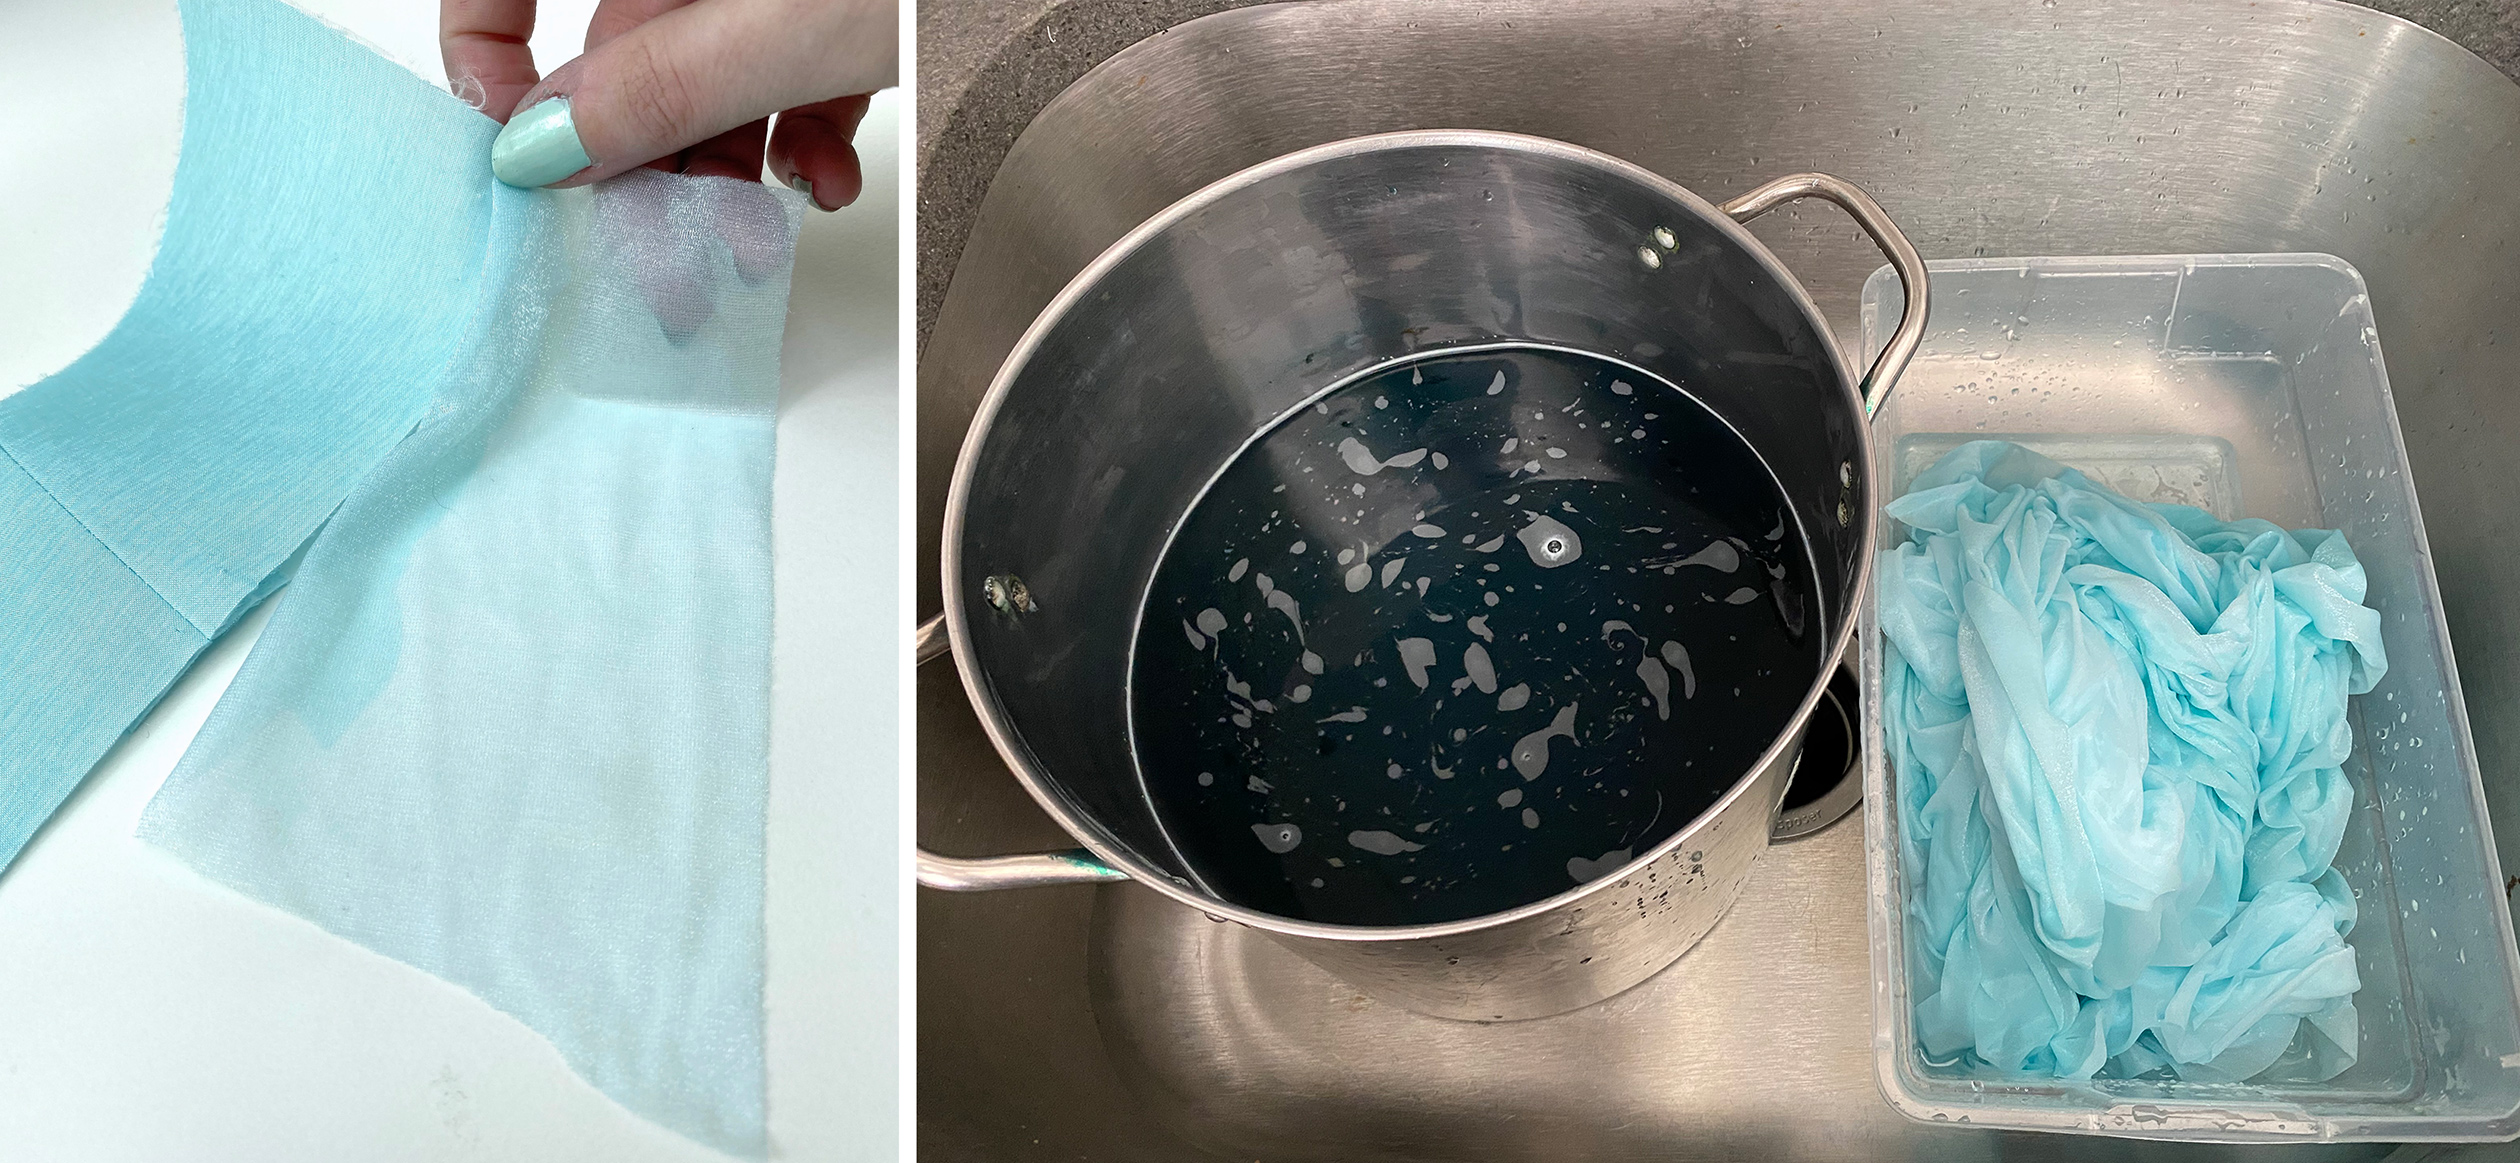
Dyeing the Beaded Scroll Lace Fabric
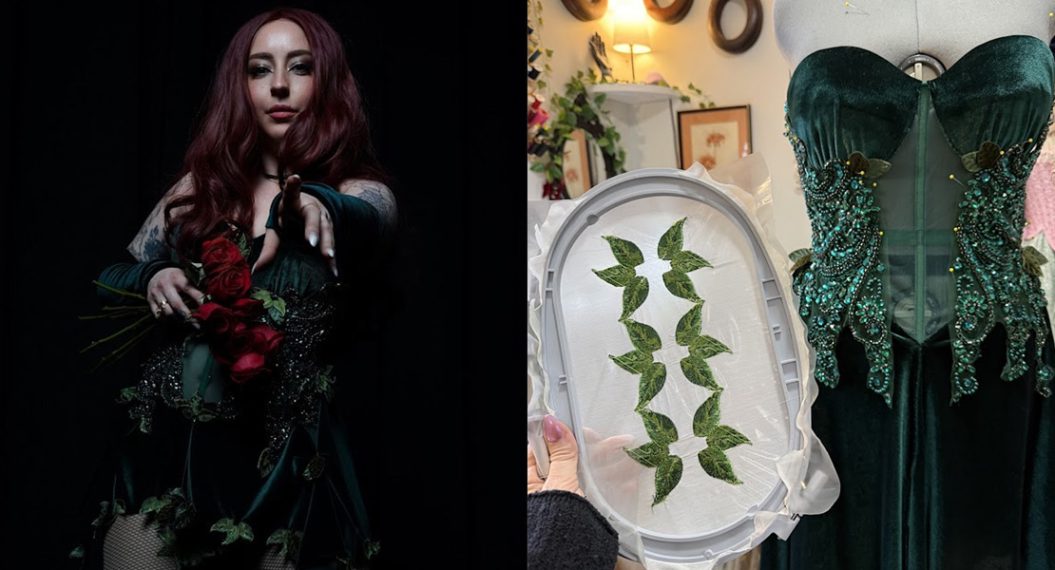
To create the scroll appliqué detailing, I purchased an ivory beaded lace fabric to harvest appliqués from. Due to the blue color, I needed for Cinderella being so specific, I decided prior to searching for a lace fabric that a lighter base fabric that can be dyed would give me more flexibility in my fabric search. I dyed the beaded lace fabric using a dye specifically for synthetic fabrics to an aqua-blue color to match my taffeta fabric.

Dyeing Fabric for the Sheer Neckline and Sleeves
For the sheer neckline and sleeves, I used a glissenette fabric with a sheen. My personal preference is normally to avoid sheer mesh with a shiny finish, but in this case, I thought it would be a fun touch to the costume to use a fabric that has a similar sheen to the organza used on the doll. The stretch of the glissenette will also allow for more comfort and range of motion when worn.
Once again, I had to dye this fabric too in order to get the blue I needed, so I purchased glissenette in white. However, for this fabric, I used a fabric dye intended for natural fibers because of the nylon content in glissenette. I have found in my experience this fabric takes dye very quickly and can easily turn out too dark. I started with a diluted dye bath and several swatch tests before dyeing the actual fabric.
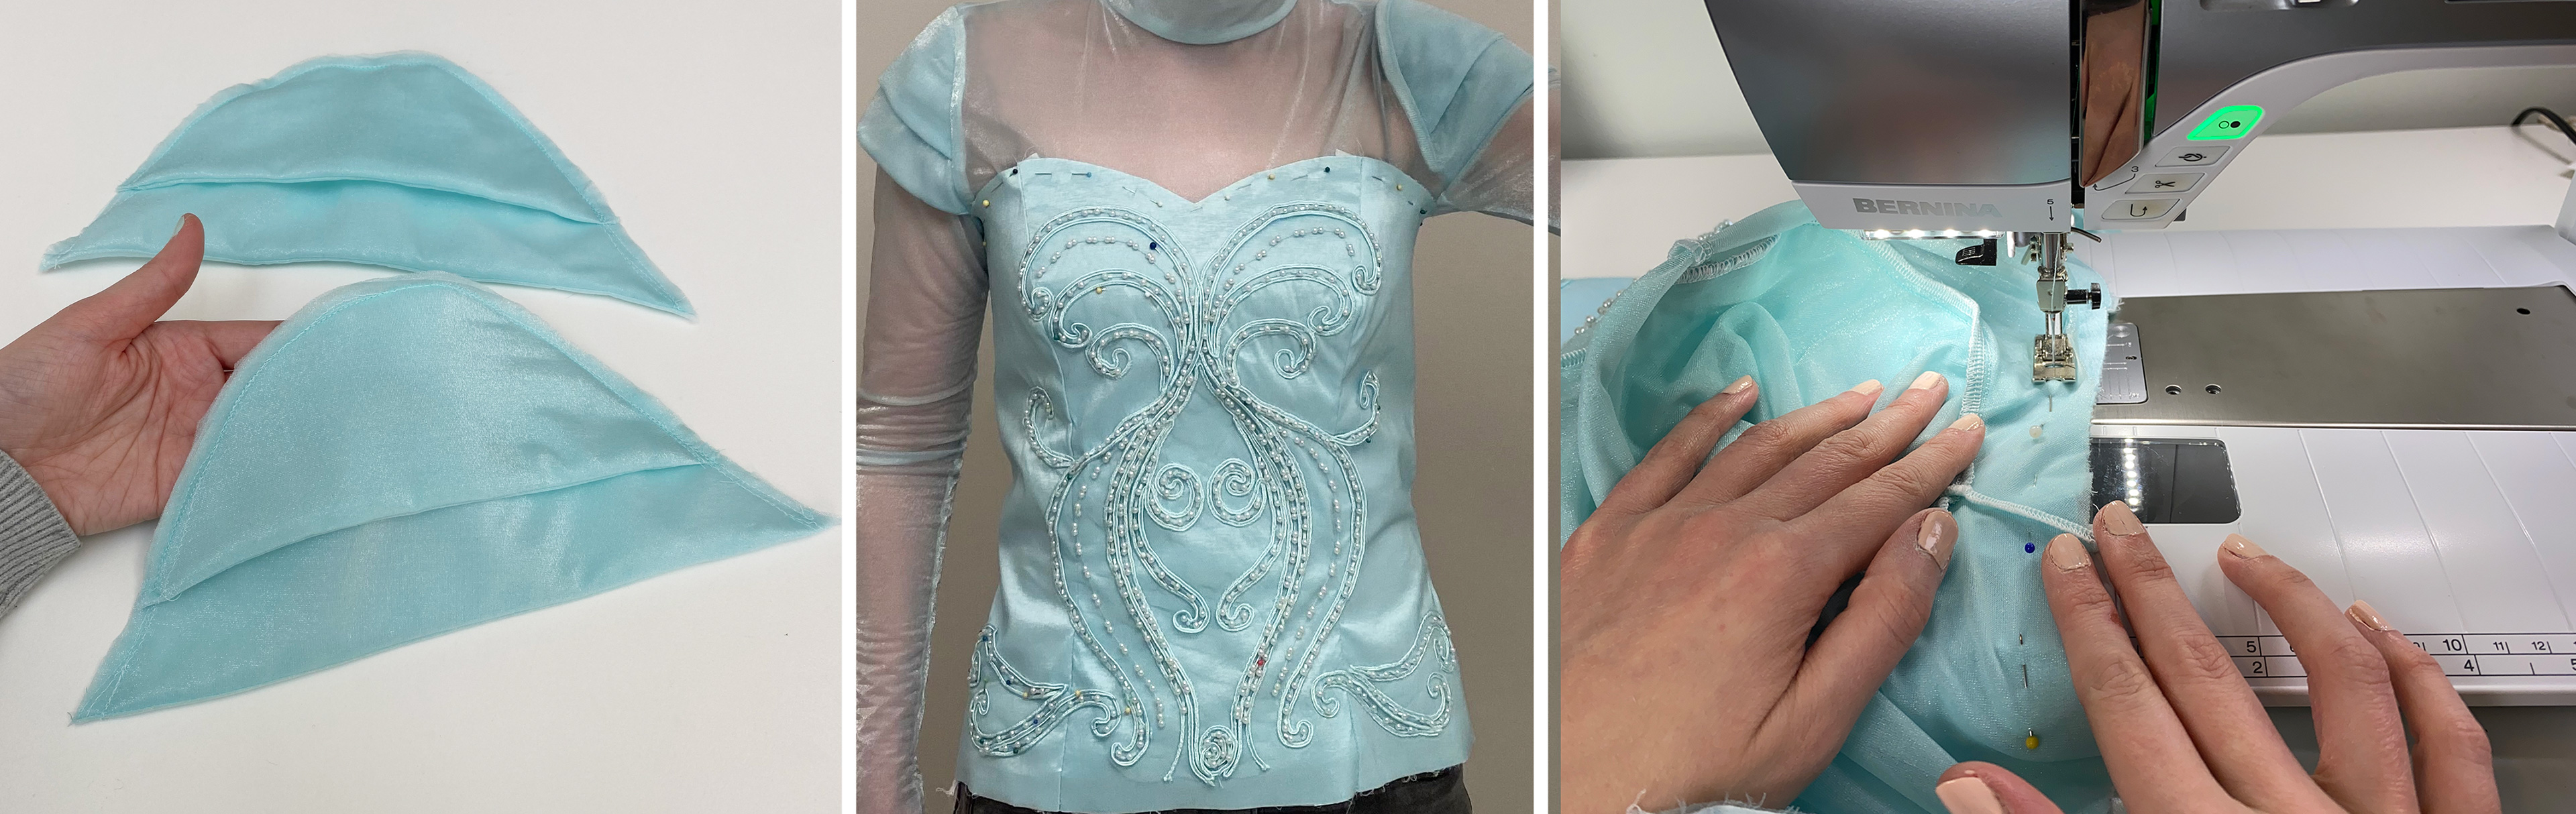
Sewing the Sheer Neckline and Sleeves
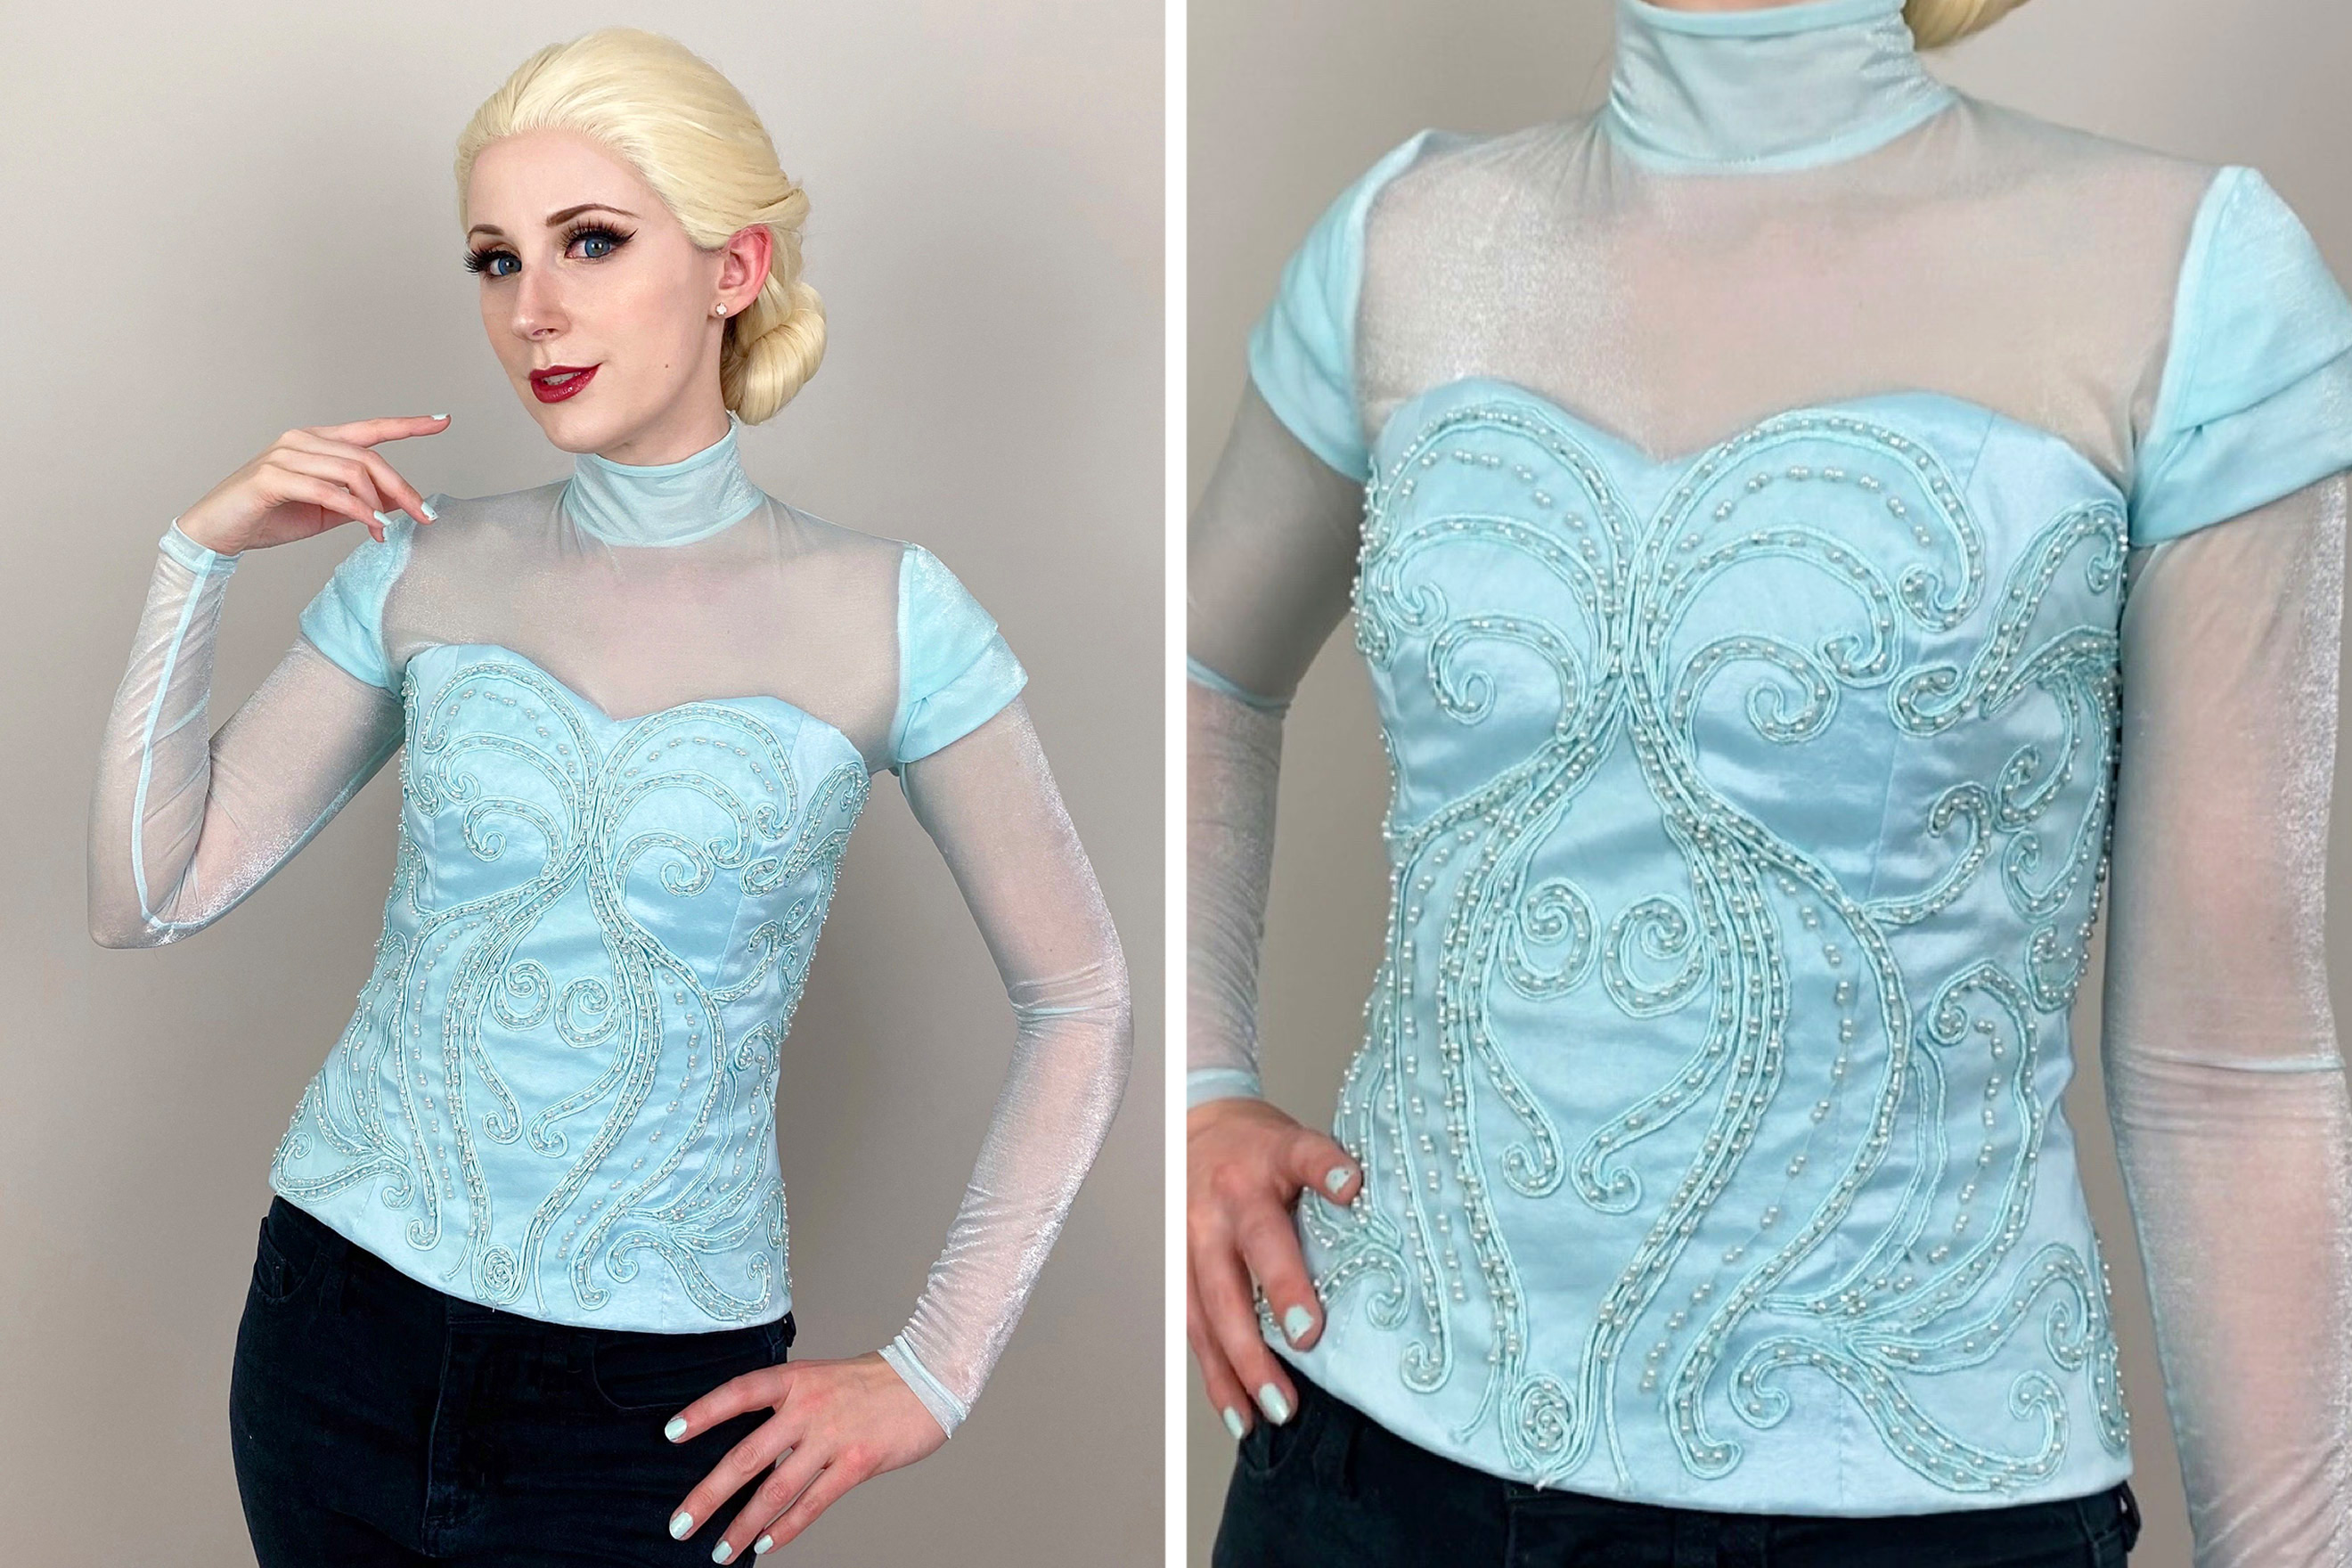
To assemble the sheer portions of the top, I used a turtleneck pattern with the addition of a two-layered cap sleeve. The cap sleeves were sewn to the shoulders of the turtleneck before sewing in the long sleeves. For the cap sleeves, I also interfaced the pieces with a light blue organza. The organza gives the glissenette more structure without the cap sleeves becoming too opaque in appearance. Once I completed sewing the sheer turtleneck, I tried it on with the taffeta princess seam bodice on top to mark where to cut the excess glissenette. After the sheer top was marked where it should connect to the bodice, I was able to sew the bodice and sheer top together.
Preparing the Appliqués
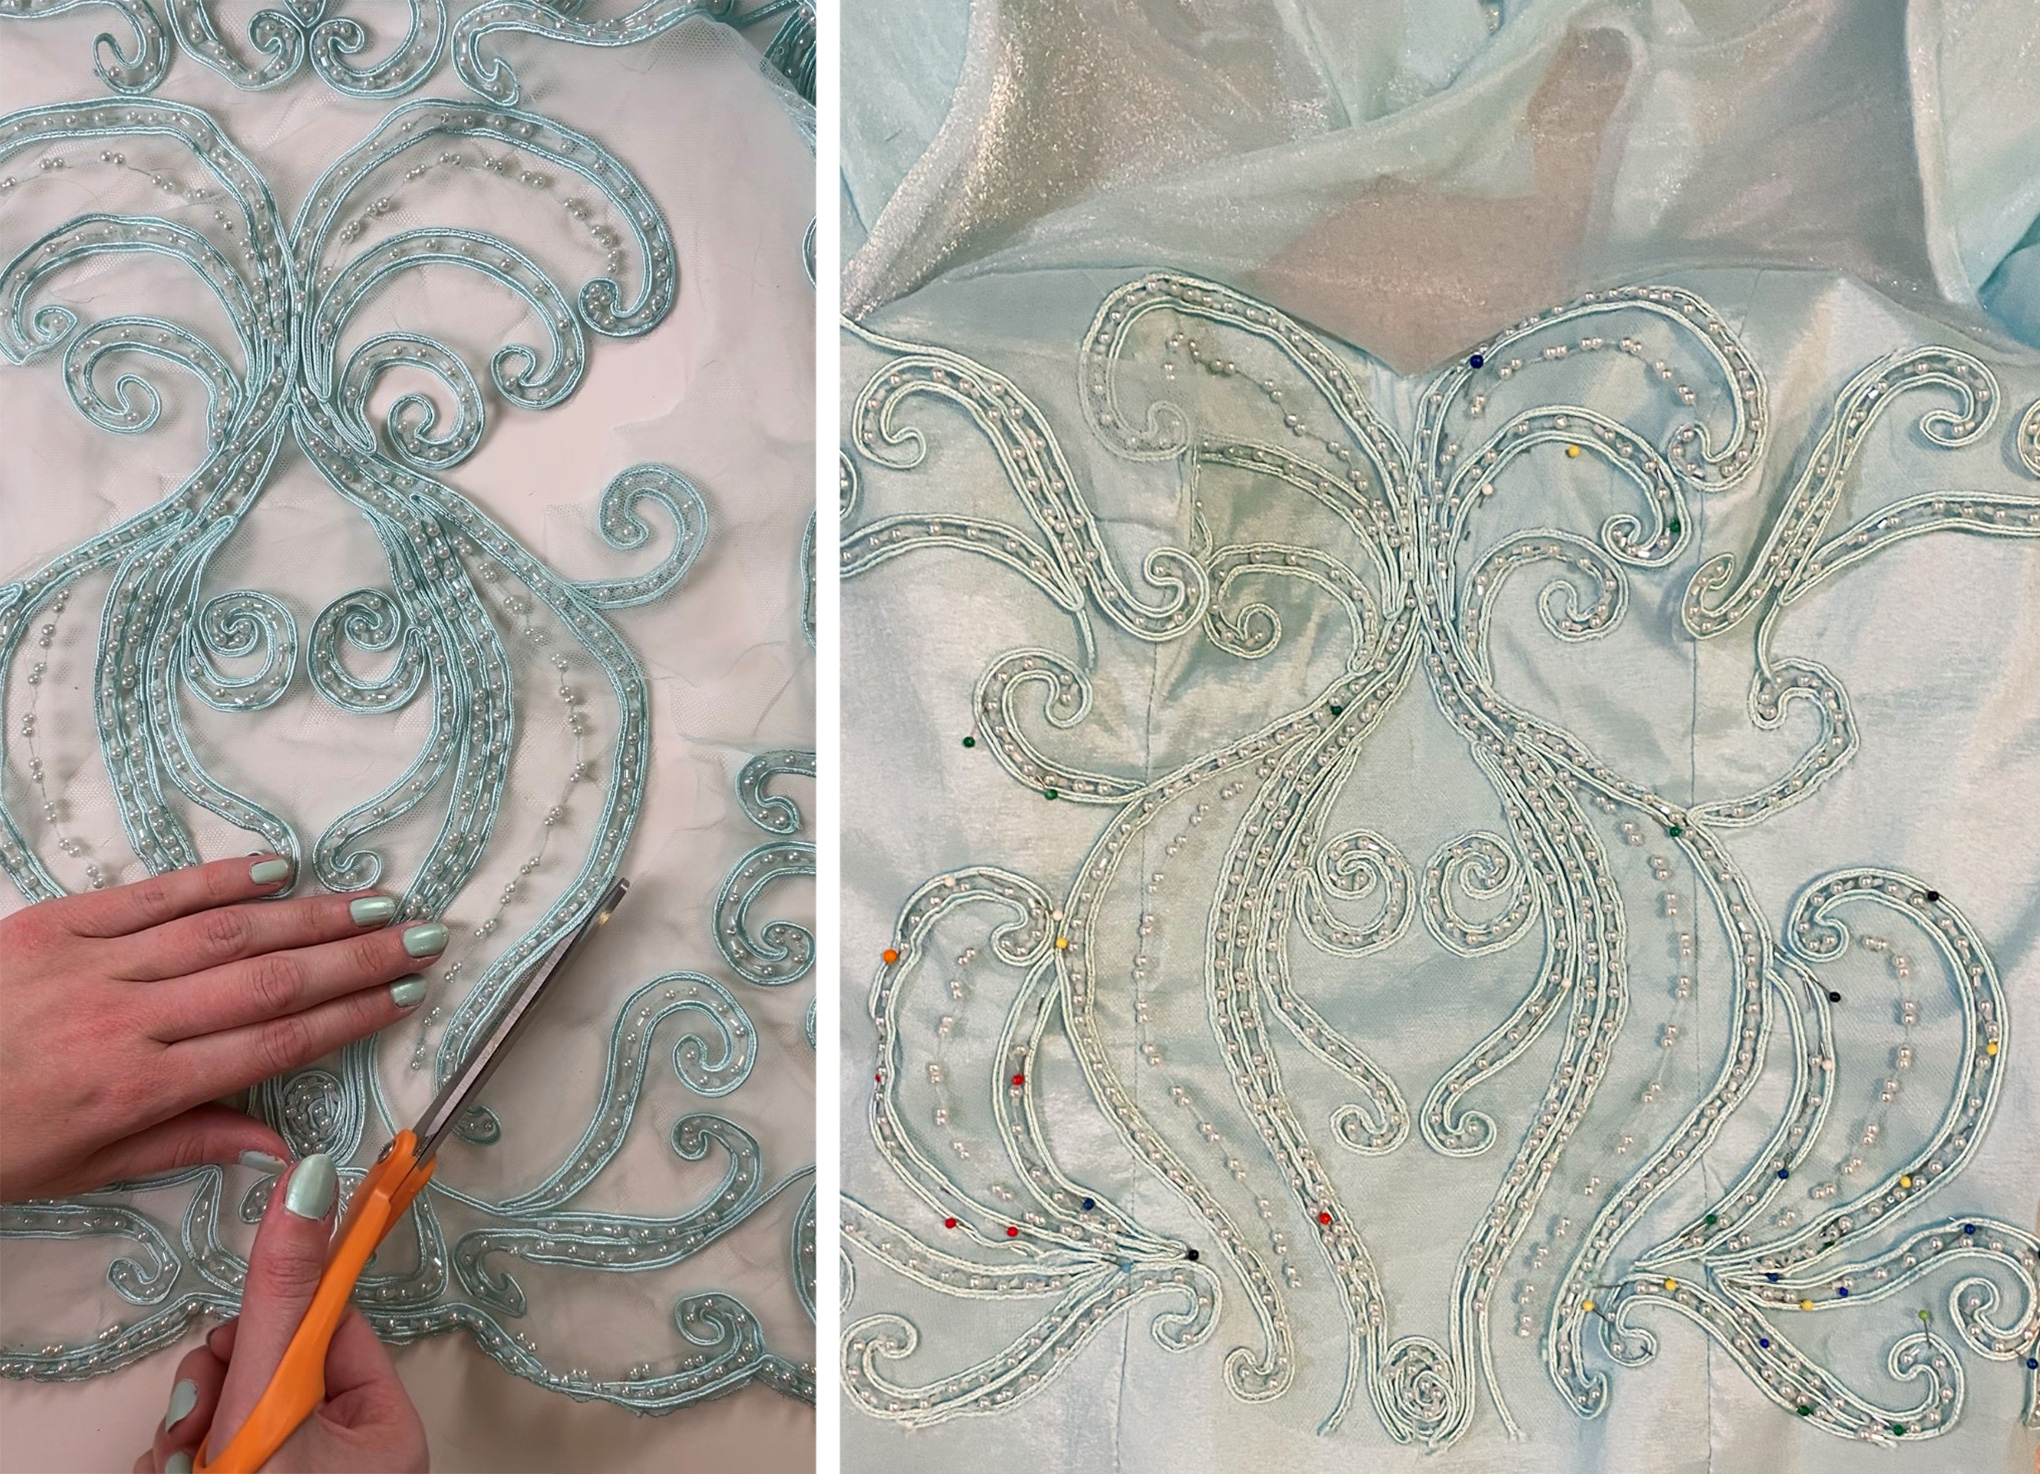
After the sheer neckline was sewn to the bodice, it was time to move on to detail work! I did admittedly get excited about getting to the appliqué portion of the top. I attached the center appliqué earlier on because I was sure it would not interfere with sewing on the sheer neckline and lining. For the other appliqués, I saved them for after the neckline and lining was attached.
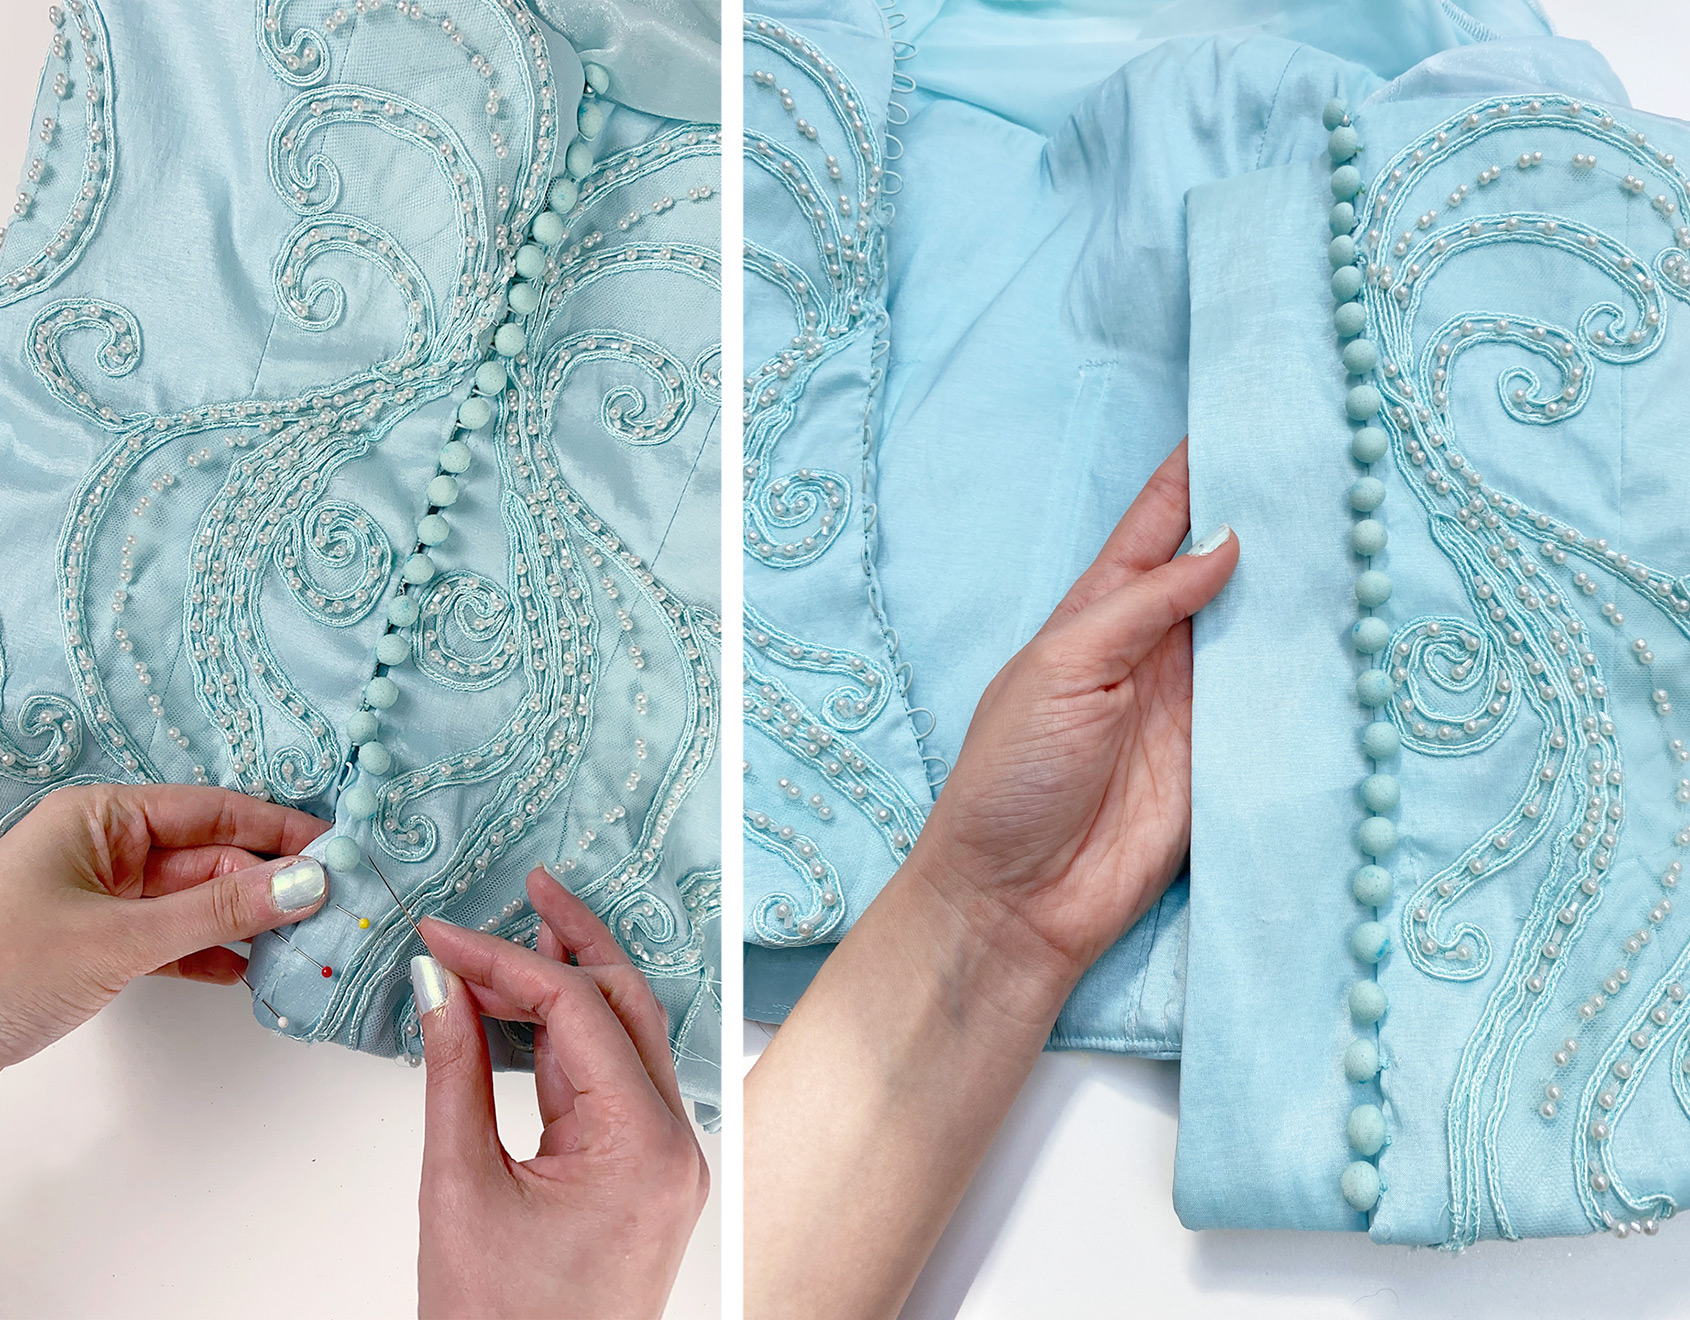
To create the appliqués, I very carefully cut the pieces from my dyed scroll lace fabric. For some instances, it couldn’t be avoided to cut through the bead stitching. In these cases, I went back and hand stitched, where the stitching for the beading was broken and replaced the beads in areas they had been lost. Once I had my appliqués prepared, I then figured out the arrangement and pinned them in place once I was happy with the placement.
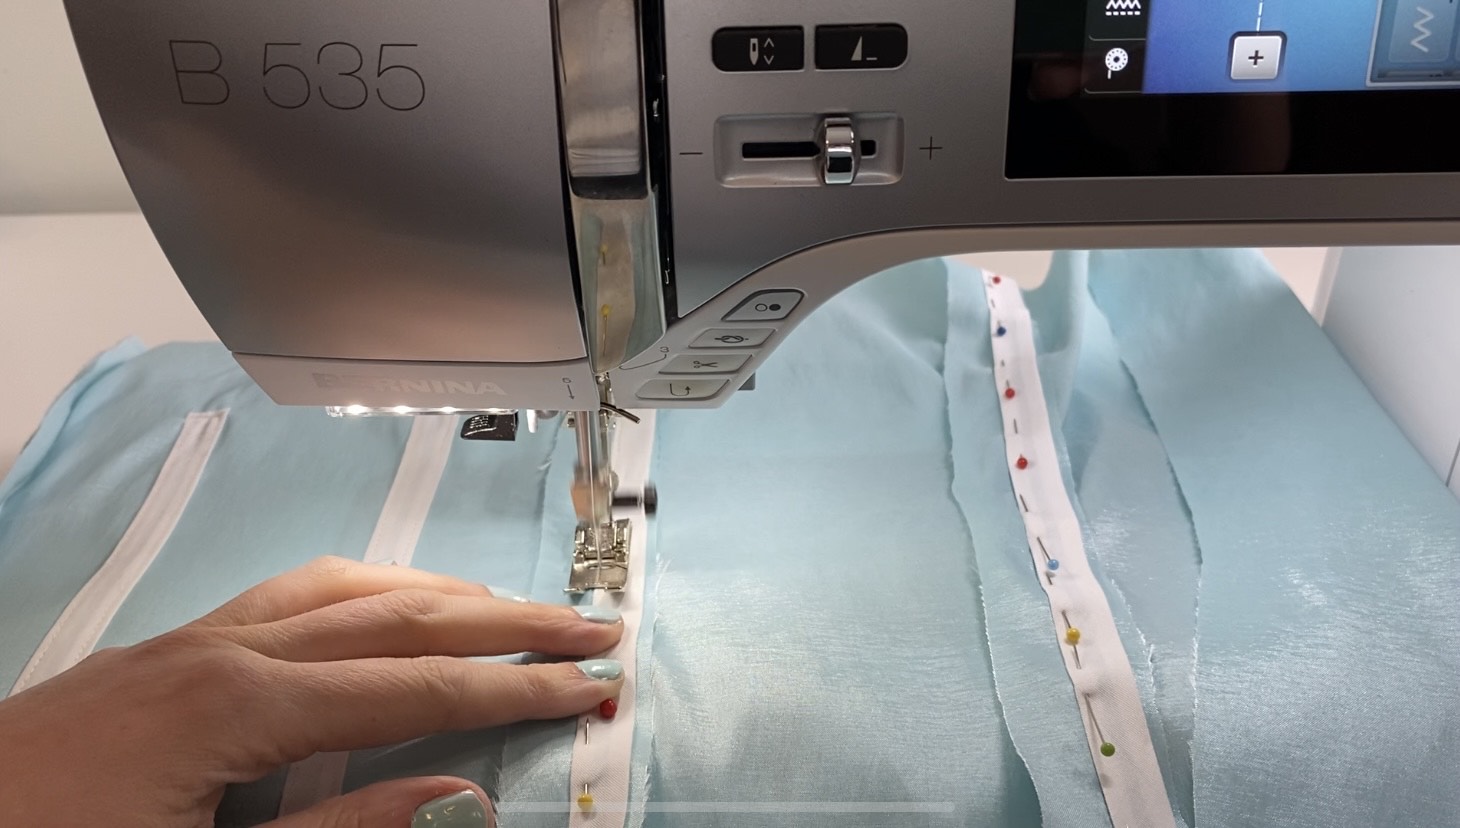
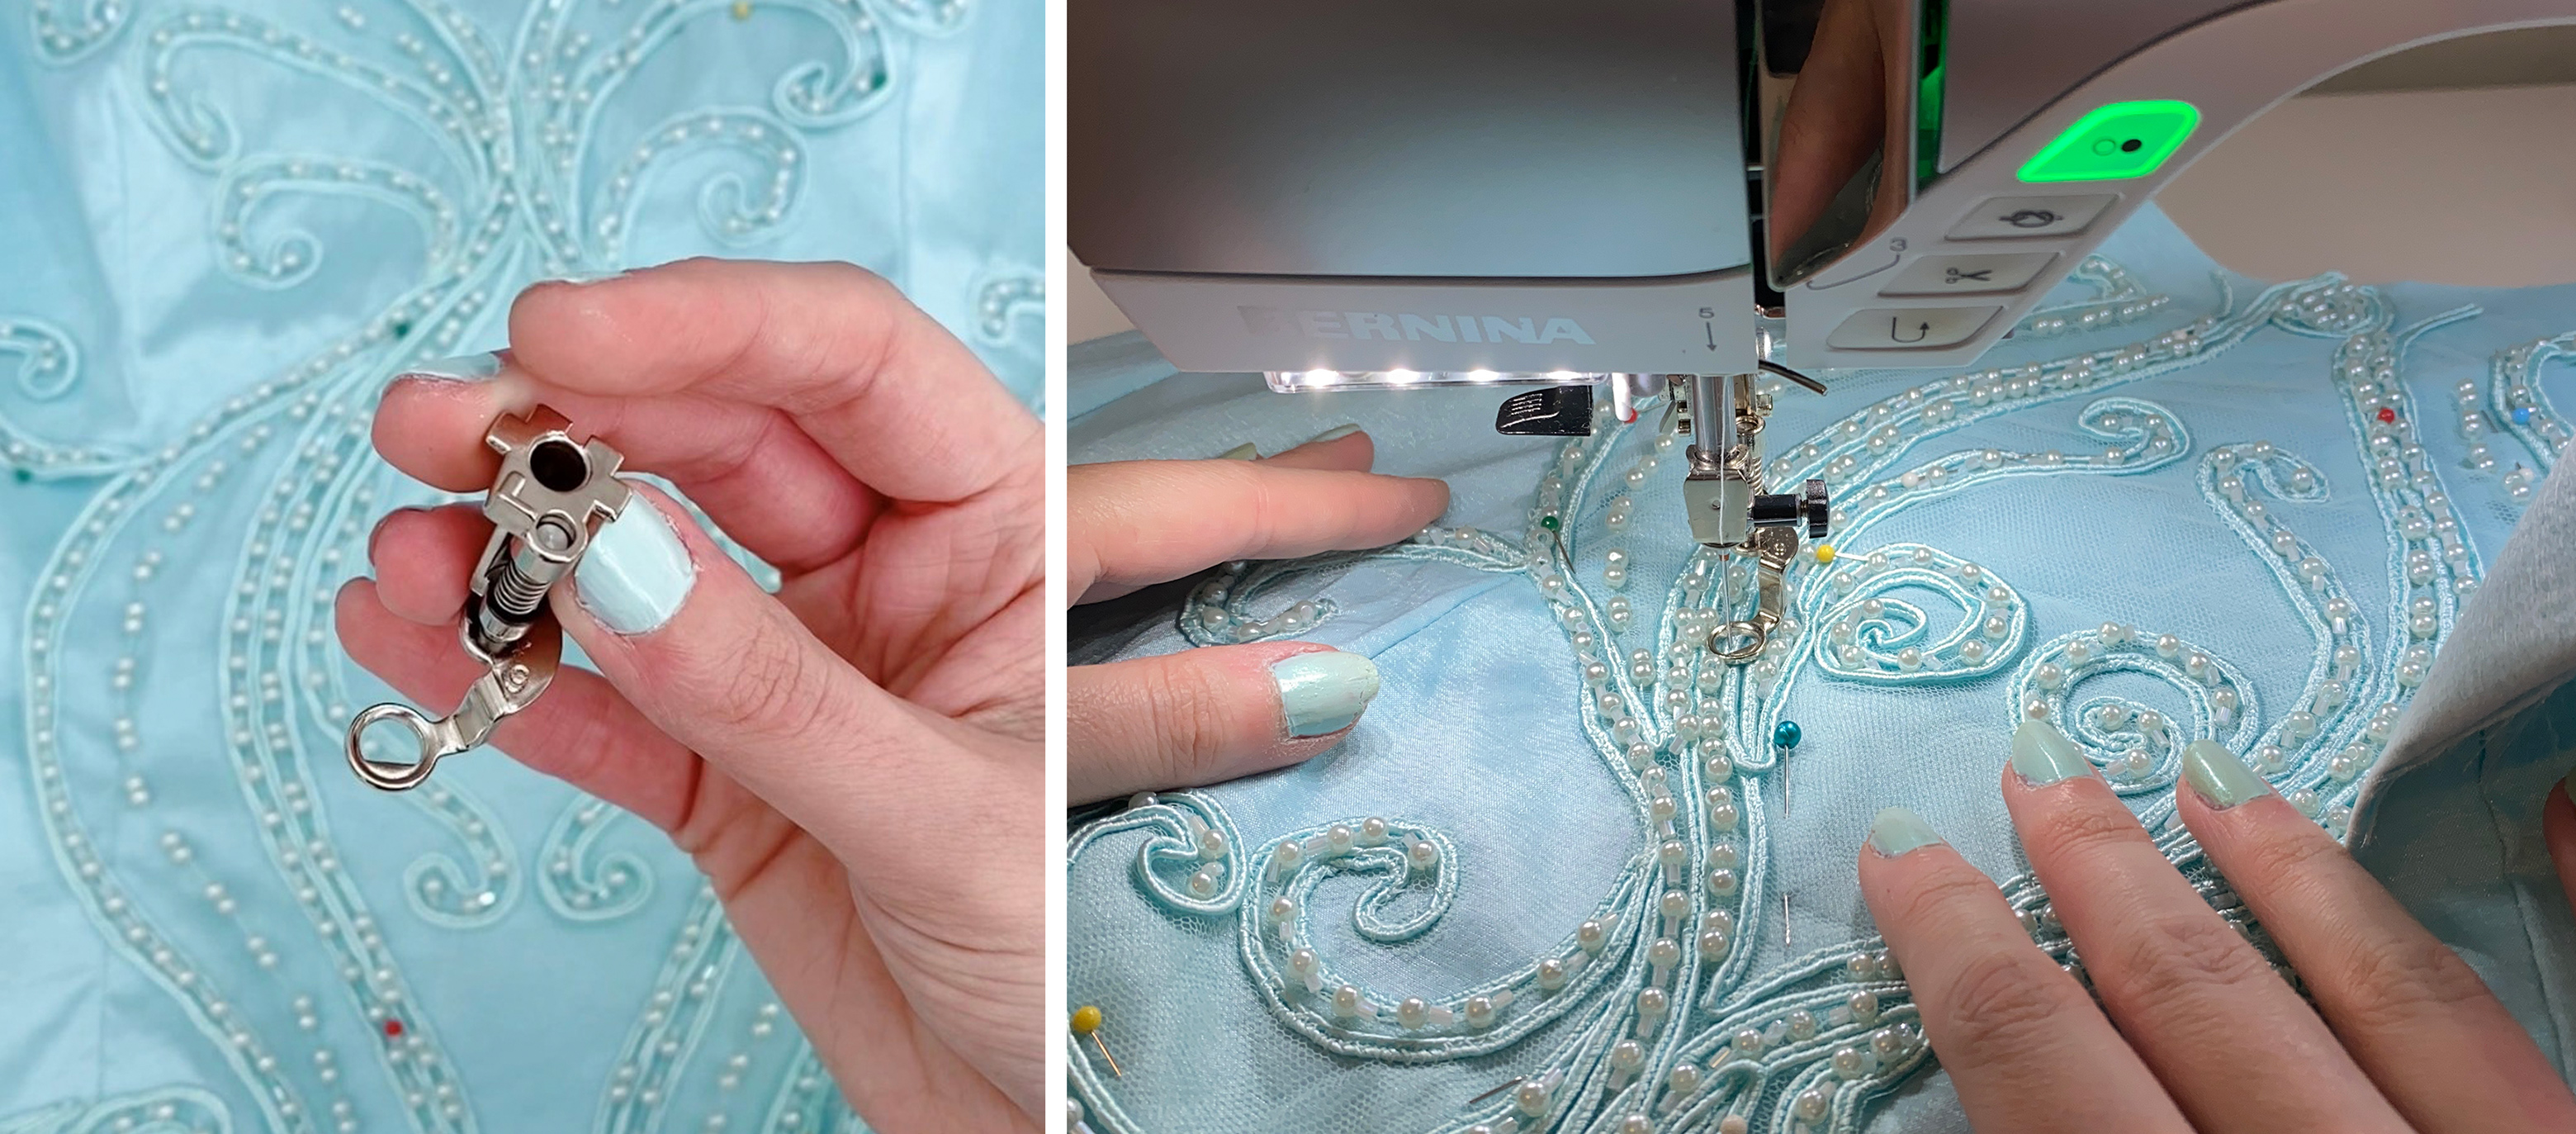
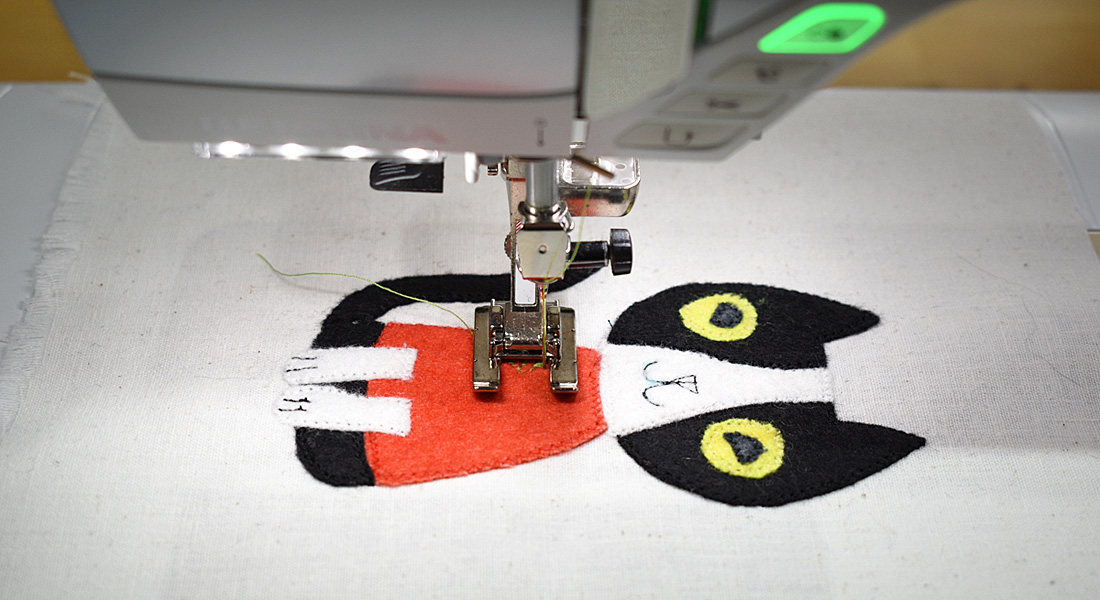
Attaching the Appliqués to the Bodice
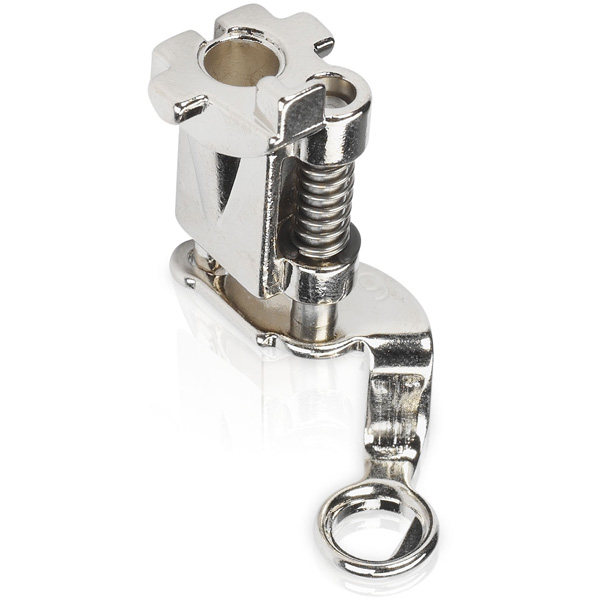
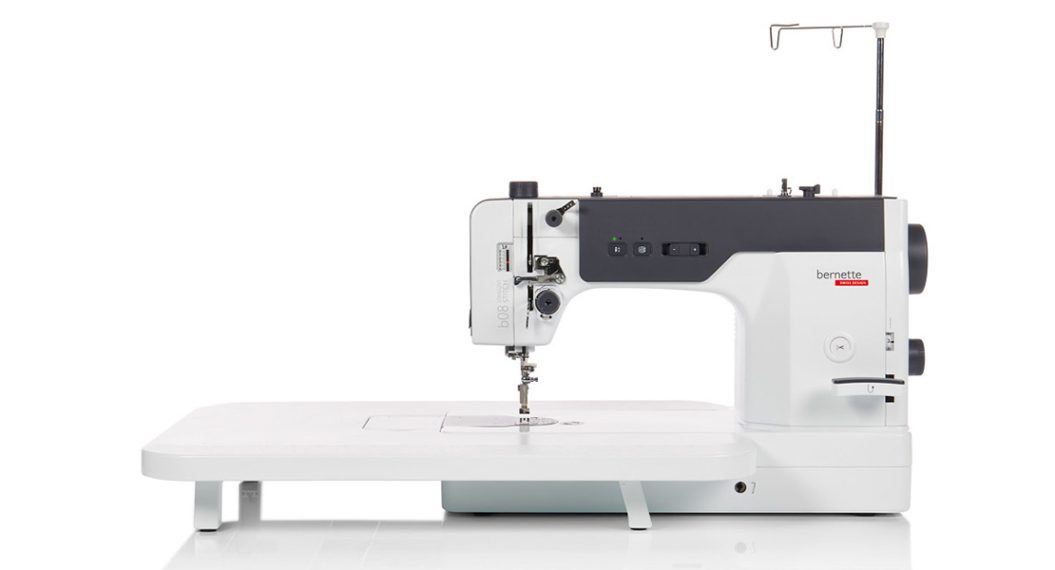
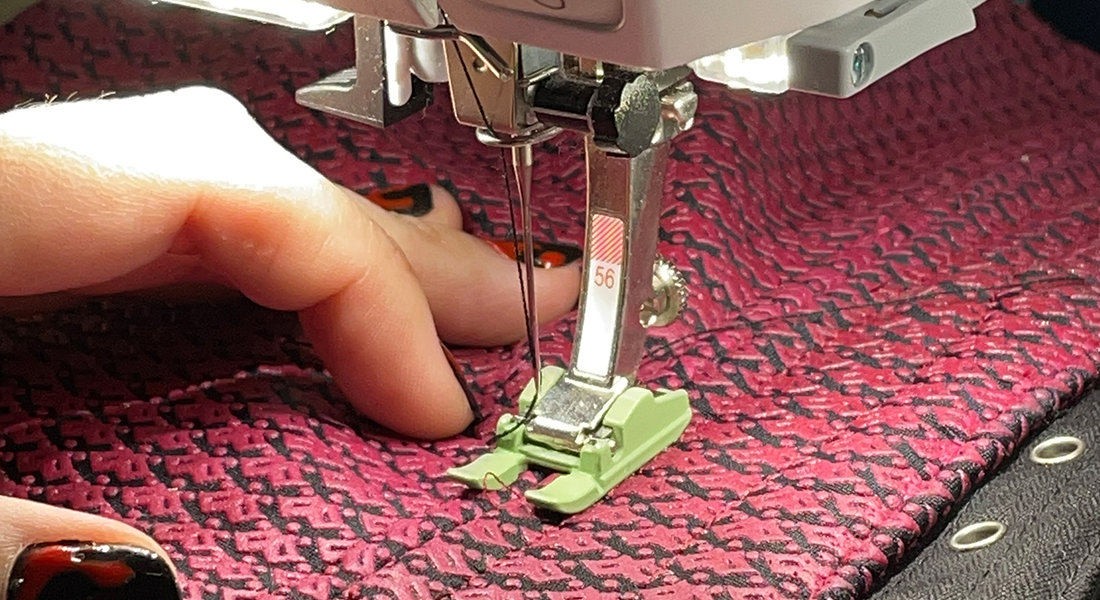
To attach the appliqués to the bodice, I used darning foot #9 on my BERNINA B 535 E. I used this particular foot due to it being a closed foot that would not catch on the beading, and the cupped shape is able to slide beneath beading while sewing. For sewing the appliqués down, I also lowered the feed dogs down on my machine to enable me to free motion, following the curved shapes of the appliqués as I sewed them down. Like with any other machine-sewn details with beaded embellishment, I sewed the appliqués down very carefully and slowly. I do recommend wearing safety glasses if you want to create this project or something similar.
Figuring Out the Top Closure Method
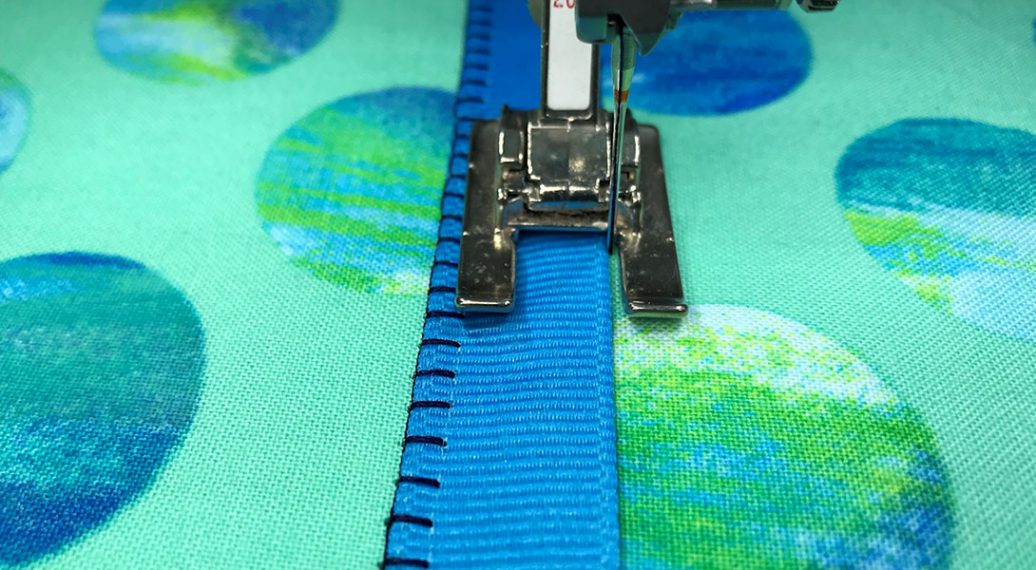
Originally when planning this top I had considered using an invisible zipper, only to realize it would be quite snug to get in and out of it. I ultimately decided to use a button method for the closure for an elegant look that would feel cohesive with the Cinderella design. I purchased 10mm fabric covered buttons and elastic button looping in white and then dyed them to match. Before completely sewing down the appliqués in the back, I sewed on the elastic button looping all the way down one side of the back seam from the sheer collar to the bottom of the bodice. I also sewed on a modesty panel to the opposite back panel of the bodice portion of the top.

Finishing the Top
Before closing the bodice, I inserted the plastic boning into the lining layer’s boning channels. Afterwards, I machine sewed the bottom of the bodice closed, then closed the back seams by hand stitching them.
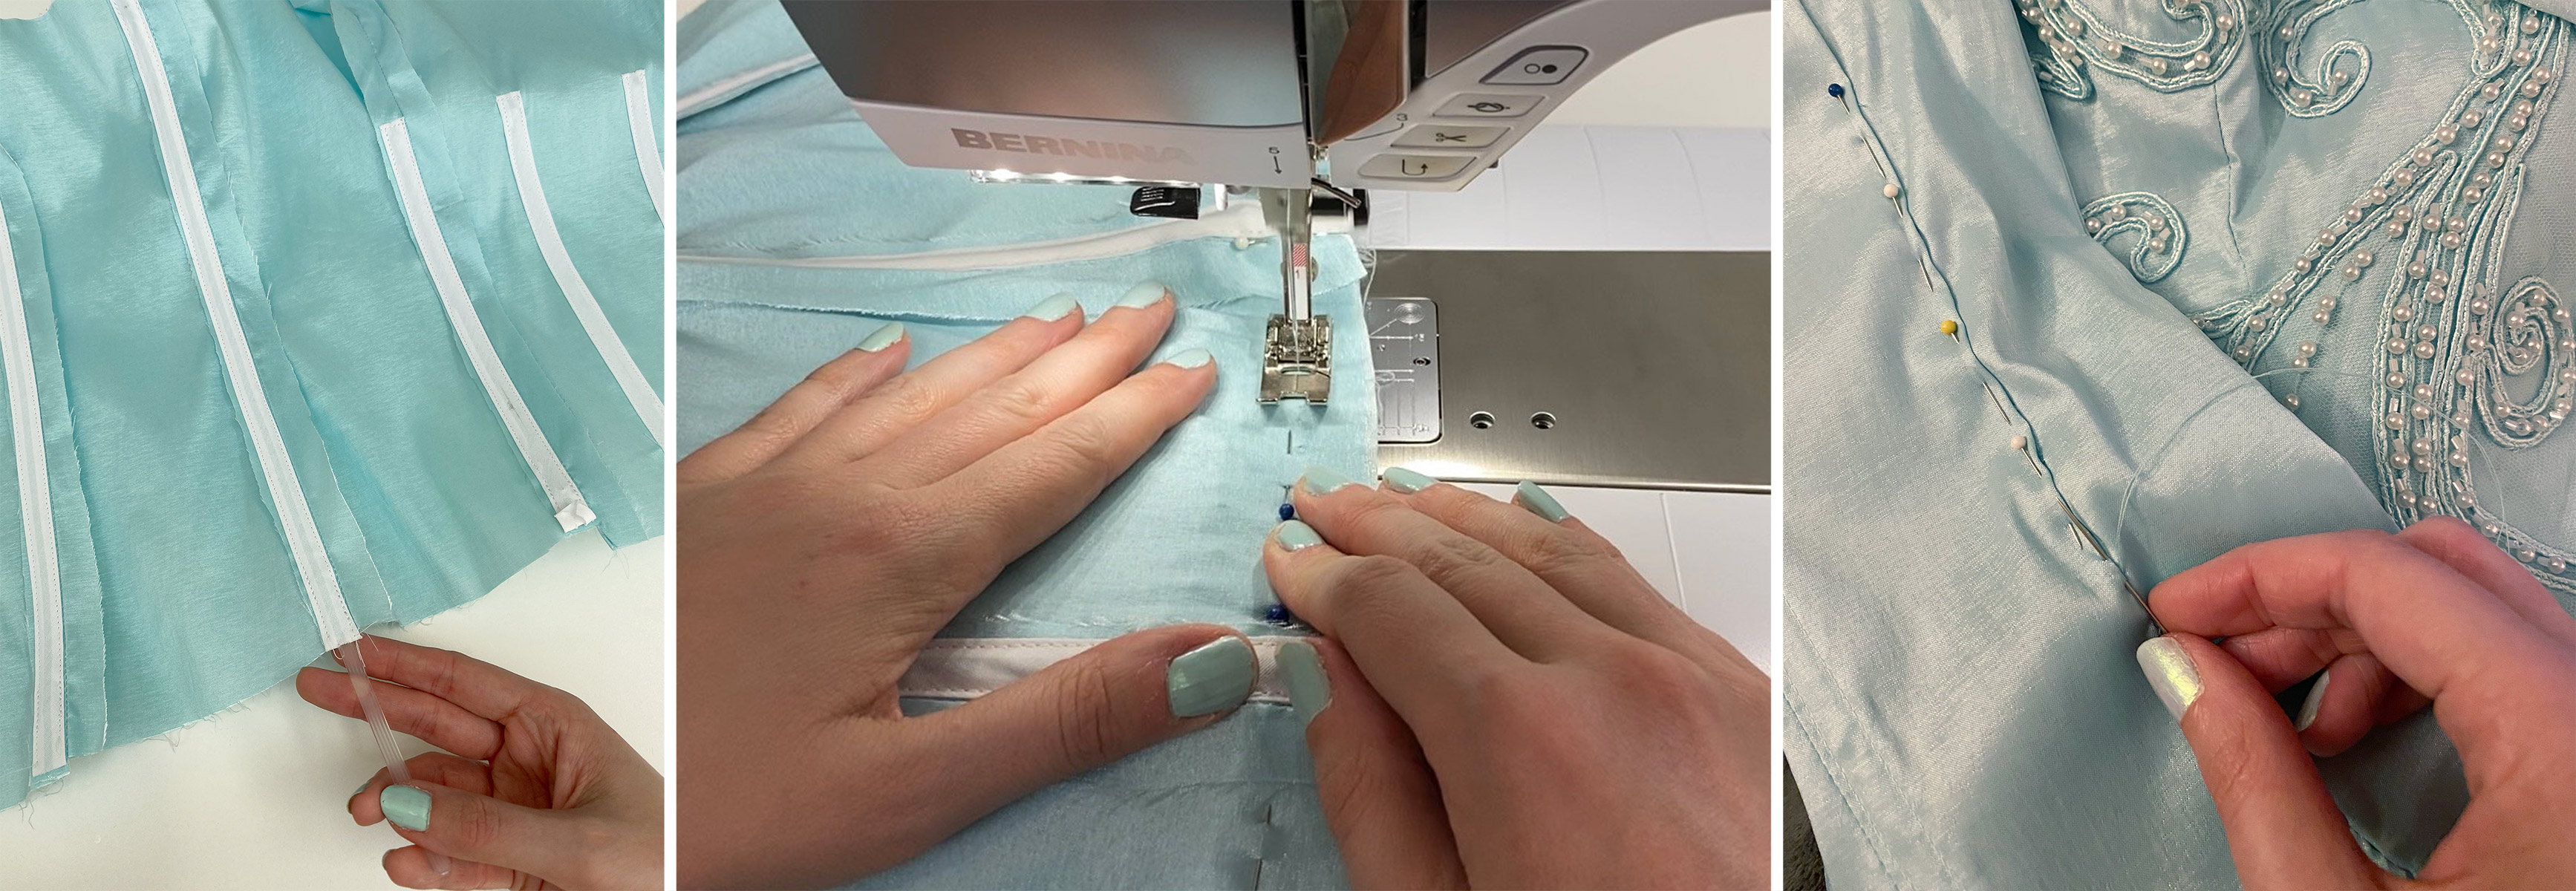
Once the top was closed, I hand sewed my buttons in place. Each button was sewn 1/2″ distance apart to correspond with each button loop on the elastic looping.
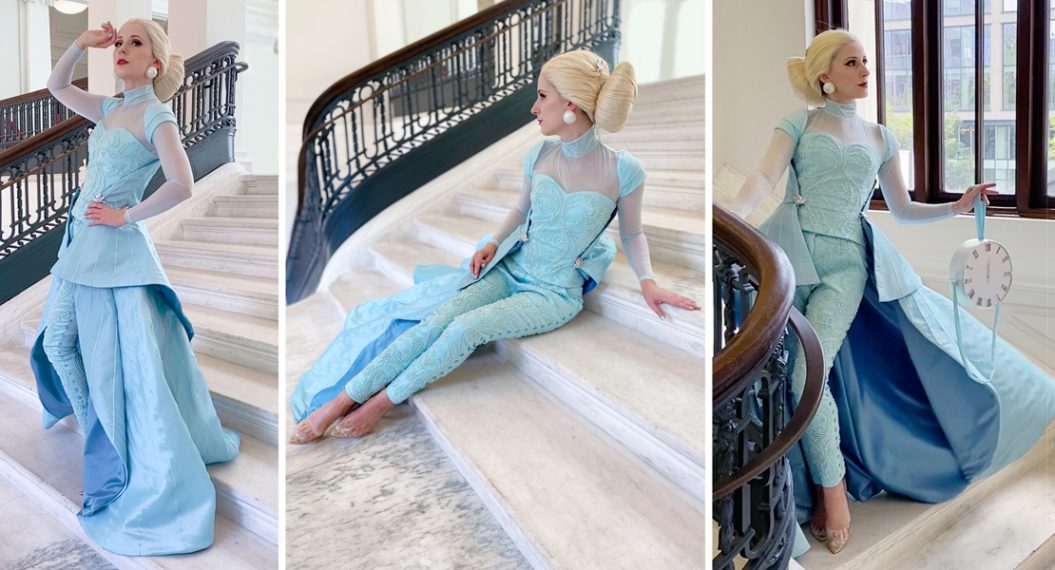
Top complete! Next up, I will be creating her pants to complete the base suit on her design. To see what else I am up to, you can follow me on Instagram, TikTok, Facebook, and Twitter.

Used Products

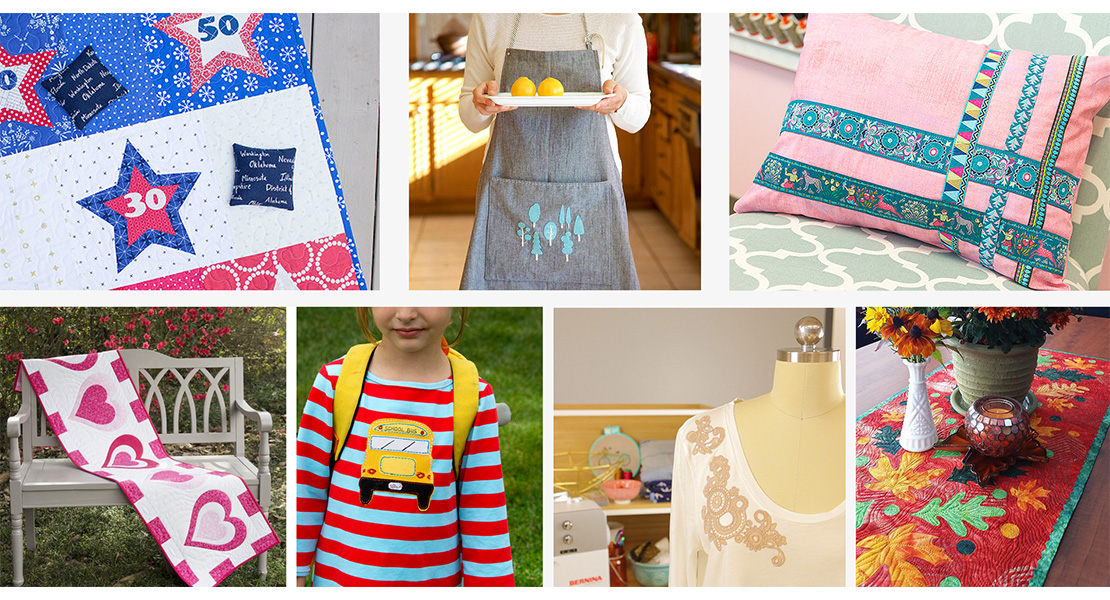
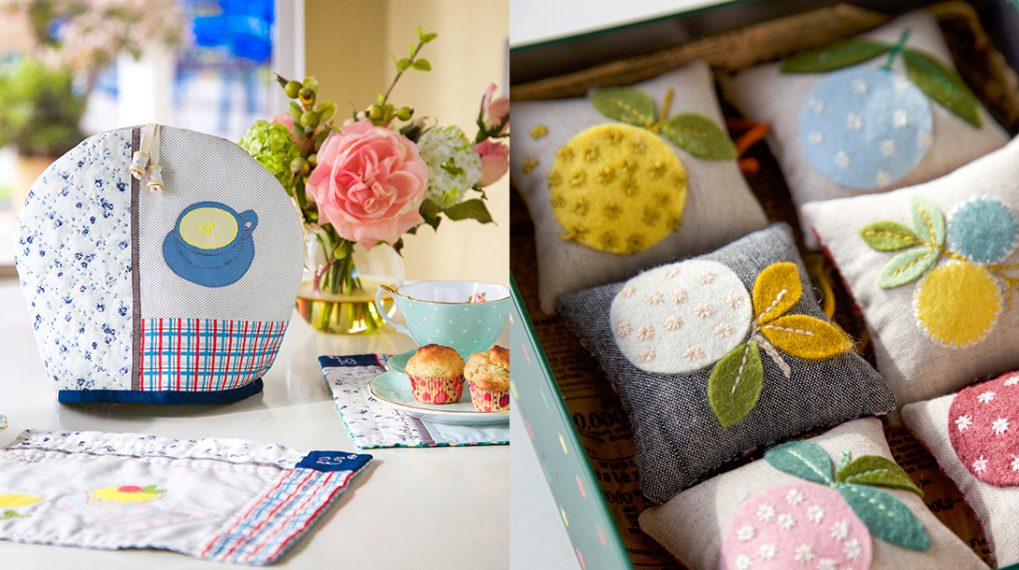
What you might also like


4 comments on “Creating an Appliqué Covered Top for a High Fashion Cinderella Cosplay”
-
-
That sounds like such a fun and personal gift to receive. What a wonderful idea and project!
-
-
Your bodice is a work of art! Your skills are top notch. Where did you find your beaded lace? I have many lace projects in mind but can not find appropriate lace. TYIA.
-
Thank you so much! I purchase a lot of my fabrics from Etsy. This particular fabric came from Smart Fabrics on Etsy. They have a lot of unique and interesting fabrics in their store :]
-
Leave a Reply
You must be logged in to post a comment.

I’m monograming bath towel sets to give as gifts.