Creating Appliqué Covered Pants for a High Fashion Cinderella Cosplay
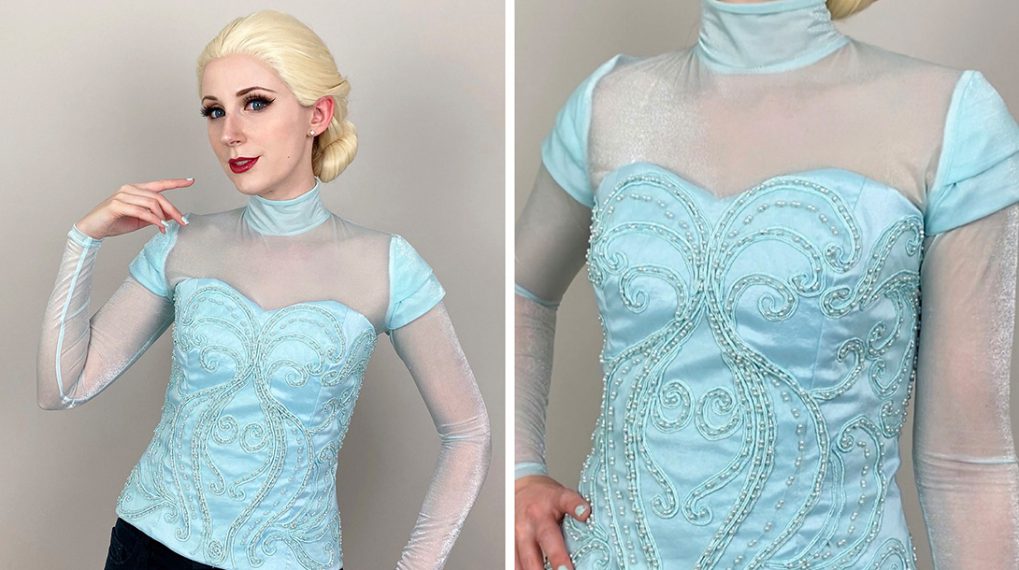
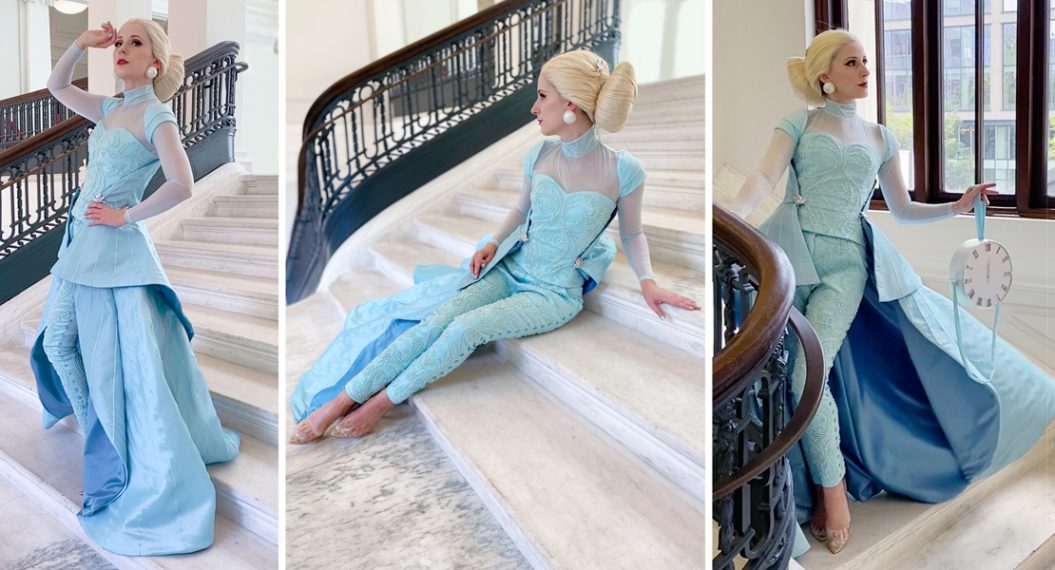
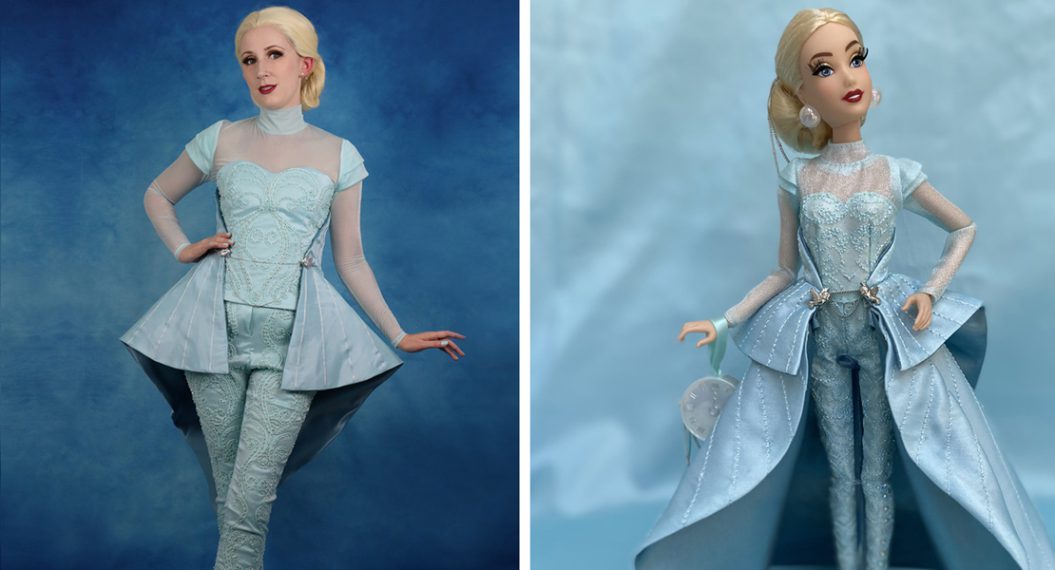
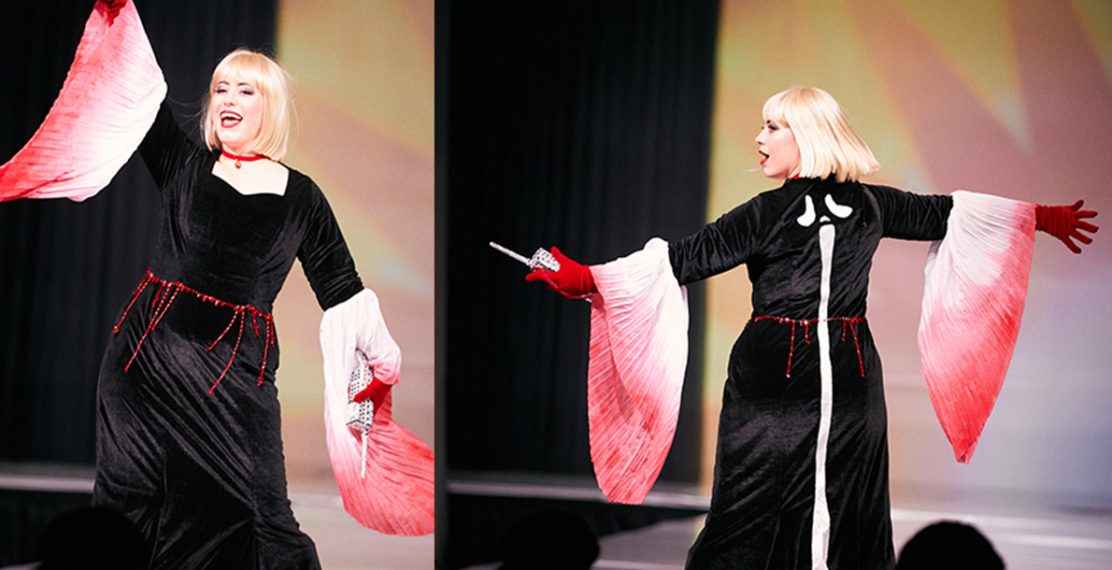
Hi, everyone! It’s Dessi-Desu and I am back with the next entry in my Cinderella cosplay project, inspired by her 2022 designer doll. In my previous post, I created her top. For this blog entry, I will be creating her pants and discussing the methods I used for making her fitted appliqué covered pants easier to wear.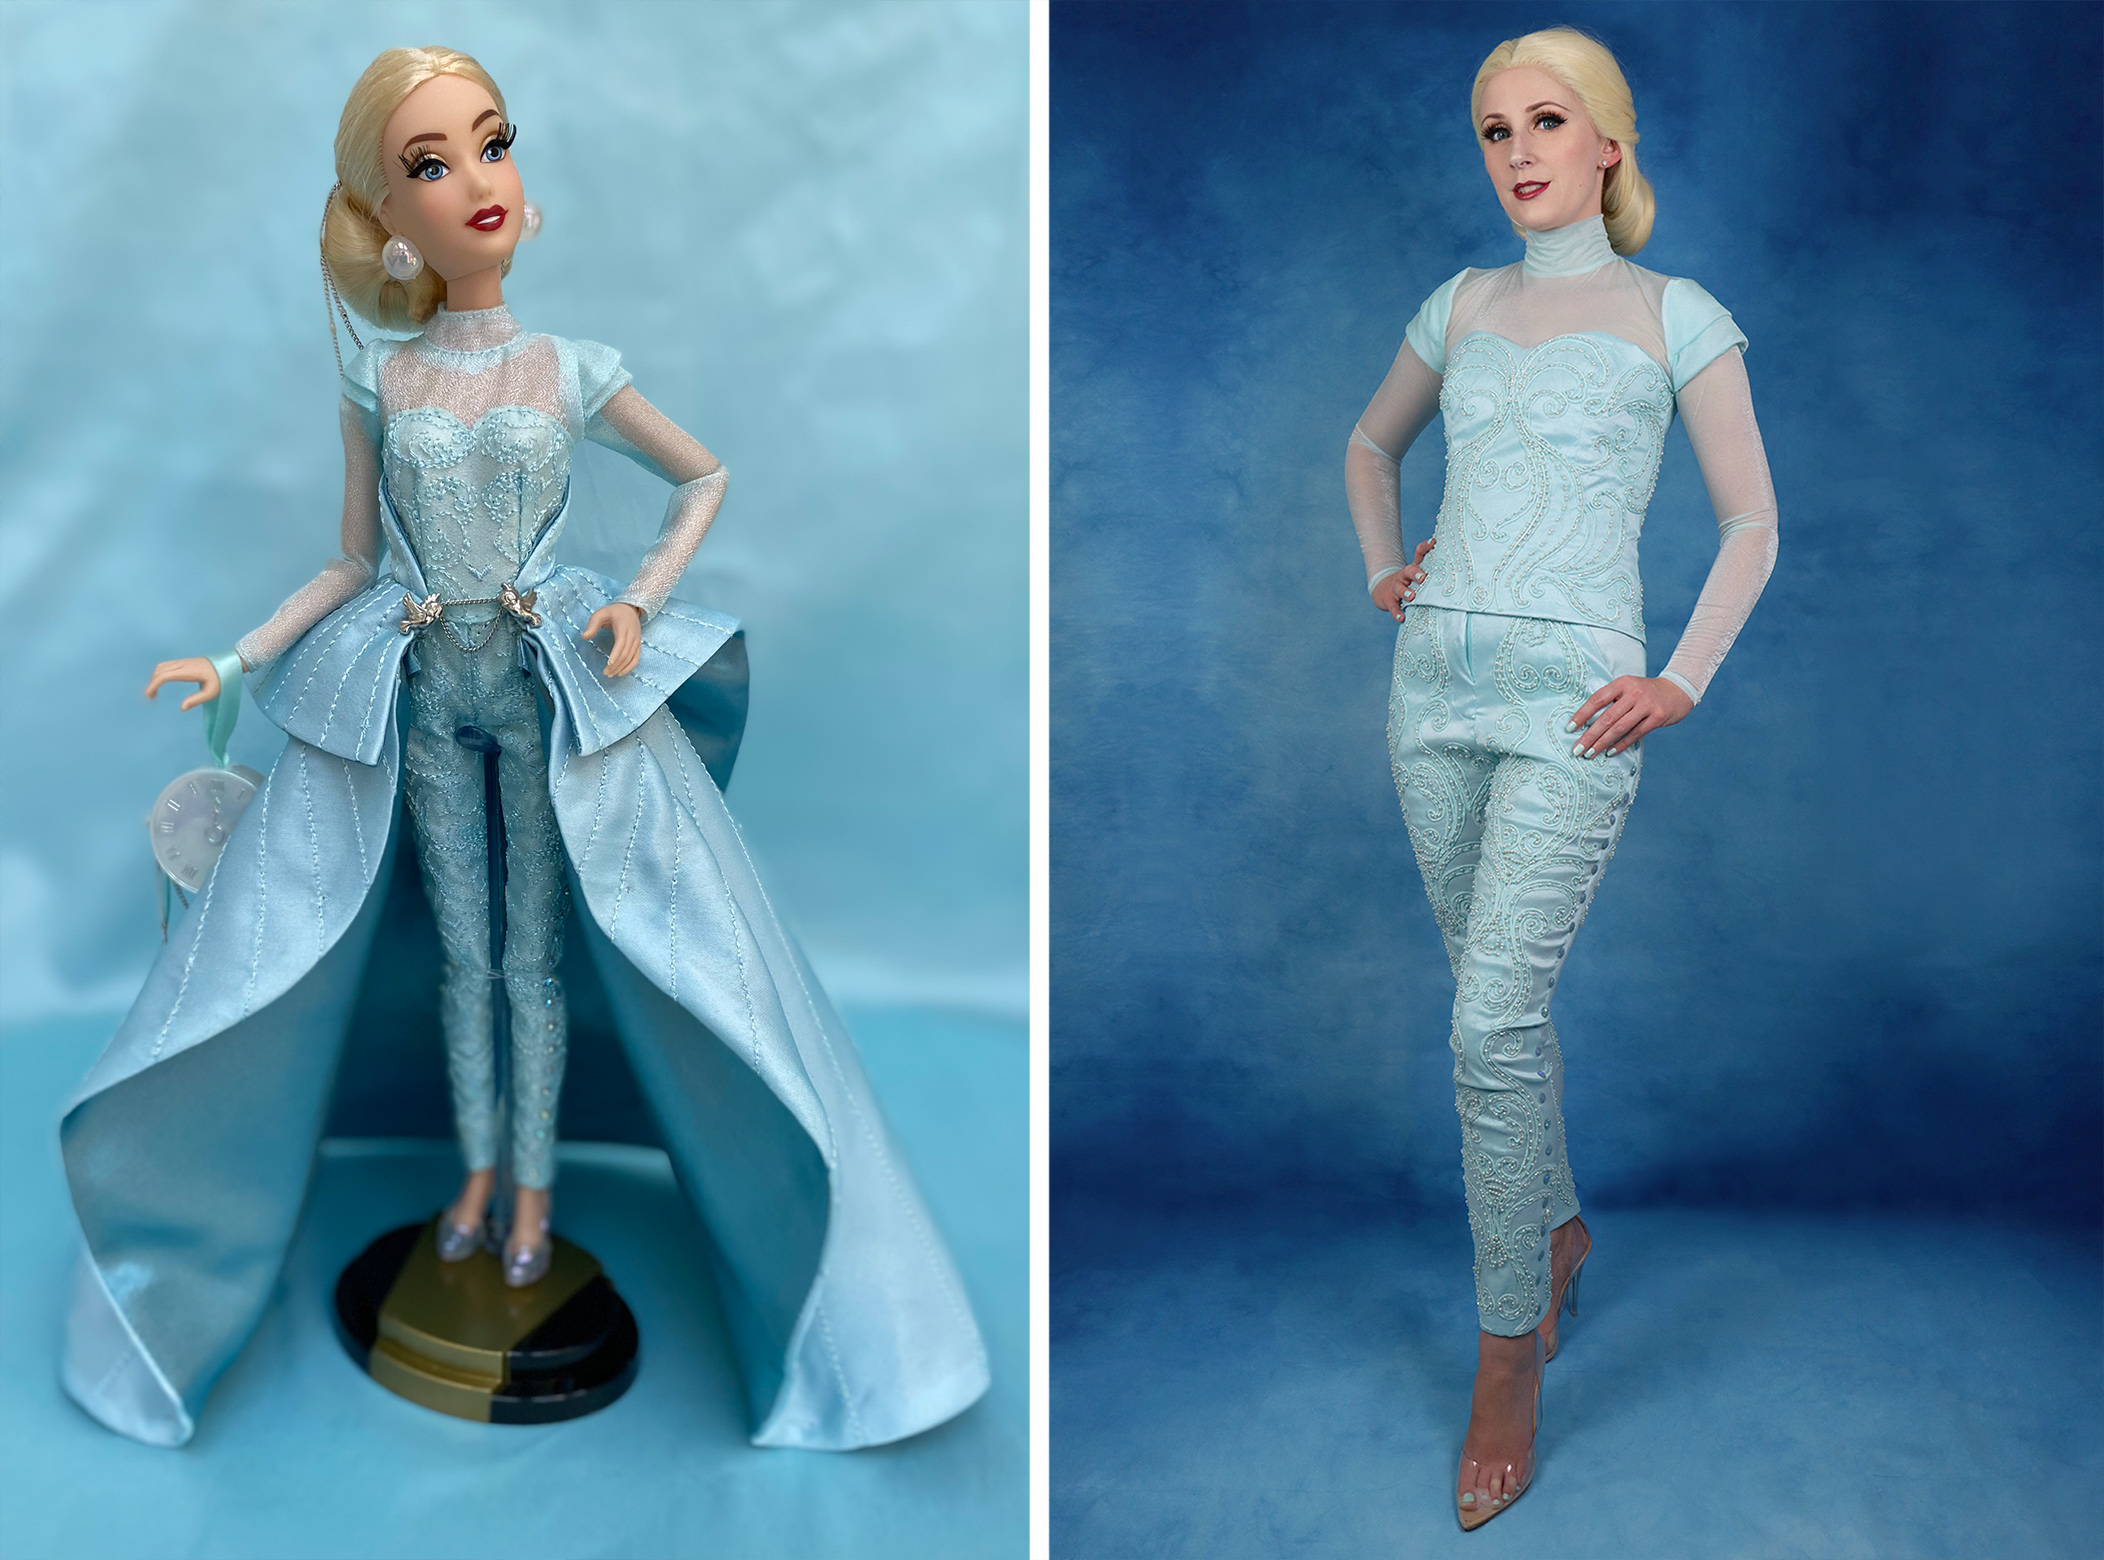
Selecting My Pattern
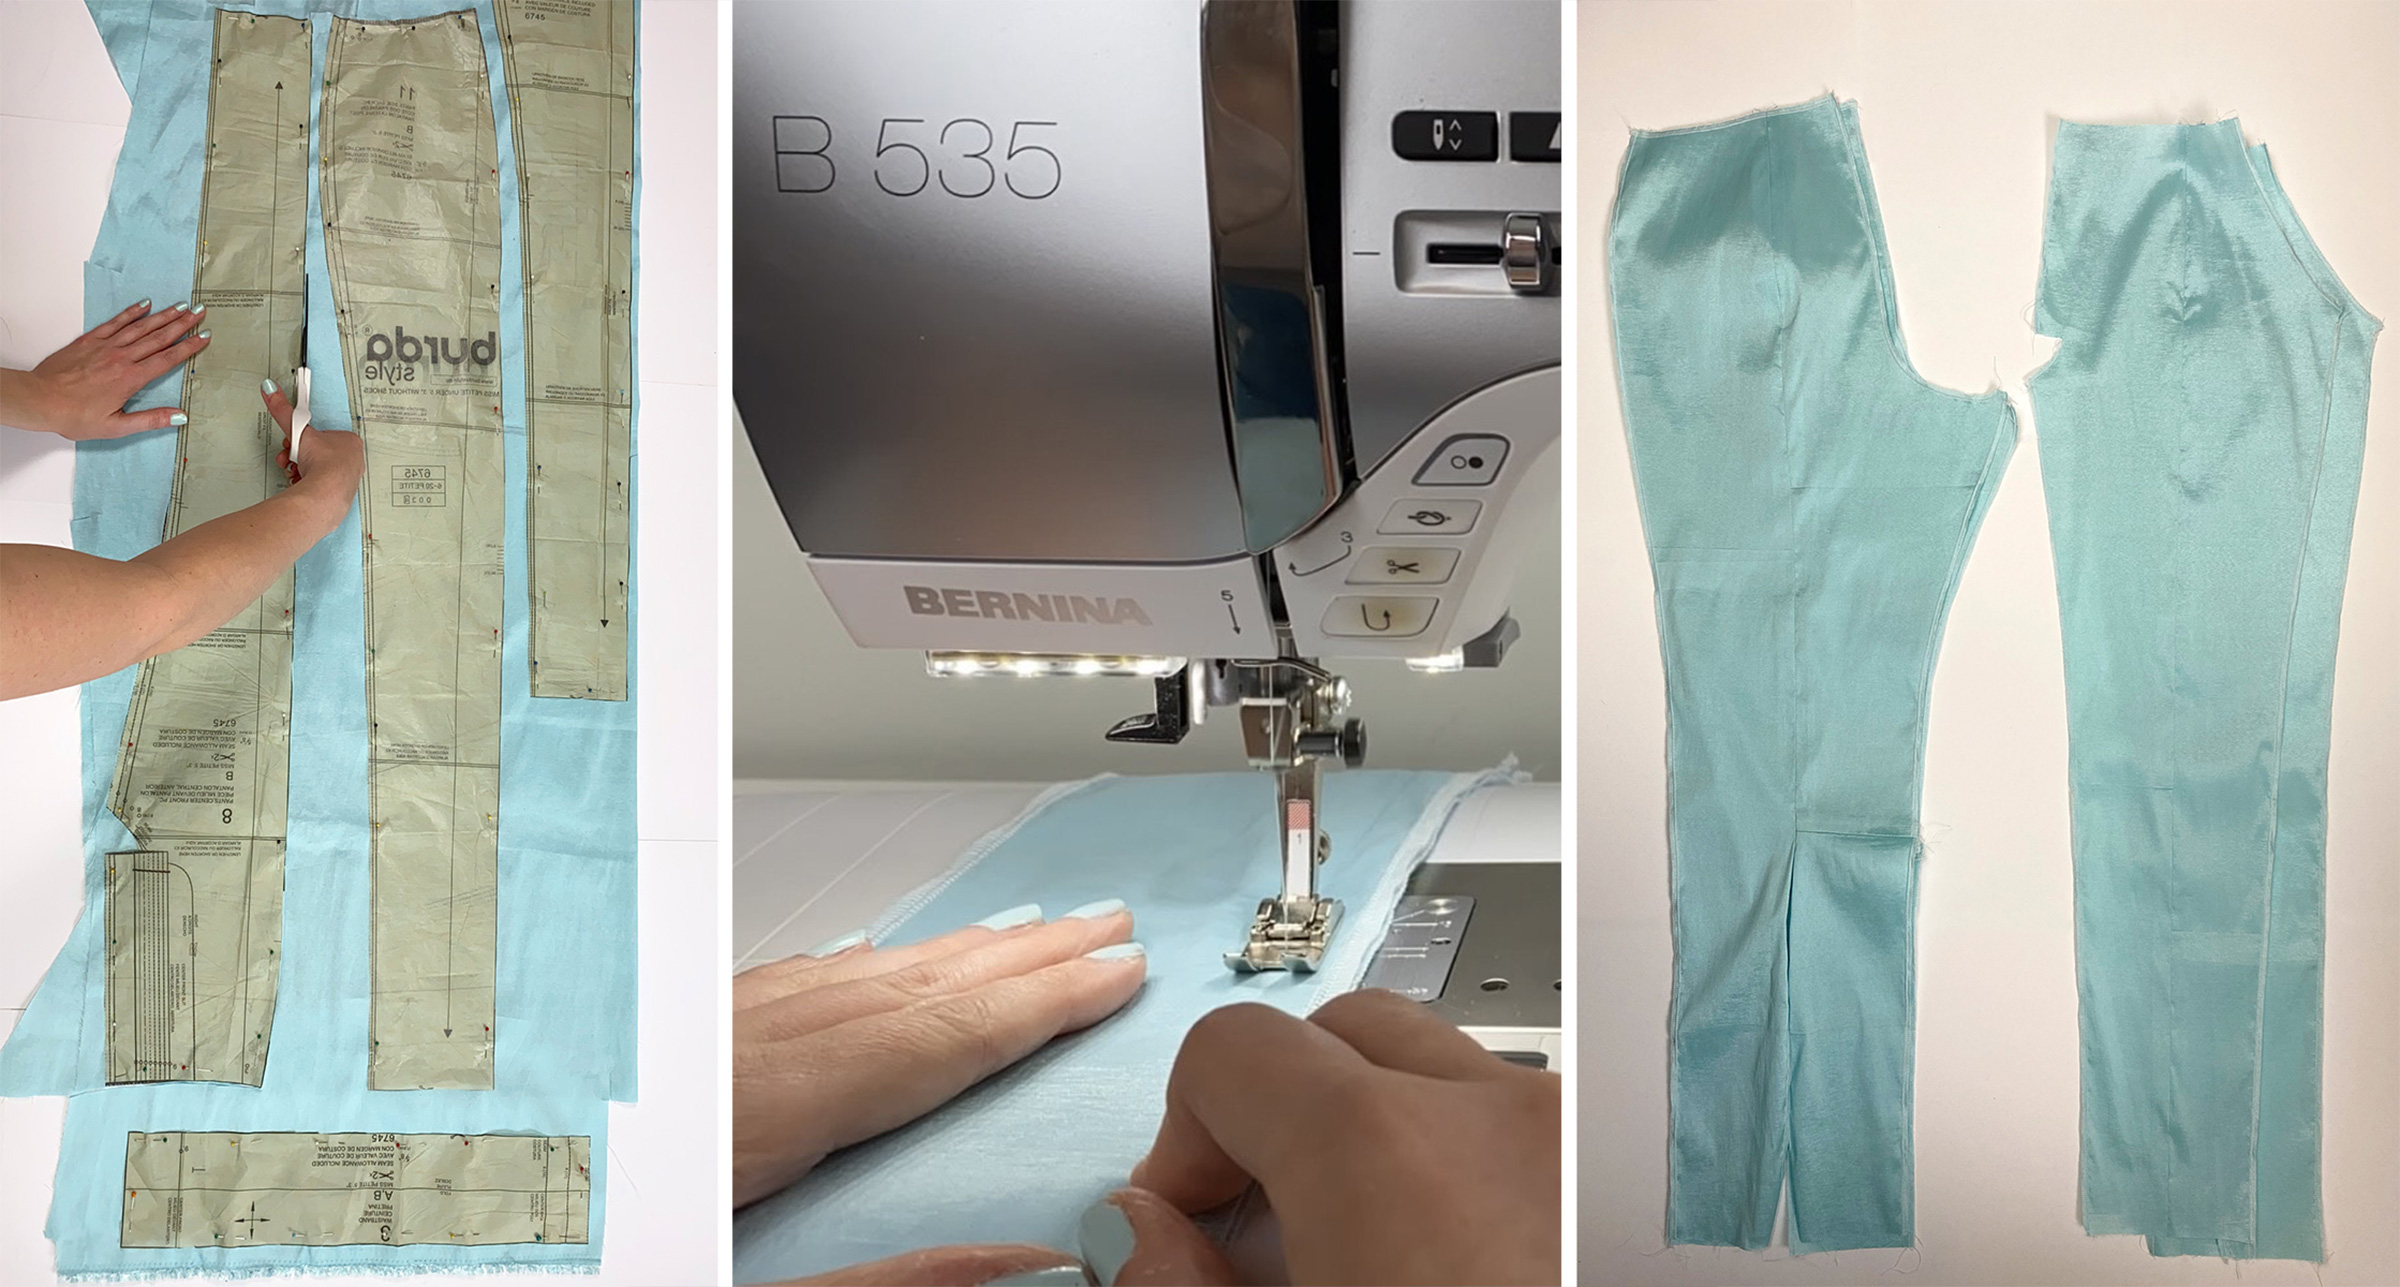
To start my designer doll Cinderella pants, I selected my pattern. For my pattern, I chose Burda Style 6745. Not only is this pattern a two way stretch skinny pant pattern, but it also has seams that run up the center of each pant leg on the front and back. This center seam on the back was important for installing invisible zippers (a later step in the process.)
With cosplay we are often doing non-traditional things to traditional garments. This is my first pair of pants I’ve made for a cosplay, but experience has taught me to be aware of how applying a non-stretch material to a stretch fabric may create issues with actually getting a garment on. It is a very common issue in cosplay crafting to have a stretch sleeve not go on easily or not go on at all after adding a trim, so I applied the same lesson to my pants.

Starting With My Mock Up
For my pants, I had just enough stretch aqua taffeta left to work with and no way to get more. No pressure! I decided to be extra cautious and create a mock-up from some other stretch taffeta I had. This way I would be sure of the fit before proceeding to create the final pants. For me, this pattern didn’t require any alteration, and I was happy with the fit straight from the pattern.

Assembling the Pant Leg Pieces
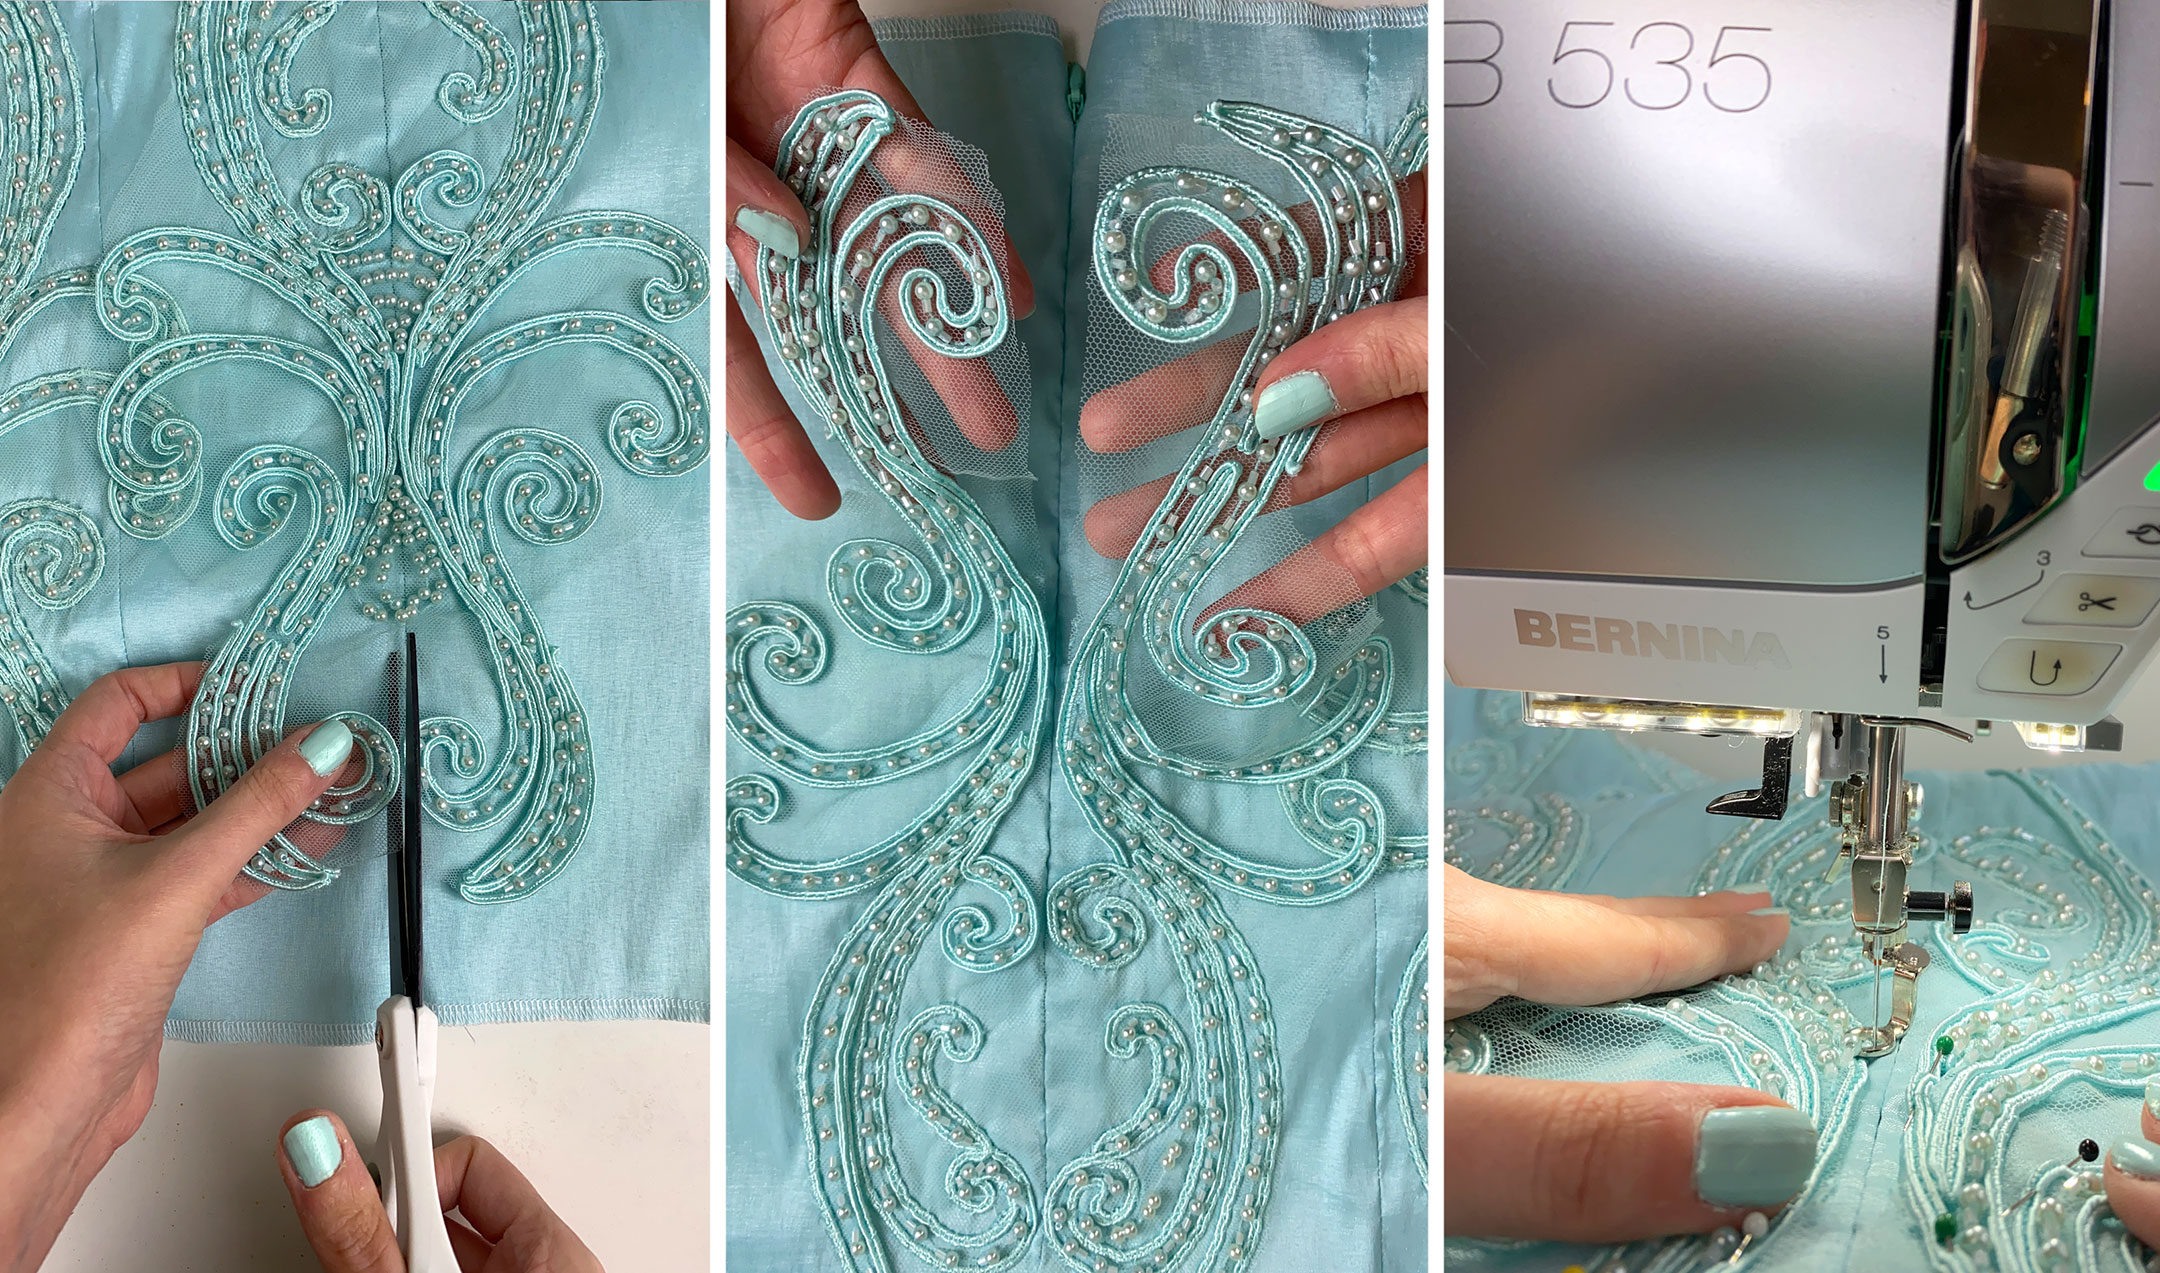
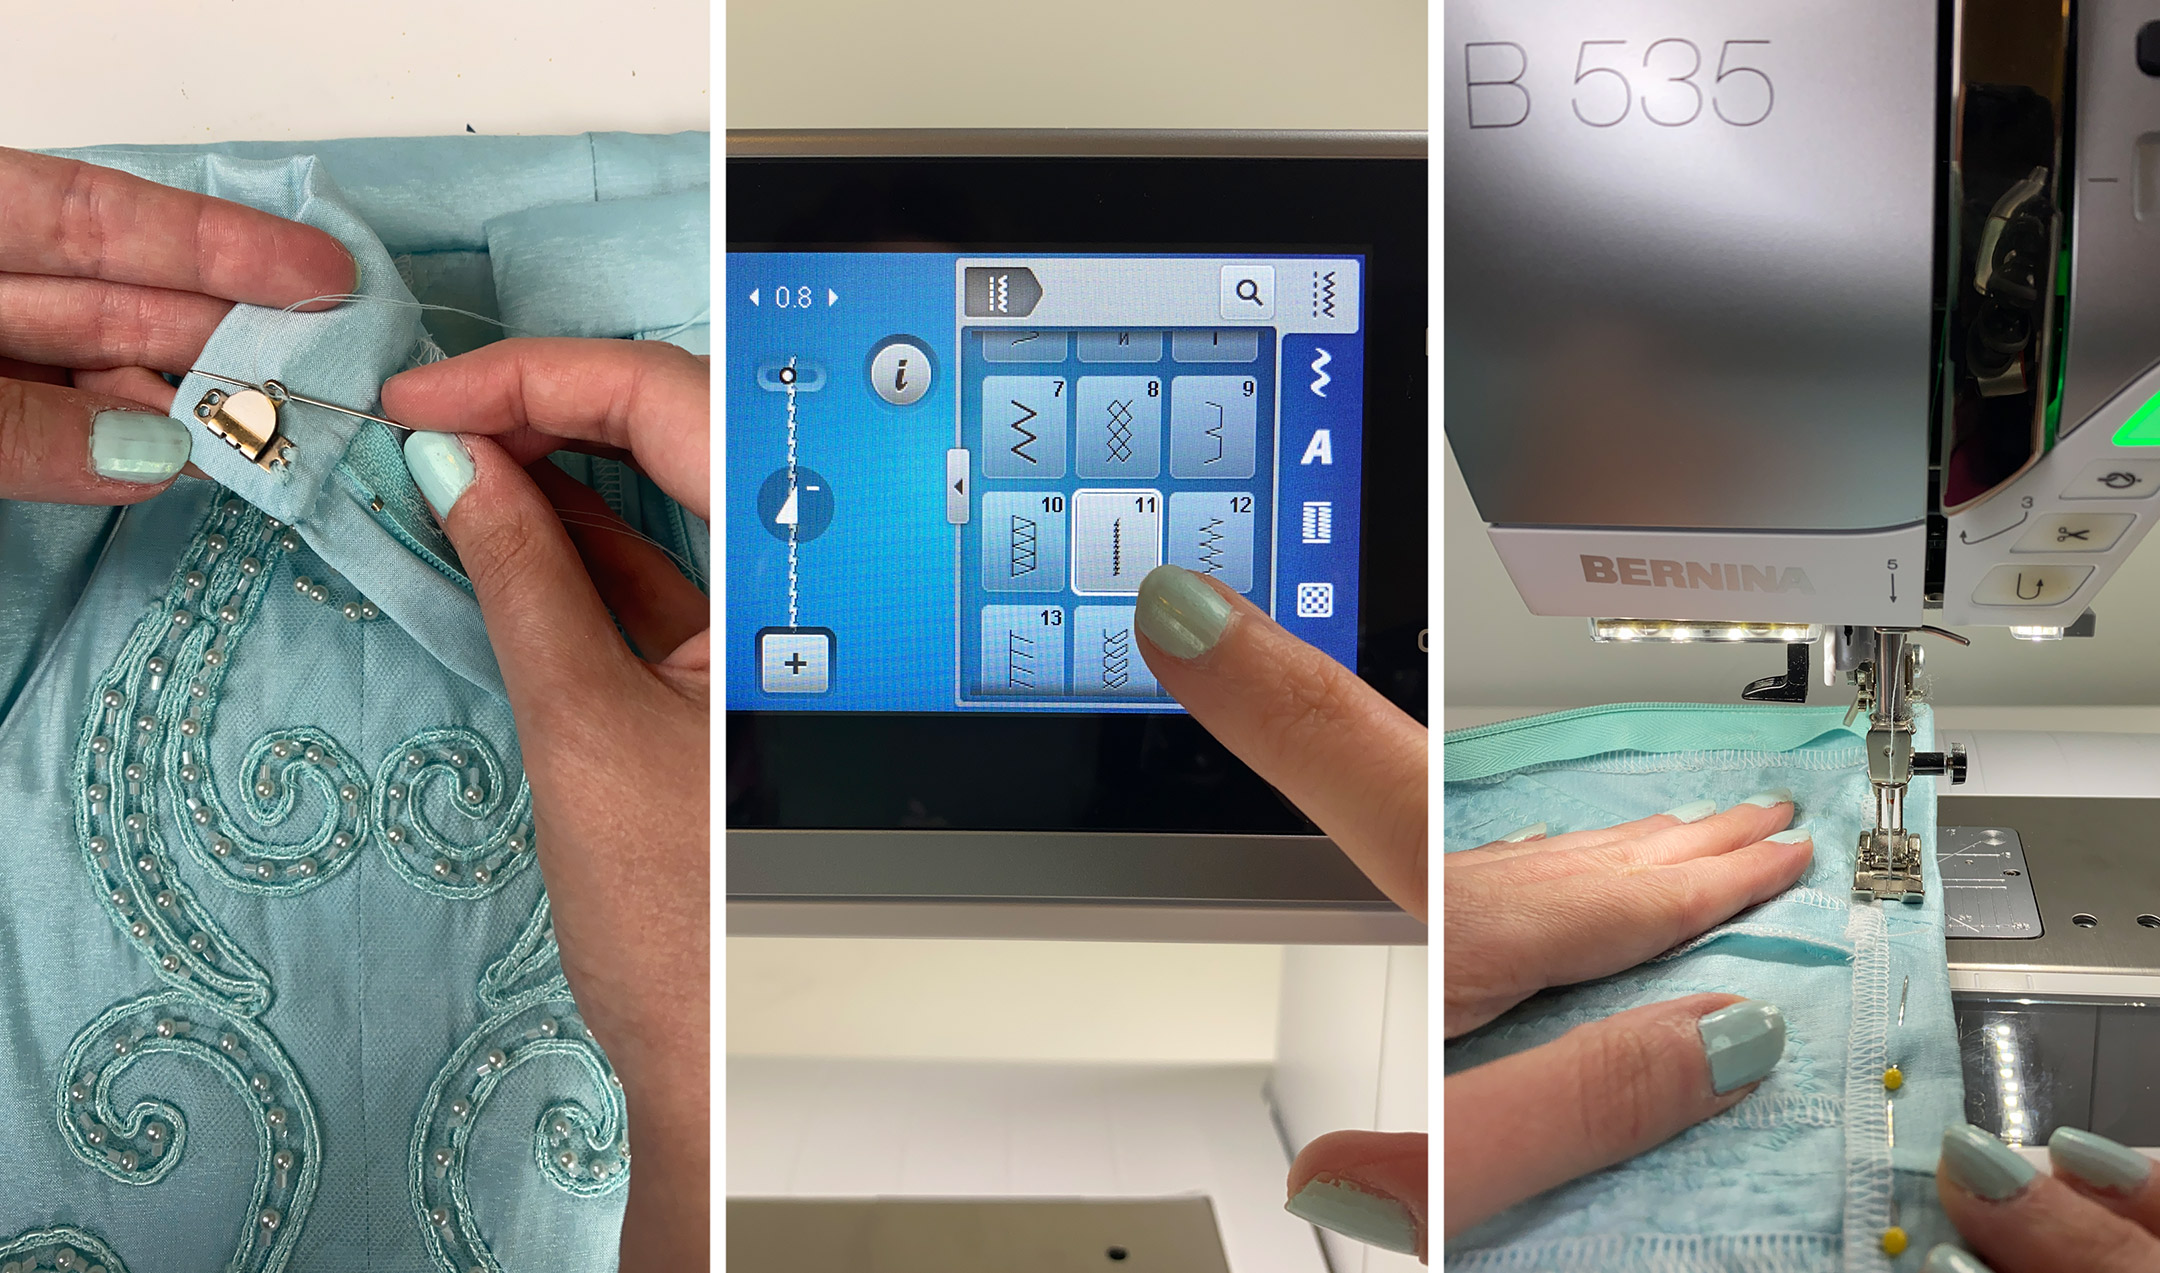
To begin the process of the final pants I cut my taffeta pieces. I had to improvise with the fabric I had left on the back inner leg piece and cut it from two fabric pieces. Once the pieces were cut, I sewed the center front pieces using my B 535 E to their corresponding side front piece. I did the same for the back, leaving 14″ open on the bottom for installing my invisible zippers later on. In total, I had four pieces to cover in appliqués before the pants could be assembled. I then pressed the center seams on each pant piece.
Adding the Appliqués to the Pant Pieces
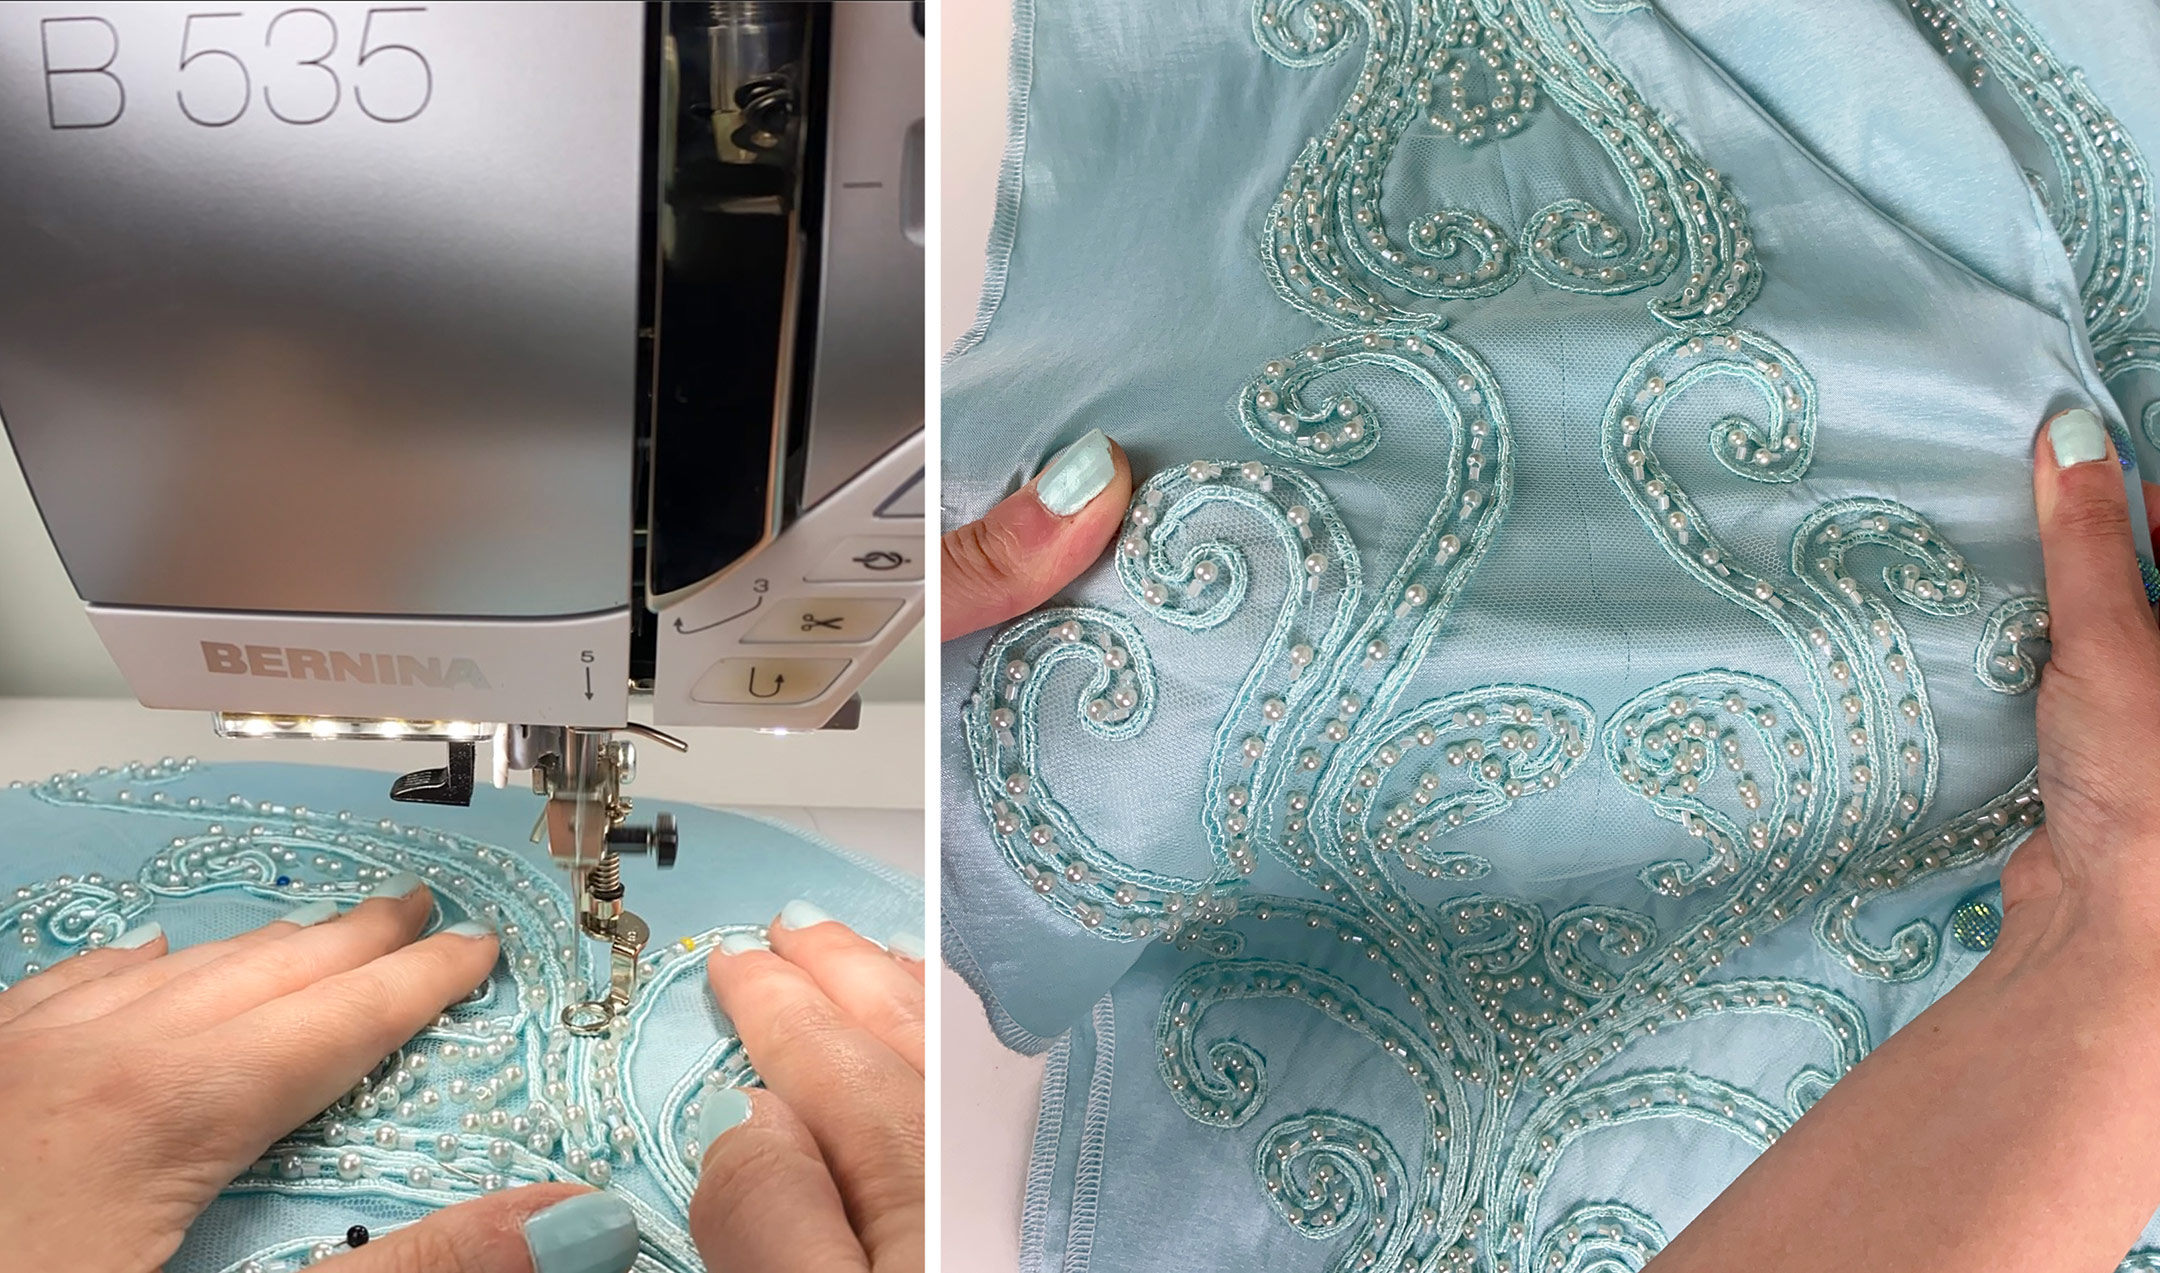
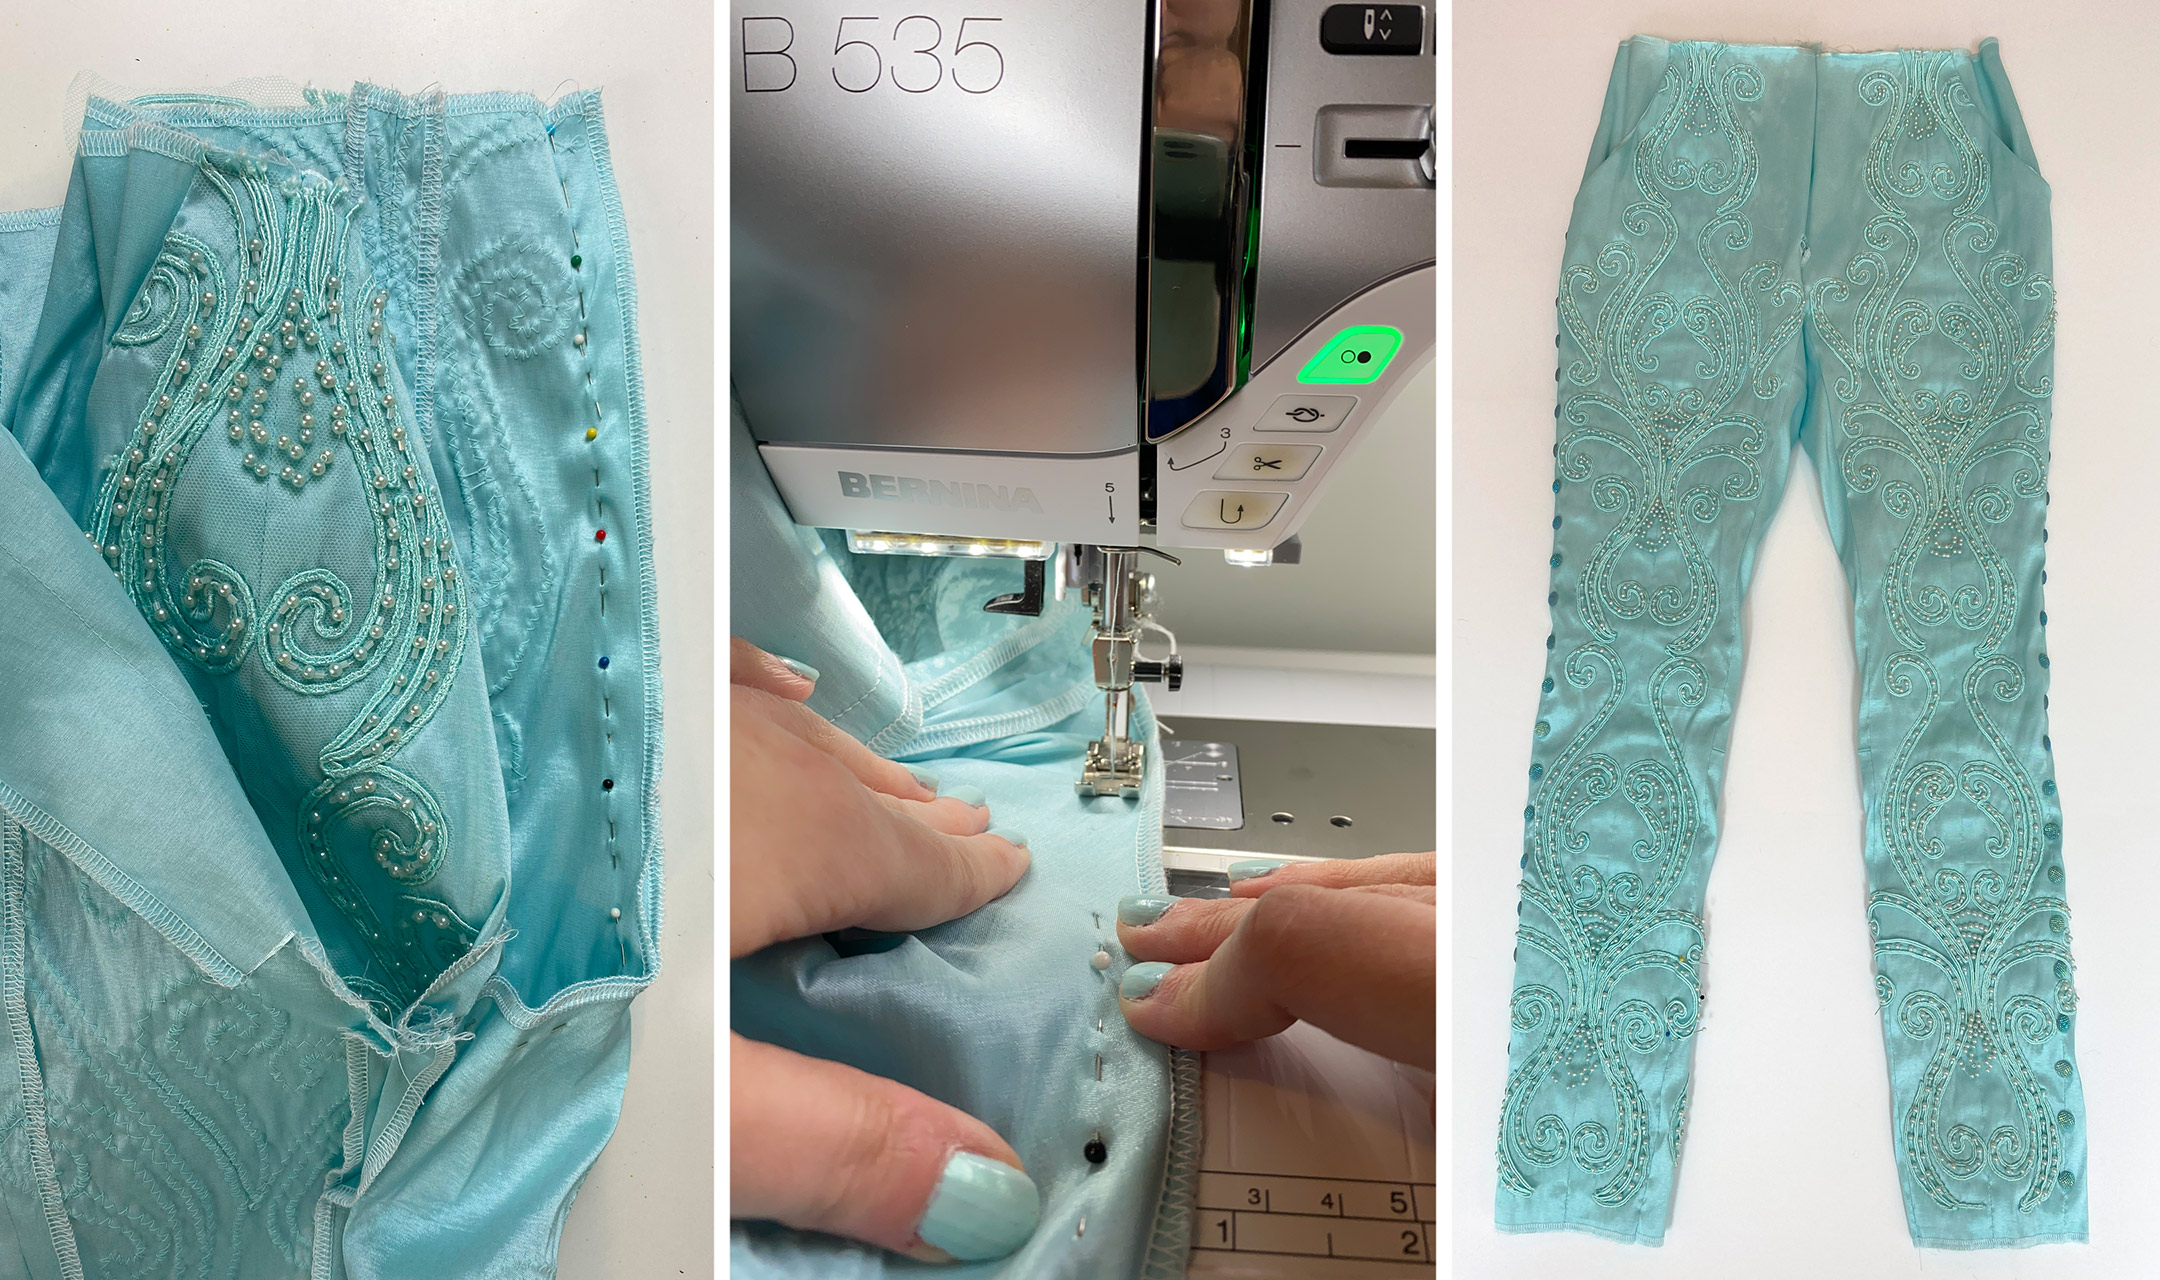
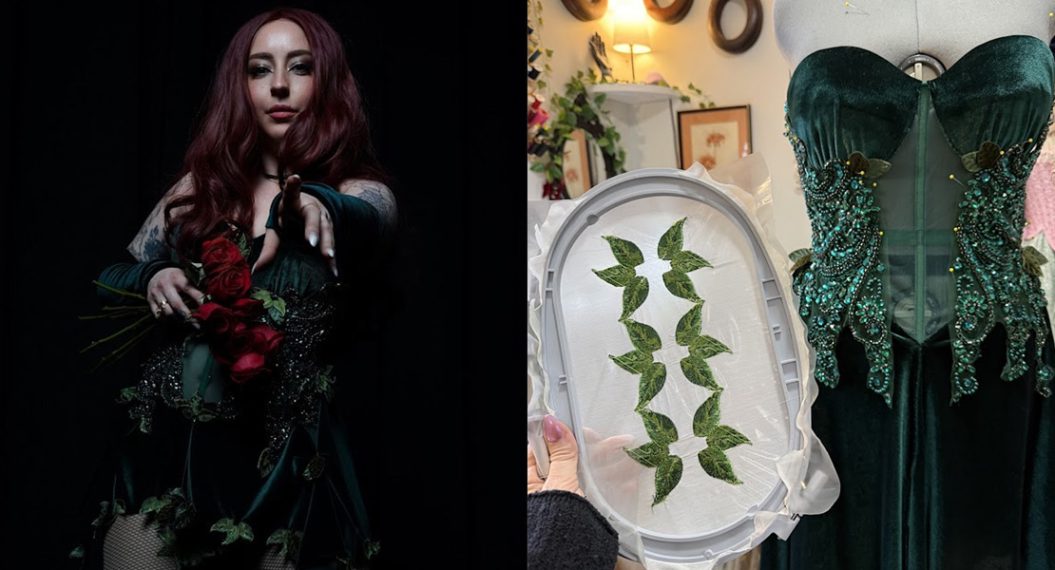
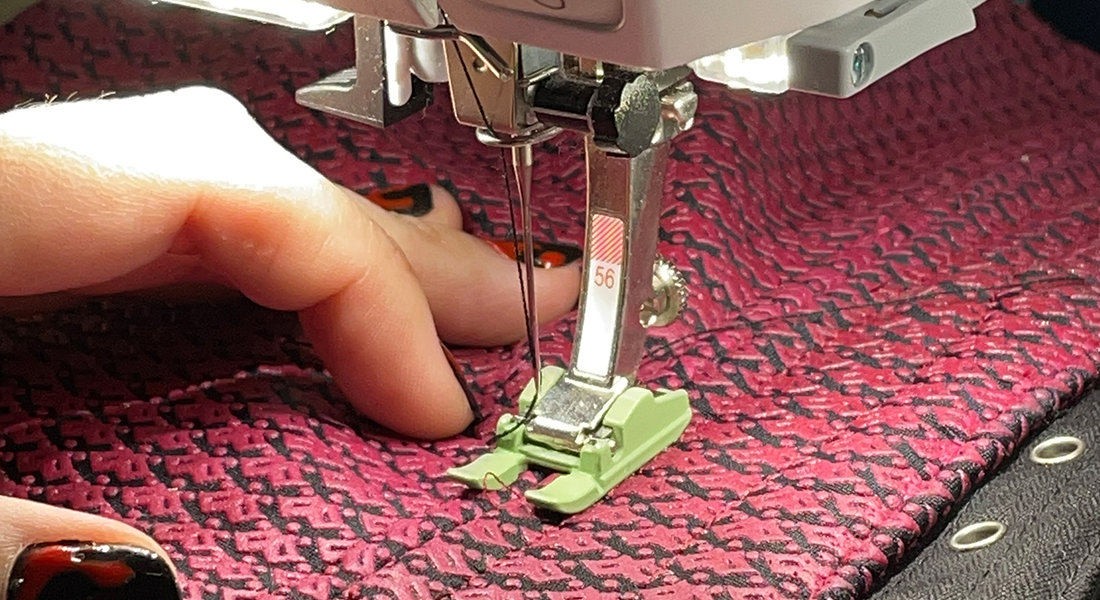
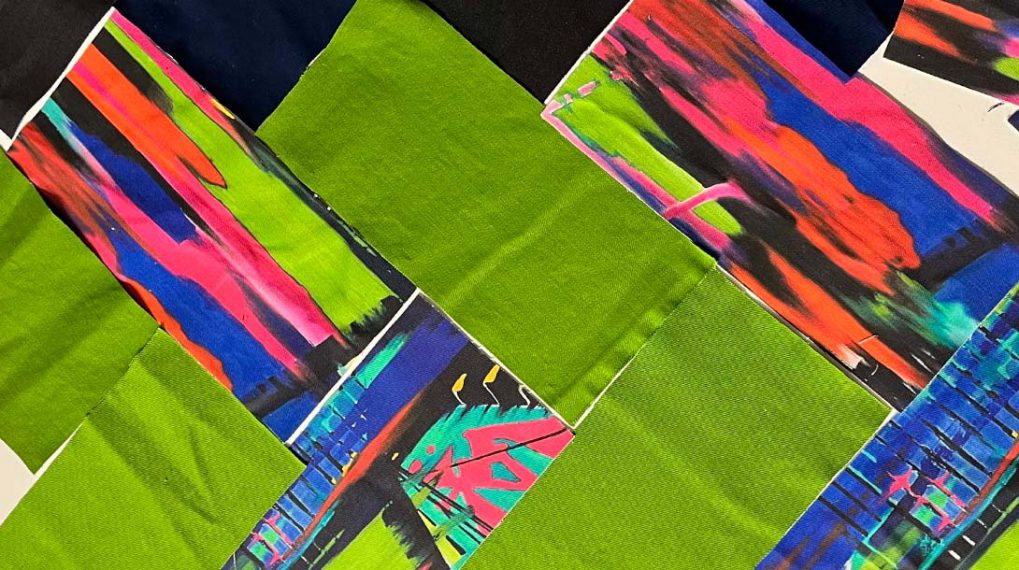
For the free-motion appliqué process, I started with the front pieces. Using the same technique used on my Cinderella top, I used Darning Foot #9 and Zig Zag Stitch #2 to attach my appliqués with the feed dog on my machine lowered. A zigzag stitch will have more give than a straight stitch. It also will help retain some of the taffeta’s stretch.
For the back pant leg appliqué pieces, I continued the same free-motion process used for the front. However, I avoided stitching down the appliqués around the bottom 14″ area that I left open in the center earlier. These portions of the back appliqué pieces were sewn down later.
Adding the Pockets
Once the front appliqués were completely attached, the next step was to create the pant pockets. Before attaching the pocket pieces, any beading interfering with my seam allowance and the path of my stitching needed to be removed. To remove excess beading without breaking the stitching attaching the rest of the beads, I used a hammer to break the excess beads. Eye protection was worn during this step. I also cleaned my work area afterwards to be sure small shards from the broken beads weren’t left on my workspace.
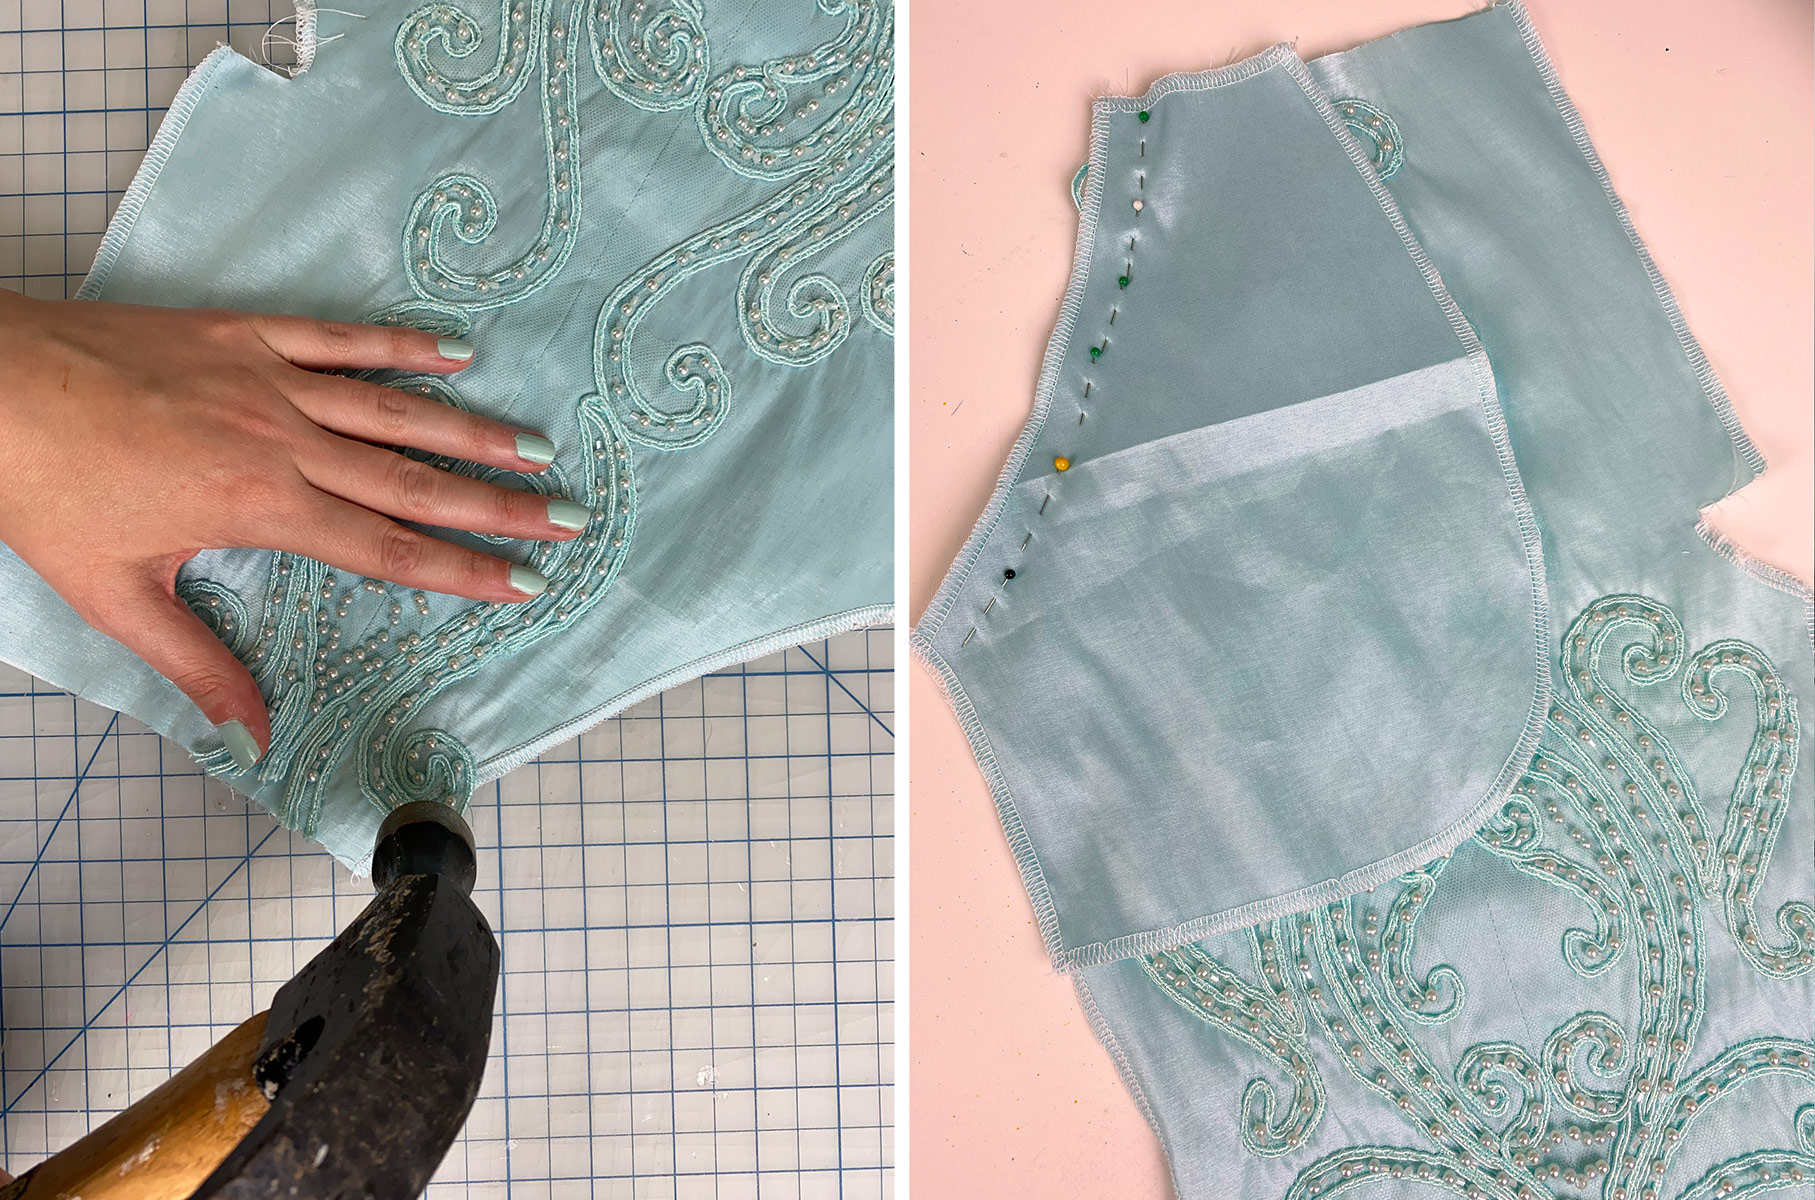
The pocket pieces were then sewn to the front pant pieces. Afterwards, the waist yoke pieces were then attached to the pocket pieces to create my pant pockets.

Adding Invisible Zippers
This is where my plan to counteract any loss of stretch in the calf or ankle area came into play, It is also why the center seams on my pattern were so helpful. In order to ensure that my pants would easily go on and not place too much stress on the appliqué beading, I decided to have invisible zippers in the back center seams. The zippers zip down, closing the skinny pant legs when worn.
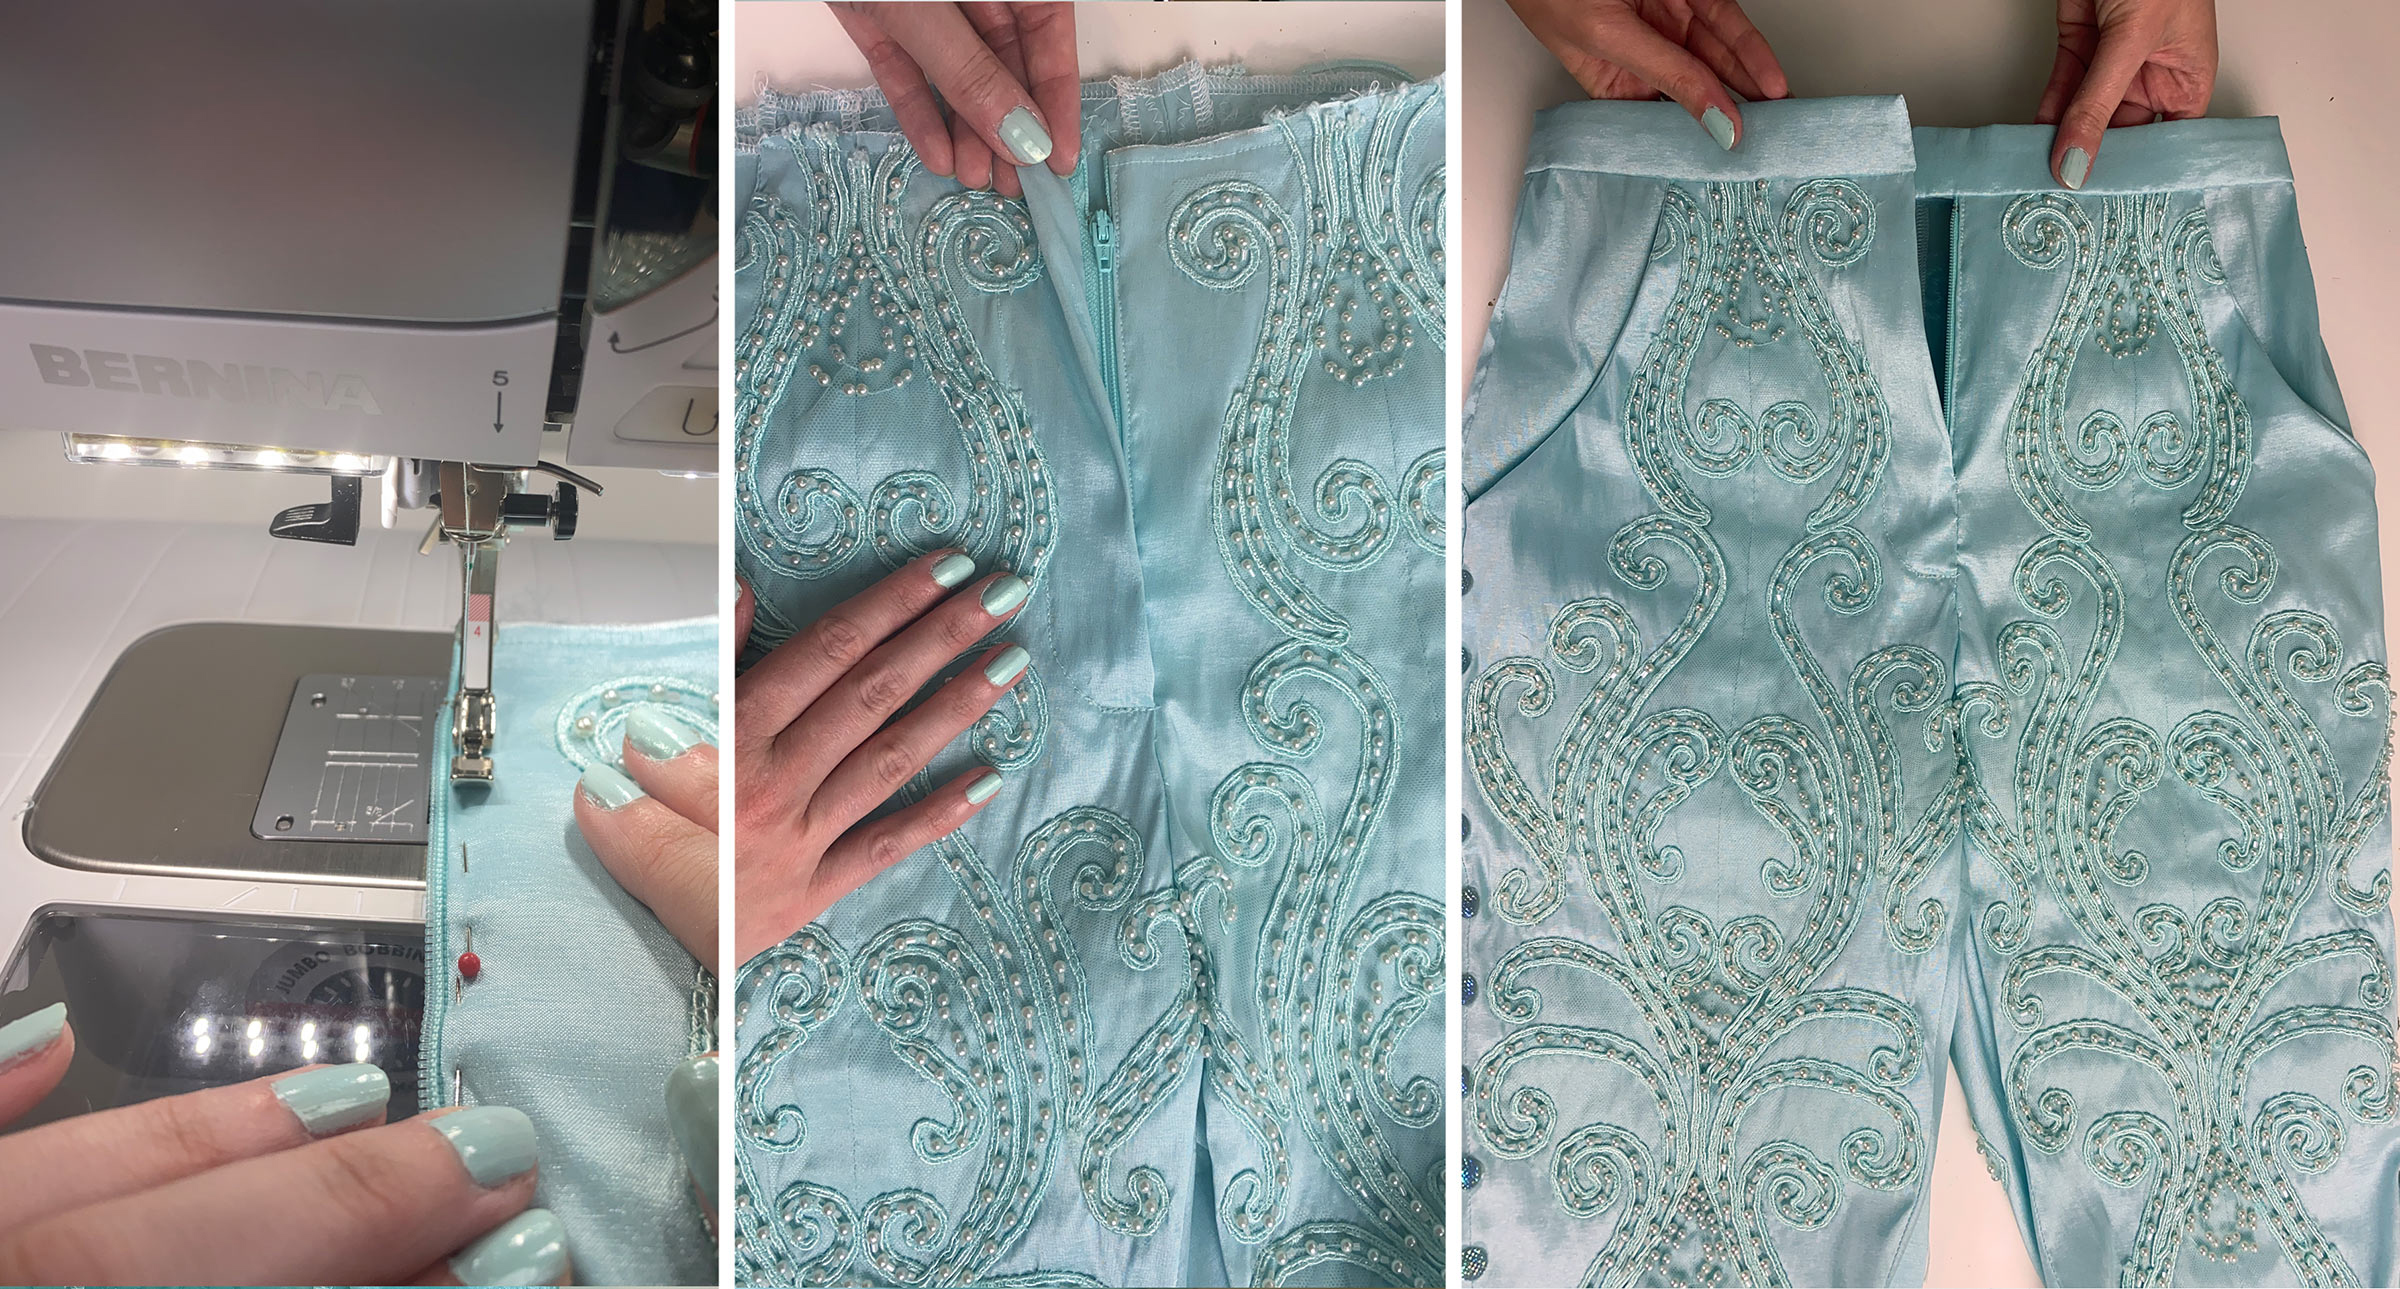
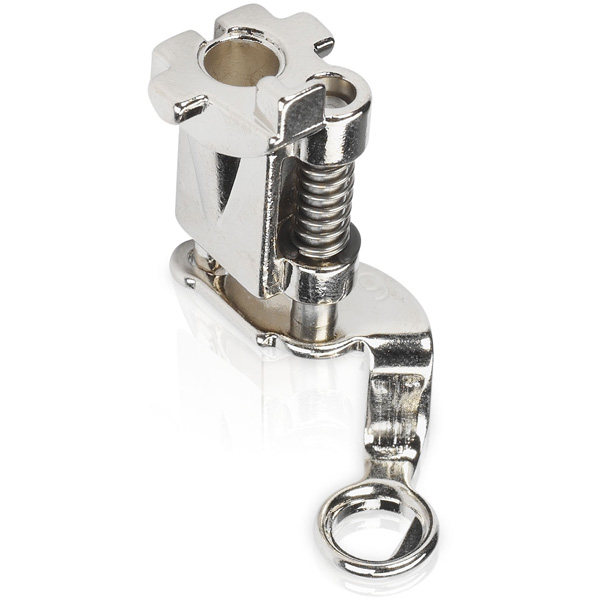
To install my invisible zippers, I started by pressing the zipper coils open. I then pinned my zippers in place in the back center seams. Using Invisible Zipper Foot #35, I sewed both of my invisible zippers. Invisible Zipper Foot #35 makes all the difference for a clean installation because of the grooves in the foot that guide the invisible zipper teeth through the foot as it is sewn to a garment.

To finish the remaining portions of my appliqués surrounding the zipper, I cut through the center of my appliqués up to where the zippers end. The pearl clusters were also removed in the process. This loss was acceptable, due to the pearls being on the back and to keep the path of zipper clean.
I then pinned my remaining appliqués in place, making sure they were a safe distance from my invisible zipper teeth. Using Darning Foot #9, I free-motioned the rest of the appliqué s in place. I also decided to remove two pieces of appliqué scroll work on either side of the bottom back leg appliqué. This way they would not interfere with the front appliqué scroll work.

Closing the Pant Legs
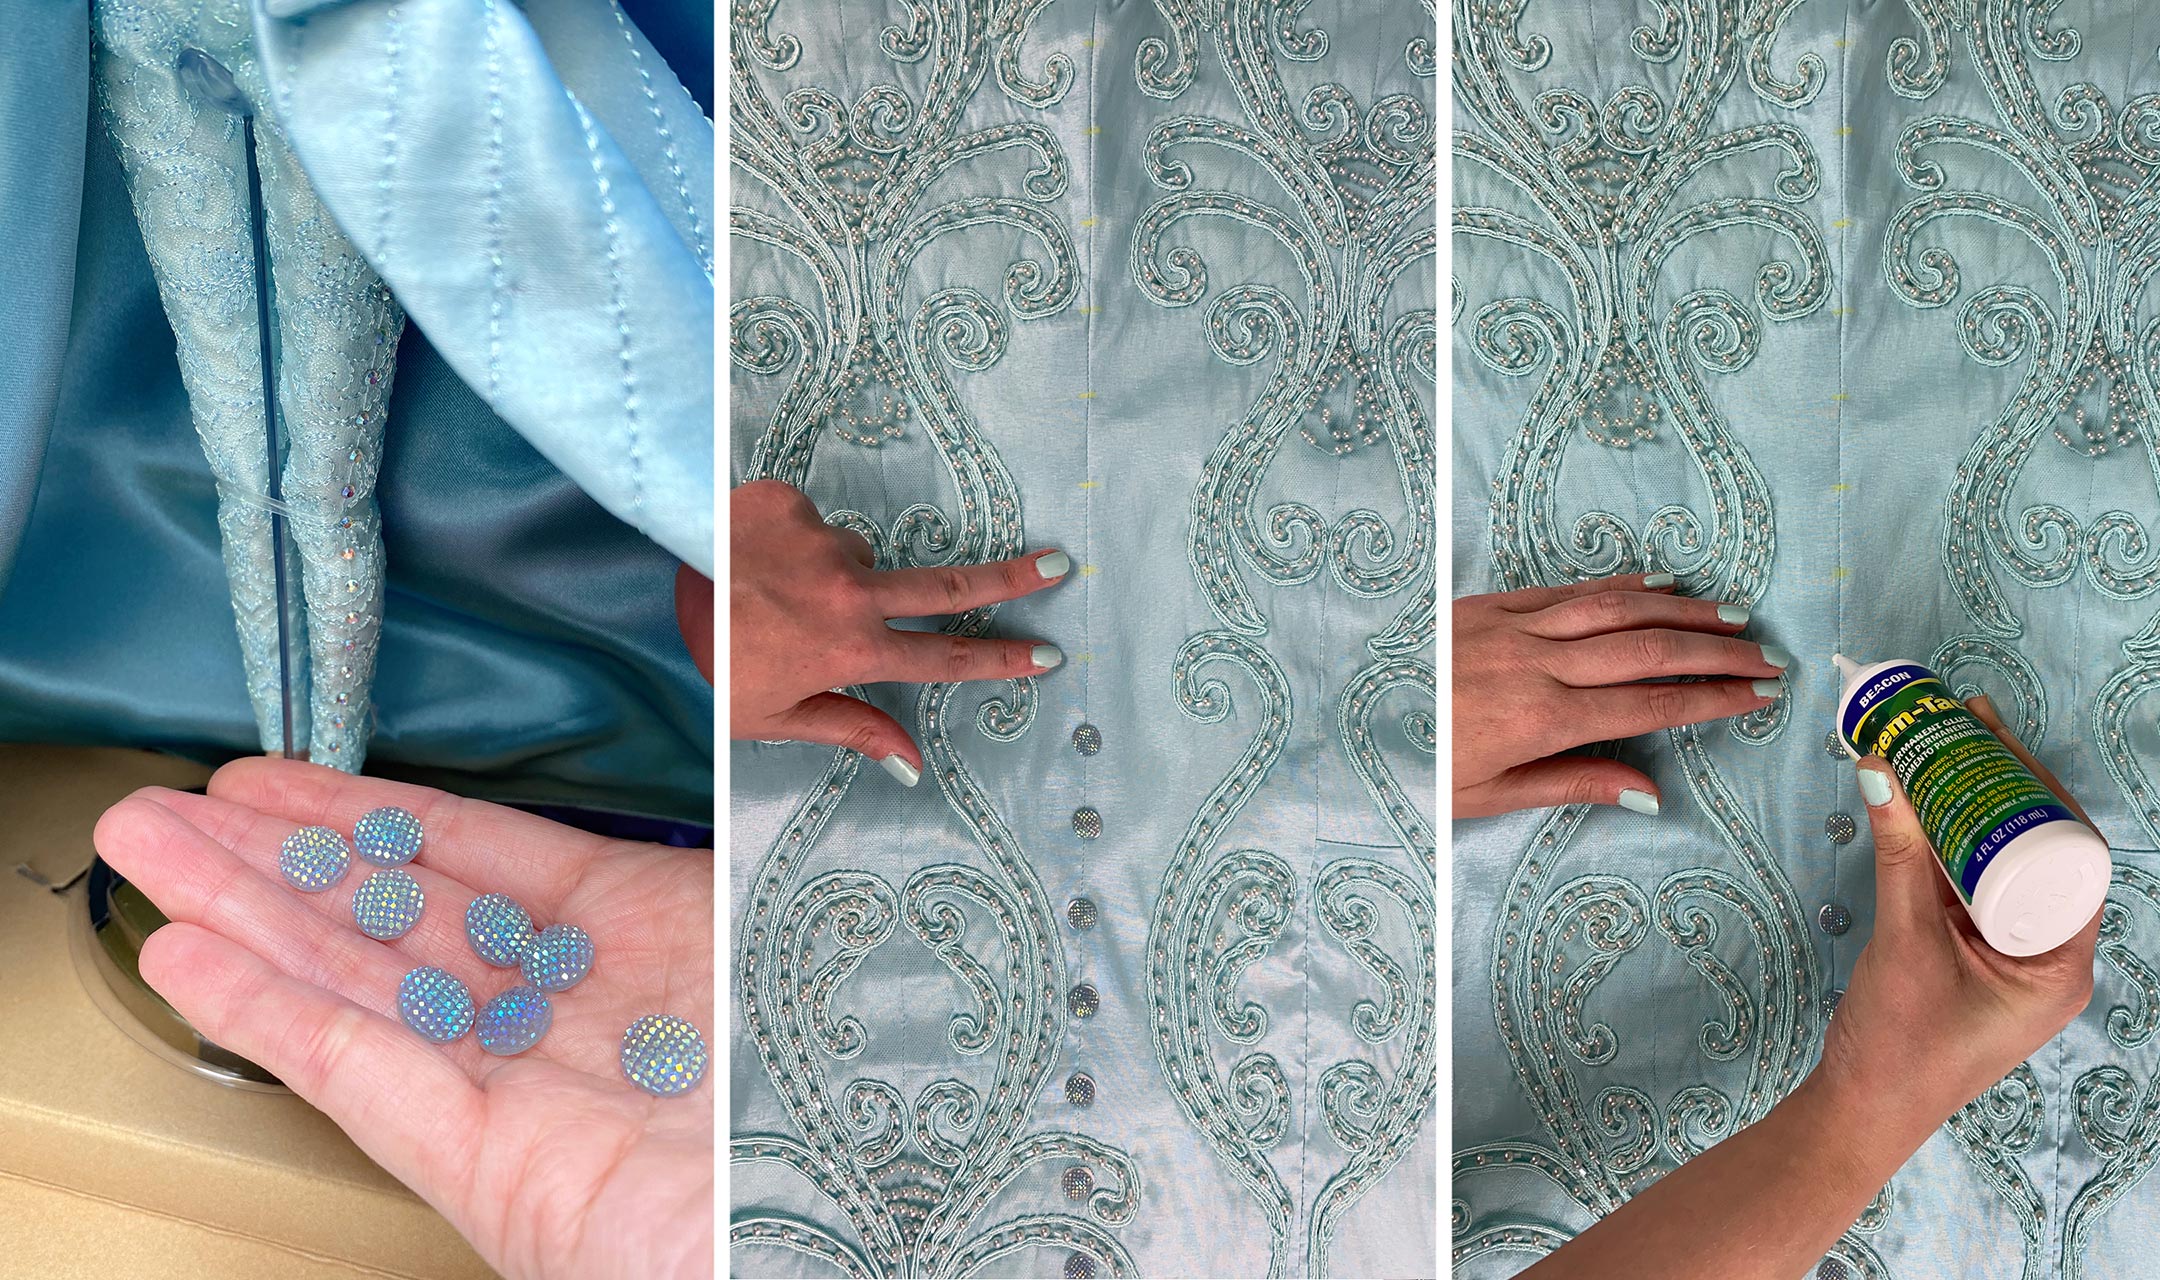
After the back pieces were complete, I was able to sew my front and back pant pieces along the side seam. Cinderella’s 2022 designer doll has adorable rhinestone “buttons” along the side seams. I held off on sewing the inside leg seams for after the “buttons” were added on along the side seam. For the “buttons” I used iridescent rhinestones in a similar aqua color to my taffeta. I laid my pant pieces open flat and marked with chalk where each rhinestone would be placed. Using Gem-Tac, I glued my rhinestones and let the glue dry.
Once the glue was dry, I closed my pants by sewing the inside leg seams. Following the directions on my pattern, I turned one pant leg and placed it inside the other. I then stitched up to where indicated on my pattern to allow for installation of the pant zipper.
Finishing the Pants
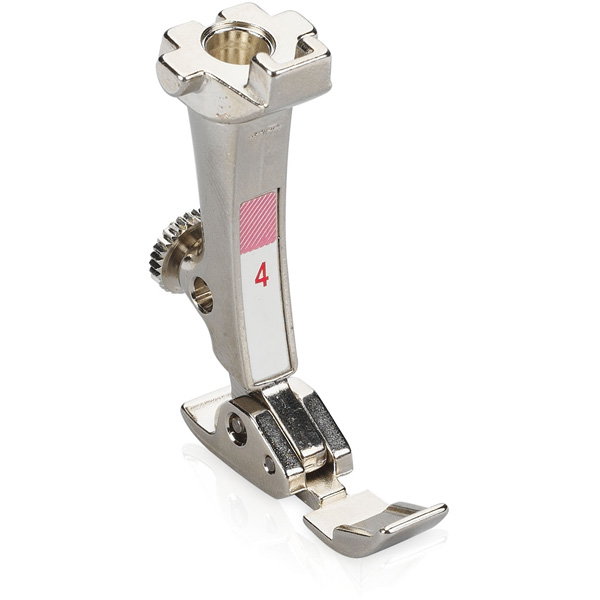
Using Zipper Foot #4, I installed my zipper for the pant closure. Once the zipper was sewn on, I was ready to attach my waistband. The waistband pieces were interfaced with a fusible interfacing, prior to attaching them to the pants.
Originally, I planned to follow my pant pattern instructions and use a button closure. However, I decided I liked the clean look of the waistband as is. Instead, I went with a hook and eye to finish my closure method for the pants. I think this gives the waistband a more sophisticated look. To complete the pants, I finished the bottom of the pant legs by hemming them with Super Stretch Stitch #11.
Pants complete! Next up, I will be creating Cindrella’s skirt peplum to start the overskirt on her design. To see what else I am up to, you can follow me on Instagram, TikTok, Facebook, and Twitter.

Used Products


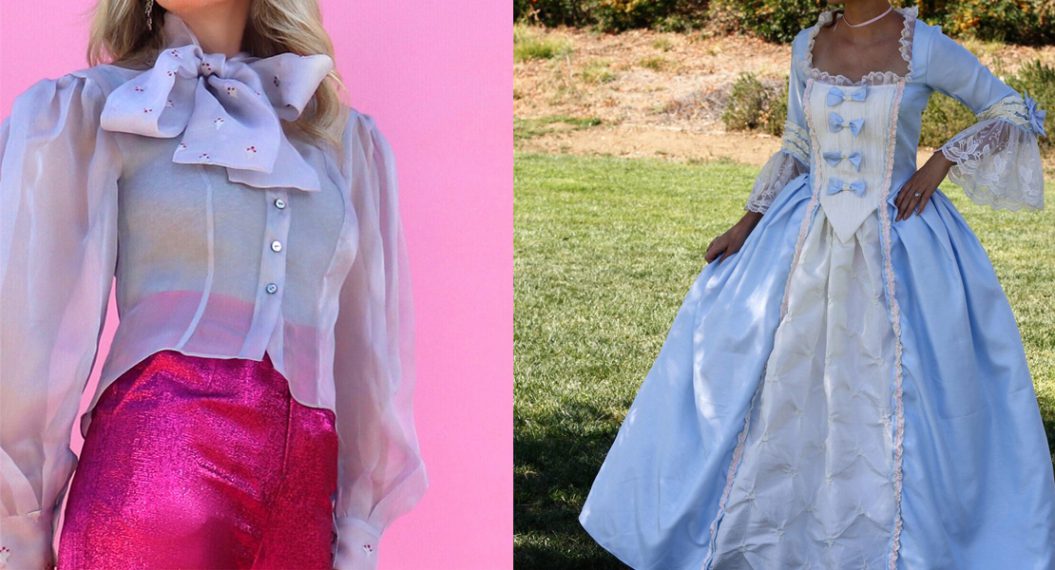
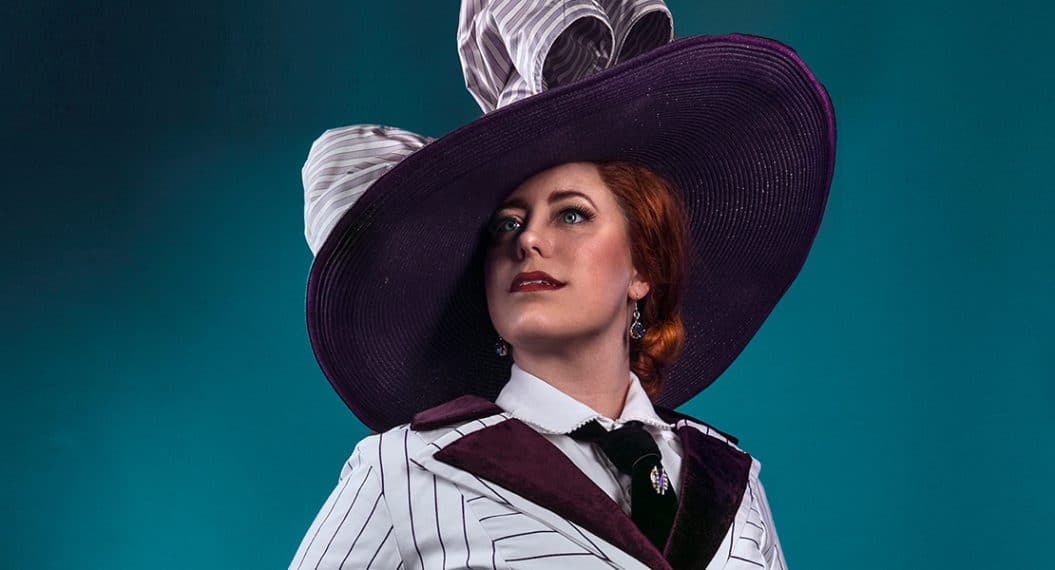
What you might also like


5 comments on “Creating Appliqué Covered Pants for a High Fashion Cinderella Cosplay”
-
-
Thank you so much! It’s been a fun uniquely challenging project with all the detail work :]
-
-
What a beautiful outfit. And you are too. You and the outfit were made for each other. I hope some day to have enough talent to do something like this.
-
Thank you for such a kind comment. Lots of experimentation and making mistakes (still making them) with each new costume project over the years. Keep at it!
-
-
Oh my gosh… both of these outfits are so adorable. I wish I could make this for a wedding I have to attend in November. Just lovely!
Leave a Reply
You must be logged in to post a comment.

What a beautiful and fun outfit. You’ve really captured the look and details. Awesome job!!