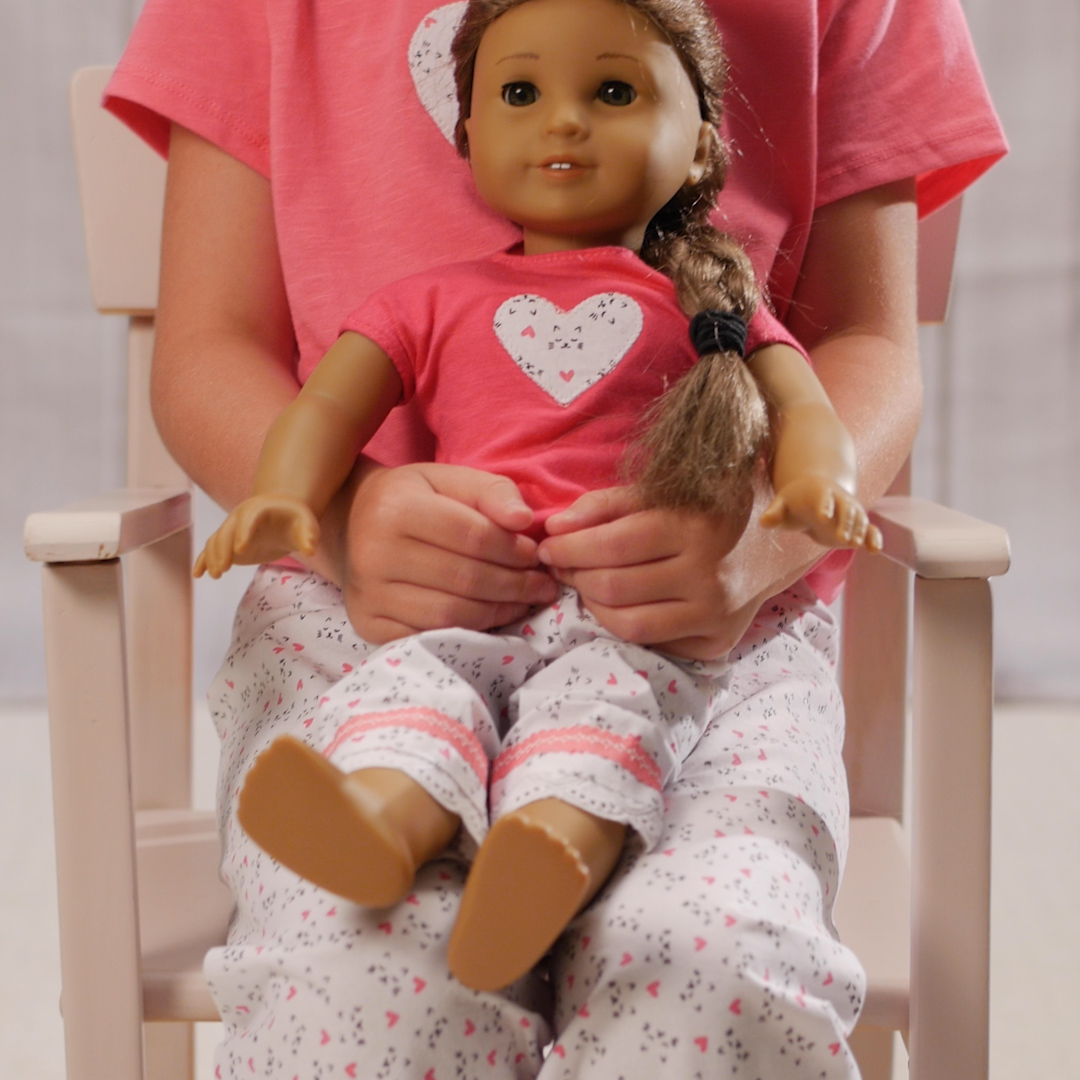
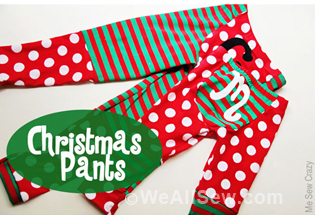
DIY Doll Pajama Pants 18”
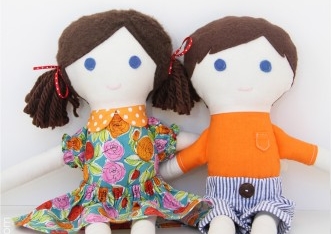
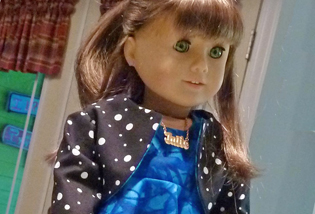
When my girls were little, I enjoyed making doll clothes for their American Girl dolls. 18” doll clothes are easy, quick, and fun. Most of their requests were for dresses, but 80% off the time their dolls were in pajamas. So, I would make matching pajamas using basic patterns and left over fabric from other projects, not to mention at a fraction of the store-bought cost.
The following tutorial is simple. If you can sew a straight line, you can make this in an hour. Not only will you learn the basic construction of doll pants, you will add lace, ribbon and decorative stitches. Try my recipe and then add your own flair!
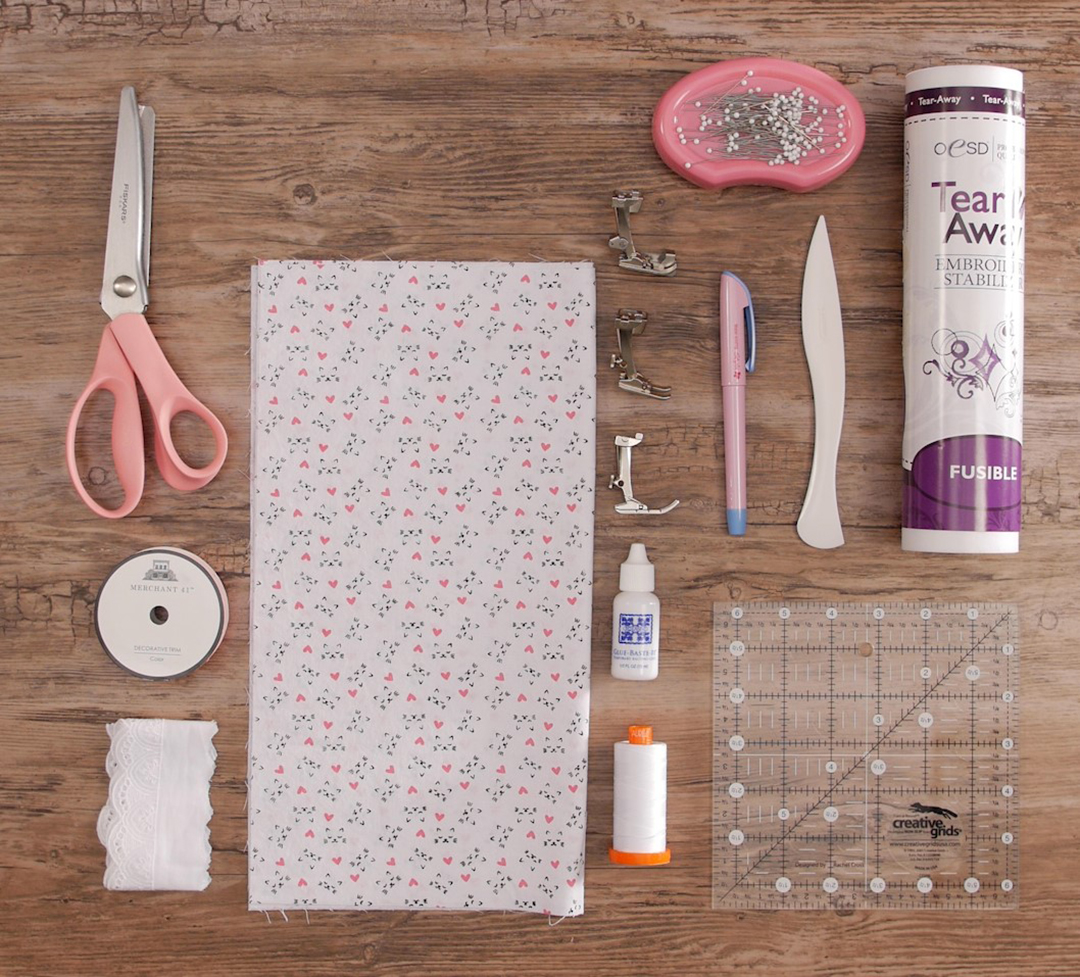
Materials and Tools To Sew 18″ Doll Pajama Pants
18″ Doll Pajama Pants Pattern
- Download and print pajamas pants template here.
Materials to Sew 18″ Doll Pajama Pants
- 1/3 yard of cotton fabric
- 3/4 yard of lace trim
- 3/4 yard of 5/8” grosgrain ribbon
- 9” of 1/2” elastic
Notions
- OESD Lightweight TearAway Stabilizer
- Temporary fabric marker
- Roxanne Glue-Baste-It
- Large safety pin
- Iron
- Scissors
- Pins
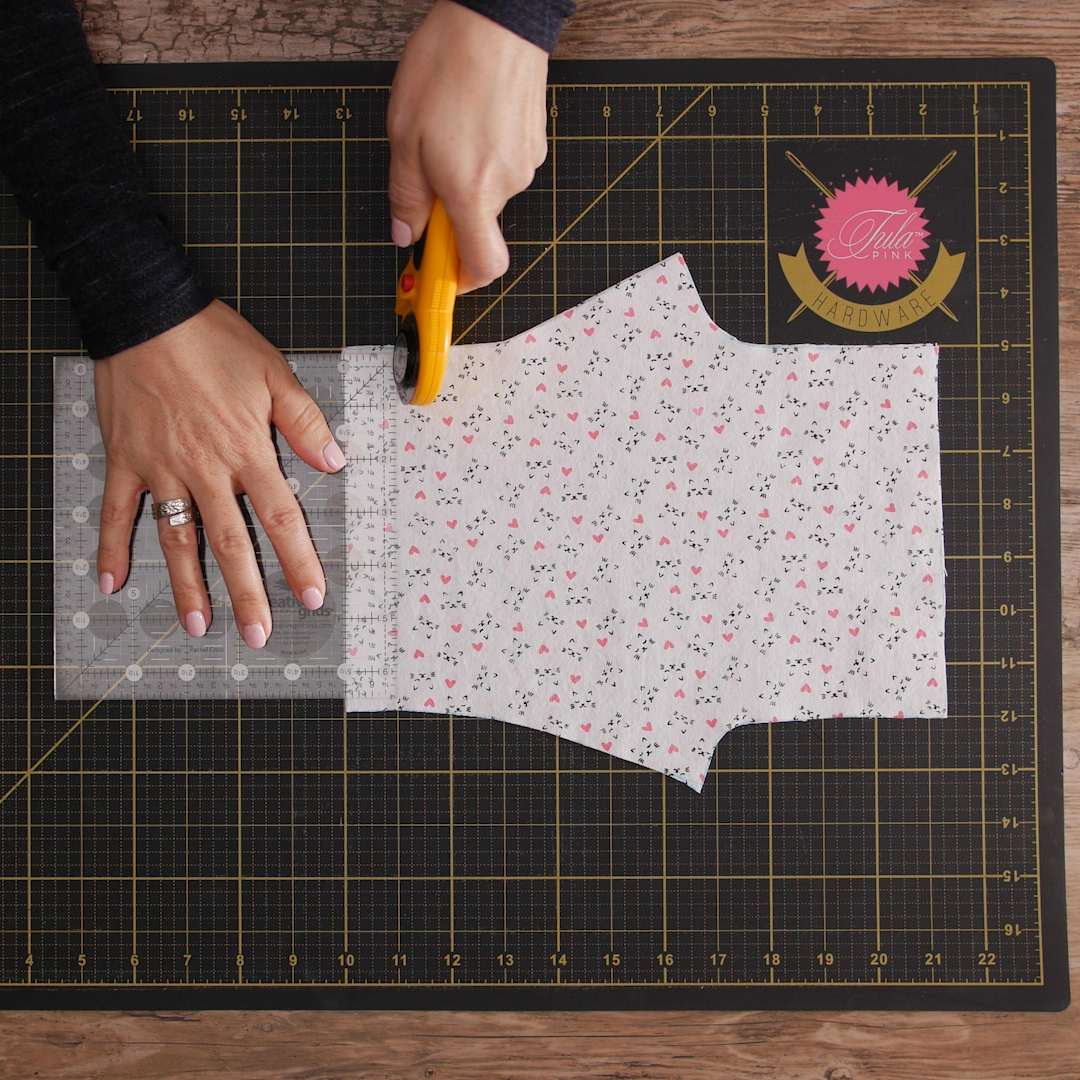
Cut Out Pattern & Add Lace
Cut out your pajamas pants template. Trace and cut 2 pant pieces from fabric. (Cut one with pattern right side up, and the other with the pattern wrong side up.) Cut 1” off the bottom of each pant piece. Otherwise, your pants will be too long when you add the lace trim.
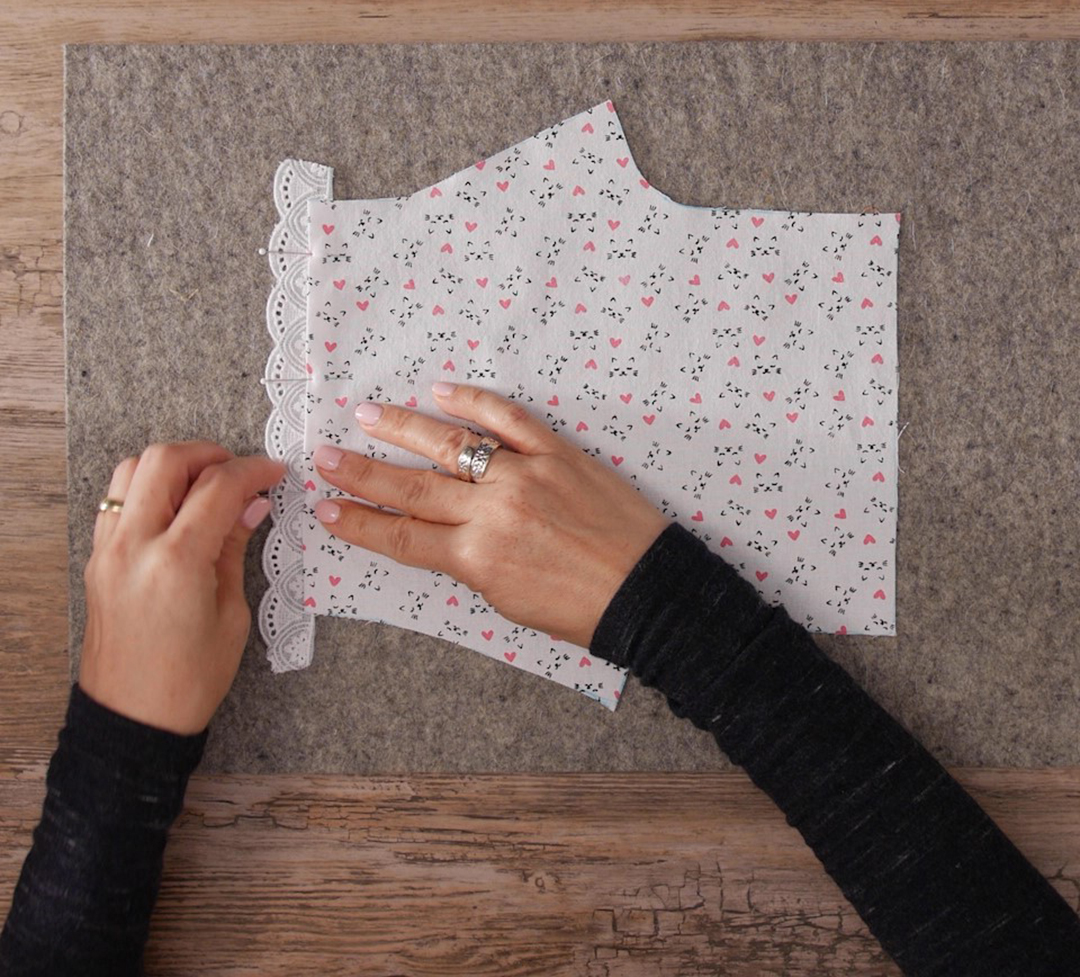
Press bottom raw edge of each pant piece 1/4″ to wrong side. Pin your lace along the ironed edge of each pant piece.
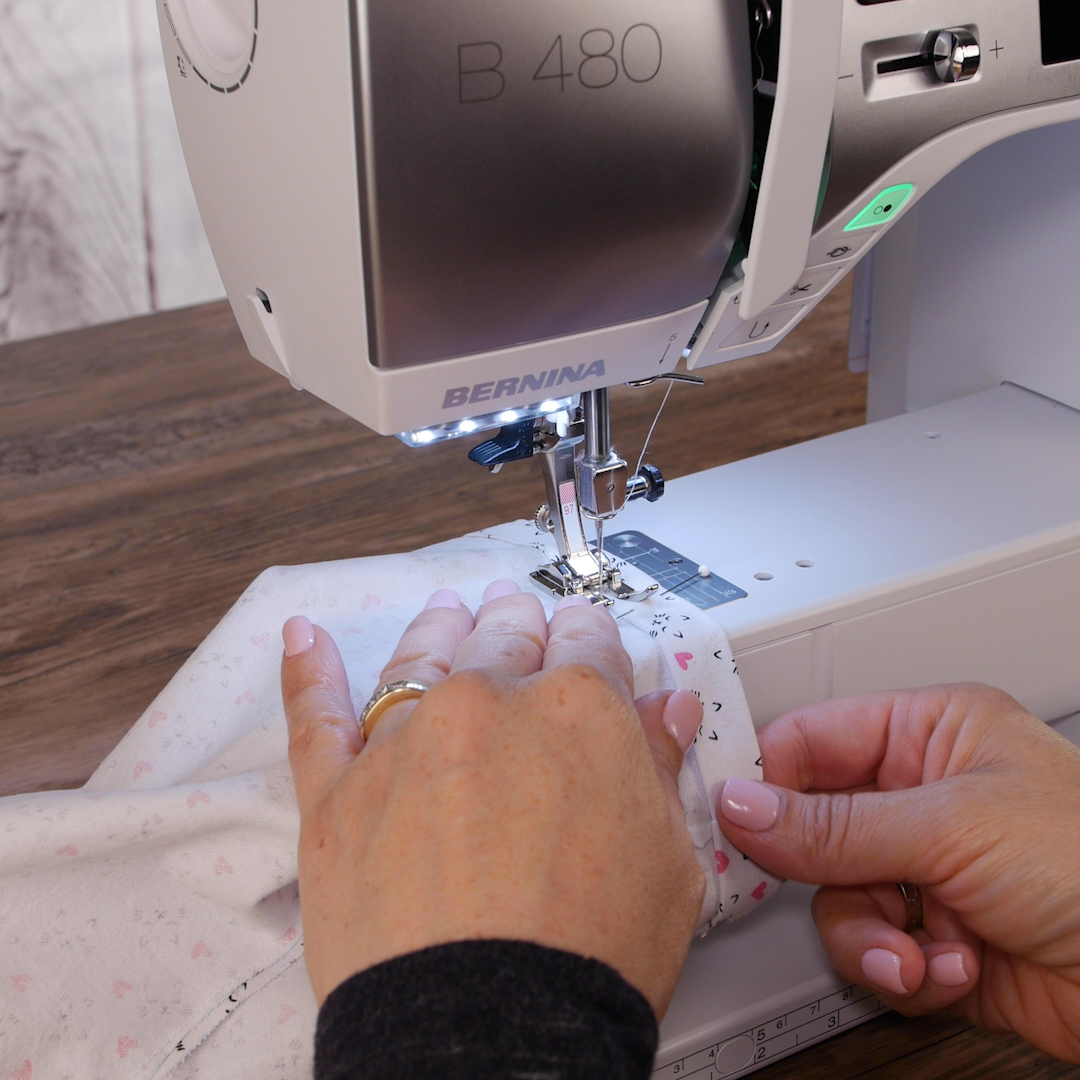
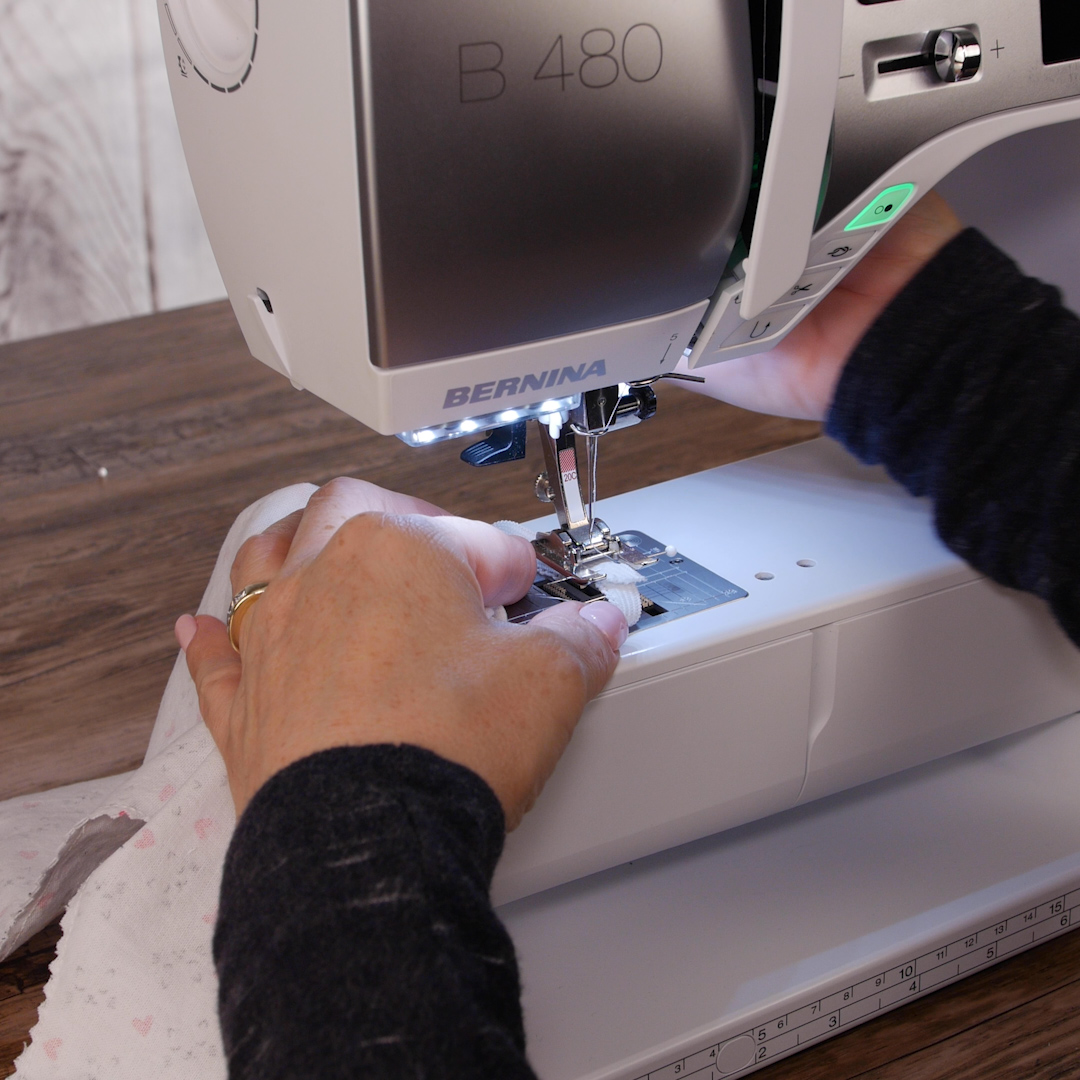
Attach Edgestitch Foot #10/10C/10D. Line up guide of foot against folded edge of pant piece.
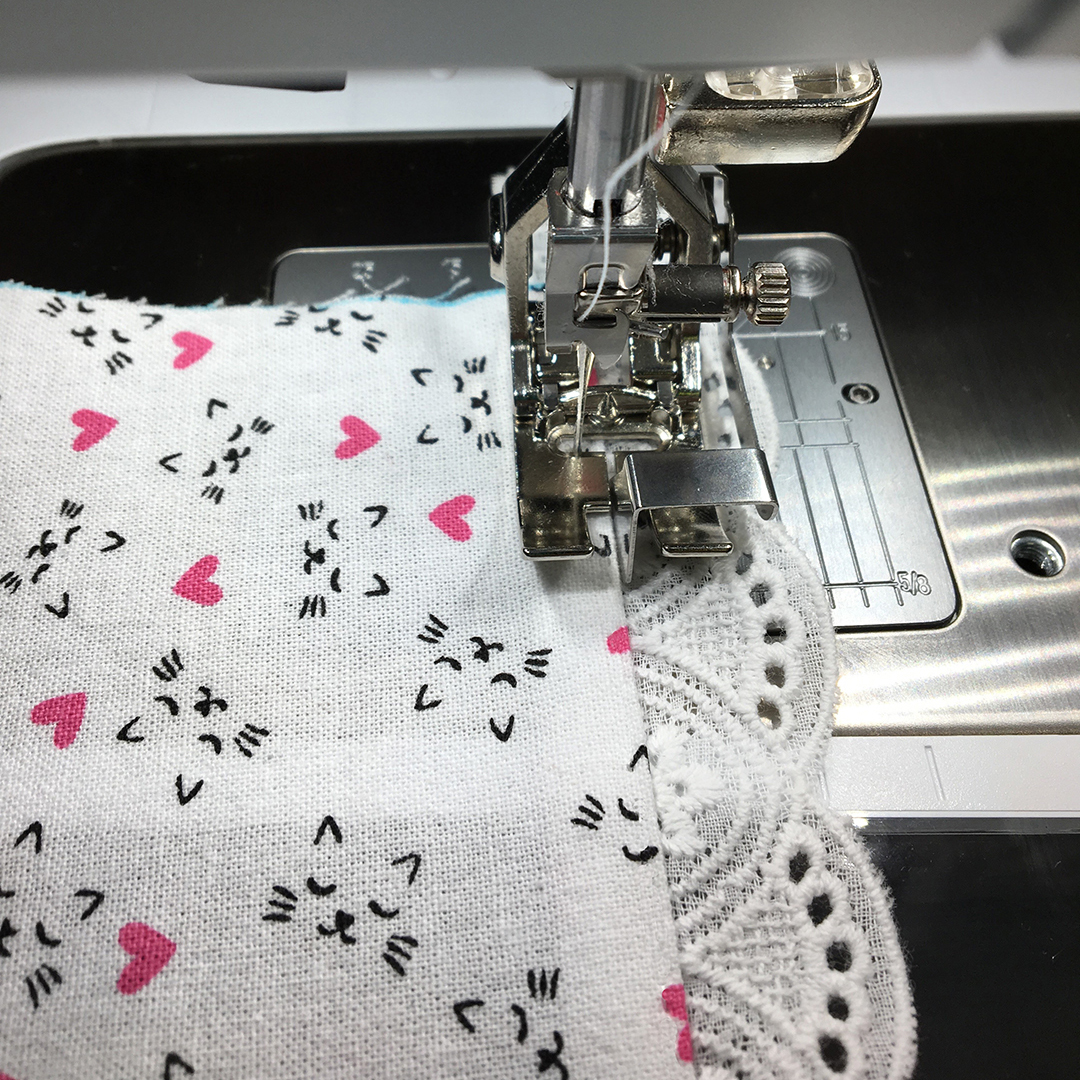
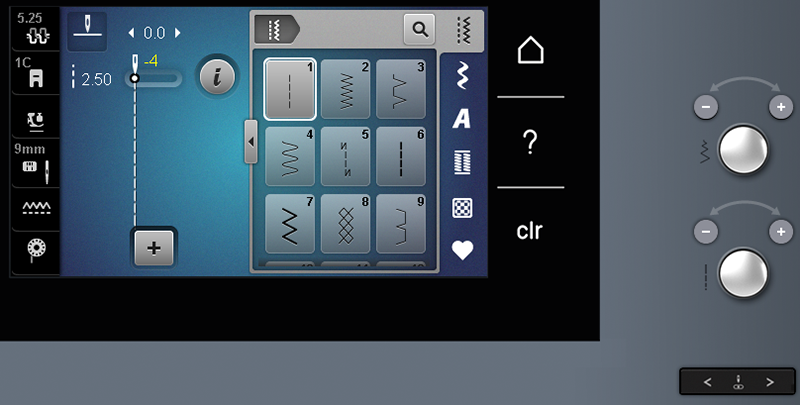
Move machine needle to the left using arrow keys under the Multi-function knobs. You can lower the needle using the handwheel to check for placement. I liked my placement at -4.
Edgestitch! This foot makes it so easy to create a professional looking edgestitch.
Add Decorative Stitches
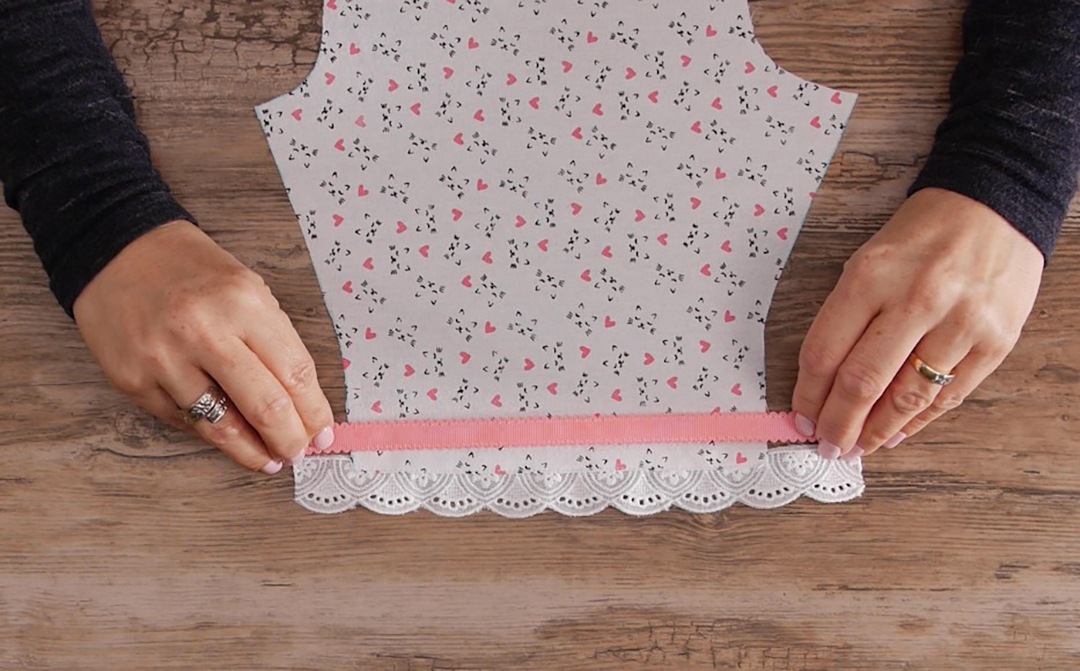
Add dots of glue on the wrong side of the ribbon.

Glue baste ribbon about 1/2” above finished edge of cotton fabric. Add a strip of stabilizer to wrong side of each pant piece, positioning it underneath ribbon. This will help secure the decorative stitches.
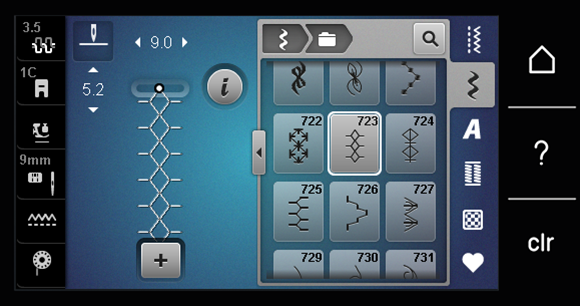
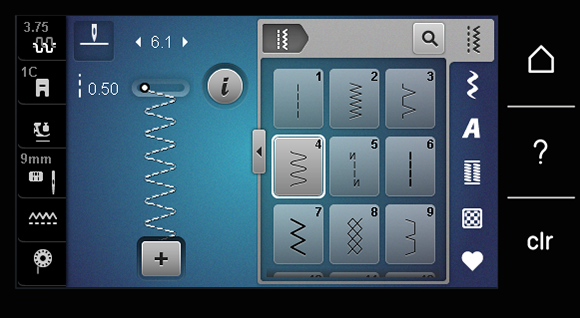
Attach Open Embroidery Foot #20C. Select decorative stitch 723.
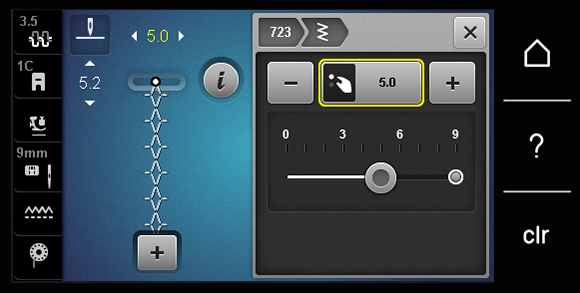
Change stitch width to 5mm.
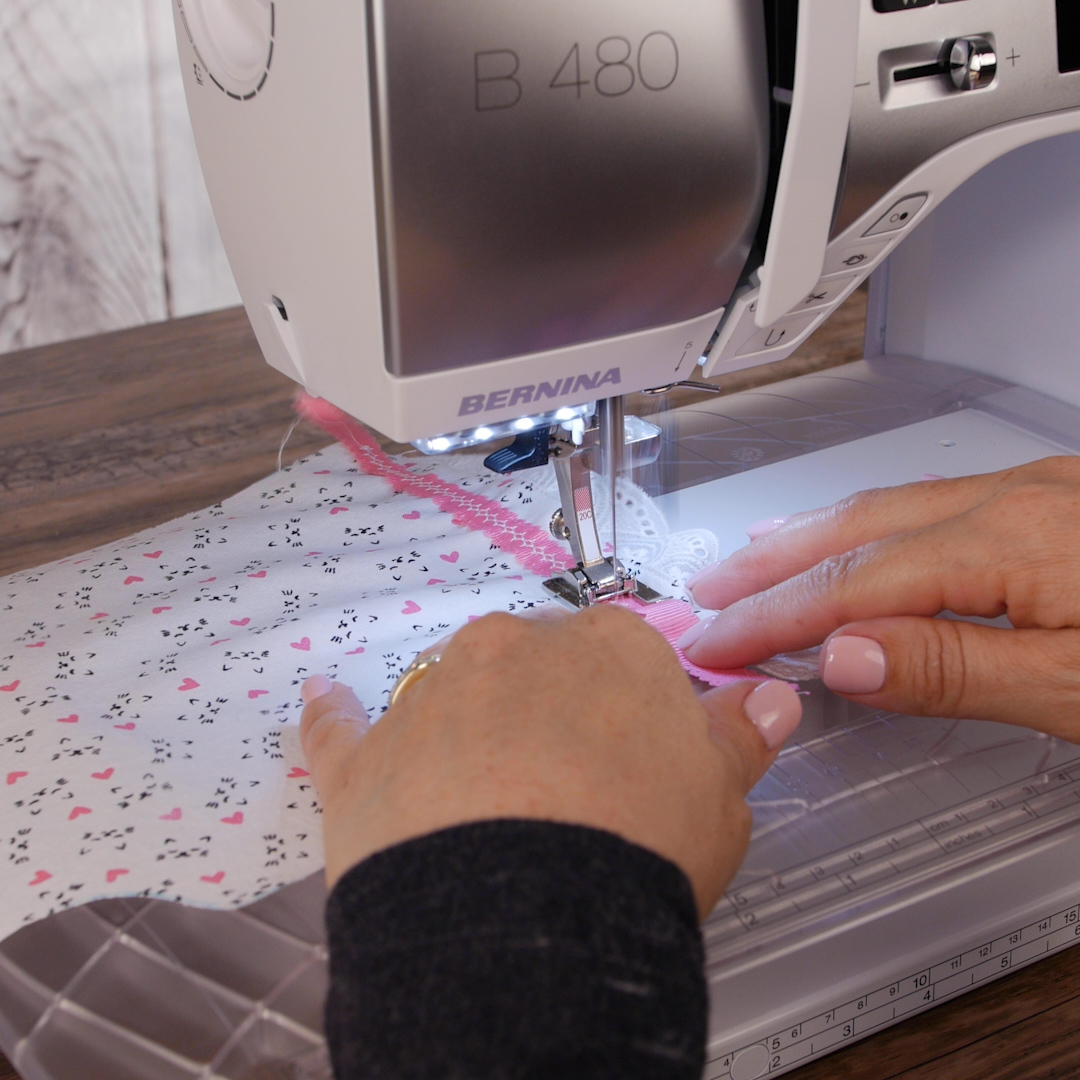
Sew decorative stitch along the center of ribbon. Foot #20C makes it easy to see the stitches, and the wide wedge-shaped channel under the sole of the foot allows for dense stitches to feed smoothly.
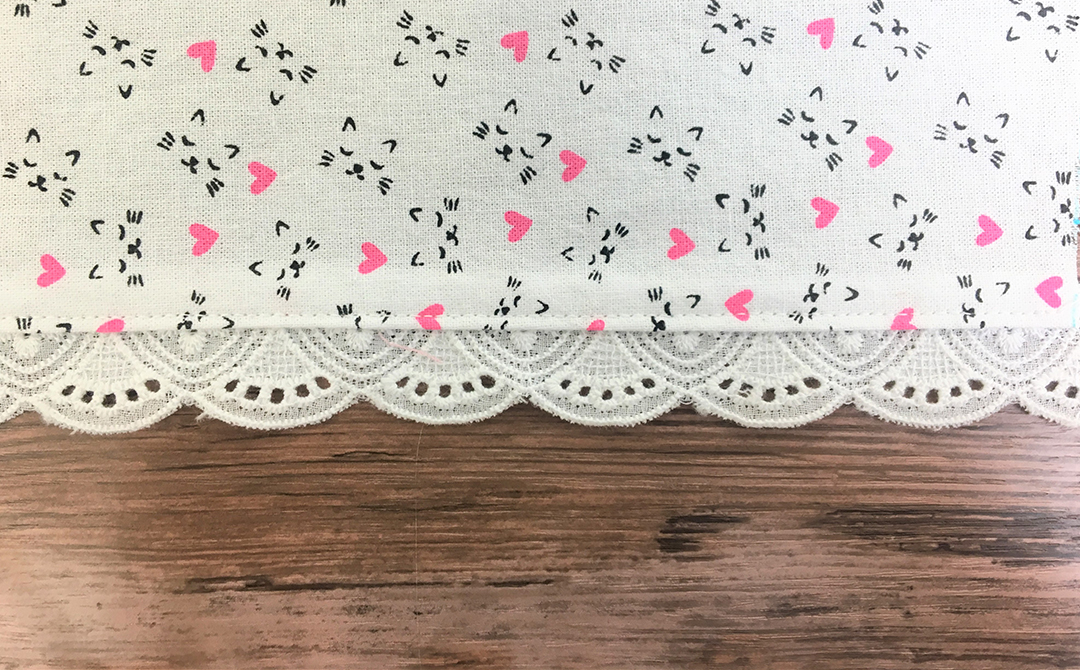
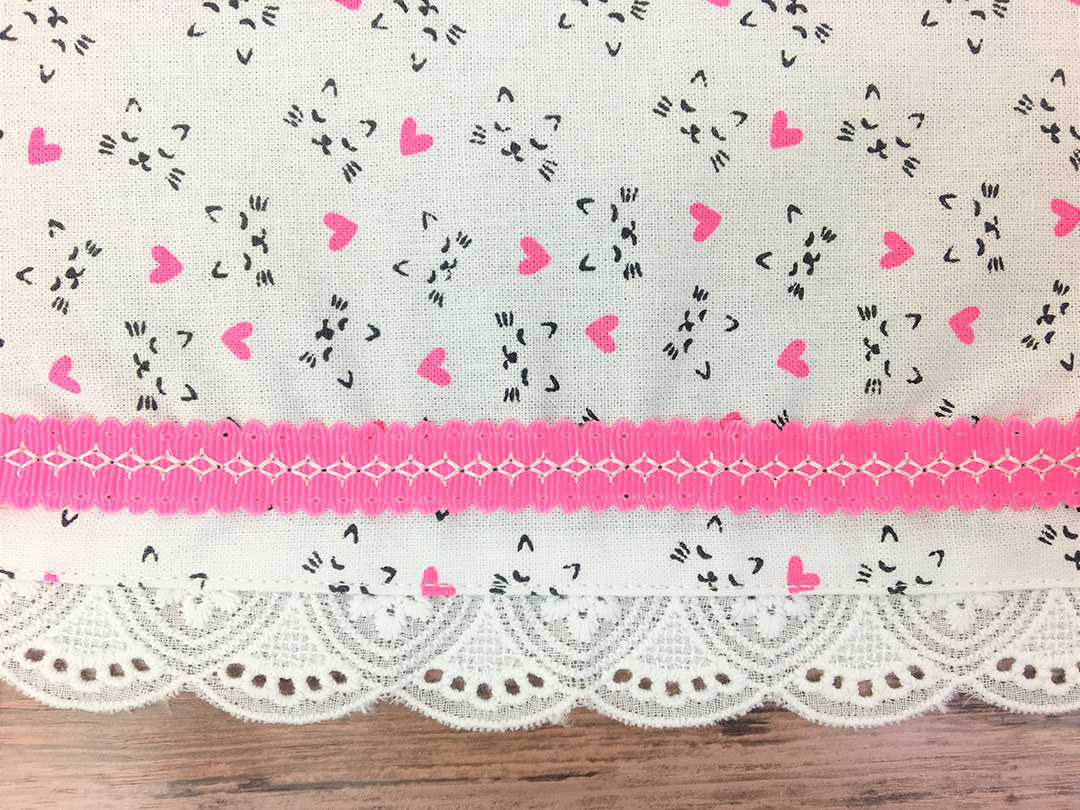
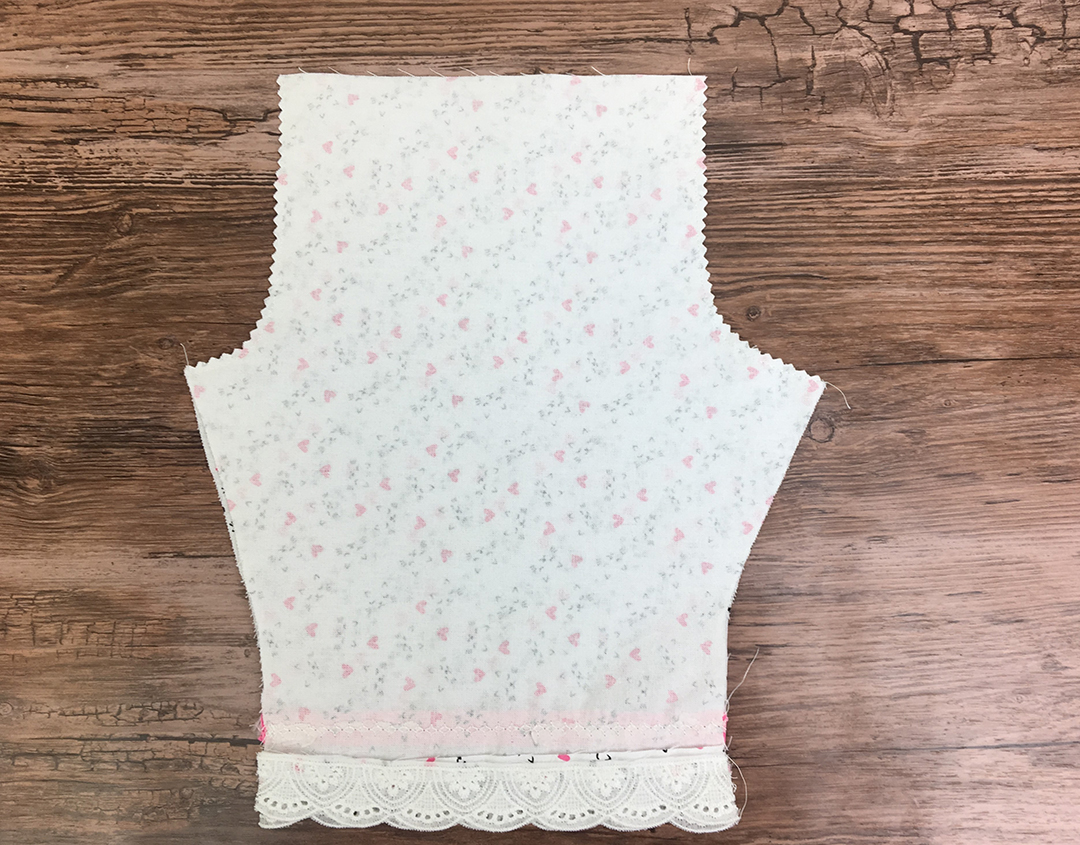
Carefully tear away excess stabilizer. Cut excess lace and ribbon to align with the sides of pant pieces. Here’s a closer look of the decorative stitching and the lace.
Sew Pants Together – 1/4” seam allowances
Attach Patchwork Foot #97. Select Straight Stitch #1. Place pant pieces right sides together. Pin crotch seams of pants.

Sew. Pink edges, if desired.
Fold front to back with right sides together. Pin inseam edges of pant legs.
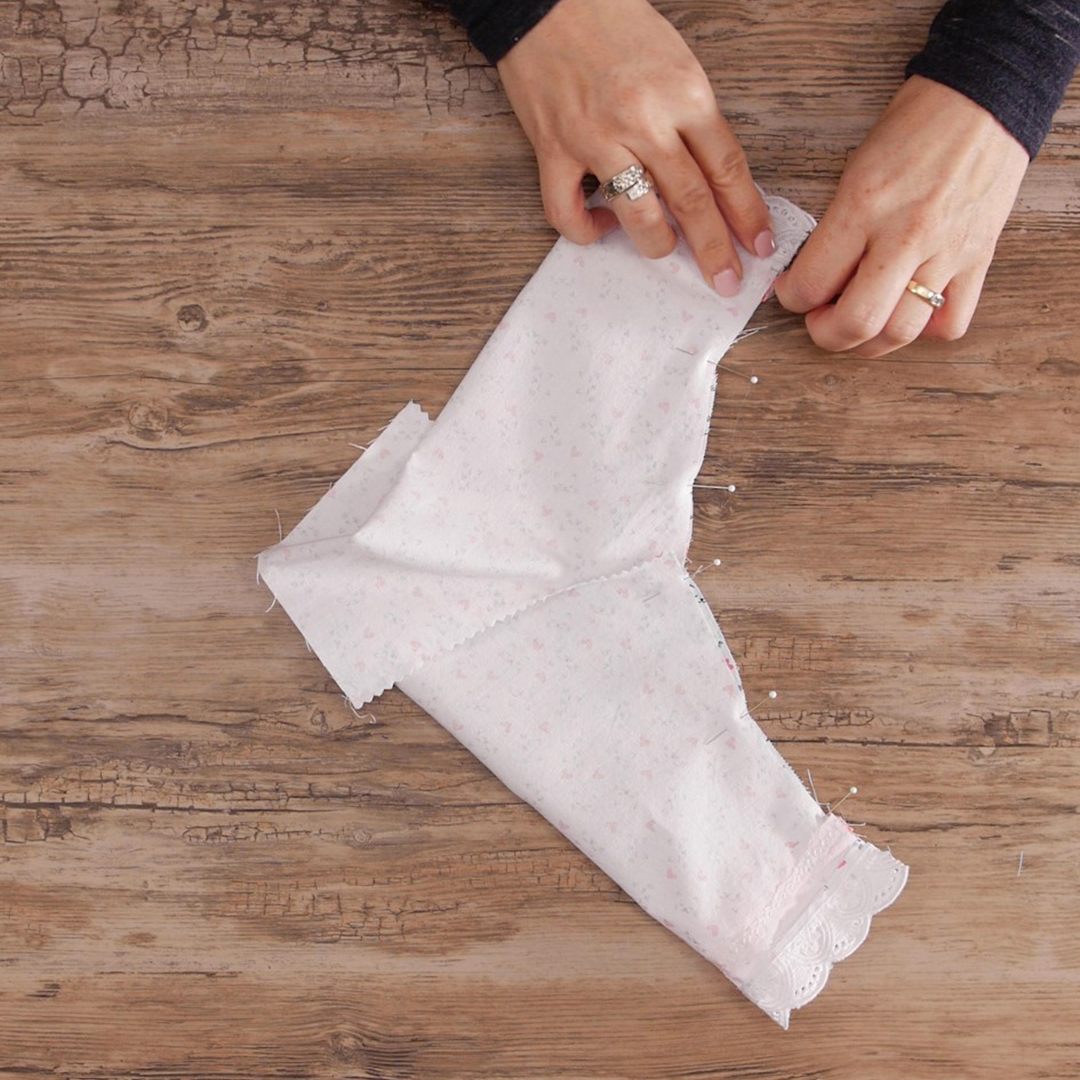
Sew. Pink edges, if desired.
Elastic Casing
Fold waist edge of pants 1/4” to wrong side and press. Fold over again 1″ to form casing and press. Pin. Remove the slide-on table. Sew close to edge of casing, leaving an opening to insert the elastic.
Pin a large safety pin into one end of your elastic. Insert elastic into casing using the safety pin as a guide. I add a straight pin to other end of elastic so it stays on the outside of the casing!
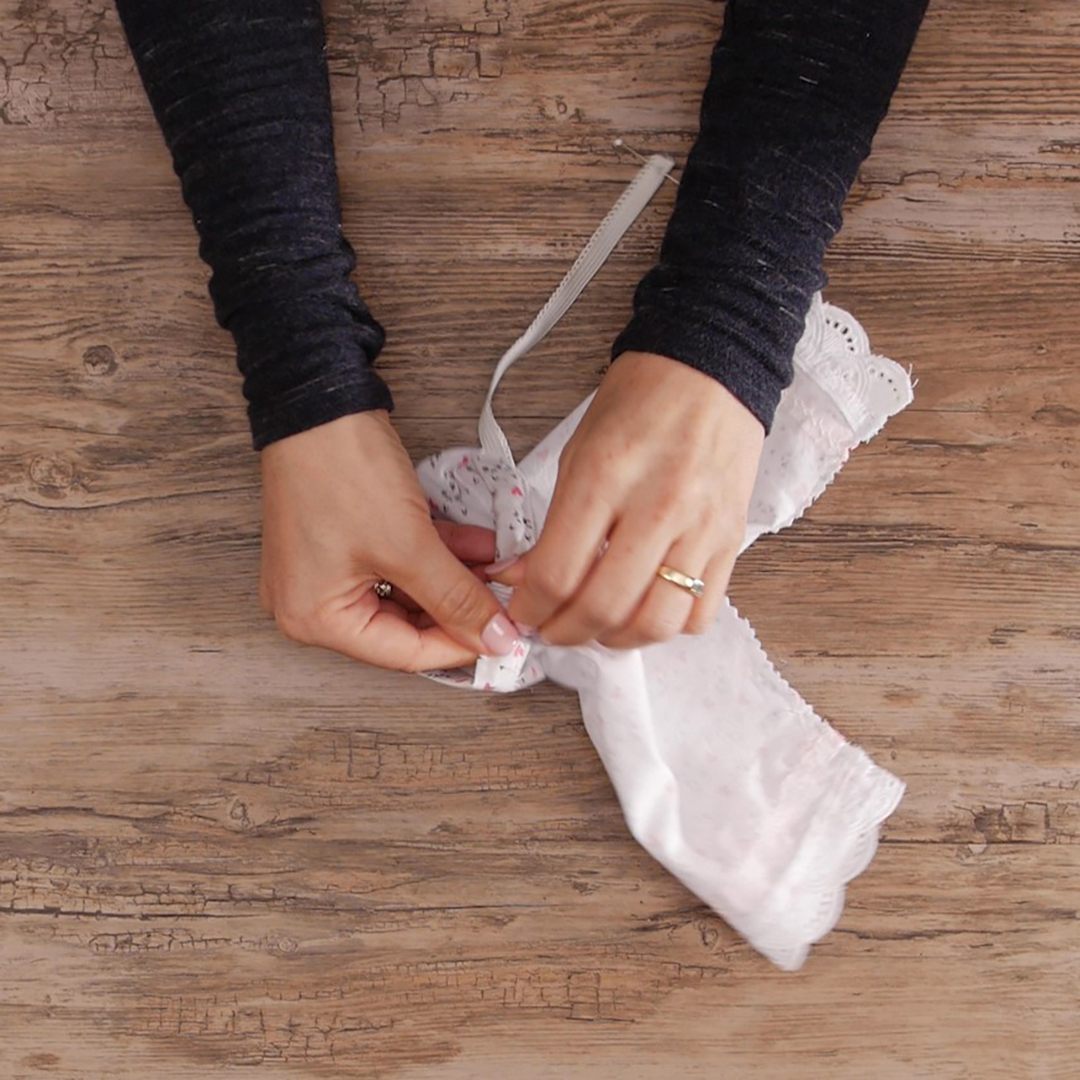
Attach Open Embroidery Foot #20C. Pull both elastic ends a few inches out of casing, overlap the ends about an inch, and sew together using Stretch Stitch #4.
Sew opening closed. Optional: I prefer the opening at back of pants so I can add a 1” folded ribbon when I sew it closed. This marks the back of pants which will be helpful when a child is dressing the doll. Simple, but useful!

Turn right side out, iron, and admire your work!
Now that you’ve made the 18” version, follow the same steps to make a child-size sewing pattern. You can make a template using pajamas pants you have at home. In the picture, I bought matching t-shirts and appliqued hearts using the leftover fabric.


What you might also like


4 comments on “DIY Doll Pajama Pants 18””
-
-
Yes! How fun! She can pick out her own fabric, ribbon and lace!
-
-
Love this. Great project to work on with my grand daughter.
-
So glad you enjoyed the project!
-
Leave a Reply
You must be logged in to post a comment.

This will be a good project for my granddaughter to do when she is with me.