Faux Leather Skirt, Part Two: Cutting & Construction
In Part 2 of this leather sewing project, we will discuss appropriate fabric choices, needles and the construction process for your skirt design will also be demonstrated. This is meant to act as a guide for you to make the appropriate choices when working on your own design. To cut and prepare your leather refer to this post I have previously written about the subject. This information works for faux and genuine leather. Always test on scraps of the leather you will be sewing. Refer to the sewing info provided in the tutorial as many times as needed.
Recommended Needles and Thread
Making appropriate needle choices is extremely crucial for this project. I am using a size 14, Schmetz Microtex needle to stitch on my PVC fabric. I have also had great success with Stretch, Ball Point, and Denim needles while using a great quality thread. My go to is always Gutermann polyester thread. You may even consider using a heavy duty thread depending on the thickness of the leather you are working with.
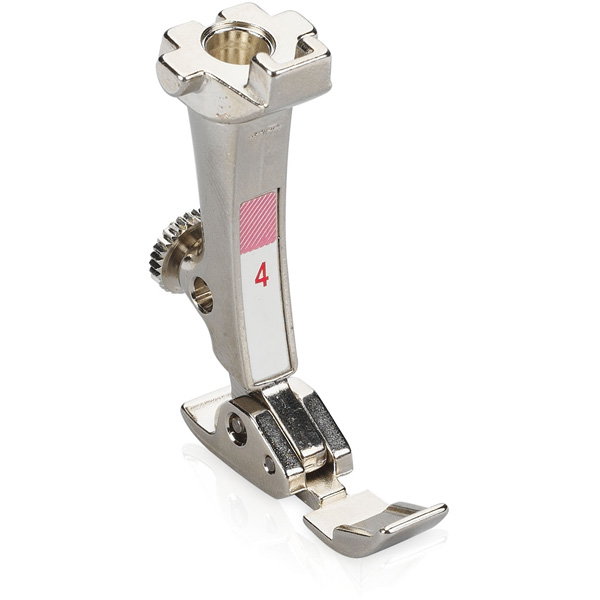
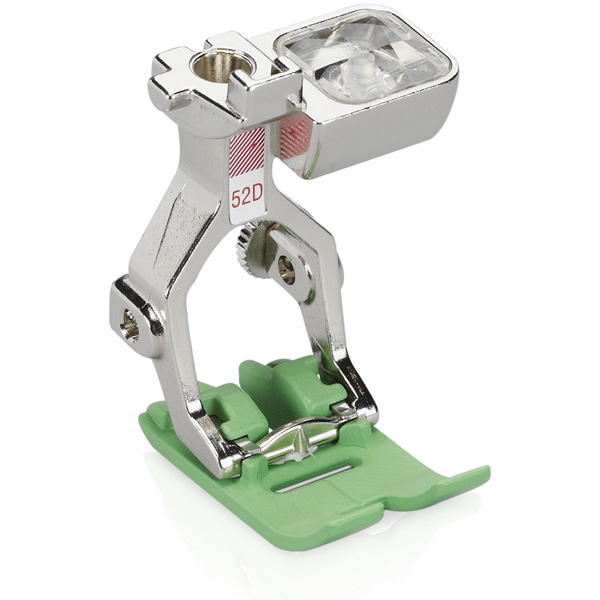
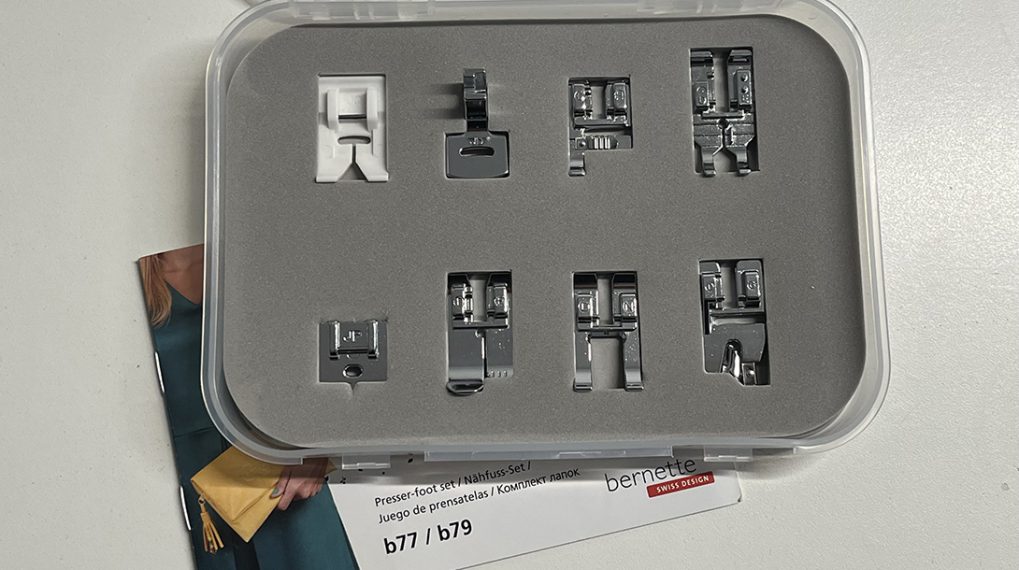
Dual Feed and Non Stick Presser Foot 52D
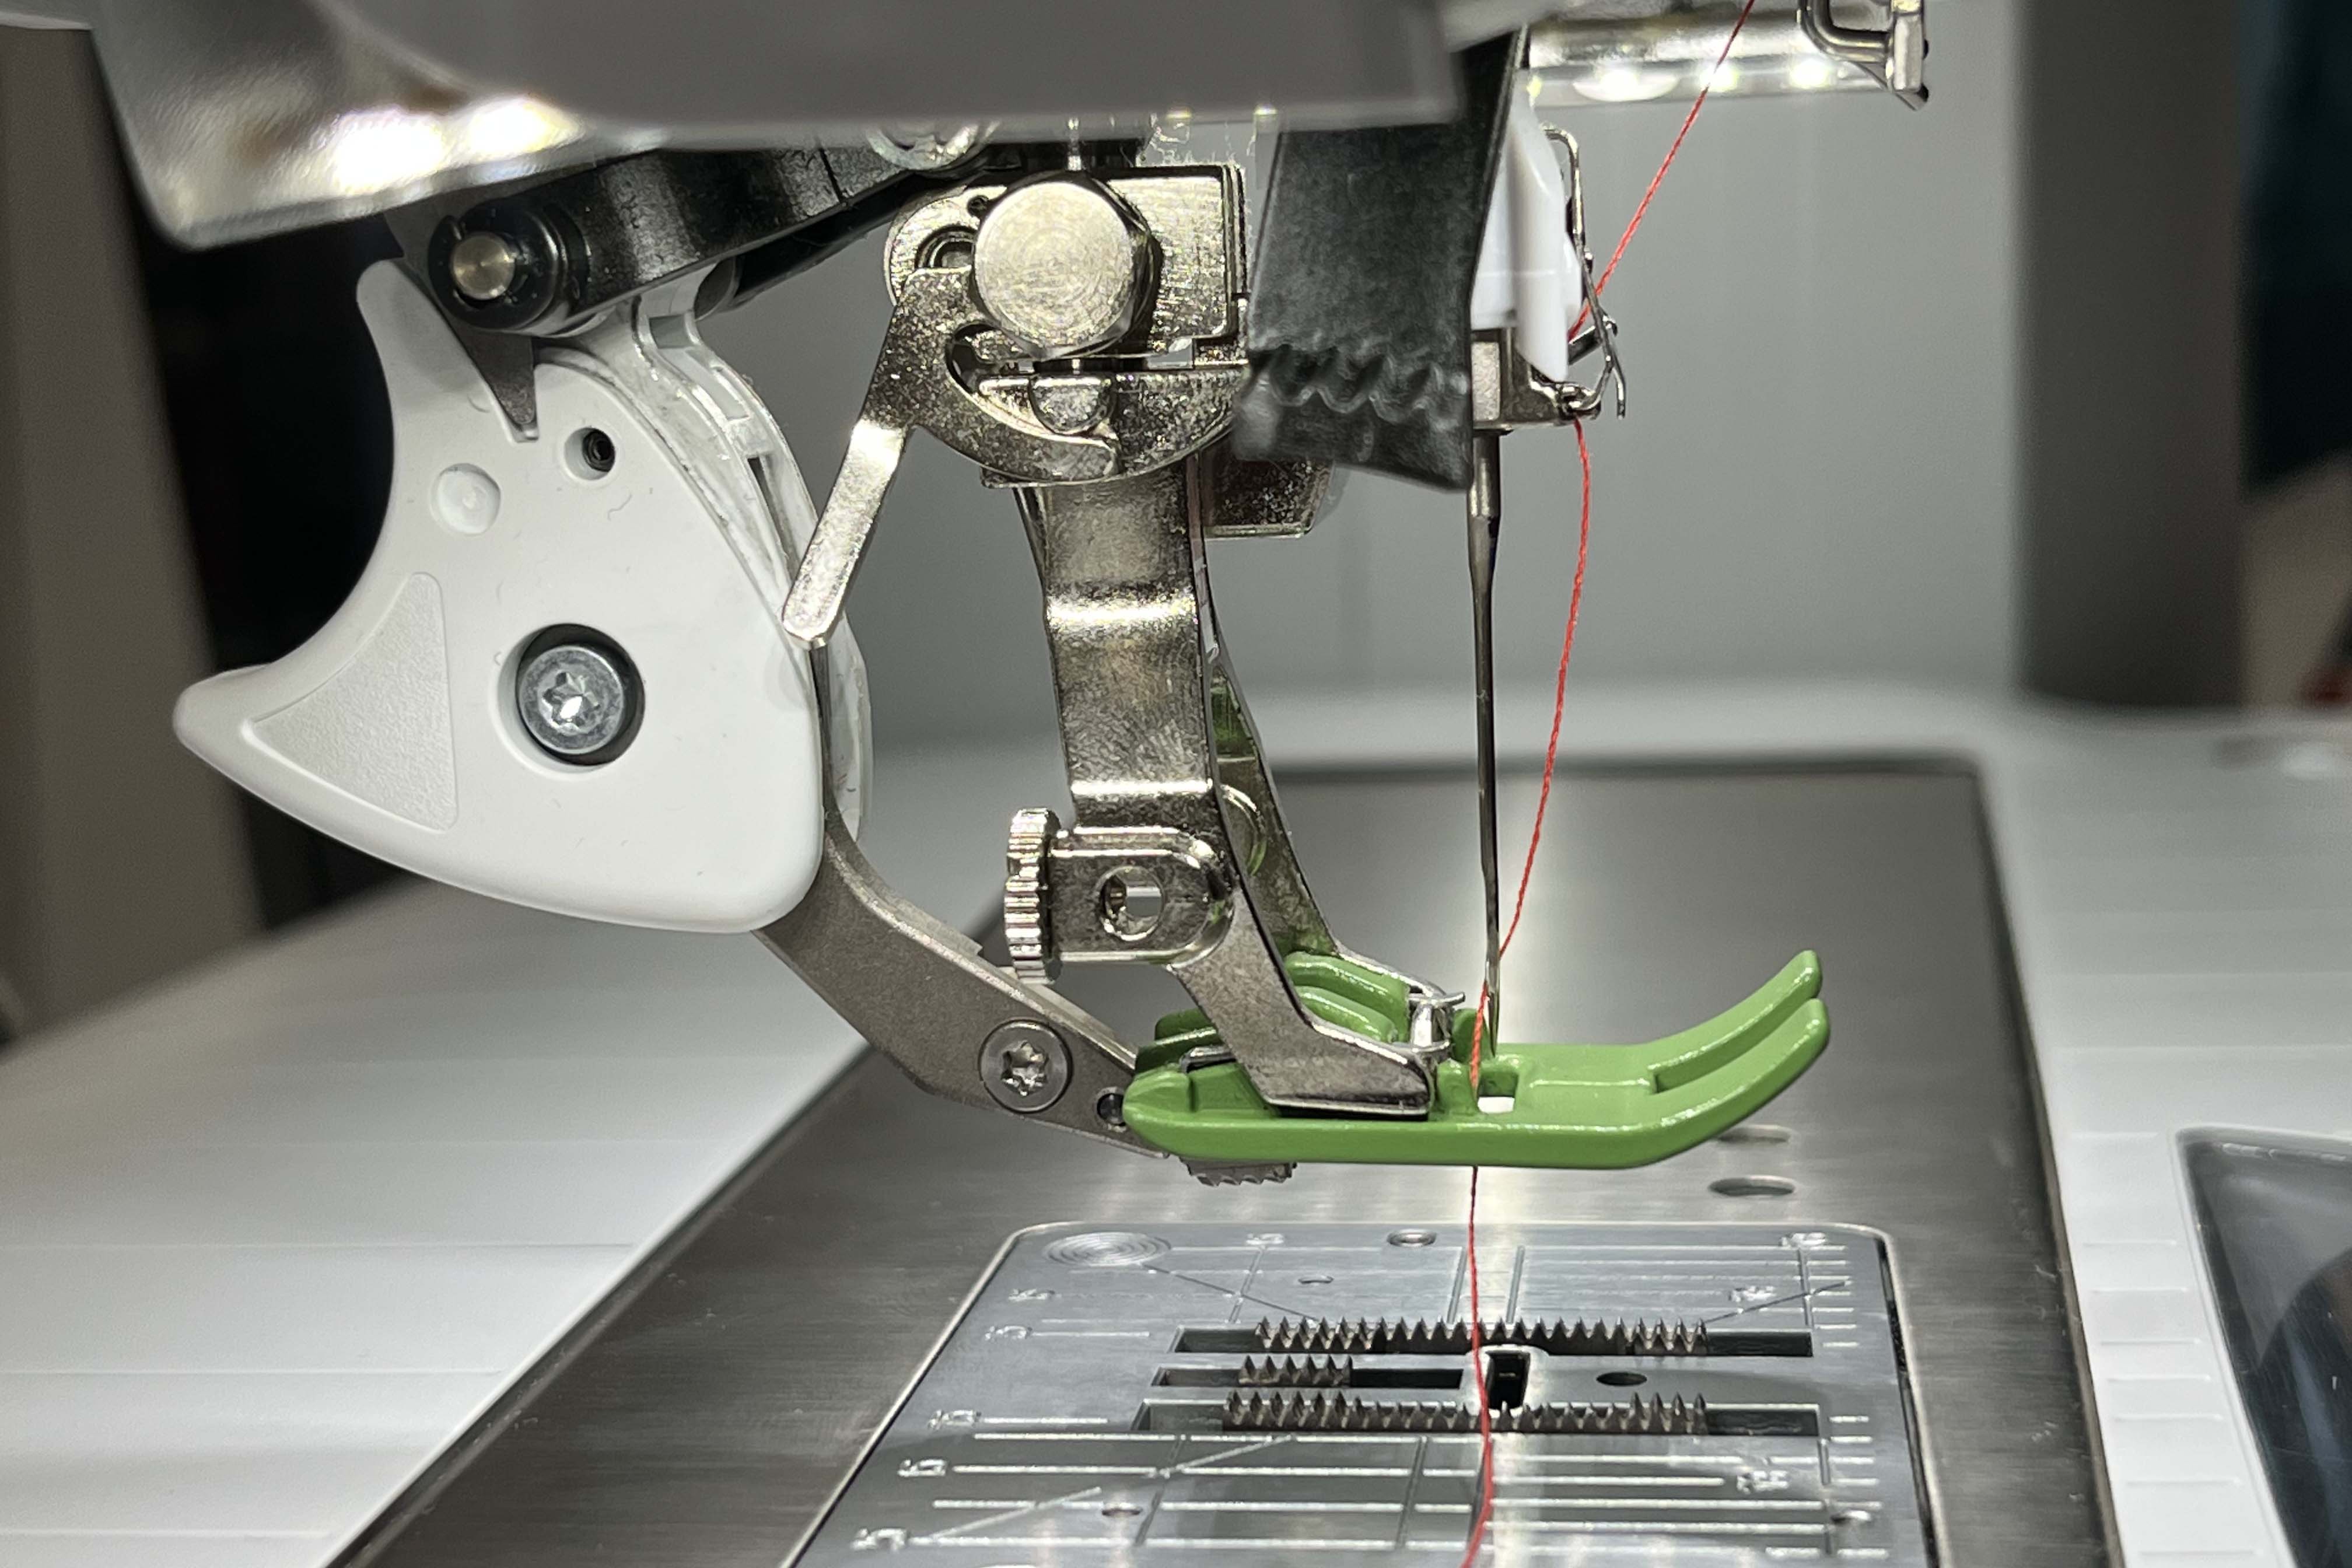
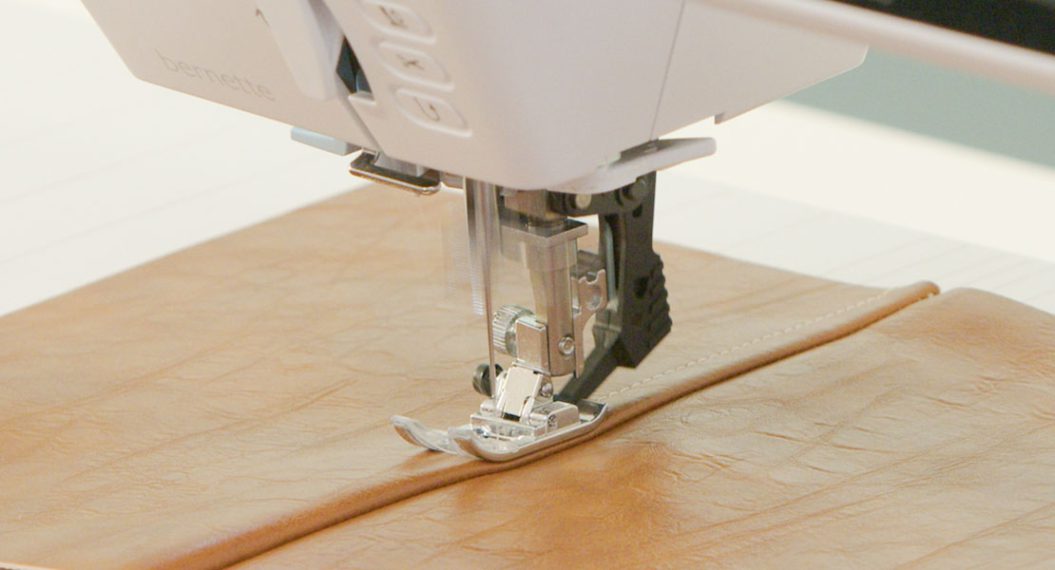
This leather sewing project requires you to use a BERNINA nonstick presser foot. After testing a couple of other options on my BERNINA 790 PLUS, I found that my #52D presser foot was giving me the result I wanted. I also engaged my Dual Feed to work in conjunction with this presser foot. One important aspect of using any of the nonstick presser feet is that they require fabric underneath the foot at all times. If the bottom of the presser foot comes into contact with your sewing machine’s feed dogs at any capacity, the coating my come off.
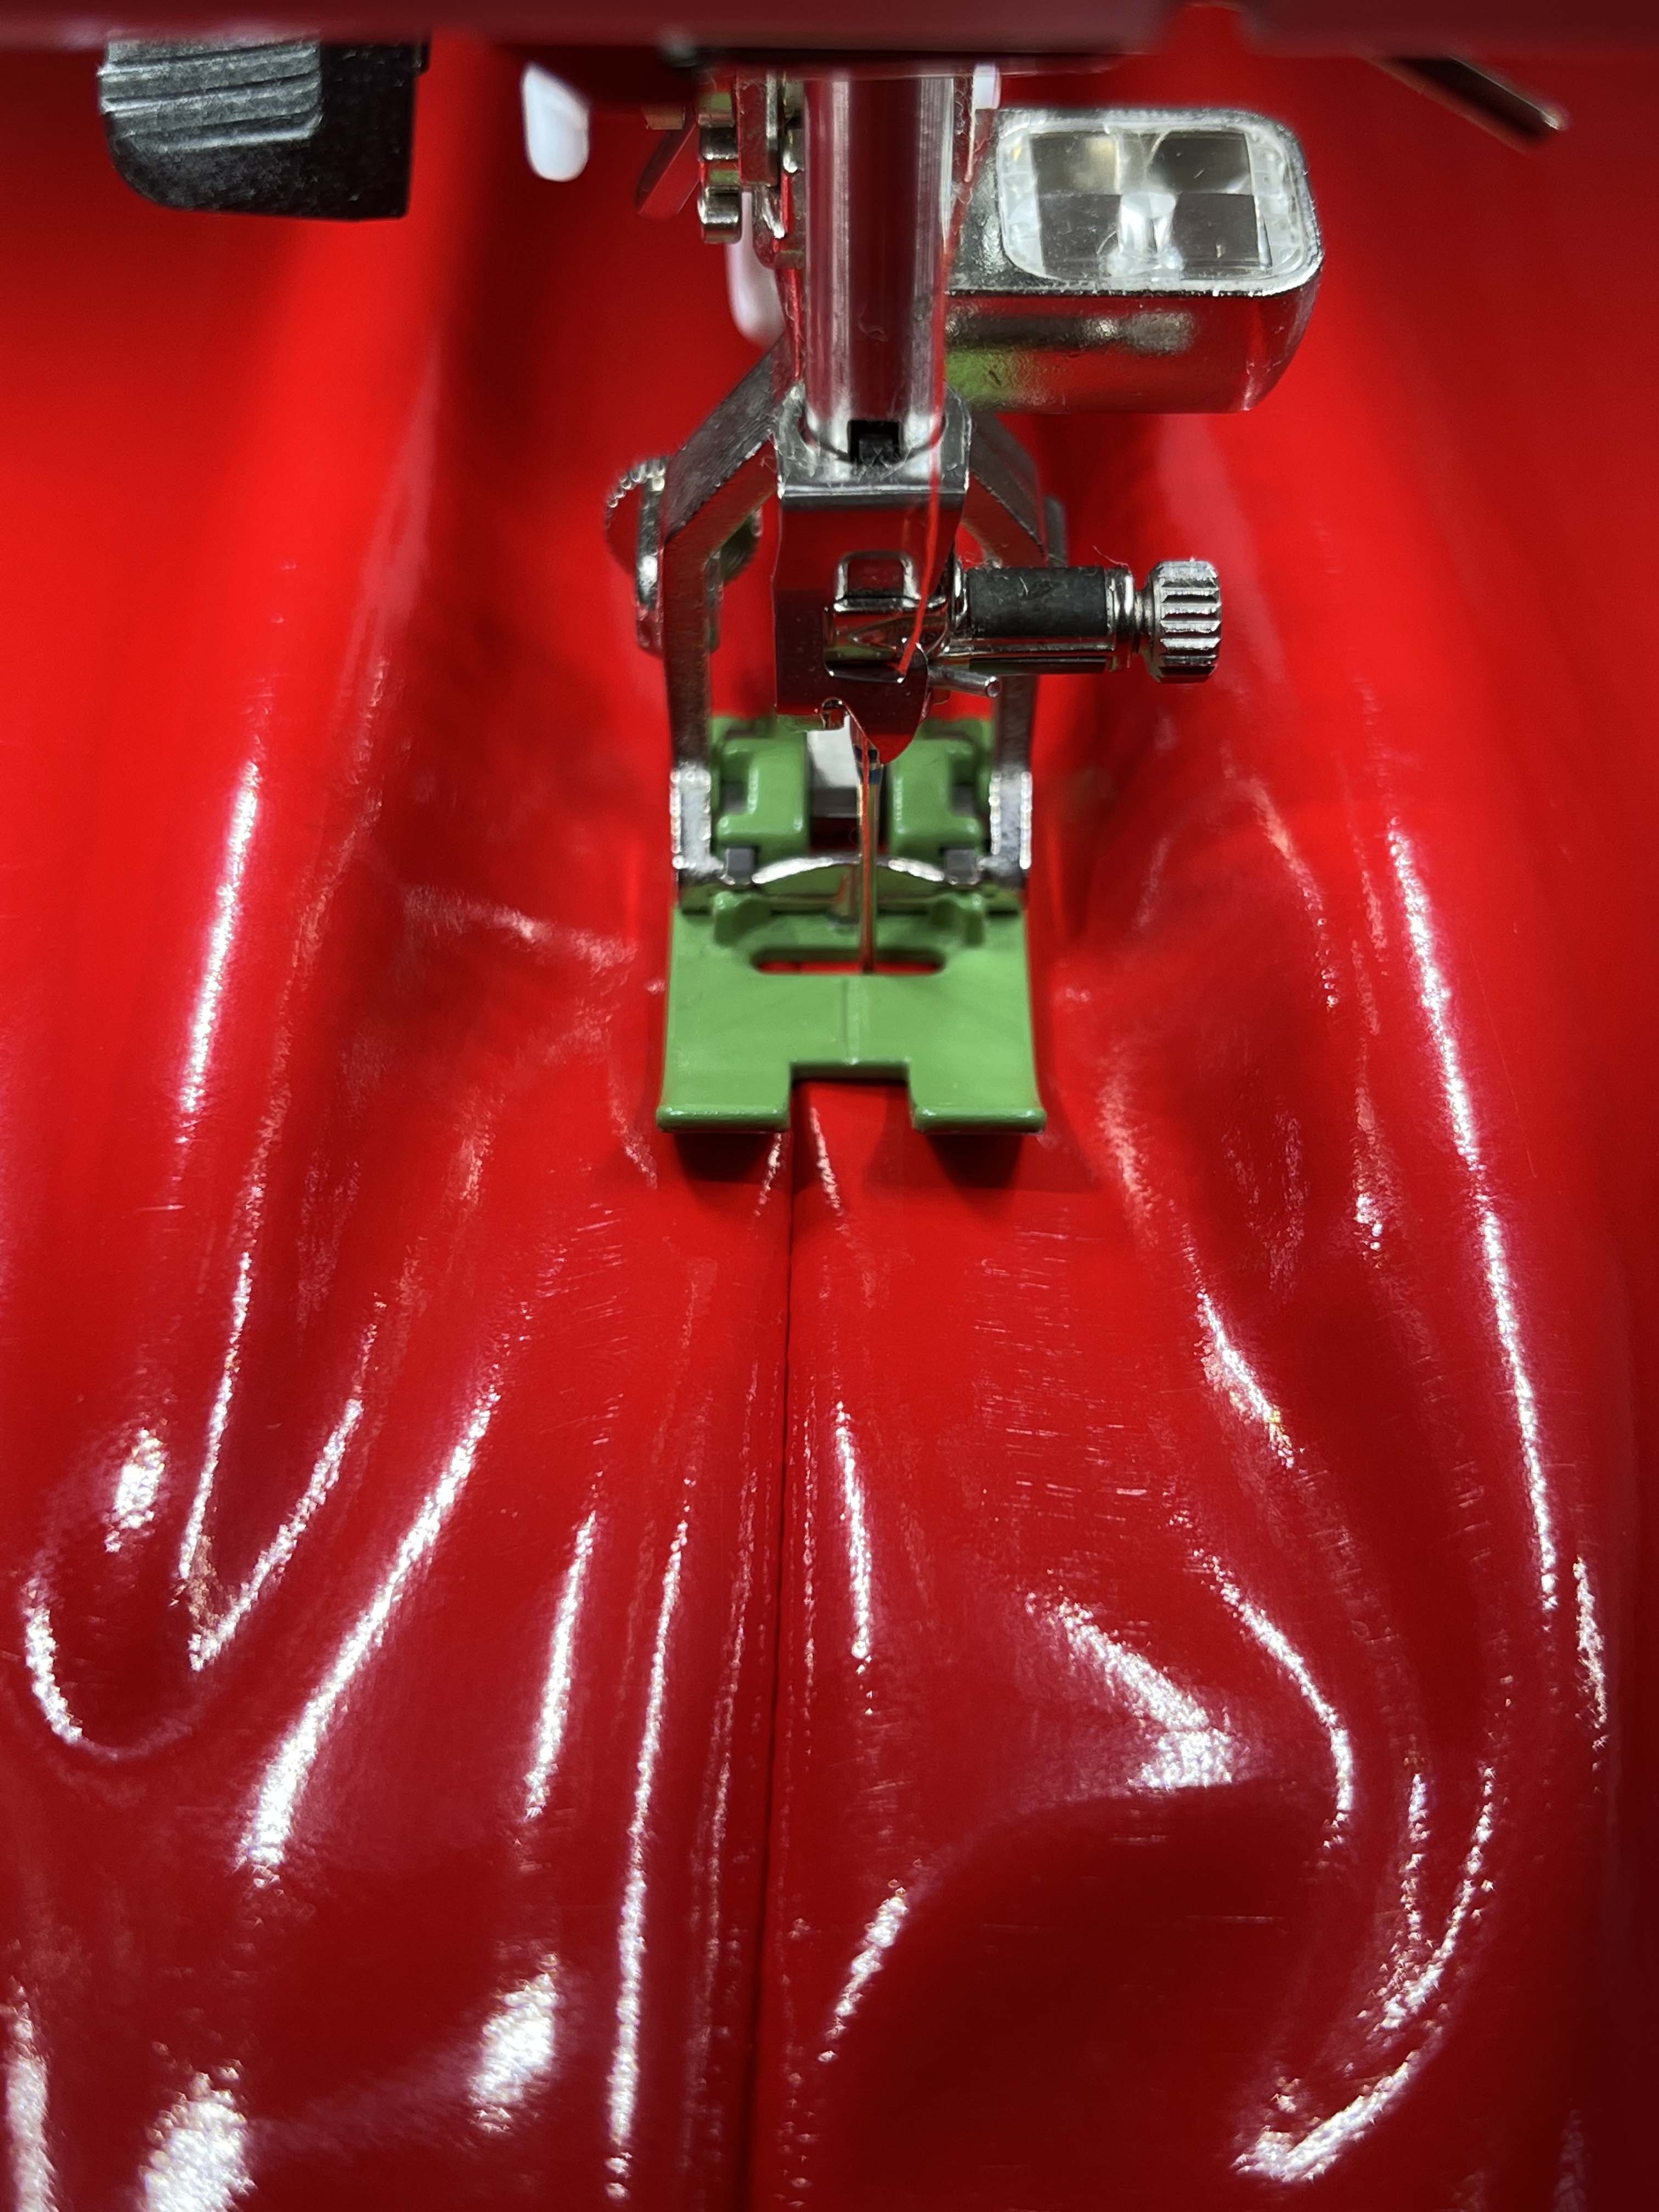
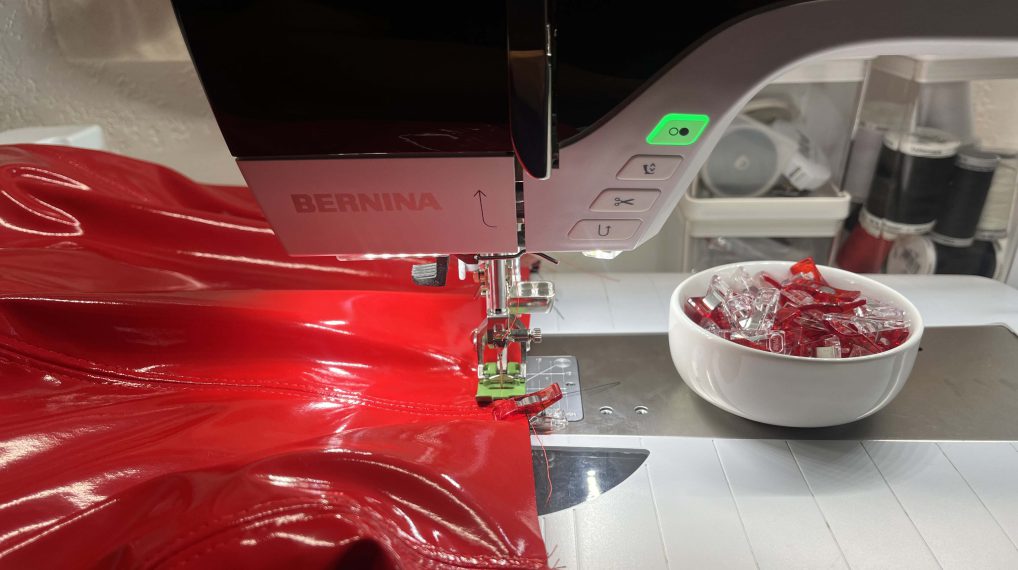
Using the 52D nonstick presser foot also works well for achieving professional-level top stitching I used my presser foot as a guide to execute both sides of my top stitching as you can see in the image above. You can also play around with your needle position for this leather sewing project. Keeping your guides consistent really does affect the look of your finished garment. In many instances, it will also be the difference between your garment looking homemade or looking like it just came off the rack at a designer boutique.
One tool that makes for great results for top stitching and anytime when the right side of this sticky PVC must come in contact with your sewing machine needle plate; is tracing paper. In this section of the tutorial, you will see me use this for top stitching and in other areas to help the machine feed this fabric smoothly and easily. The tracing paper I use is the kind used for sketching. You can find tracing paper in any art supply store and those fabric stores that have a designated arts and crafts area.
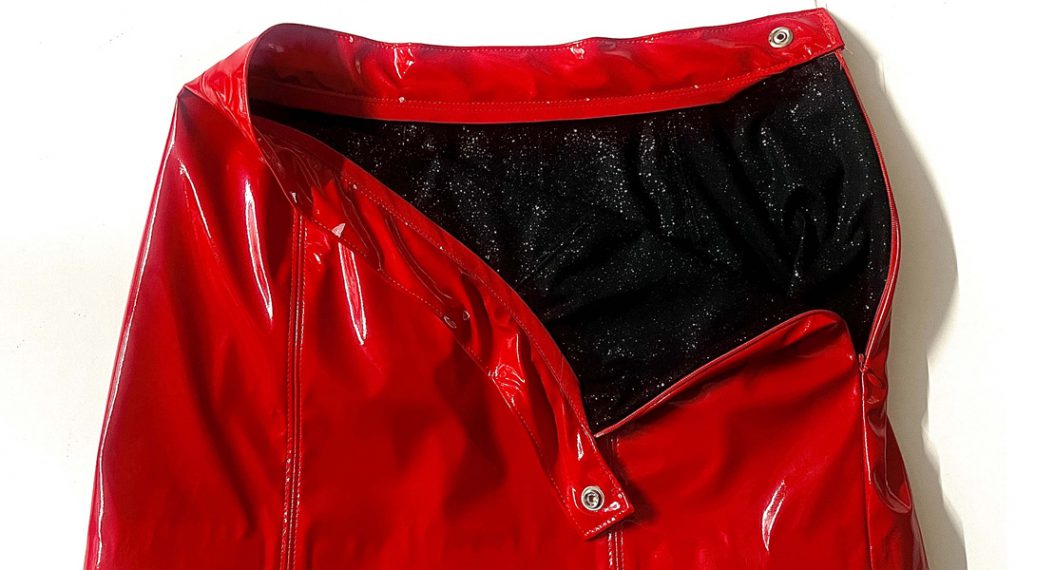
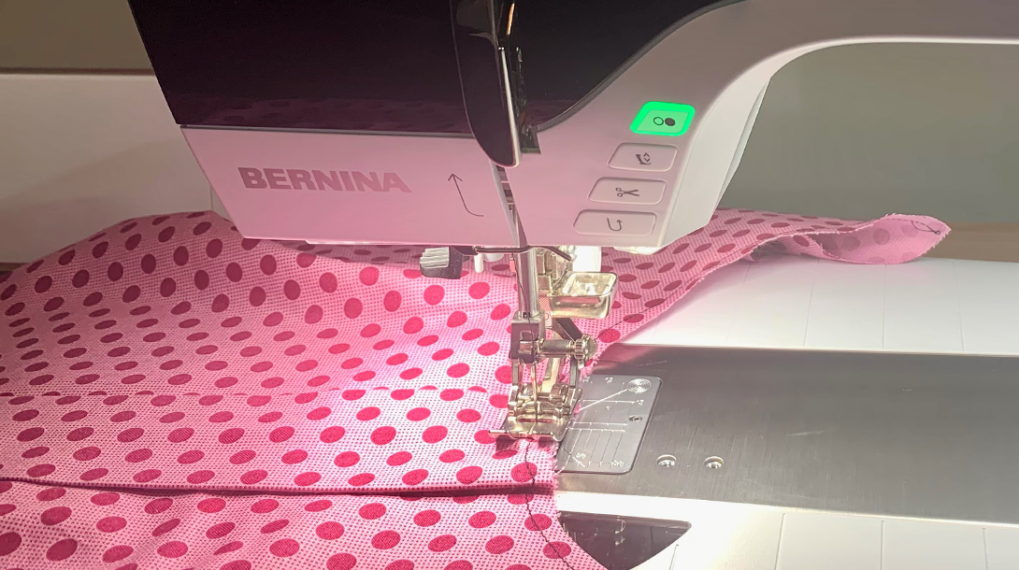
The Faux Leather Skirt Lining

You will construct your lining the same way you did for the self/fashion fabric. I will say that top stitching all seams on your lining is not necessary but I went ahead and did it for this tutorial. French Seams are an excellent alternative for seaming your lining and make any garment look expensive.
For the hem of my lining, I turned under 1/4 inch twice and machine stitched. This uses 1/2 inch total hem allowance needed so that my lining finished 1/2 inch above the self fabric. This method is very basic and can be adapted to other versions of this skirt you may create.
Check back later for Part 3, where we wrap up this project with some key finishing touches!