Color Tile Tree Skirt Part 3
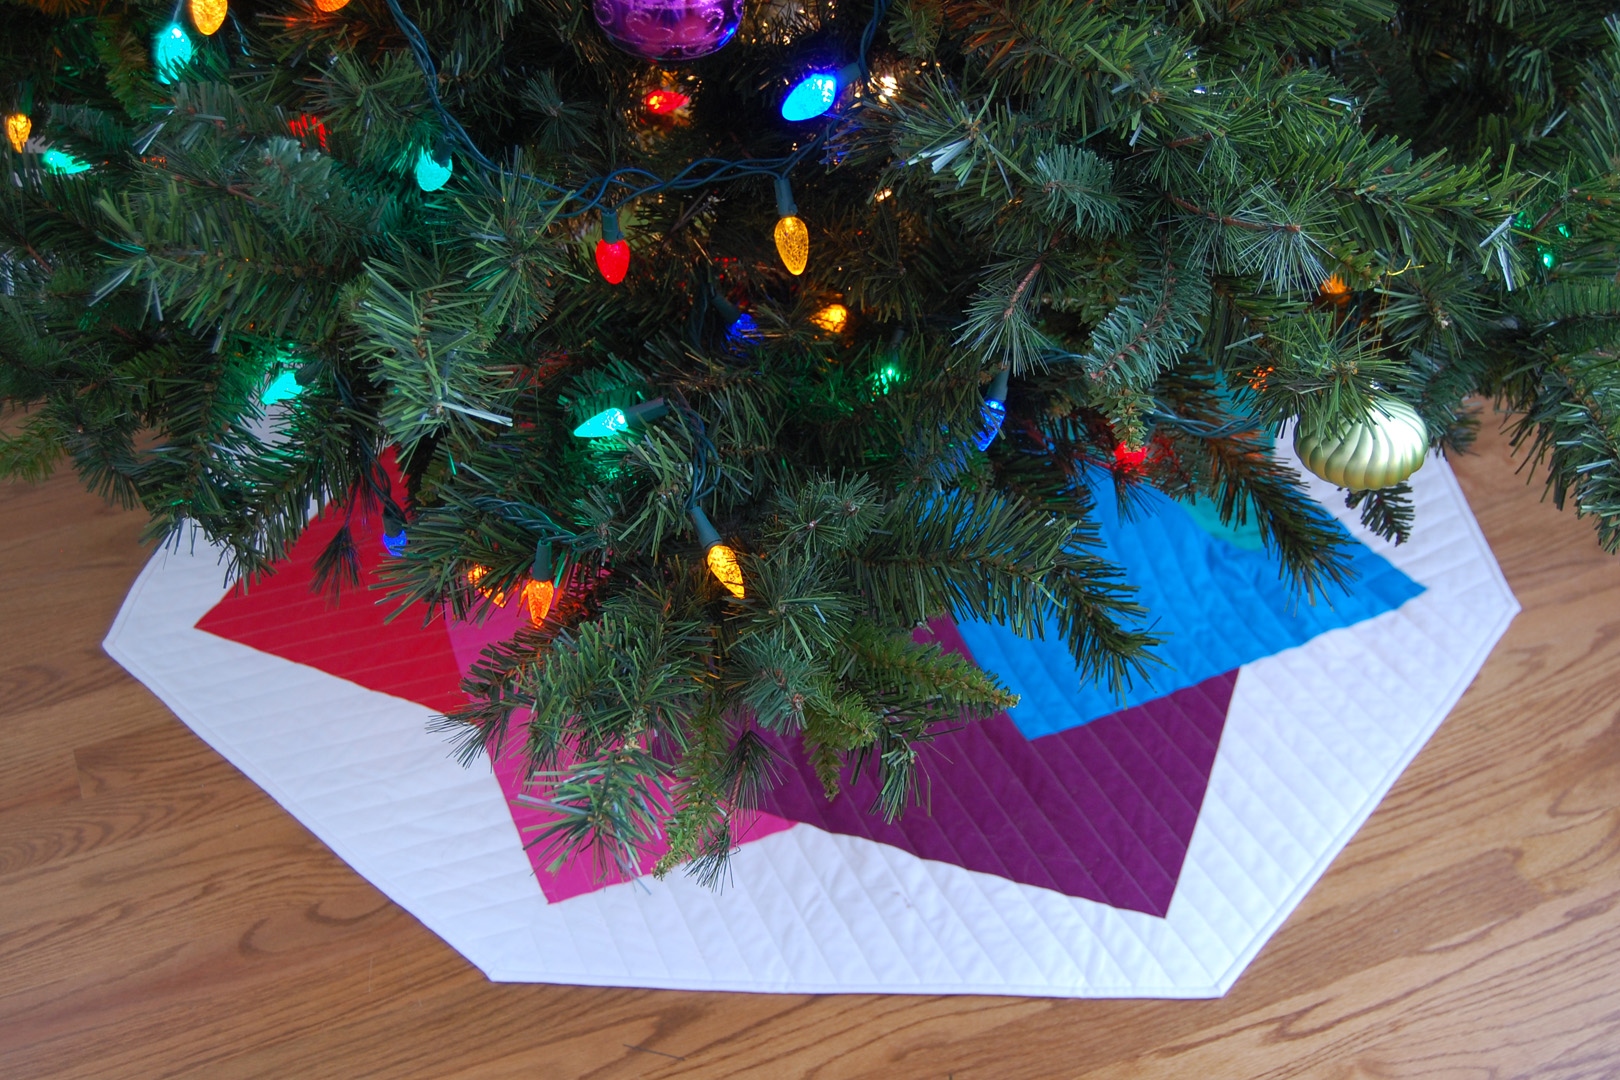
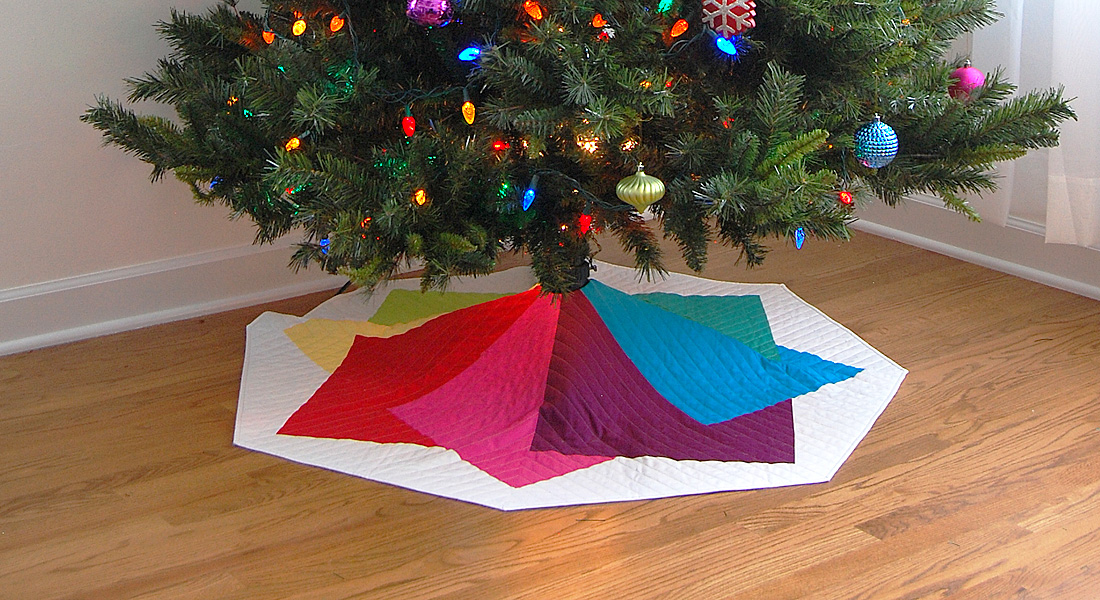
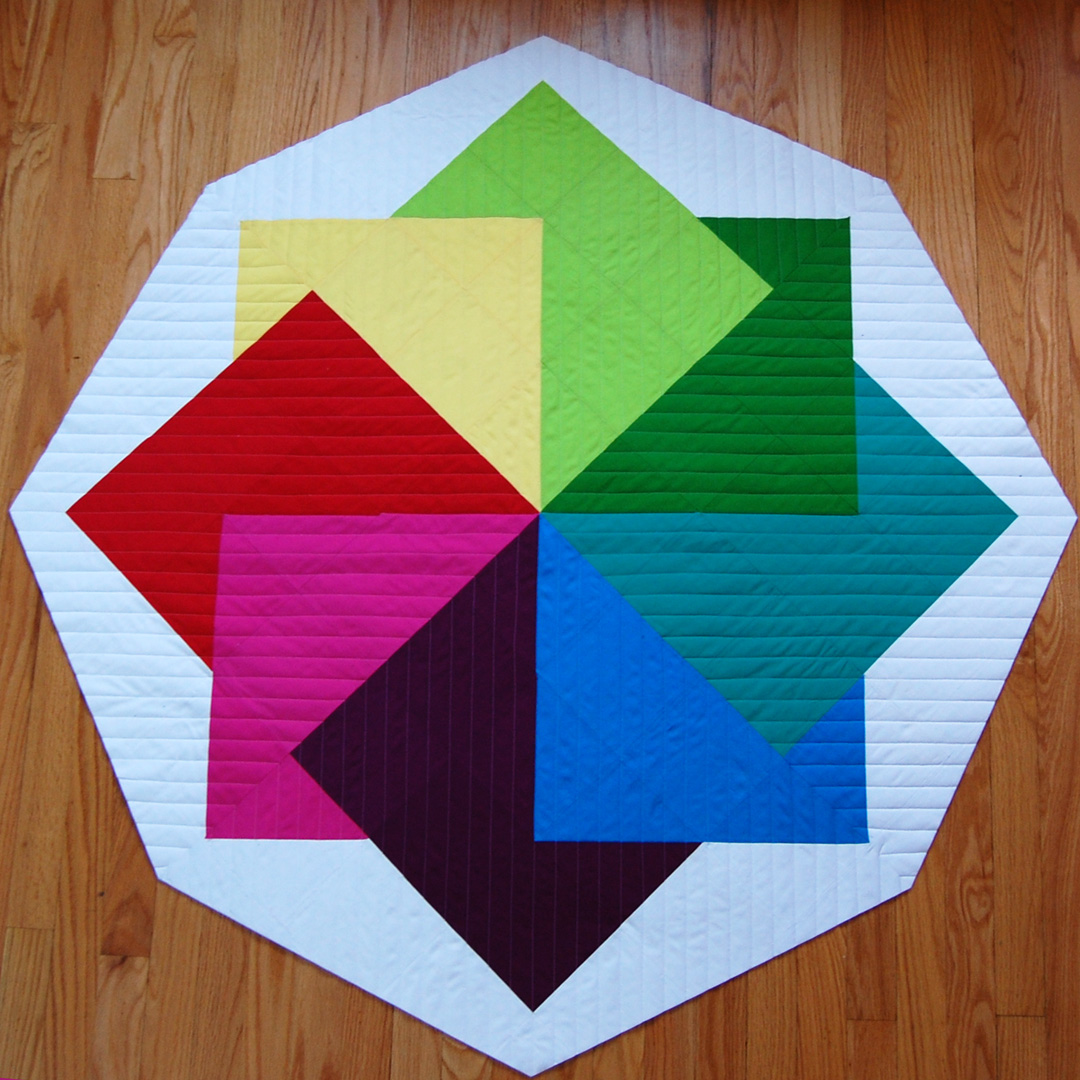
This tree skirt is a supersized version of a “super card trick” quilt block made with simple squares and half-square triangles so it’s easy to stitch together! I created this skirt to work specifically with our artificial tree, it has one center opening and no side slit (see the end of this post for instructions on how to add the skirt to your artificial tree during the set-up process). Follow along with the series to learn how to create your own Color Tile Tree Skirt. Find links to Part 1 and Part 2 below.
December 11, Color Tile Tree Skirt Part 1: Materials and Preparation
December 12, Color Tile Tree Skirt Part 2: Patchwork Piecing
December 13, Color Tile Tree Skirt Part 3: Quilting and Finishing
In this post we’ll quilt the tree skirt and add the finishing touches.
Prepare the Backing and Batting for the Color Tile Tree Skirt
Before moving on to basting you will need to cut your backing fabric and batting to size. The backing and batting should be a few inches larger than the tree skirt top on all sides.
If you are using a wide 108″ fabric for the backing, cut the backing to approximately 56″ x 56″ square.
If you are using a 45″ wide fabric for the backing, you will need to sew pieces together to achieve the full 56″ width following the instructions below.

Take your piece of backing fabric and cut one piece 56″ long. Using the rotary cutter and ruler, carefully cut off the selvage edges. This piece will now measure 56″ long and approximately 40 or so inches wide. Set this piece aside.
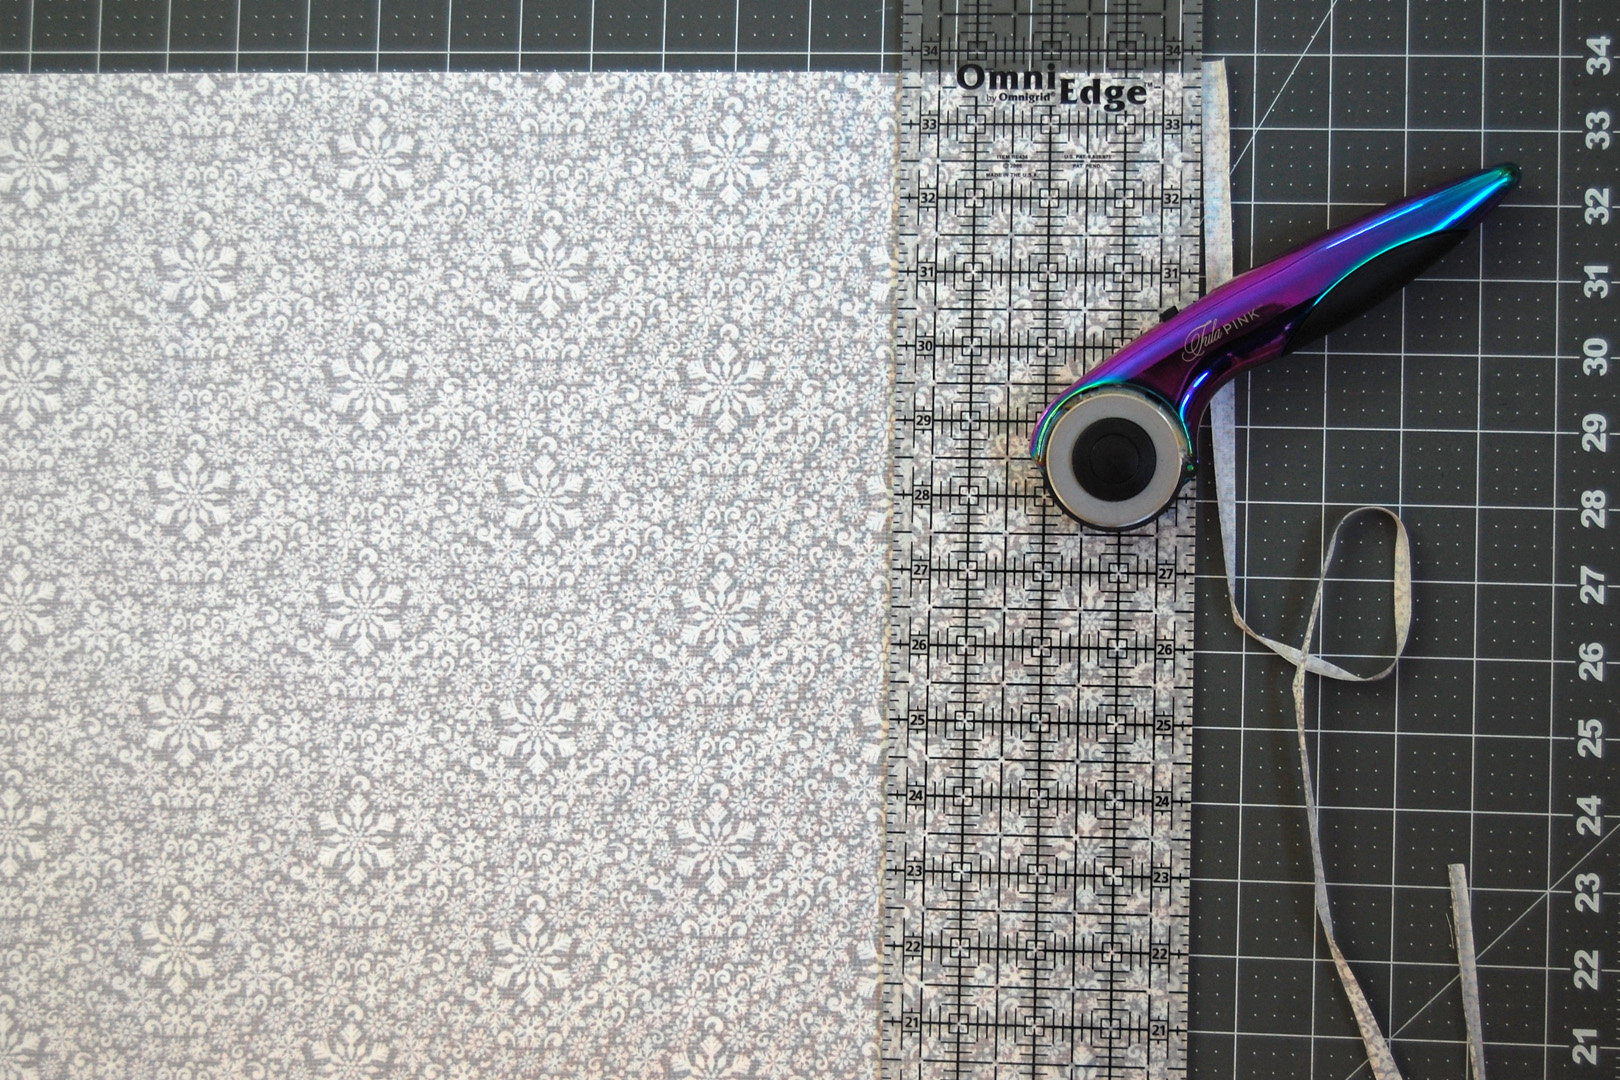
Using the remaining backing fabric, cut one length 28 1/4″ long. Carefully fold the fabric in half matching selvage edges, line up the ruler about 1/8″ to 1/4″ from the folded edge, and cut off the fold as pictured above.

Cut off selvage edges on the other side of the fabric pieces. You will have two pieces of fabric 28 1/4″ long and approximately 20″ wide. Sew these two 28 1/4″ by 20″ pieces right sides together along the short 20″ side using a quarter-inch seam. Press seam on back to one side.
You will now have one large 56″ long by approximately 40″ wide piece of fabric, and one piece approximately 20″ wide and 56″ long. Sew both of these together along one long edge, right sides together, with a 1/4″ seam. Press the seam to one side on the back. Trim the final large piece down to 56″ x 56″.
To prepare batting, trim to approximately 56″ x 56″ square. If you are using a packaged batting you may need to get the creases and wrinkles to relax before cutting the batting to size. Here’s some tips for relaxing packaged batting.
- Drape the batting open overnight to relax the creases and wrinkles. I know quilters who lay batting over a cutting table or a spare bed for a day or two before use.
- Pop the batting in a warm dryer for a few minutes, remove the batting, and lay it flat to relax creases and wrinkles.
- Press the batting using a warm iron and a press cloth. Make sure you use a press cloth! Sometimes batting has a coating that can stick to the sole of your iron.
Baste the Color Tile Tree Skirt Layers
There are a few tried and true methods for basting the layers of a quilt together. If you’re not familiar with the spray basting method my friend Christa has an awesome step-by-step of her method you can read about here. I prefer the pin basting method which you can read about in detail here.
I use the floor of my sewing studio for pin basting.
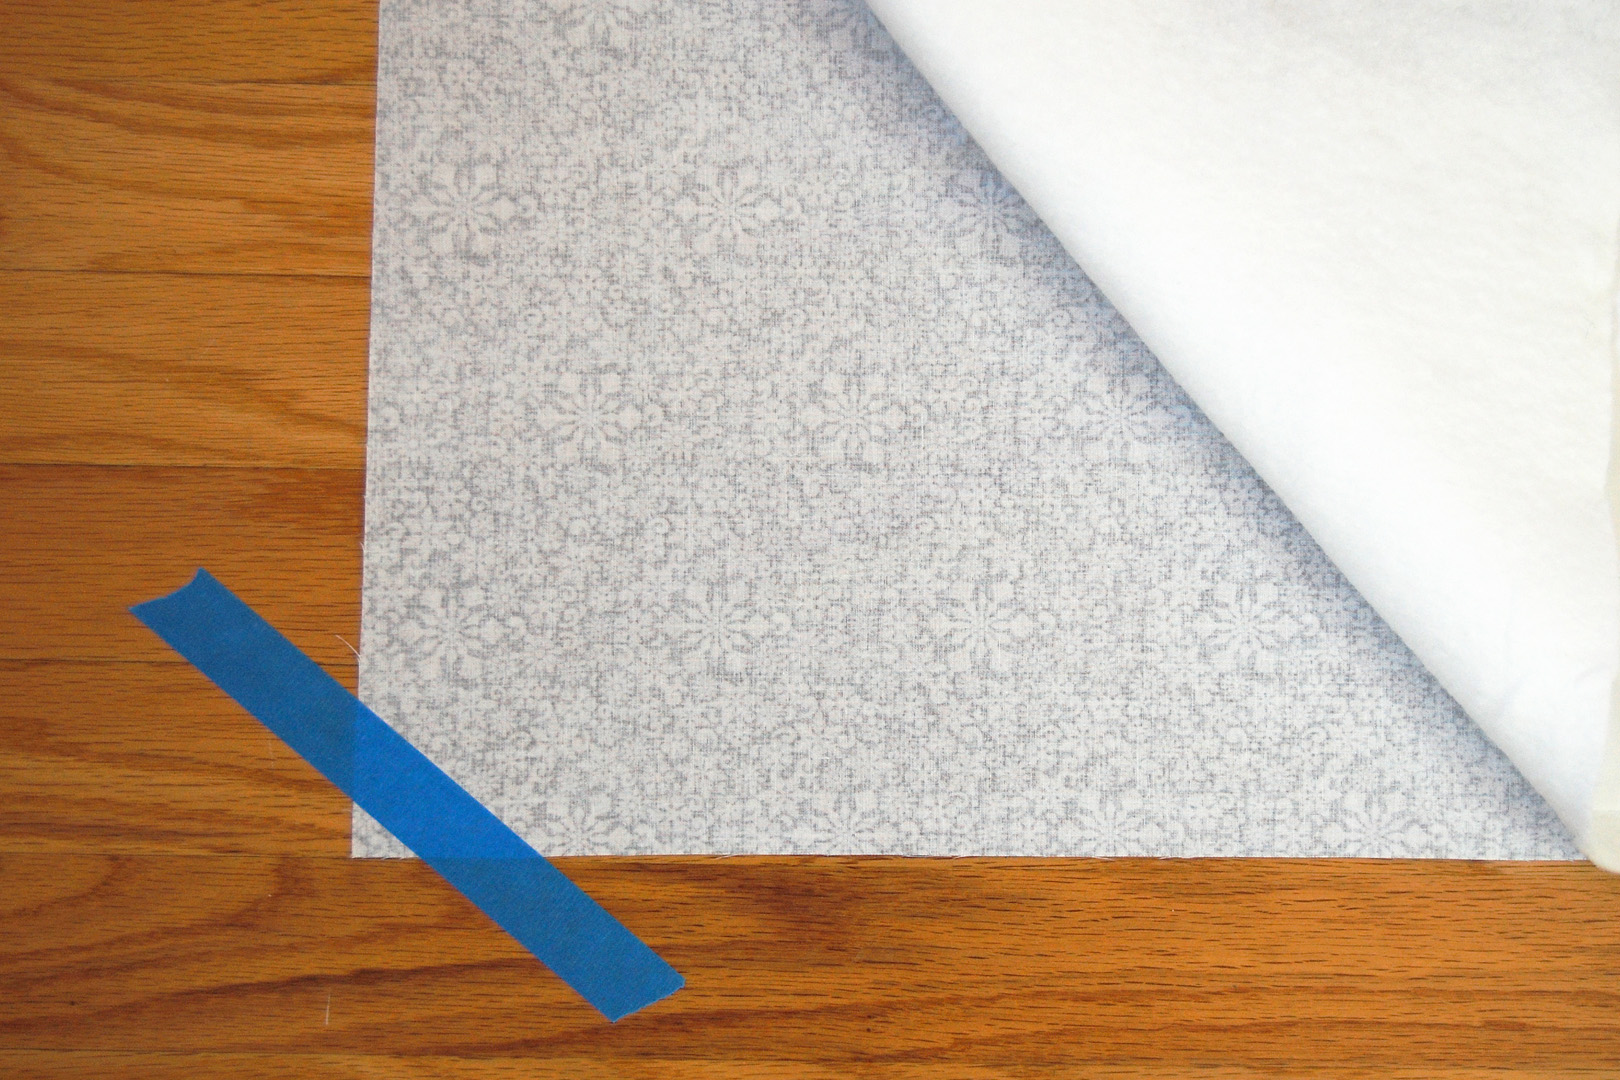
The first step is to use painter’s tape to secure the backing fabric face down on the floor. This helps to prevent puckers or wrinkles as I am pin basting.
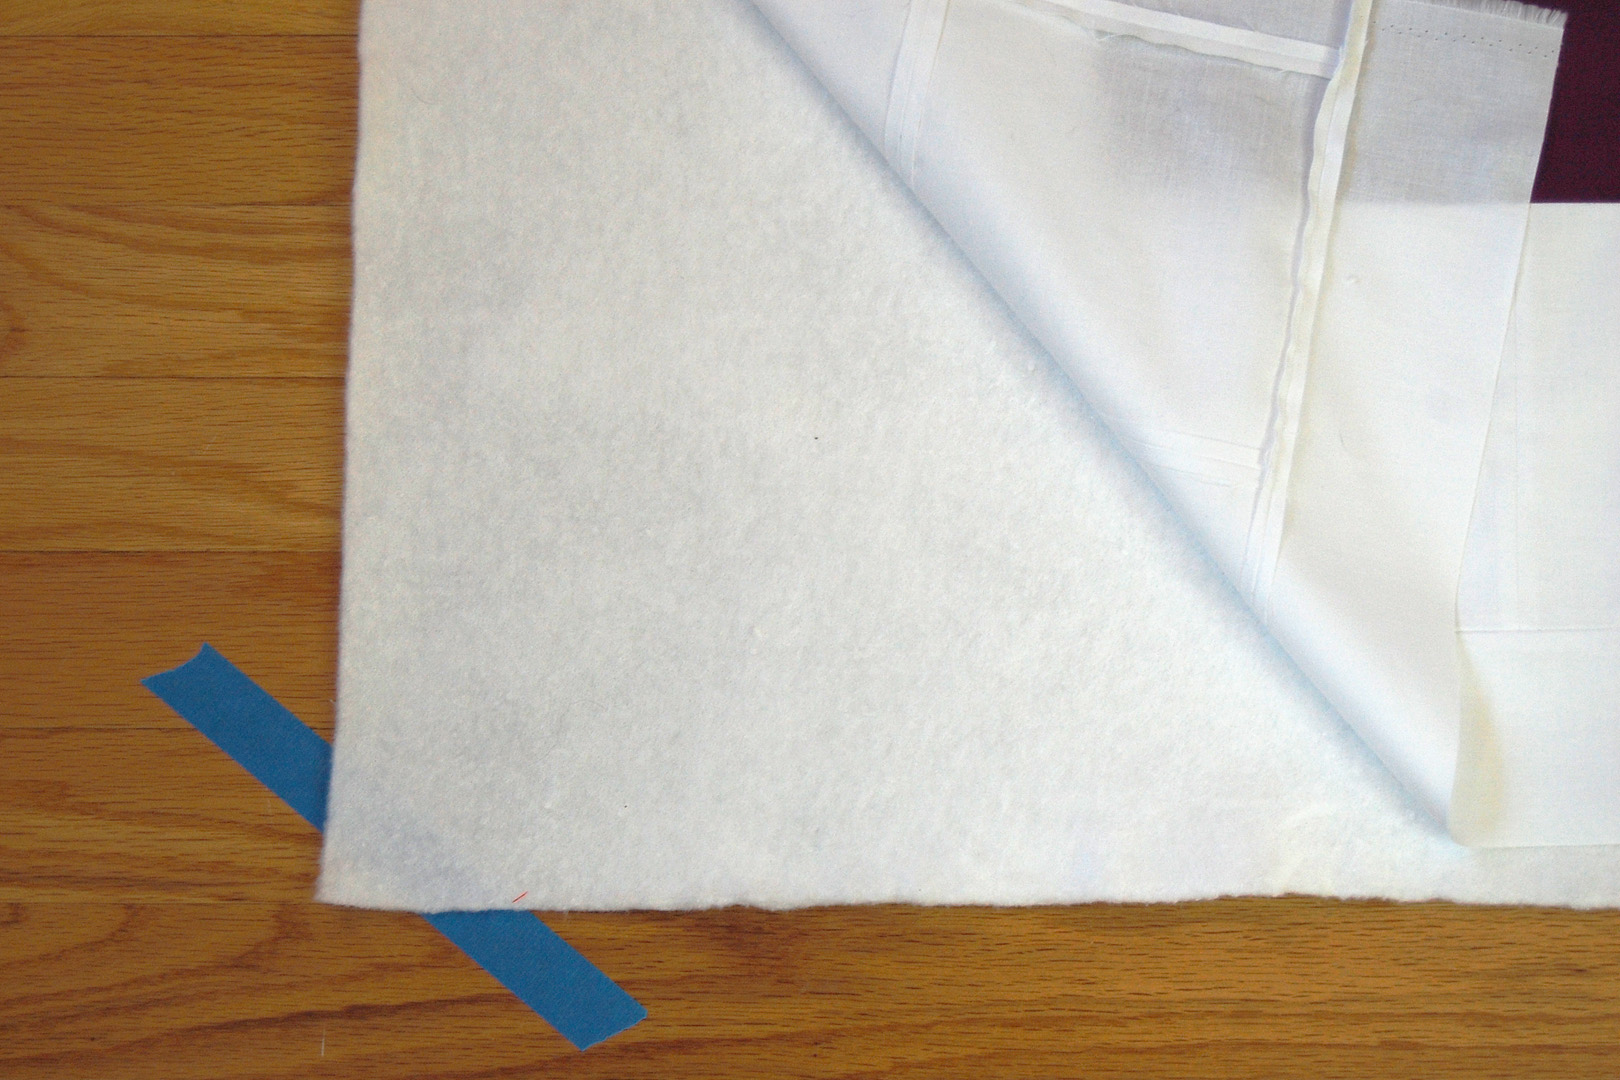
Next I carefully smooth out the batting on top of the backing layer. Last but not least, the top is carefully placed on top of the batting. I make sure to smooth out the top to prevent any puckers or tucks when quilting.
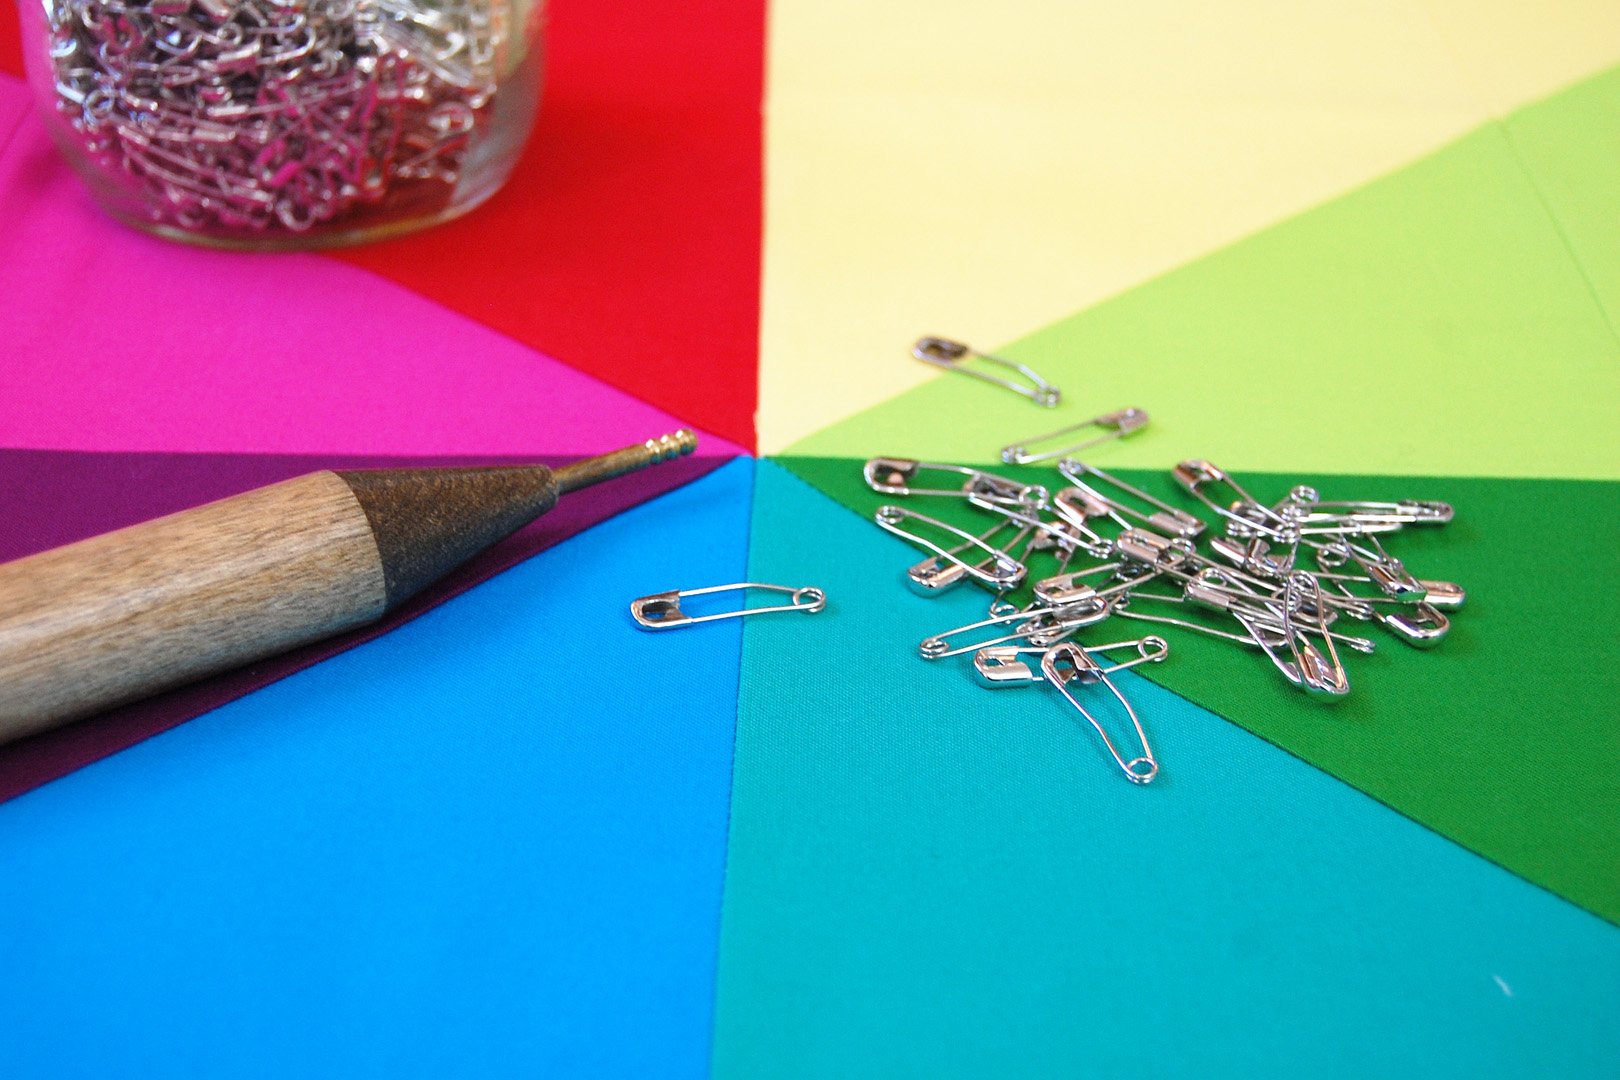
I start pin basting from the center of the quilt.
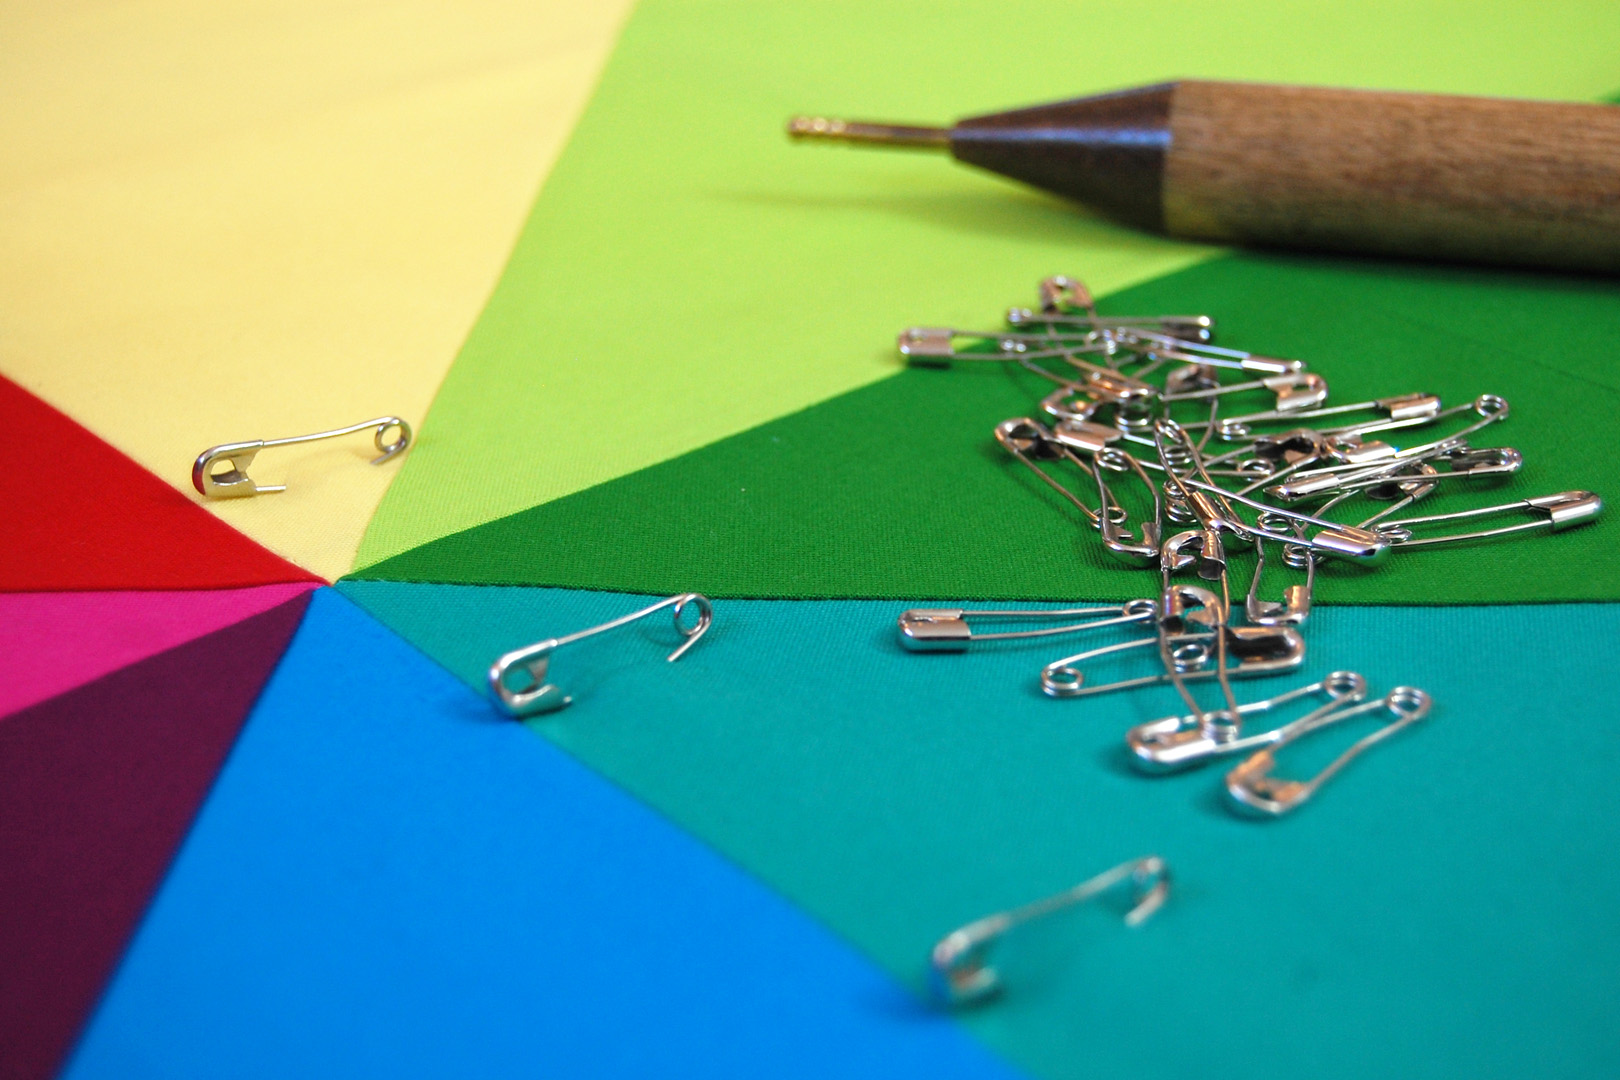
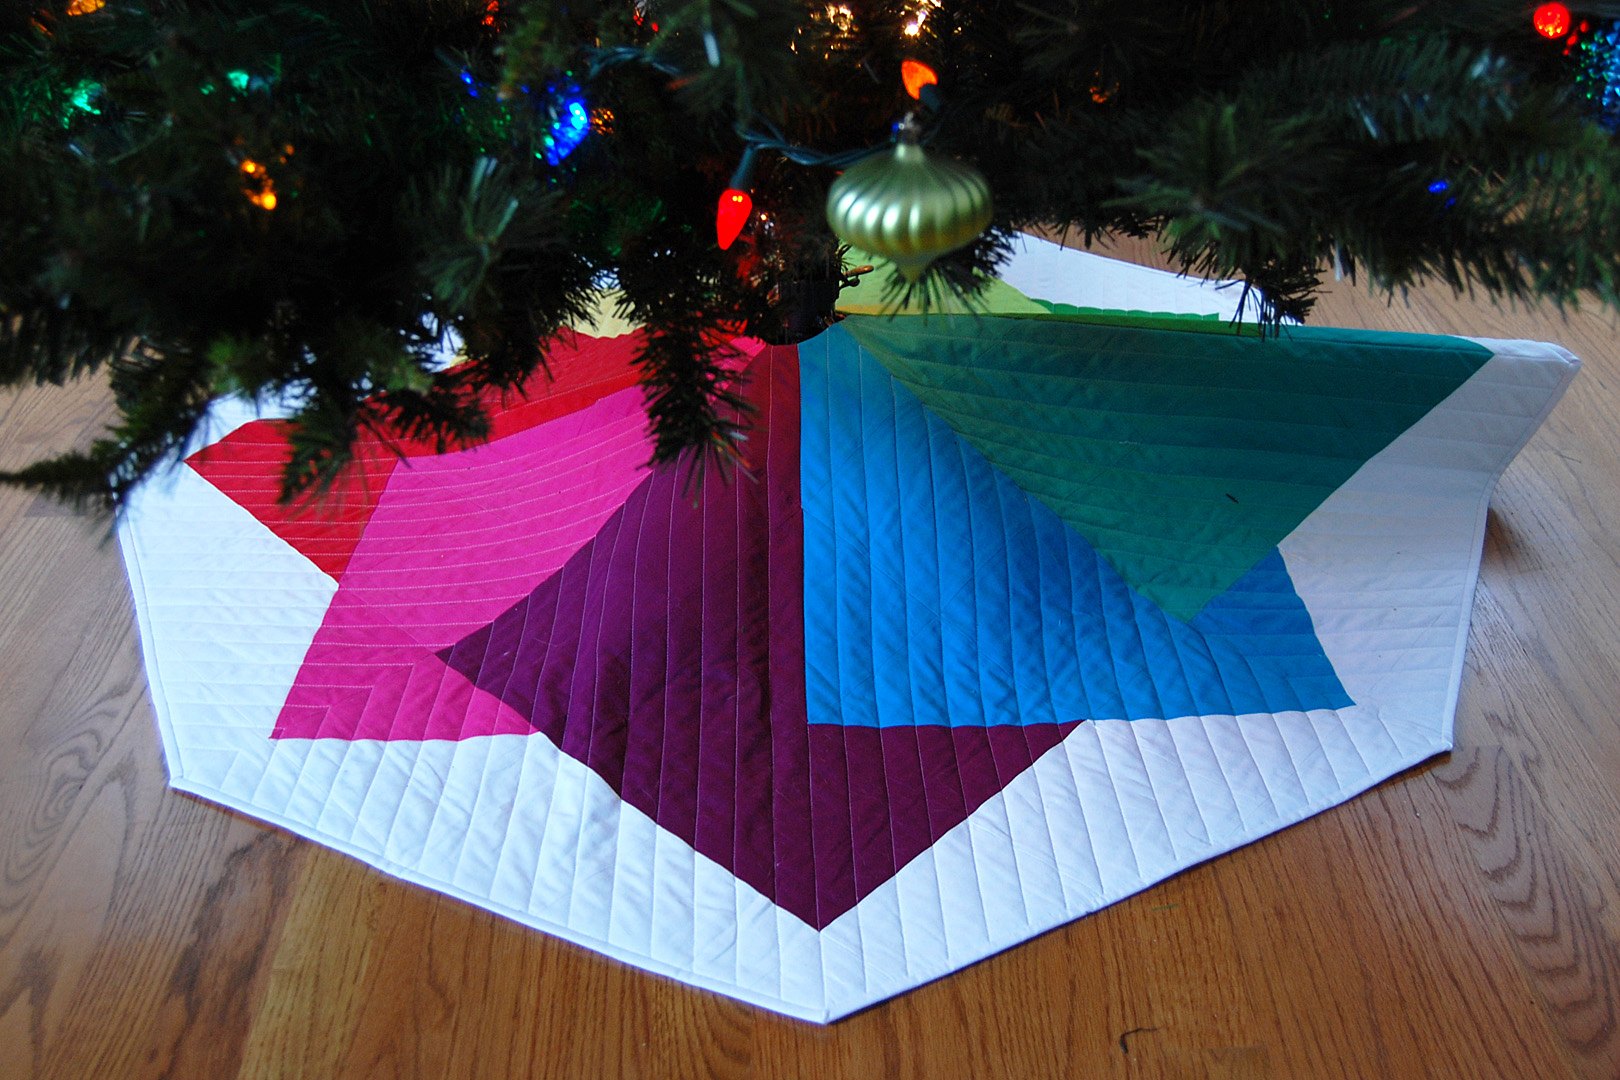
I pin out from the center, spacing pins anywhere from 4″ – 6″ apart until the entire quilt is basted with pins. Once the quilt is basted you can remove the painter’s tape and get ready to quilt. You can quilt the tree skirt any way you like! I created 1″ straight lines in patterns radiating out of the center of the tree skirt.
Quilt the Color Tile Tree Skirt
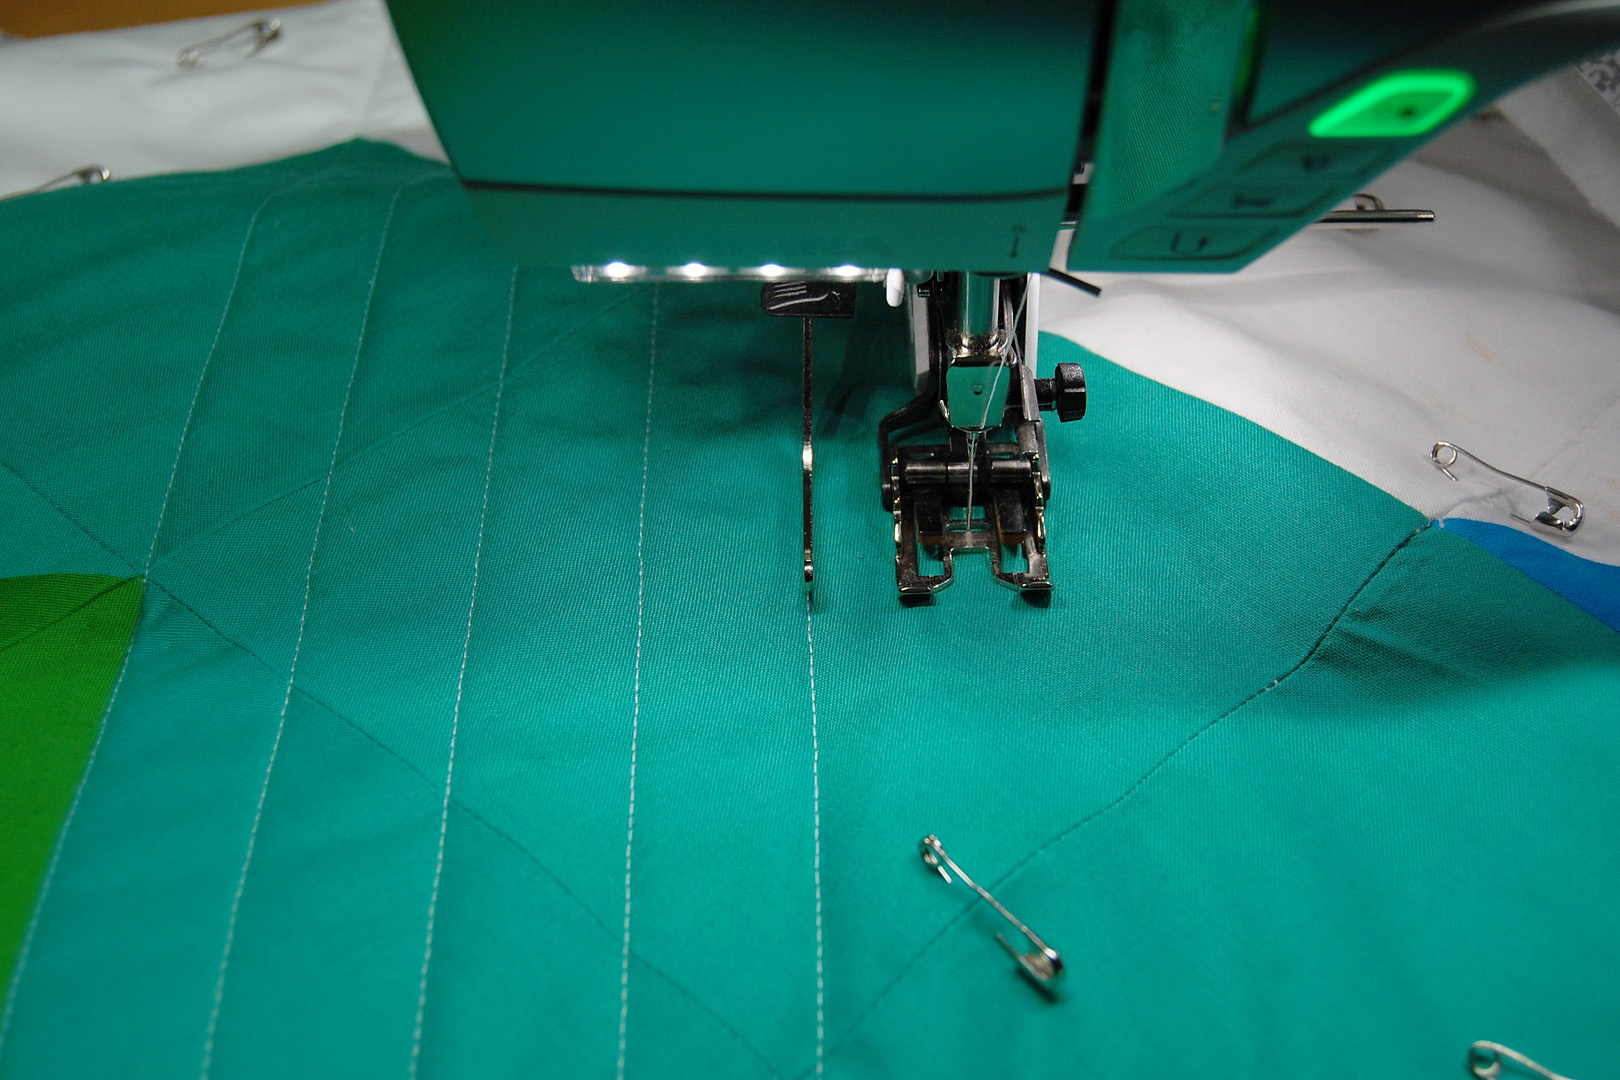
Set up your sewing machine to quilt the tree skirt. I use the Walking foot along with the seam guide to quilt.

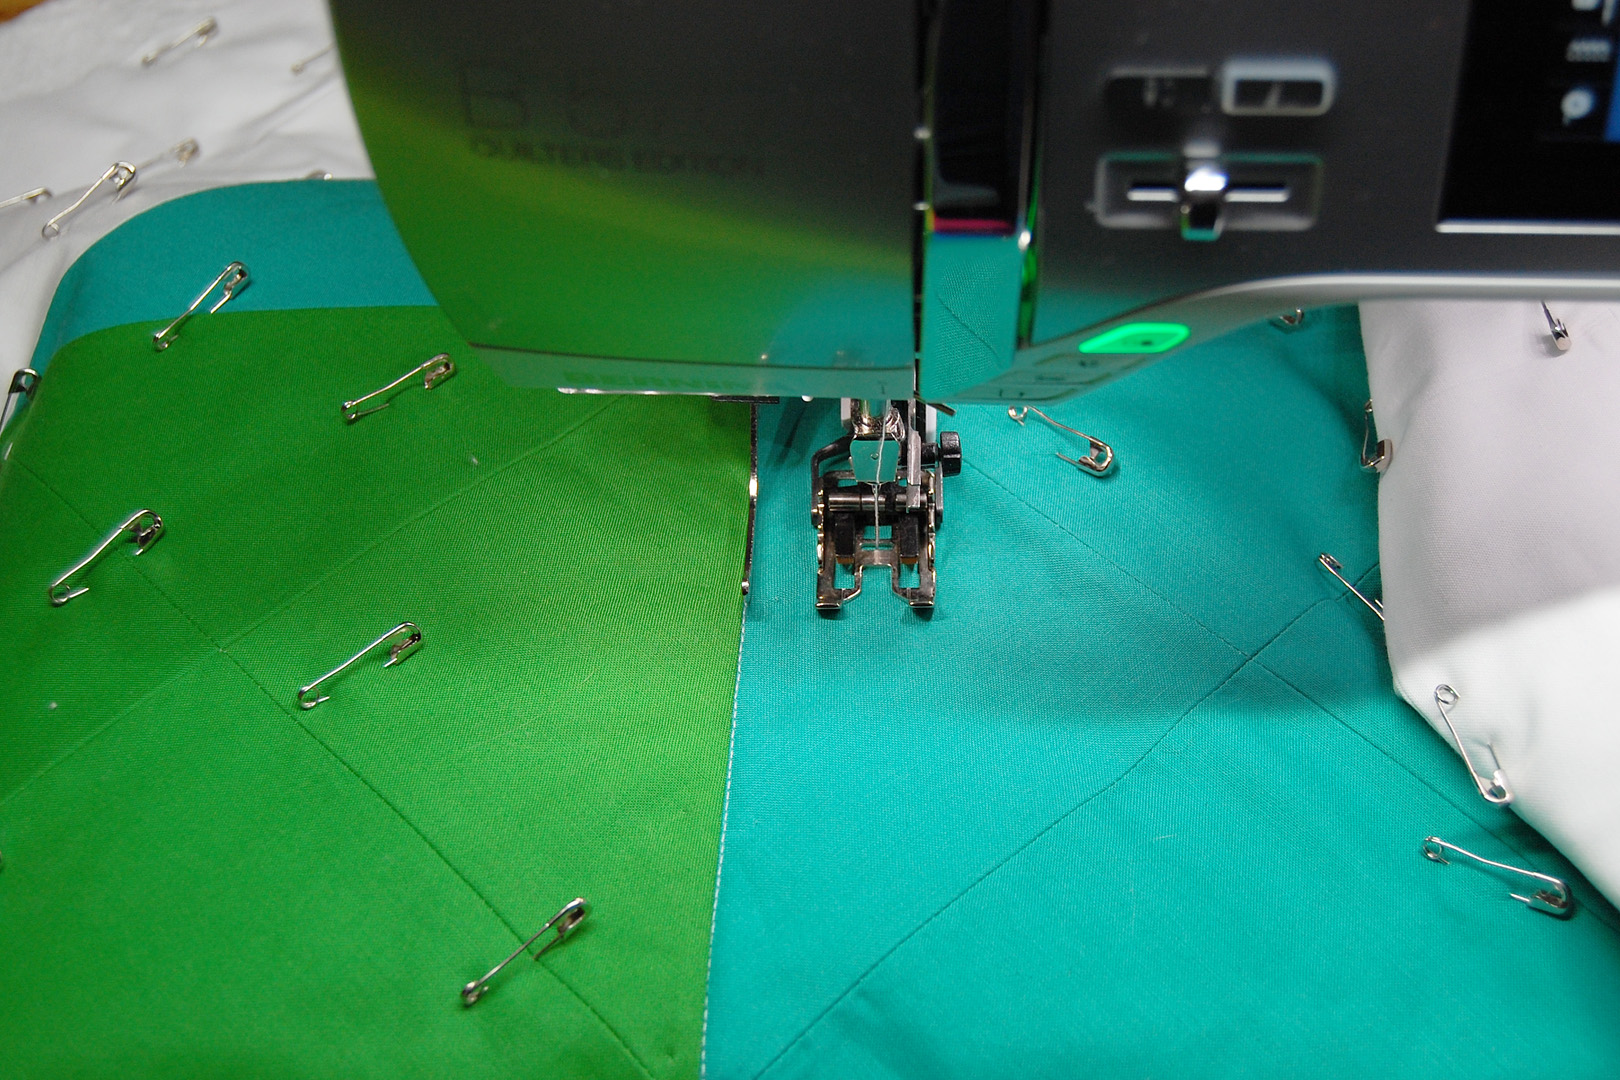
Before I attach the seam guide to the Walking foot I start with some stitching in the ditch with diagonal lines across the tree skirt.

I start at one corner of the tree skirt, stitching a line of quilting in the ditch made by the seams all the way to the other corner. This creates a big “X” pattern in the tree skirt.

Next I attach the seam guide to the Walking foot using the bracket.
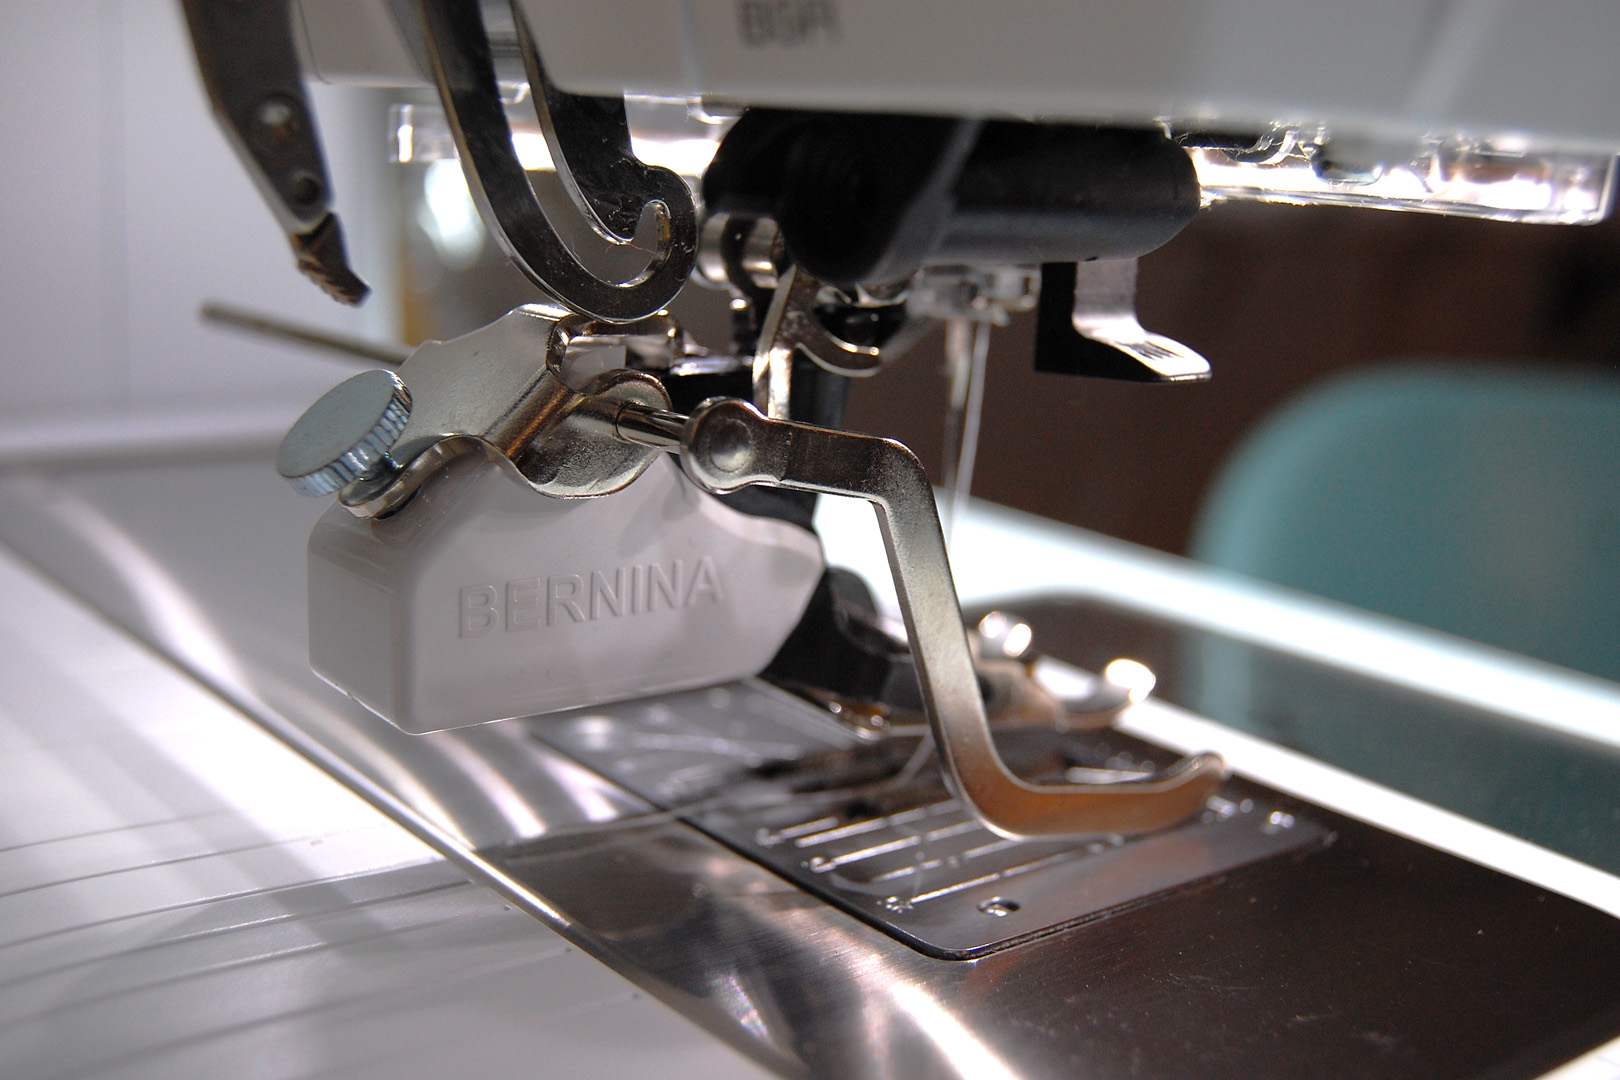
I set the seam guide to 1″ on the left side of the needle using the markings on the stitch plate.
I follow the previous line of stitching, lining up the blade of the seam guide with the stitches.
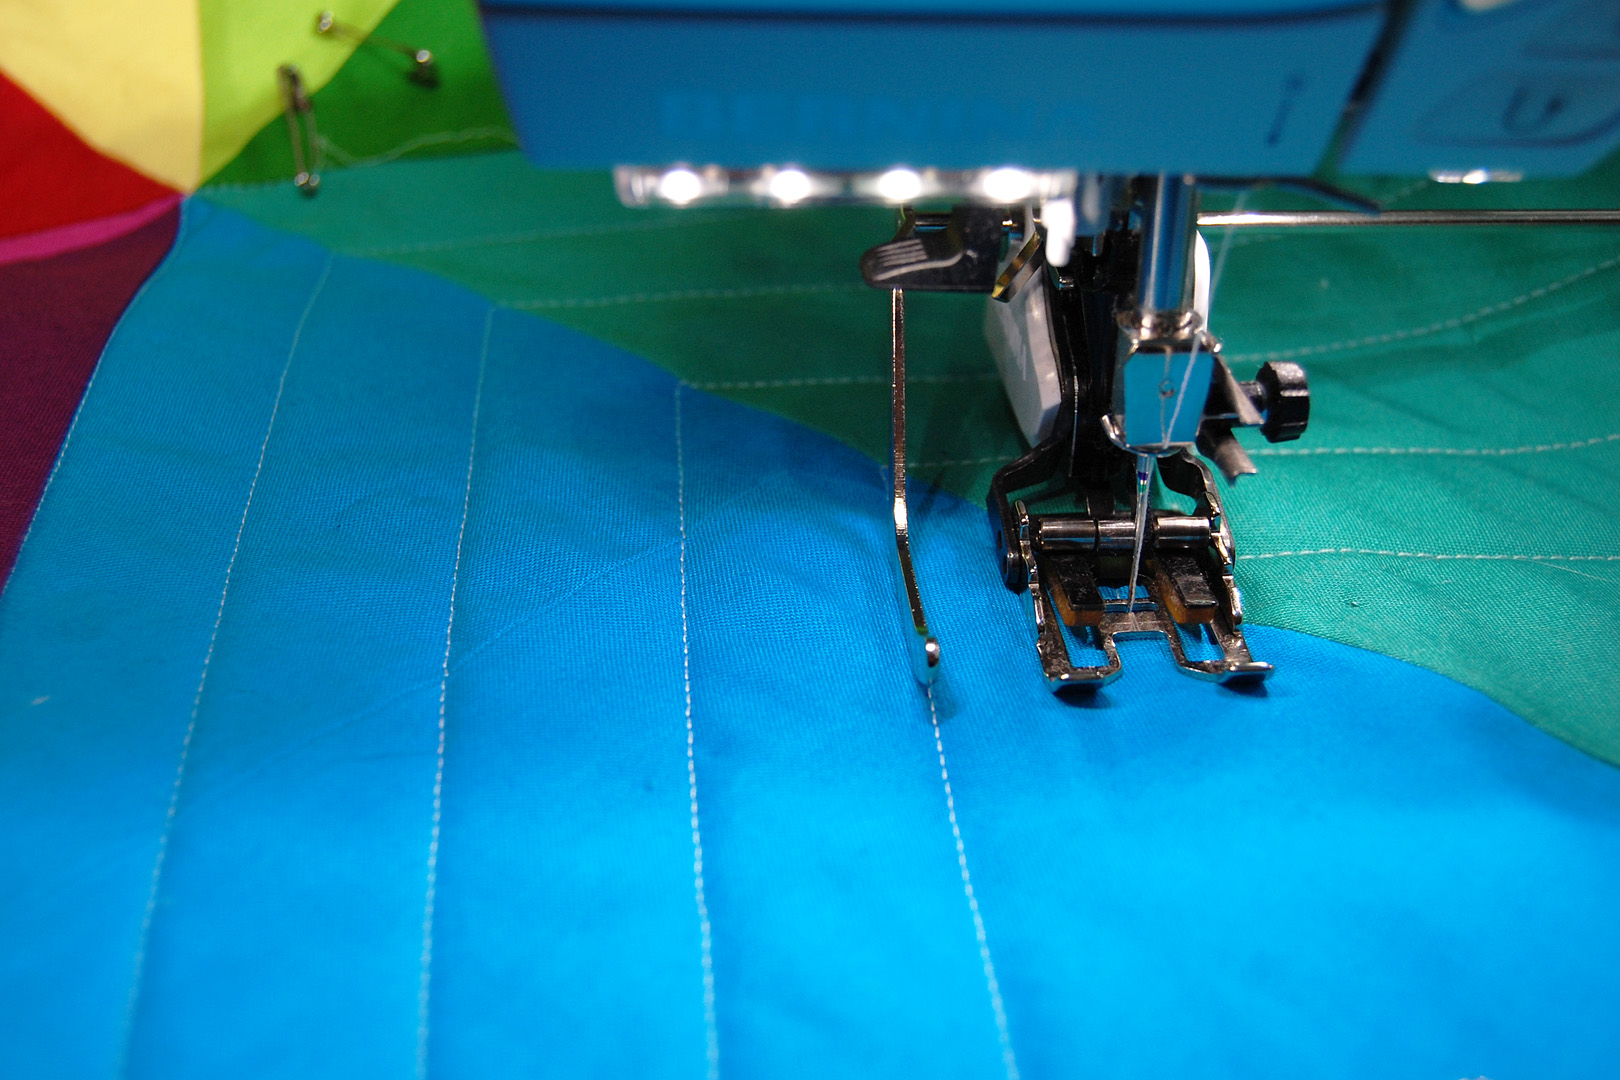
When I reach the center of the “X” pattern in the middle of the tree skirt I pivot at the seam and continue to quilt along the next line. This makes a “V” pattern pointing to the center of the tree skirt.
I keep on adding rows of quilt stitches, each time lining up the blade of the seam guide with the previous line of stitching. After finishing one section I moved on to the next until the entire tree skirt was quilted.
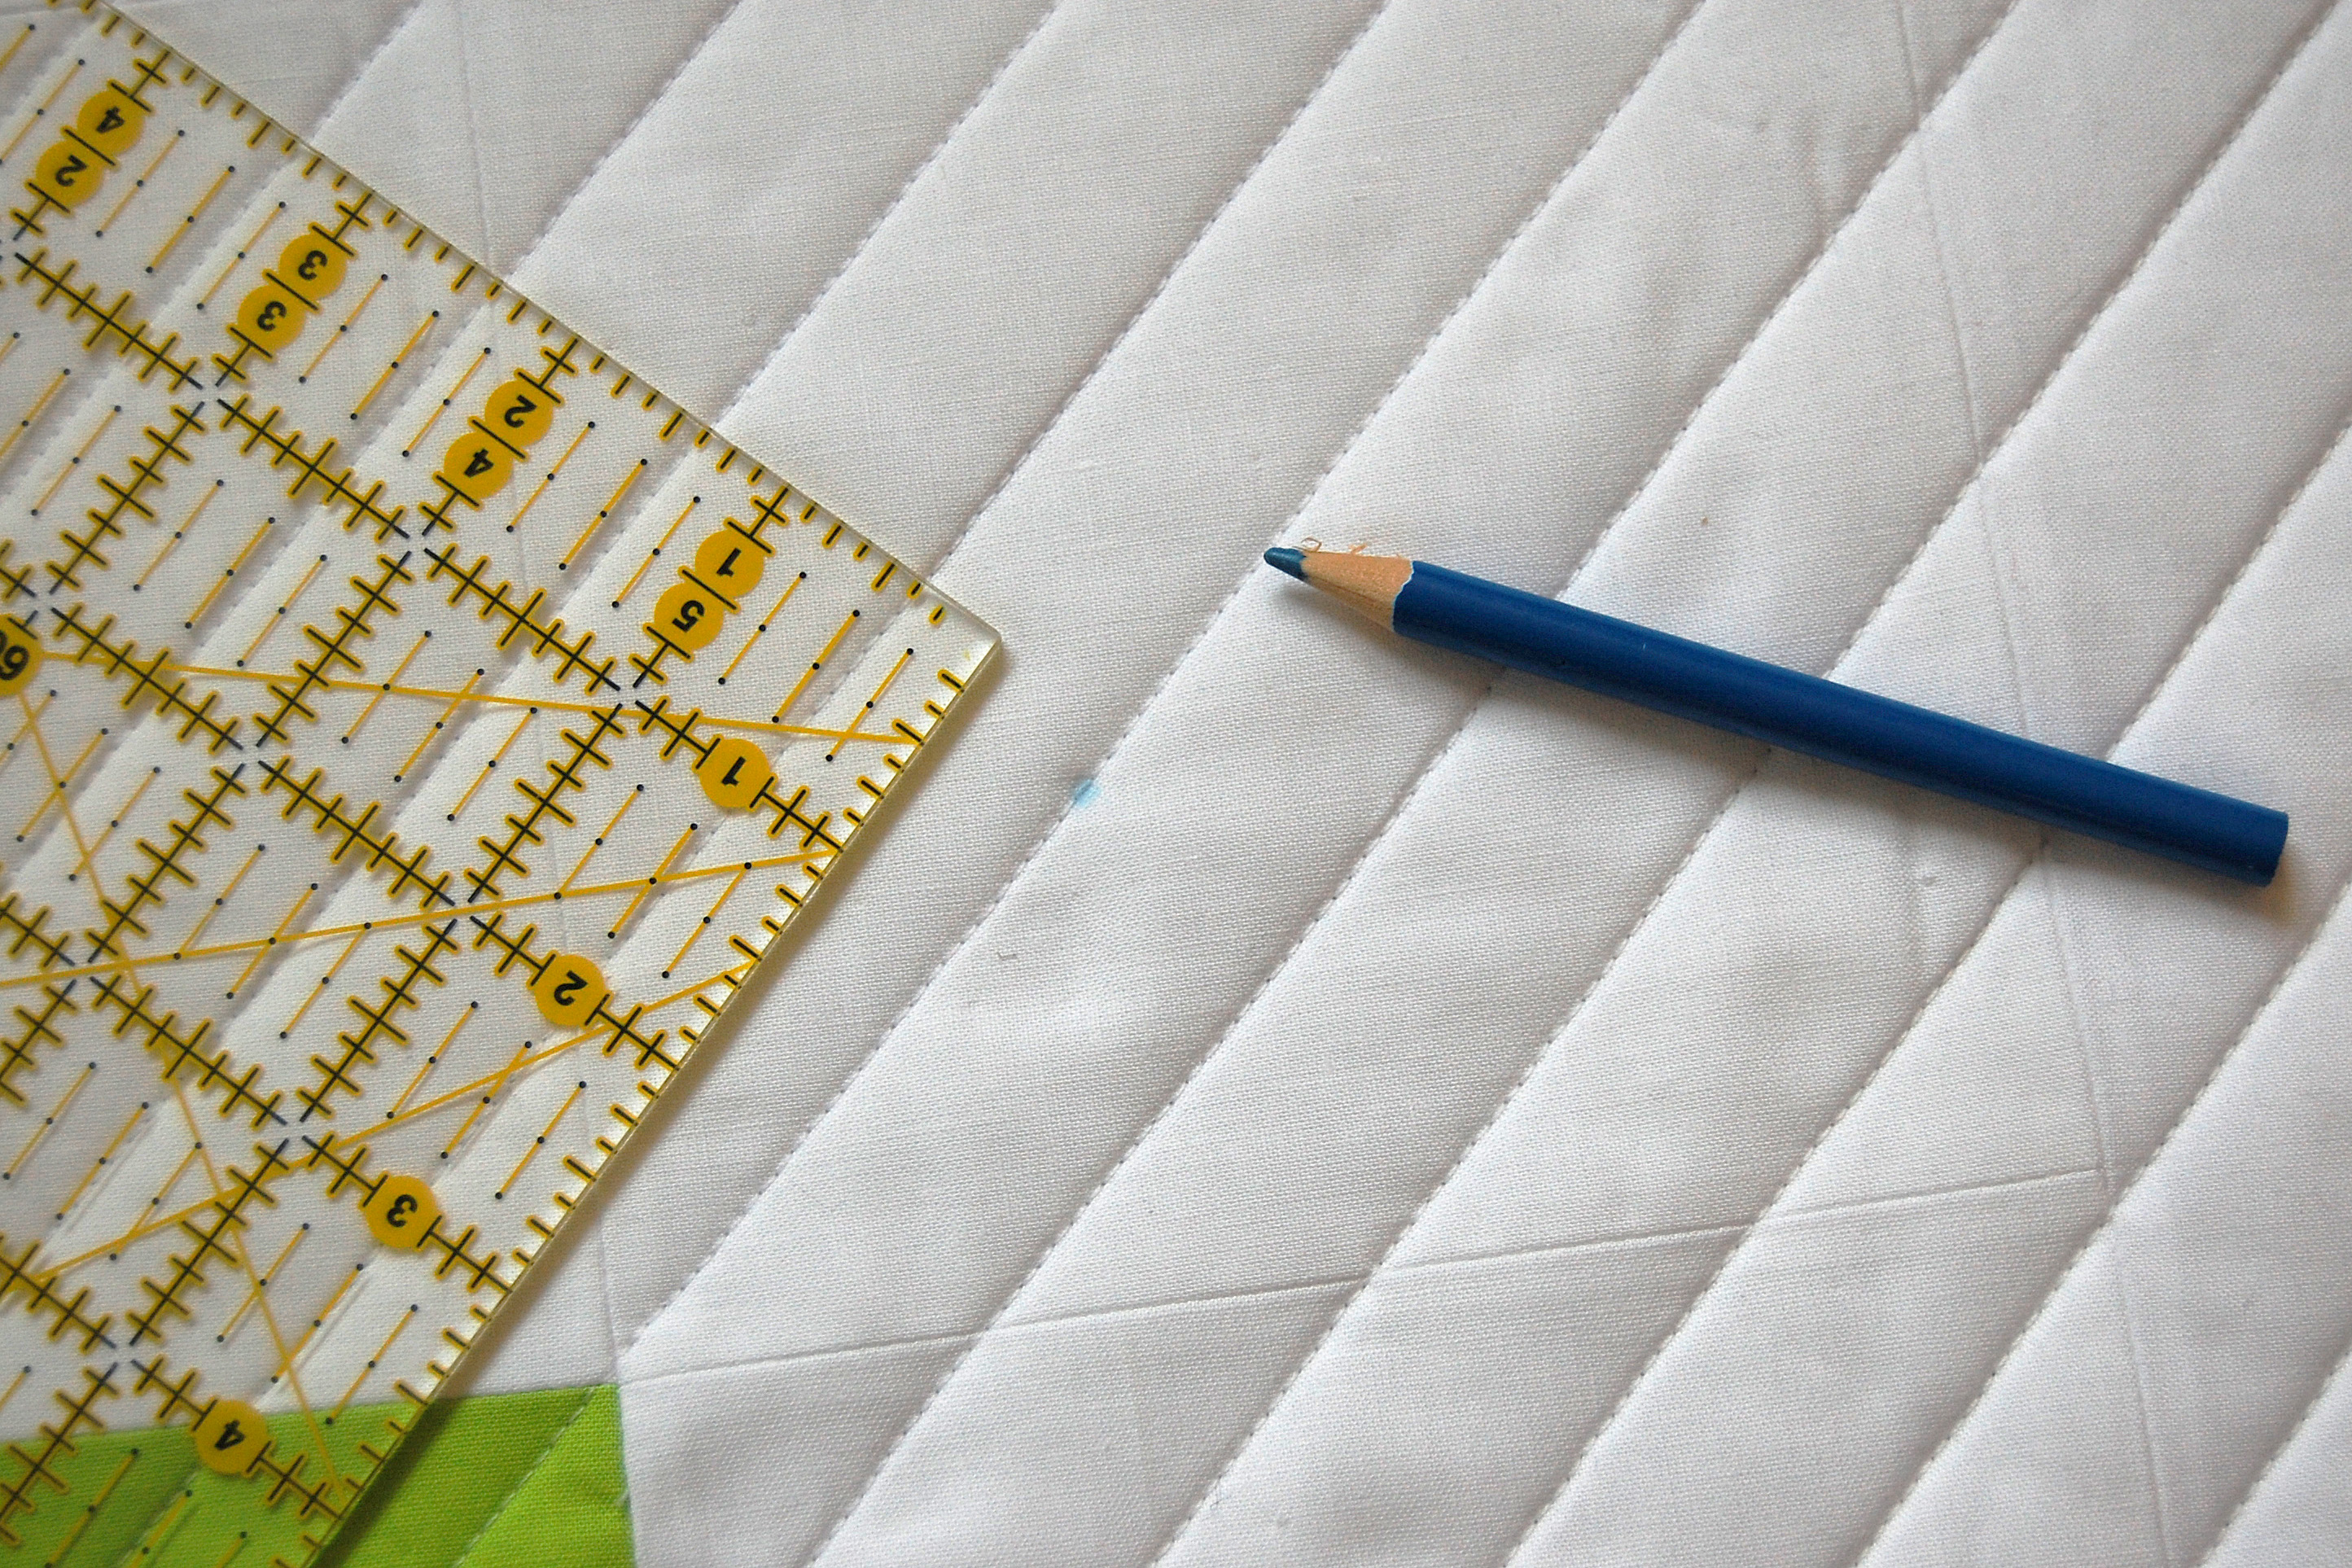
Now it is time to trim down the tree skirt into the 8 sided shape. Grab your 6″ x 24″ quilting ruler, rotary cutter, and a fabric marking pen or pencil for this step.
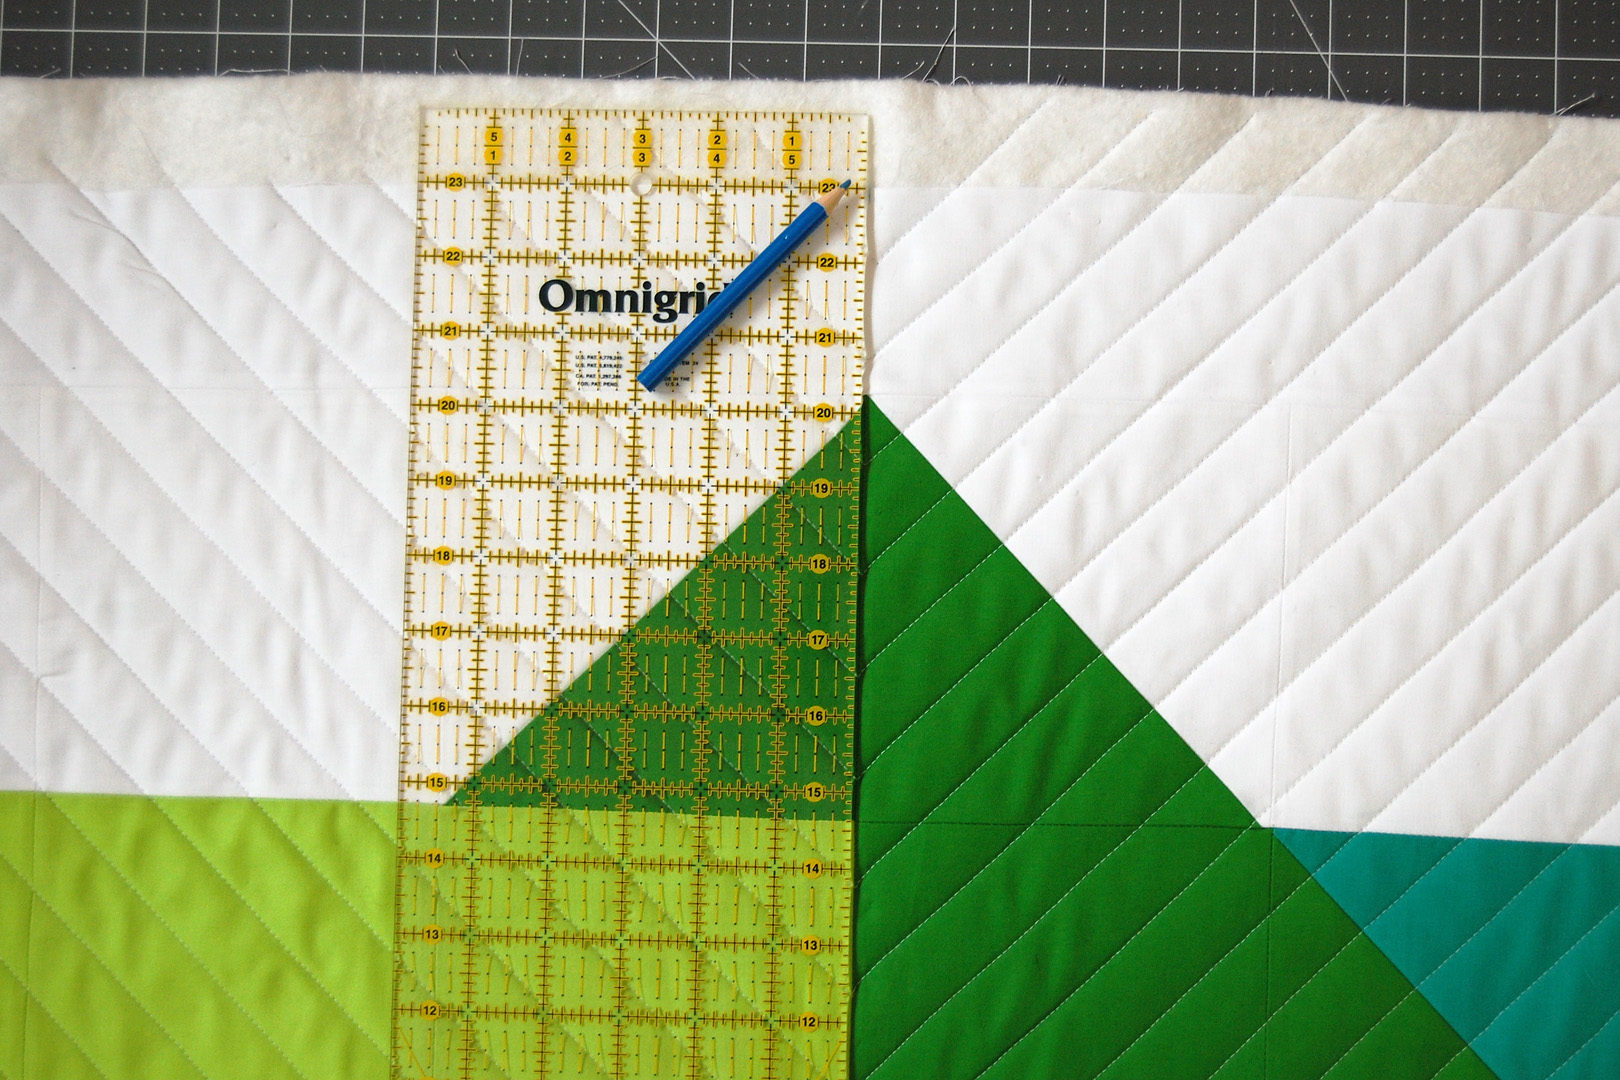
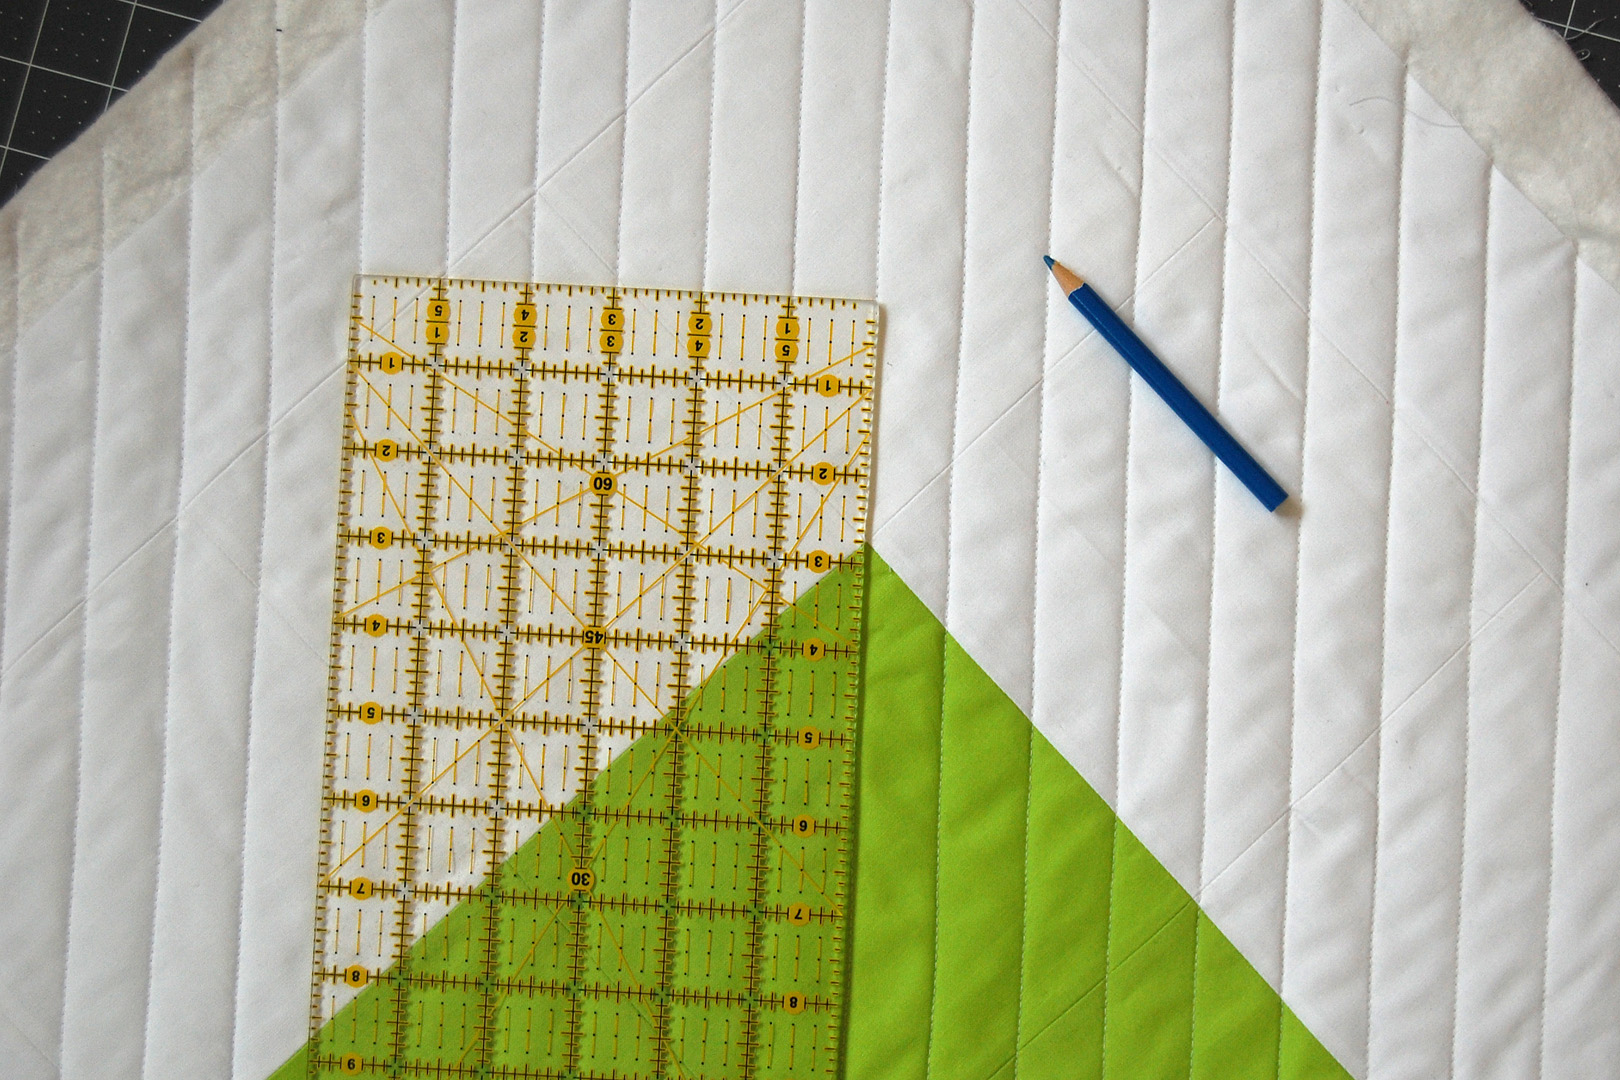
First, mark the sides of the tree skirt. Line up the edge of the ruler with the center seam all the way to the raw edges of the tree skirt.
Make a mark on the very edge of the fabric at this center point. Mark all four center points along the sides of the tree skirt in the same way.
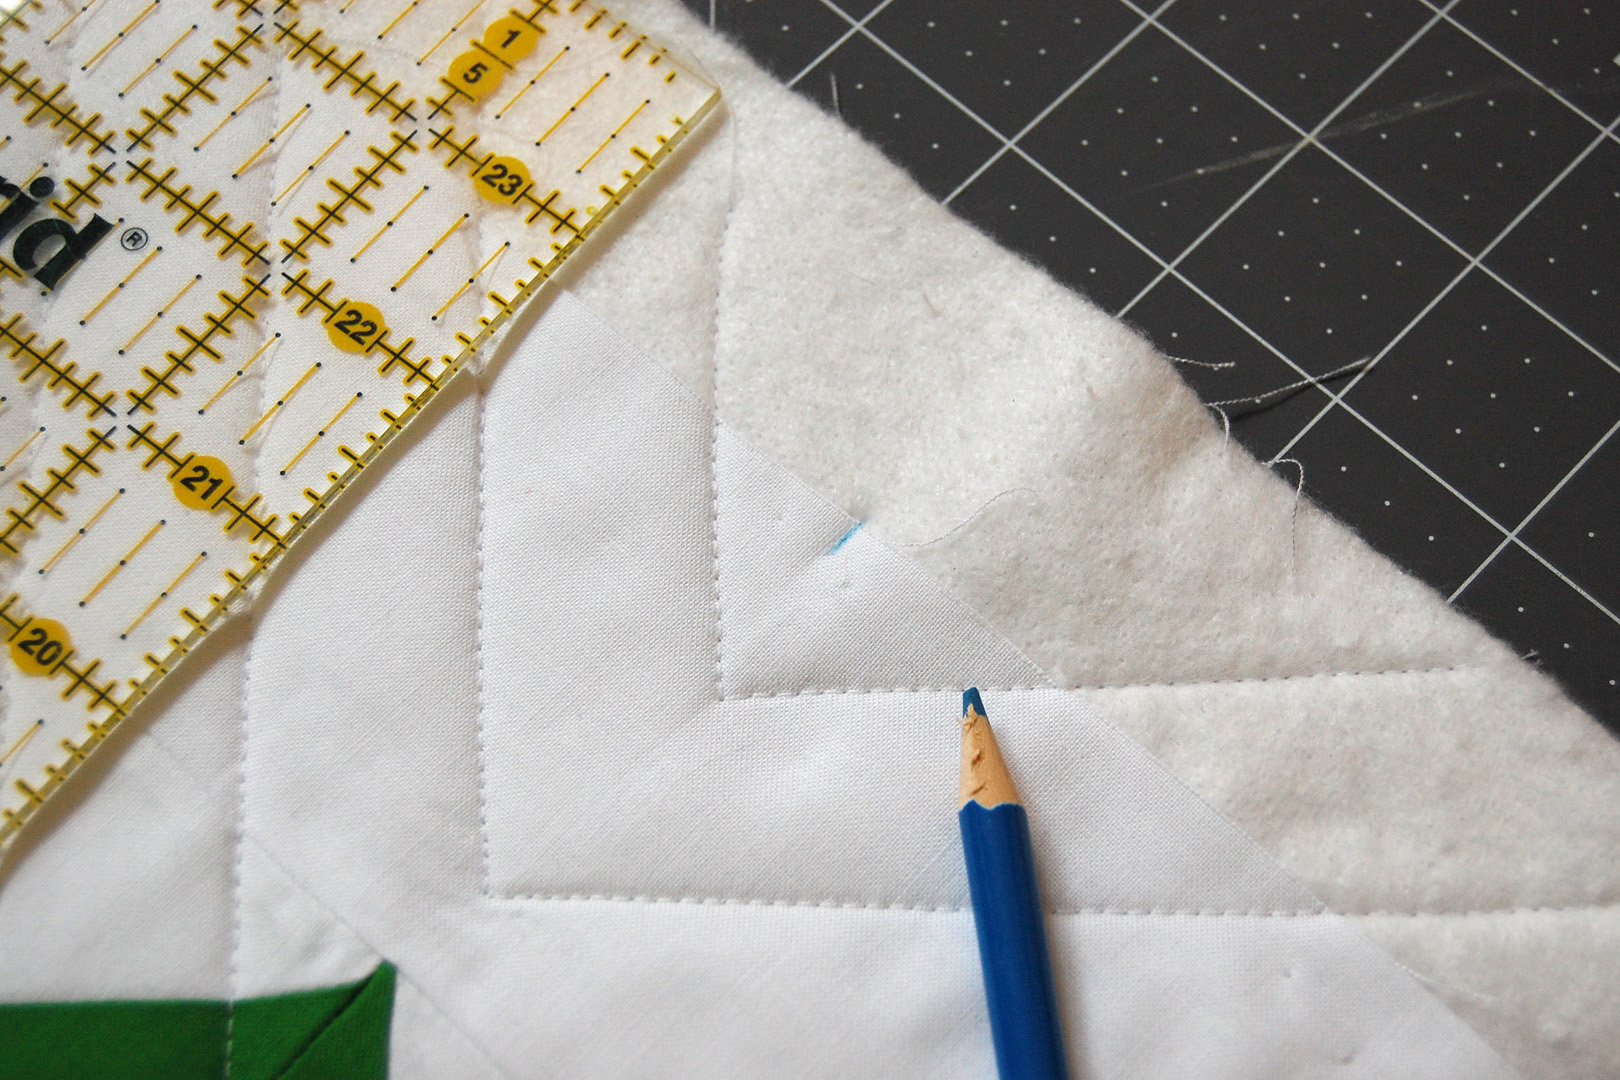
Now we will mark the corners of the tree skirt. Line up the edge of the ruler with the corner seams of the quilt where the colored patchwork meets the background color.
Make a mark exactly 2 3/4″ out from the point of the colored patchwork on the background fabric. Mark all 4 corners 2 3/4″ away from the point of the colored patchwork in the background fabric.
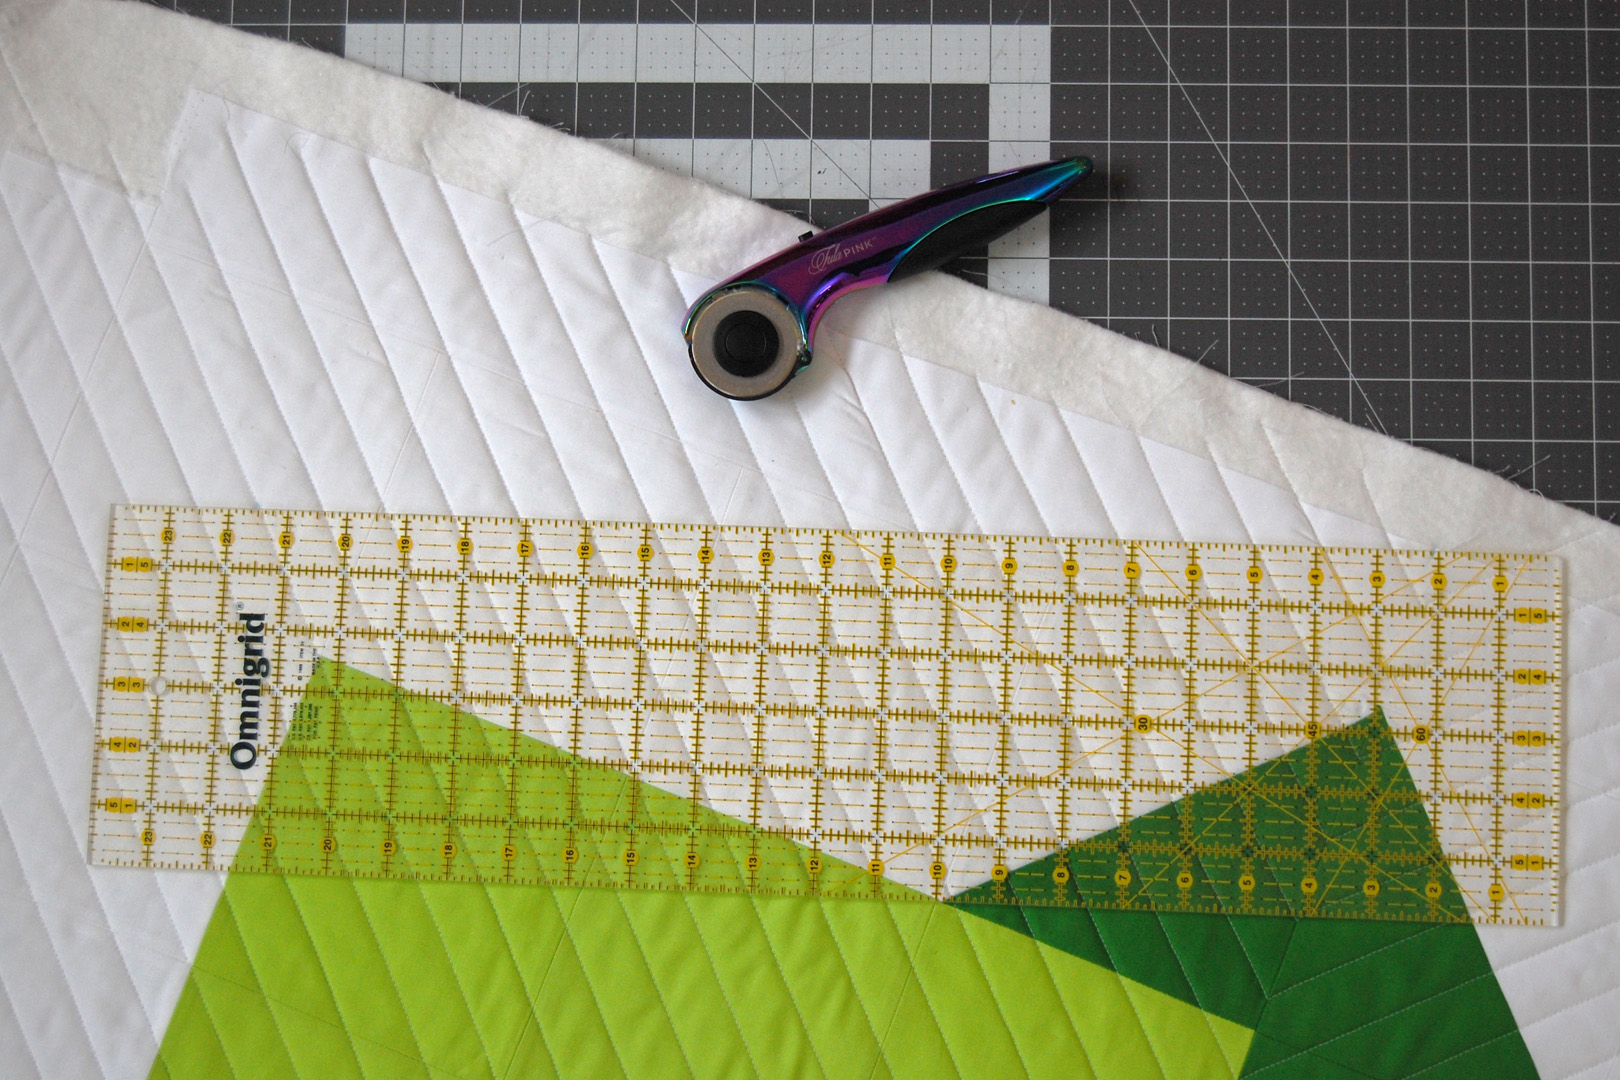
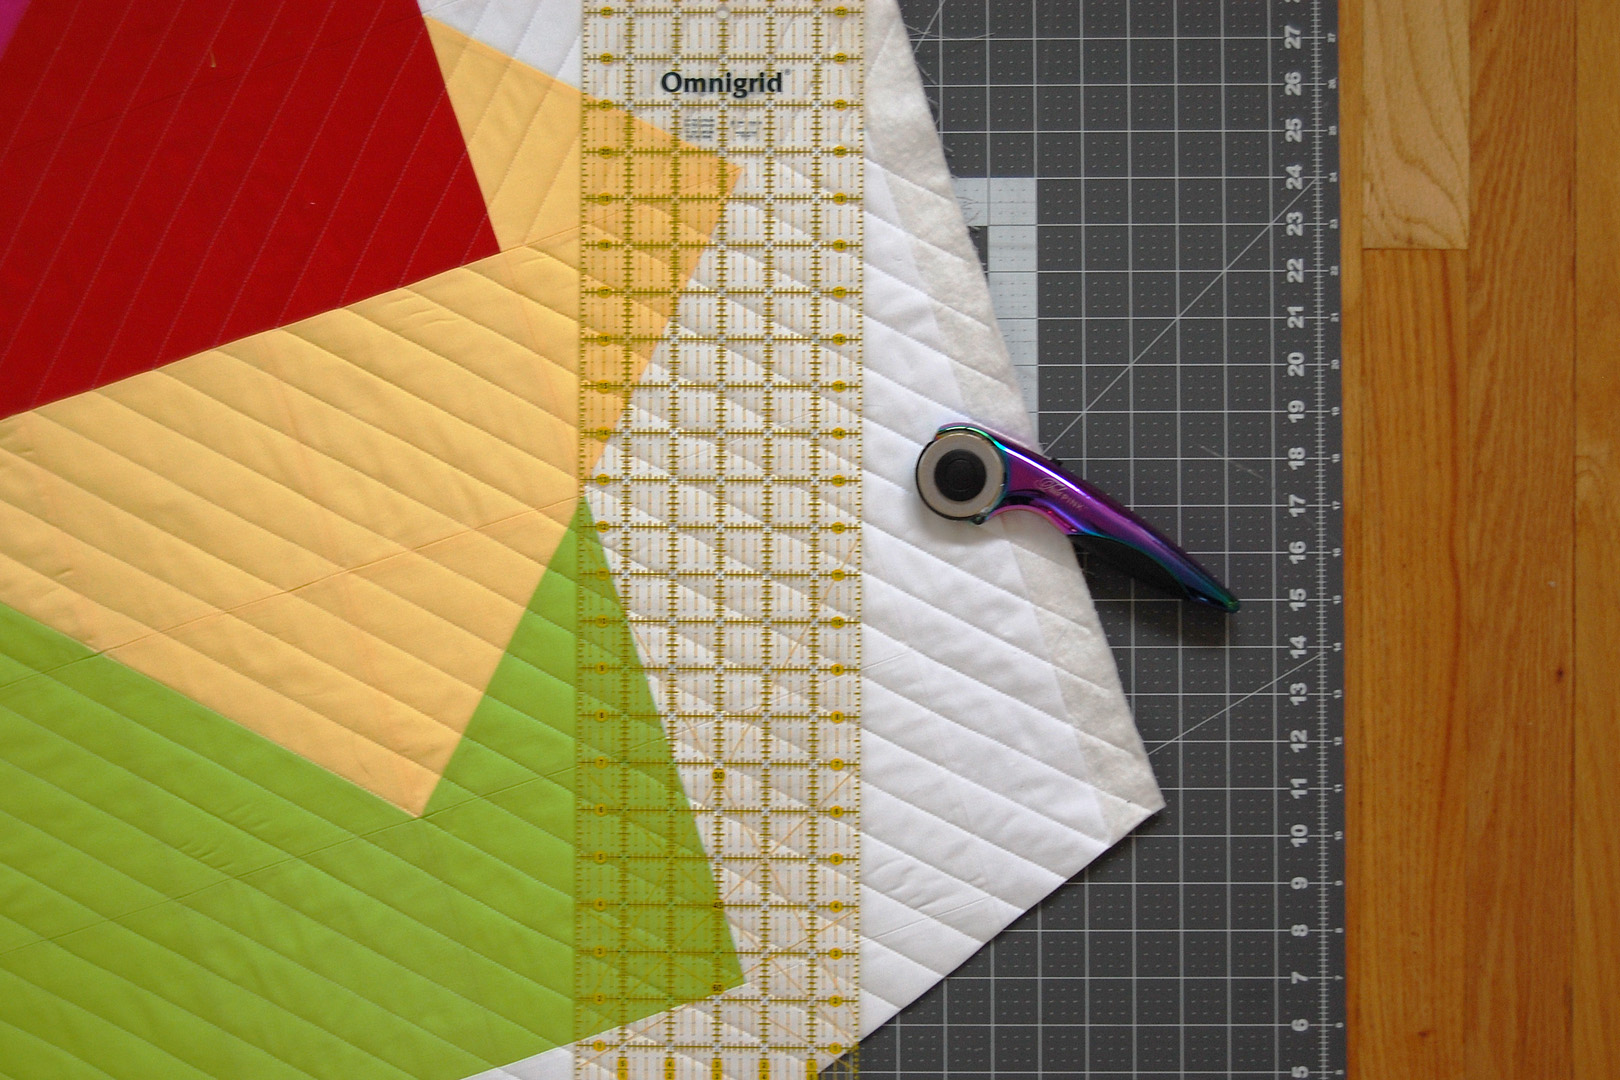
To trim the edges of the tree skirt you will be connecting the dots around the edge. Line up the ruler edge with one center mark on the side of the tree skirt and with the mark at the closest point of the tree skirt.

Trim away the extra. Move the ruler to match up the next set of points and continue to trim all the way around the tree skirt.
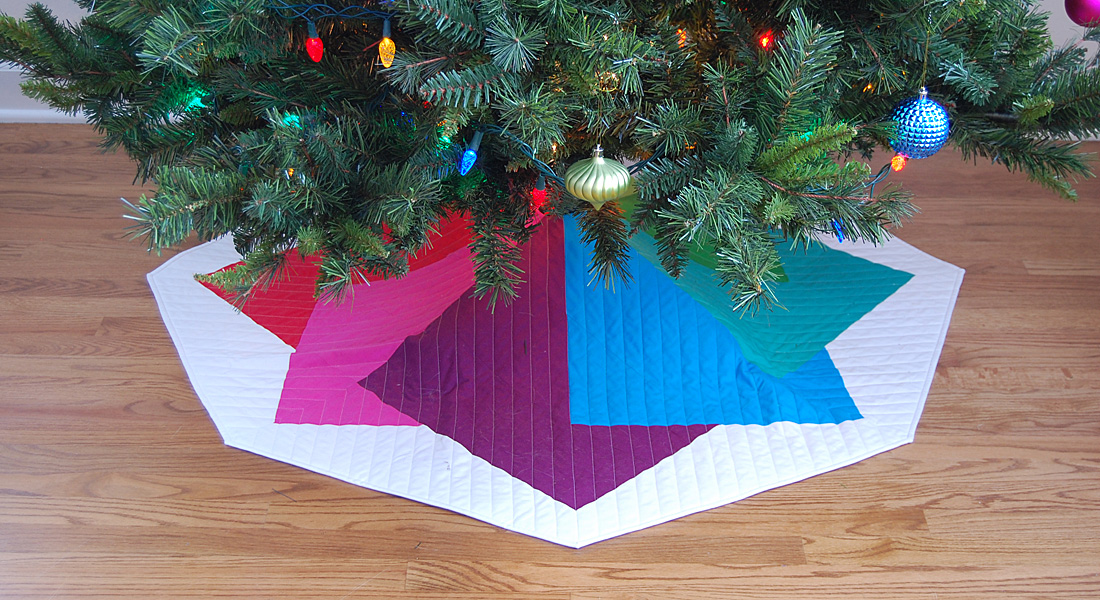
The result is an 8 sided shape surrounding the tree skirt.
Center Bias Facing and Edge Binding
Next we will add a center hole for the artificial tree trunk, finish it with a facing, and bind the outer edges of the tree skirt. I use the double-fold method to bind the edges of the tree skirt, and you can find a complete step-by-step to creating and attaching the binding here.
- From the remainder of the background fabric cut enough binding strips at 2 1/2″ wide to create a minimum of 172″ (almost 5 yards) of binding. See more about preparing binding at the tutorial link above.
- Cut one bias strip 14″ long from either the backing or background fabric to create the center hole facing.

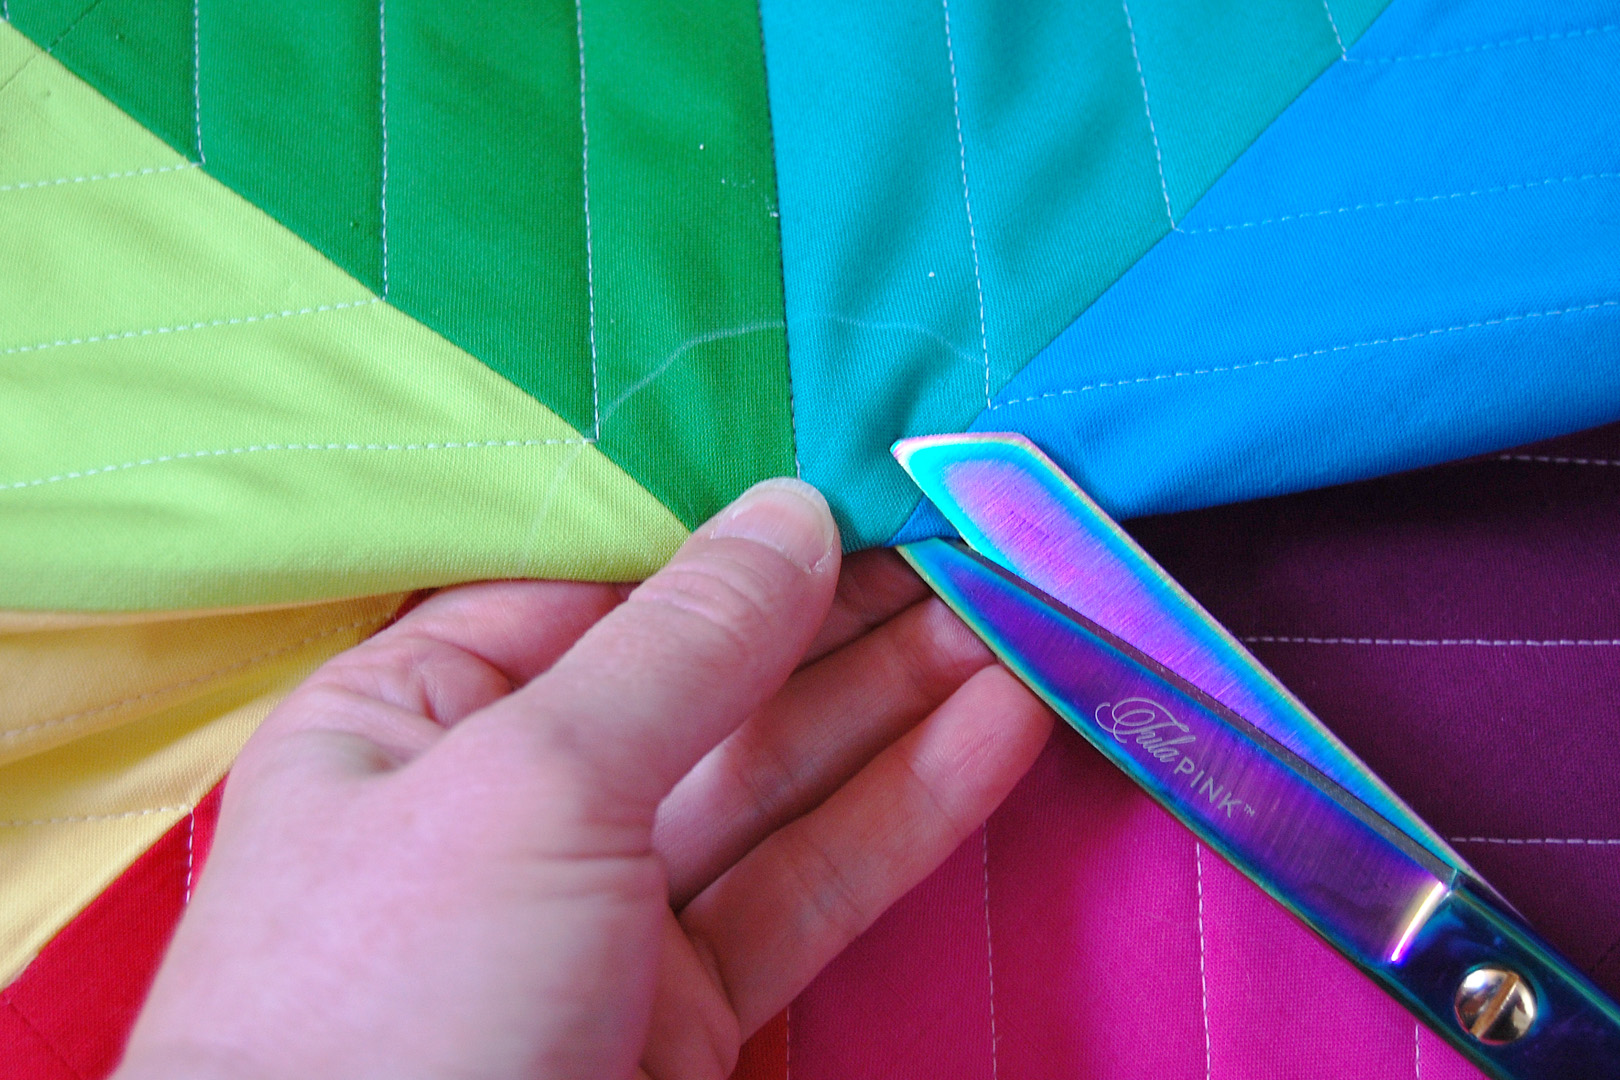
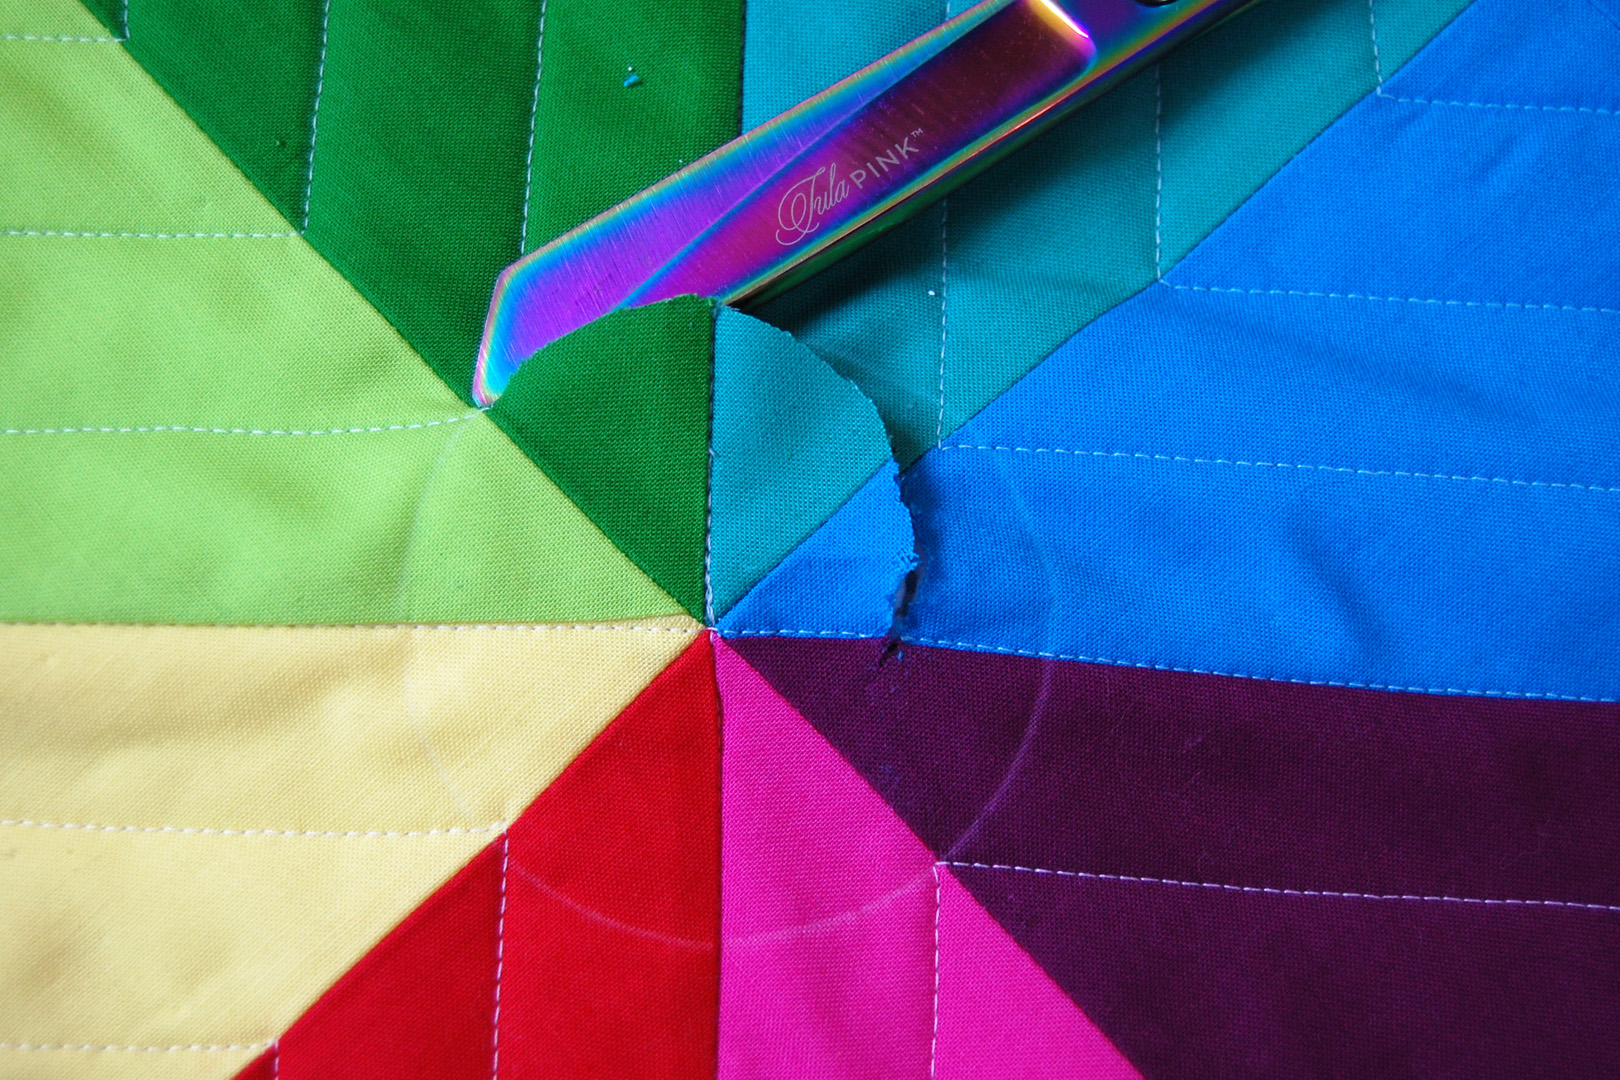
Mark a 3″ diameter circle at the center of the tree skirt with a fabric marking pen or pencil. I trace an old jar lid to create the circle shape.

Carefully cut out the circle shape. Fold the center of the tree skirt in half and snip into the center to start cutting the circle.
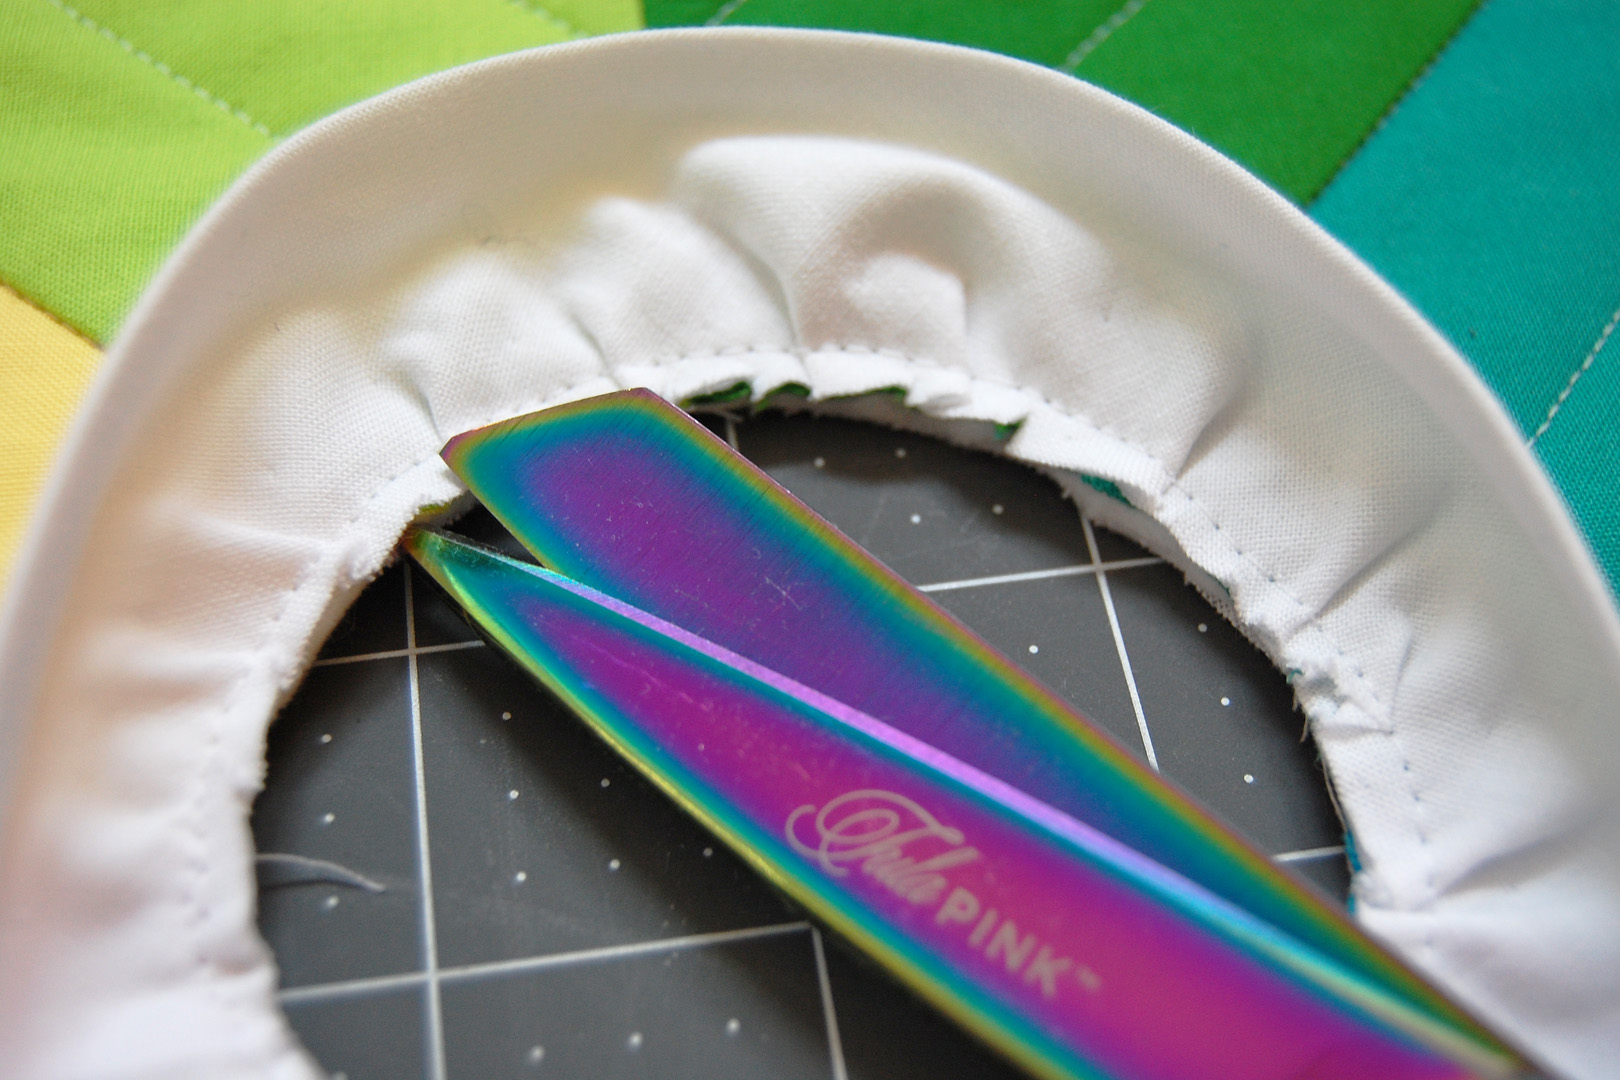
Fold the 14″ bias strip in half and press well. Fold one edge of the strip over about 1/2″ and press in place.

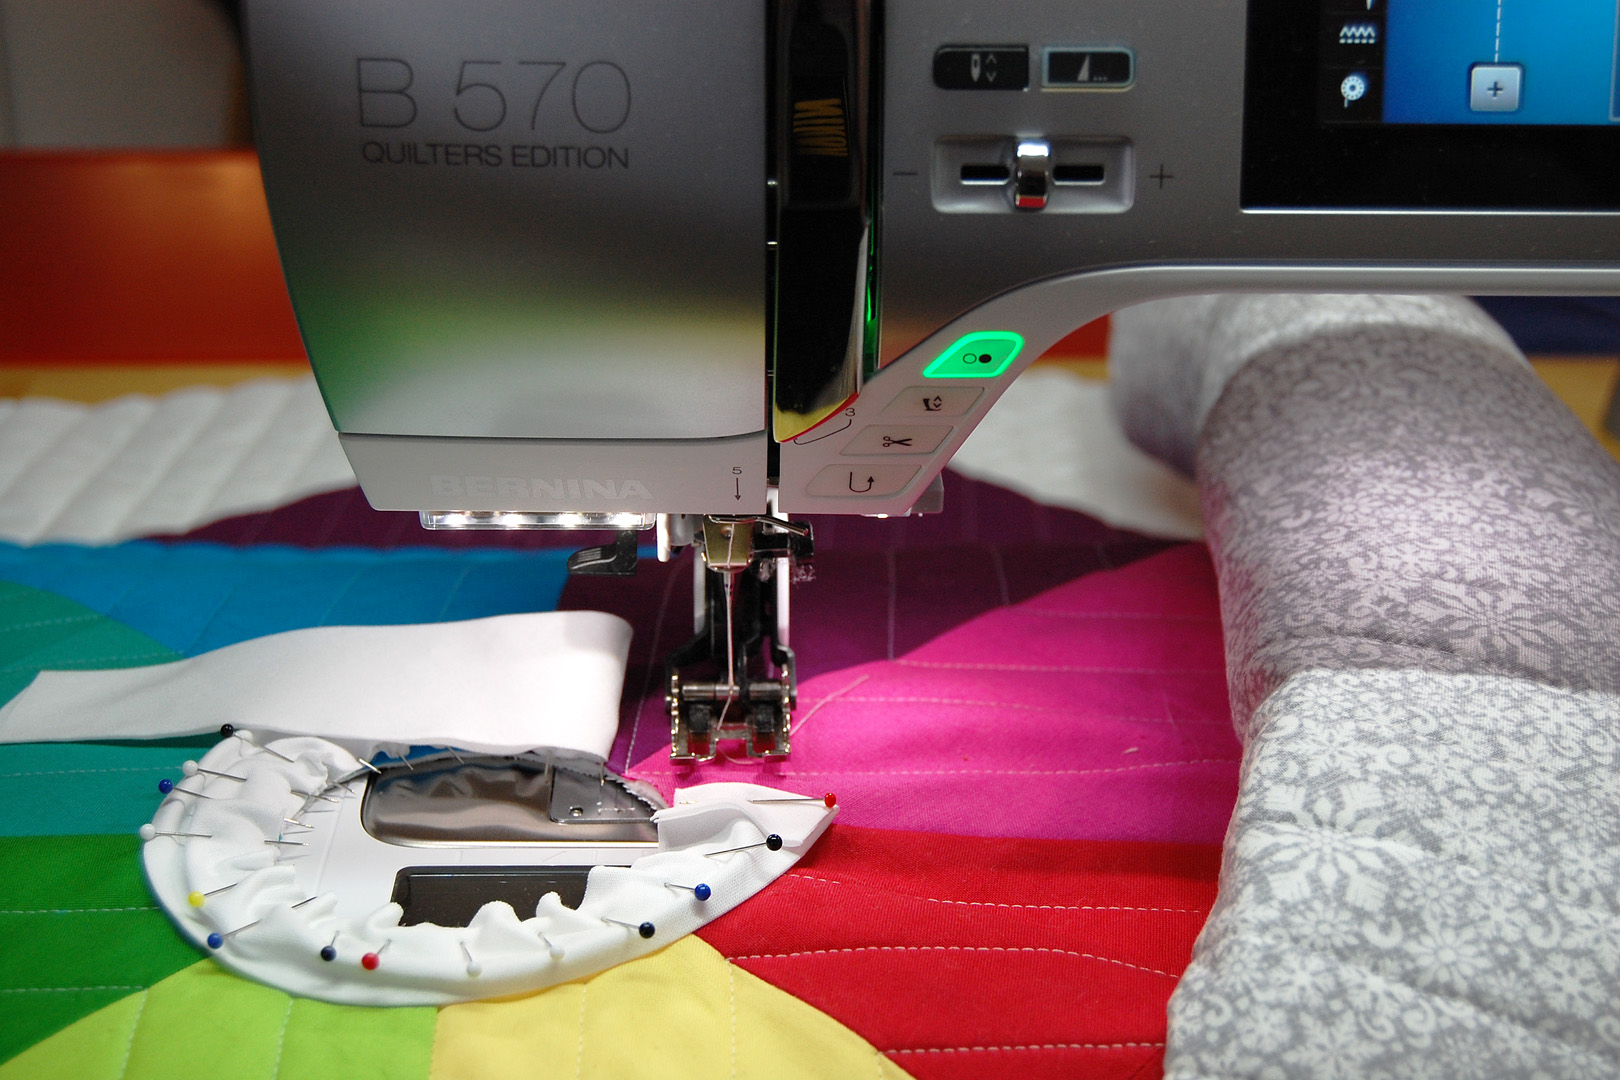
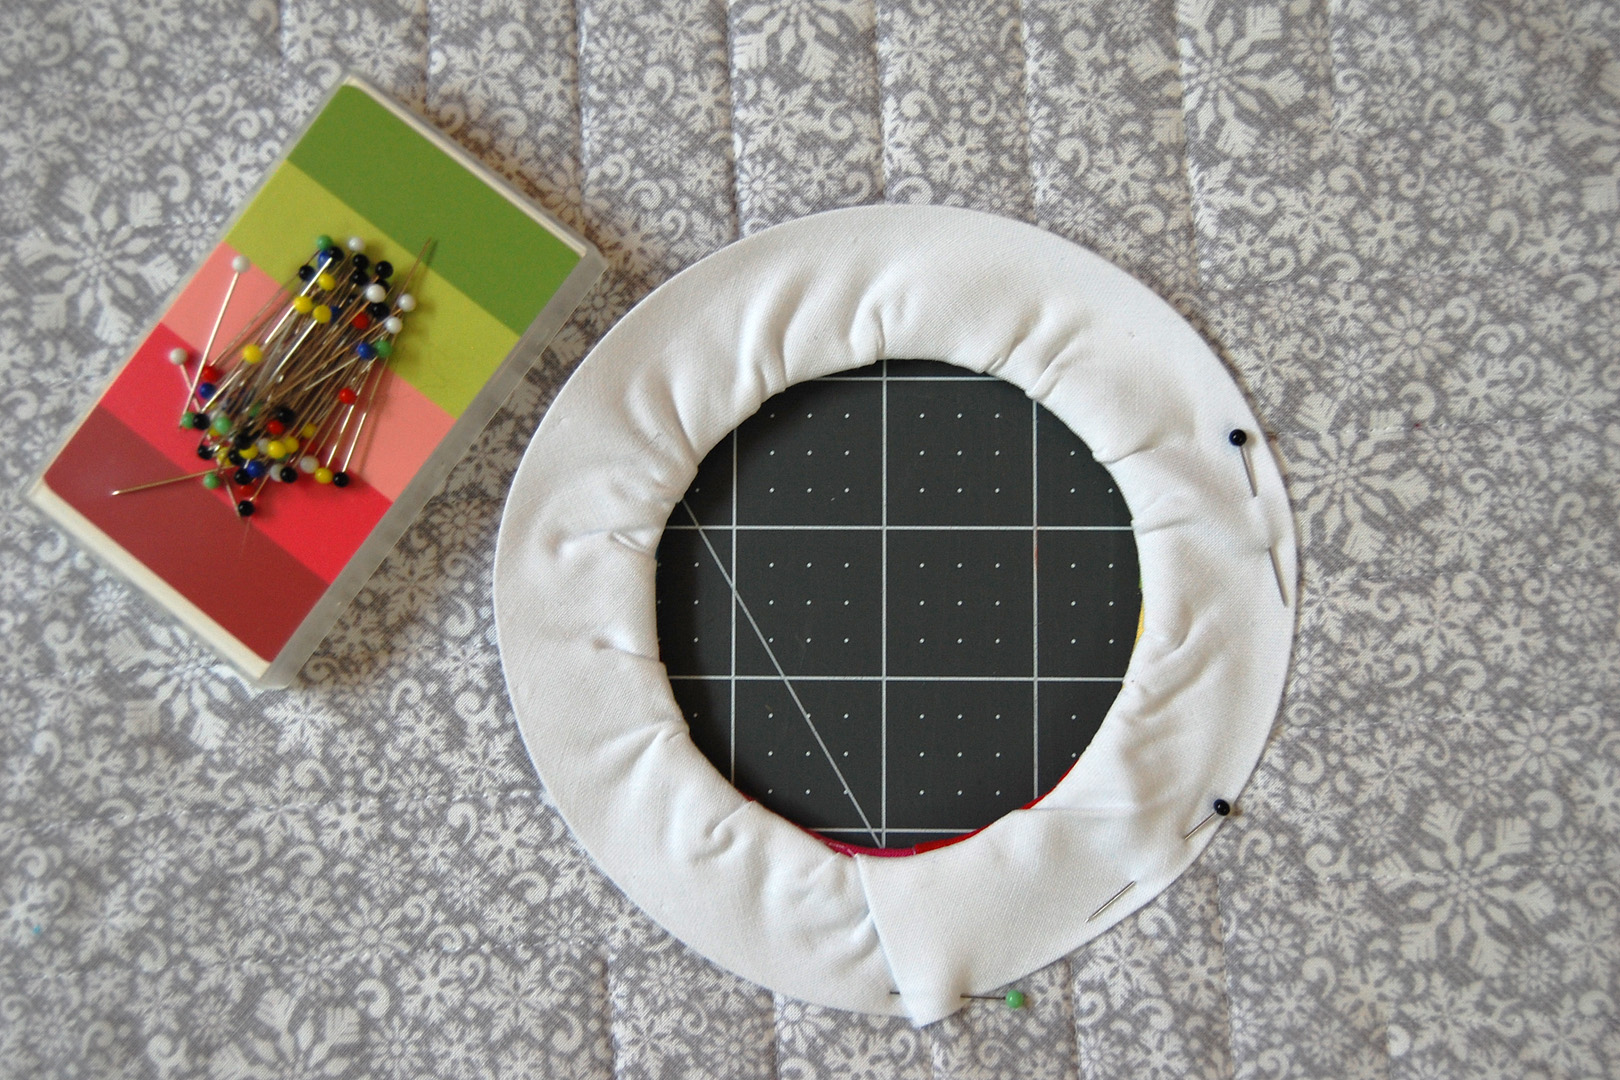
Starting with the folded over edge of the bias strip, line up the raw edges with the edge of the cut circle and pin in place.
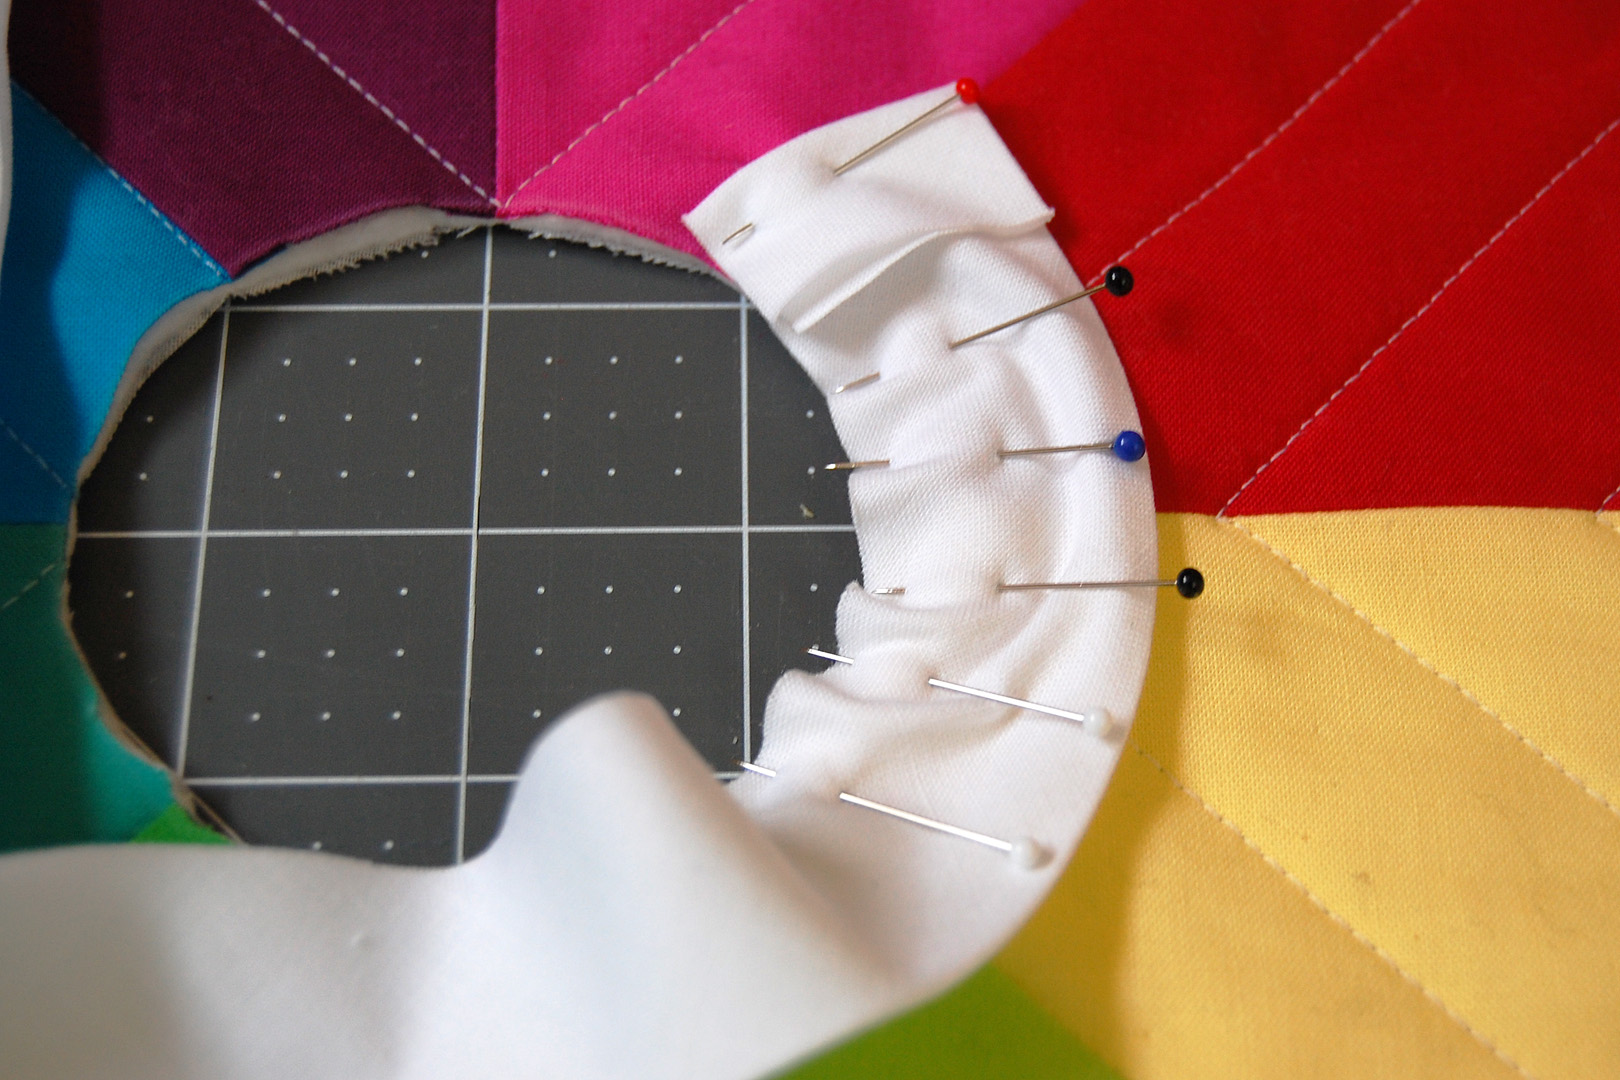
Pin around the opening. There will be puckers when you are pinning, try to distribute the puckers evenly between the pins as you go.
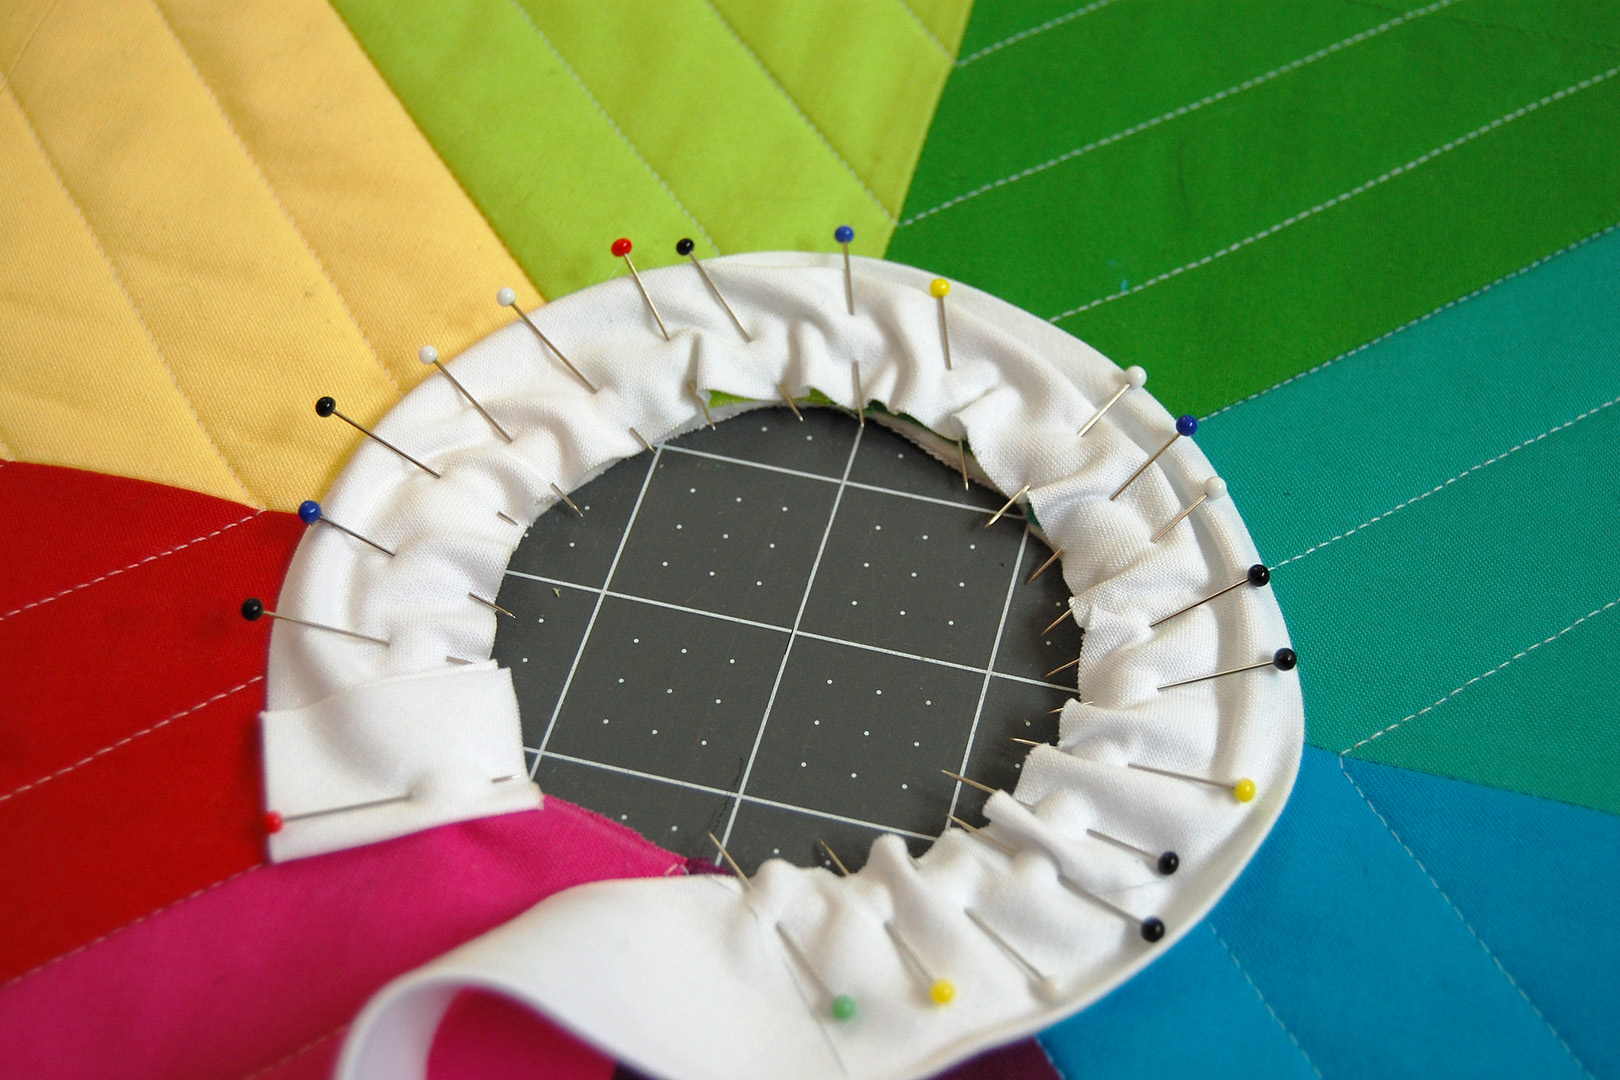
Stop pinning about 2 inches before reaching the starting point at the folded over edge.
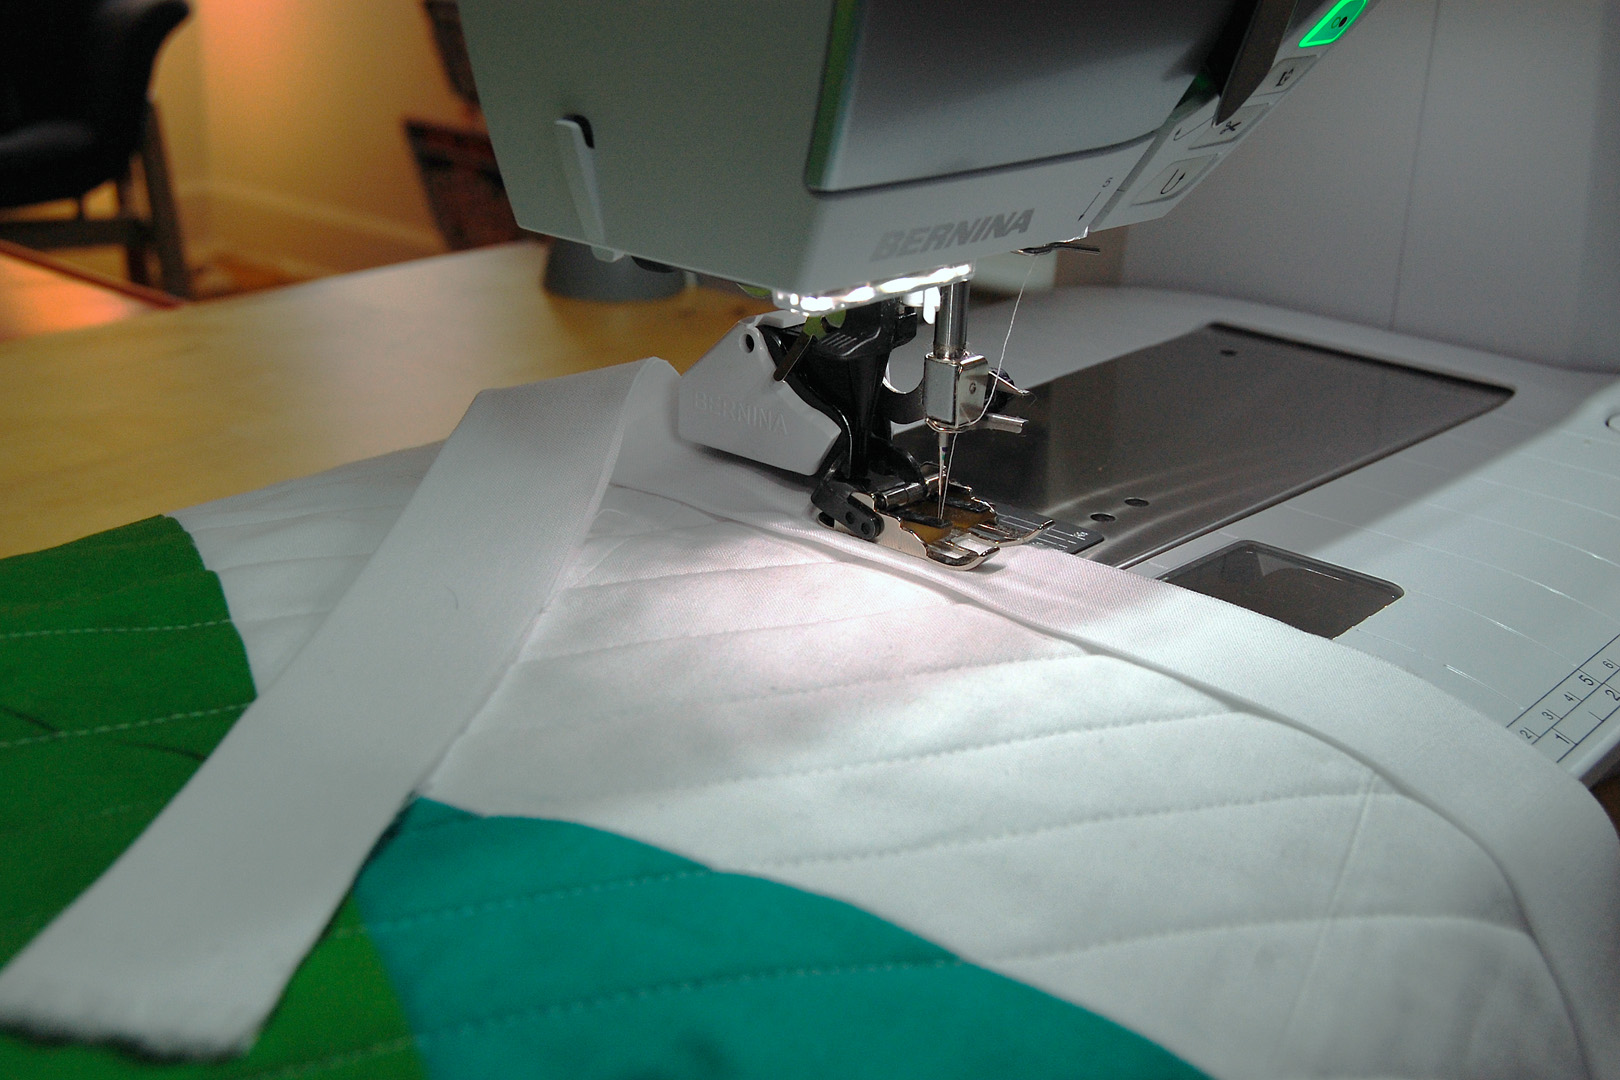
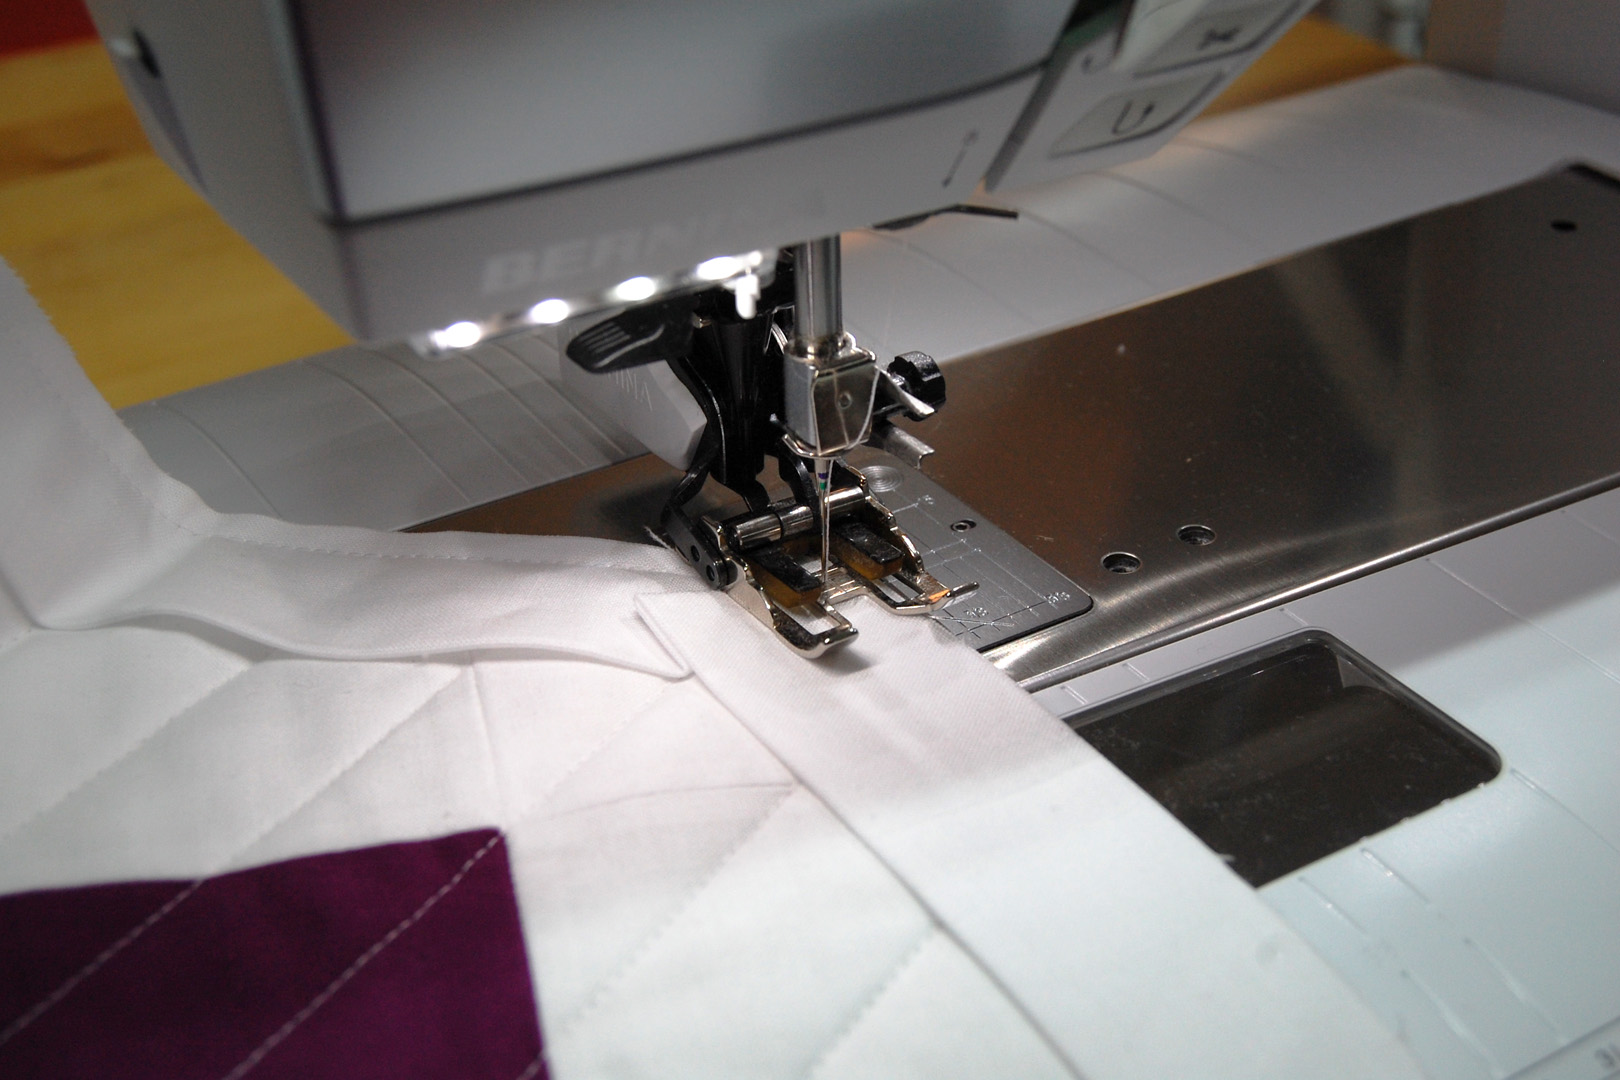
Remove the seam guide from the Walking foot to sew the facing and binding. Begin sewing at the folded edge of the facing 1/4″ from the raw edge.
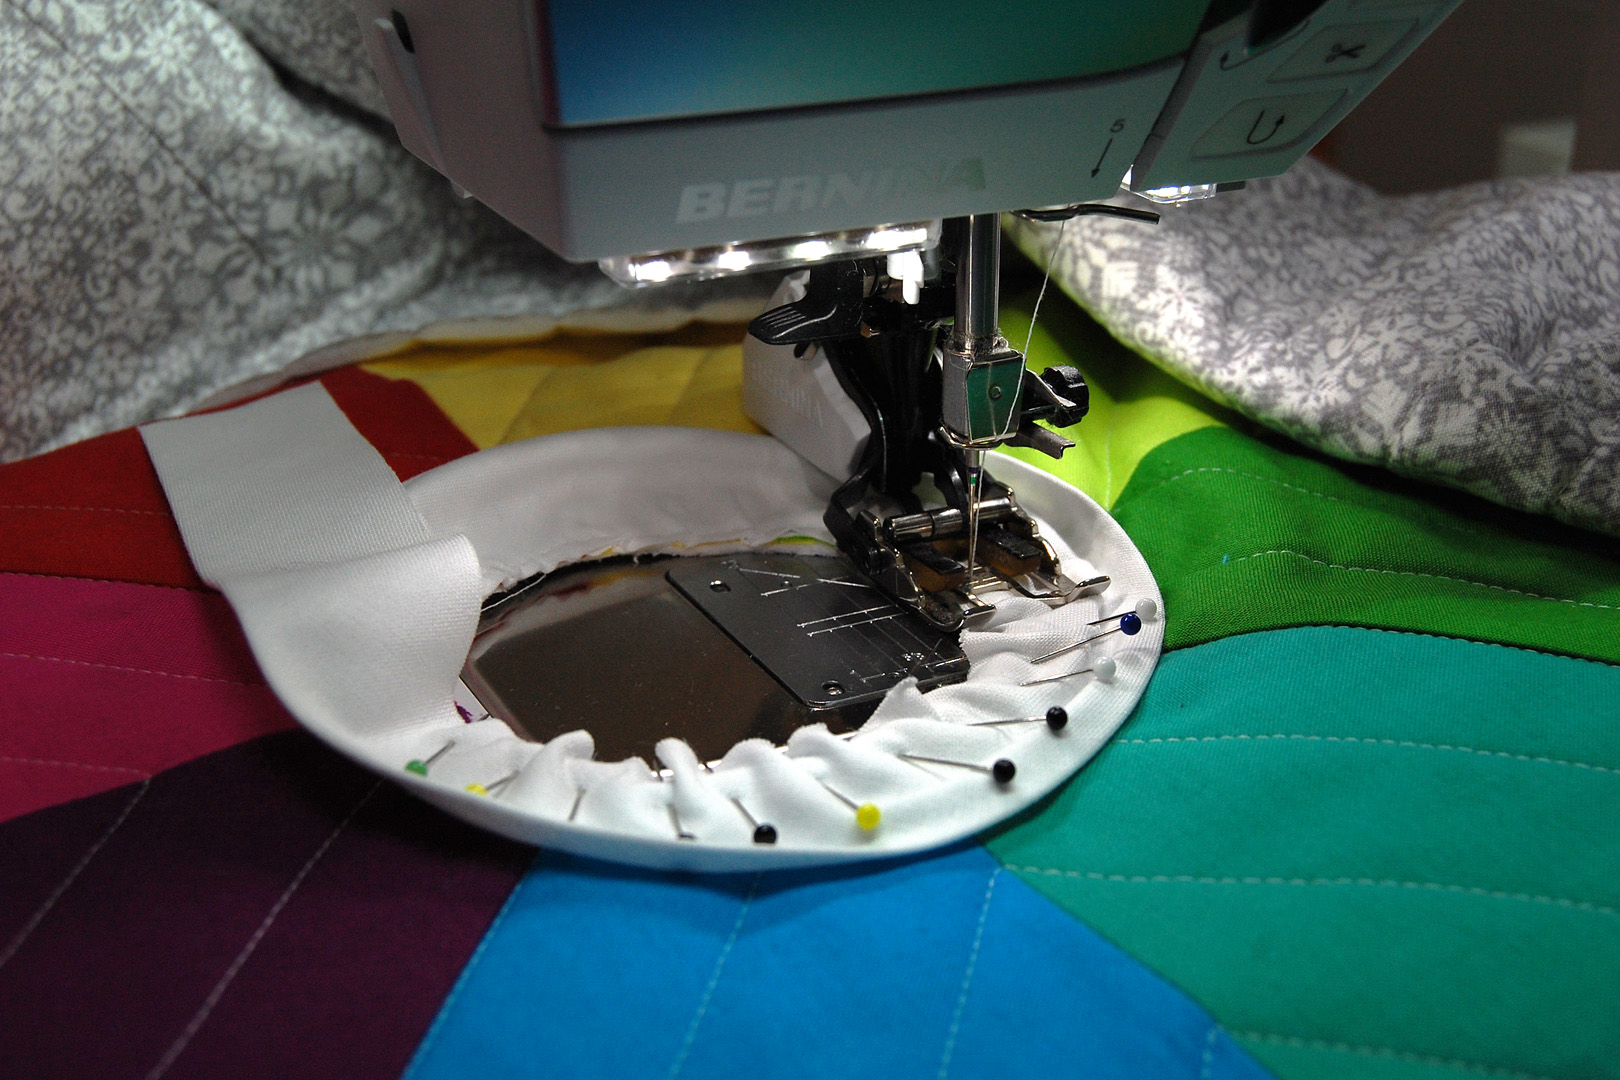
Sew slowly and be sure to remove the pins before sewing over them. Stop and pivot around with the needle down through the fabric if you need to adjust the gathers.
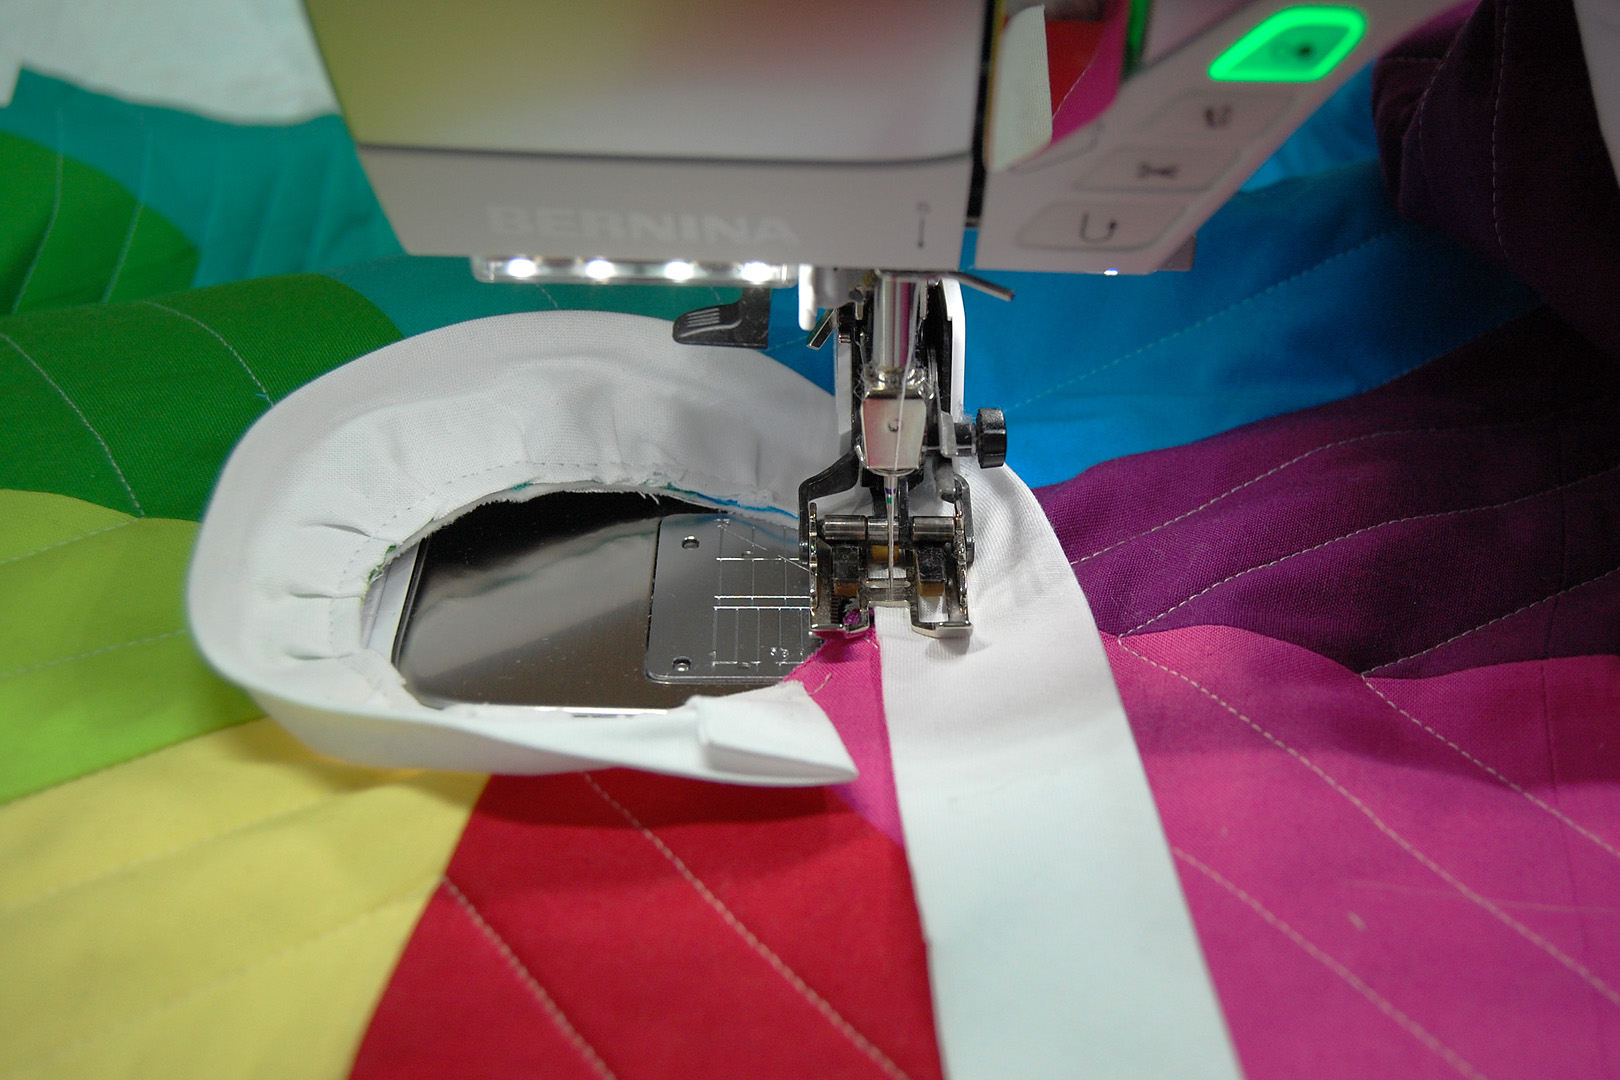
Stop sewing where the pins end and backstitch a few stitches before removing the tree skirt from the sewing machine.
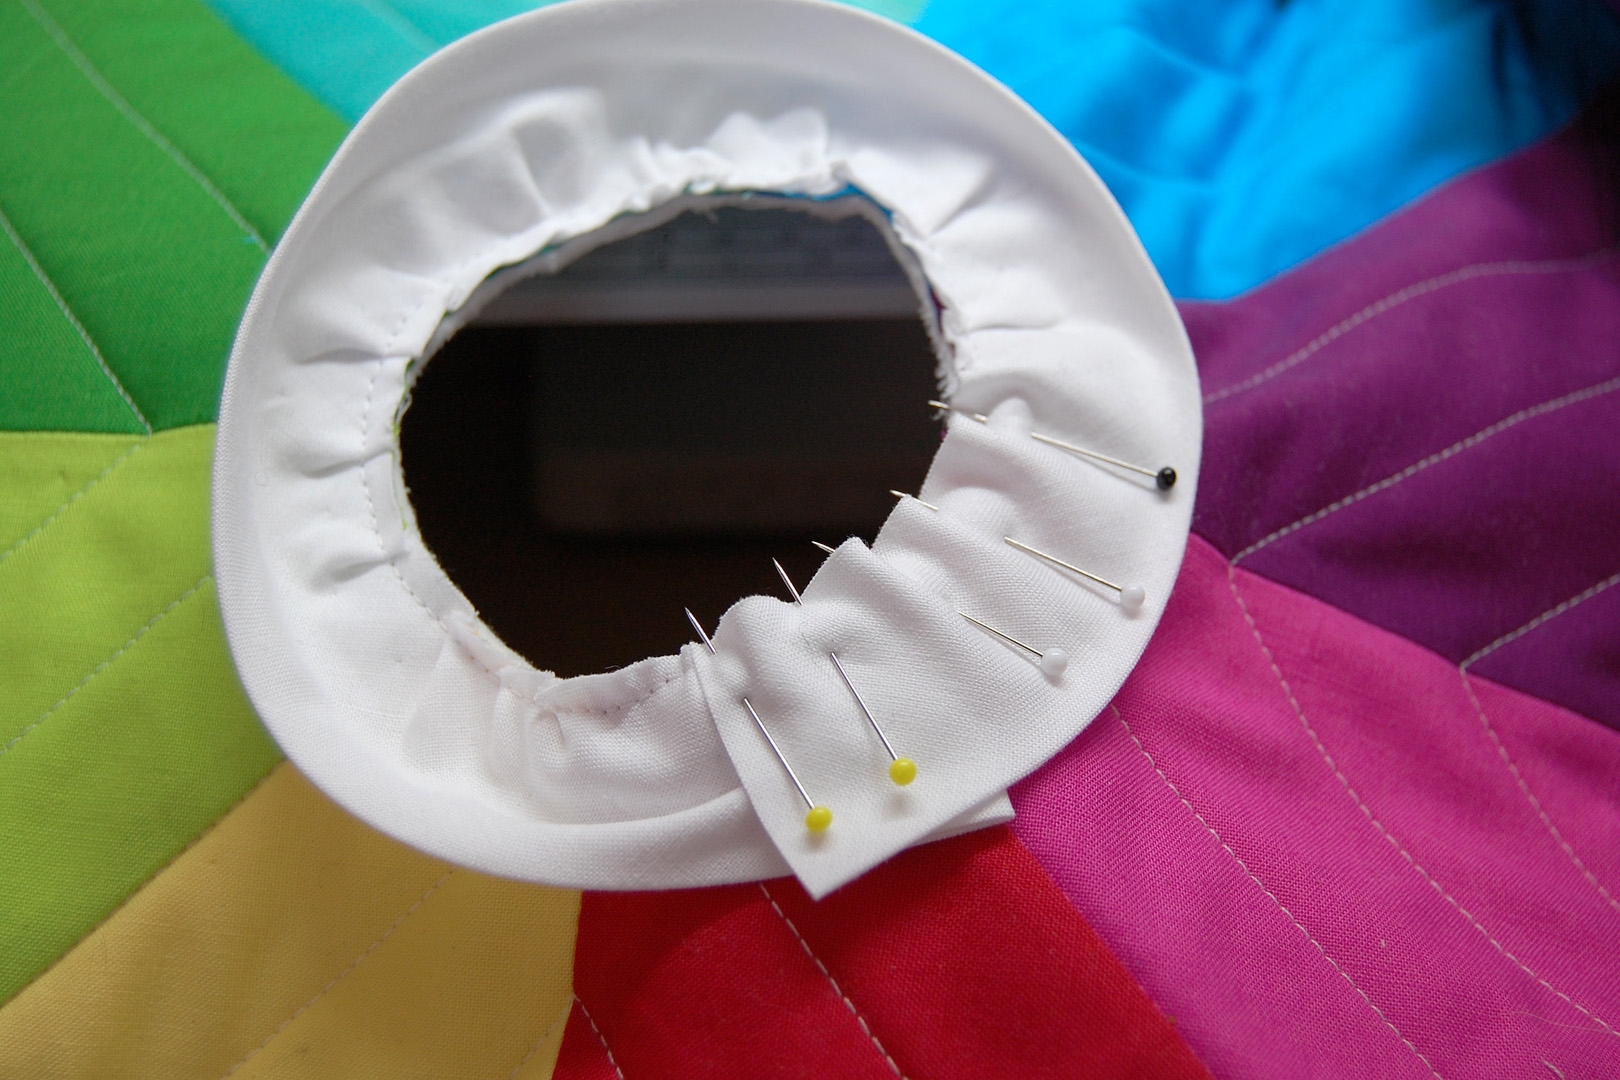
Pin the remainder of the facing over the folded edge and trim off the extra about 1″ past the overlapping facing. Stitch the last part of the facing in place.
Before turning the facing be sure to snip into the seam allowance all around the facing close to the stitching. This will help the seam allowance lay smoothly after turning the facing.
Turn the facing to the back side of the tree skirt and press well. Pin around the edge and hand-stitch the facing to the backing of the tree skirt.
After preparing your binding, begin stitching the binding to one straight edge of the tree skirt leaving a tail of 10″ – 12″ long. Sew with a quarter-inch seam.
Even though the corners are not 45 degree angles you can create mitered edges in the same way, read more about this technique here.
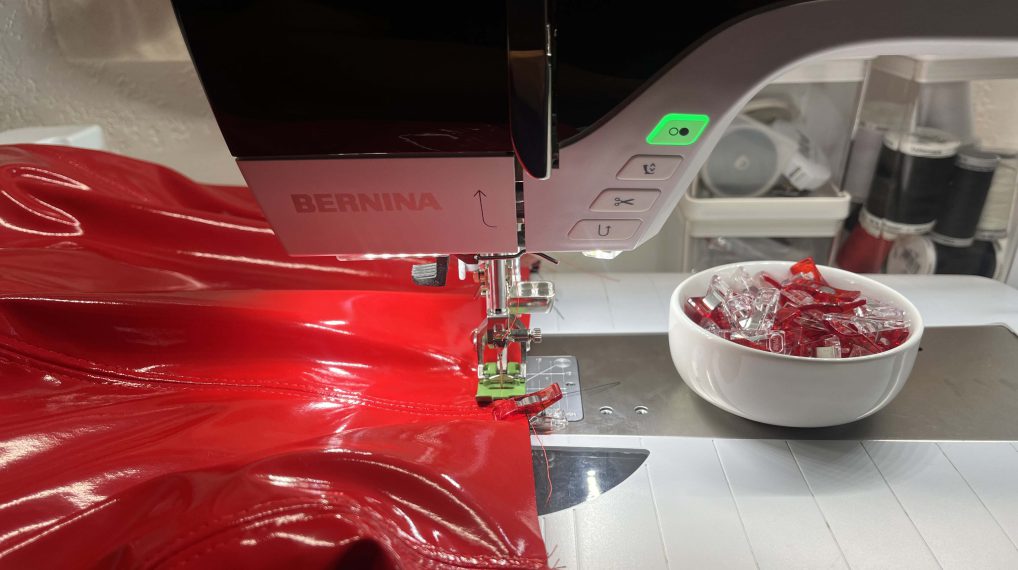
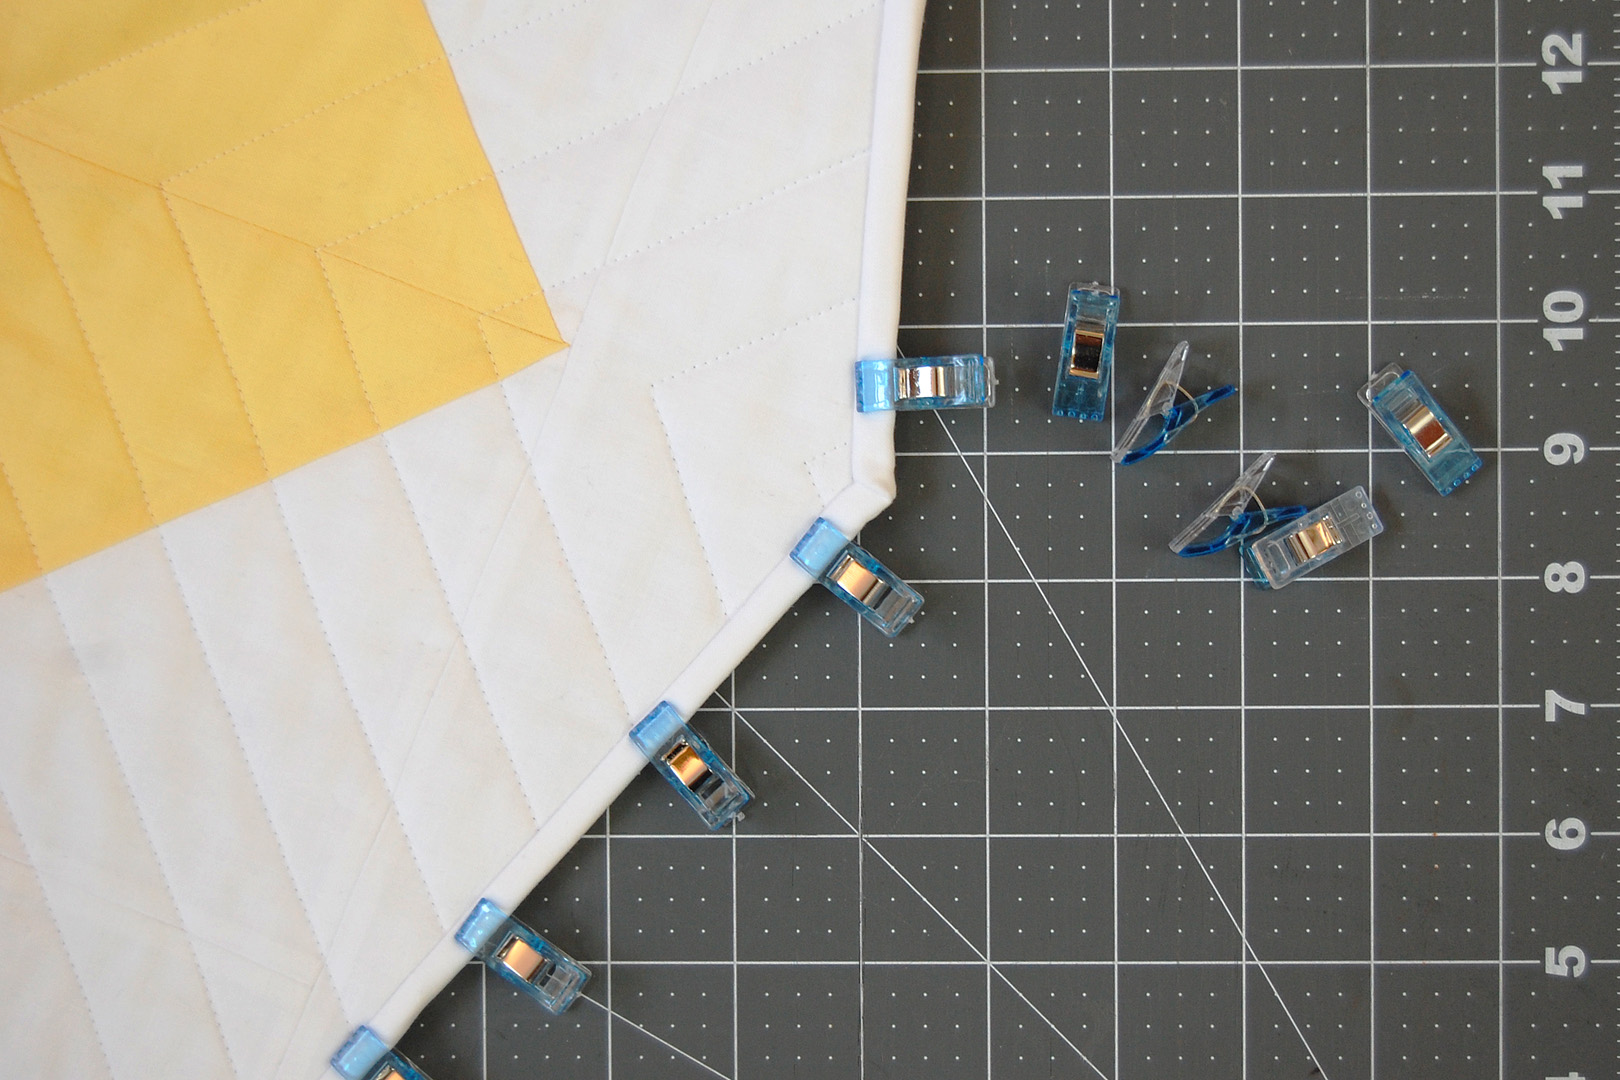
Finish the binding edges as in this Double Fold Binding tutorial. After attaching the binding to the top side of the tree skirt, press well and flip the binding over to the back of the skirt. Secure with clips or pins.
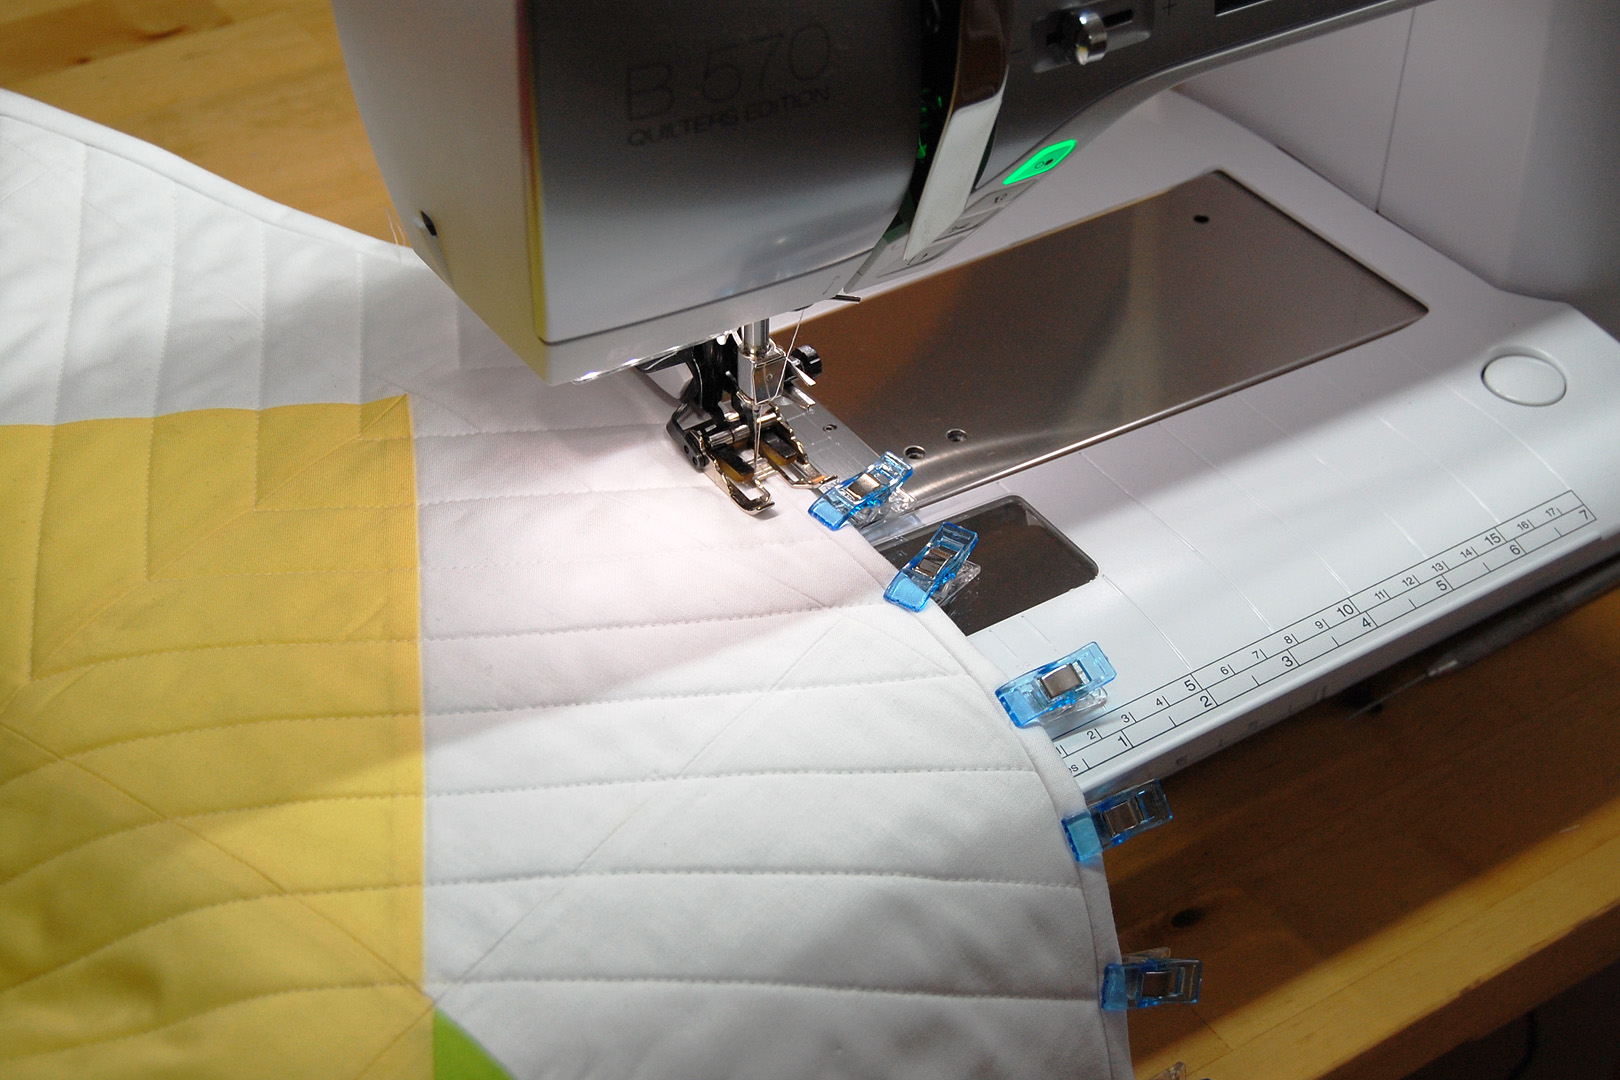
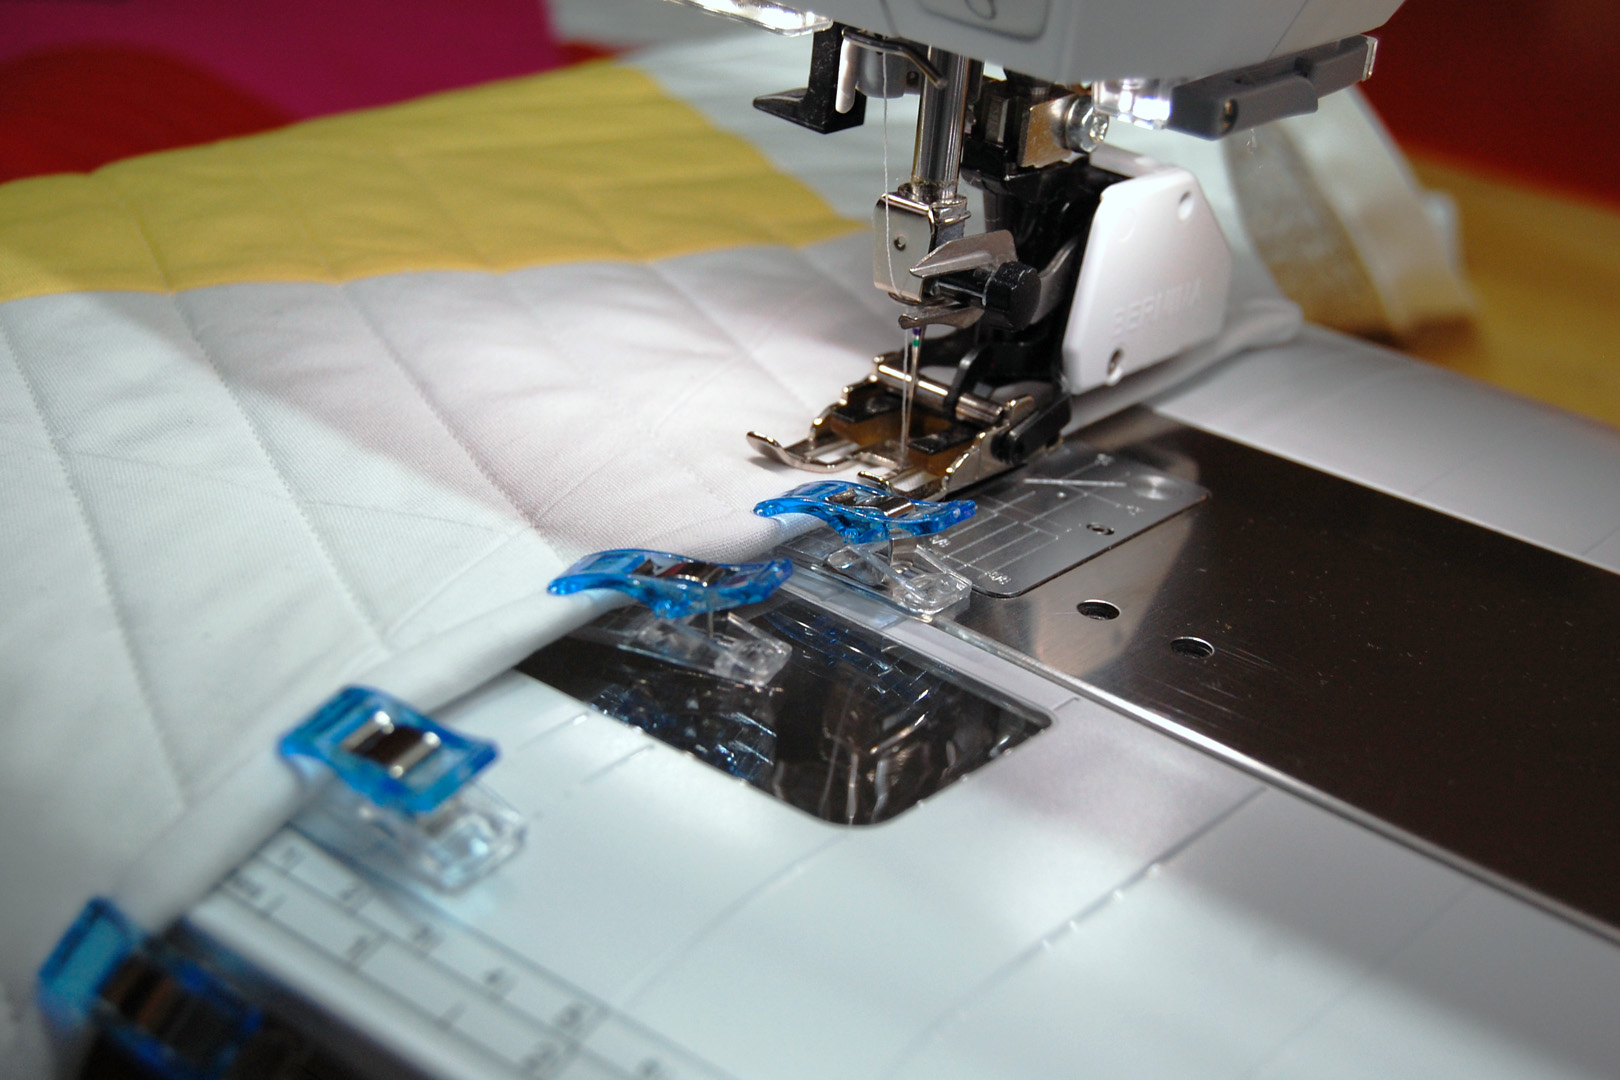
Using the Walking foot #50, stitch the binding in place by sewing in the ditch of the binding seam from the top side of the tree skirt.
Press the stitched binding edge well, and you’re ready to enjoy your new tree skirt!
How to Set Up the Color Tile Tree Skirt
As mentioned in Part 1 and Part 2, this tree skirt does not have a side slit and is made specifically for use with an artificial tree. Here’s how to set it up.
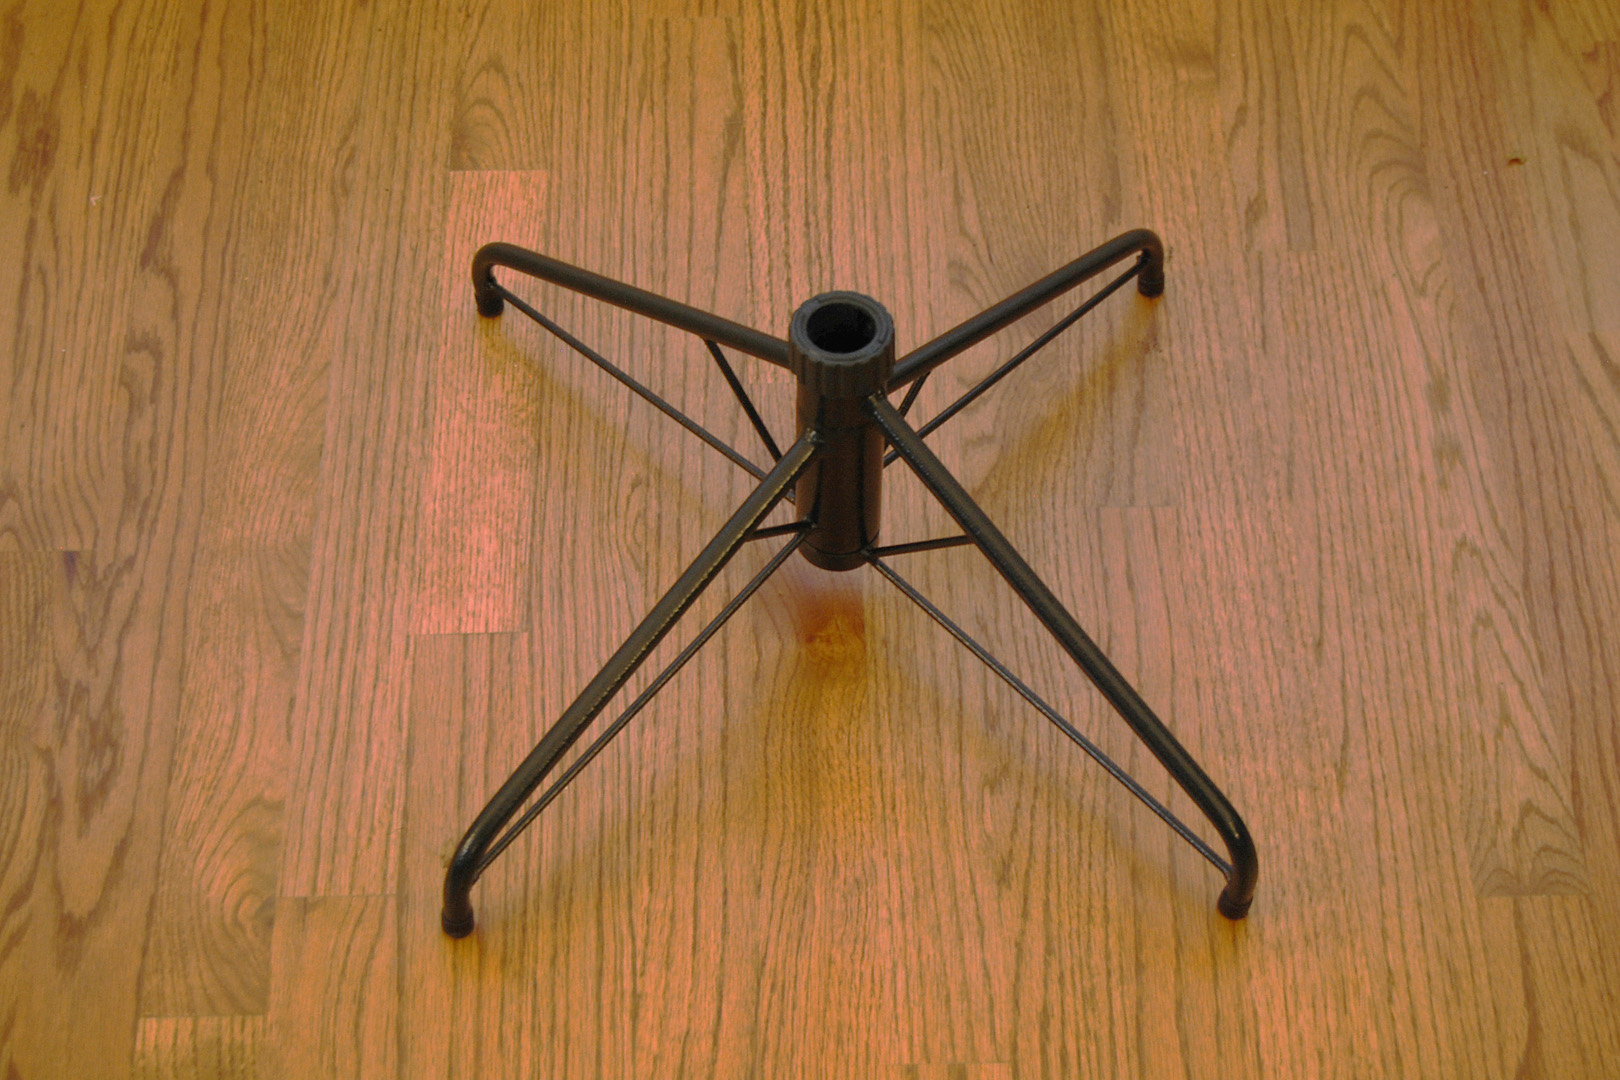
Start by setting up the tree stand.
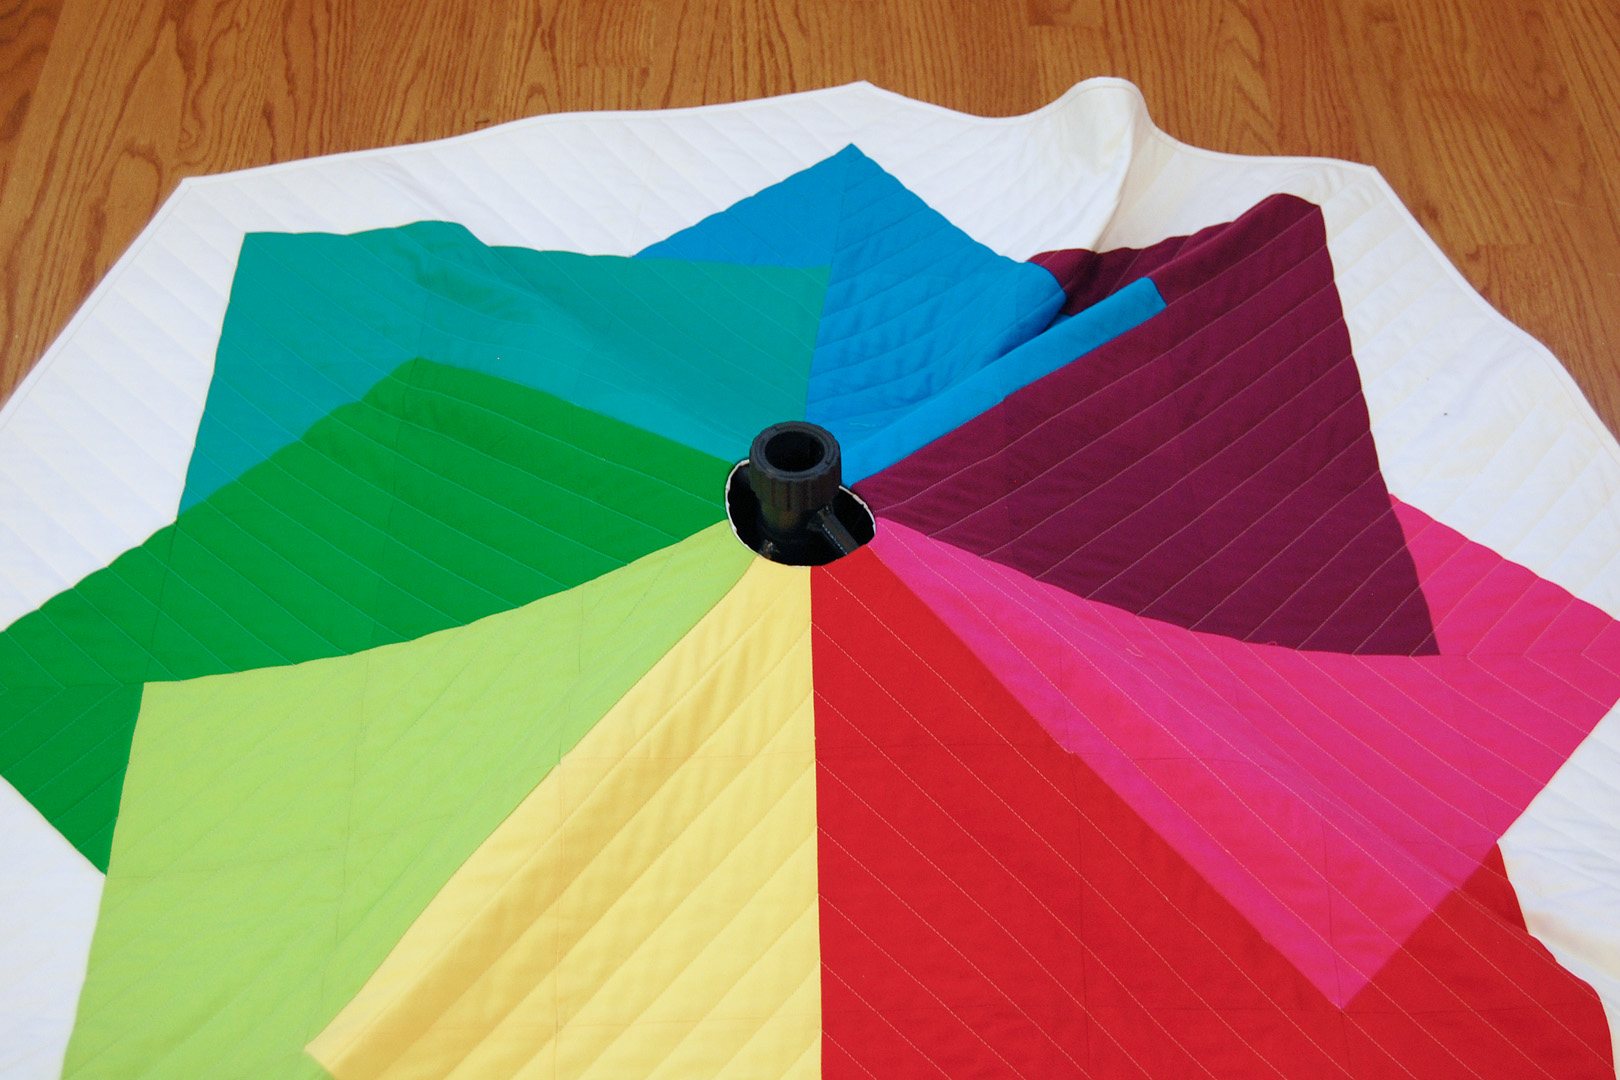
Pop the skirt over the tree stand with the top end through the center hole.
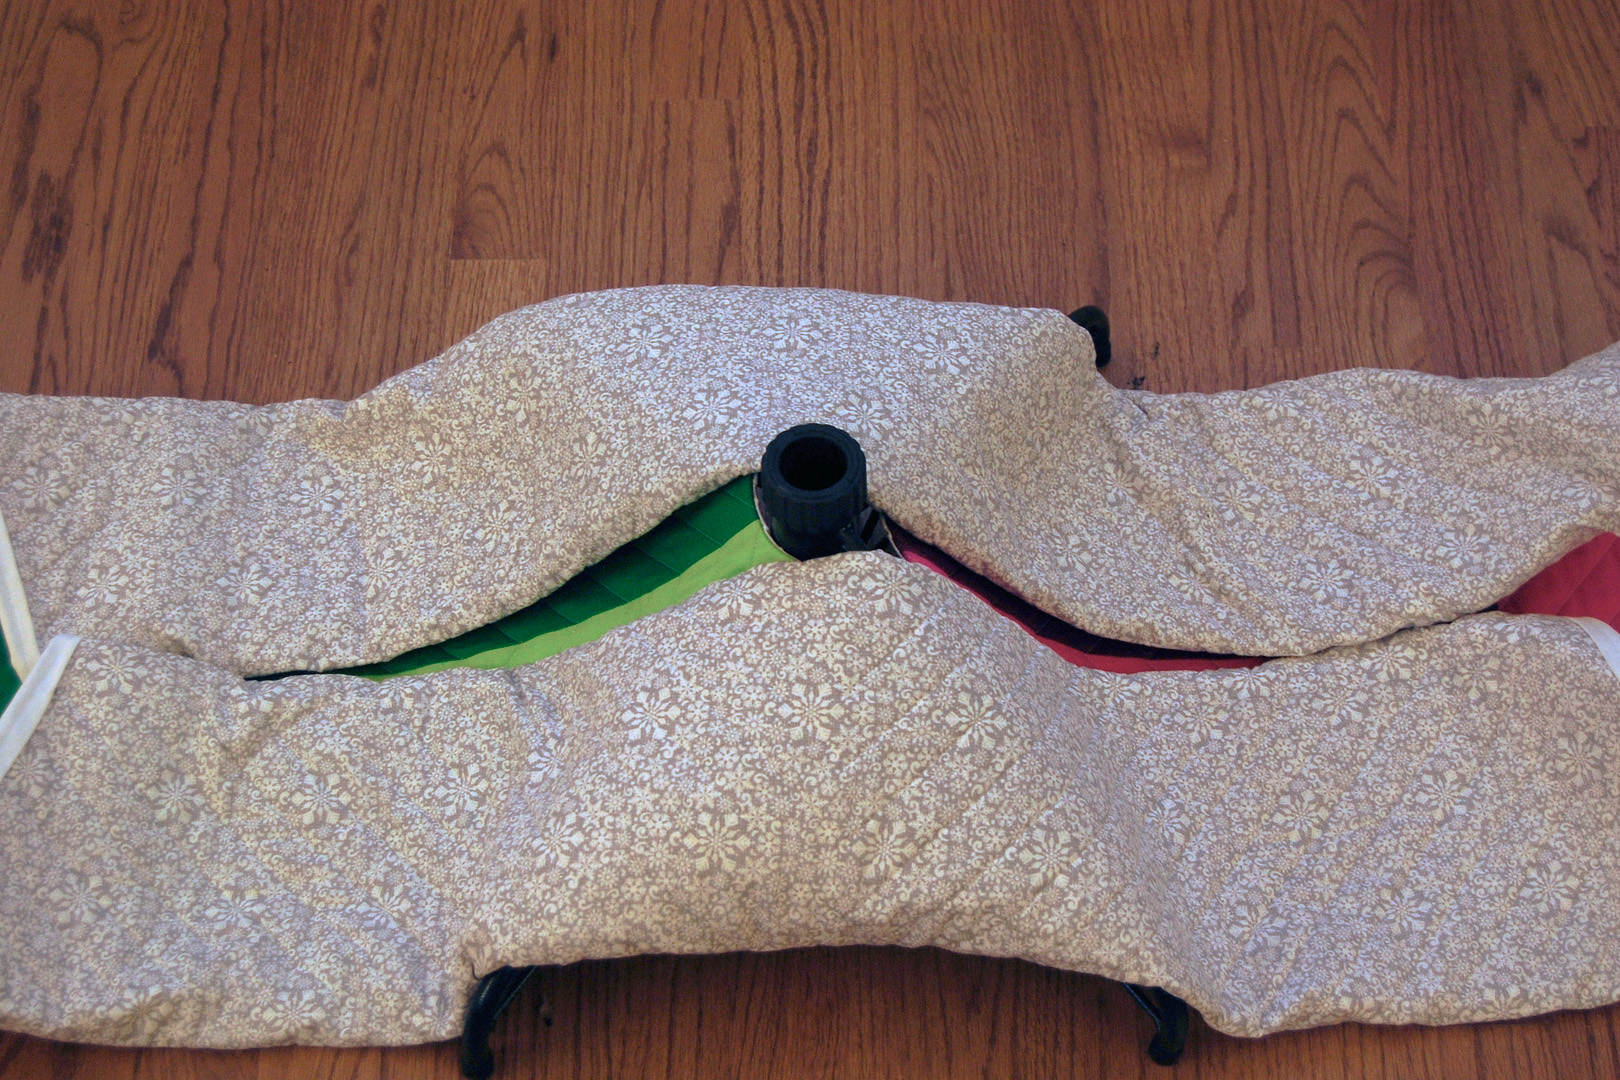
Fold up opposite sides of the skirt towards the middle of the stand.
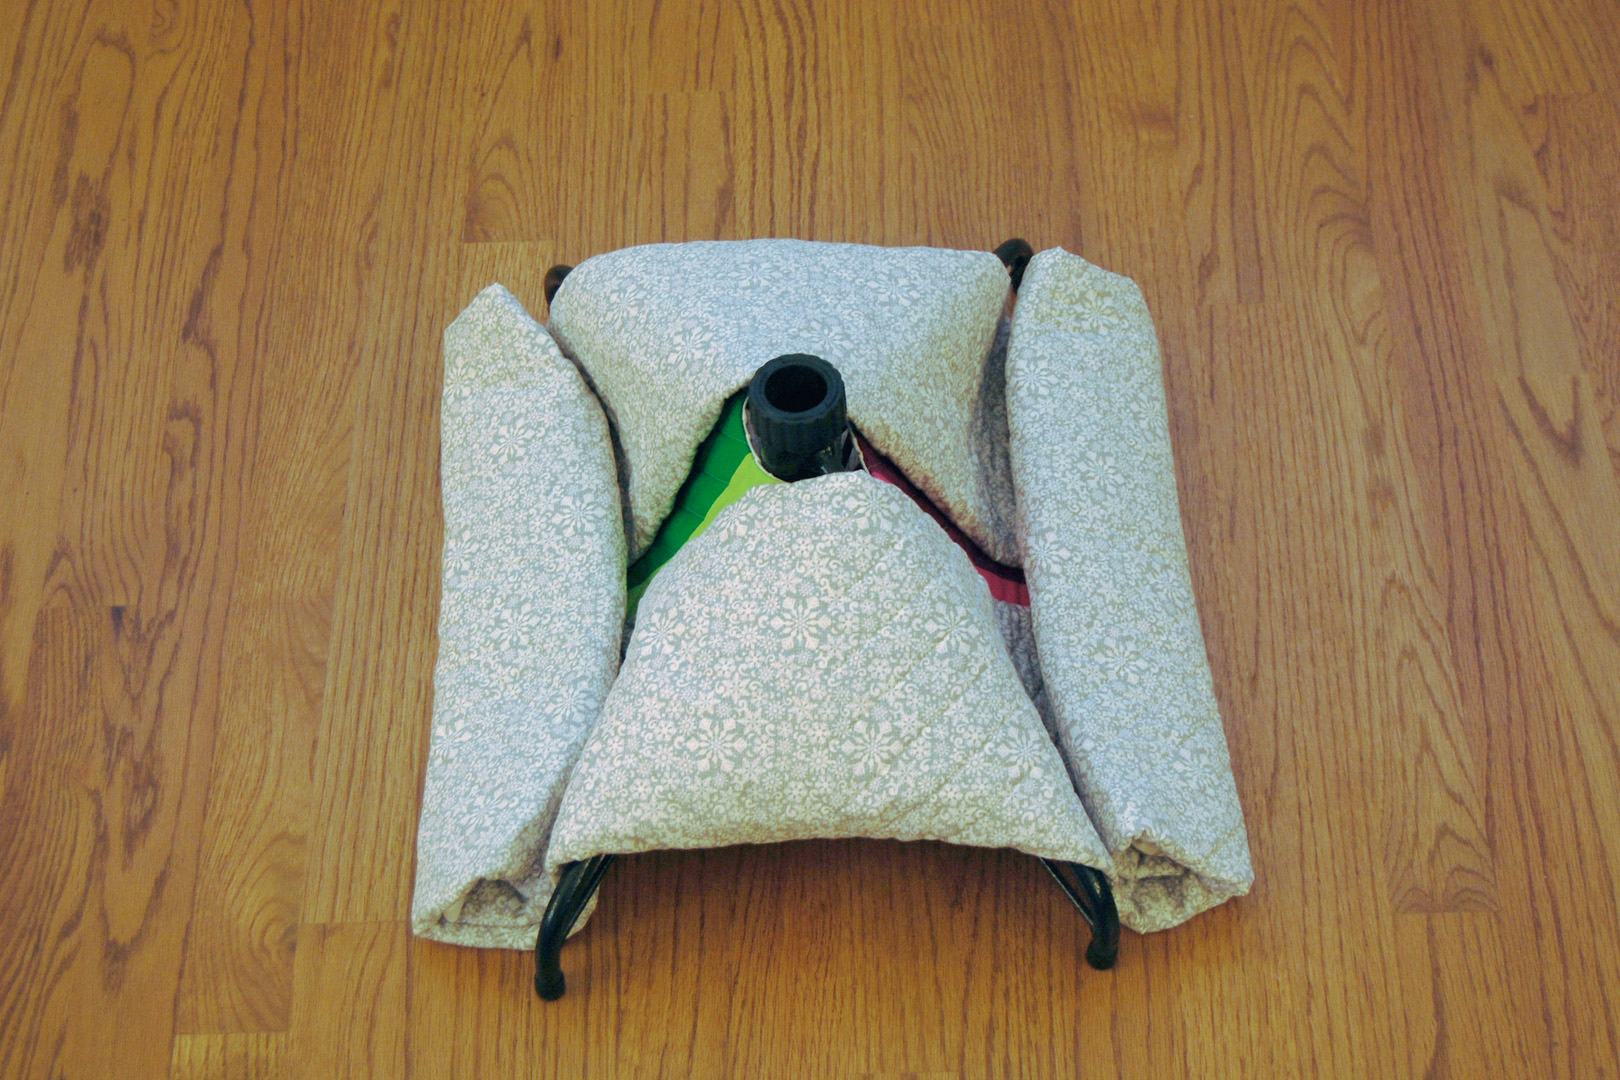
Then fold up the other two sides until the skirt is folded in the center. Use a few clips to keep it that way if it doesn’t want to stay folded.
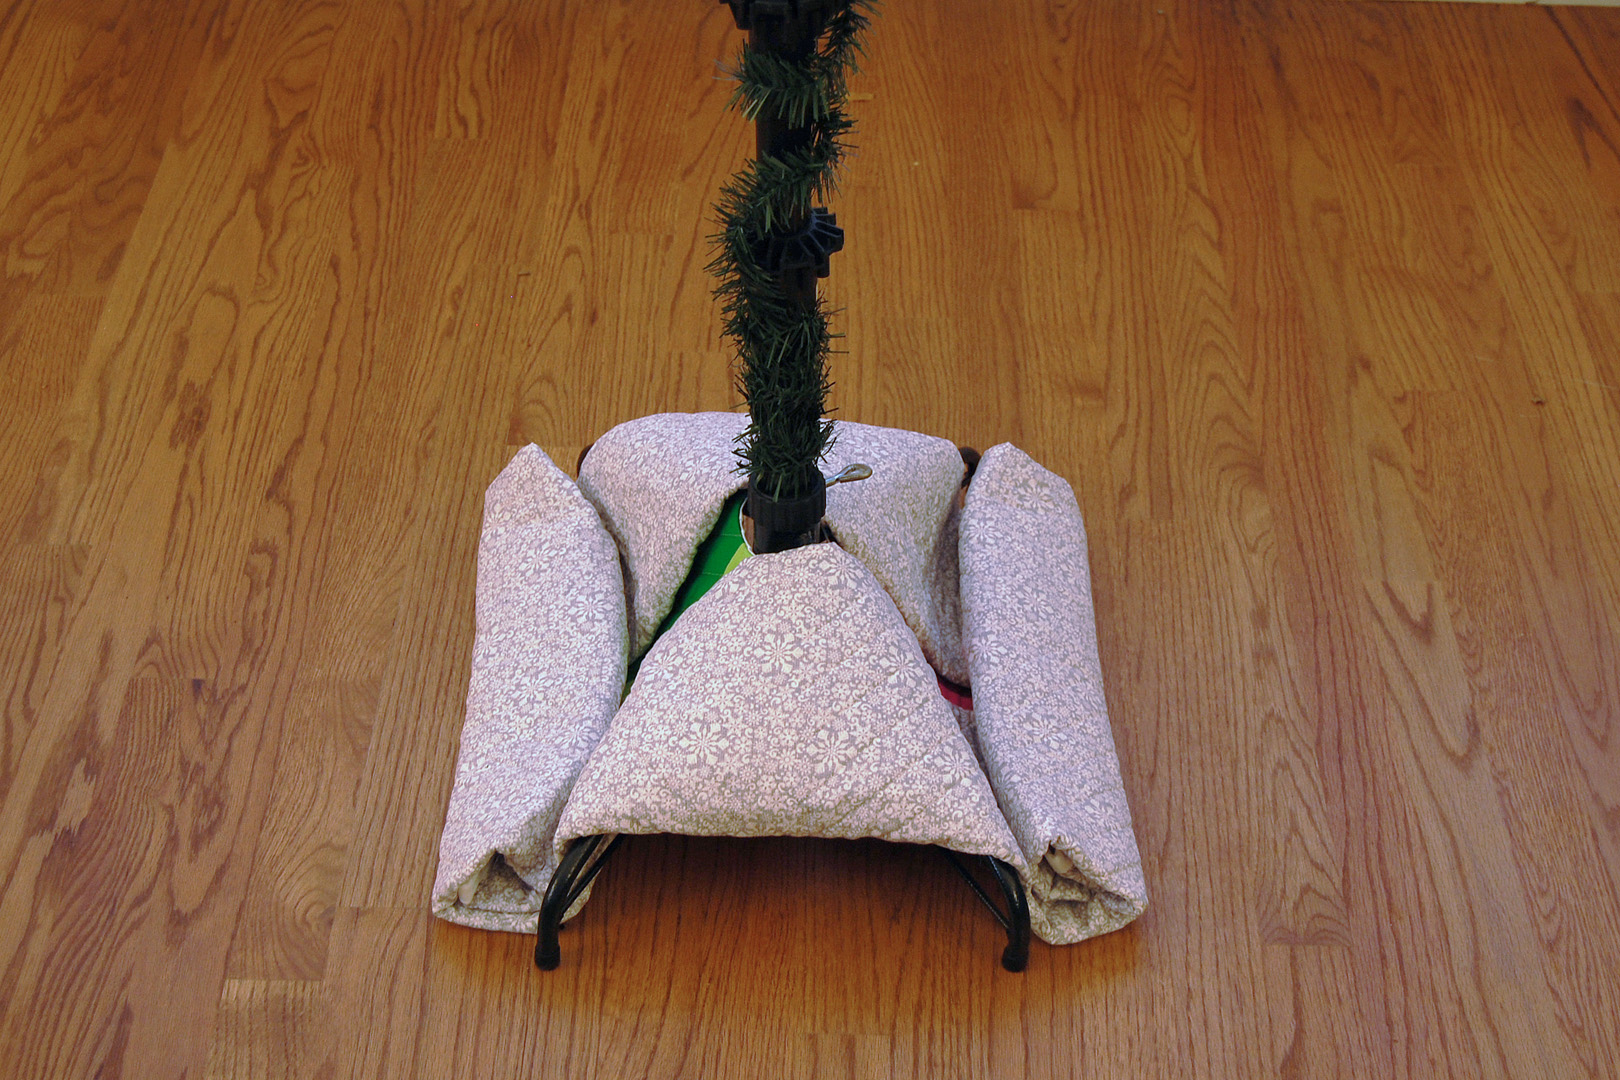
Now you can insert the trunk into the stand, and continue to put the tree together. Don’t unfold the skirt until you are completely finished to avoid getting stray needles, hooks, or other stuff on the skirt while trimming the tree. If your tree includes lights, the power cords can be inserted through the center hole of the skirt before you unfold it.
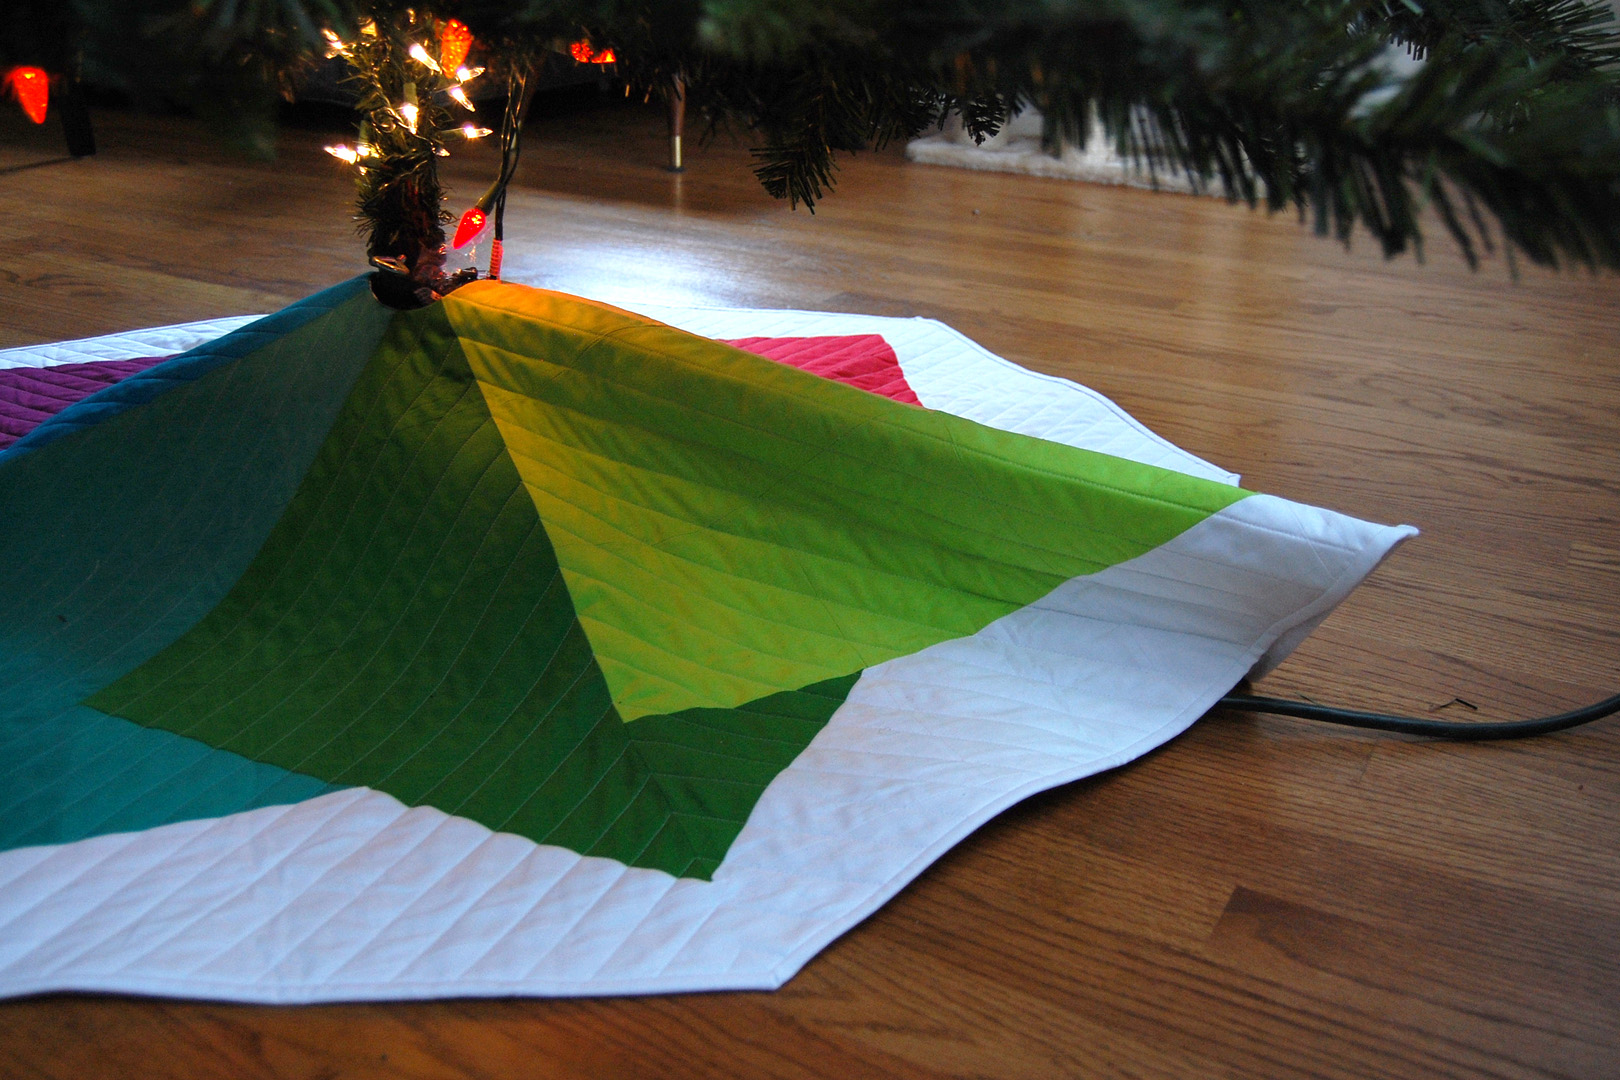
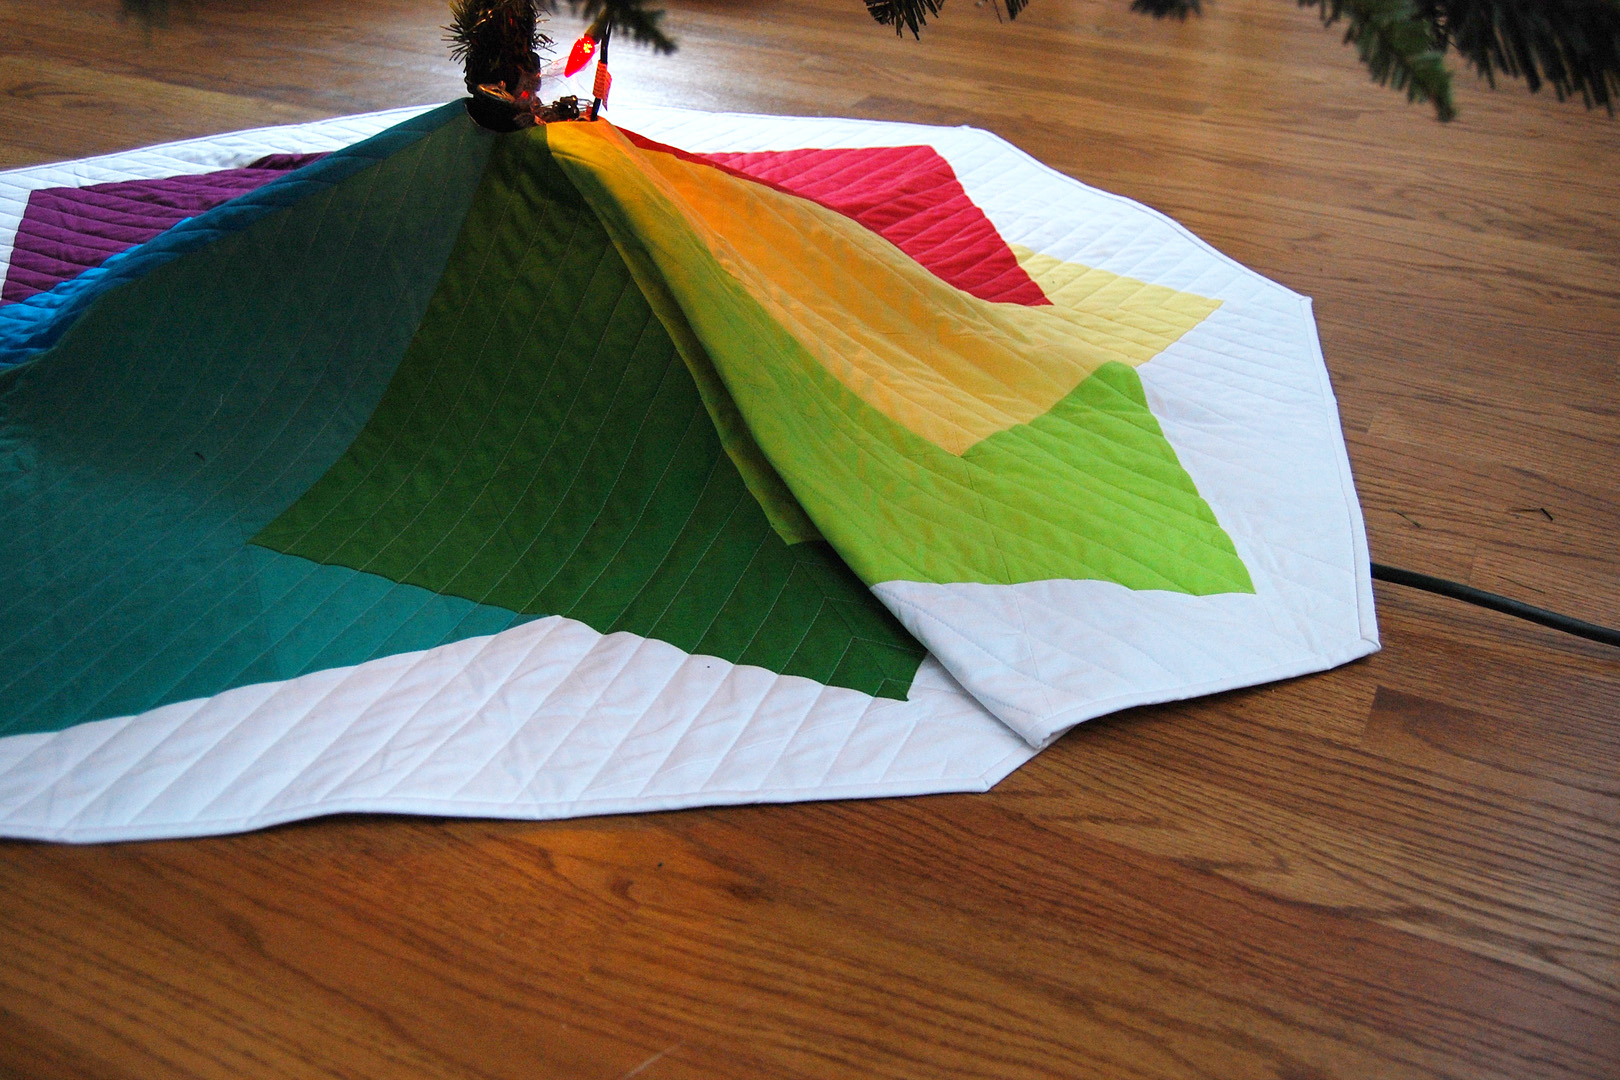
When the tree is set up, fluffed and trimmed, unfold the tree skirt. There will be some puckering in the skirt due to the stand. I push the extra to the back of the tree and create a few folded pleats to take care of the puckering. First, decide which way the skirt looks best with your tree, since turning it slightly means you’ll see a new selection of colors!
Then start smoothing the skirt out at the front, moving any extra to the back. You can create one pleat at the back, or distribute the extra in a few smaller folded pleats.
Enjoy!

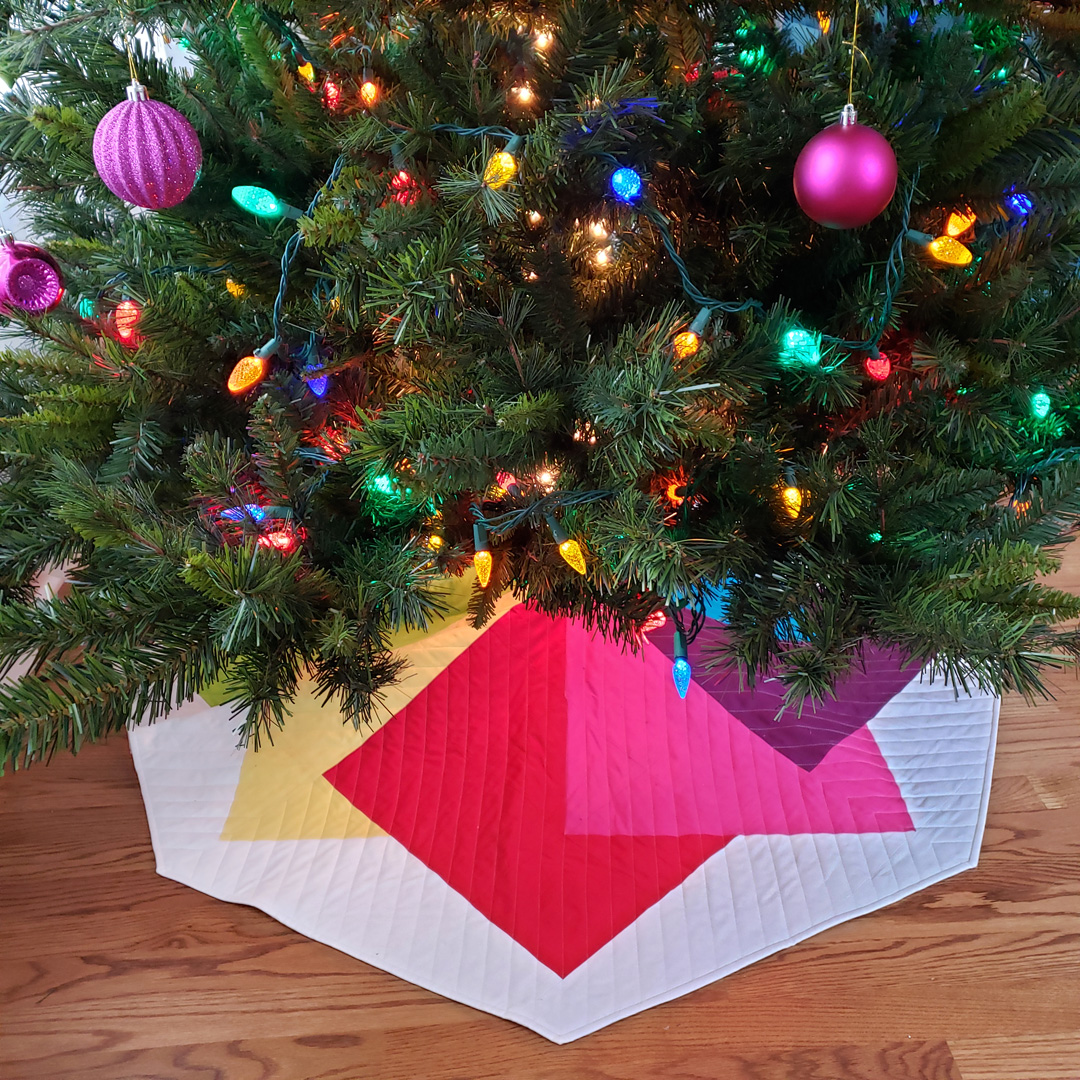
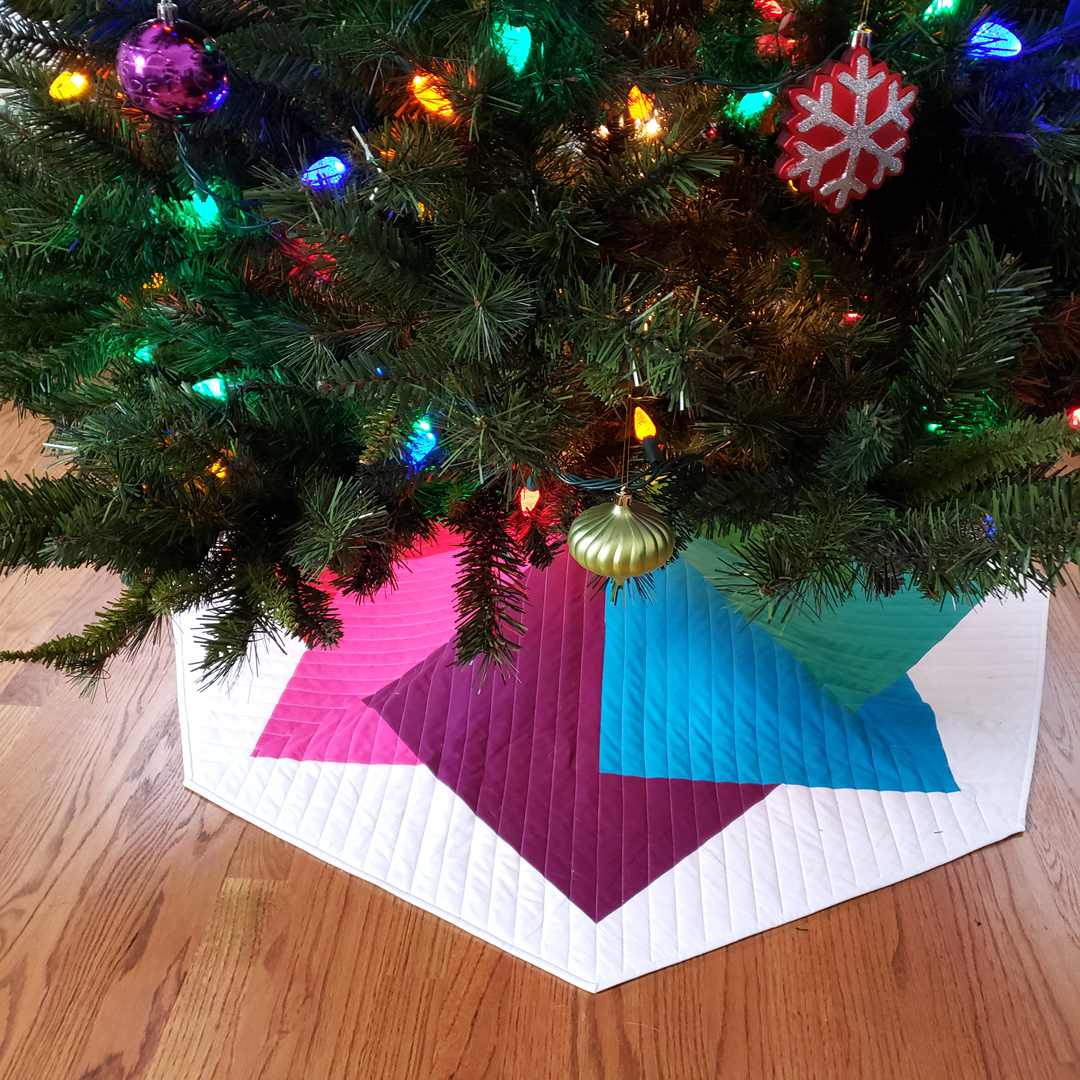
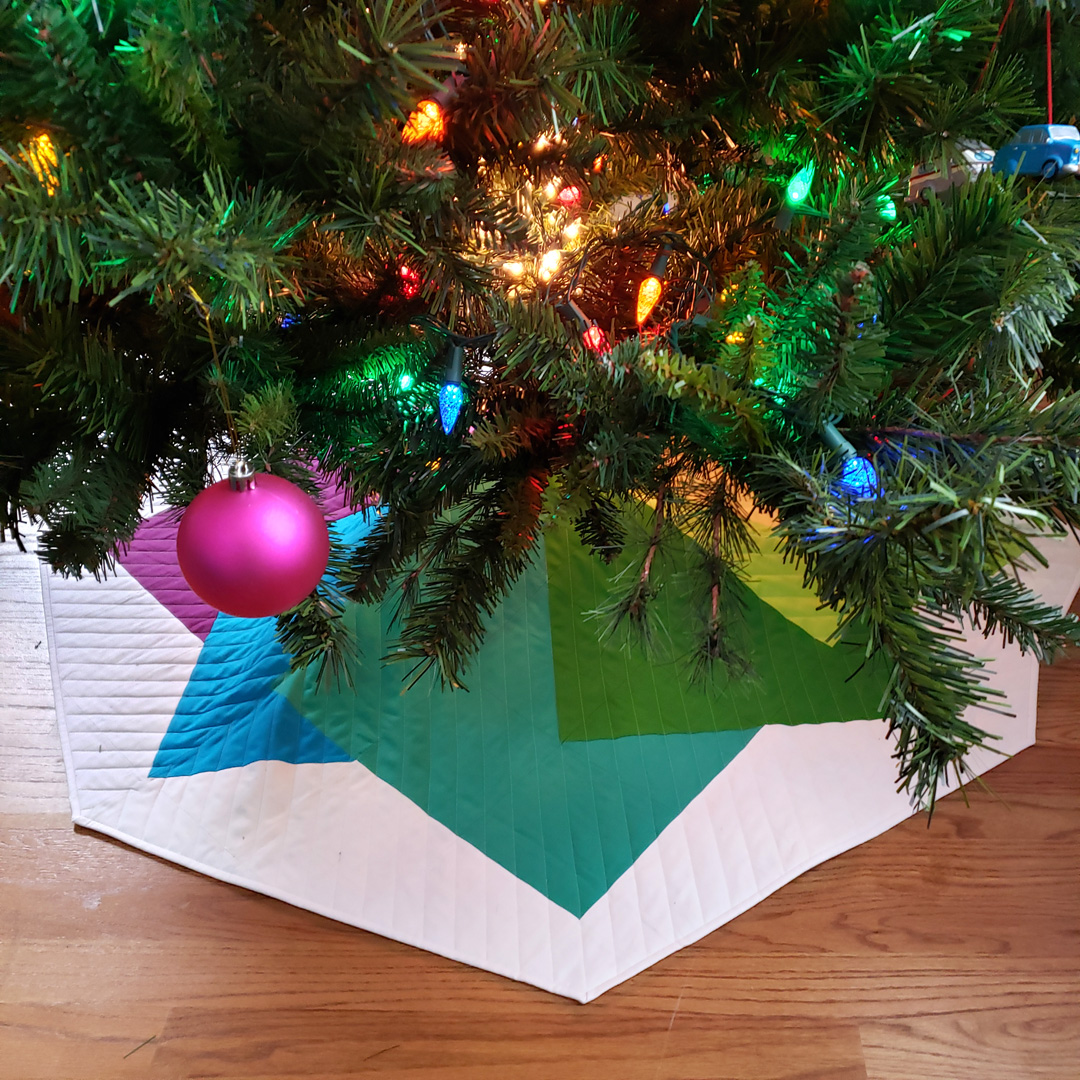
My favorite part of the tree skirt is seeing a different pop of color depending on what angle you’re looking at the tree. I hope you enjoy the Color Tile Tree Skirt tutorial!