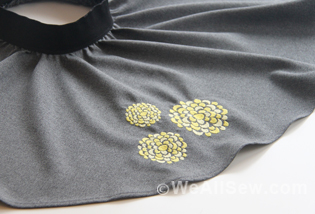
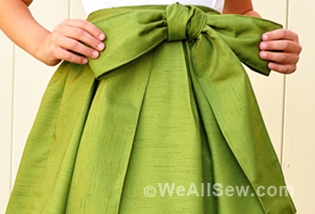
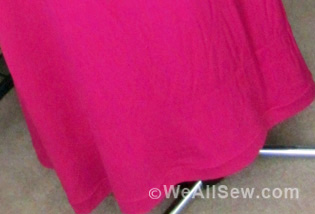
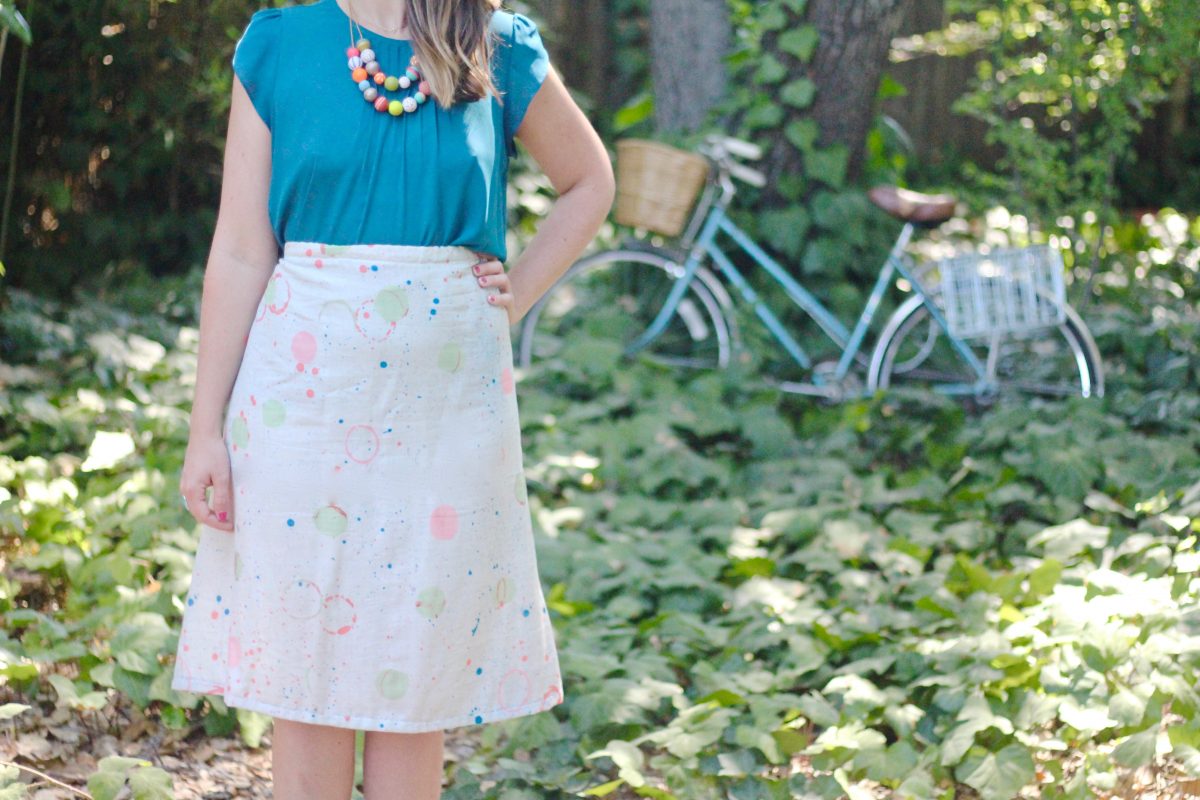
DIY High-Low Skirt
Short on time, long on style! Use simple techniques to create a most fashionable outcome. This skirt is easy to make and lets you dress it up or down to match any occasion. Adjust the back length to suit your style, from just below the knee to sweeping the floor.

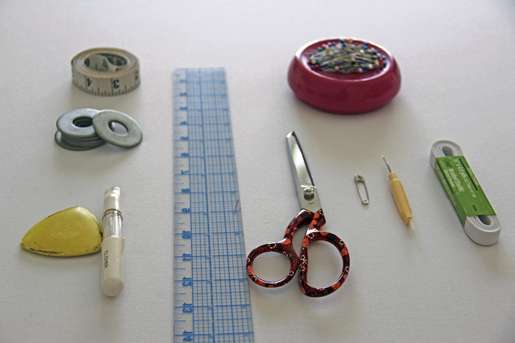
Supplies
- Lightweight jersey or cotton fabric (see instructions for yardage)
- 1/2ʺ-wide elastic
- Two safety pins
- Tape measure
- Chalk marker or wash-away marker
- Pattern weights (optional)
Step one: Take your measurements.
Use a tape measure to take the following measurements:
Back Length
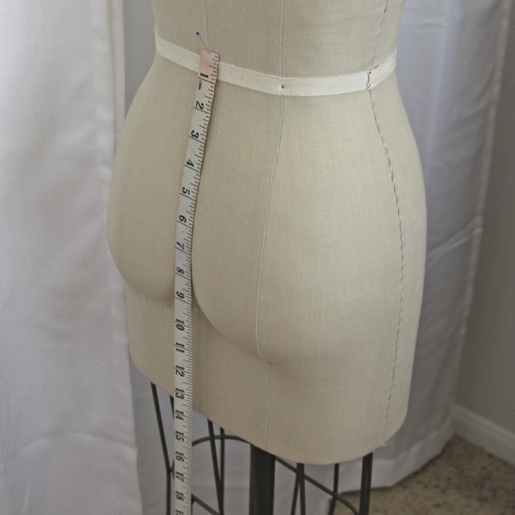
- How long do you want your skirt to be in the back?
- Measure from your waist to this point.
- Add 2ʺ for the casing and hem allowance.
Front Length
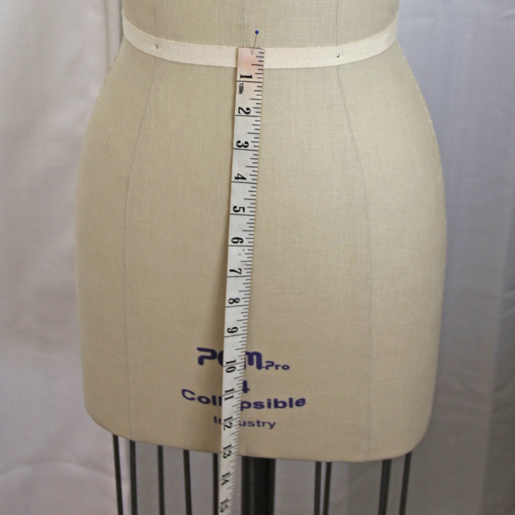
- How long to you want your skirt to be in the front?
- Measure from your waist to this point.
- Add 2ʺ for the casing and hem allowance.
Waist
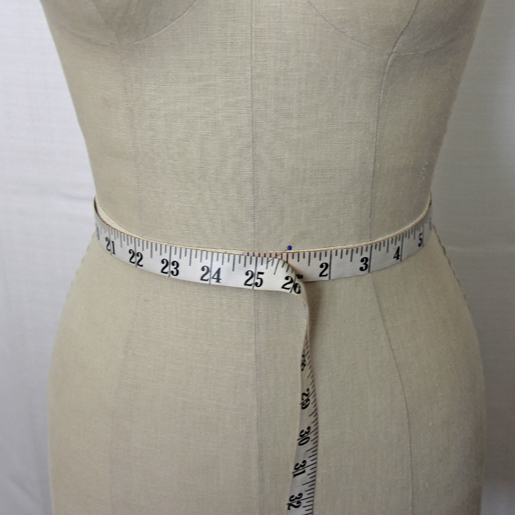
- Measure your waist 1” below your belly button.
Hip
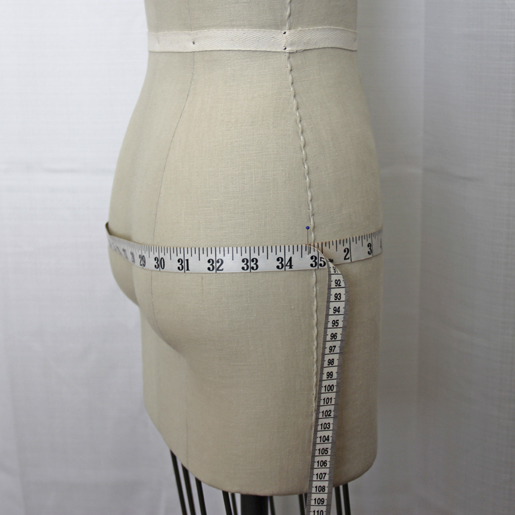
- Measure your hips around the largest part.
- Divide this number by four.
- Add 5ʺ.
(Example: 39ʺ hips; divide by 4 = 9-3/4ʺ; add 5ʺ = 14-3/4ʺ.)
Step two: Calculate the amount of fabric needed.
You’ll need twice the finished back length of your skirt.
Back Length x 2 = _______________
Divide by 36 (the number of inches in a yard) to find the yardage needed (round up to the nearest ¼ yard) _______
Example
For a finished back length of 43ʺ, multiply the desired finished back length by 2 (43ʺ x 2 = 86ʺ).
Divide this number by 36 inches/yard (86ʺ ÷ 36ʺ/yard = 2.38 yards. Round this number up to 2-1/2 yards.
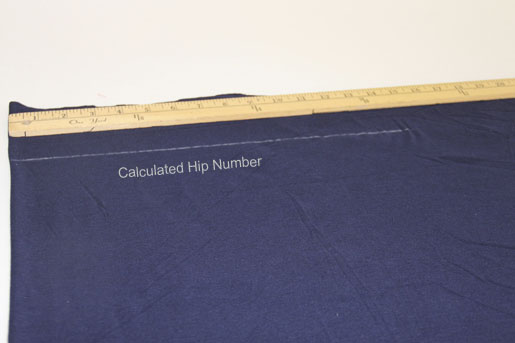
Step three: Mark and cut your fabric.
Fold your fabric in half lengthwise, selvage edges together, with the folded edge closest to you. Smooth the fabric out.
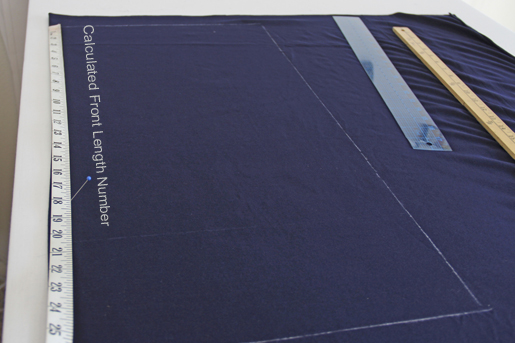
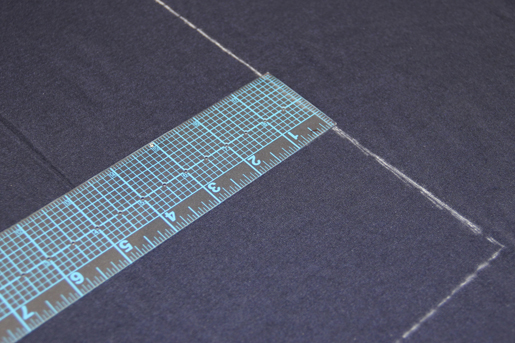
Starting at the top of the fabric and using your calculated Hip measurement, make a mark this length perpendicular to the folded edge.
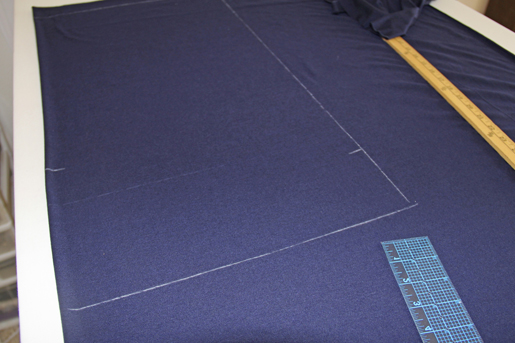
Starting at the end of the first line, draw a straight line the length of the calculated Back Length measurement.
Draw a line from the end of the second line across to the fold, perpendicular to the fold, making a rectangle.

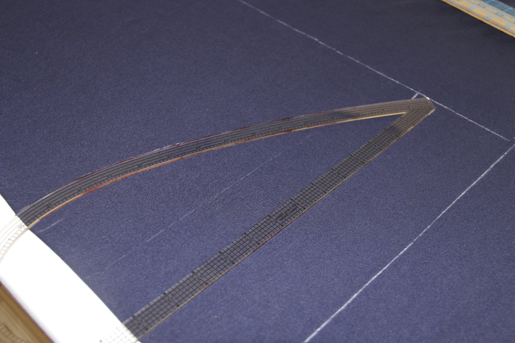
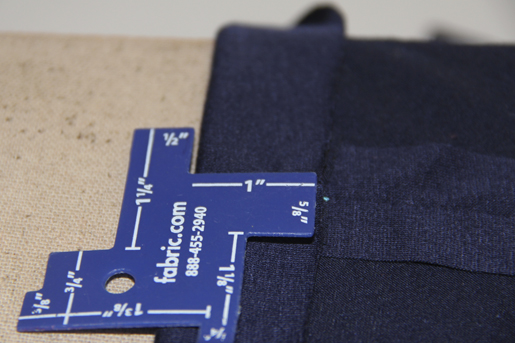
Measure up 4ʺ from the bottom of the rectangle along the side seam and make a mark 5/8ʺ long; this marks the seam allowances at the side seams.
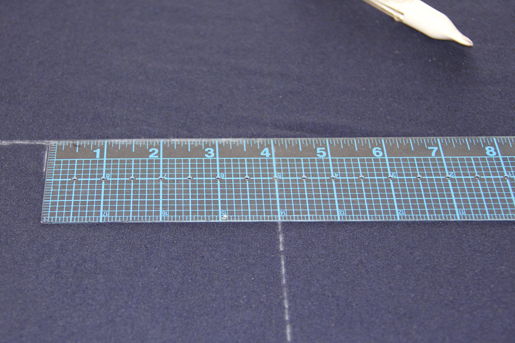
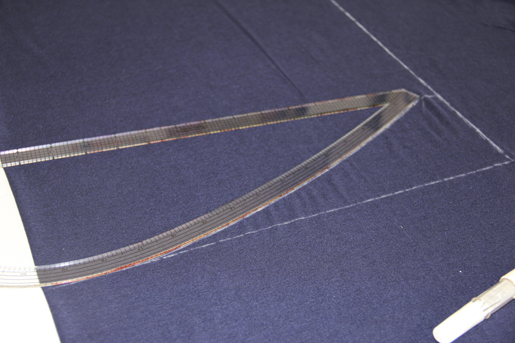
Create a curved line from the end of this line to the bottom of the skirt as shown.
Tip: A French curve makes it easy to connect the marks and draw a smooth curve.
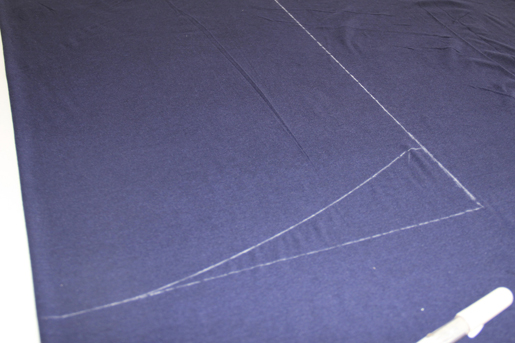
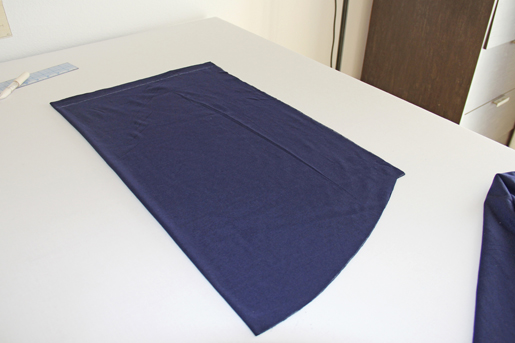
This is the back piece of your skirt. Cut along the drawn lines and set aside.
Repeat steps three and four to create the same rectangle as above, again using the Back Length measurement.
Measure down from the front and mark your Front Length measurement on the fold.
Make the same 5/8ʺ-long mark 4” from the bottom as for the back pieces.
Draw a curved line (as shown) from the front length point at the fold to the side seam of the skirt at end of the ⅝ʺ-long mark. Note: The greater the difference between your front and back skirt lengths, the deeper and more extreme the curve will be.
Cut out your skirt front piece along the drawn lines.
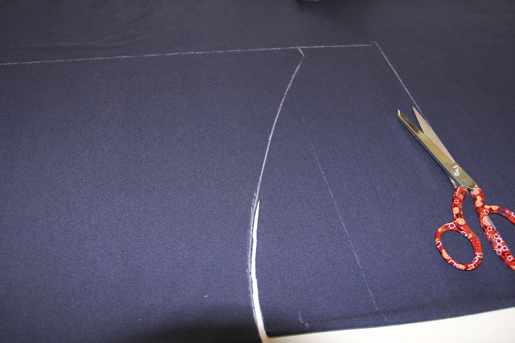
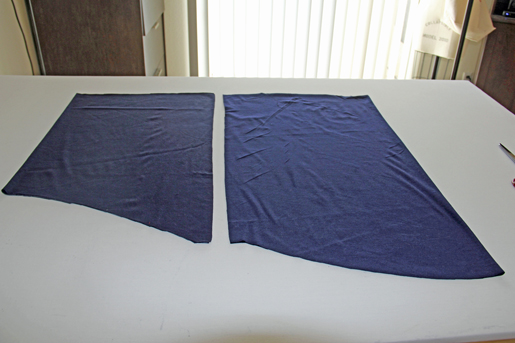
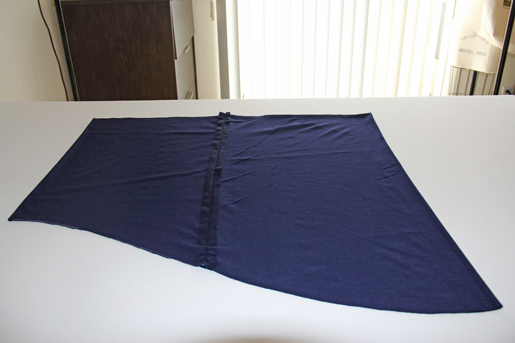
You now have a skirt front and a skirt back.
Step four: Sew the pieces together.
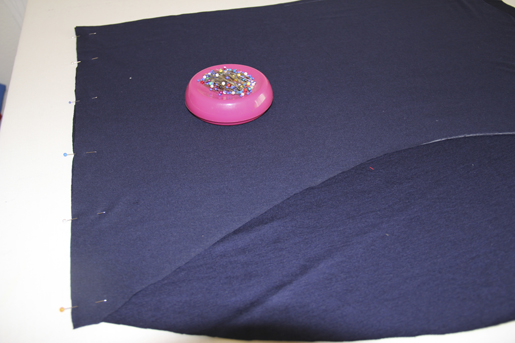
Unfold each piece. Place them right sides together, matching the upper edges; pin. Note that the front and back pieces are the same length at the sides.
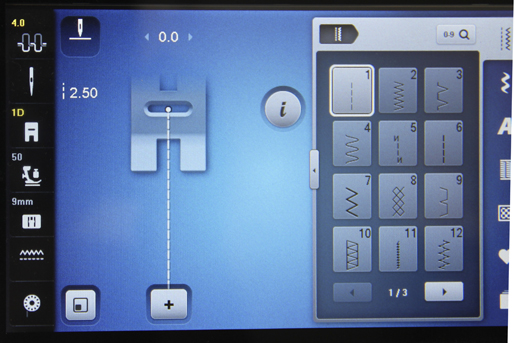
Set your sewing machine for a straight stitch with a length of 2.5 mm.
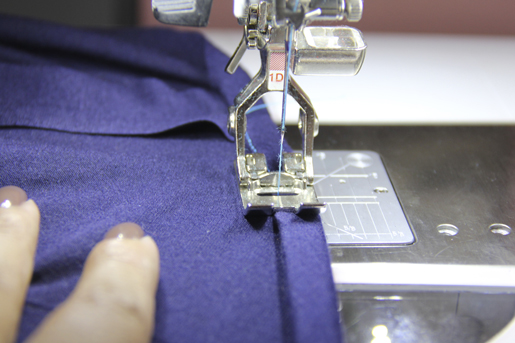
Stitch both sides of the skirt; press the seam allowances open.
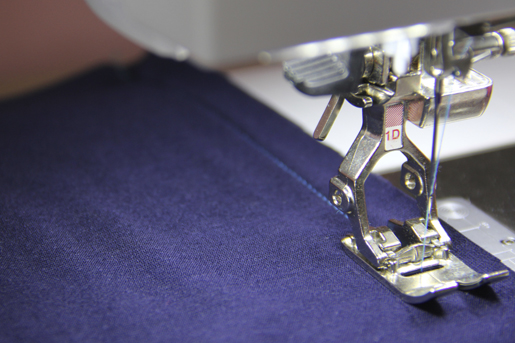
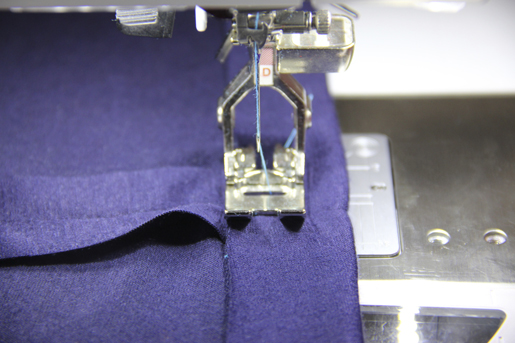
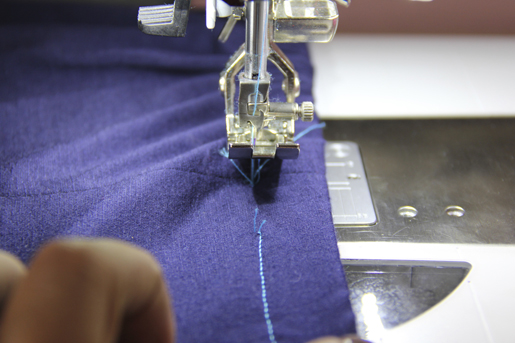
At the top edge, fold under 1ʺ to the inside and press. This will be the casing for the elastic.
Stitch 1/4ʺ from the raw edge (3/4ʺ from the folded edge) starting near the center back. Sew all around the upper edge of the skirt, stopping about 1ʺ from the starting point.
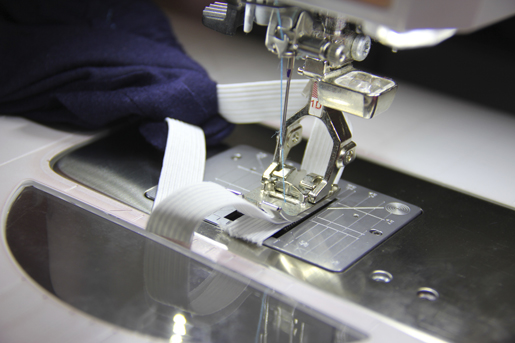
Cut a piece of elastic 3ʺ shorter than your waist measurement. Attach a safety pin to each end.
Thread the elastic through the casing, taking it in and out through the 1ʺ-wide opening. The second safety pin will keep the tail end of the elastic from accidentally slipping into the casing.
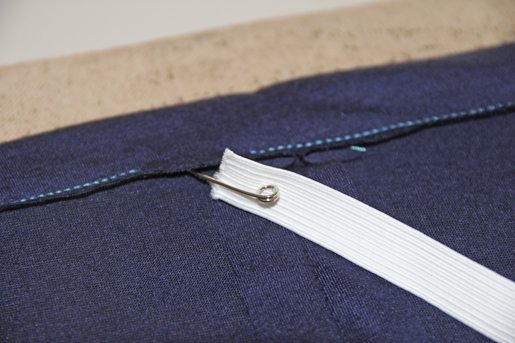
Pull the ends out about 3ʺ, being careful not to twist the elastic.
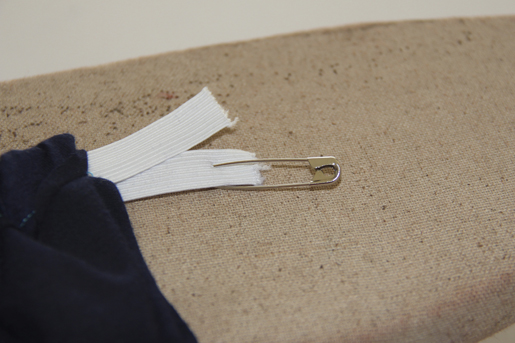
Overlap the ends ½ʺ; stitch them together using a zigzag stitch.
Complete the elastic casing stitching, taking care not to catch the elastic in the stitching.
Turn the hem under 1/4ʺ; press.
Turn under another 1/2ʺ; press.
Stitch close to the inner folded edge.
For more projects and fashion tutorials, visit Mimi G. at her blog, MimiGStyle, at mimigoodwin.blogspot.com.


What you might also like


3 comments on “DIY High-Low Skirt”
-
-
If I have fabric that is stretching do I then need elastic?
Leave a Reply
You must be logged in to post a comment.

What an easy project. I really like the option of having it longer in the back.