Spiral Strip Skirt Tutorial
Follow along with quilter Charlotte Warr Andersen and learn how to make a simple Spiral Strip Skirt from pre-cut fabric jelly roll strips.
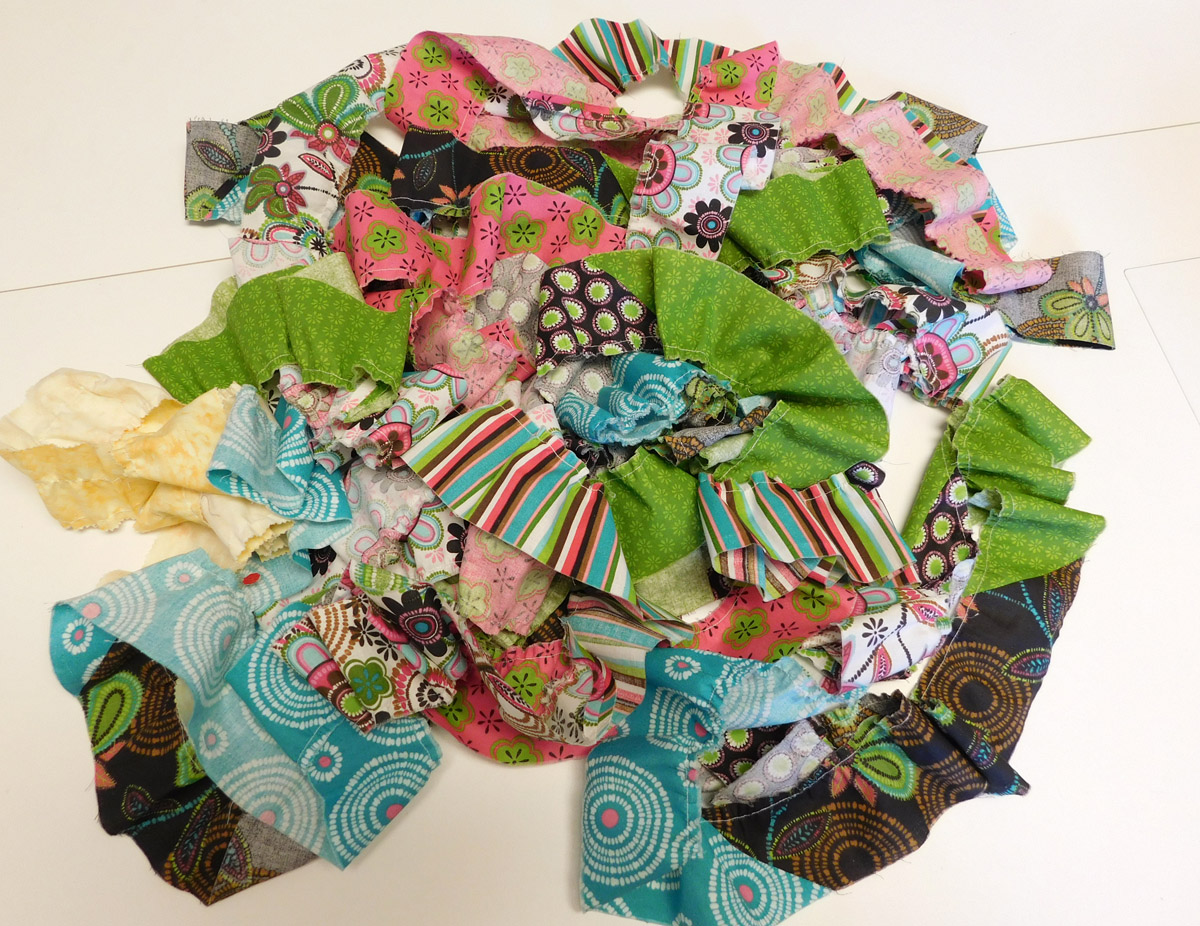
I have made a few quilts using 2 ½” wide pre-cut strips. These “jelly rolls” are bundles of 45″ long strips and are handy and labor saving. For a while, it was quite the fad to have jelly roll races where the strips were sewn end to end and quilters tried to be the fastest to make a quilt top.
An adaptation of this long strip concept came into my head. It occurred to me to sew the strips short ends together and attempt to make a skirt out of this long, continuous strip. Since a skirt for myself would probably take more precut strips than I want to think about I recruited my niece, Samantha, and her daughter, Tavia, for my skirt models. I started with Tavia’s skirt since it would be the smaller of the two. Here’s how to make the skirt.
I advise reading all the instructions carefully before starting this project.
Materials to make a Spiral Strip Skirt
Purchase pre-cut strips or cut your own 2 ½” strips from selvage to selvage. How many strips needed depends on the person you are making it for. A small child may take 10 – 12 strips; a very large adult may take 60 or more.
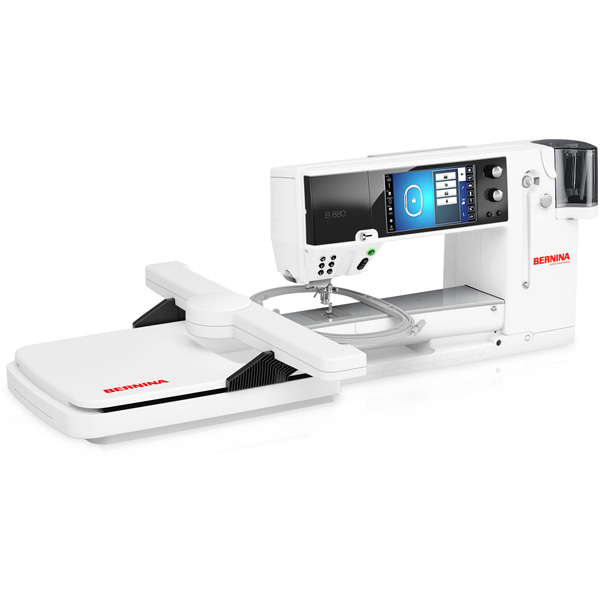
- Sewing machine (I use a B 880)
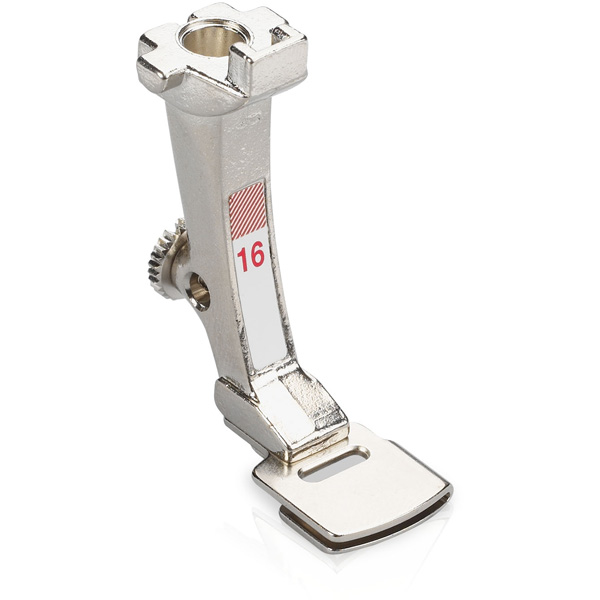
- Gathering foot #16
- Reverse pattern foot #1/#1C/#1D
- Open embroidery foot #20/#20C/#20D
- Coordinating thread
- 3/4″ elastic (measure for your waist size)
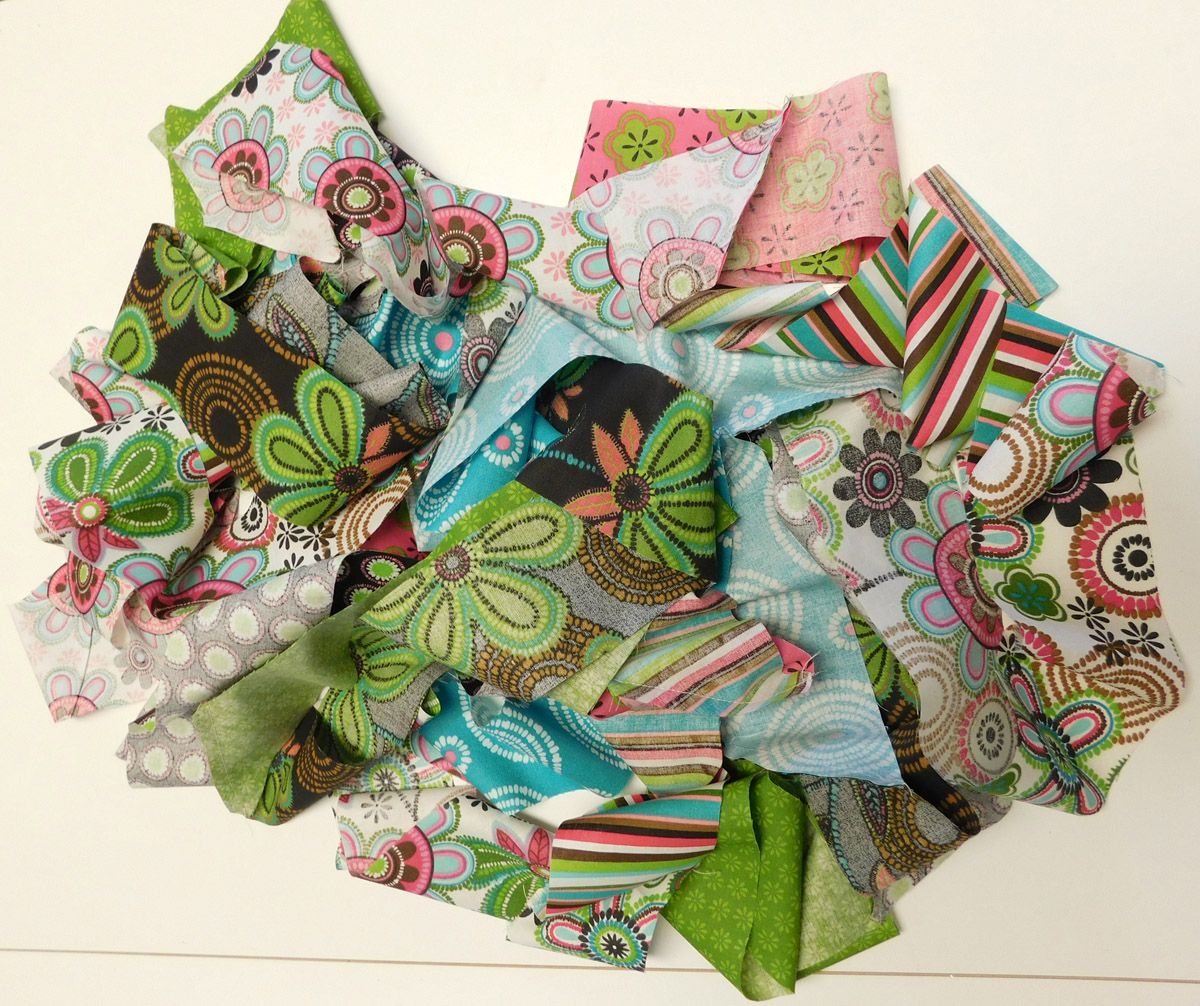
As an example, I purchased a bundle containing 20 precut strips for Tavia’s skirt.
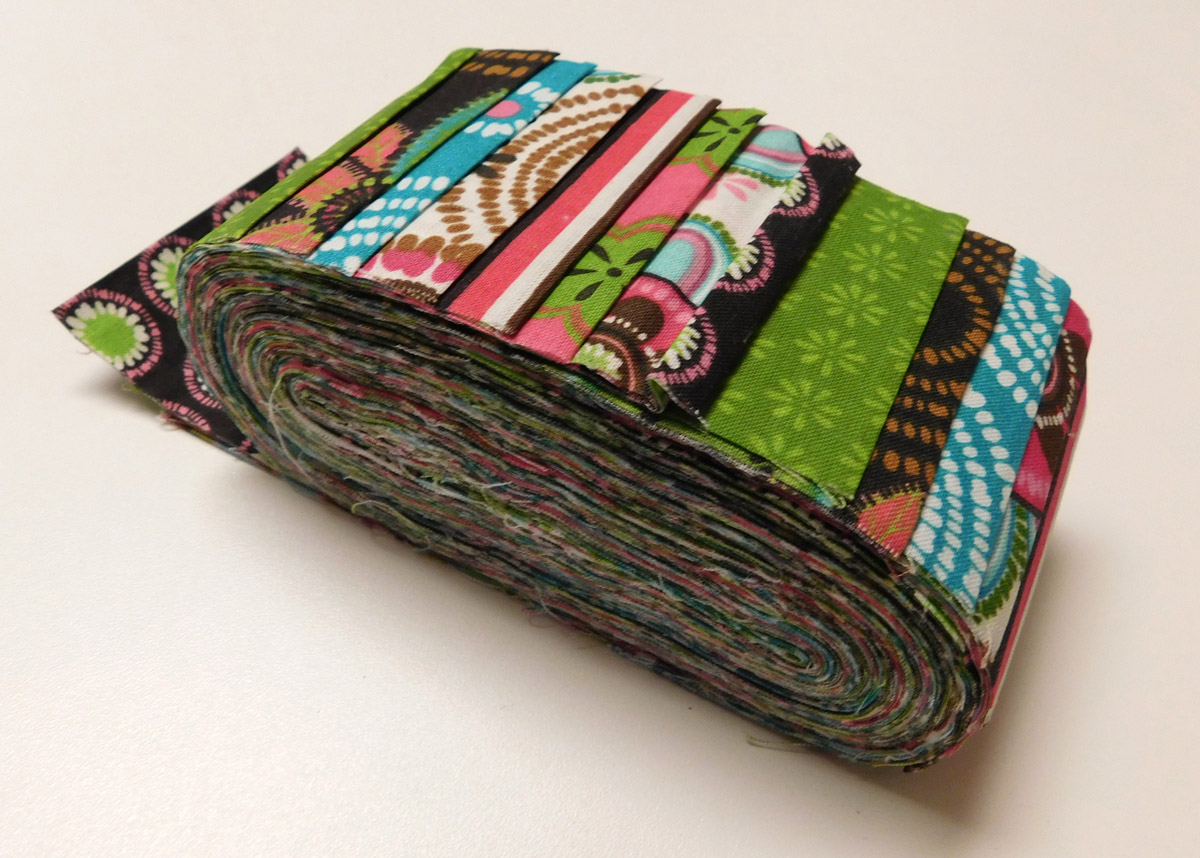
This bundle has several prints with lively colors. Sort them to have an interesting exchange of color and texture. Set aside one strip for the waistband.
Trim the selvages off both ends of the strips. If you want the prints to change more often than every 45″ cut all the strips in half. Use bias seams for sewing the strips together—it’s more appealing. This is done easily and does not need measuring or precision.
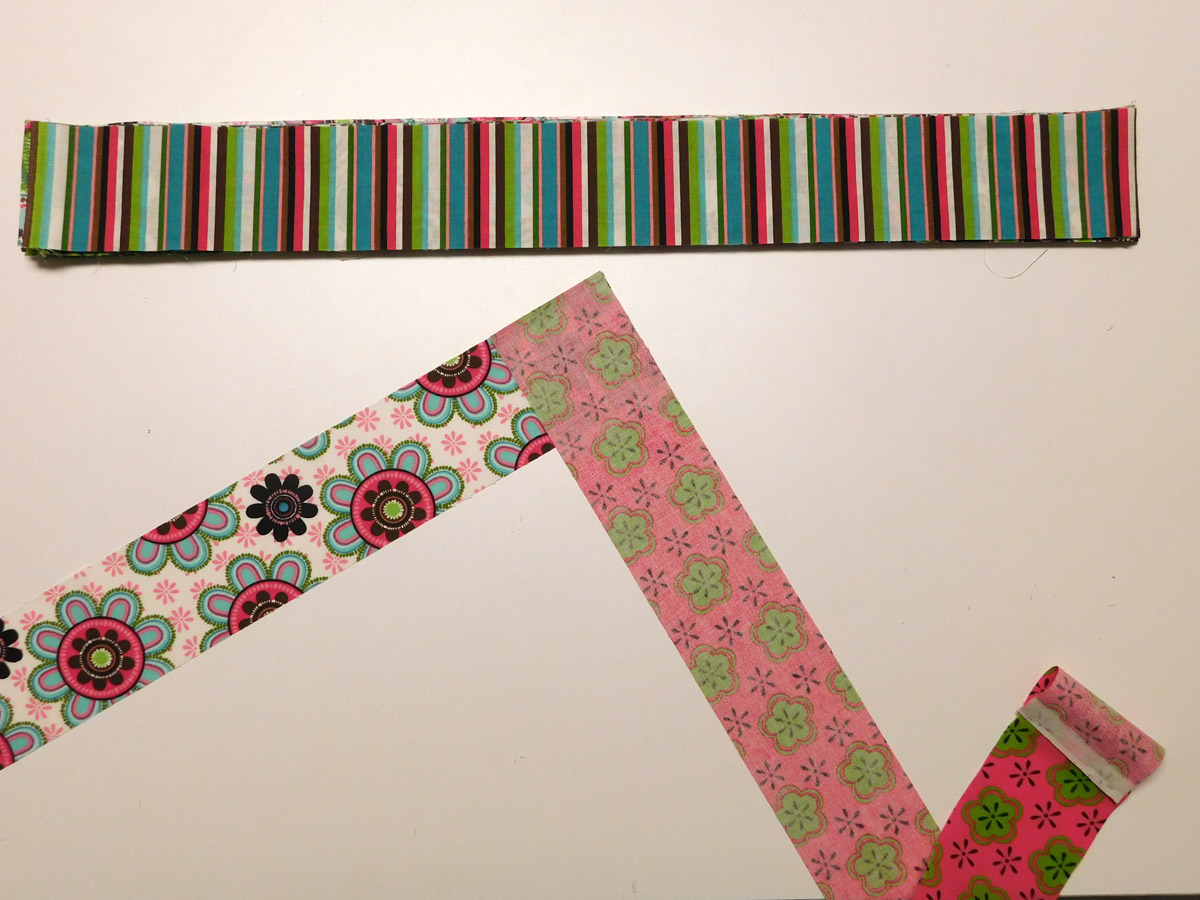
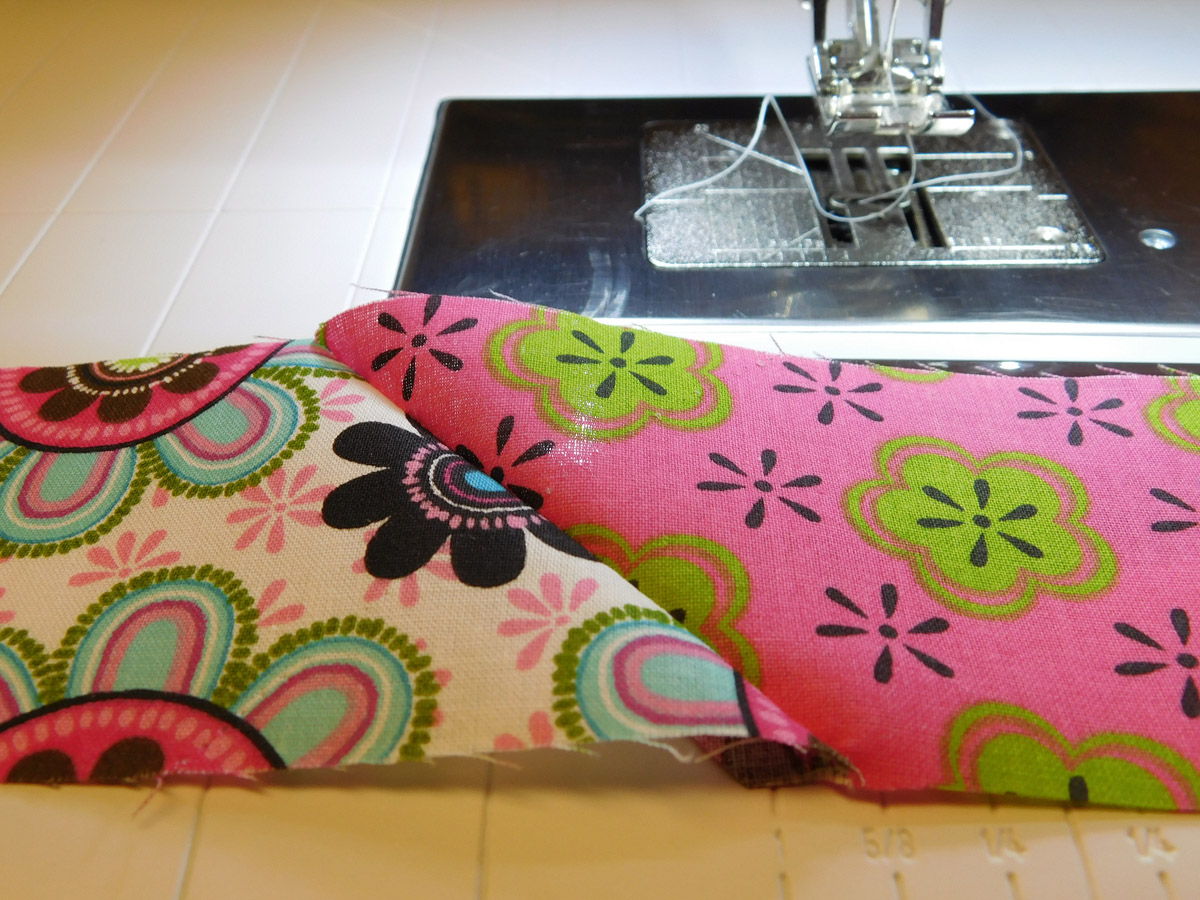
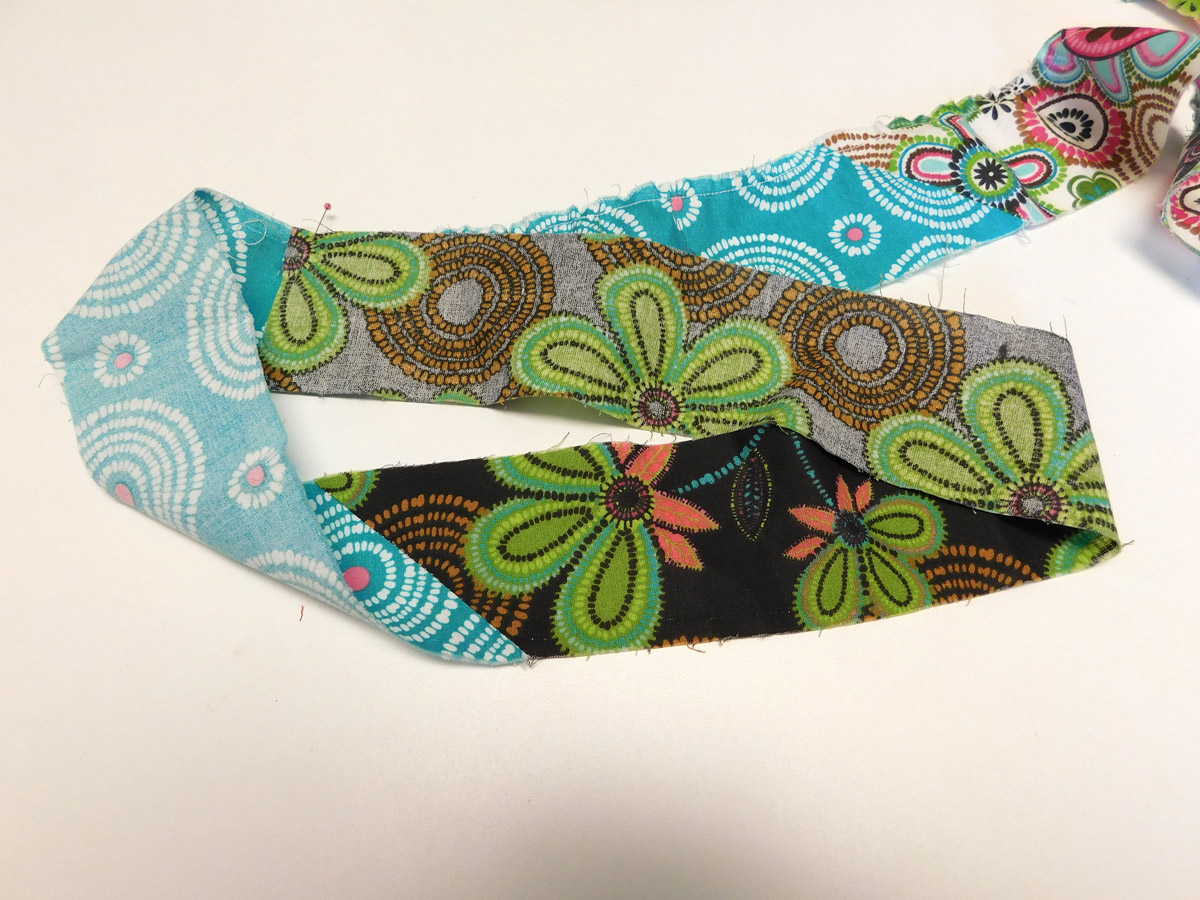
Take the top strip of the stack and place it right side up. Take the next strip and flip it so the wrong side is up and then place the corners of the strips together to form a right angle.
Pin, if desired, and sew a diagonal seam across the ends of the strips. Trim the excess fabric to leave a ¼” seam allowance.
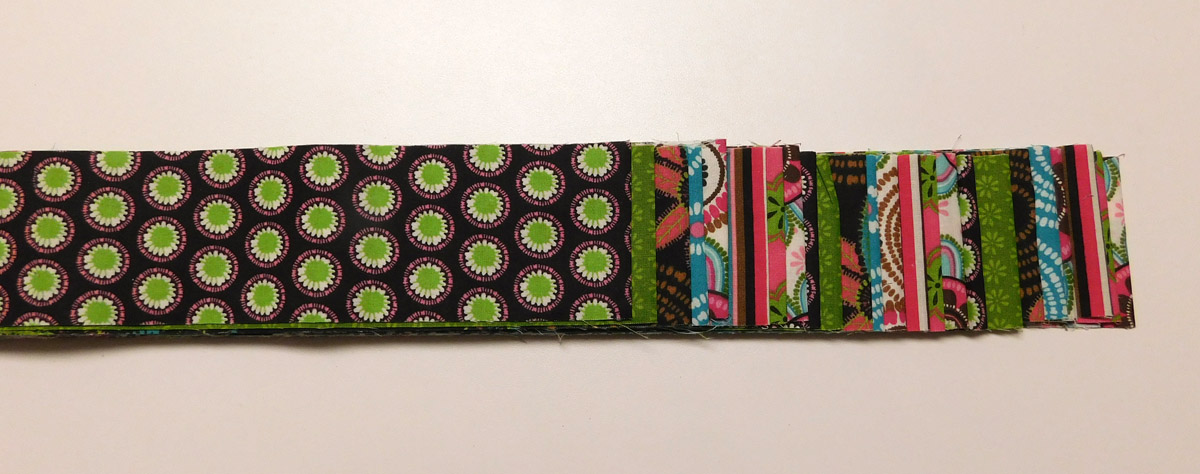
When the strips are opened there will be a diagonal seam and the 2 strips will form a straight line.
Pick up the next strip from the top of the stack and join as explained before. Always have the strip that has been previously sewn on the bottom and put the new strip on top. Sew the diagonal seam in the same direction. Continue to add strips in this manner until the entire stack has been joined into one long strip.
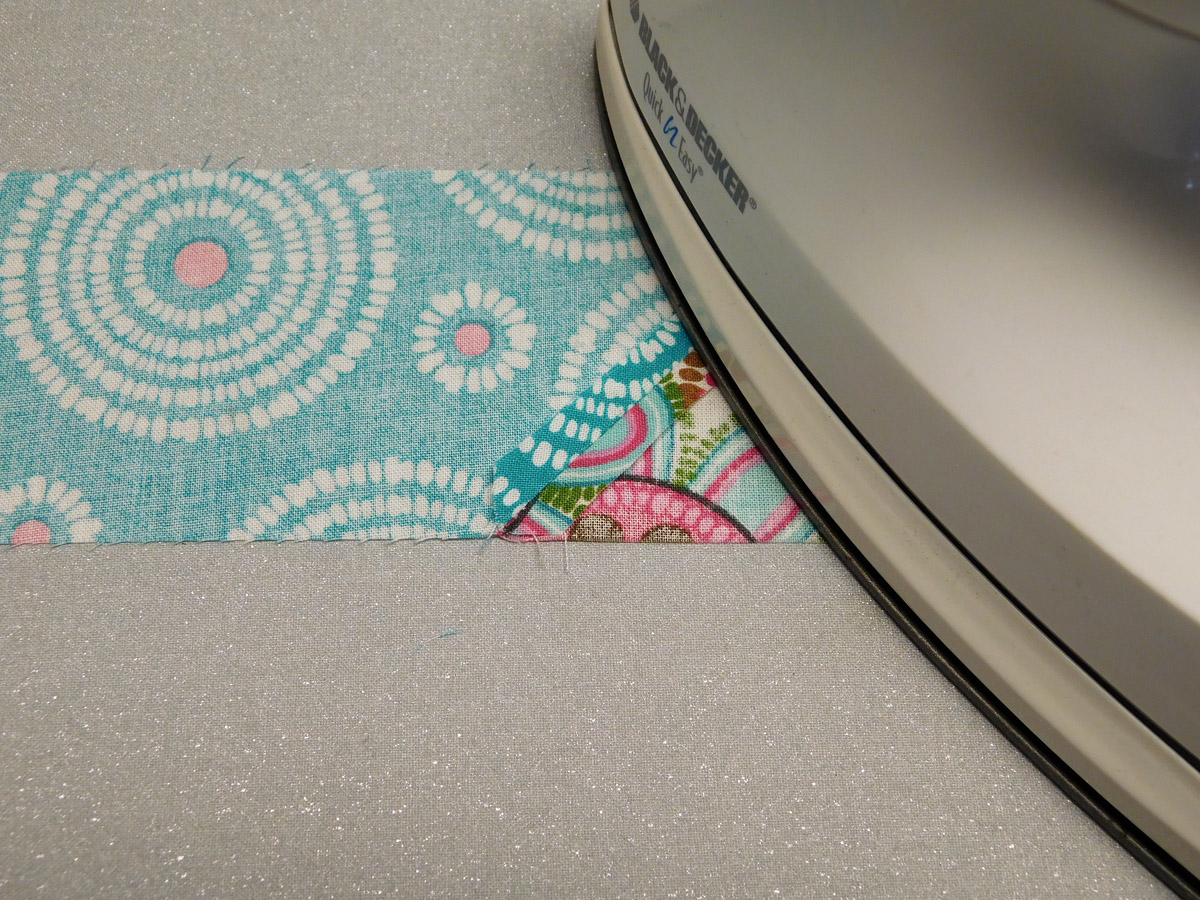
The seams will need to be ironed open at this point.
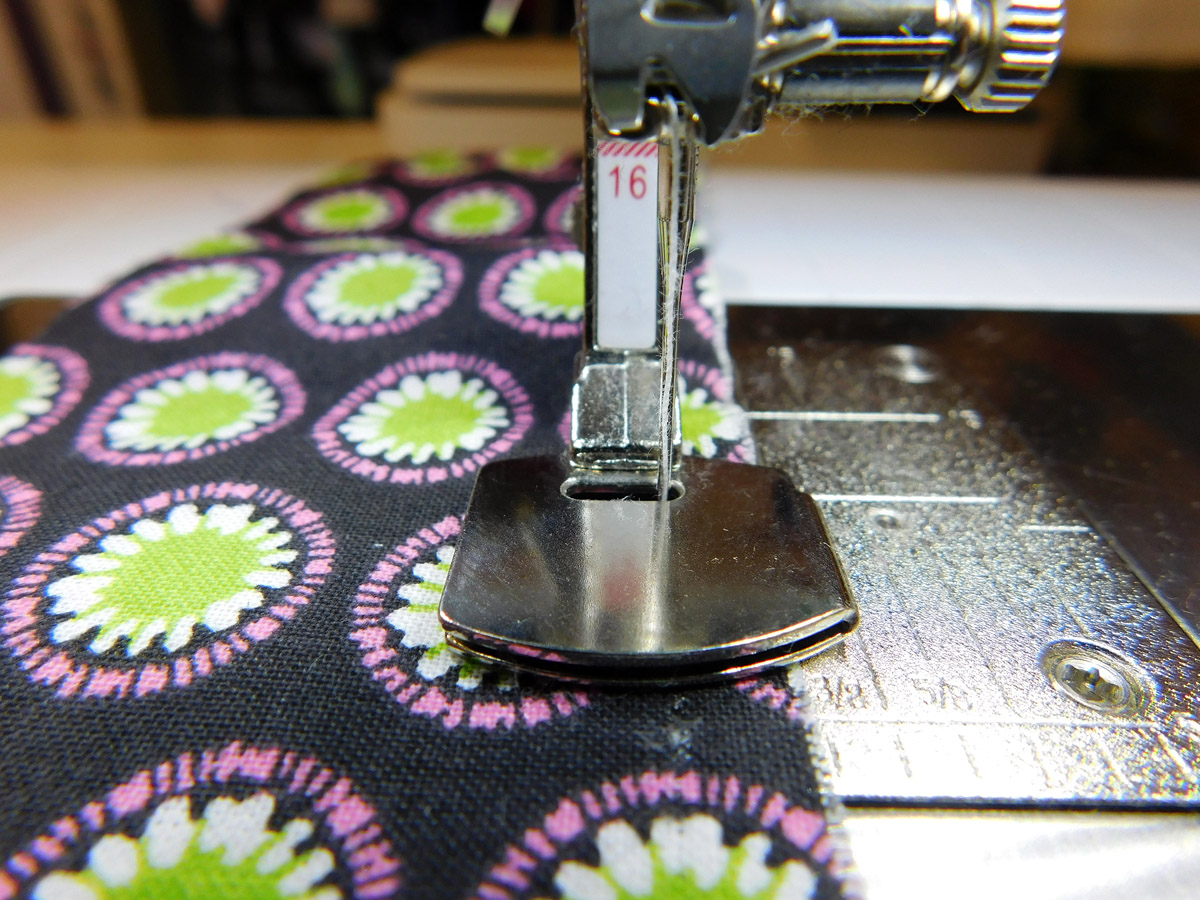
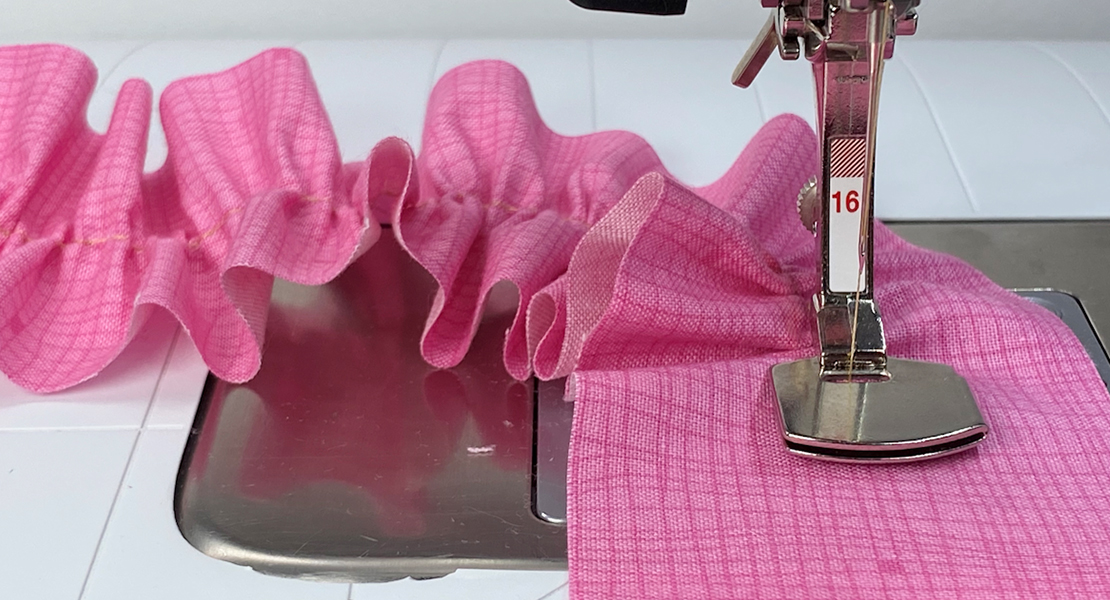
For this technique, you will need a Gathering foot #16. (Alternatively, the gathering could be done by hand but that would be very tedious.)
The gathering foot allows you to put one fabric, which will remain flat, in between the deep curve of the foot, and the second fabric, which will be gathered under the foot where the feed dogs can create the gathers.
But don’t do it this way. It is difficult to control the fabrics this way for the project as both fabrics needed to be guided at the same time and different things are happening to each piece.
Instead, put a single piece of fabric underneath the Gathering foot#16 and this fabric can be gathered without sewing it to another fabric. The amount of gathering that is done is controlled by the stitch length setting on the machine – the lower the number the less gathers you will get, the higher the number the gathers will increase.
The top round of the skirt does not need any gathering. Take the hip measurement of the person the skirt is for and add 2″.
For example Tavia’s hips measured 26″ so I placed a pin at the 28”measurement on the strip. (At this size the skirt can be slipped on over the hips. An elastic waistband will be attached later.) The gathering starts at this mark.
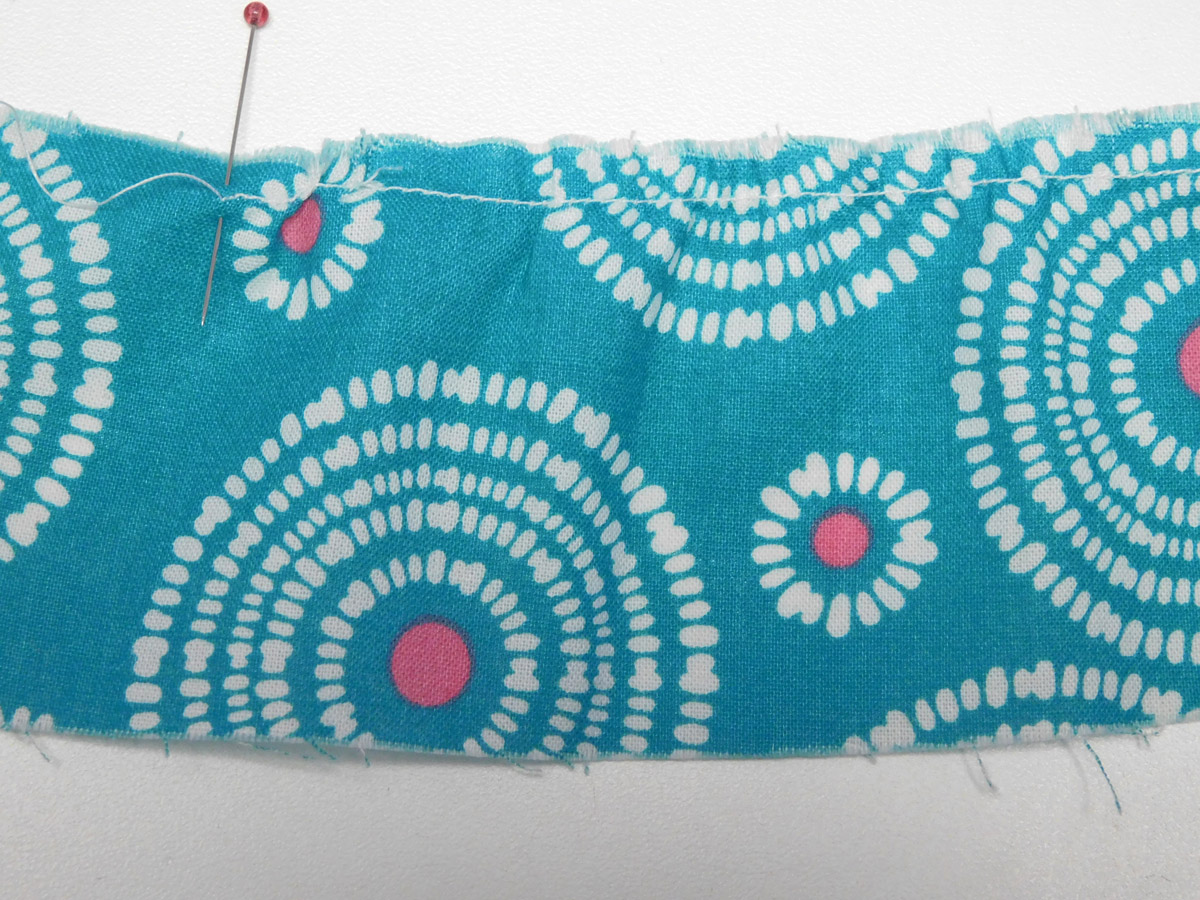
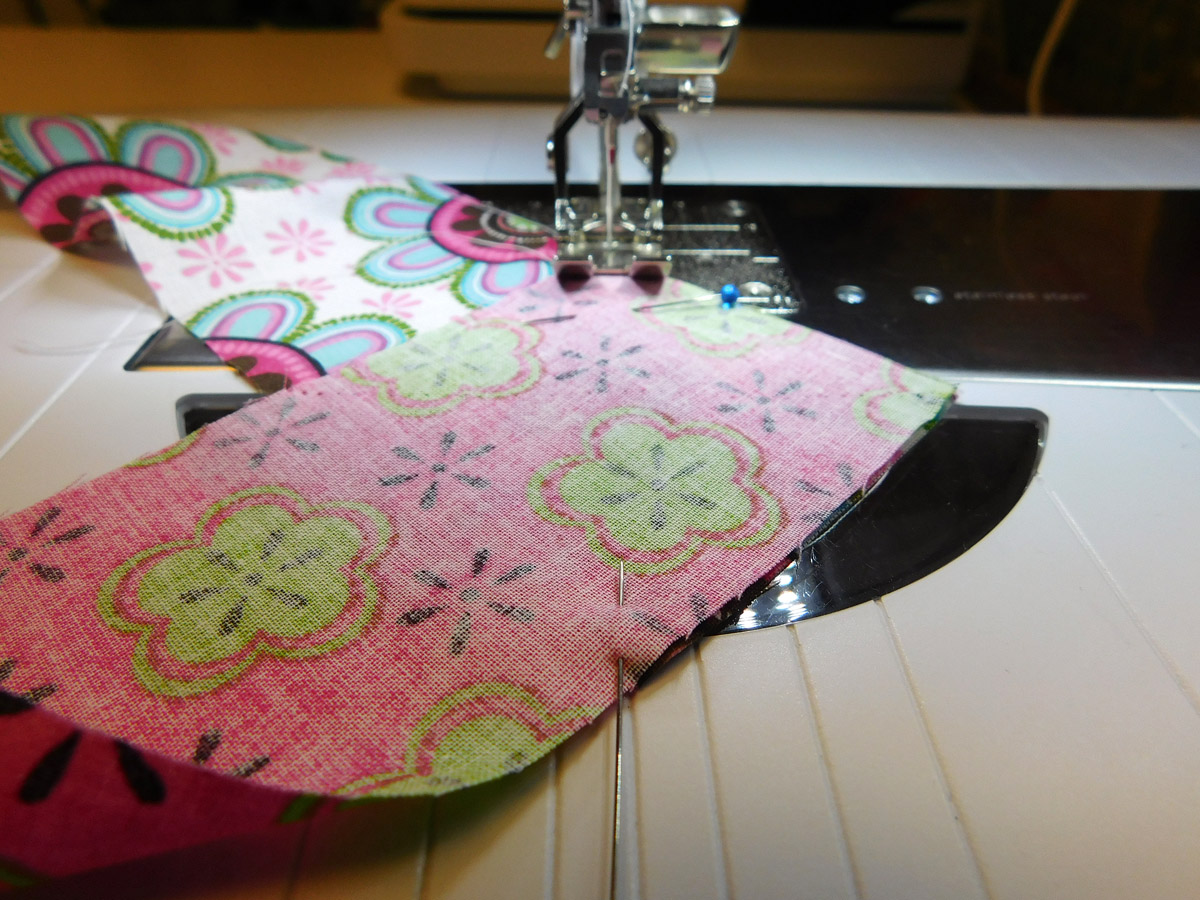
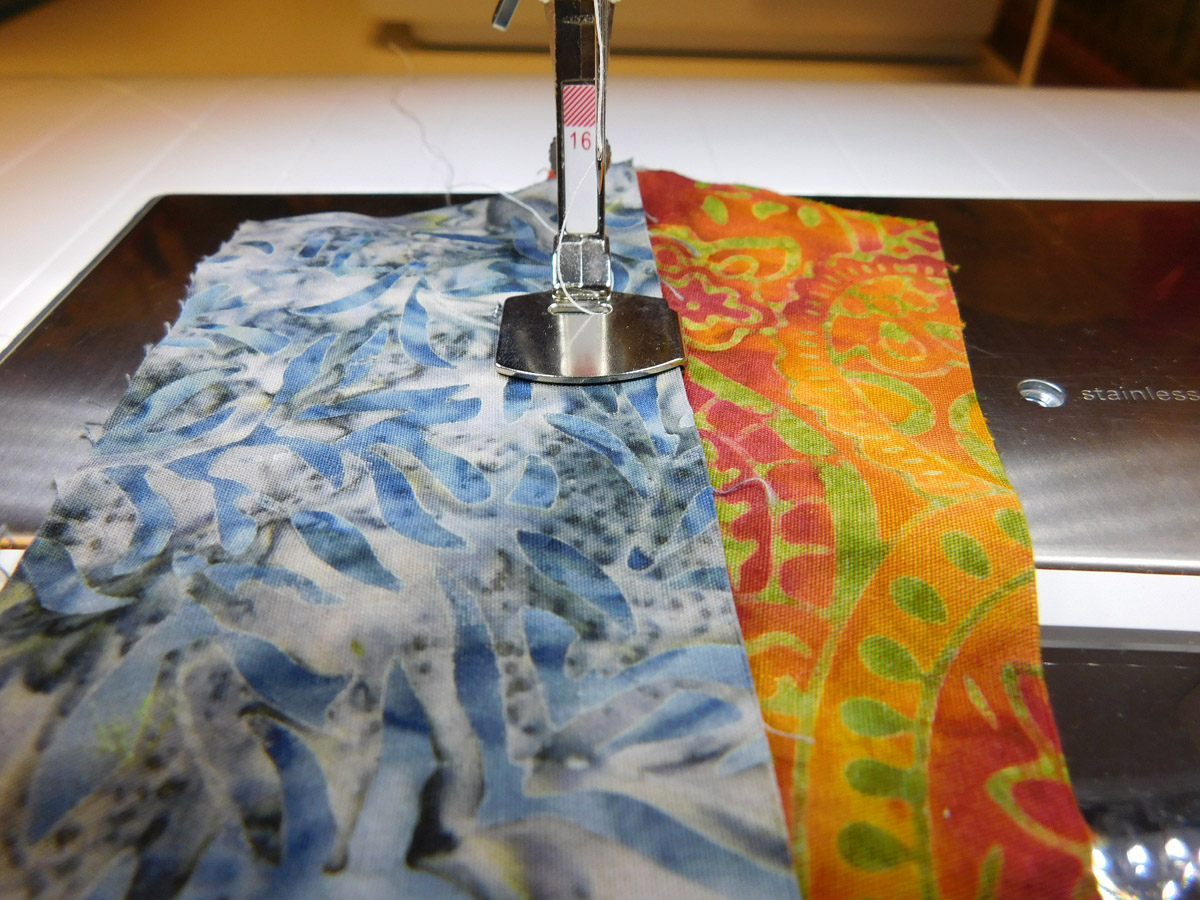
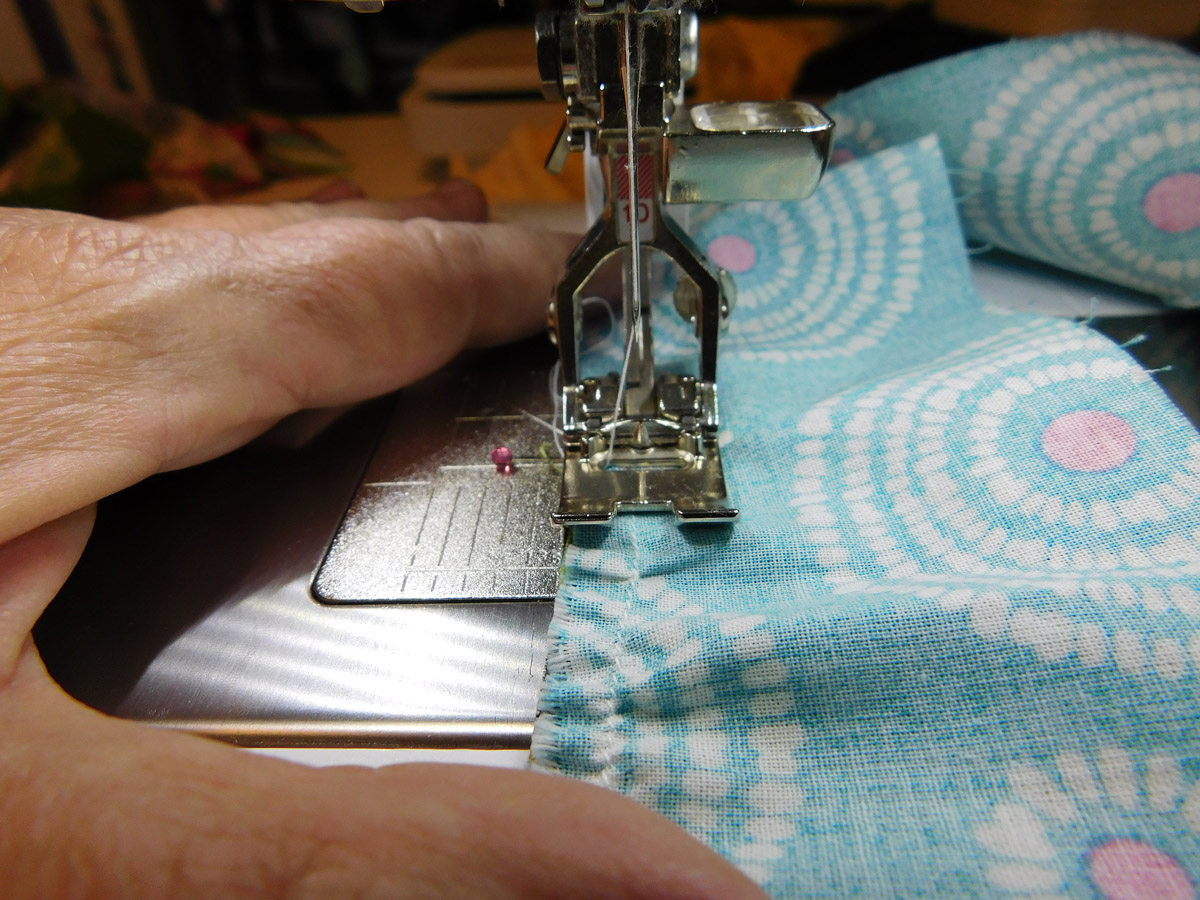
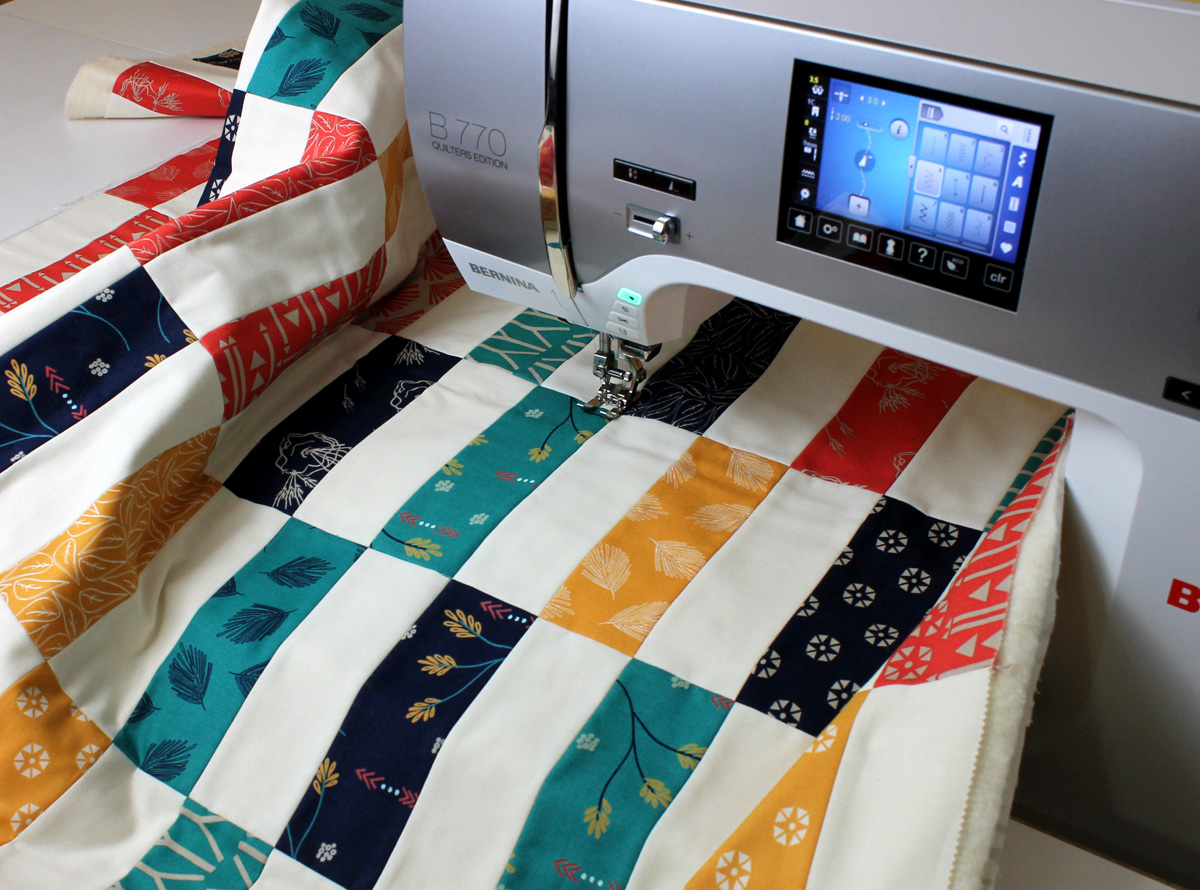
Using the B 880 or other machine set the stitch length at 2.25. Move the needle all the way to the right and used the 3/8″ mark on the throat plate to run the edge of the fabric along.
This makes the seam allowance just shy of ¼”. (Experience has shown me that even though I have a stitch length setting I can still manipulate how much gathering is done.) Very little gathering is needed from the waist to the hip. So by placing two fingers, my thumb before the foot and index finger after, and applying pressure, one can manipulate how much gathering takes place.
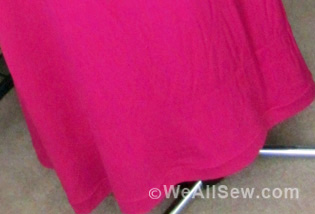
Notice that the fabric is barely gathered at this stage.
For the first few yards stitch with minimal gathering. As you continue to stitch let the gathering increase a bit. Continue to let it increase until you get to the last 6 – 8 yards and then take your fingers away and let the machine gather as it will. This will create a flair towards the bottom of the skirt.
Now the skirt will be assembled with one long spiral seam.
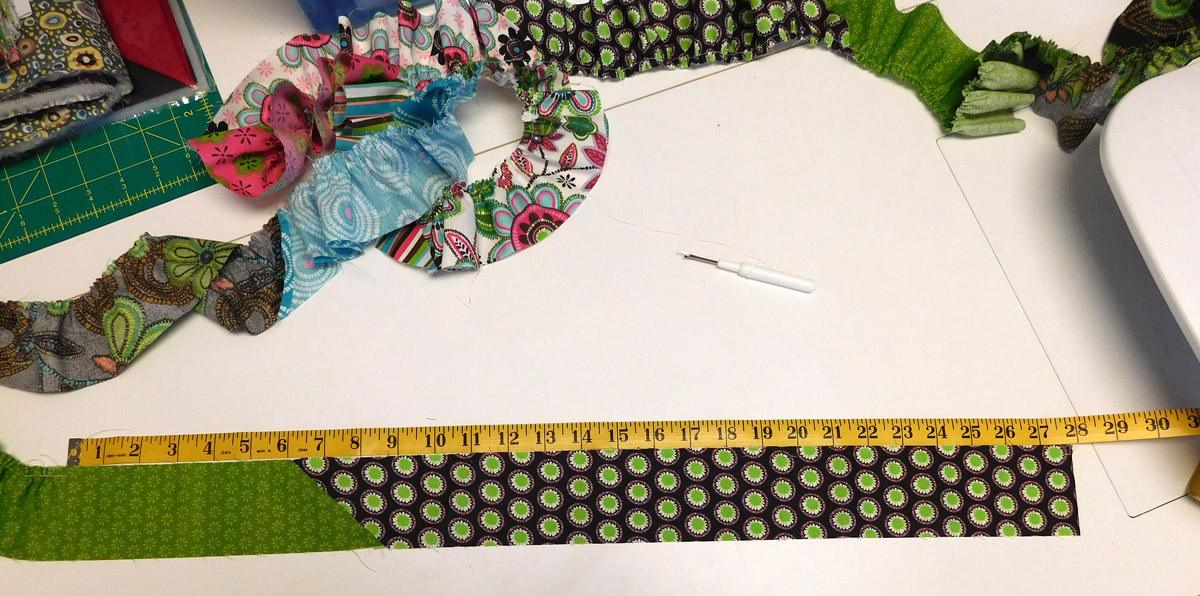
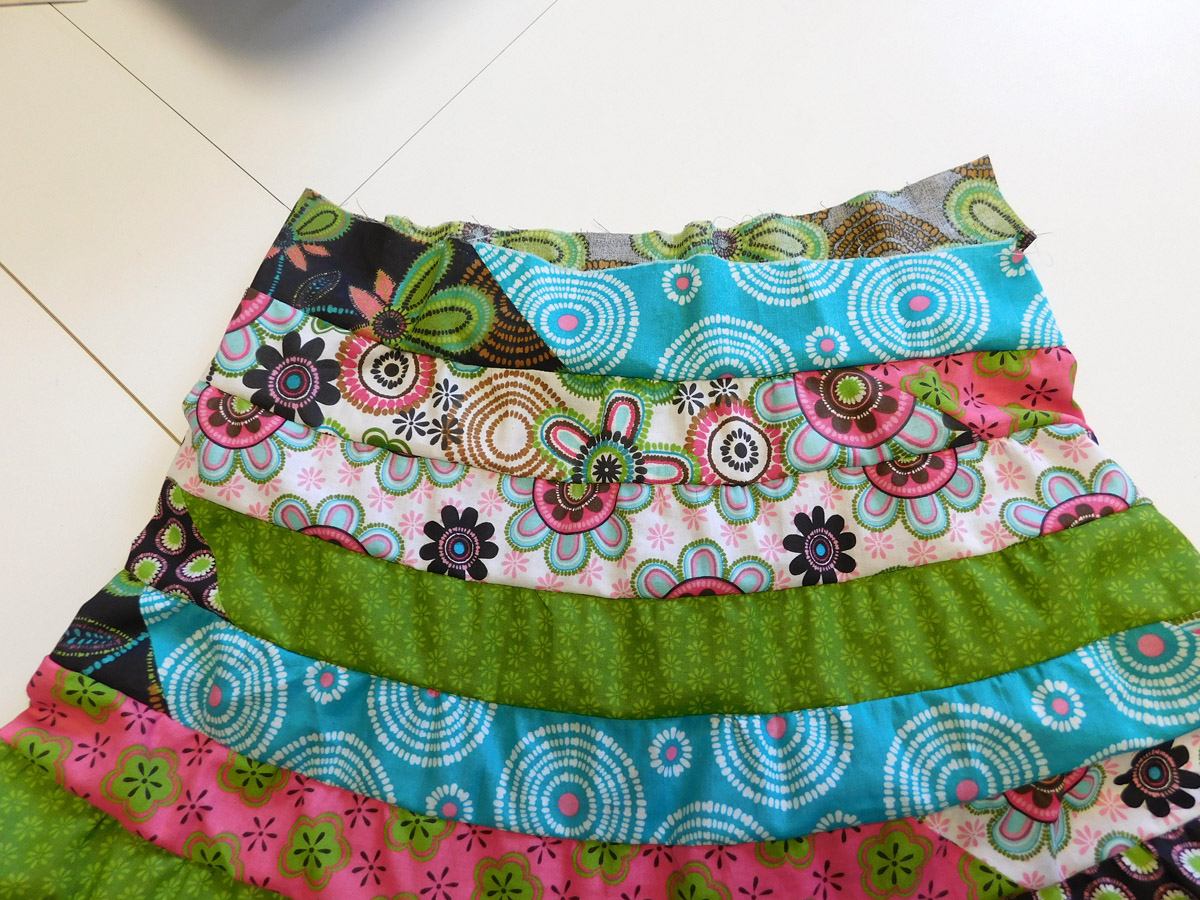
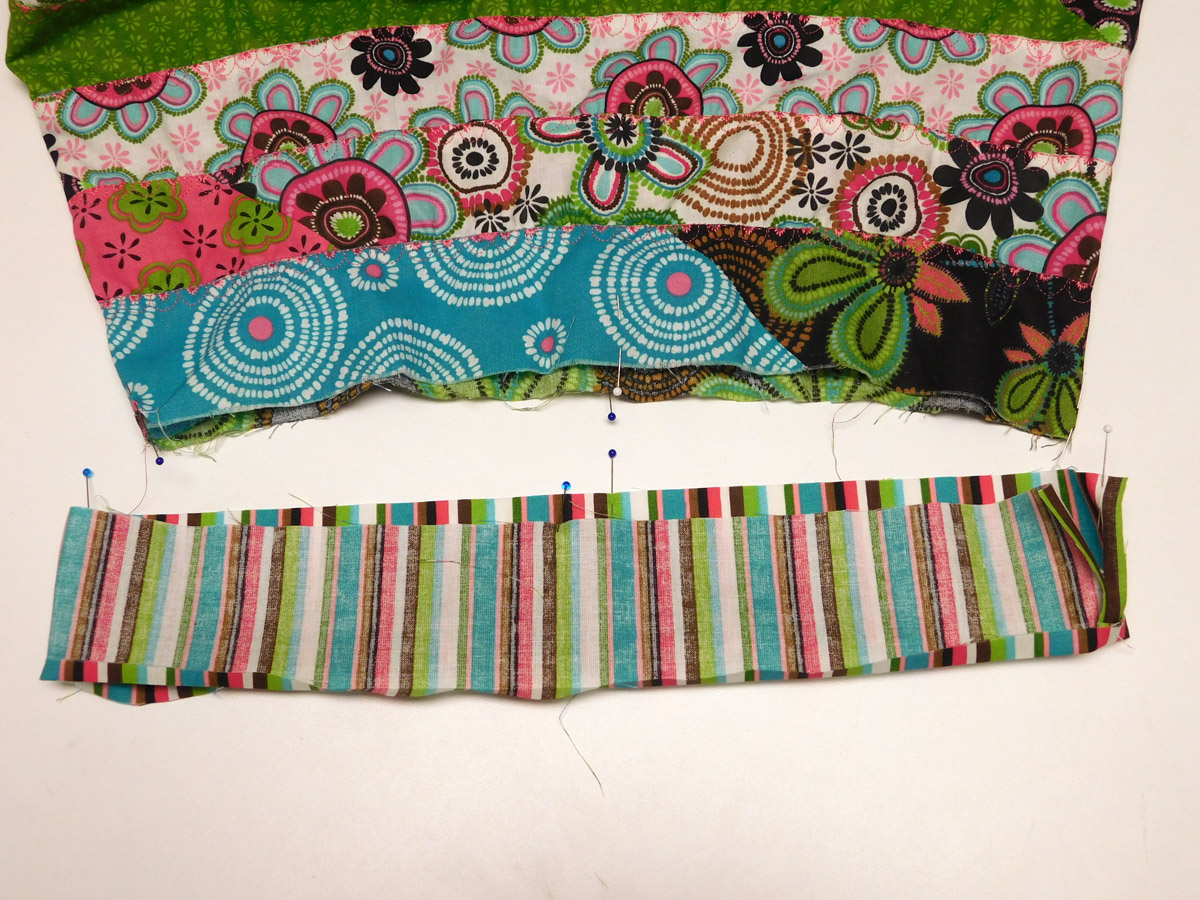
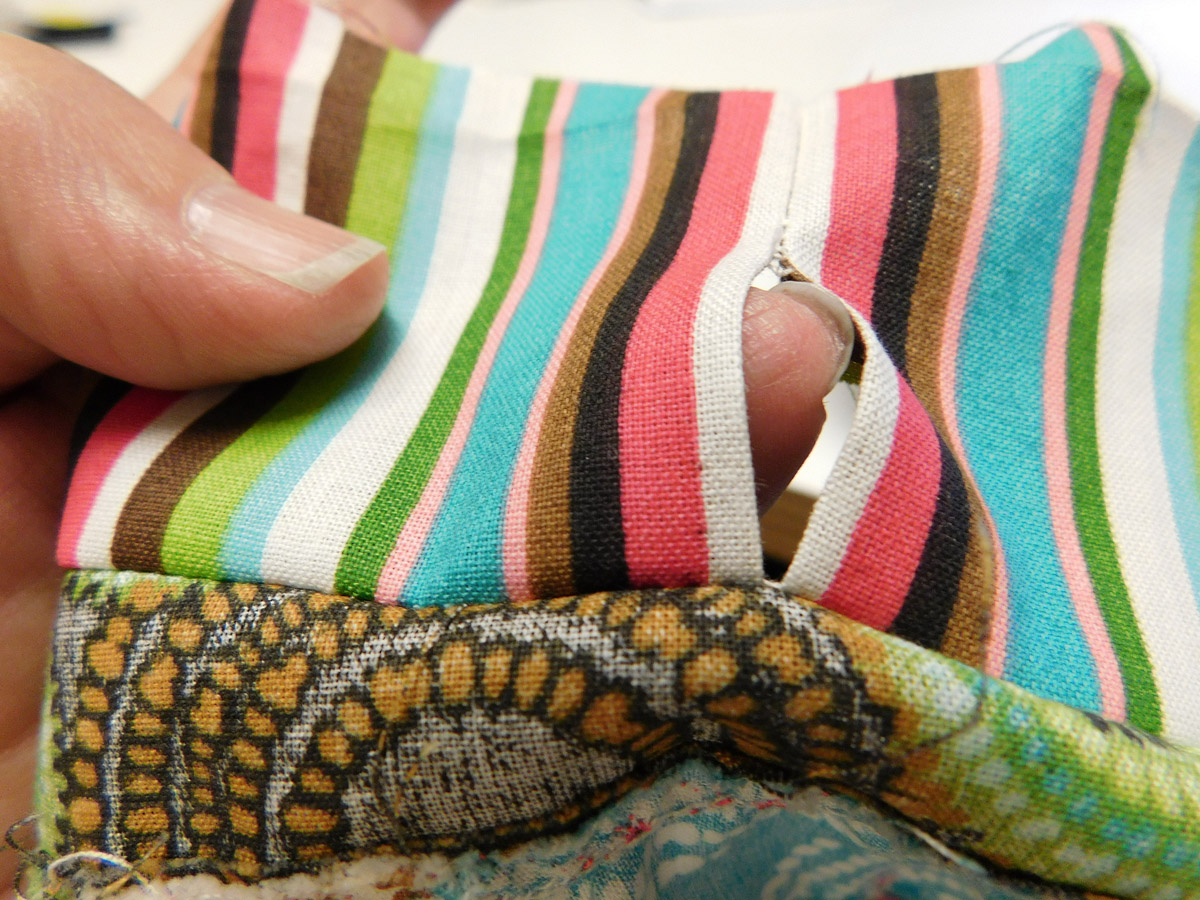
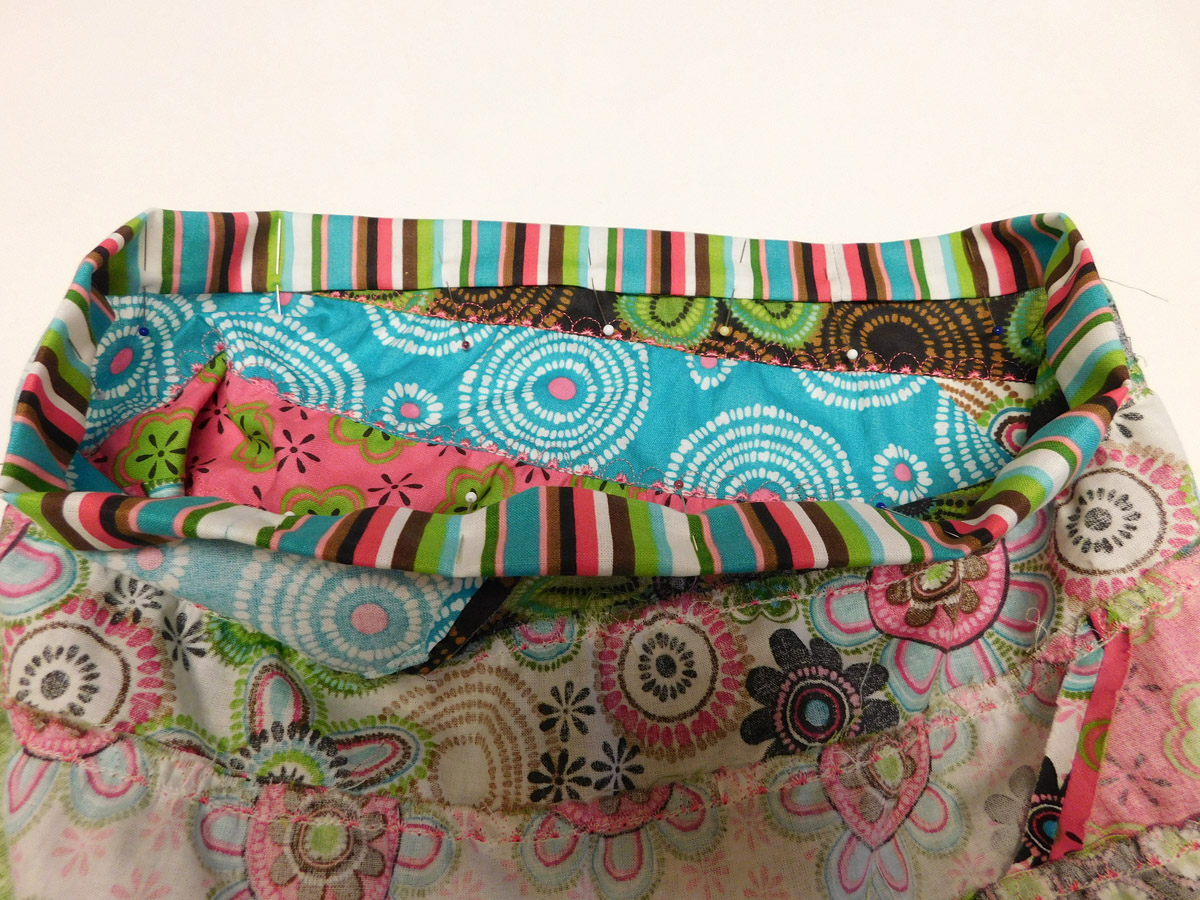
Start with the length of strip that has not been gathered. The top edge is the same edge where the rest of the strip is gathered. The bottom edge of this ungathered portion is pinned to where the gathering starts. This creates a “round.” (Think of rounds in knitting.) Make sure there are no twists in this round.
This is the most crucial part of making the skirt work. If it helps lay it out just as pictured.
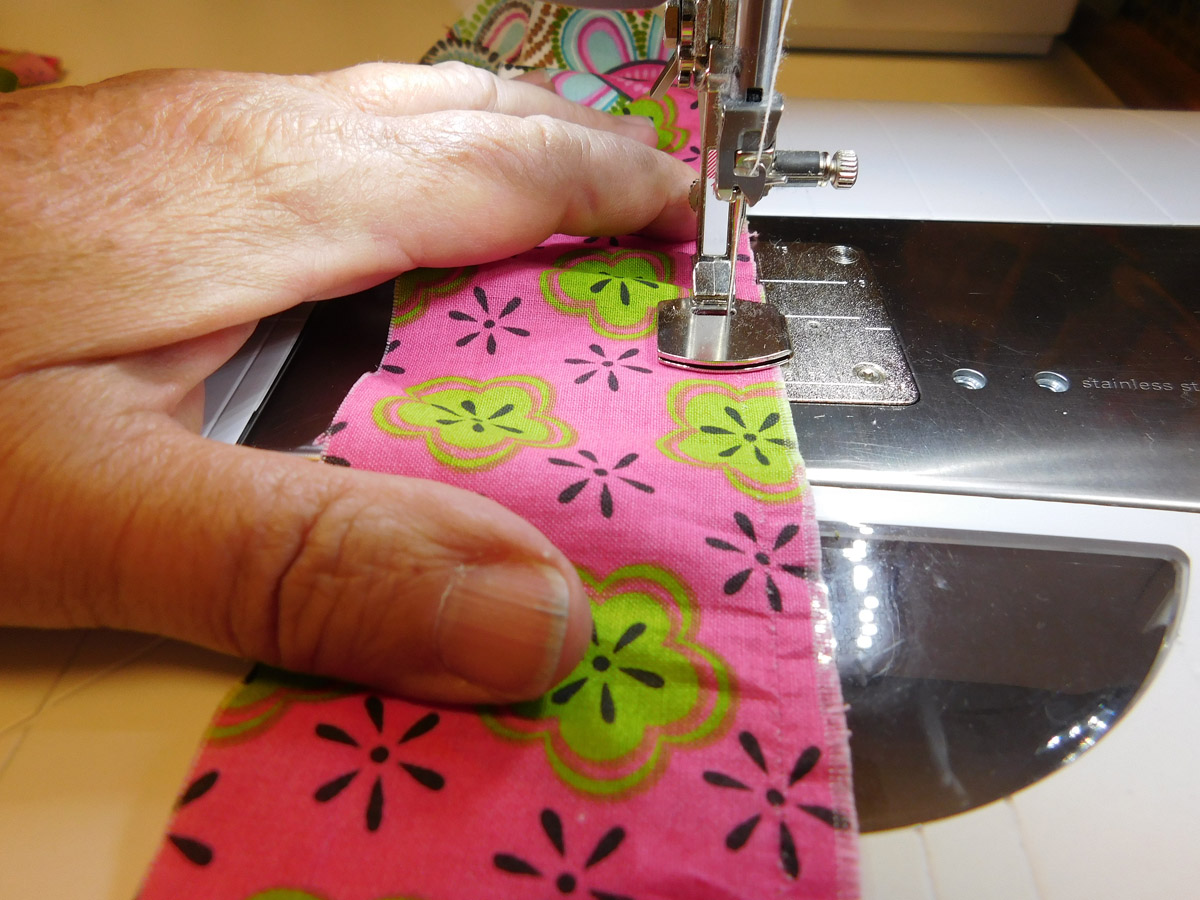
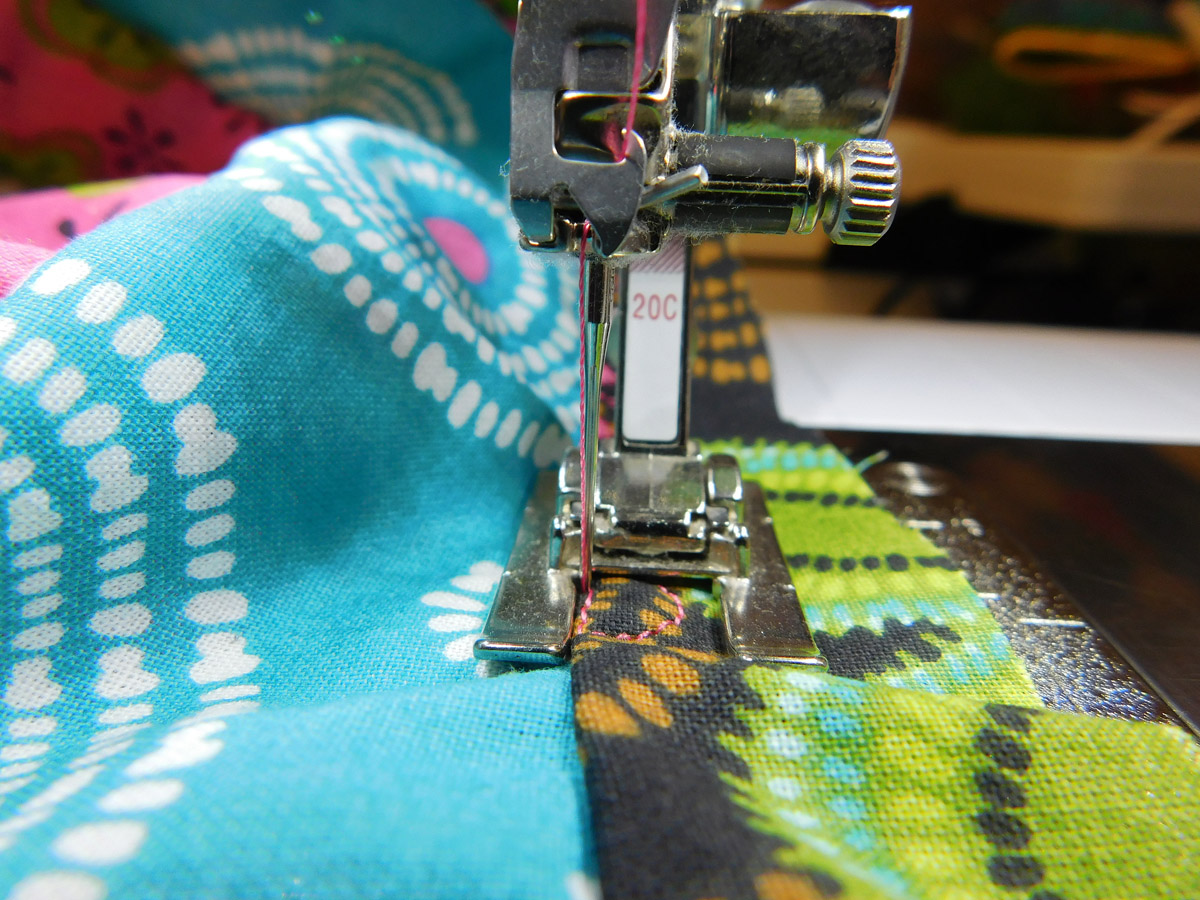
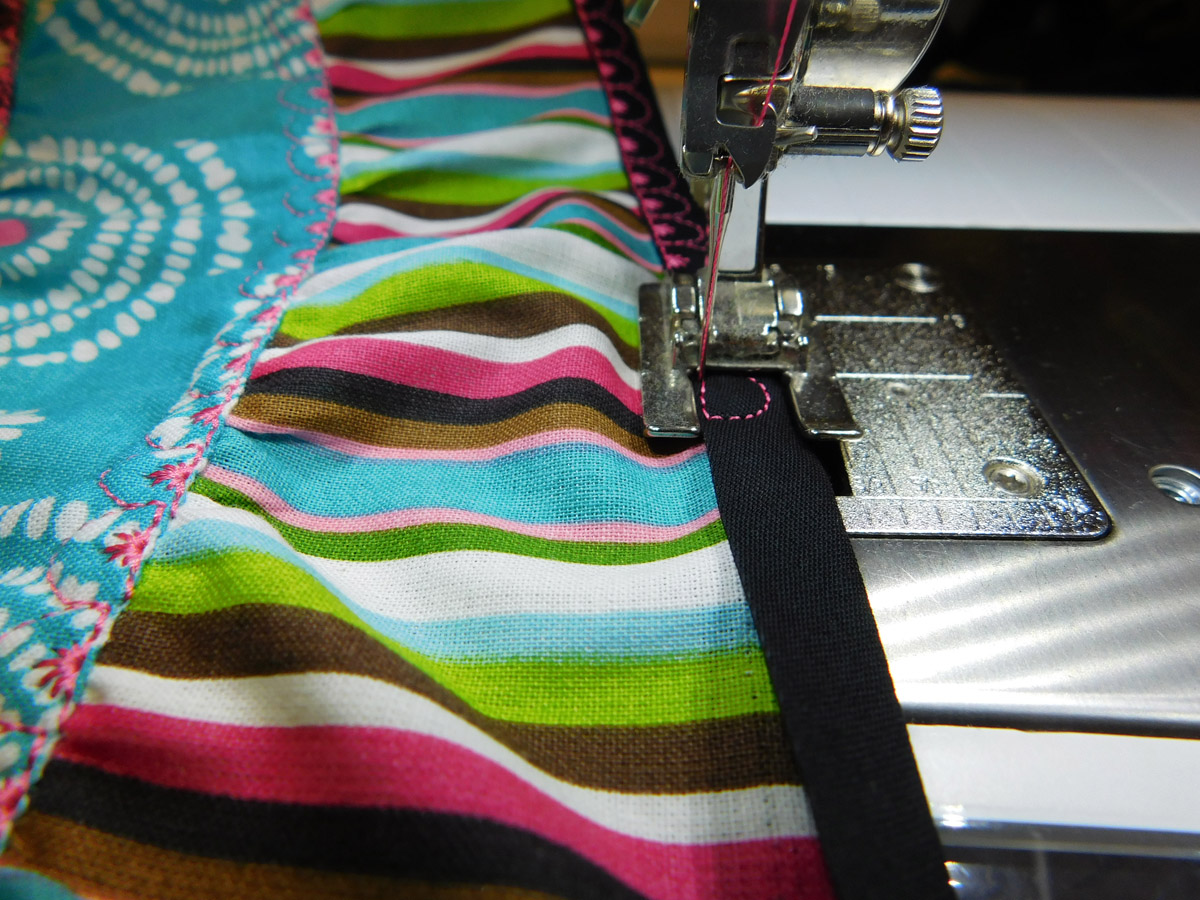
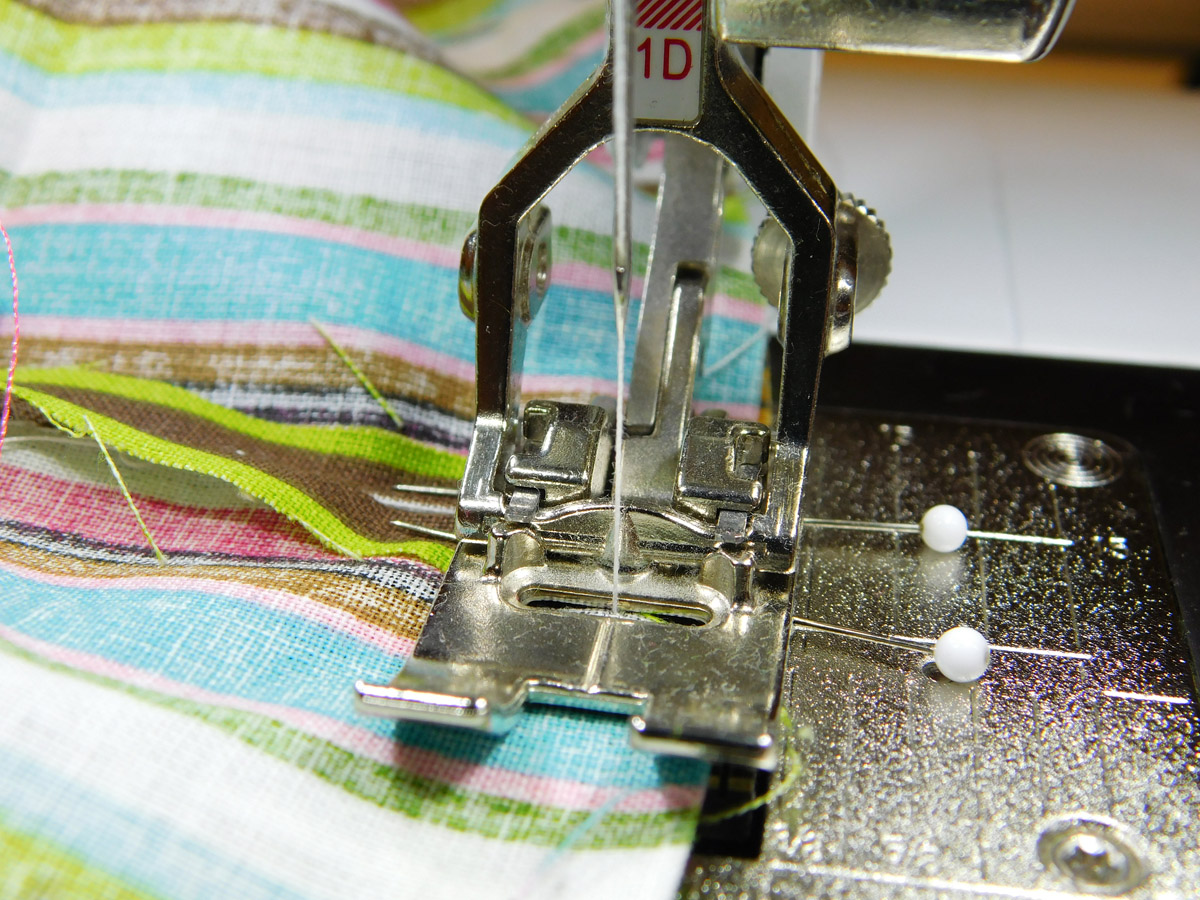
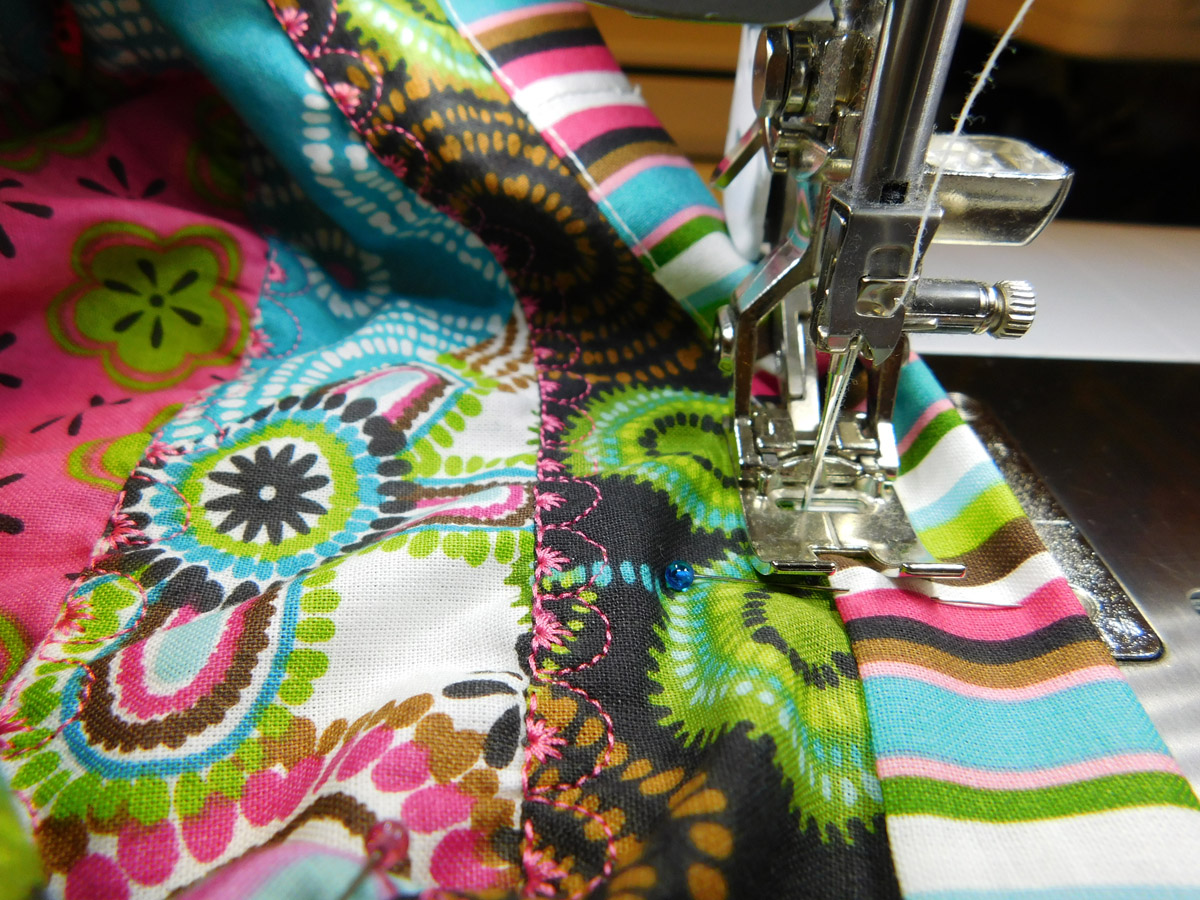
Switch to the basic Reverse presser foot #1/#1C/#1D (The #1D has the even feed feature.) Place the work under the foot at the pin so that the stitching will begin at the top of the waist.
The needle will pierce just inside the gathering line so that line of stitching won’t show on the outside of the skirt.
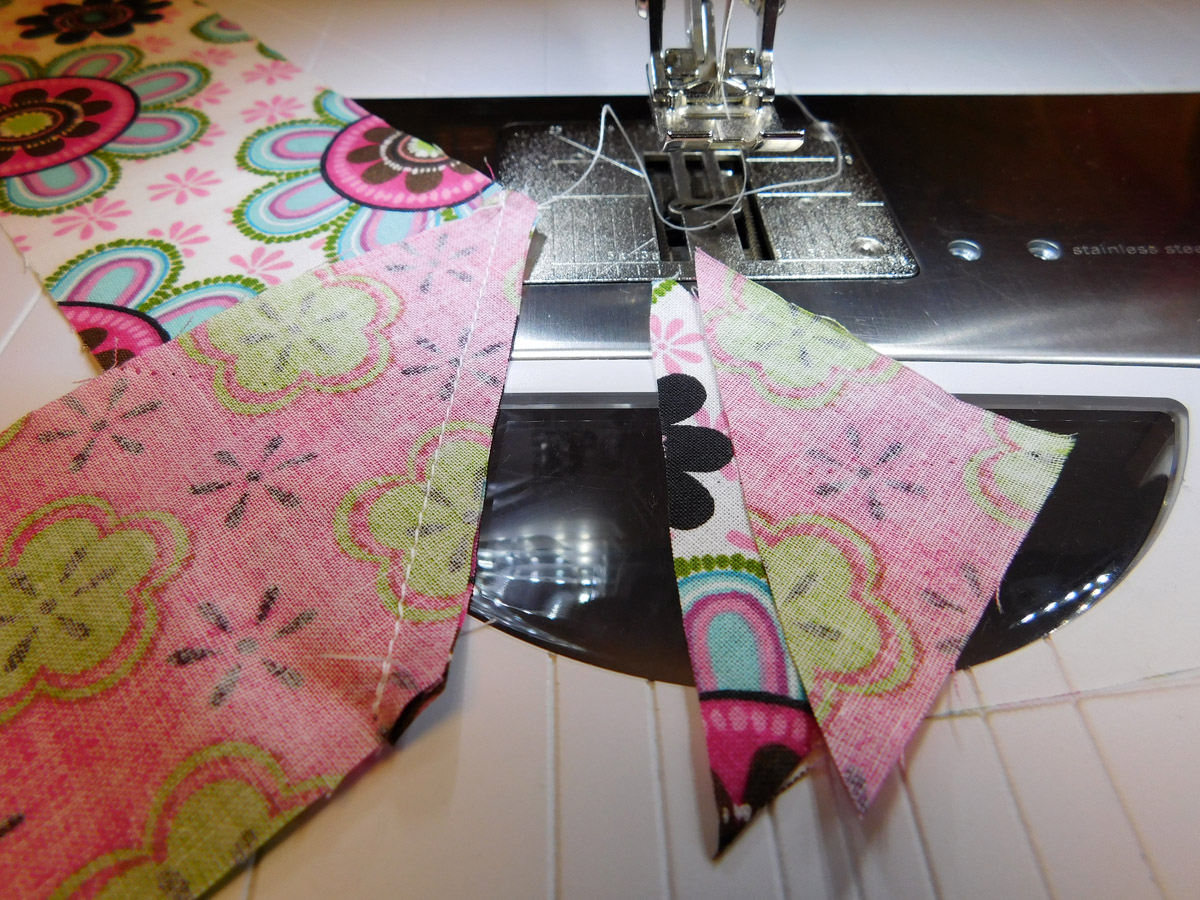
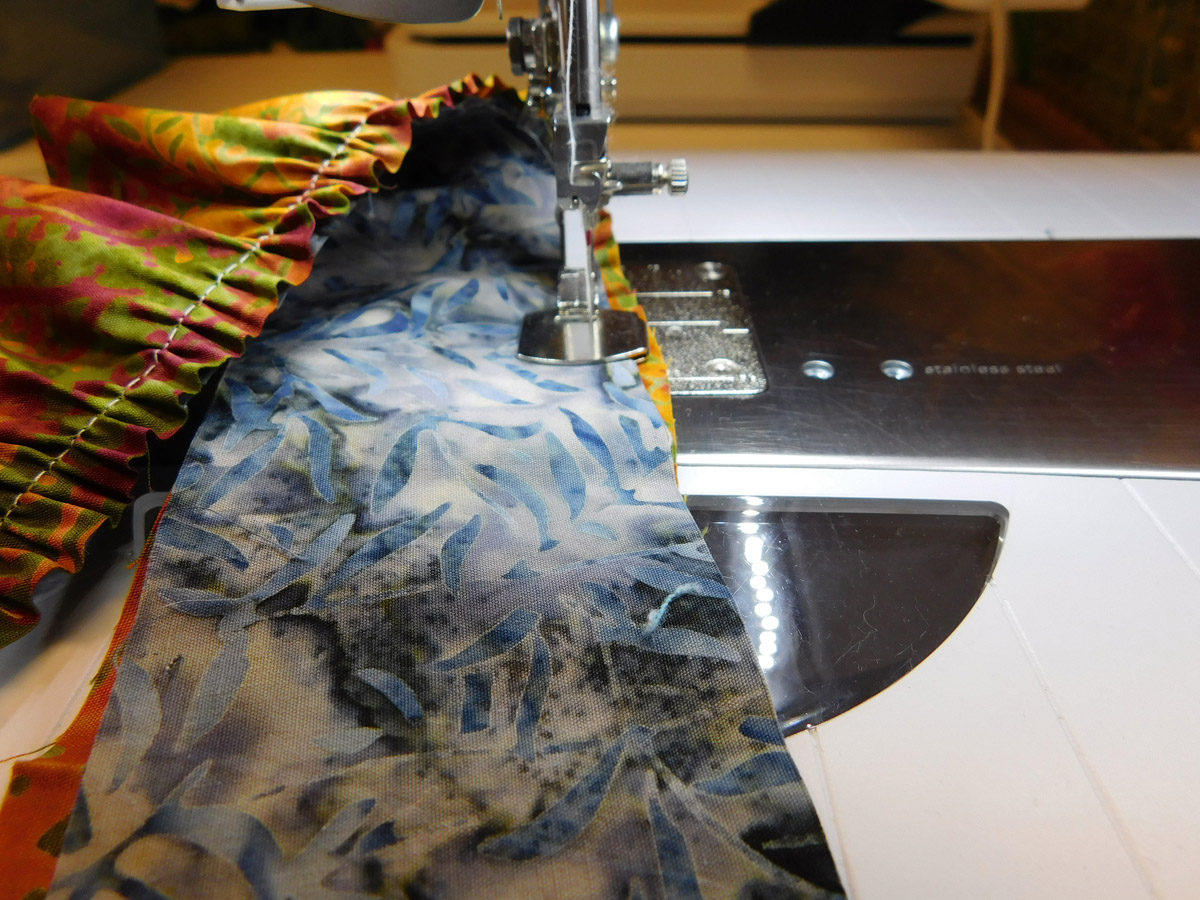
Begin stitching along that gathering line. (Keep your thumb ahead and a finger behind to keep the stitching straight.) Continue stitching, attaching the gathered edge to the straight edge of the previous round.
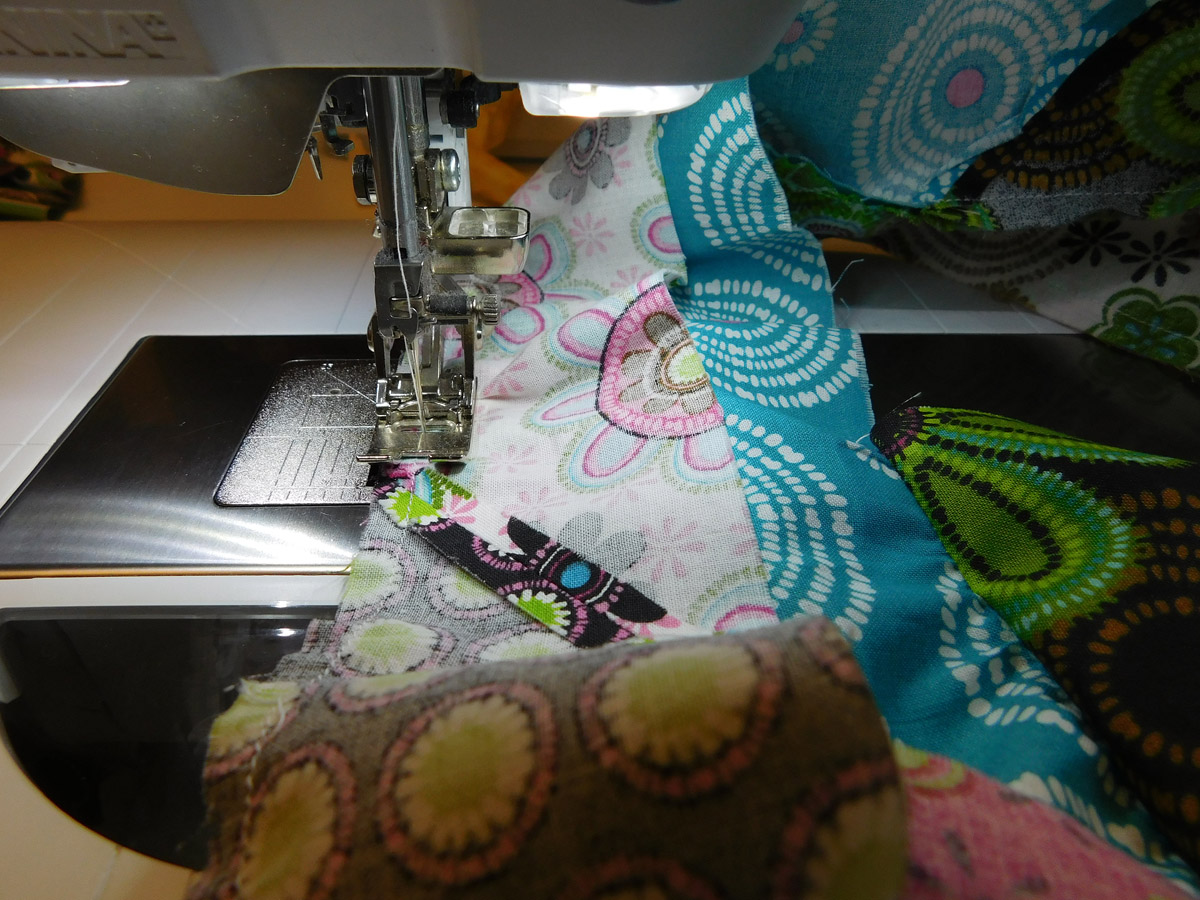
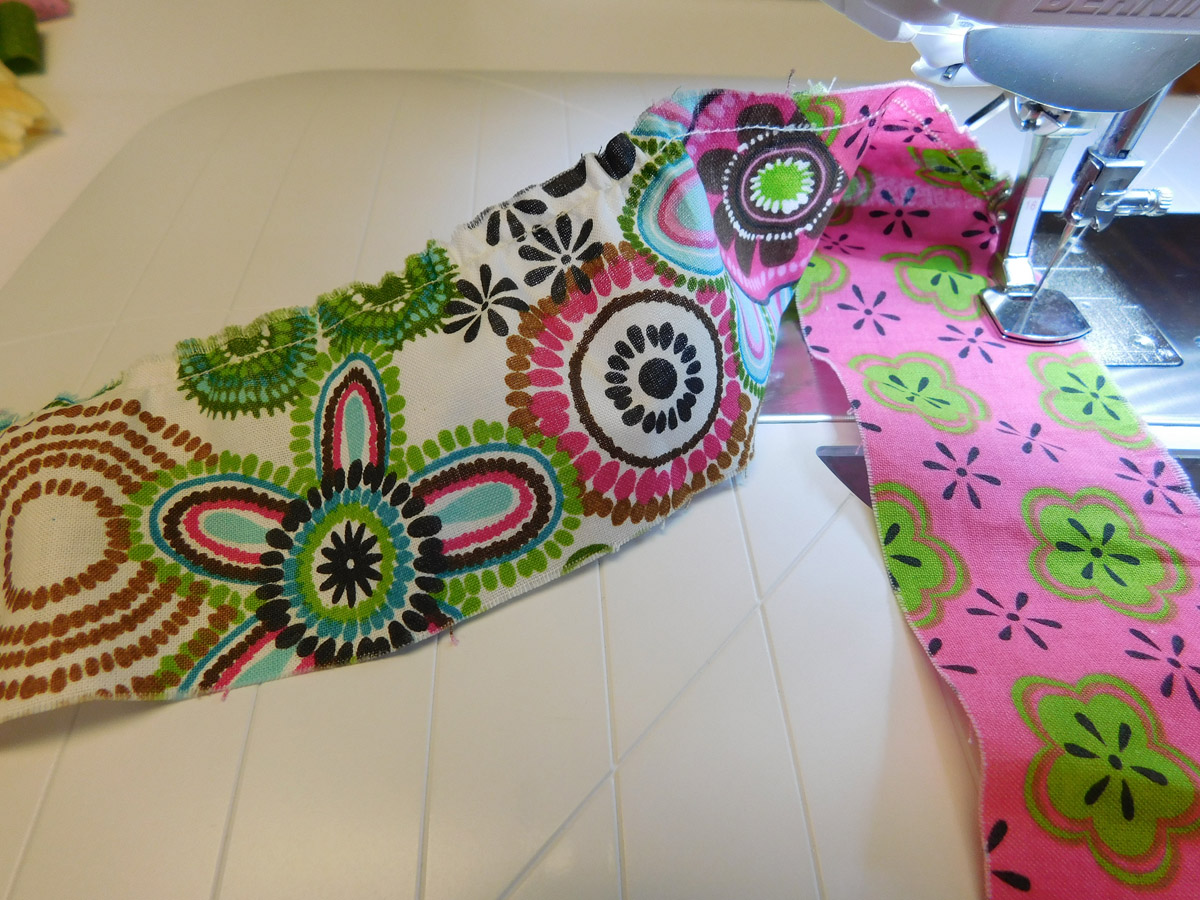
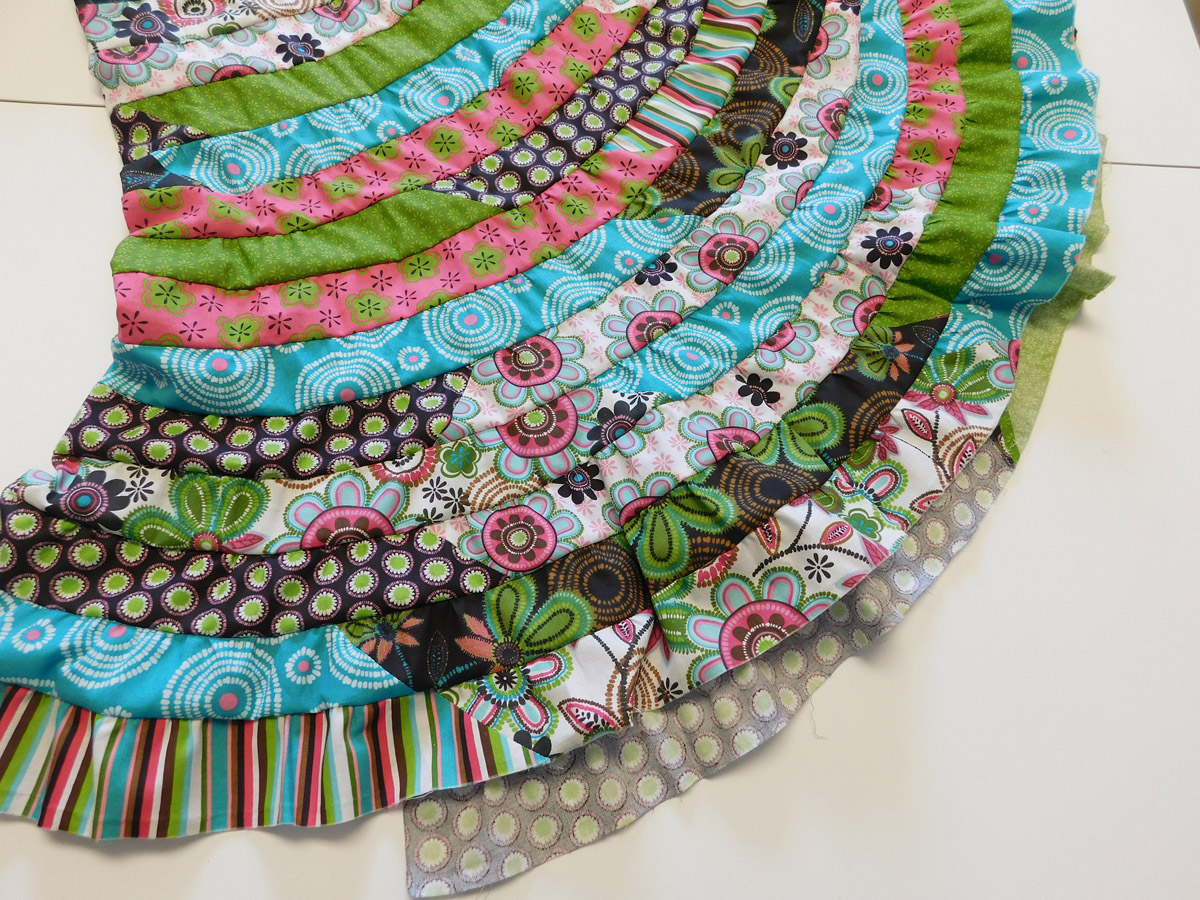
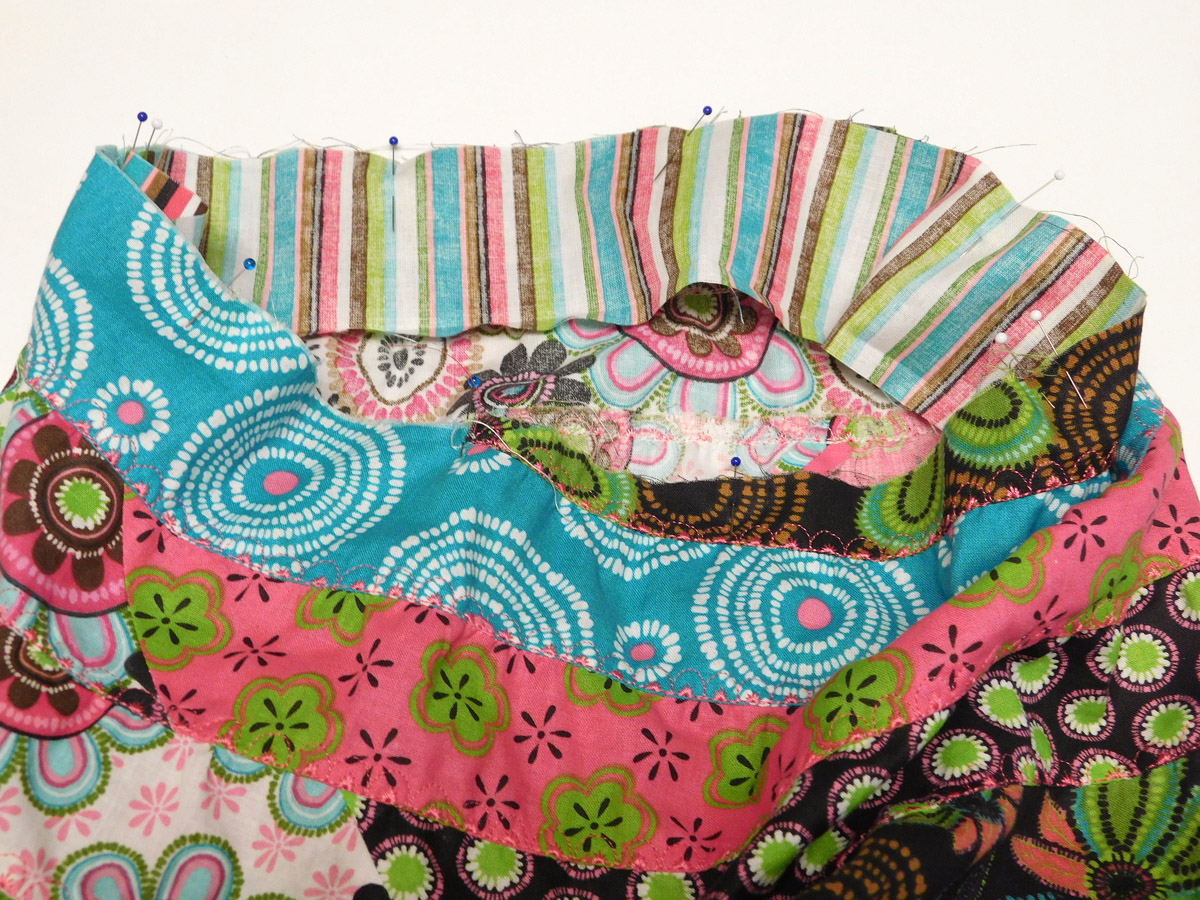
In the photo above you can see that the strip is about to start the third round. The beginning of the seam is over to the right underneath the arm of the machine.
After that one very long seam the body of the skirt is in one piece.

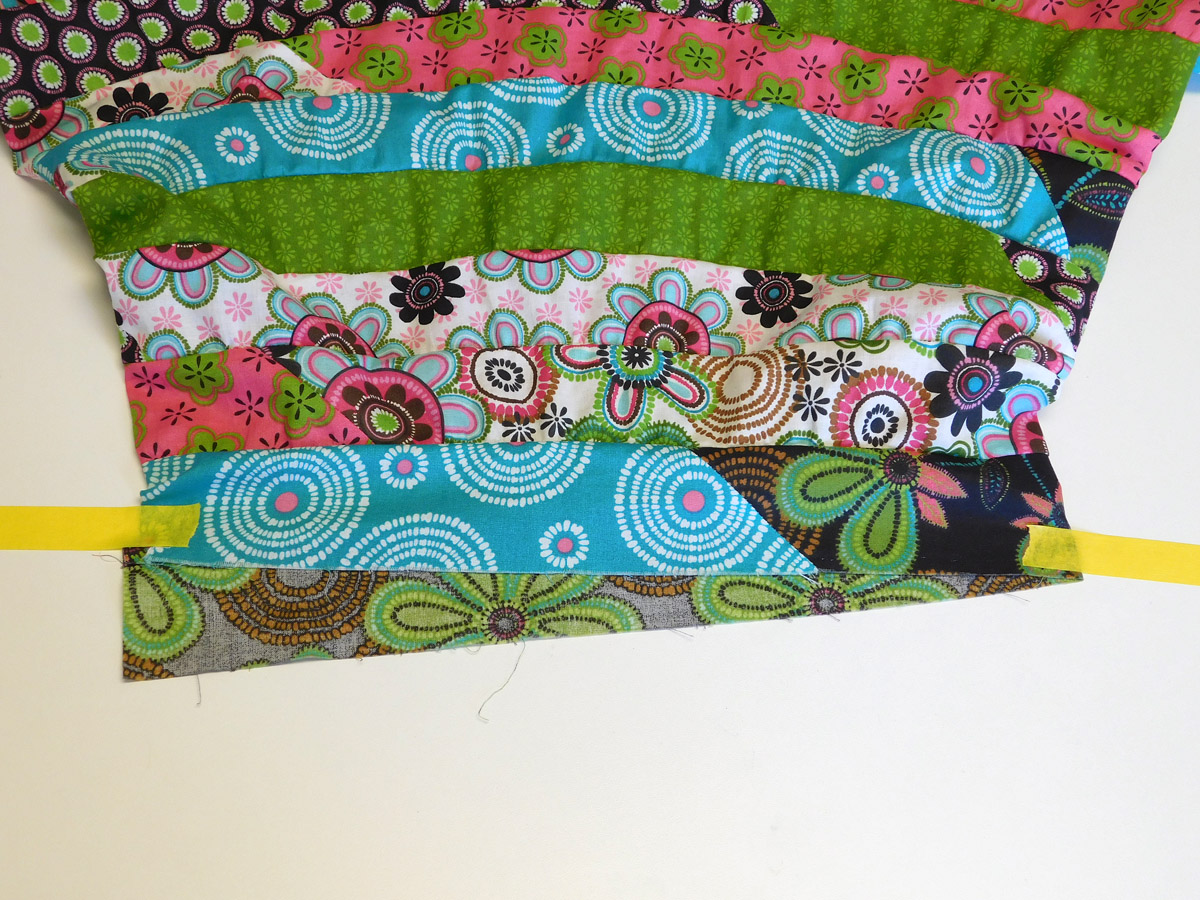
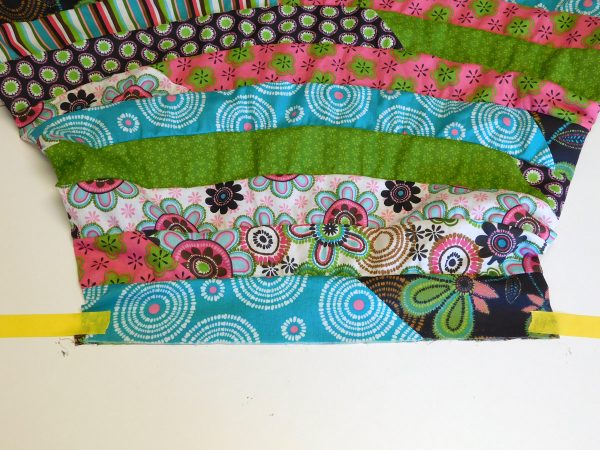
The top of the skirt has a bit of excess fabric
as well as the hem of the skirt.
Stretch out the top of the skirt to make straight lines and tape it in place.
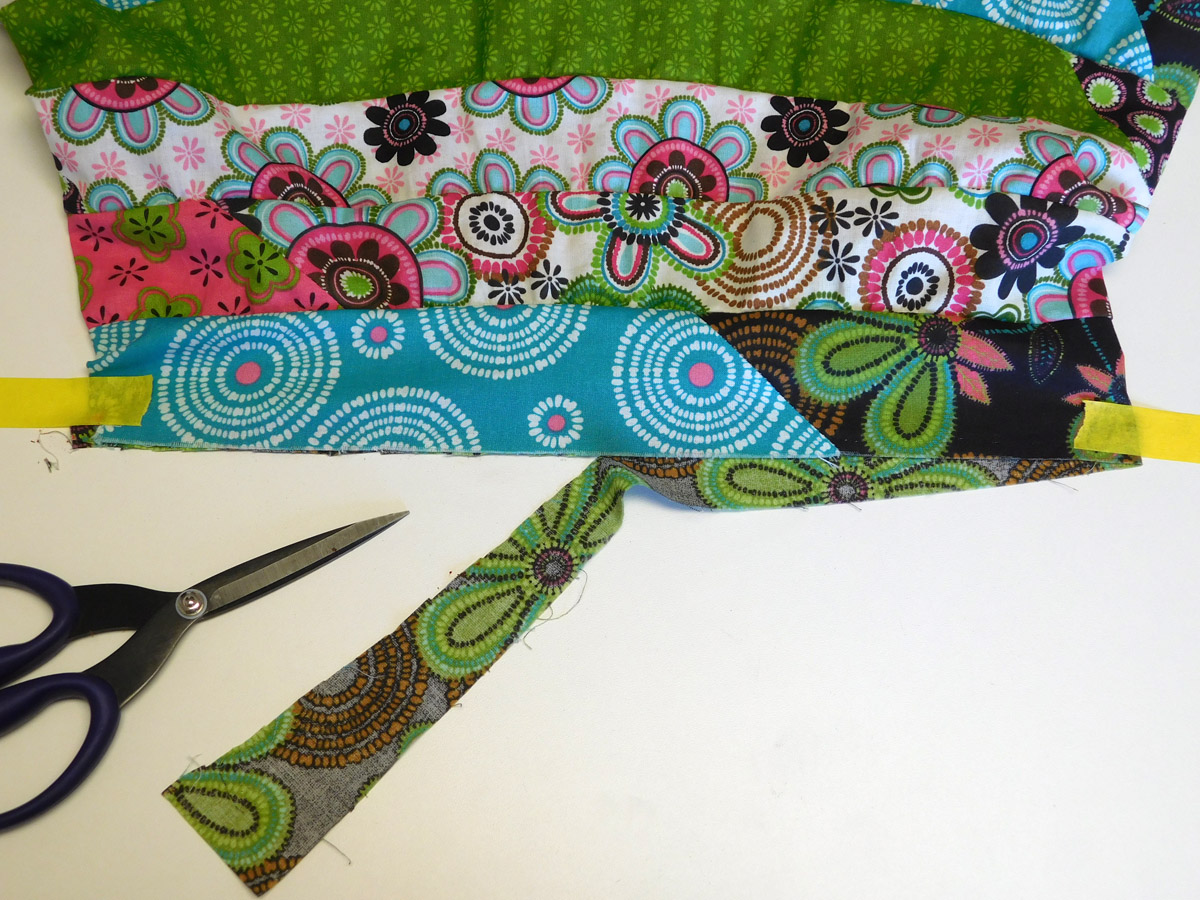
Trim the excess fabric off to make an even waistline. Lay the hem of the skirt out as flat as possible and trim the excess fabric off in a taper.
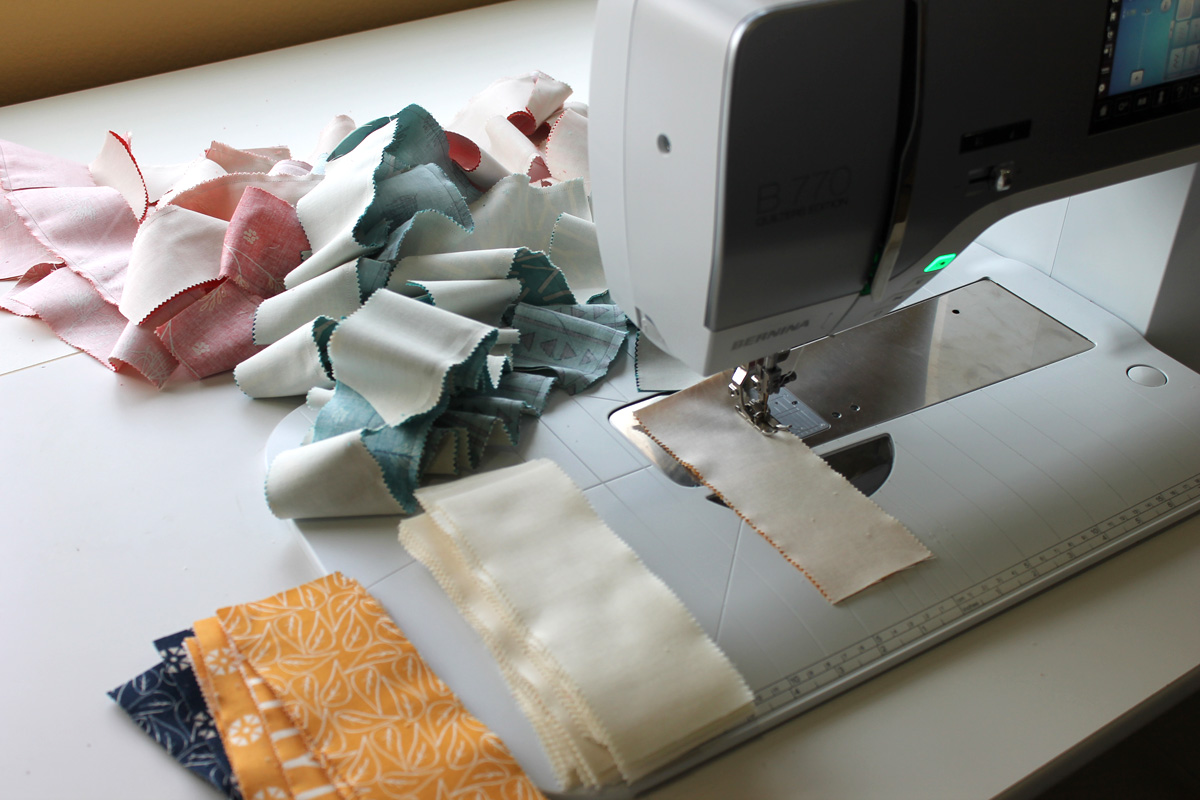
The inside seam allowance on the skirt has raw edges. Before attaching the waistband and doing the hem you may want to finish the seams to prevent fraying. A decorative stitch is a perfect answer for this. I switch the presser foot to Open embroidery foot #20. This allows one to run the inside edge of the foot along the “ditch” of the seam allowance.
Selected stitch # 766 (or one you prefer) and adjust the width and length to mostly cover the seam.
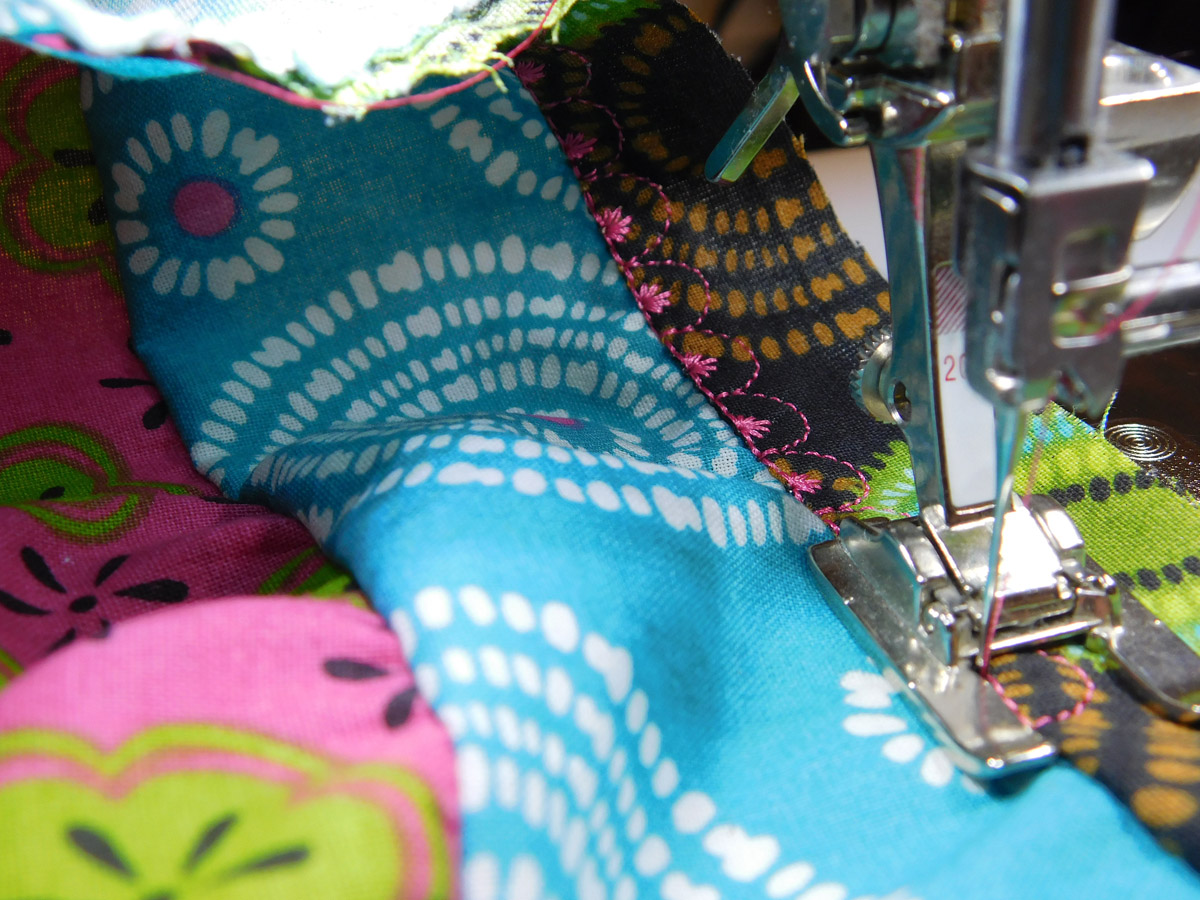
Start at the top of the seam and spiral all the way to the bottom.
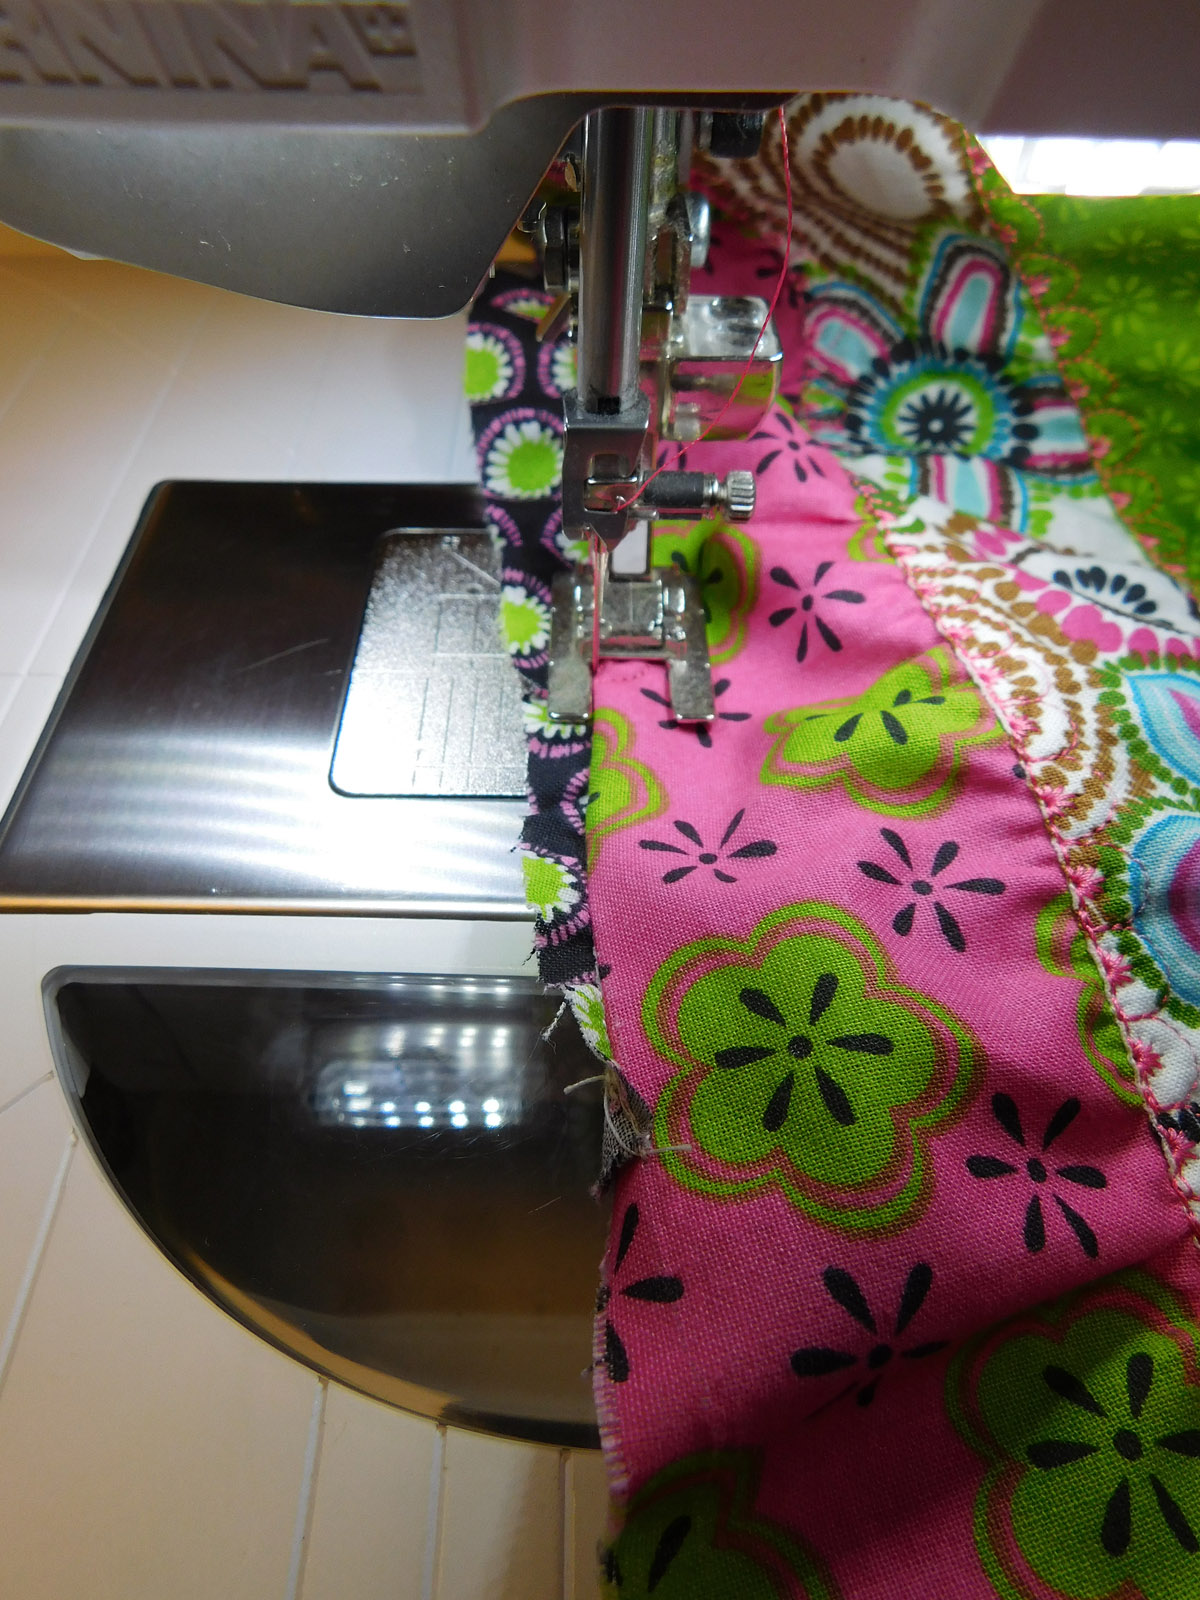
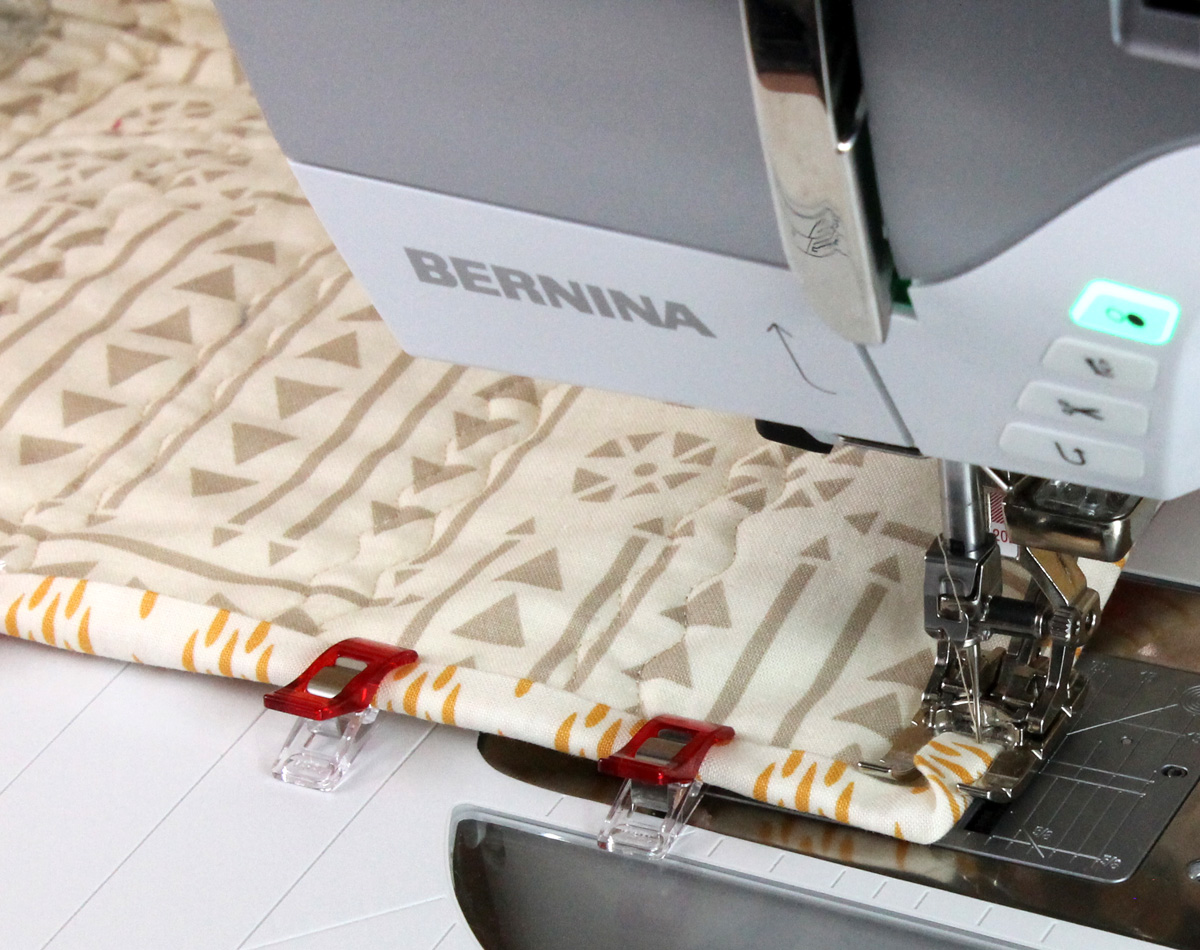
To finish the hem of the skirt apply purchased Double Wide Double Fold Bias tape to the edge and use the same decorative stitch to apply it.
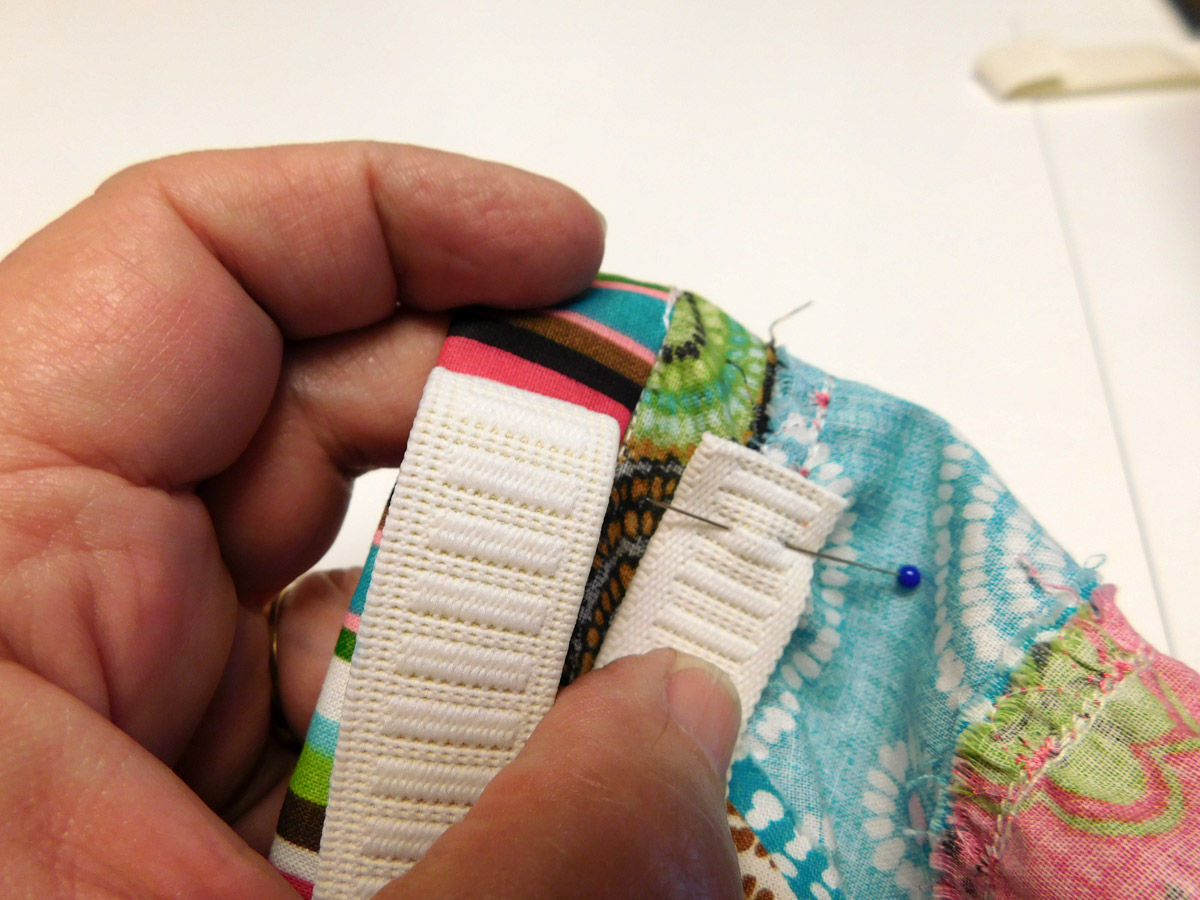
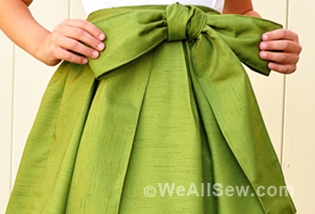
Use the extra strip that was saved for the waistband as stated above. Put the ends together to make a seam but only stitch halfway across the width.

Press the long edge of the opposite side up ¼”. Pins are used in dividing the waistband and the top of the skirt into quarters.
Pin the right side of the waistband to the wrong side of the top of the skirt matching quarters and then adding pins between spaces.
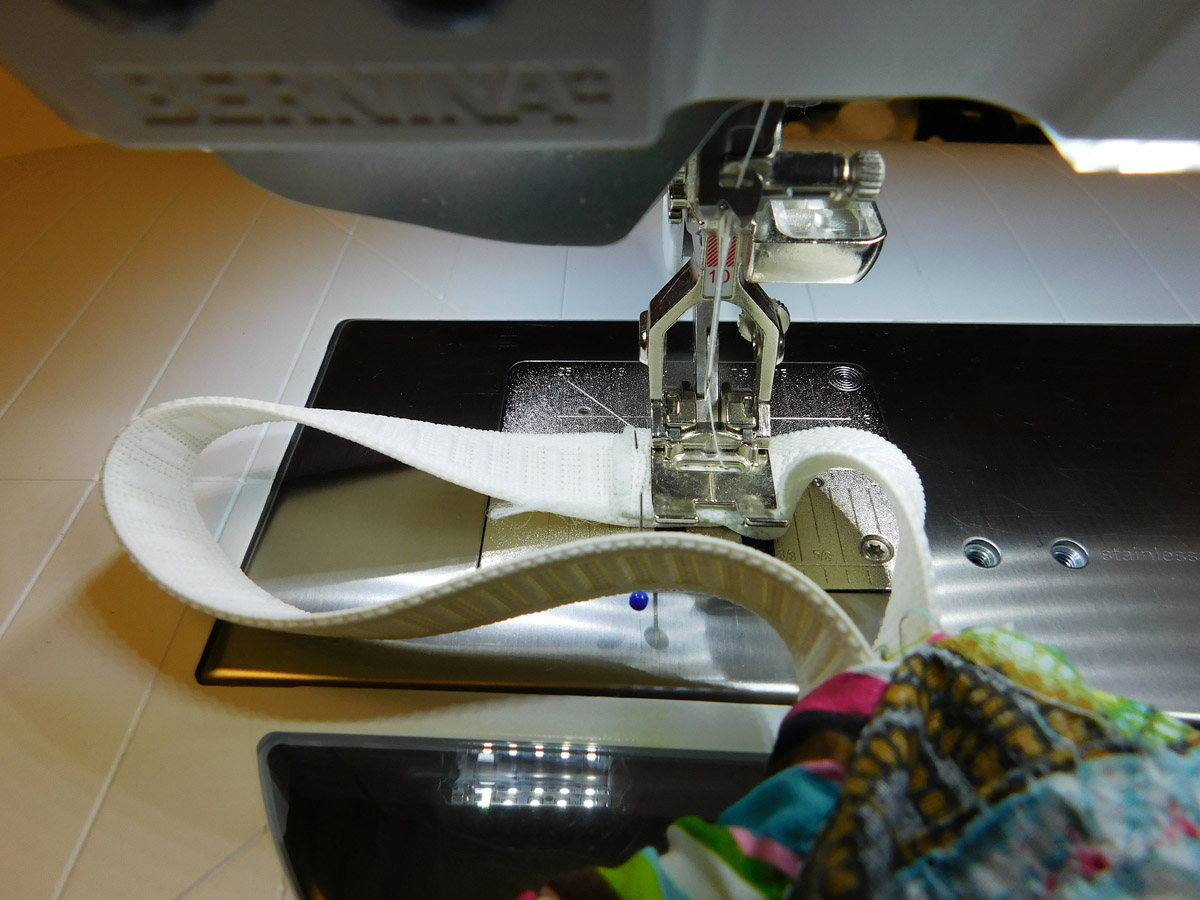
Pin the open edges of the waistband together and then begin stitching at this opening and continue around the waistband to end where you started. This will leave an opening where the elastic can be inserted.
Fold the waistband over and pin the folded edge to the right side of the skirt encasing the seam allowance.
Stitch the folded edge in place.
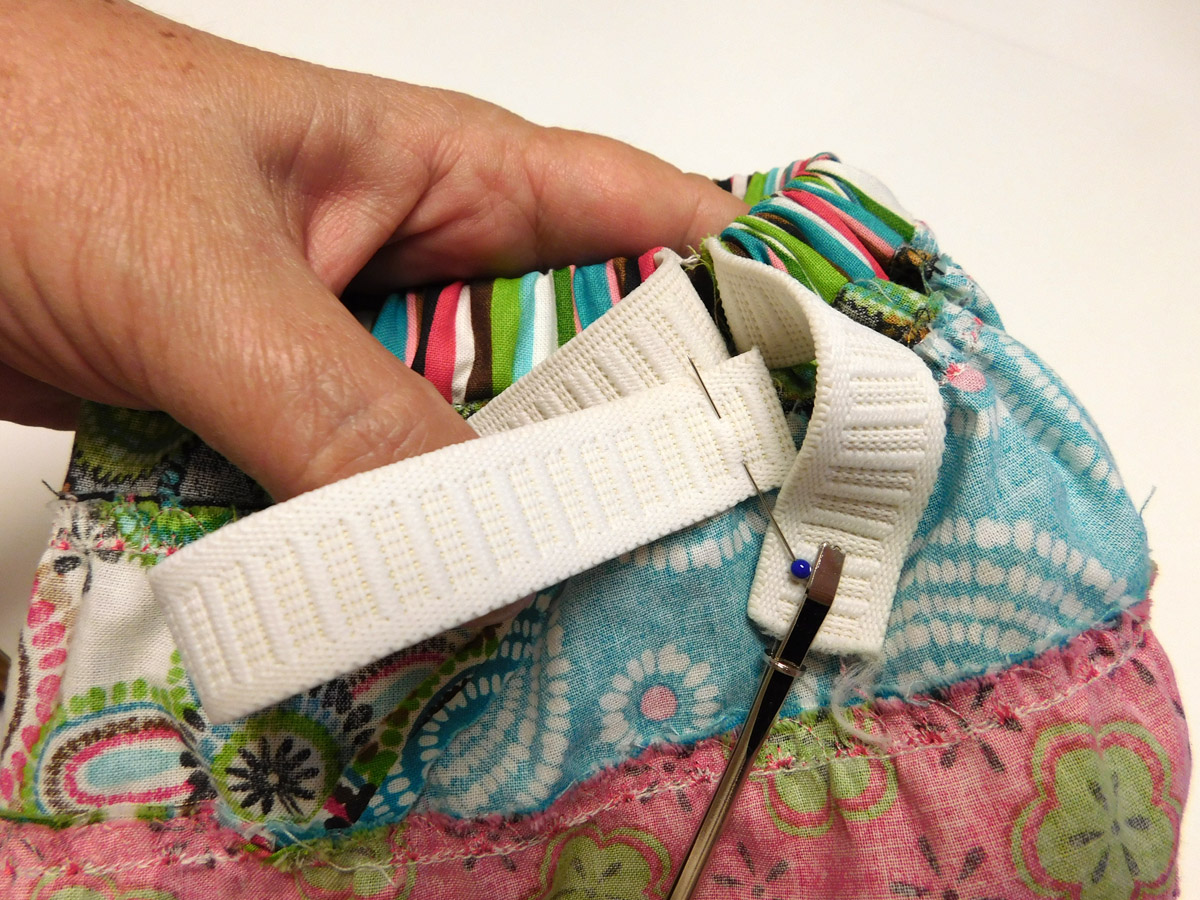
Cut ¾” wide elastic just a bit smaller than the waist measurement. Use a bodkin or other device at the end of the elastic. Slide the bodkin into the waistband opening.
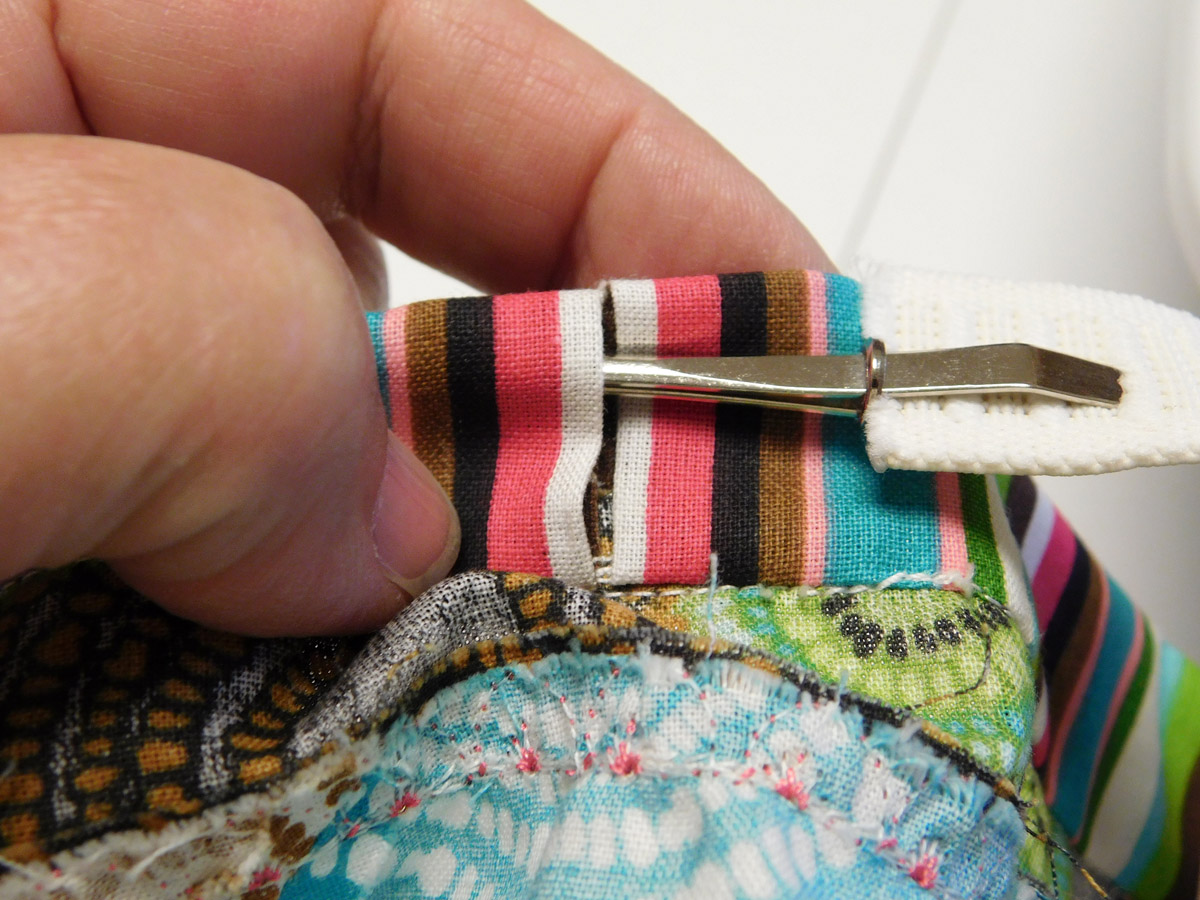
Pin the opposite end of the elastic to the skirt so it doesn’t get pulled inside.
Carefully work the elastic into the waistband until the elastic comes out the other side of the opening.
Being careful not to twist the elastic, lap the ends over each other and machine stitch them together.
Use a needle and thread to stitch the opening closed.

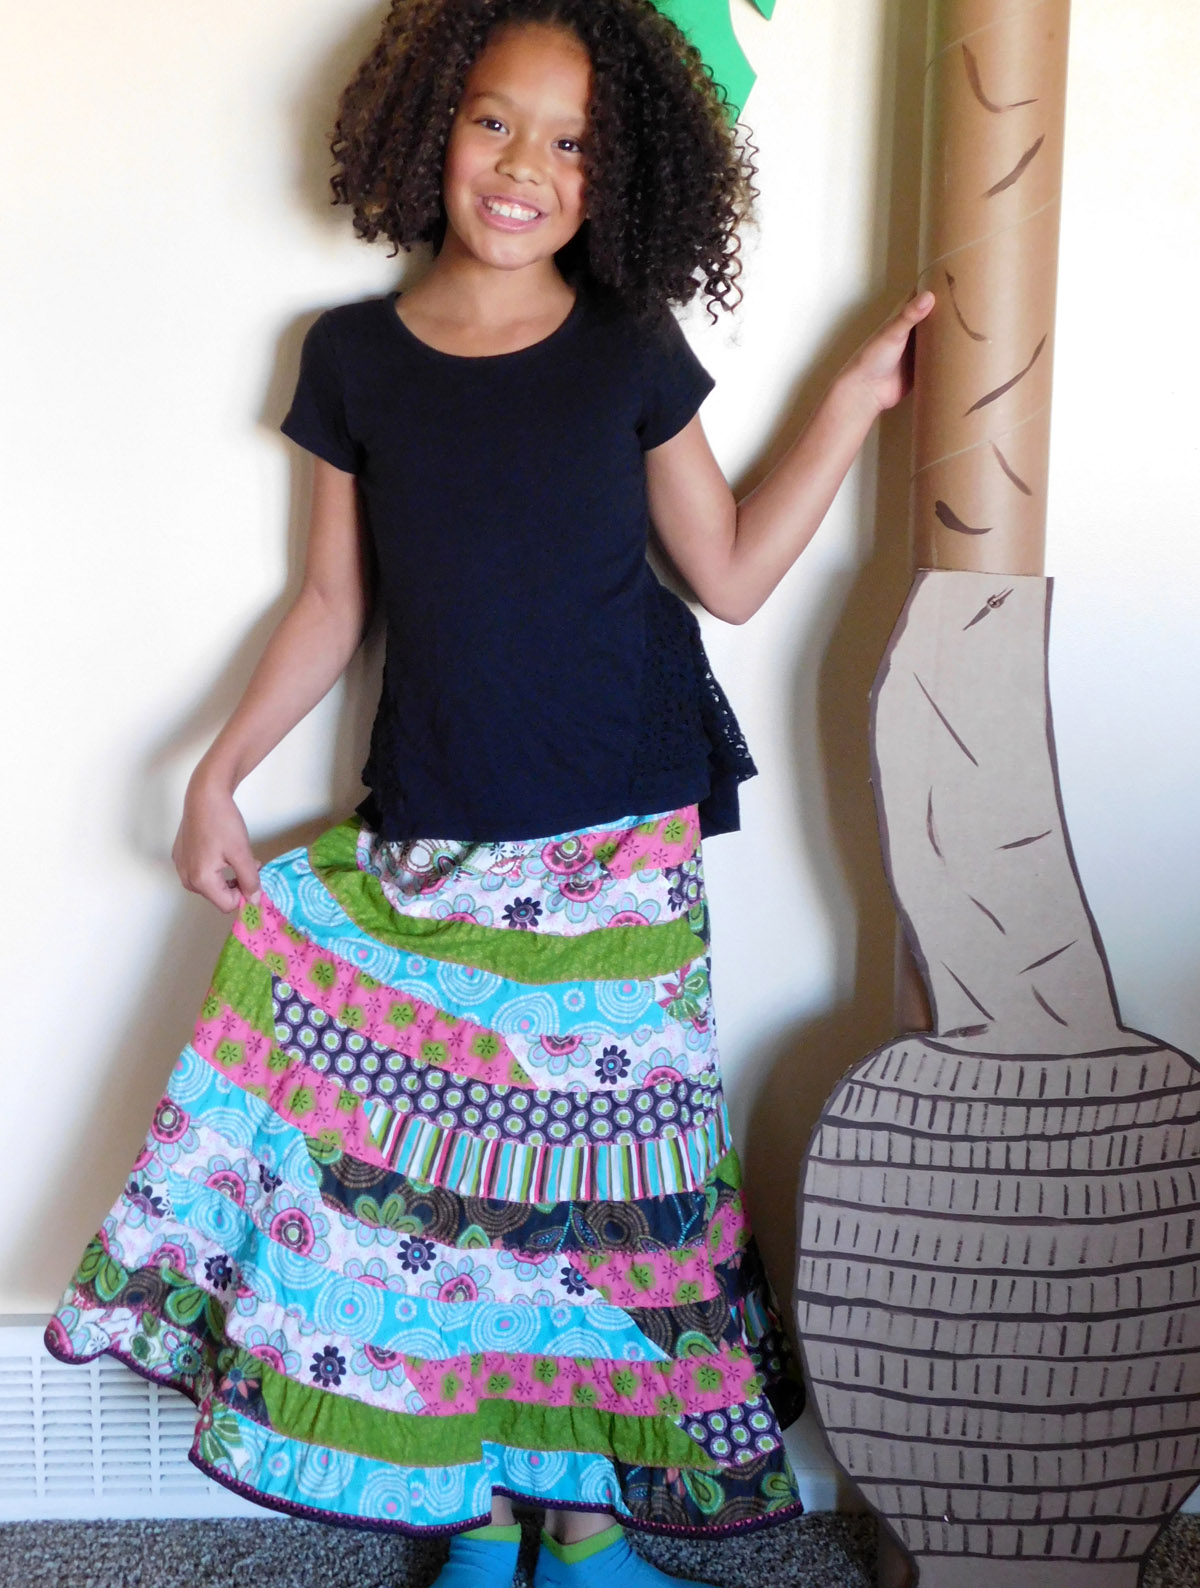
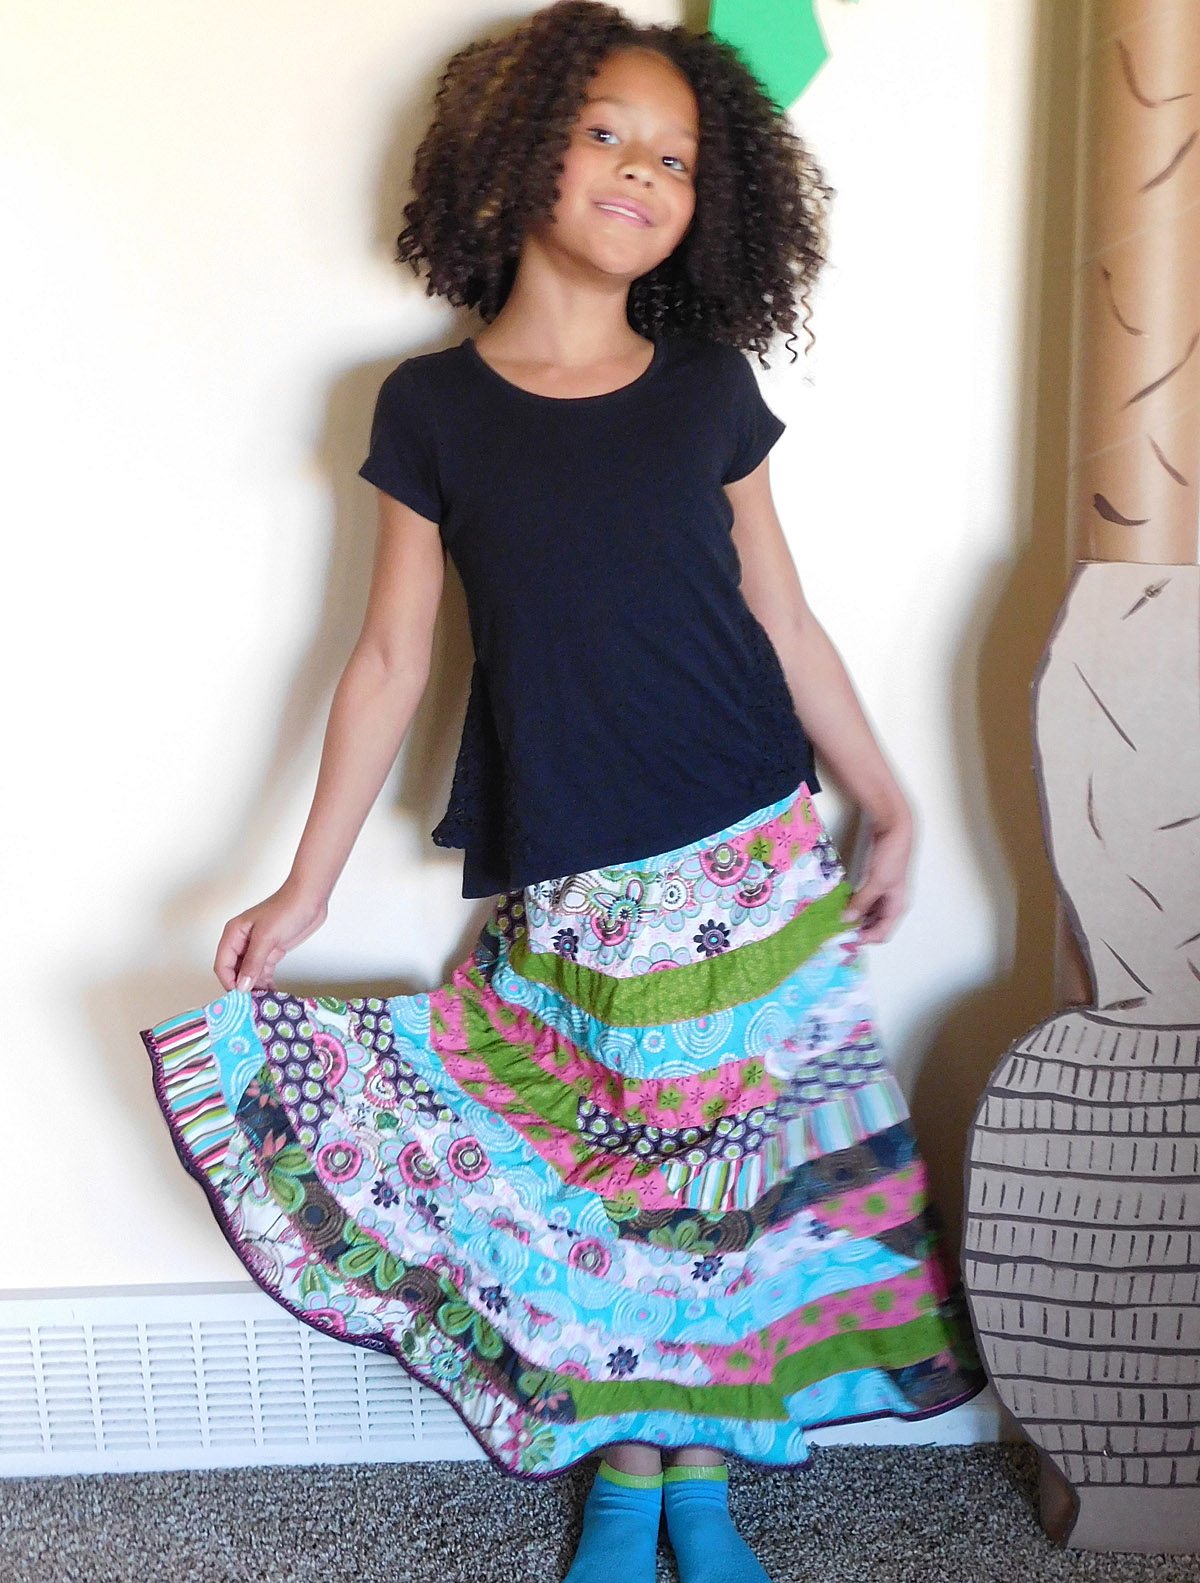
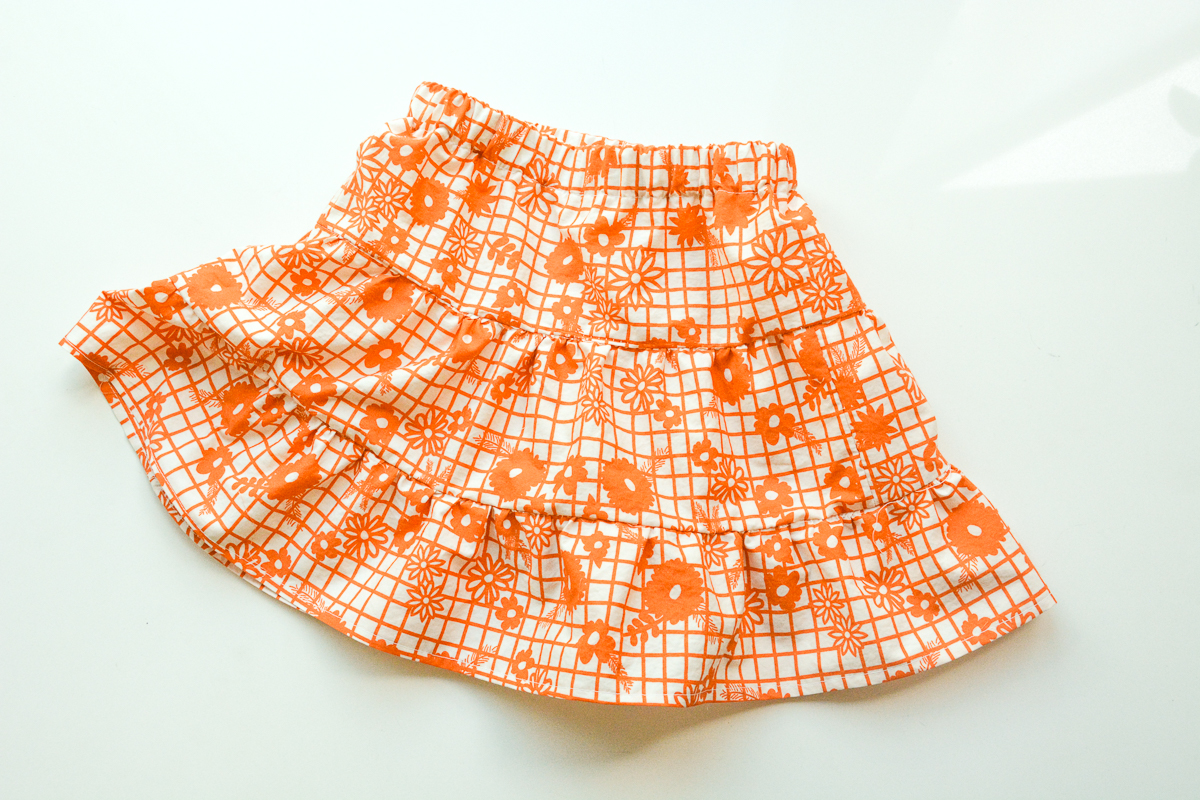
Here is Tavia’s finished skirt.
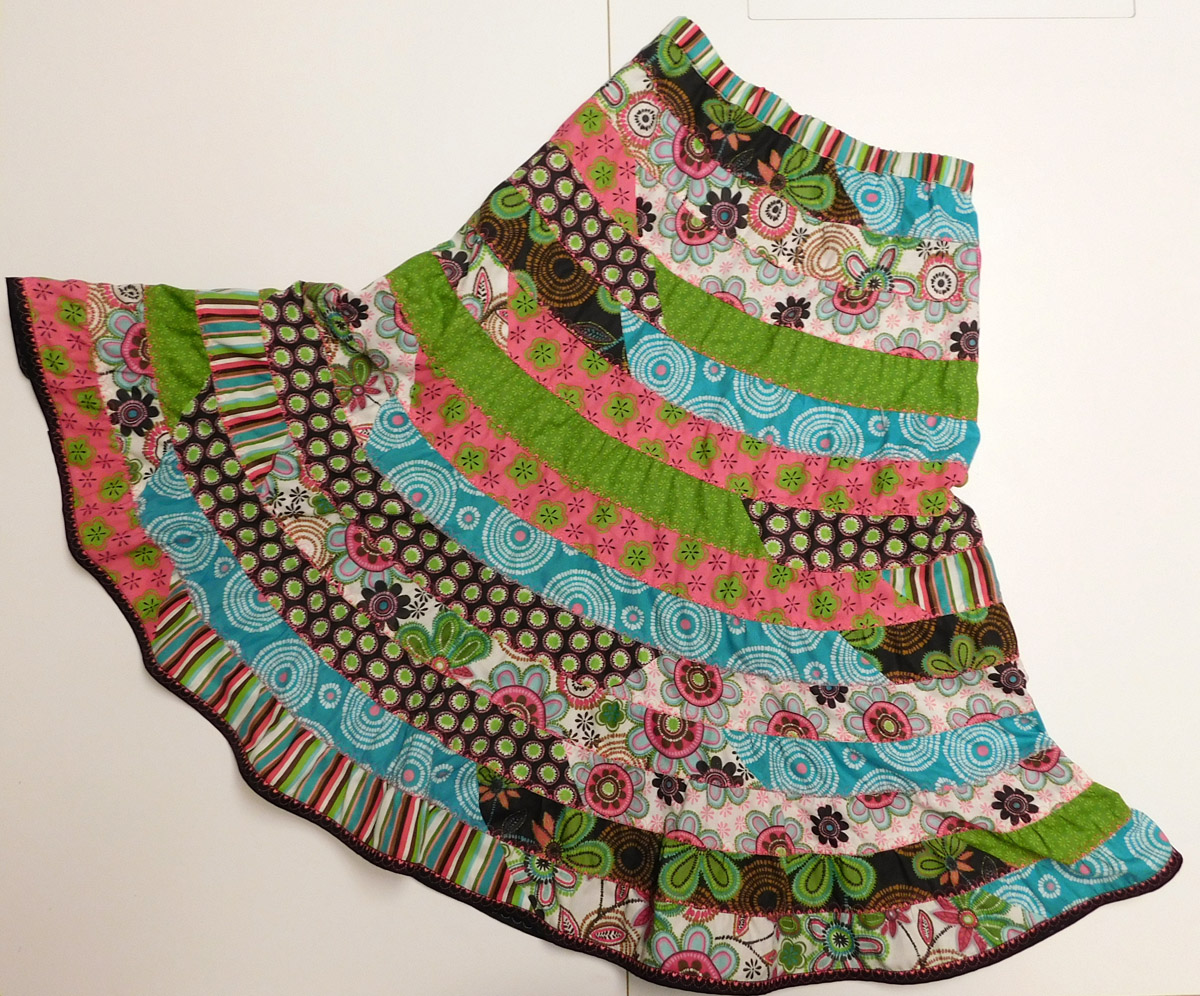
I got the skirt done a day or two after Tavia’s Moana-themed birthday party. Her dad had made palm tree decorations and here she is posing by one of them.

I hope this project doesn’t sound daunting to you. It’s actually quite easy but just takes a bit of time and patience!


What you might also like


7 comments on “Spiral Strip Skirt Tutorial”
-
-
Has anyone made this skirt? Can you help me understand how to start the “spiral” seam? Thanks!
-
Try looking at picture screen 11again, reading the instruction agàin. Start sewing where you placed the pin with right sides together.
-
l have tried to get the “spiral” seam started, off and on, for 2 years!
I still can’t!
Please help–anyone who has made this skirt!
The designer has not answered my email and my local Bernina store said they would take a look and have not gotten back to me!
I am SO frustrated!
-
-
-
Yay, me! I finally got it to work! (I guess I was overthinking it!)
Thank you, cswisko, your suggestion really helped! -
Nope–I didn’t get it! The seam is “rounding” not “spiraling”! What am I doing wrong? (Right now it’s a very short,very full, very twirly skirt!
-
I re-did the “spiral” seam, and it’s a little better but still not really spiraling. But I’m done. It’s for my 7 year-old granddaughter and she’s a “twirly” girl so she’ll like it. I made her a matching mask! ( BTW: I have sewn all my life; from costumes for my kids, tailoring, costumes for my daughter’s circus school/entertainment company and I must say that I’ve never had this much trouble following directions!).
-
Leave a Reply
You must be logged in to post a comment.

I’m trying to make this adorable Spiral Strip Skirt and just can’t understand how to begin sewing the long spiral seam! I can not follow the directions/photos! Could someone explain this in another way? Perhaps indicating right sides/wrong sides together, etc.? Am I the only one to find this unclear? (BTW: I did the gathering with my Bernina 1300MDC serger–worked great!)