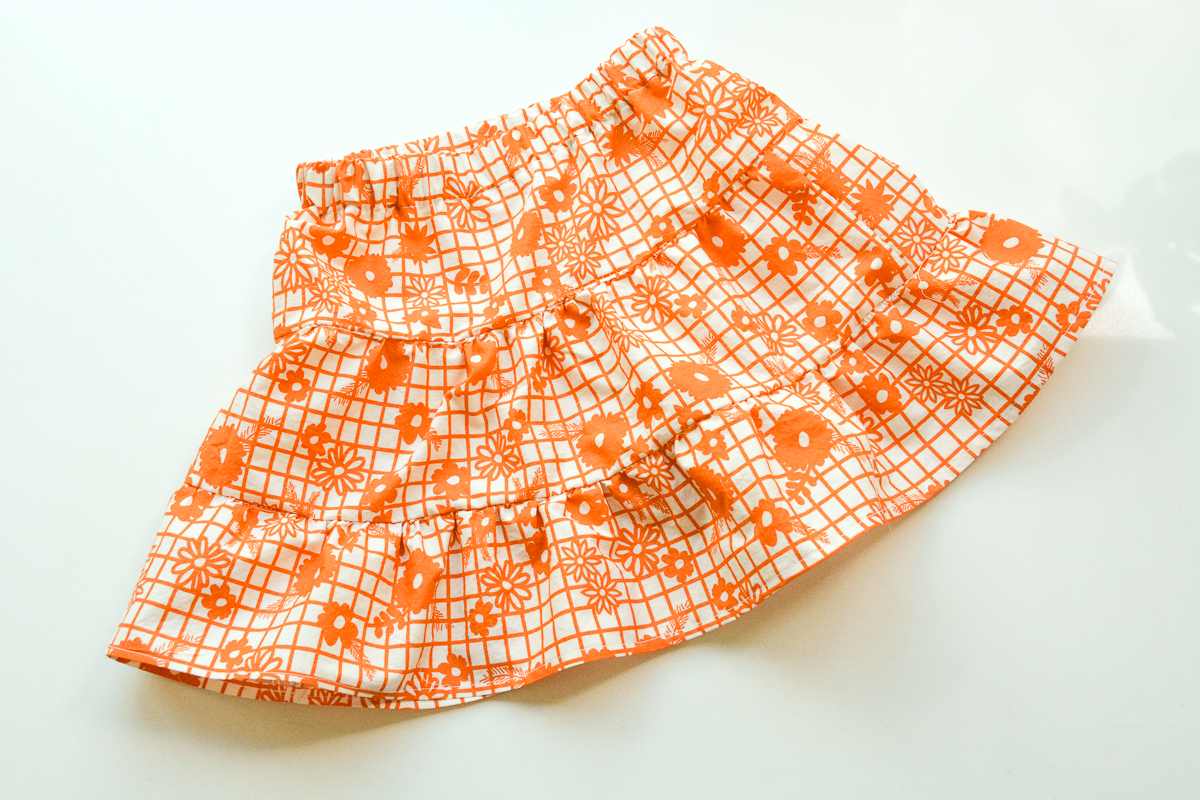
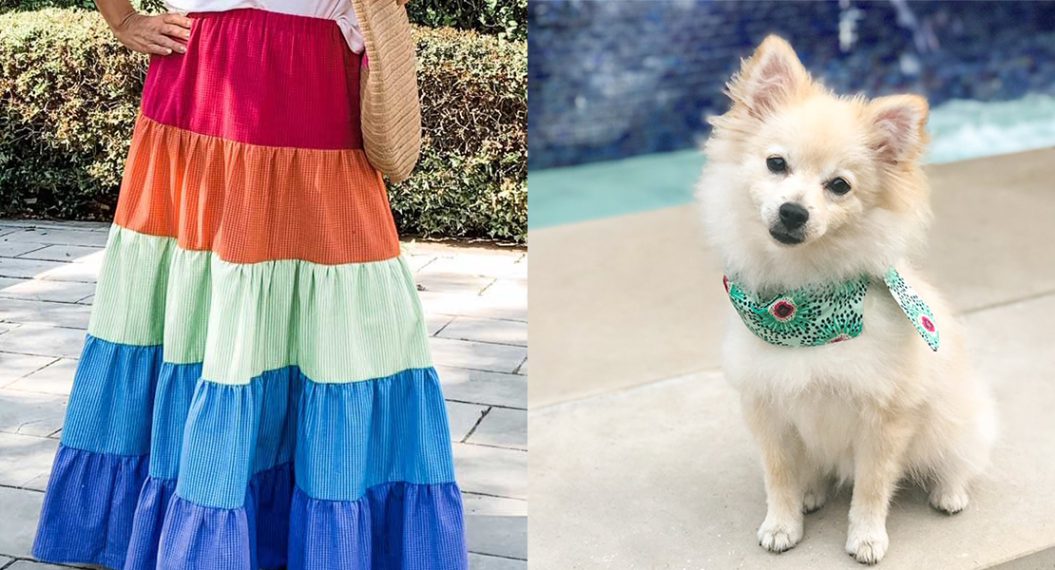
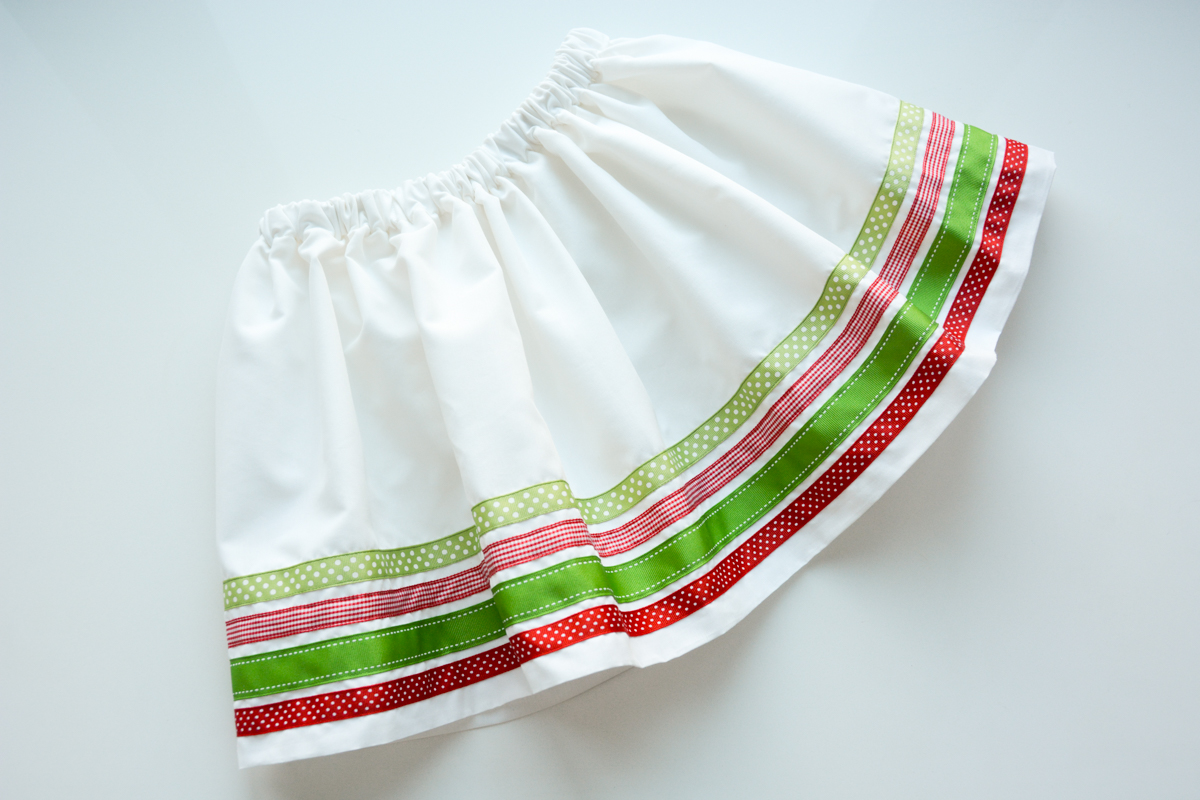
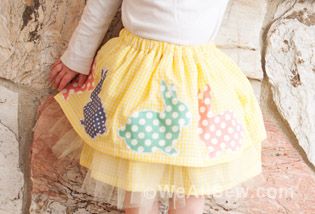
Girl’s Tiered Summer Skirt Tutorial
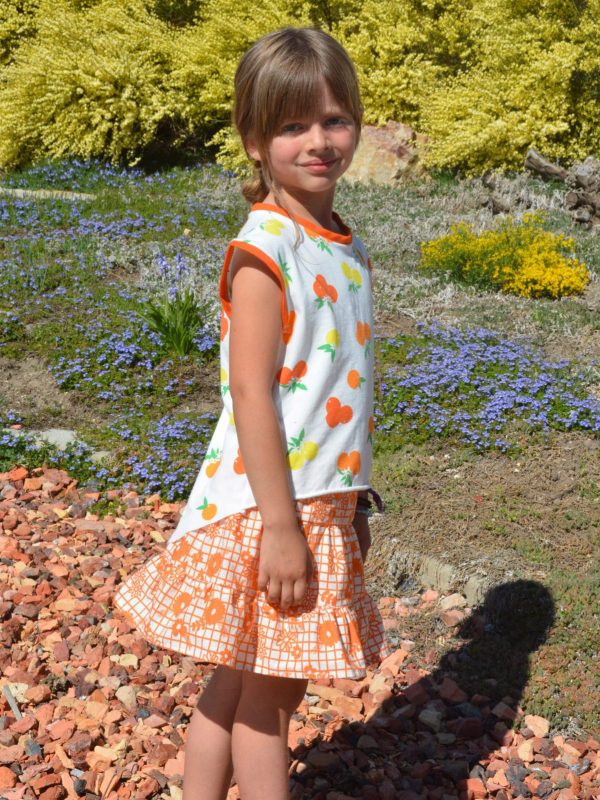
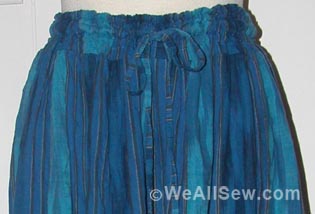
I’m excited about the return of the tiered, gathered skirt, which I’ve always referred to as a prairie skirt. I loved wearing these when I was young and it’s fun to see them in my daughters’ closets. They are so simple to sew too! A quick project and a lot of impact for the effort—especially with a fun, summery fabric. You can easily make one for a girl of any size by making a few quick calculations.
Materials to Make a Tiered Skirt
- Fabric requirements—You will need enough fabric to cut out three rectangles as described in the “Measurements” section below. I recommend quilting cotton or shirting cottons for this project.
- Coordinating thread
- 3/4″ wide elastic the length of your girl’s waist measurement
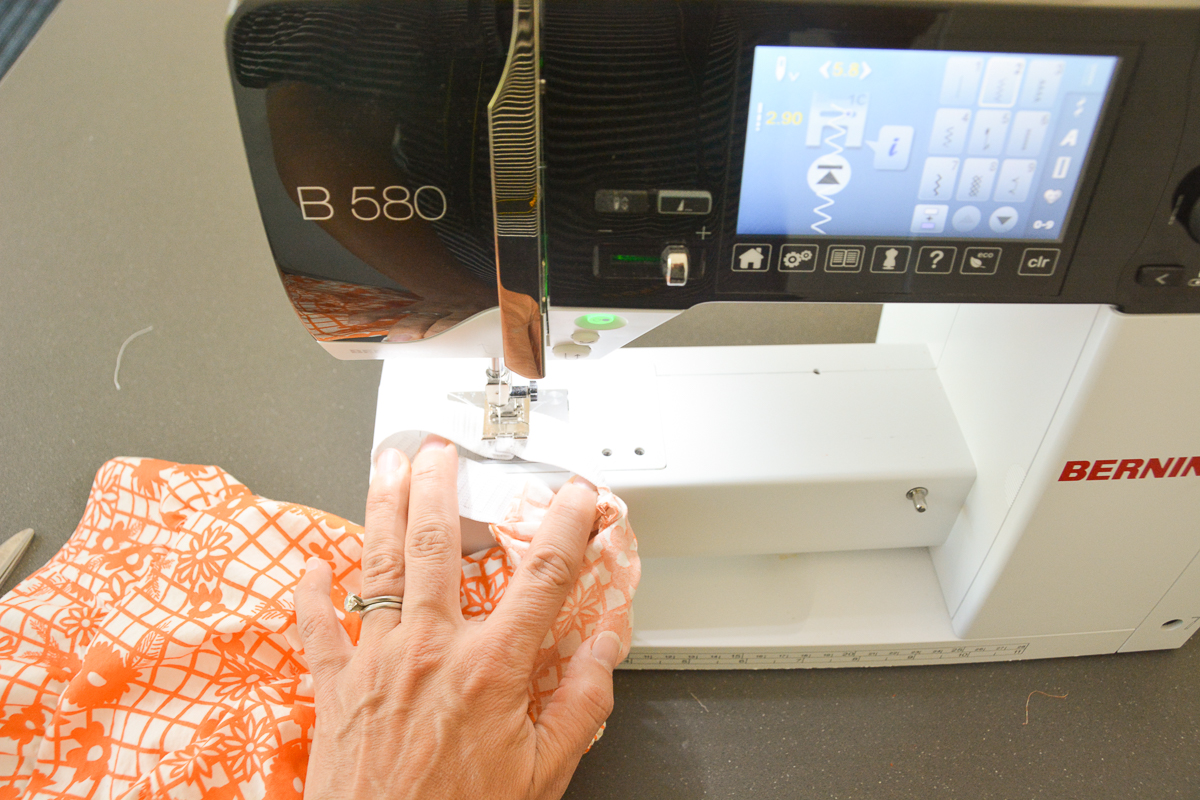
- Sewing machine (I use a BERNINA 580)
- Reverse pattern foot #1/#1C/#1D
Measurements to Make a Tiered Skirt
You’ll need to know the following measurements:
- Waist circumference (WAIST), for example, “20 inches”
- Length from waist to top of the knee cap (LENGTH), for example, “15 inches”
You’ll be dividing the length in three for your three tiers and then adding seam allowances. So in my example I would take 15 inches, and divide it by three to get 5 inches. The TOP TIER will add 3 inches for waistband and seam allowances and the MIDDLE AND BOTTOM TIERS will add 1 inch for seam allowances and hem.
The width of the tiers will be determined by the waist circumference, with the TOP TIER measuring 1 1/2 times the WAIST, the MIDDLE TIER measuring 2 times the WAIST, and the BOTTOM TIER measuring 3 times the WAIST.
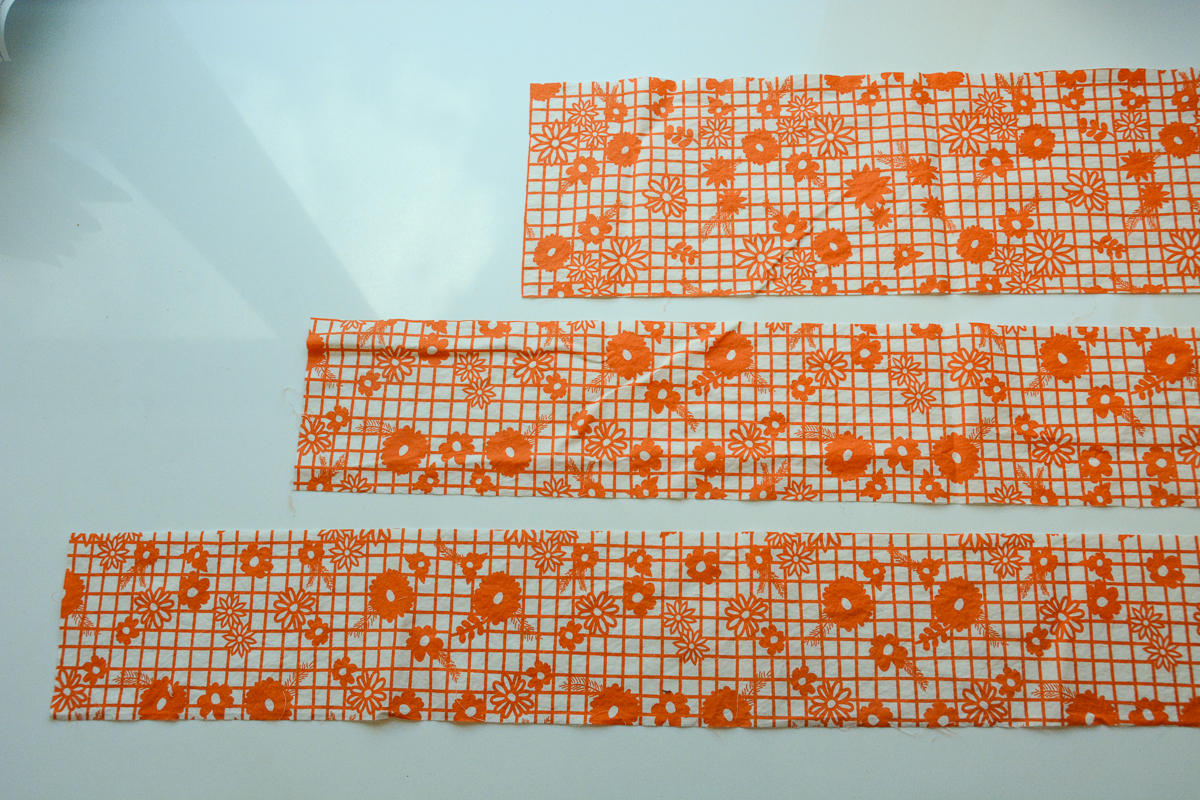
Measure and cut three rectangles for the three tiers of the skirt:
- TOP TIER: cut a piece of fabric 1 1/2 times the WAIST by 1/3 of the LENGTH plus 3 inches for waistband and seam allowances. (1 1/2 WAIST) x (1/3 LENGTH + 3 inches)
- My example: 1 1/2 times 20 inches for the WAIST = 30 inches, by 1/3 of 15 inches of the LENGTH = 5 inches, plus 3 inches for waistband and seam allowances = 8 inches. So my TOP TIER would measure 20 inches x 8 inches.
- MIDDLE TIER: cut a piece of fabric 2 times the WAIST by 1/3 of the LENGTH plus 1 inch for seam allowances. (2 WAIST x 1/3 LENGTH + 1 inch)
- My example: 2 times 20 inches for the WAIST = 40 inches, by 1/3 of 15 inches of the LENGTH = 5 inches, plus 1 inch for seam allowances= 6 inches. So my MIDDLE TIER would measure 40 inches x 6 inches.
- BOTTOM TIER: cut a piece of fabric 3 times the WAIST by 1/3 of the LENGTH plus 1 inch for seam allowances. (3 WAIST x 1/3 LENGTH + 1 inch)
- My example: 3 times 20 inches for the WAIST = 60 inches, by 1/3 of 15 inches of the LENGTH = 5 inches, plus 1 inch for seam allowances= 6 inches. So my MIDDLE TIER would measure 40 inches x 6 inches.
- Note: If your BOTTOM TIER measurement is wider than the width of your fabric you can cut two pieces of fabric to seam together. Just add a 1/2 inch to each half for a seam allowance.
Measure and cut a piece of 3/4 inch elastic the length of your girl’s WAIST.
How to Sew a Tiered Summer Skirt
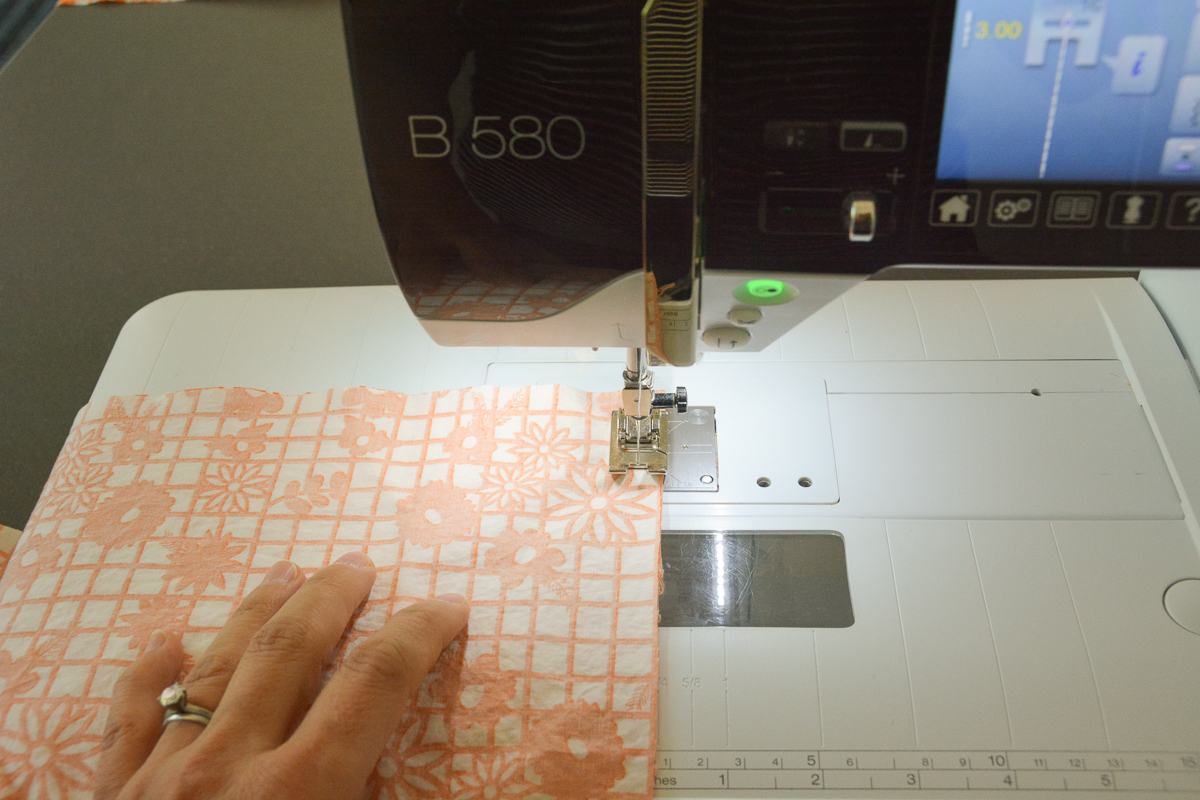
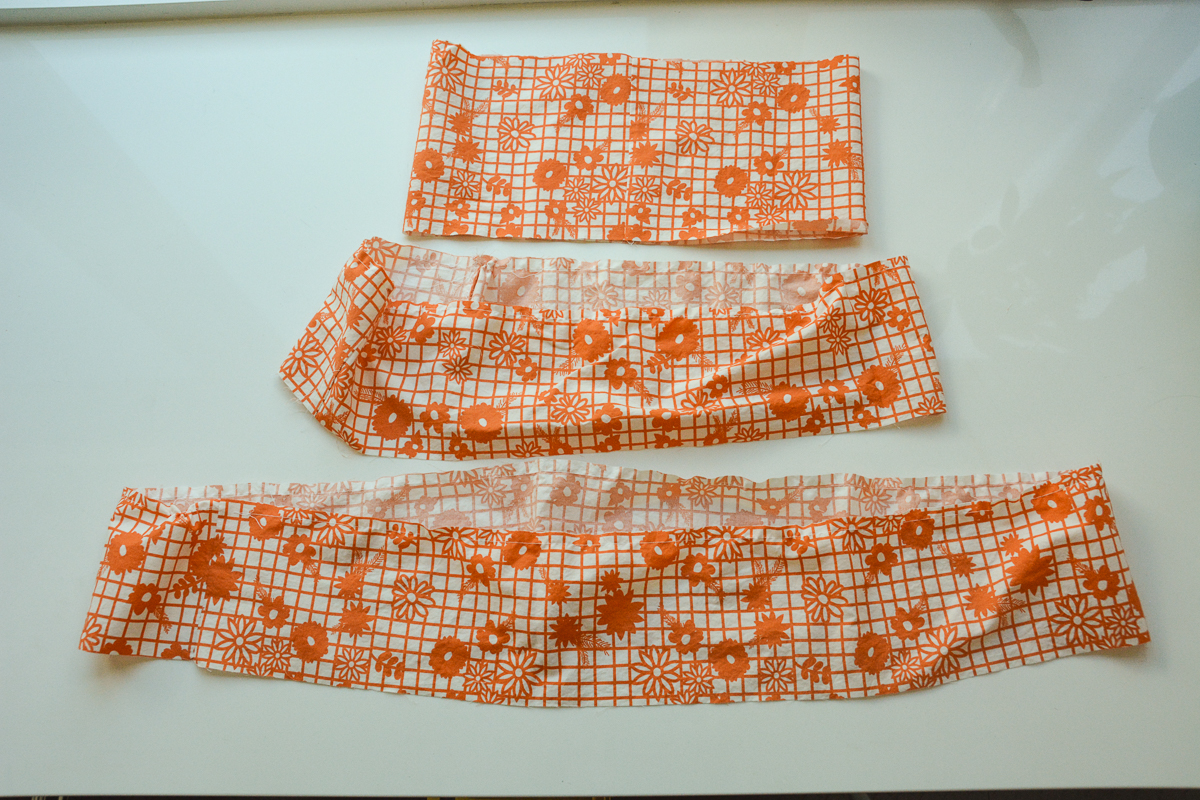
Step One: Fold each tier in half widthwise, aligning the short edges. Pin and stitch using a 1/2 inch seam allowance.
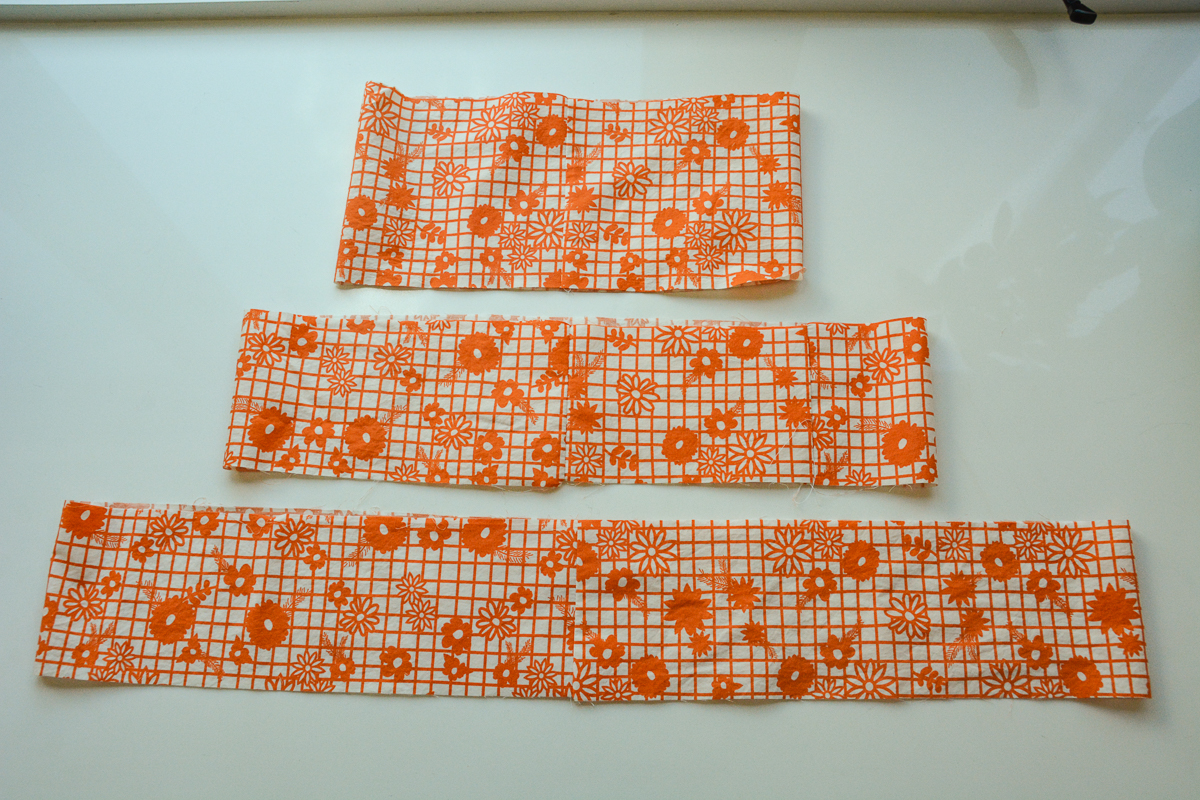
You will have a tube of fabric for each of your tiers as pictured below:
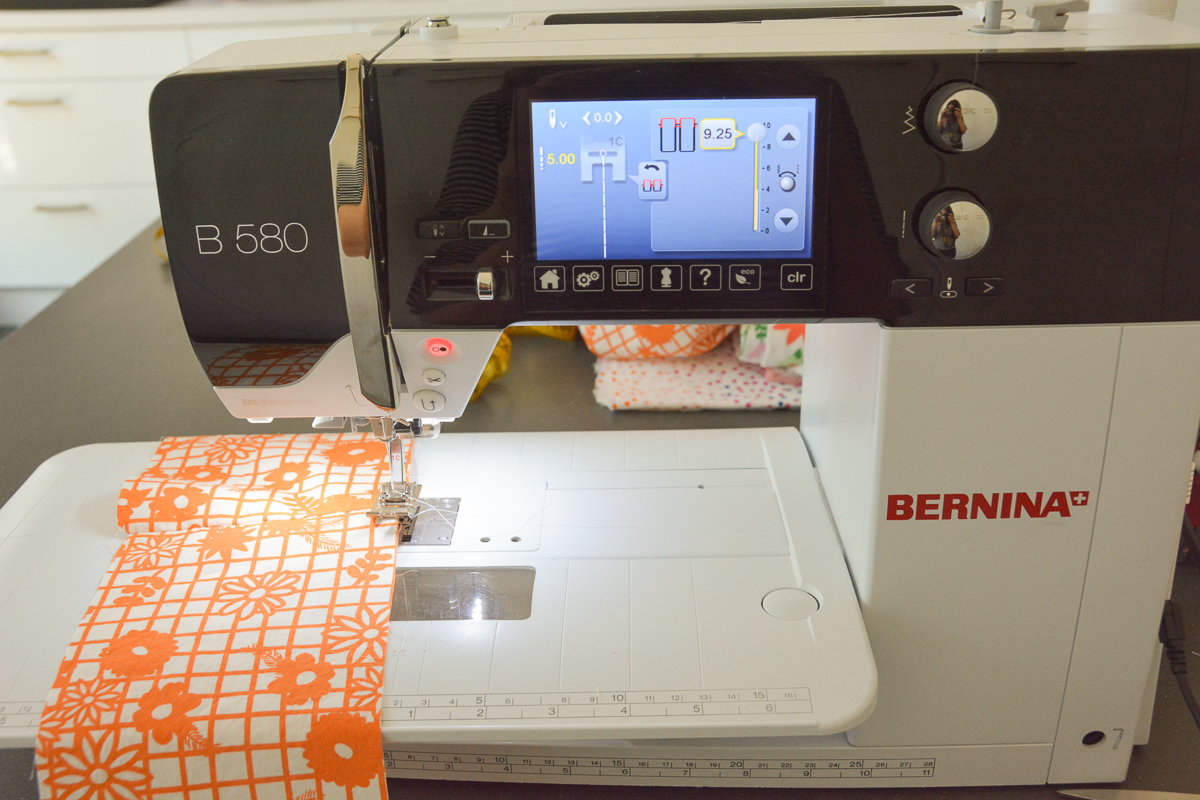
Step Two: Working first with the MIDDLE TIER, set your BERNINA machine to a basting stitch (stitch length of “5”) and increase your tension to 9.25 to gently gather the top edge of the fabric tube. Use a 1/2 inch seam allowance. Do not back stitch and leave long threads to adjust the gathering.
Repeat the basting on the BOTTOM TIER.
Now pin the top of the MIDDLE TIER to the bottom of the TOP TIER, right sides together, adjusting the gathers to fit.
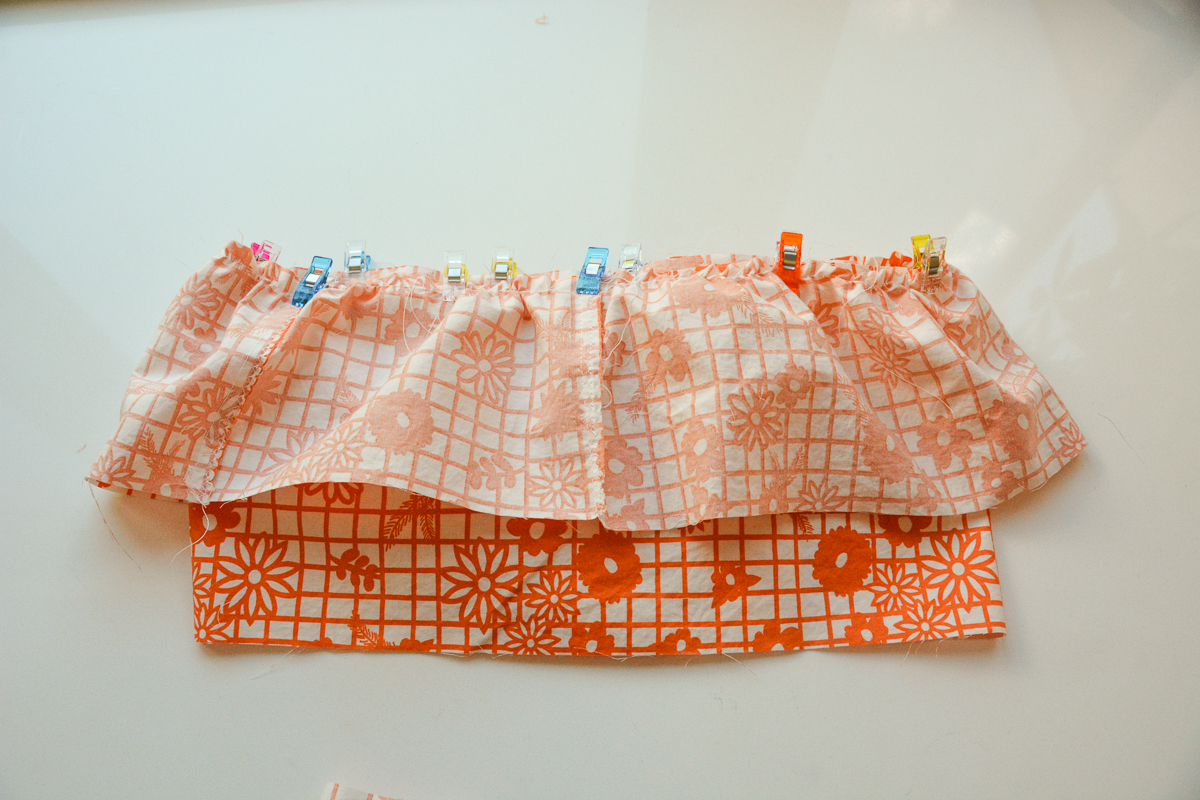
Stitch the MIDDLE TIER to the TOP TIER using a 1/2 seam allowance.
Pin the top of the BOTTOM TIER to the bottom of the MIDDLE TIER, right sides together, adjusting the gathers to fit.
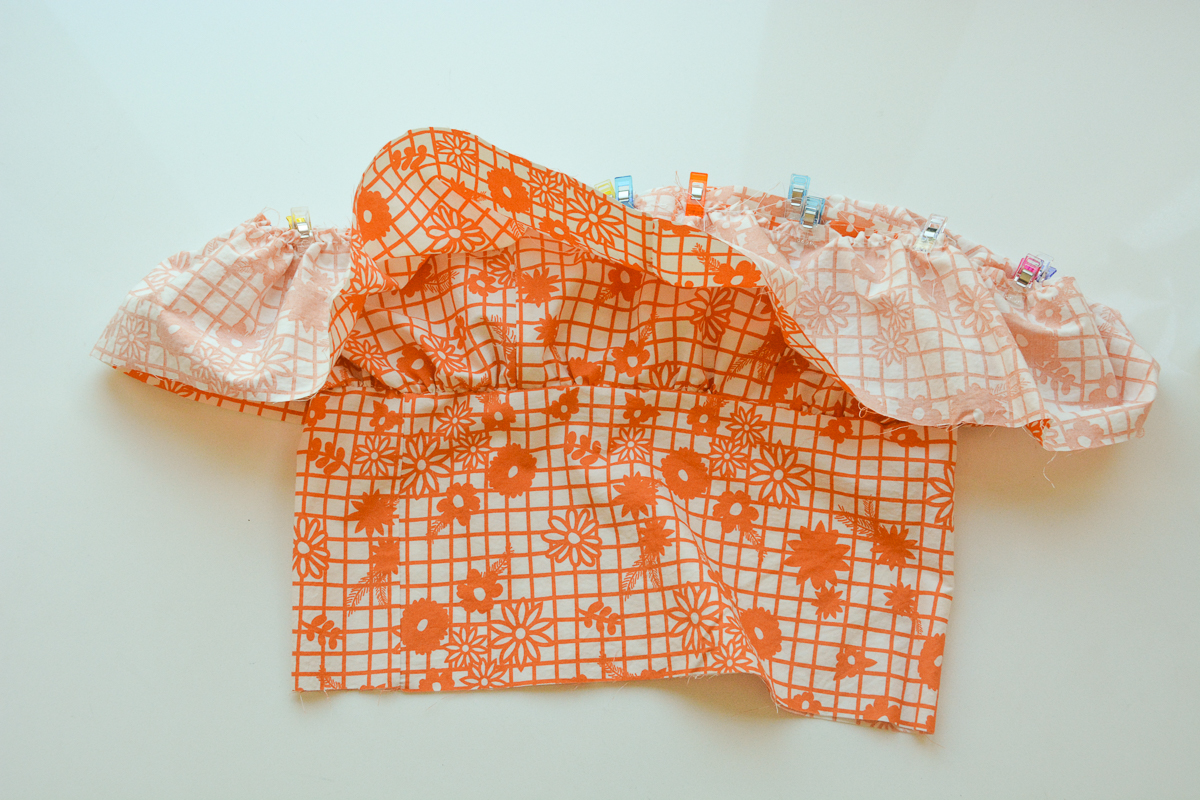
Stitch the BOTTOM TIER to the MIDDLE TIER using a 1/2 seam allowance.
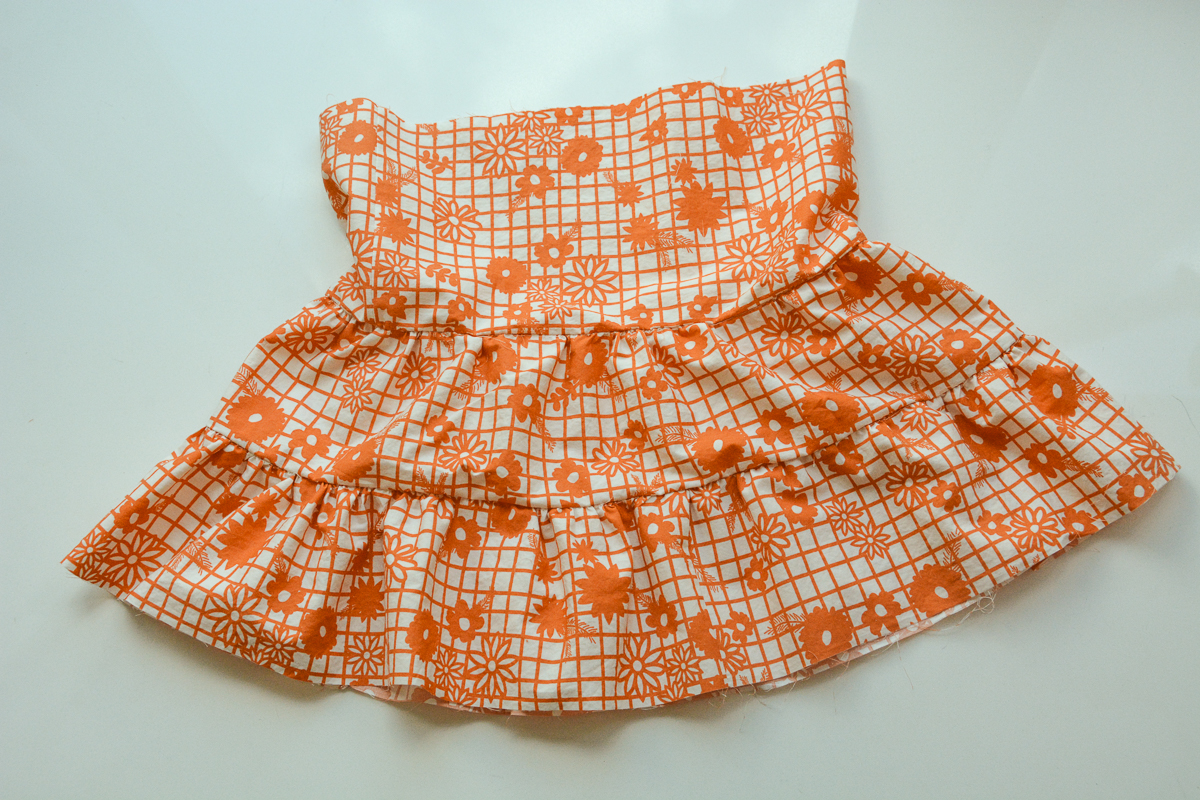
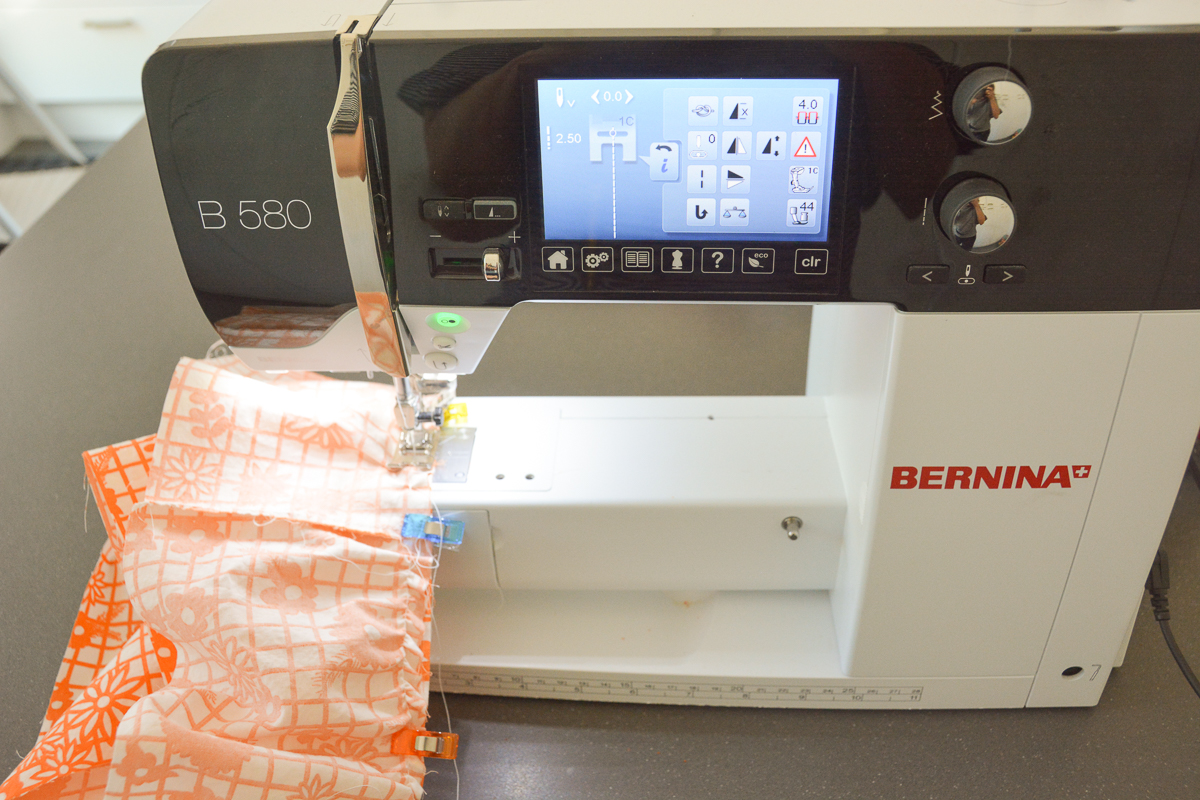
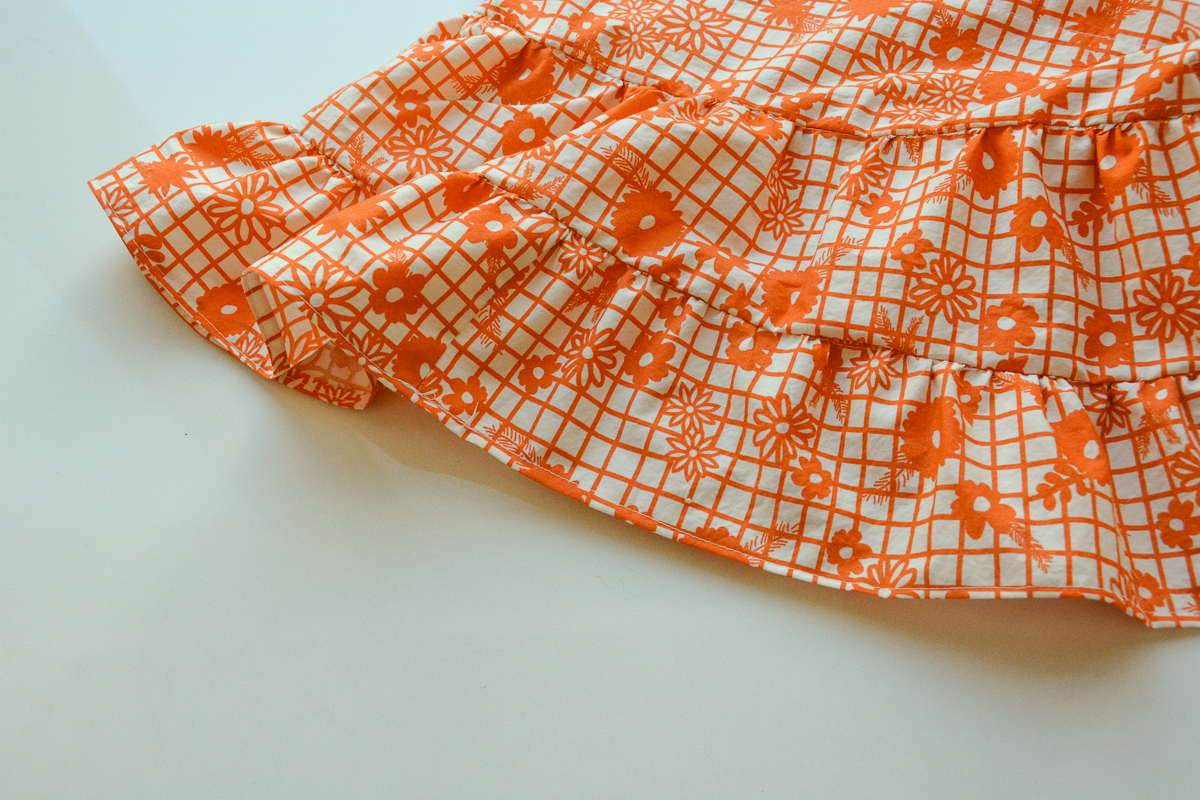
Step 3: Create a small hem at the bottom of the skirt by turning the fabric under (to the wrong side) two times and stitching close to the top folded edge.
Step 4: Create the waistband casing at the top of the skirt. First, turn under the top edge of the skirt to the wrong side by 1/4 inch and stitch.
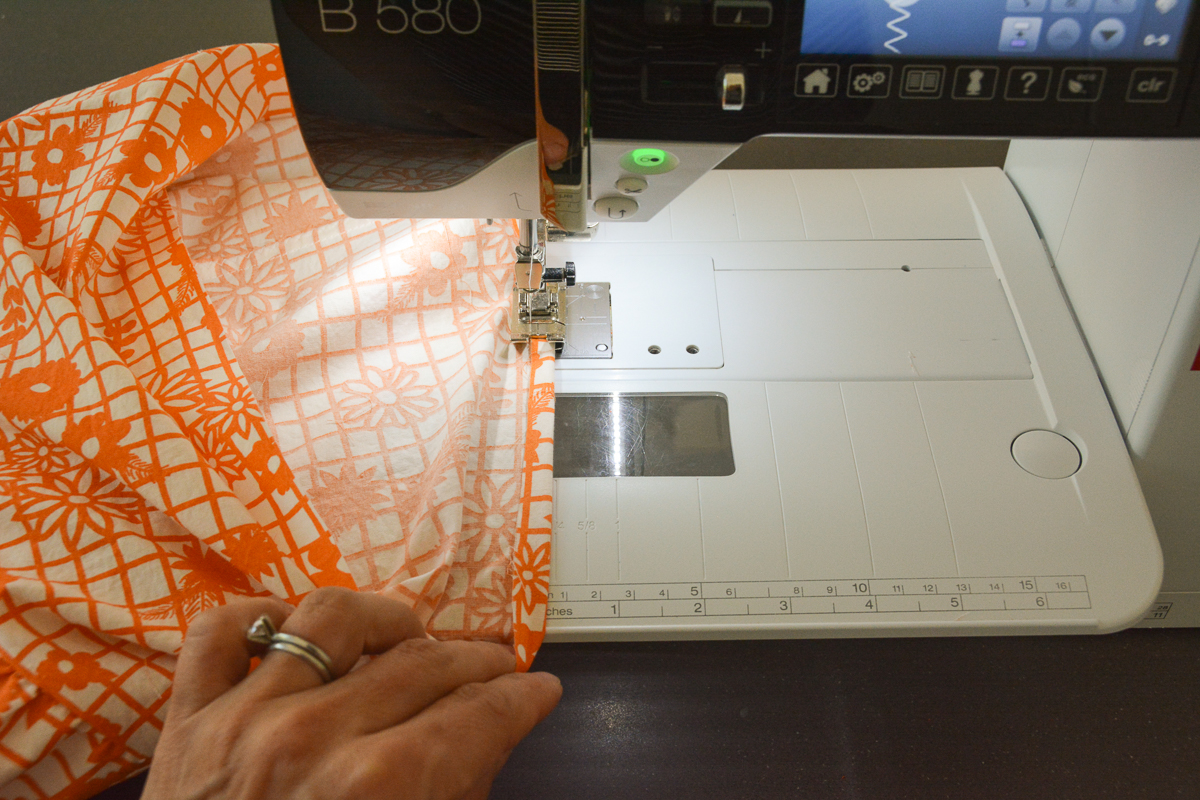
Then fold the top of the skirt to the wrong side 1 inch, so it will comfortably fit your elastic, and stitch the casing in place along the finished edge. Leave a 2 inch opening for threading the elastic.
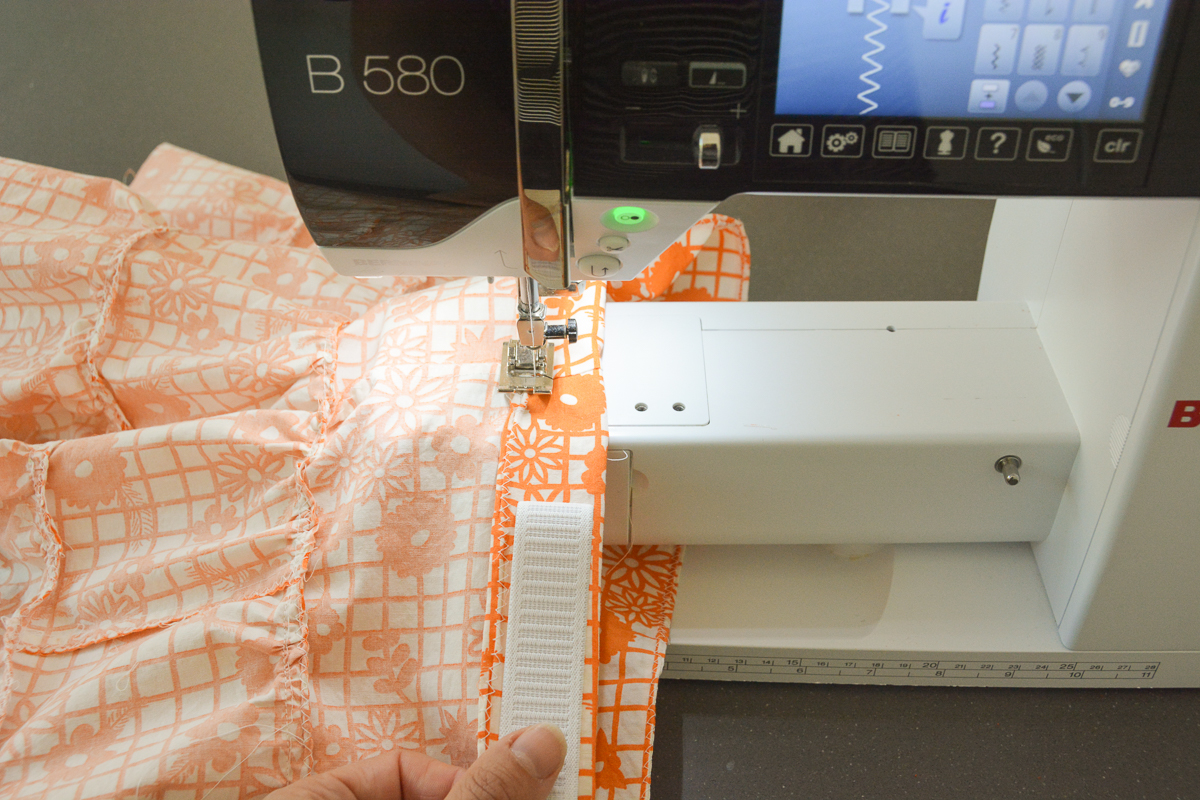

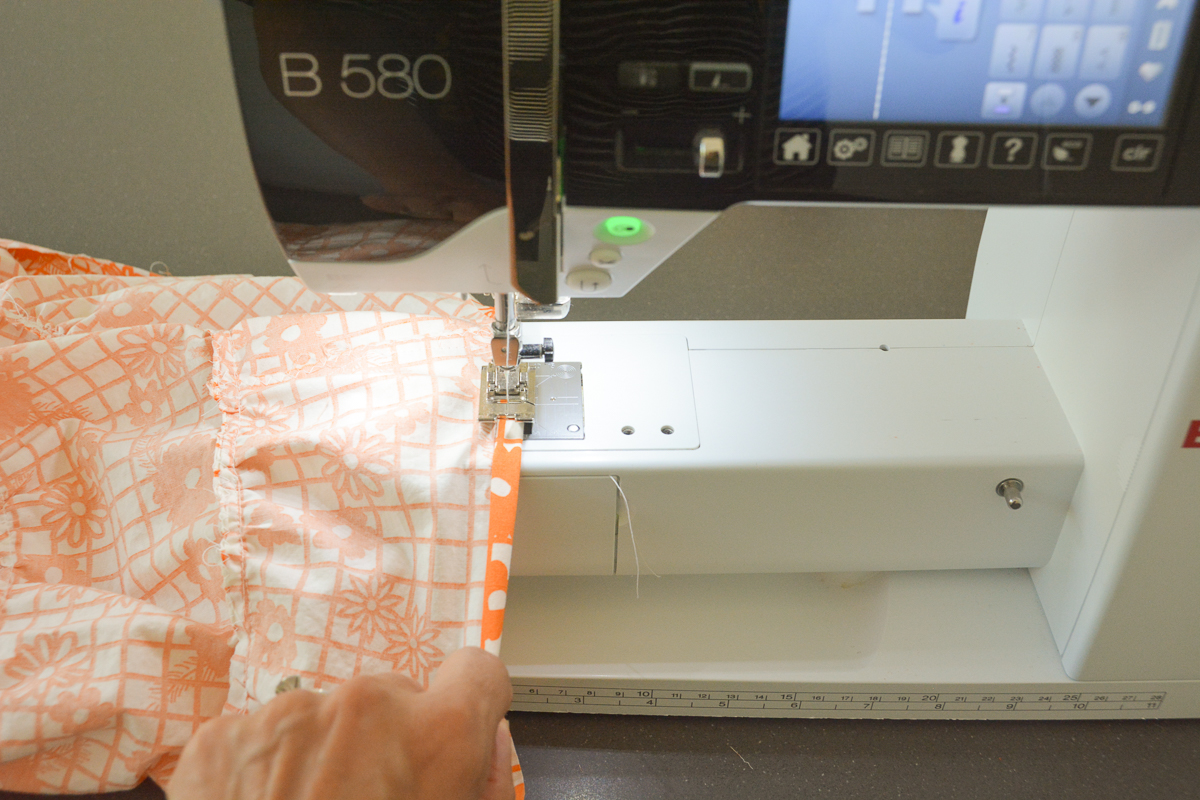
Using a large safety pin, thread your elastic through the casing.
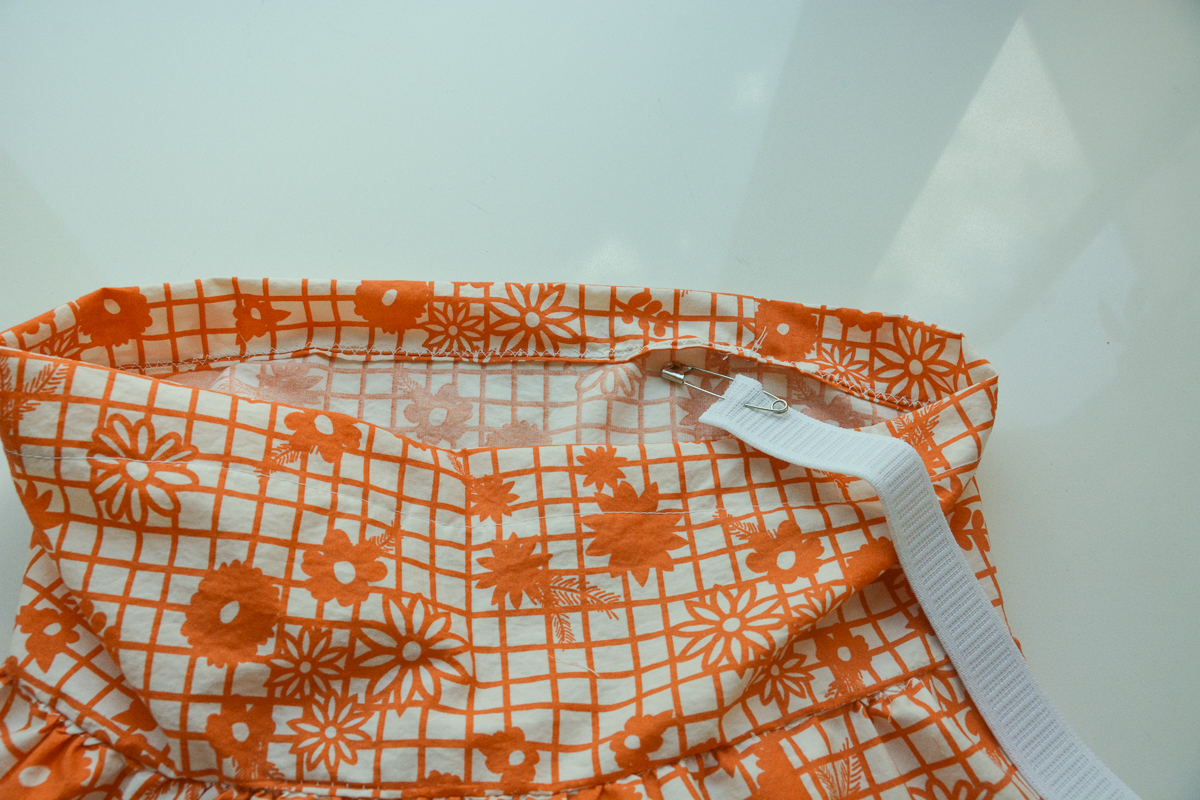
Being careful not to twist the elastic in the casing, align the raw edged and stitch together using a 1/4 inch seam allowance. Back stitch and stitch again to strengthen this seam.
Open out this seam and turn the seam allowance to one side. Stitch the seam allowance down with a zigzag stitch.
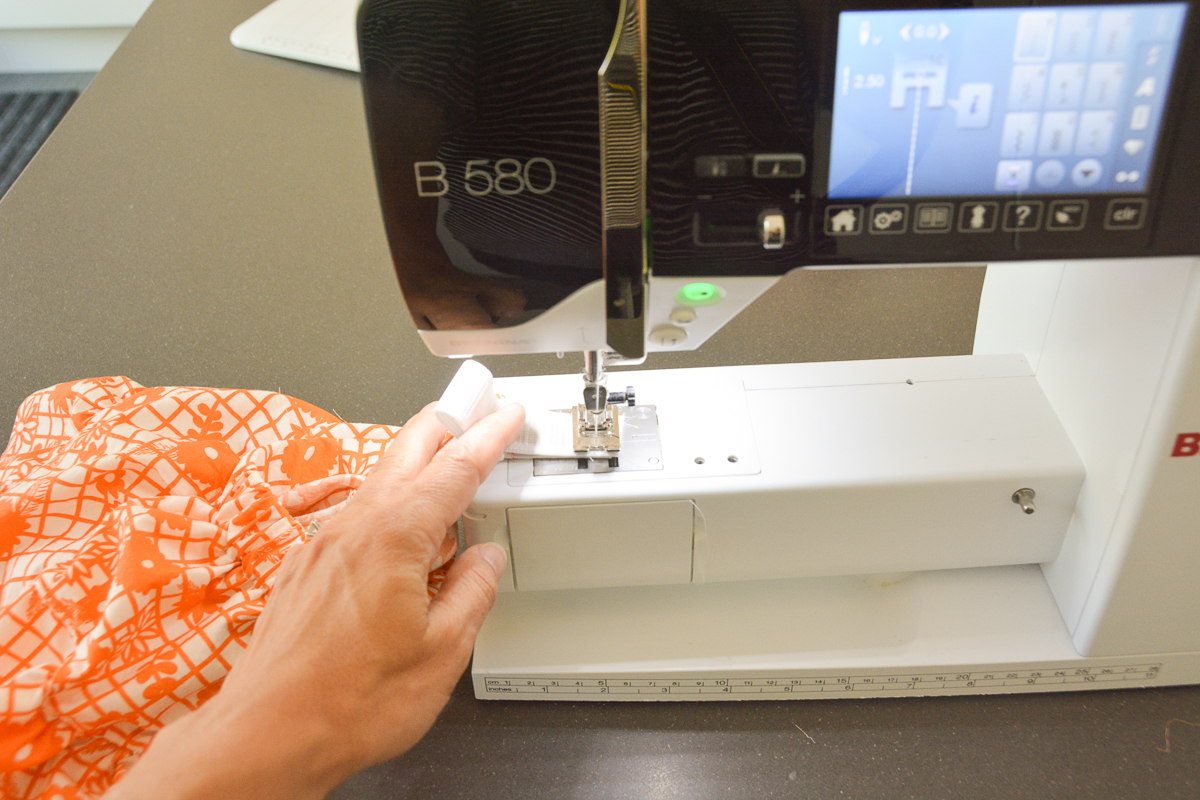
Now close your casing by stitching the opening closed close to the finished folded edge.

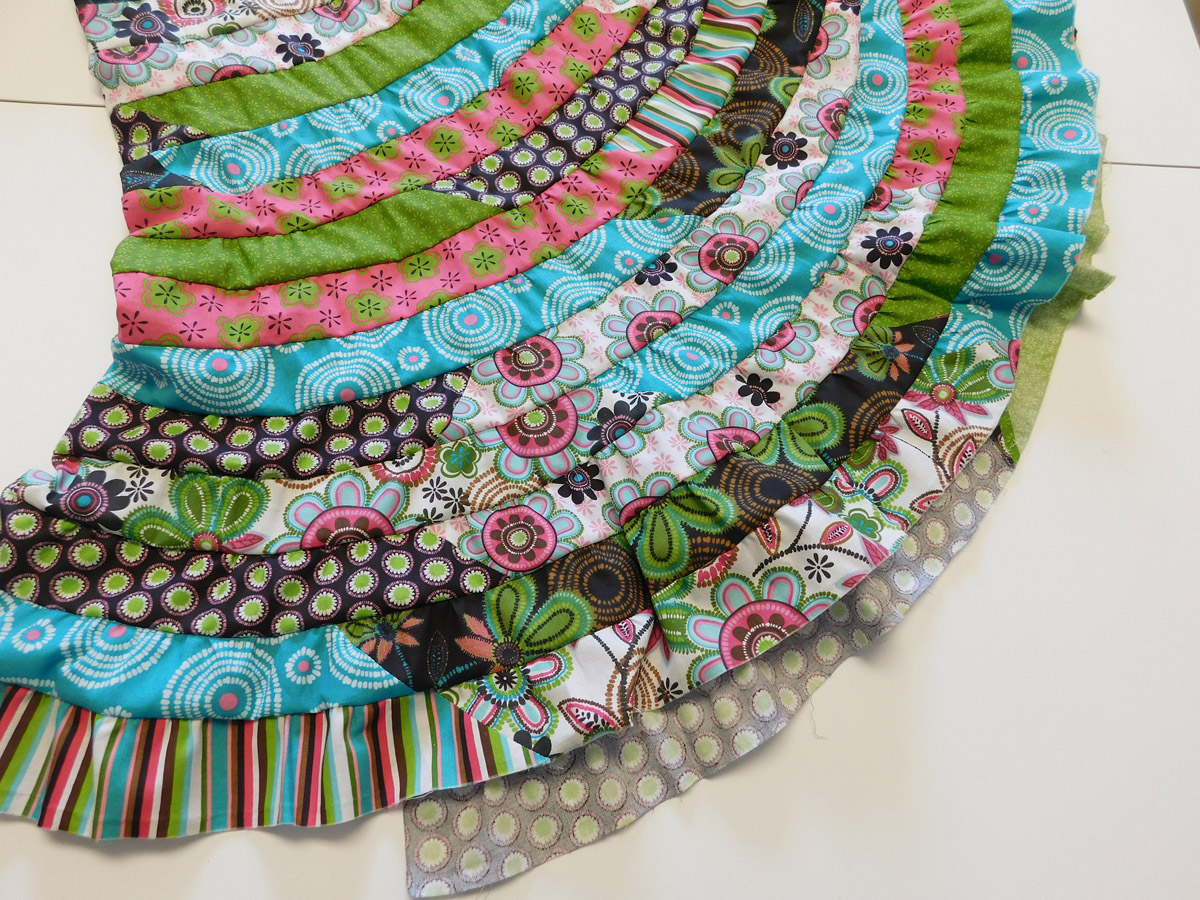
Isn’t that a cute skirt?! I think I need one in my size.

Used Products

What you might also like


One comment on “Girl’s Tiered Summer Skirt Tutorial”
Leave a Reply
You must be logged in to post a comment.

This is a fabulous tutorial thank you so much. Using my granddaughter’s waist and length measurements I made her a purple velveteen maxi skirt and a little halter top to go with it. She’s never taking it off. I will make many more with this fabulous pattern