Kihei Grab Bag Tutorial
The Kihei Grab Bag by Paradiso Designer Cheryl Kuczek.
Recently, I was on vacation in Kihei, Maui! After eating the best Fish Tacos I have ever had with mango salsa at Coconuts Fish Cafe, on the way to my friends condo I was able to witness this beauty of this sunset!

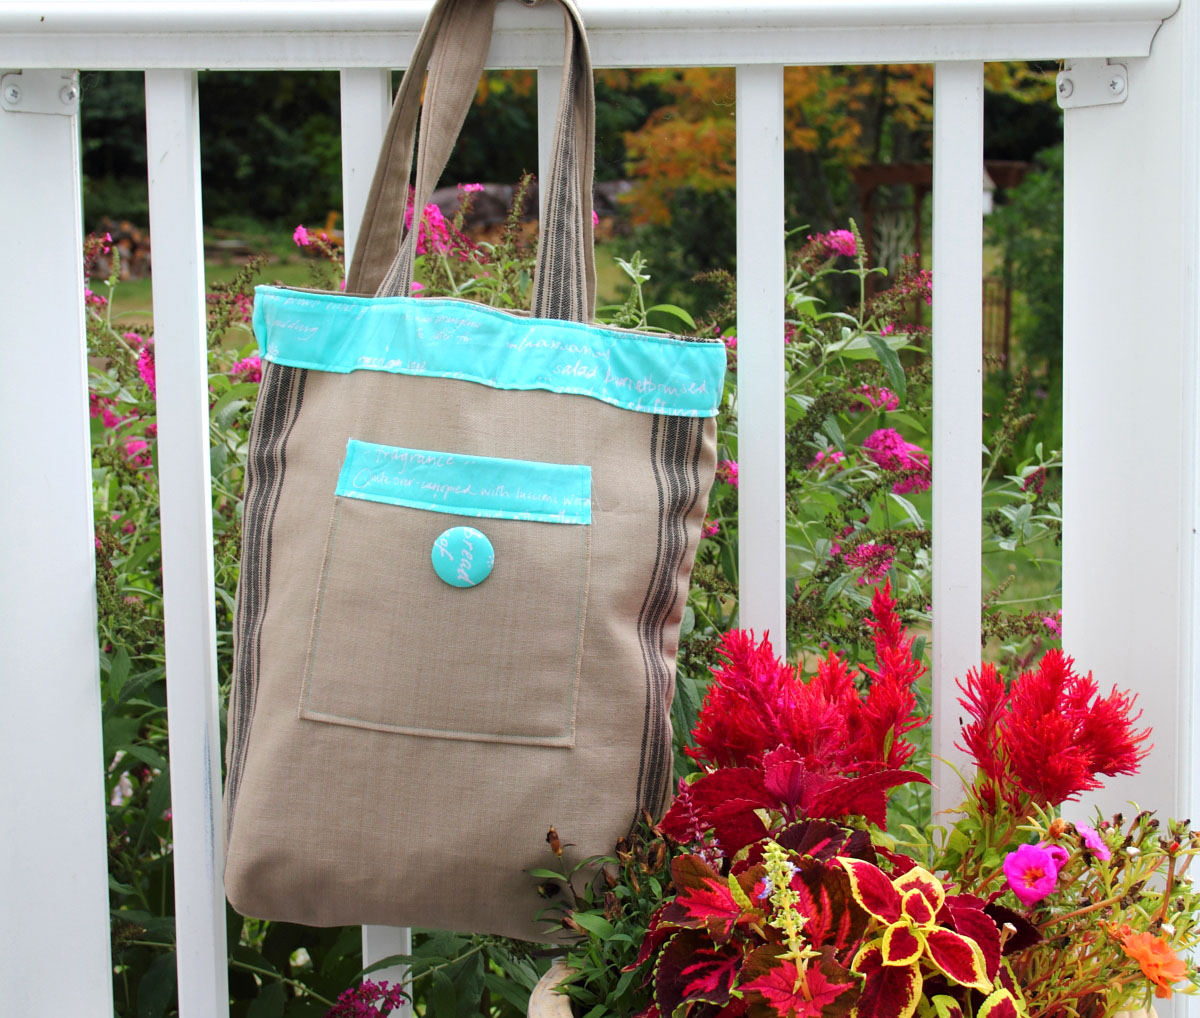
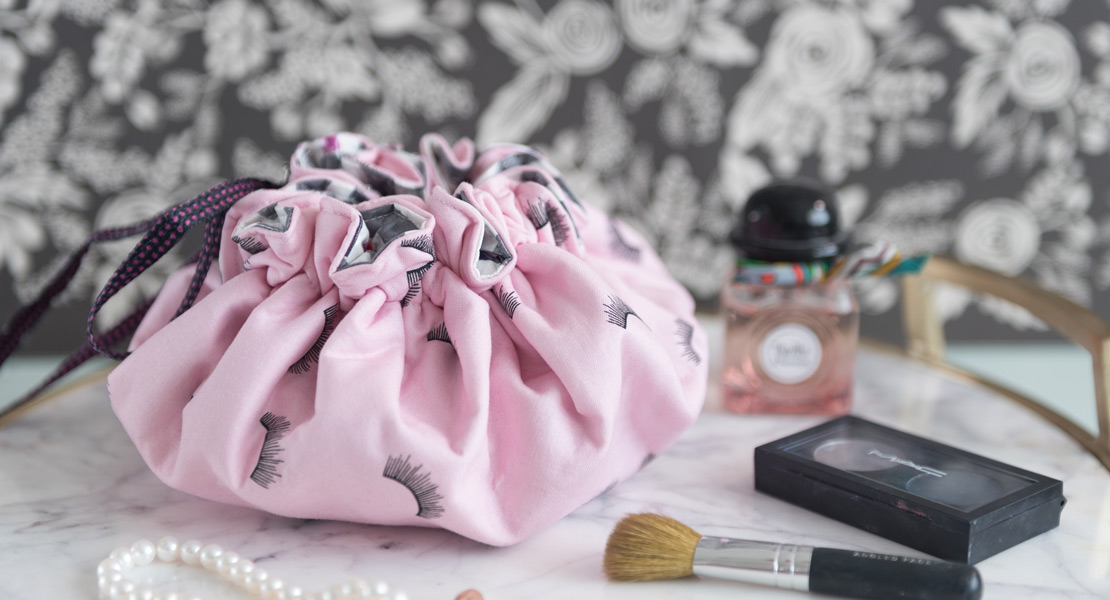
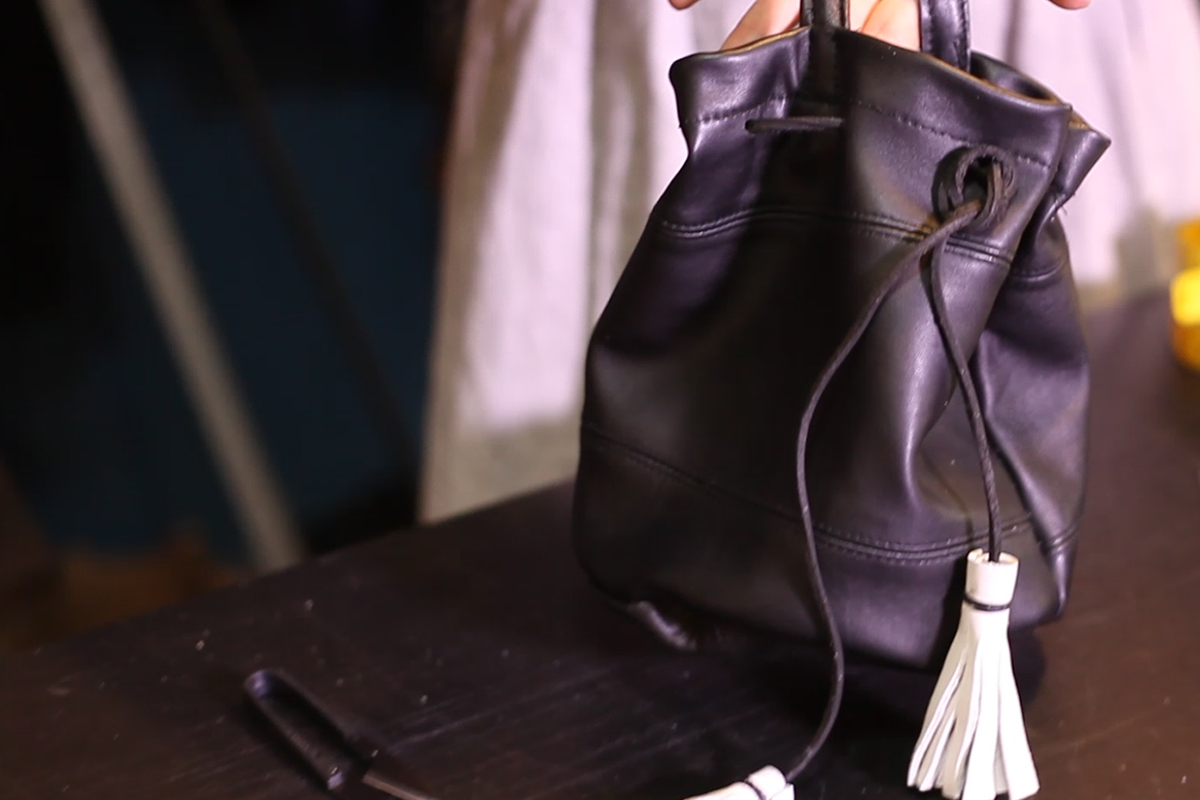
I was so happy to be on vacation (first one in 10 years). It was a dream. I brought with me a bag that one receives if they buy merchandise at Free People to use as a day bag, because I wanted something super light.

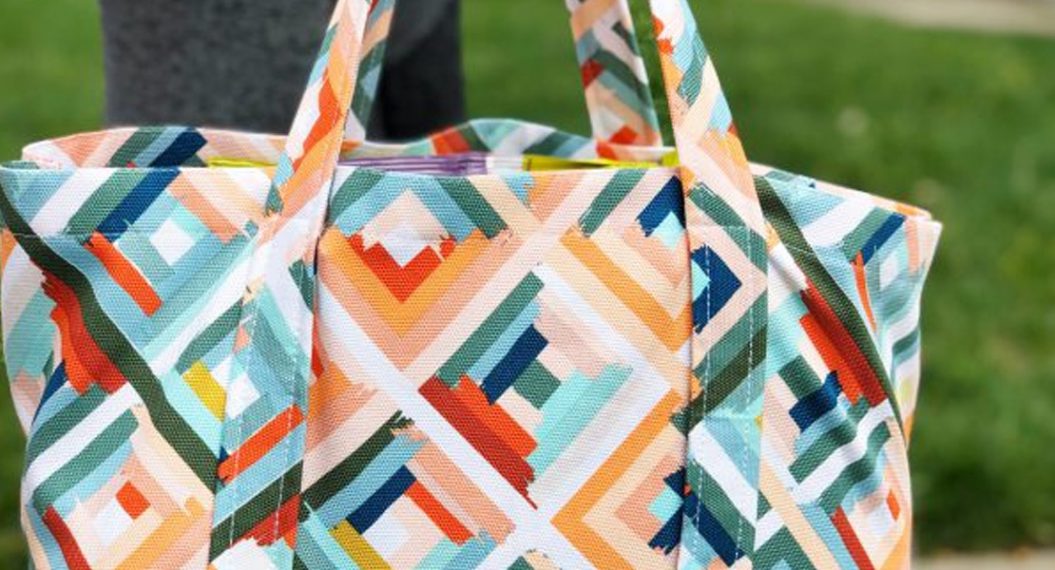
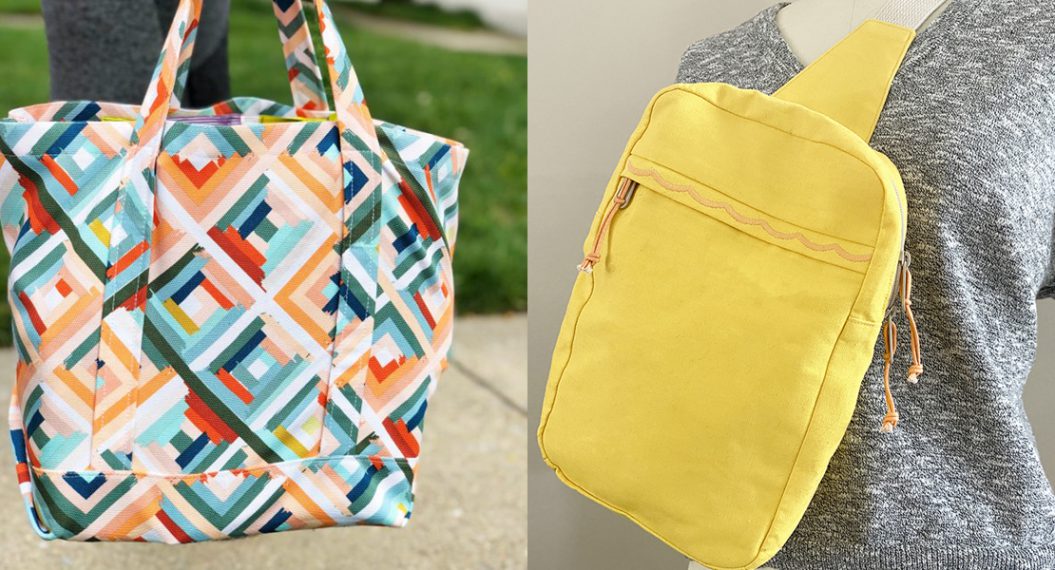
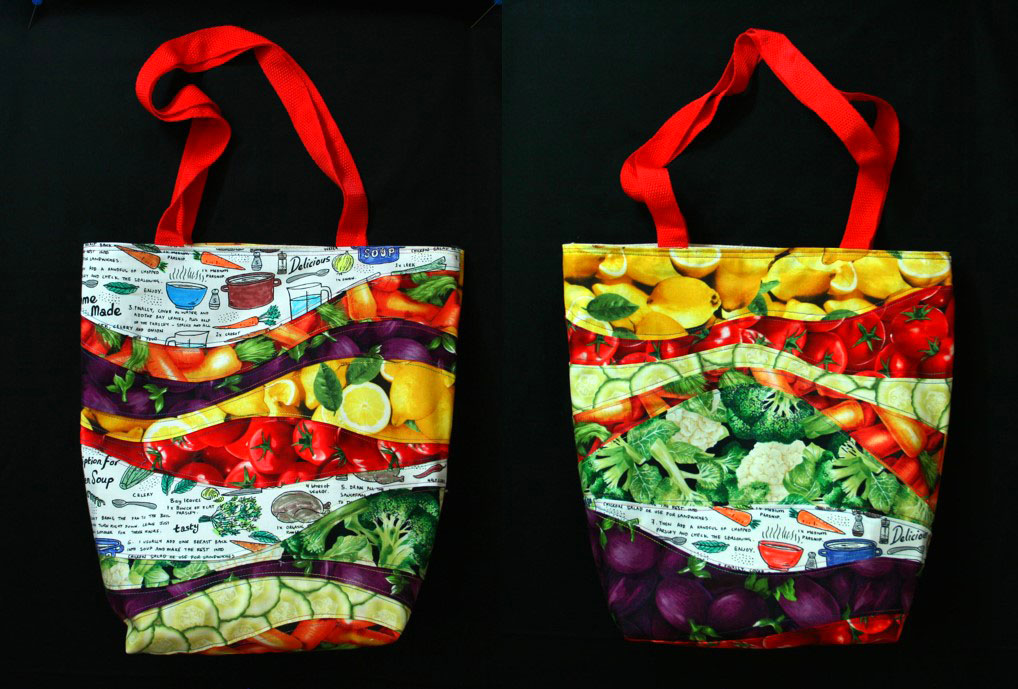
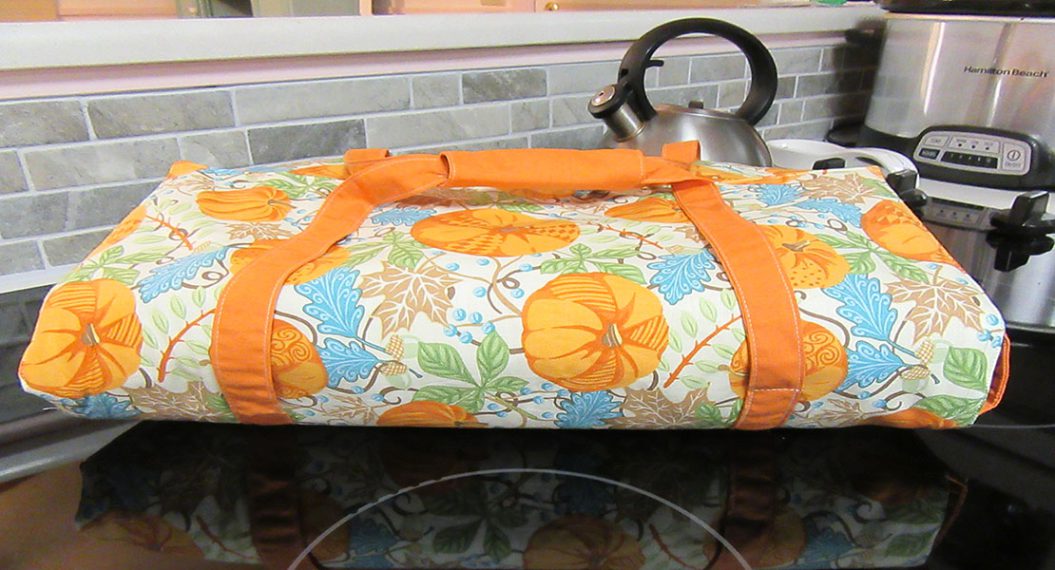
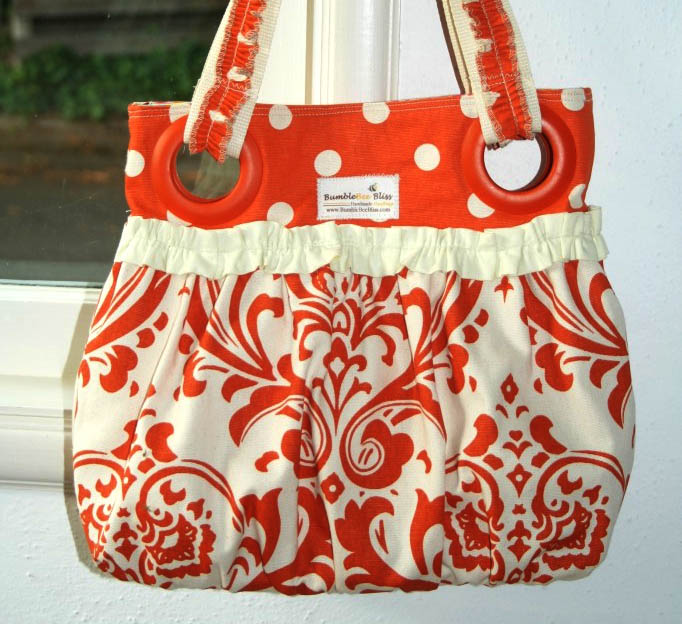
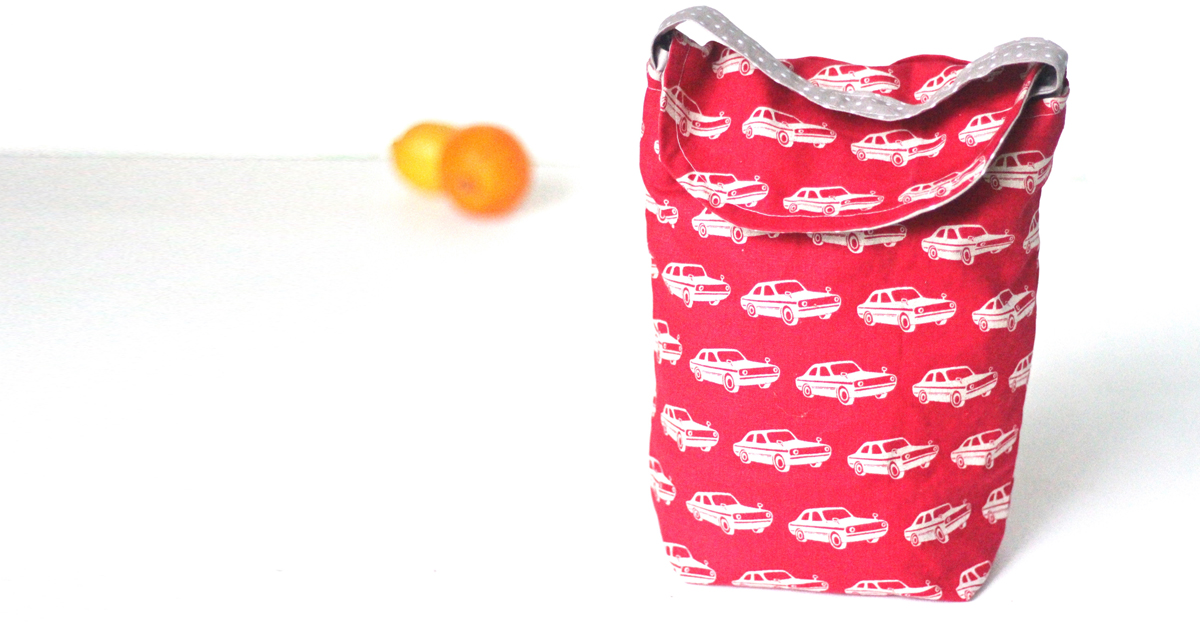
These bags are so pretty and made out of a voile or lawn weight material. Of course, I was inspired to make my own version, and this is how it turned out!
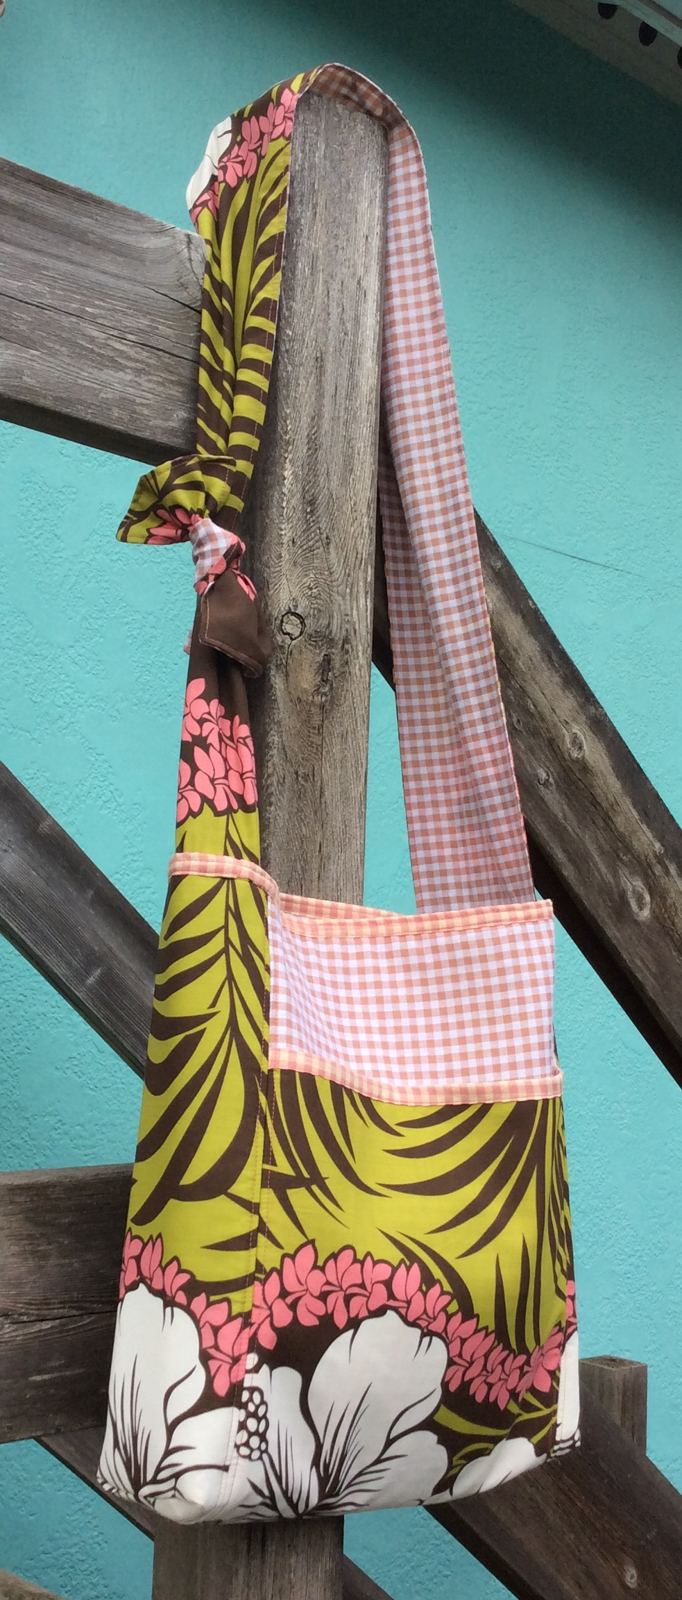
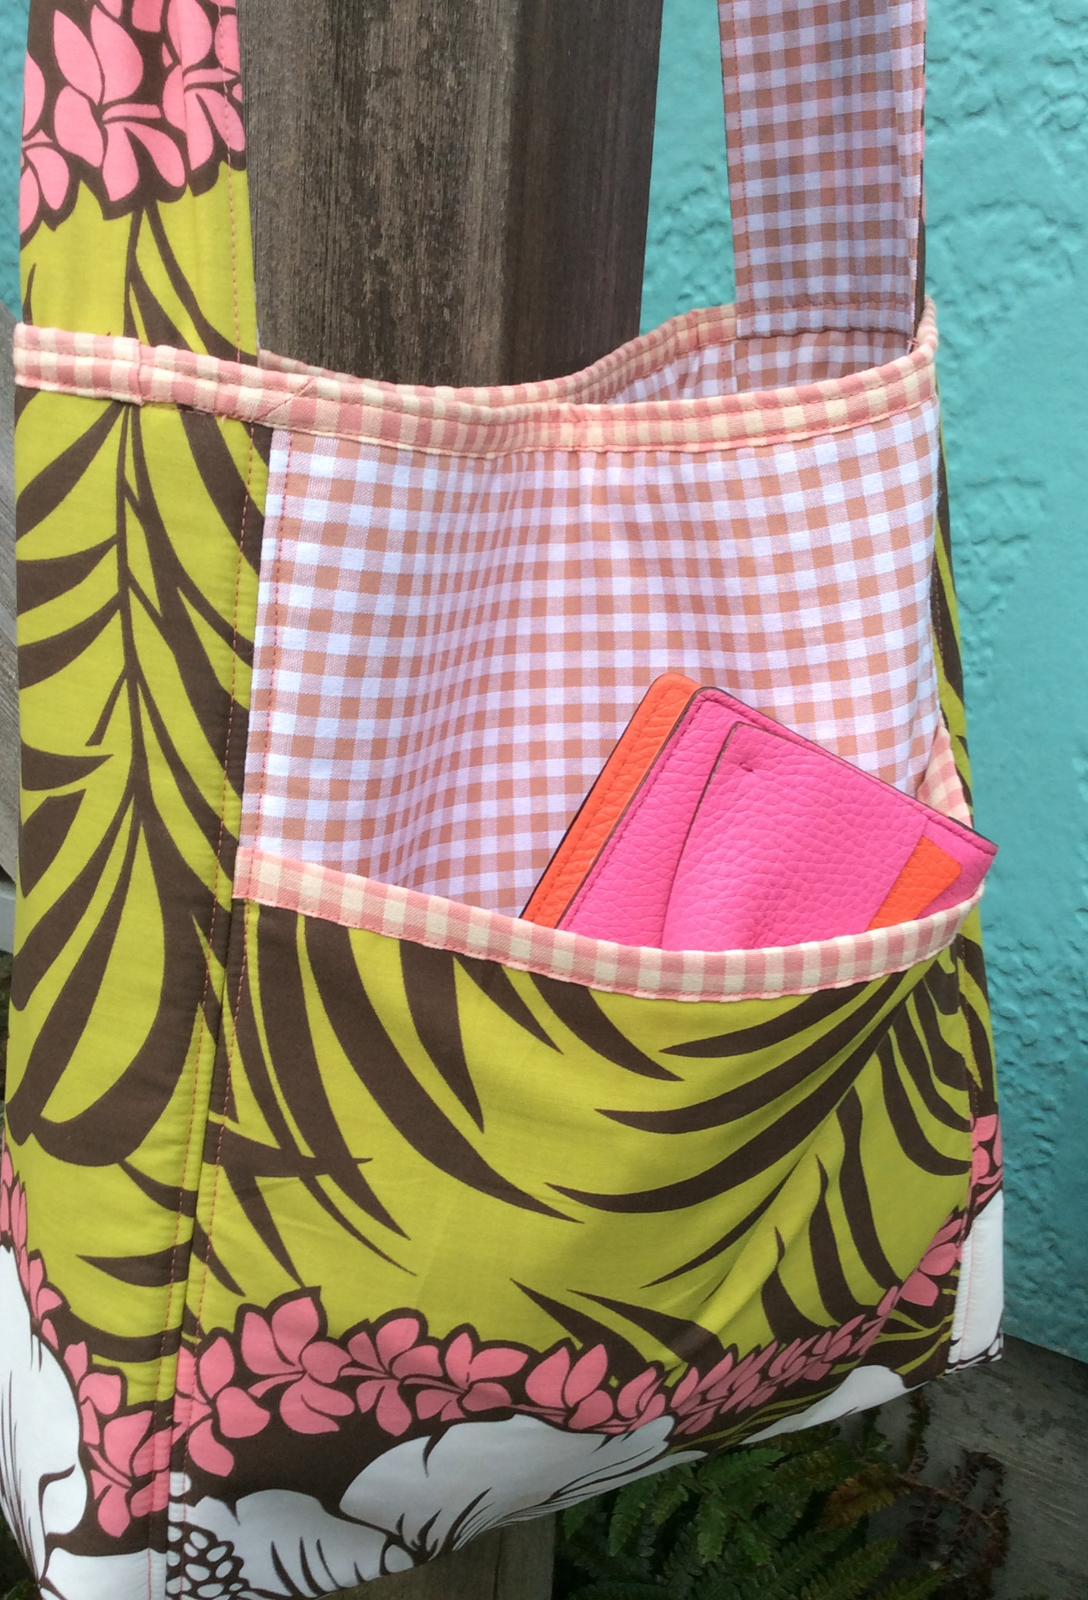
Finished Kihei Grab Bag measures 12.5″ high x 14.5″ wide x 3″ deep.
As with all my Paradiso patterns, I advise that you go read the instructions at least twice to prepare for this project!
I used 3 fabrics in this new design I am calling the Kihei Grab Bag. As you will see, the bag construction includes muslin and an optional fleece stabilizer. If you would like a similar look like the original Free People Bag, then omit the fleece. There is a main fabric and 2 coordinating fabrics.
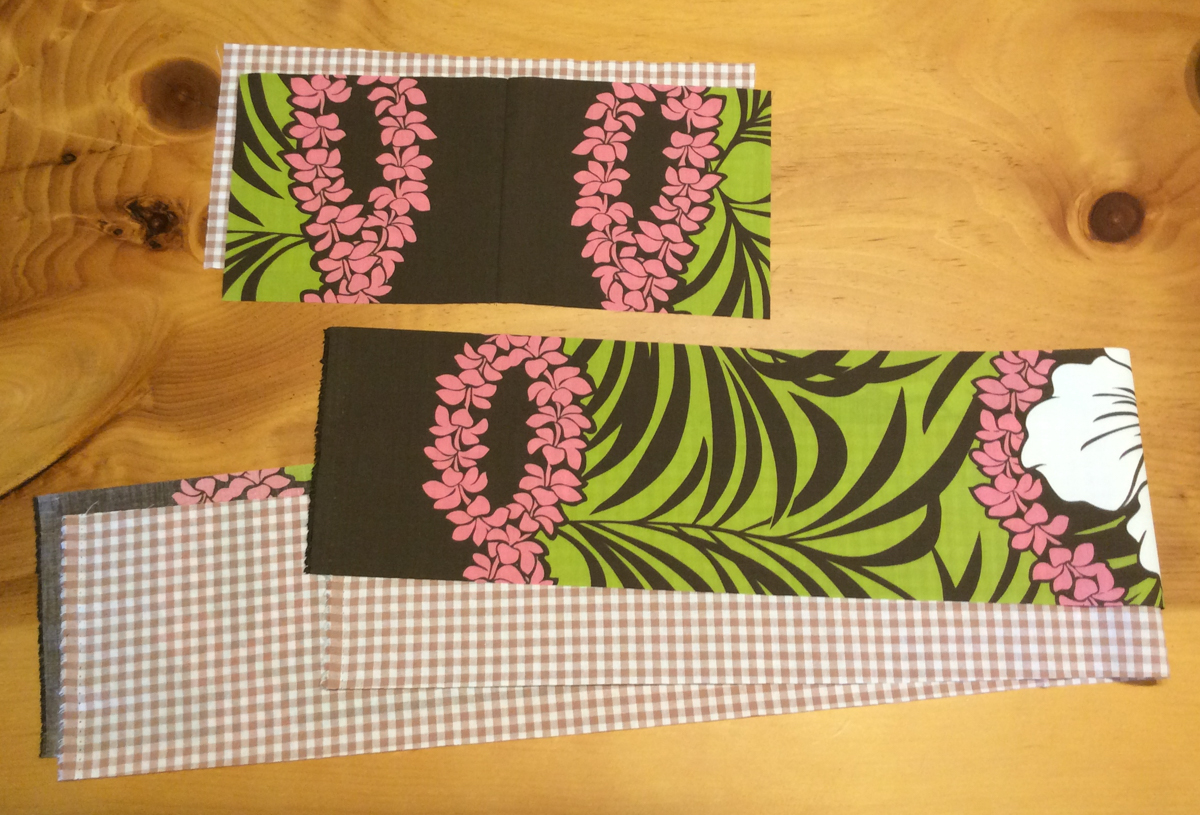
I purchases these cool Hawaiian fabrics from the fabric store I really wanted to visit Fabric Mart because they carried a HUGE selection of Hawaiian print fabrics. Of course any fabric store makes me smile—but Fabric Mart made me do a happy dance! I loved what I found, and the way they print the fabric with double border prints, making me realize that I could have such a unique look depending on how I cut this fabric.
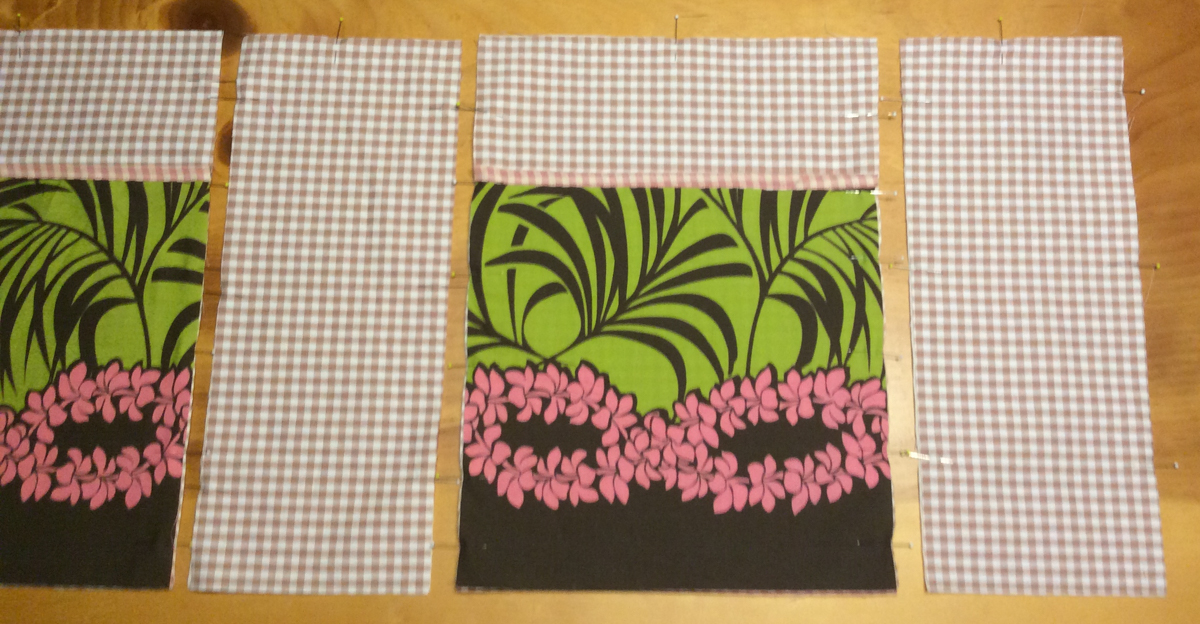
This pattern will be cut using the WOF (width of fabric) strip cutting. If the fabric is directional, you will need more yardage. Here is how this fabric looked before I cut it. I have also included the coordinating fabrics here. I love me a good gingham, and the store had colors I loved and got specifically to go with this print.
Materials to Make a Kihei Grab Bag
- Main fabric (mf/floral)
- Strip Cutting: .75 yd
- Directional Cutting: .75 yds
- Contrast 1 fabric (c1/latte check)
- Strip Cutting: 1 yd
- Directional Cutting: .75 yds
- Contrast 2 fabric (c2/pink check)
- Strip Cutting: ½ yd
- Directional Cutting: ½ yds
- Muslin: .75 yd
- Fleece Stabilizer: 1/2 yd (optional)
- Thread to contrast or match
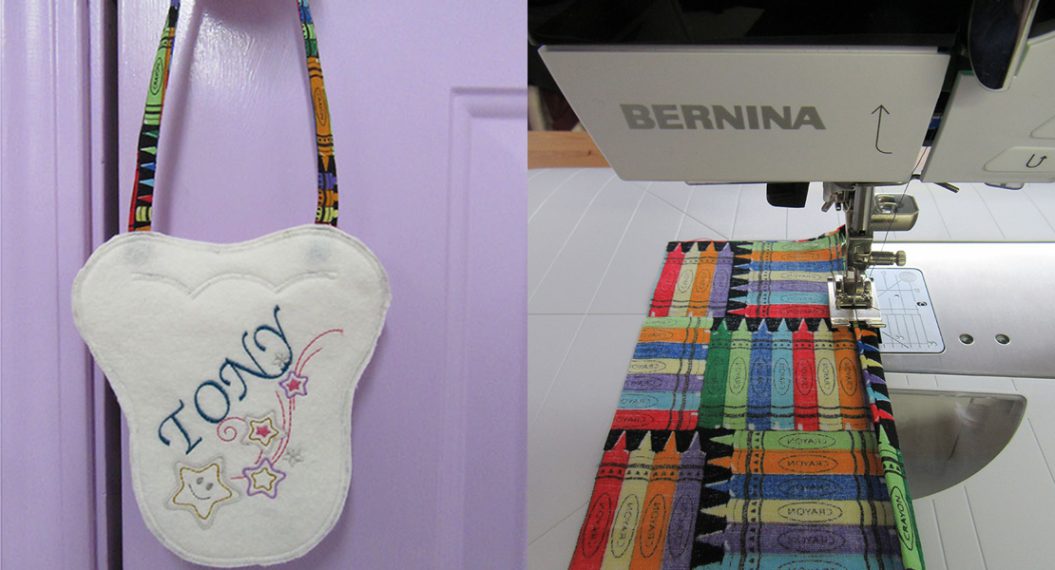
- Sewing machine (I use a BERNINA 770 QE)
- Reverse pattern foot #1/#1C/#1D
I love using the Reverse pattern foot #1D with Dual Feed engaged. As you can see from this picture I am able to engage the dual feed arm, which helps to feed the material evenly.
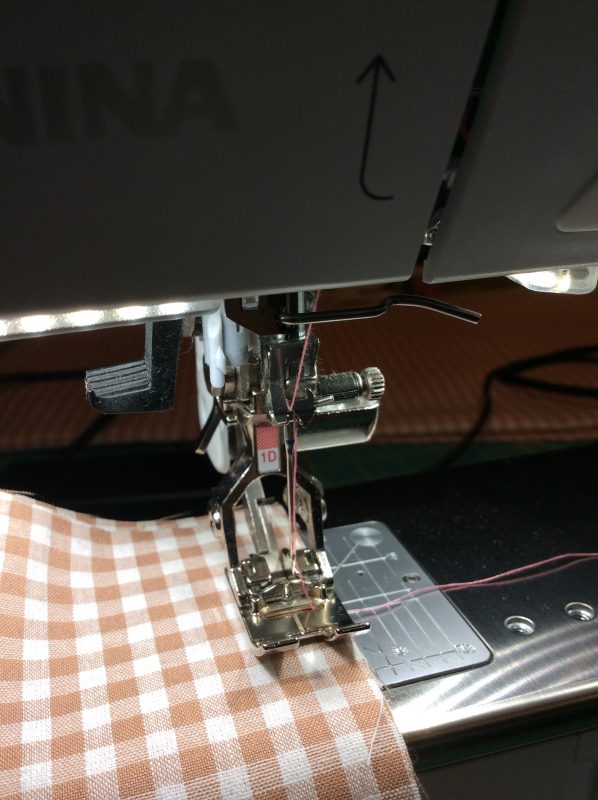
The Dual Feed arm is directly behind the needle in this picture. This is incredibly helpful when I am sewing handbags that will have a number of layers to sew through or for my Pleather straps that I use in my Paradiso Handbag Sewing Patterns. It feels like I am sewing through butter!
Reverse pattern foot #1D has a few other features that I would like to share that greatly improves my sewing and helping me to achieve professional results. I can follow different spots of the foot to sew certain seam allowances or top stitches precisely.
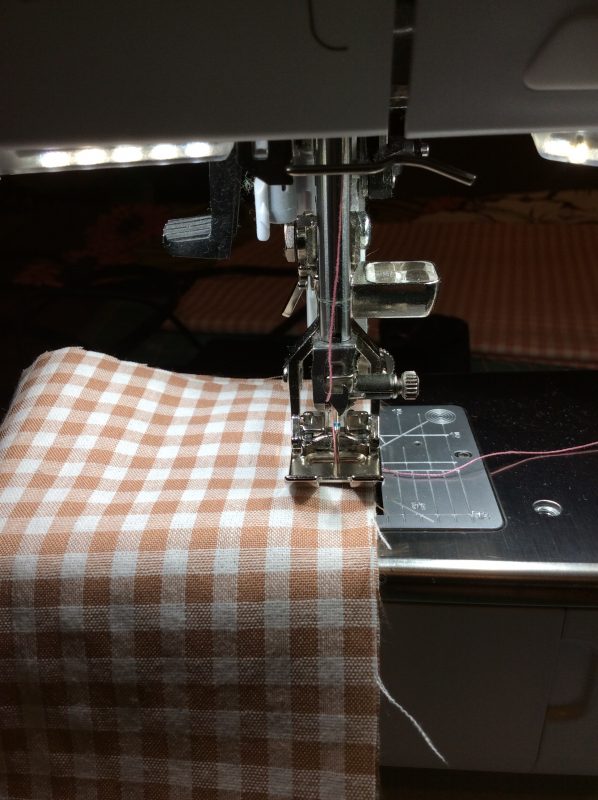
If you follow the edge of your fabric as you sew, it will produce a 3/8″ sa, or a 3/8″ sa topstitch.

If you place your fabric even with the first corner inside the toe of the Reverse pattern foot #1D, this will produce a 1/8″ topstitch.
Step 1: Cut the pieces
Pattern Piece Cutting Guide:
These are the pieces to cut & their measurements and what is needed in each fabric:
| mf/main | c1/contrast 1 | c2/contrast 2 | muslin | fleece(optional) | |
| Pockets 11″ H x 11″ W | 4 | 4 | |||
| Body 15″ H x 11″ W | 4 | 4 | 2 | ||
| Body Sides 15″ H x 6″ W 2 | 2 | 2 | 4 | 2 | |
| Strap 1 44″ H x 6″ W 1 | 1 | 1 | |||
| Strap 2 13.5″ L x 6″ W 1 | 1 | 1 | |||
| Trim 2″ strips | 2 |
Hint: If you love this pattern and want to make more, get a piece of colored poster board to make permanent pattern pieces. Using the straight edge of the tall side, map out the pattern pieces to get the best use of the poster board, as illustrated on a 2′ x 3′ piece. Then draw the pieces with pencil. Use a sharpie marker if you cannot see the lines. Label each piece and how many pieces are required of each fabric. Use a ruler to make a straight vertical line with arrow points for a guide for directional layout. Use your rotary cutter for paper and cut all the pieces out. Use one color of for each pattern and it will be easy to tell the pattern pieces apart.
Hint: Dedicate one rotary cutter to cut only paper.
Hint: Use post it notes to label the pieces as they are cut to keep them in order.
Cutting the pieces:
If directional cutting, then make the pattern pieces as suggested with poster board, then lay-out on the fabric so that the pieces will be right side up! Strip cutting (do not use the selvage, cut off the strips before cutting out your pieces
From the Main Fabric:
Cut one 11″ strip
Cut four pockets 11″ H x 11″ W from the one strip
Cut two 6″ strips
Cut two sides 15″ H x 6″ W and the rest is for the strap 2 (I had to sew 2 pieces to the 13.5″ L)
The other strip is for strap 1 @ 44″ H x 6″ W
From Contrast 1
Cut one 15″ Strip
Cut four Body 15″ H x 11″ W from the one strip
Cut two 6″ strips
Cut two sides 15″ x 6″ W and the rest is for the strap 2 (I had to sew 2 pieces to the 13.5″ L)
The other strip is for strap 1 @ 44″ H x 6″ W
From Contrast 2
Cut one 11″ strip
Cut four pockets 11″ H x 11″ W from the one strip
Cut Three 2″ strips for the pocket top and bag top trim
From the Muslin
Cut one 15″ Strip
Cut four Body 15″ H x 11″ W from the one strip
Cut two 6″ strips
Cut two sides 15″ H x 6″ W from each strip for a total of four side pieces
Optional, From the Fleece
Cut one 15″ Strip
Cut two Body 15″ H x 11″ W & two sides 15″ H x 6″ W from the one strip
Step 2: Layer the pieces
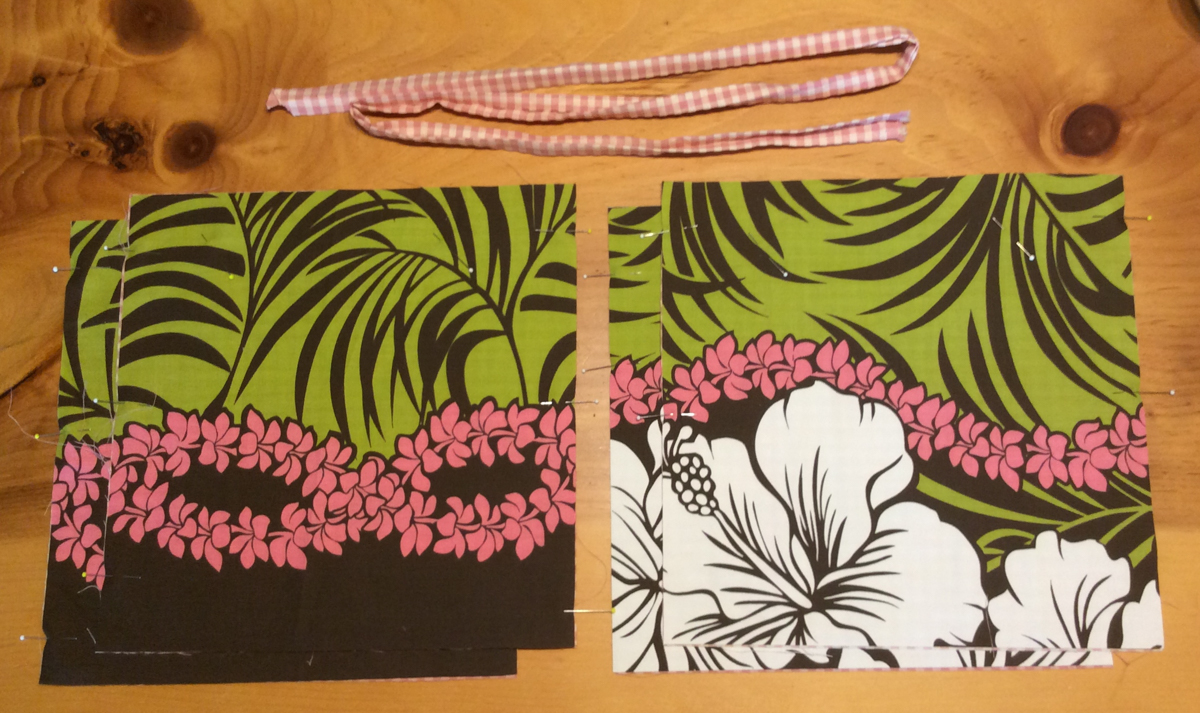
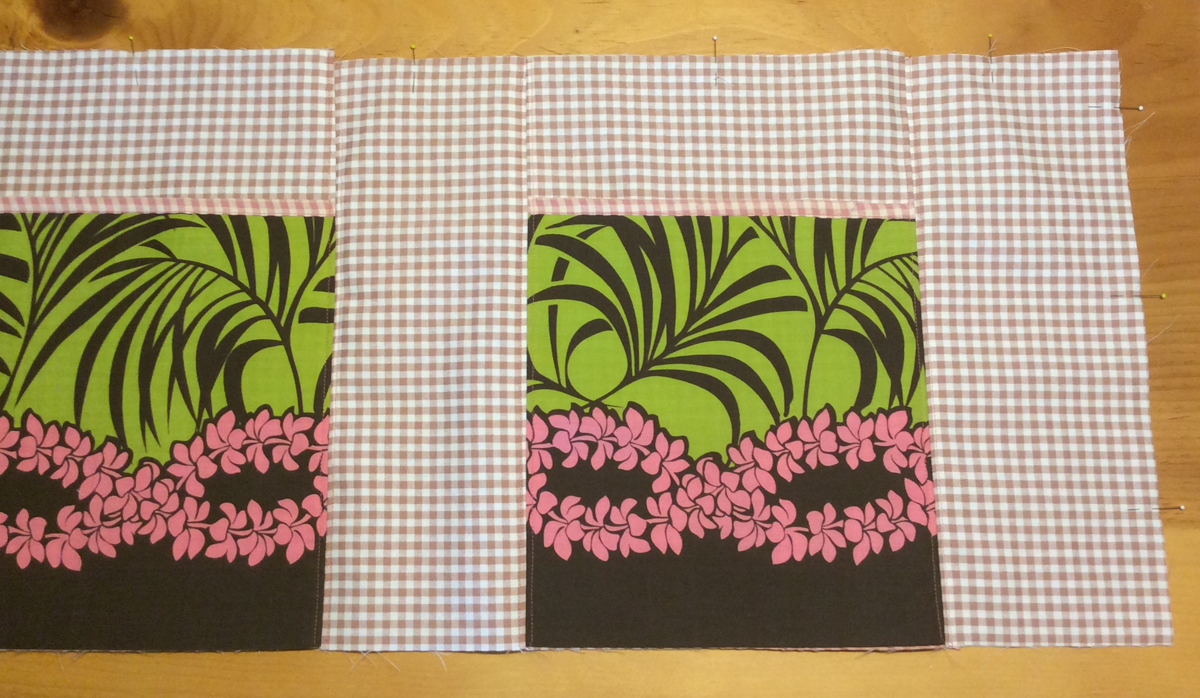
Once all the pieces are cut these next pictures will show how they are “layered” with the muslin and optional fleece to prepare for construction.
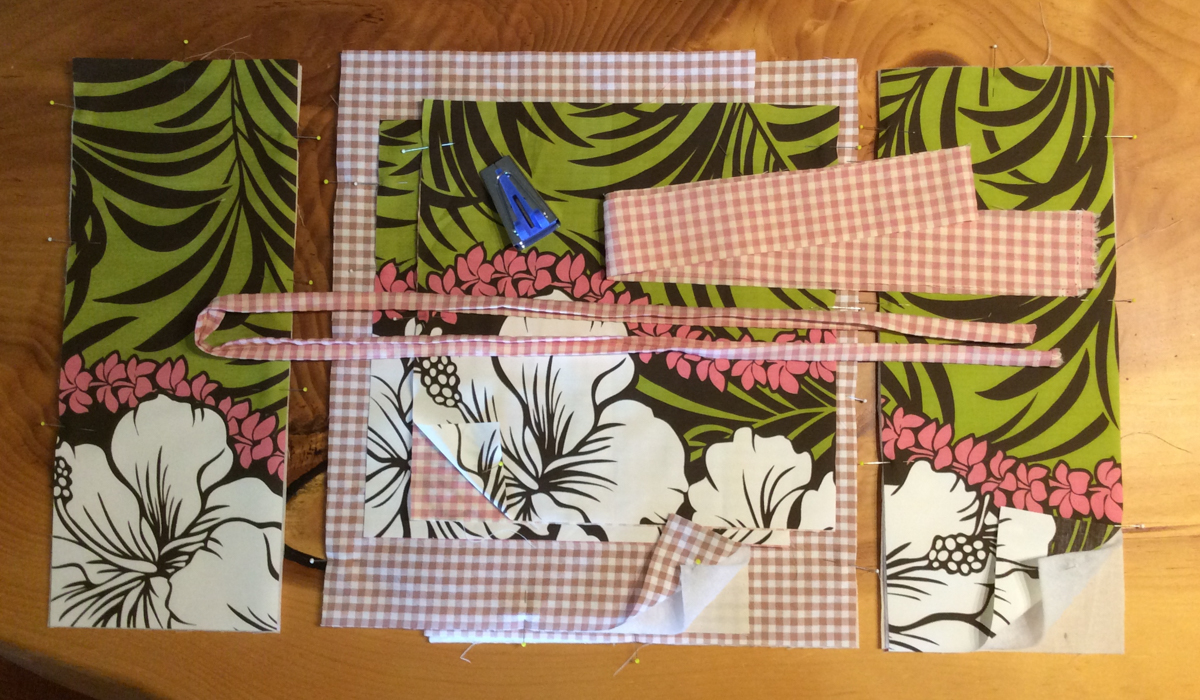
These are all the pieces for the exterior bag. There are the sides, the bodies, the pockets, and the trim. Notice the bias tape maker as I use it to create trim by feeding only one 2″ strip, then iron that piece in half to create a cap trim used to finish the tops of the pockets. Leave this trim long. This will be used Step 4. The other 2″ strip will be set aside to used to finish the top of the bag in the final construction step.
Here is a list of terms to know to for the construction of this project.
ill = illustration
p/v = pleather/vinyl
rs = right side
sa = seam allowance
sl = stitch length
ts = topstitch
ws = wrong side
zz = zigzag stitch
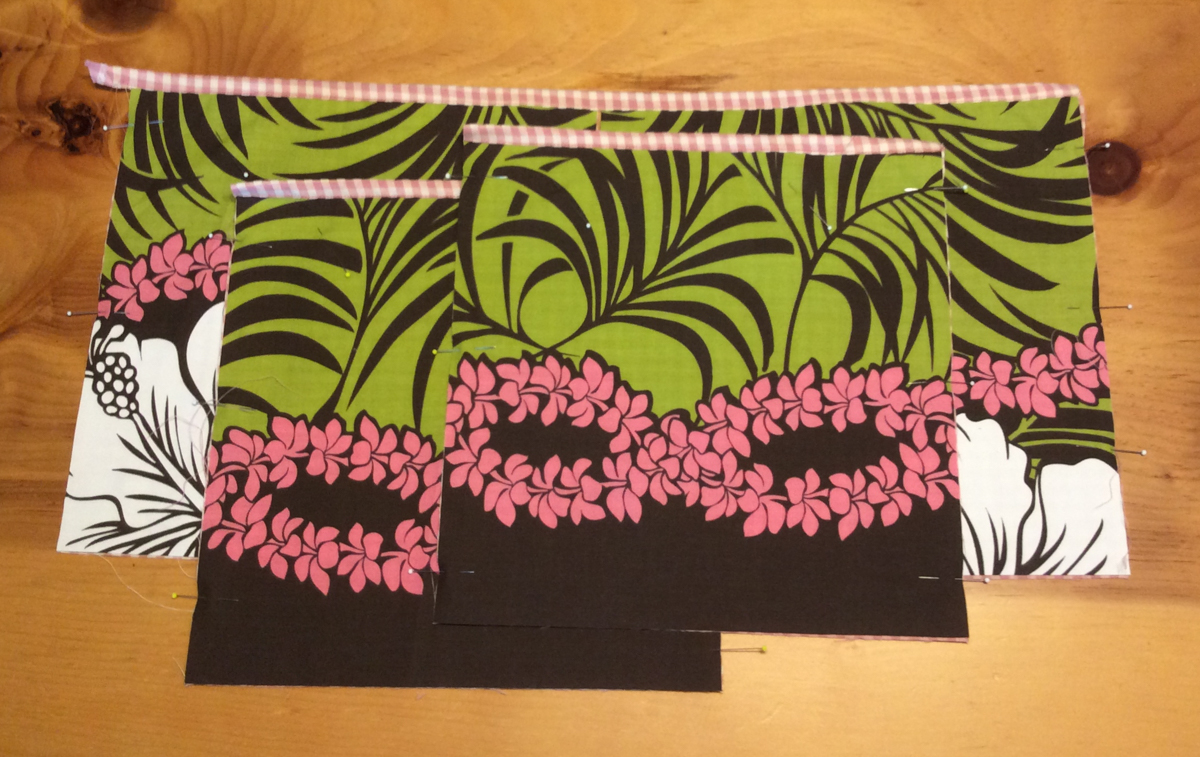
Layer the body and sides with the muslin. If the fleece is used, then it is sandwiched between the c1 fabric and the muslin. Each section with layers is pinned to act as one piece when sewn. There is one pin at the top and no pins at the bottom to know instantly the top of the piece at a glance. Use 3-4 pins on the sides.Layer the main fabric pockets with the c2 pockets, ws together. Pin as shown with 2-3 pins pinned below the top edge to keep the top edges of the layers from slipping, and pin the sides. Do not pin the bottoms.
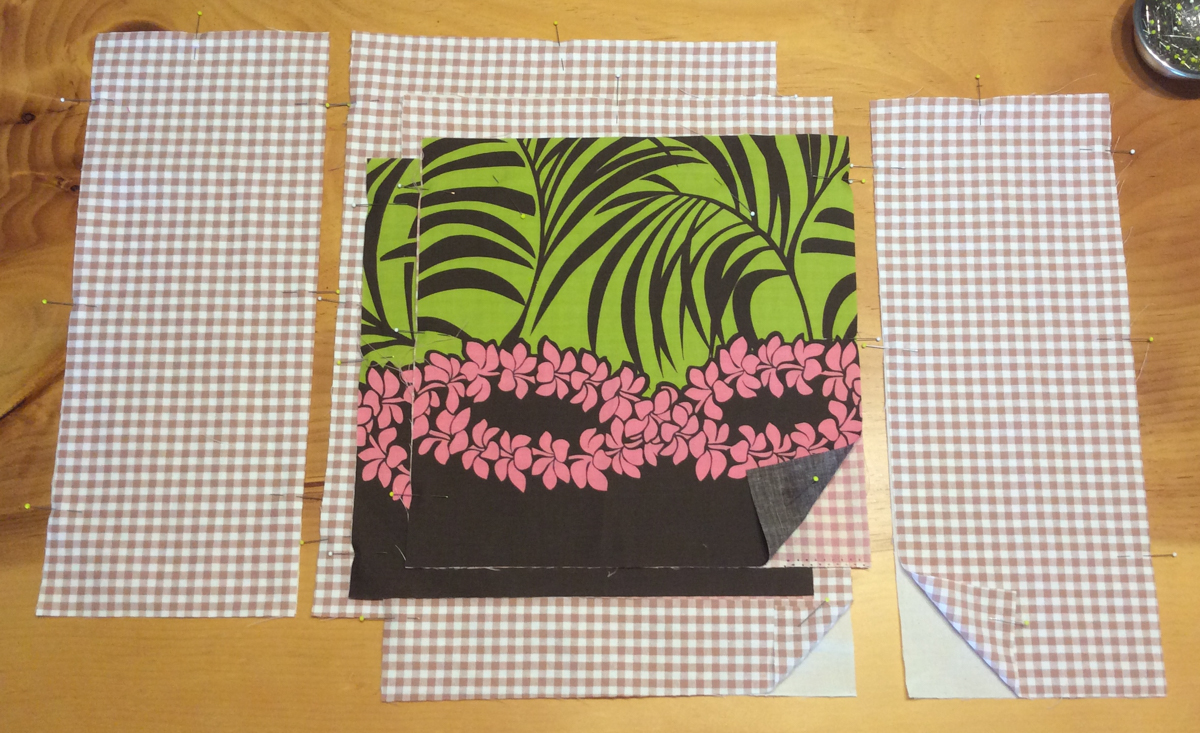
These are the lining pieces.
The bodies and the sides are layered with the muslin.
Step 3: Pin and sew the strap
These are the strap pieces. I had to sew the 6″ pieces together left from cutting the sides to get the 13.5″ length needed for strap 2. For both straps with rs together pin the sides together. One end of each strap with be finished, so it will be pinned and sewn with the sides of the strap. The other end of each strap will not be to turn the straps to the right side. And these ends of the strap will be attached to the bag. Sew each strap on the 3 edges with a ½” sa. Remember to backstitch at the start and end of each seam. Trim the corners and turn the straps to the rs. Iron the seams, then ts with a 1/8″ sa.
Set aside to add to the bag later.
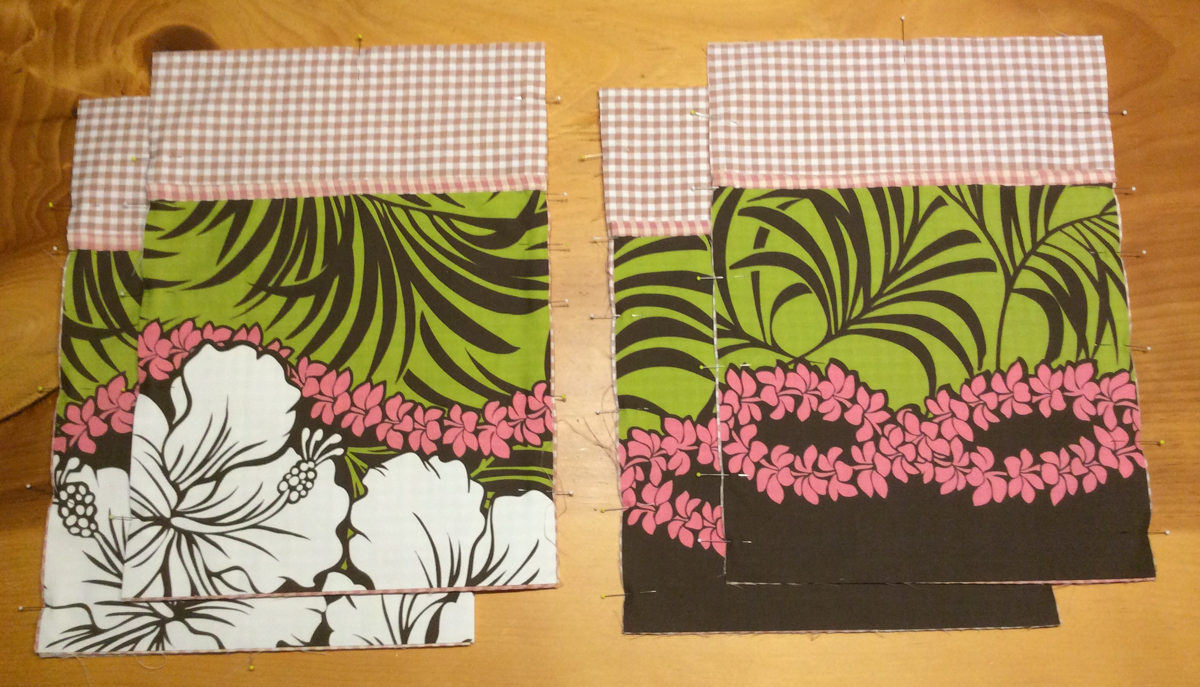
Step 4: Finish the pocket top edges
Take each of the 4 pockets and use the trim cap to finish the pocket tops.
Take the trim and insert the needle to have the 1/8″ sa, and hold the thread ends while taking one stitch forward and then one stitch back leaving the needle in the fabric. With the needle down and the foot up, now insert the pocket top edge. With the pocket in place
Step 5: add the pockets and sew the lining and the bag exterior
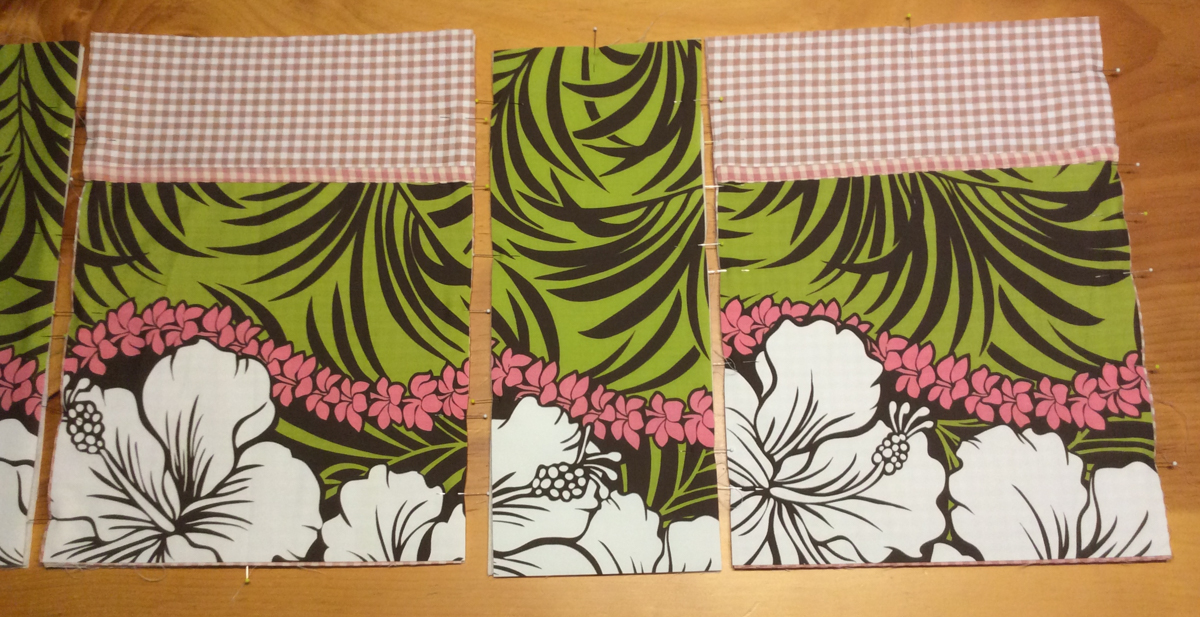
Add the pockets to the bodies, and re-pin the sides. Pin a line 2″ up from the bottom, then following the pins sew a straight line across. This will keep the contents in the pockets in an easy to reach place, otherwise items will slip to the bottoms of the pockets that will be under the items in the bag, but not in the pocket.
Line up the lining pieces as shown alternating a side with a body piece.
Starting at the bottom sew a side to a body with a ½” sa.

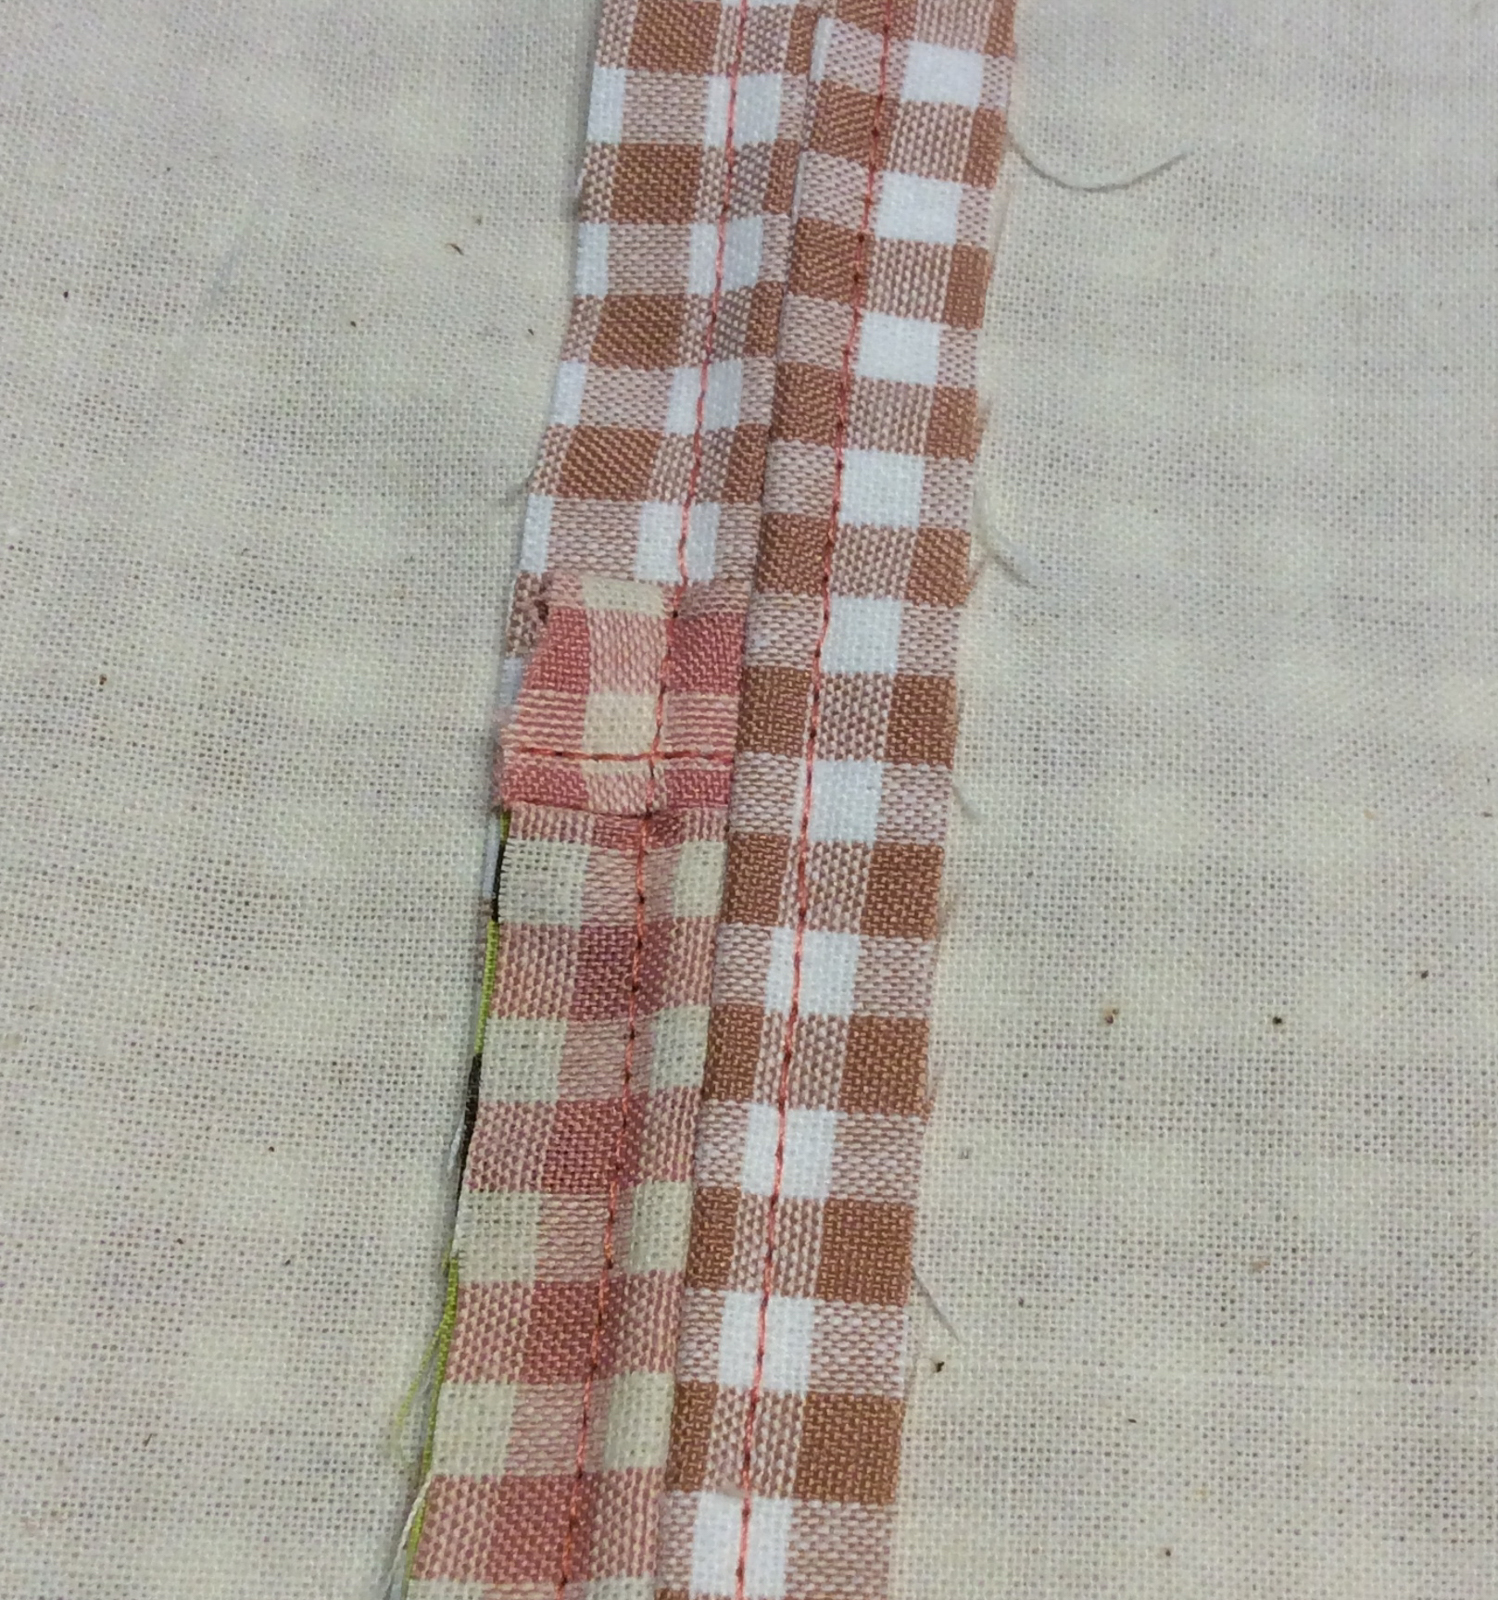
As each seam is sewn, then flip to the right side. Starting at the bottom sew and ts the seam allowance underneath with a 1/8″ sa. Sew up the the top, then turn and sew back down to the bottom.
Important note, to create an even distribution of the pocket, the pocket sa will flow to the side on the ws and not be turned back under the body, distributing the pocket on each side of the seam equally as seen in the picture. Before sewing the last seam, tidy up the top edges so that they are all even. Then repeat after the last seam is sewn too.
Construct the exterior bag in the same manner as the lining.
Sew the bottom of the lining and the exterior. Pin the bottom together with the sides folded in the middle so the seams match. Sew with a ½” sa
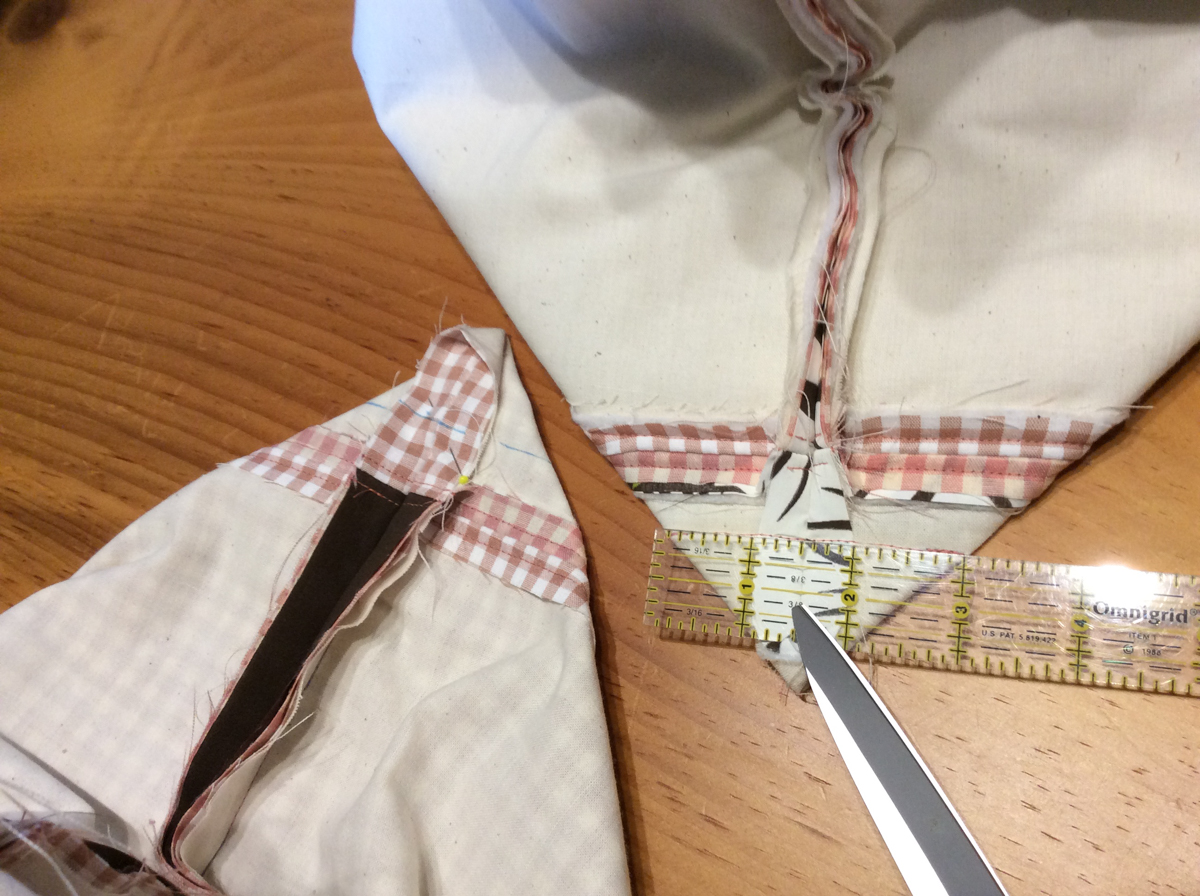
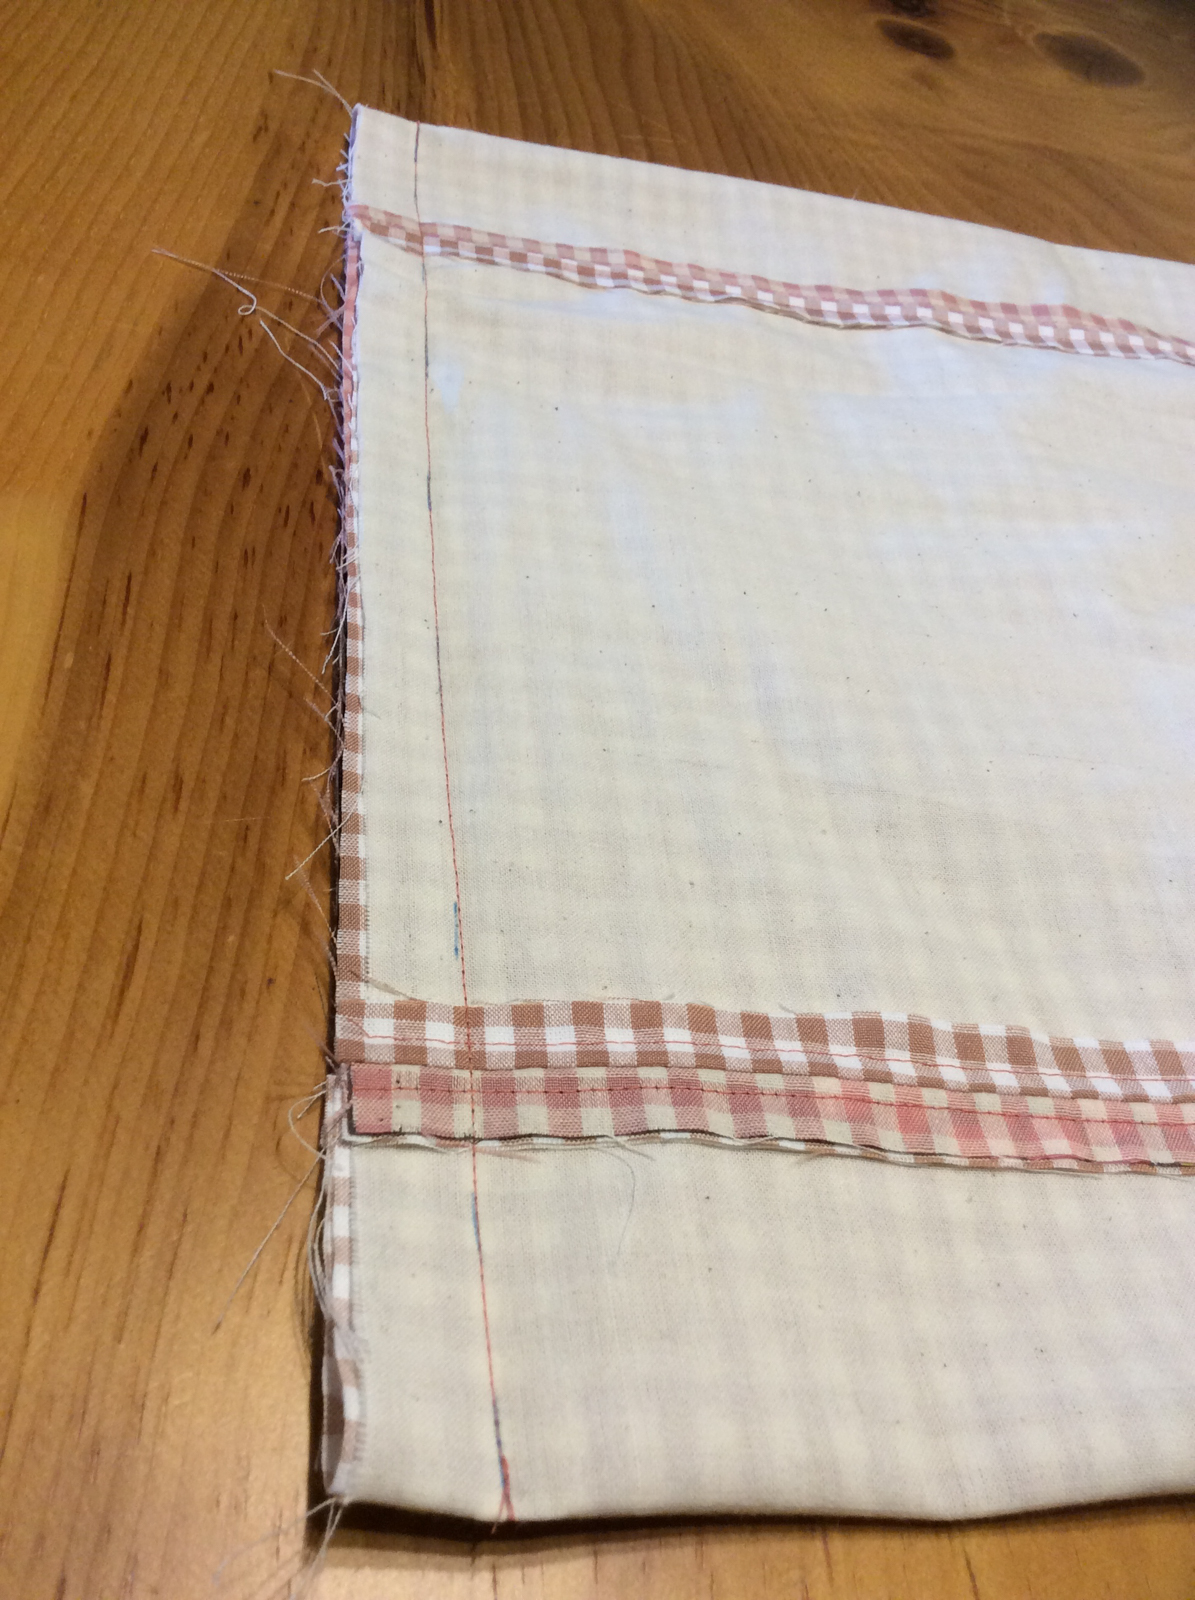
Box the bottoms of the lining and the exterior. Make a peak of each bottom corner so that the side seam is facing up. Make a line where the peak bottom is 3″ across. Make sure it is even with 1.5″ on either side of the seam. Draw a line and pin in place. Sew on the line, making sure to backstitch at the beginning and end.
Trim the peak off leaving a ¼” sa.
Step 6: Finish the bag, Attach the top trim to finish the raw edges and topstitch
At the top of each seam sewn on both the lining and exterior, trim off the top 2″ of the sa mot sewn in the ts. This reduces the bulk at the seams.

Insert the lining into the exterior bag, ws together and pin. Use a basting stitch to tack the lining to the exterior. Next, pin the straps so that they are aligned with the bag side tops inside the bag against the lining. The mf of the strap should face the lining. Sew with a ¼” sa and 4.0 basting stitch to tack into place. Then pin the straps in place a bit down from the top inside the lining so that they will not shift and get caught while sewing the trim on the top edge of the bag.
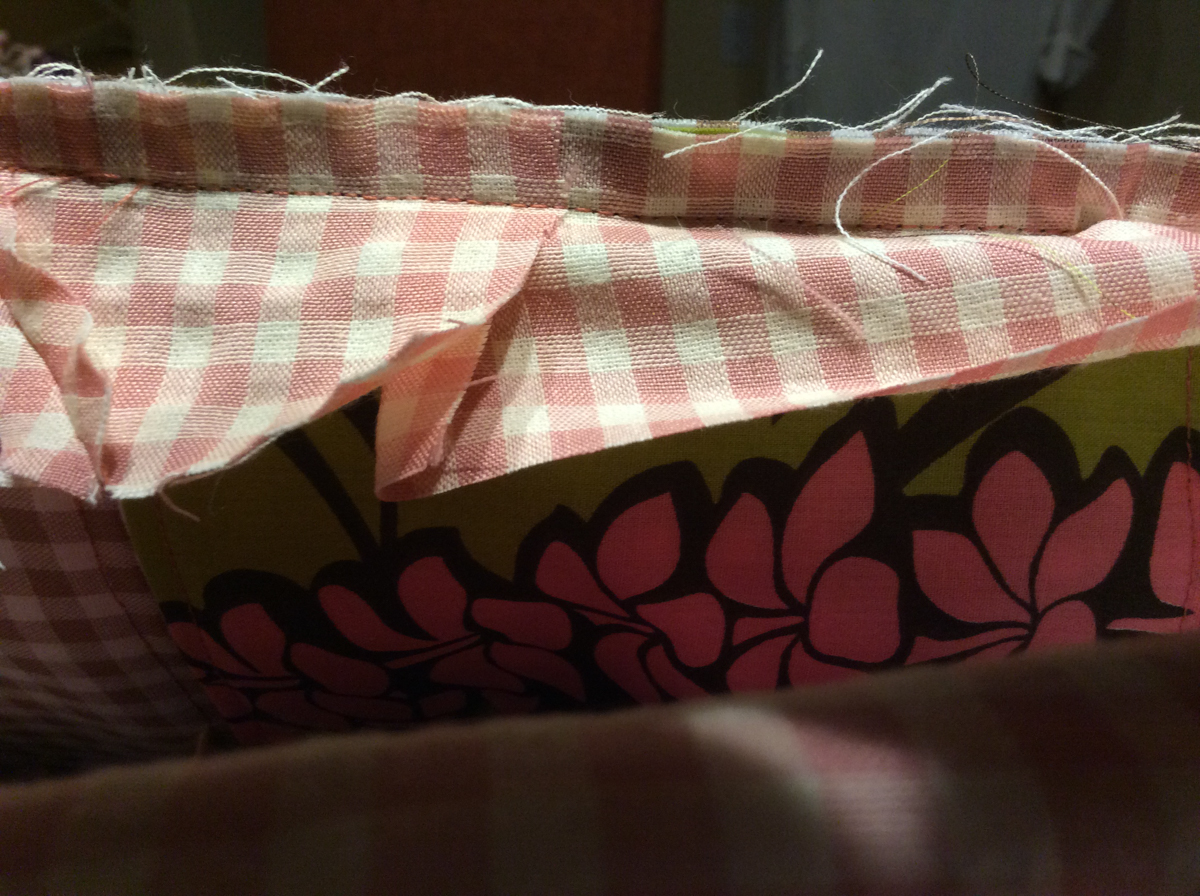
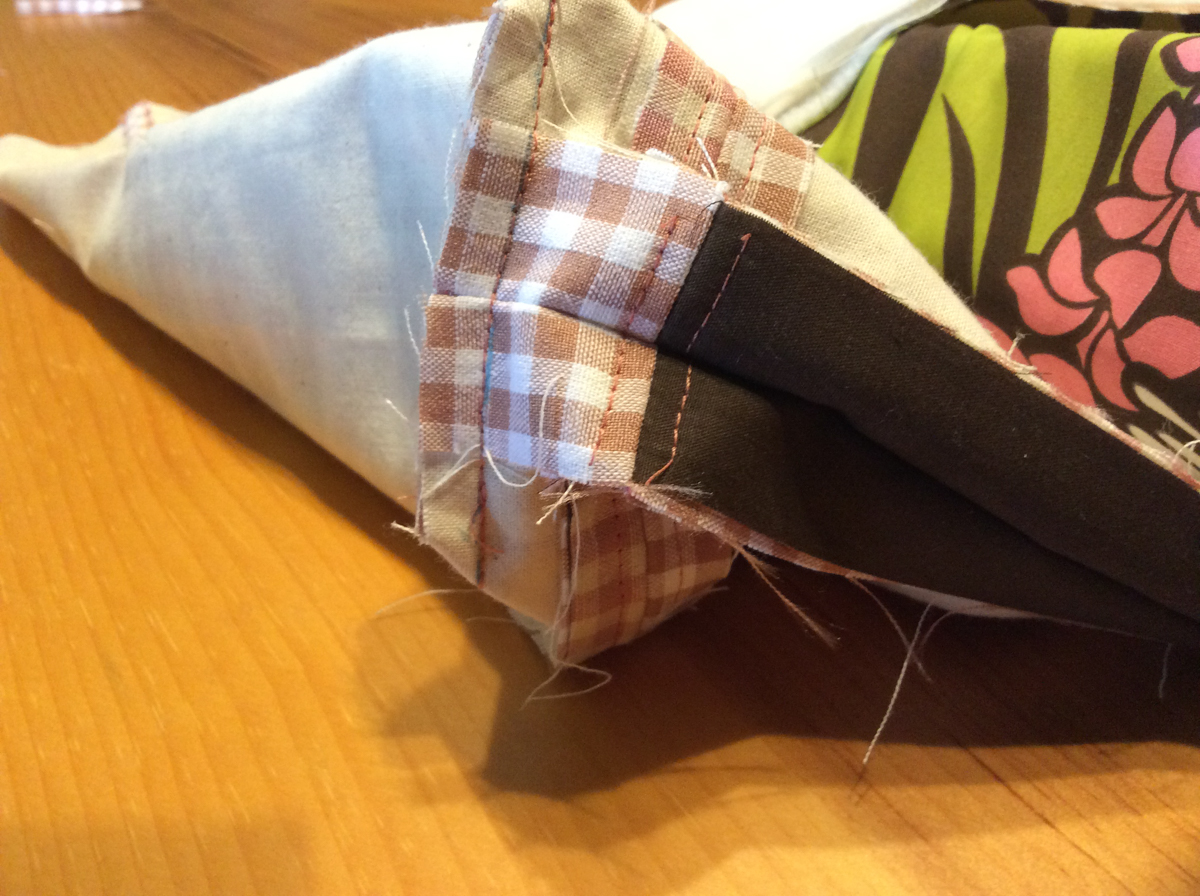
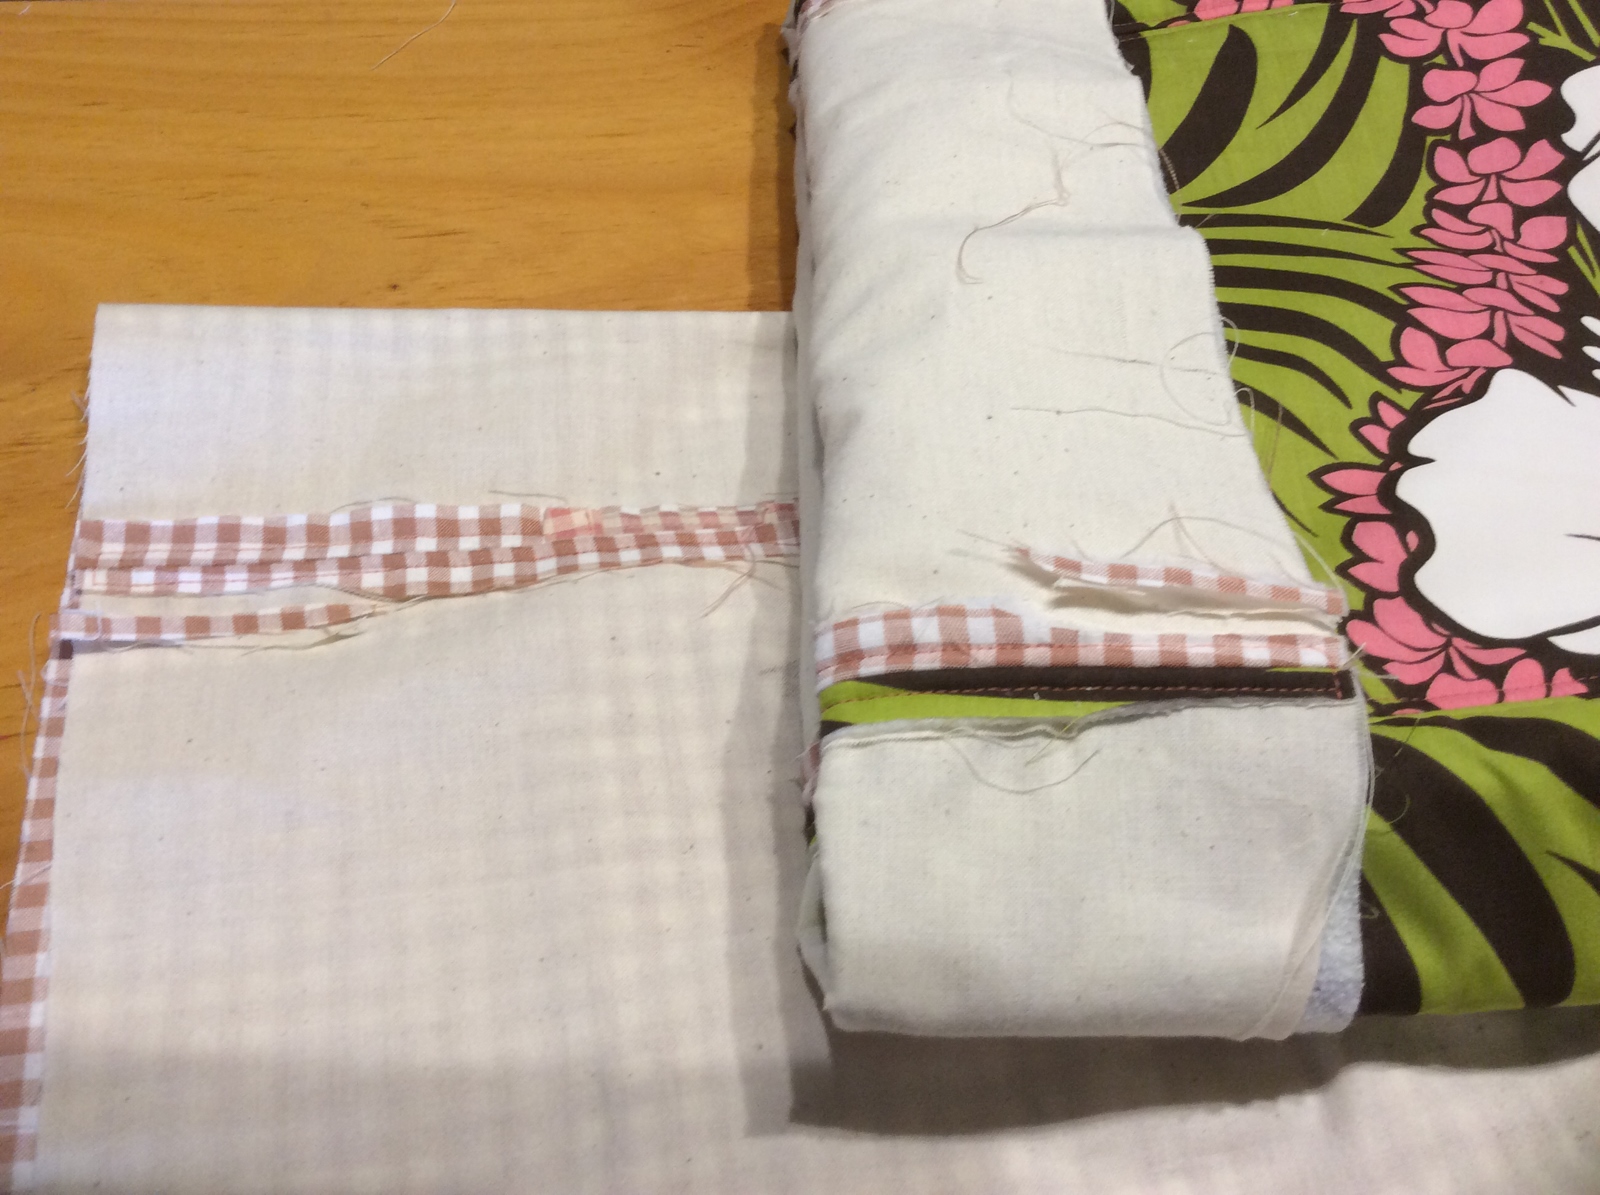
Starting at the middle of the side on the top inside edge pin the 2″ strip around the entire edge. Wait to cut off the excess so that the overlap of the start and end point is 1.5″. Fold in each raw edge ½”, so the actual overlap is 1″. Start to sew just past the overlap so it is the last part sewn, and to allow for adjustments if the strip stretches. Sew with a 3/8″ sa.
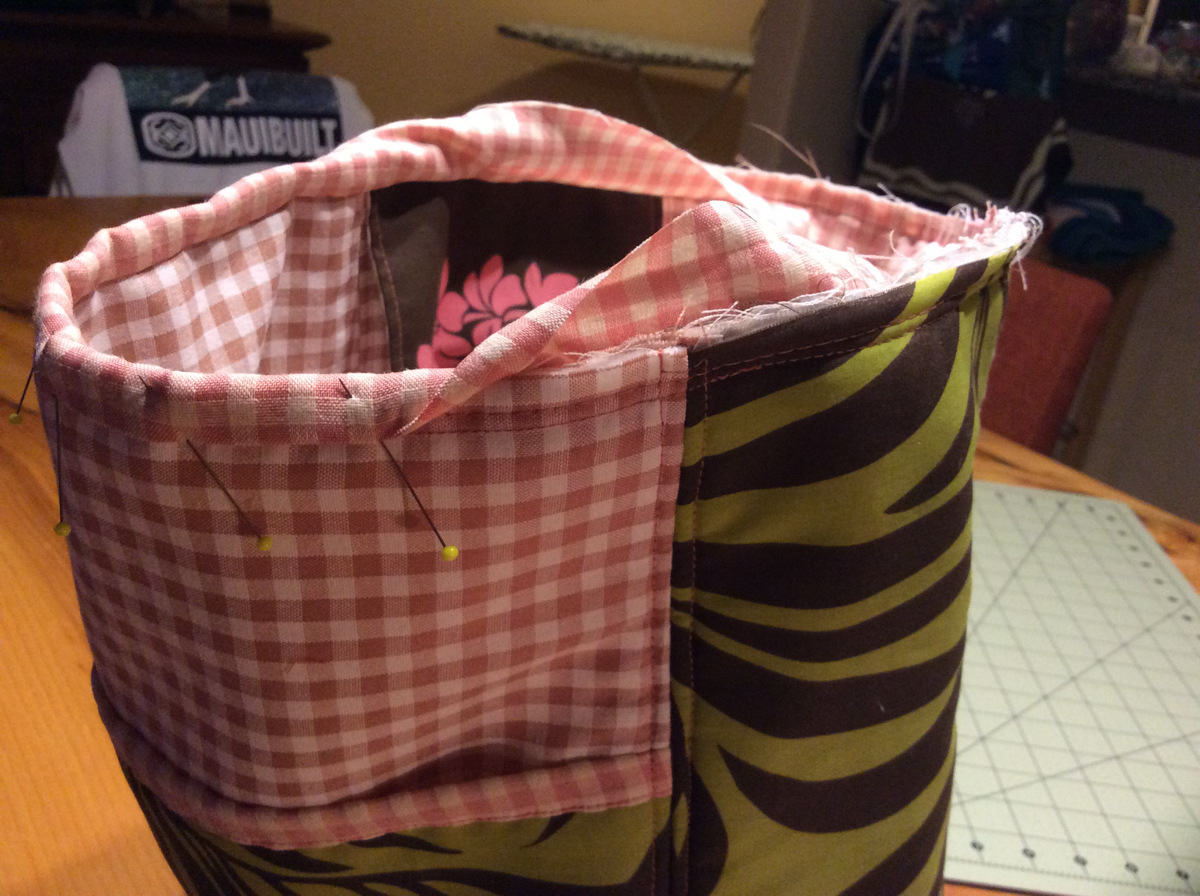
As shown in the picture fold down the strip raw edge to meet the top of the bag, and then folded down again to enclose the raw edge and pinned as shown onto the exterior of the bag. This makes for a tidy and tight top edge binding!
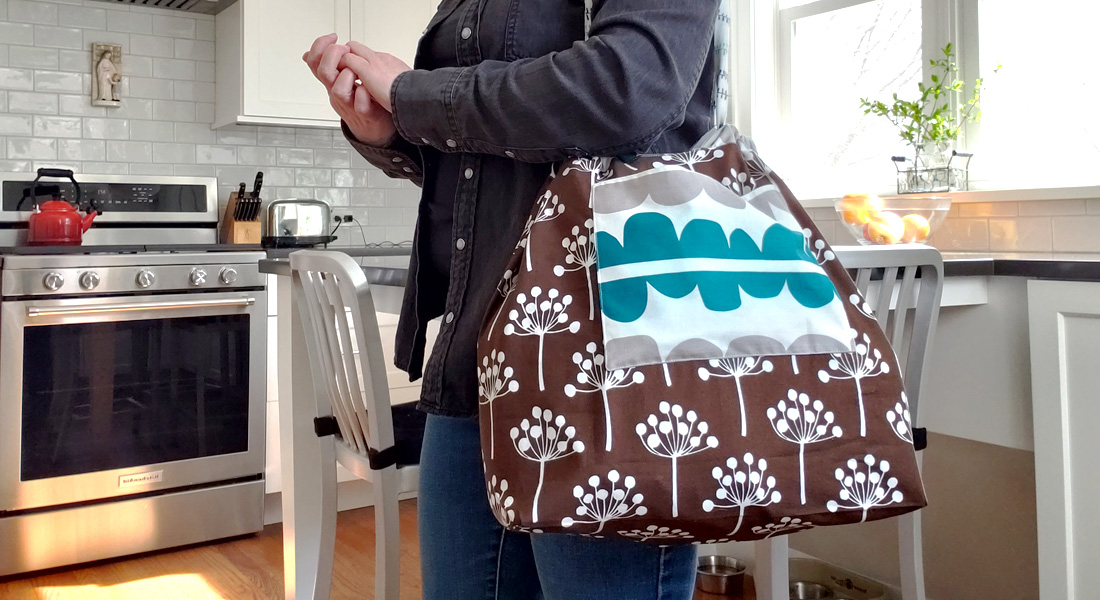
Pin and pull the straps up completely and pin to the newly sewn trim. Top stitch the straps to the trim and all around the top edge of the trim with a 1/8″ sa. Your Kihei Grab Bag is done!
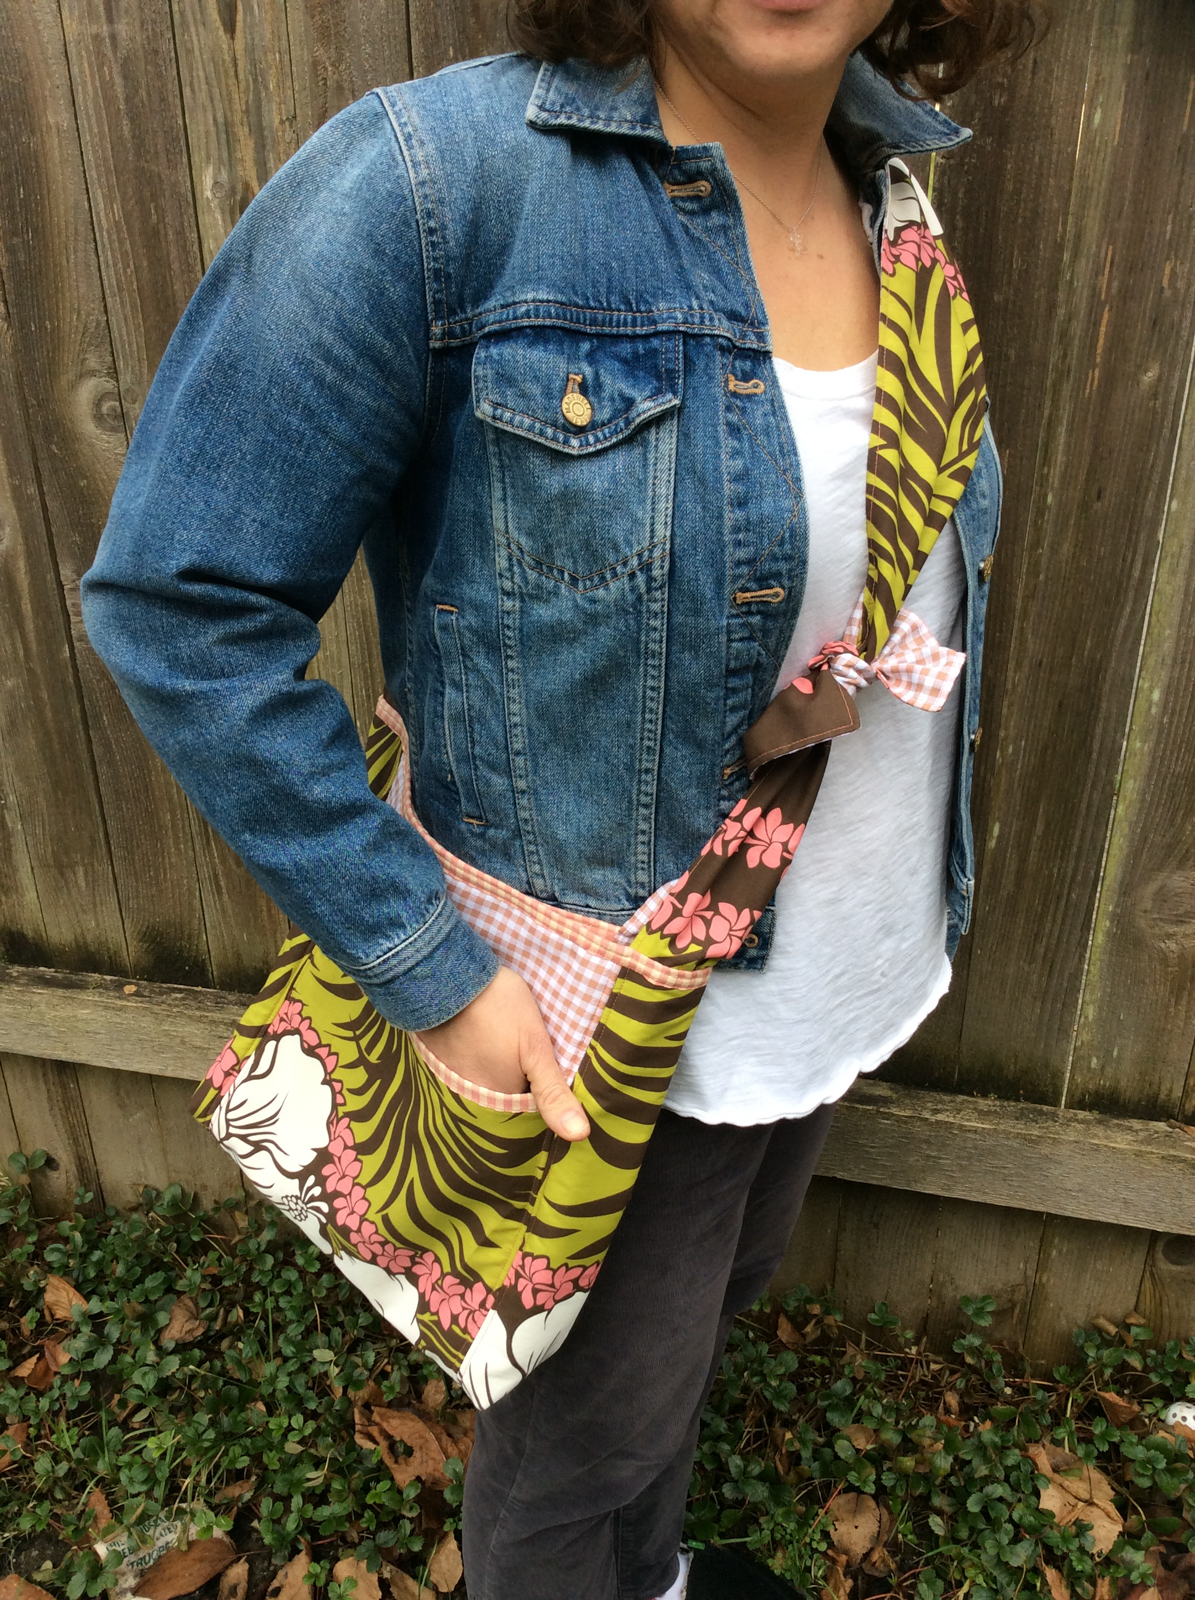
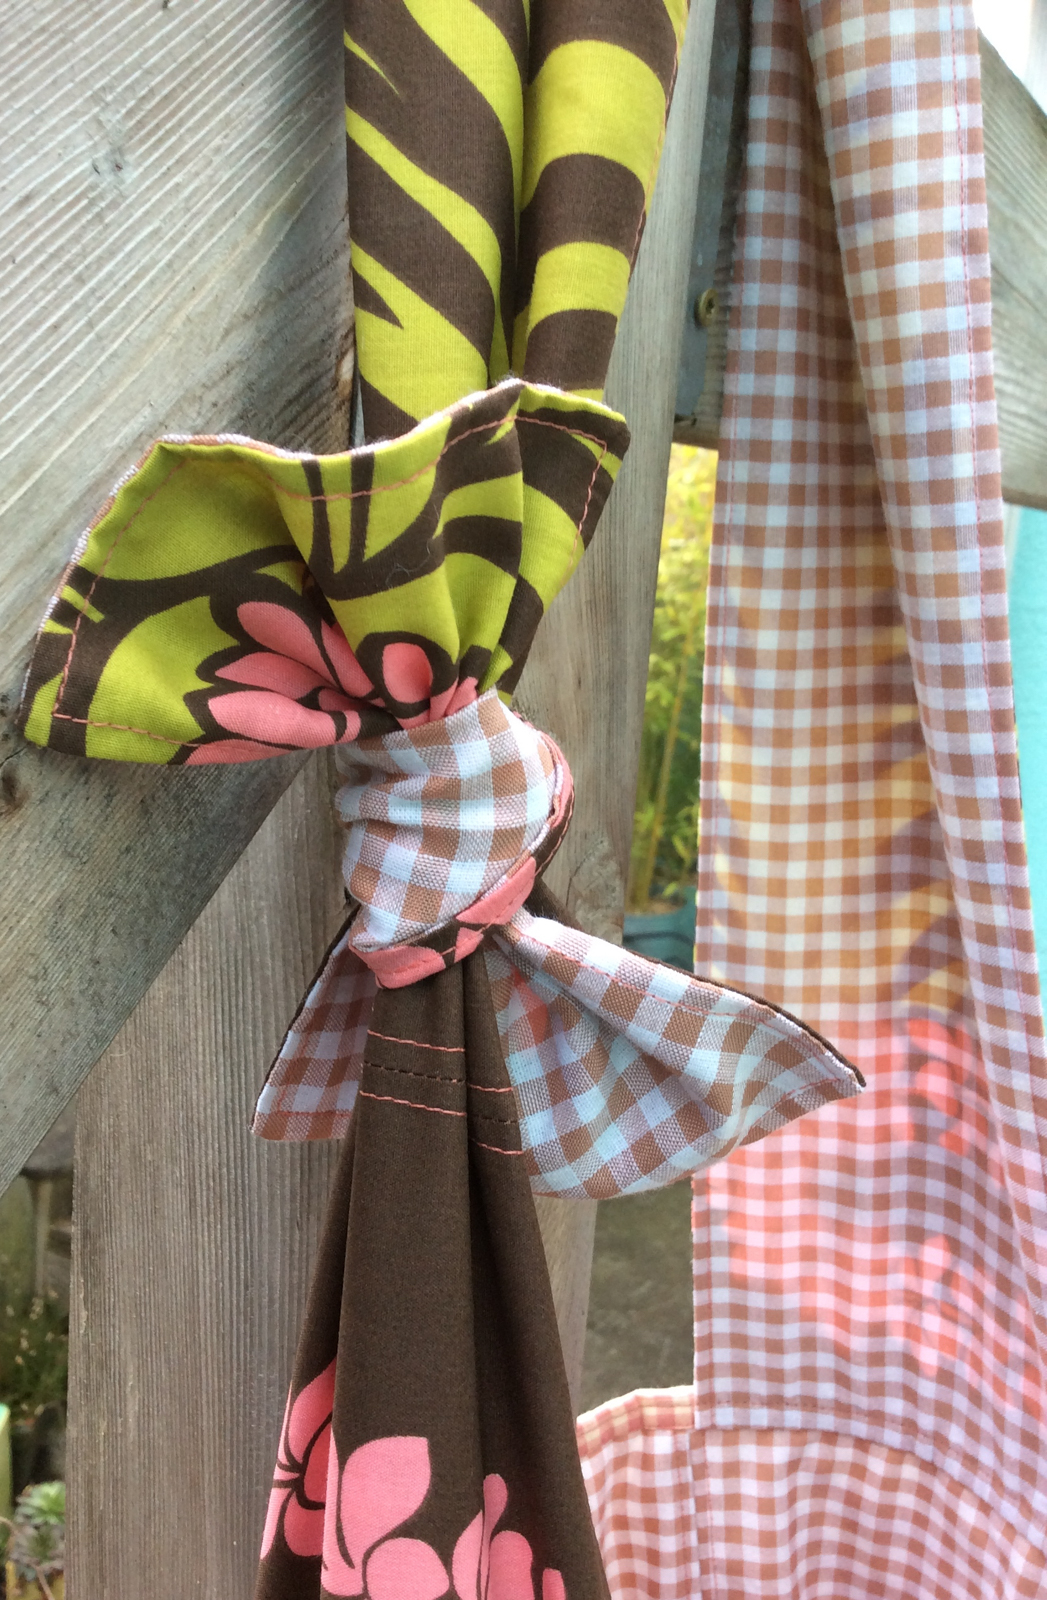
Just tie the straps ends and go!
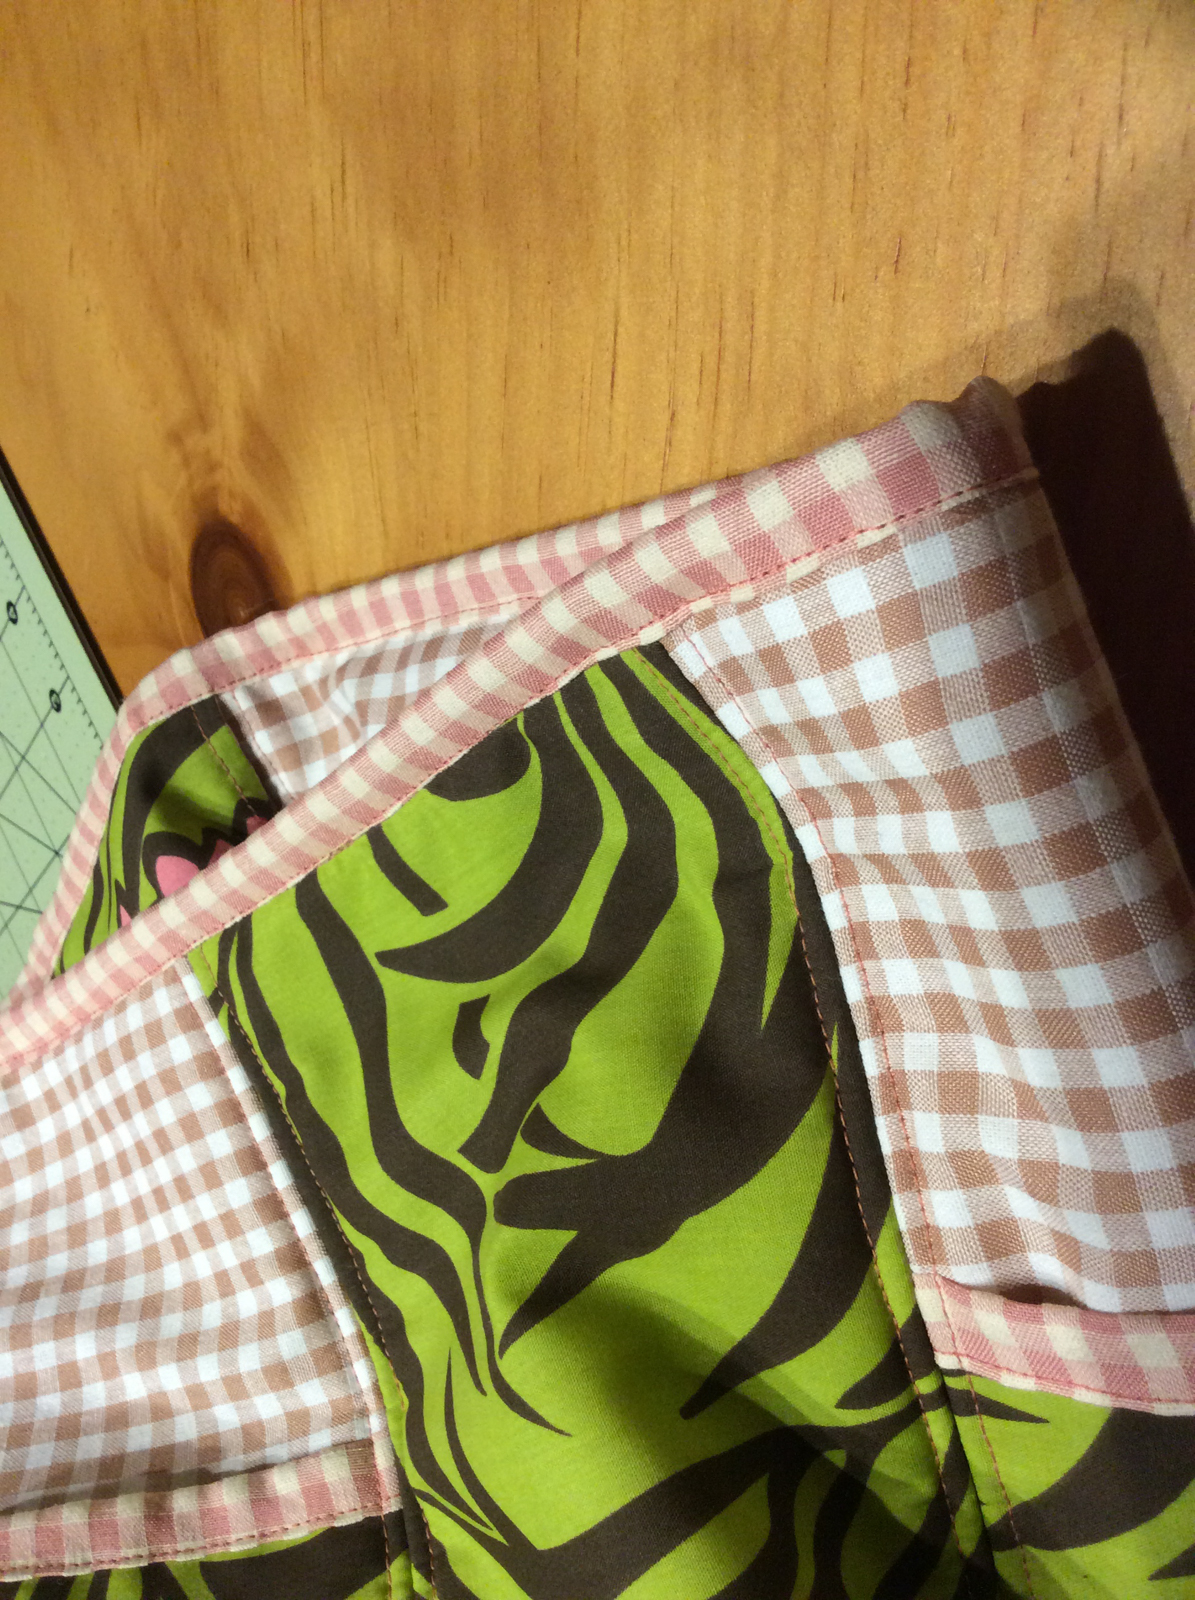
Here is a shot showing how the side exterior pocket works!