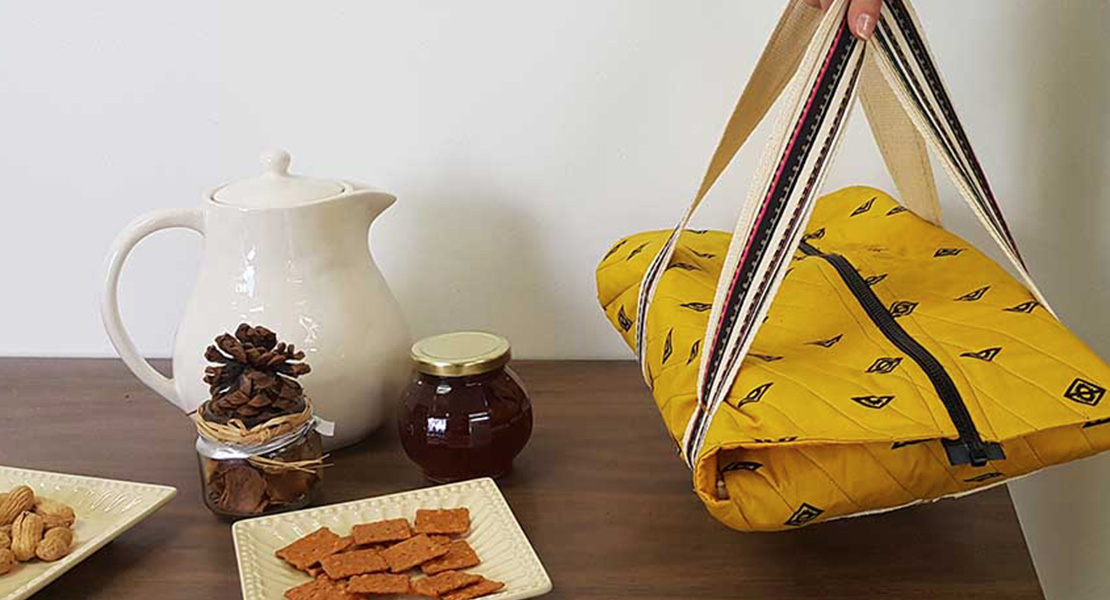
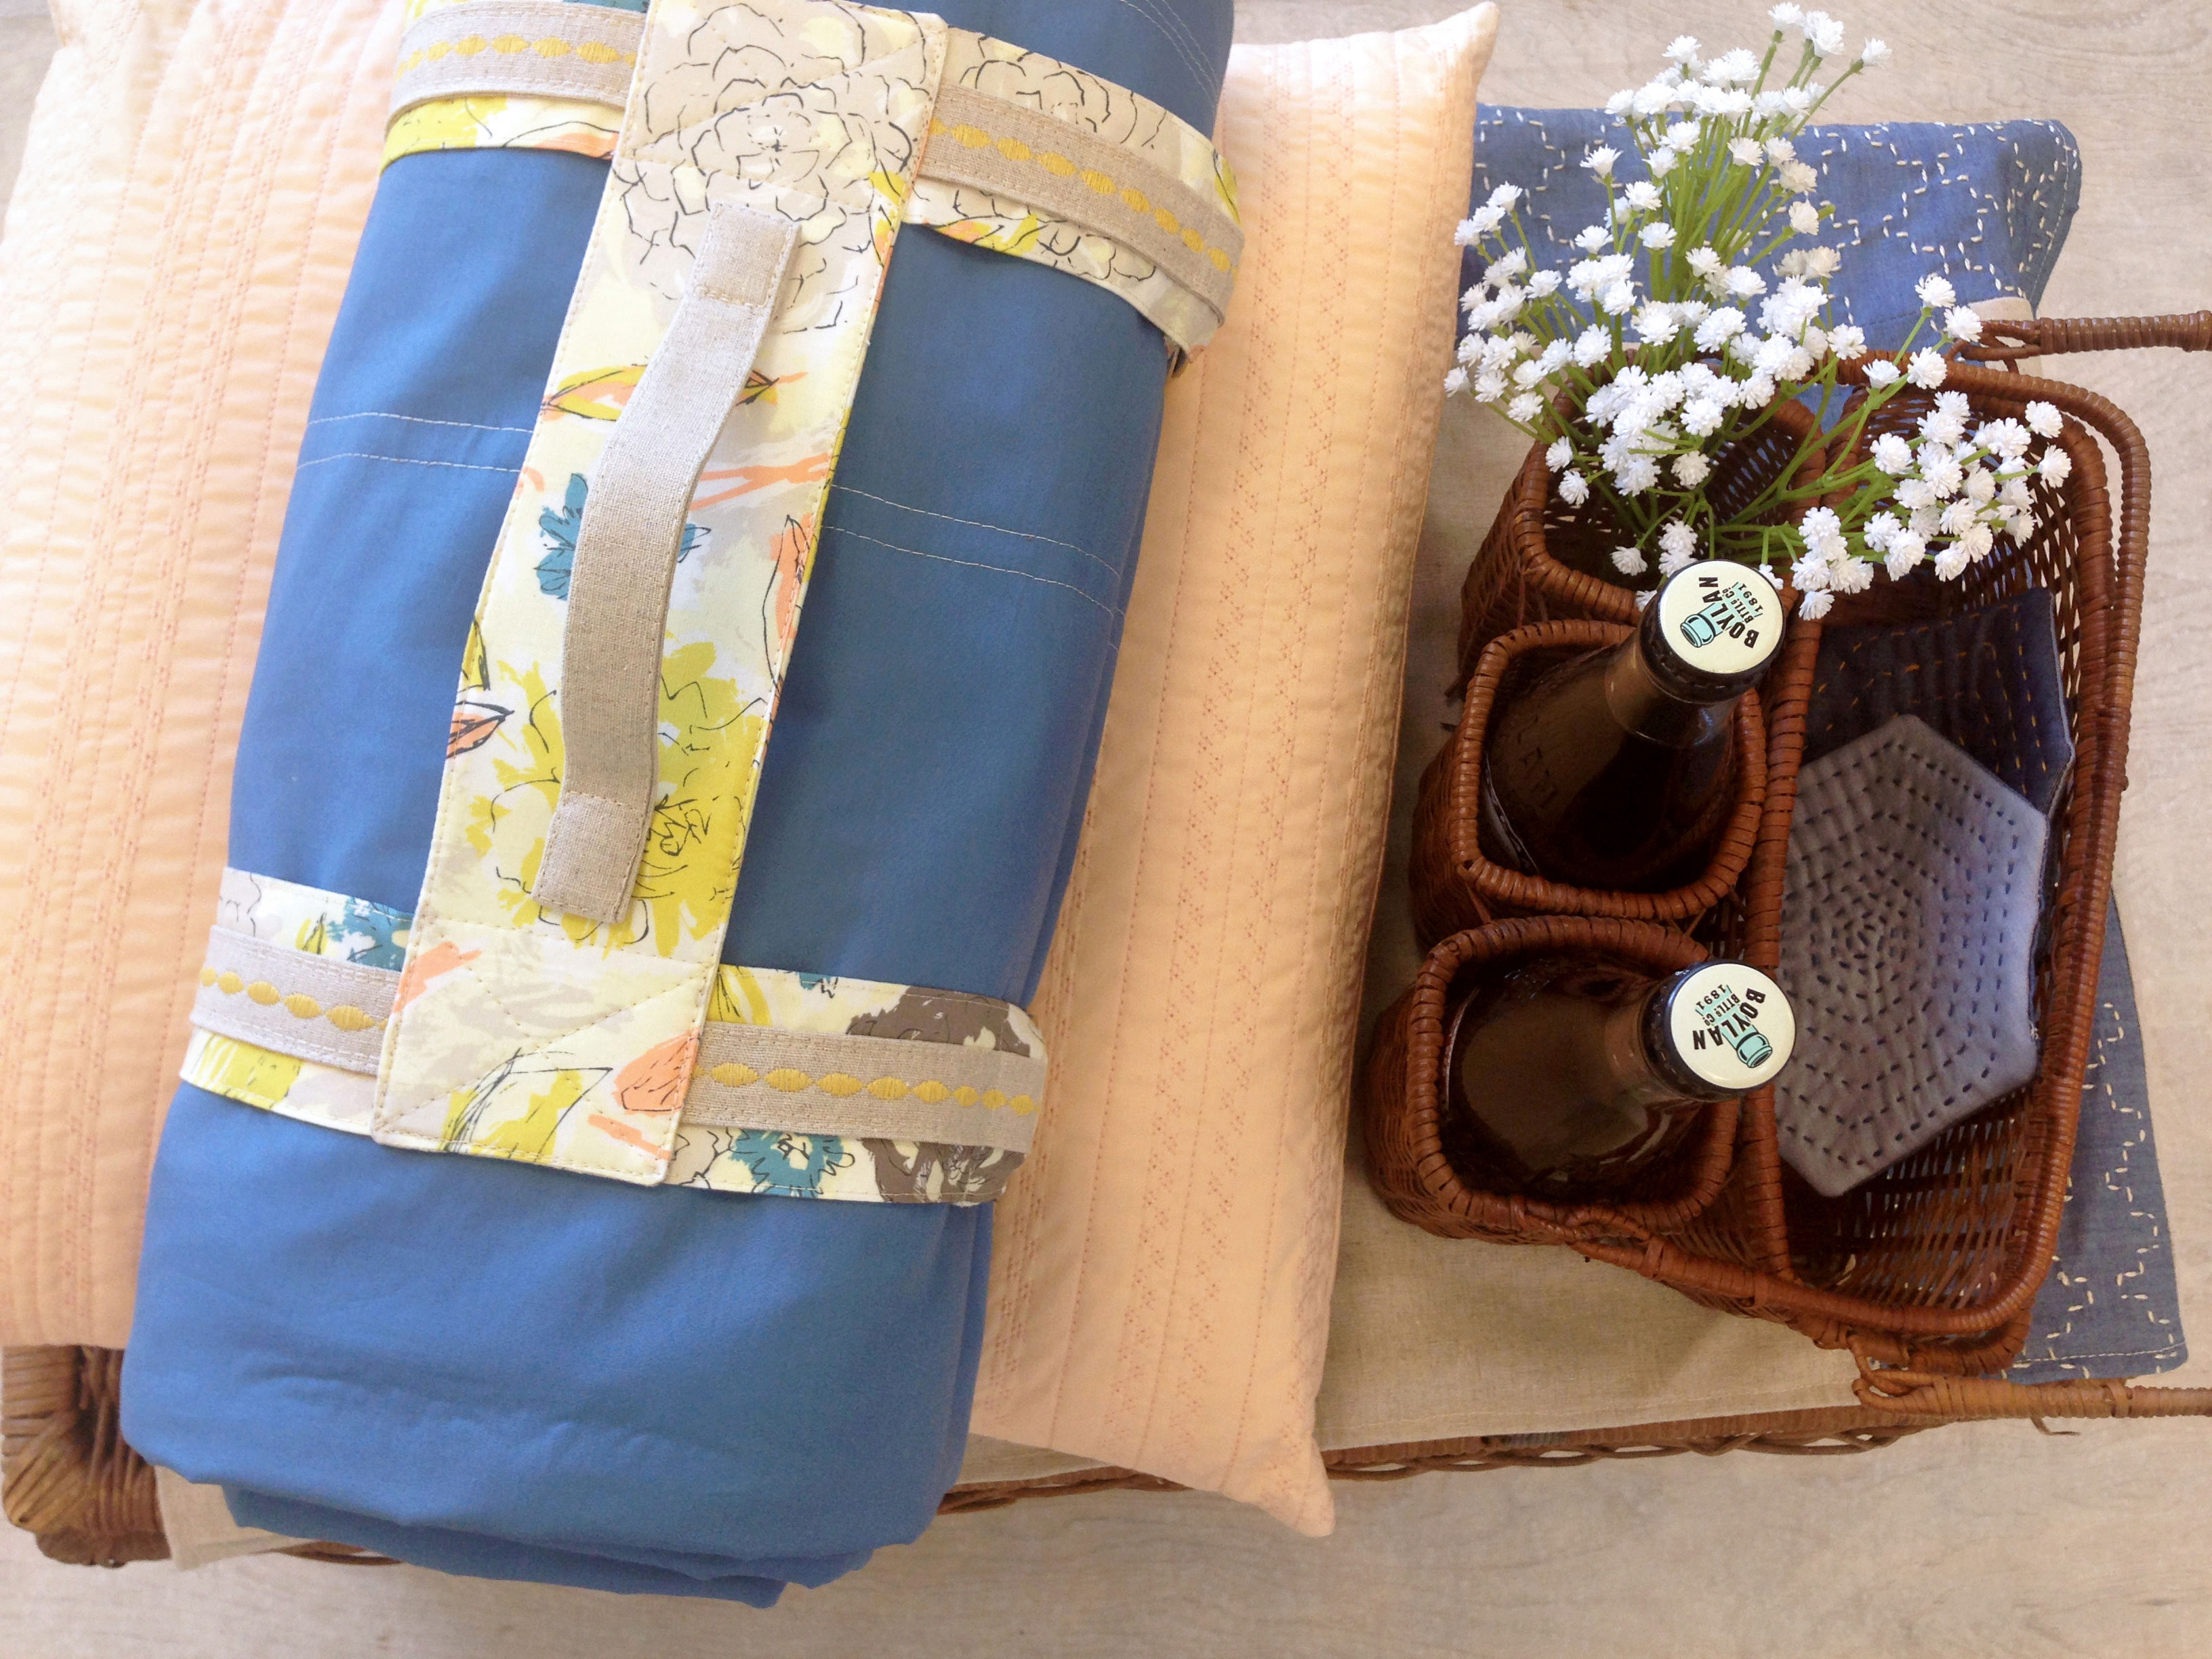
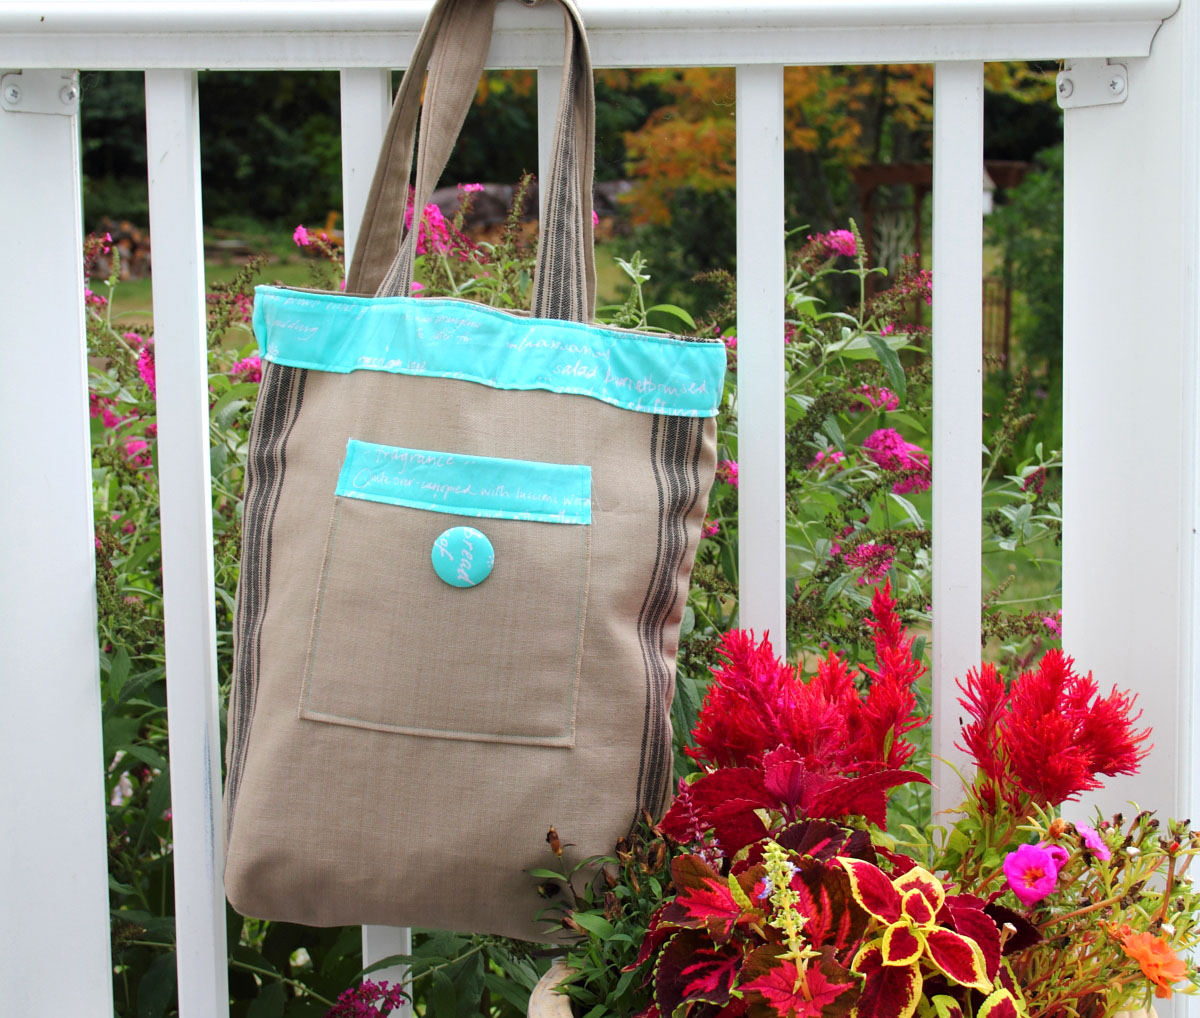
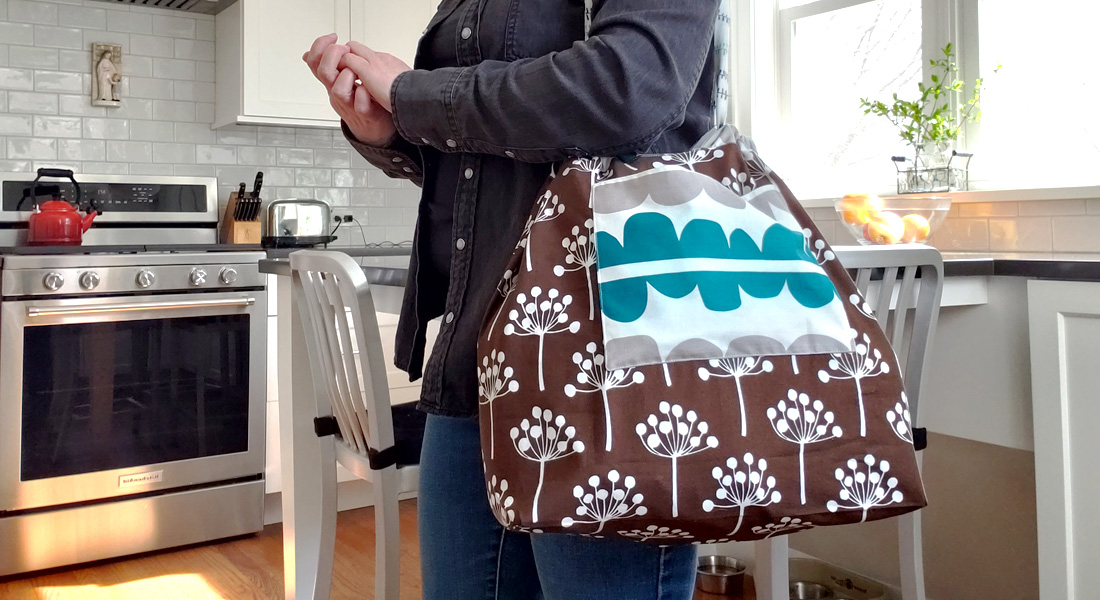
Casserole Carrier Bag Tutorial
I love to cook and bake, and part of the fun is the joy that comes from sharing my creations with friends and family. This Casserole Carrier Bag Tutorial will give you an easy, and stylish, way to share your favorite dishes any place you want. It will help keep hot dishes hot, and cold dishes cold, while making it easy to transport a standard 13X9 inch pan to any occasion. Check out the link at the end of the tutorial to find my favorite potluck cake recipe. It’s a chocolate and caramel lover’s delight!

Materials for Casserole Carrier Bag
- 1-yard solid cotton fabric
- 1/2-yard coordinating print
- 1/2-yard heat resistant batting
- 15 inches sew on Velcro
Carrier Straps
Step 1
Cut 2 strips 34 inches by 2 ½ inches and one strip 6 ½ inches by 5 inches from the solid cotton fabric.
Step 2
Fold one of the 34-inch by 2 ½ inch strips in half right sides together bringing long raw edges together. Sew down long raw edge using a ¼ inch seam. Leave both ends open. Turn right side out, press, and top stitch close to both long edges. Repeat with the second 34-inch strip.
Step 3
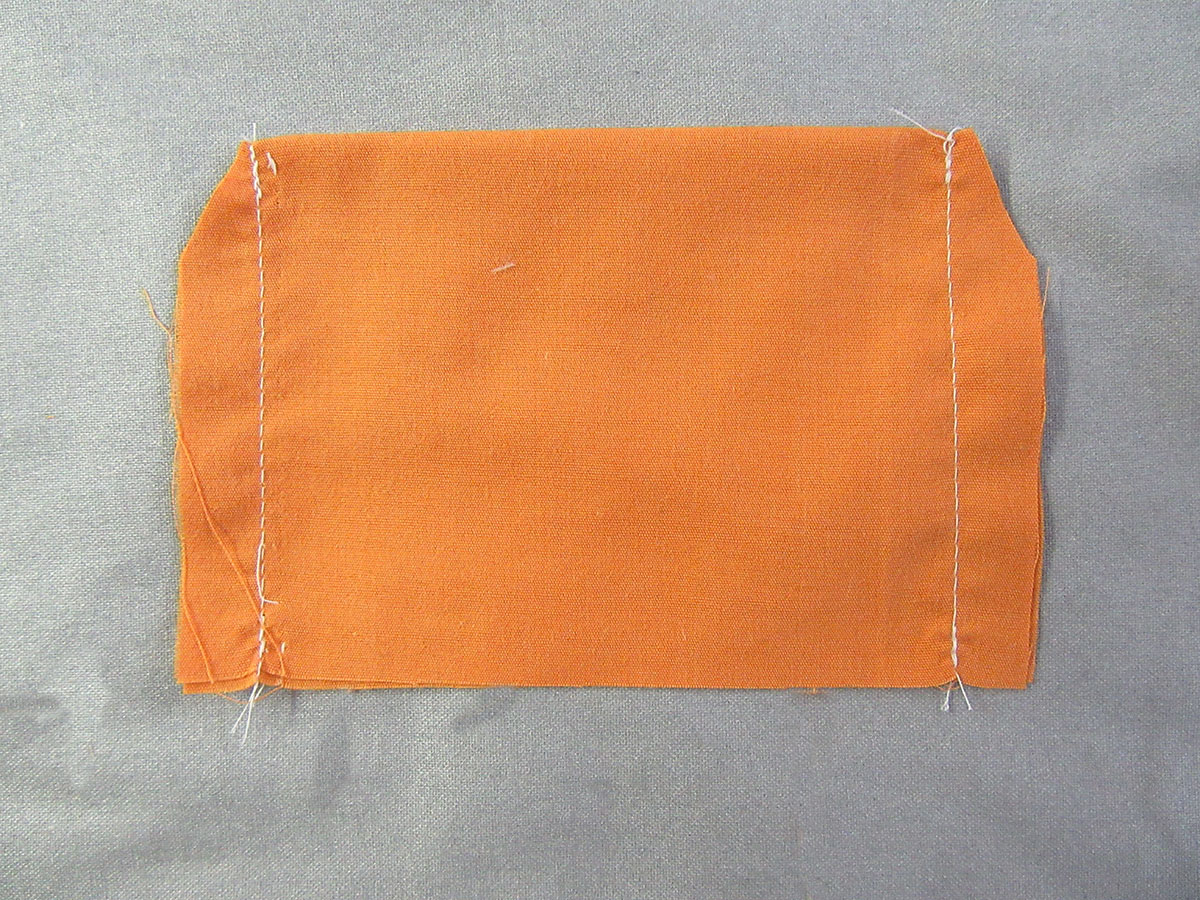
Fold 6 ½ inch by 5 inch rectangle in half right sides together aligning raw edges of 5 inch sides. Pin both sides starting at fold leaving bottom raw edges open.
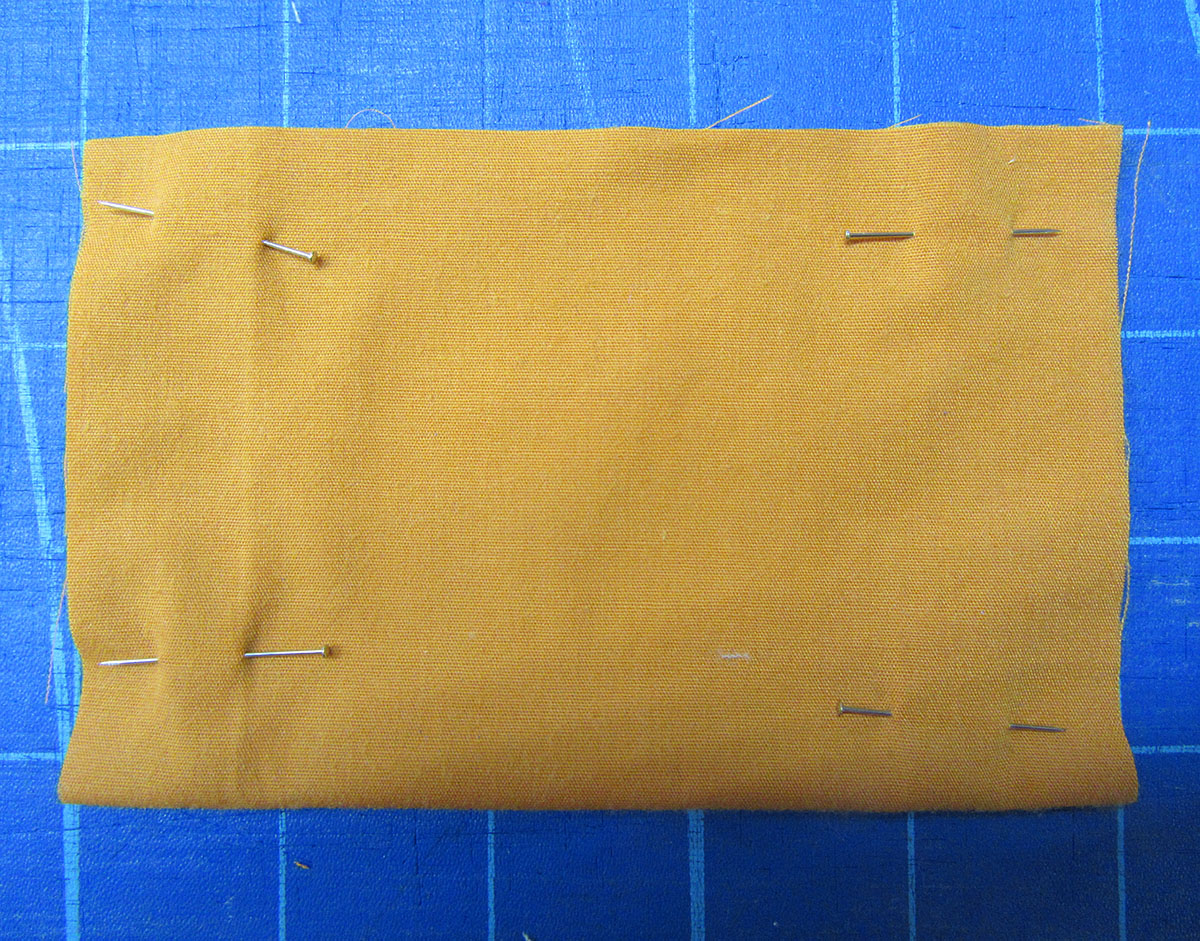
Step 4
Stitch each side using a ½ inch seam allowance. Clip corners, turn, and press. Top stitch close to side edges and across fold. Baste raw bottom edges closed using a ¼ inch seam allowance.
Step 5
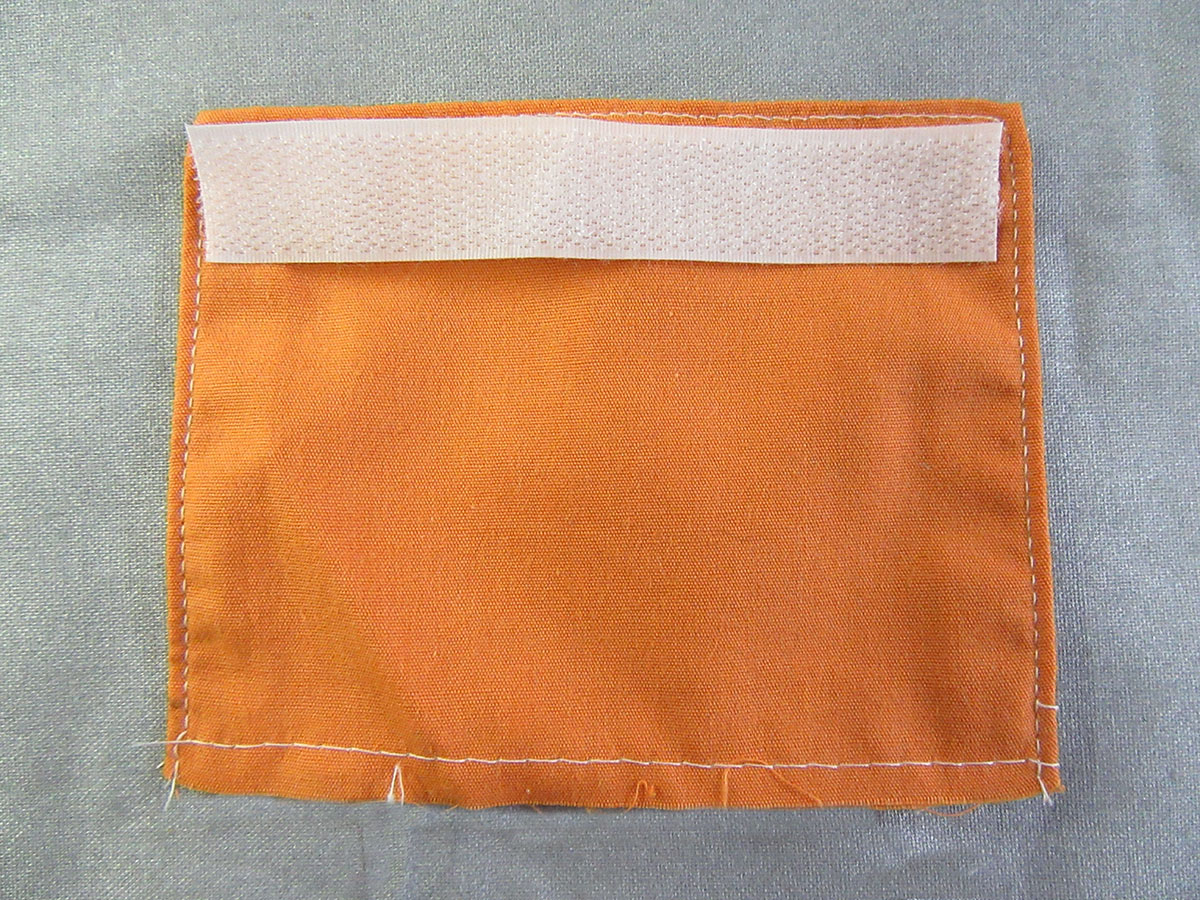
Cut one strip of Loop Velcro 3 ½ inches long. Align with topstitching on rectangle just stitched. Stitch close to edges of Velcro to secure.
Step 6
On the opposite side from where you just applied the Loop Velcro, pin the opposing Hook 3 ½ inch strip of Velcro ¼ inch from the raw bottom edge. Stitch close to the edges of the Velcro to secure.

Step 7
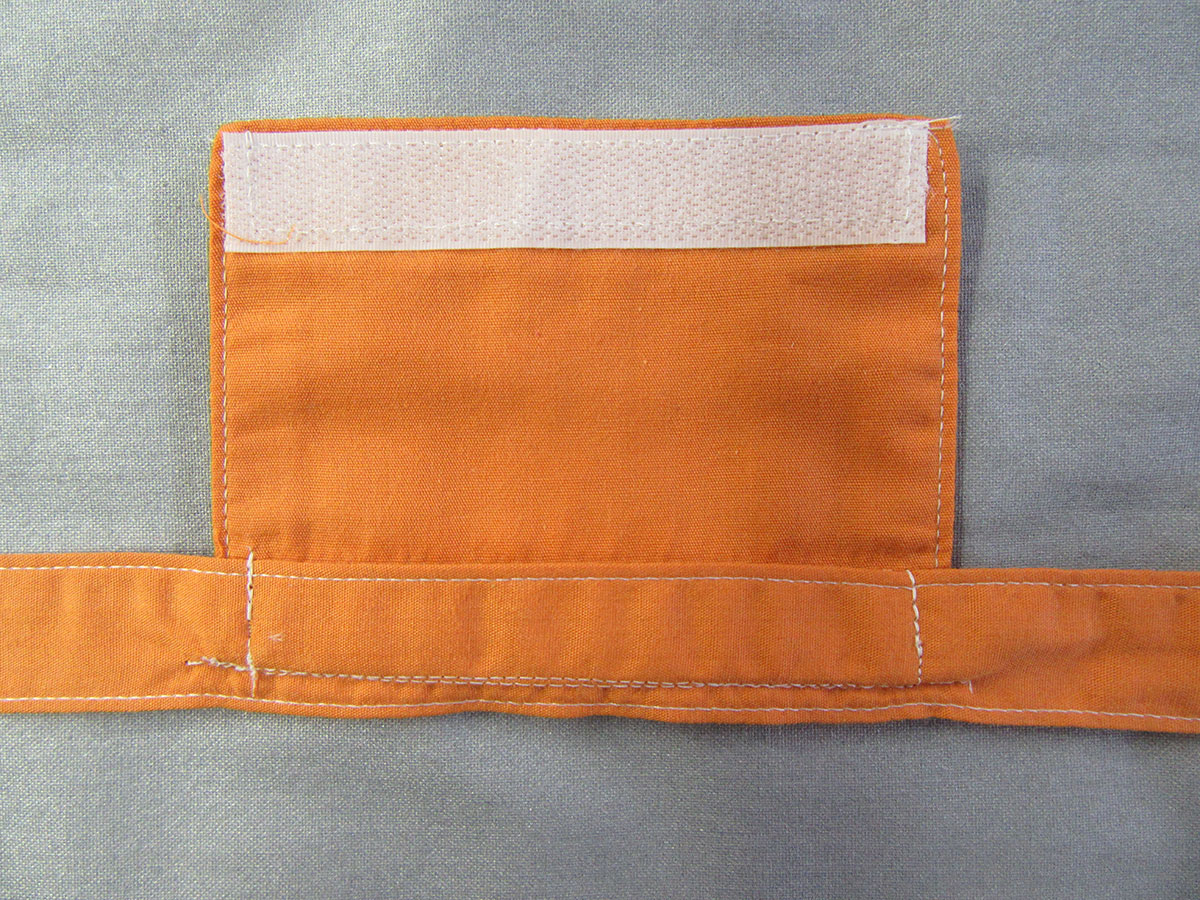
Find the center of one of the straps made in step 2 and the center of the Velcro square made in steps 3-6. Pin square with Velcro top finished edge facing up aligning centers and positioning the square in the middle of the strap.

Step 8
Sew along previous basting line.
Step 9
Fold rectangle forward covering raw bottom edge. Stitch close to previous stitching line from step 8 and then across the width of the long strap to secure.
Inner Section Casserole Carrier Bag
Step 1
Cut 2 rectangles 20 inches by 11 inches from the solid cotton fabric. Cut one rectangle 20 inches by 11 inches from the heat resistant batting.
Step 2
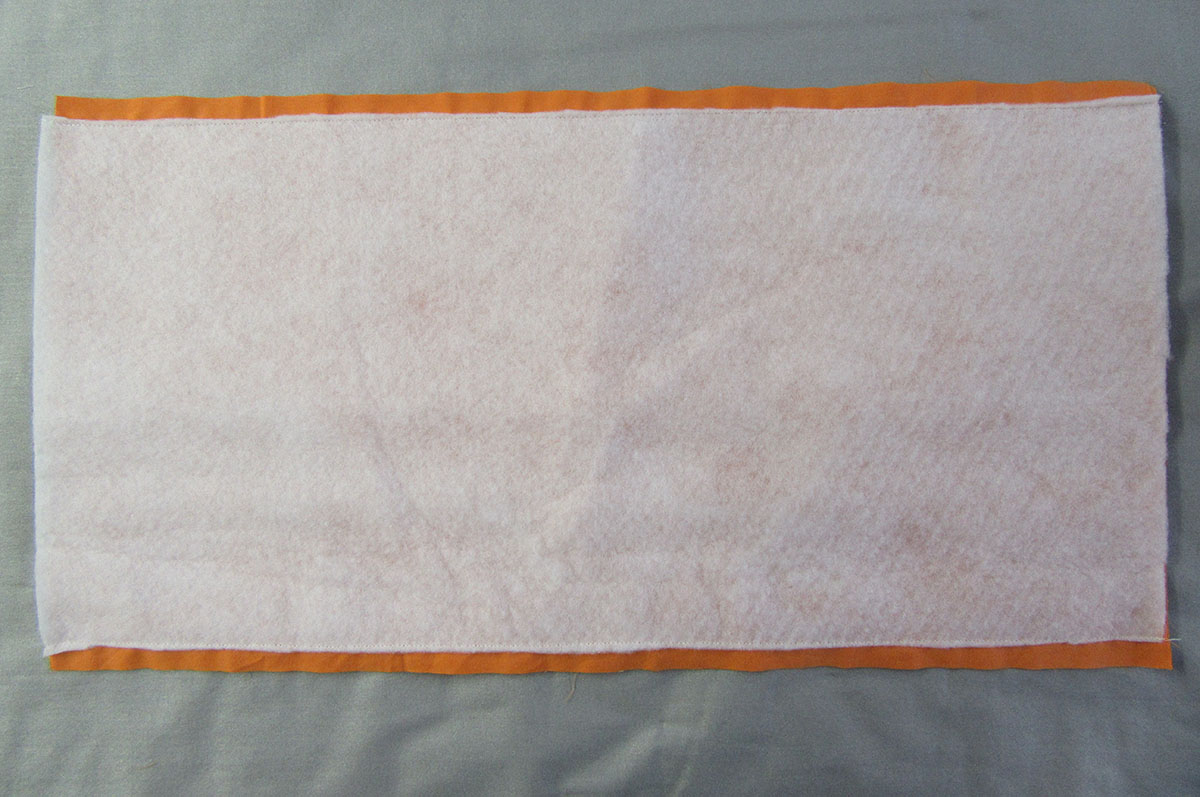
Lay heat resistant batting on a flat surface, put one solid colored rectangle on top of the batting right side up, and the second solid colored rectangle on top of the first right side down. Align raw edges and pin along both long sides.

Step 3
Stitch along previously pinned edges using a ½ inch seam allowance. Trim batting close to seam line.
Step 4
Turn right side out (batting will be in the middle of the two pieces of solid fabric) Topstitch close to finished long edges. Baste raw edges on each end closed using a ¼ inch seam allowance.
Outer Casserole Carrier Bag Assembly
Step 1
Cut 1 rectangle 16 inches by 28 inches from the solid cotton, repeat with the coordinating print, and the heat resistant batting.
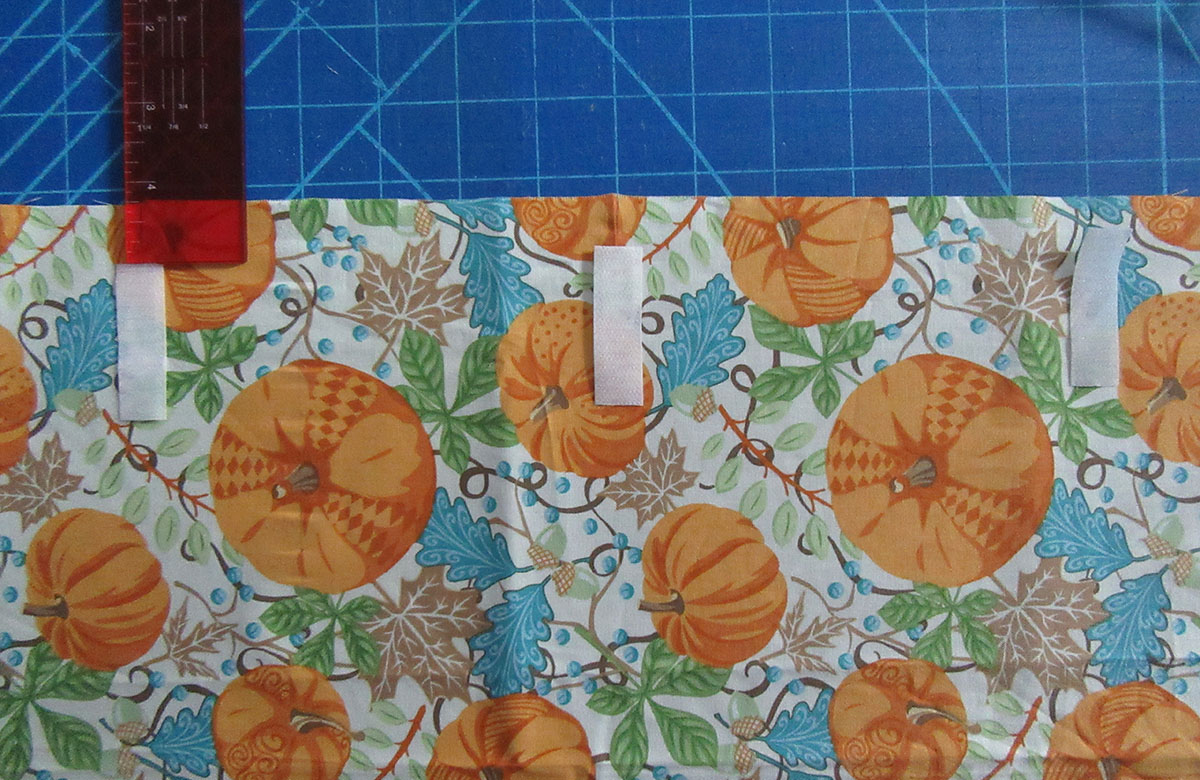
Step 2
On the right side of one short edge of the coordinating print, place one 2-inch hook Velcro section in the center and one 1 ½ inches from left and right side. Velcro should be ¾ of an inch from the top edge.
Step 3
Sew around Velcro to secure.
Step 4
Repeat steps 2 and 3 on the solid cotton fabric using the loop Velcro section. If your solid fabric has an obvious right/wrong side, make sure that the Velcro is on the right side of the fabric and is on the opposite end from the end the Velcro was placed on the coordinating fabric. Double check alignment of Velcro by laying both pieces side by side. Sew Velcro in place.
Step 5
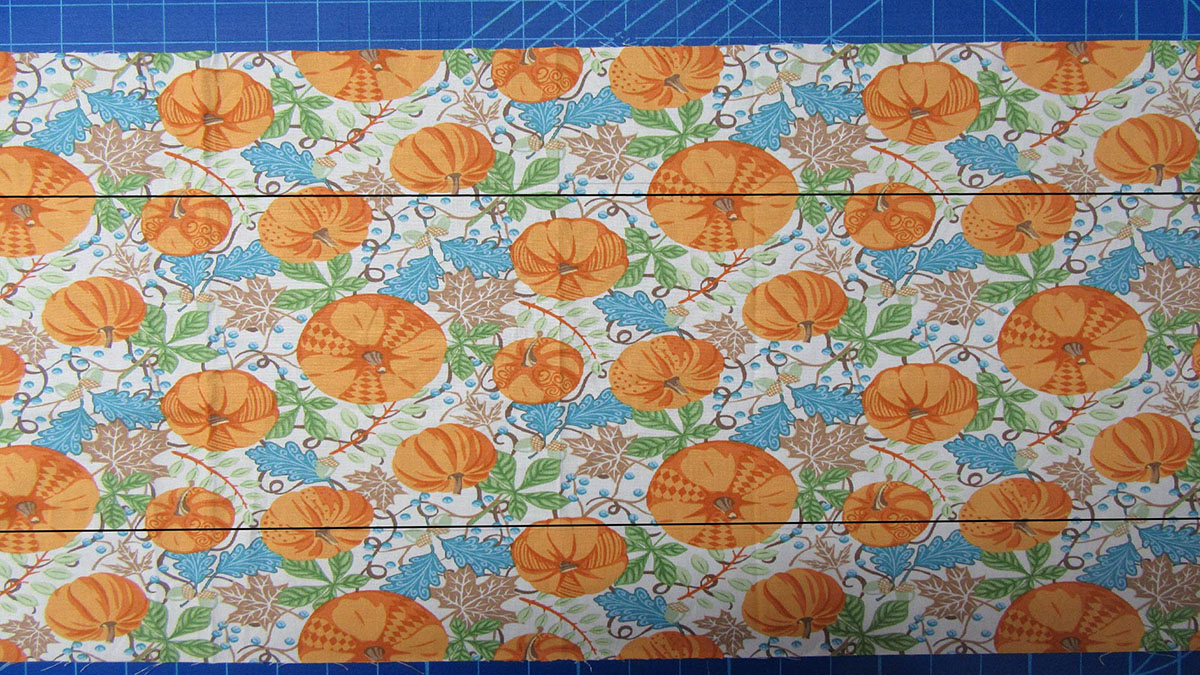
Draw a light line parallel to each long side and 3 ½ inches from each edge. (My line didn’t show up on the picture, so I drew the example in Illustrator.)
Step 6
Find the center of each line drawn in step 5 and mark. From this center line measure out 6 inches on both sides and mark. Repeat on the opposite line.

Step 7
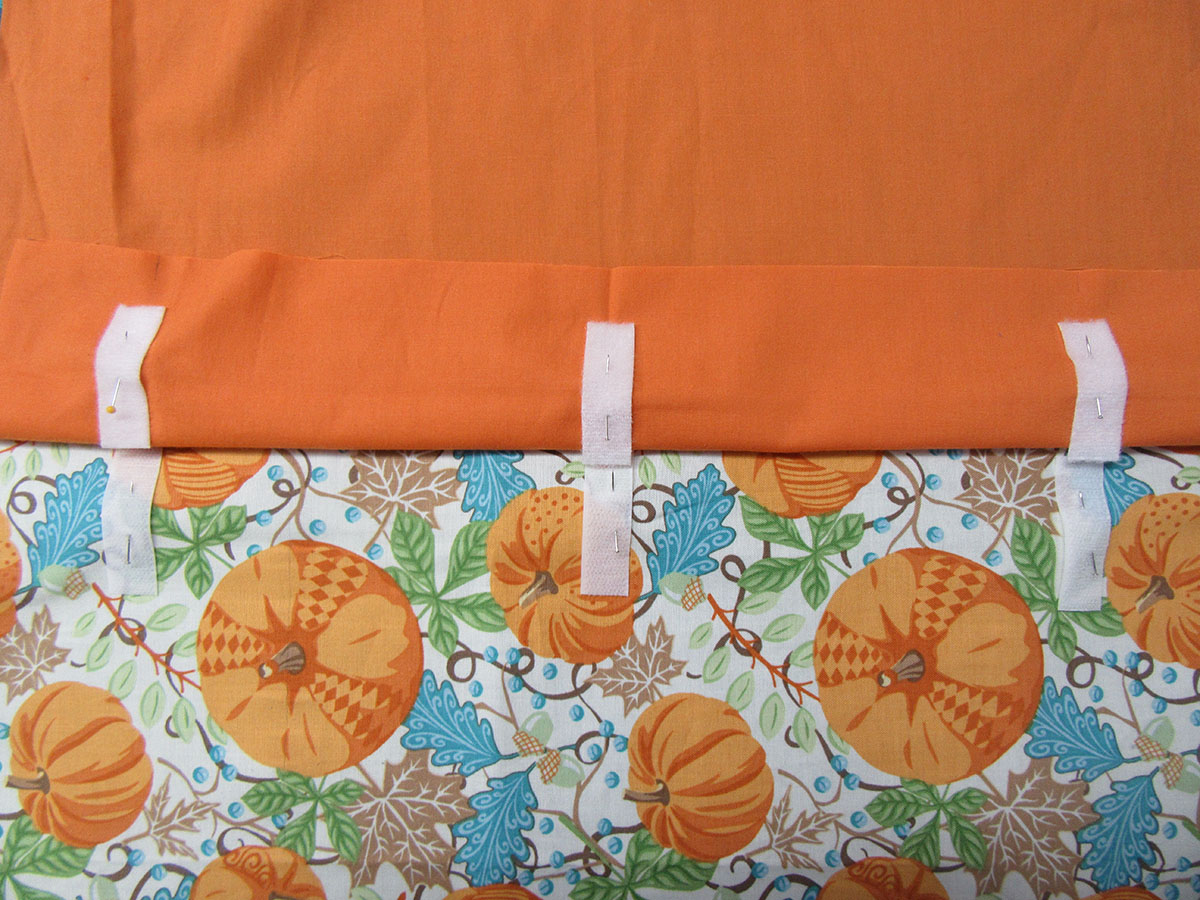
Lay the long strip with the handle attached, placing the short raw edge ¼ inch past the center line, along one marked line. Pin in place stopping at the outer marking. Making sure that the strap is not twisted lay the other side of the strap on the opposite line. Again, placing the short raw edge ¼ inch past the center line. Pin in place stopping at the outer marking.
Step 8
Take the remaining strap and fold under one raw edge approximately ¼ inch. Lay this on top of the first strap aligning folded edge with center mark. Align the outside edge of strap with drawn line and pin in place stopping at outer marking.
Step 9
Repeat step 8 with the other side of strap making sure that strap is not twisted.

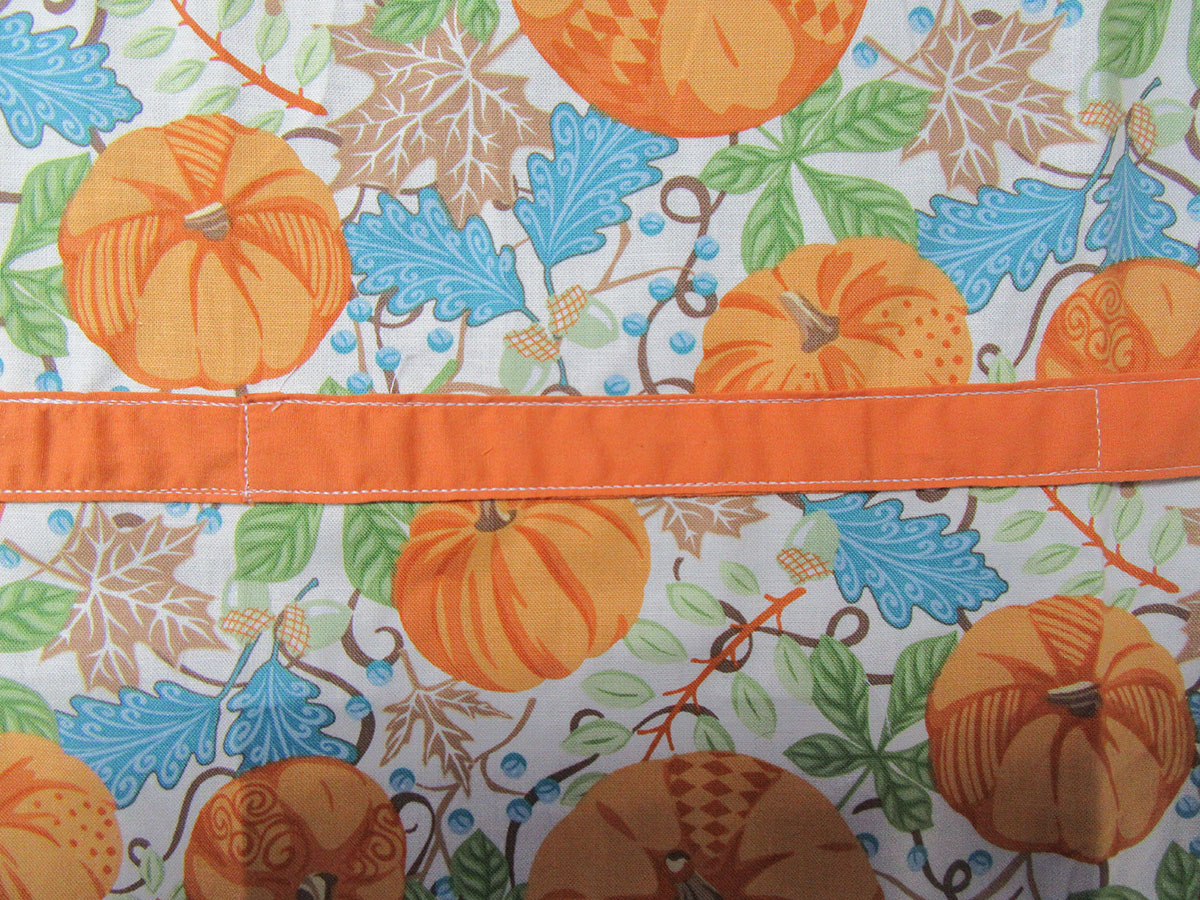
Step 10
Sew along previous topstitching. Backtrack at outer markings for extra support. Make sure to stitch closed overlapping edge at center.
Join Inner Pocket to Outer Shell Casserole Carrier Bag
Step 1
Pin inner pocket to right side of solid fabric matching center of raw edges of pocket to center of long side of solid rectangle.

Step 2
Baste in place using a ¼ seam allowance.
Step 3
Lay heat resistant batting on a hard surface. Place solid rectangle with attached pocket right side up on top of batting. Next, lay coordinating fabric with attached strap right side down on top of batting and solid cotton fabric. Make sure that the Velcro on the coordinating fabric and the Velcro on the solid fabric are on opposite sides. Pin in place leaving a 3-inch opening on one short end for turning.
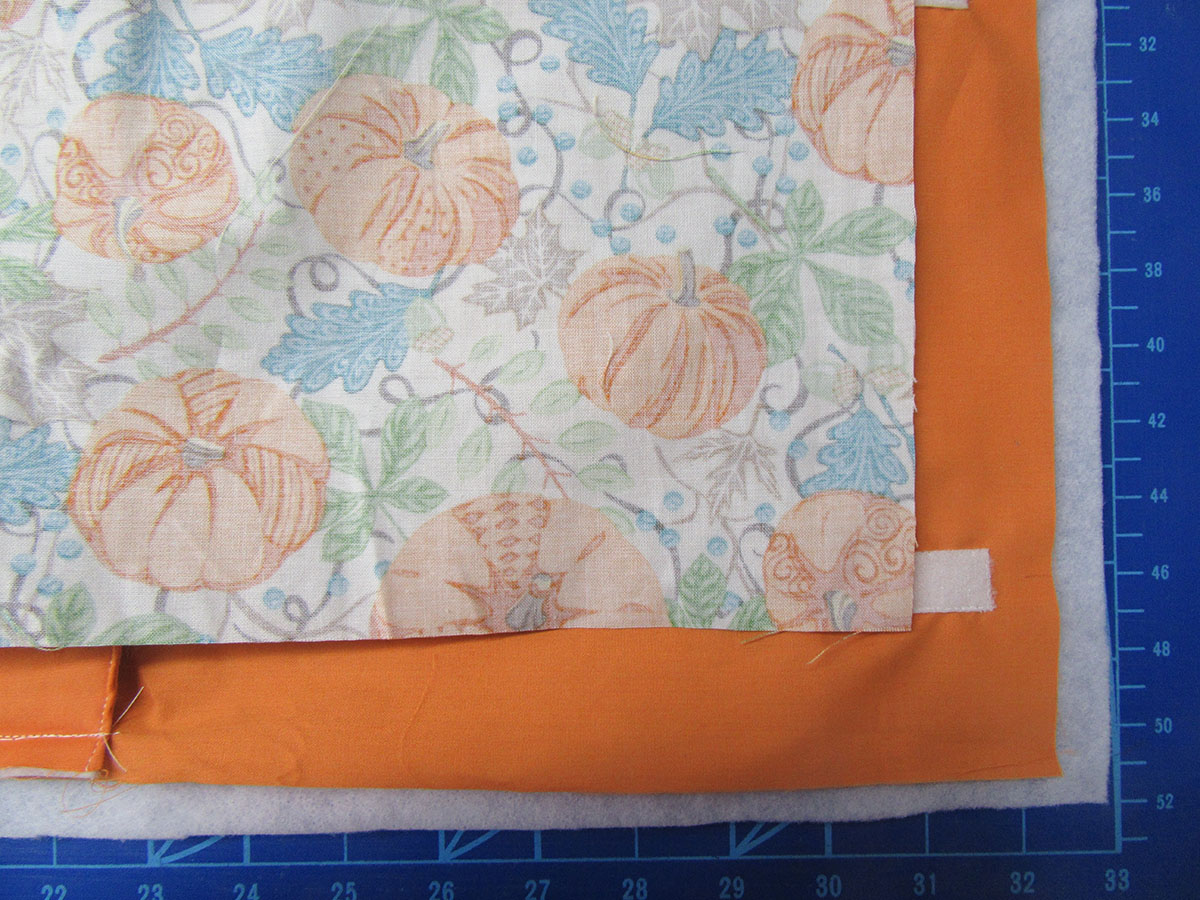
Step 4
Sew around outer edge making sure not to catch inner pocket (except where already basted) or straps in seam line. Back stitch at stopping and starting points on either side of opening for turning.
Step 5
Clip corners and carefully trim batting only close to seam line.

Step 6
Turn right side out. Fold under edges of turning opening and topstitch close to edge all the way around closing turning opening in the process.
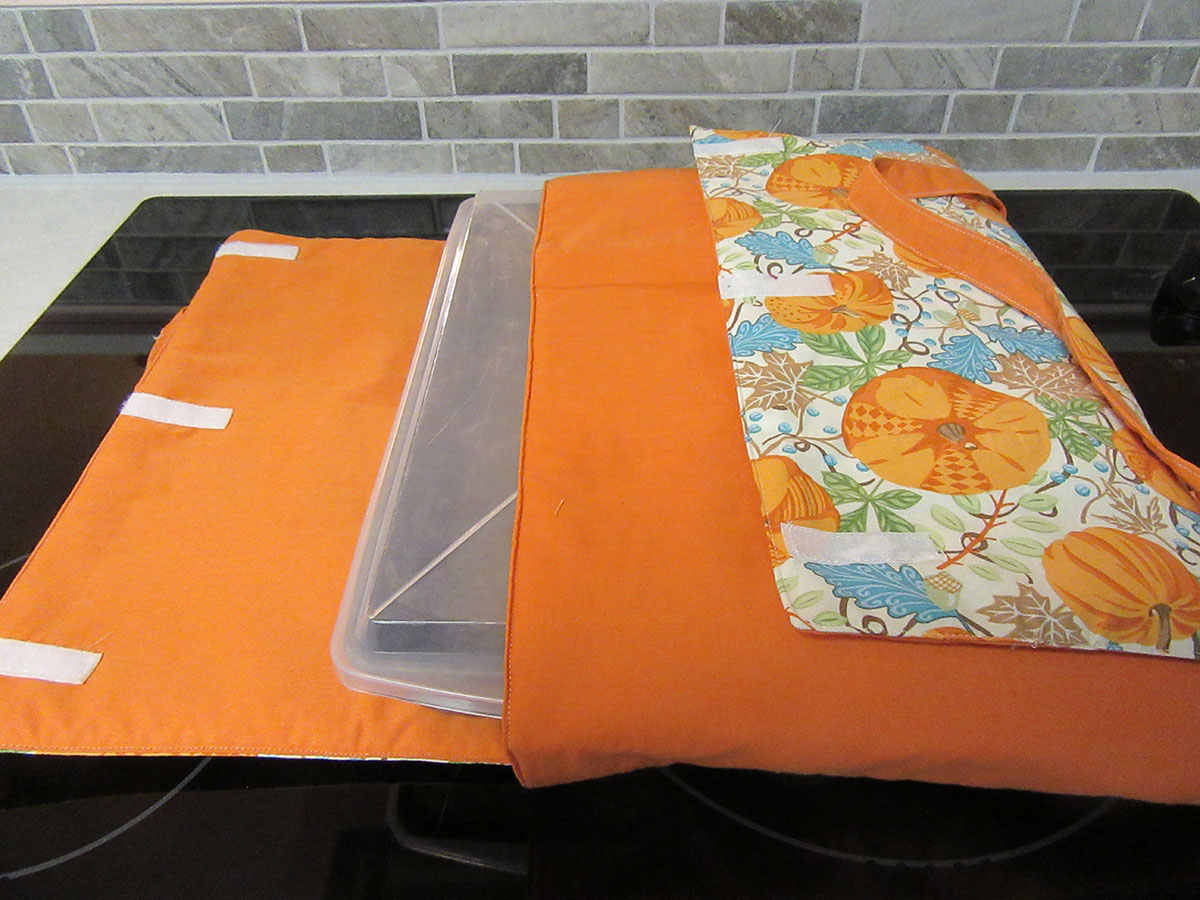
Your casserole carrier bag is now ready to use. Try out this decadent chocolate and caramel cake recipe for your next get-together. The cake is served chilled so your carrier is the perfect option for transport.