Convertible Tote/Backpack Tutorial
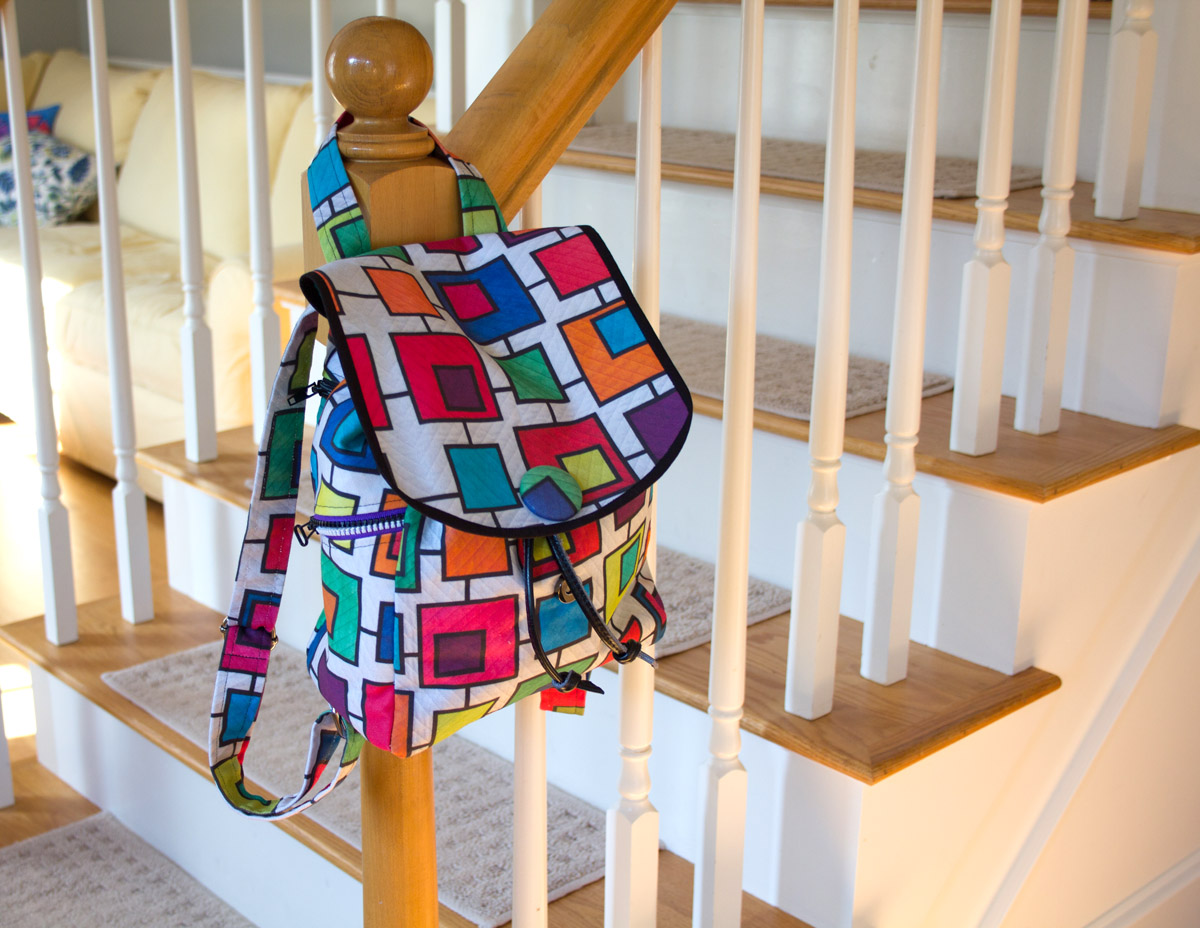
It’s a tote, it’s a backpack, it’s either and both! The secret is in the placement of the straps. Stitch up this gem in a jiffy and you’re ready for any occasion. I suggest using a somewhat heavy fabric, such as canvas or denim. I used canvas fabric that was custom printed from my own design on Spoonflower. If you choose a more lightweight fabric, consider interfacing it before you begin the construction process.
Materials to sew a convertible totebag/backpack:
- Main body 14″ x 36″ of fabric
- Straps (2) 6″ x 28″ of fabric
- Strap Carriers (2) 3″ x 4″ pieces of fabric
- Thread to match fabric and carriers, 40wt or 50 wt
- Machine Needles, size 90
- Sewing Machine in good working order. I used a BERNINA 770 QE
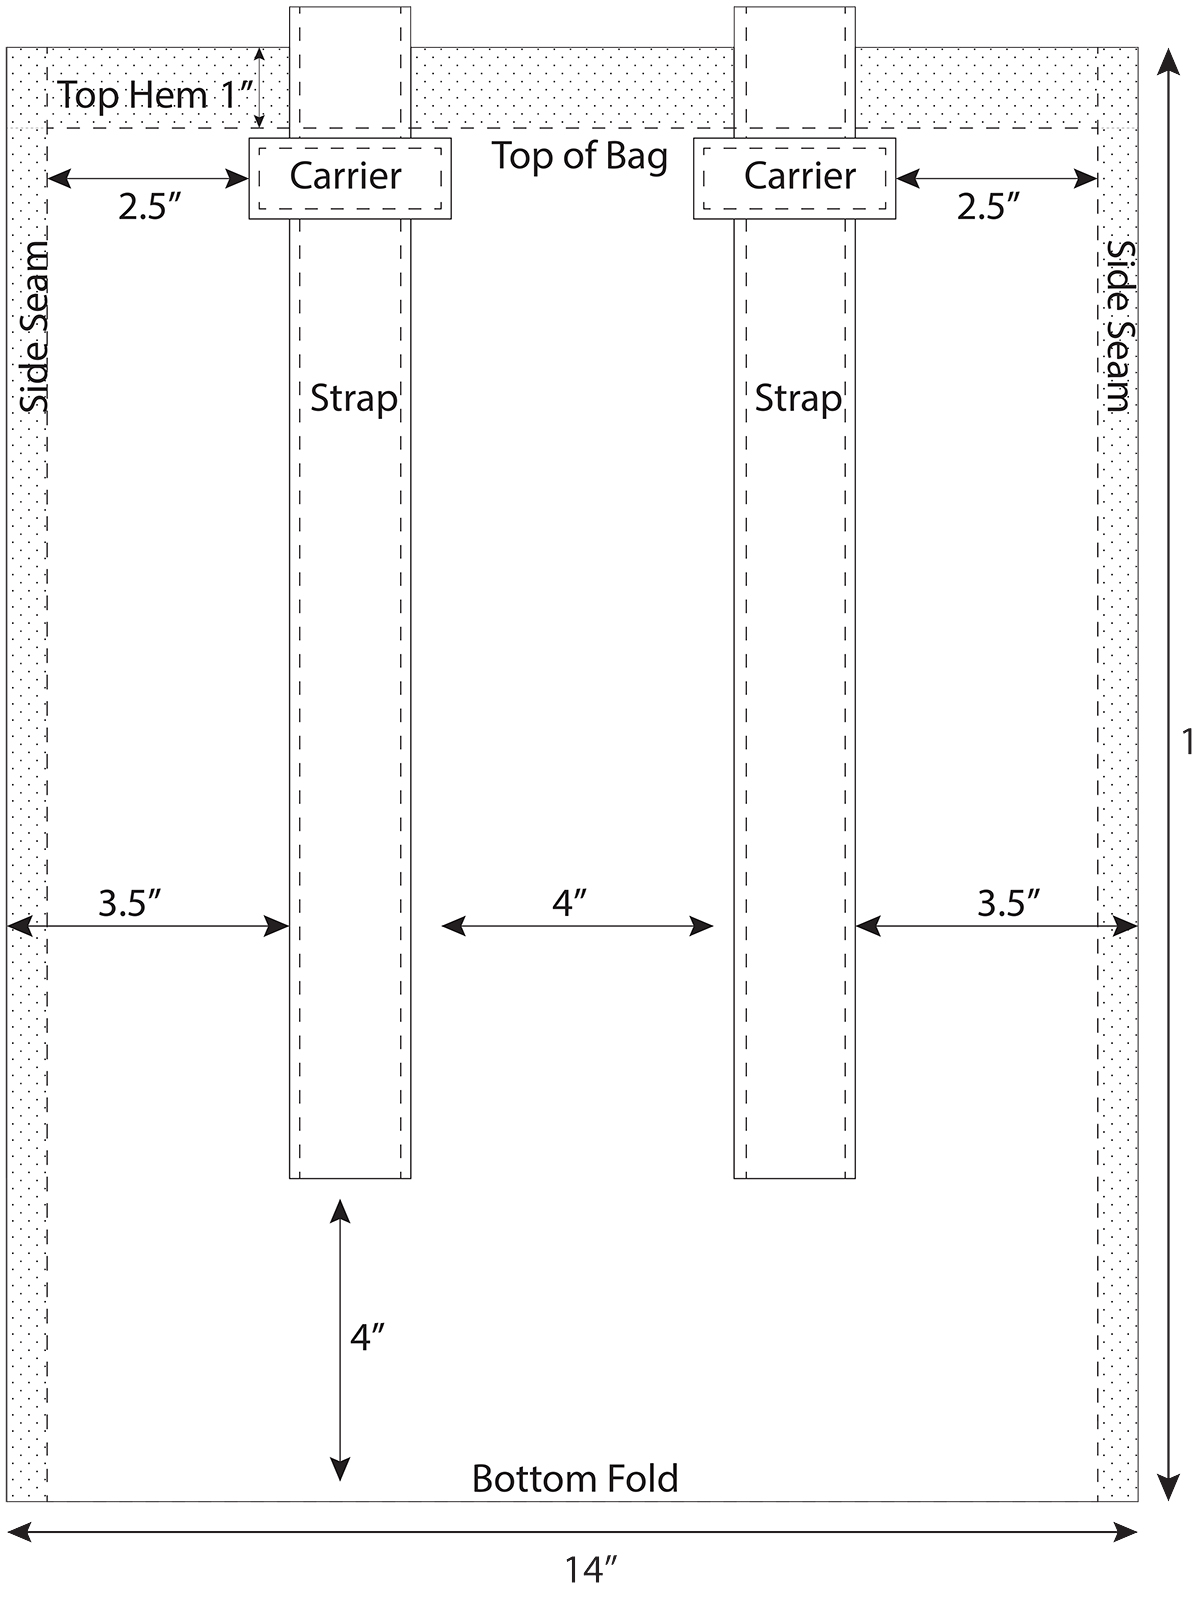
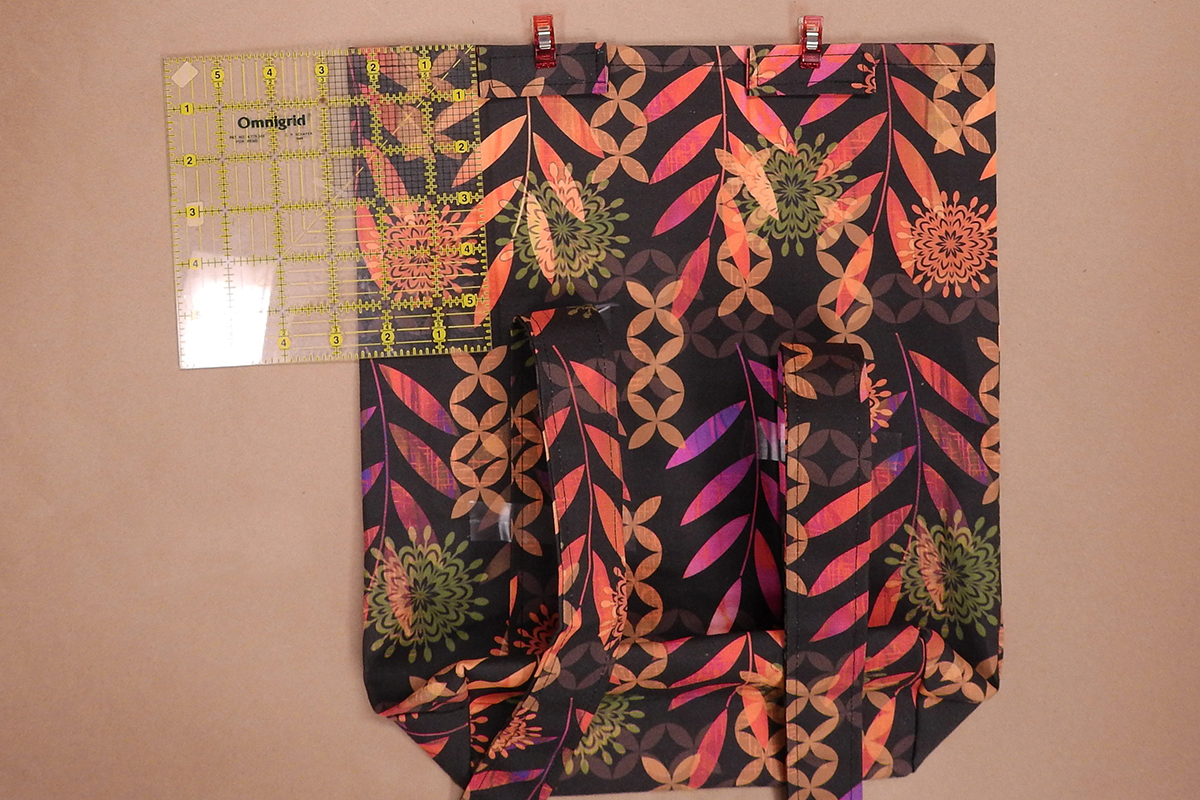
As a reference, here’s an overview of how the straps and carriers will be aligned and sewn on the back of the bag. You can refer to this as well as the photos below.
How to make a convertible tote backpack.
Step 1: Cut out fabrics according to list above.
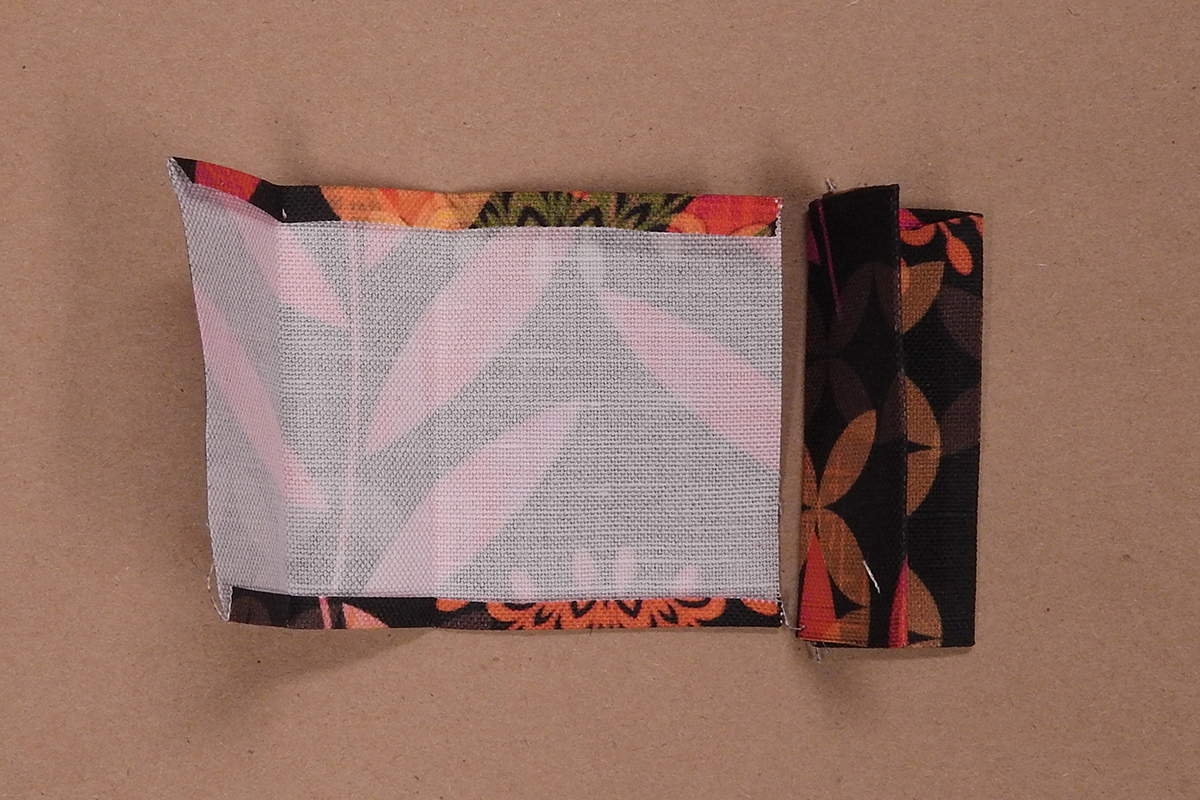
Step 2: Fold up ½” on the end of each strap.

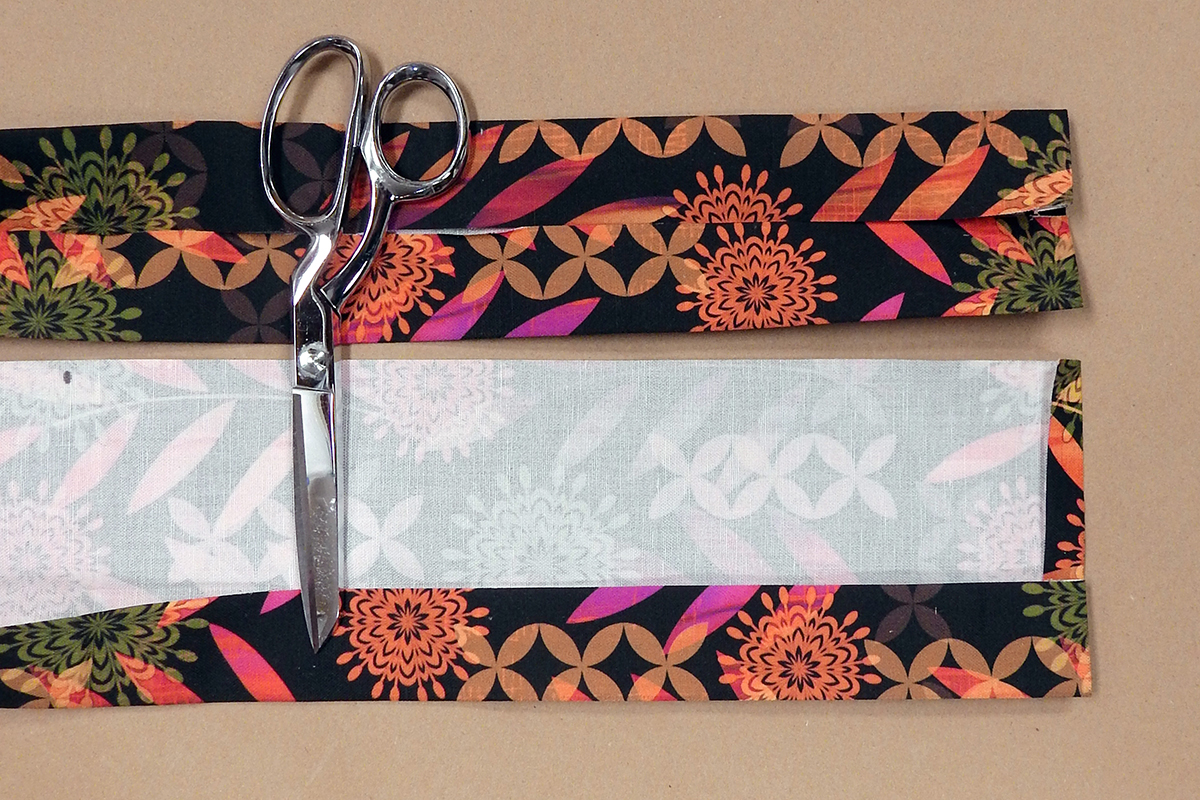
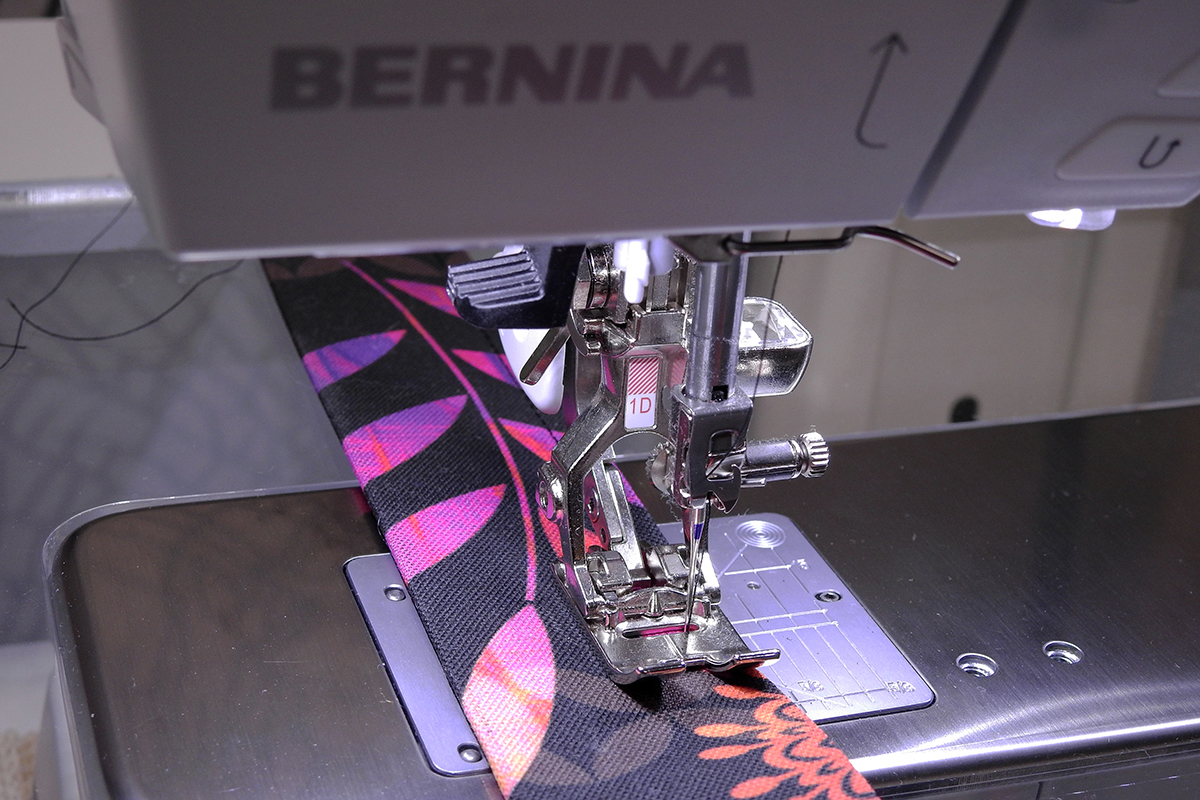
Step 3: Make straps by folding each in half vertically and pressing the folded edge. Open the strap, then fold each raw edge into the center crease. Press again, then topstitch both long edges.
Step 4: Align and pin one end of each strap on the bag back as seen in the overview diagram and photo below. In this photo the bag is folded in half. After pinning the straps, unfold the bag fabric, then stitch across the ends of the straps through the single layer of fabric.

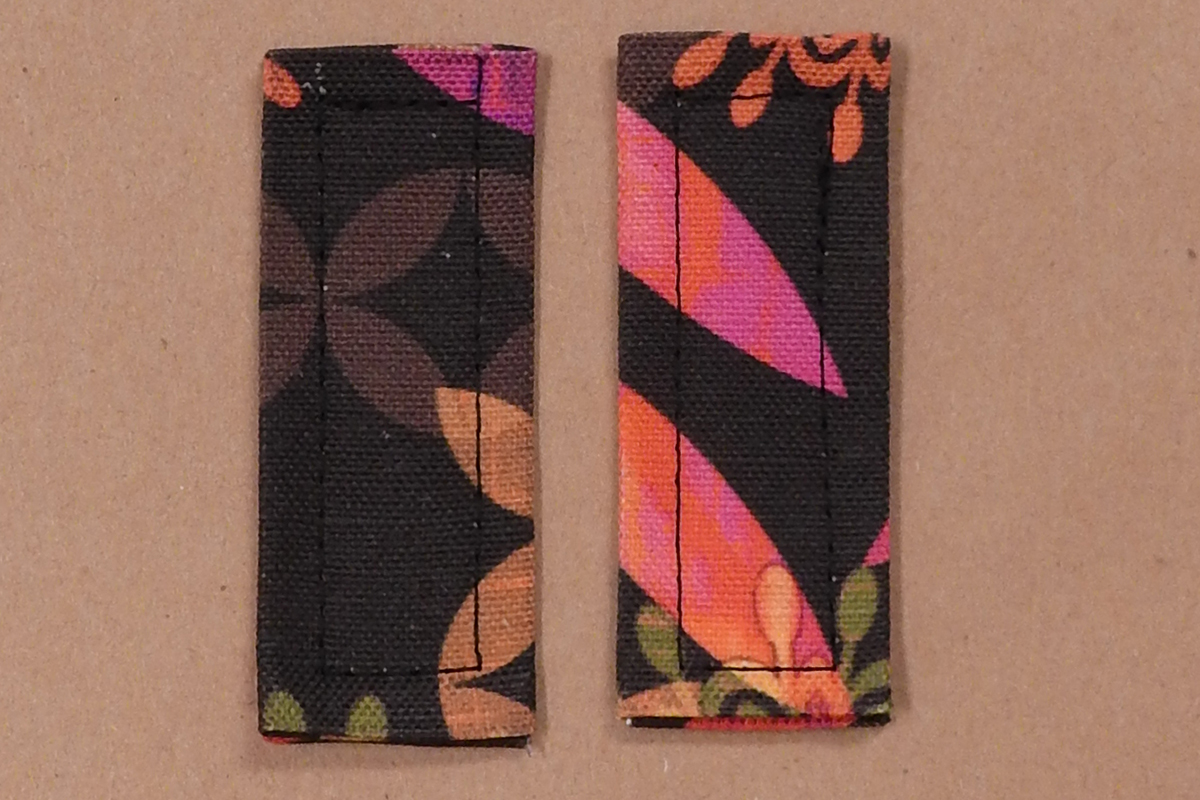
Step 5: Prepare strap carriers. Fold in ¼” on each side to produce a 2 ½” by 4″ rectangle. Fold in half, wrong sides together, with the 2 ½” sides matching. Unfold, then fold each end into the center and fold in half again.
Step 6: Topstitch around each carrier. Each carrier should now measure 1″ x 2 ½”.
Step 7: Press the top edges of the bag down ½”, then ½” again to serve as a guide when finishing the top in Step 10.
Step 8: Sew the side seams, right sides together, with a ½” seam. Finish the edges with a serger or by zigzagging over the edges.
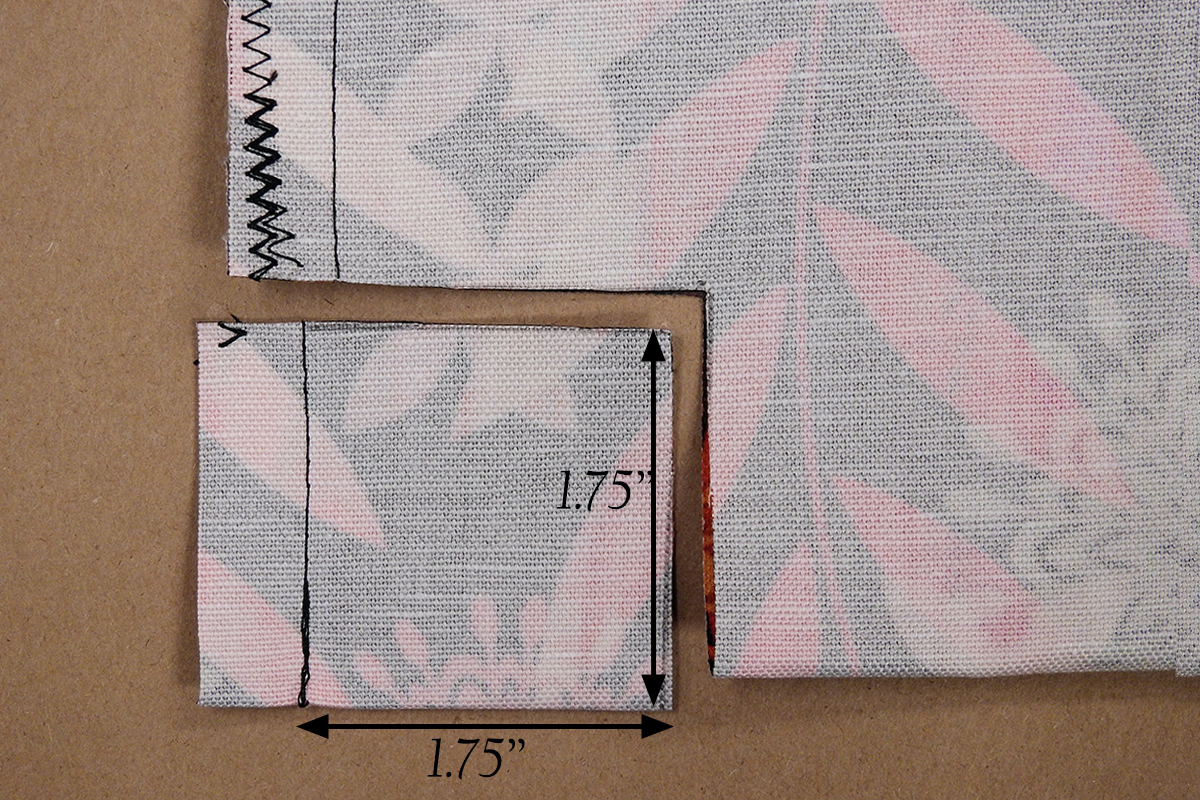
Step 9: While the bag is still inside out, trim both bottom corners of the bag as shown below.
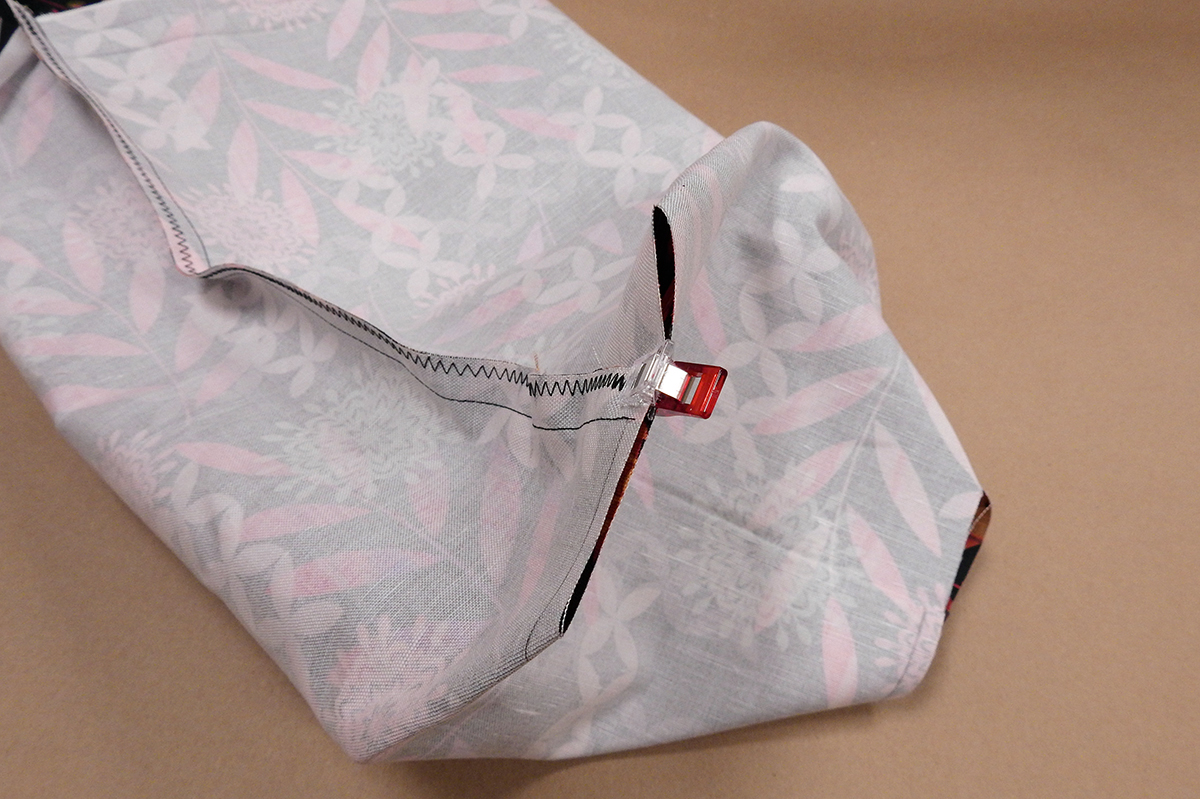
Step 10: Match the cut edges and sew with a ¼” seam. Zigzag or serge to finish.
Step 11: Turn the top down twice, using pressed fold lines as a guide. Topstitch the finished edge.
Step 12: Turn bag right side out.
Step 13: Sew strap carriers to the top edge on the same side as the straps are sewn as shown in the photo below and the overview diagram. Each carrier should be 2 ½” from the side seam, with 3″ between the strap carriers. Attach each carrier with two parallel lines of stitching, with each stitching line about 1/4″ from the short ends of the carrier. Keep the stitching far enough apart to allow for the straps to thread through the carriers.

Step 14: Thread the straps through the carriers.

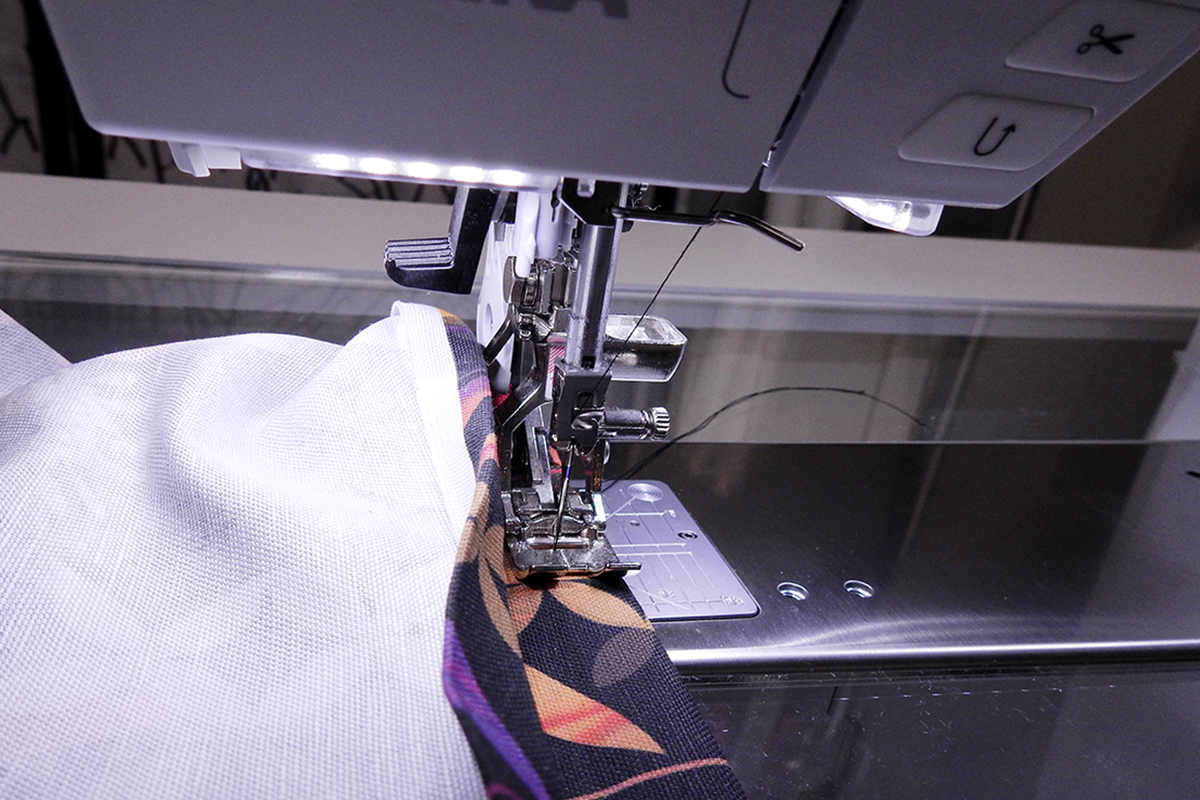
Step 15: Sew the ends of the straps to the top inside edge of the opposite side of the tote. Note that I used clear tape to hold the strap in place for stitching. With the bulk of that many layers of fabric it’s difficult to get a pin to hold everything flat.

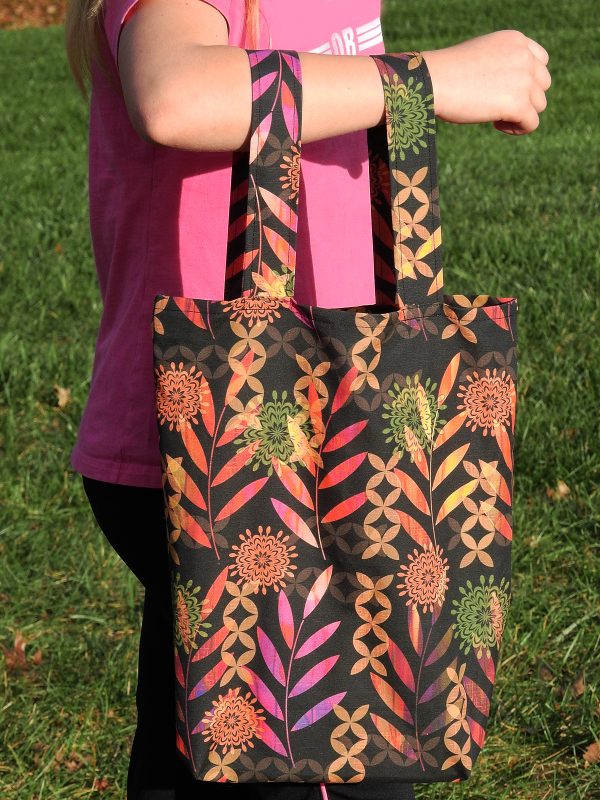
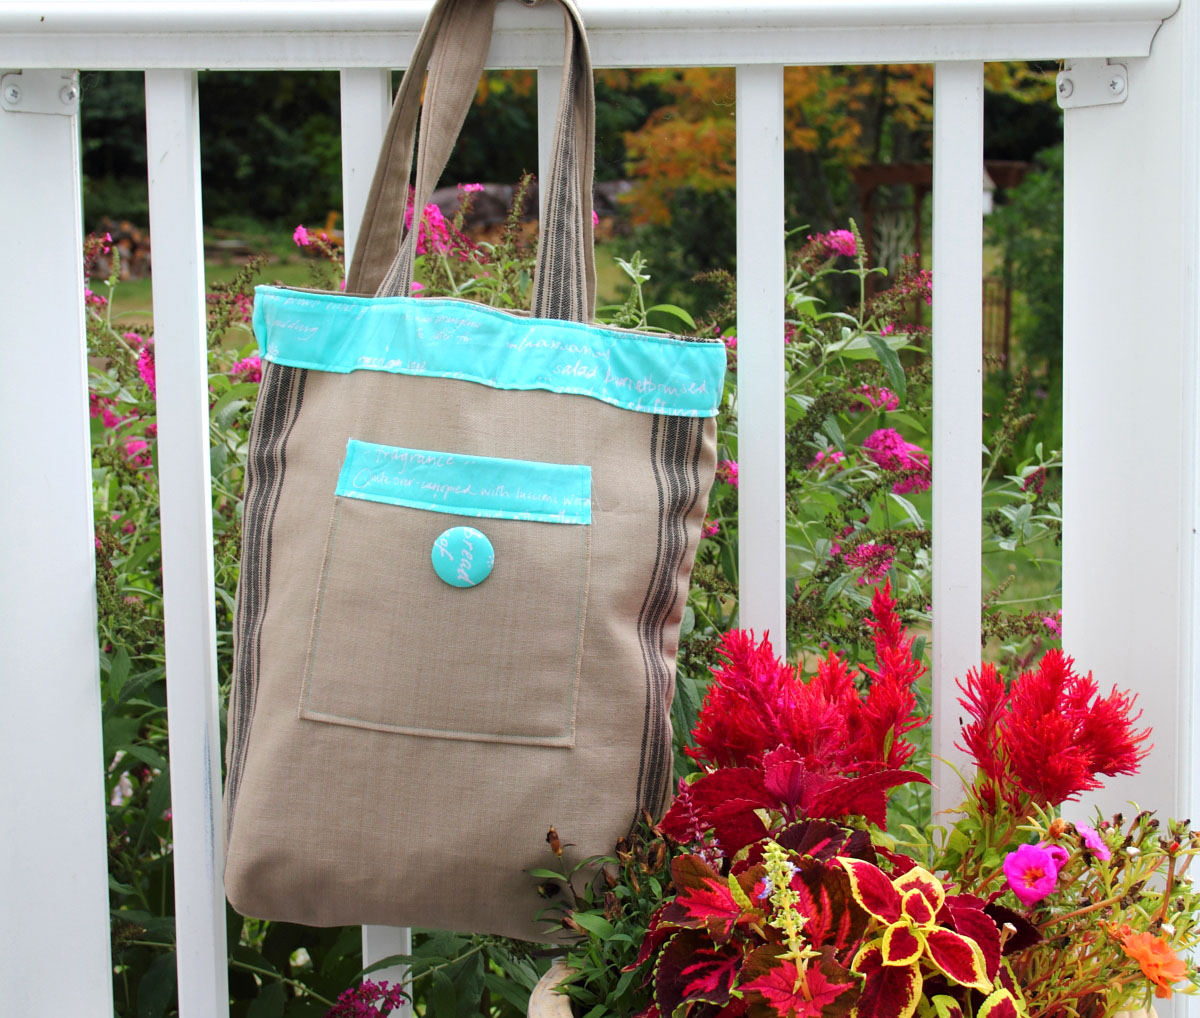
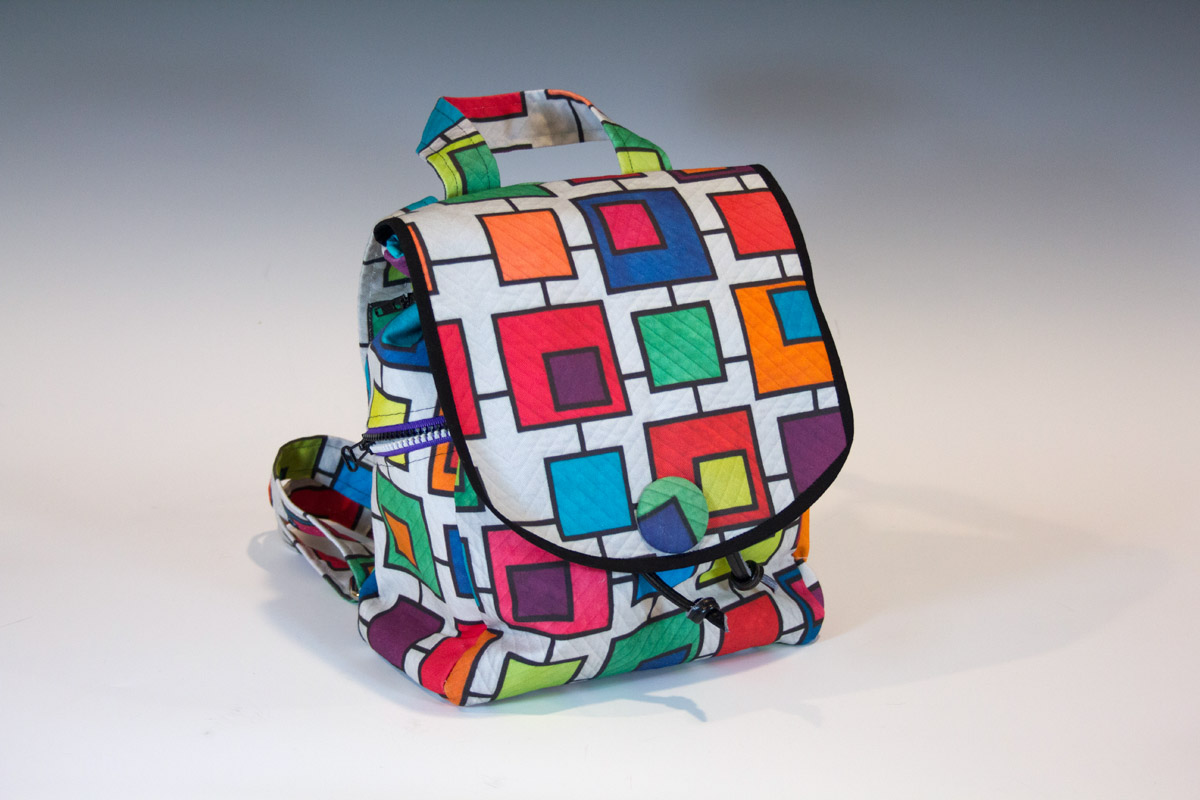
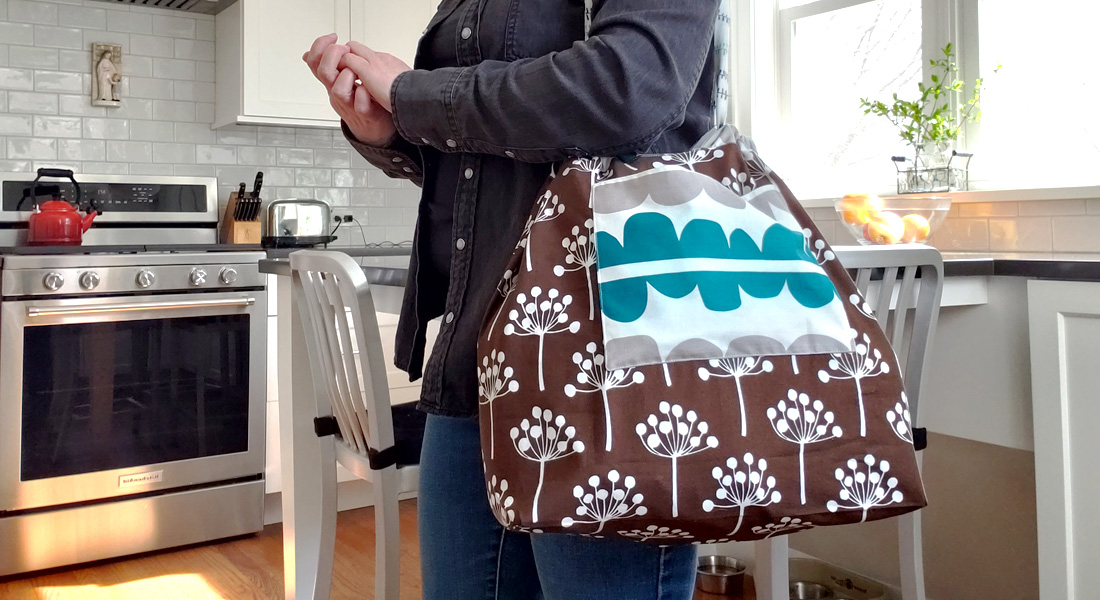
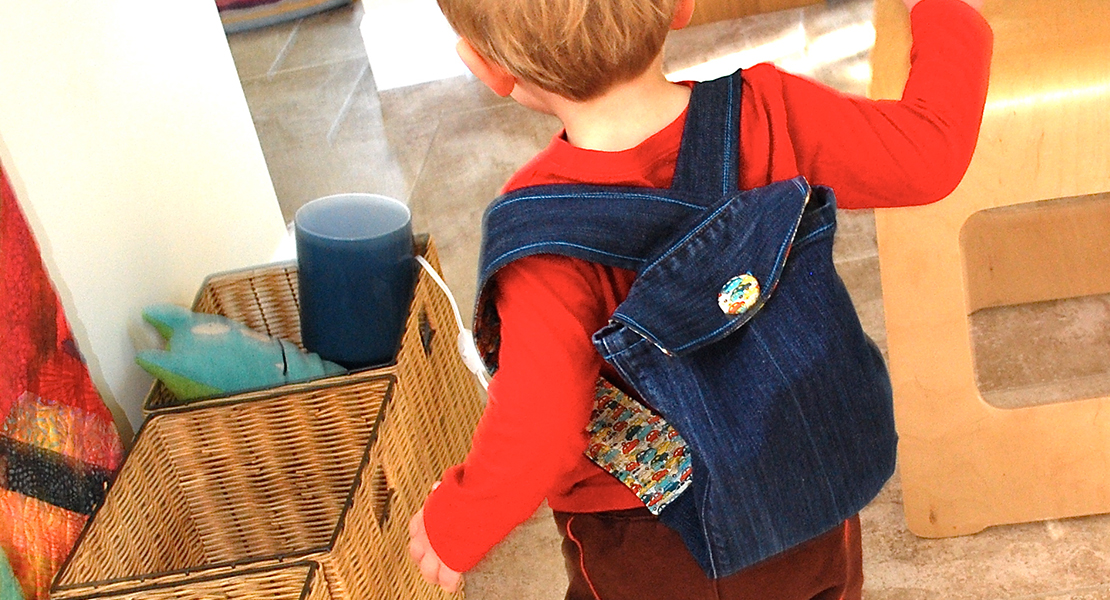
Depending on how you pull up the handles, you can use this bag as either a tote or small backpack.
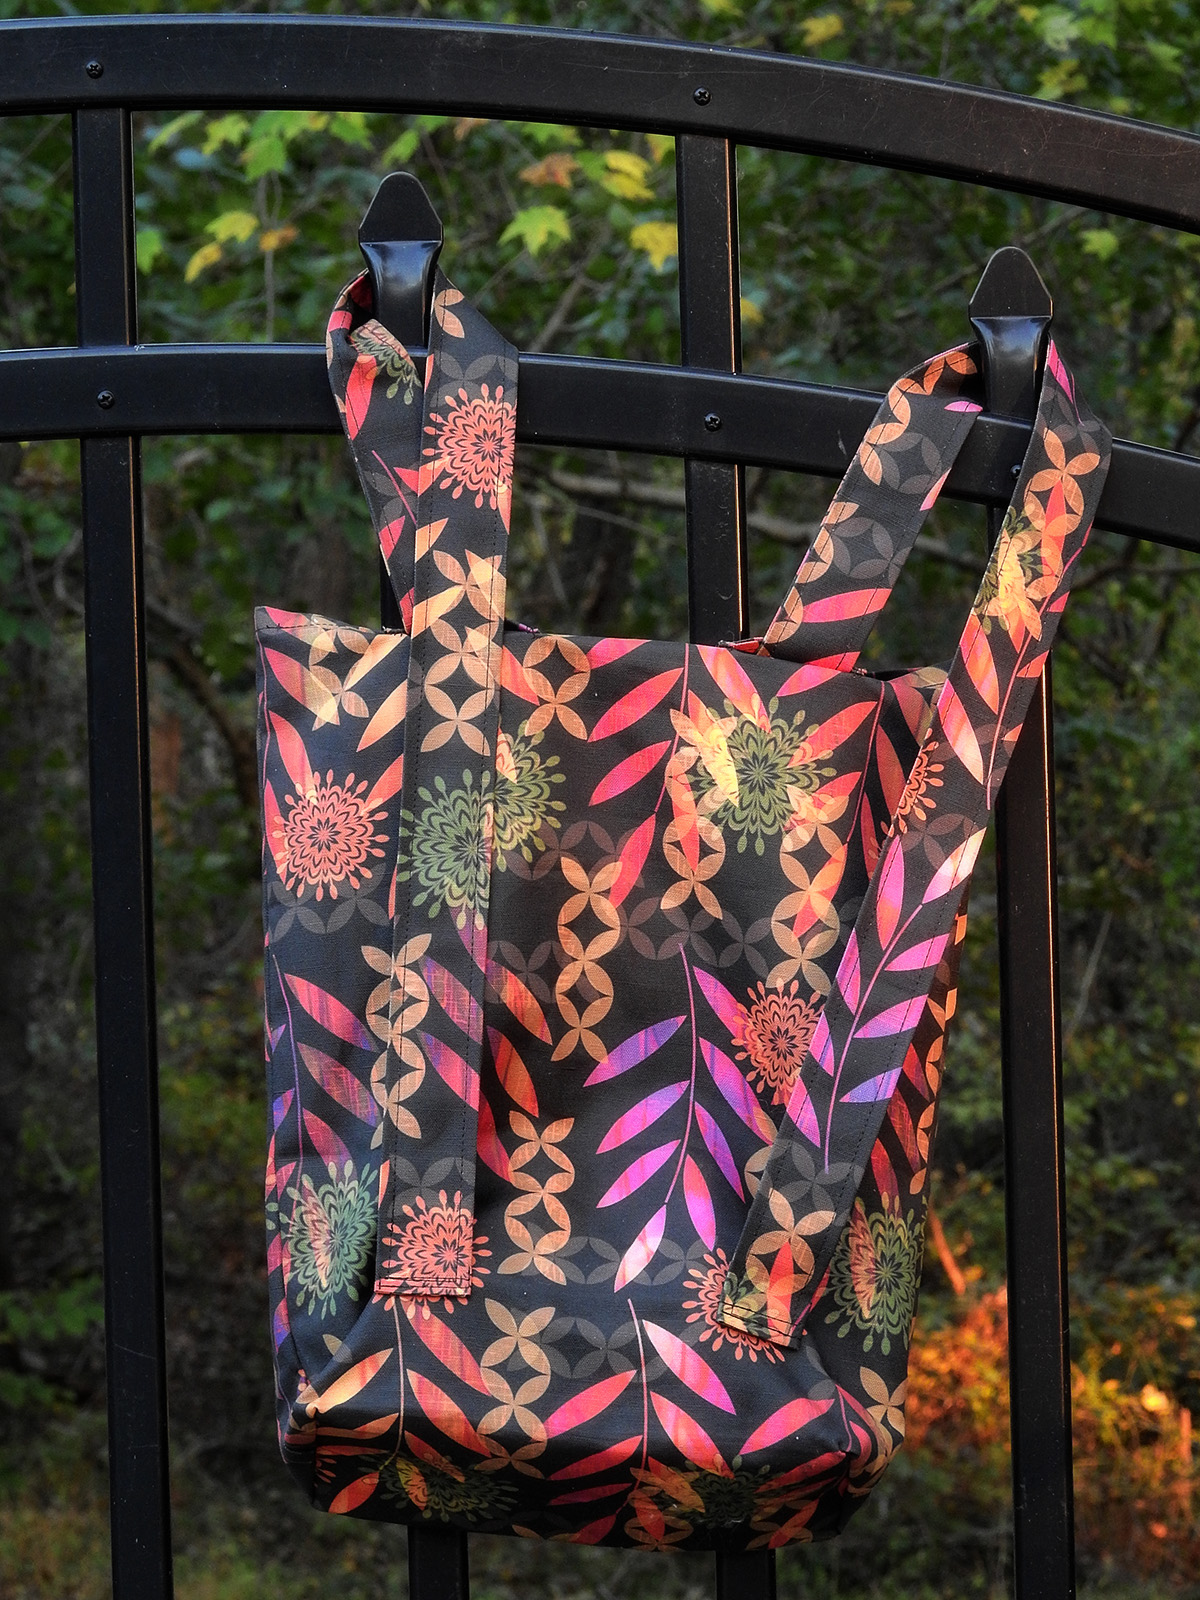
Here it is in action!
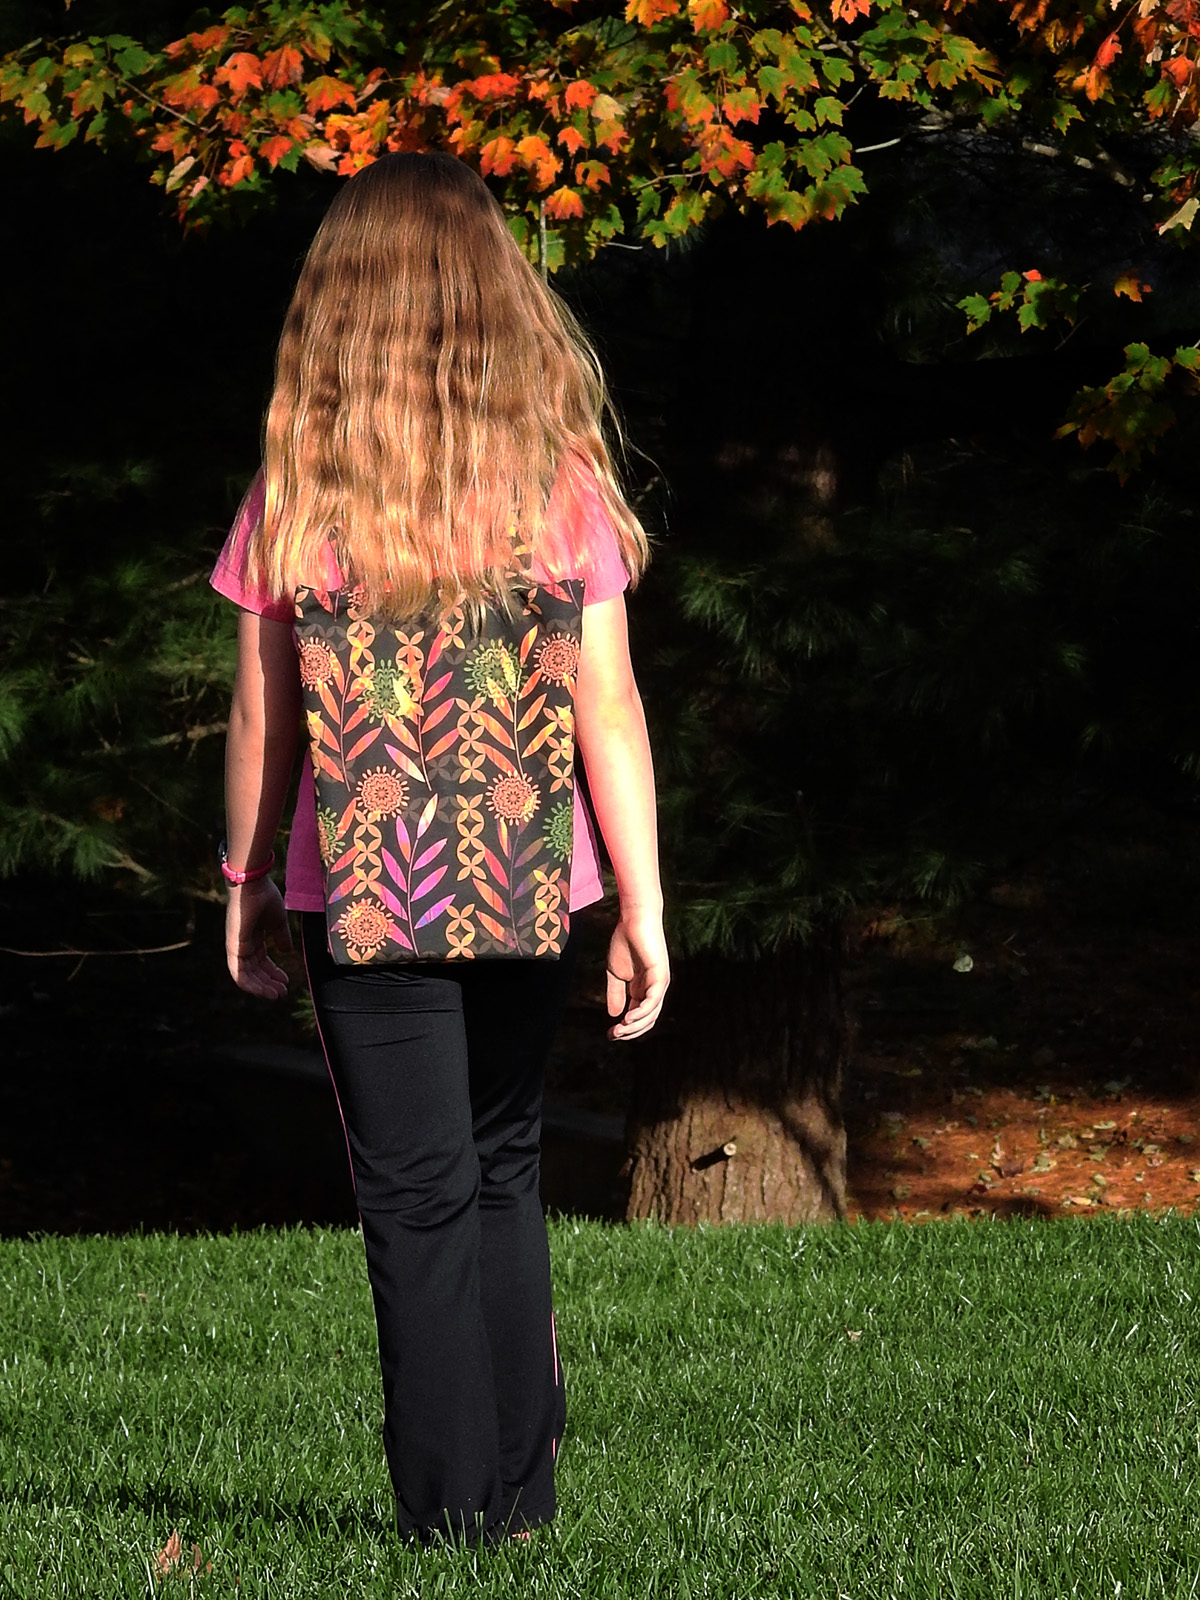
I hope you have fun with this easy and versatile tote.


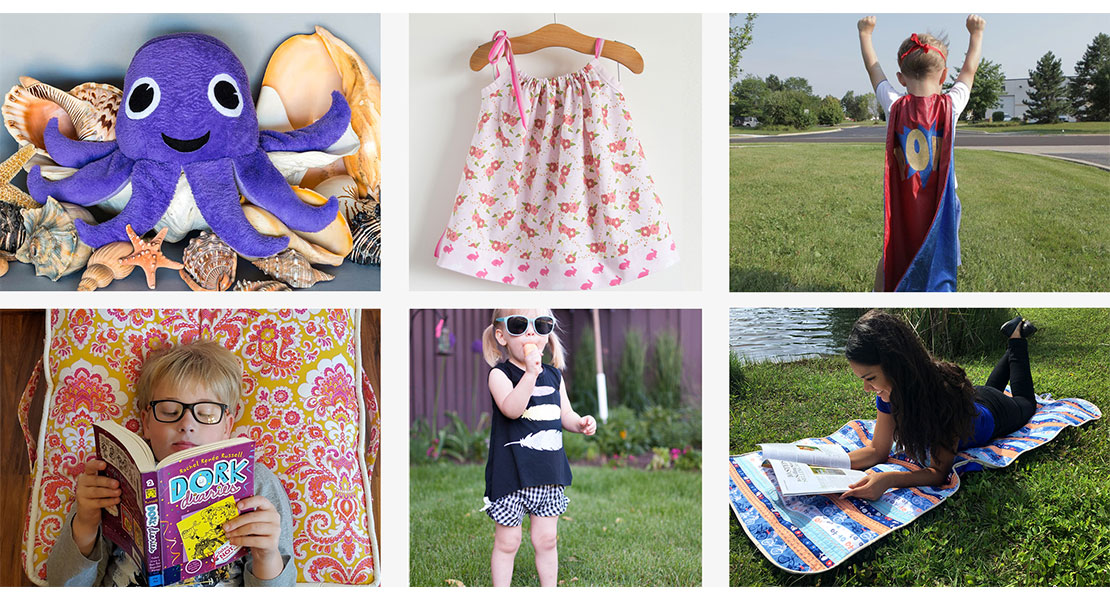
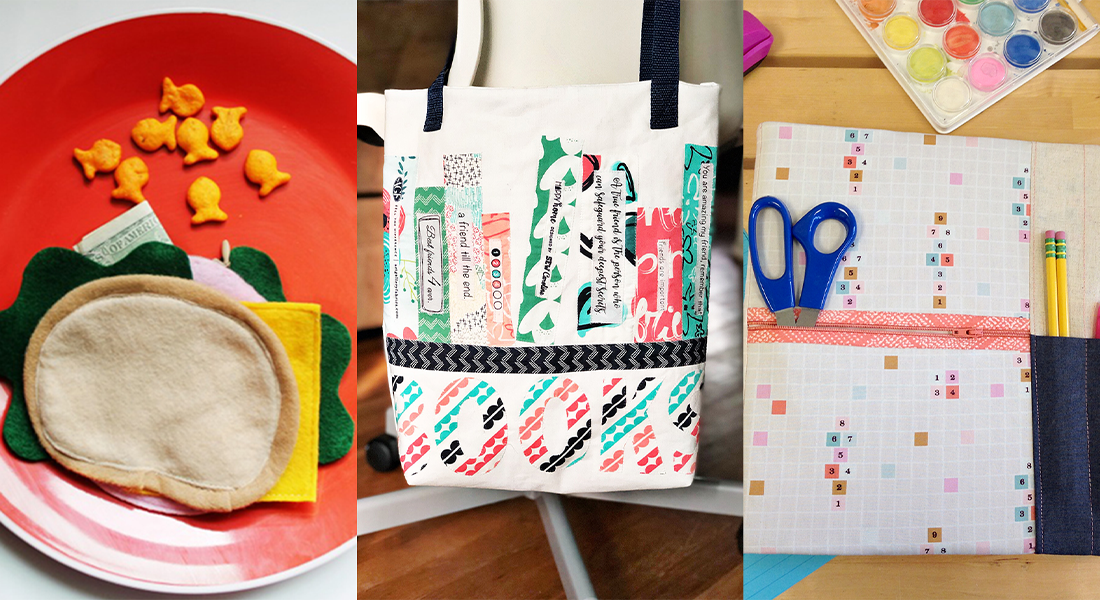
What you might also like


7 comments on “Convertible Tote/Backpack Tutorial”
-
-
Thank you so much! If you make one I’d love to see it.
-
-
I like this project for my church’s local outreach mission. We have a huge demand for backpacks. Purchased backpacks can get pricey. I have plenty of fabric to spare for a few of these. Lol.
-
What a great idea Allison. They’re very easy to make, so I’m sure you could whip them up in no time.
-
-
Love this. I’ve been looking for an easy backpack convertible pattern. I tried opening it in You Ube but couldn’t. How can I save it to make in the fall?
-
Love this. I’ve been looking for an easy tote/backpack pattern and this fits my criteria.
-
Hello! Very excited to see this – our library has sewing machines, & for 2 yrs. myself & other sewists have made drawstring backpacks for the kids who do the library’s summer reading program. I love to haunt thrift stores for juvenile print top sheets, curtains, etc., any fun-looking kid friendly print! The purchases are made out of pocket, which, I’m happy to do, but still look for ways to keep costs down!? I also pick up solid color sheets for lining. My plan is to try one of these, lined, since they’re going to be made with lighter (than canvas) fabric. Couple of questions; is there a video of this project, and, has anyone figured out how to attach the pocket (a la the “notabag” model) that also doubles to store the folded bag into? TIA for any wisdom you’re able to share! Excited to give this a whirl!
Leave a Reply
You must be logged in to post a comment.

Great tutorial. Looks like a fun project to try. I love your custom printed canvas, way cool.