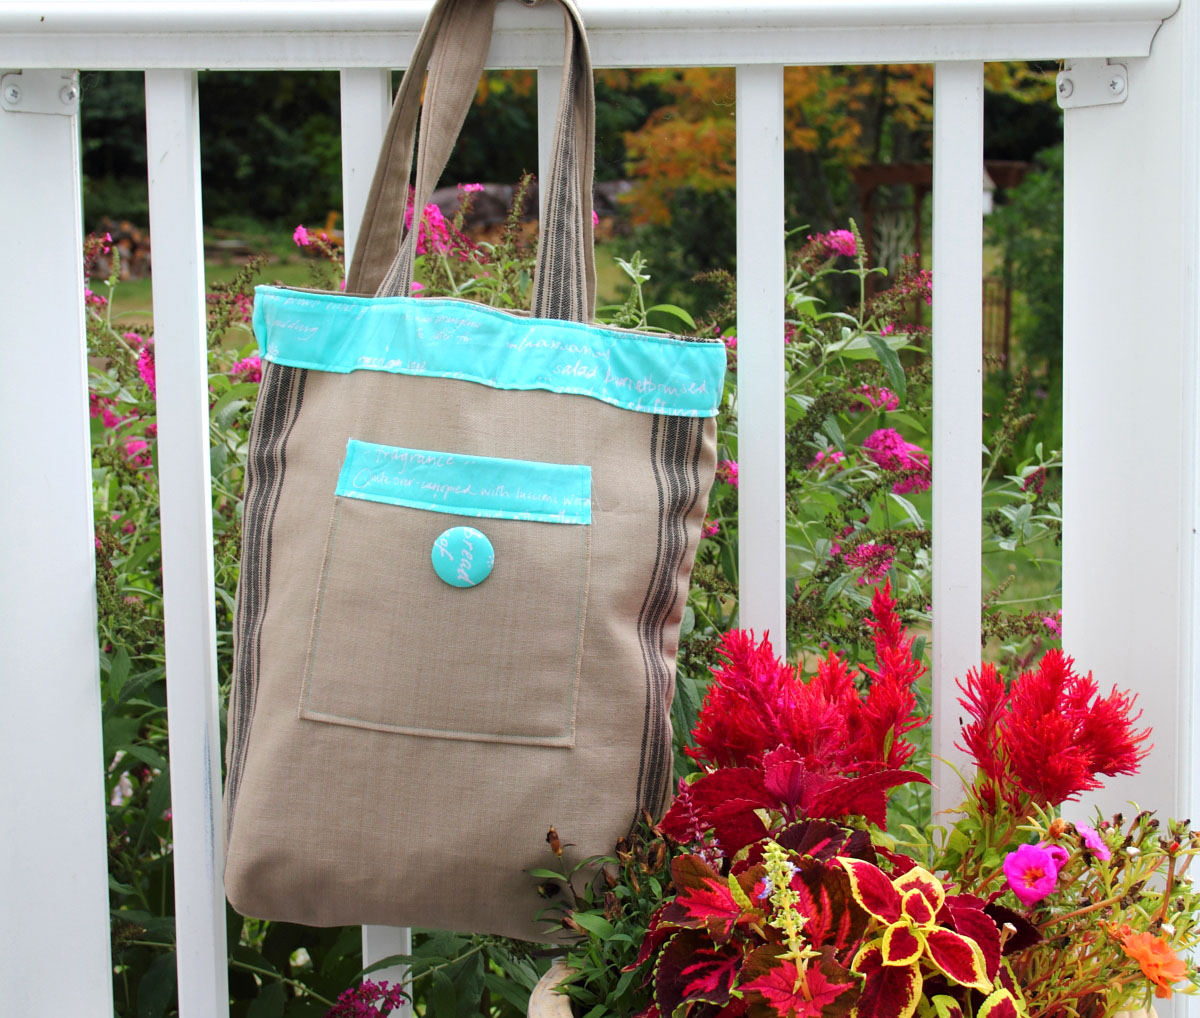
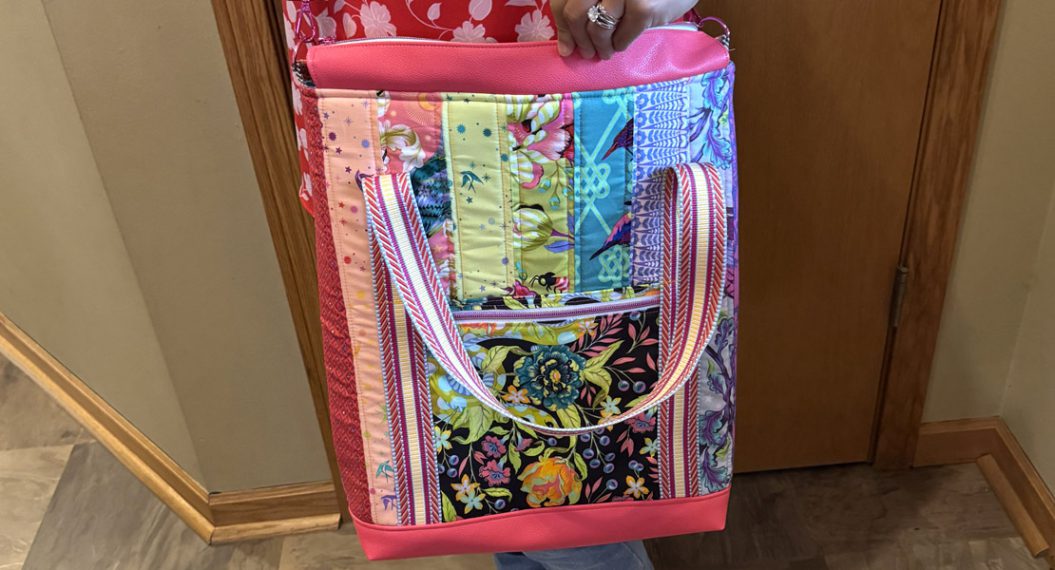
Fat Quarter Tote Bag Tutorial
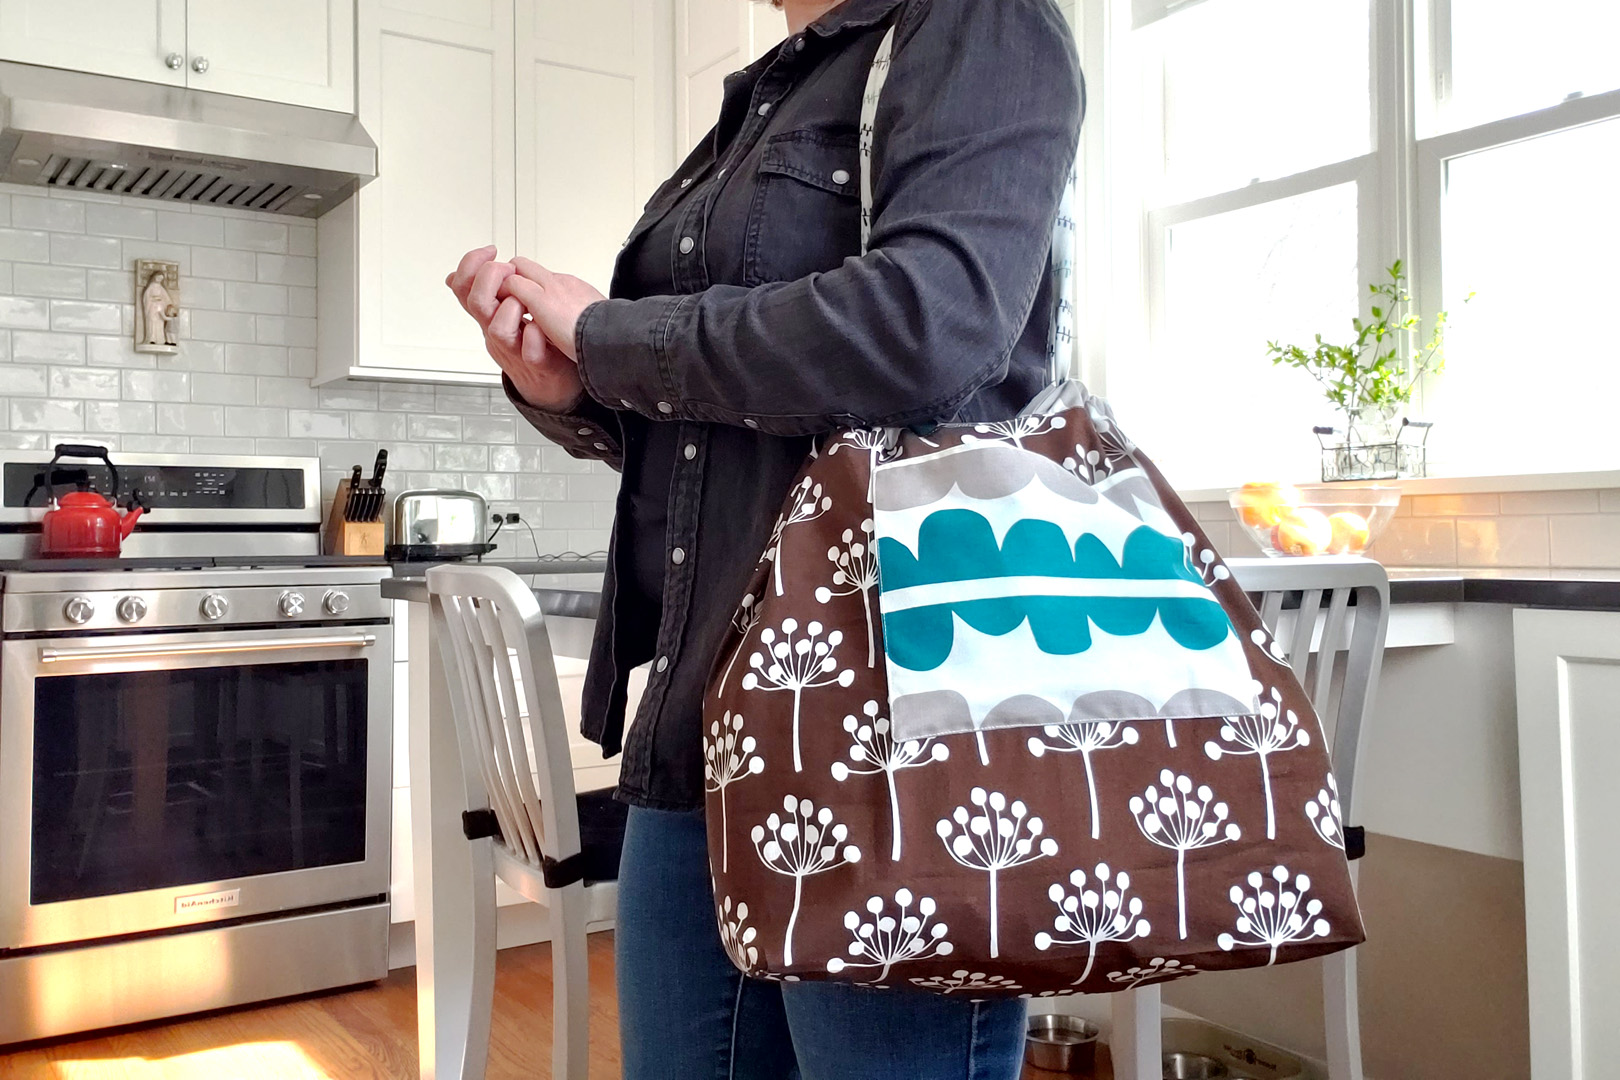
This roomy tote features a big bottom, drawstring handles, a handy side pocket, and secret straps to keep the bag tied up until you need to use it. Best part of all, this sewing project uses exactly 6 fat quarters to complete, with virtually no waste!
I love my fabric totes for hauling groceries, but had a few issues with the bags I previously made. Like handles that are a bit too short, or bags spilling out contents in the car, not to mention how untidy they are to store. While planning a better tote to fit all of my needs, I also thought about the best way to use fabric with as little waste as possible.
The Fat Quarter Tote is my solution, and the only waste from this project is the selvage edges and a slim bit from squaring up the fat quarters. I hope you enjoy making the tote!
Materials to Make a Fat Quarter Tote Bag
- 6 fat quarters
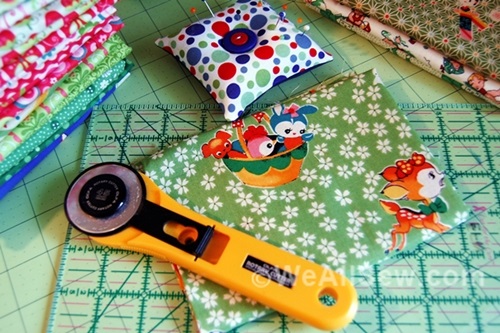
- Cutting mat and rotary cutter
- 6″ x 24″ clear acrylic ruler
- 3″ x 9″ clear acrylic ruler
- Iron and pressing surface
- Thread snips
- Straight pins
- Fabric marking pen or pencil
- Bodkin or large safety pin
- High quality polyester thread like Mettler Metrosene in coordinating color
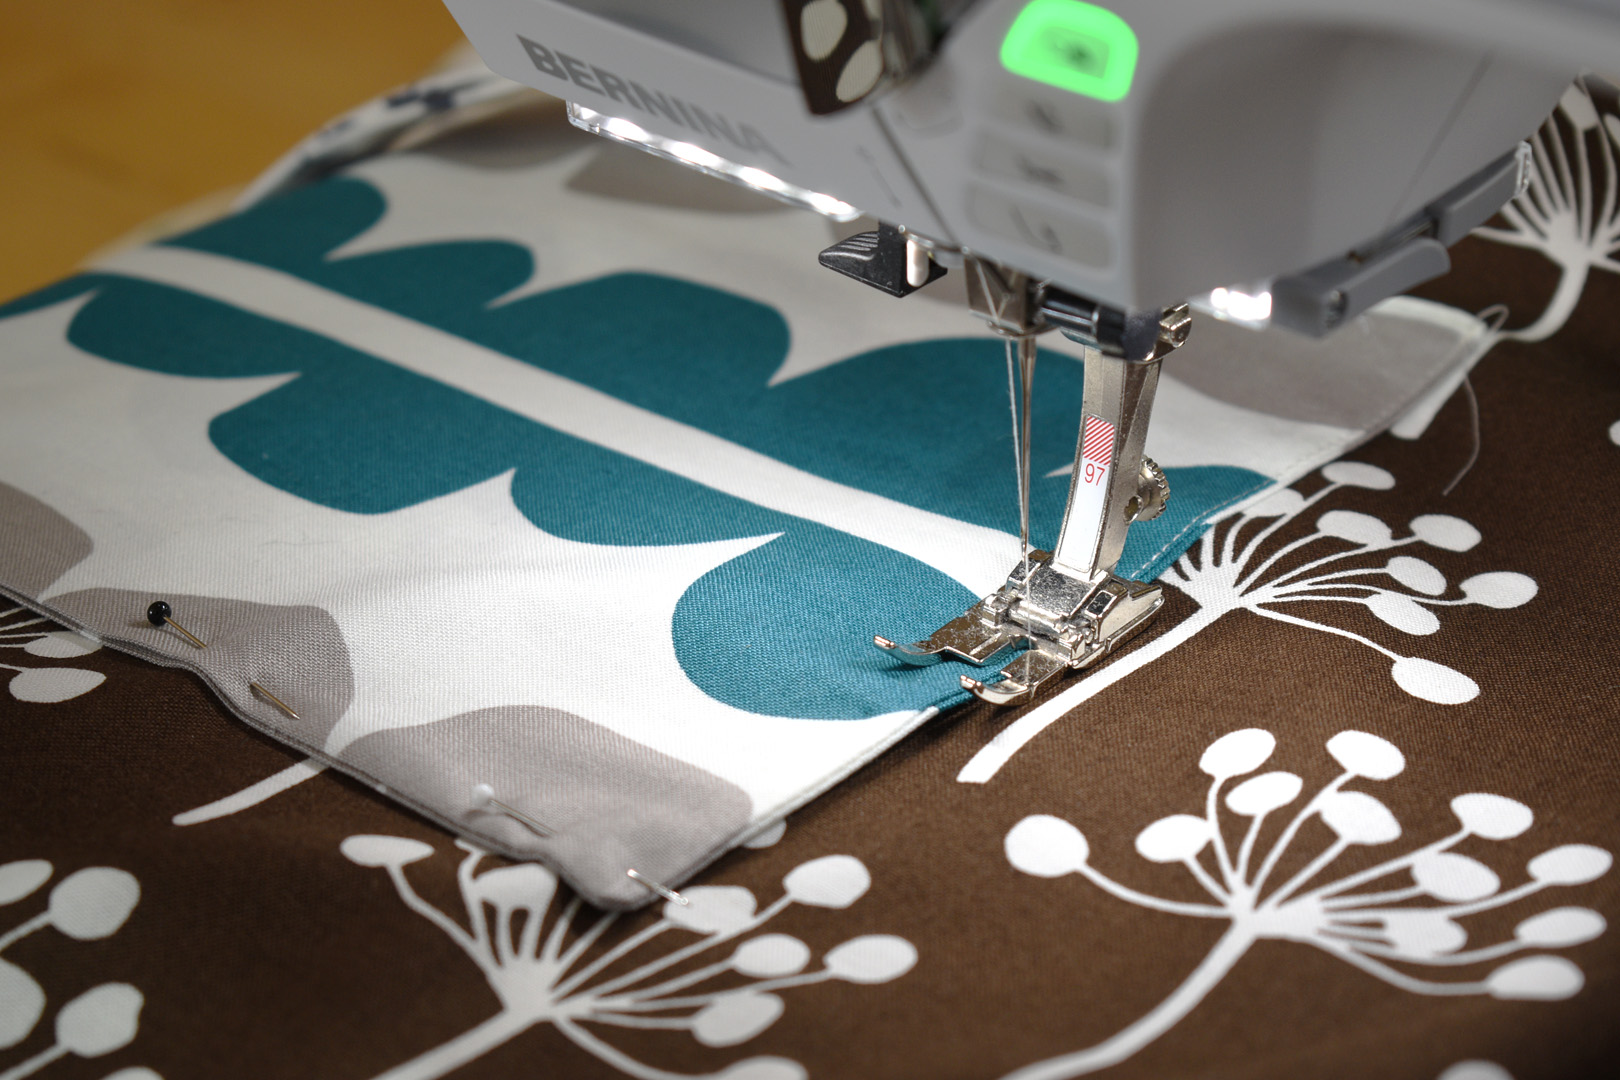
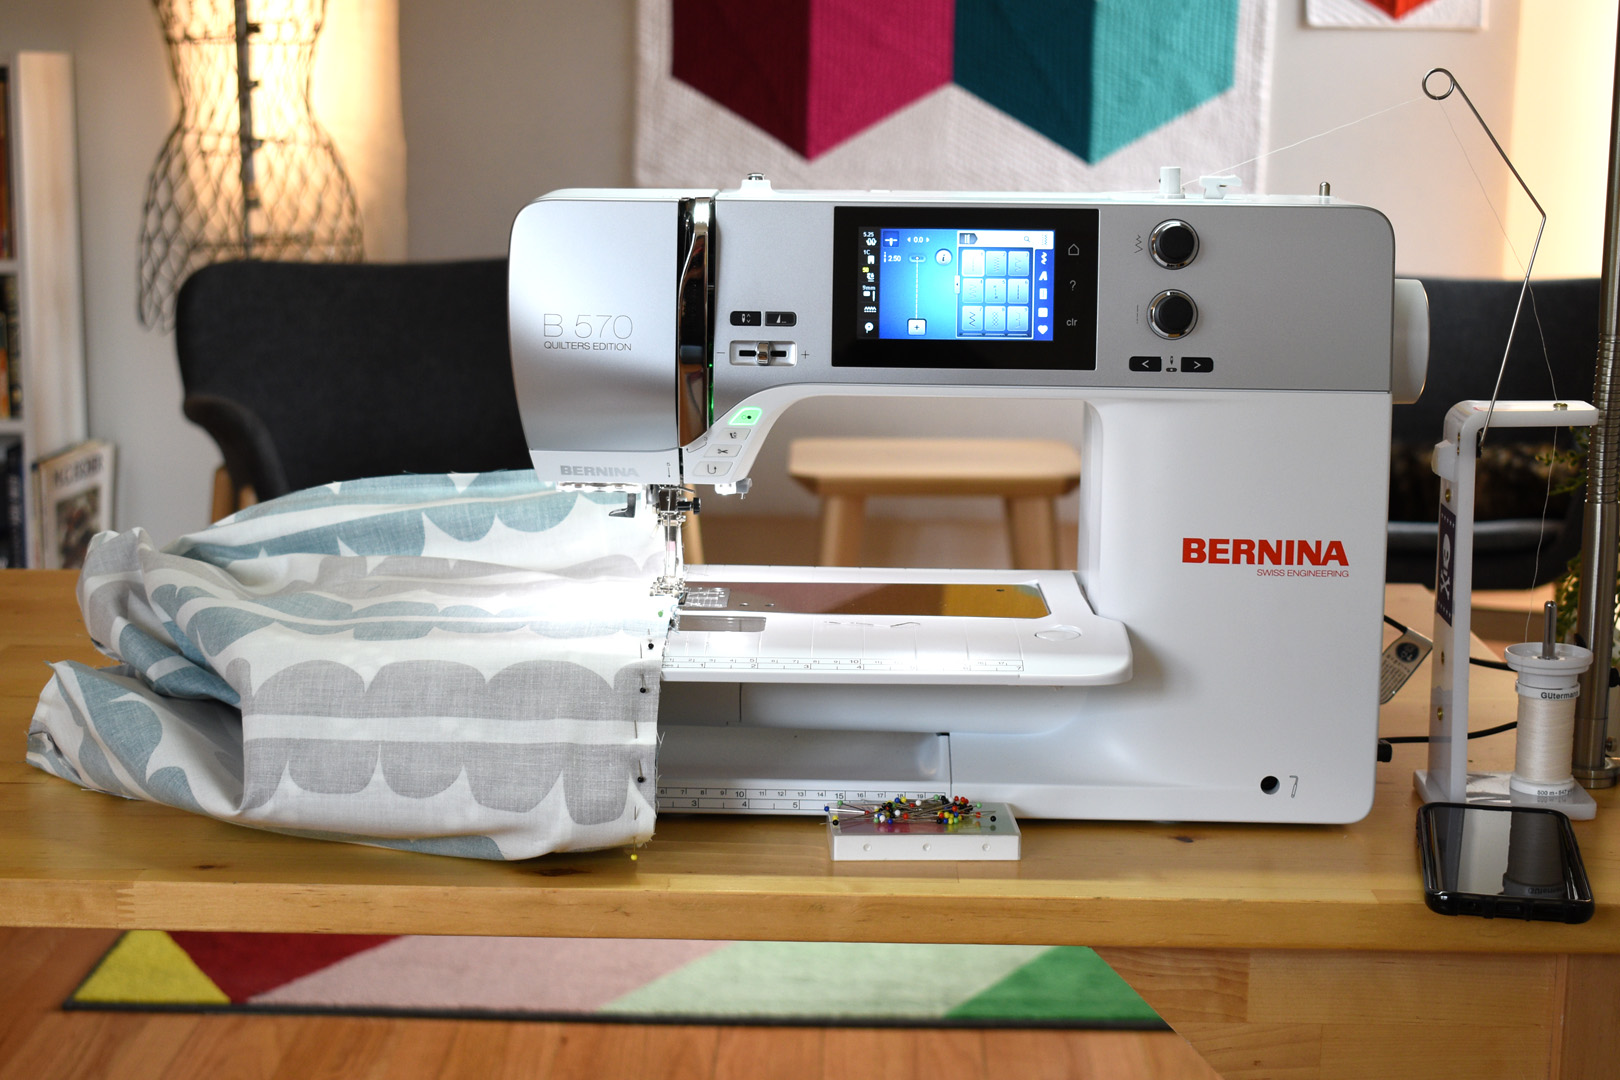
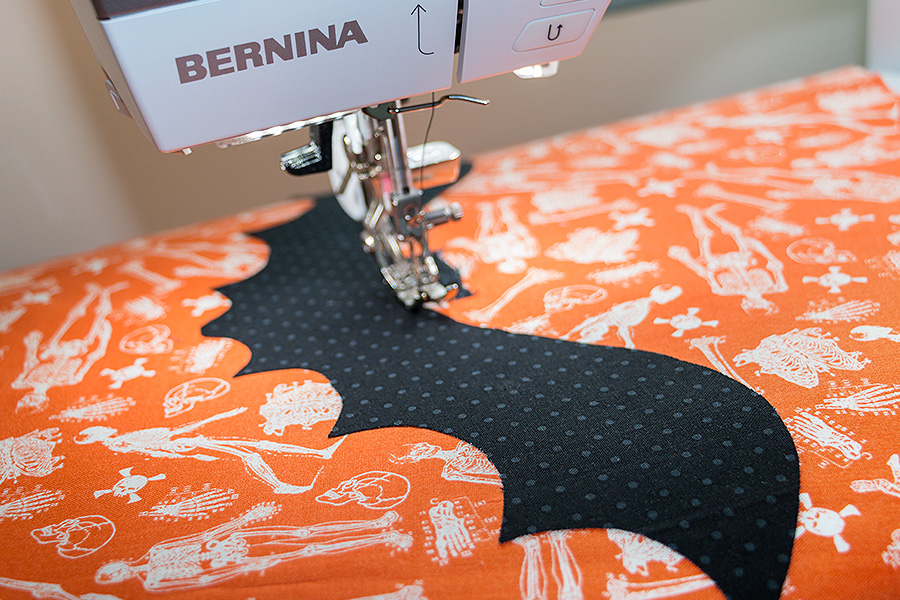
- Sewing machine (I use a BERNINA 570 QE)
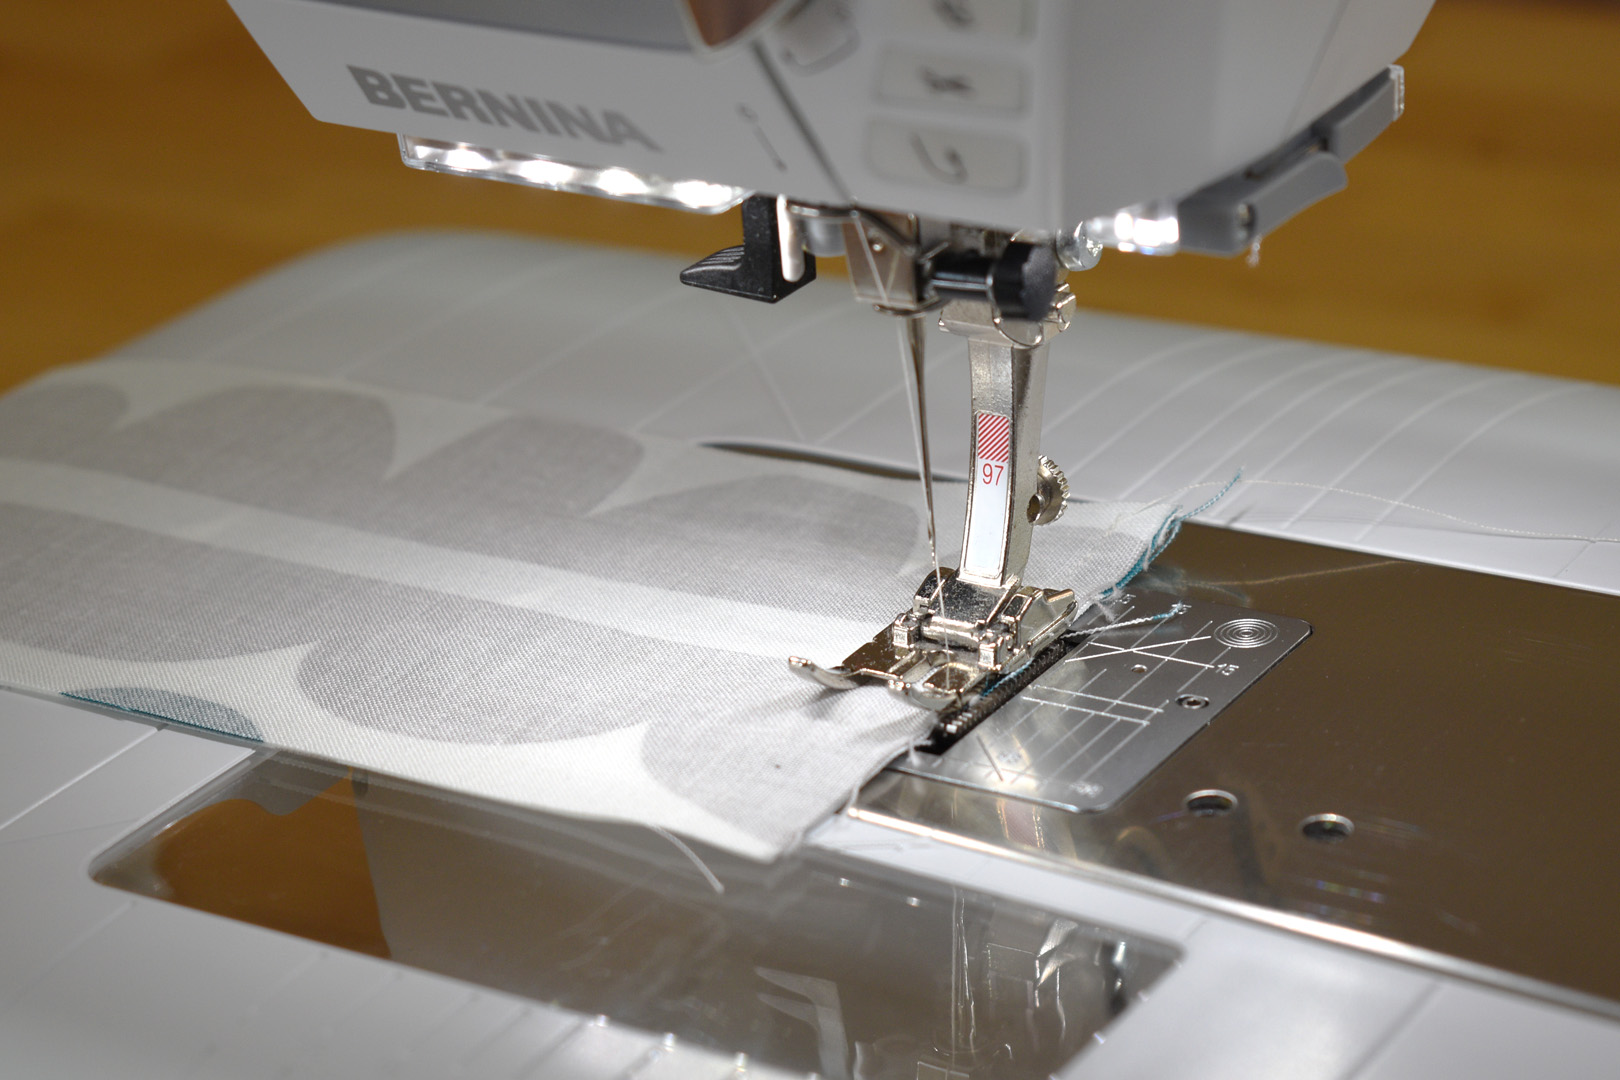
- Straight stitch or patchwork foot (I use Patchwork foot #97)
Step 1: Cutting
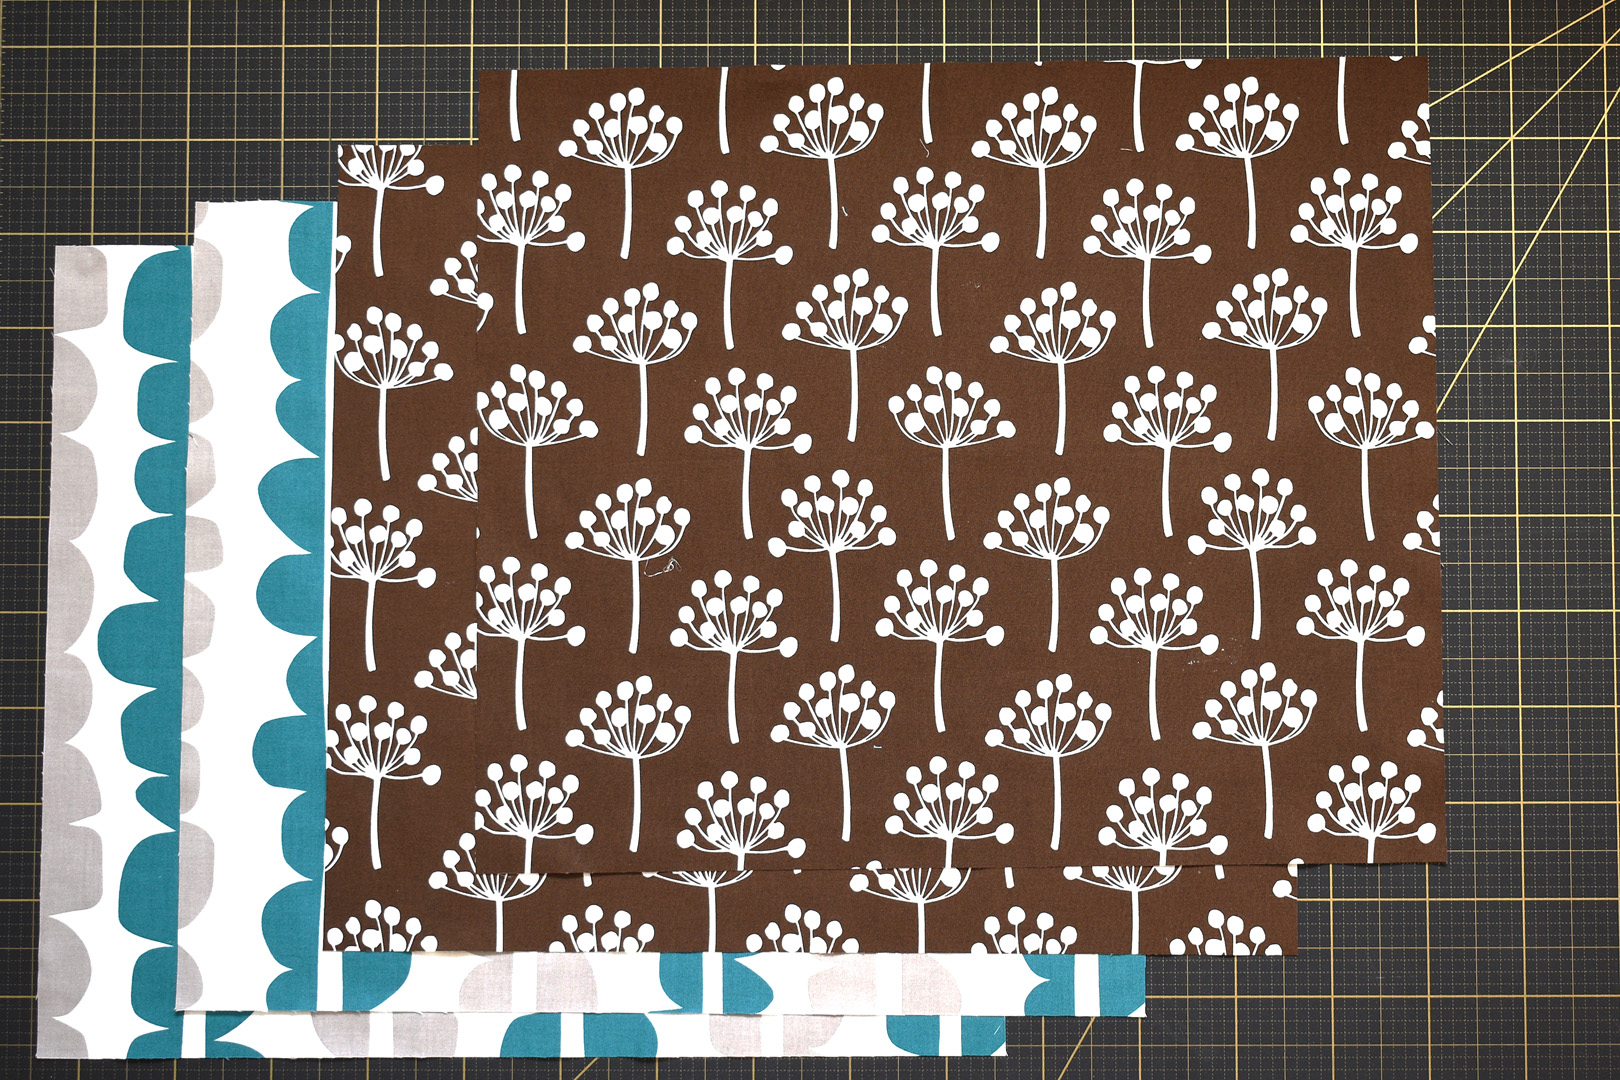
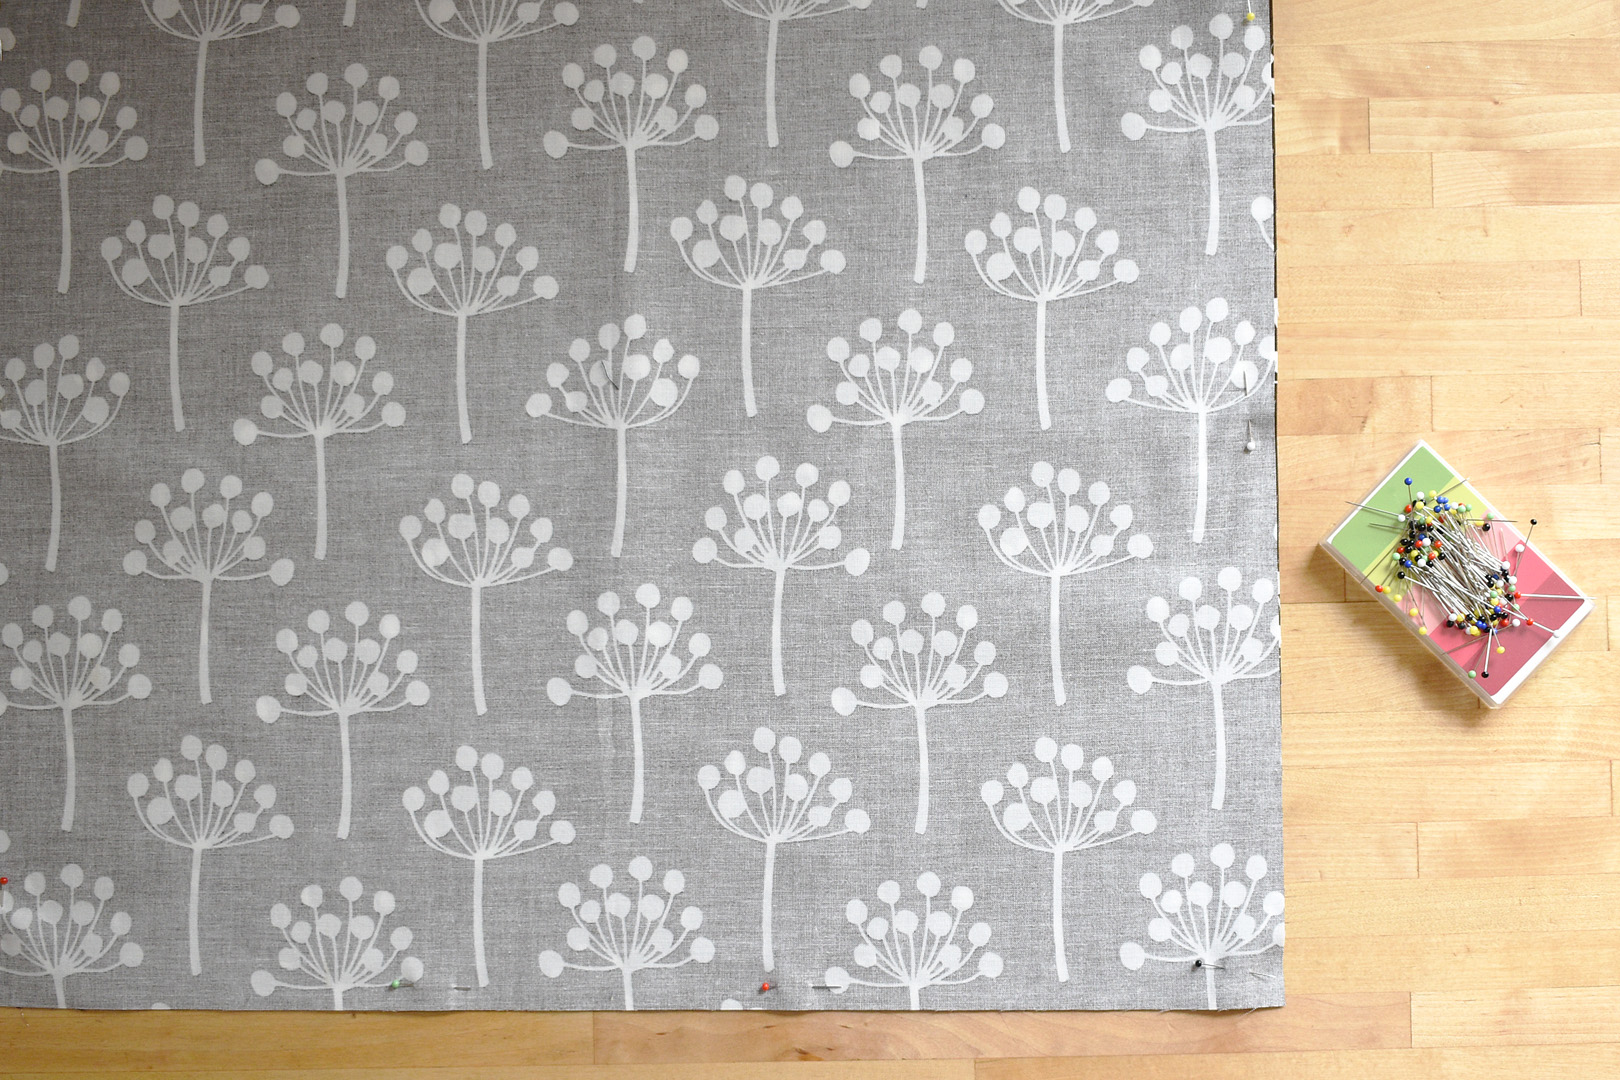
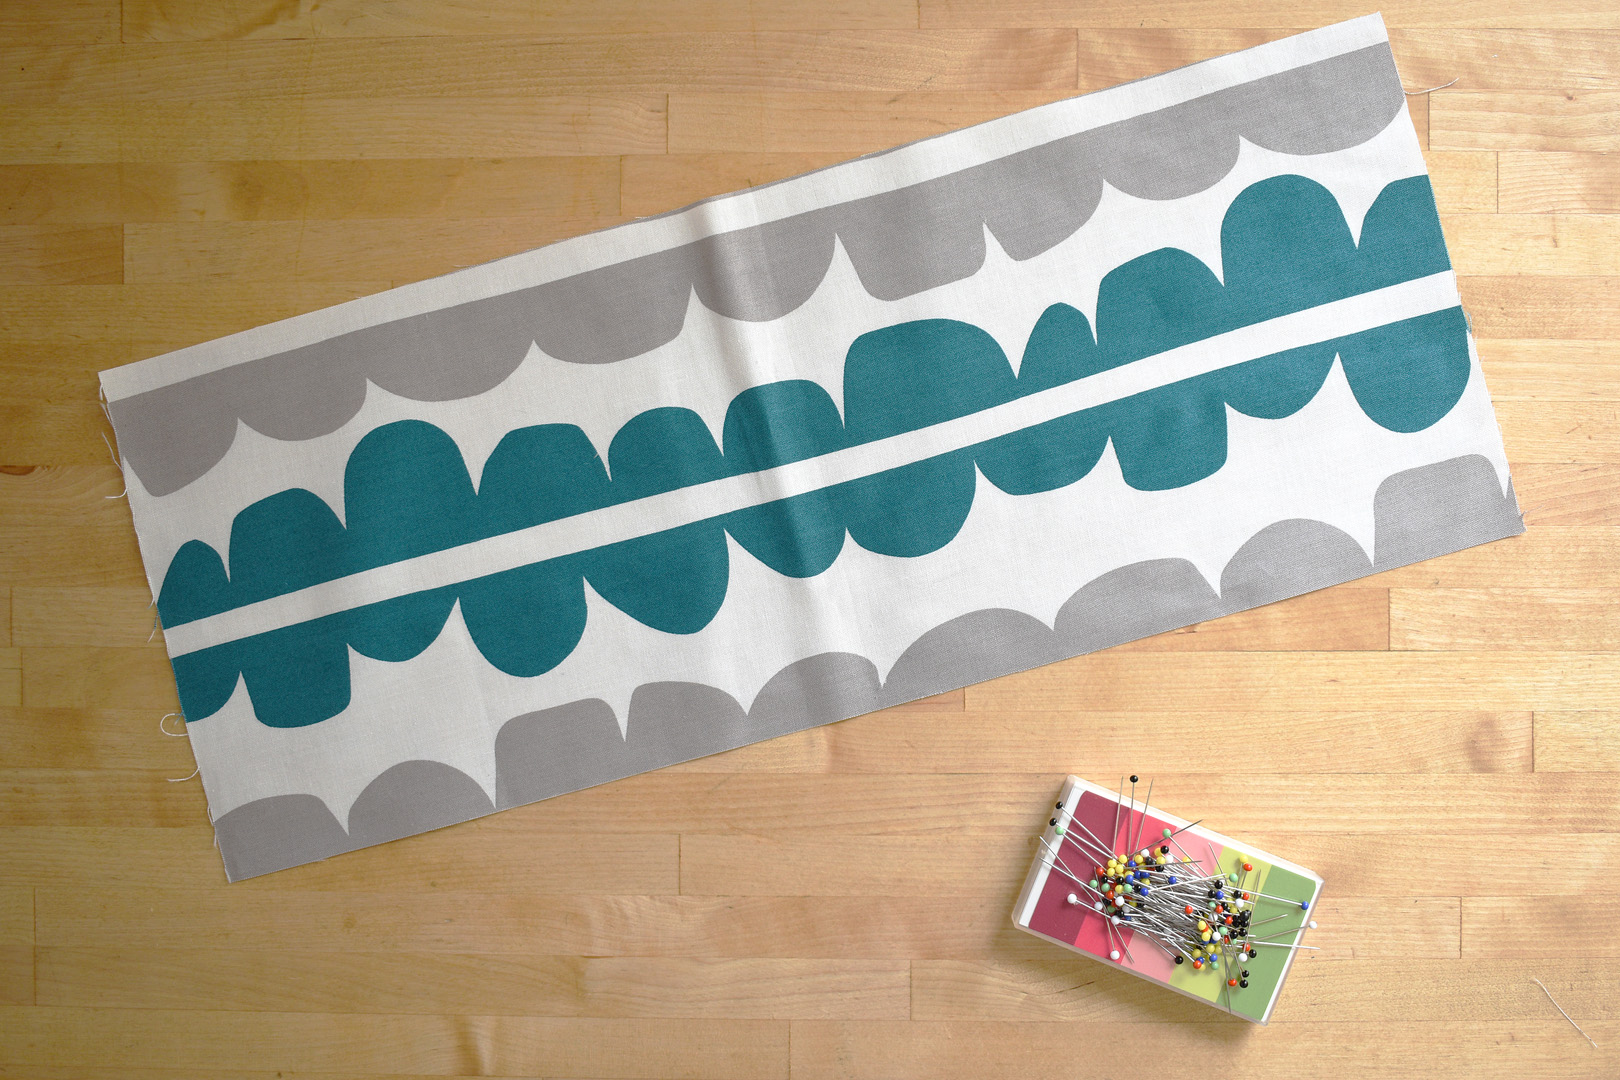
Begin by trimming up the 4 fat quarters for the main bag; 2 fat quarters will become the outside of the main bag, and 2 will become the lining. These 4 fat quarters all need to be trimmed to exactly the same size.
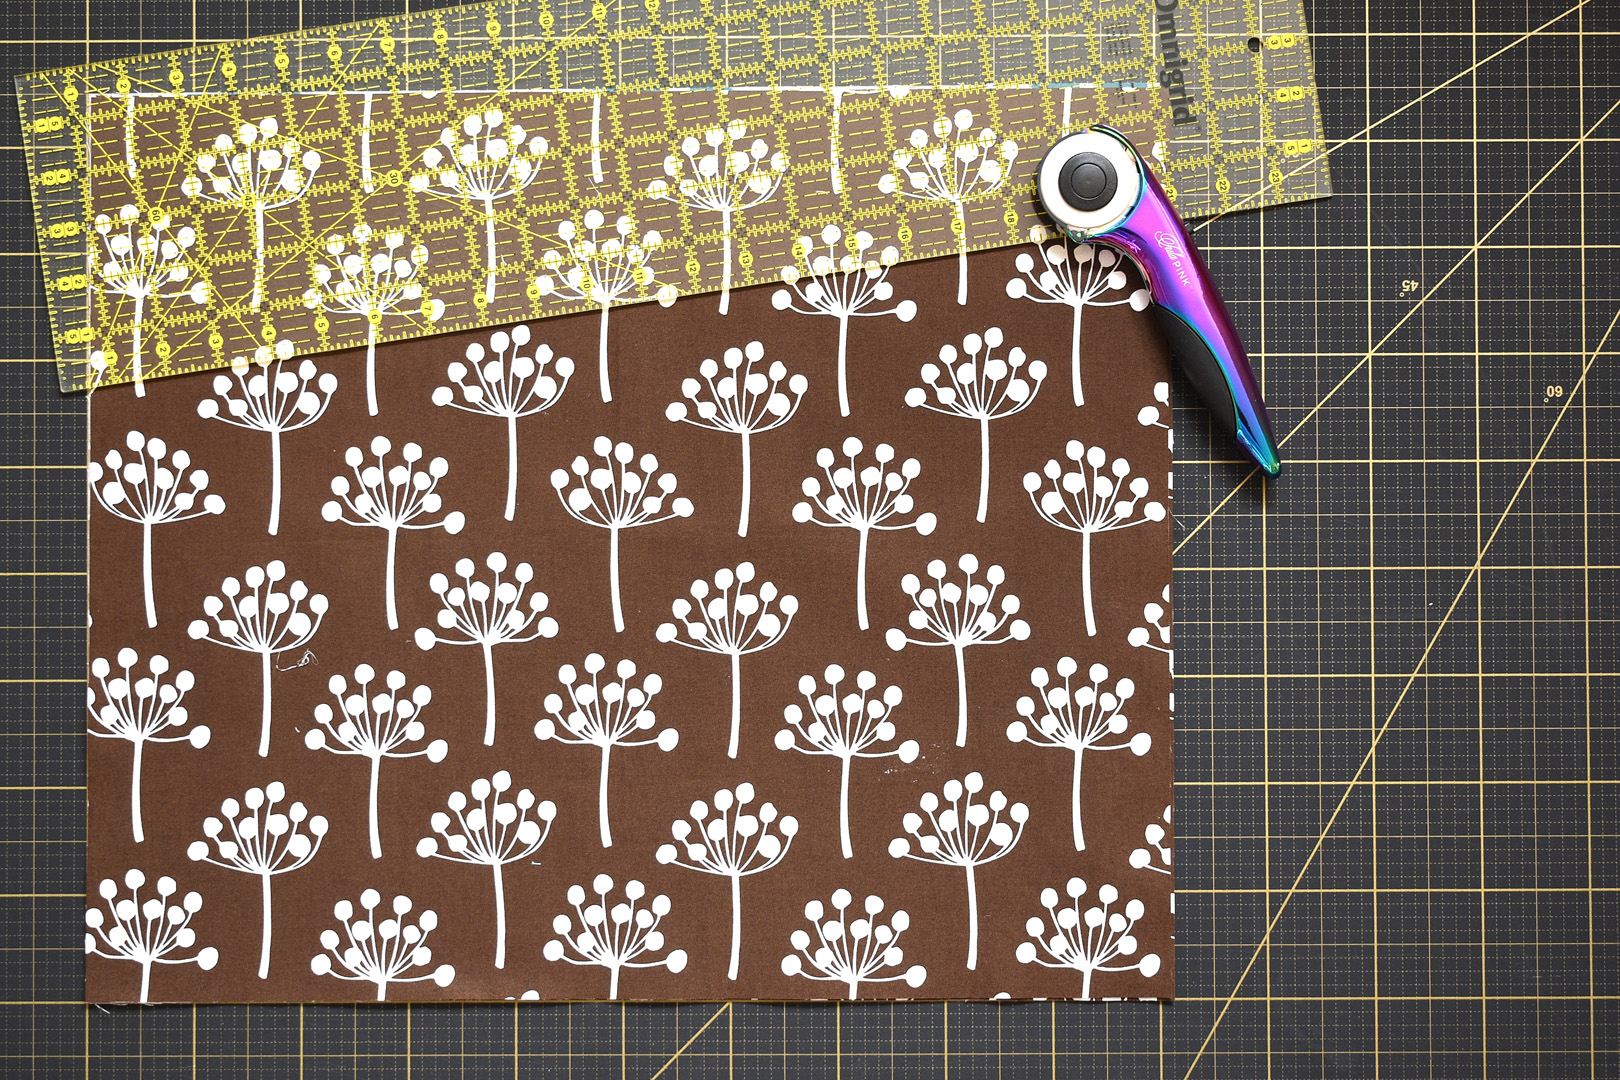
I stack all 4 of these fat quarters together, lining up the selvage edges to trim them all at once. Once I cut off the selvage edges, I trim only the minimum off the other three edges to make them nice and square. Sometimes fat quarters can be cut a bit wonky. Set these pieces aside.
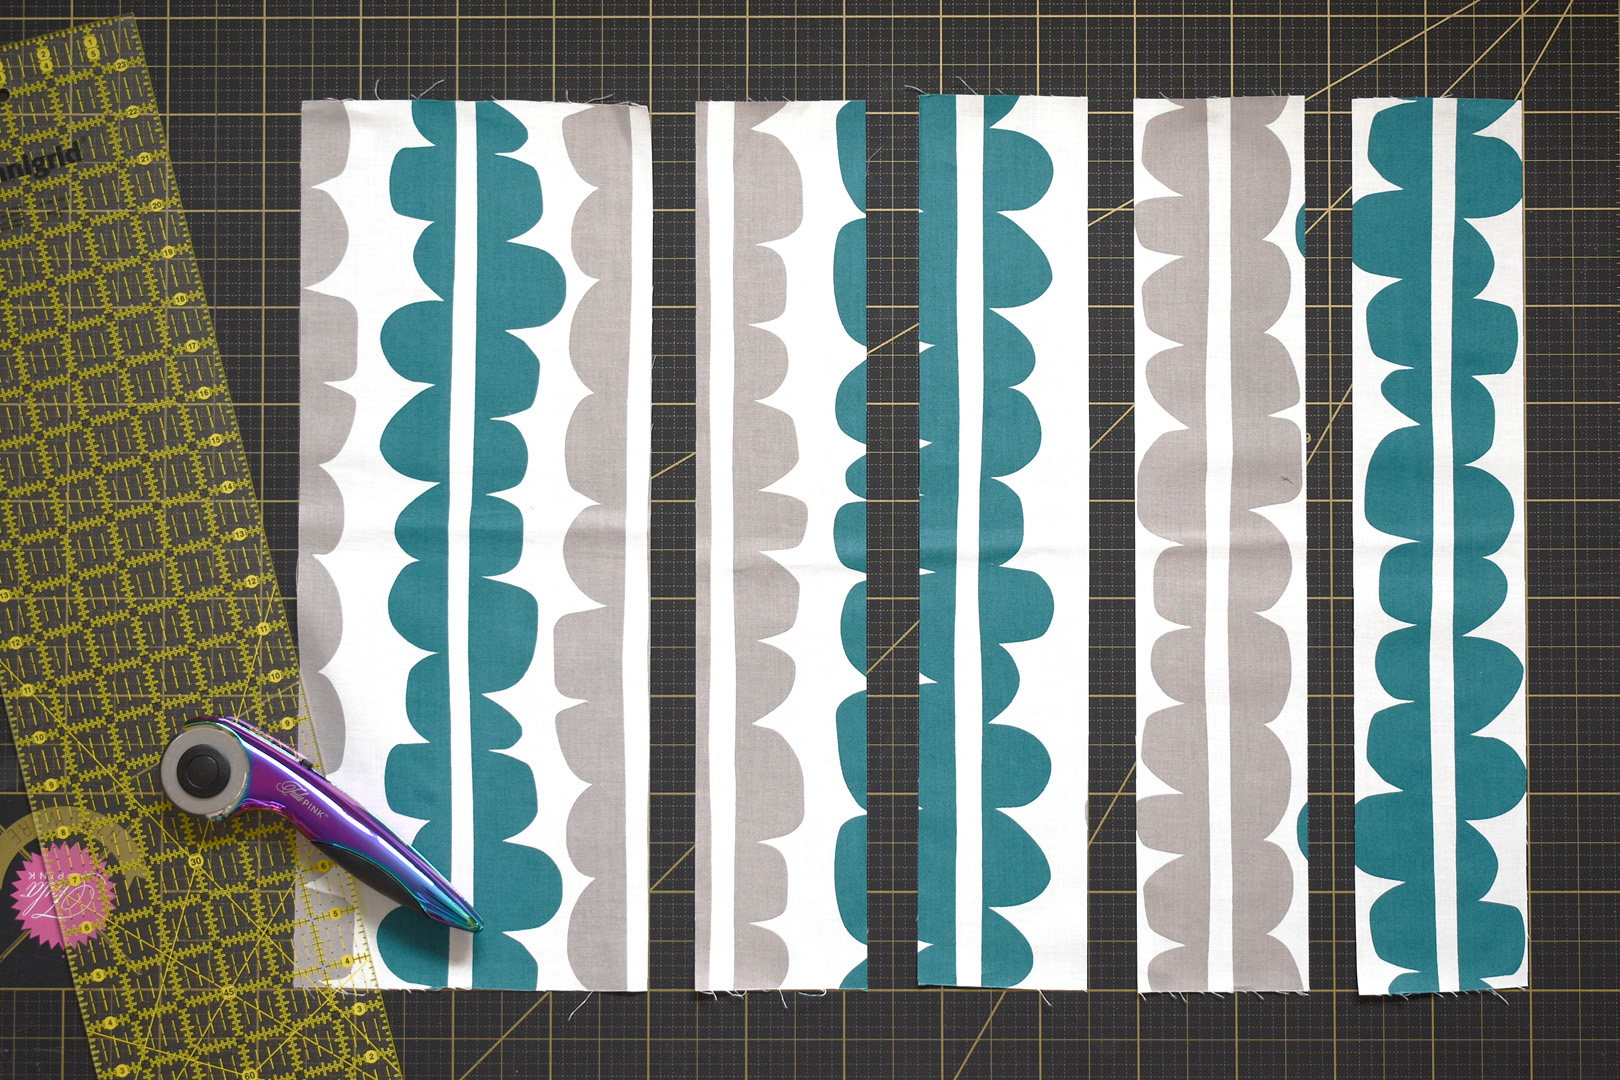
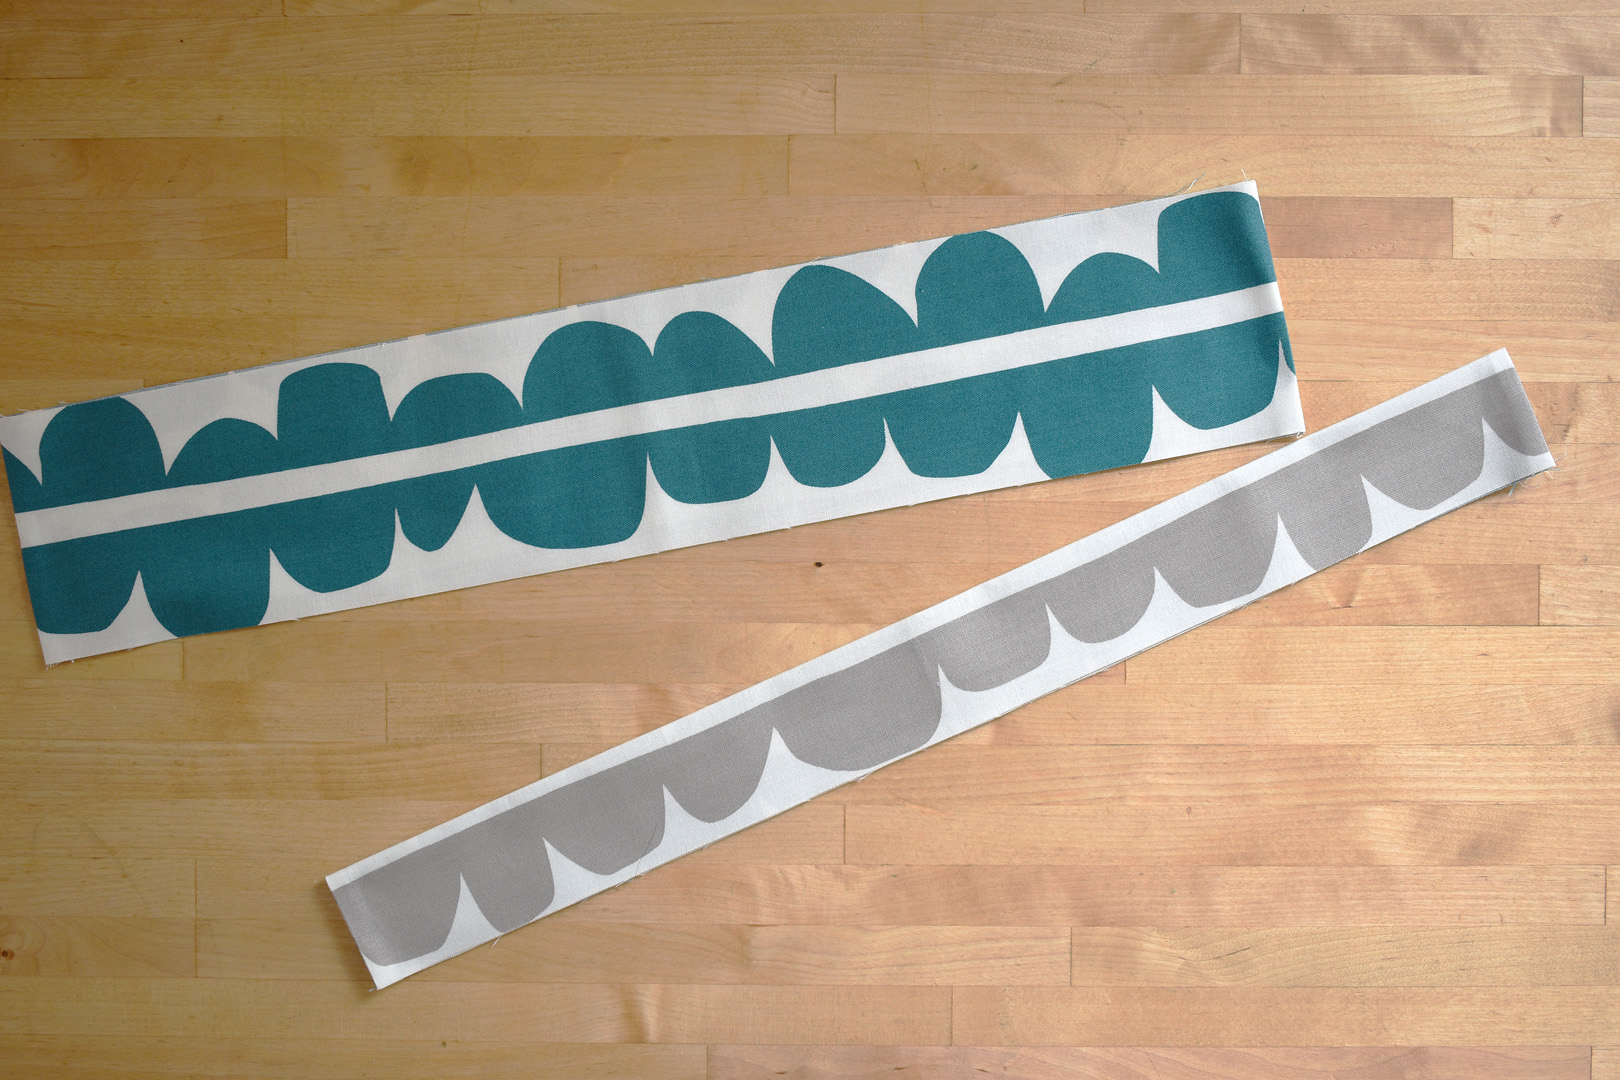
One fat quarter will become the front pocket and the casings for the handle. Lay this fat quarter horizontally on the cutting mat. Cut off the selvage edge, then cut 4 strips each 3 1/2″ wide. The piece left over will become the side pocket. Set these pieces aside.
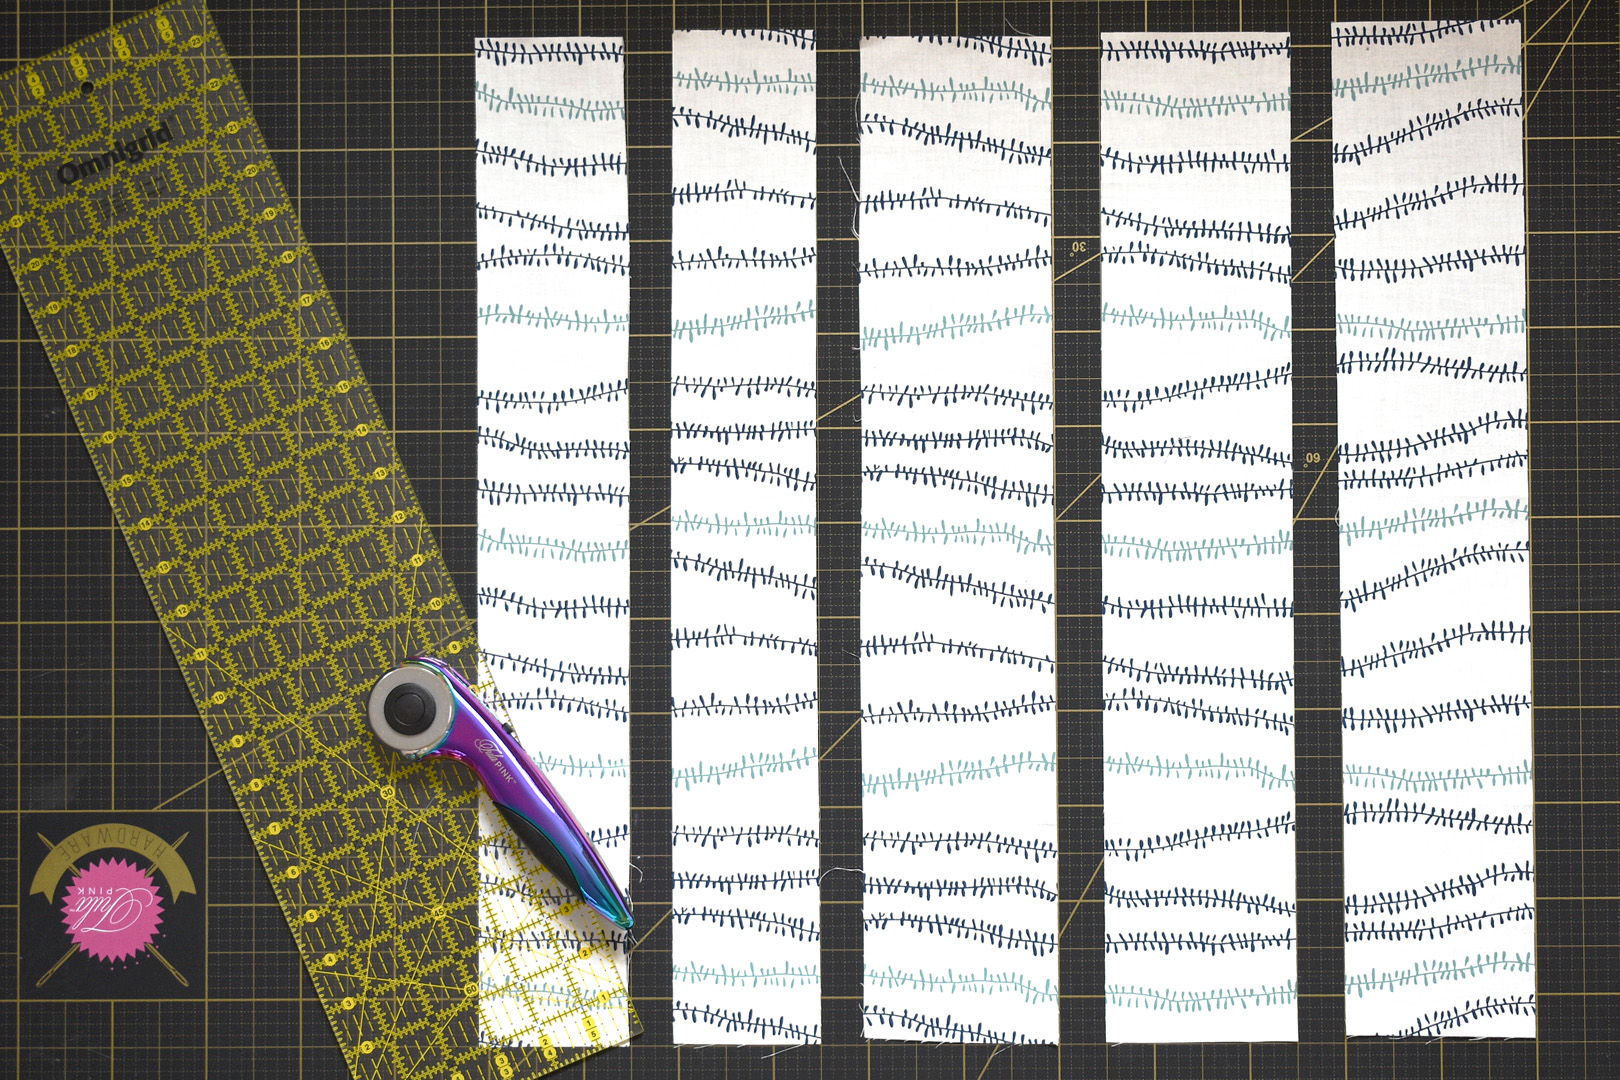
The last fat quarter will become the bag handles and the ties to keep the bag rolled up when not in use. Lay this fat quarter vertically on the cutting mat. Cut off the selvage edge, then cut 3 strips each 4″ wide. The piece left over will become the two small ties to hold the bag closed; cut this piece in half lengthwise to create two strips of equal length. You now have all the bag pieces cut to size.
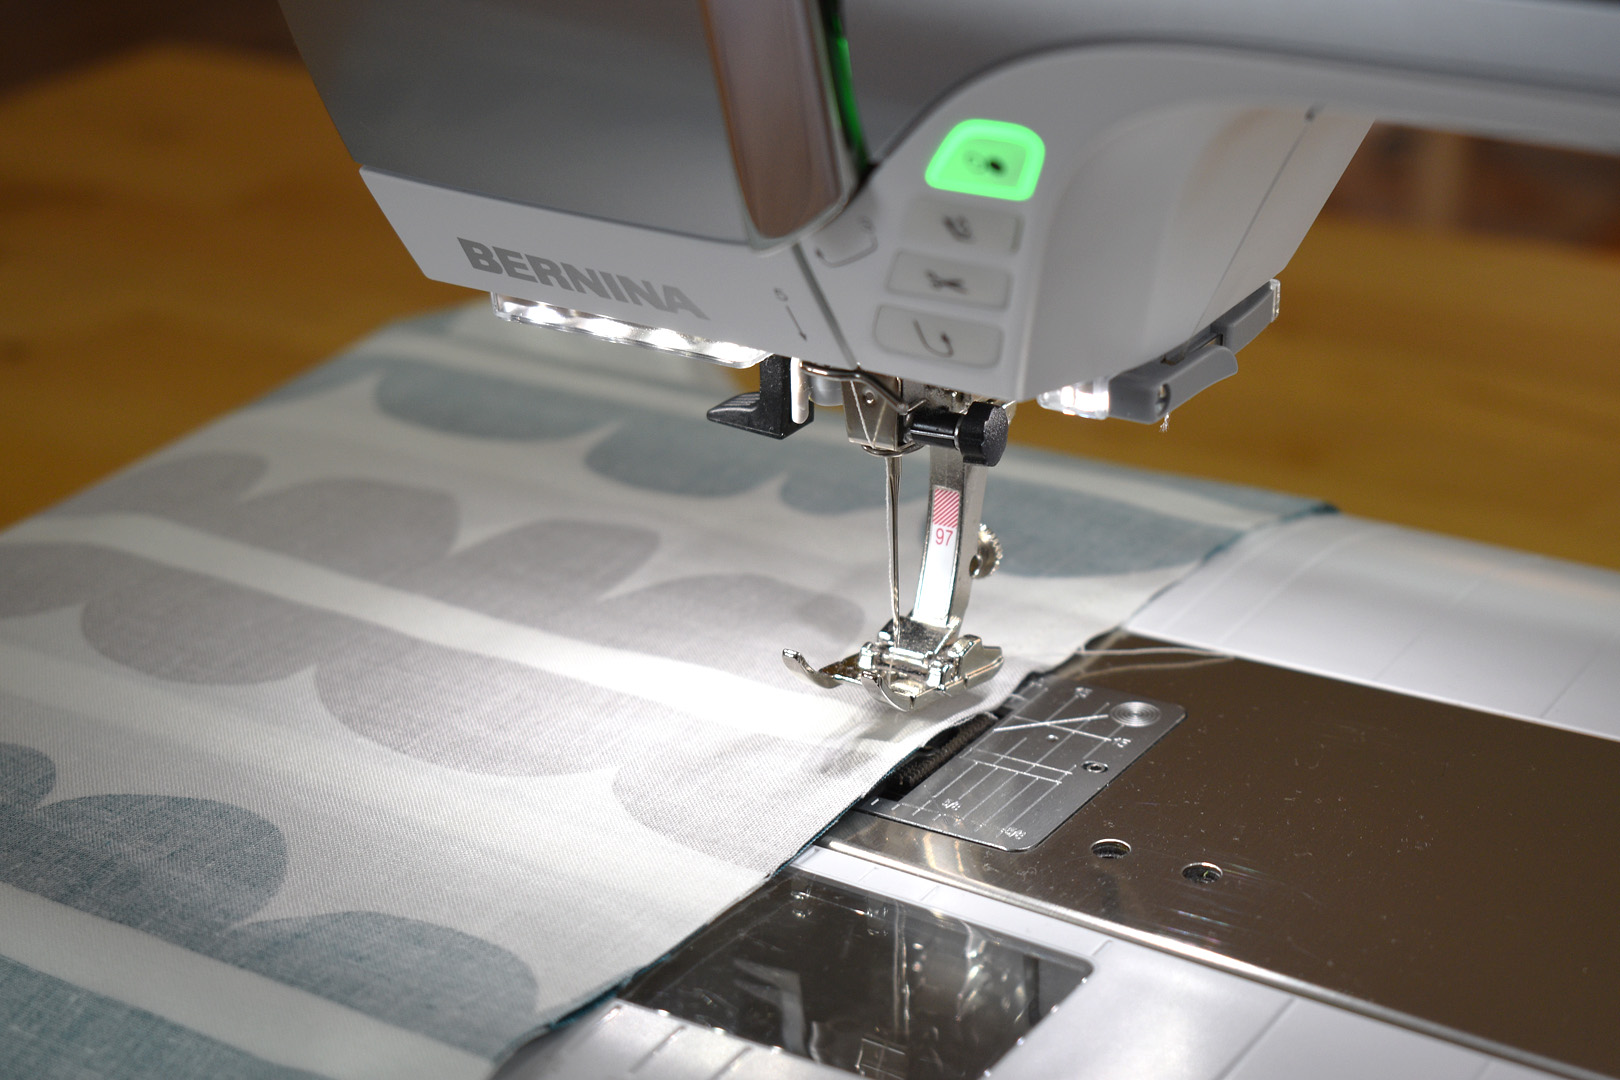
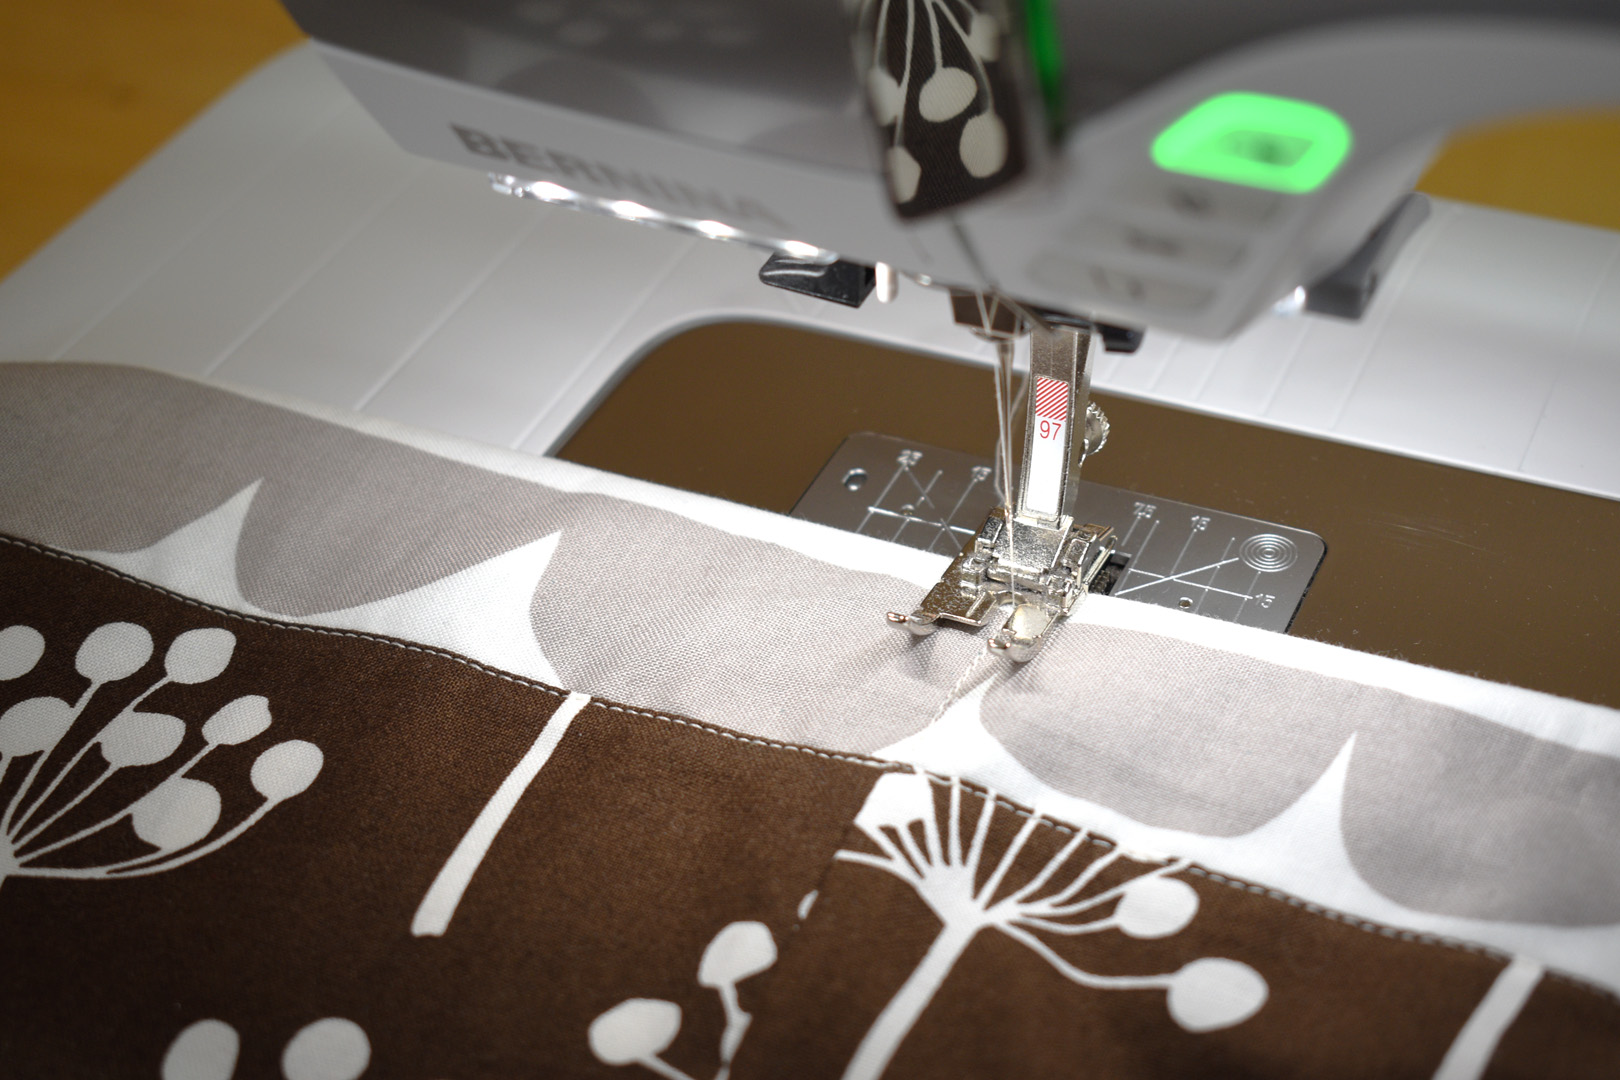
Step 2: Sewing

Get ready to sew!
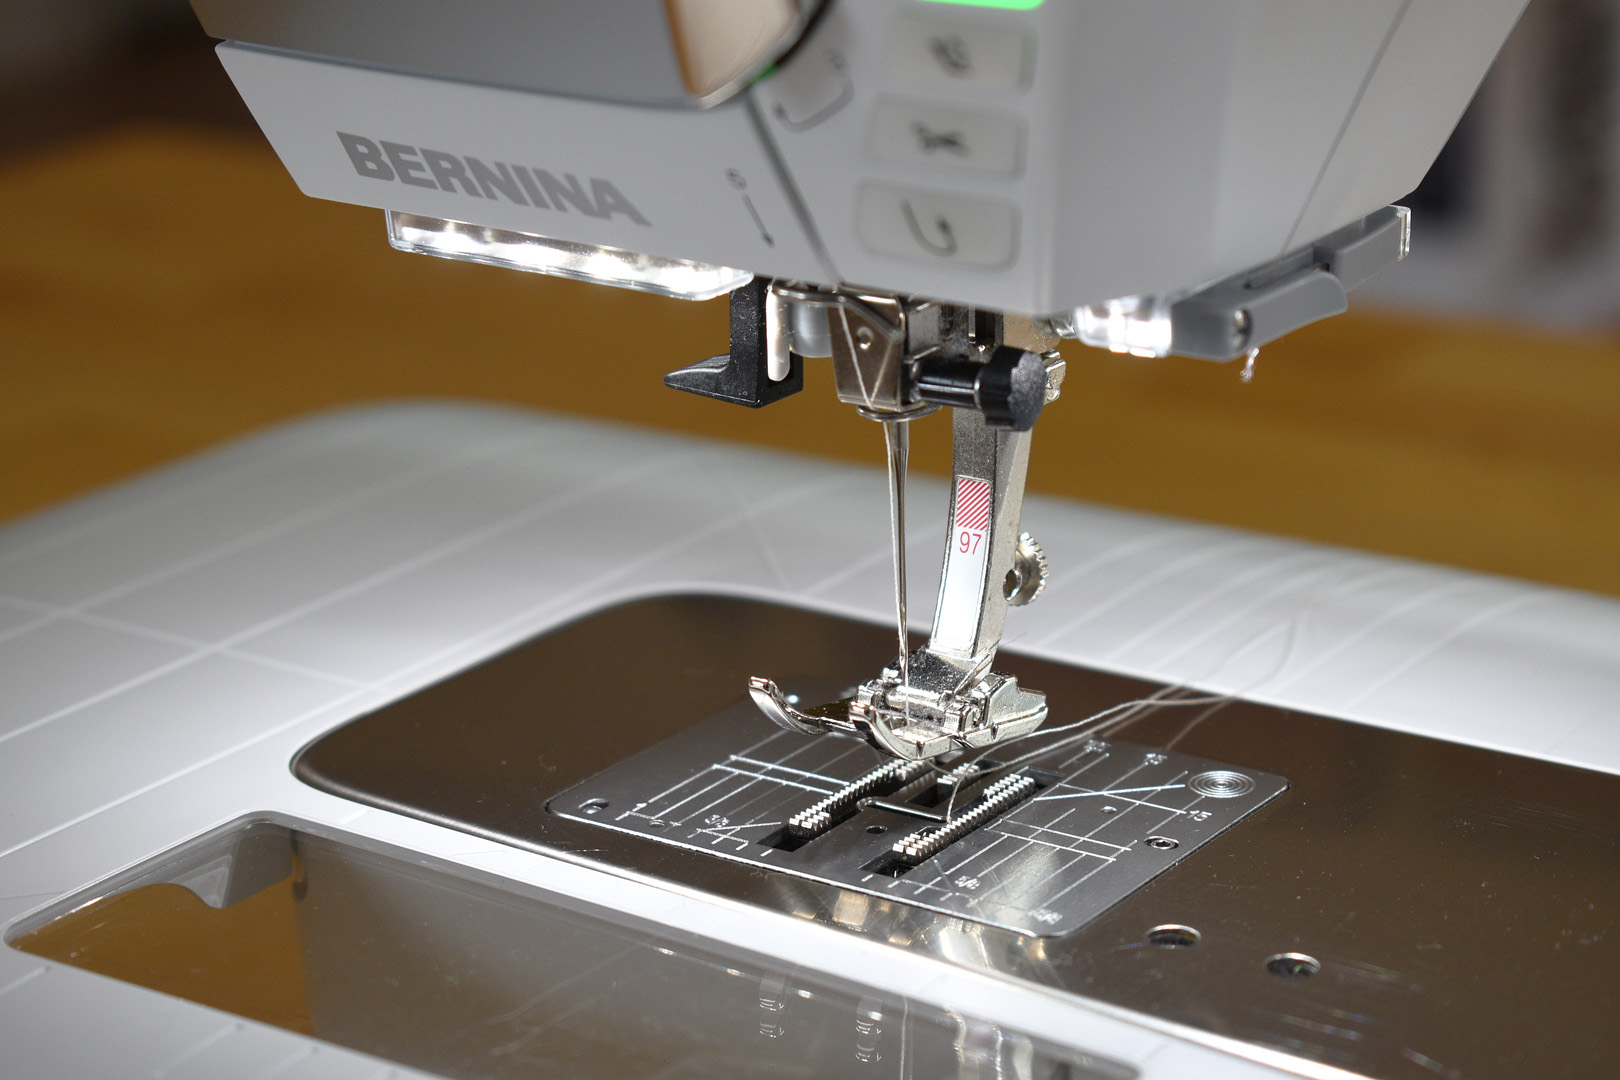
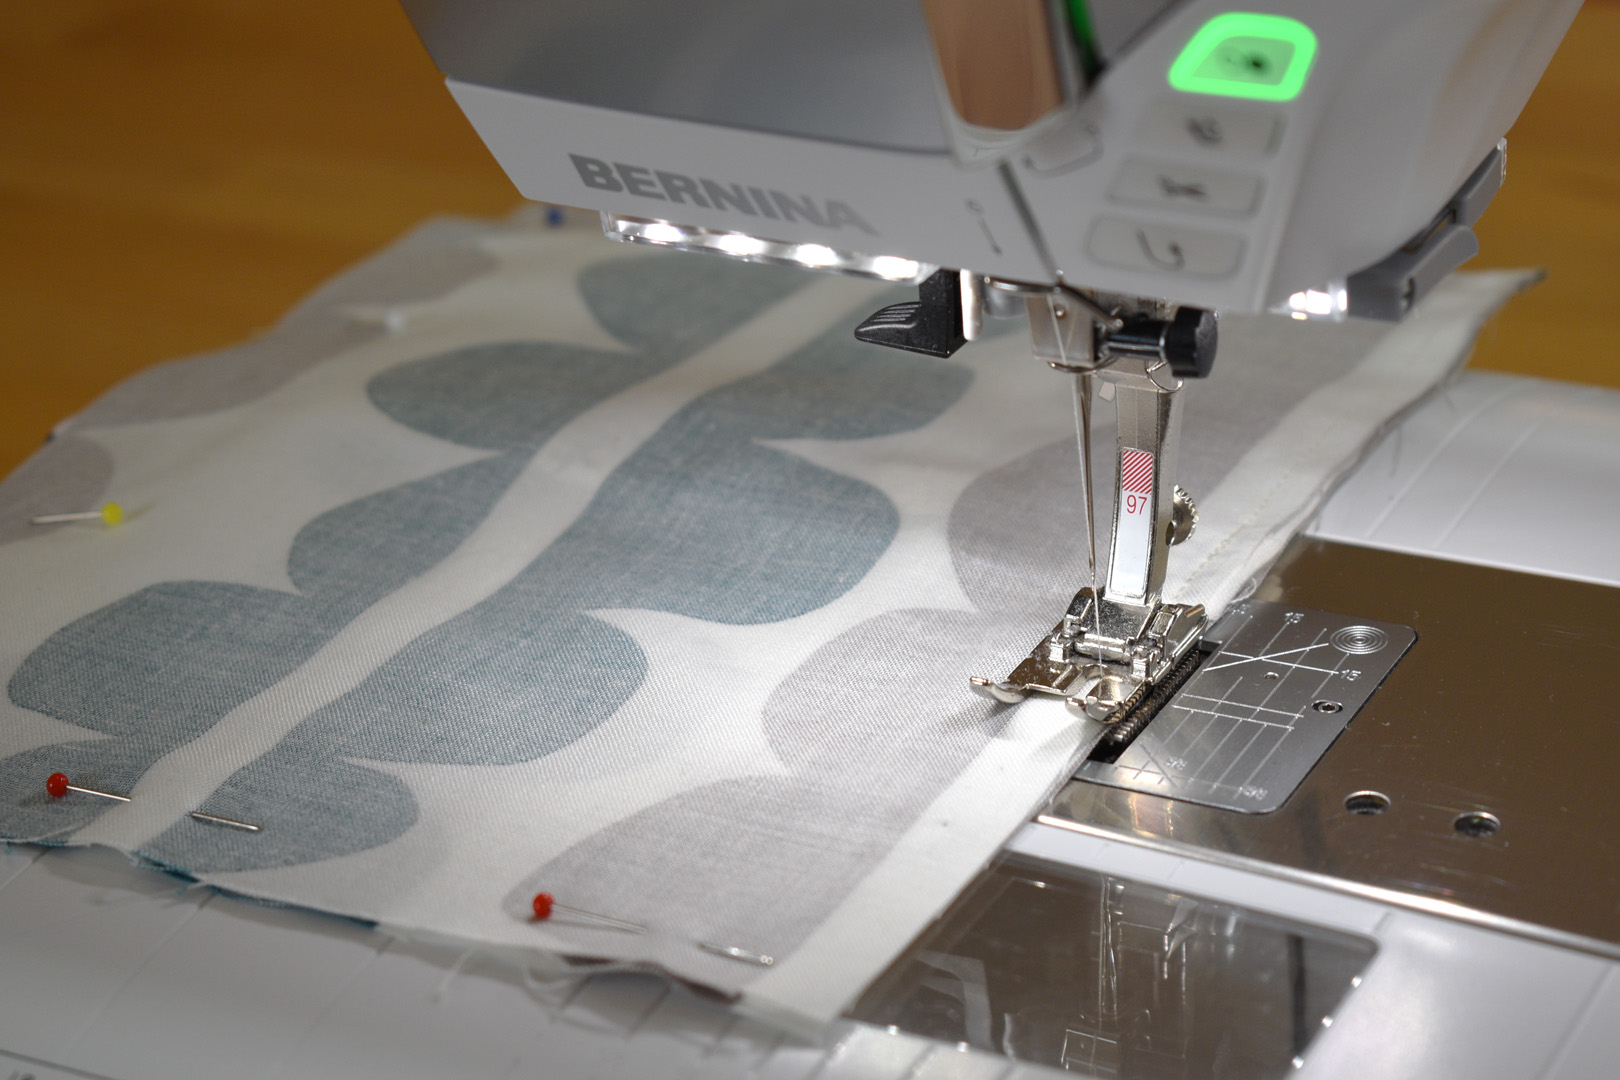
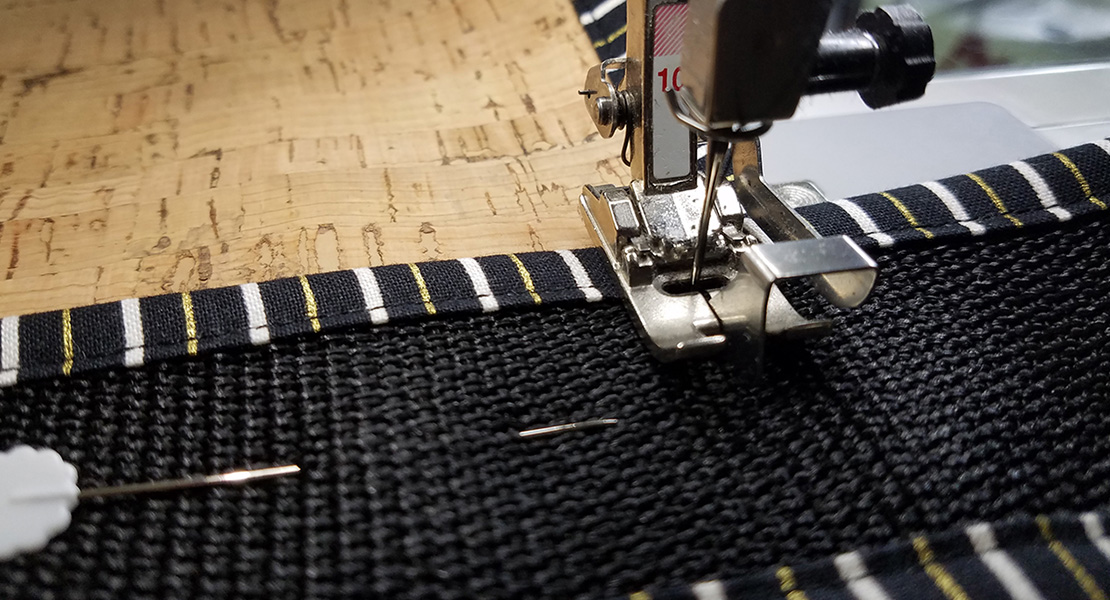
This project is stitched with all straight stitches and quarter-inch seams. I recommend using a patchwork foot for this project (I use Patchwork foot #97), or a straight stitch foot.
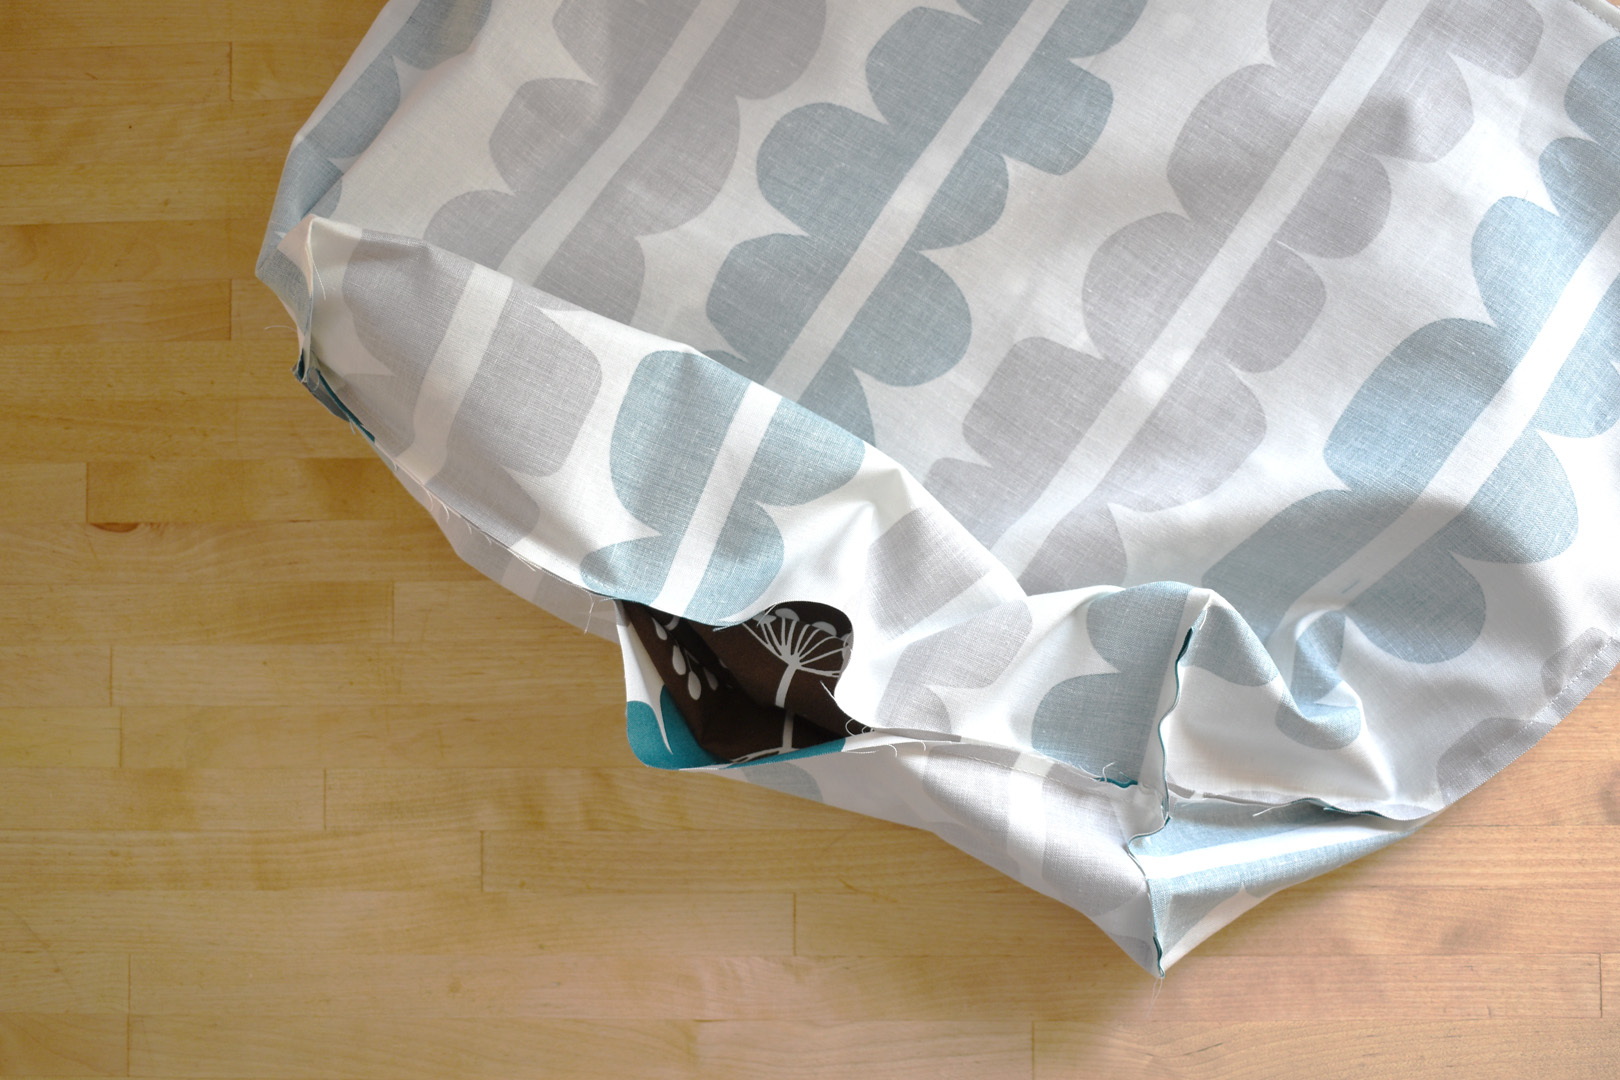
Grab the 2 fat quarters for the outside part of the main bag.
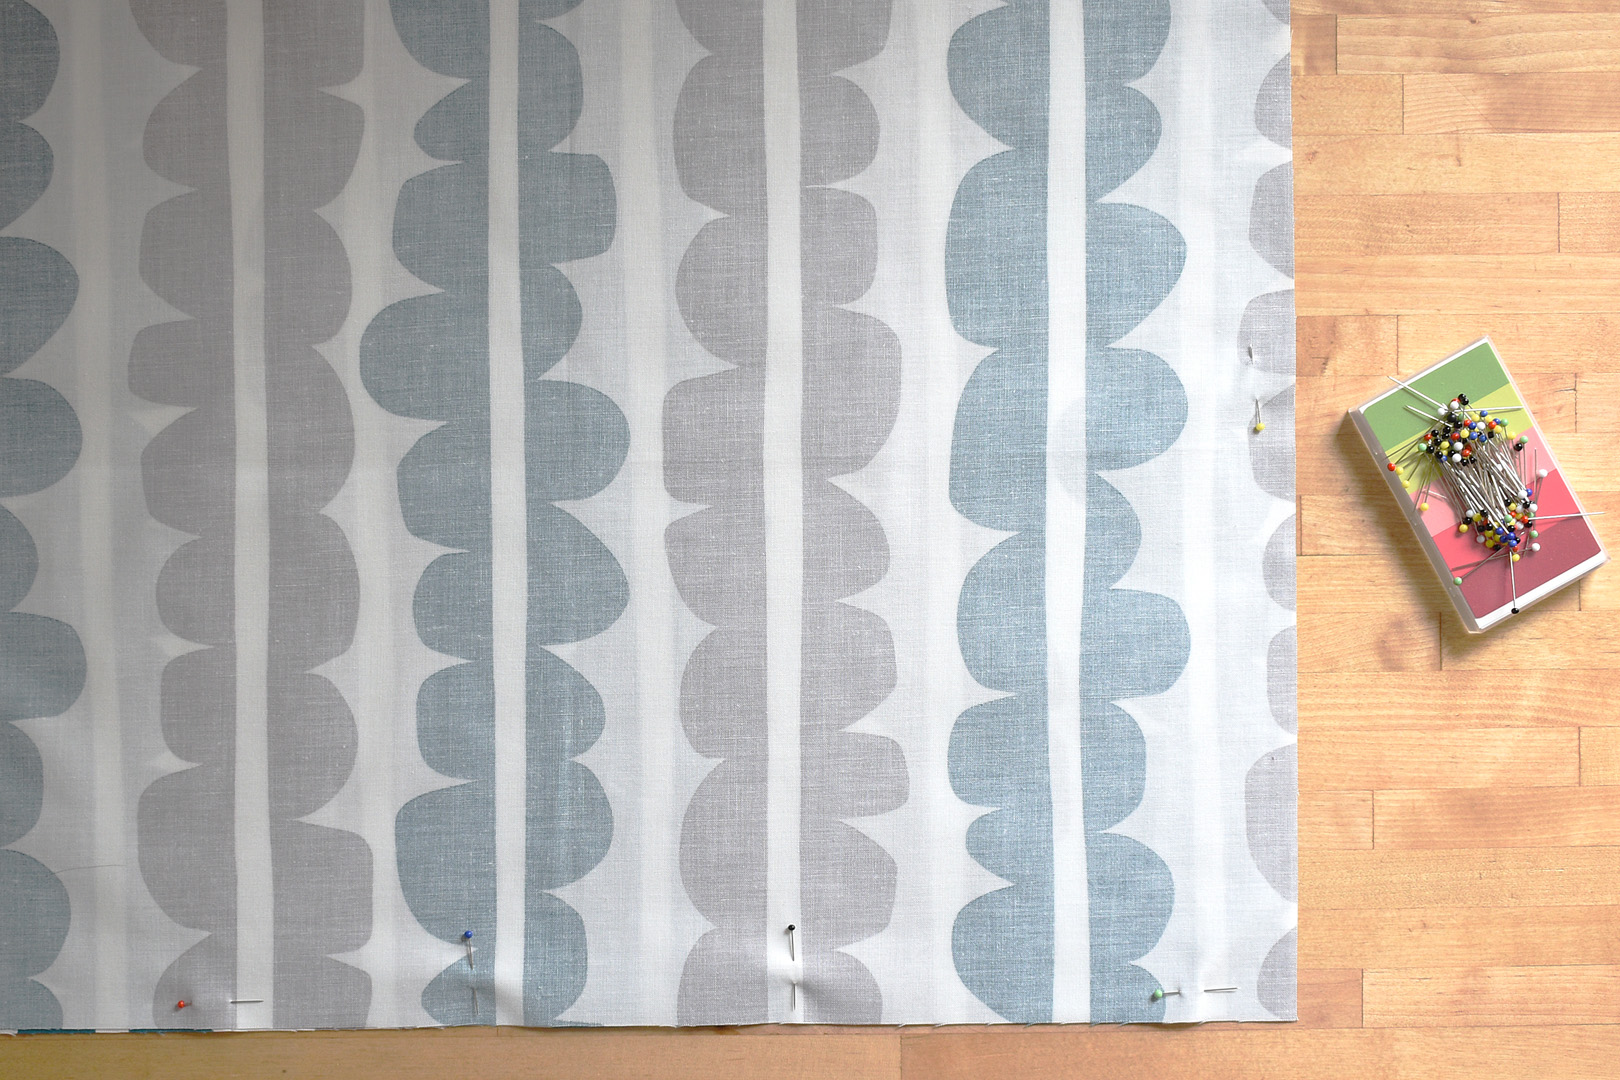
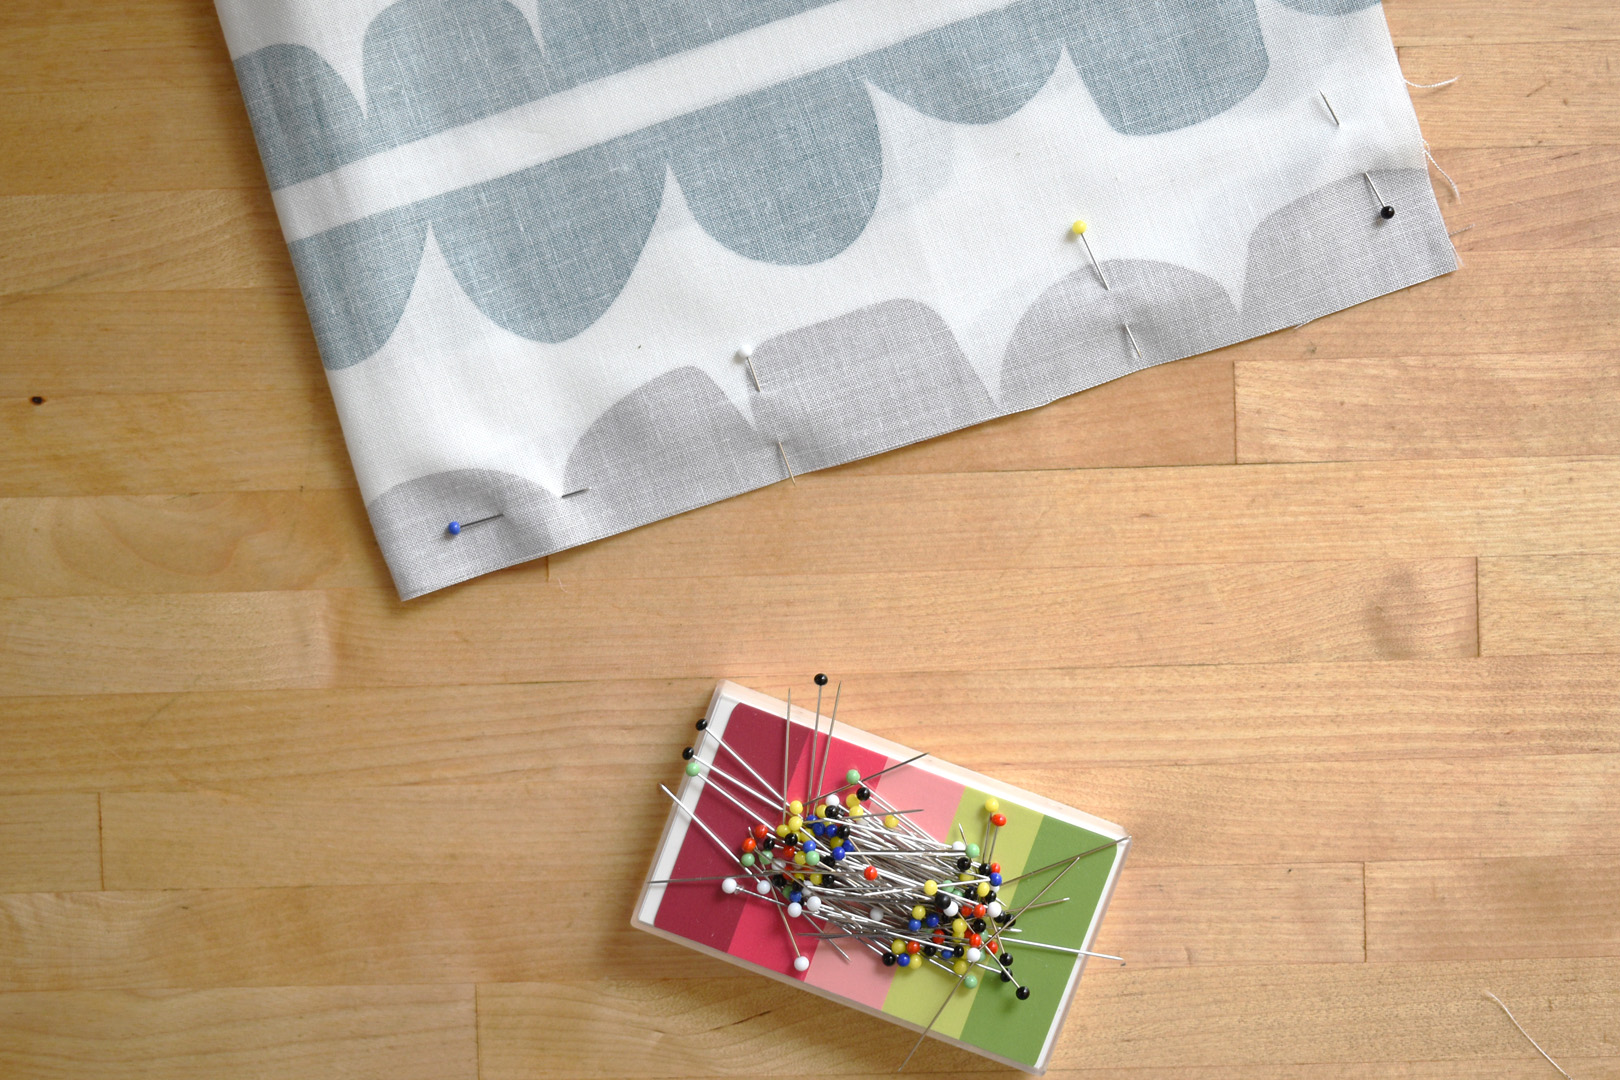
Place these two pieces right sides together, making sure that any directional print is facing up. Pin along the sides and bottom of the pieces.

Sew along the sides and bottom with a 1/4″ seam. Set the outside main bag aside.
Next, place the 2 bag lining pieces right sides together.
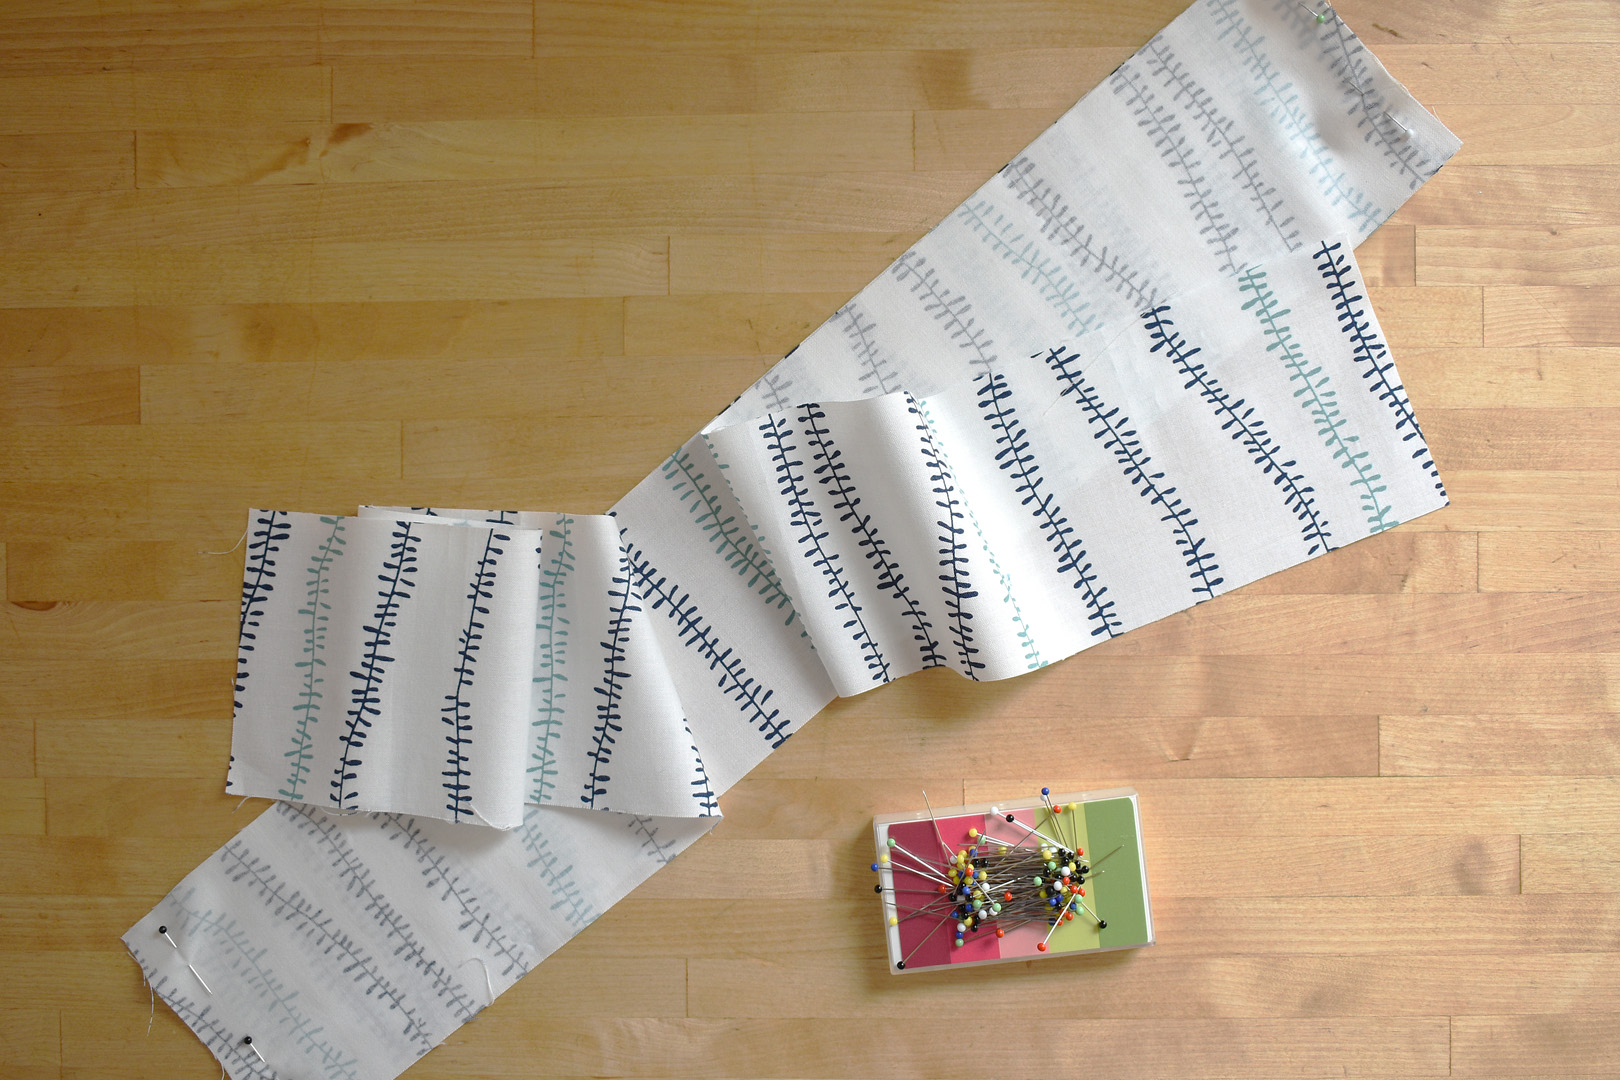
Pin along the sides of the bag lining. On the bottom of the bag lining, be sure to leave a 5″ – 6″ opening in the middle to turn the bag inside out later. I mark this space with pins perpendicular to the edge to remind me to stop sewing at the opening.
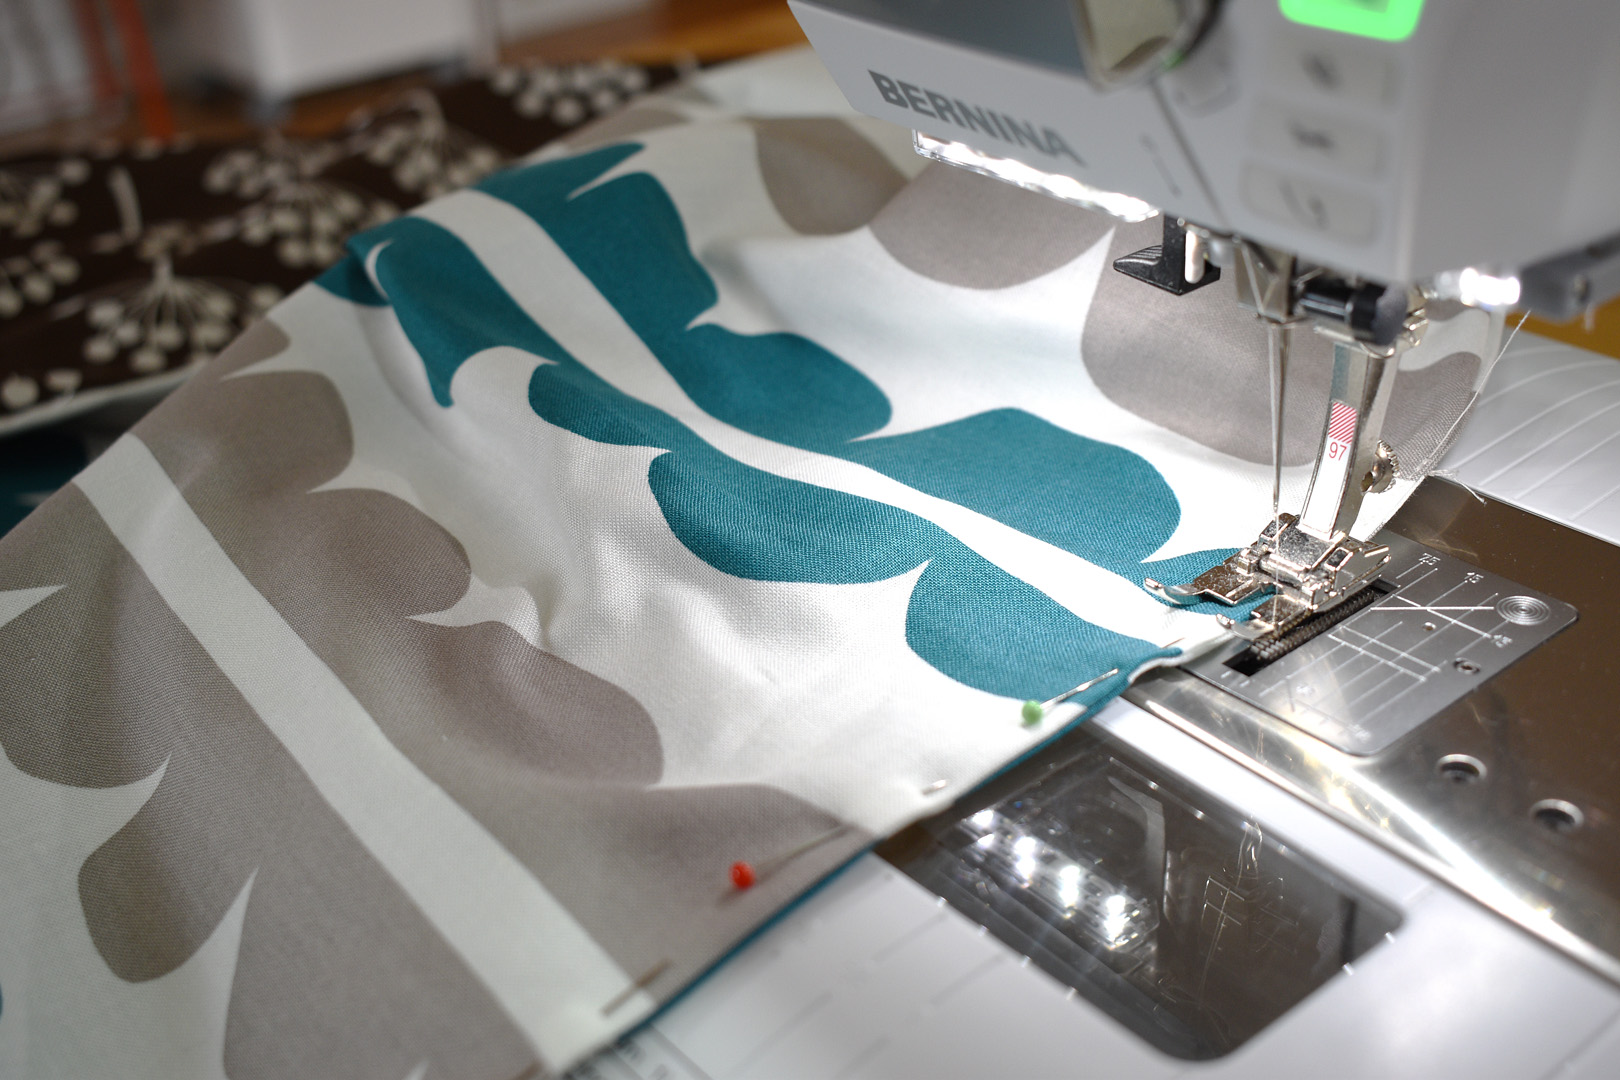
Sew along the sides and bottom with a 1/4″ seam, making sure to leave the bottom center 5″ – 6″ open.
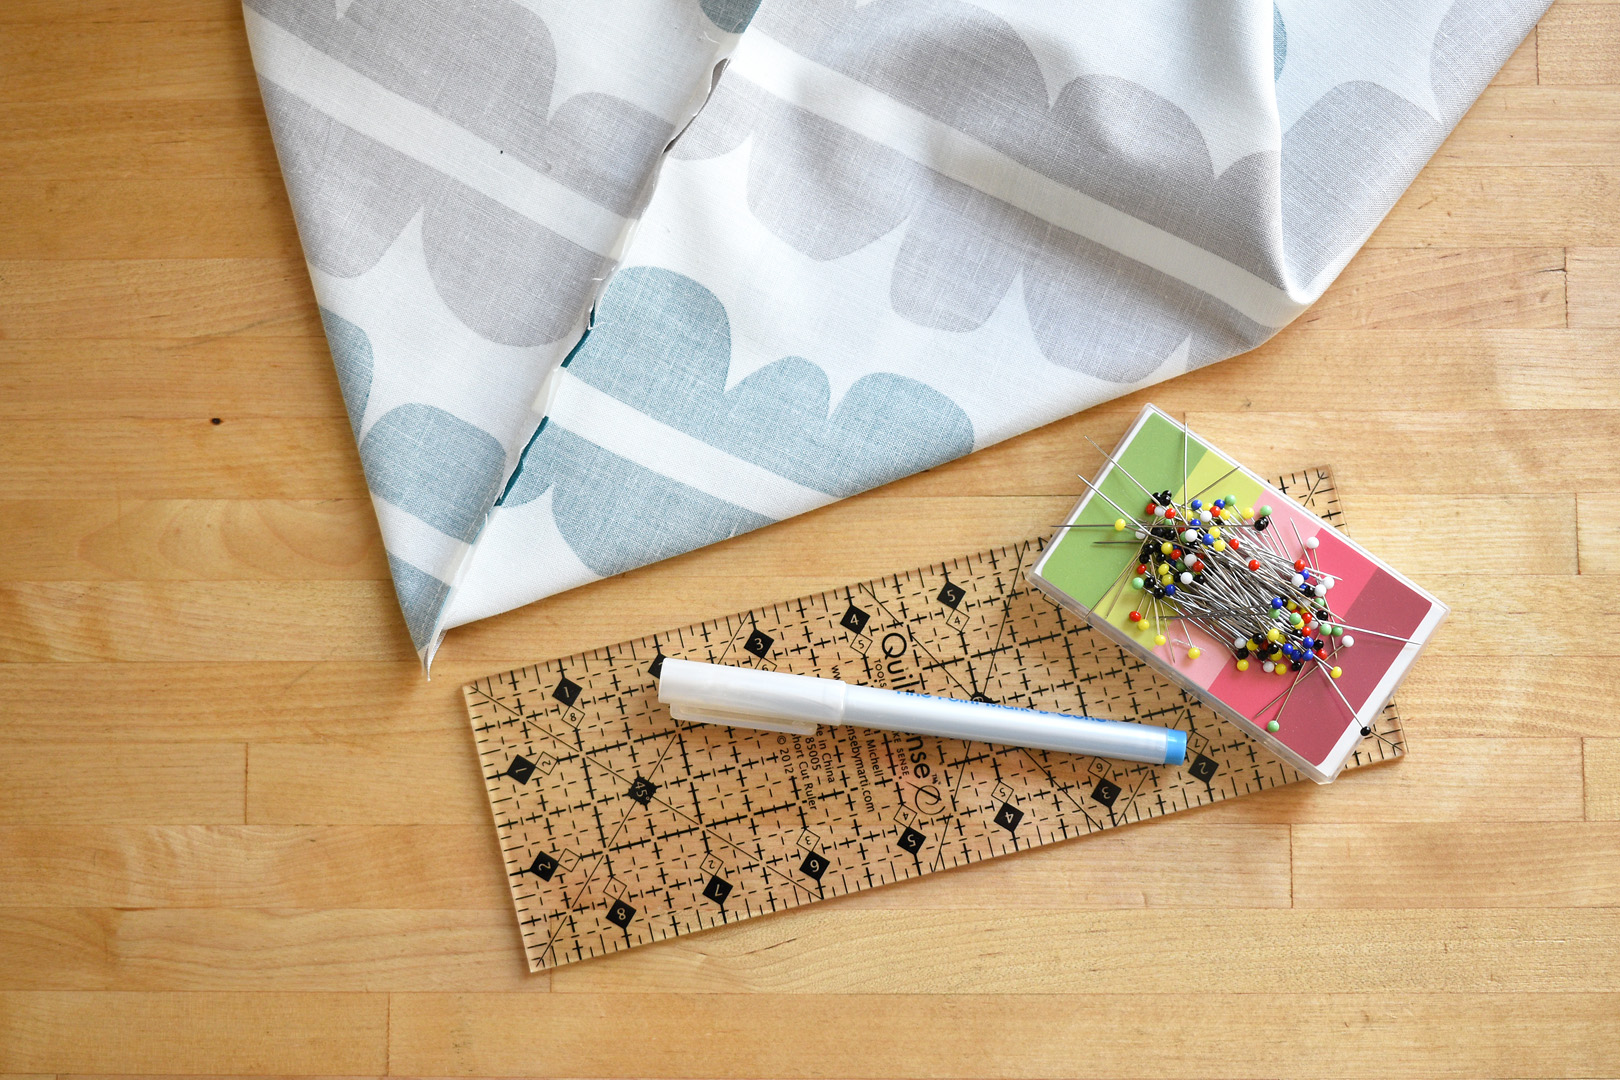
Sew the boxed corners for both the main bag and bag lining with a small ruler, pins, and a fabric marking pen or pencil. On the bag lining, fold one corner so the seams match in the middle. Finger press the sides flat on your work surface.
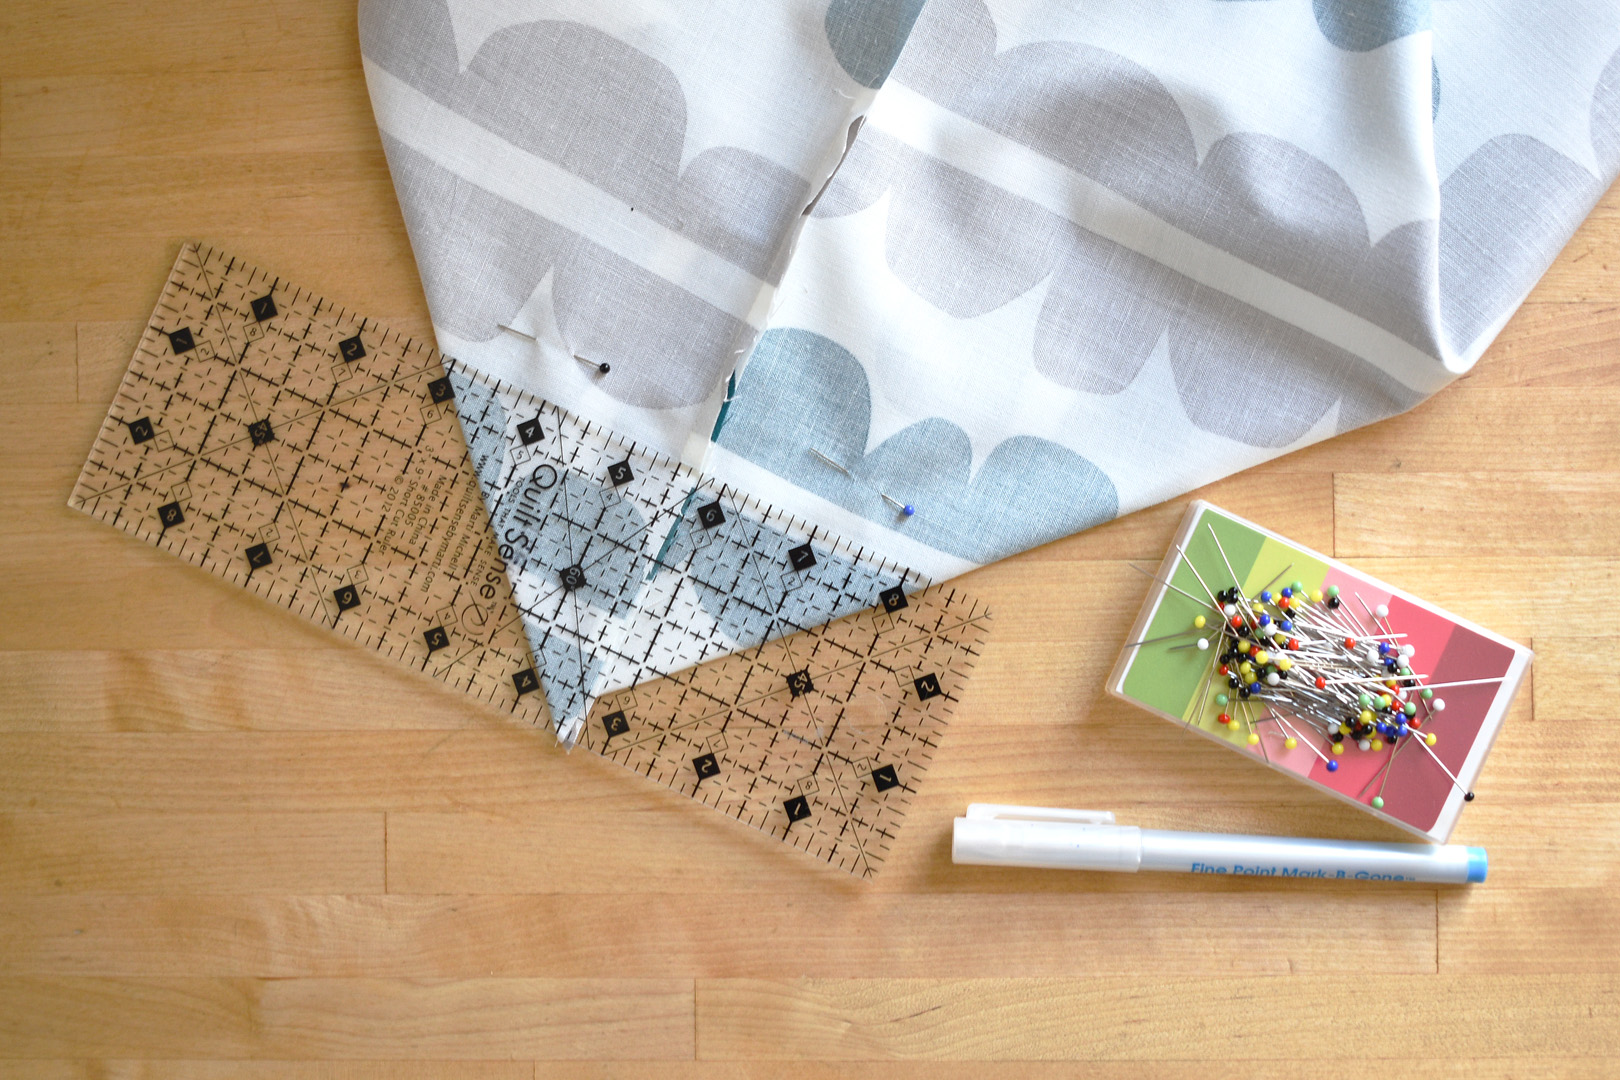
With a clear ruler, measure exactly 3″ on the seam from the corner of the bag. Use a few pins above the 3″ line to hold the bag corner in place.
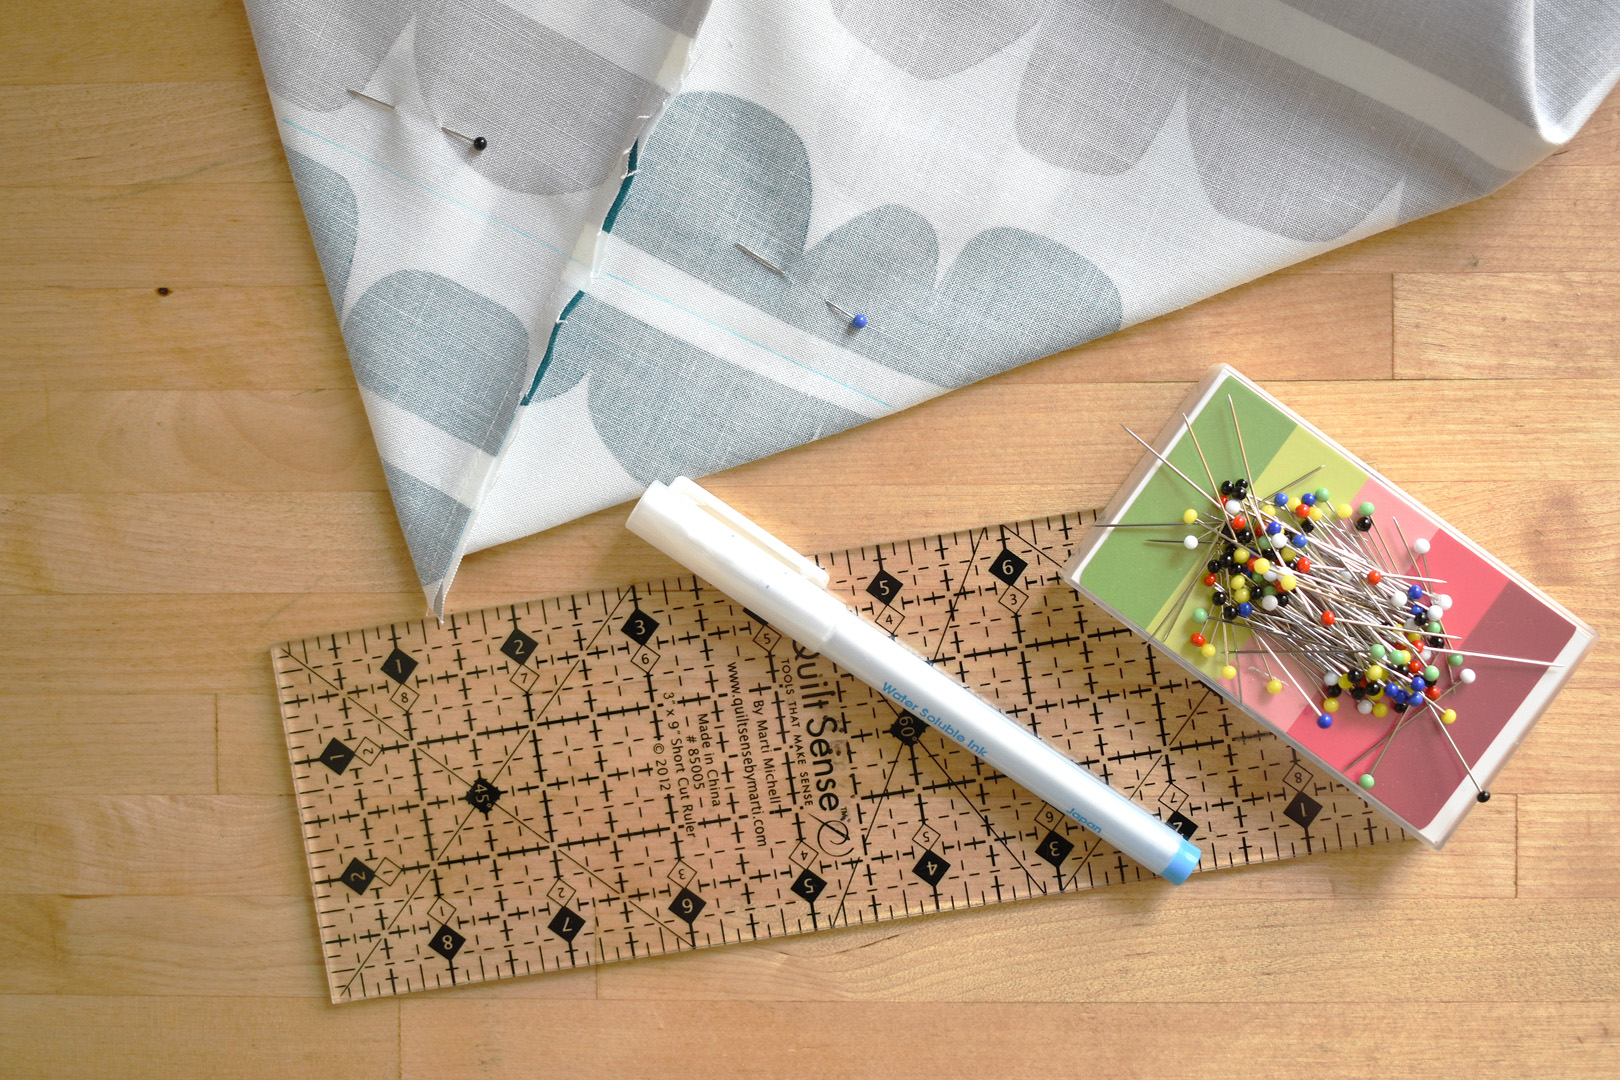
Mark the 3″ line with the fabric marking pen or pencil. Repeat this process with all corners on both the bag lining and outside bag.
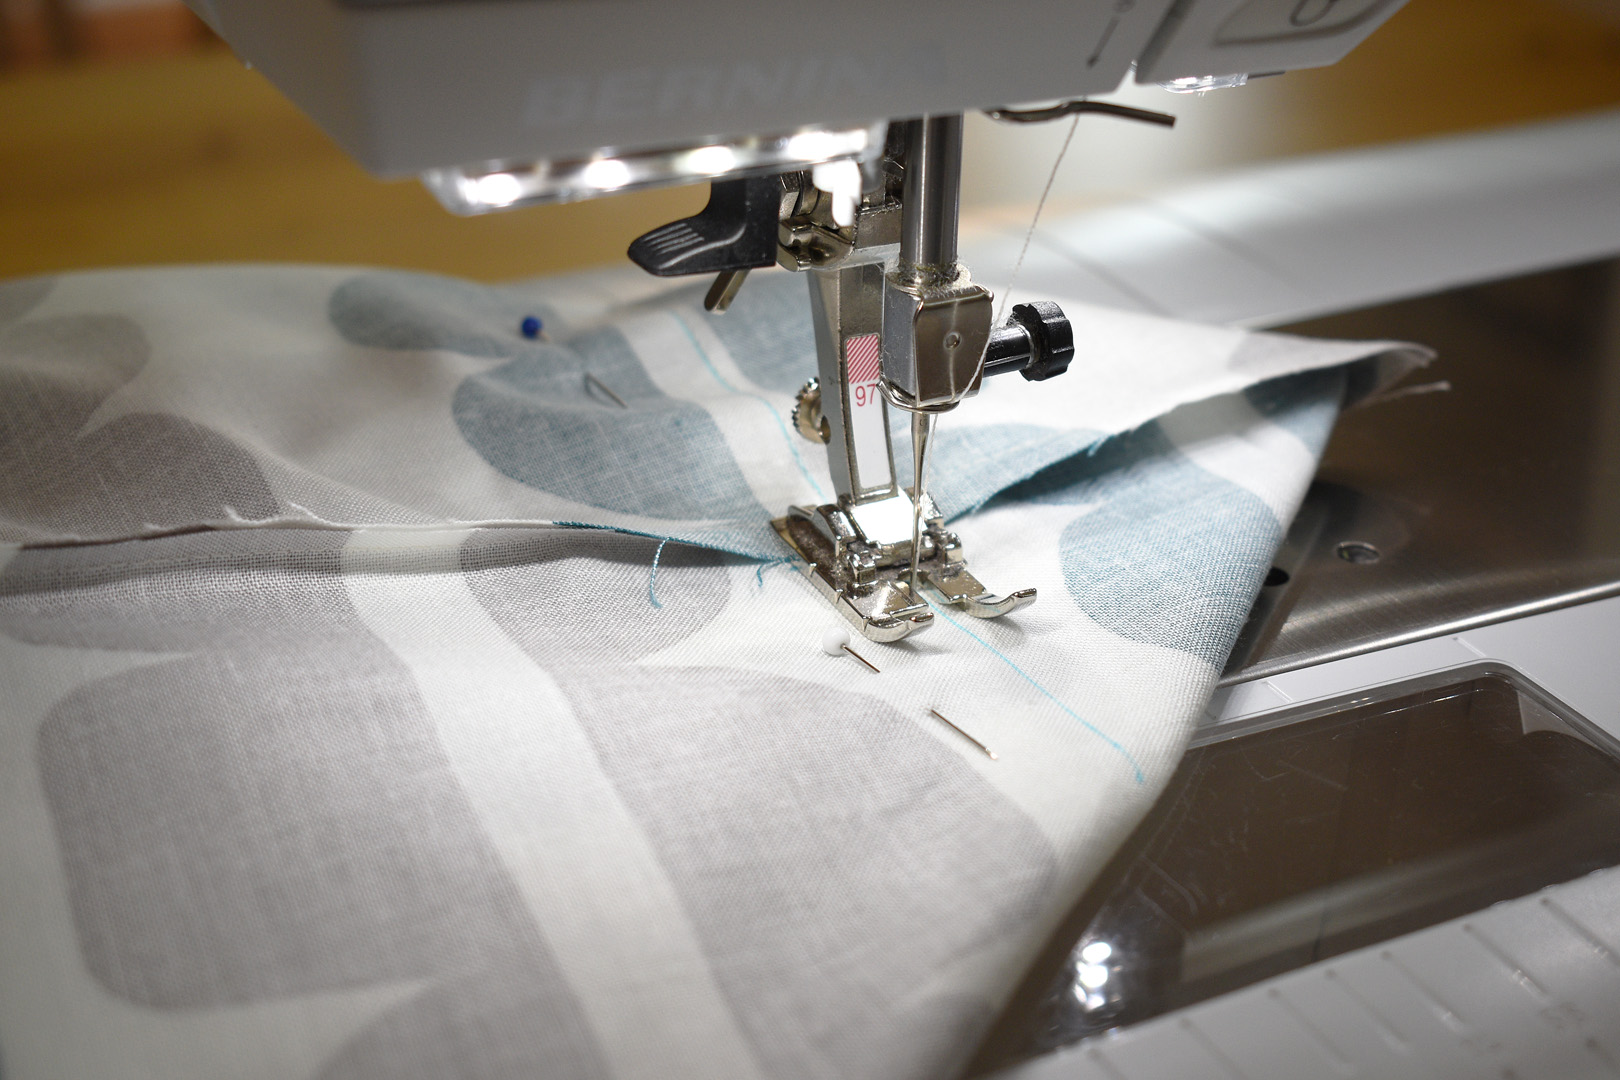
Stitch directly on the marked line across the corner of the bag.
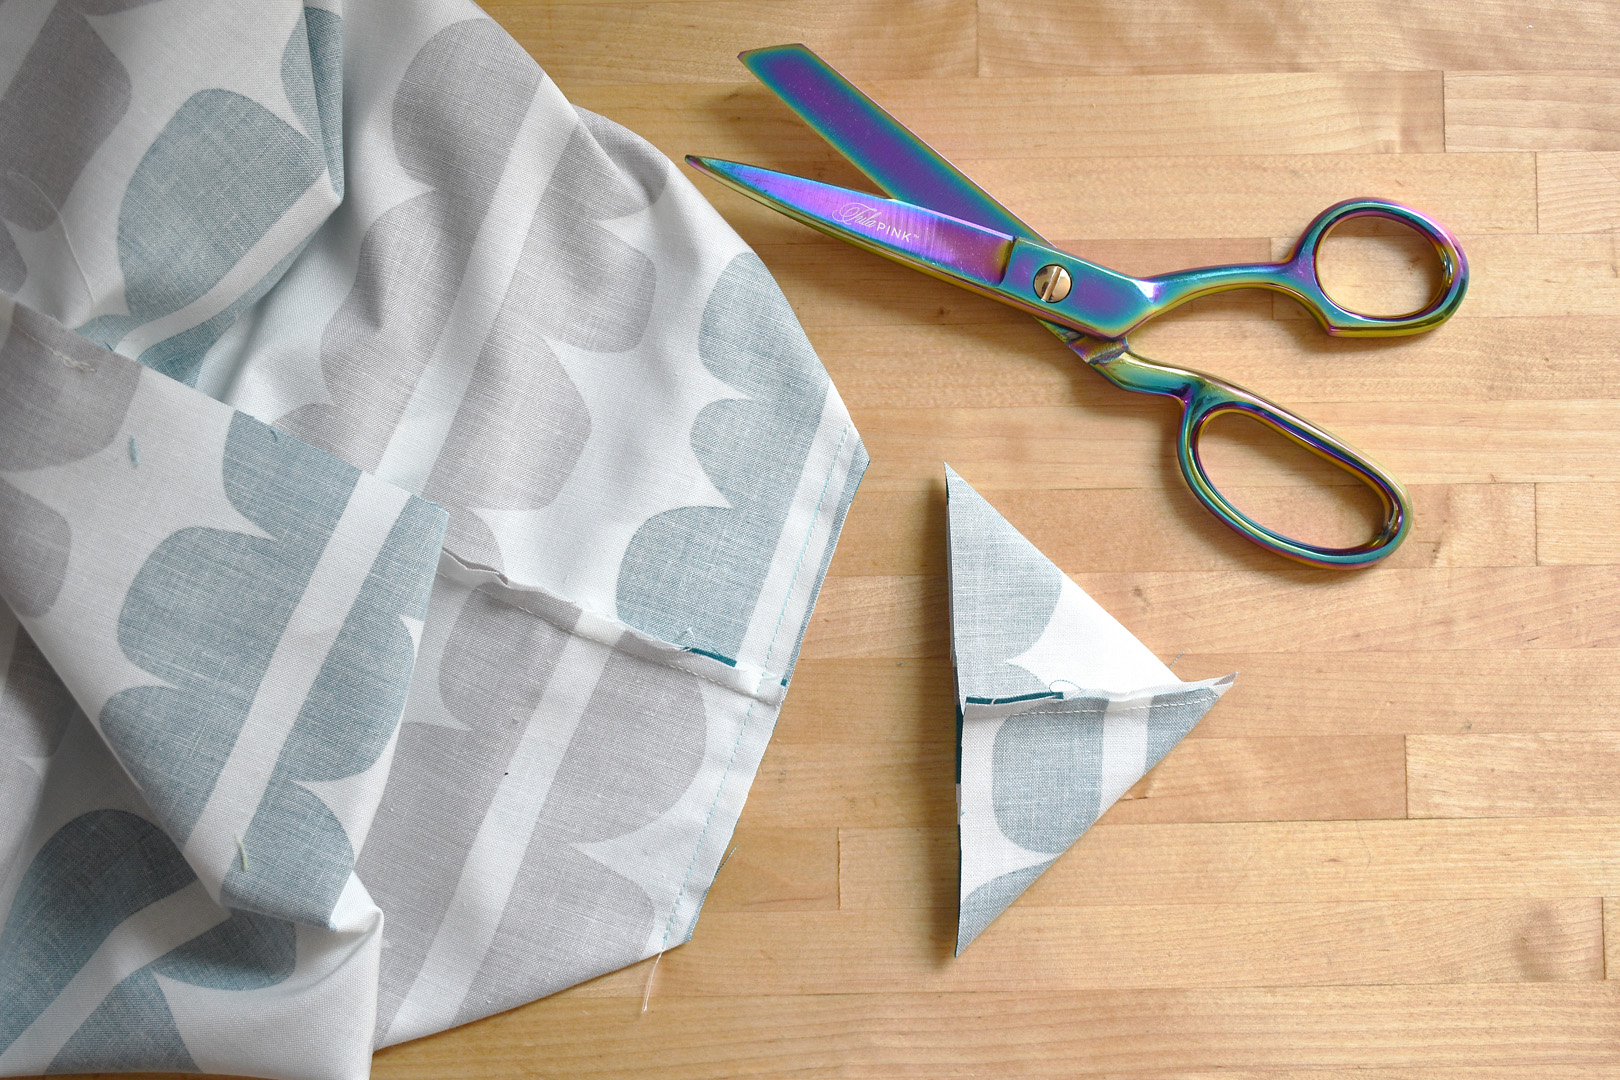
Cut off the corner about 1/4″ away from the stitching. Repeat with all other corners. Set the bag lining and outside to the side.
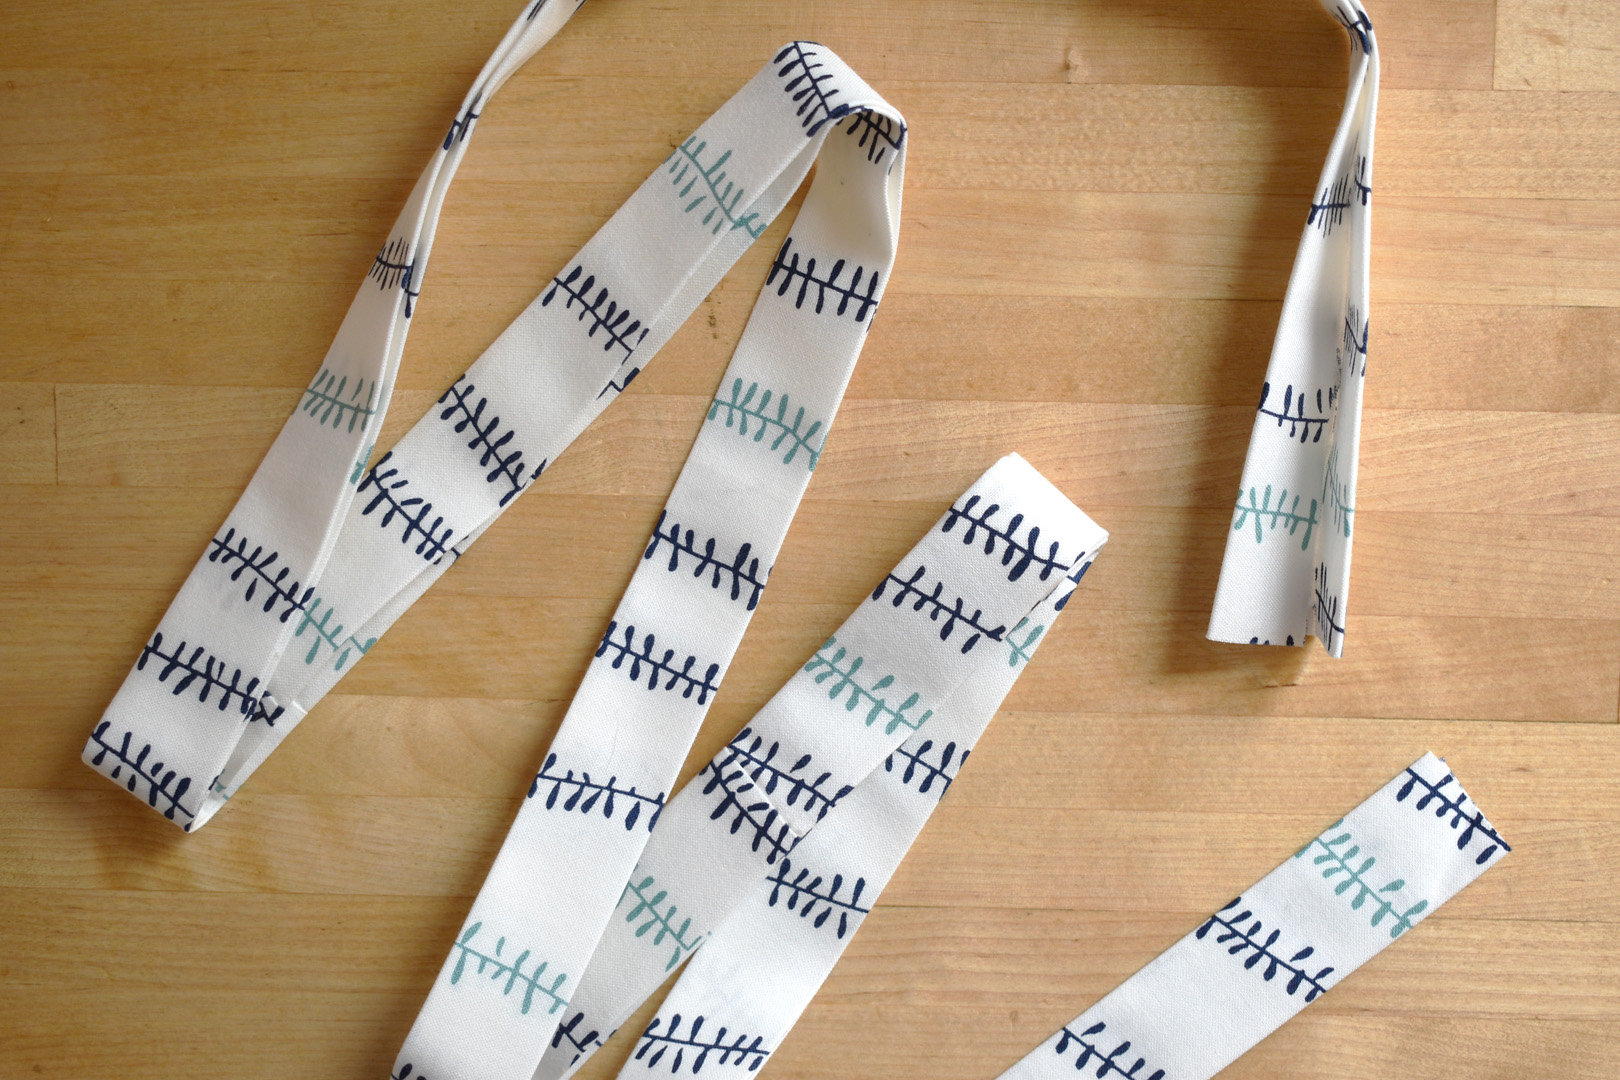
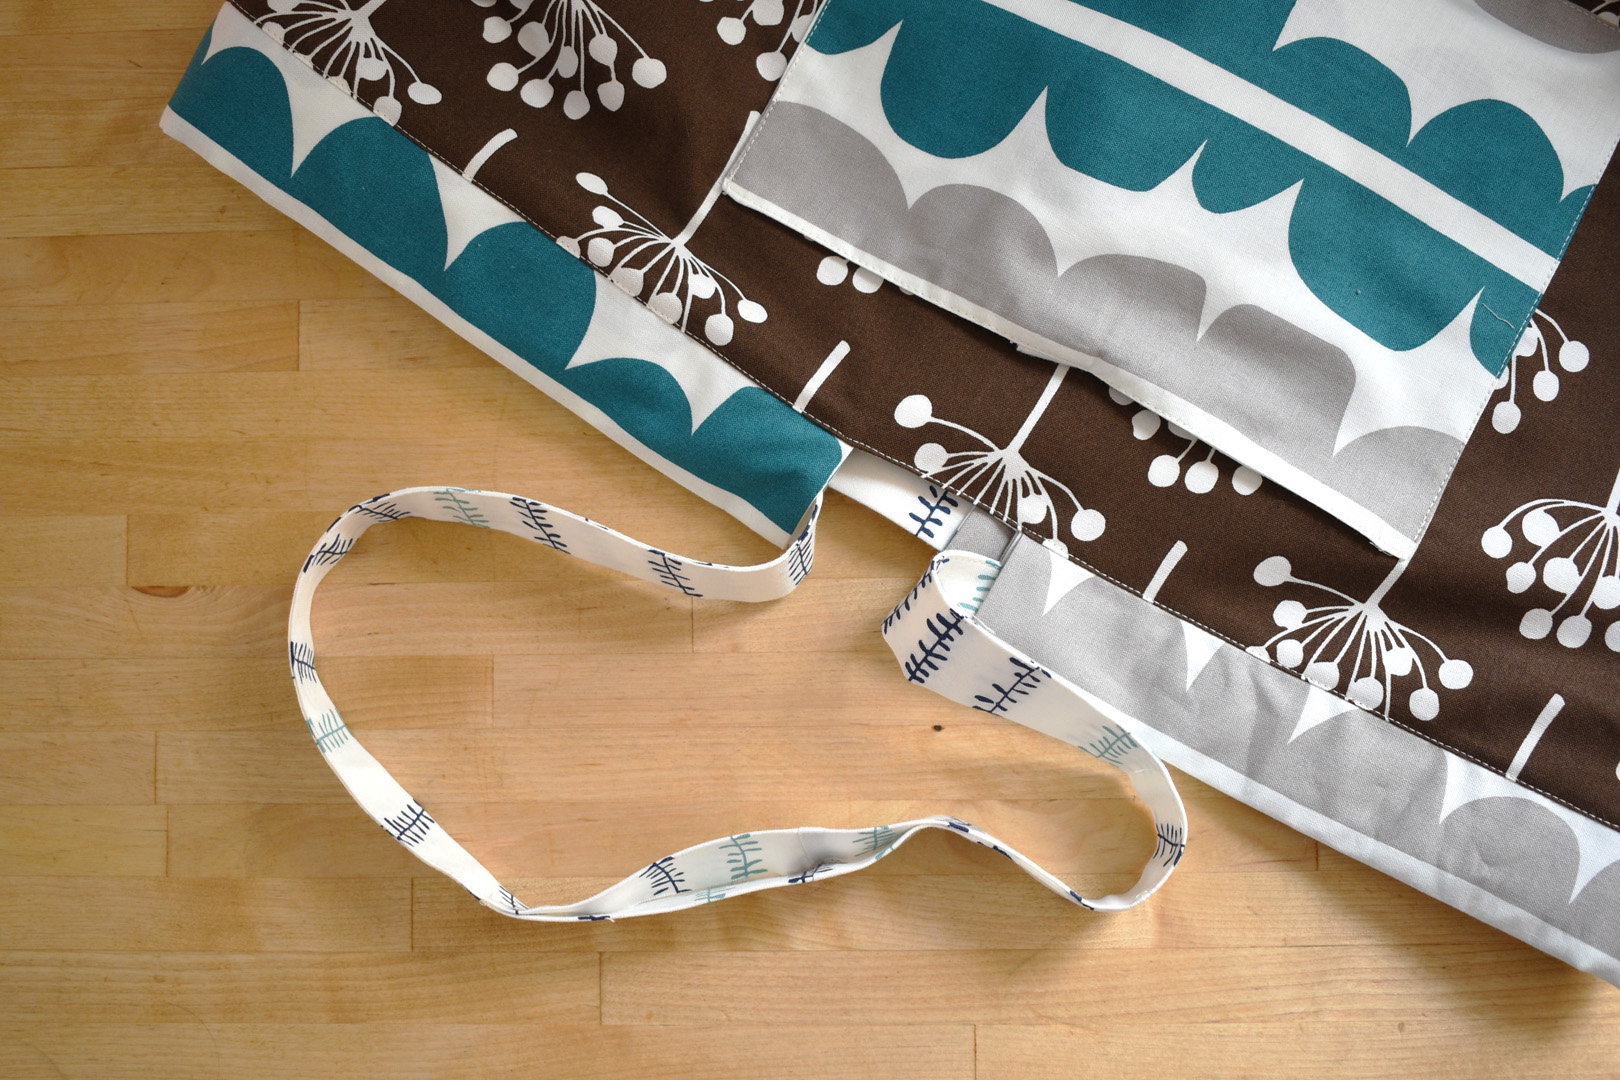
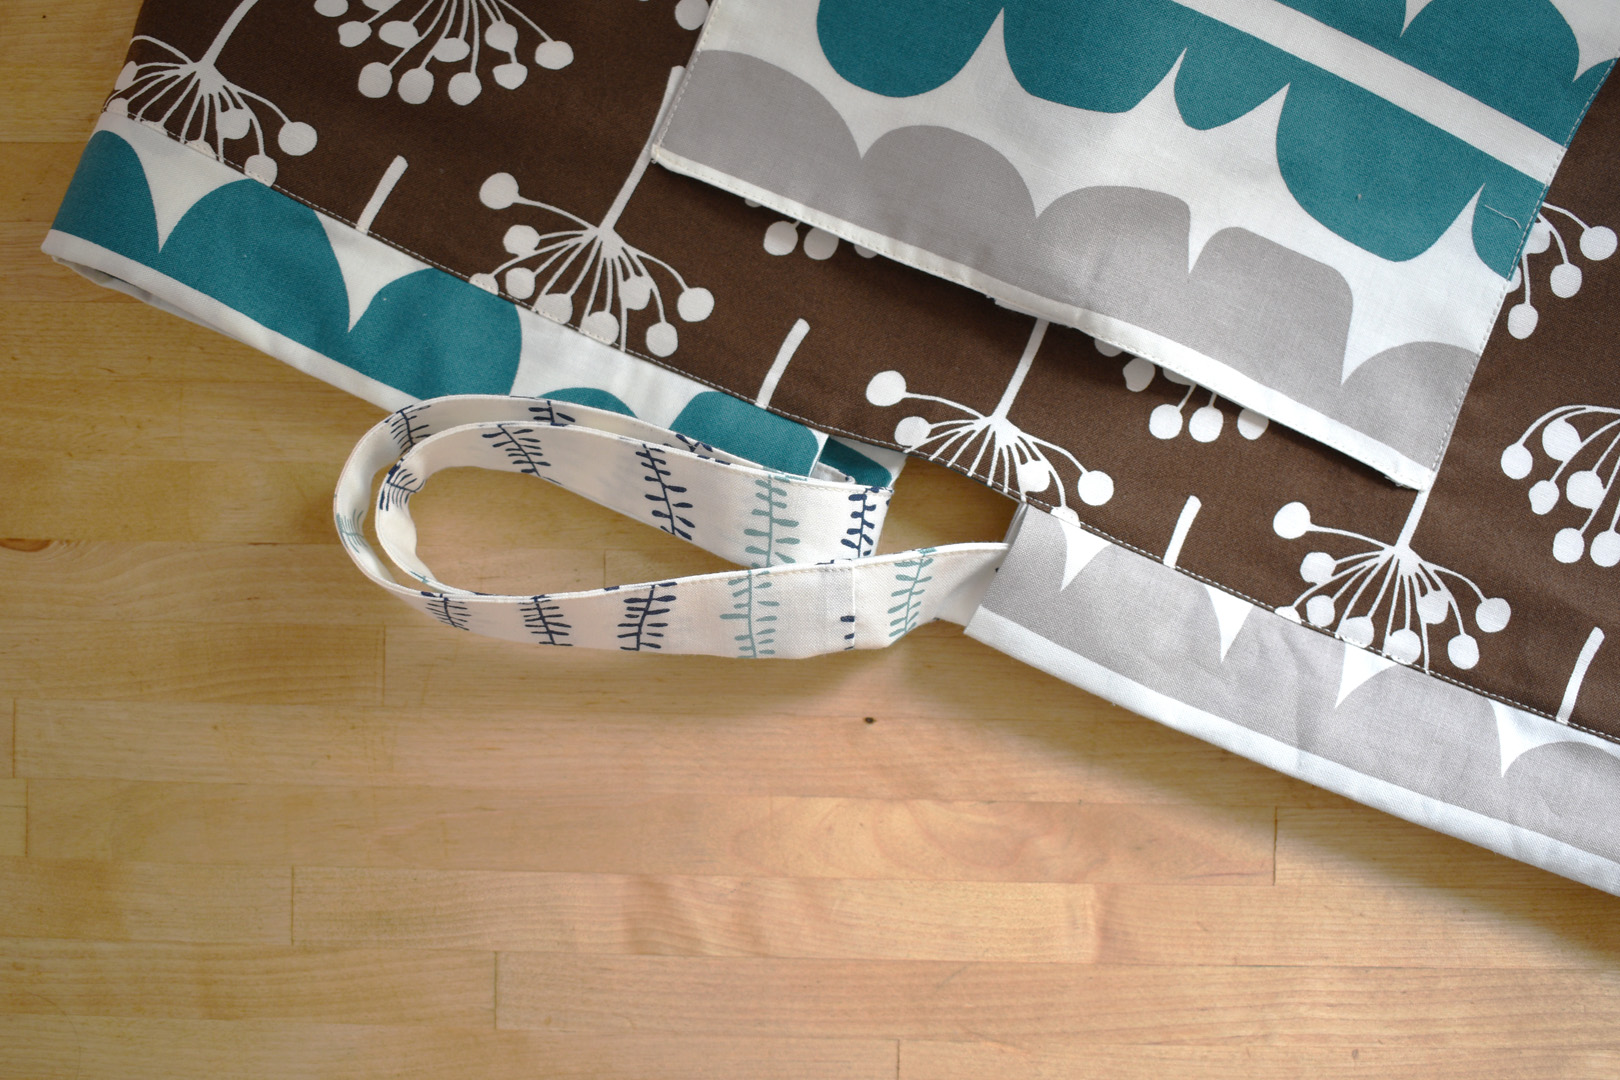
Find the two long, thin pieces cut to become the ties for the bag.
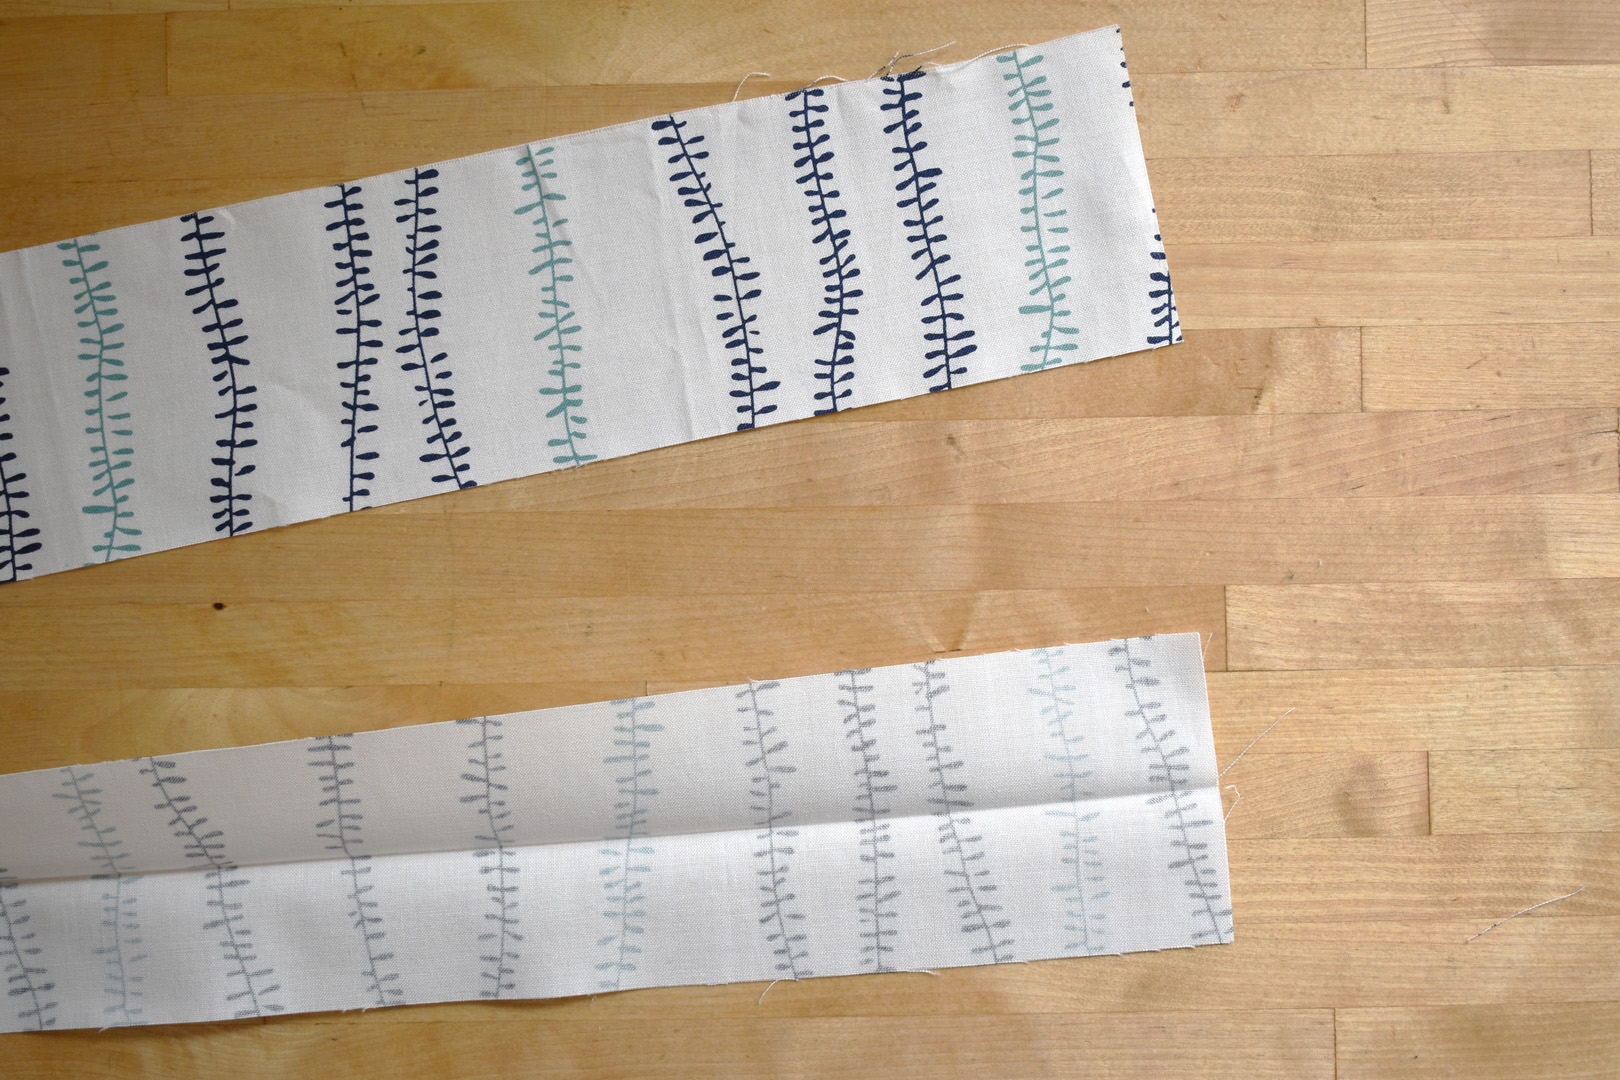
Fold one long piece in half lengthwise and press to crease.
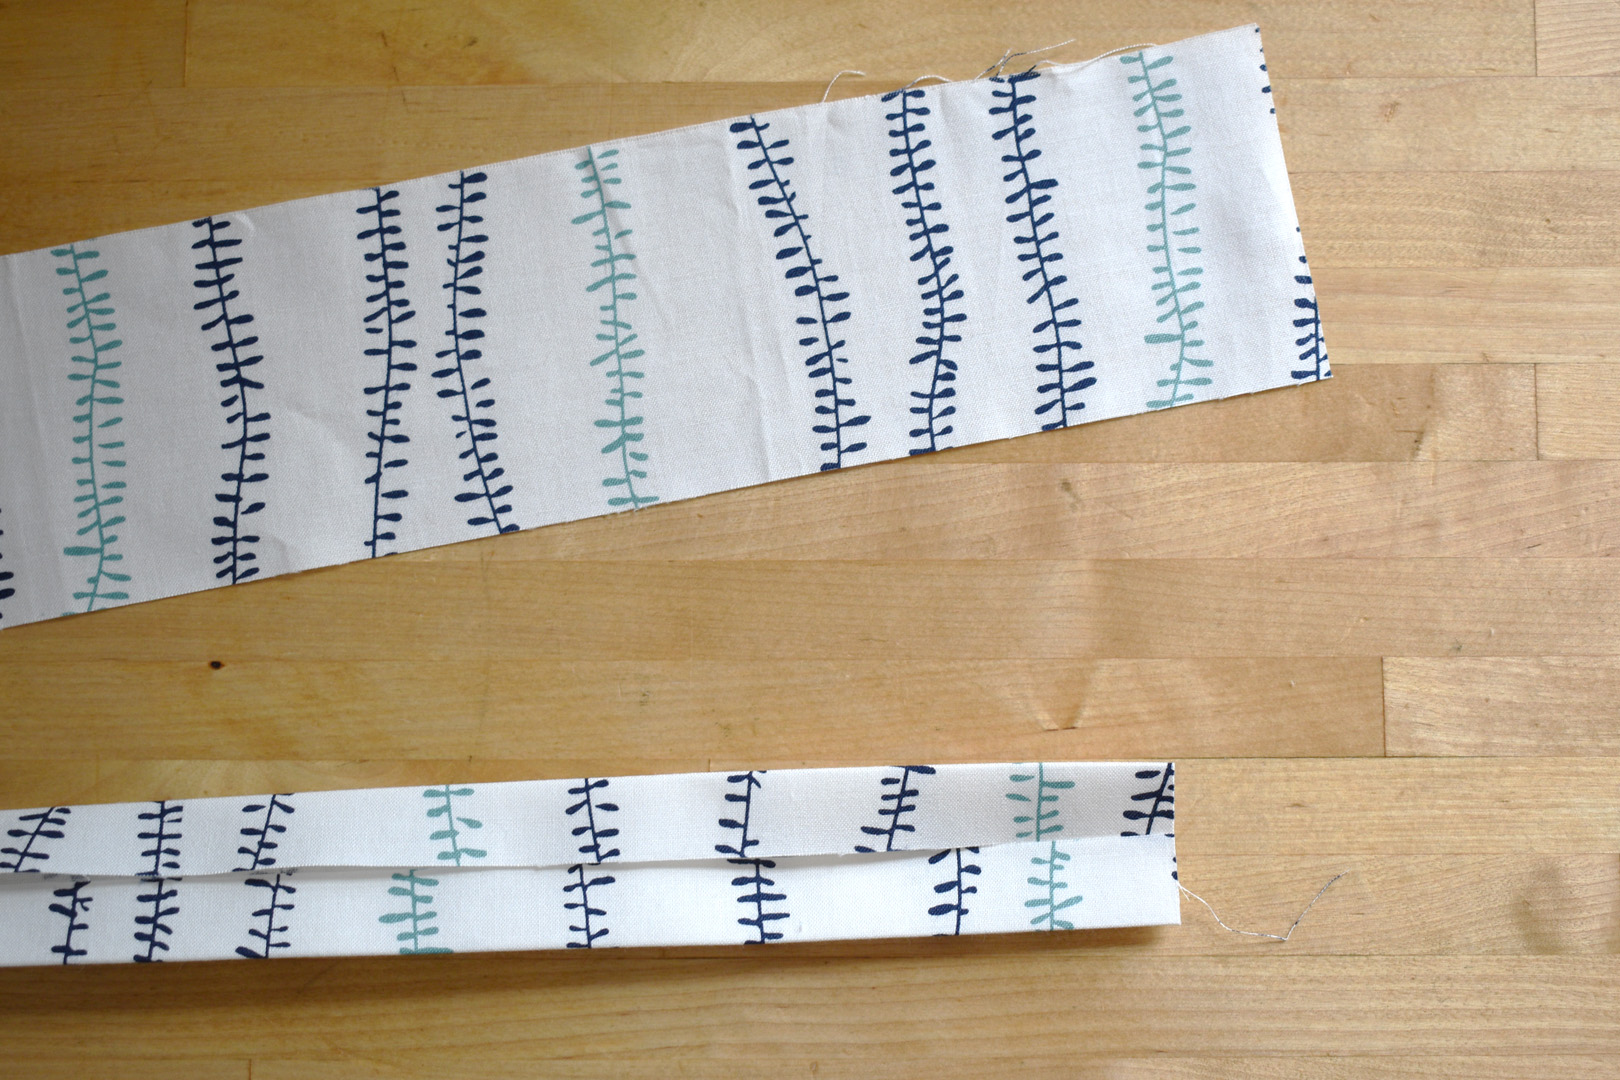
Next, press both raw edges in to meet the middle crease.

Then fold the folded piece together along the center crease. Press well to set the folded strip.
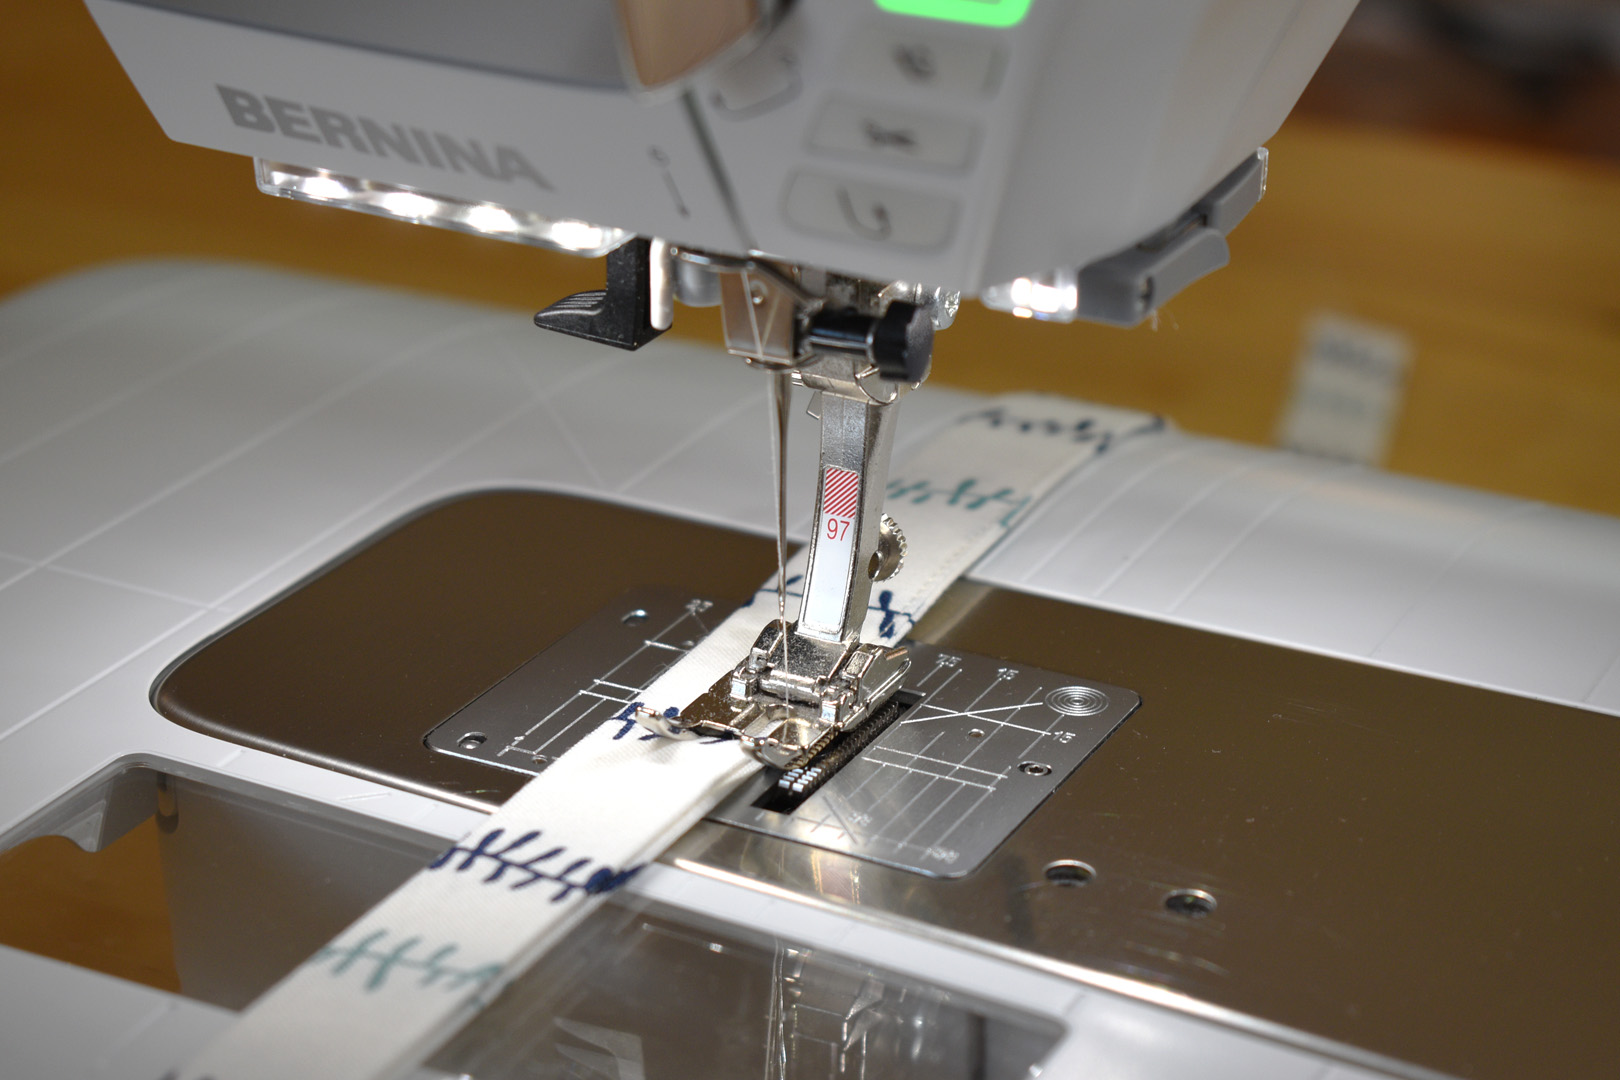
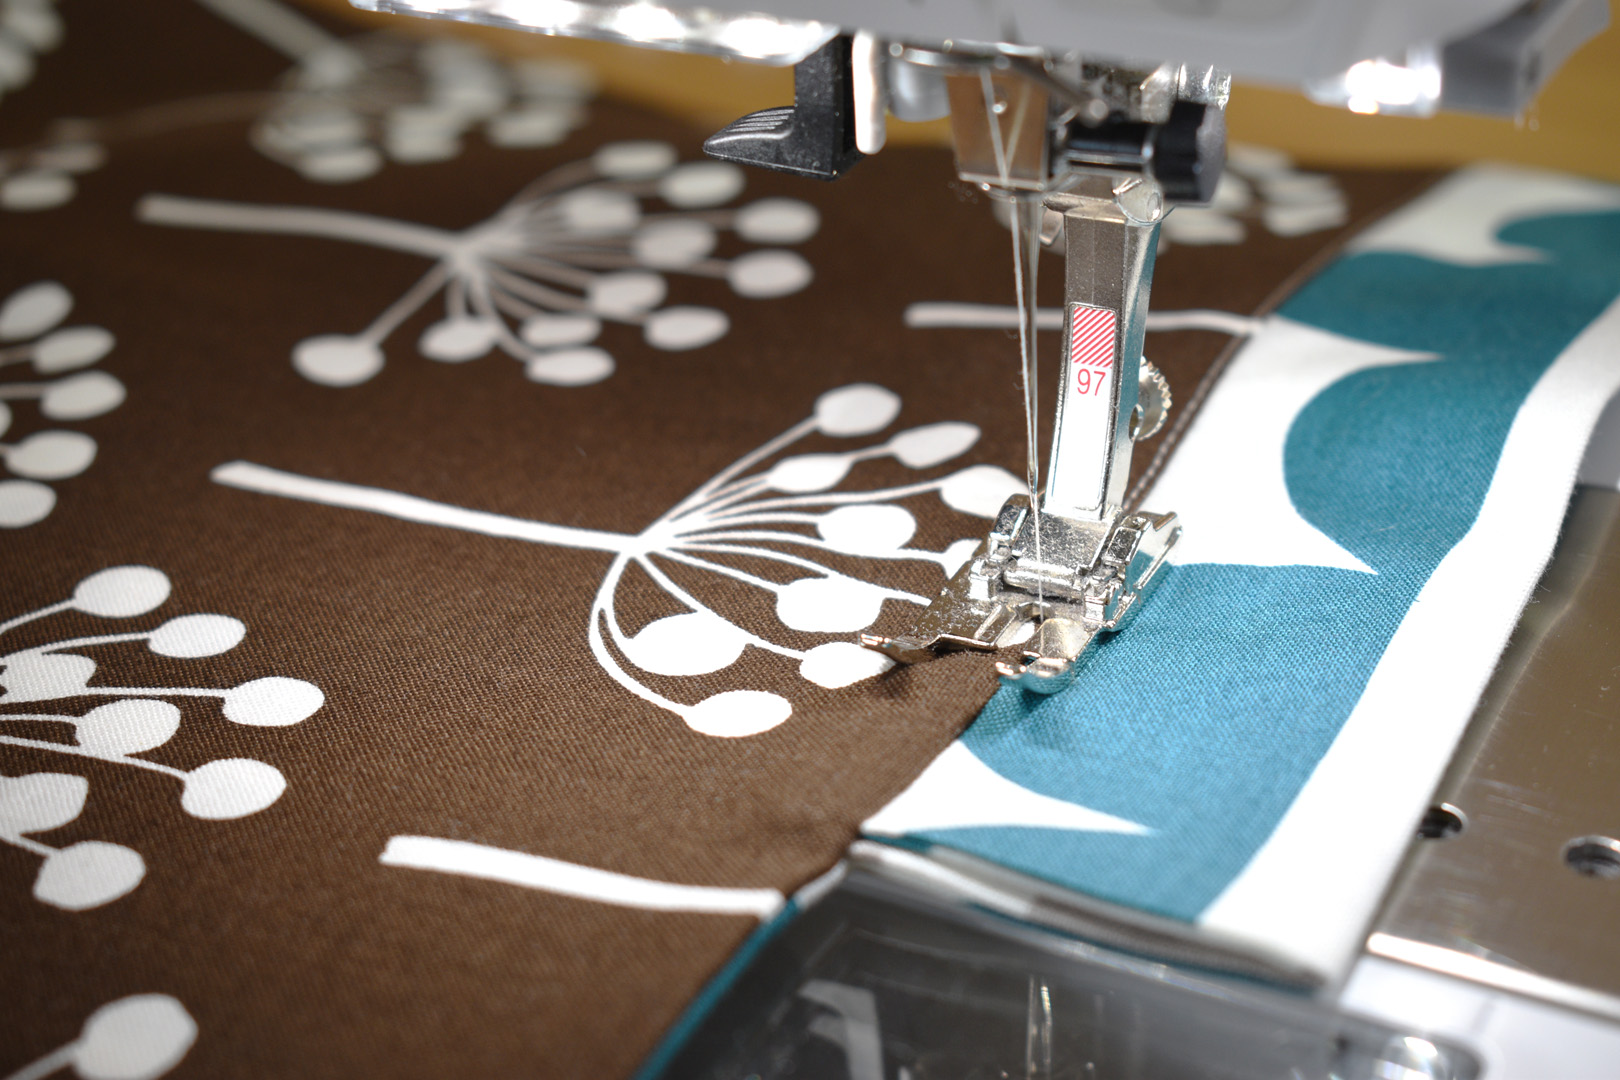
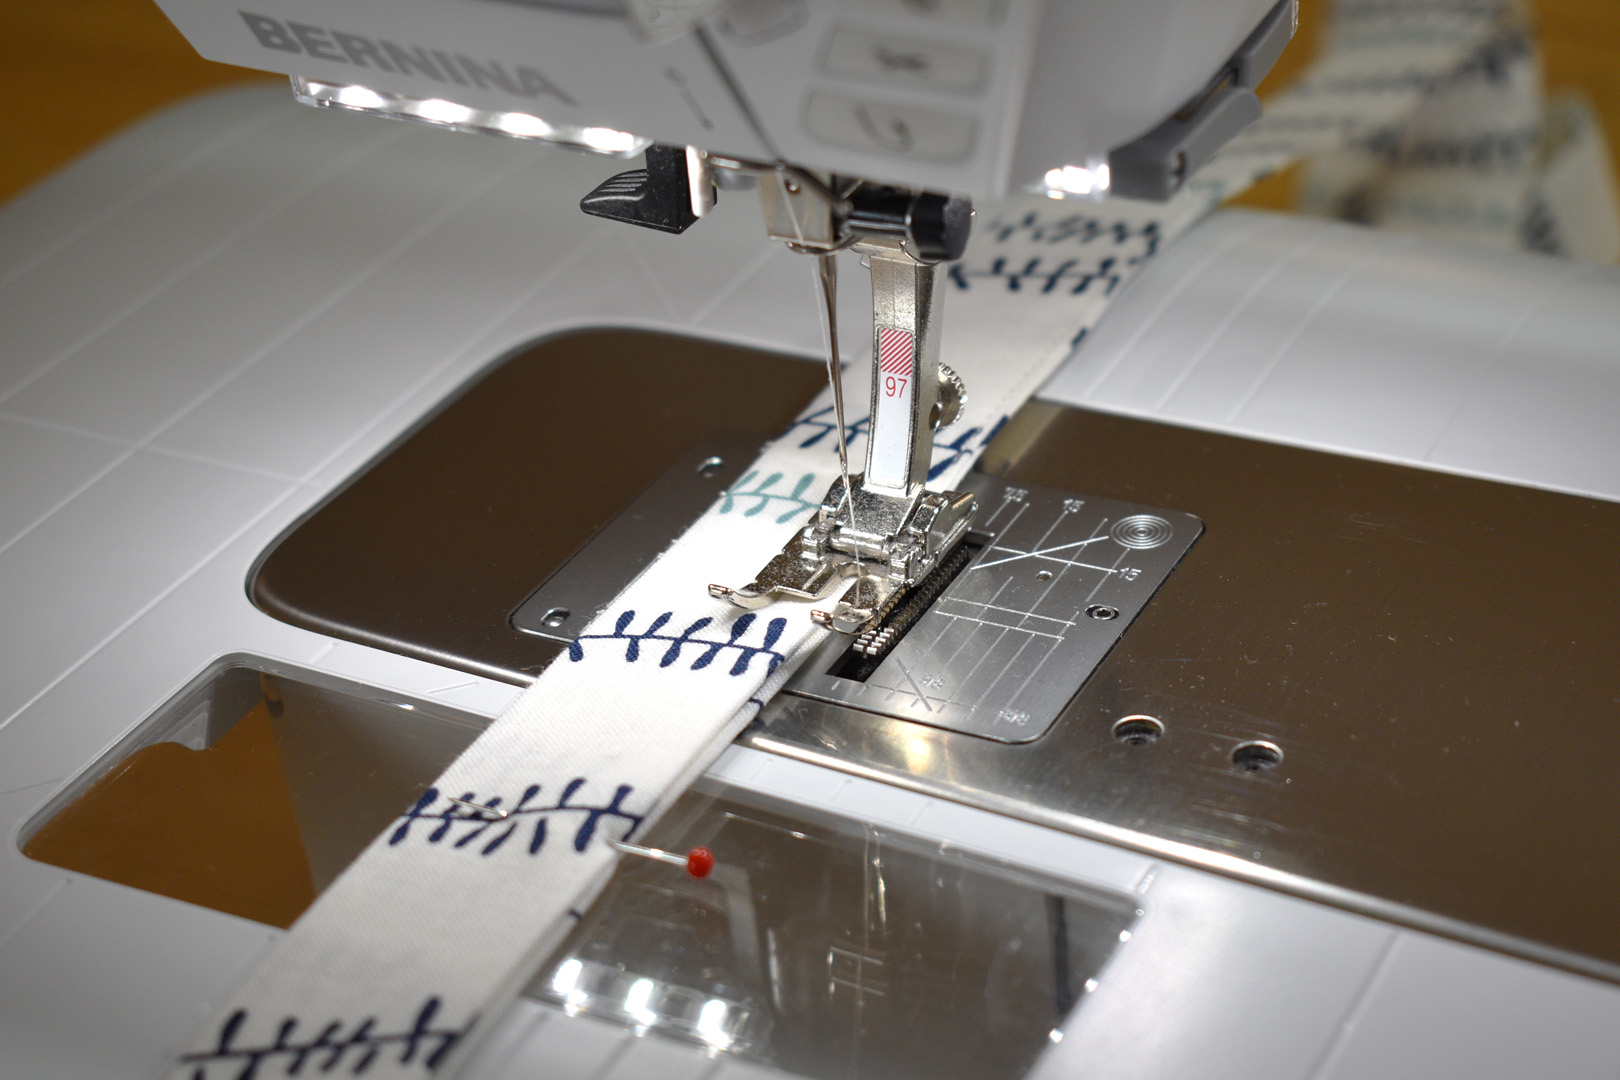
Edgestitch along the open edge of the strip, starting at one long edge.
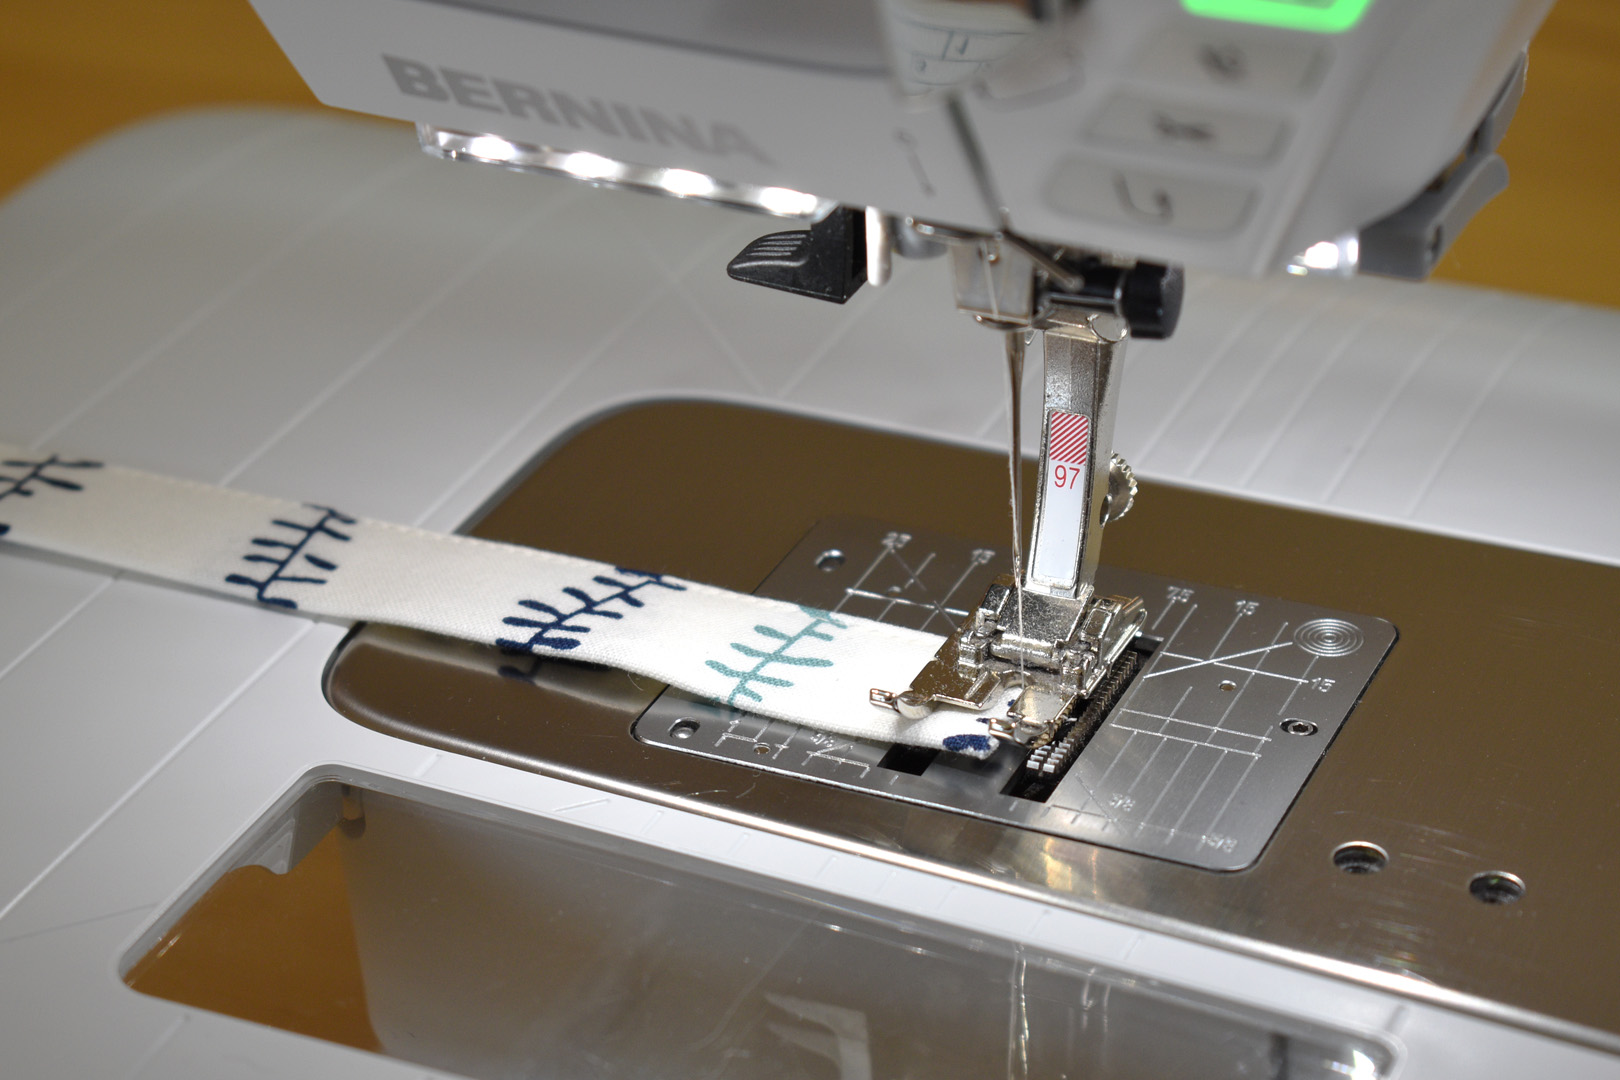
Sew across one end and backstitch to create a strong stitch. Repeat these steps with the second strip. Set the two stitched ties aside until the next step.
Find the piece that will become the front pocket.
Fold the piece in half so the two short, raw edges meet. Pin along the bottom edge of the pocket, making sure to leave about 3″ – 4″ open for turning inside out. I mark this spot with pins perpendicular to the edge as a reminder.
Open the top of the pocket, and insert the two ties near the middle. One end of the ties will be an unfinished raw edge, and the other end should have stitches across the raw edge. Make sure the plain raw edges are pinned at the top edge of the pocket.
Continue pinning around the rest of the pocket. TIP: pull the straps down through the opening in the bottom of the pocket to make stitching easier.
Stitch around the pocket with a 1/4″ seam. Turn the pocket inside out through the opening.
Press the pocket well, turning the opening under 1/4″.
Topstitch along the top edge of the pocket, backstitching over the ties to create a strong seam.
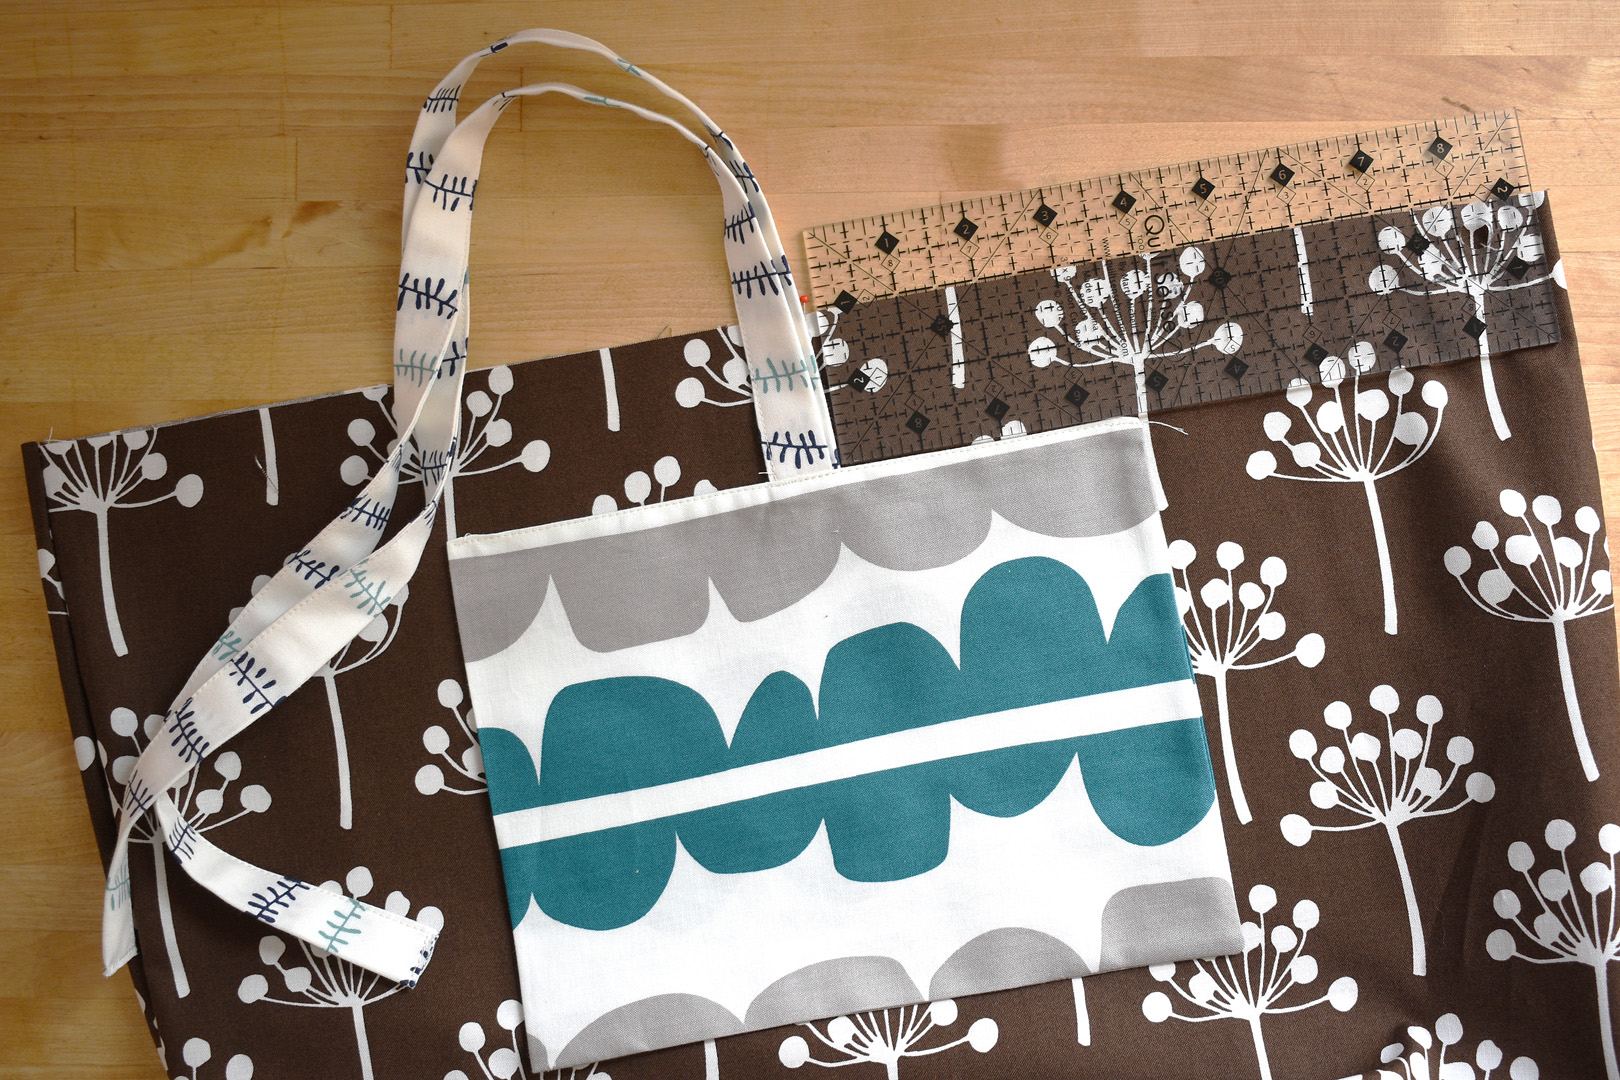
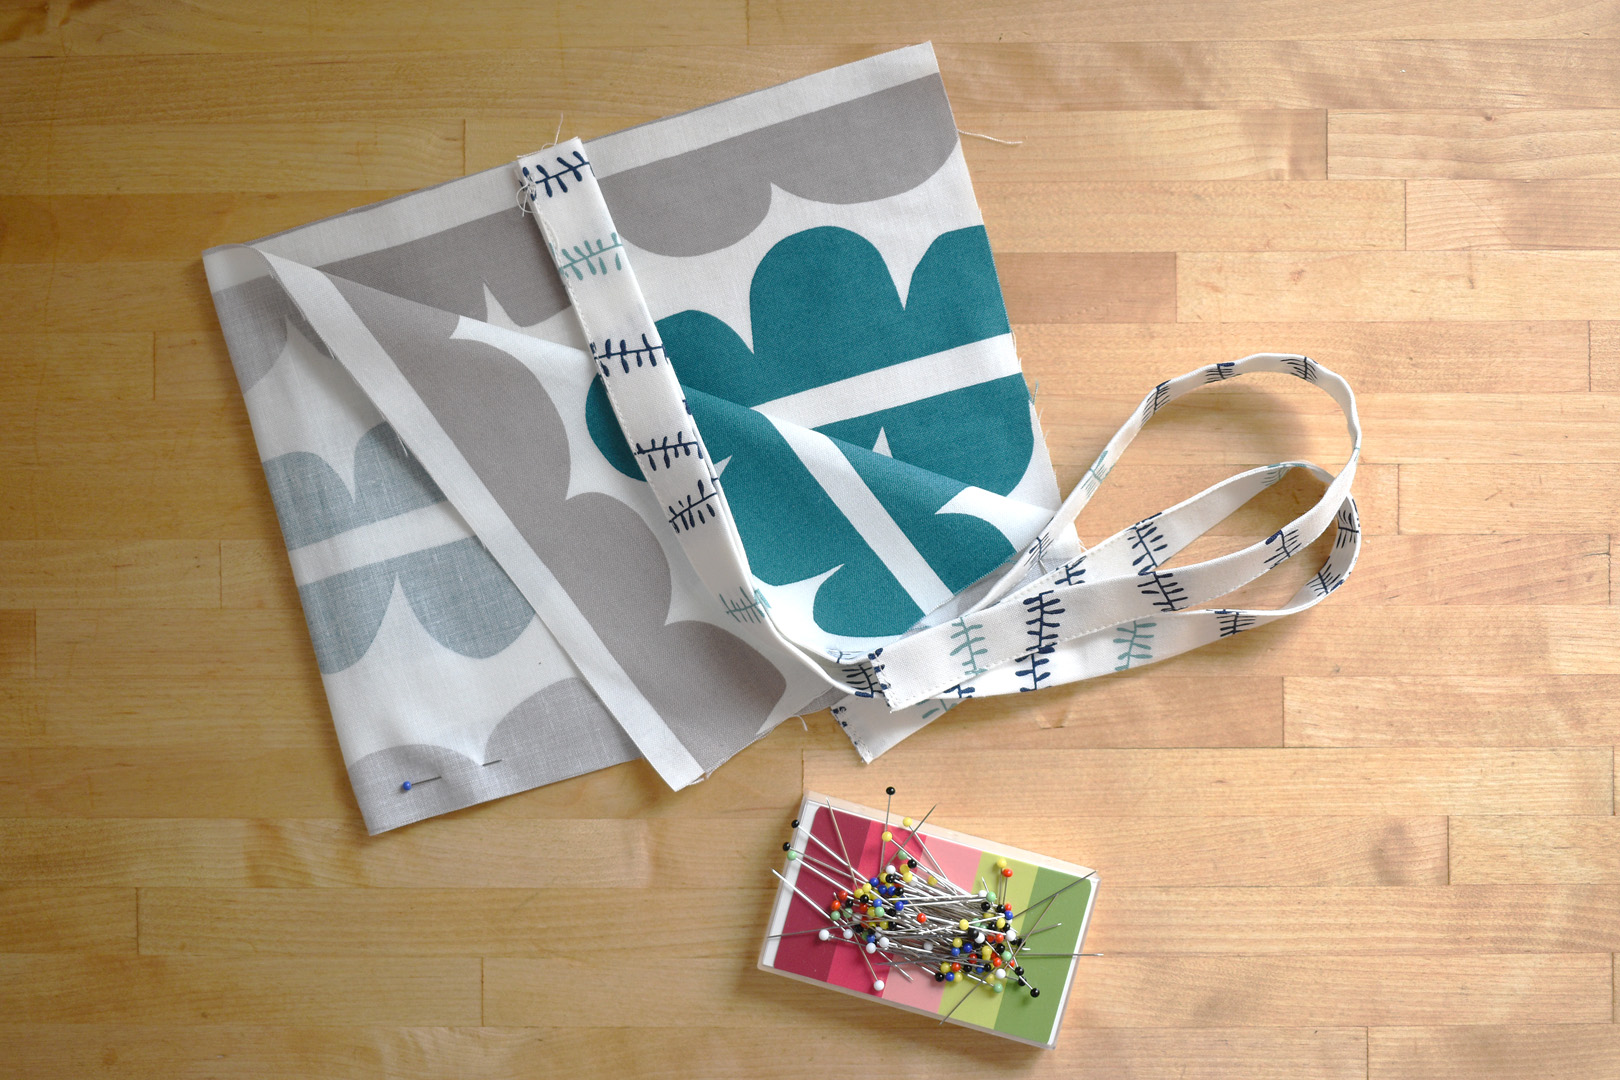
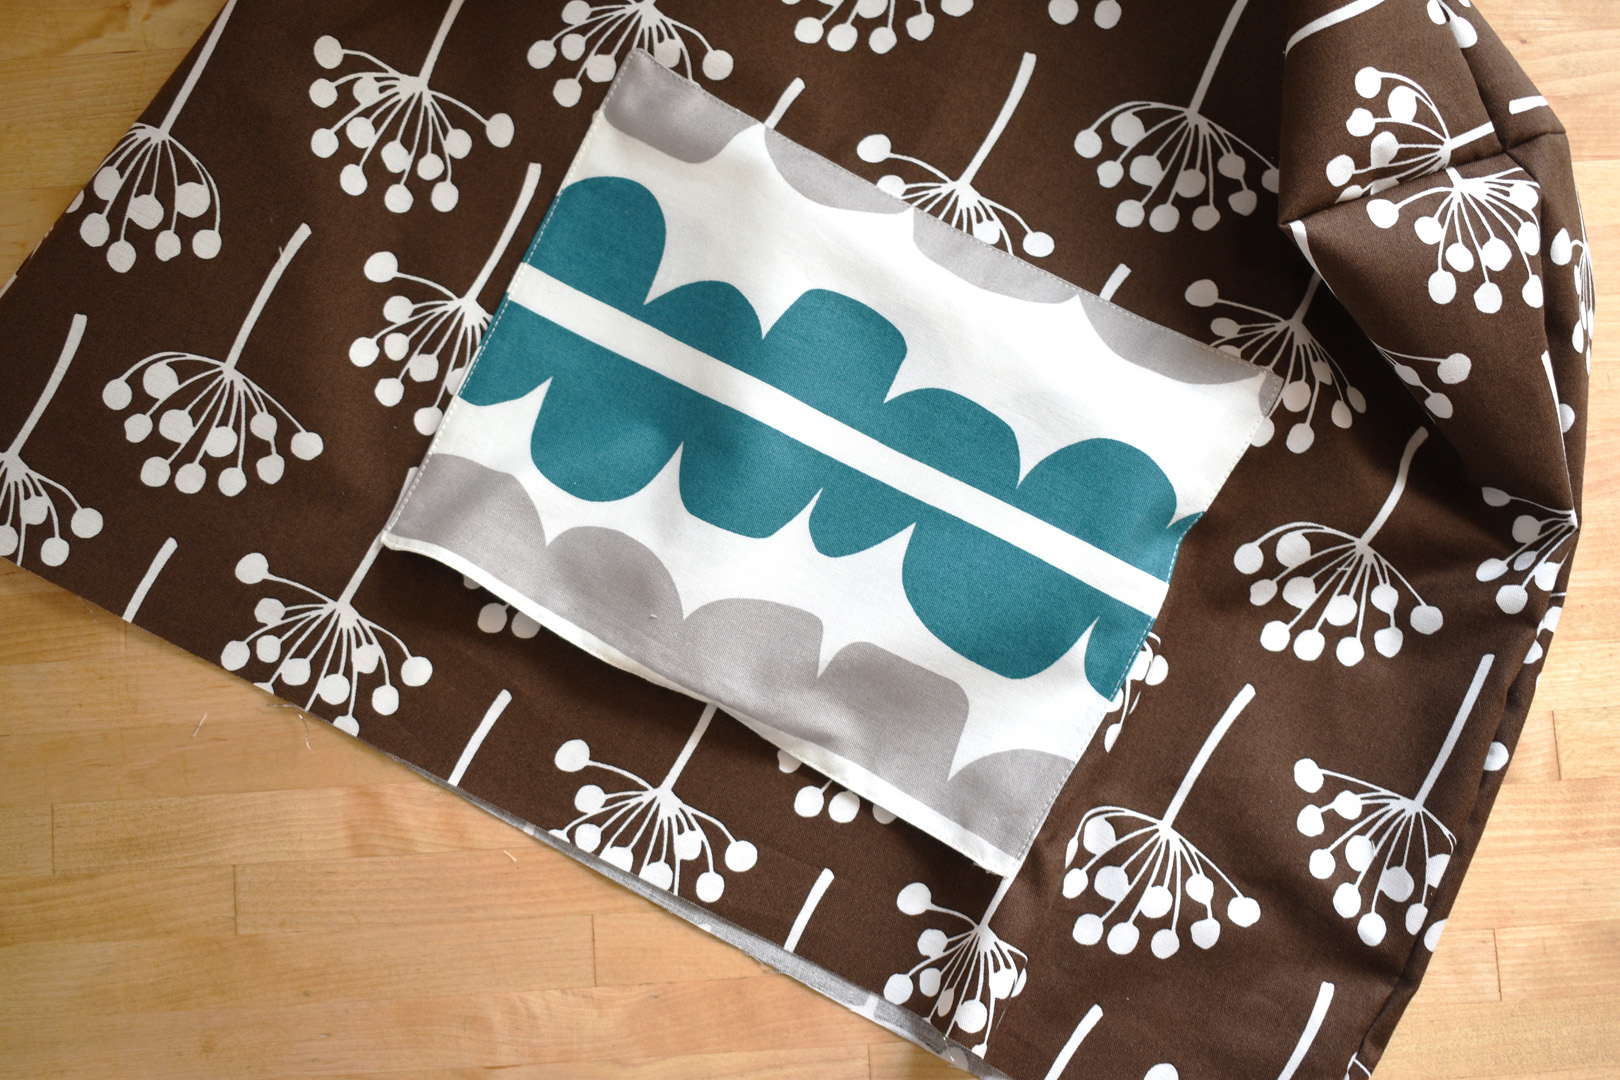
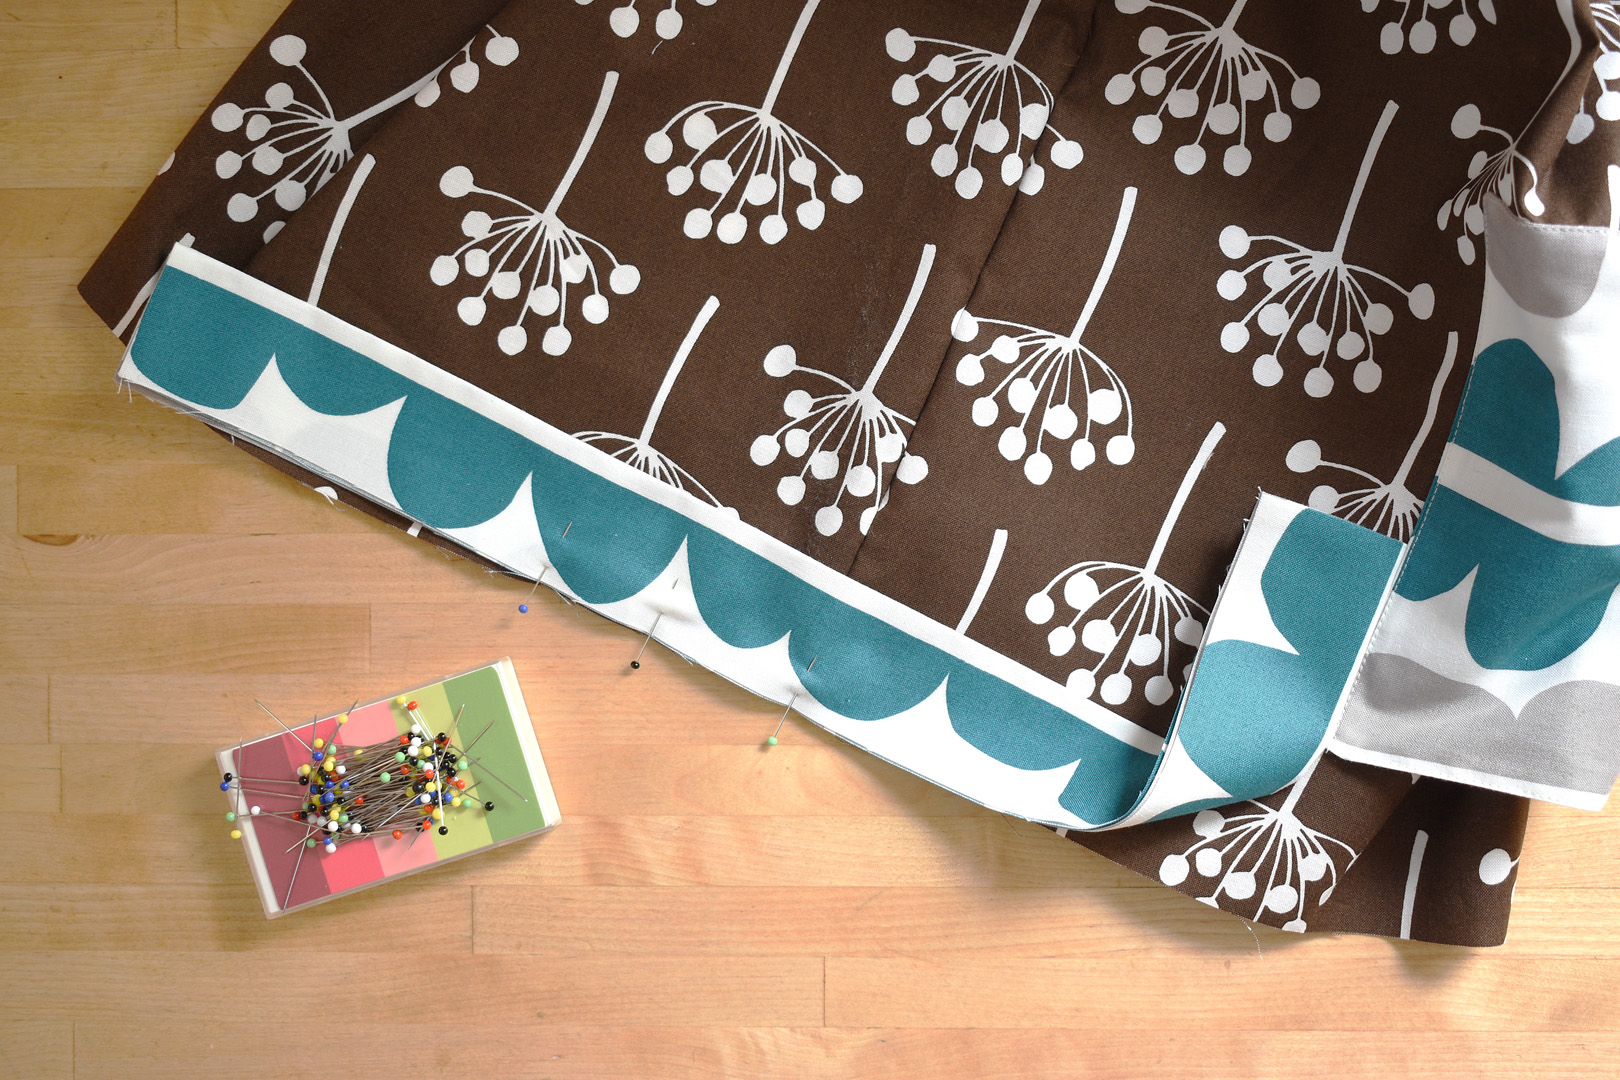
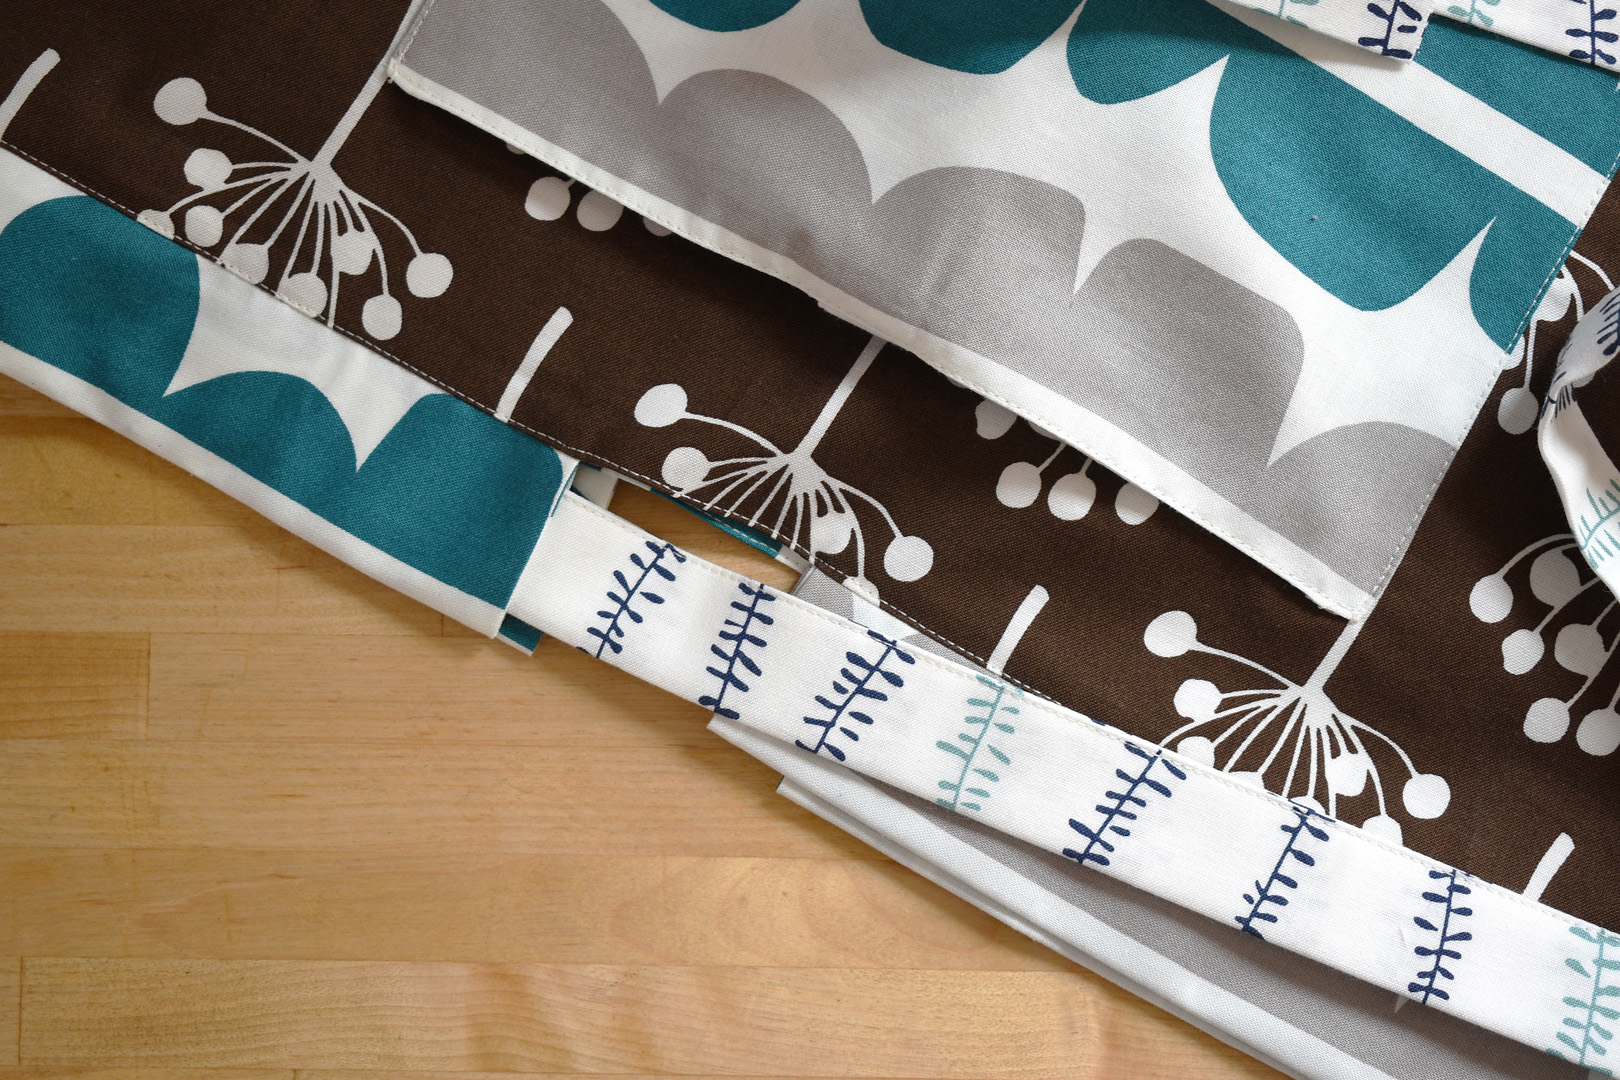
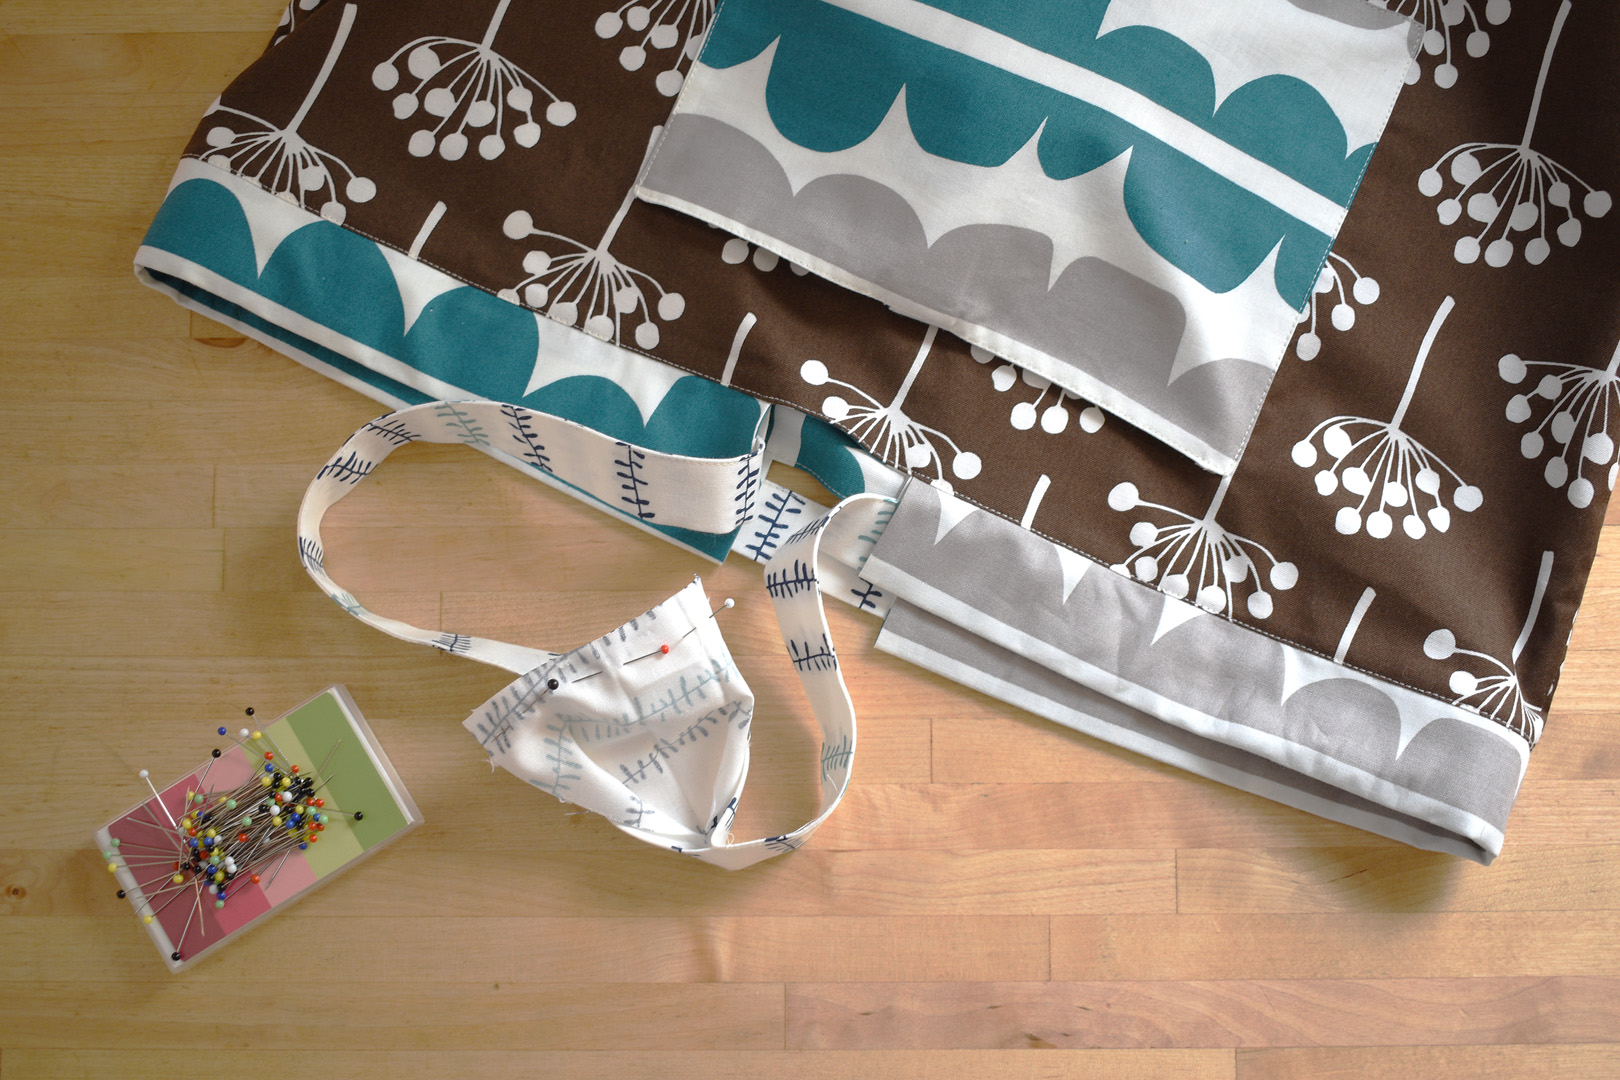
Take the main outside bag and turn it right side out, seams at the sides. Center the pocket, tie sides up, 2″ from the top raw edge of the tote. Pin in place.
Topstitch the pocket to the tote along the side and bottom edges.
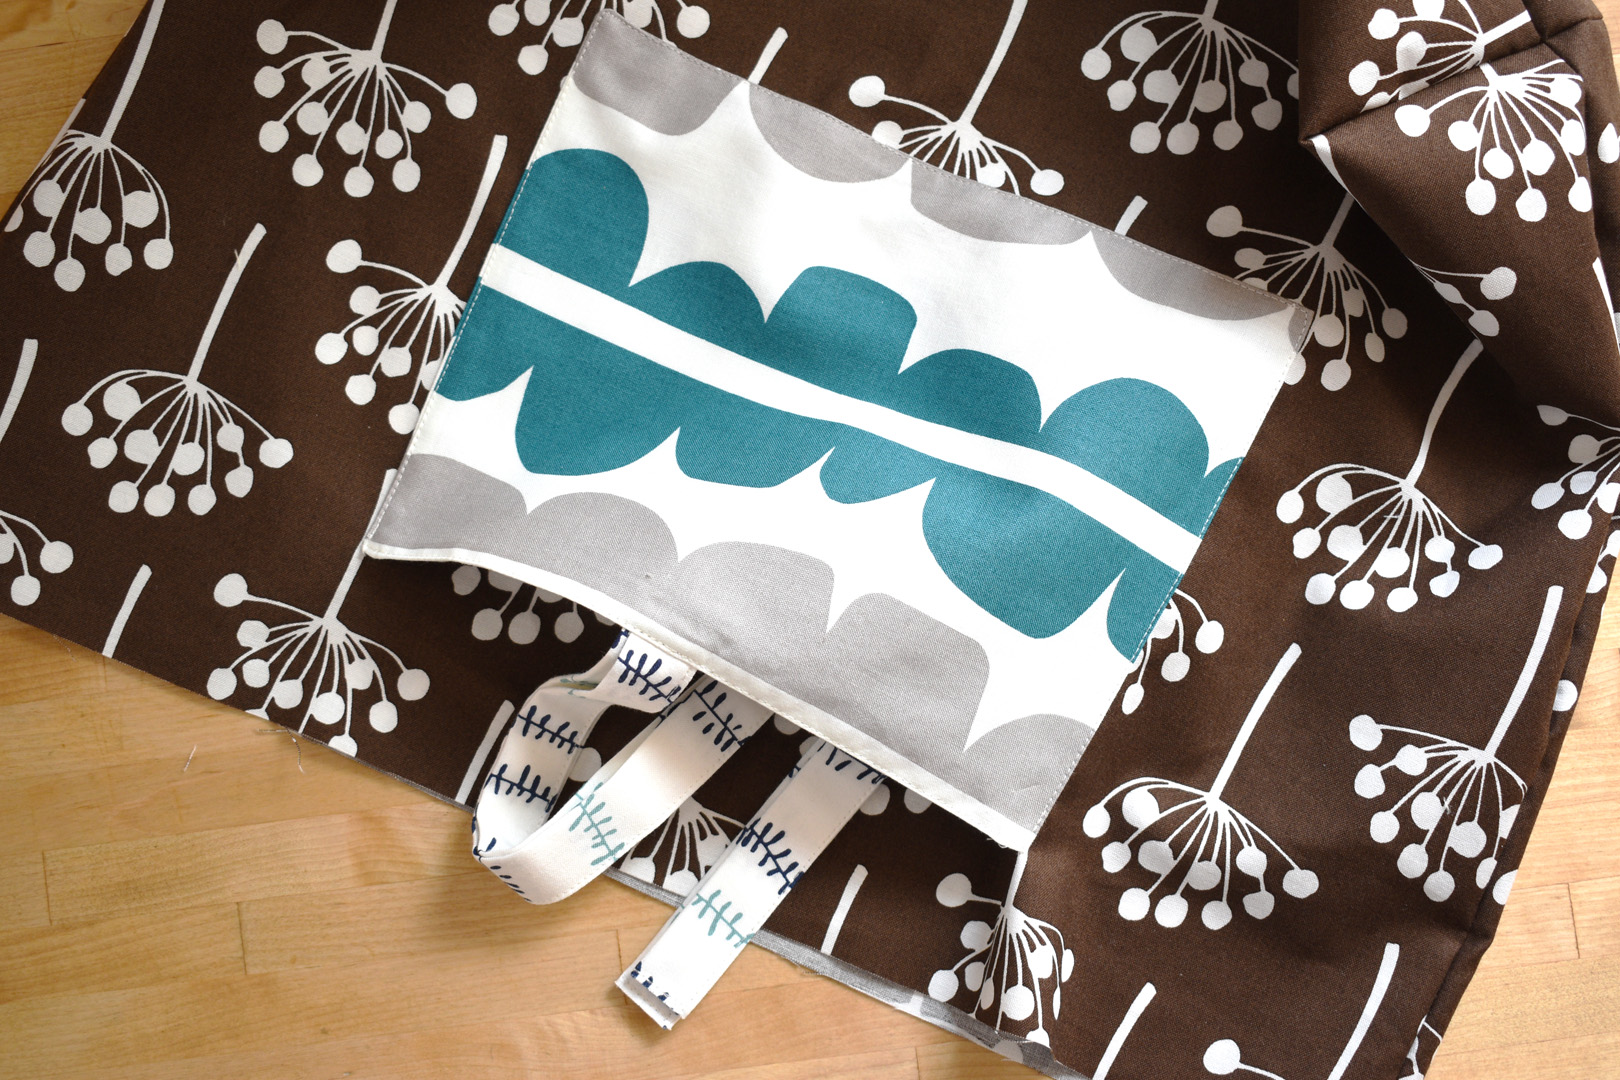
After stitching, stick the ties down into the pocket to keep them out of the way while finishing the bag.
Find the 4 pieces of fabric that will become the casings for the handles.
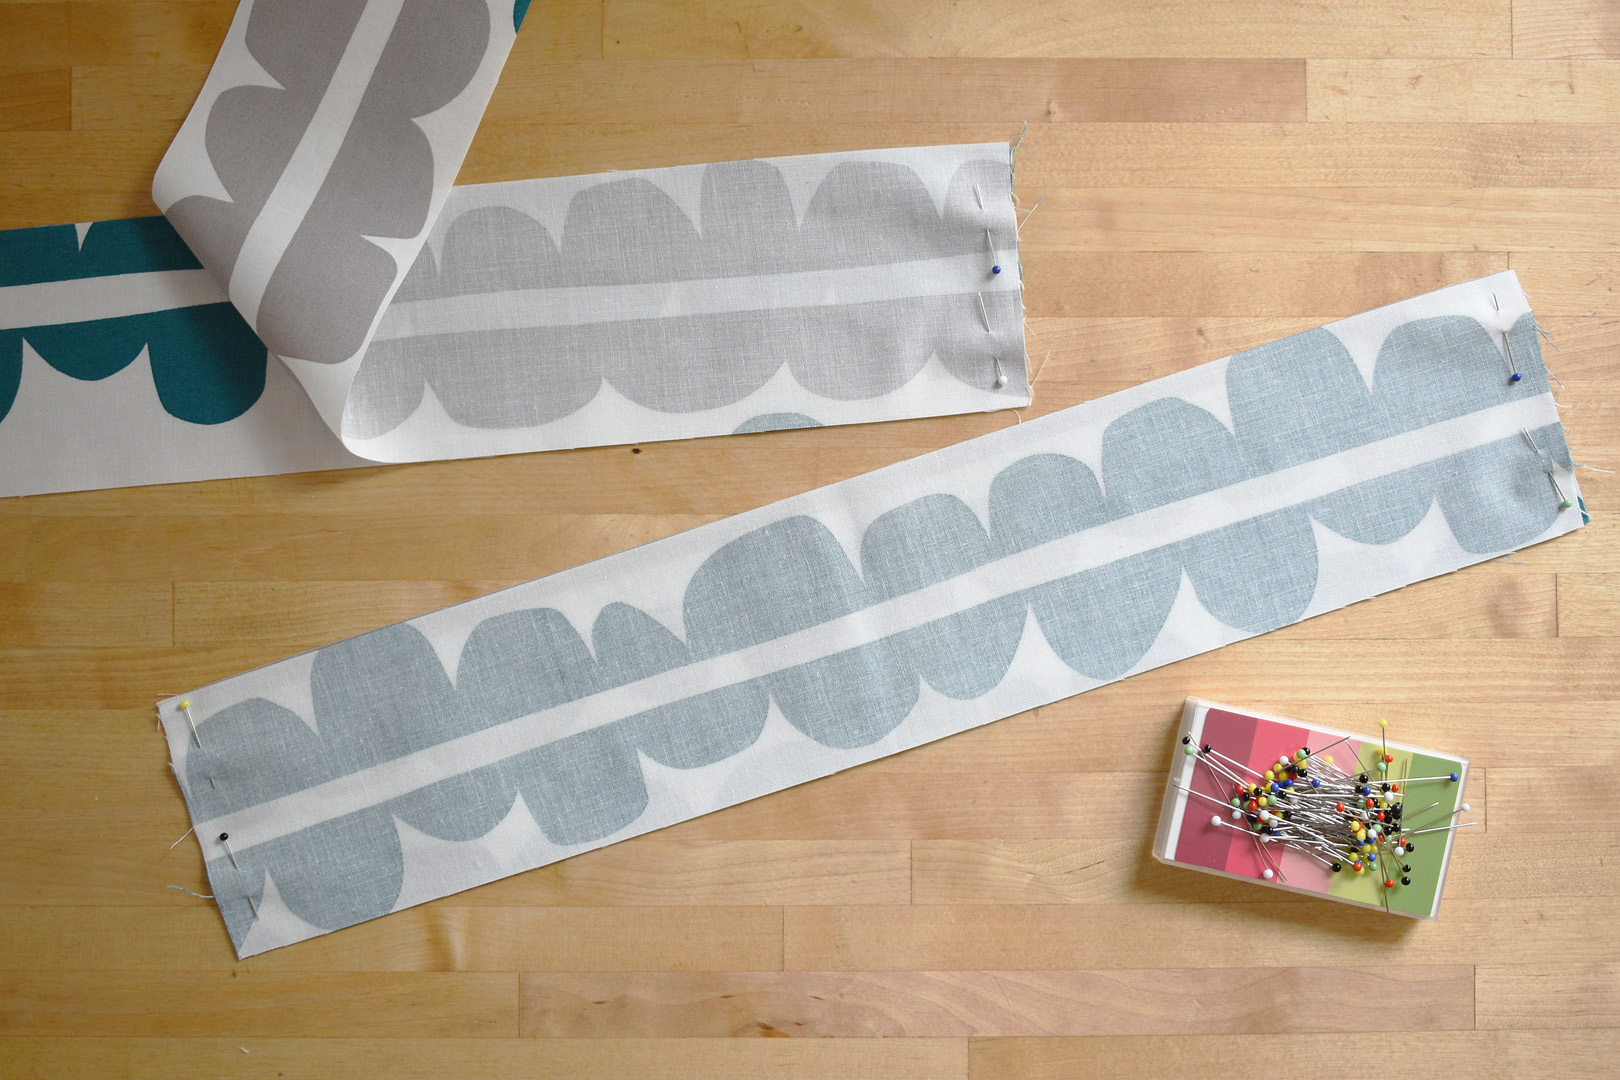
Pin two of the casings right sides together along the short edges.
Stitch the short ends together with a 1/4″ seam. Flip the casings right sides out folded along the seams.
Fold each of the stitched casings in half lengthwise to match raw edges together and press well.
Lay the outside main bag with the side seam up on your work surface. Find the center of one casing and pin it to the bag, raw edges matching at the top. Pin the casing along the top edge of the bag, setting the pins perpendicular to the top edge. You will be removing these pins in a later step and want to find them easily.
Repeat pinning the second casing to the other side of the bag, matching center of casing to side seam.
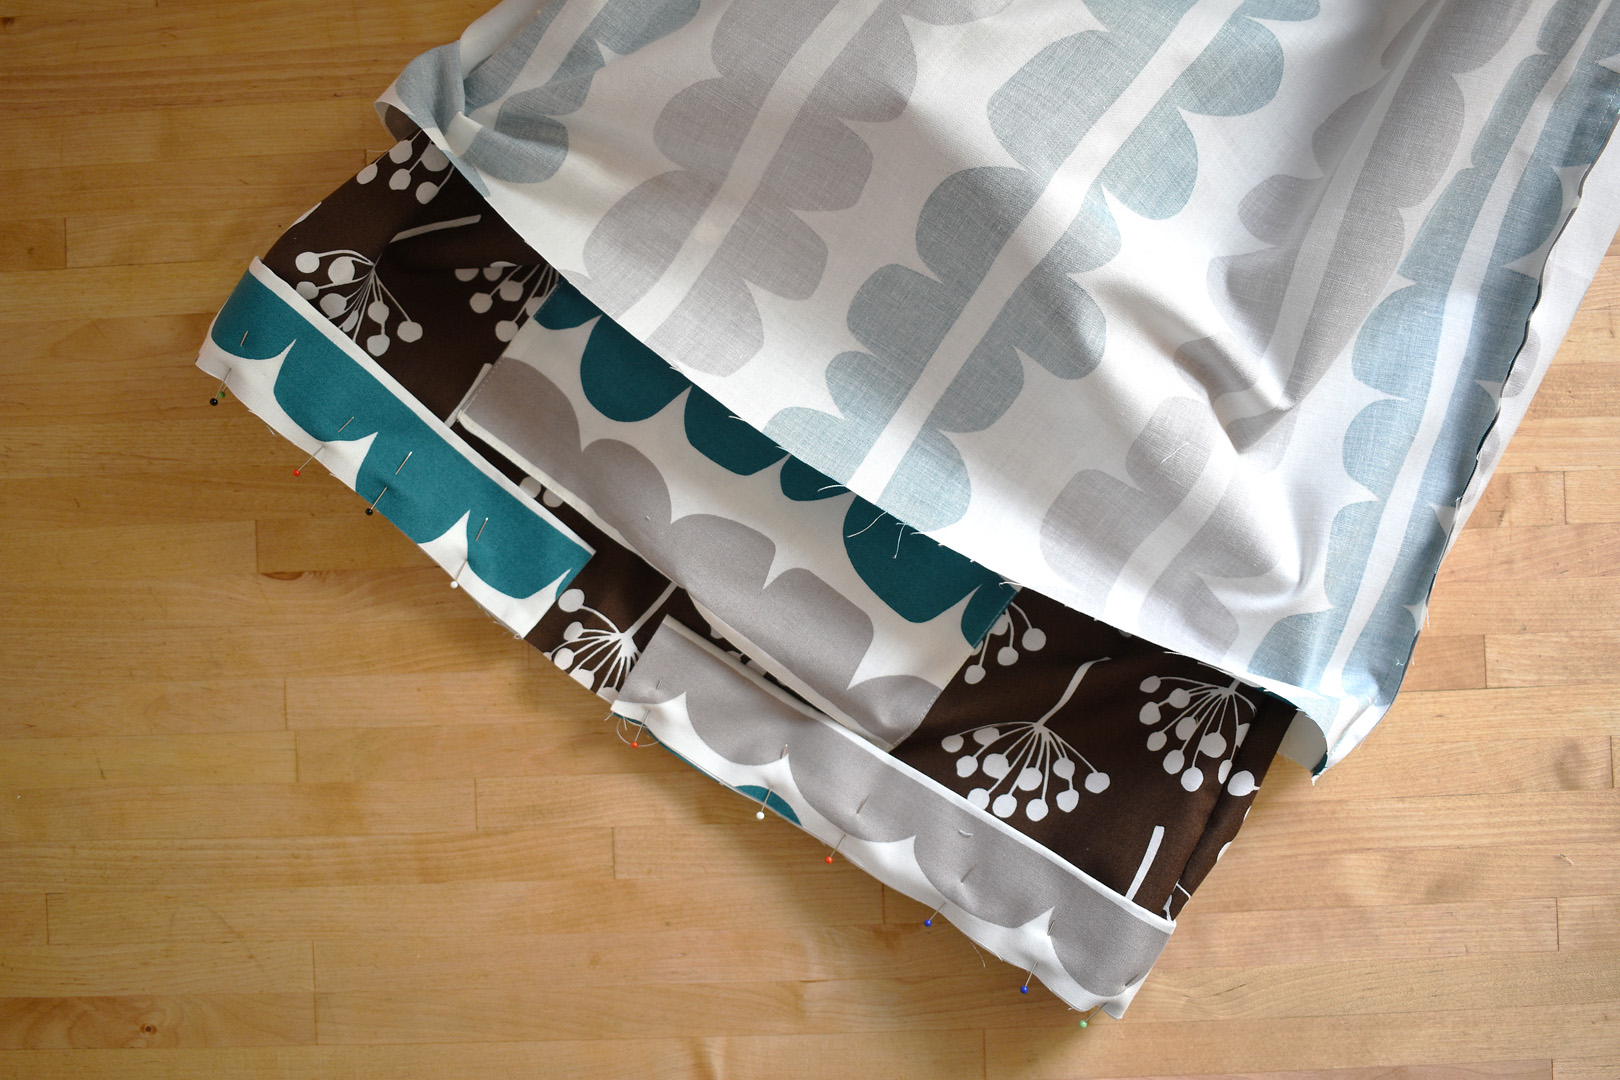
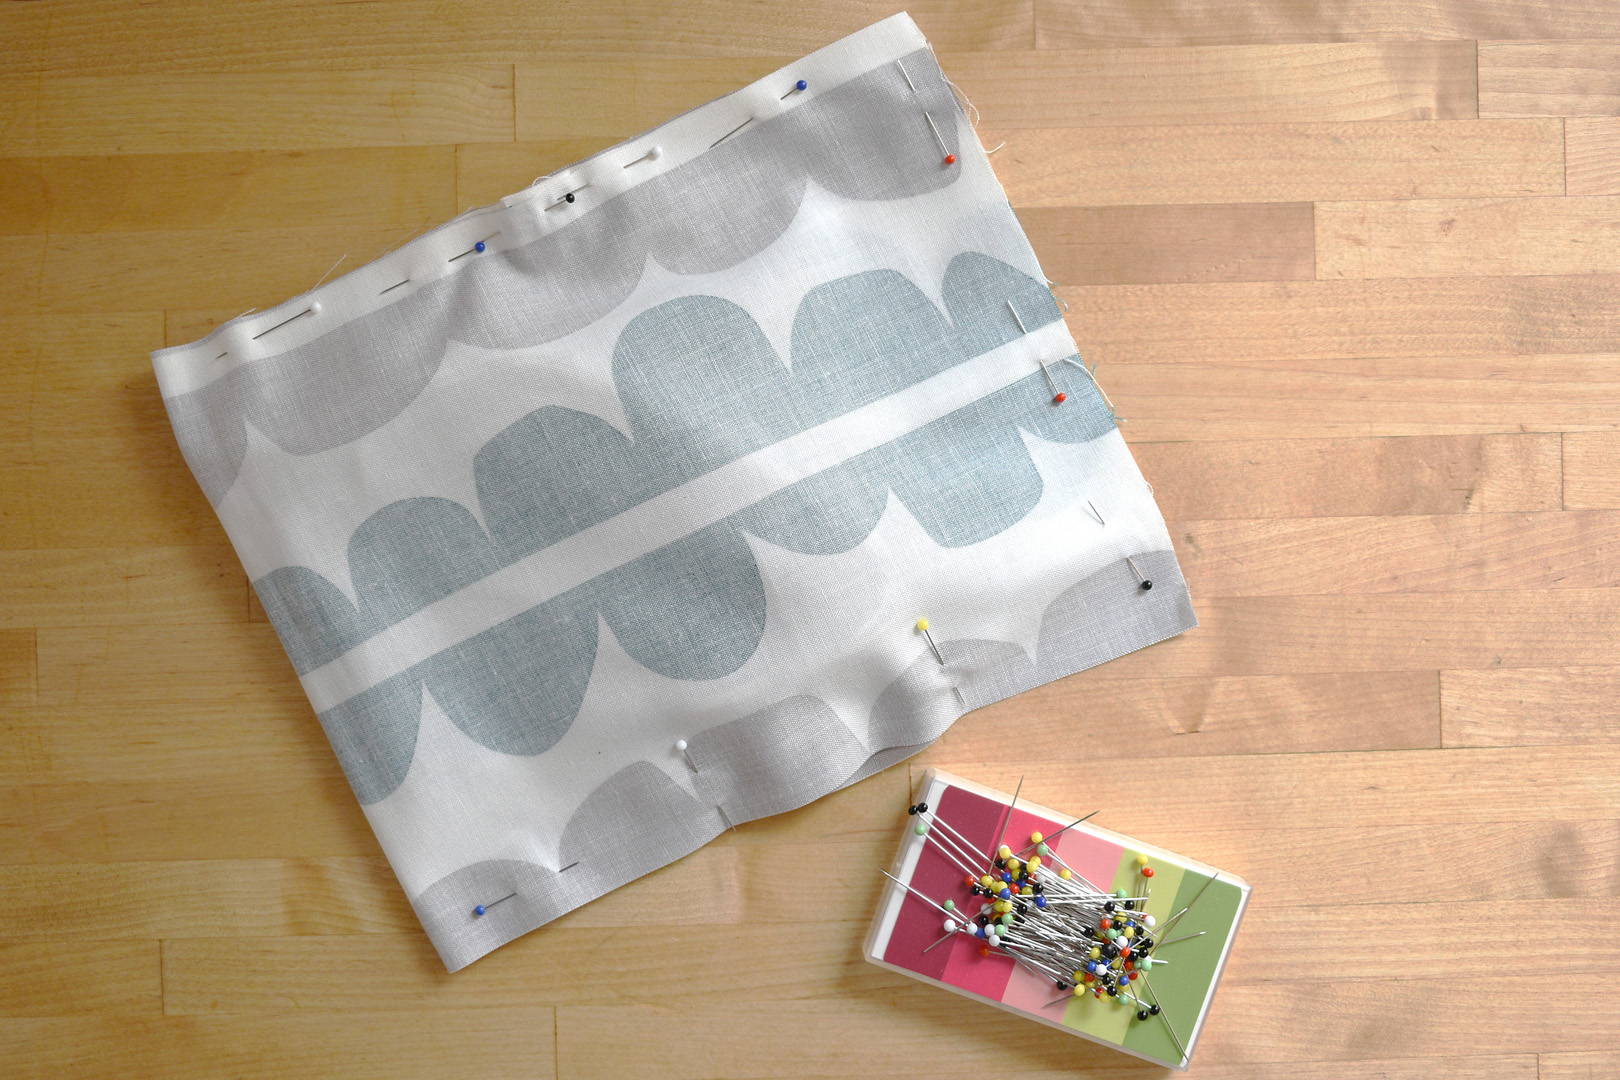
After casings are pinned to outside of bag, place the outside bag into the lining. Make sure the lining is wrong side out, so that the main bag and lining are facing right sides together.
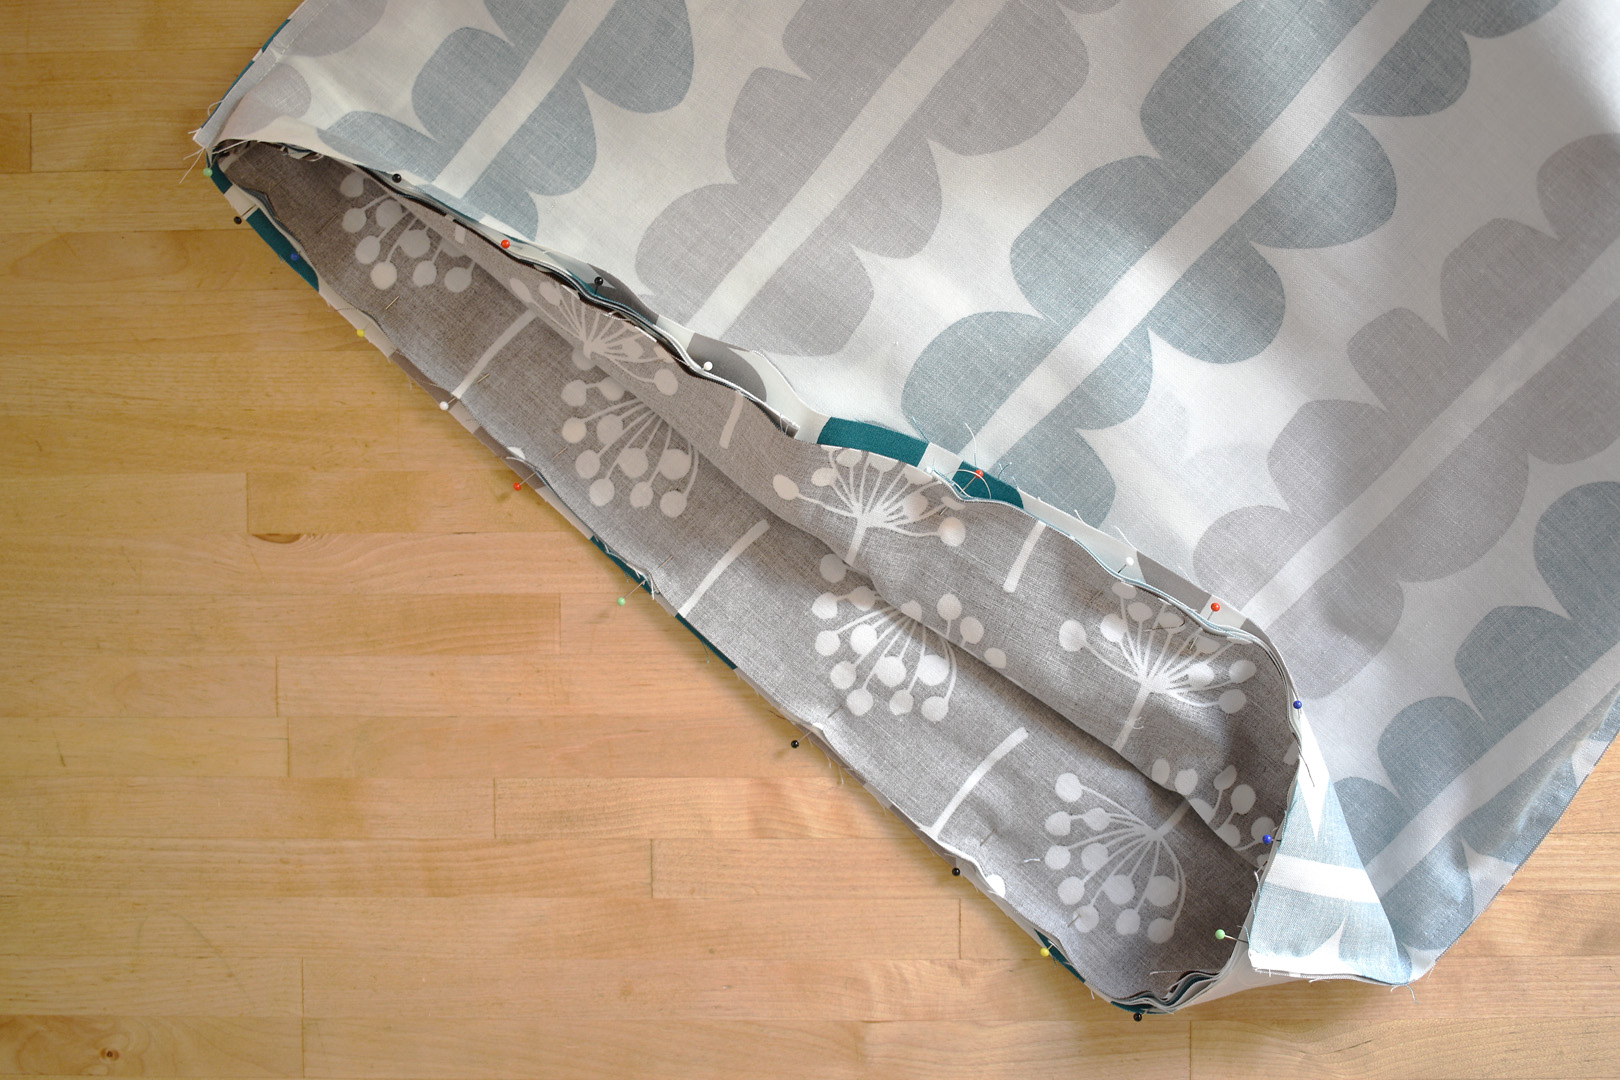
Match the side seams together as you ease the two bag pieces together. The top edges should meet evenly all the way around.
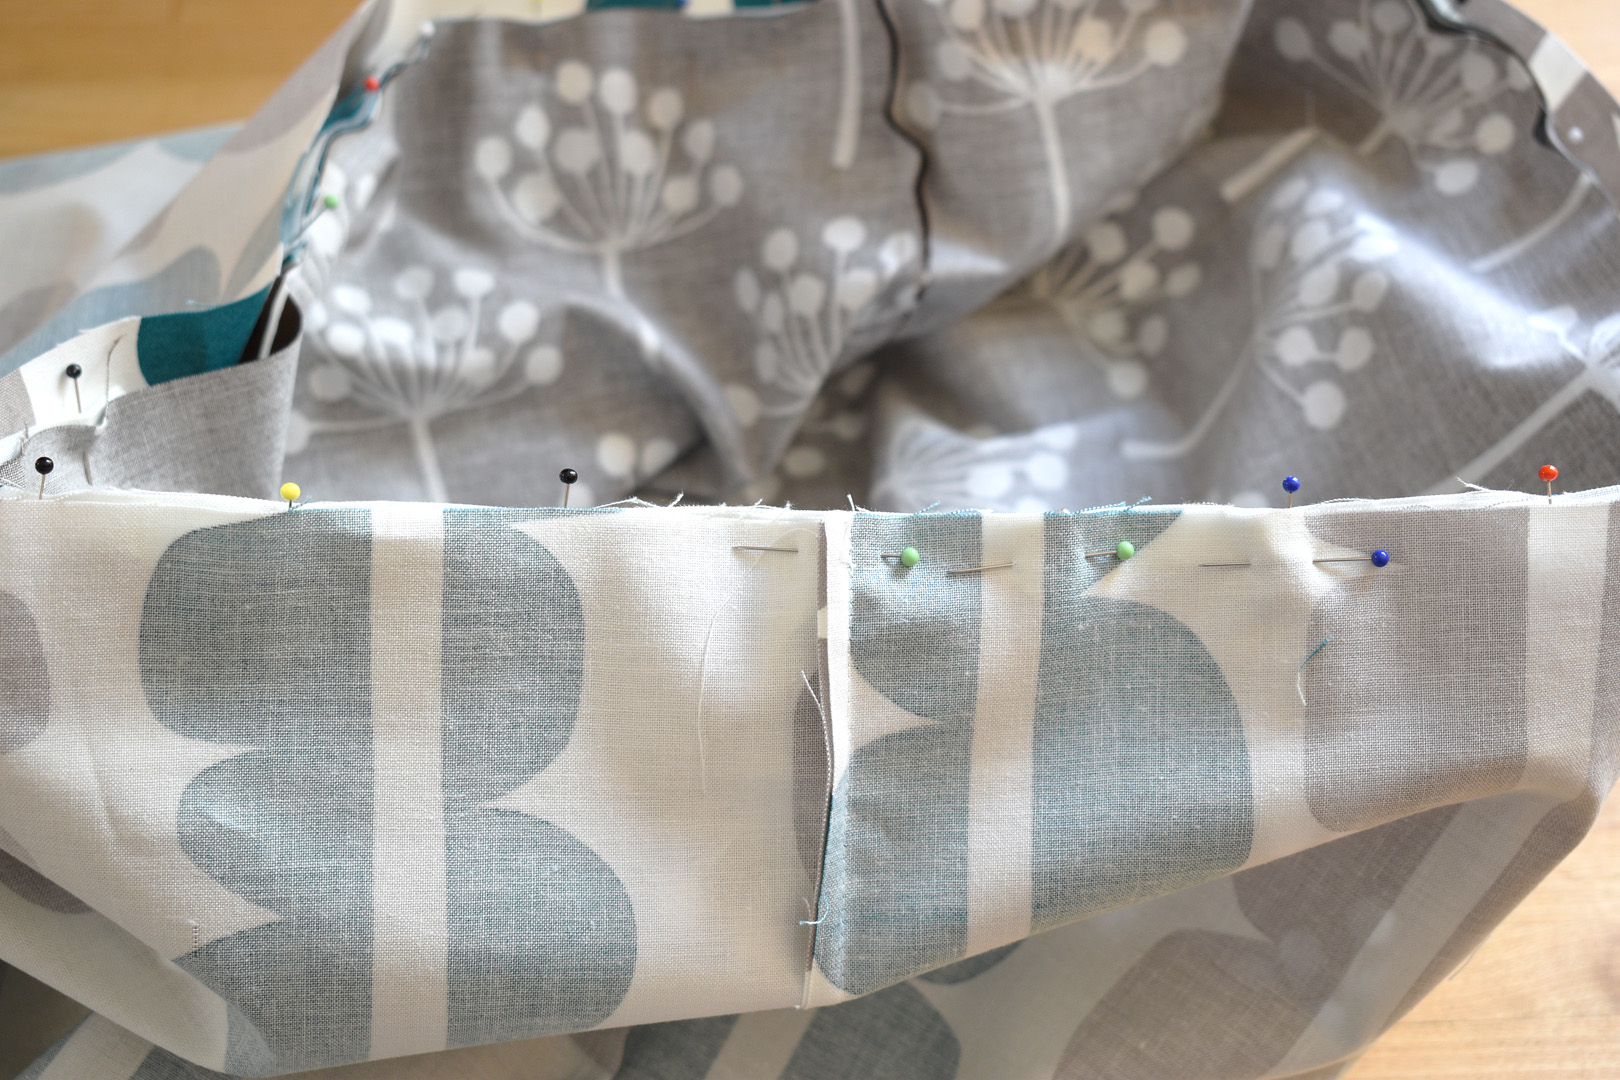
Start by matching side seams on one side of the bag, and begin to pin through all layers. Pin parallel to the top edge, and as you pin through all layers remove the pins used to temporarily hold the casings in place. Make sure to remove all of these perpendicular pins so as not to sew over one in the next step.
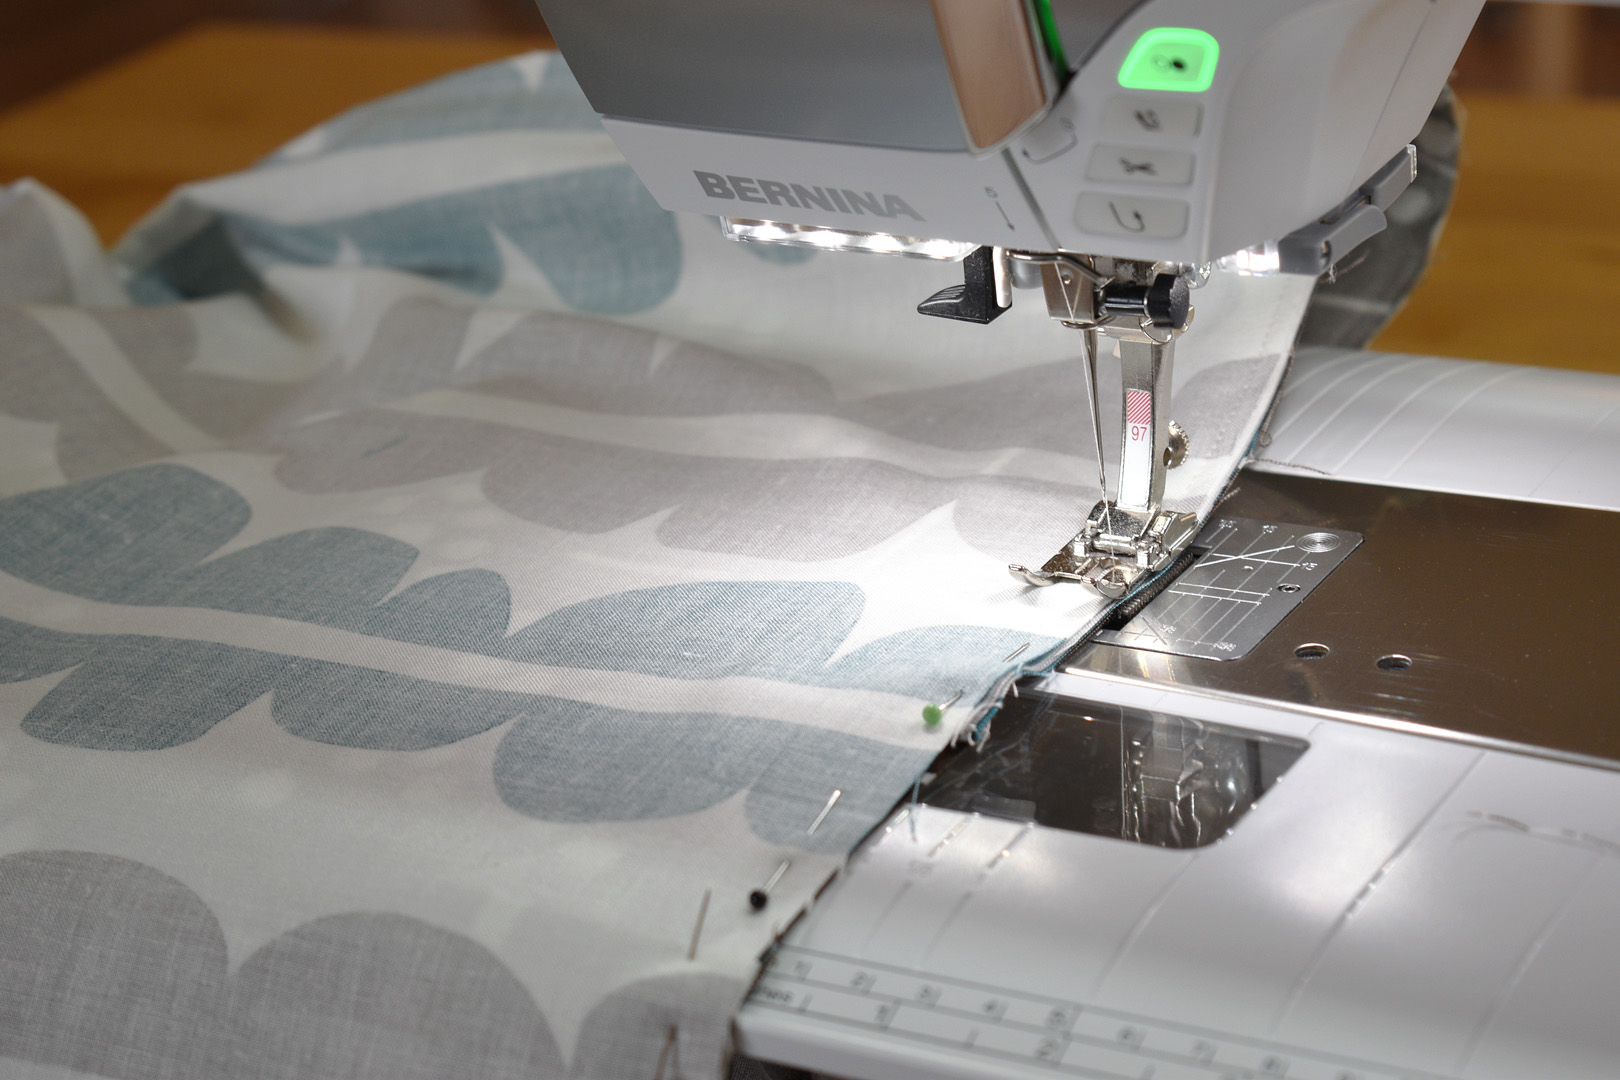
Sew all around the top edge of the bag with a 1/4″ seam.
Turn the bag inside out through the opening in the lining. Press the fabric in the opening back by 1/4″.
Stitch over the opening, close to the edge.

Turn the lining inside the bag, and press the top edge well.
Stitch all along the top edge of the bag, right below the casings.
Find the last three pieces of fabric, these are the strips to make the bag handles.
Pin the three strips together at the shortest ends to make one long strip, and stitch with 1/4″ seams.
Follow the pressing steps above for creating the ties to make the handles. Fold in half and press to create a center crease, then press the raw edges in towards the crease. Lastly, fold the entire strip together and press well.
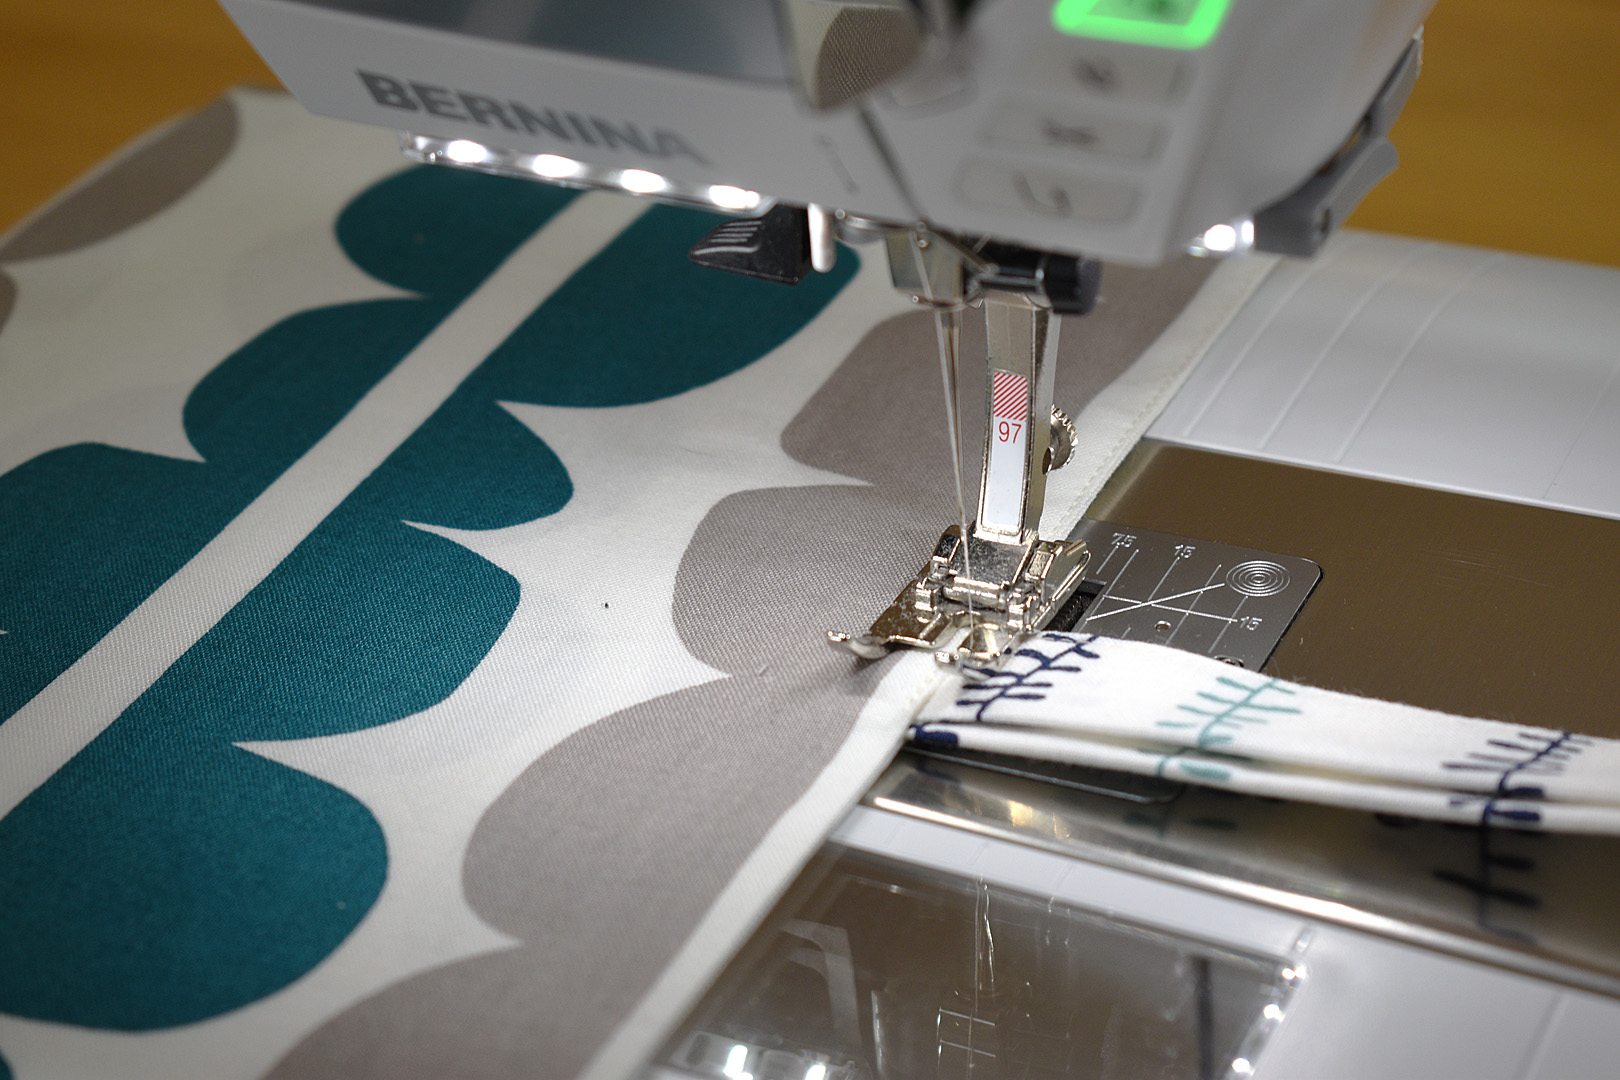
Stitch along the open edge of the handles, making sure to leave 4″ open at each end. I place a pin 4″ from each end to remind me where to stop sewing.
Use a bodkin or large safety pin to feed the handle through the two casings.

Bring the two raw edges together at one open end of the casings.
Be sure that the handle strip is not twisted within the casings, and that the strips are oriented in the same direction. Open the ends and pin raw edges together, stitch with a 1/4″ seam.
Press the opening closed, and finish stitching the open part of the handle closed.
Take time to work the handles back and forth in the casing until you have an equal amount of handle in both openings, and the handles are flat within the casings.
Finish off the bag by adding a tacking stitch on the casing over the side seams of the bag. This keeps the handles even and flat when in use.
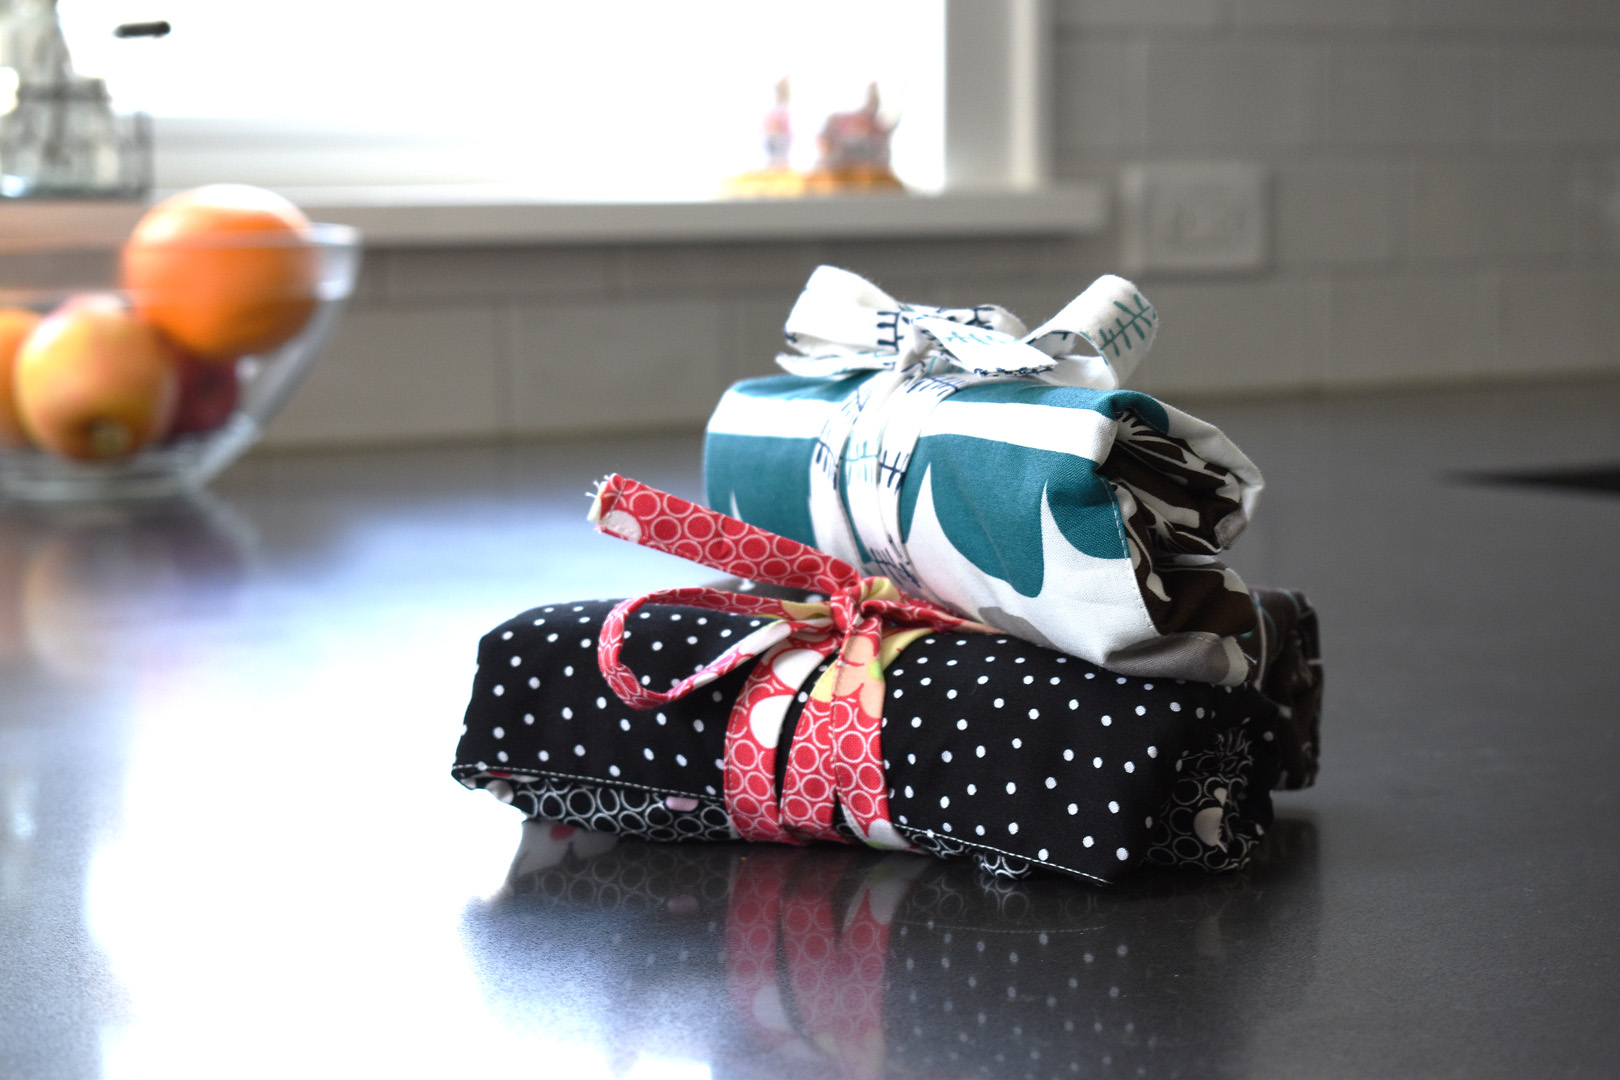
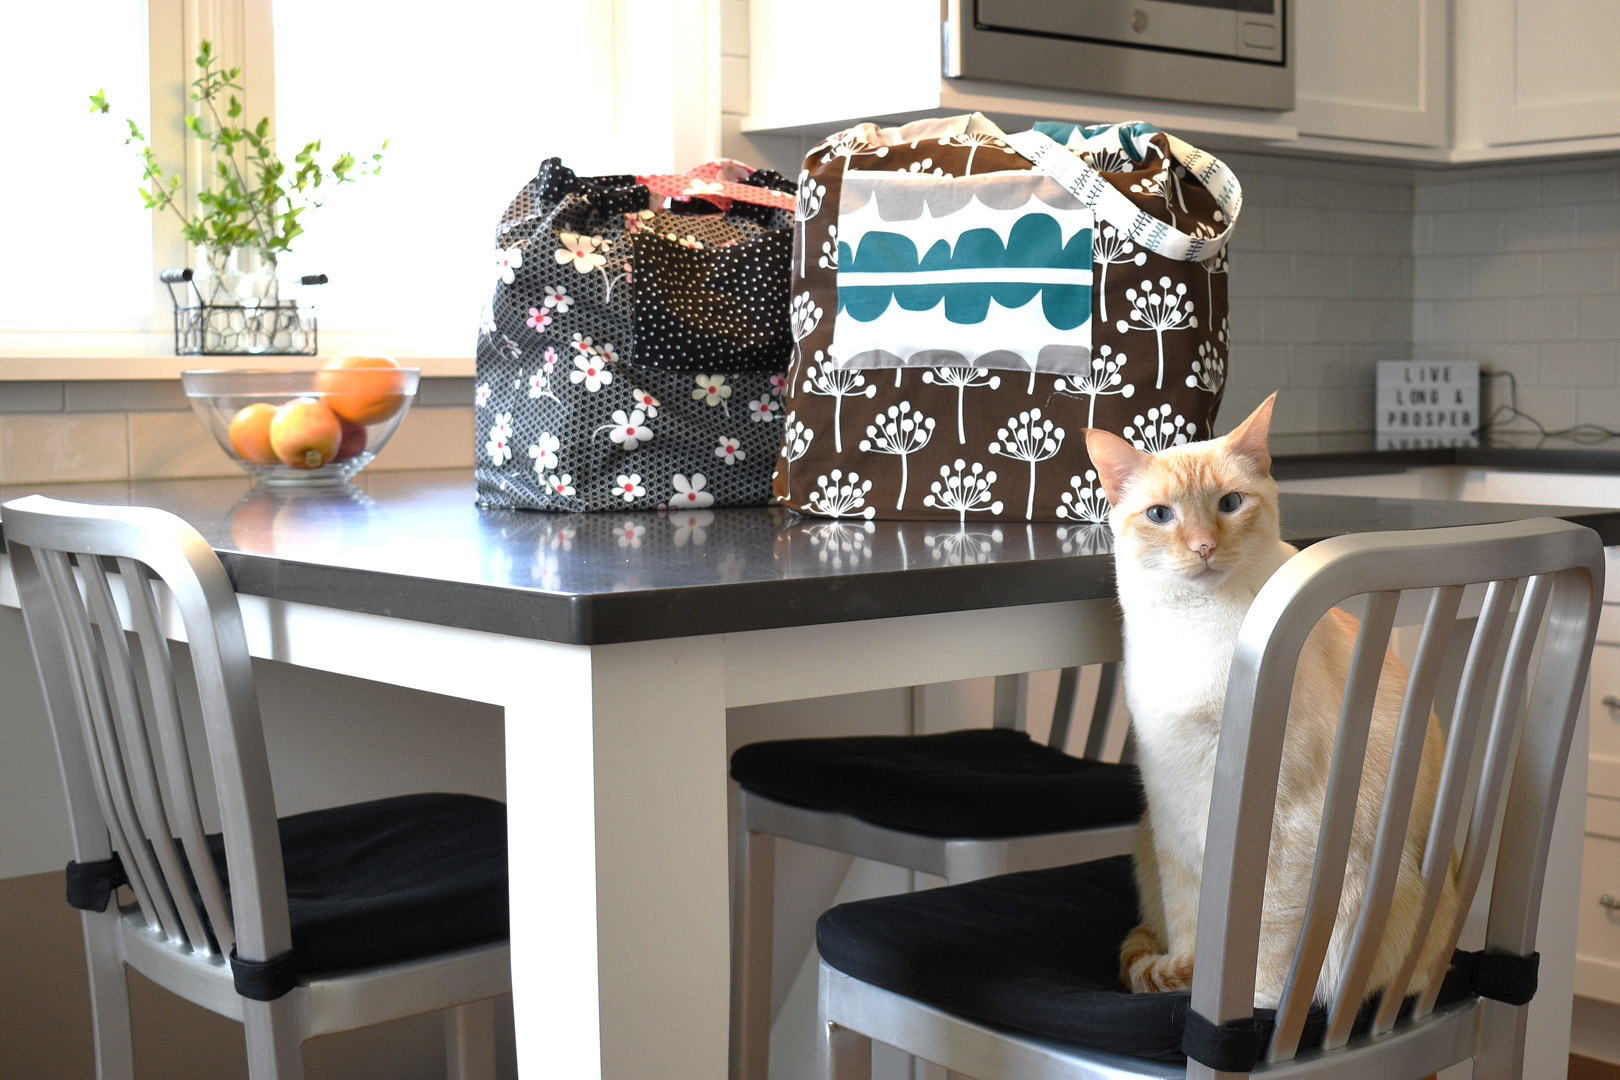
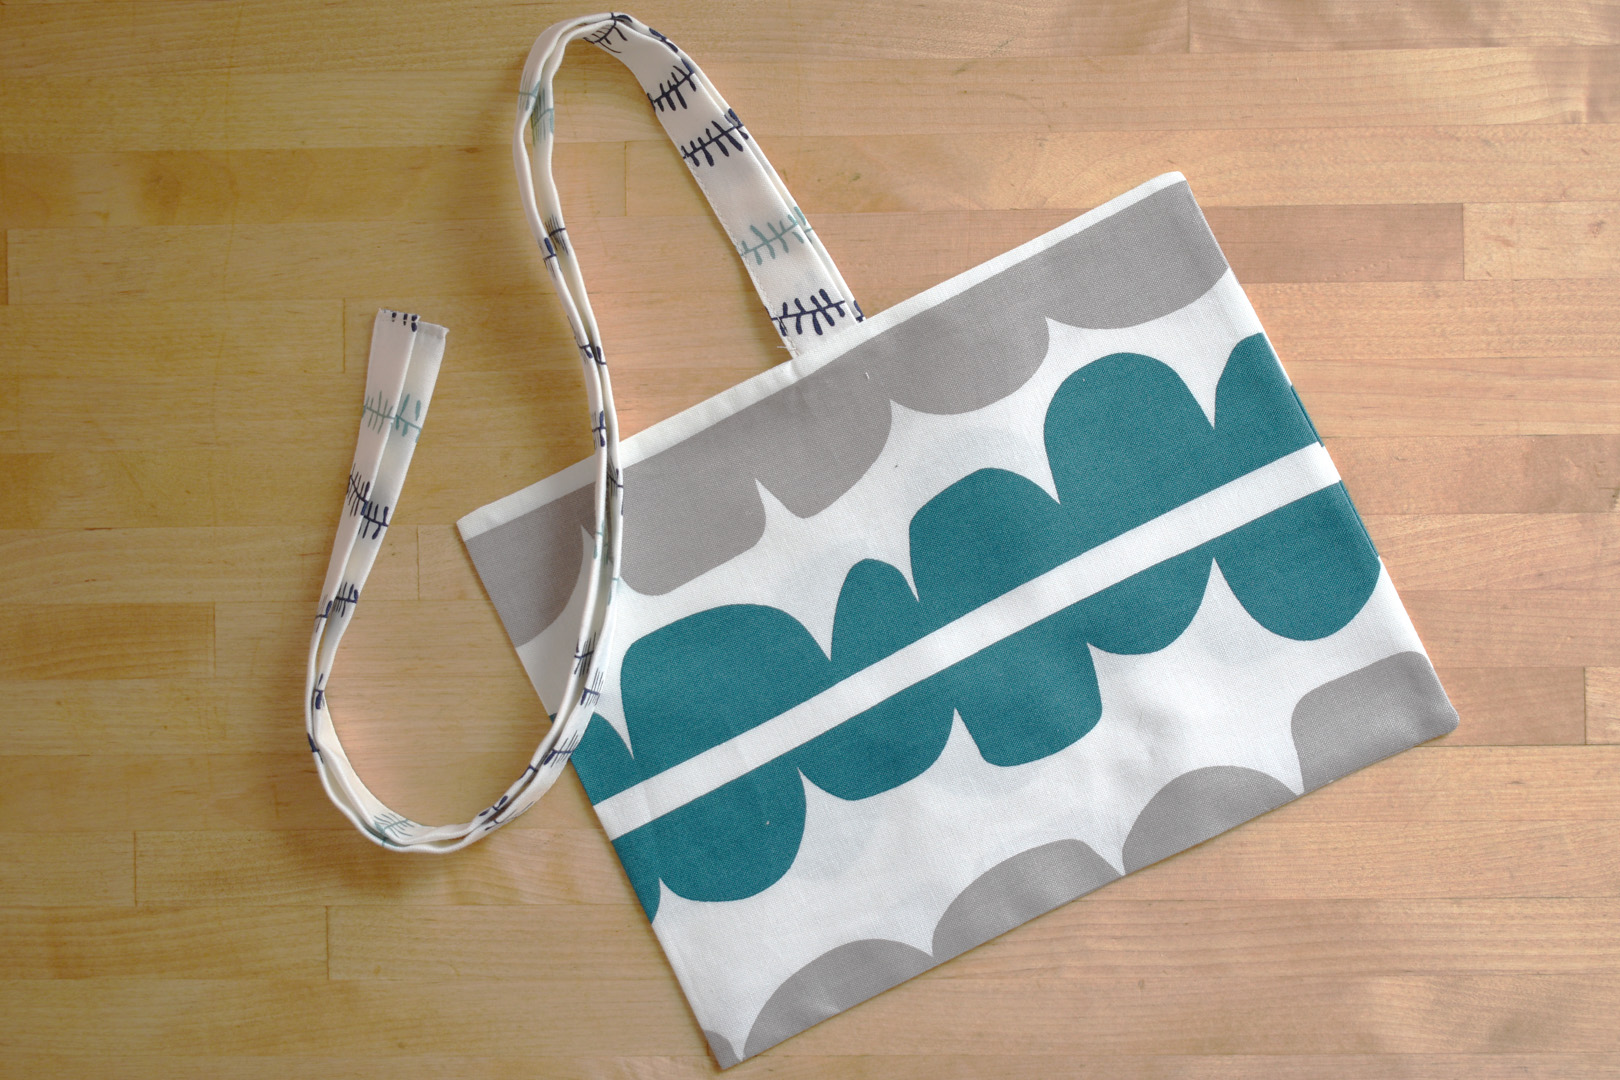
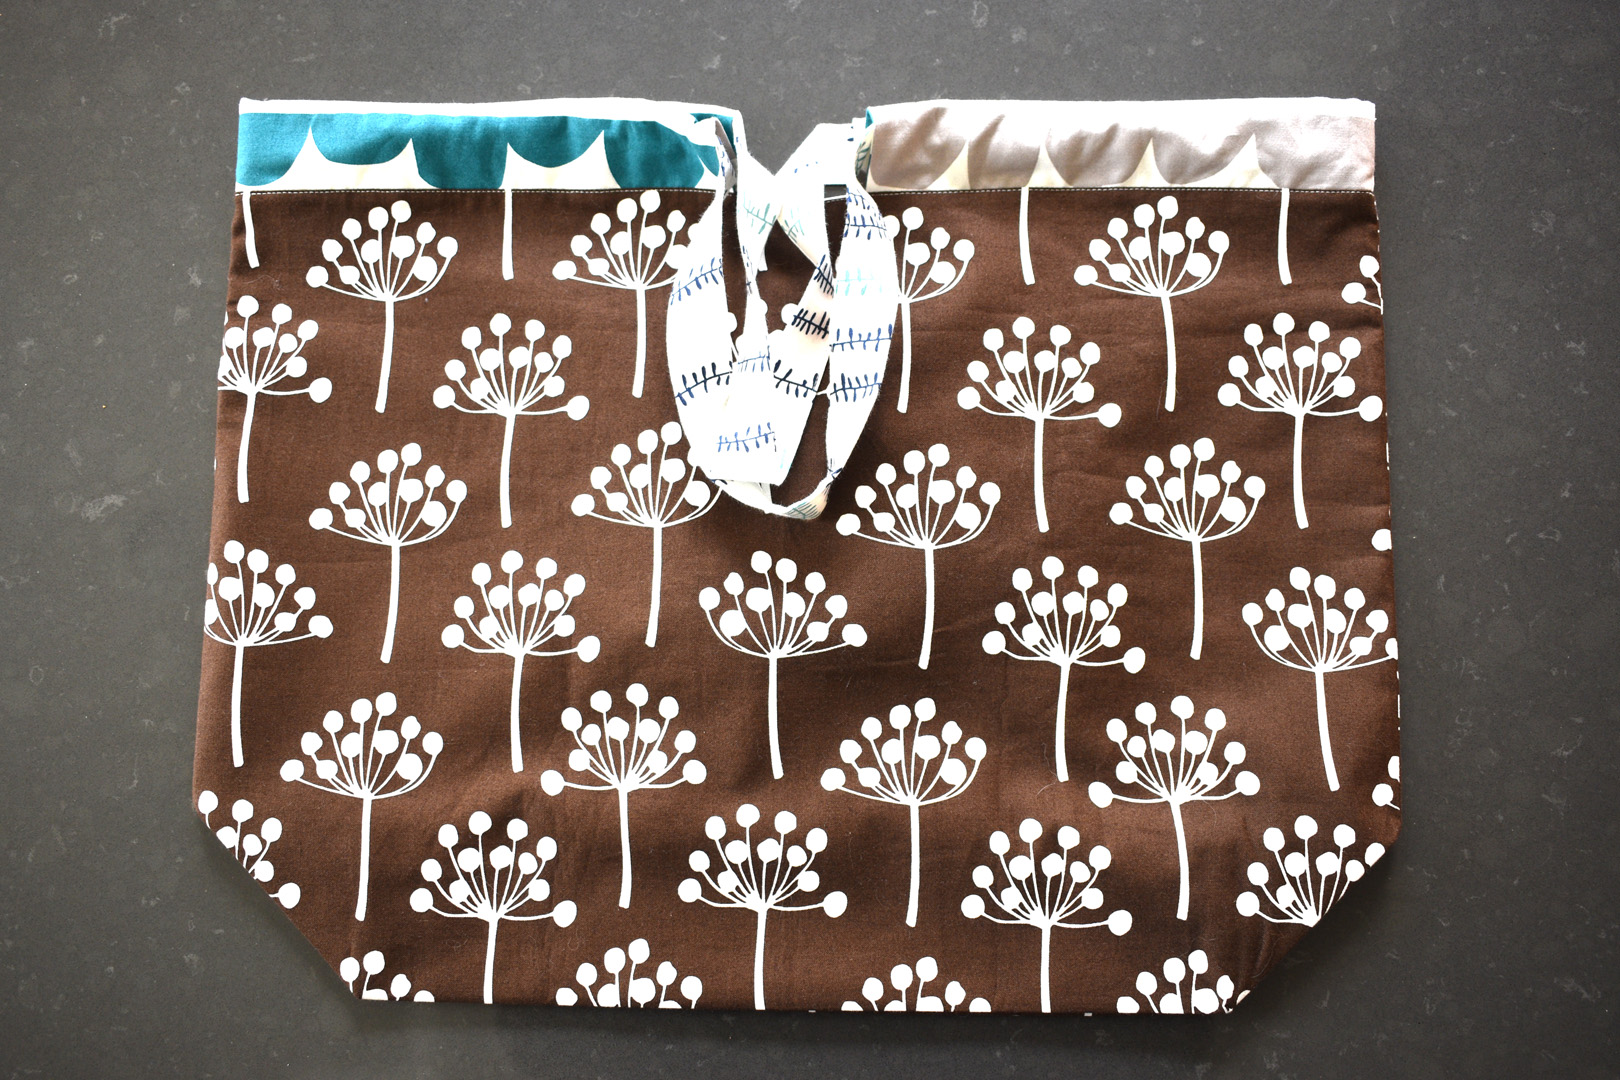
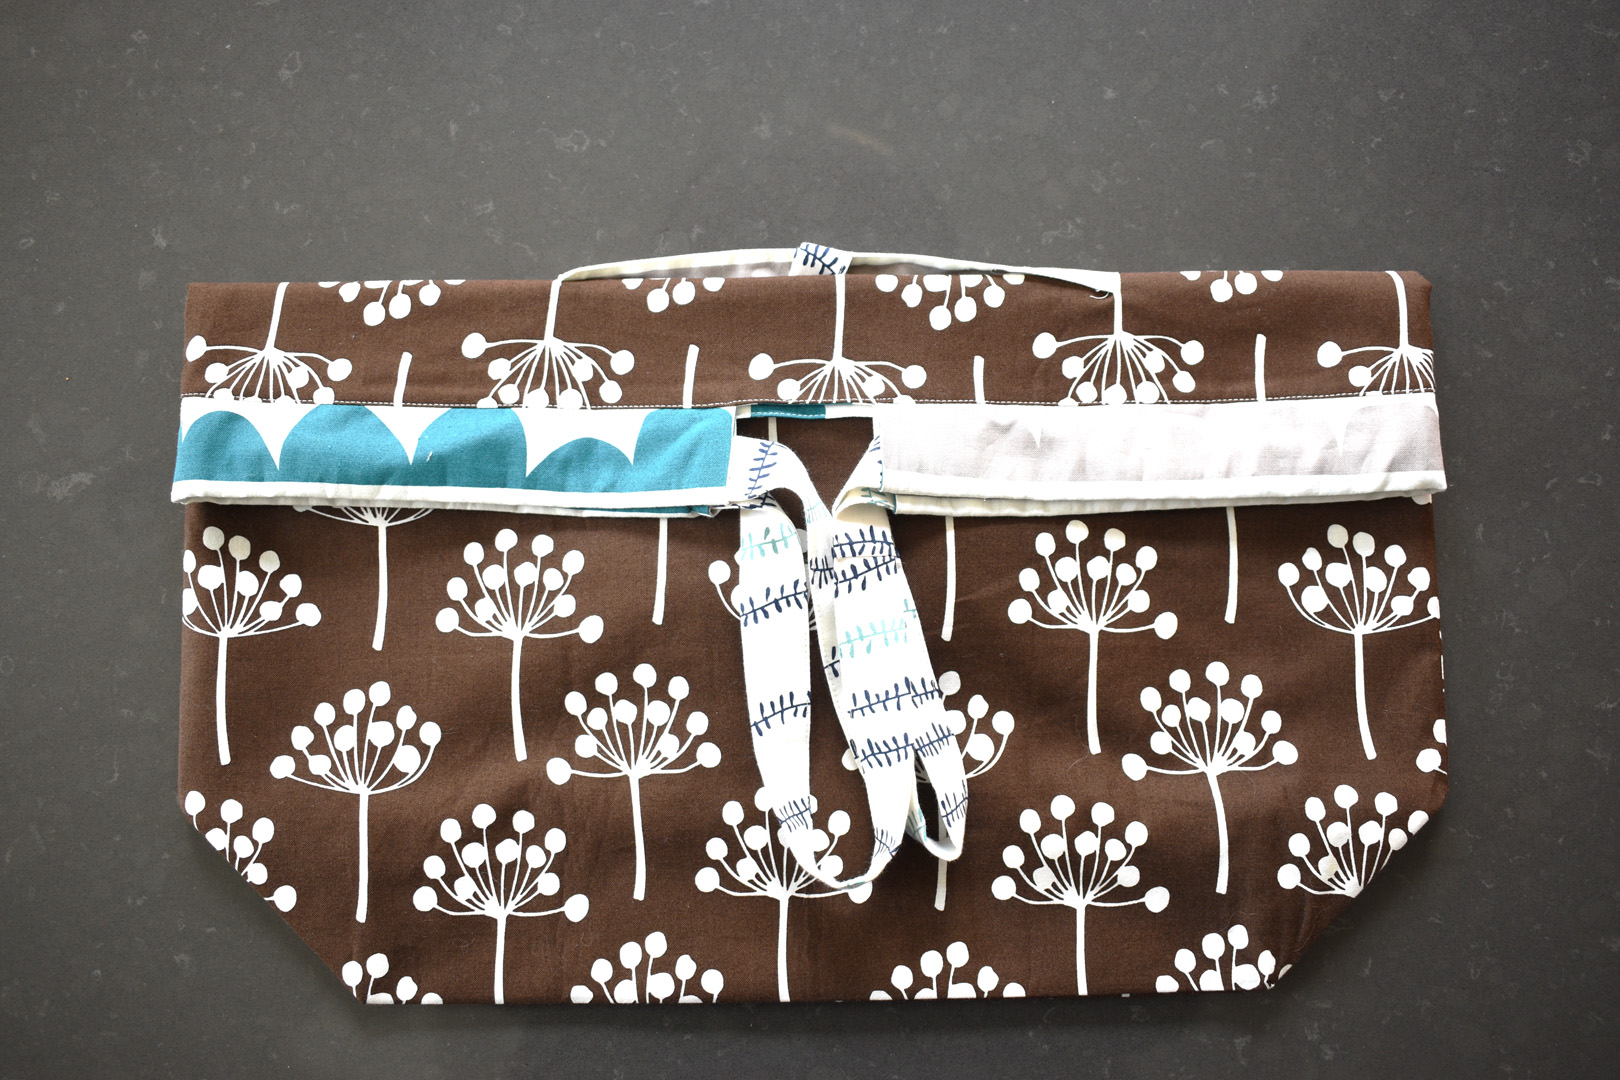
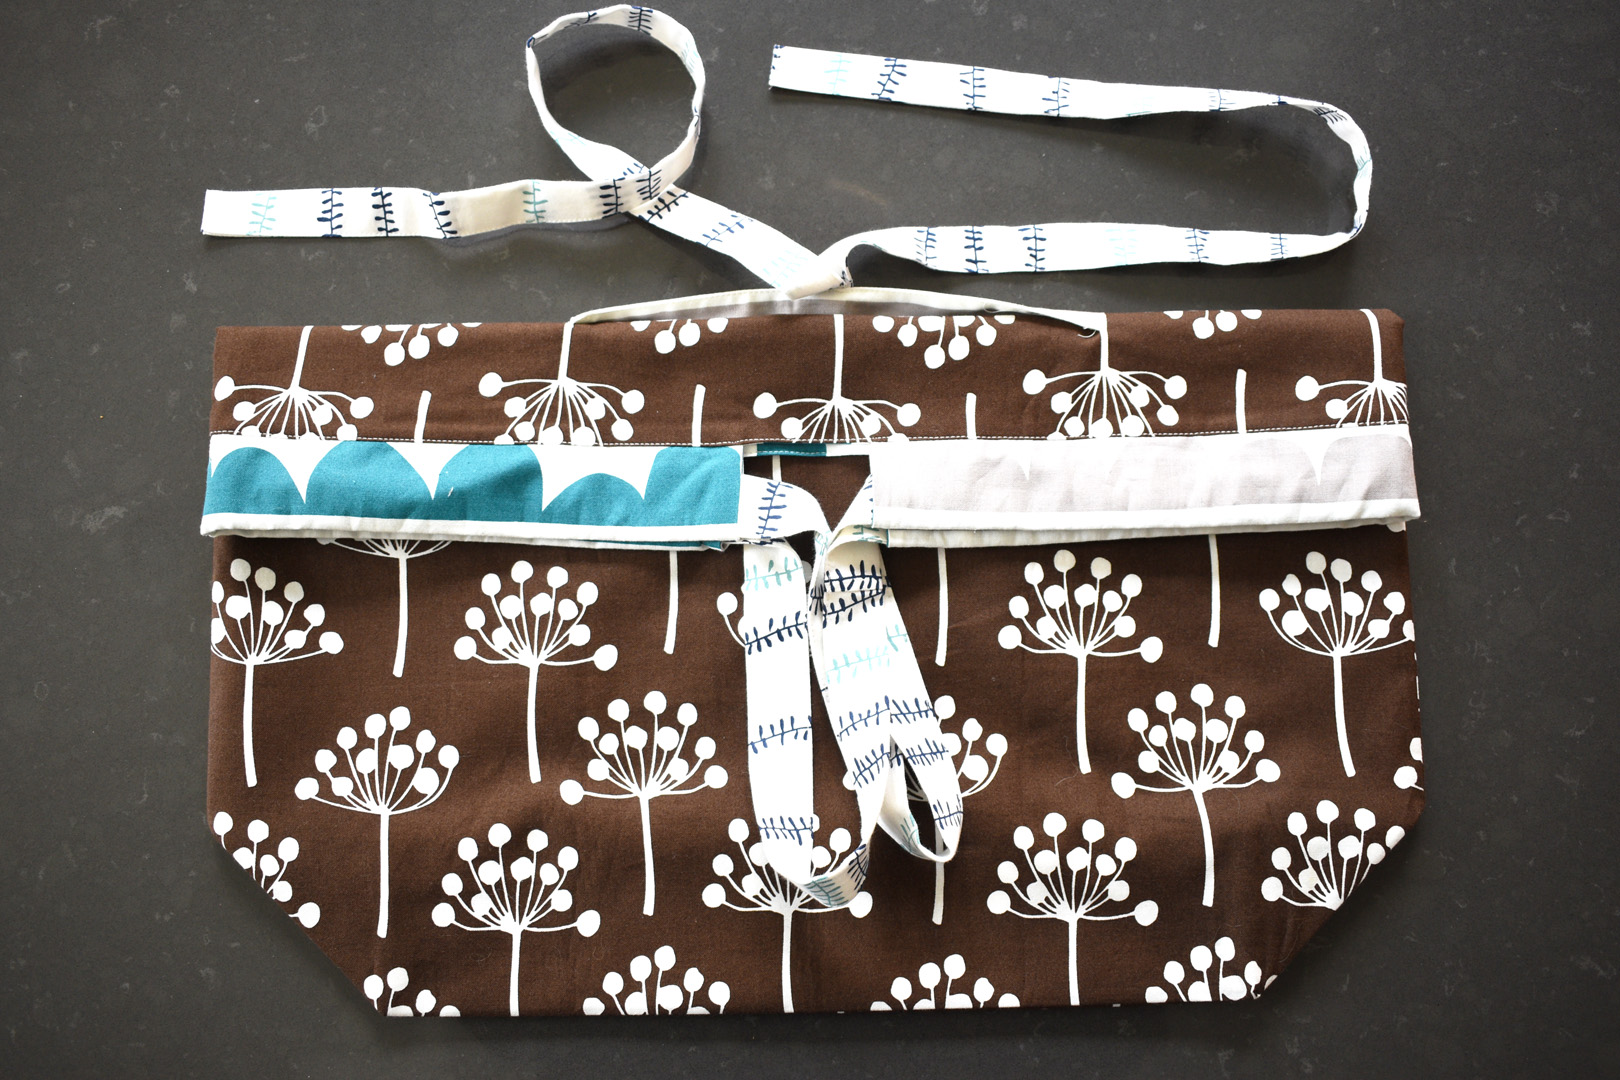
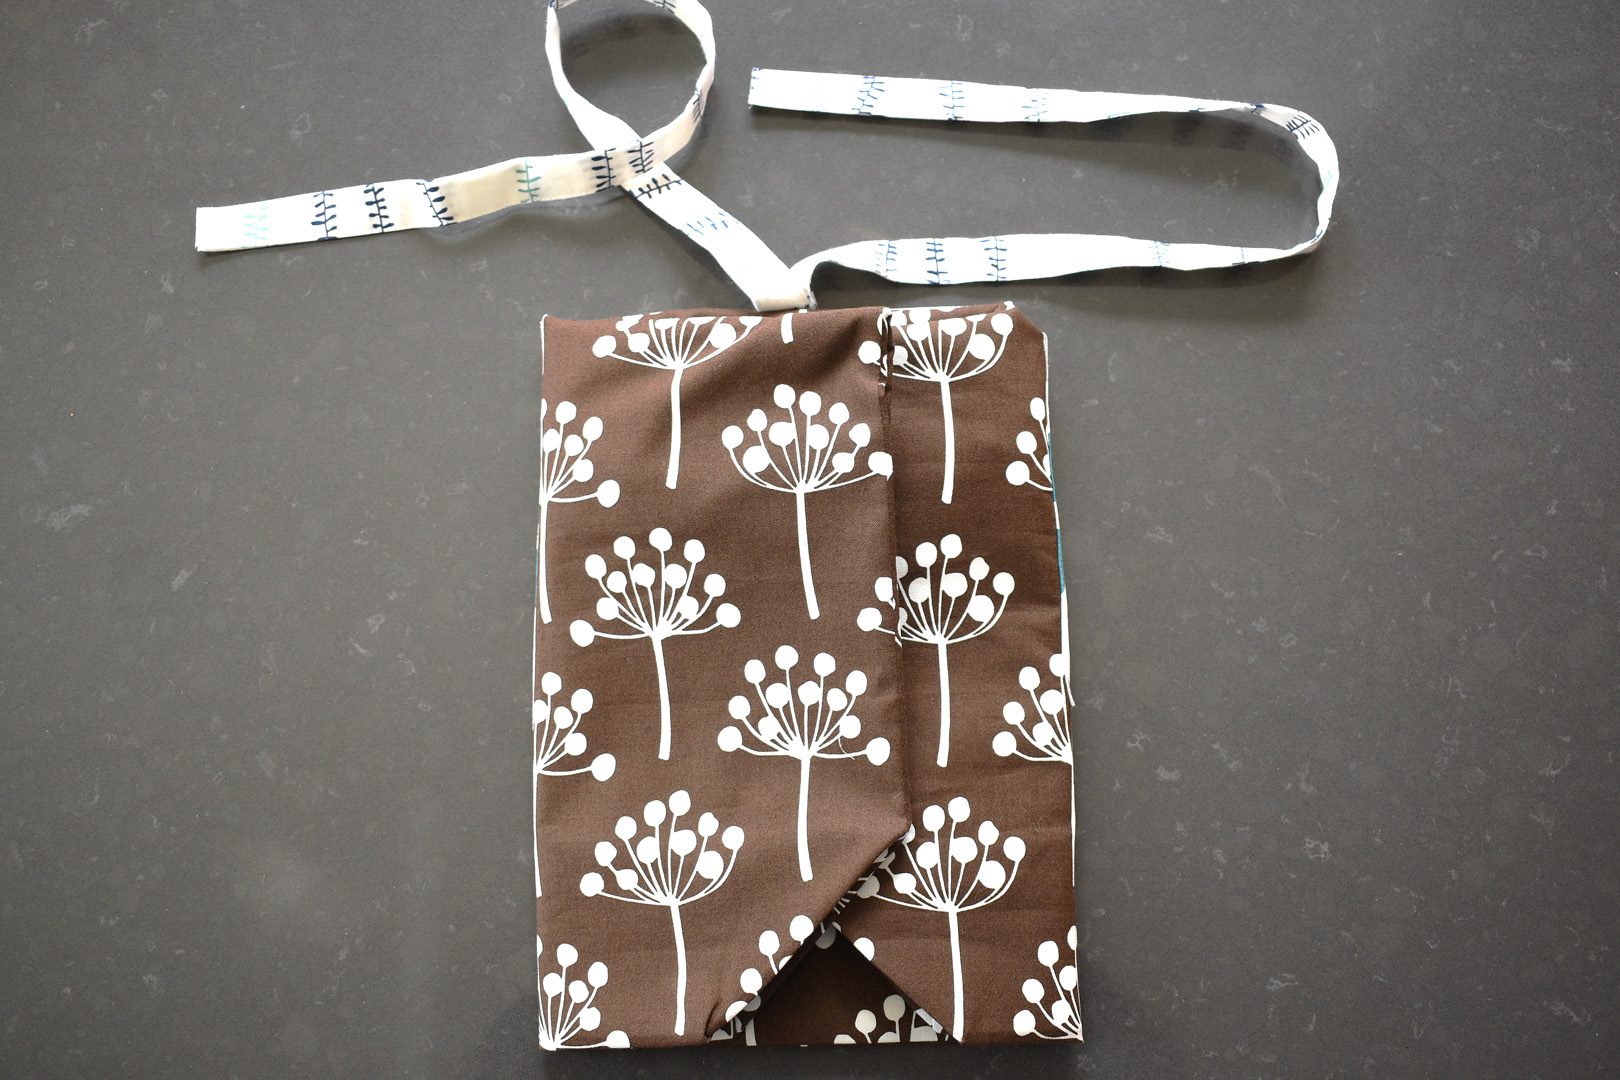
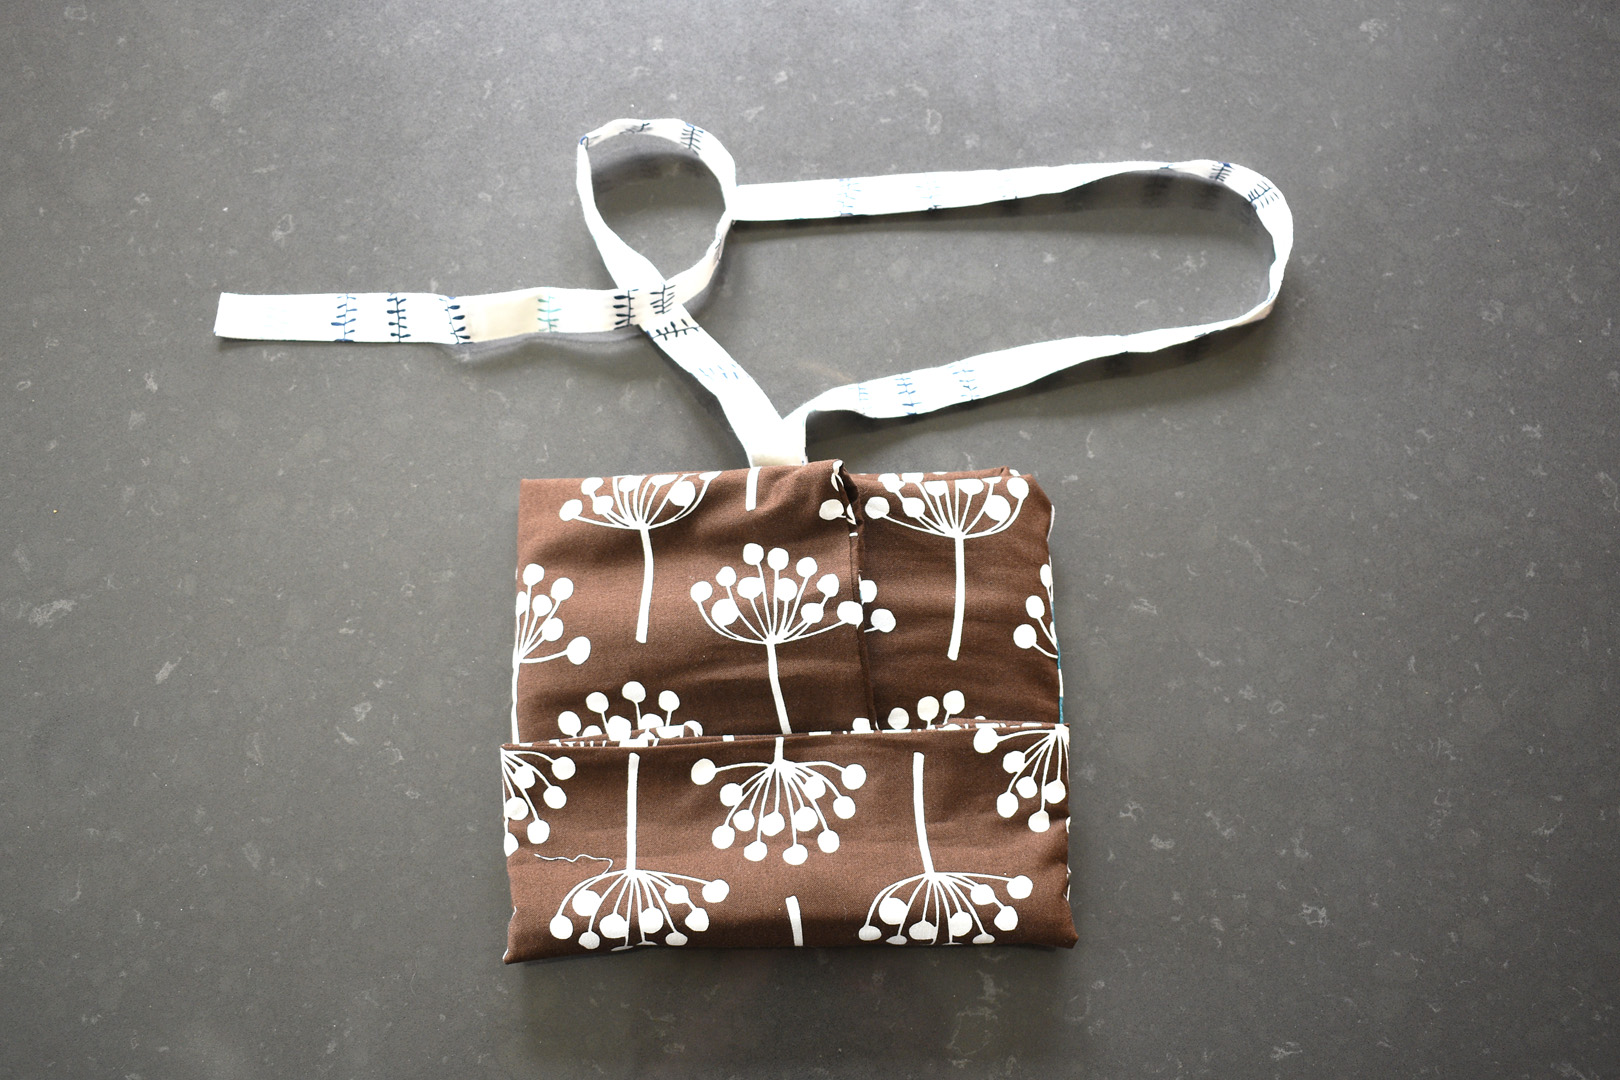
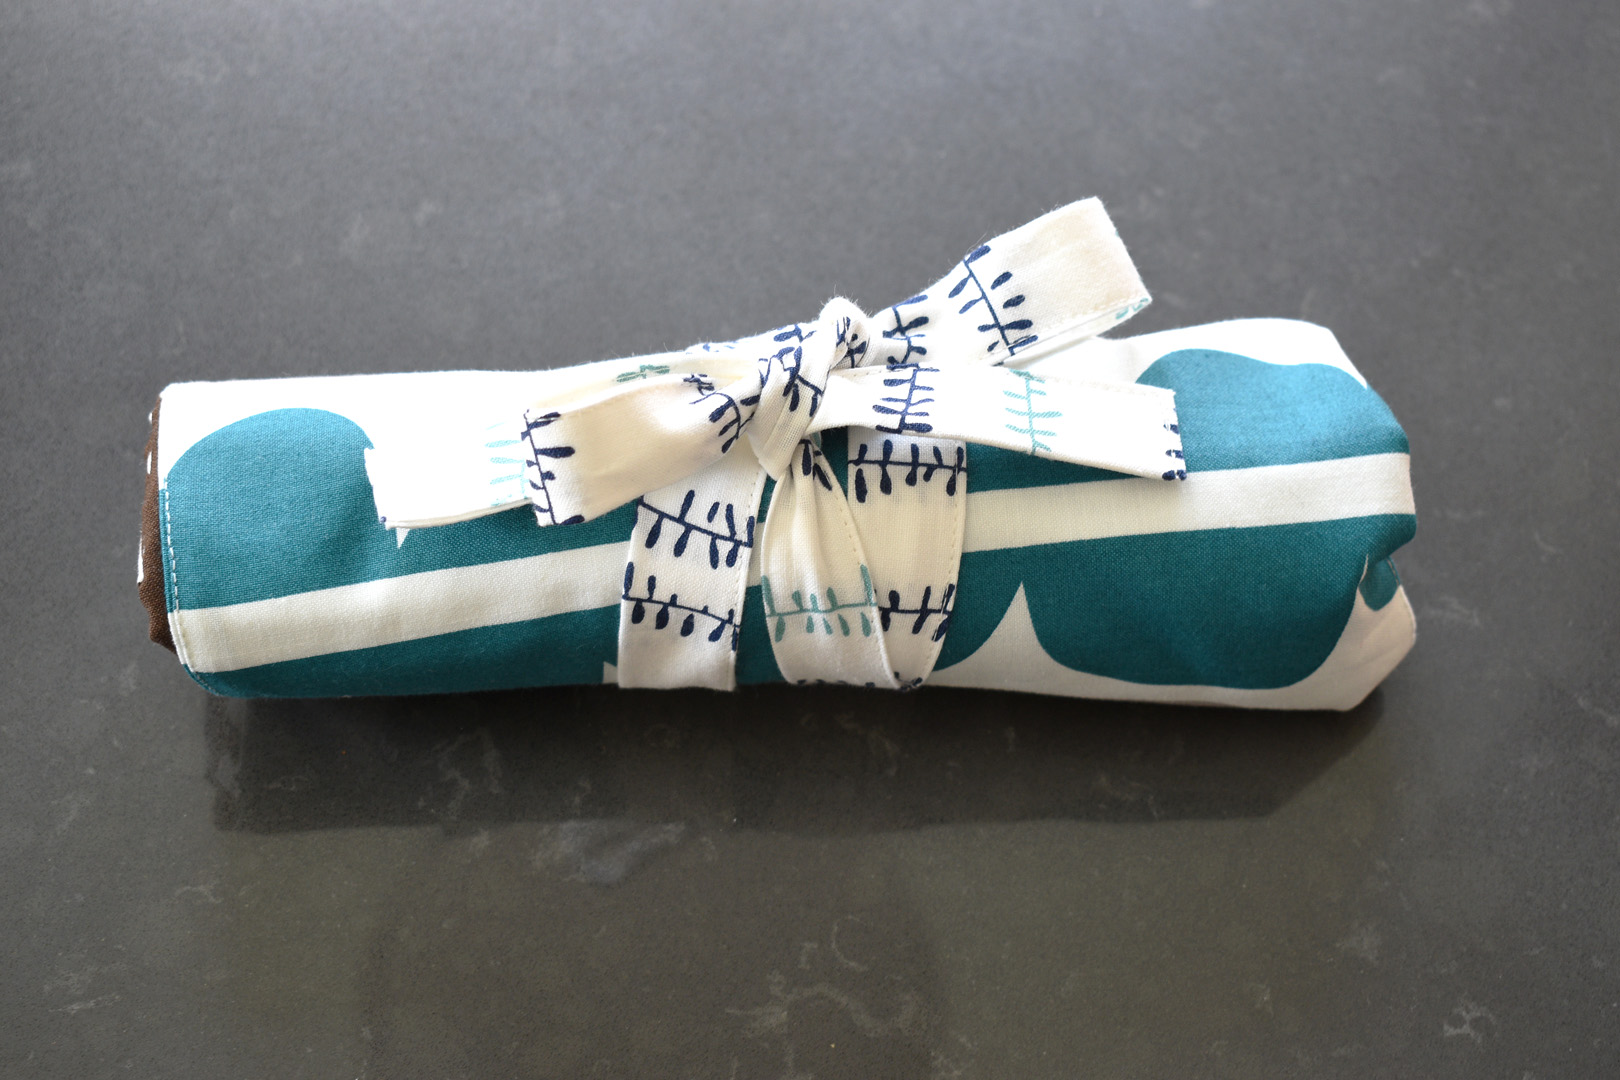
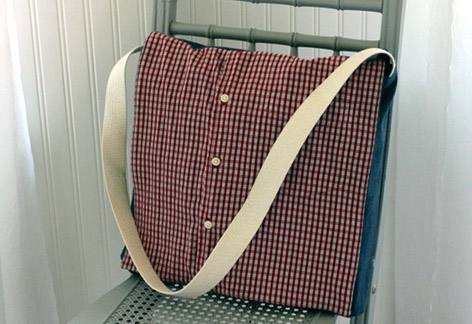
Step 3: Use the tote!
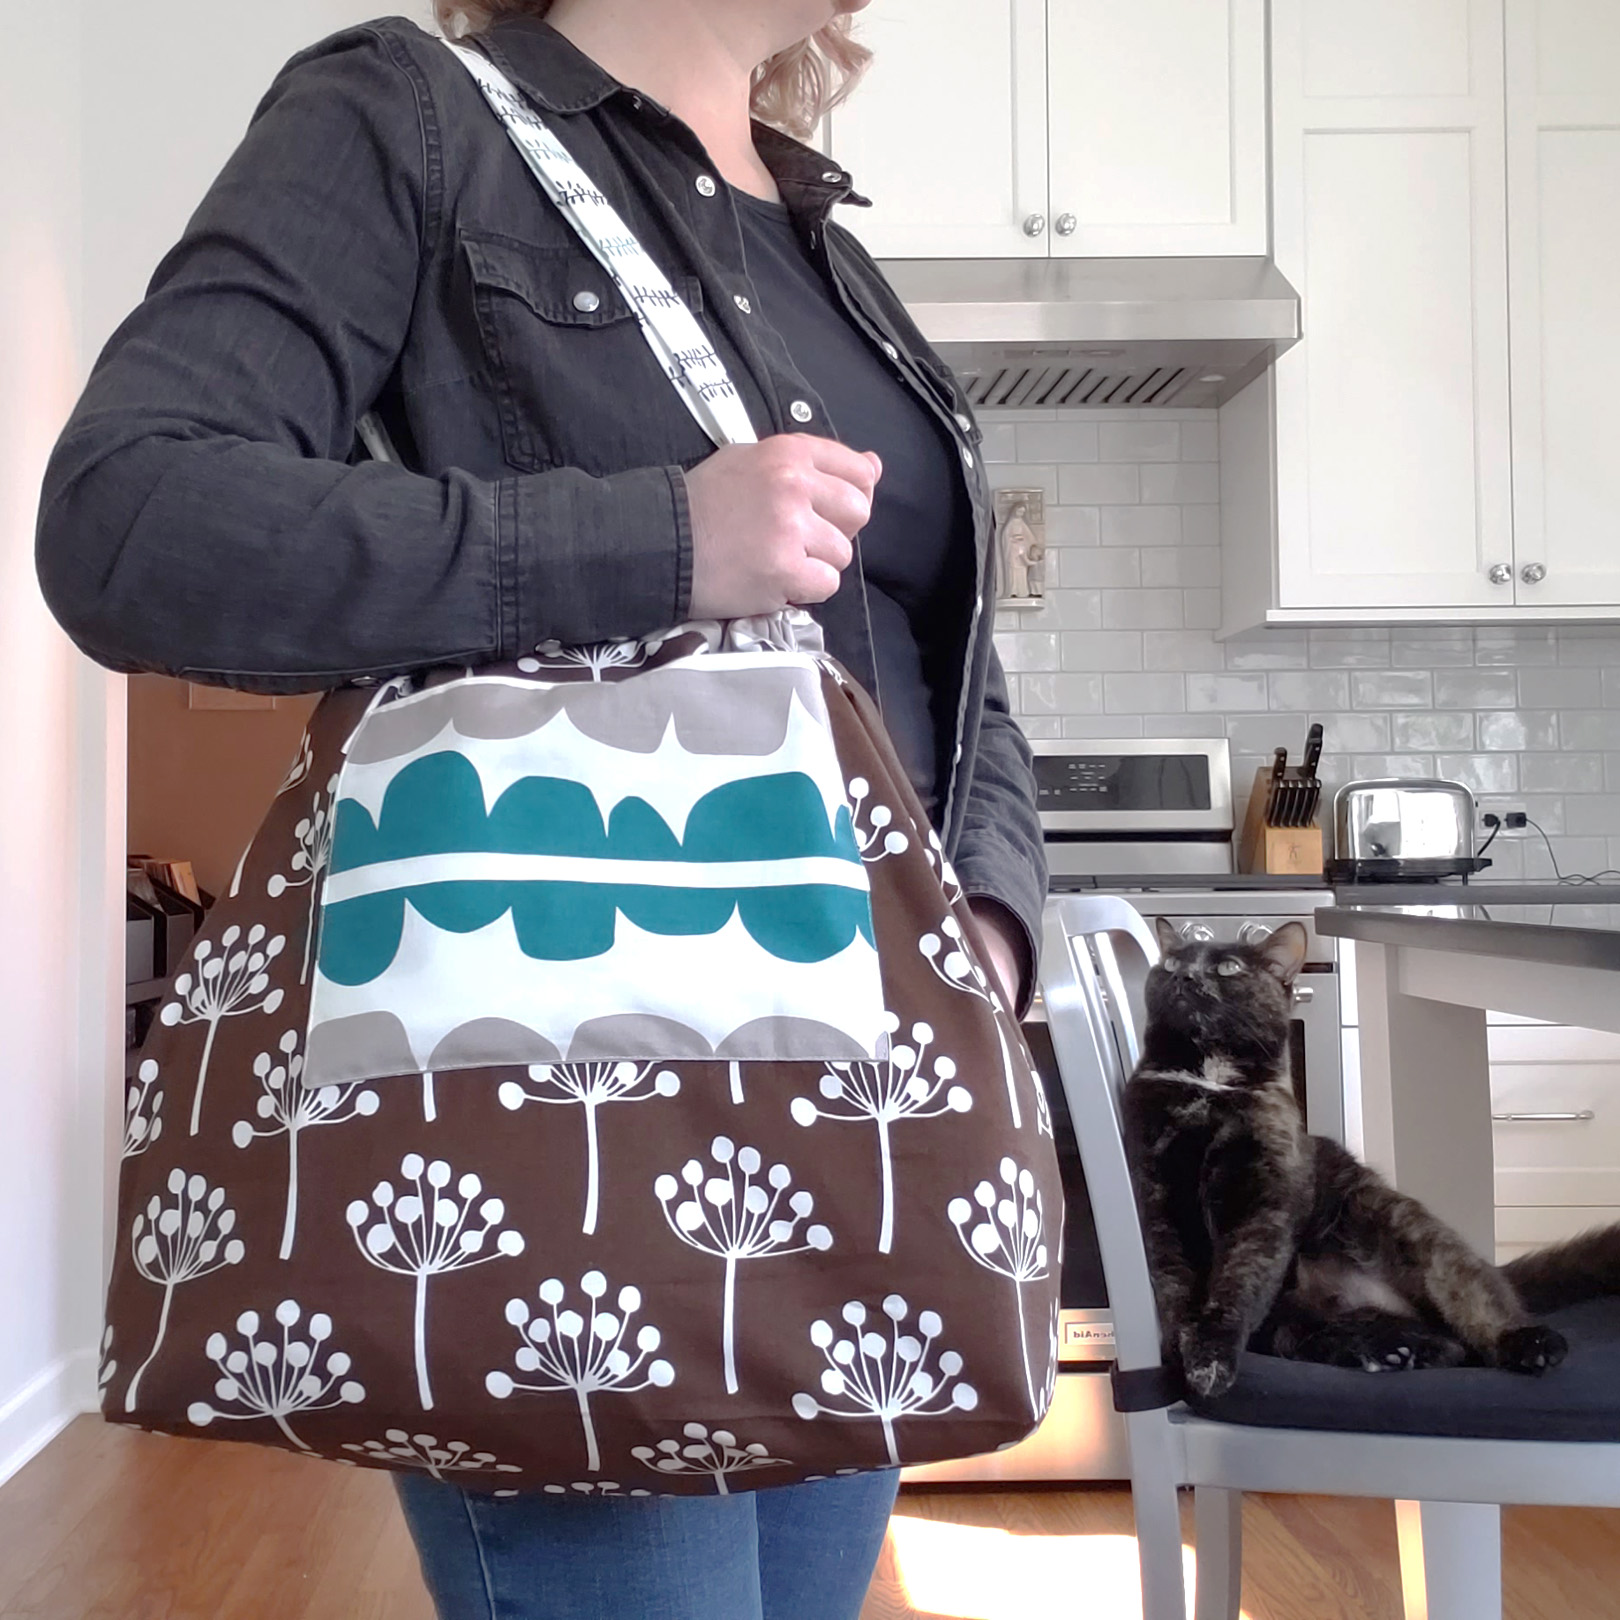
When not in use, fold up the tote and use those hidden ties to keep it neat and tidy until needed.

Used Products


What you might also like


5 comments on “Fat Quarter Tote Bag Tutorial”
-
-
Hello mjewel2014, thanks for you nice comments! The fat quarters I have really ranged in measurements, from 18″ x 22″ to wonky cuts of under 18″ by 20″. Because there can be a big variance in fat quarter cuts I did not add a final measurement for trimming the 4 fat quarters that will become the main part of the bag. As long as you cut these 4 fat quarters to the same measurements the instructions in this tutorial will work for you!
If you are interested in cutting the 4 pieces from other yardage, you can cut anywhere between 16″ – 18″ by approximately 20″ – 22″ and the tutorial will work for you. Obviously, the smaller you cut the 4 rectangles for the main bag, the smaller your finished tote. I would suggest using 18″ x 20″ cuts to follow cutting in this tutorial for the other parts (handles, pocket, straps, and casings).
Cheers! – Erika
-
-
I enjoyed making this great today but did end with a few oddities. The front pocket Was very shallow. I cut the fat quarter horizontally as direction indicates, Secondly The open end of the casings ended at the side Seams. I did not correct but picture looks better than my bag. I debated about sewing casing to the inside of the bag
Although there is reference to a side pocket. I could not find in the instructions where and how to place. Did I miss a page?
Where did I go wrong? Thanks Janet
-
Hi @jforrest47, thanks for making the Fat Quarter Tote! Fat quarters can be slightly different dimensions depending on how they’re cut, and this might account for slight differences in the overall size of the bag or the size of the pocket. The side pocket is the same that you refer to as the front pocket. It’s on the exterior side of the bag. It sounds like the piece of fabric used for your pocket may have been a bit smaller than mine, which resulted in a shallow pocket.
About the casings that the handles slide through, the photos show there is a side seam at the edge, and the raw edges are sewn inside the bag. Double-check in the tutorial for the steps where the casings are pinned to the outside of the bag before the lining is pinned on top. After sewing the lining to the main part of the bag, the raw edges of the casings are secured inside the seam. Happy stitching! – Erika
-
-
Is there a PDF to print for this pattern. Thank you
Leave a Reply
You must be logged in to post a comment.

Thank you for well designed tote bag tutorial. The instructions and the photographs helped me to easily construct the bag. I also used Bernina Edgestitch Foot #10D to finish off the top of my bag. I do have one question, however. . Most fat quarters are 18 x 22 inches. When you trimmed the four fat quarters to make them all the same size, what is the measurement for the bag pictured in the tutorial?