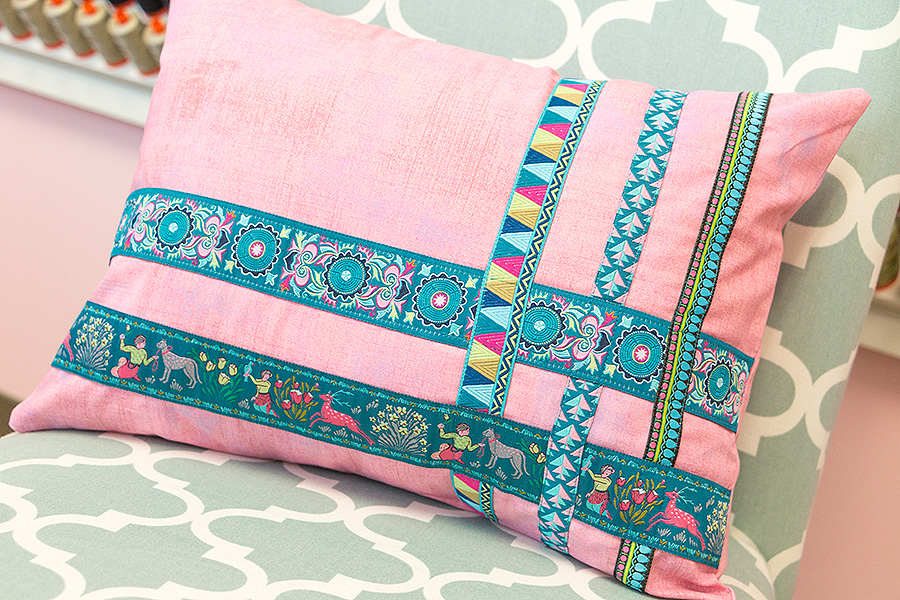
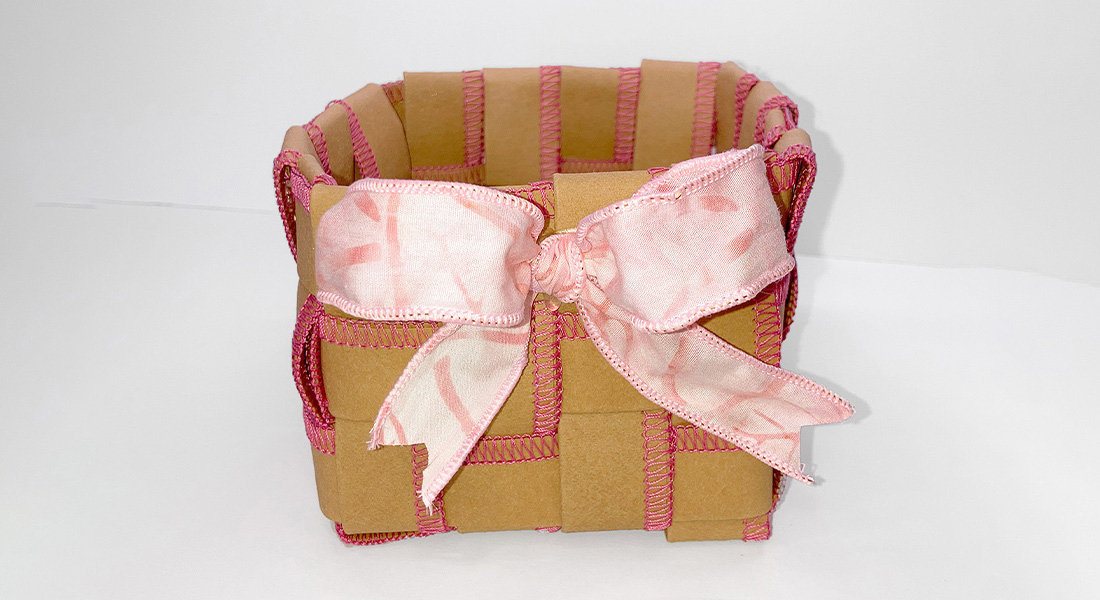
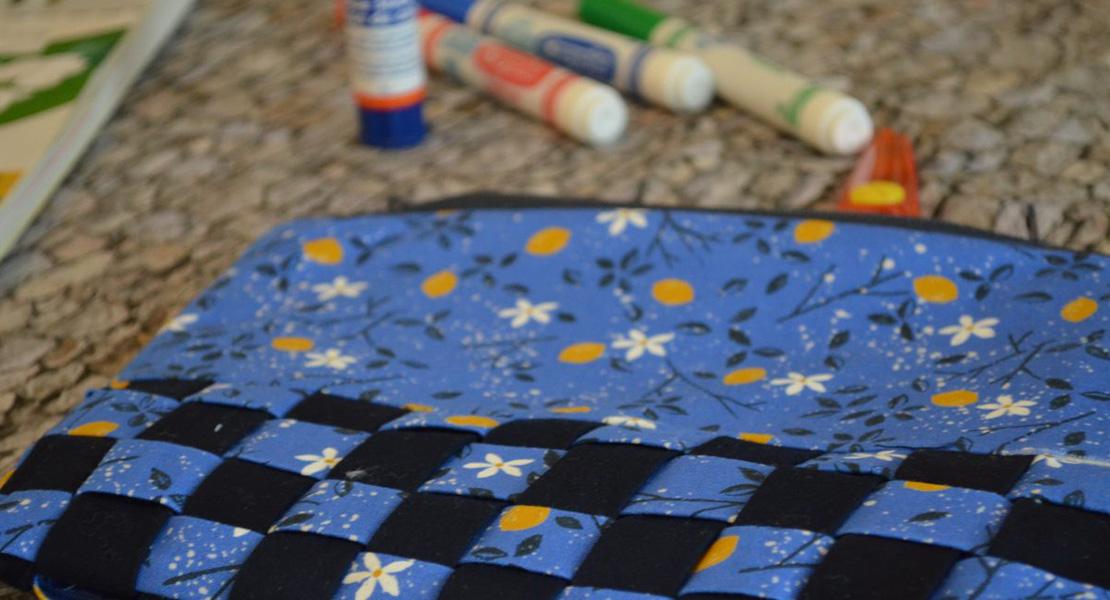
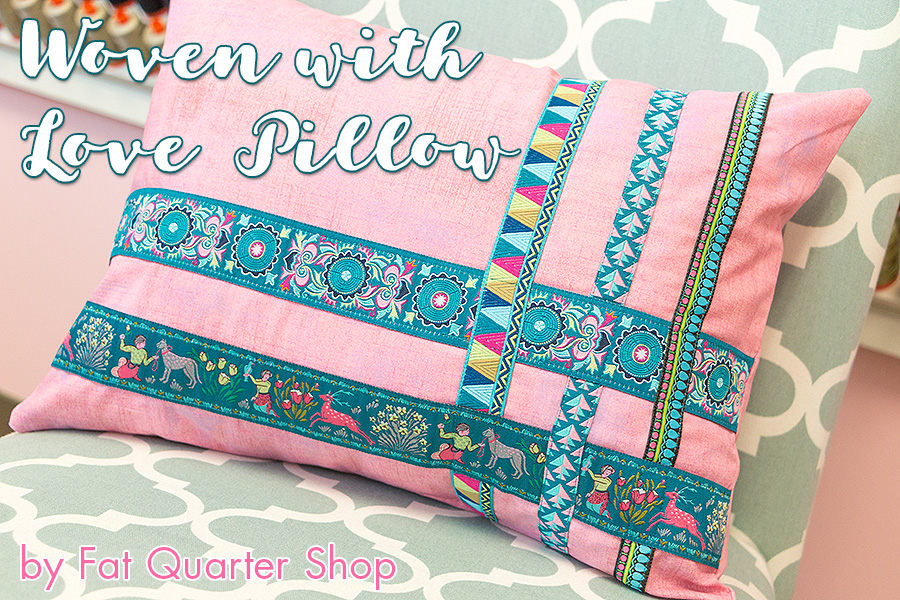
Woven with Love Pillow from Fat Quarter Shop
As quilters, we are all about piecing, but we took a little detour to play with these modern ribbons by Amy Butler and wound up with the Woven with Love Pillow. It is such a simple pillow project that requires very little cutting, and there is still room to embellish and play with the layout as you like for an original look! We hope you love this pillow tutorial from Fat Quarter Shop!
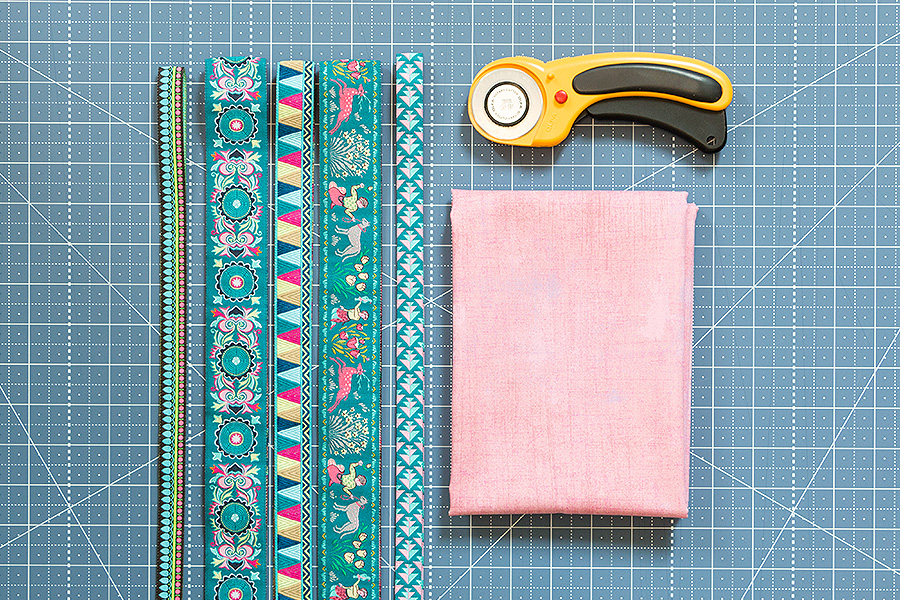
Materials to Make a Woven with Love Pillow
- 7/8 yard fabric for pillow top and pillow back
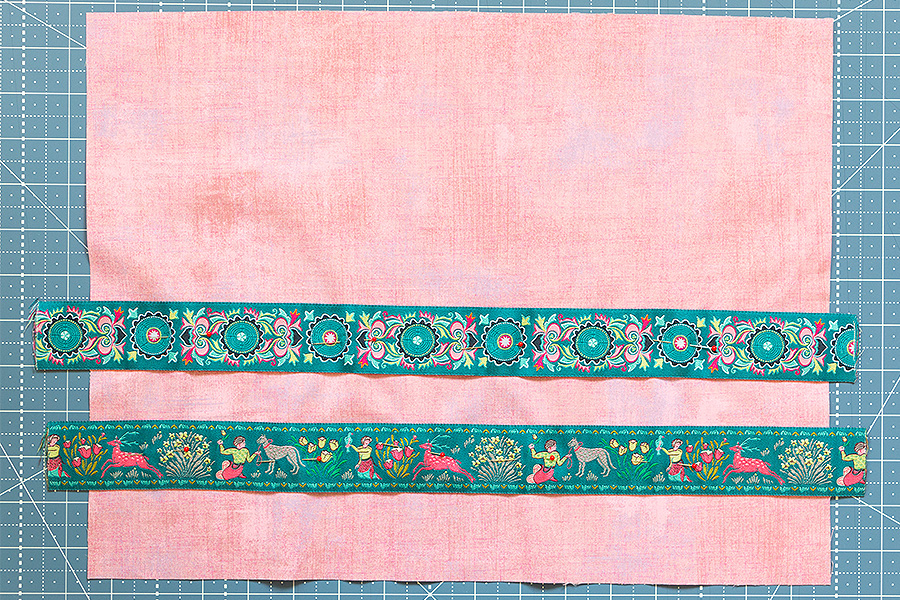
- Two 1/2 yards (18″) of ribbon – these will go along the wider side of the pillow
- Three 3/8 yards (13.5″) of ribbon – these will go along the shorter side of the pillow
- 50 wt coordinating thread color – we used a nice, dark teal thread to match the base color of the ribbons
- One 12″ x 16″ pillow form
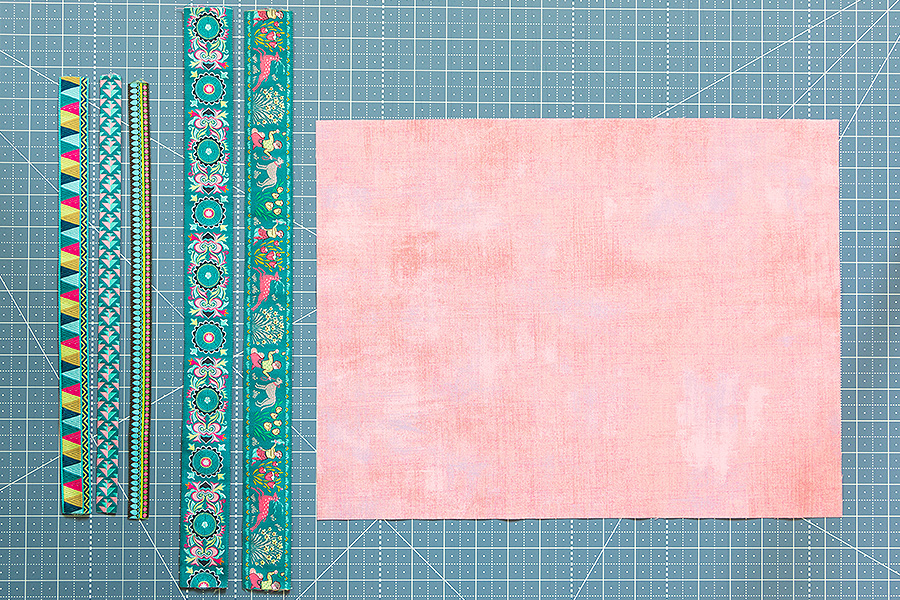
Cutting Instructions to Make a Woven with Love Pillow
Cut pillow fabric into –
1 – 12 1/2″ x 16 1/2″ rectangle
2 – 12 1/2″ x 20 1/2″ rectangles
Assembly Instructions to Make a Woven with Love Pillow
Step One:
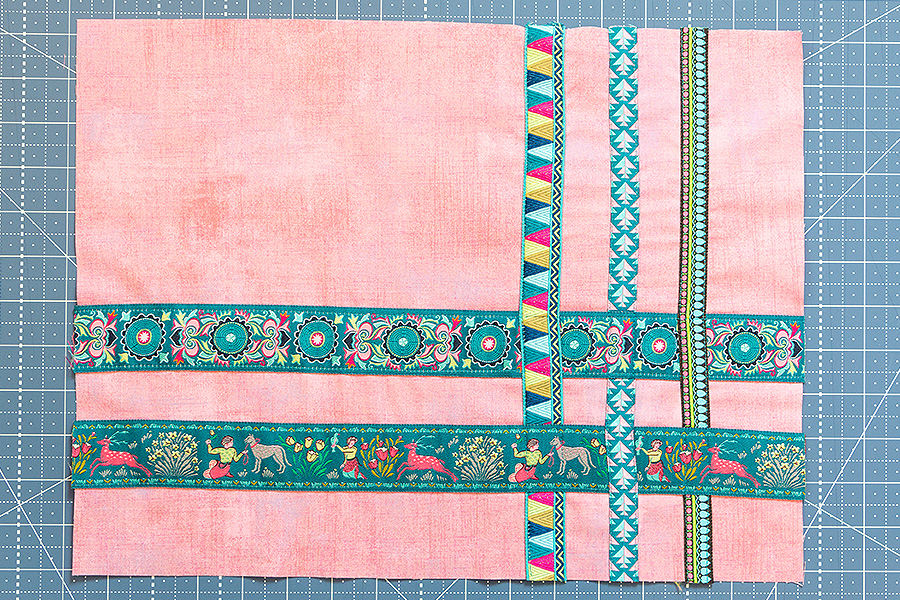
Place one of the 18″ long ribbon strips 2″ up from the bottom edge of the 12 1/2″ x 16 1/2″ fabric rectangle. Pin in place. Then place the other 18″ long ribbon strip 1″ up from the top edge of the first ribbon strip. Pin in place.
Step Two:
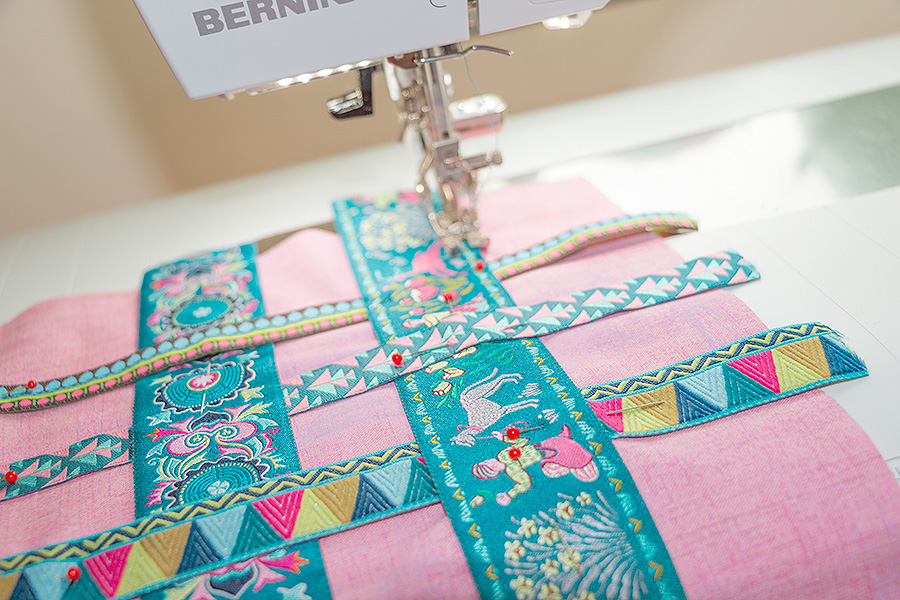
Place one of the 13 1/2″ long ribbon strips 2″ over from the right edge of the 12 1/2″ x 16 1/2″ fabric rectangle, weaving it under the bottom 18″ ribbon. Pin in place. Then place the second 13 1/2″ long ribbon strip 1″ over from the left edge of the first ribbon strip, weaving it under the top 18″ ribbon. Pin in place. Lastly, place the third 13 1/2″ long ribbon strip 1″ over from the left edge of the second ribbon strip, again weaving it under the bottom 18″ ribbon. Pin in place. You should have a nice woven effect with all the ribbons.

Step Three:
Top stitch the ribbon to the 12 1/” x 16 1/2″ fabric rectangle using matching thread. Stay as close to the outside edge of the ribbon as possible.

Step Four:
Trim the excess ribbon to the edge of the pillow top.
Step Five:
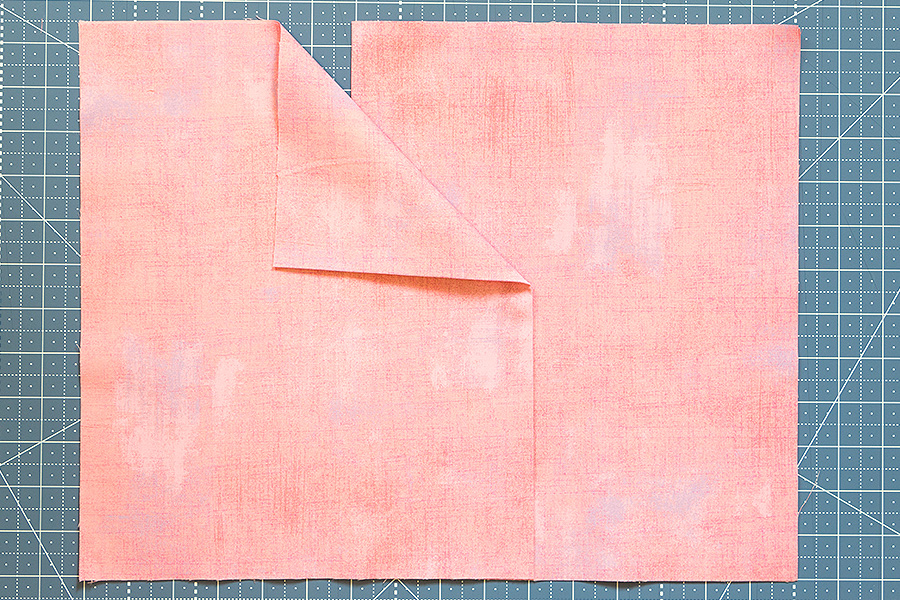
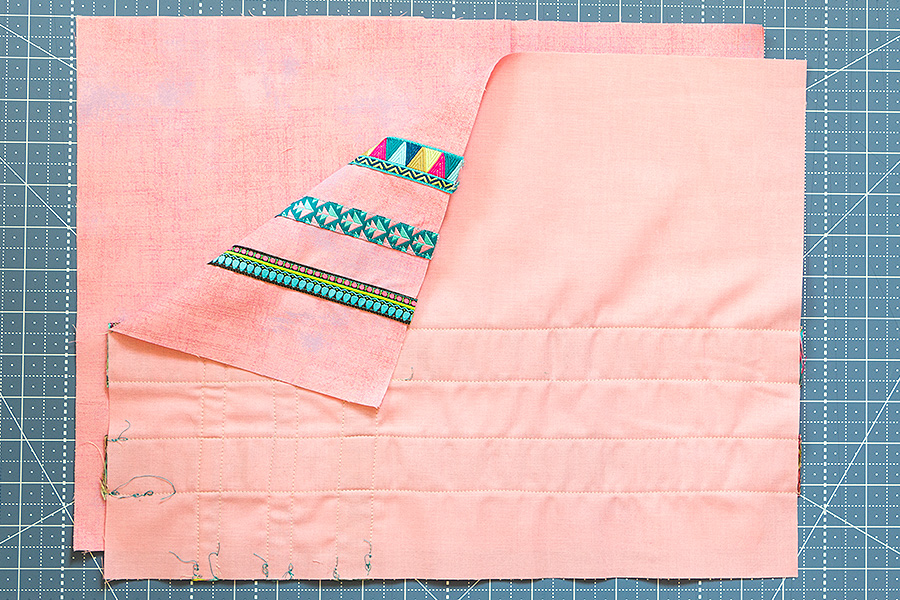
Fold the 12 1/2″ x 20 1/2″ fabric rectangles in half along the 20 1/2″ side with wrong sides together for the Pillow Backing. Folded in half, they should measure 12 1/2″ x 10 1/4″. Layer the two folded fabric rectangles with a 4″ overlap with folds in the center and raw edges on the outside.
Step Six:
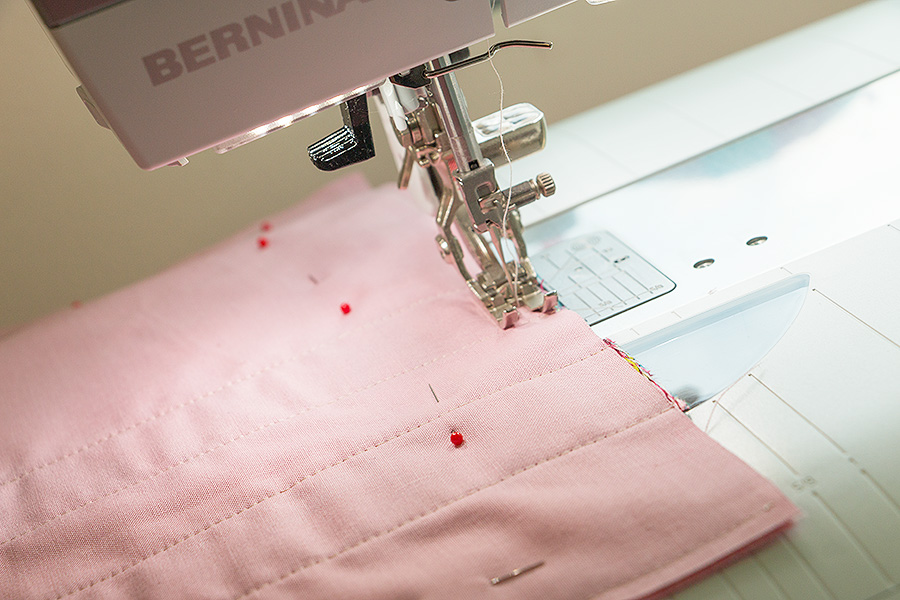
With right sides facing, place the Pillow Top on the Pillow Backing, matching the edges. Pin and sew 1/4″ away from the edge all the way around.
Step Seven:
Turn the pillow right sides out and press it flat. Insert the 12″ x 16″ pillow form, and your pillow is done!