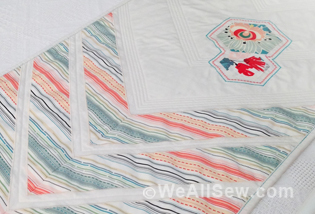
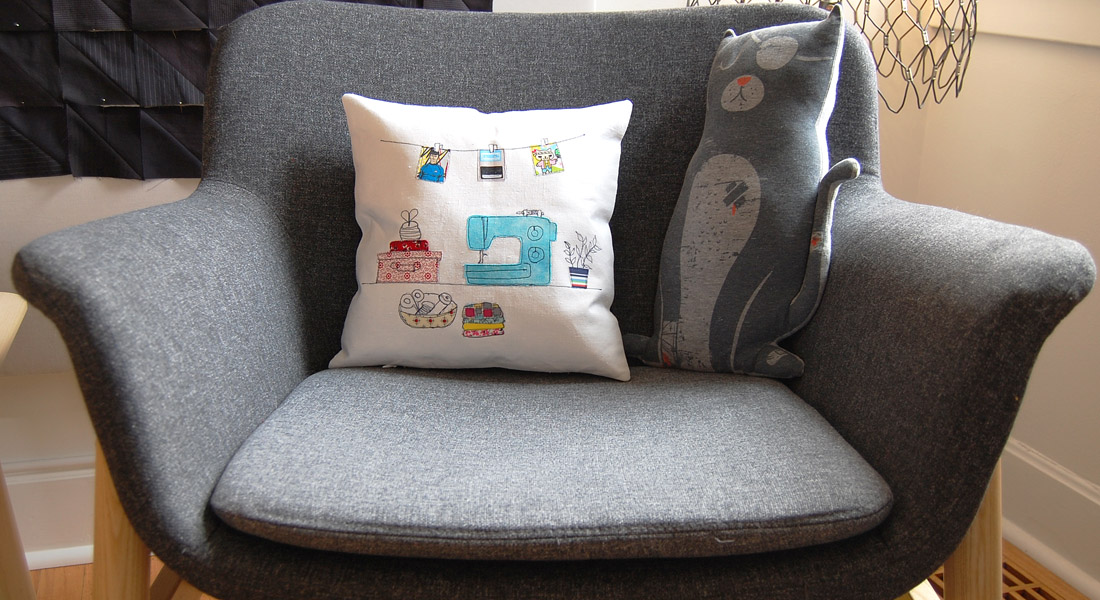
Easy Hexie Pillow Tutorial

I have always wanted to have one of those pretty hexie pillows or colorful crochet blankets. Sometimes you desperately want something but aren’t sure you can tackle the project. Making my own hexagon pillows is like this for me. When I found this hexie cheater fabric print, making a pillow was the first thing that came to mind! I would like to share how I succeeded in making my dream hexie pillow in one day. I hope you like it.
Materials to Sew an Easy Hexie Pillow
- 1 Fat Quater of Hexagon cheater print
- 1 Fat Quater of Quilt shop in Vanilla print
- 1 Fat Quater of lining fabric
- 1 1/4 yard of backing fabric
- 1/2 yard of batting
- 1/4 yard of binding fabric
- Aurifil Thread 2000 (80wt.), 2630 (28wt.)
- Cosmo embroidery floss 155
- Universal needles, size 80/20
- Your sewing machine: I sew on a BERNINA 350 PE
- Open embroidery foot (BERNINA Open embroidery foot #20/#20C/#20D) and all-purpose presser foot
- Fusible web
- Yellow fabric scrap
- 18″ square pillow form
Cutting Instructions
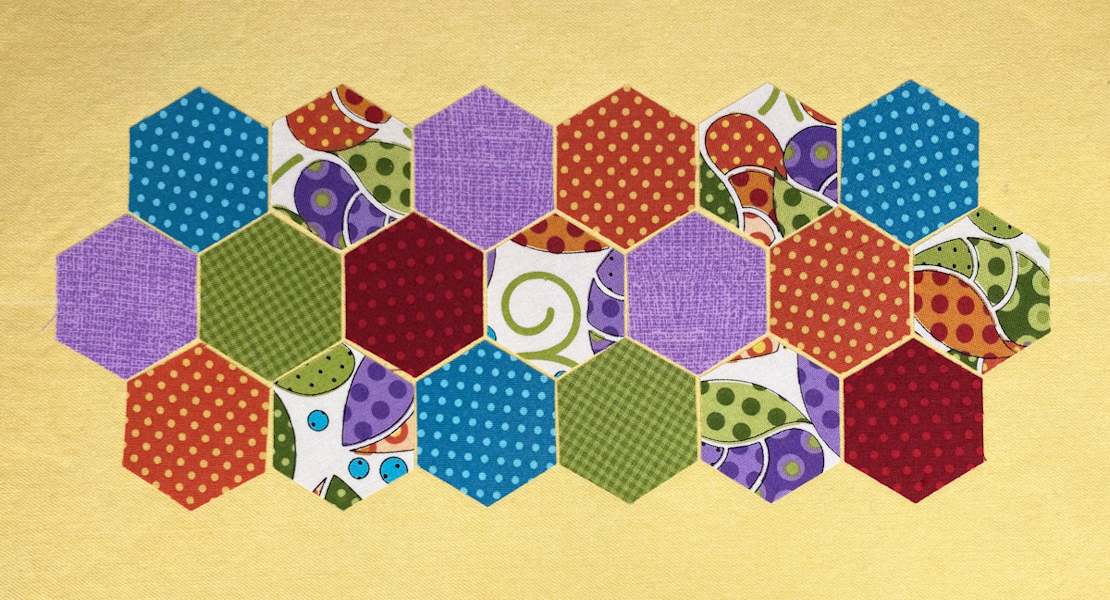
- From Hexagon cheater print, cut: 1 (one) 18″ square
- From Quilt shop in Vanilla print, cut: 1 (one) 18″ x 11″ rectangle
- From backing fabric, Cut: 1 (one) 20″ square, 2 (two) 16 x 20″ rectangles
- From binding fabric, Cut: 2 (two) 2 1/2″ x 42″ strips
- batting, Cut 19″ square
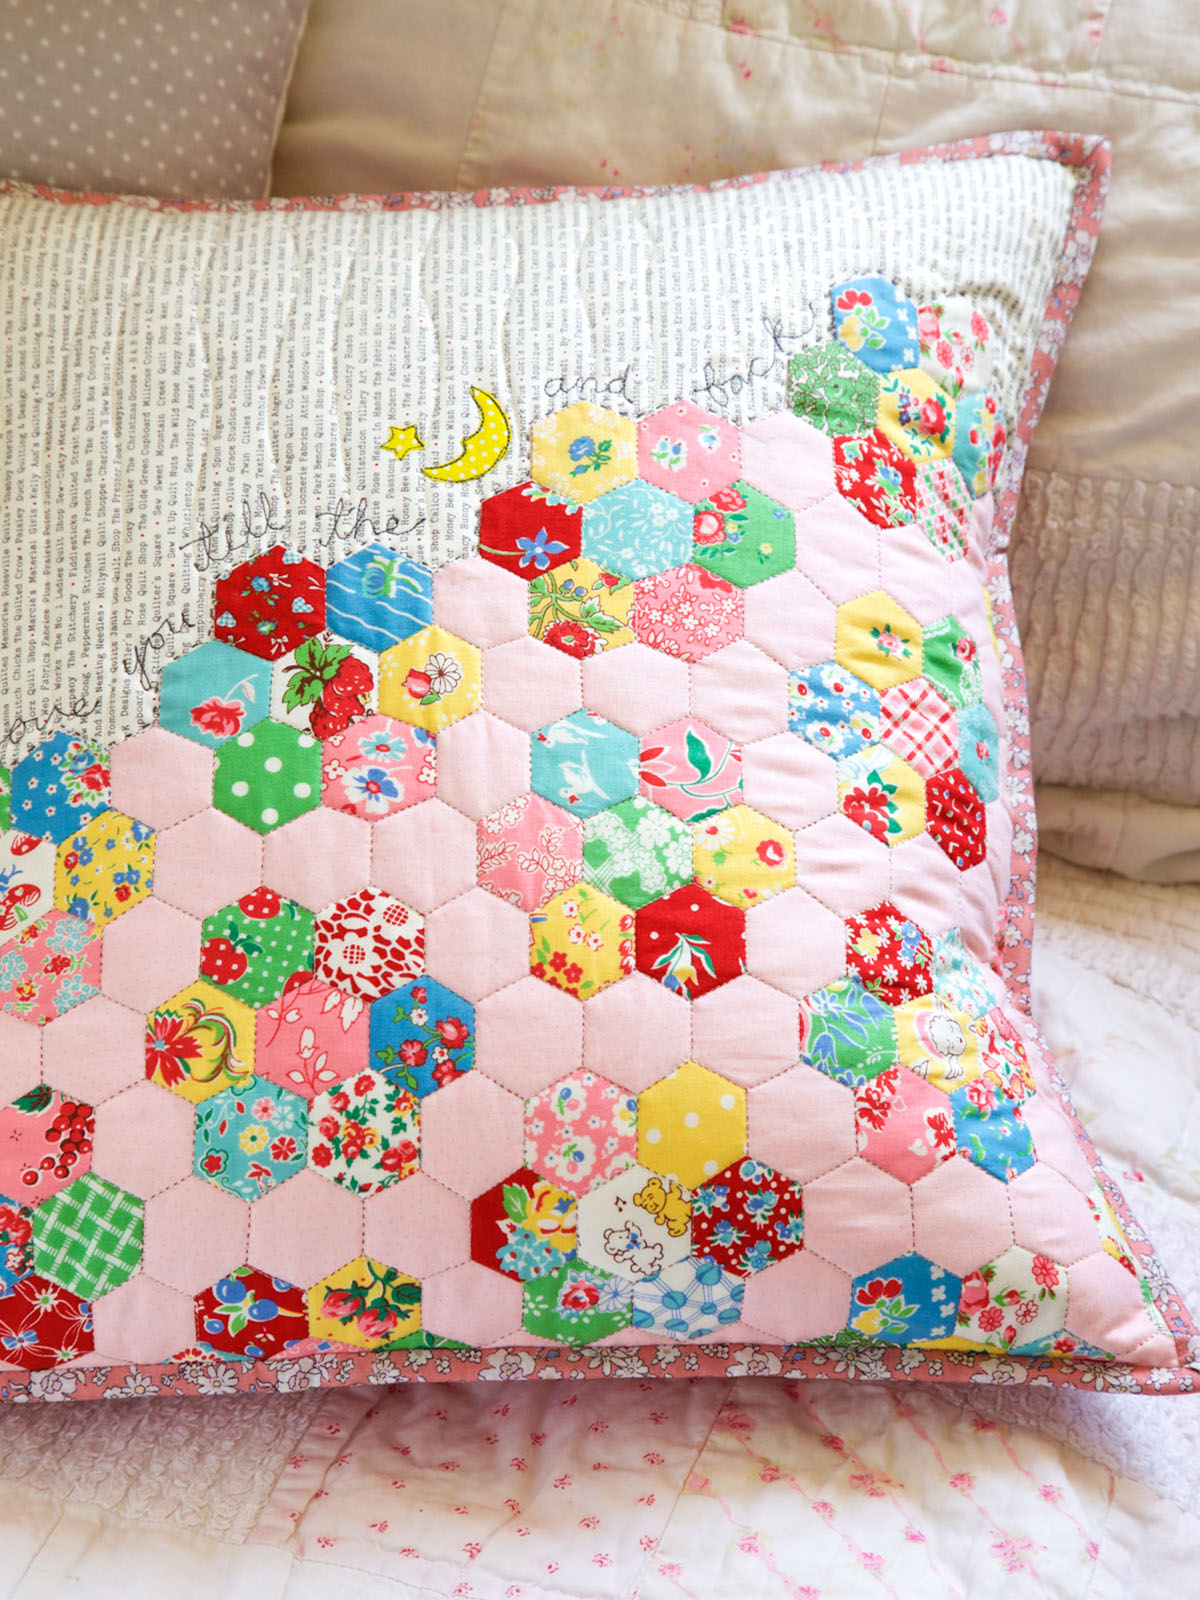
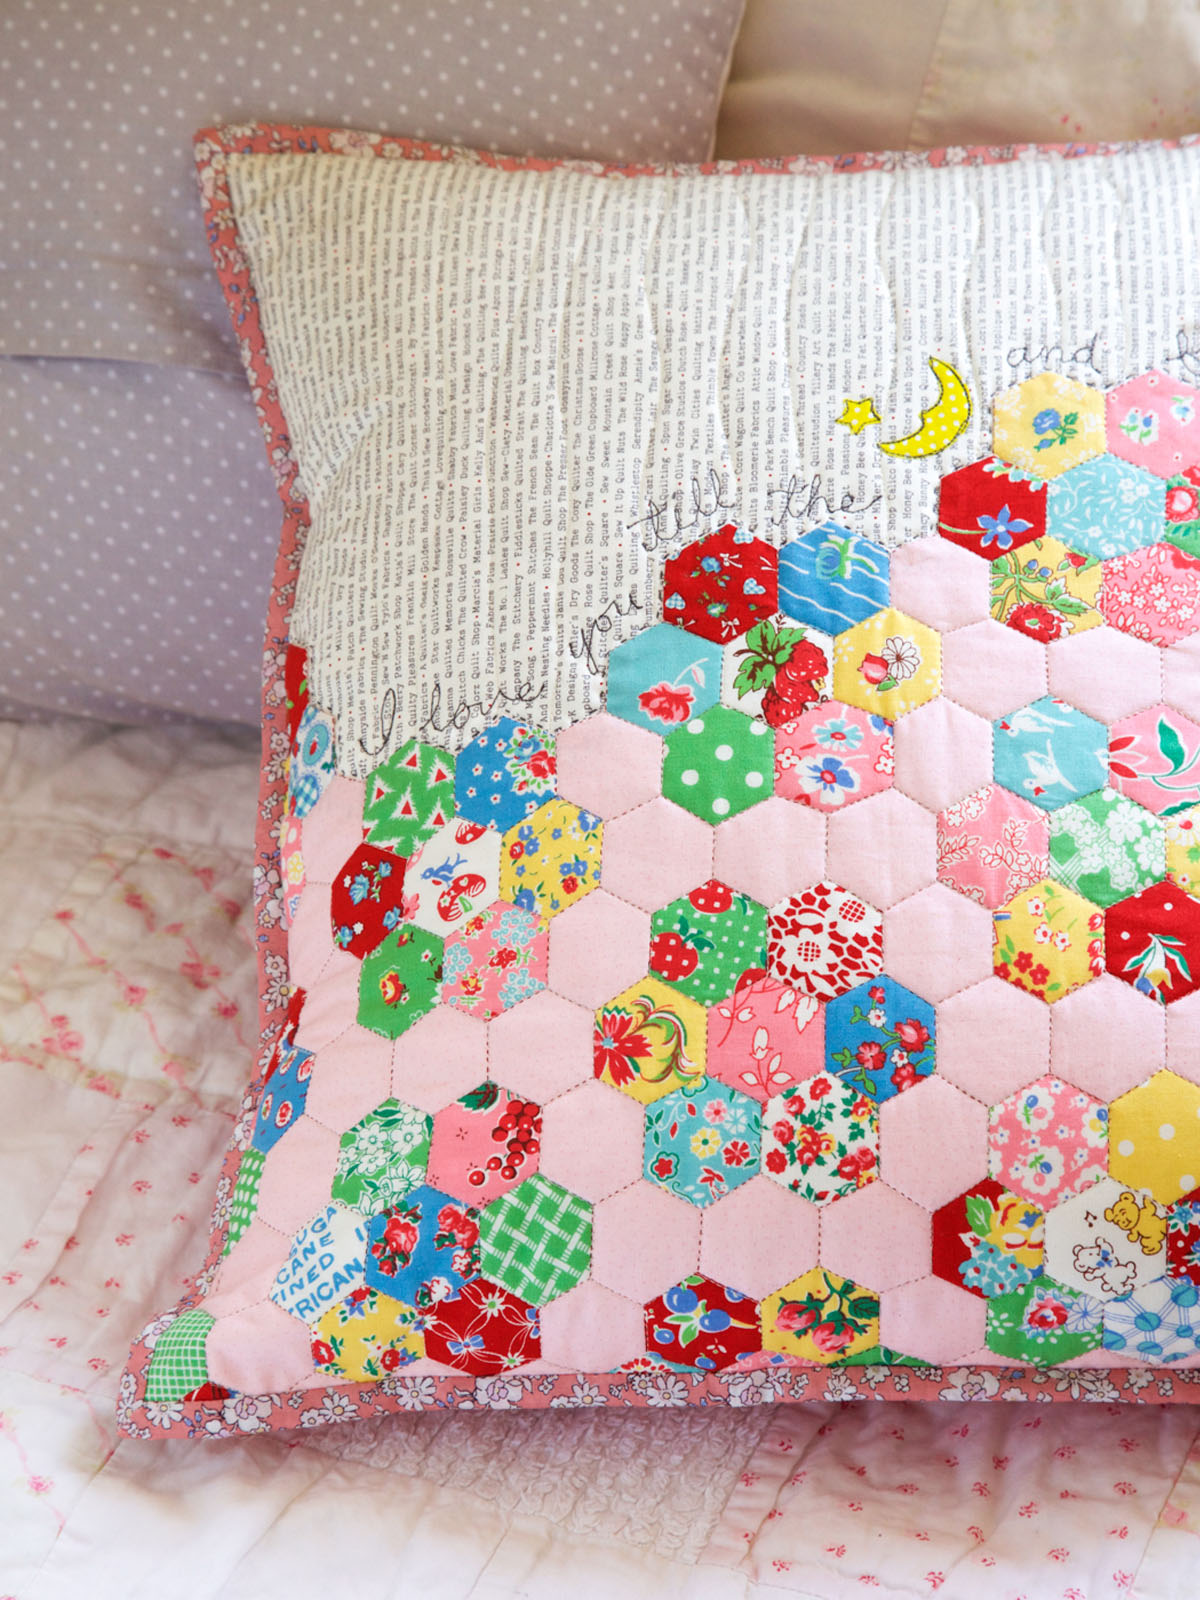
Finished Pillow: 18″ square
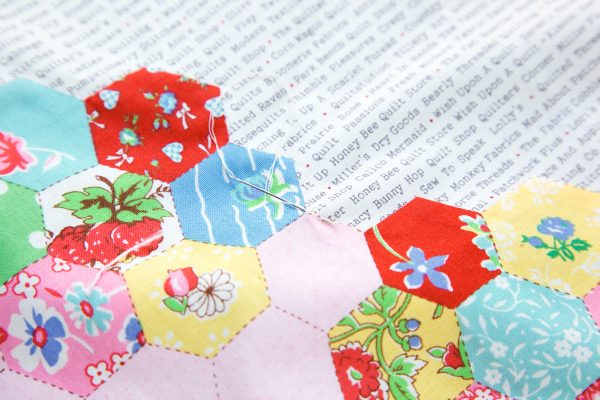
First, decide how to trim your hexagon cheater print leaving a space to add the message. Then mark 1/4″ seam line using an acrylic ruler and temporary fabric pen. (I used Frixion pen from Pilot.)
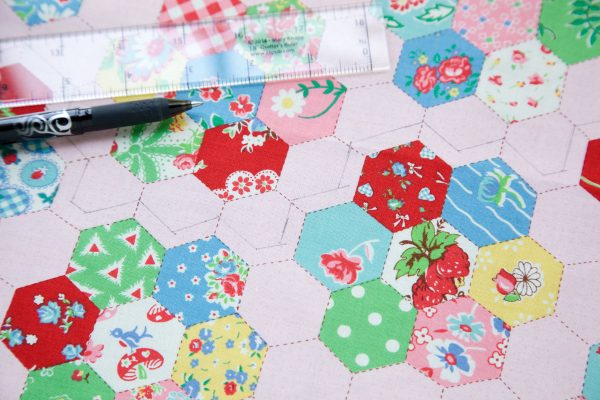
Cut out along the line and clip just to the marked point that will fold in.
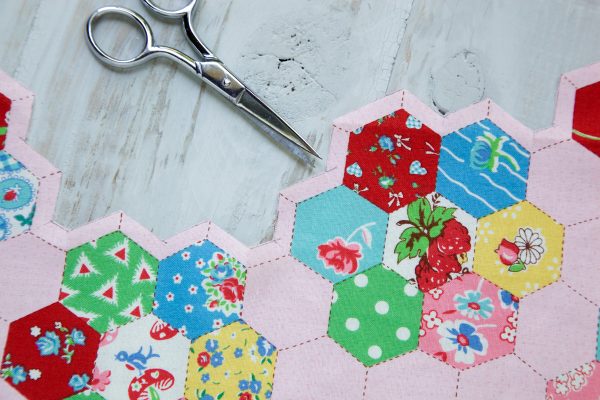
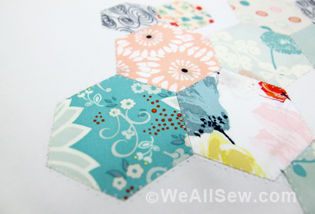
Referring to the picture, fold the seam allowance and press.

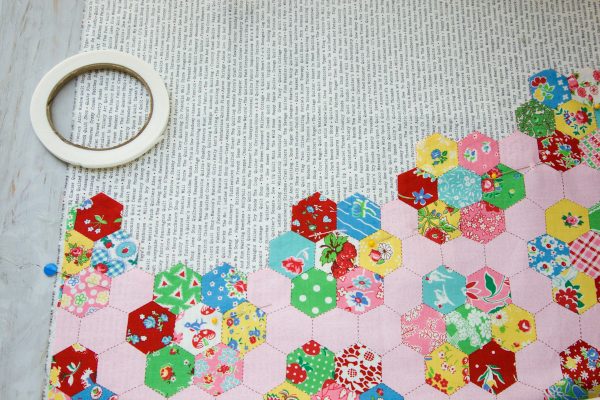
Lay the Hexagon print onto the quilt shop in vanilla print and pin it. Mark 18″ square.
I used Steam-A-Seam double stick Fusible tape.
Hand stitch to secure.
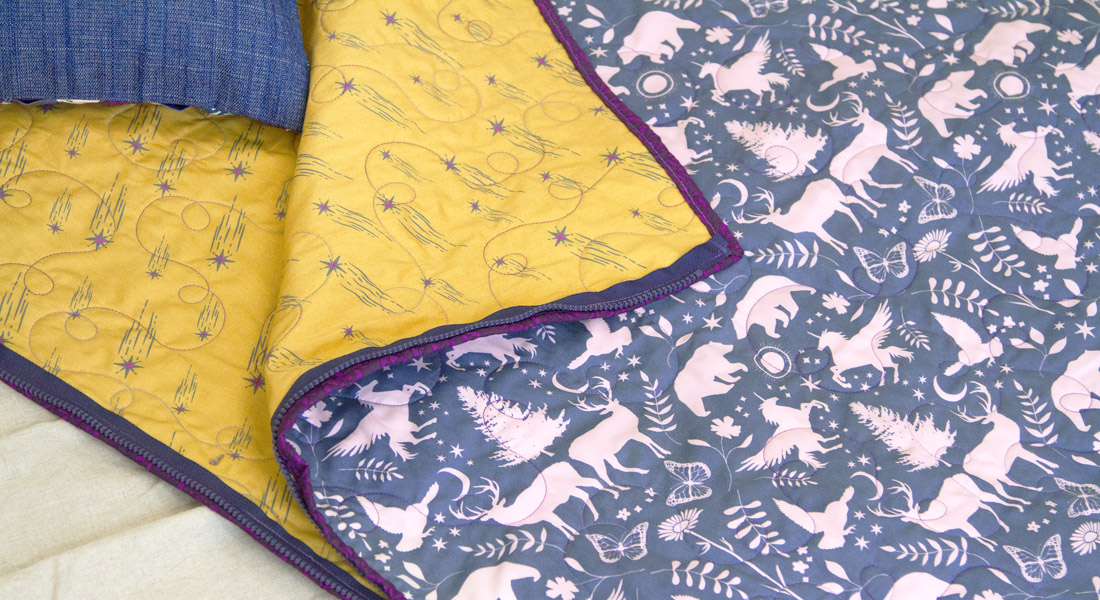
Layer pillow top, 19″ batting, and 20″ backing square; quilt as desired. I quilted the through the hexagon print lines.

Hand quilt an outline along the outside of the hexagon print using 2 strands of embroidery floss.

Write the phrase, “I love you till the … and back” using temporary fabric pen.
Using an open embroidery foot (BERNINA Open embroidery foot #20) to see better, use a straight stitch set with length about 1.6 to 1.8. With dark gray thread (Aurifl 2630), stitch over the written phrase, back stitching at the end of each word to prevent stitches from coming out.
For the appliqué , draw a moon and a star shape onto the paper side of fusible web; cut out. With fusible side down, use an iron to press fusible-web shape onto the back side of yellow fabric. Cut out the moon and the star on the lines. Remove paper from fusible-web moon and star and place them on the quilt shop print fabric. Watch this video and see the technique.

Finish quilting the pillow top as desired.
Finish it using your favorite pillow finishing technique. I used an envelop enclosure and double binding to complete my pillow.

I hope you enjoyed this hexie pillow tutorial. Please let me know if you have any questions.
Any day spend sewing is a good day!


One comment on “Easy Hexie Pillow Tutorial”