Rest Easy Sleeping Bag
Hello Makers,
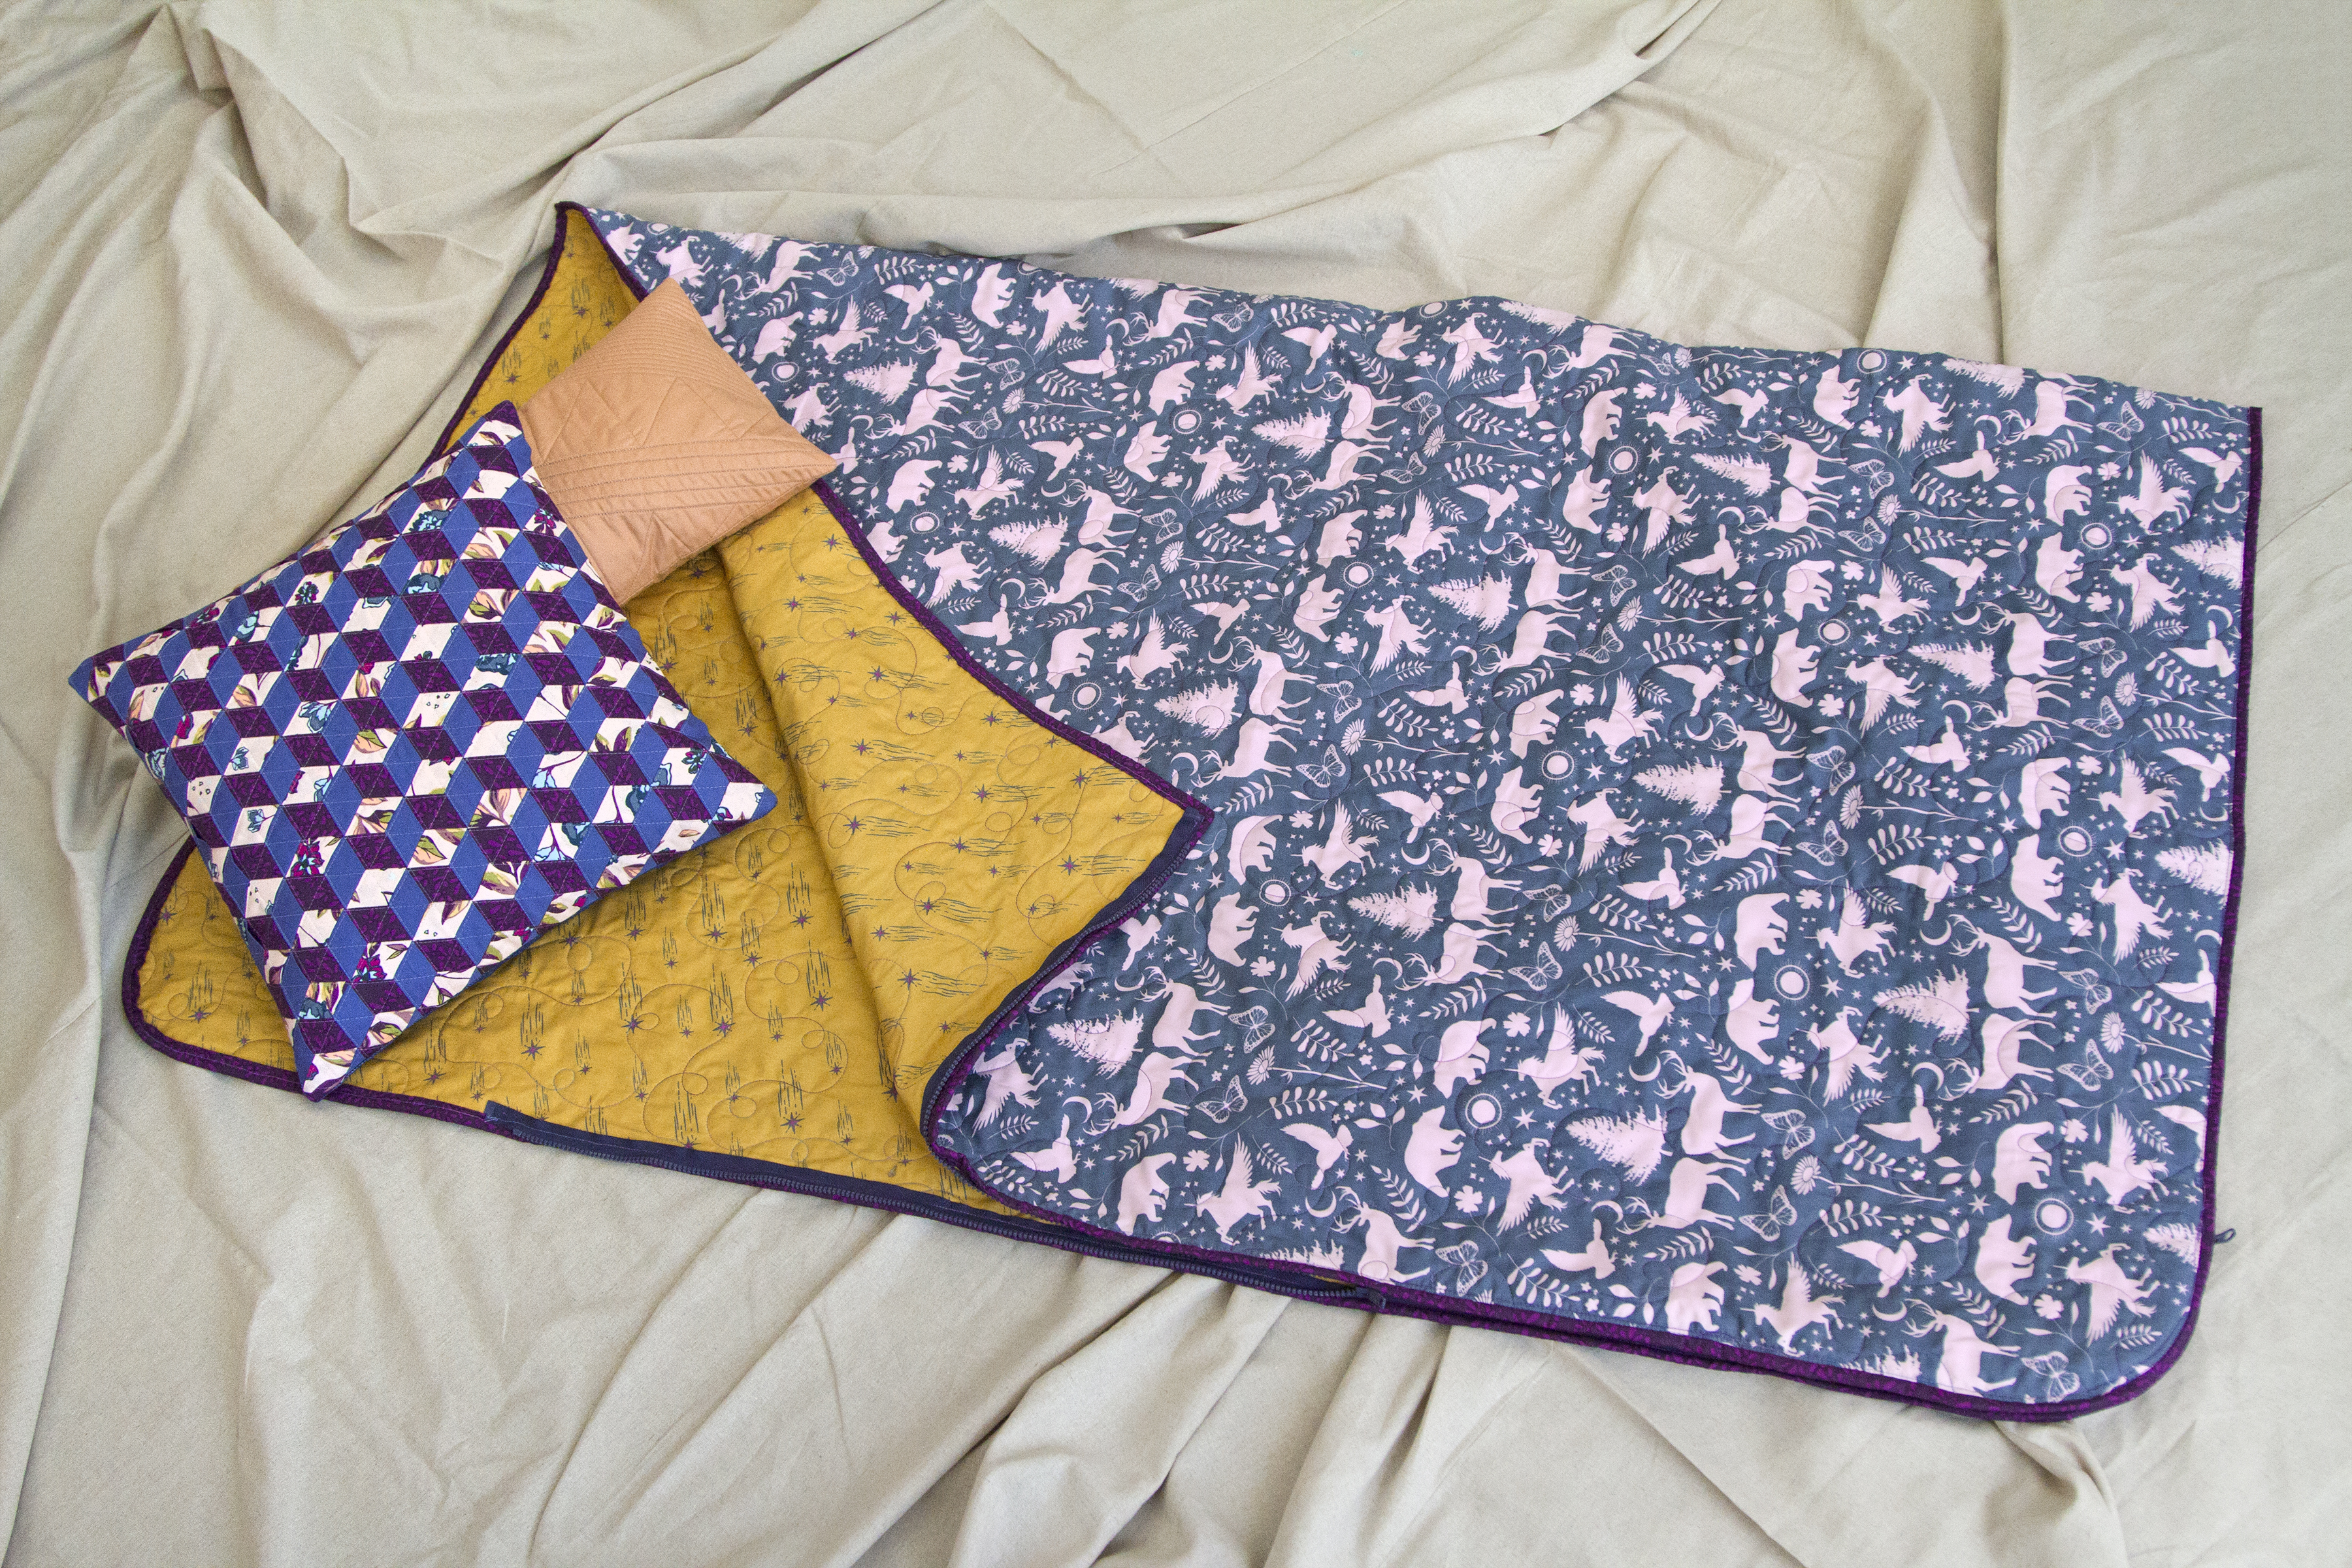
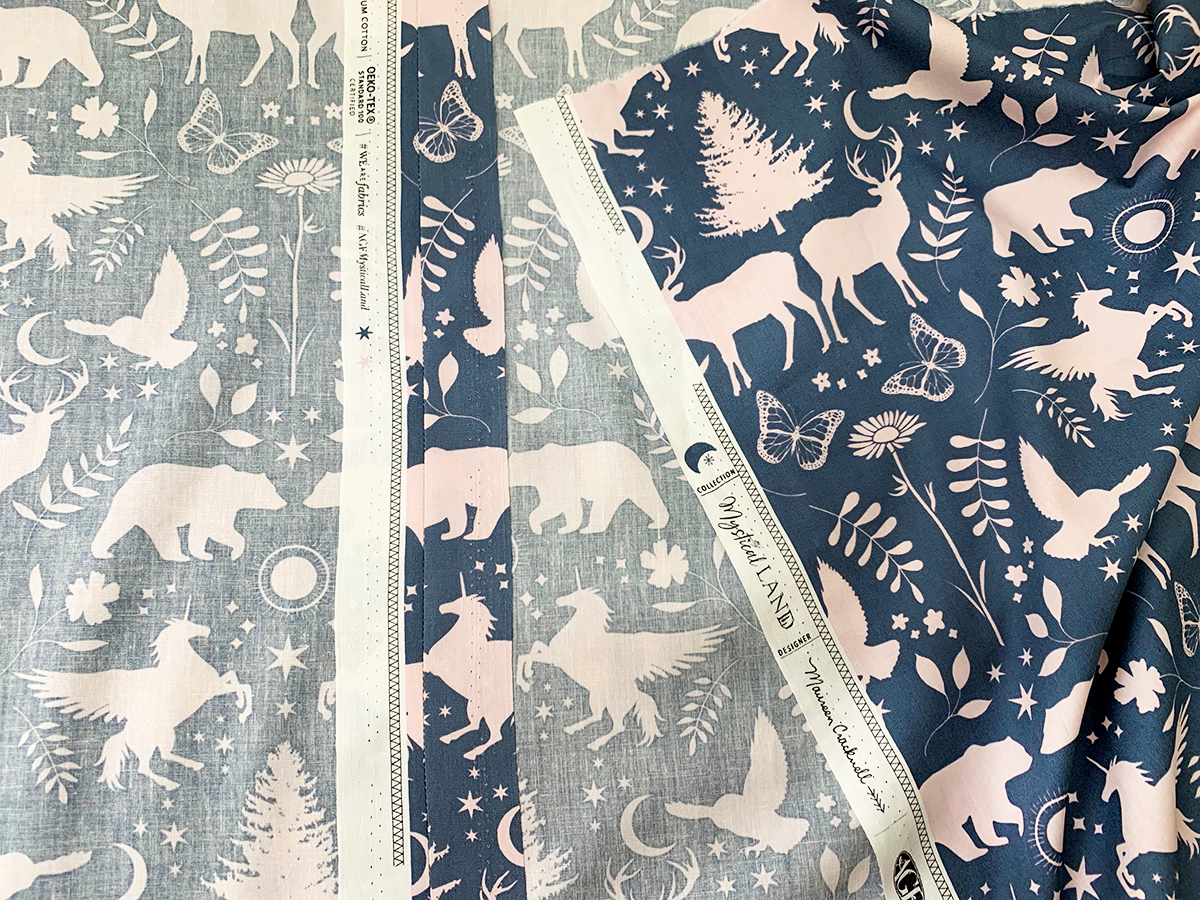
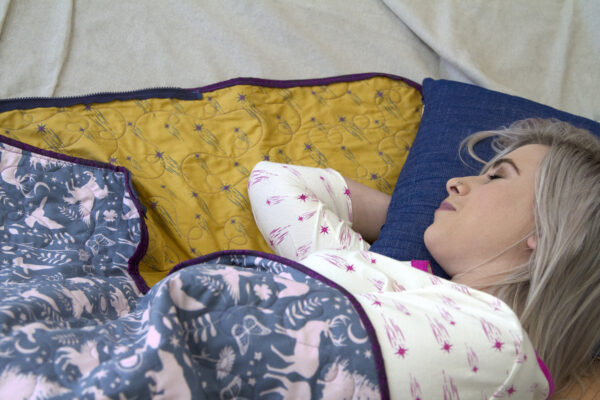
For most of you, the weather is finally starting to warm up and we are already thinking of all the Summer fun ahead. The kids will be out of school and it will be time for camping trips, sleepovers with friends, and sleeping out amongst the stars. Which why we decided to sew up a quick and easy sleeping bag for our next tutorial! We made our “Rest Easy” Sleeping Bag with our new fabric collection by Maureen Cracknell called Mystical Land fabrics. The exterior of our sleeping bag is made with the “Mirror Lake Rose” print filled with unicorns, bears, deer, owls and fun nature elements. We bound our quilt with the gorgeous rich purple “Shurb Charm Currant” print and for the inner sleeping bag, we used a great yellow shooting star printD which shows off our lovely quilting. Hope you follow along to the step by step instructions below!
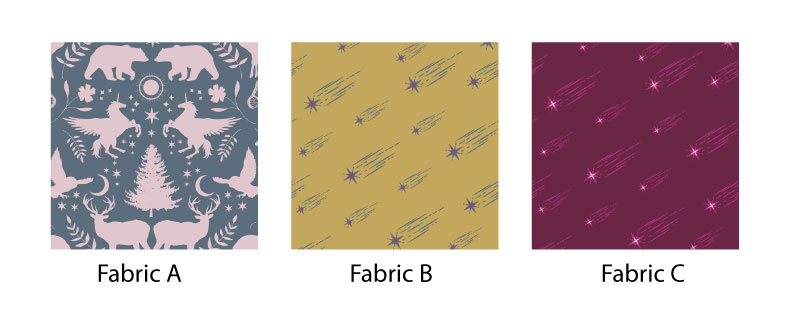
Fabrics Used:
Fabric A- MSL-13962- Mirror Lake Rose (Exterior Sleeping bag)
Fabric B- MSL- 23967- Astral Rain Cluster (Interior Sleeping bag)
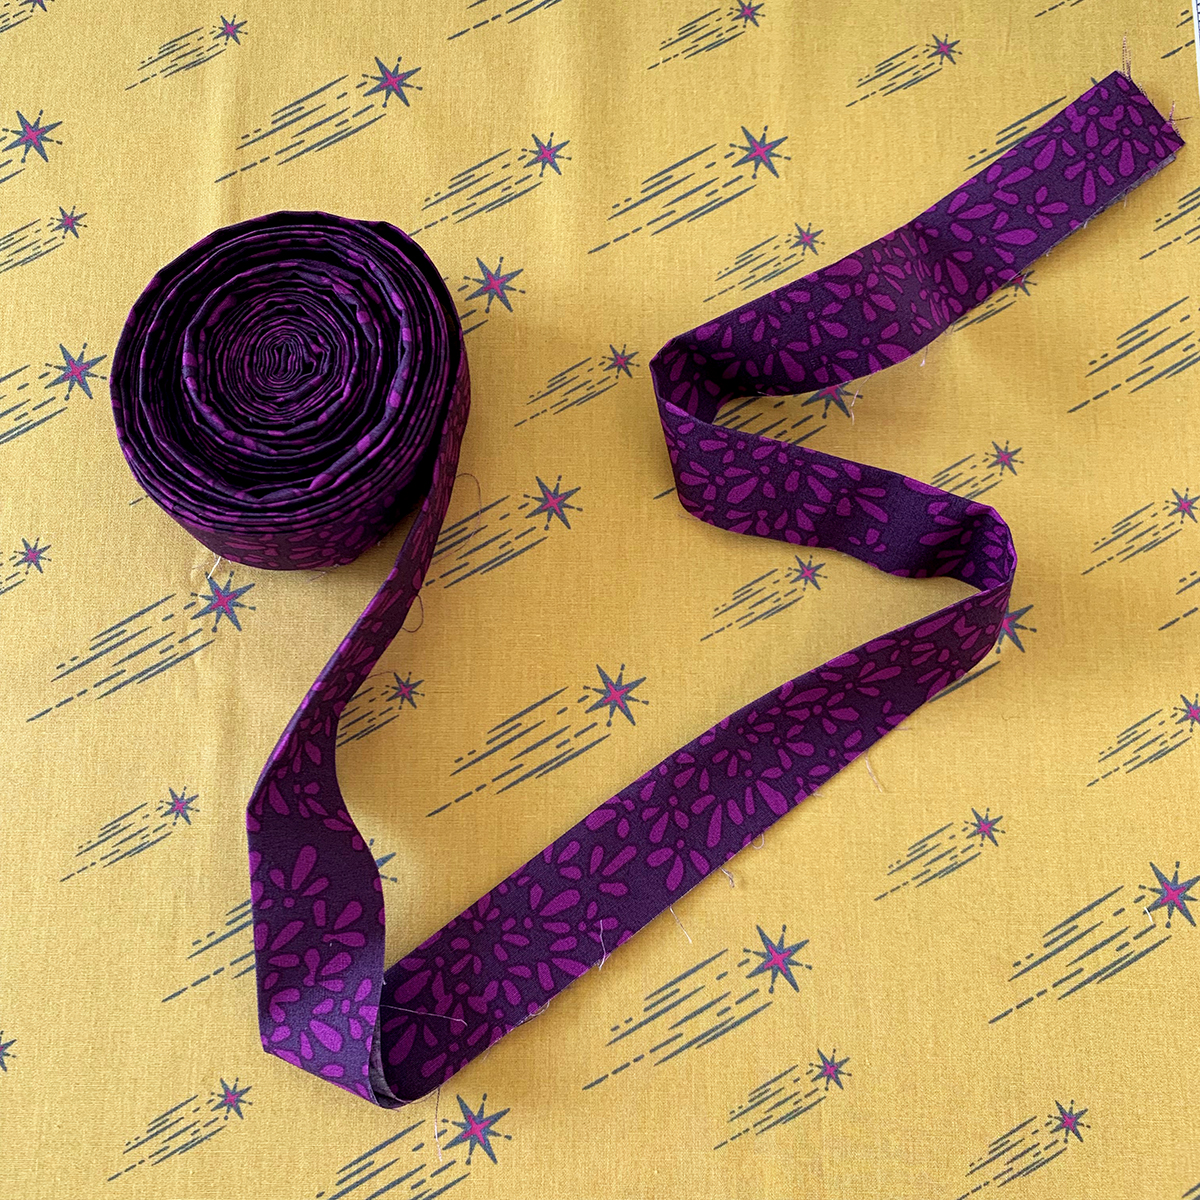
Fabric C- MSL- 23969- Shurb Charm Currant (Binding)
Fabric Requirements:
Fabric A and B – 4 yards each
Fabric C- ⅝ yd.
Cutting Directions:
Two (2) 65″ x WOF rectangles from Fabric A and B
Seven (7) 2 ¼” x WOF strips from Fabric C
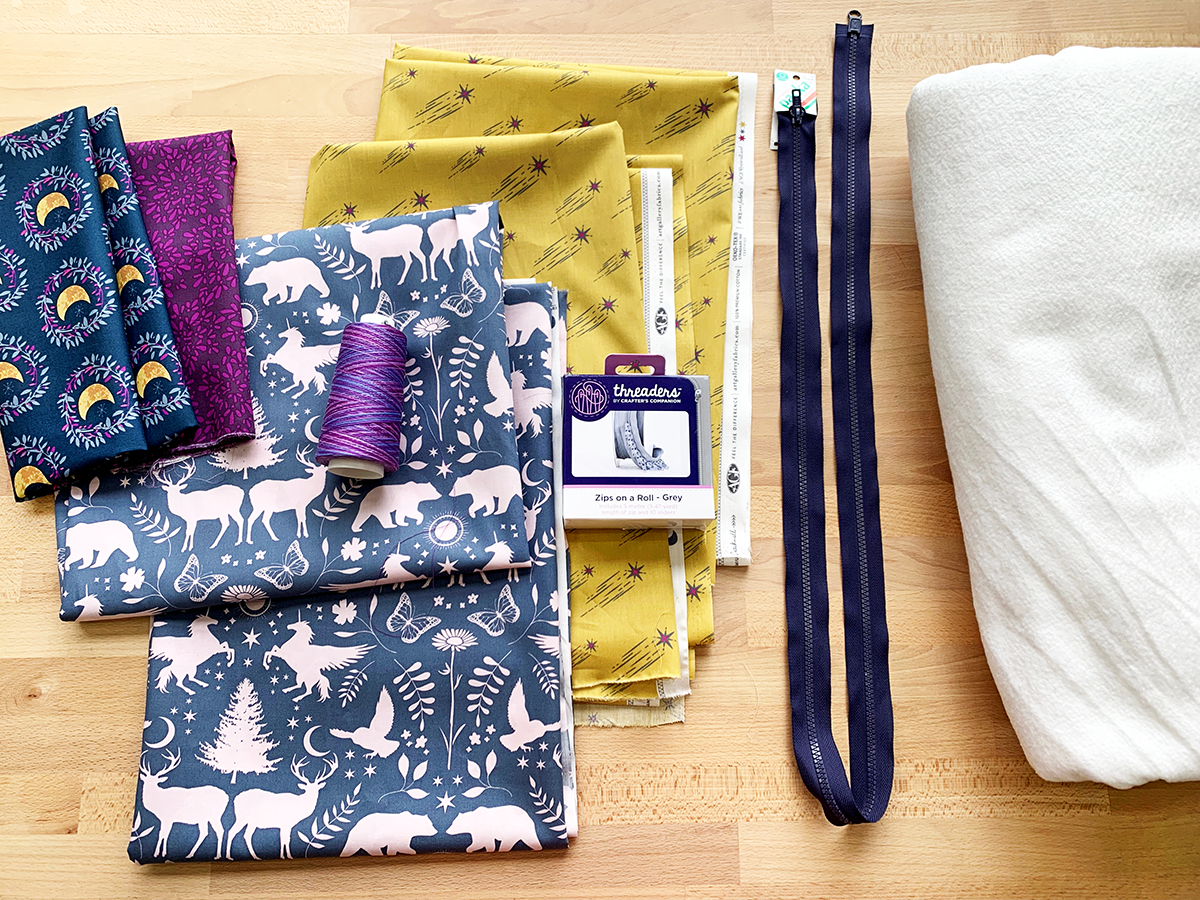
Materials Needed:
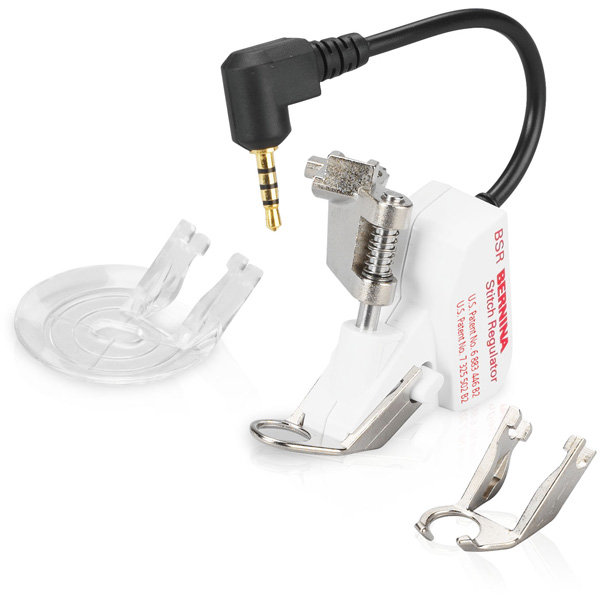
- BERNINA Stitch Regulator (BSR)
- Walking Foot #50
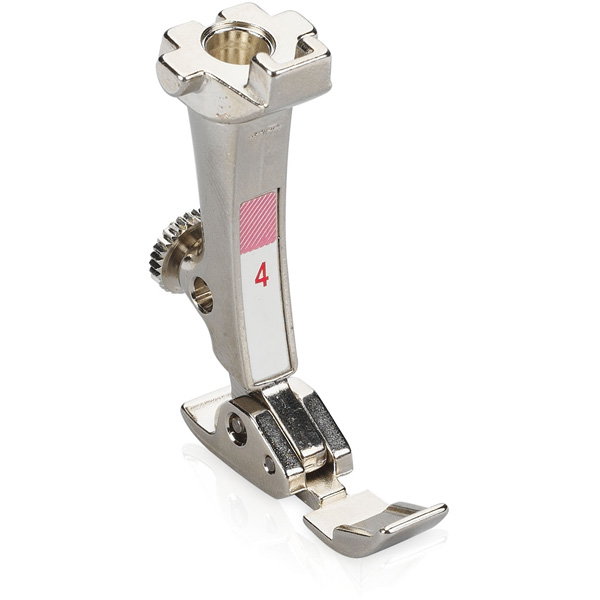
- Zipper Foot #4
- One (1) 48″ dual -separating zipper
- Batting (use extra plushie batting for extra fluff and comfort) 70″ x 95″
- Quilting and Sewing thread
- Fabric Scissors
- Iron
- Wonder Clips
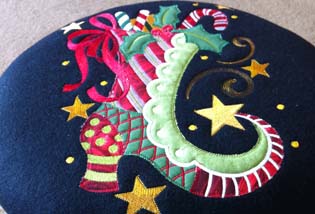
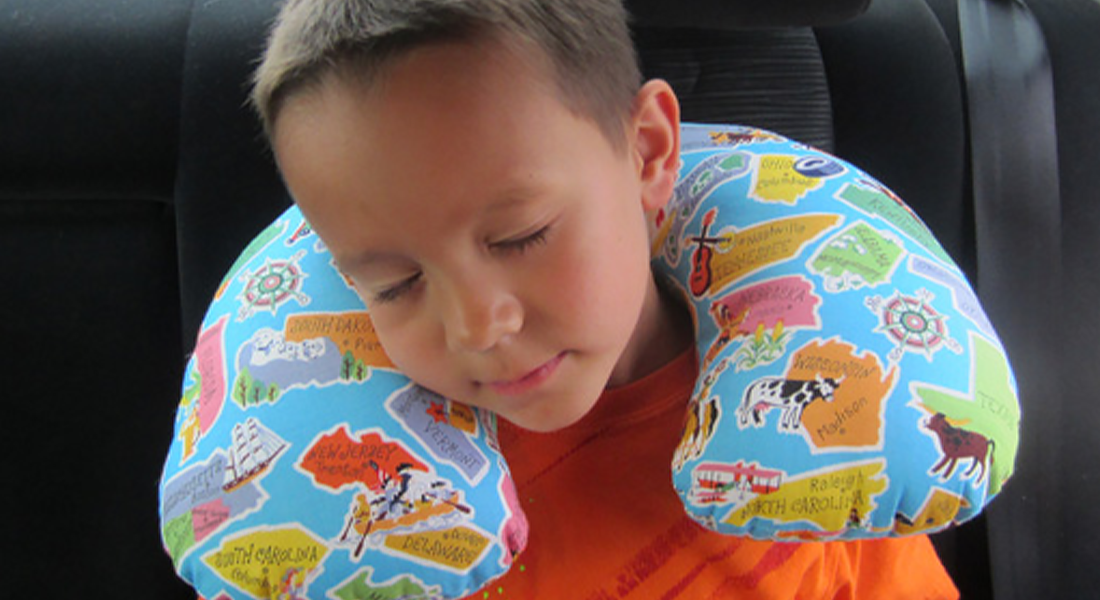
Feel free to make a little pillow to go with your sleeping bag in our cute “Lunar Illusion Flame” print! We love these magical moons surrounded by a gorgeous wreath.
Step One – Sew together Inner and Outer Sleeping Bag
Take coordinating 65″ x WOF pieces from Fabric A and B and sew them together down one long side. Sew at 1″ seam allowance to hide selvages. Feel free to trim the seam or leave as is and press seam open.
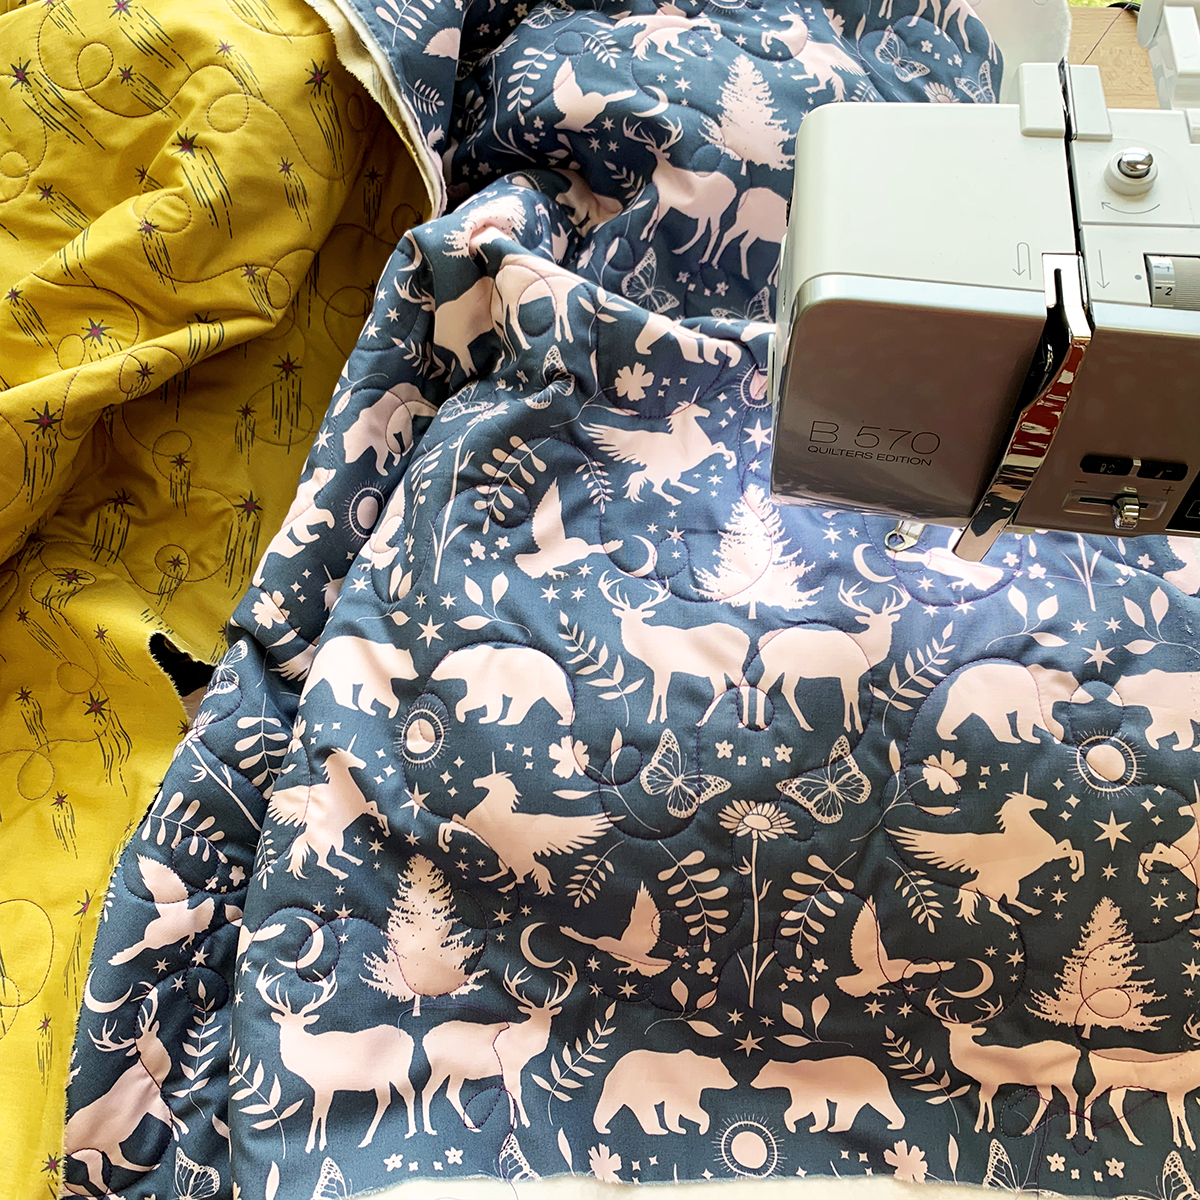
Step Two – Quilting
Sandwich the batting between your Exterior and Interior pieces and baste as desired.
Attach your BERNINA Stitch Regulator (BSR) for some free motion quilting. Check out this great video to learn more about this attachment. We created magical meandering swirls and used a multi color purple thread.

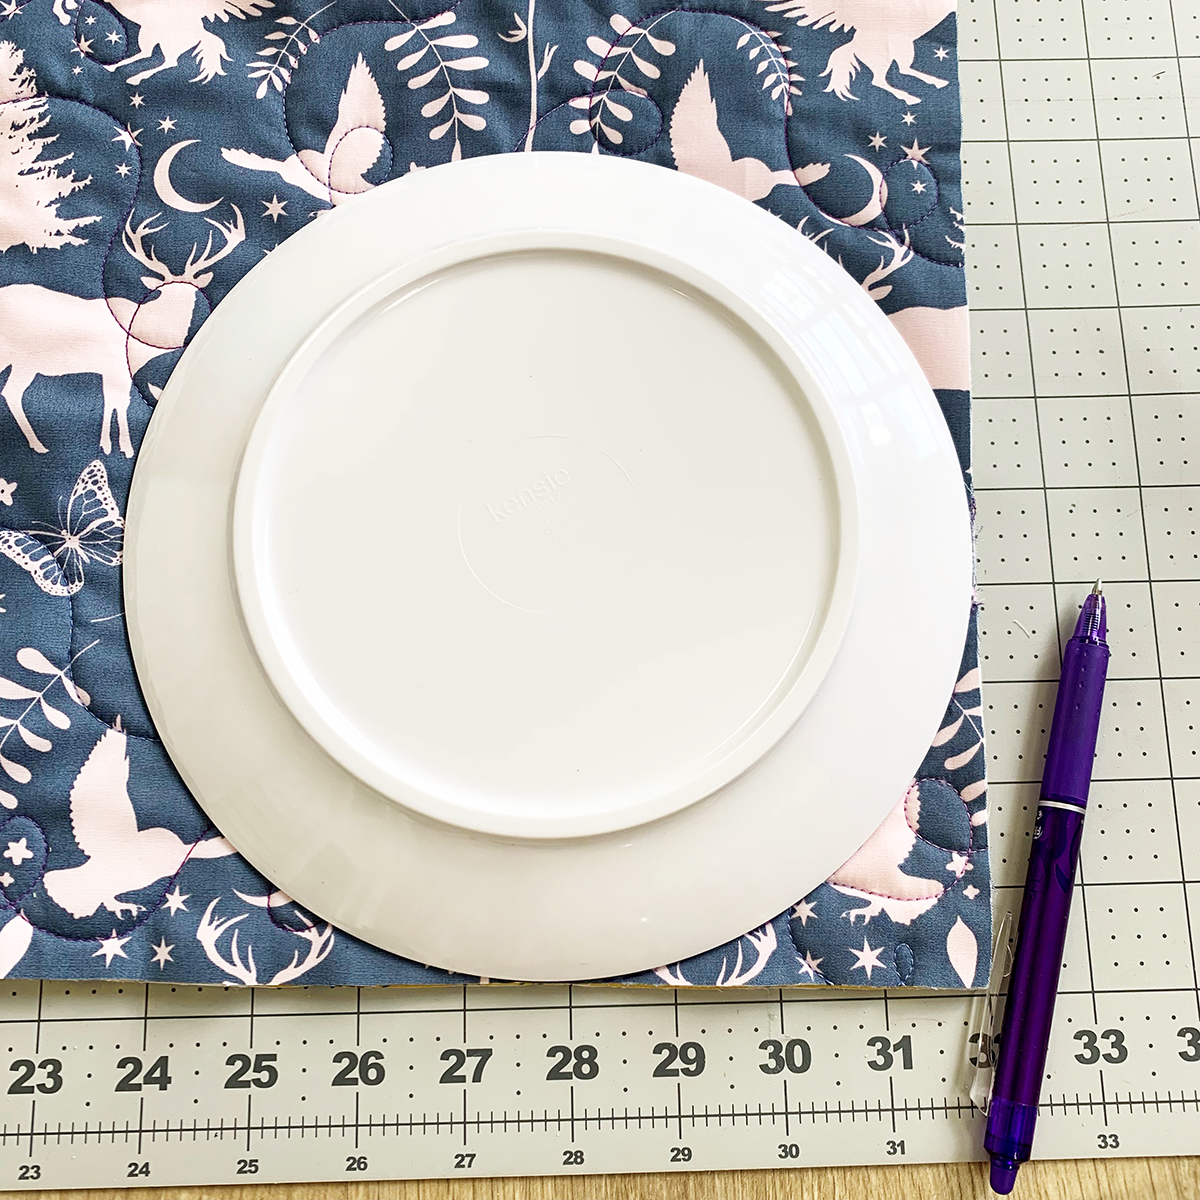
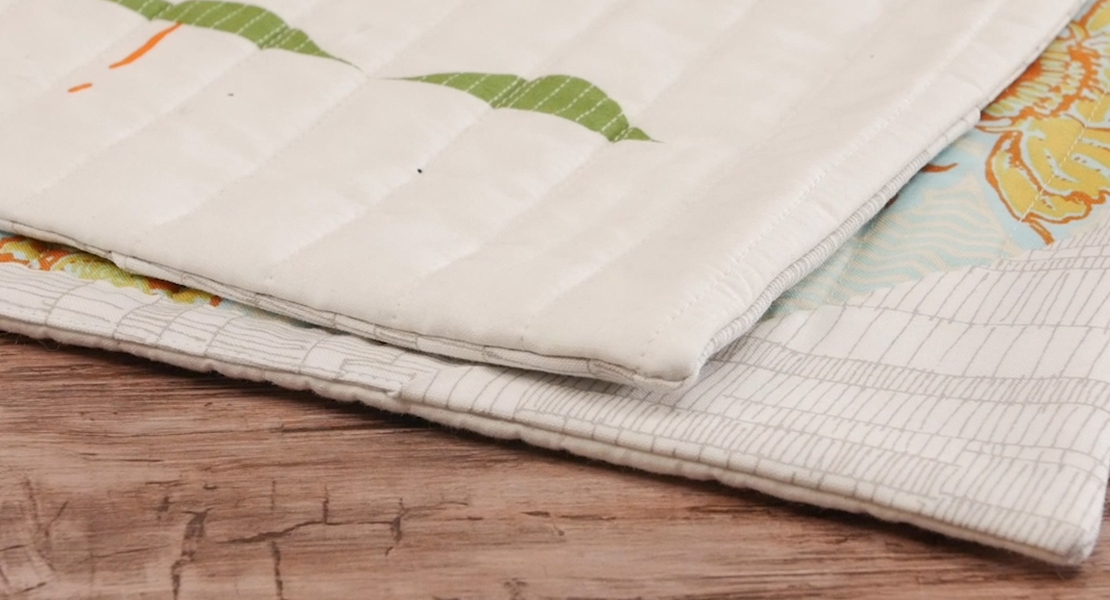
Step Three- Trimming to Size
Now that your Sleeping bag is quilted it’s time to square it up to size.
Depending on who you are making it for you will trim according to their height and size.
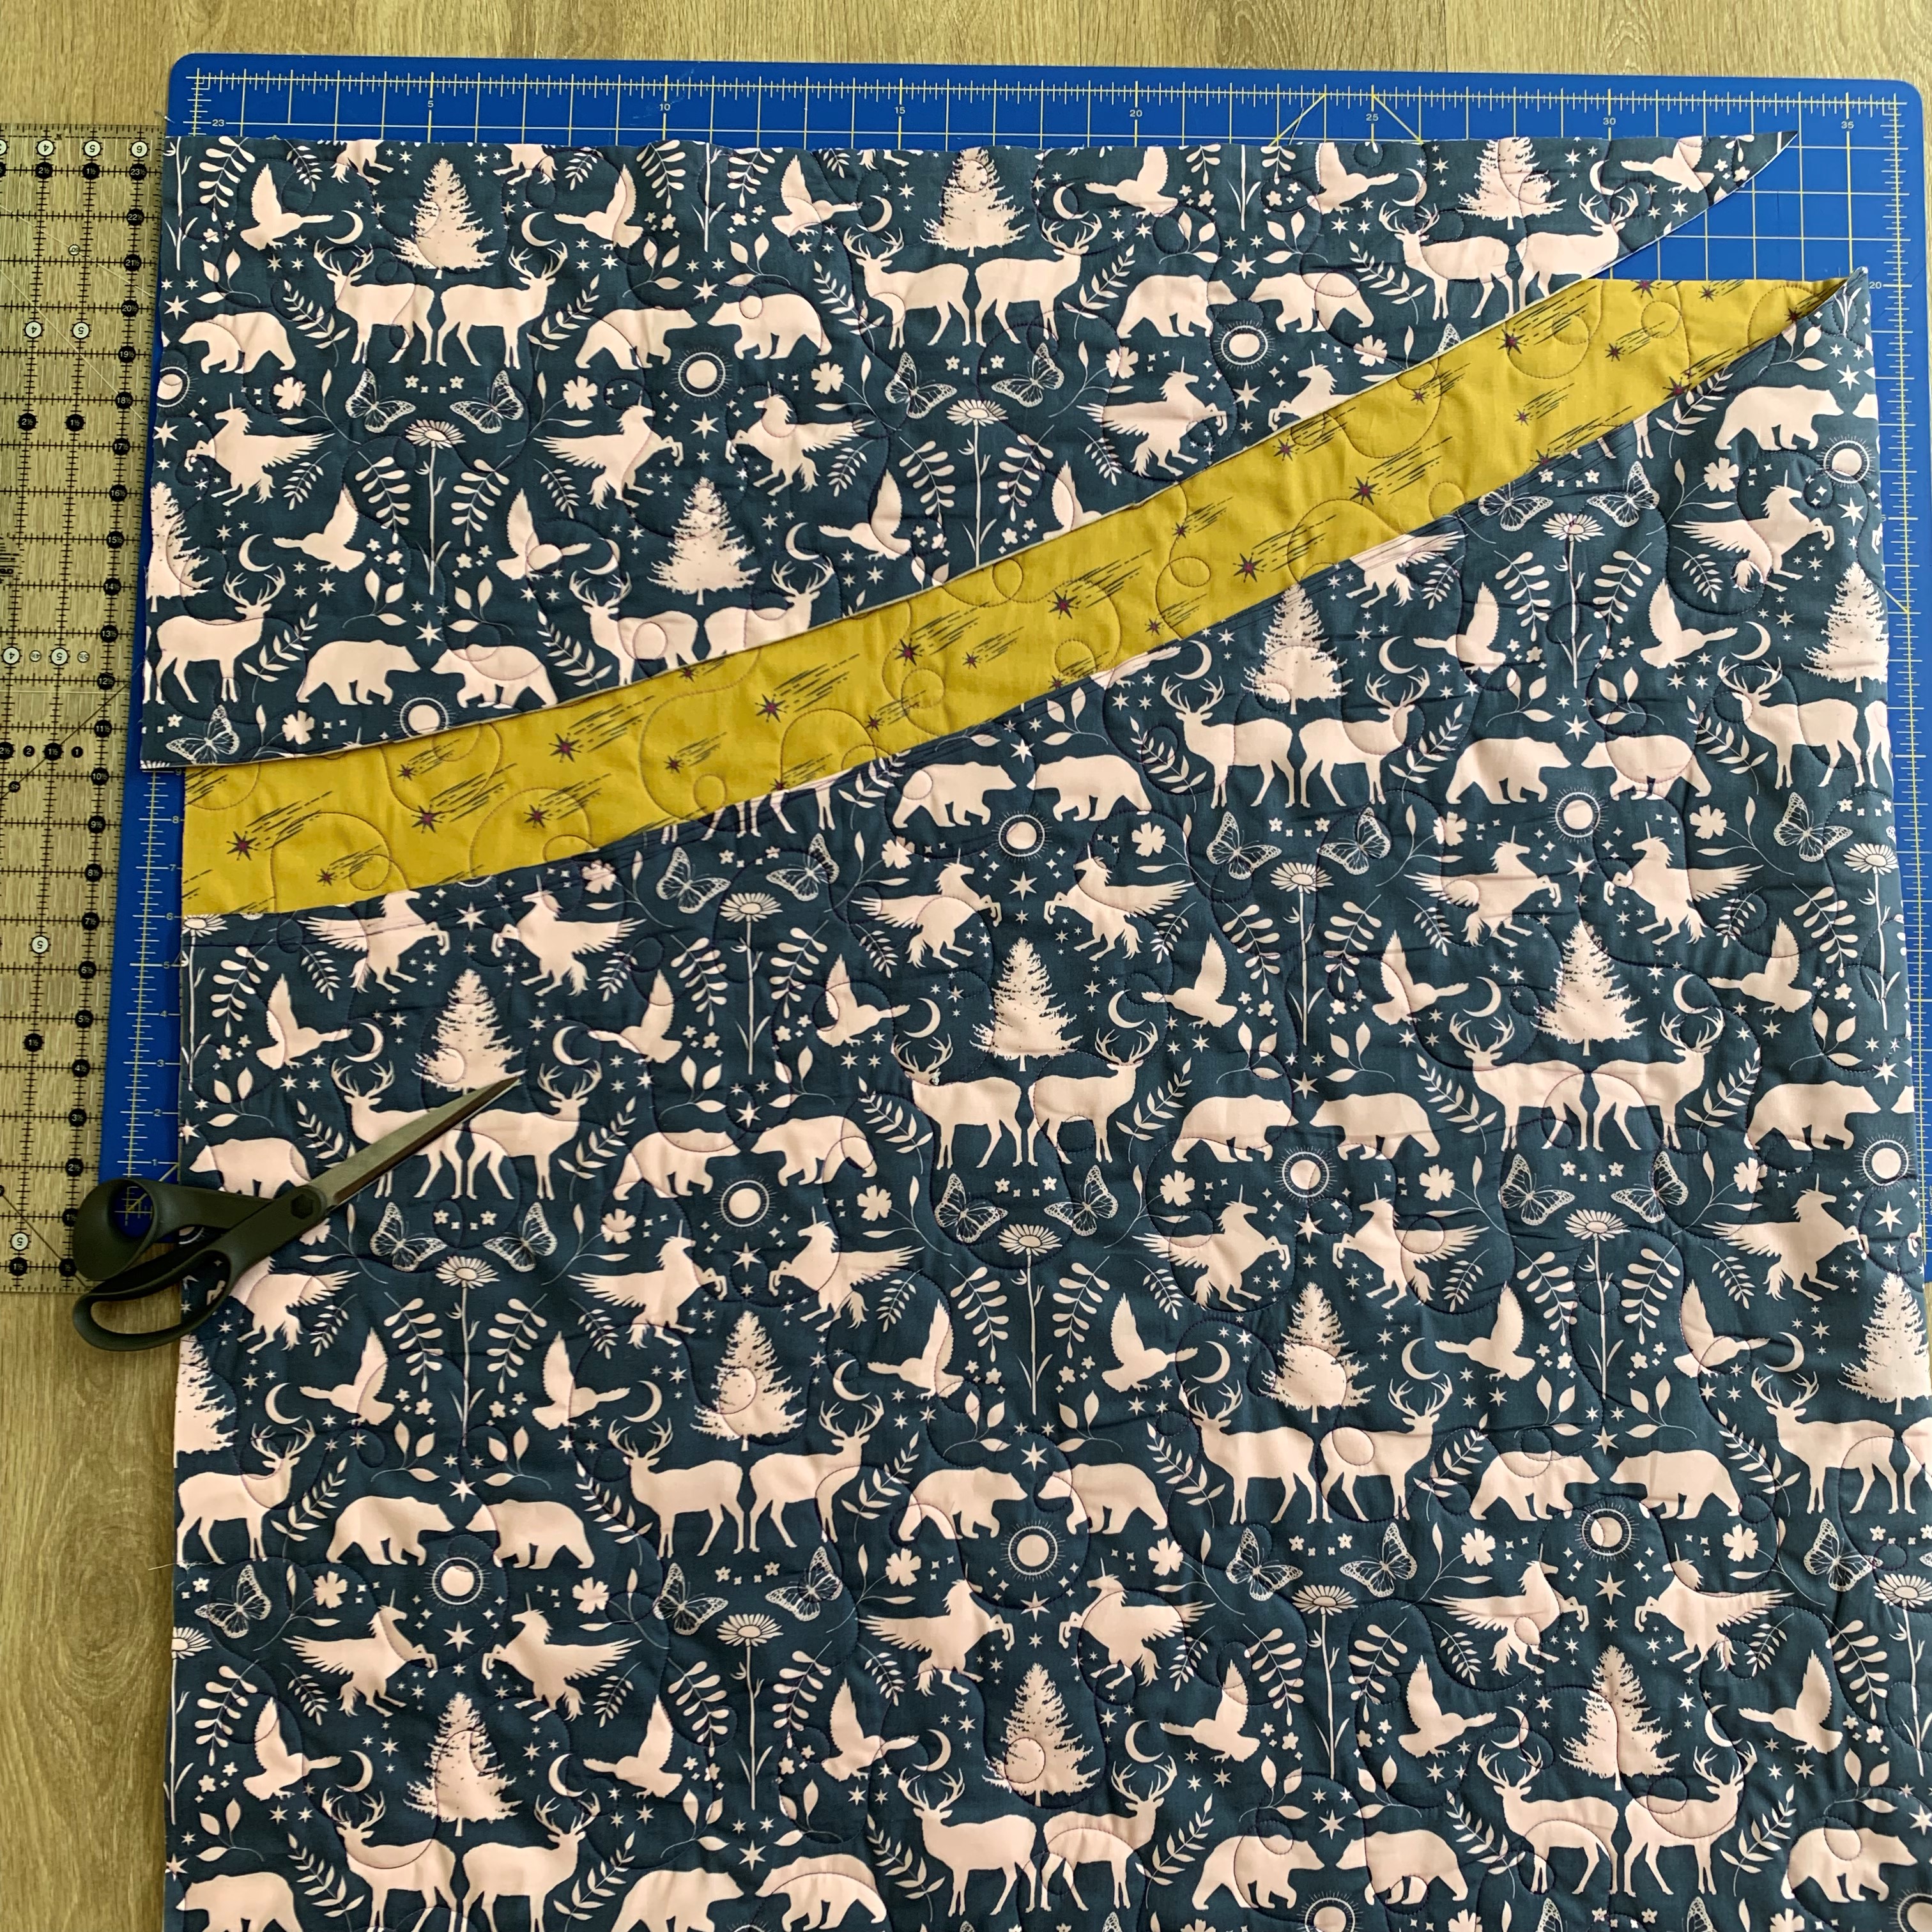
Fold your quilting piece in half and trim to desired length and width.

We trimmed our Sleeping bag to 34″ x 60″ once it was folded. To round the corners we used a plate to trace a curve on the bottom corner and a curve on the top underside. Trim off excess fabric.

For the top opening of our Sleeping bag, we created a fun curved detail by measuring 13″ down and then drawing a curve up to the top fold. Trim off this piece with your fabric scissors.
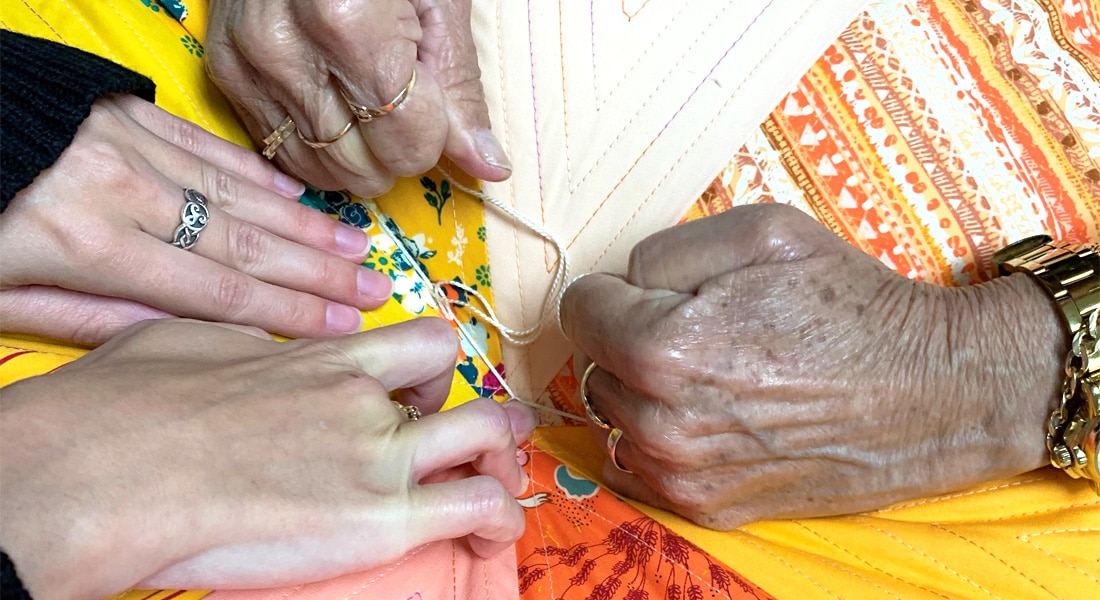
Step Four- Binding
Take all your 2 ¼” strips from Fabric C and sew them together to create a long strip. Fold raw edges together to form your binding.

Line the raw edges of your binding to the raw edges of your Sleeping bag. Attach your Walking Foot to your machine. To learn more about the Walking foot make sure to watch this video.
Sew your binding to the outside of the sleeping bag, matching raw edges of the binding with raw edges of the sleeping bag. Sew with a ¼” seam.

Once your binding is attached to the front side of your Sleeping Bag, fold over your binding to encase your raw edges, press, and pin with wonder clips.
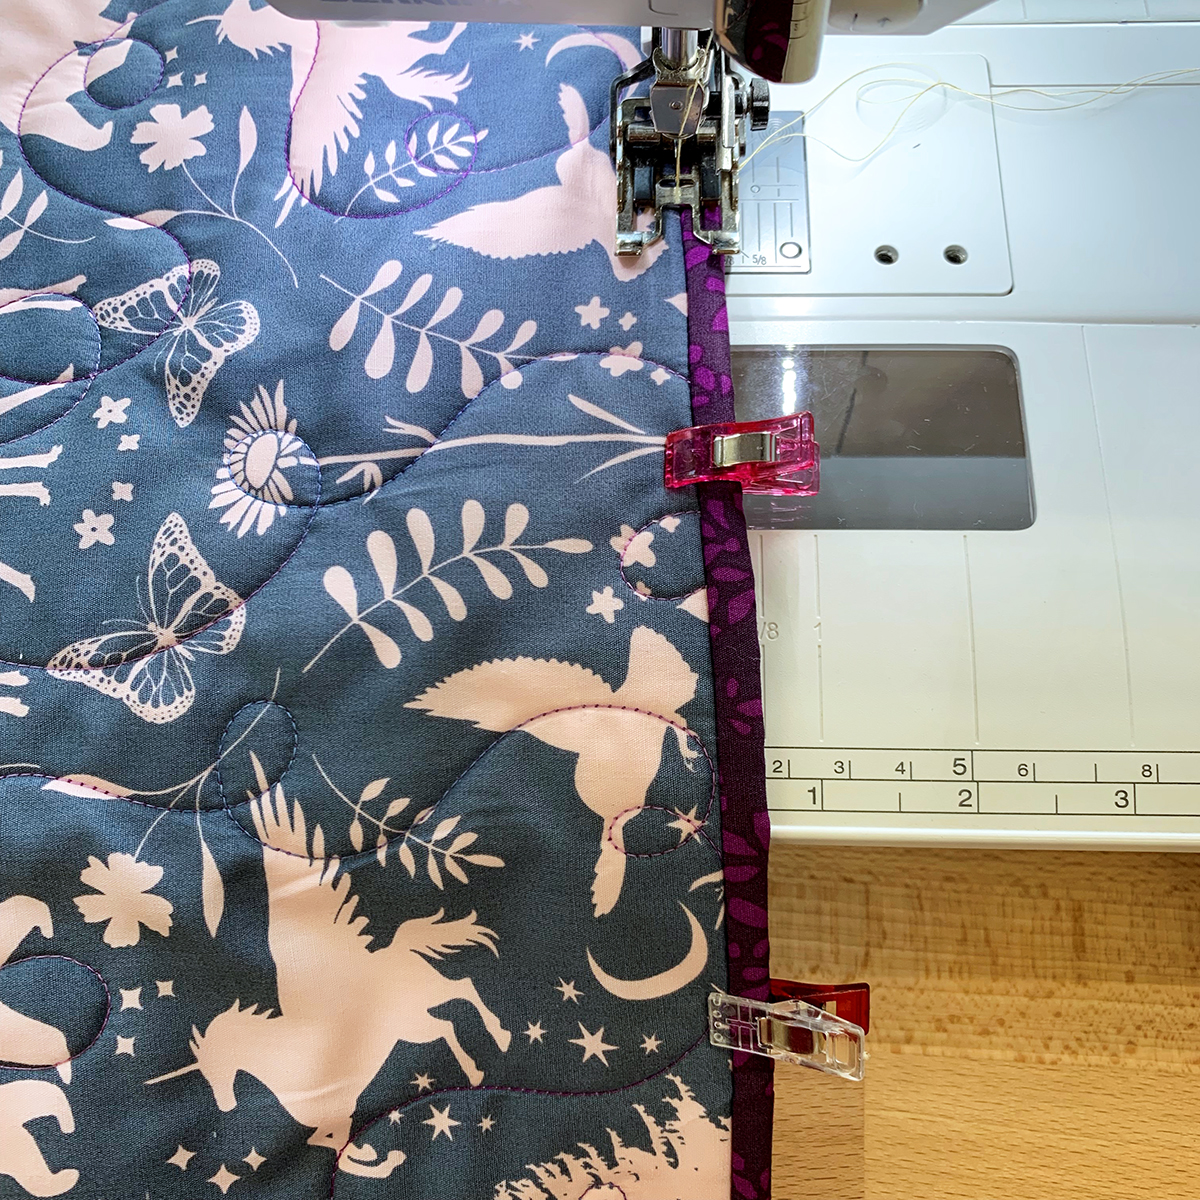
On the top side of your Sleeping Bag stitch in the ditch to secure the back of the binding.
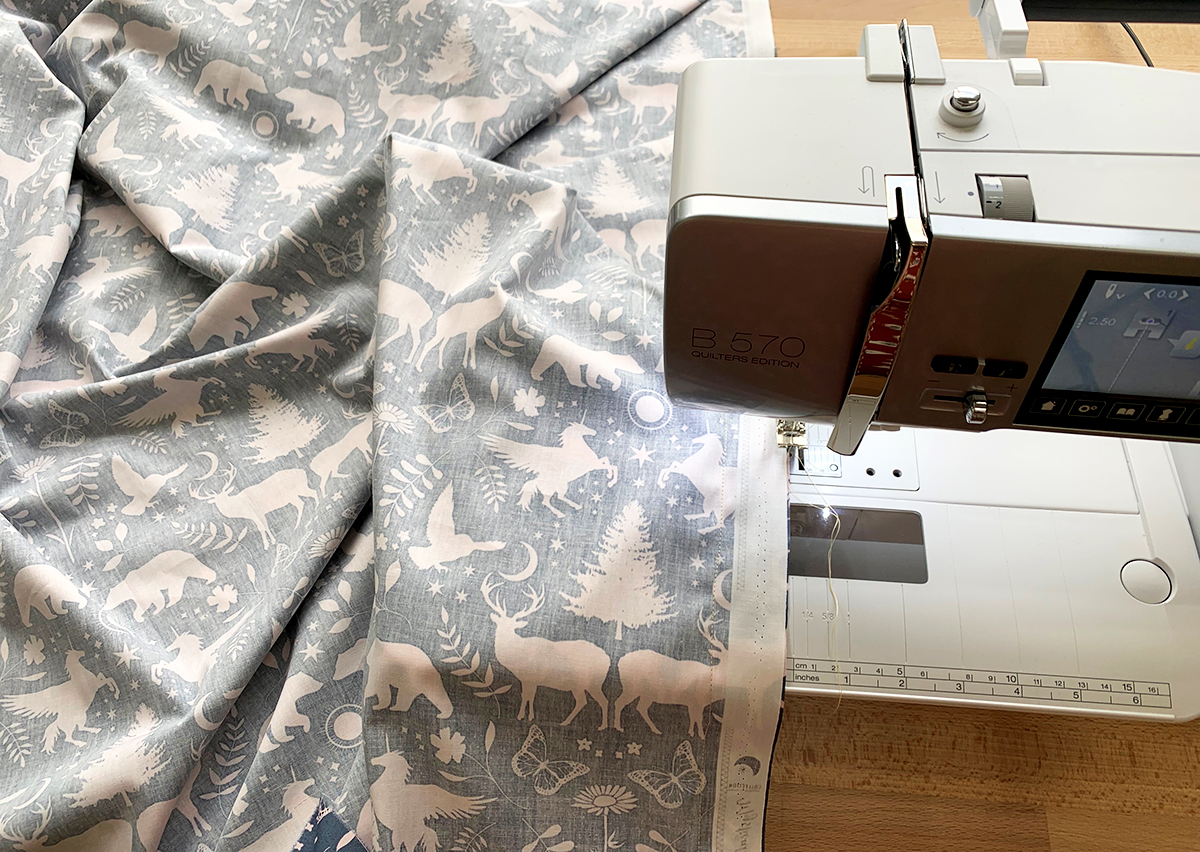
Step Five- Attaching the Zipper
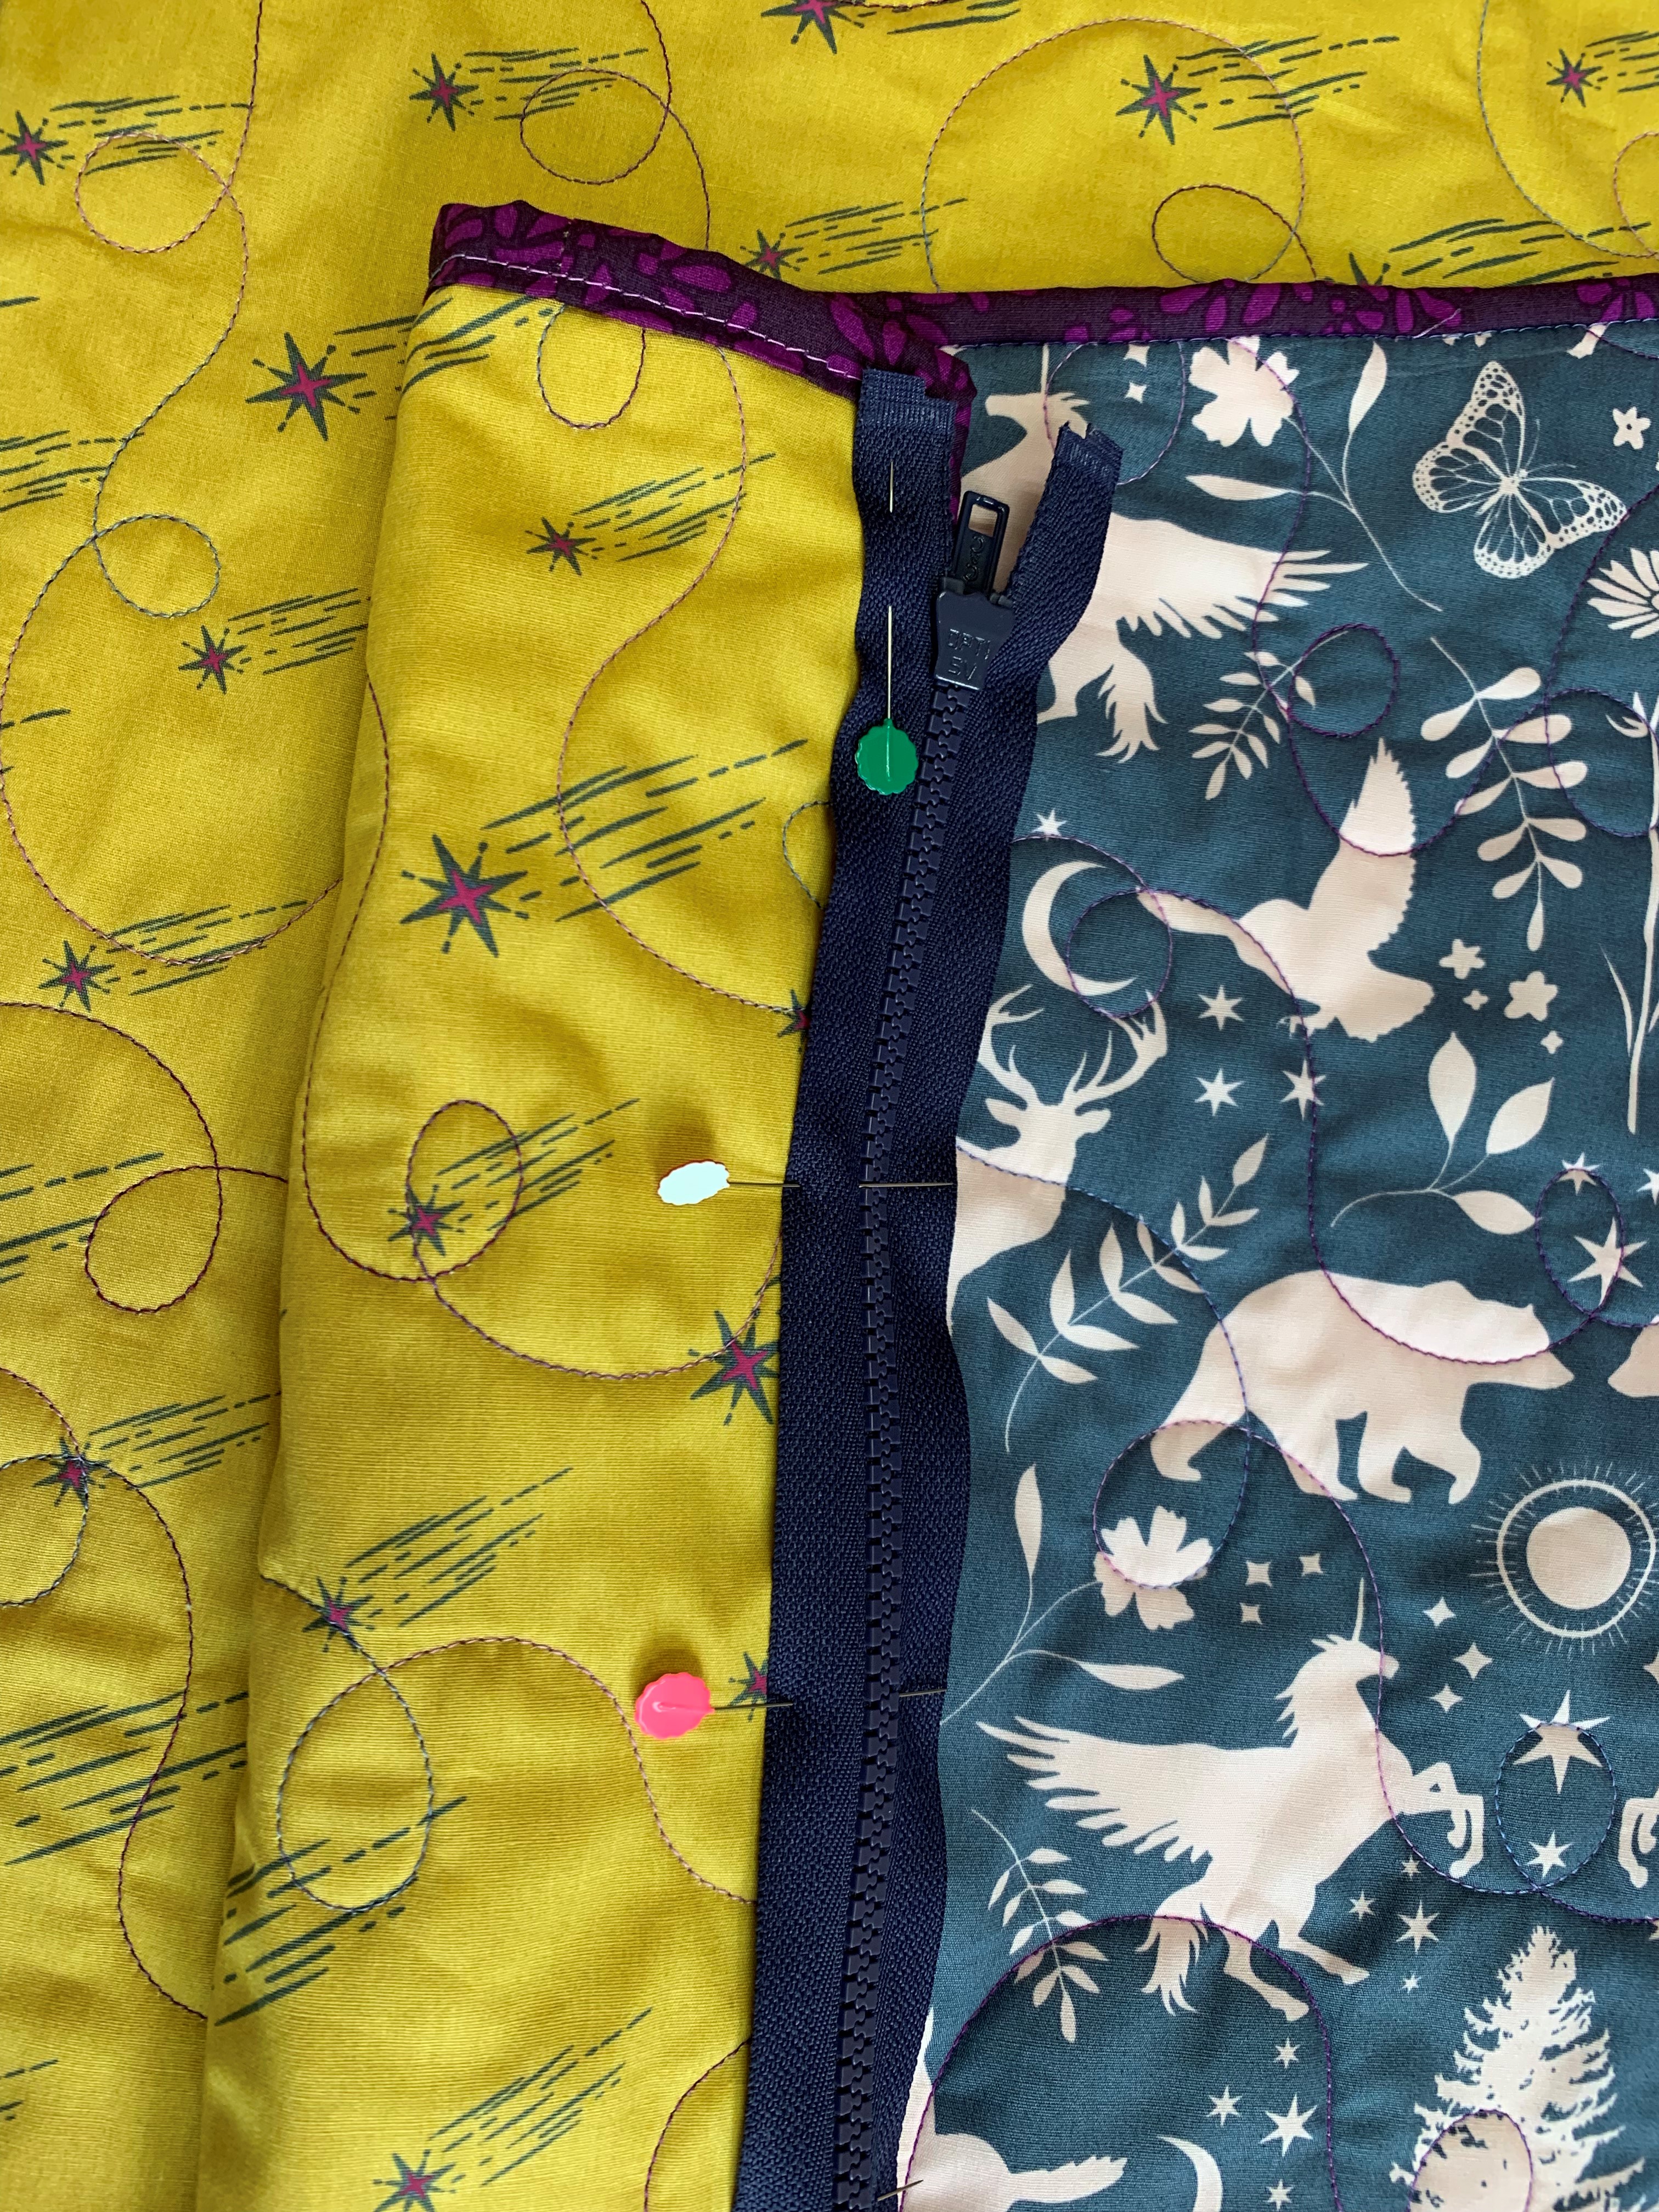
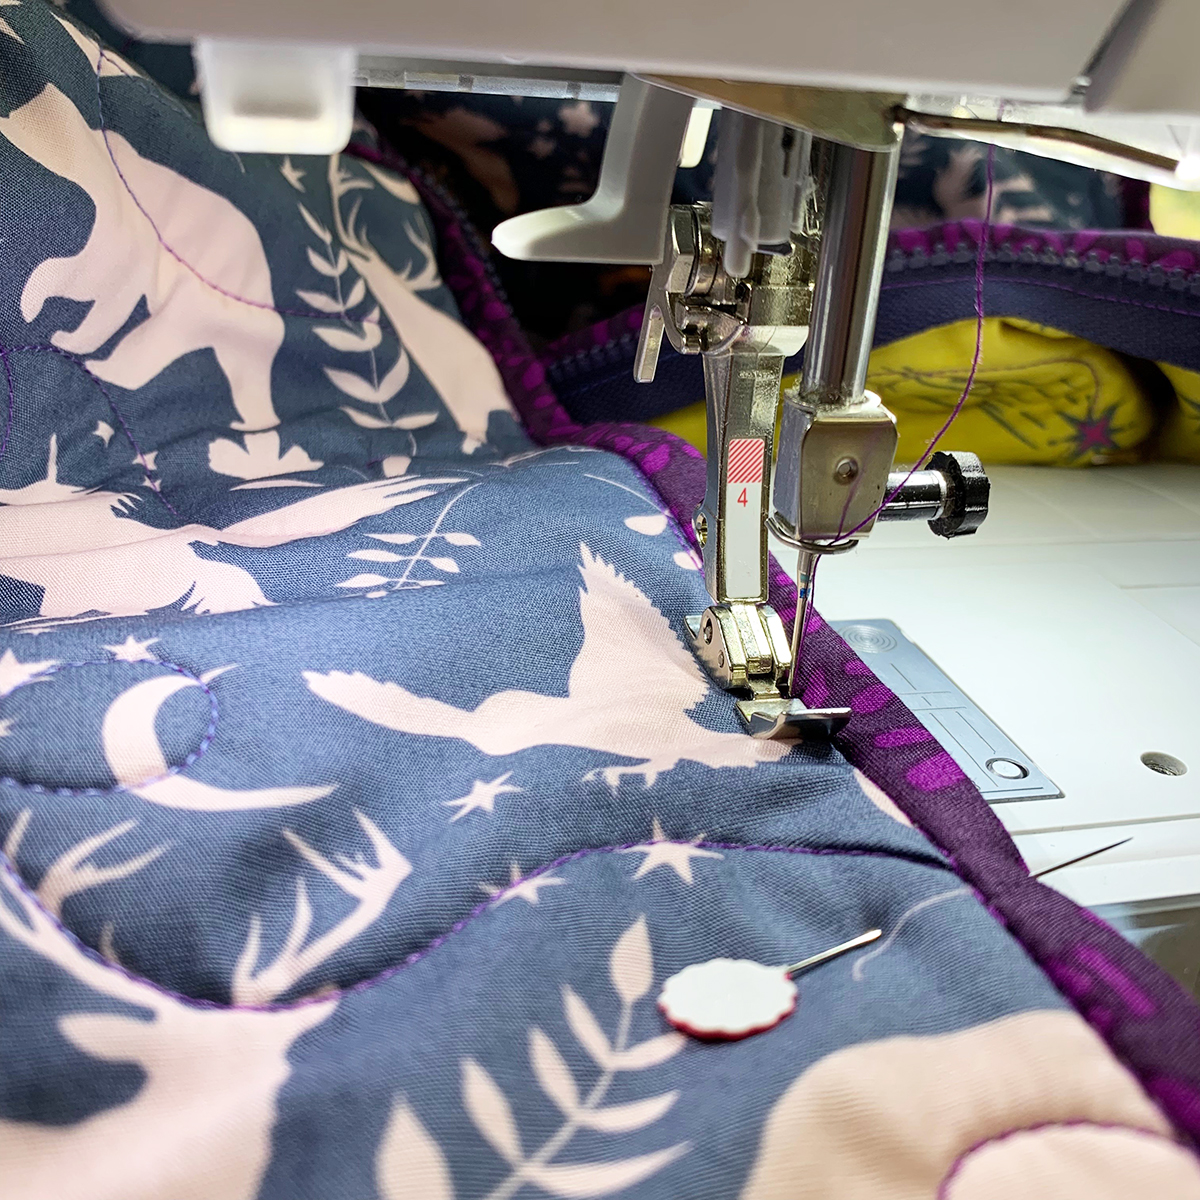
Place your zipper to the top exterior of your Sleeping bag, placing the front of your zipper down. Pin all the way down lining up the zipper to the edge of the binding. Attach your zipper foot and stitch all the way down your zipper tape to secure one side of your zipper. To get past the zipper pull lift presser foot with the needle in the down position and zip zipper up and away and continue stitching.
Attach the other side of the zipper to the other side of your sleeping bag. You will need to stitch on the exterior of your Sleeping bag stitching in the ditch of your binding to secure to the side.

Step Five- Securing the Bottom
To secure the bottom of your Sleeping bag you could use snaps or use a zipper that is big enough to cover the side and the bottom of your Sleep Bag.
Doing it this way you can have the option to open up your Sleep Bag all the way to be able to use as a quilt or throw. If you just want to use it as a Sleeping Bag you can line up the bottom edges and do a strong straight stitch to secure your bottom closed.
Your “Rest Easy” Sleeping Bag is complete and it’s time to gift it or use on your next family camping trip.


Enjoy,
The AGF Team


What you might also like


2 comments on “Rest Easy Sleeping Bag”
-
-
What a great idea! This will be nice to carry along when traveling to feel secure not contacting germs. Super easy to make!
Leave a Reply
You must be logged in to post a comment.

Where to find extra plushie batting for the sleeping bag!