Welt Pocket Tutorial
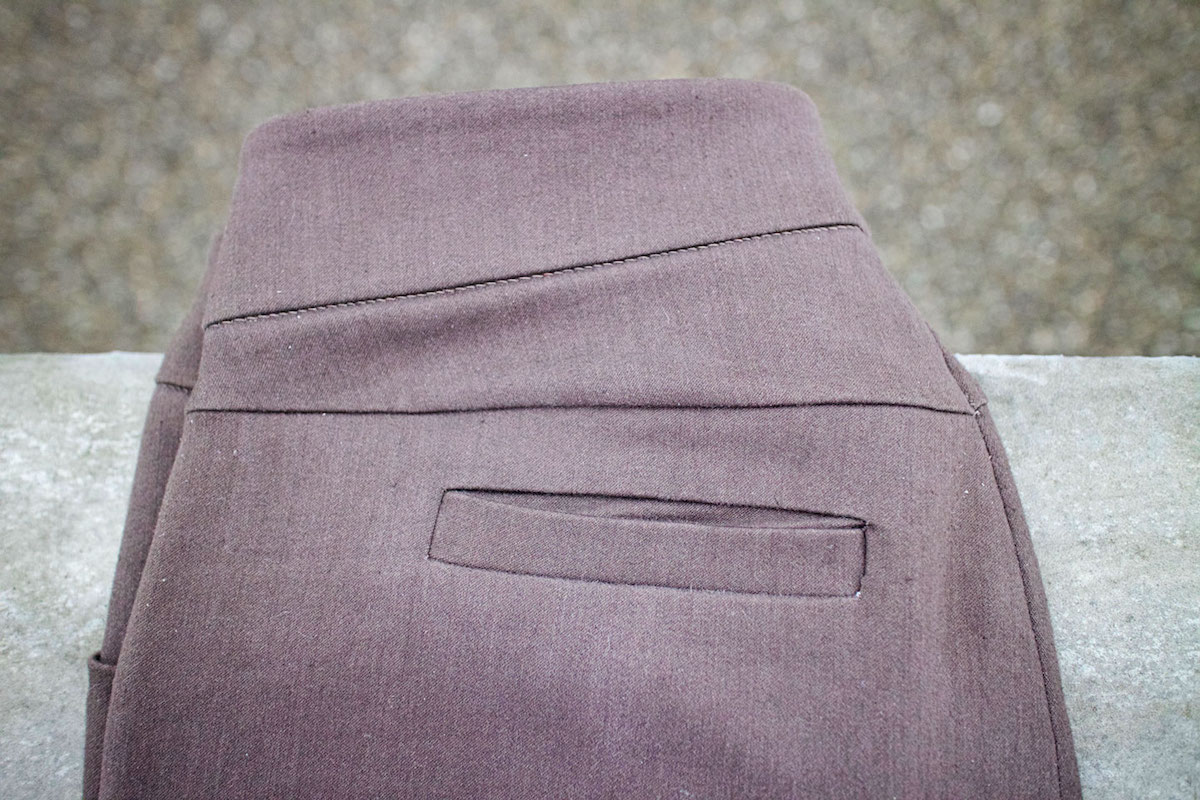
It’s a new year, time for a new skill! I love welt pockets, but few instructions show you how to fully finish the seams. These directions use the BERNINA 1300MDC serger along with your regular sewing machine and a straight stitch to perfectly finish the raw edges for a beautiful welt pocket inside and out.
Materials to sew a welt pocket
- medium to heavyweight fusible interfacing like Pellon Fusible Midweight
- pants pattern with welt pocket pieces like Burda 7447 for women or Thread Theory Jutland Pants for men – it should include a welt piece, longer pocket piece, and shorter pocket piece
- matching thread
- sewing machine
- overlocker such as BERNINA 1300MDC
How to sew a beautifully finished welt pocket
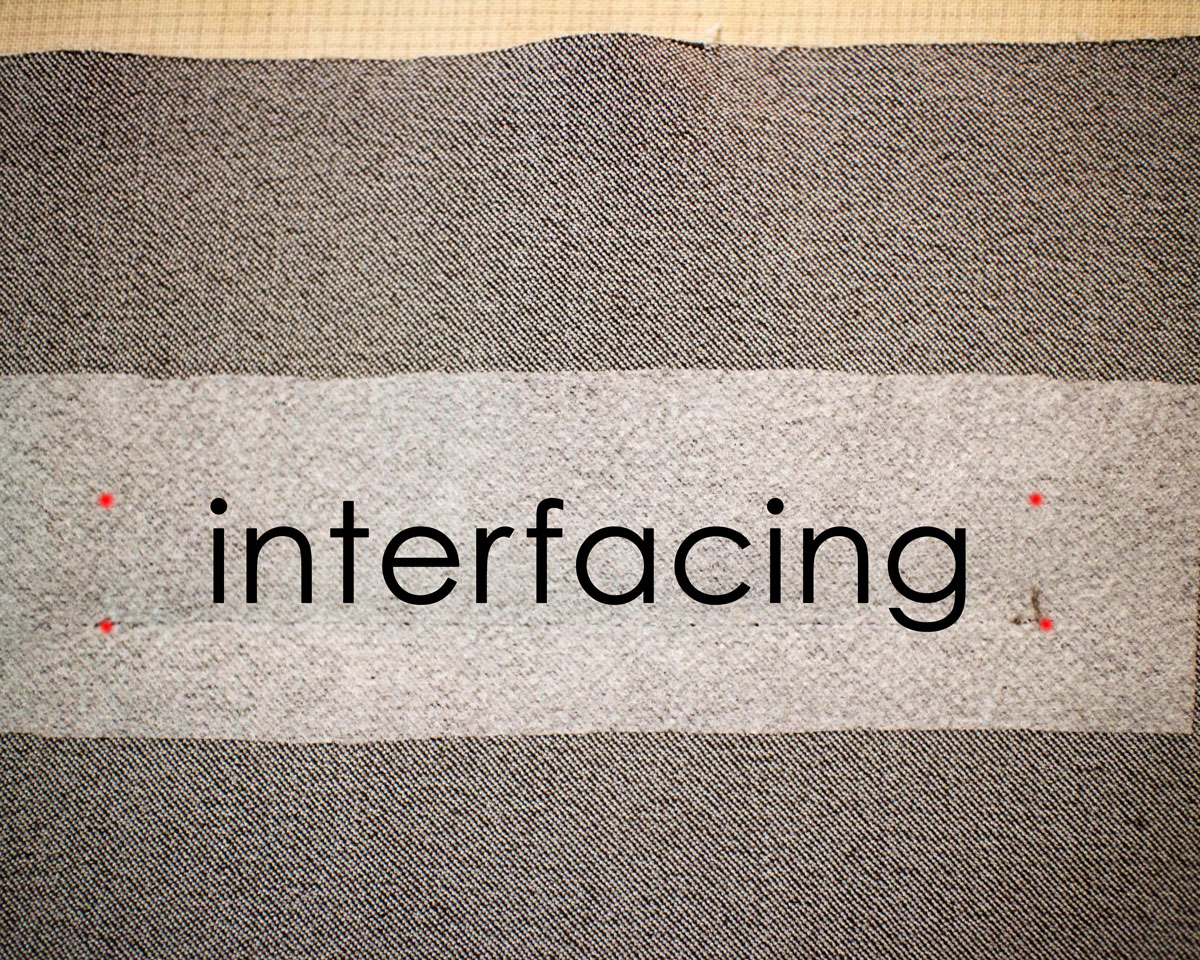
Step 1 – Interfacing: Mark the position of your welt pocket following the pattern instructions. On the wrong side of the fabric, cover the markings with a strip of interfacing (I cut mine about 2″ tall and 6″ wide.) Follow the manufacturer’s instructions on the interfacing to properly fuse it to the fabric.
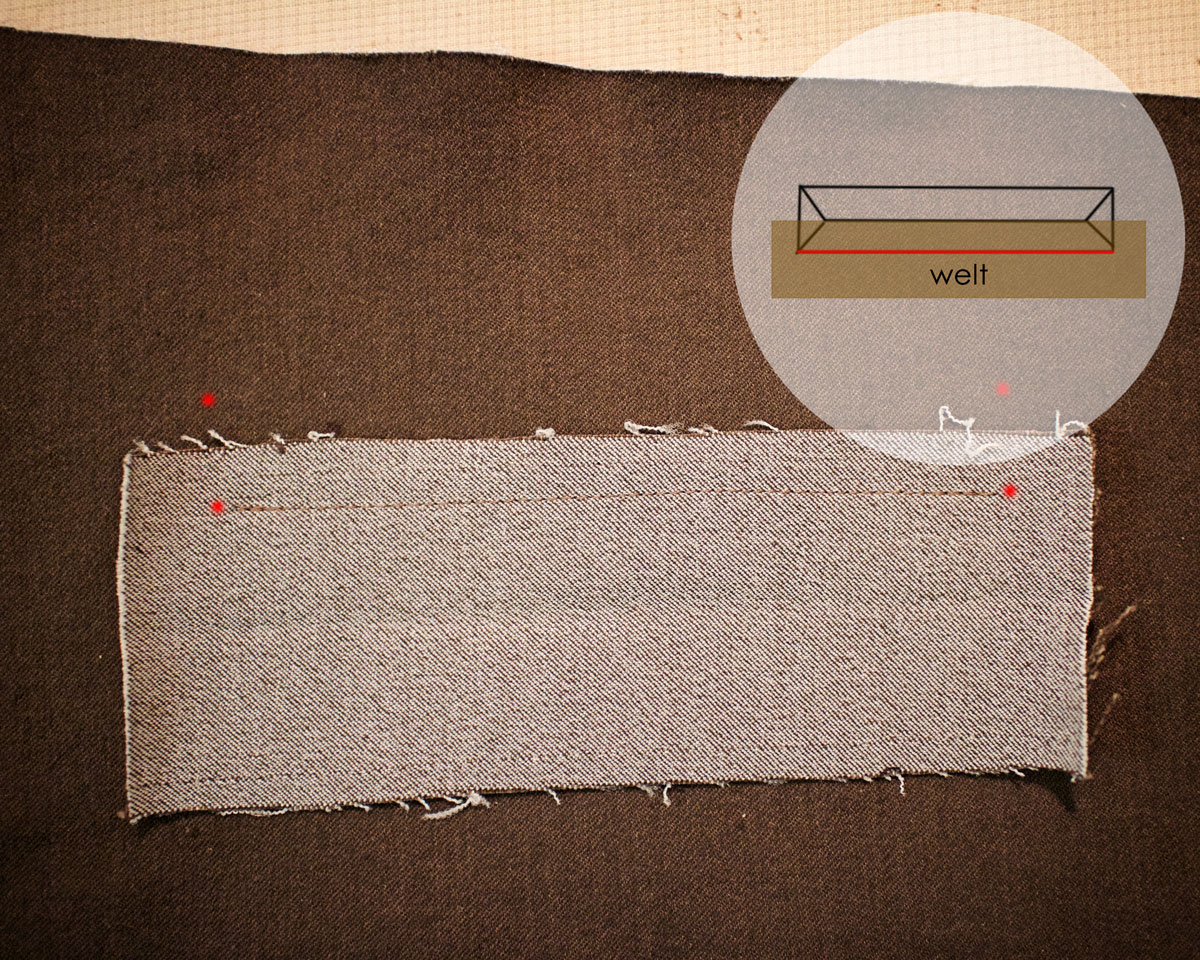
Step 2 – Bottom of welt: On the right side of your garment, sew the welt pattern piece according to the pattern markings. In this photo, the welt is still unfolded and placed right side down on the right side of the main fabric. A line of stitching has been sewn through the marking on the welt and the bottom marking line of the welt opening.
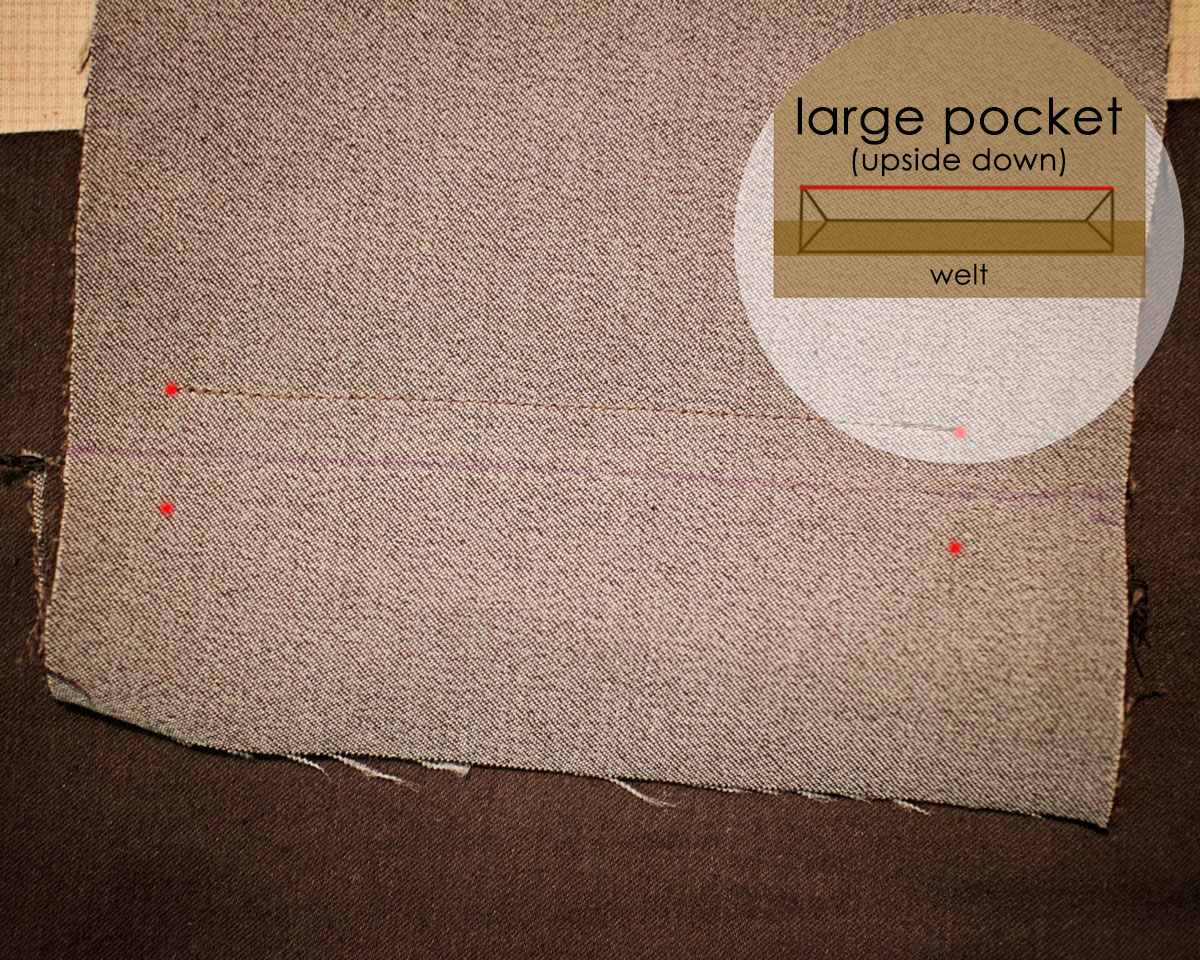
Step 3 – Top of welt: Now lay the longer of your two pocket pieces UPSIDE DOWN on your garment, right side down. Match pattern markings carefully. In the photo above, a line of stitching has been sewn through the marking on the pocket and the top marking line of the welt opening.
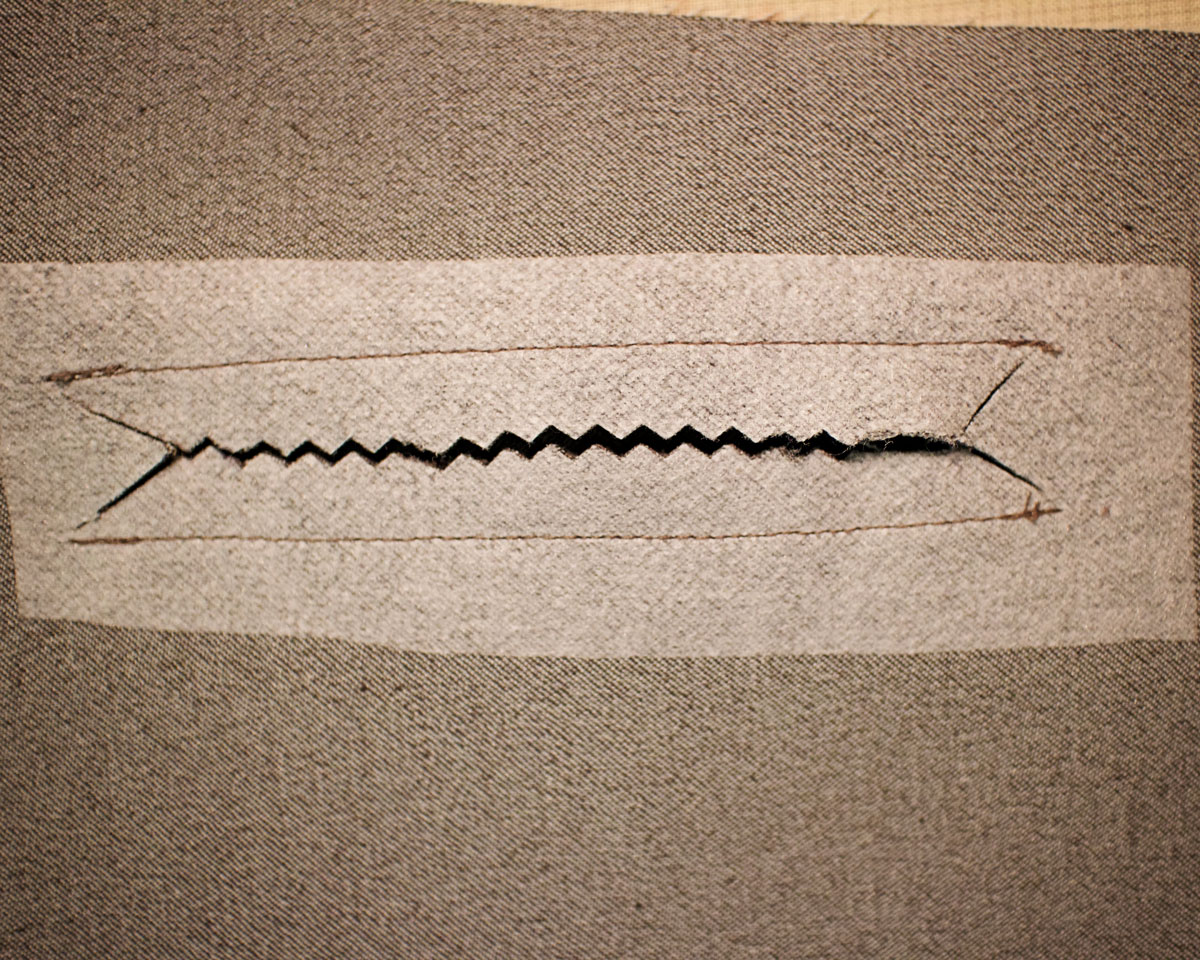
Step 4 – Cut open the welt: Turn the garment to the inside where the interfacing is. Cut through the center of the welt opening, with triangle cuts toward the corners as pictured above. To be extra sure things don’t fray I cut mine using pinking shears, but the interfacing alone should prevent any fraying. Be careful to cut up to but not through the stitching as you slash the corners.
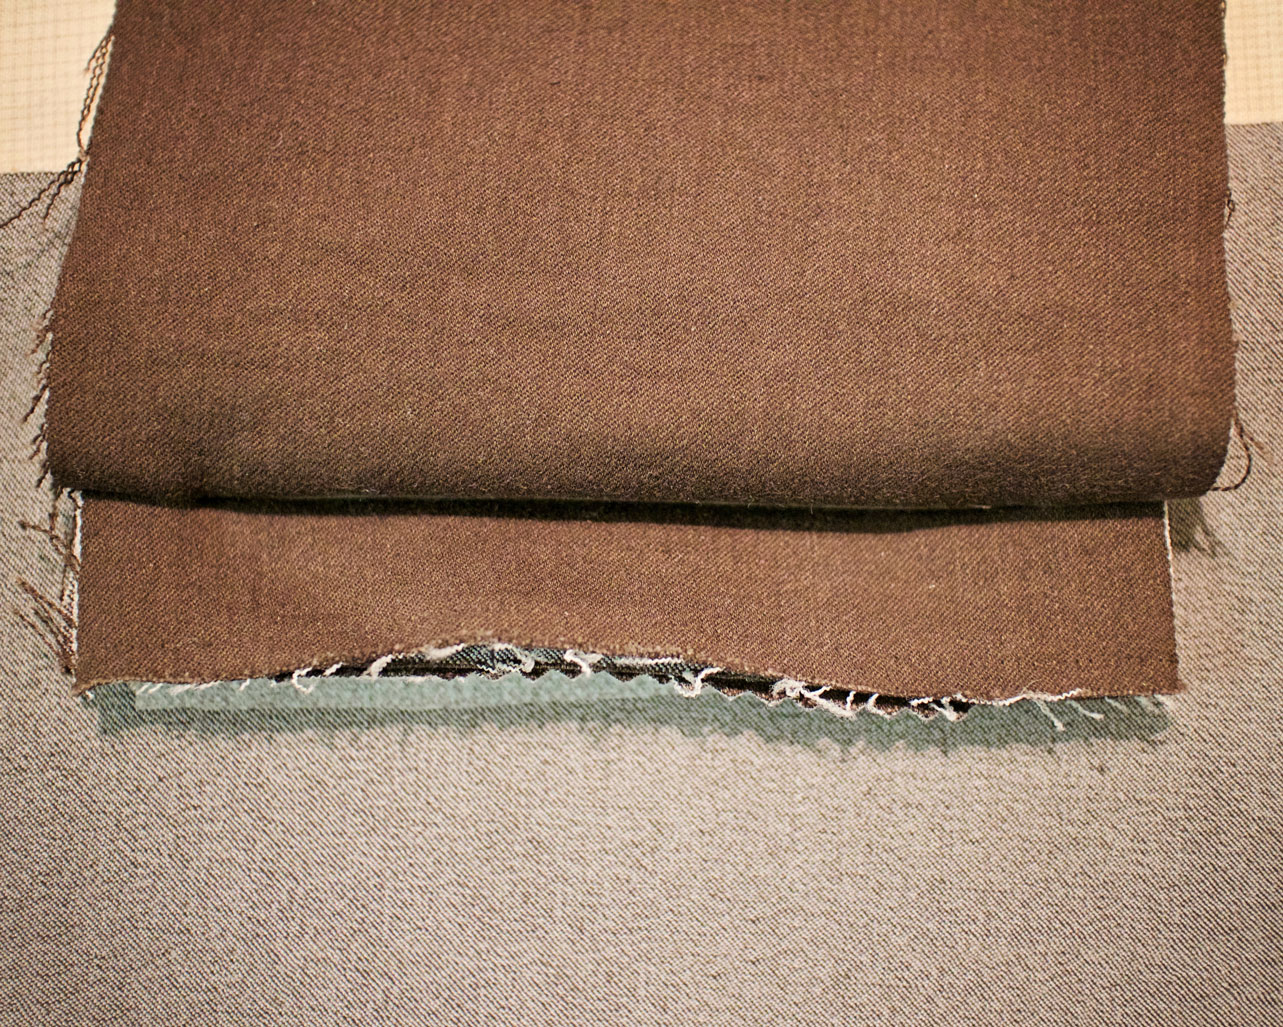
Step 5 – Flip to inside: After cutting the welt opening, flip the bottom welt piece and the top pocket piece to the inside of the garment. Above, the welt is pictured right side up with the larger pocket piece folded up so you can see the opening.

Step 6 – Fold the welt: On the right side, your welt pocket should be coming together. Fold the welt in half so that it evenly covers the welt opening. Baste the raw edges of the welt together on the wrong side of the garment.

Step 7 – Attach bottom pocket: Place the smaller pocket piece UPSIDE DOWN face-up on top of the folded welt piece. Align raw edges (top of the pocket piece, bottoms of the welt piece) and serge together. Finish the raw edge along the top of the welt opening as well.

Step 8 – Sew the sides: Fold out the triangles at each side of the welt pocket. Stitch down to welt (but not through main garment!) to secure ends.
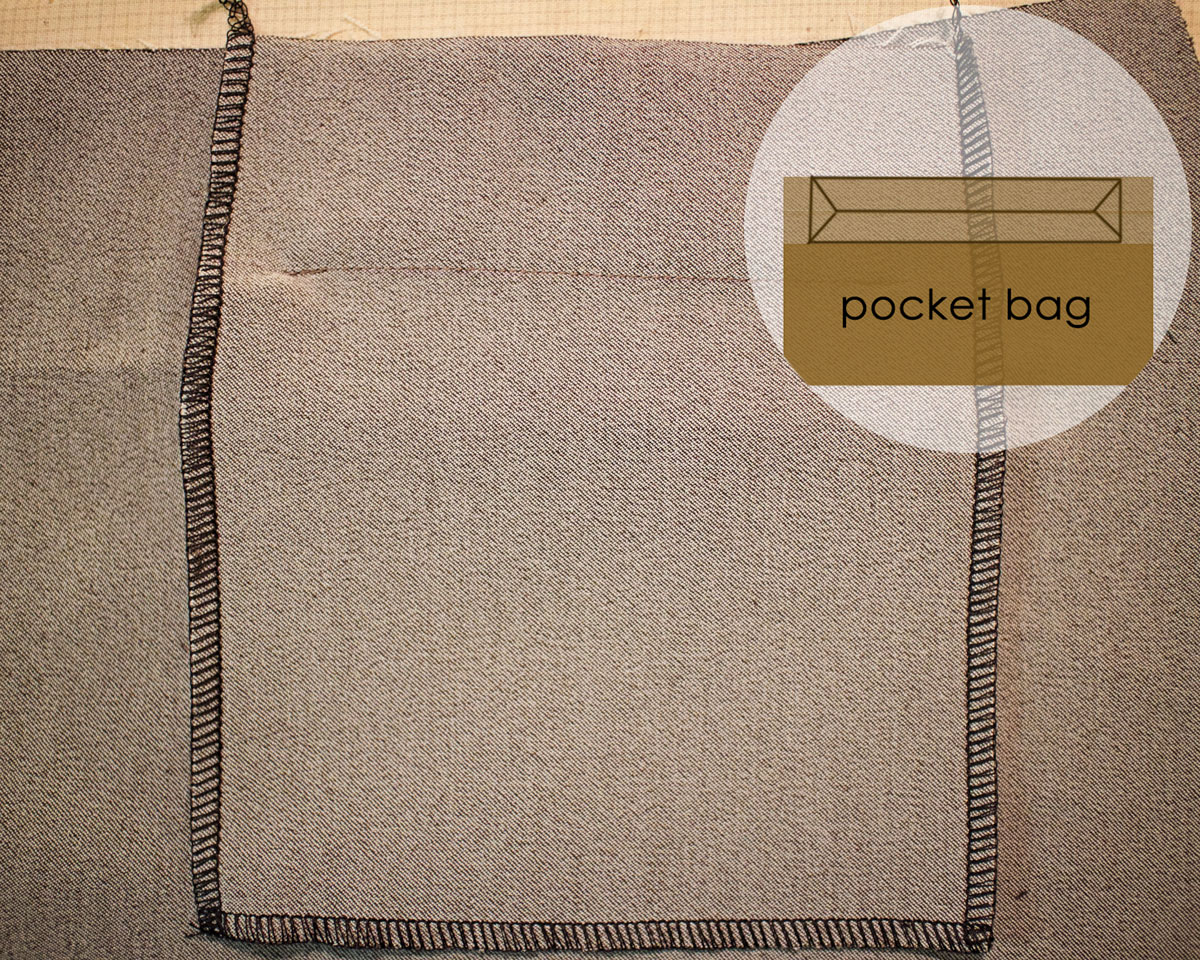
Step 9 – Sew pocket bag: You now have a fully assembled welt pocket – welt, longer outer pocket bag, and shorter inner pocket bag. The last step is to attach the outer part of the (longer) pocket bag to the inner (shorter) part. Serge around the edges, connecting the two pieces and neatly finishing the raw edges.
And you’re done!


What you might also like


4 comments on “Welt Pocket Tutorial”
-
-
Thanks Elizabeth! I would also recommend trying them out on a scrap first so you get great results on your garment.
-
-
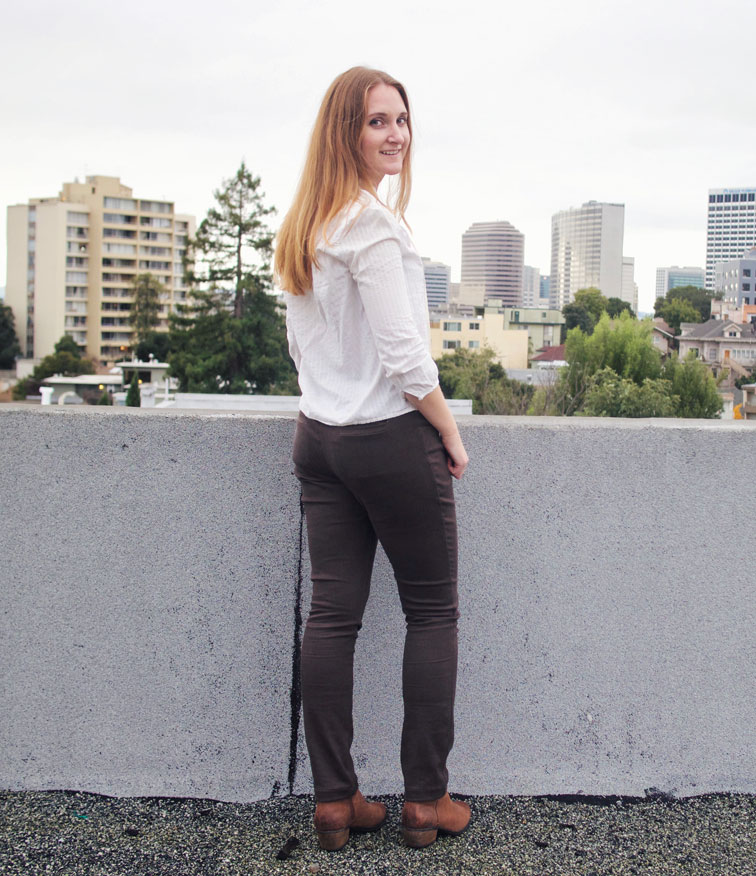
Great Tutorial!!! And I loved the pants style used in your tutorial pics. Do you know the Pattern name and number? My waist is a lot smaller than my hips and that style looked like it would help me out.
-
Thanks for your comment! These are actually my own pants block drafted based on a few patterns. You can read a bit more about my process here: http://www.madebymeg.us/2016/12/mambo-no-5-jeans.html
-
Leave a Reply
You must be logged in to post a comment.

Thank you for this great tutorial ! I love welt pockets, they give a less bulky look to a garment. But,when it comes down to doing one I always choose something else, I admit they intimidate me !! I am going to put your instructions next to my cutting table and the next jacket or slacks will have welt pockets 🙂