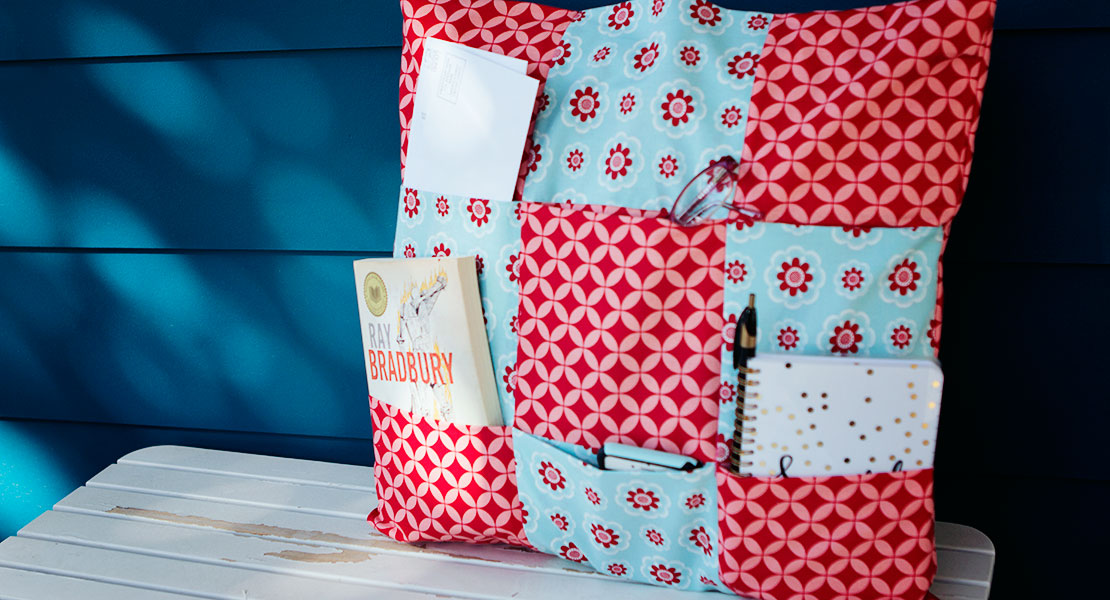
Patch Pocket Tutorial
Hello everyone, lately I’ve been sewing quite a number of shirts and blouses. I get a great deal of satisfaction from sewing shirts. Especially, ones for the men in my life. My son’s shirt has been the latest project on my cutting table along with one for myself and my husband. But, what got me to thinking, is when my mom asked for help making a shirt dress. She had problems sewing the patch pocket and asked me to help. Now, the funny thing here, is that my mom taught me to sew. What is it I can teach an old pro like her. She quickly reminded me, that she didn’t know everything, but what she did know, she taught me, and I would have to do the rest. She taught me the basics, and now I am honored to teach her a little of what I have learned since the beginning. I decided to share with you this tutorial I wrote for my mom. It is a continuation of a lesson she taught me many many moons ago, since my first patch pocket. This tutorial is the outcome of our fun sewing visit.
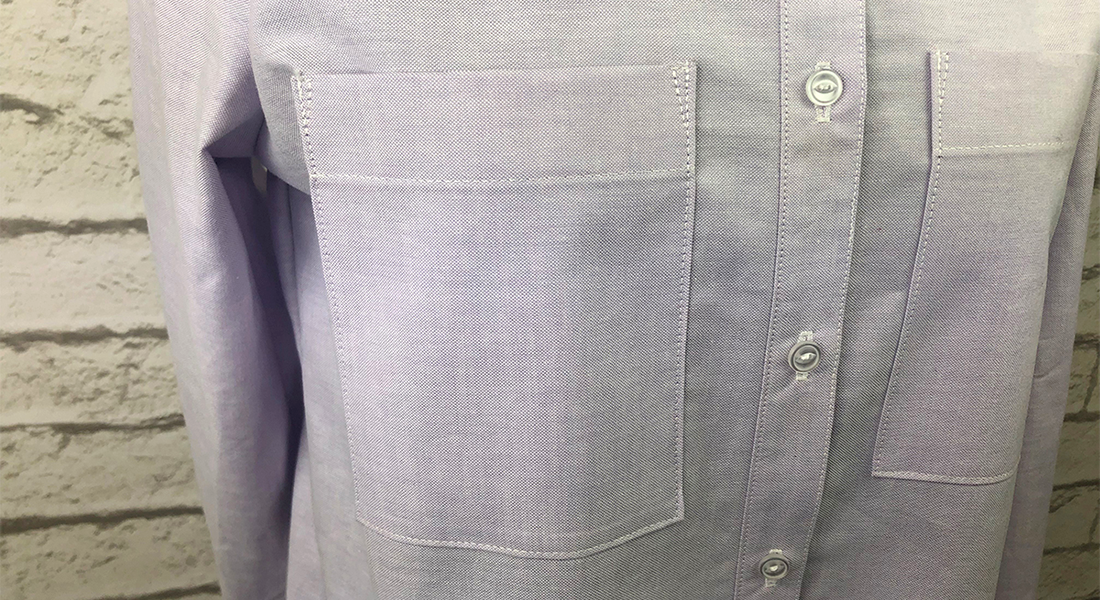
When sewing a patch pocket, top stitching isn’t the only thing that makes for perfect patch pockets. Turning the corners properly, interfacing, and your stitch count can make or break your outcome as well.
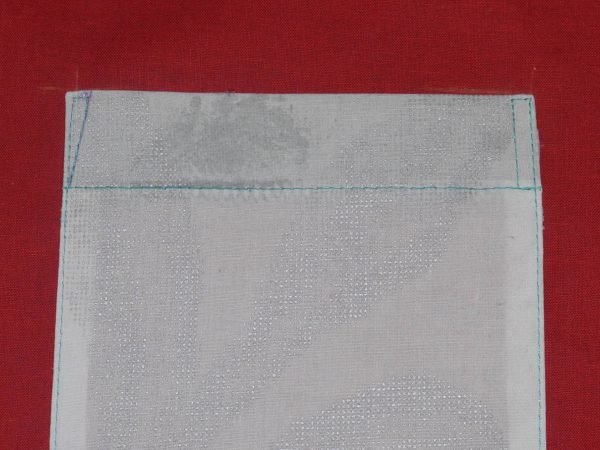
When creating the upper hem, often times, it is difficult to hide the resulting seam line along the side edges of the pocket. In order to avoid having the seam visible from the front you will need to “roll” the seam. This is accomplished by cutting the top pocket facing a scant narrower than the pocket body.
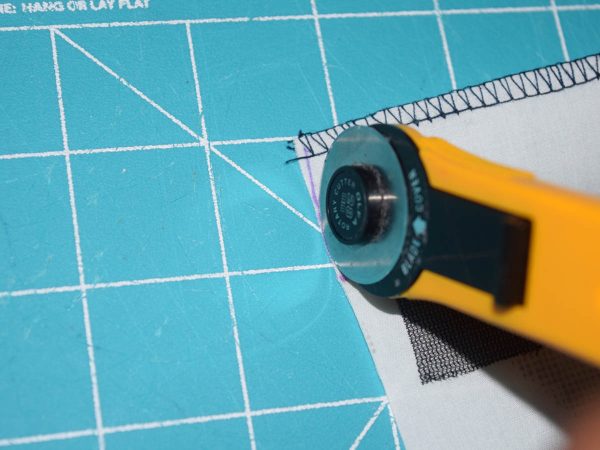
You need to use a ruler to measure from the edge of the fold line at a slight angle over to 1/16″ from the inside top edge of the facing. Use a rotary cutter to “shave” off this small sliver on both sides.
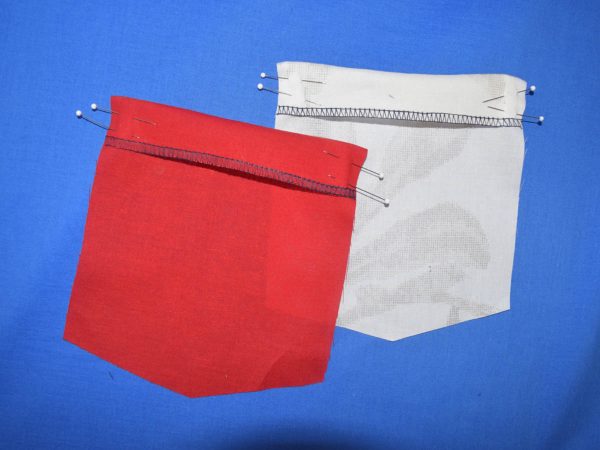
Because the facing is now slightly smaller then the pocket, you will be pulling the raw edge of the facing to meet the pocket edge before sewing it into place.
Use the fold as your guide: Fold the facing hem with right sides together, matching raw edges of the facing to the pocket at side seams.
This will cause one side to be shorter, and create a little bowing in the middle. This is what you want.
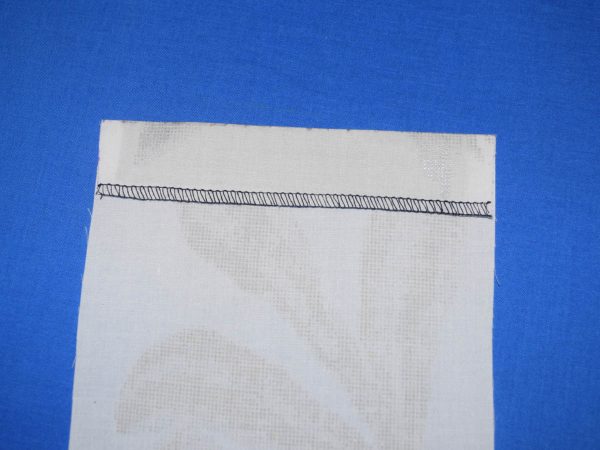
Shorten your stitch length to about 1.5 and sew the pocket facing in place along the side seams from the finished hem of the facing to the fold line. Repeat on the other side pulling in the raw edge of the seam to match.
Note: A shortened stitch is used in order to avoid having fray tails from peeking through the upper most corner of your completed pocket.
Turning the hem to the wrong side is very important to get a knife sharp top corner.
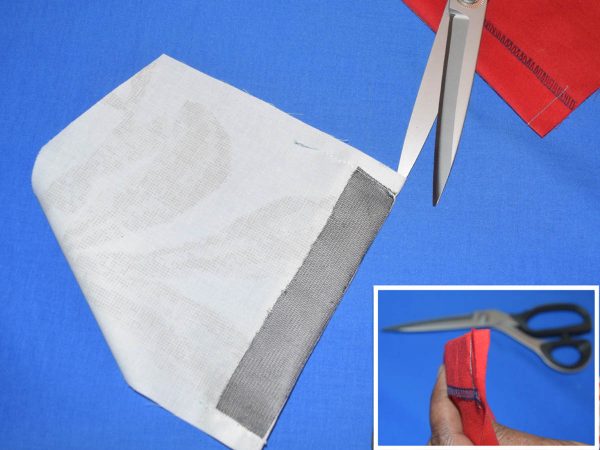
First snip the corner seam allowance at the facing fold line up to the corner stitching but not through.

Using your forefinger and thumb, fold the seam allowances toward the facing, then turn right side out.
You may choose to utilize a point turner. I usually use my fingertips for speed of construction, and then just wriggle the edge sharp between my thumb and forefinger. If you do decide to use a point turner, be careful not to push through or poke up into the corner. Just lay the tip of the point turner where you would normally place your forefinger, and turn as your thumb supports the pocket.
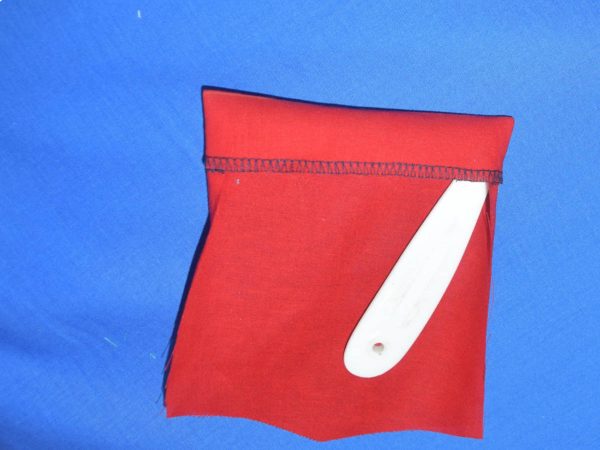
Now to press the hem and pocket edges in place.
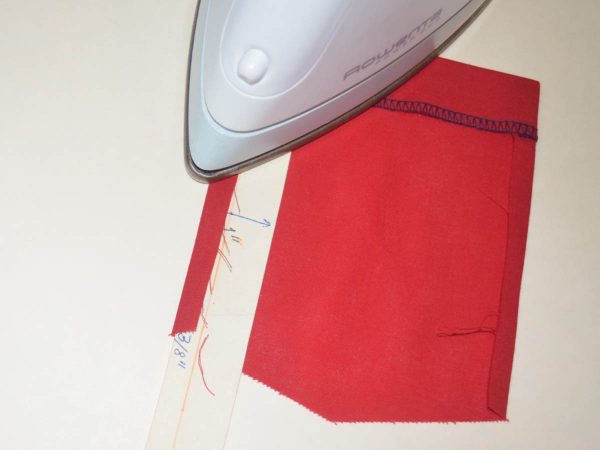
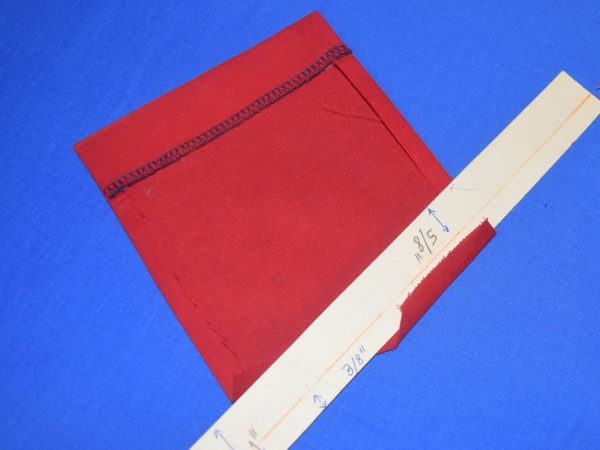
To create a very sharp folded edge, I use a small strip of Manila folder cut with a straight edge and marked with the required seam allowance, better known as a “jig”. In this case, my seam is 3/8”.
To use—insert the “jig” under the facing hem and along the seam allowance as a guide for pressing. Fold and press the seam allowance over the “jig” so the raw edge comes just up to your marking.
Next, press the other long edge of the pocket seam allowances, then press the bottom edge last.
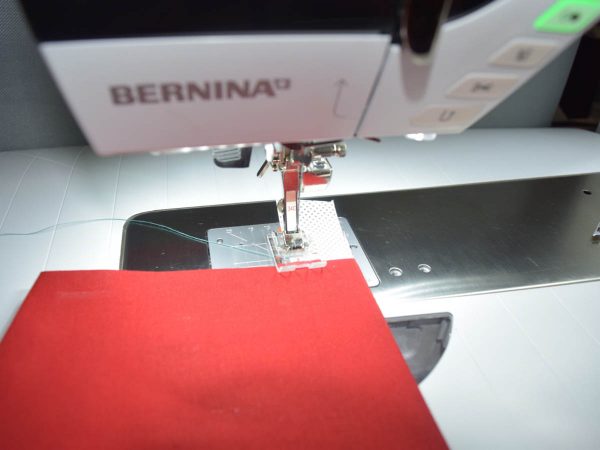
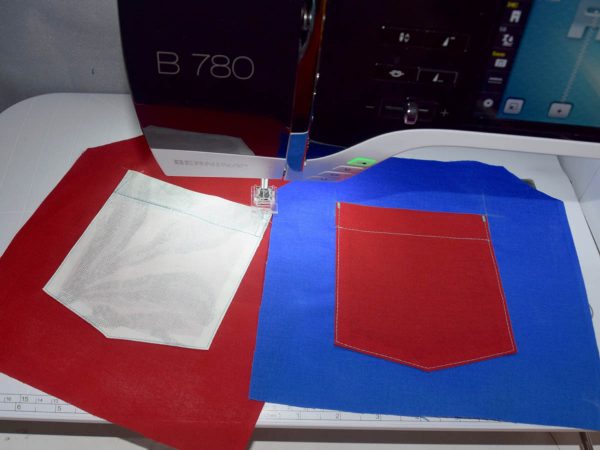
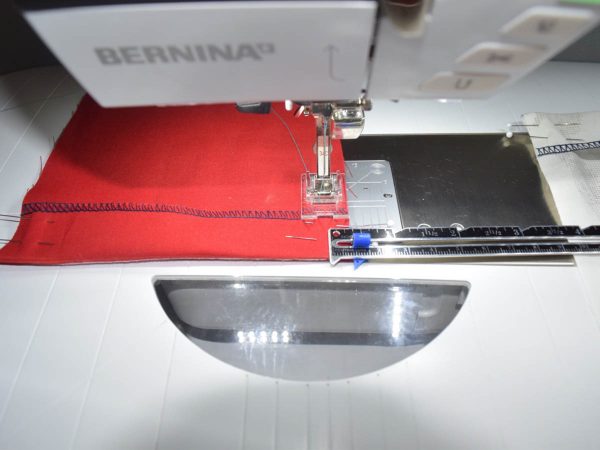
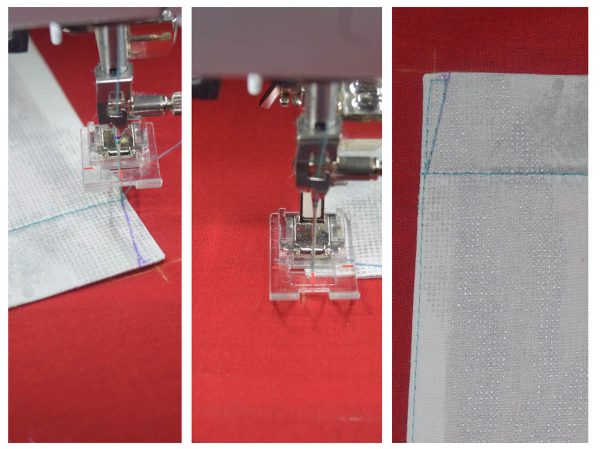
The Reverse pattern foot with clear sole #34C is great for visibility at the corners and edges of your top stitching.
Designer Tip: This is where you may want to add a personalized monogram or embroidery design to your pocket before sewing to your project.

Quick Tip: Use a “leader,” a piece of tearaway stabilizer at the starting point on the edges and corners to help the transition over the edges for an even start and finish to your stitching.
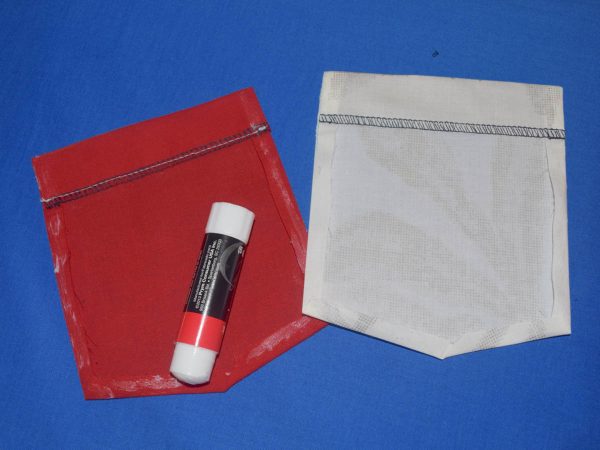
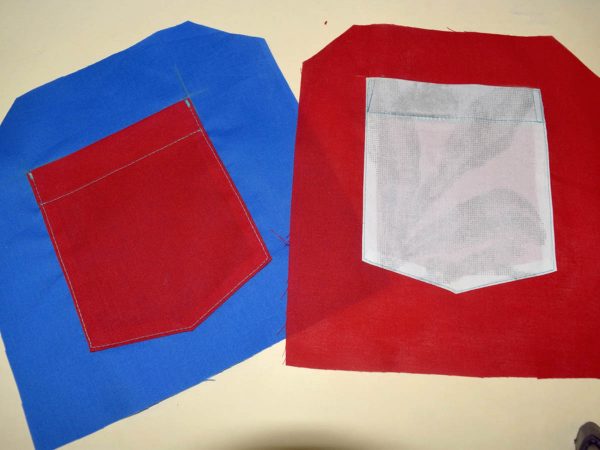
For ease of application to garment, instead of pinning, which can distort the topstitching— add temporary adhesive along the seam allowances and side edge of facing, then position your pocket into place. I use a fabric glue stick and then press permanently into place with a steam iron. It is important to position your pocket carefully before pressing. Otherwise, the adhesive is very difficult, if not impossible, to remove. “Ask me how I know.”
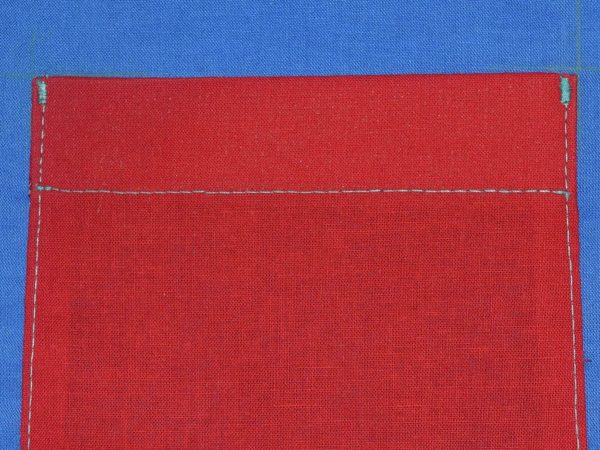
It is time for the finishing stitch—“The Top Stitching”, in this case—“Edge Stitching”.
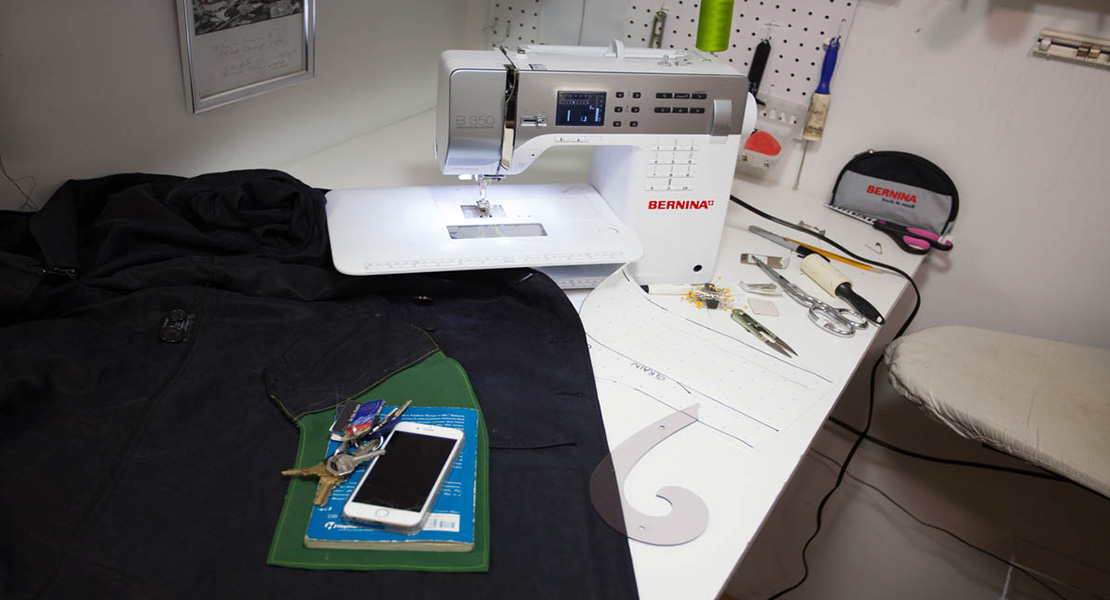
For best results, use a straight stitch throat plate as well. Do not forget to set your machine to remember the plate in order to avoid broken needles. Since I use the BERNINA 780, I have a built-in notification reminder that I can set.
Remember to use your Reverse pattern foot with clear sole #34C or D. It works wonders at helping you see the details at the edges and corners of the pocket during topstitching.
Depending on your fabric choice you may decide to use a matching top stitching thread and a top stitching needle. For speed of construction, I use the same needle and thread, unless, I’m topstitching silk, at which point I use a good embroidery thread and embroidery needle.
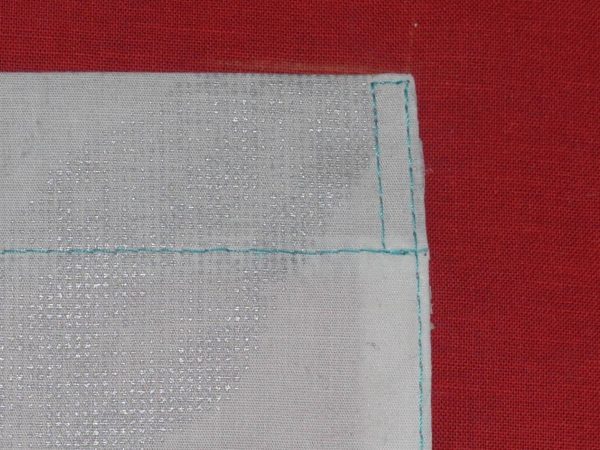
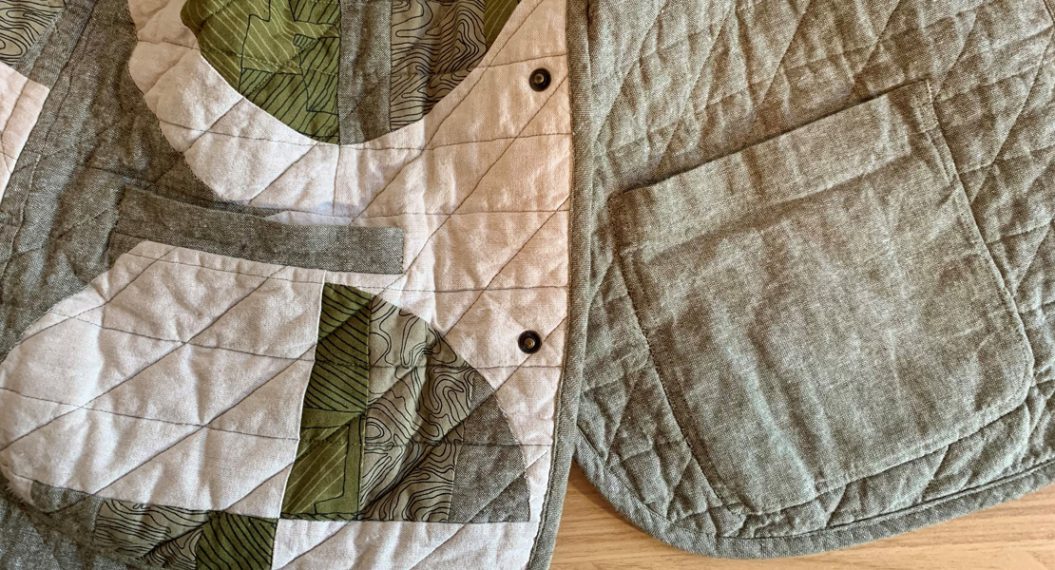
There are many different touches you can use at the top corners of your pockets. The Rectangle, the triangle, and the Bartack stitch #24 are just a few.
The Rectangle:
- Start with your needle positioned 1/4″ in from the edge on the facing top stitching, which is sewn along the facing hem.
- Sew up to the top of the pocket edge, keep needle lowered, then pivot and turn towards the outer edge of the top and sew 2-3 stitches. Then pivot and turn and continue sewing down along the side edges, bottom and back up the other side of the pocket leaving the need lowered.…
- While at the top corner and needle still in down position continue by pivot and turn towards the inside, sew 2-3 stitches across then pivot and turn down to meet the facing topstitching.
The Triangle:
- Begin your stitch at the facing topstitching and sew at a slight angle towards the top of the pocket. Pivot and turn towards the side edge and sew 2-3 stitches to just at the top corner tip, then pivot and turn to sew down the long edge.
- Finish topstitching all sides until you are at the top most edge of the opposite side.
- Finish off the triangle with a pivot and turn toward the inside of the pocket and sew over 2-3 stitches, then pivot and turn to angle back towards the facing hem to meet the previous topstitching.
The Bartack:
The bartack program #24 or #25 is another great option as a secure finish at the top of your pocket as well.
Final Thoughts:
Always test for the perfect needle. It may not be the same needle used during construction, since you are now stitching through multiple layers. A larger or sharper topstitching needle may be required for this task.
Since the presser foot is unevenly positioned along the corners and edges, its a good idea to use a tearaway stabilizer as a leader when beginning and ending your stitching from the corners or edges of the pocket.

I hope this information serves as a warm reminder of past and present sewing memories, as it has for my mom and me. Continue to follow along with other post back down memory lane as I share my sewing journey on my blog at Sew-To-Fit.


What you might also like


2 comments on “Patch Pocket Tutorial”
-
-
That’s great. Thanks for the feedback. I have so much stash busting that I need to do! I guess we can be on that journey at the same time.
-
Leave a Reply
You must be logged in to post a comment.

Thanks for the instructions! My son just brought a pair of his jeans with a torn back pocket that has to be replaced….now if I can find my denim fabric stash ?