Appliqué Quilt Star Patch Tutorial
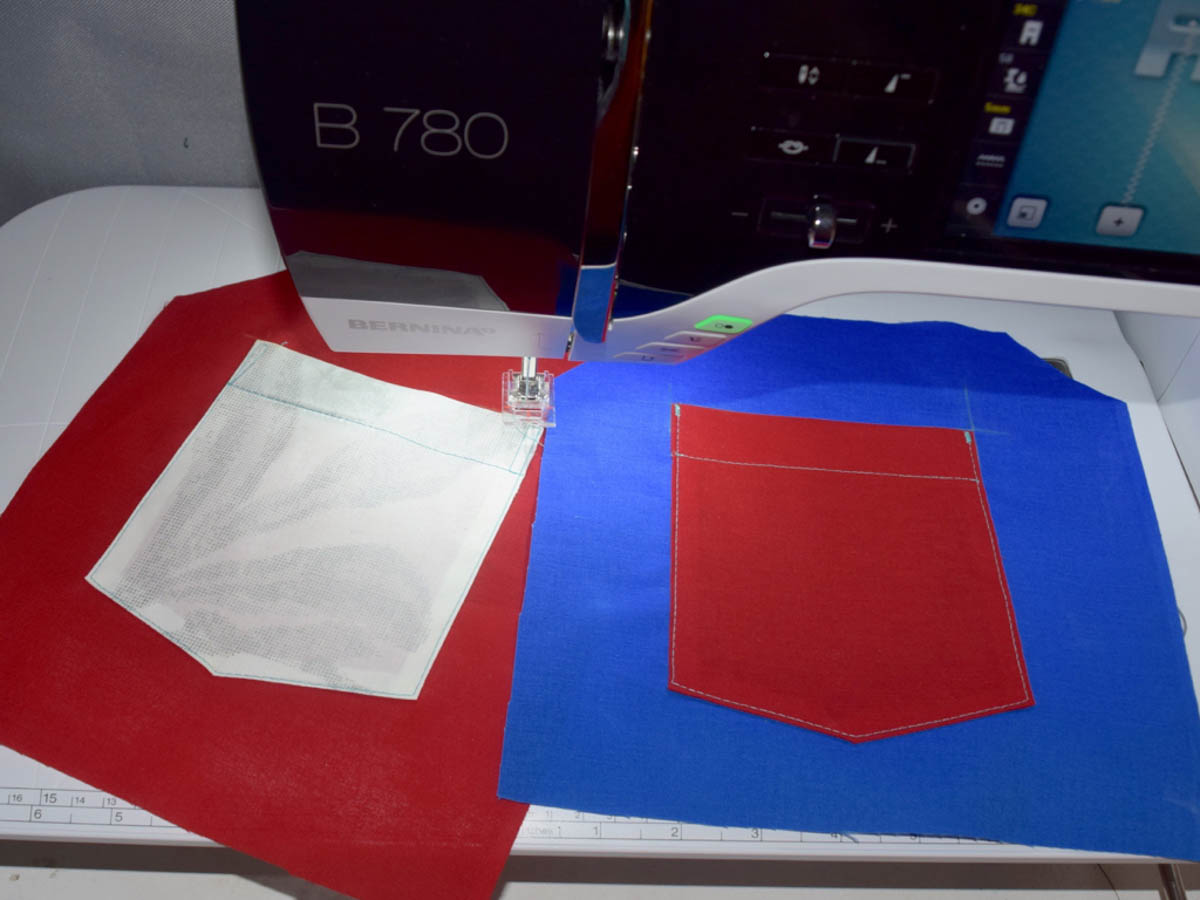
Hi friends, Candice from A+CO here with a super fun tutorial that I’m really excited about. Today we are going to make the cutest sawtooth star patch with the embroidery module for your machine.
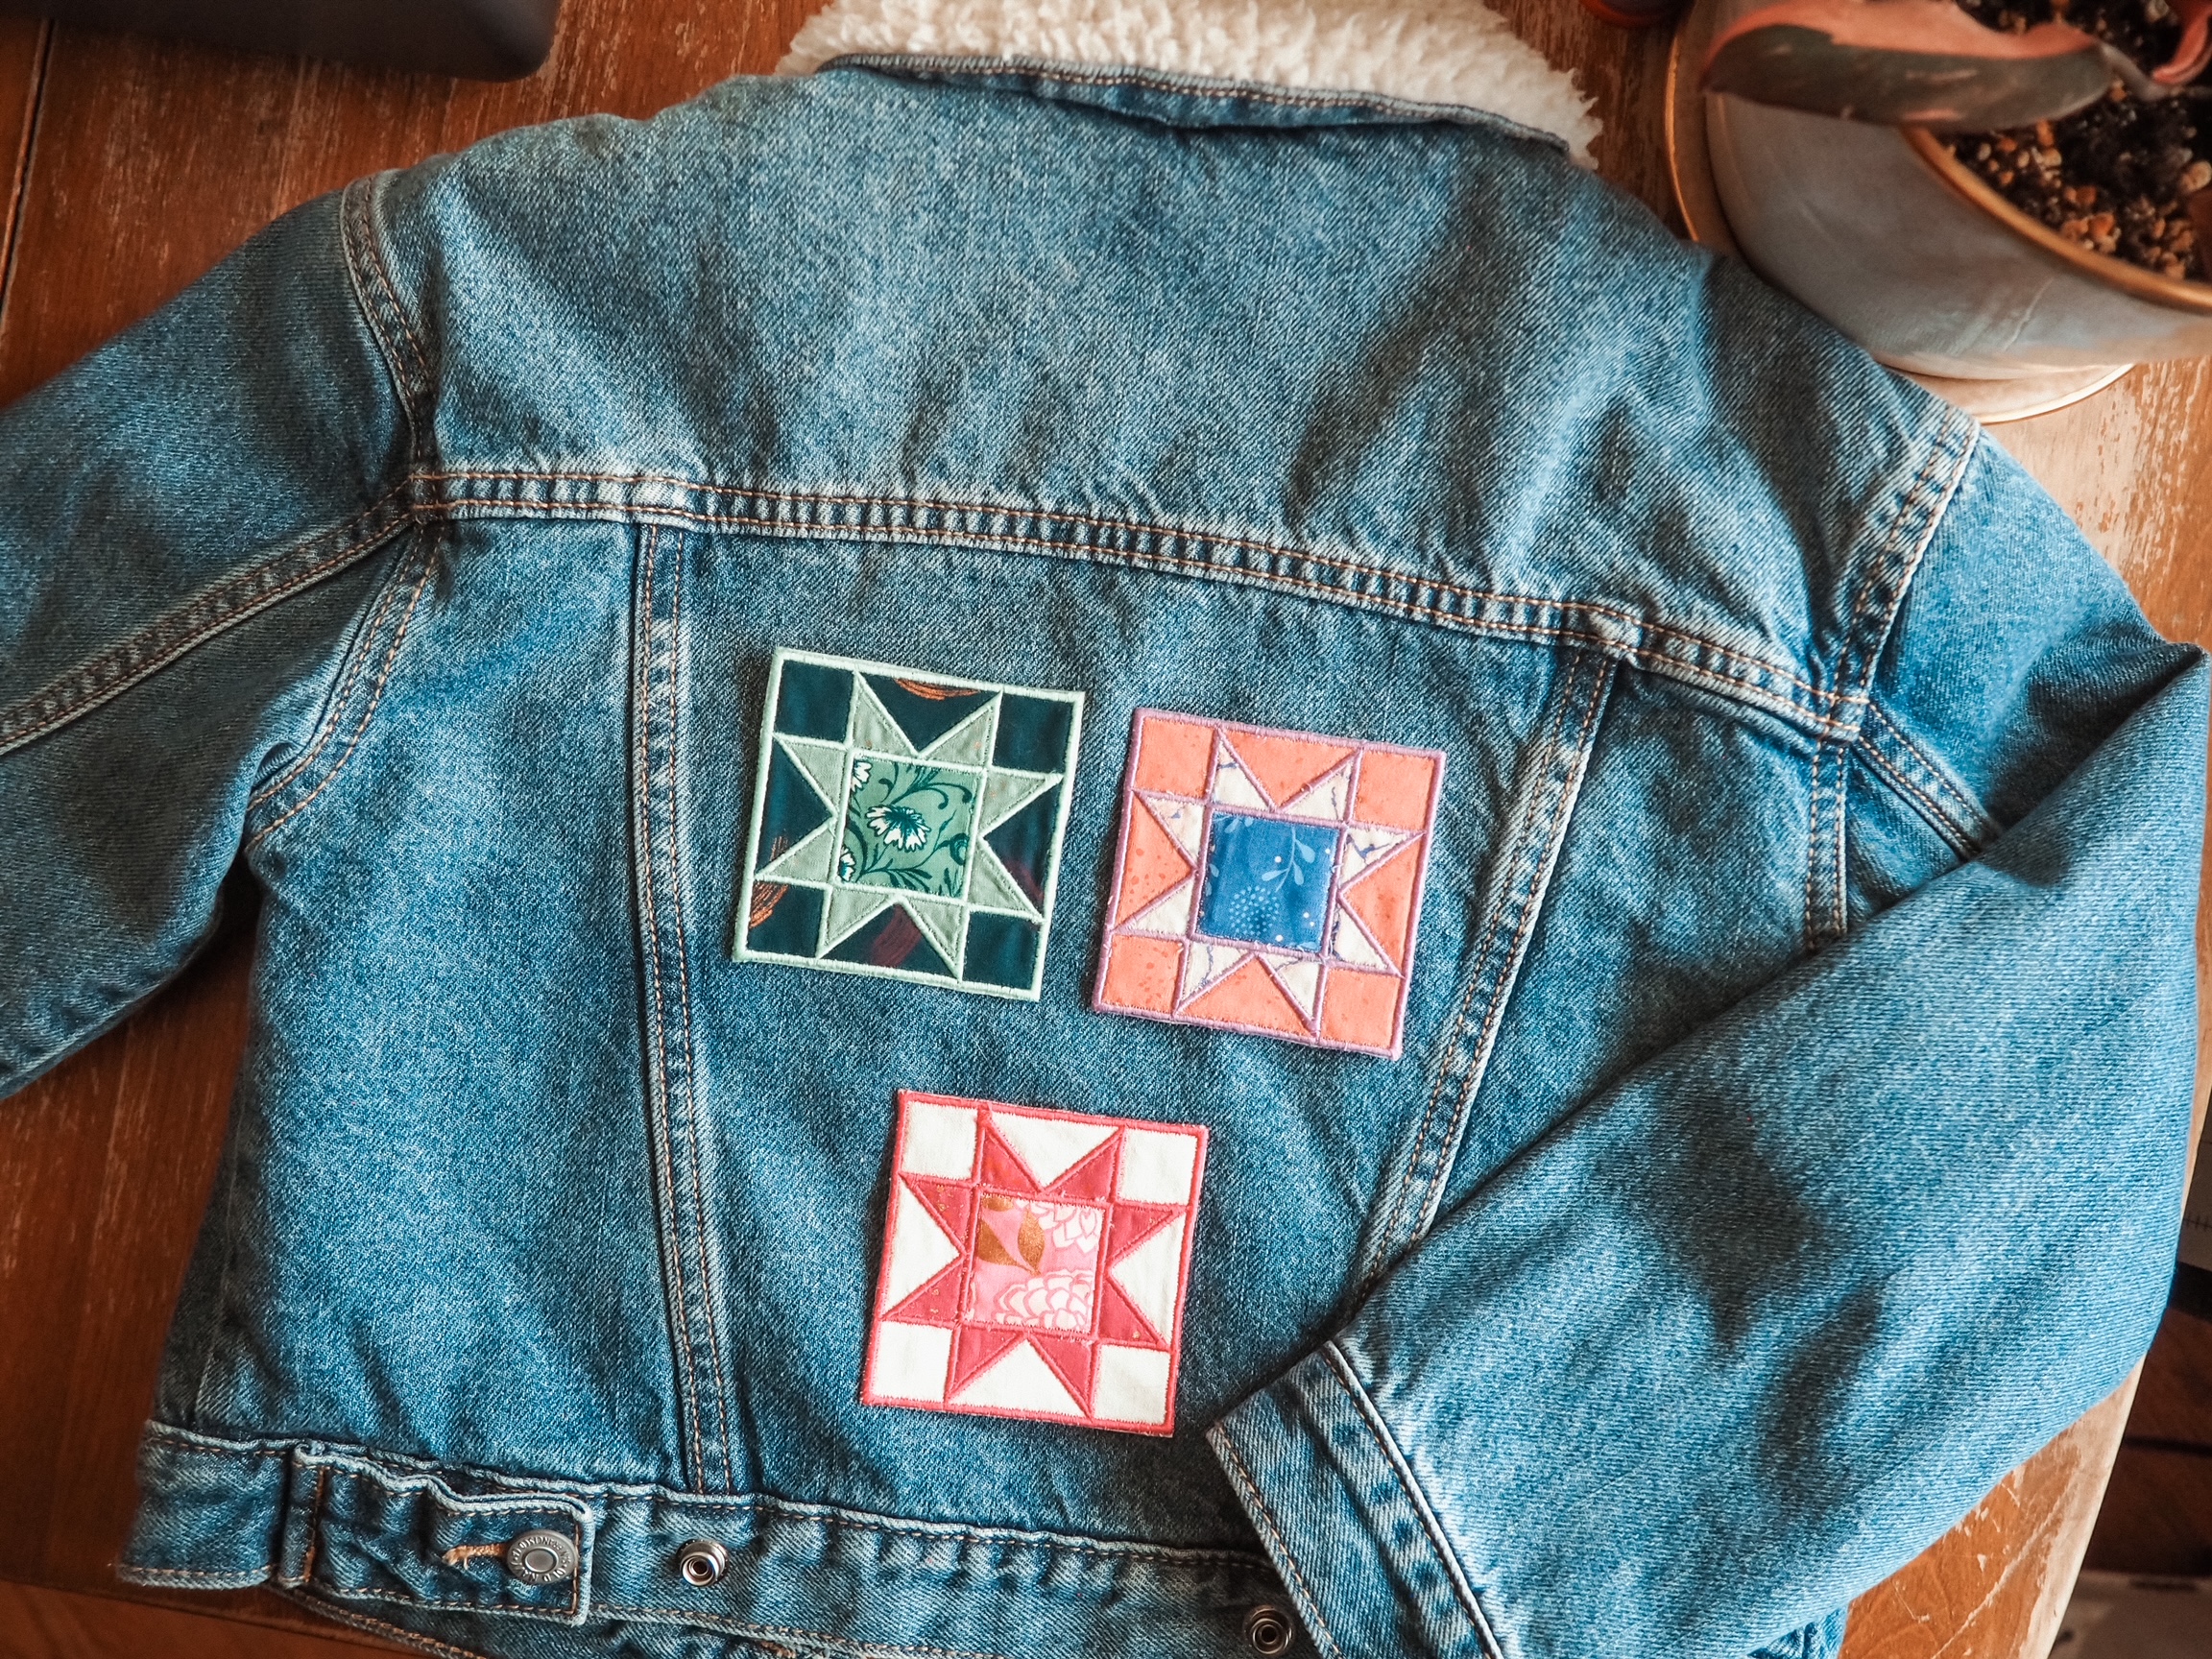
I don’t know about you but as a quilter, I have so. many. scraps. I also haven’t been putting nearly enough time into finding a use for them… until now. This idea has been floating around my head for a while and the winter slow down was the perfect time to put it into practice. This sawtooth star patch finishes at about 3″ square and uses three scraps of fabric. The tutorial will walk through making a self-adhesive patch but you could absolutely skip the adhesive and sew your patch on. You could also use the design to appliqué directly onto an item if you choose.
Speaking of design, did I mention that the design file for this adorable sawtooth star patch is available for you at no charge, here on We All Sew?! This means you get to download the design and use it over and over, which I’m sure you will since these are so fun to make. Let’s get into it, yeah?
Materials
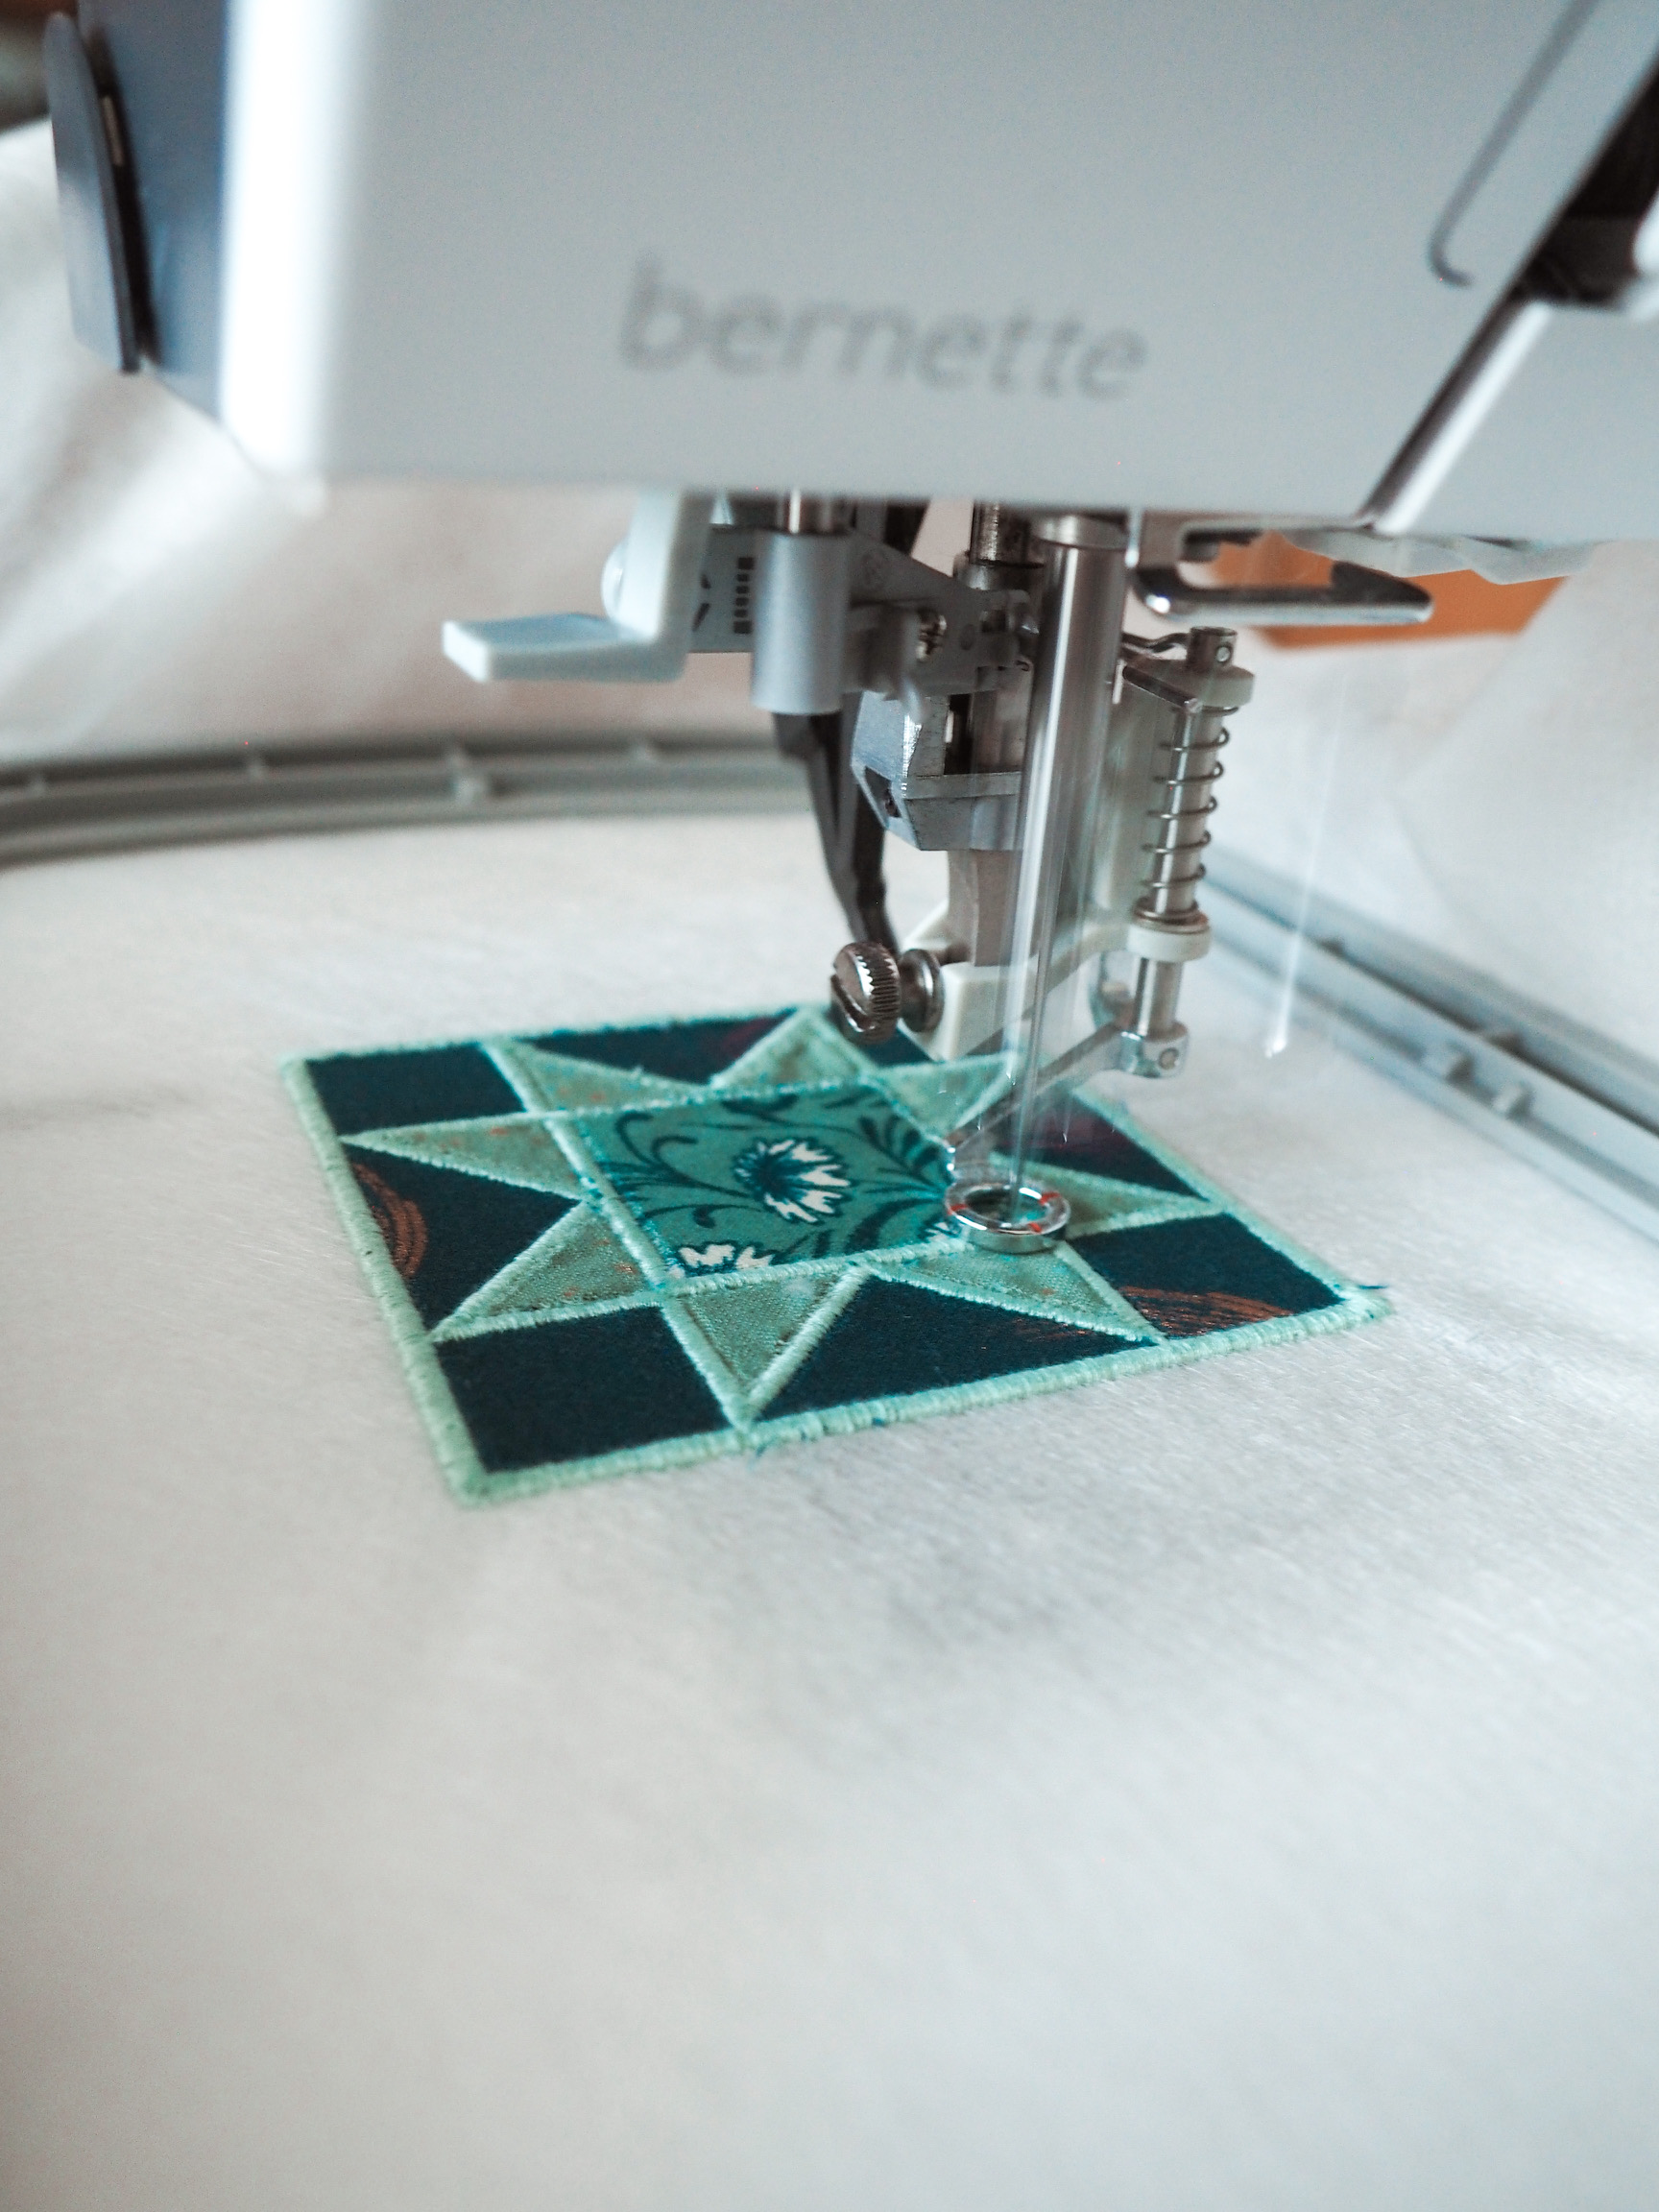
- bernette 79
- OESD PolyMesh stabilizer
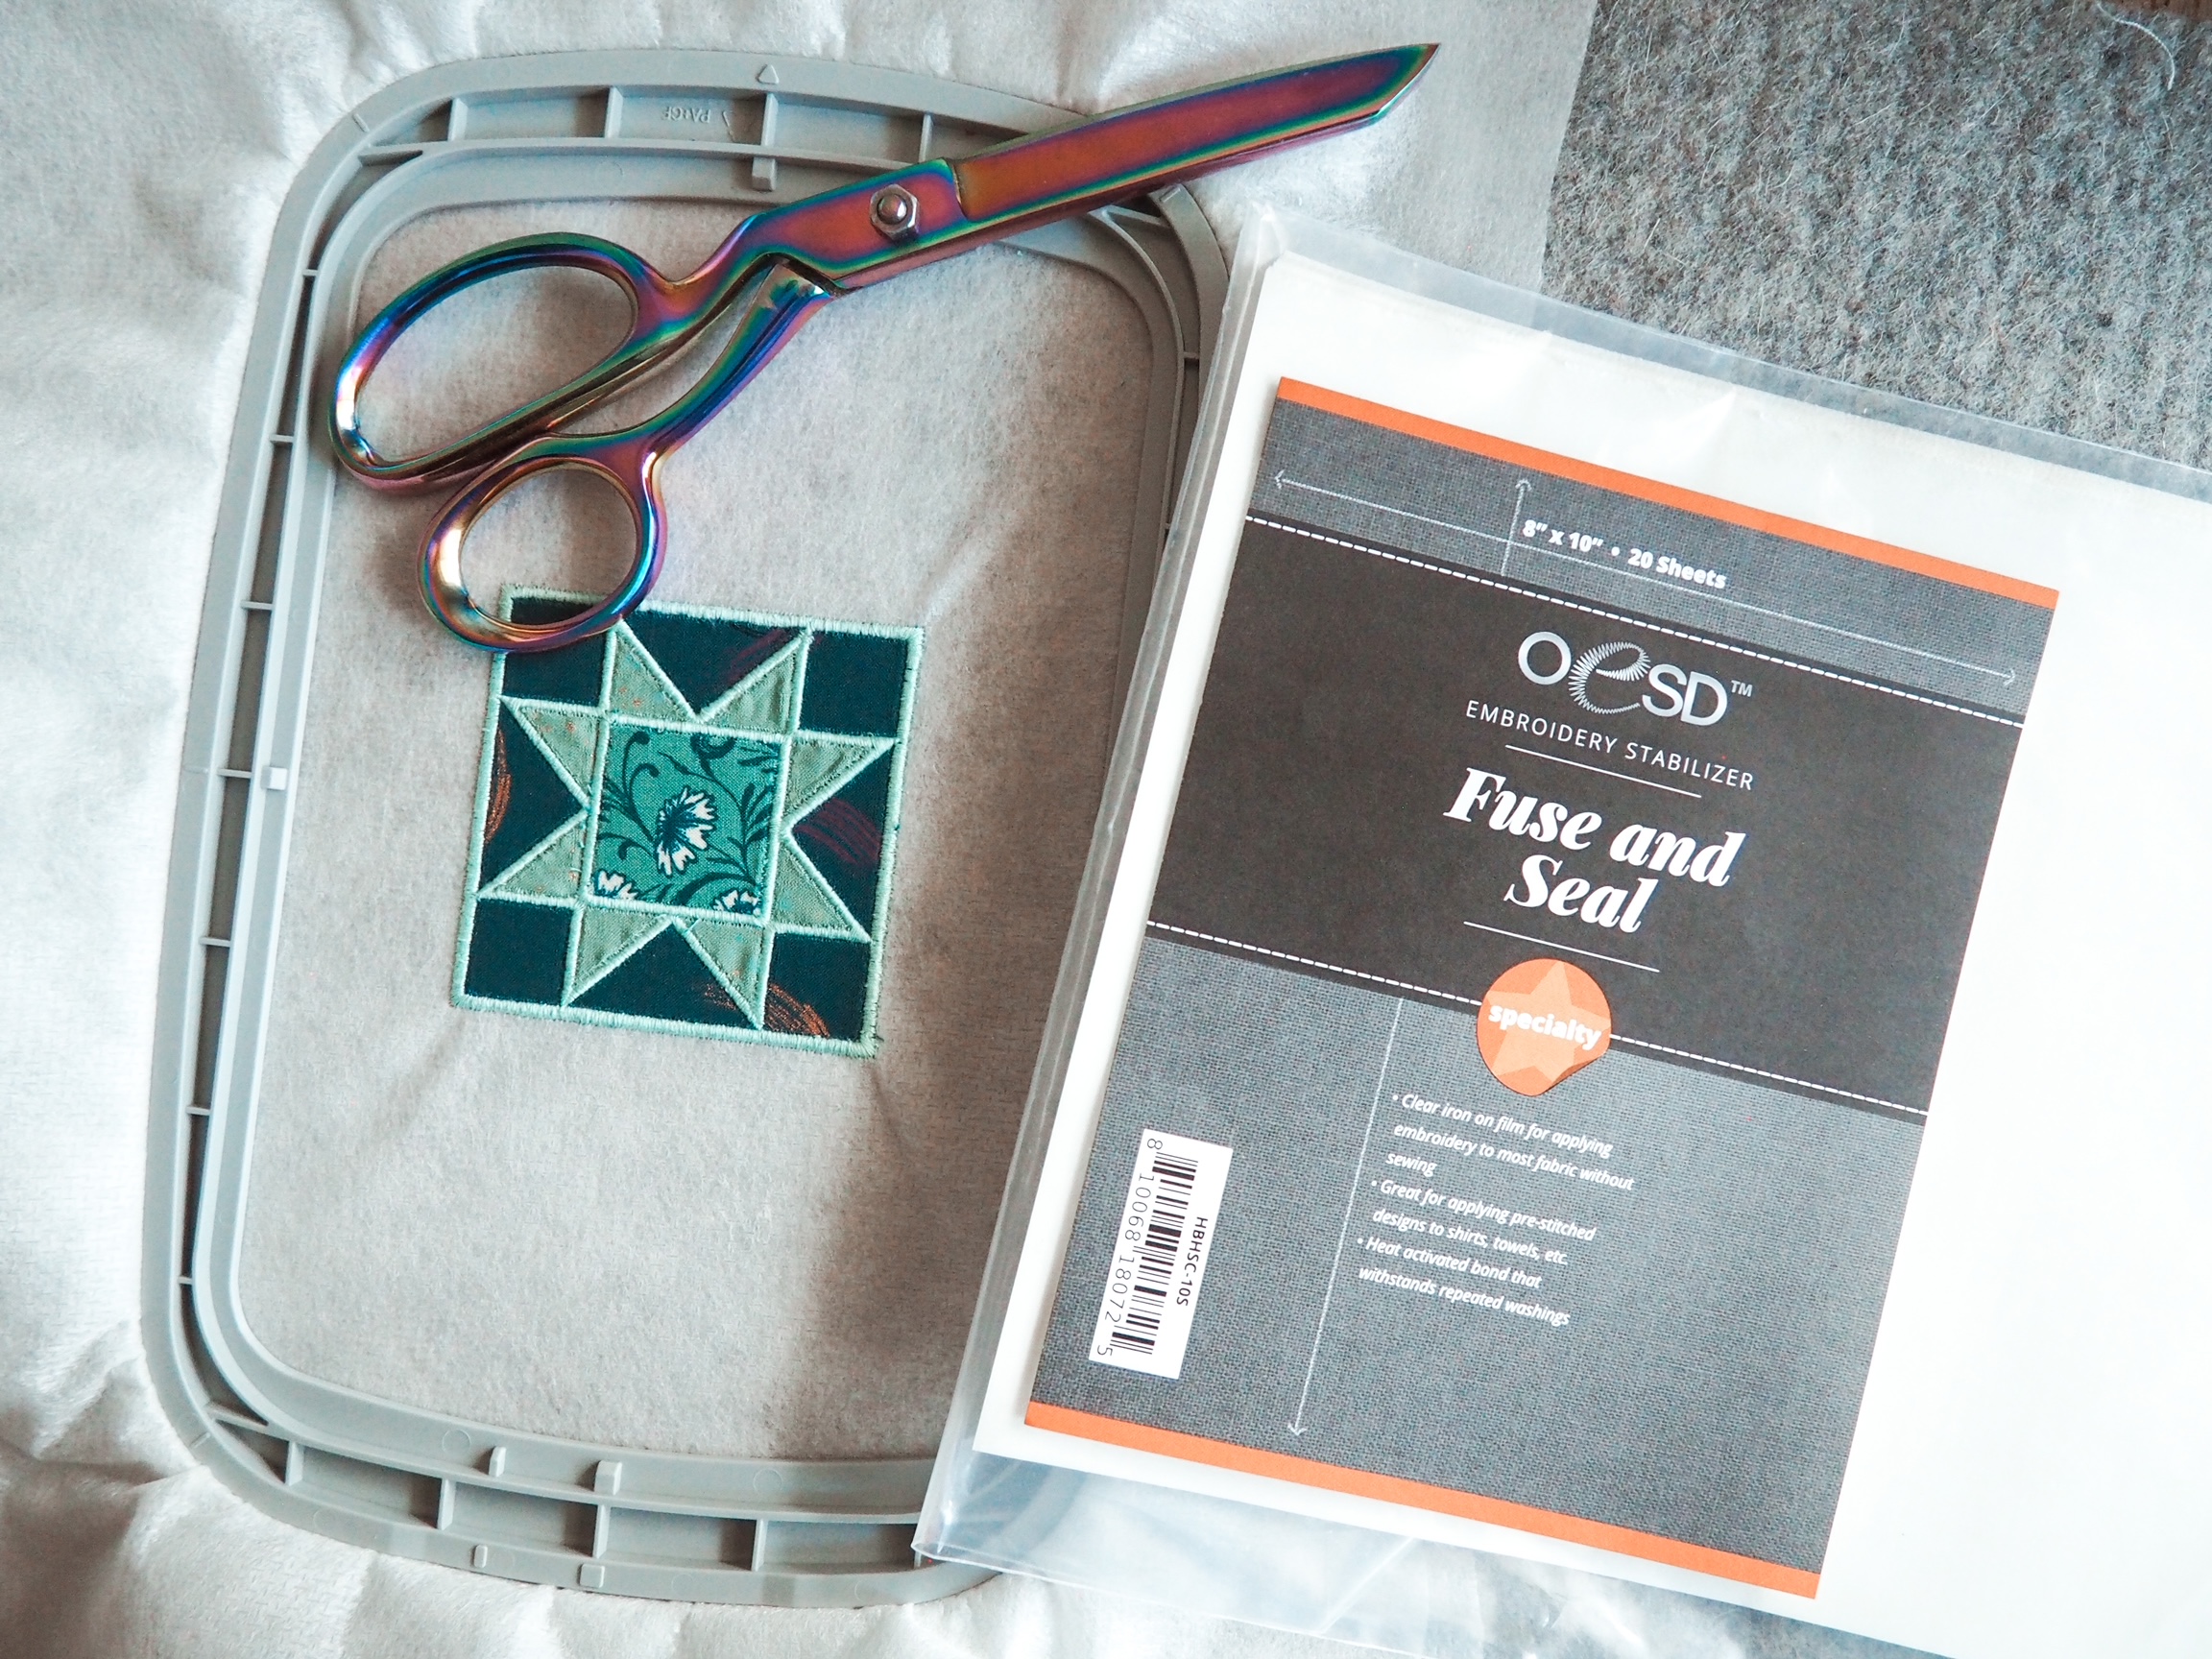
- OESD Fuse and Seal sheets
- Shears
- Duckbill scissors
- Embroidery thread
Fabric
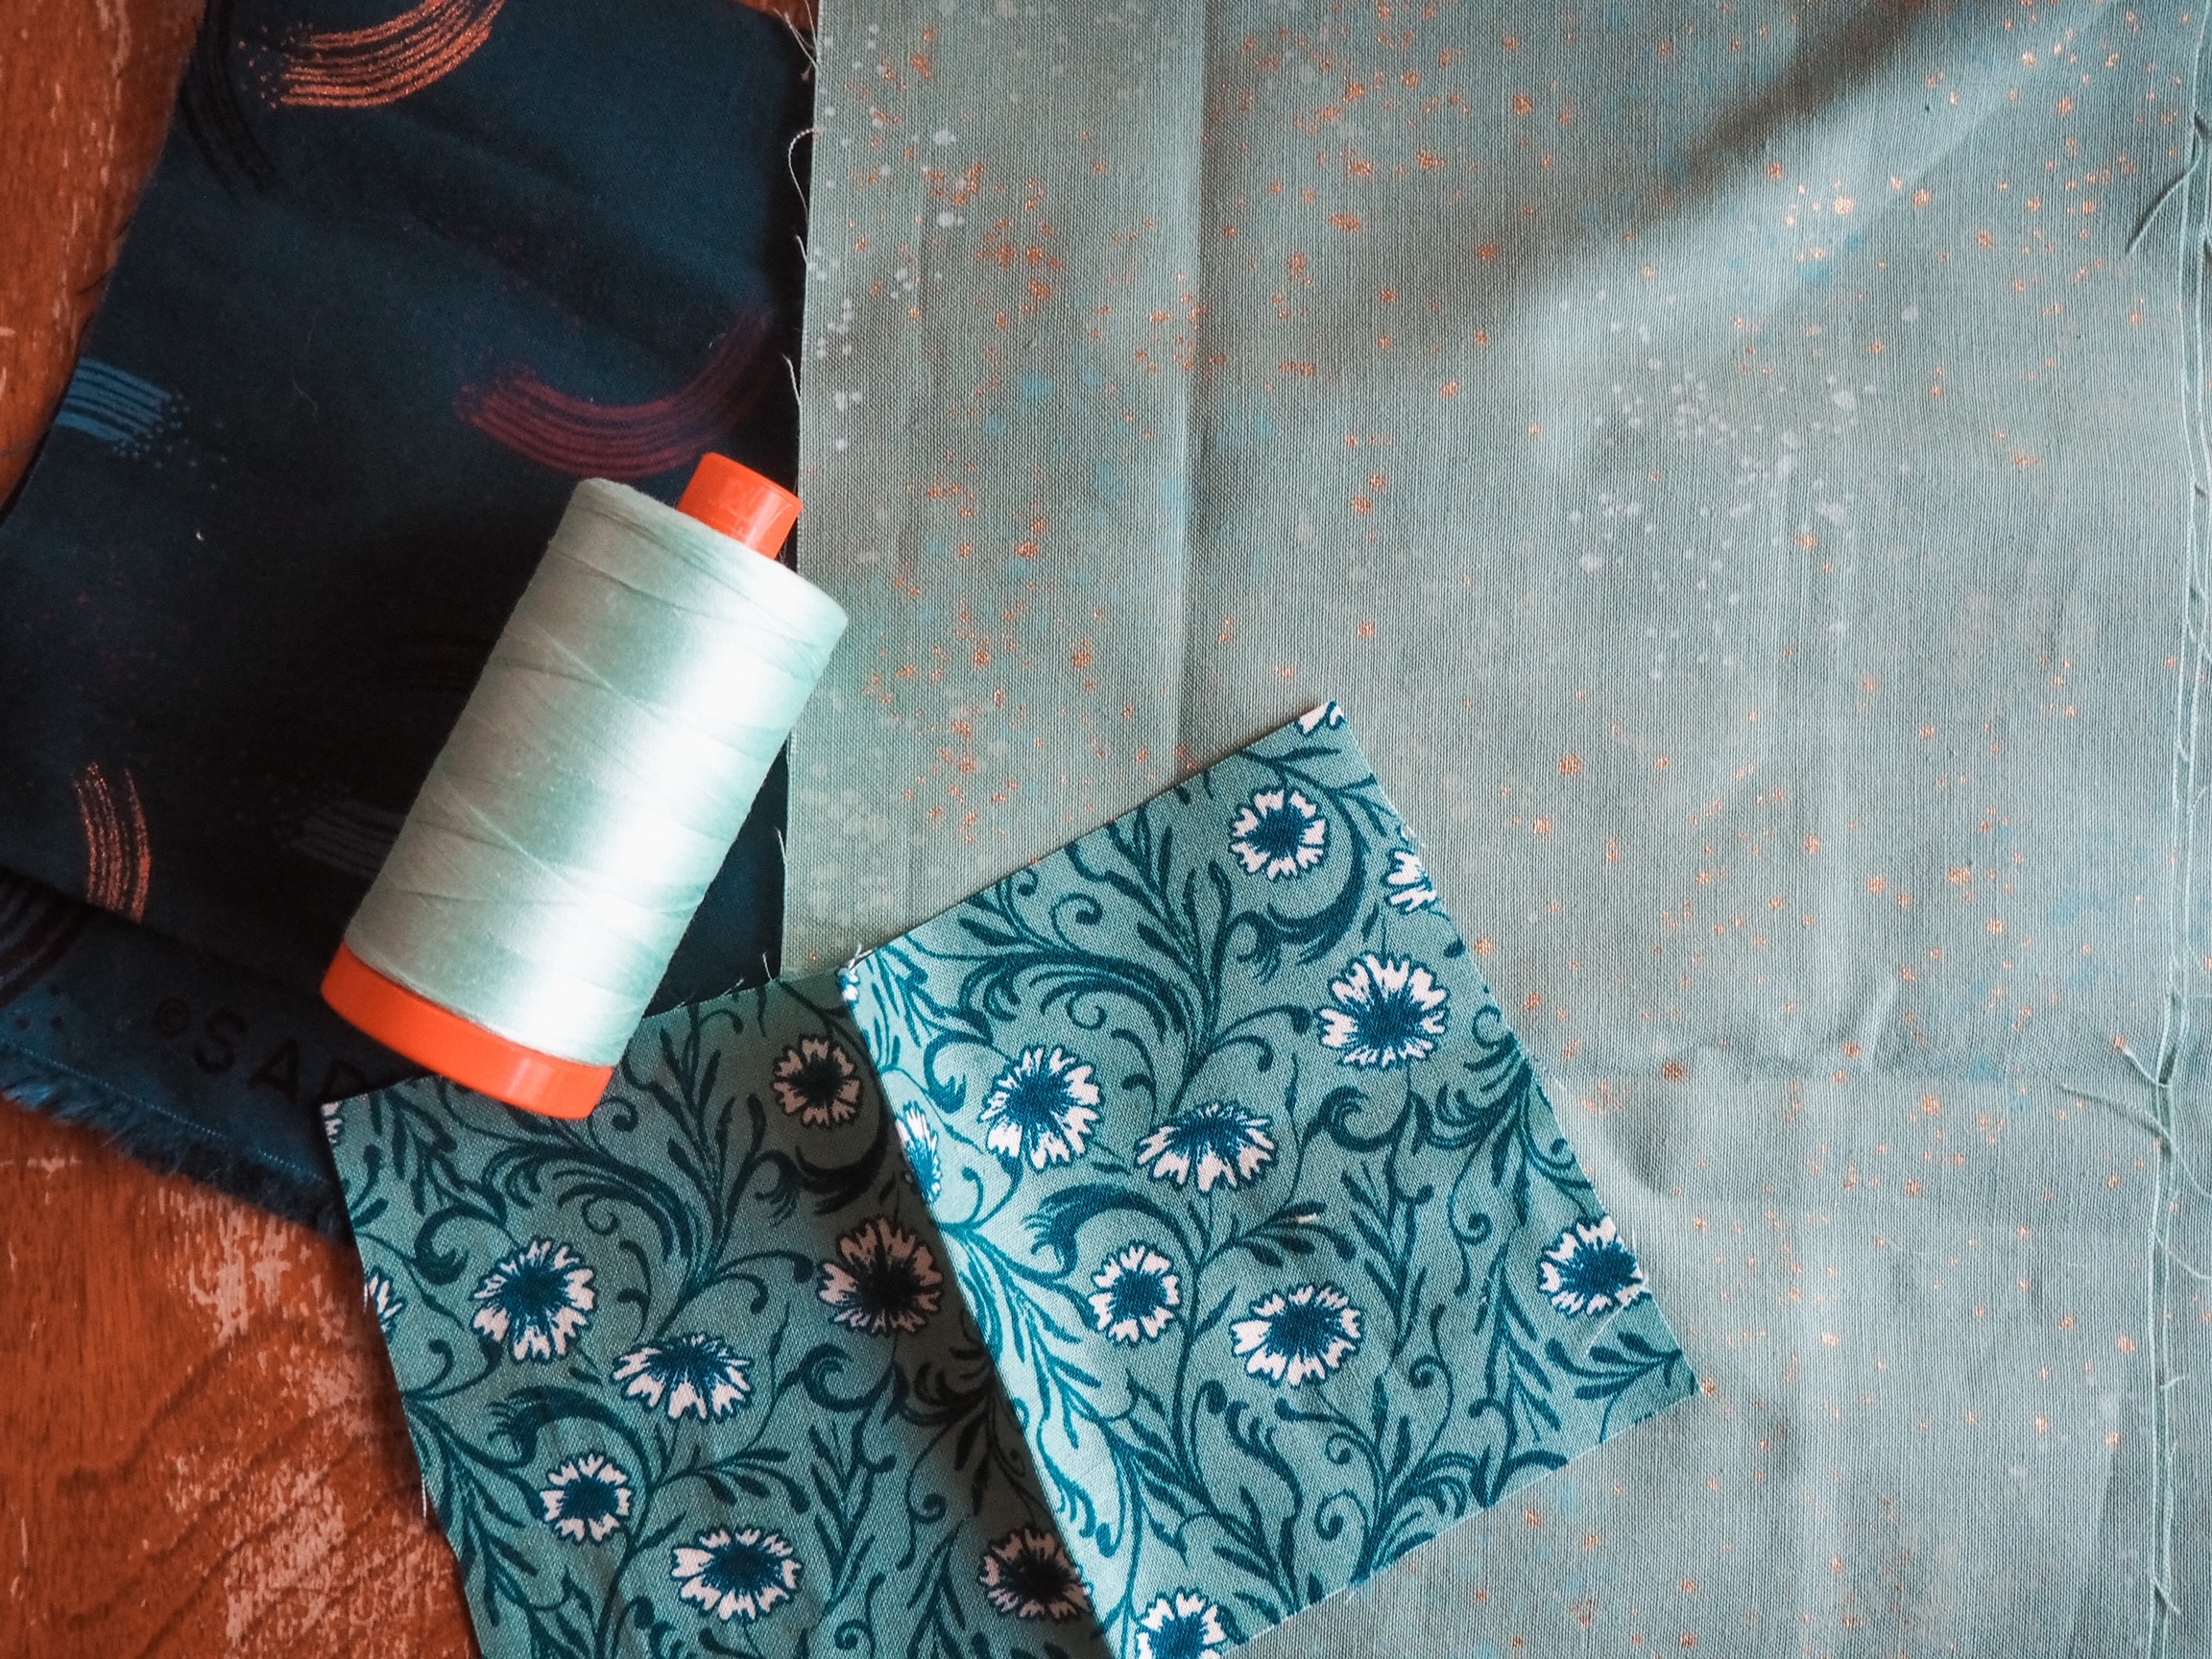
Fabric scraps work great for this sawtooth start patch project. Each patch will use three different fabrics:
- Background
- Star
- Center
Having tested this patch with various scraps, I can confidently say that quilting cotton works best. If you want to use any sort of linen or other loosely woven fabric, I would stabilize it before starting.
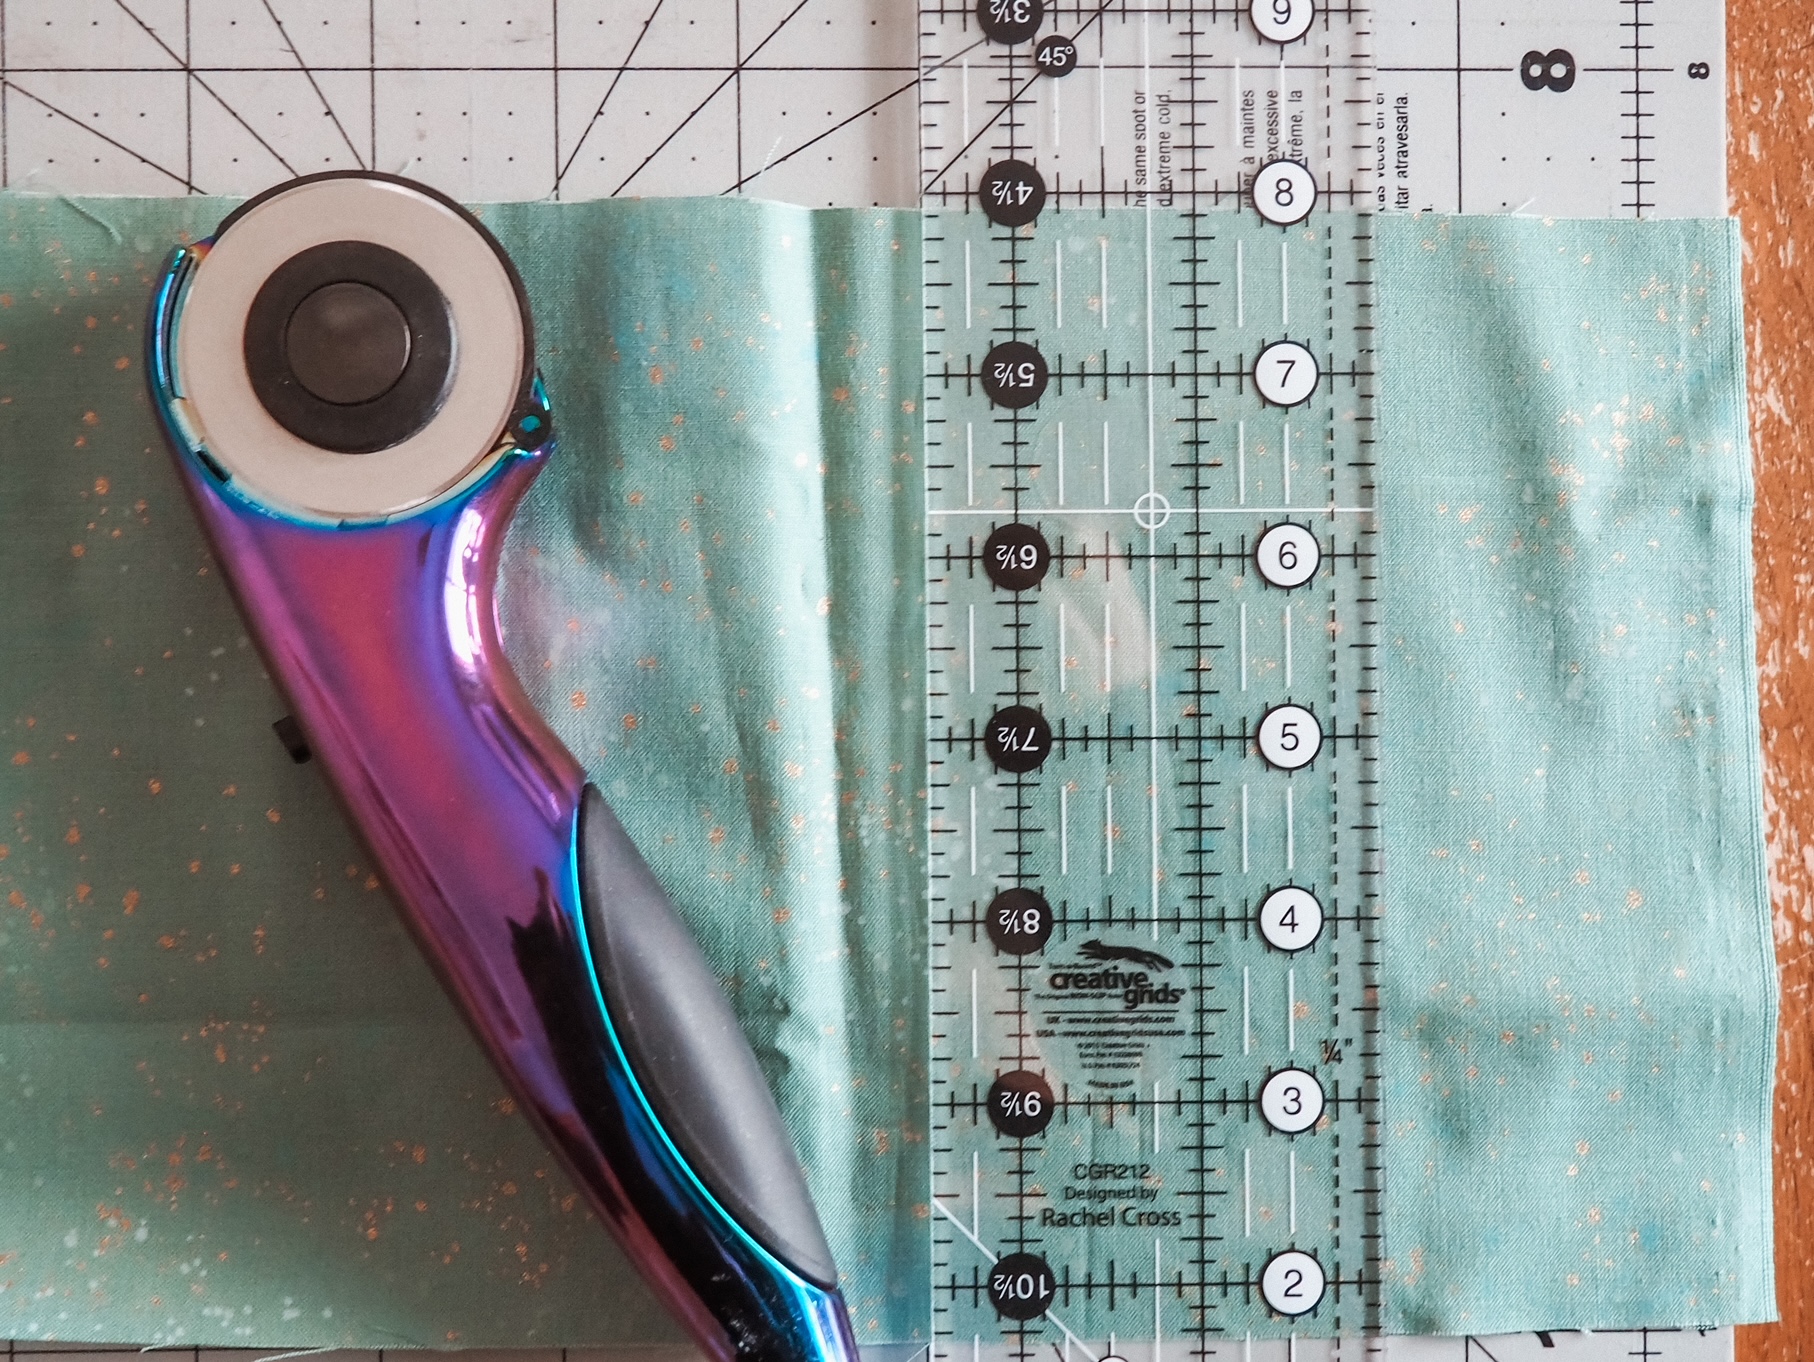
I recommend scraps that are at least 4″x 4″ for the background and star fabrics, and at least 3″x 3″ for the center fabric. This makes trimming the excess a little easier. Your scraps do not need to be perfectly squared or cut since throughout the process we will be trimming away the extra bits after the fabric is tacked down. If you have a print that you’d like to highlight in the design (the center is perfect for this), just make sure that part is more towards the center of the fabric piece.
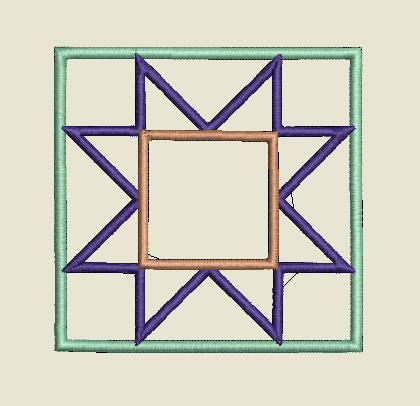
Design

The appliqué design can be downloaded here. The file will download as a .zip file. You’ll need to unzip it to access the design. I’ve included several file types that should be compatible with most popular embroidery machine brands (.exp, .art, .jef, .pes, .vp3, .vip, .hus, .pcs, .dst). Once you download and locate your required file type, transfer it to your machine as you typically would.
Instructions to Make an Appliqué Quilt Star Patch
Step 1: Prepare Your Hoop
Determine which size hoop you’ll need to make the sawtooth star patch. For my bernette 79, I used my medium size hoop.
Cut two layers of OESD PolyMesh stabilizer. Loosen the outer ring of your hoop and place it in front of you, facing up. Place both layers of stabilizer over the outer ring. Position the inner ring over the outer ring and press it down. The stabilizer should be flush against your table. Tighten the outer ring, smoothing any wrinkles in the stabilizer as you go.
You’ll want to make sure that the stabilizer is taught, but not distorted. I like to tap on the stabilizer lightly with a finger. It should have a small amount of give but bounce back easily. If it sounds like a tiny drum when you tap, it might be too tight. Alternatively, if there is a lingering dip where you tapped, the stabilizer is likely too loose.
Step 2: Stitch the Background
- Load your design into your machine and attach the hoop.
- Grab your background material and make sure it’s pressed, with no wrinkles.
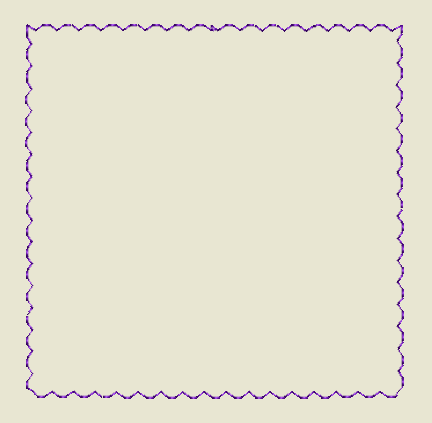
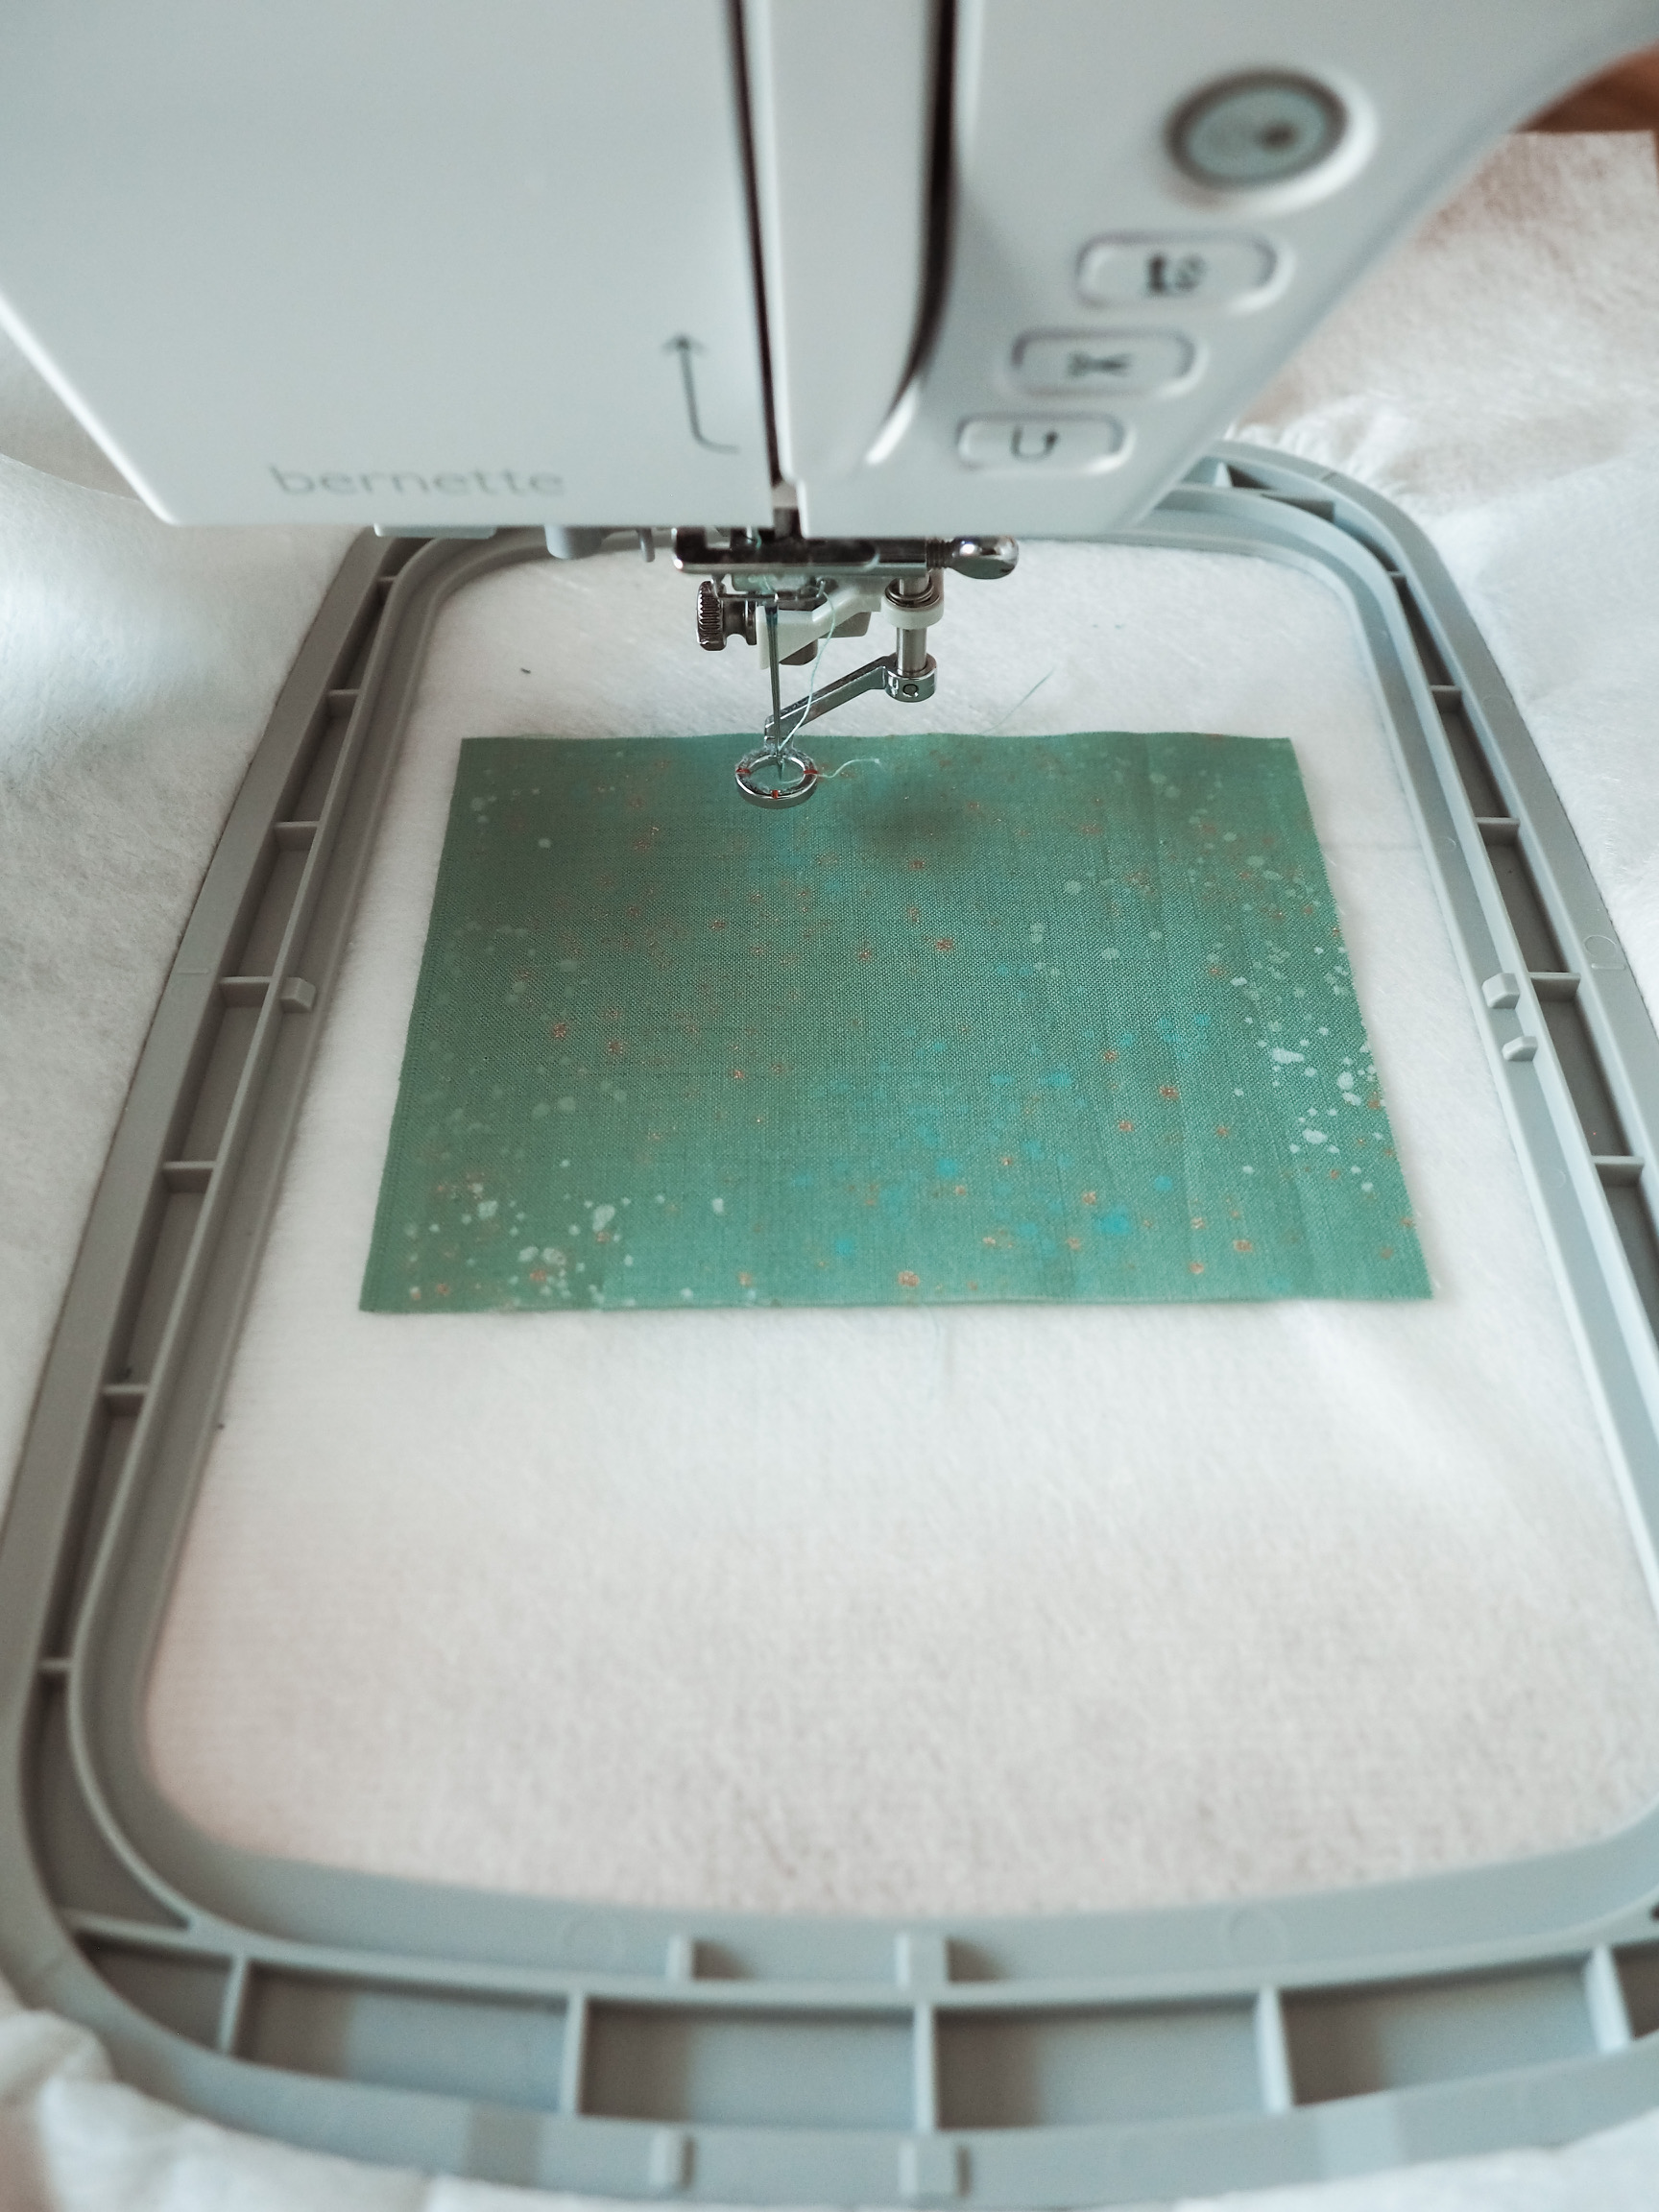
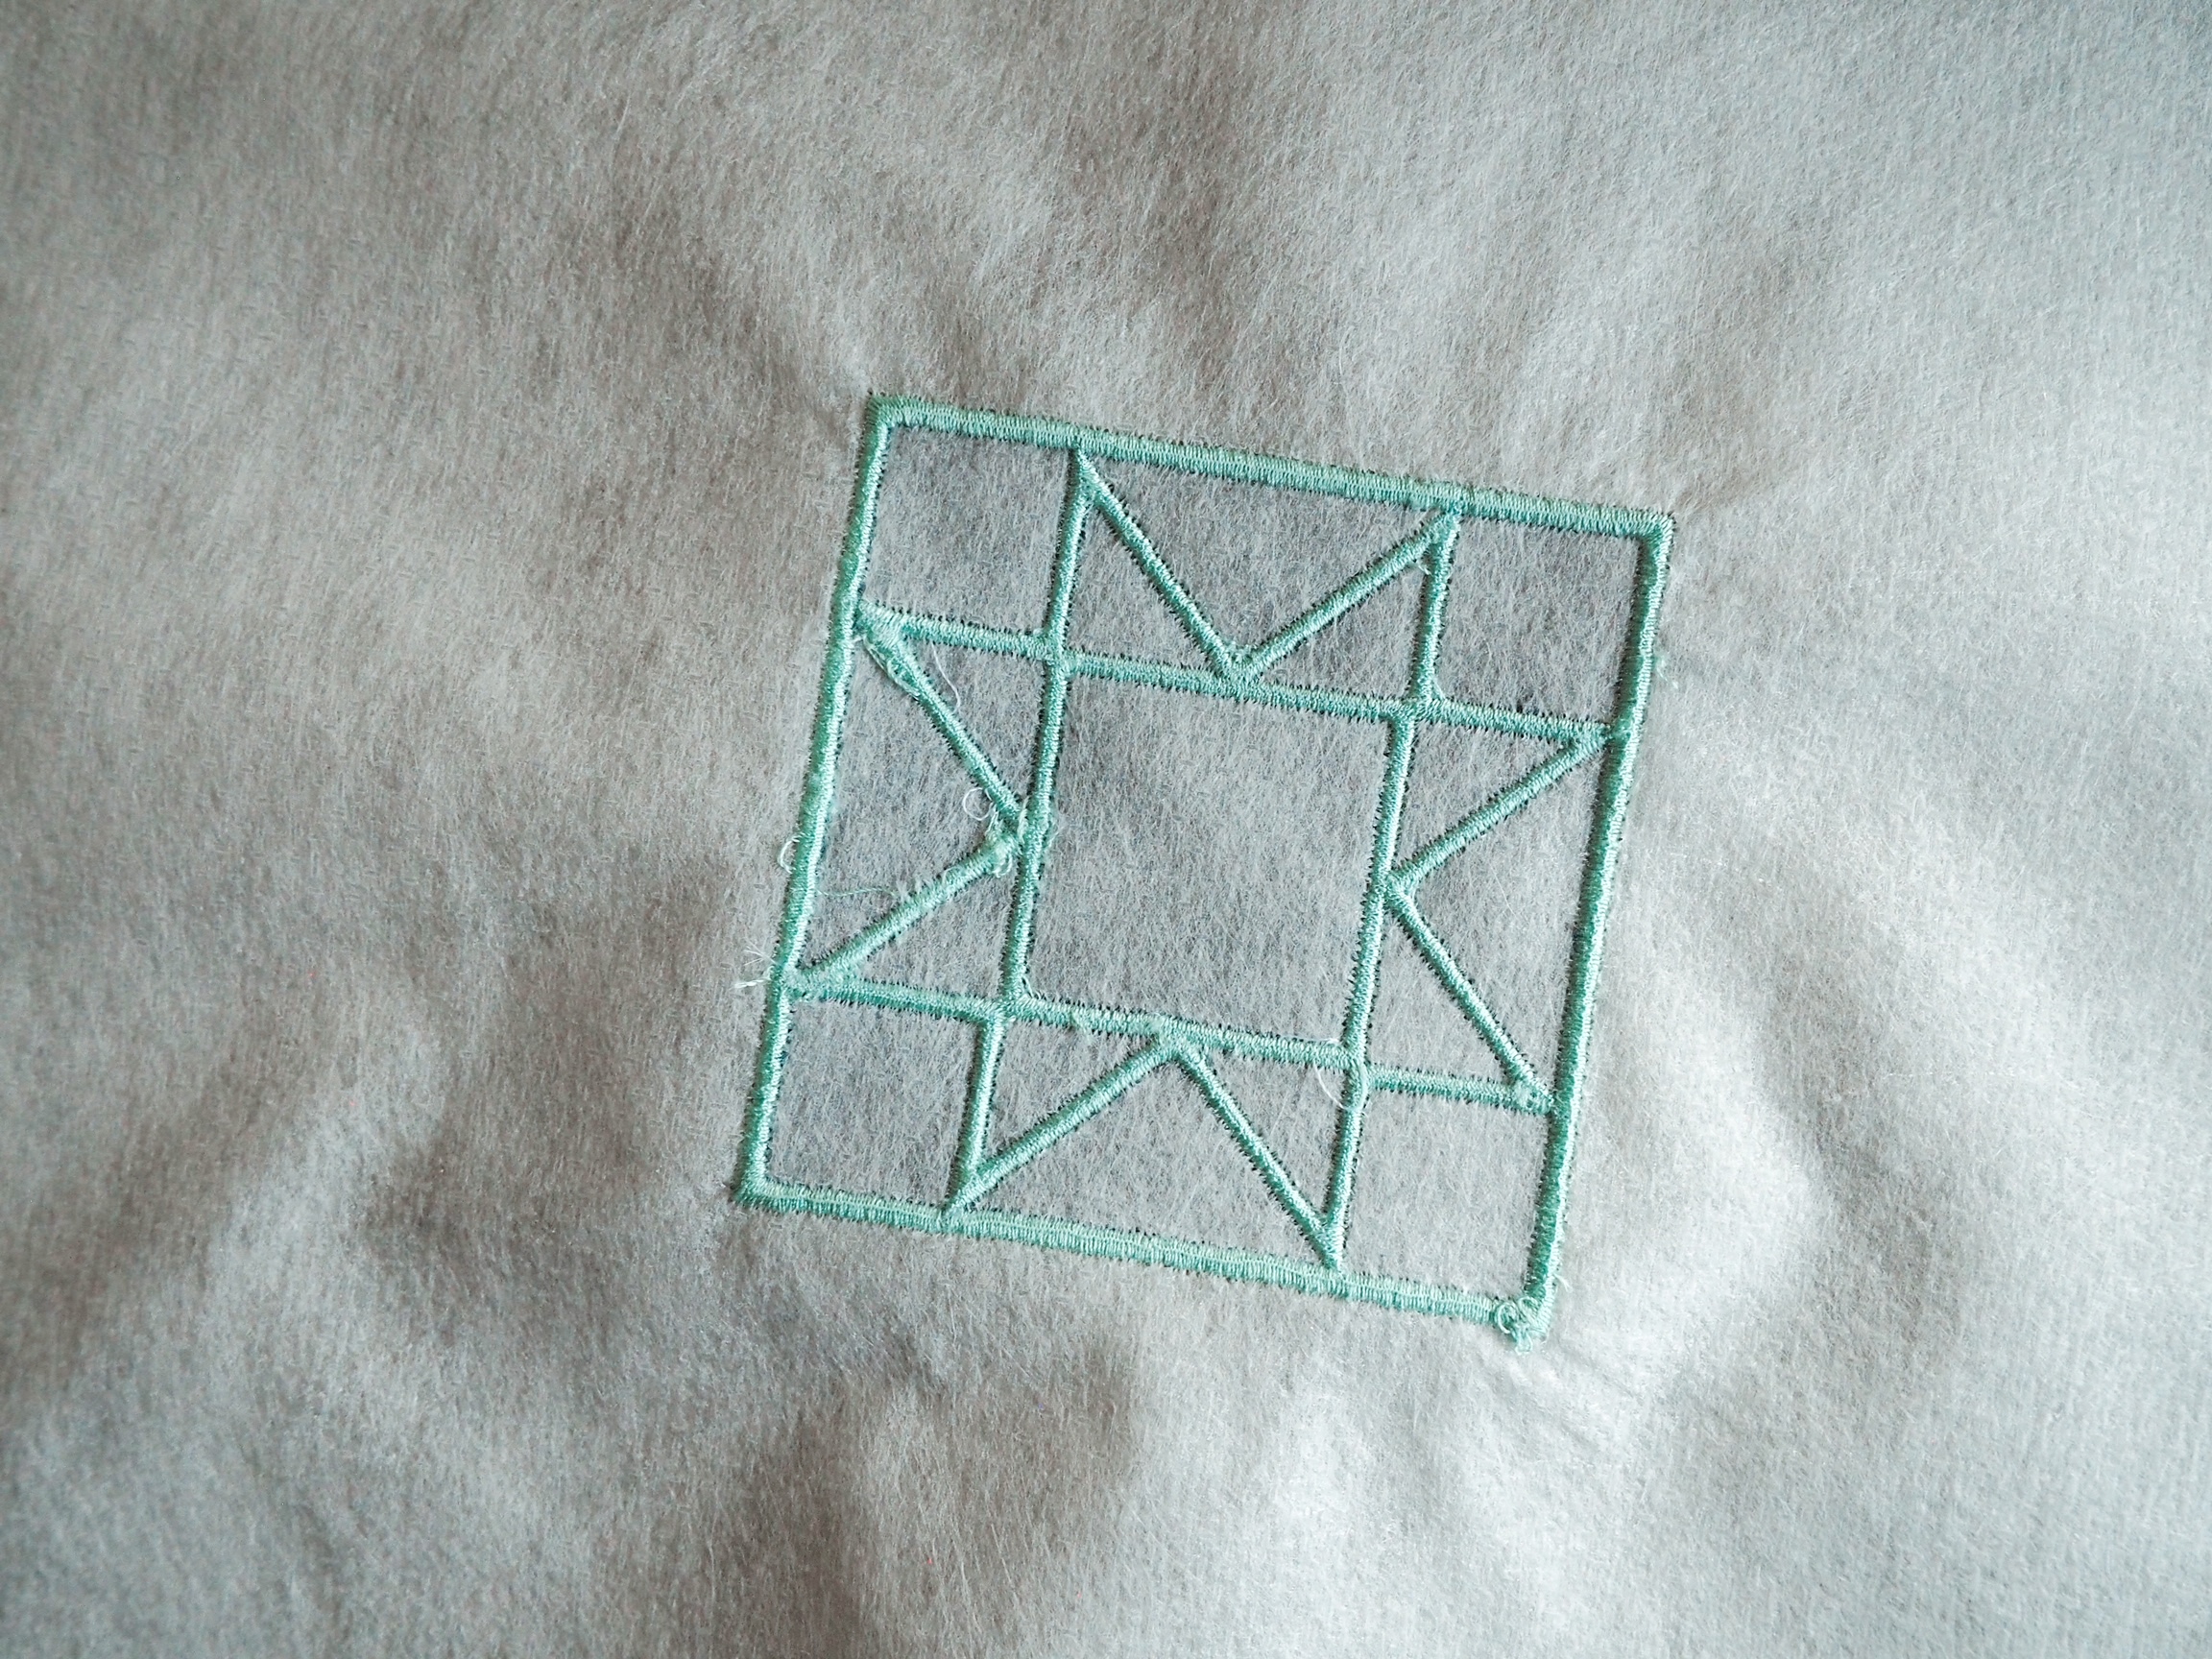
- Stitch out the first step of the design, the placement stitch. This box is an outline of the overall shape for the background fabric.

- Place the background fabric over the placement box, ensuring the stitches from step 3 are fully covered. You can use a small amount of adhesive if needed to keep the fabric down, I just hold it in place.
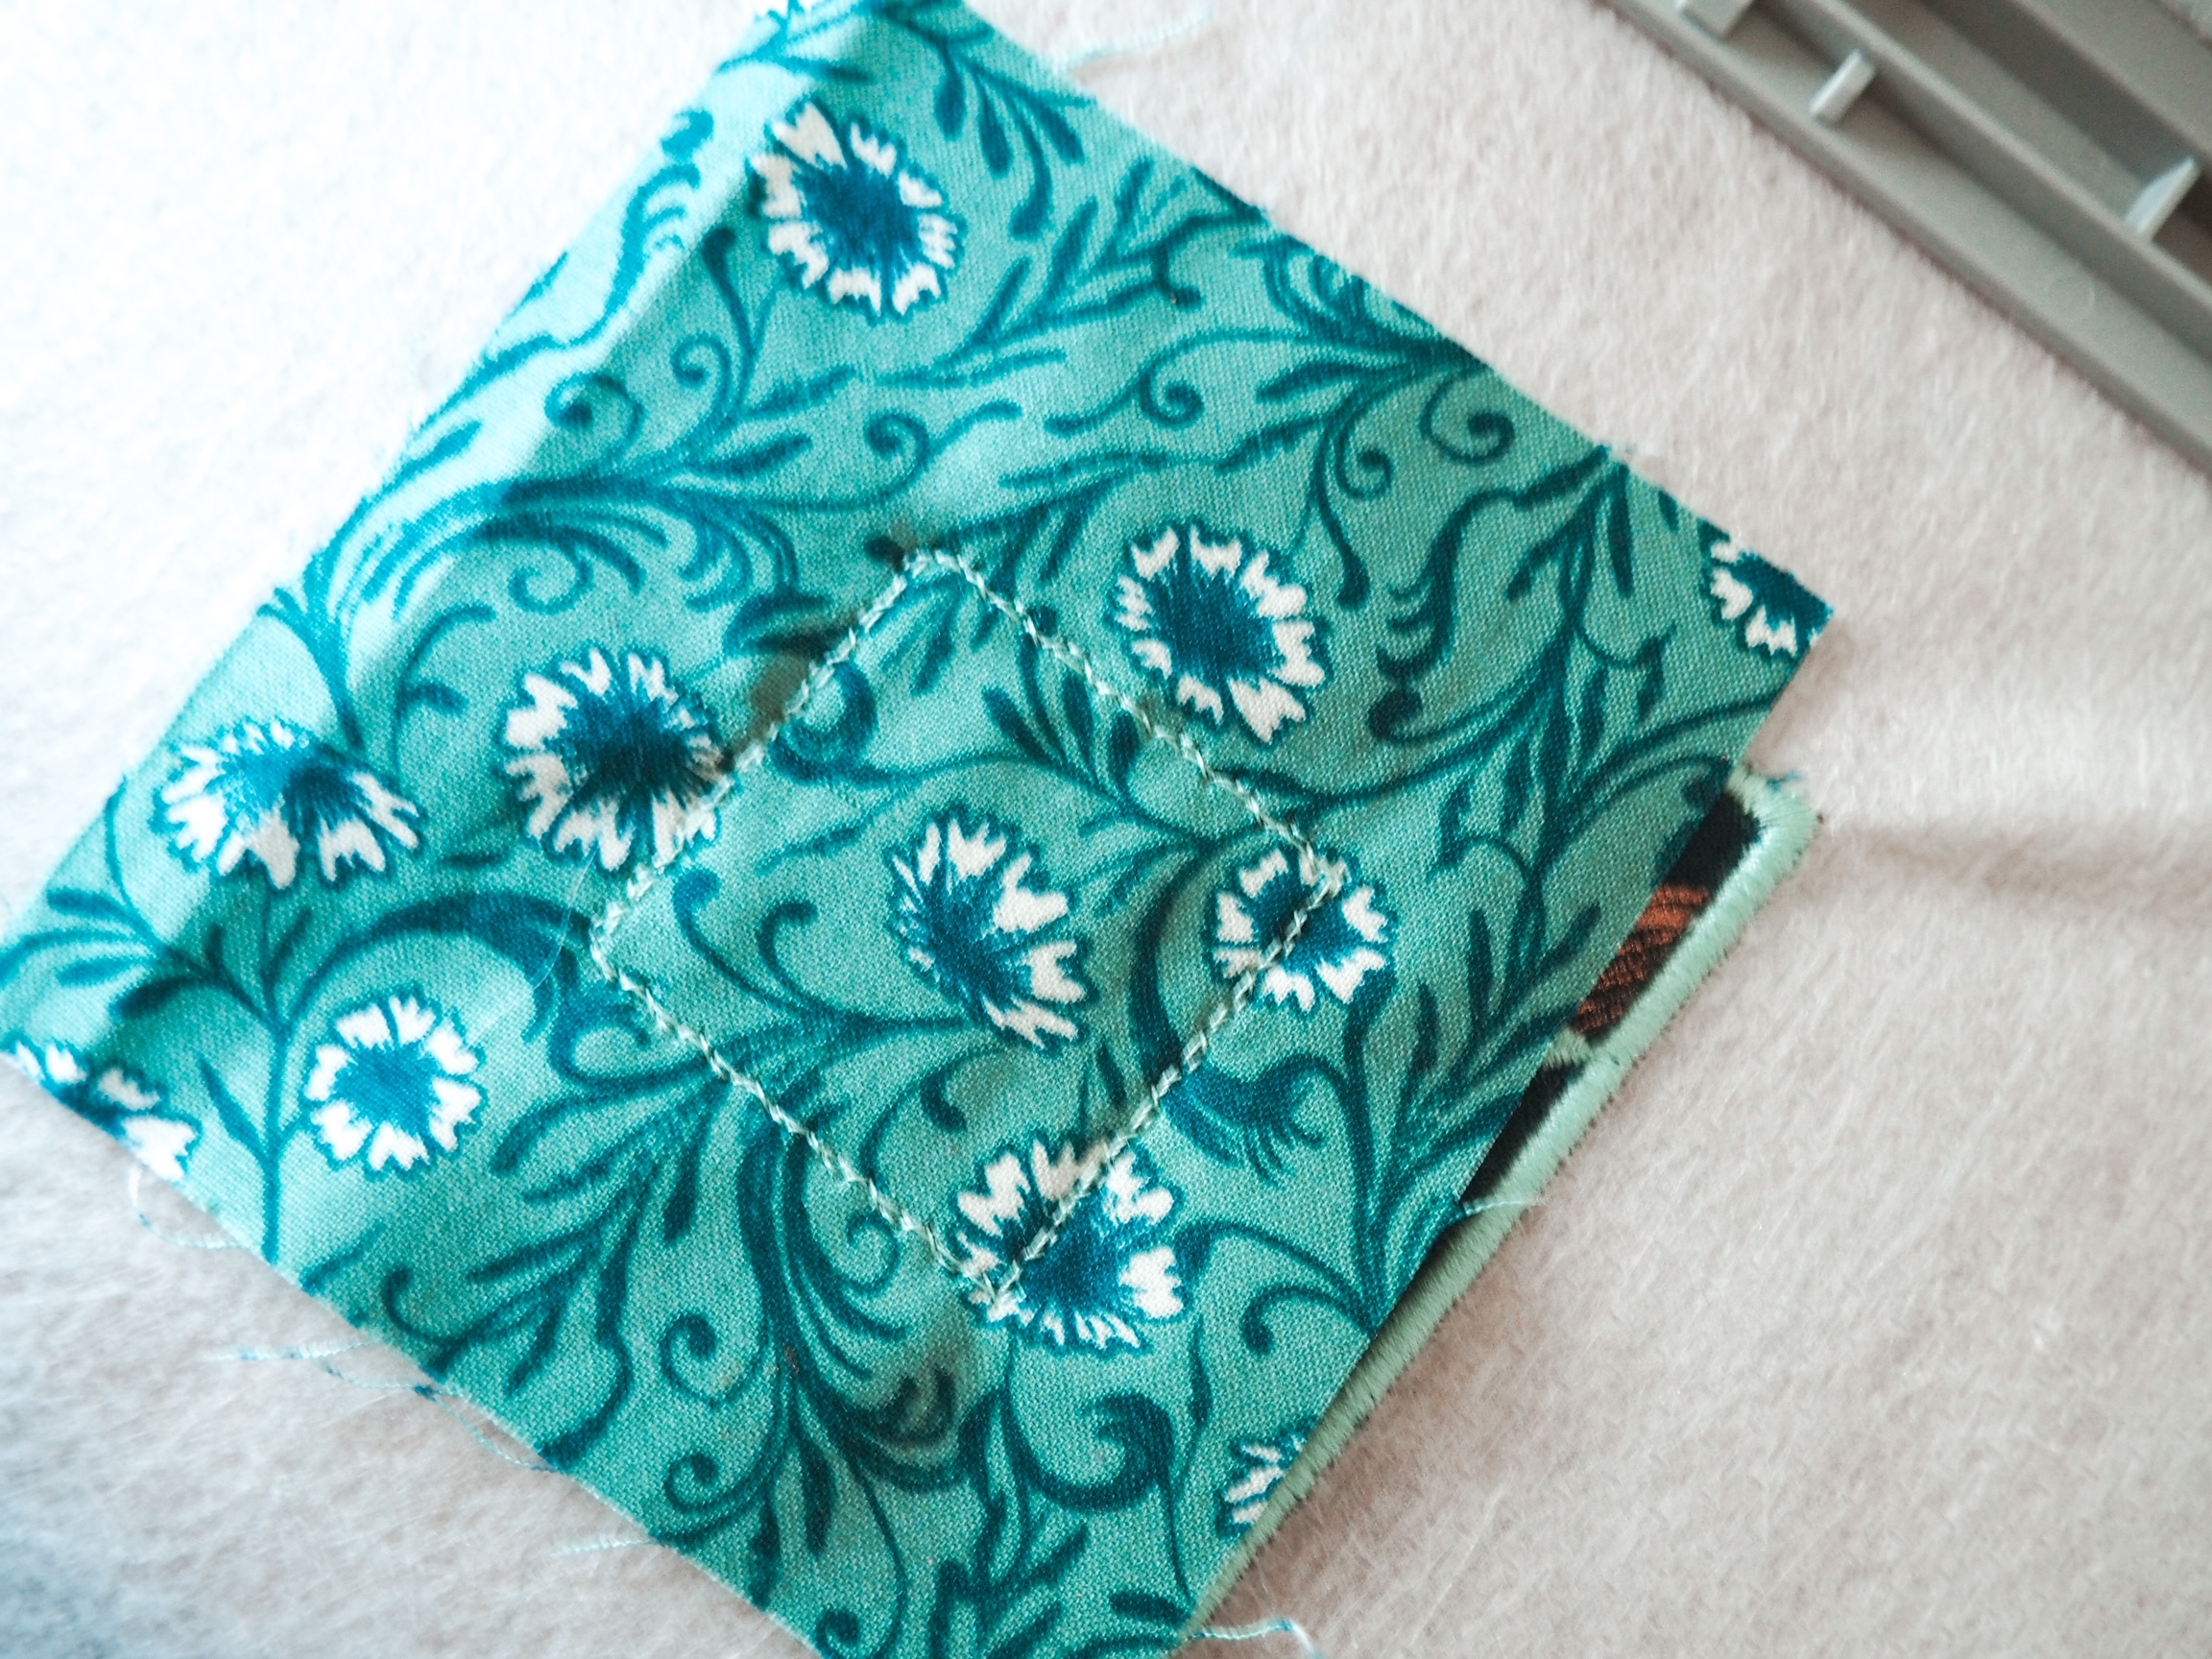
- Stitch the second step of the design, the cutting line. This line will stitch out directly over the placement stitch from step 3 and will hold your fabric in place. If you are holding your fabric in place, keeping your fingers away from the presser foot and needle, gently smooth the fabric down as the cutting line stitches out. The cutting line will then hold your fabric in place for future steps.
- Stitch the third step of the design, the tackdown stitch. This stitch will go right over the cutting stitch but will be a bit wavy.
- Carefully remove your hoop from the machine, taking care to not shift the stabilizer in the hoop.
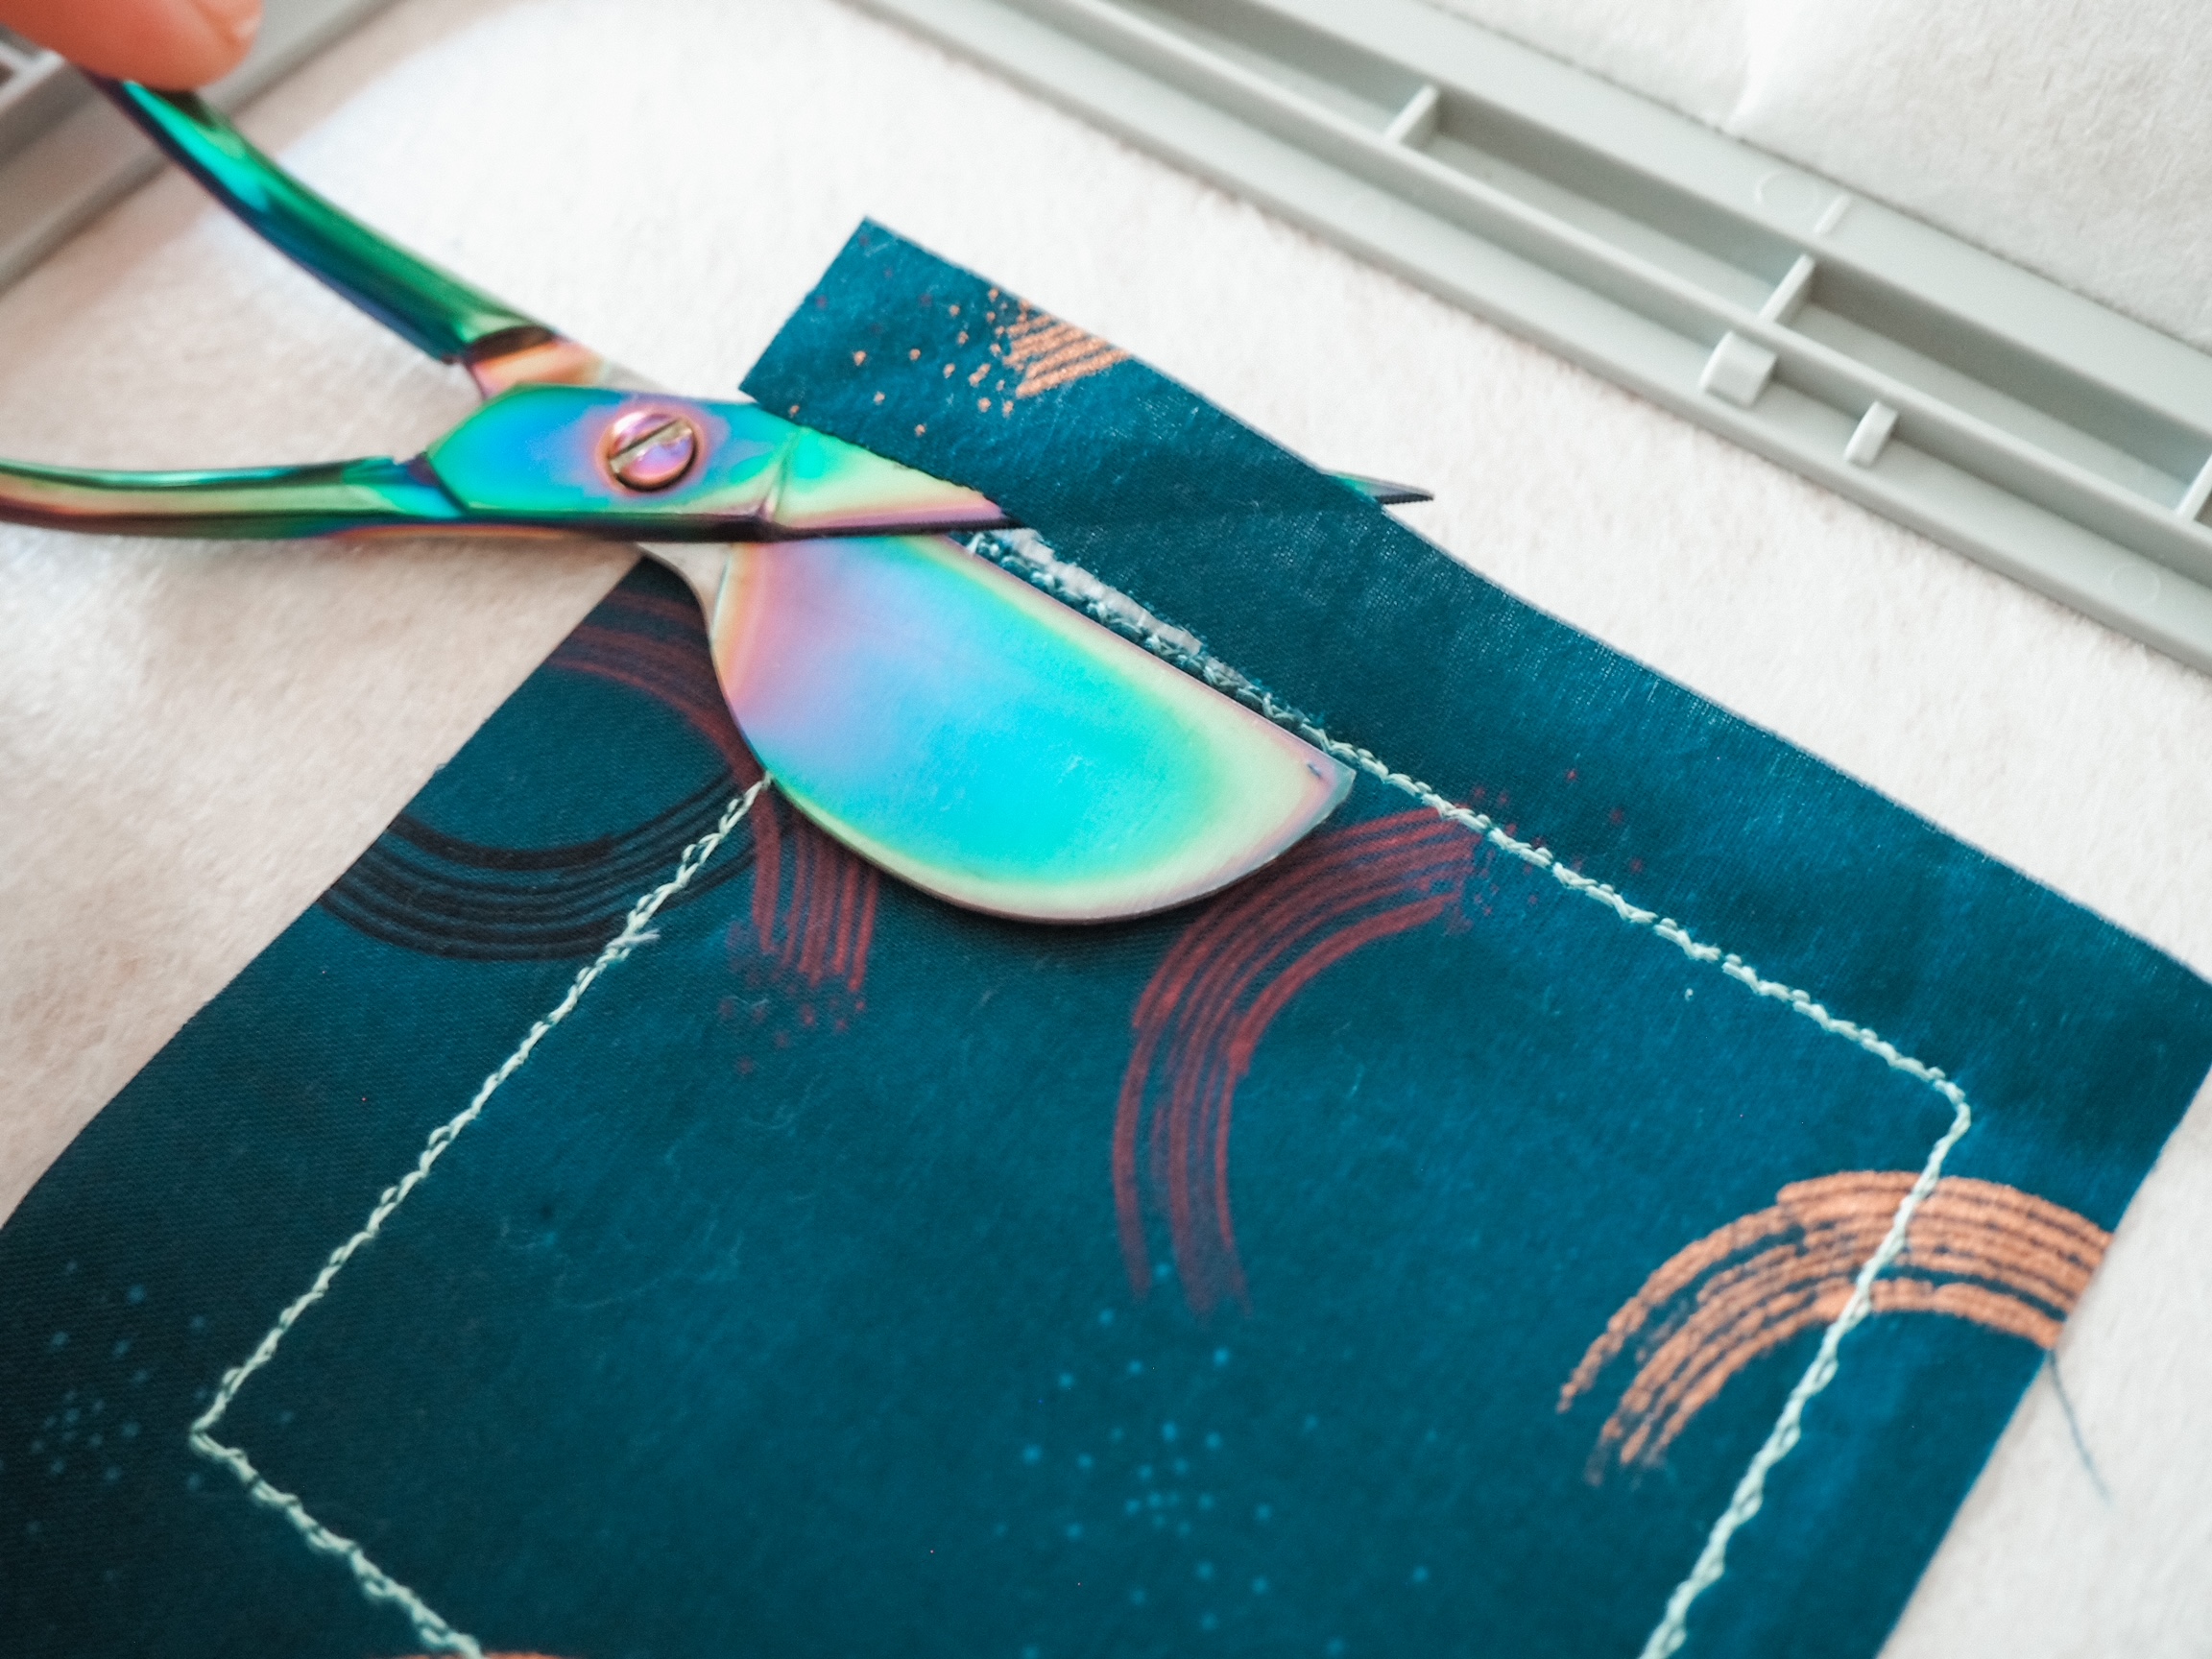
- Using your duckbill scissors, or other small snips, trim away the excess fabric on the outside of the tackdown stitch, cutting as close to the stitches as you can without cutting the thread.
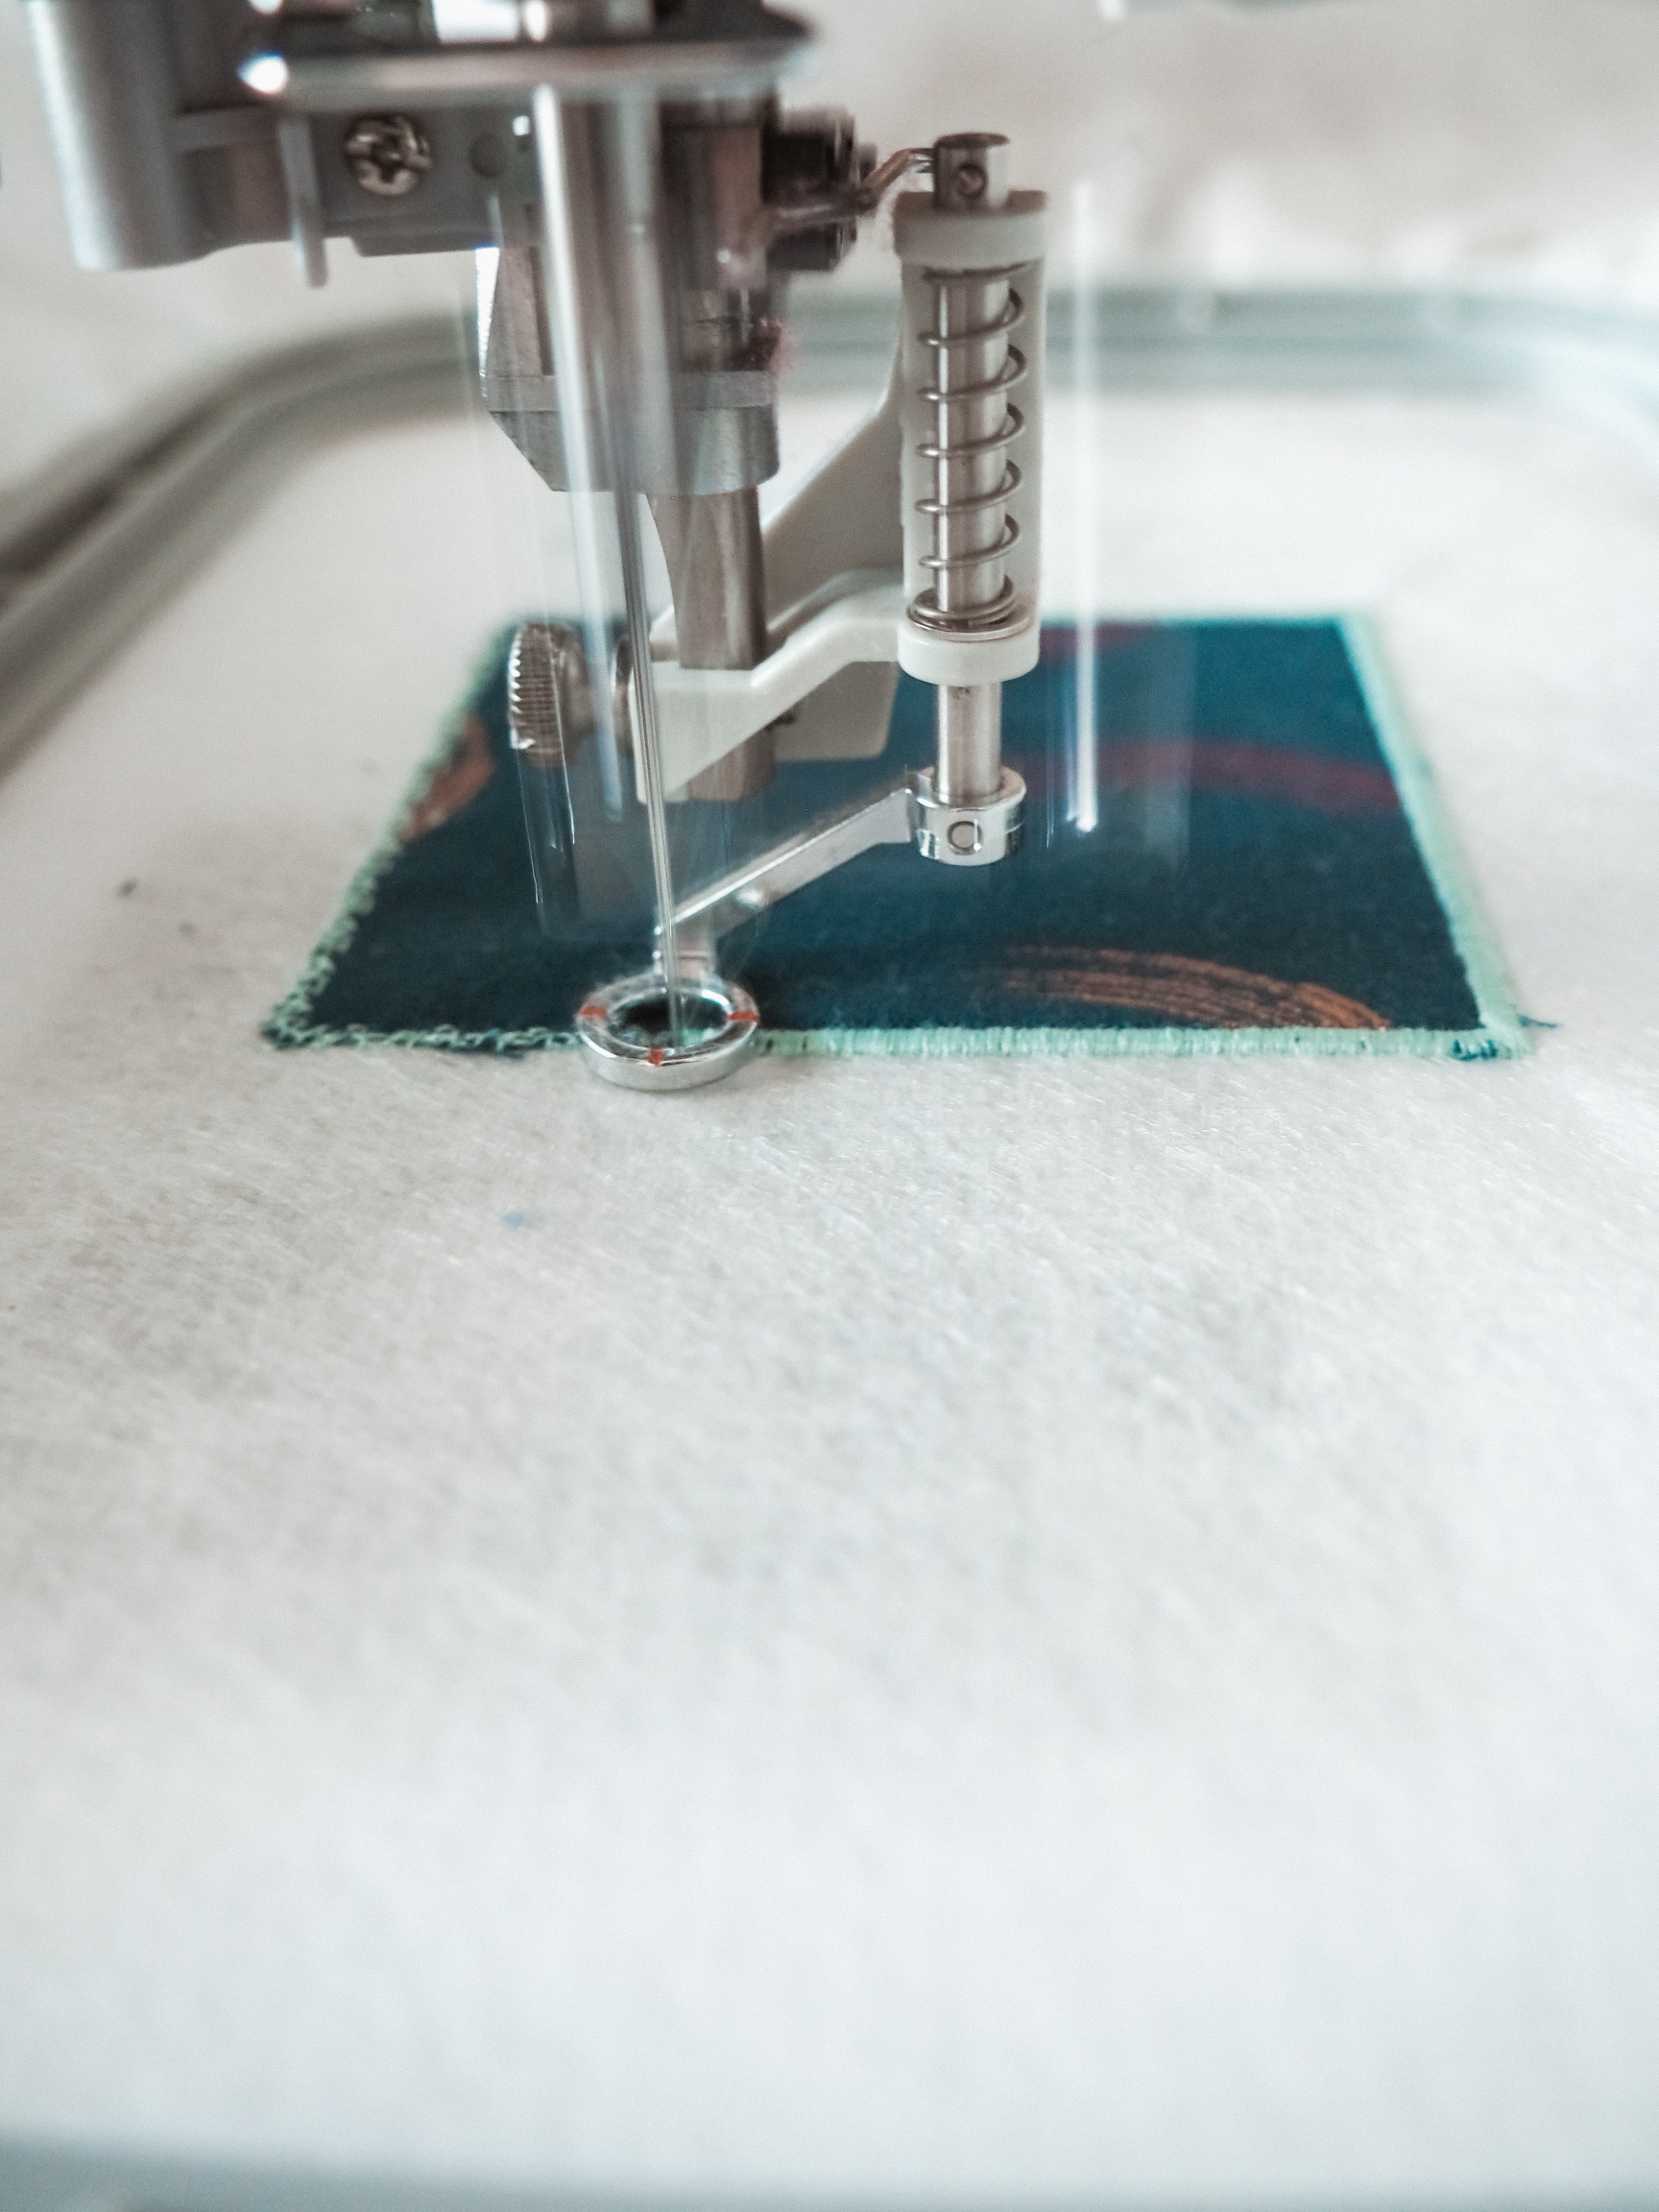
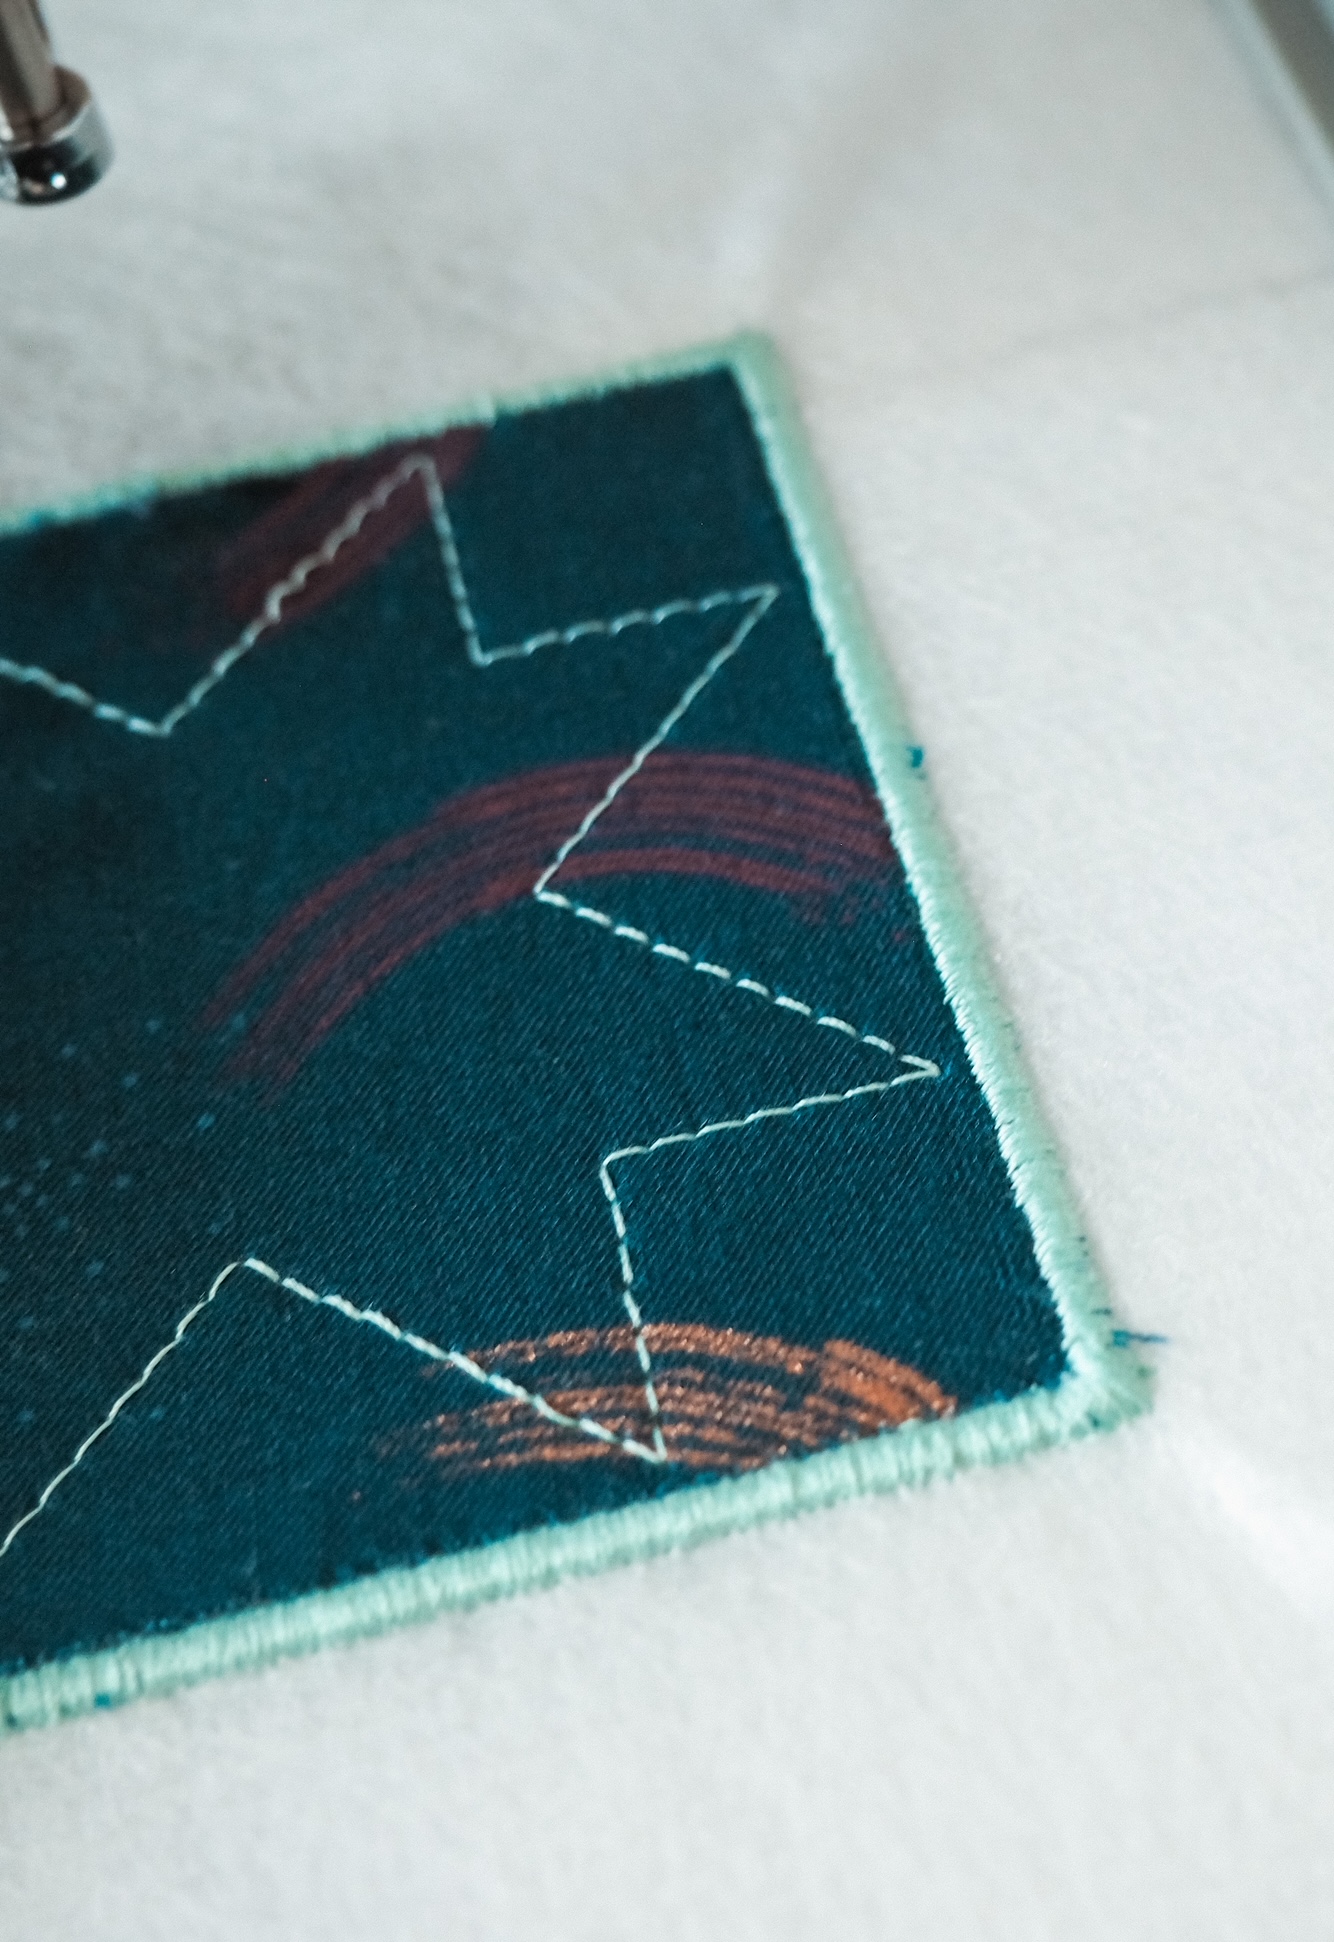
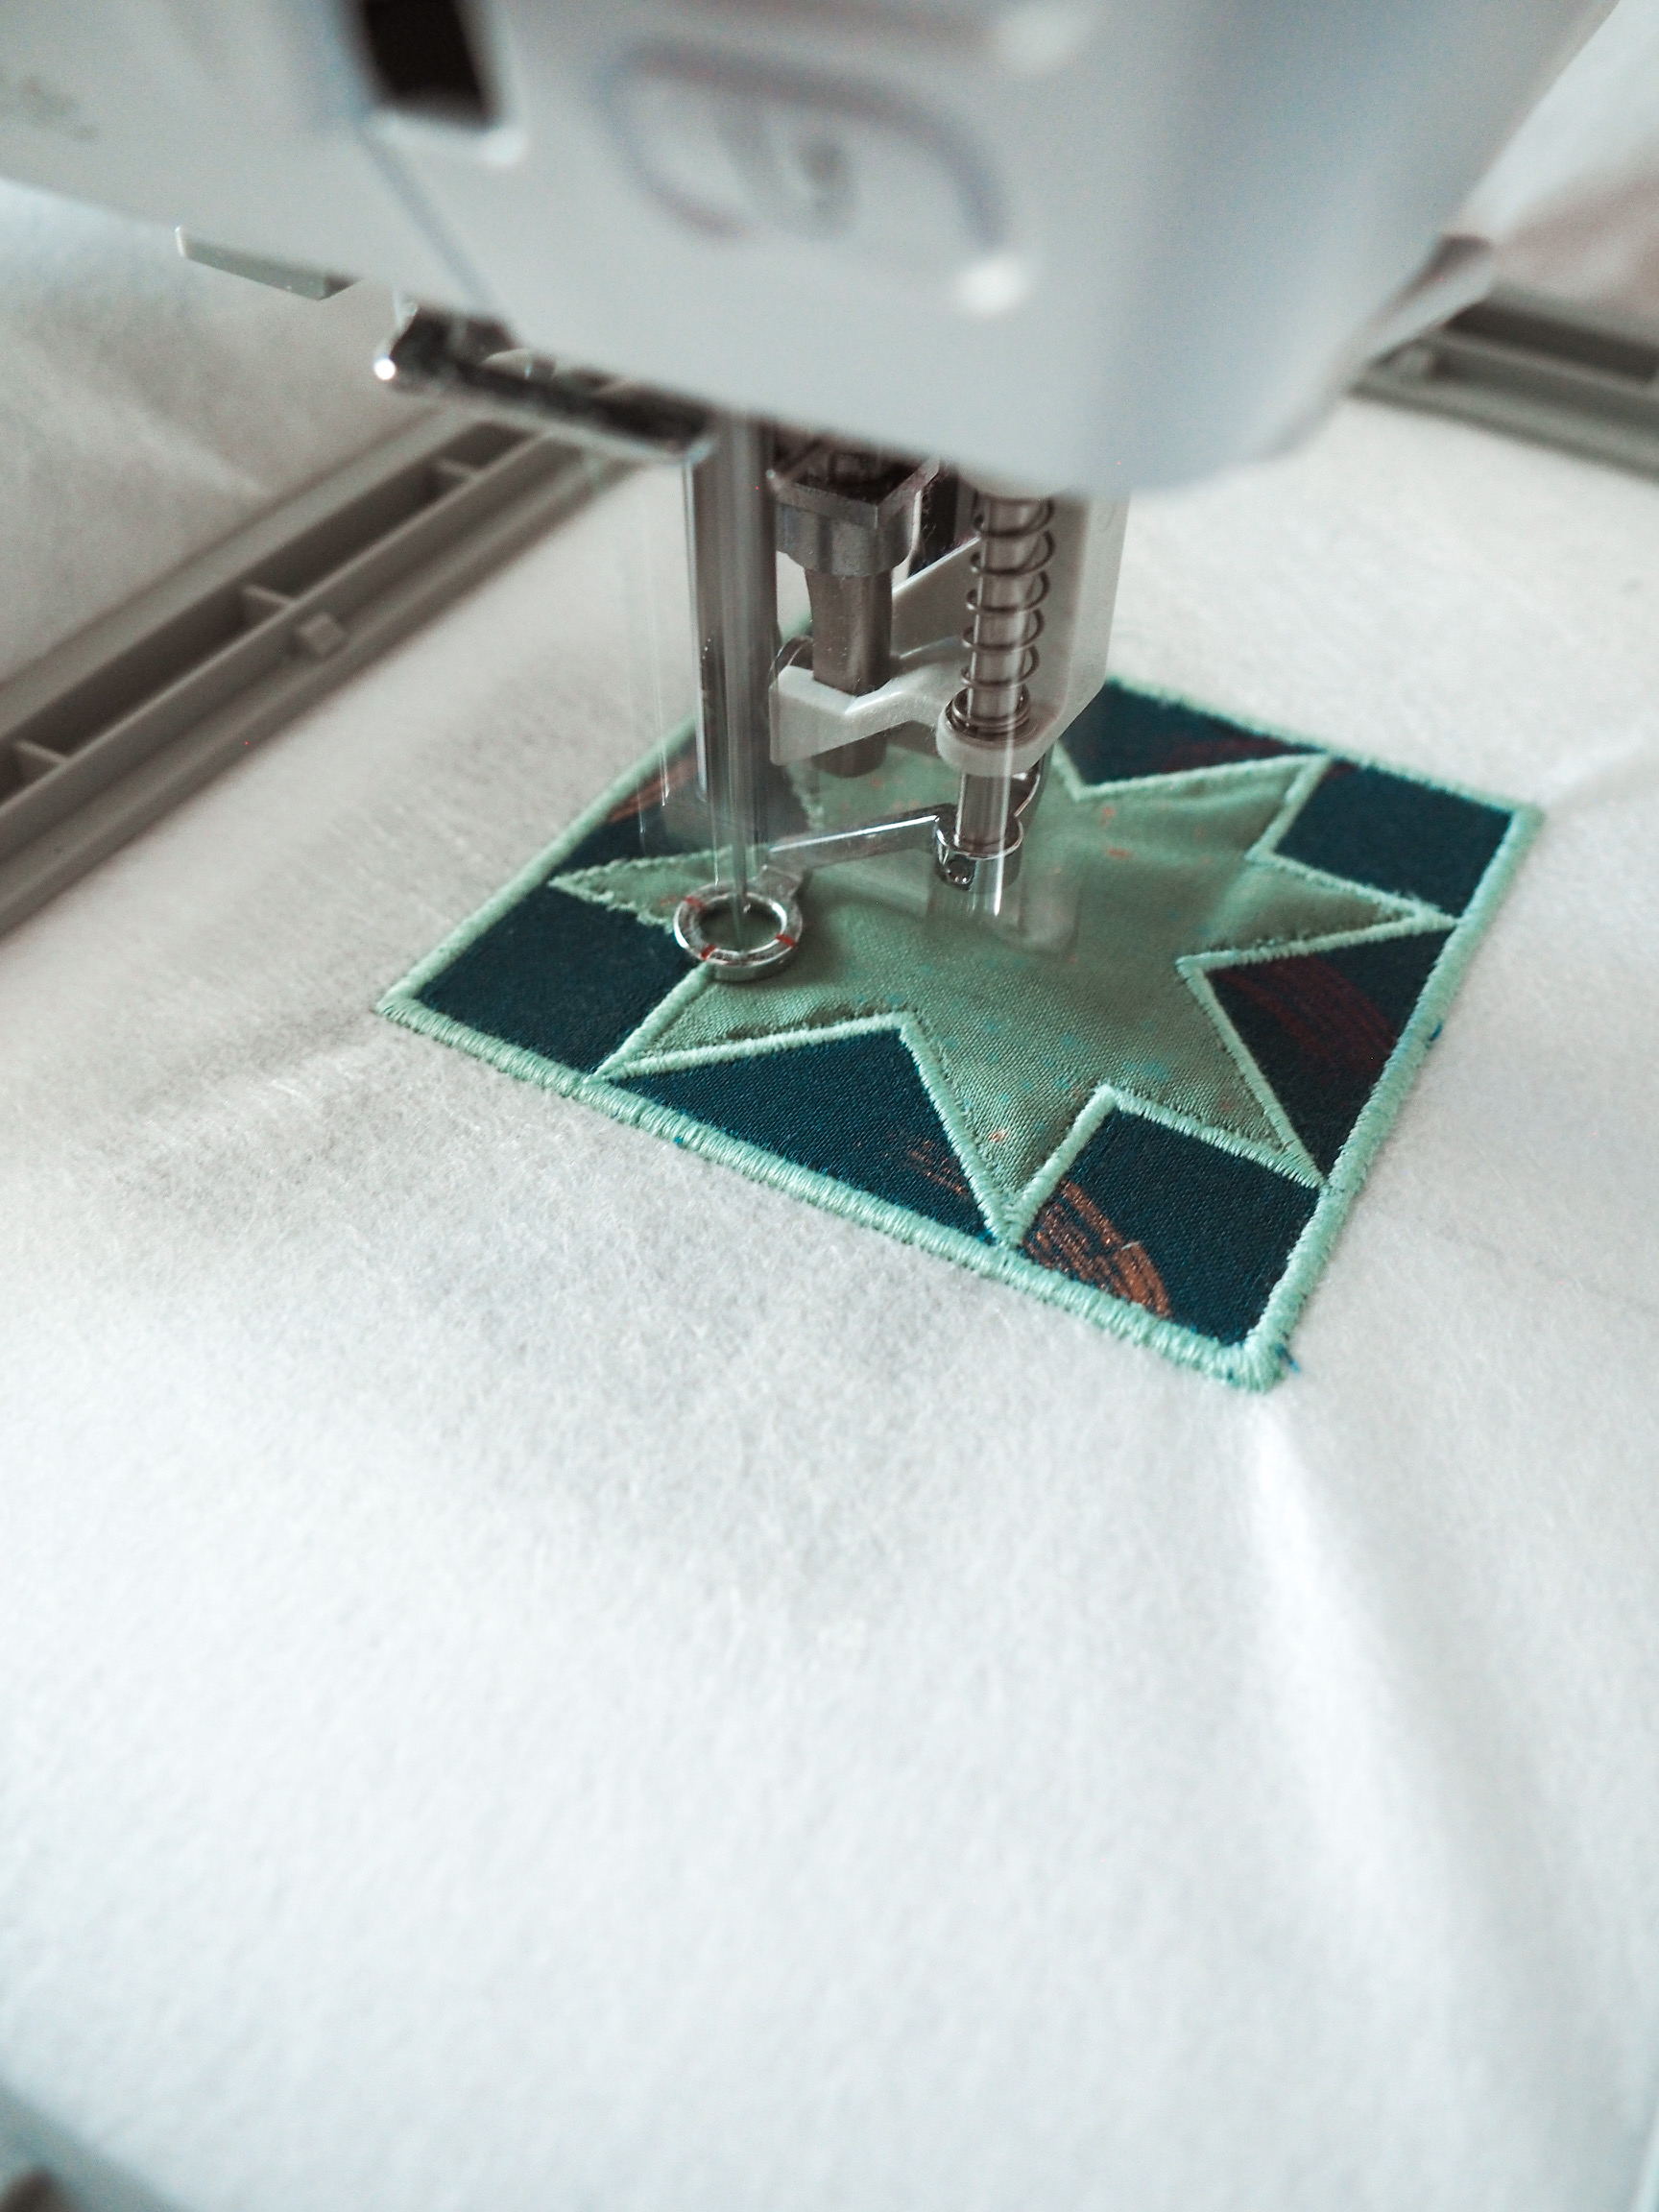
- Reattach your hoop to the machine and stitch the fourth step of the design, the cover stitch. This is the final stitch for the background fabric and will end with a satin stitch all the way around, encasing the raw edges of the fabric.
Step 3: Stitch the Star
- Grab your star material and make sure it’s pressed, with no wrinkles
- Stitch out the fifth step of the design, the placement stitch
- Place the star fabric over the placement box, ensuring the stitches from step 2 are fully covered
- Stitch the sixth step of the design, the cutting line
- Stitch the seventh step of the design, the tackdown stitch
- Carefully remove your hoop from the machine, taking care to not shift the stabilizer in the hoop
- Using your duckbill scissors, or other small snips, trim away the excess fabric on the outside of the tackdown stitch, cutting as close to the stitches as you can without cutting the thread
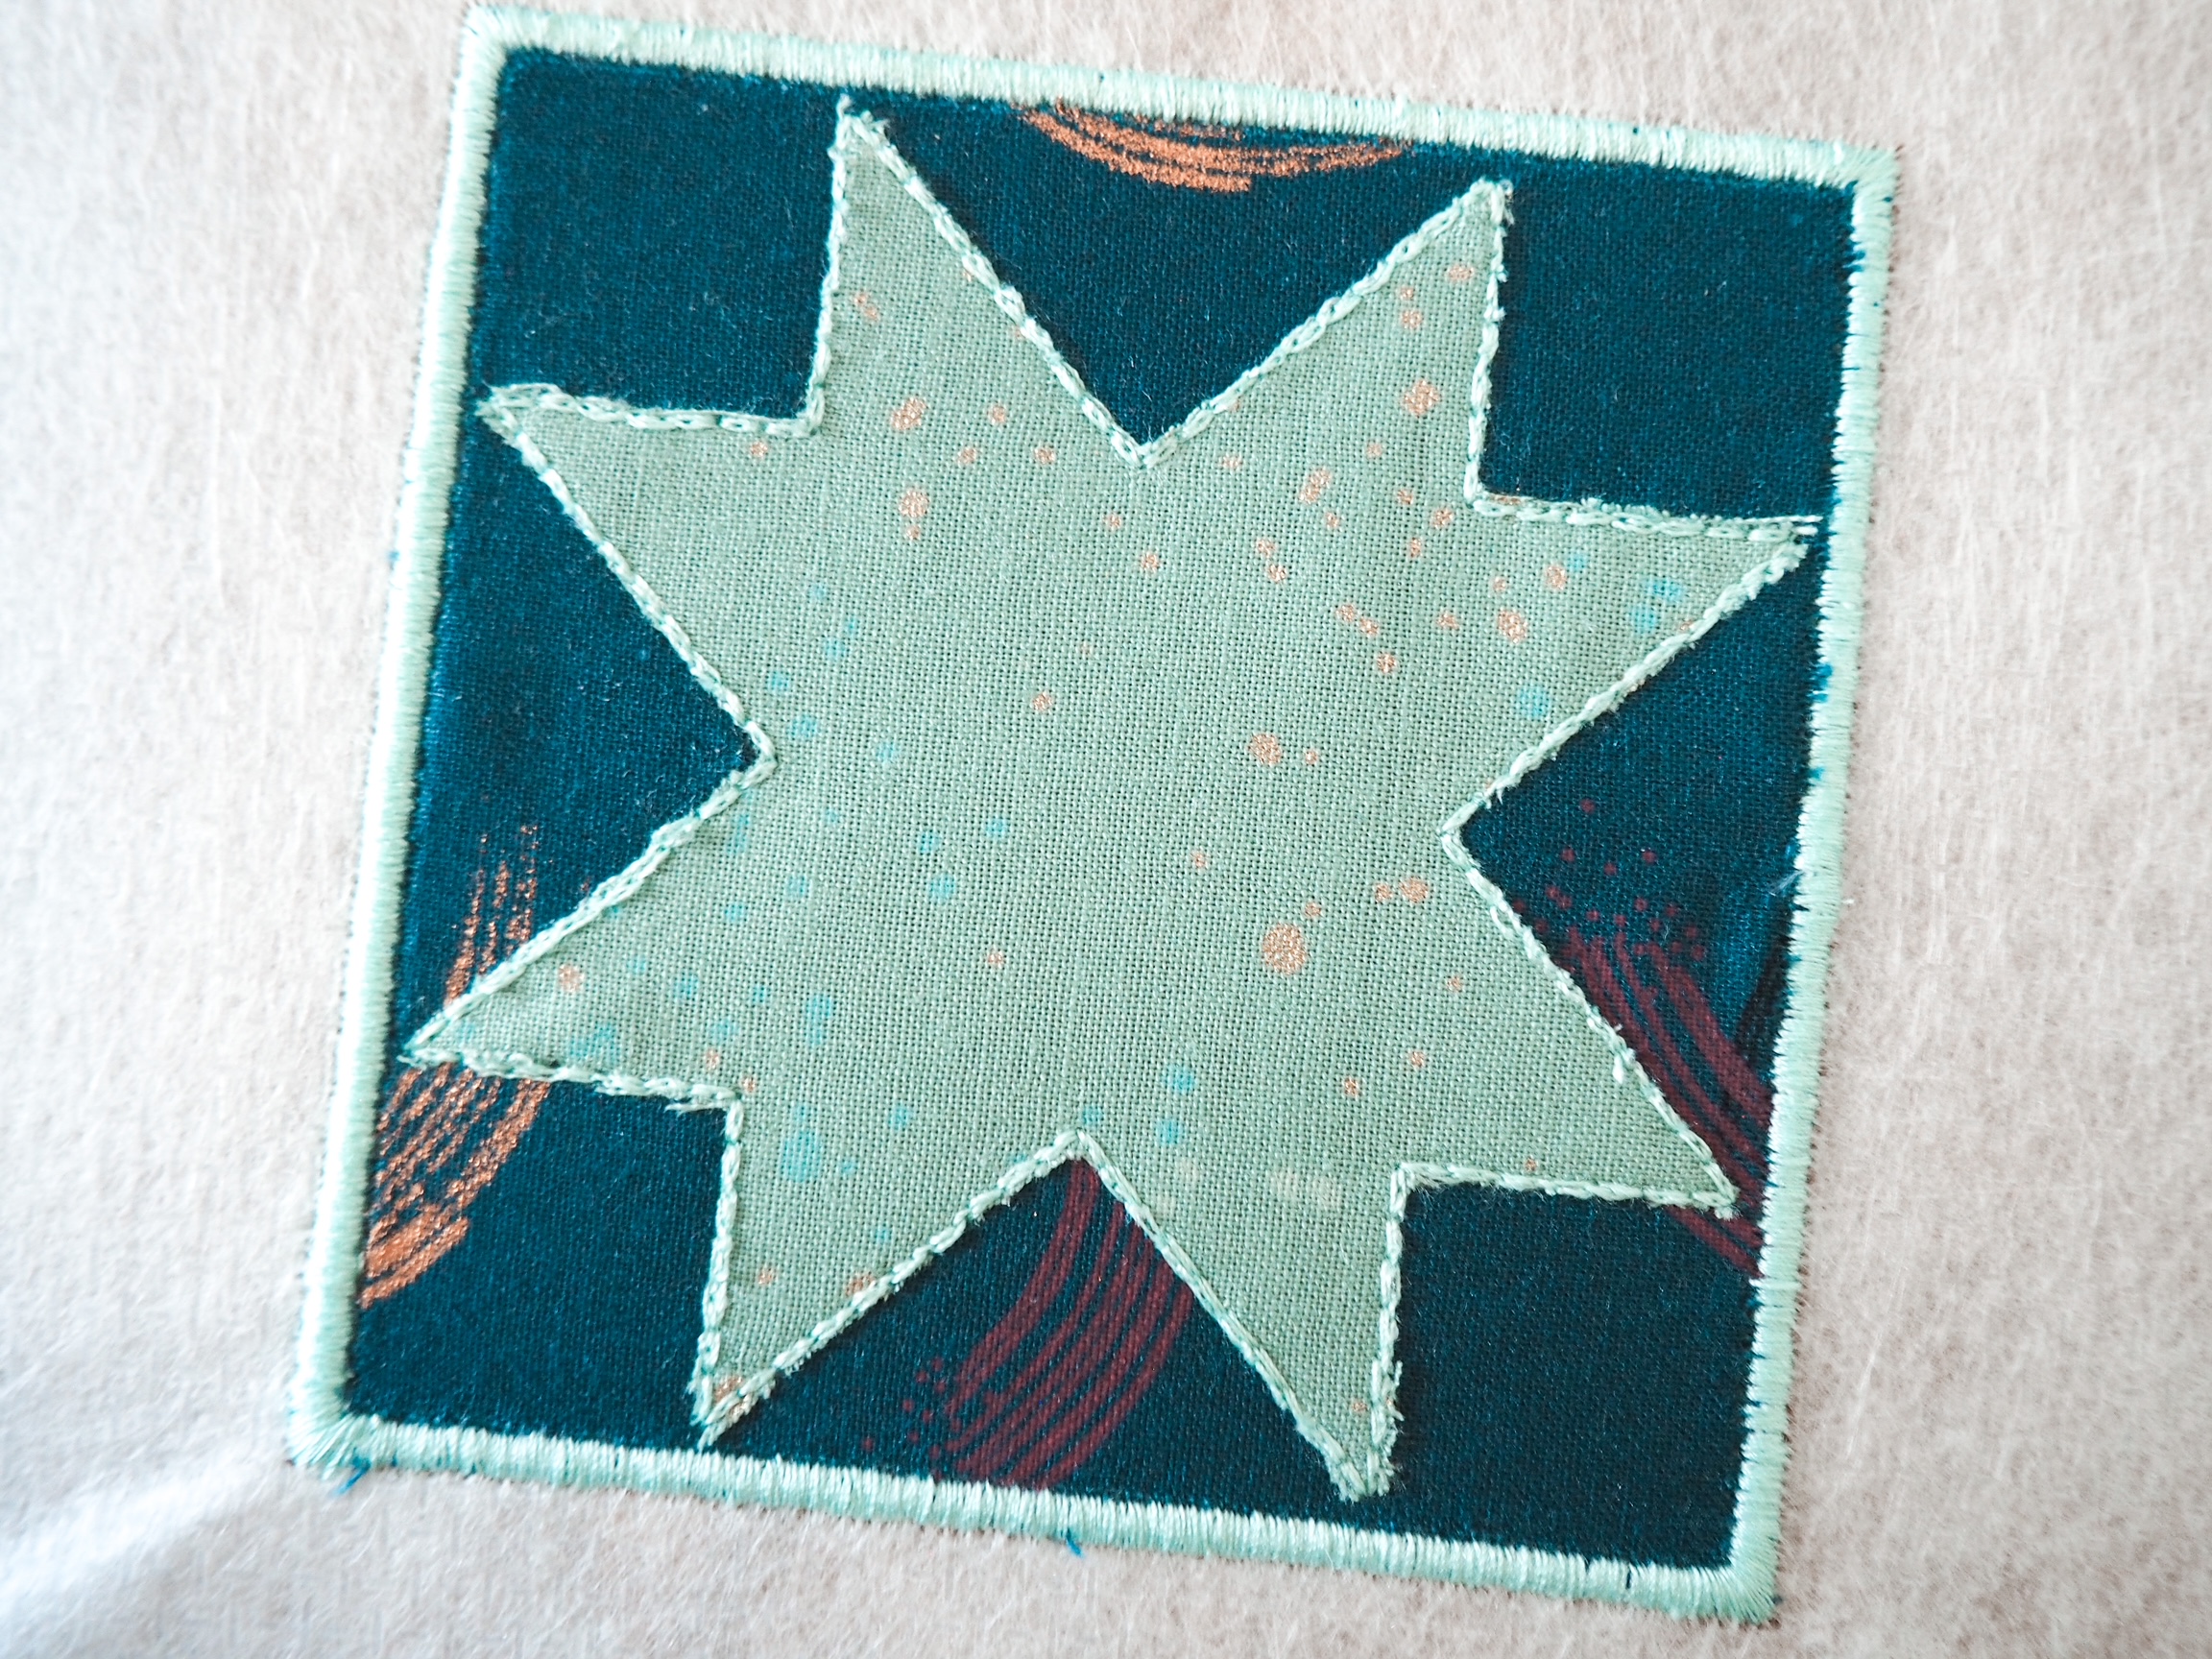
- Reattach your hoop to the machine and stitch the eighth step of the design, the cover stitch
Step 4: Stitch the Center
- Grab your center material and make sure it’s pressed, with no wrinkles
- Stitch out the ninth step of the design, the placement stitch
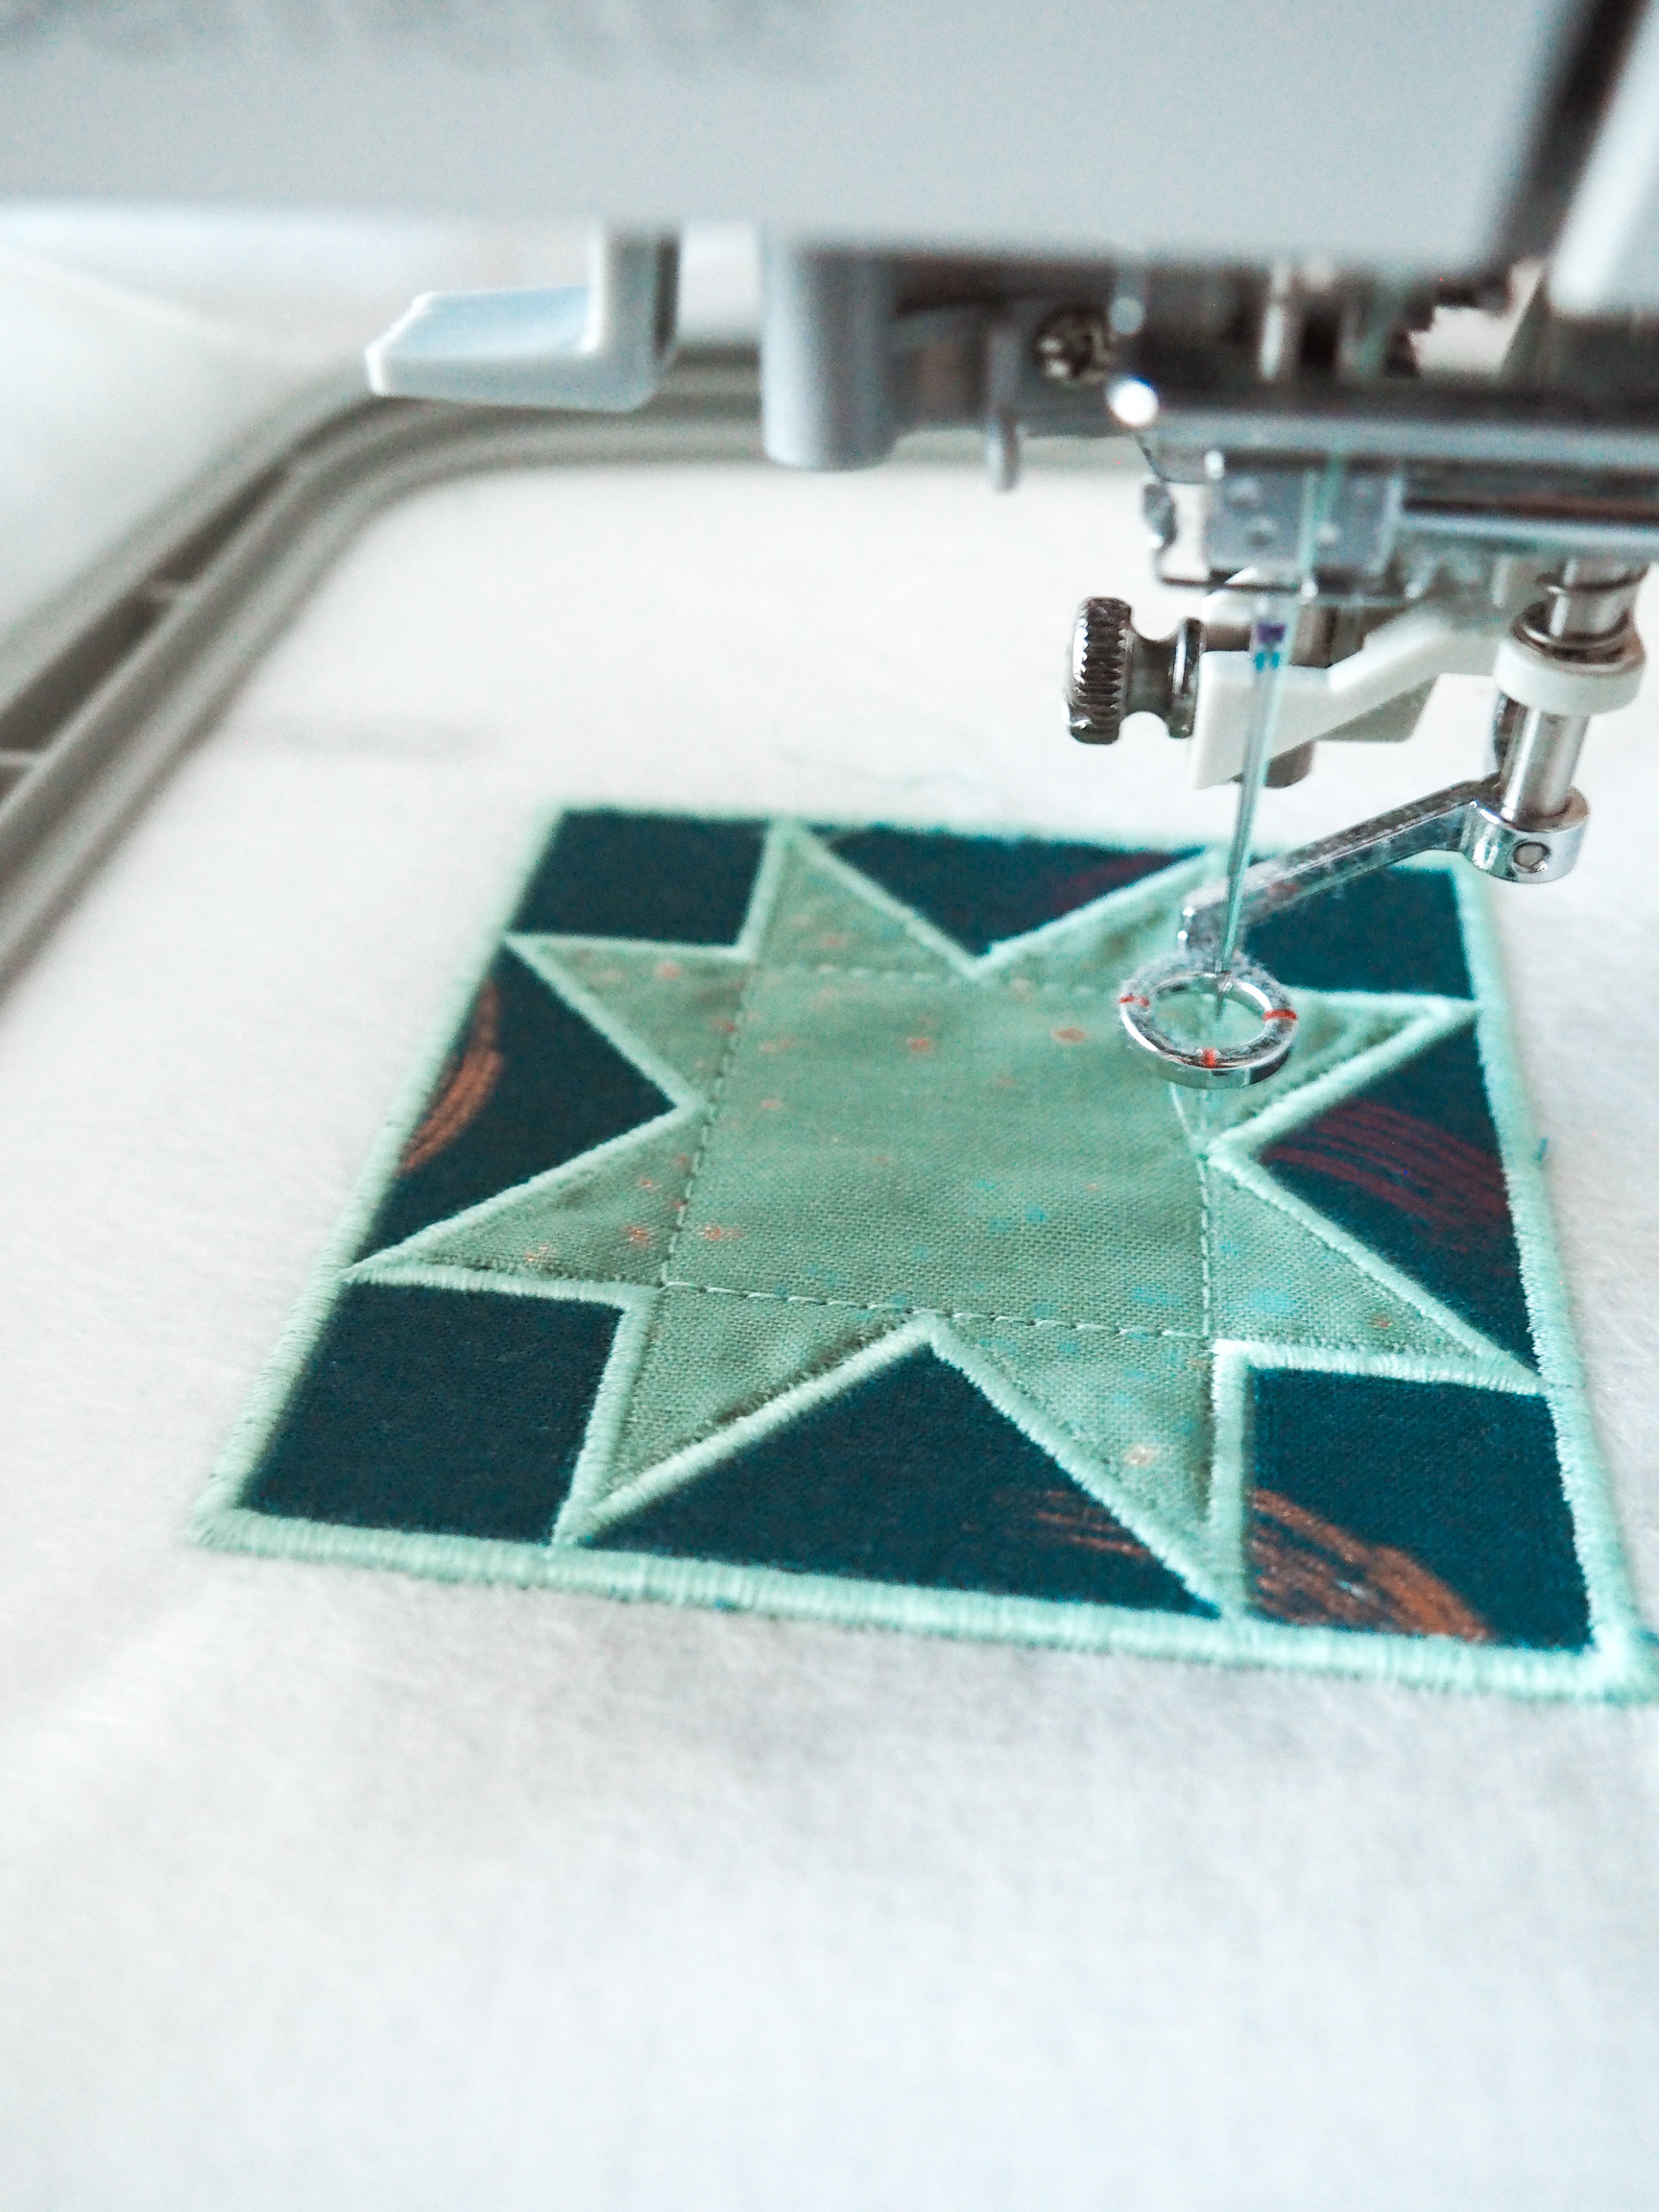
- Place the center fabric over the placement box, ensuring the stitches from step 2 are fully covered
- Stitch the tenth step of the design, the cutting line
- Stitch the eleventh step of the design, the tackdown stitch
- Carefully remove your hoop from the machine, taking care to not shift the stabilizer in the hoop
- Using your duckbill scissors, or other small snips, trim away the excess fabric on the outside of the tackdown stitch, cutting as close to the stitches as you can without cutting the thread
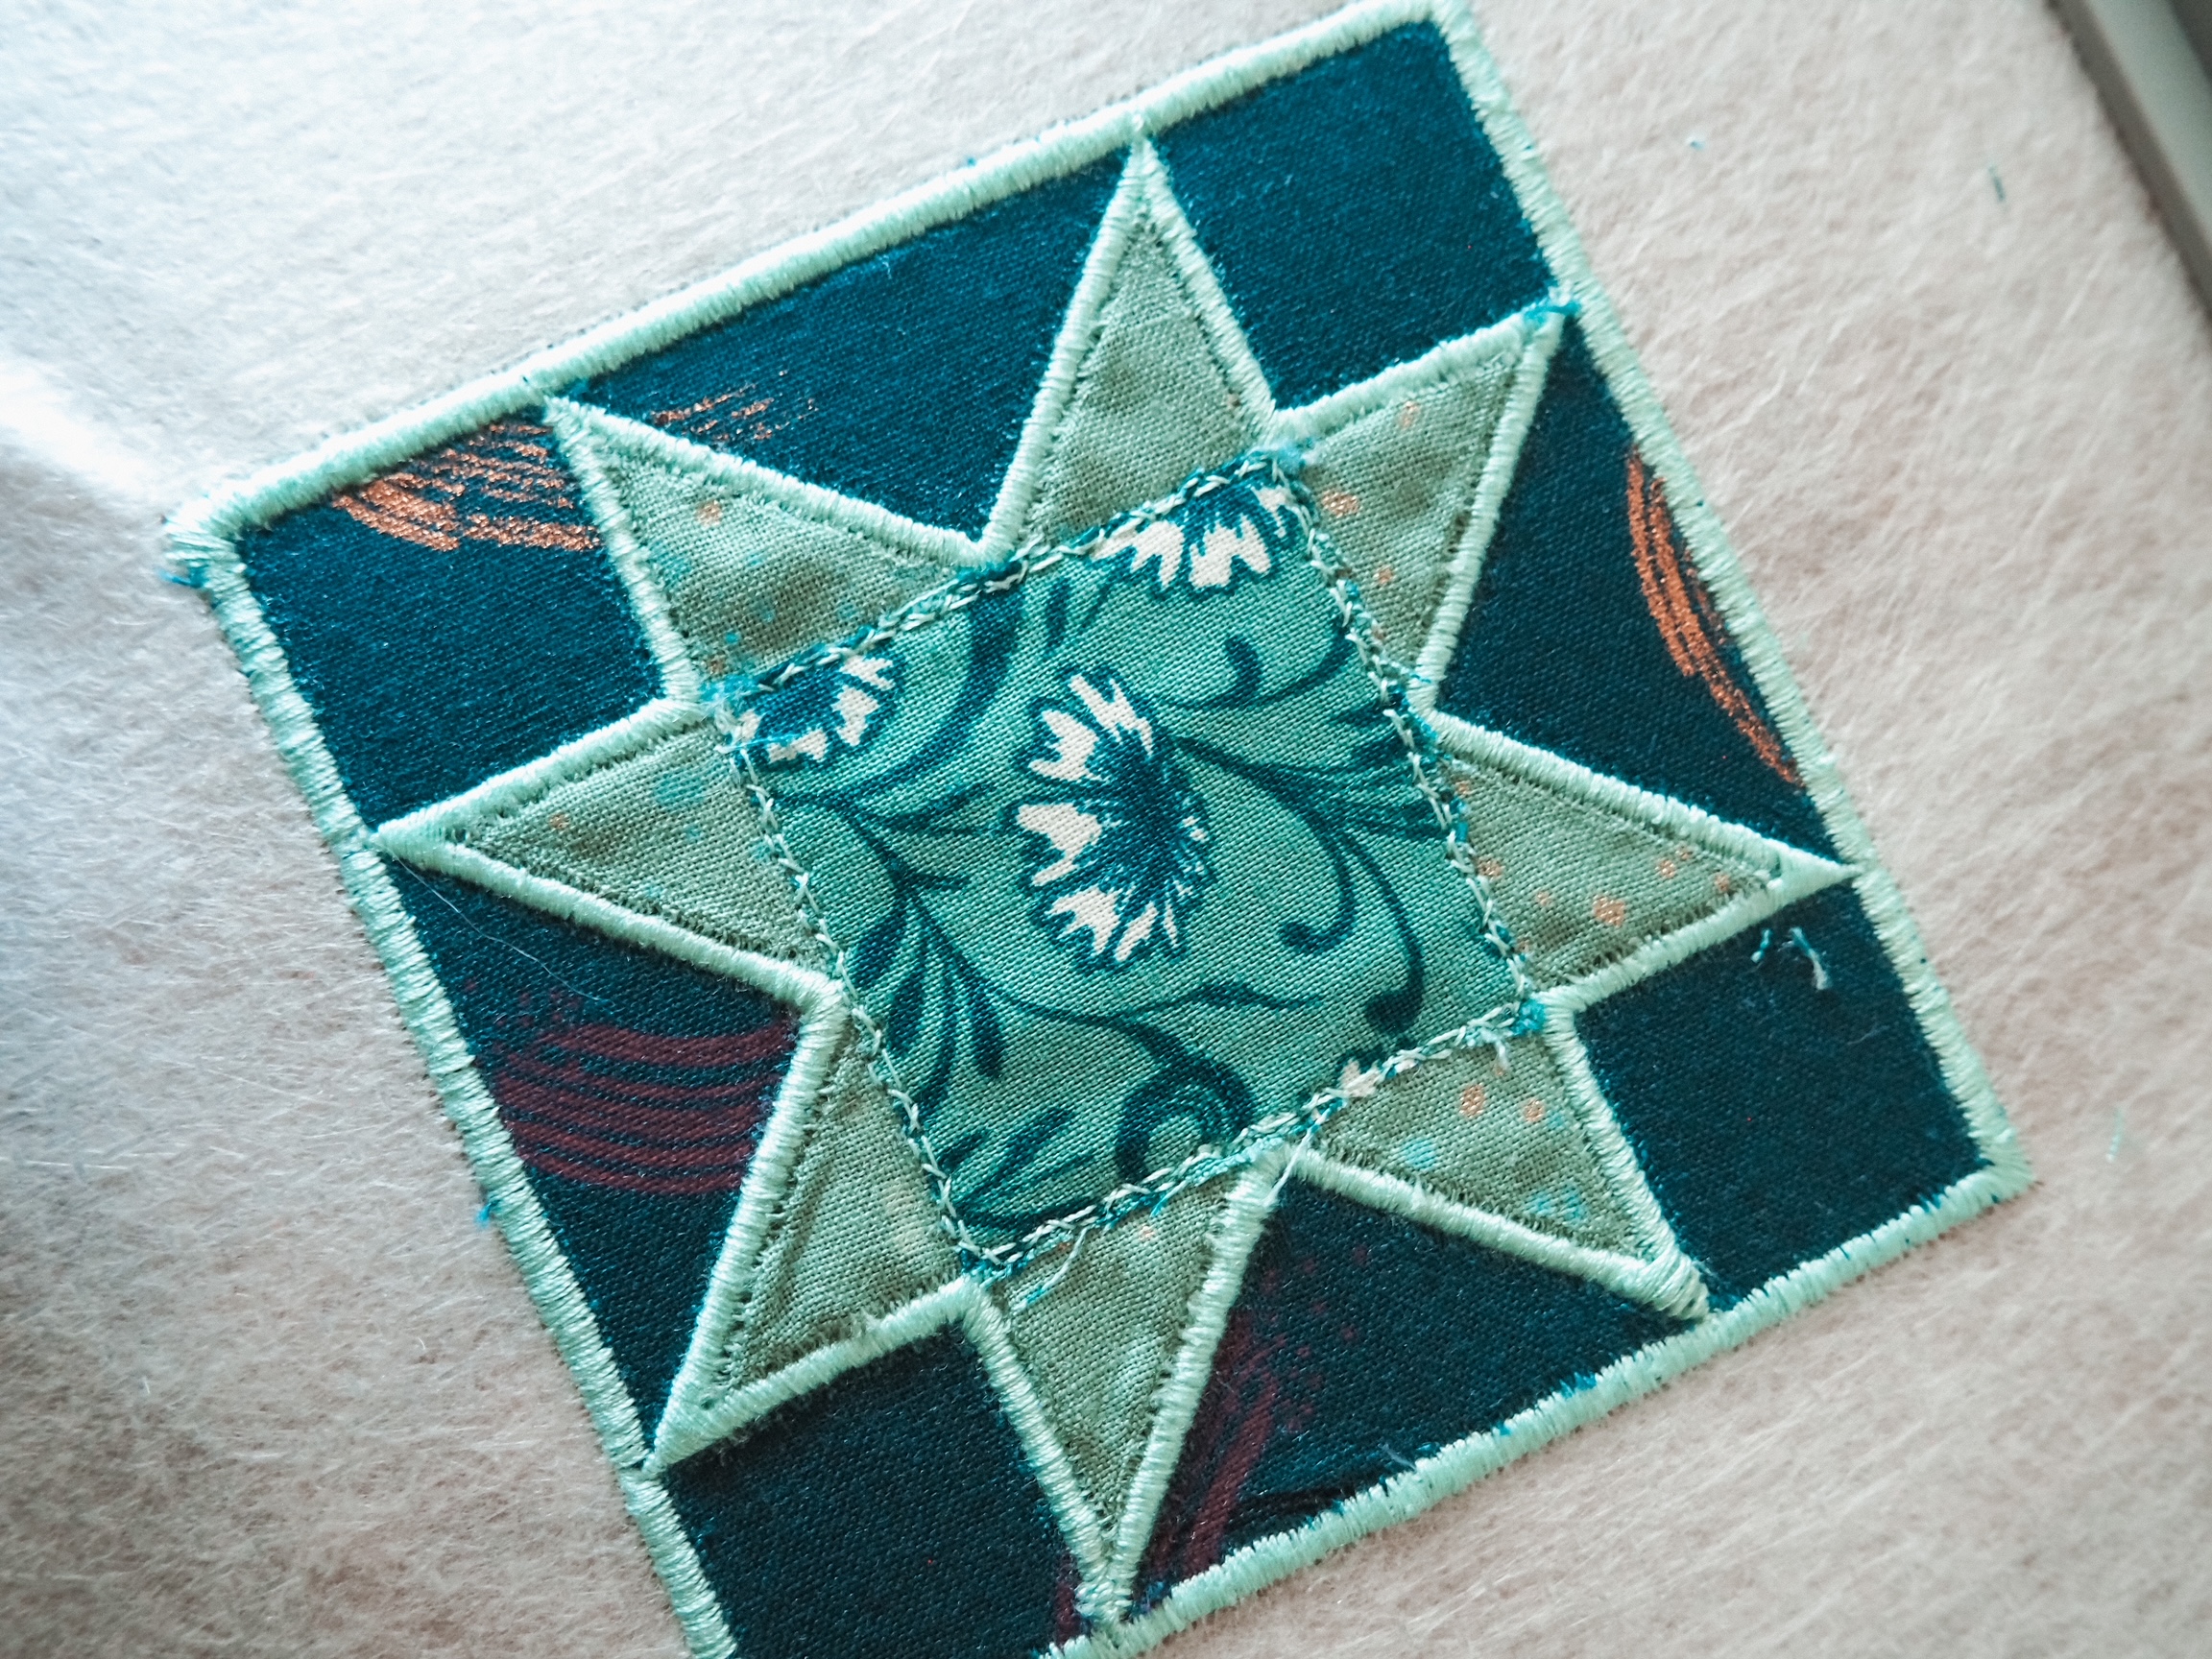
- Reattach your hoop to the machine and stitch the twelfth step of the design, the cover stitch
Step 5: Adding Adhesive
If you are not adding adhesive onto your patch, you can skip to step 7 in this section. The Fuse and Seal has two distinct sides, one with an adhesive backing and one with a paper covering. Be sure to leave the paper covering attached until you are ready to adhere the patch to its final place.
- Remove the hoop from the machine and the stitched out stabilizer from the hoop
- If needed, gently press the appliqué design using the OESD Perfect Embroidery Press Cloth
- Remove one sheet of OESD Fuse and Seal from the package and cut a 3″x 3″ piece
- Set the stabilizer with embroidery face down in front of you. You should see the backside of the patch
- Align the 3″ Fuse and Seal square with the adhesive side down (paper side facing up) over the backside of the patch
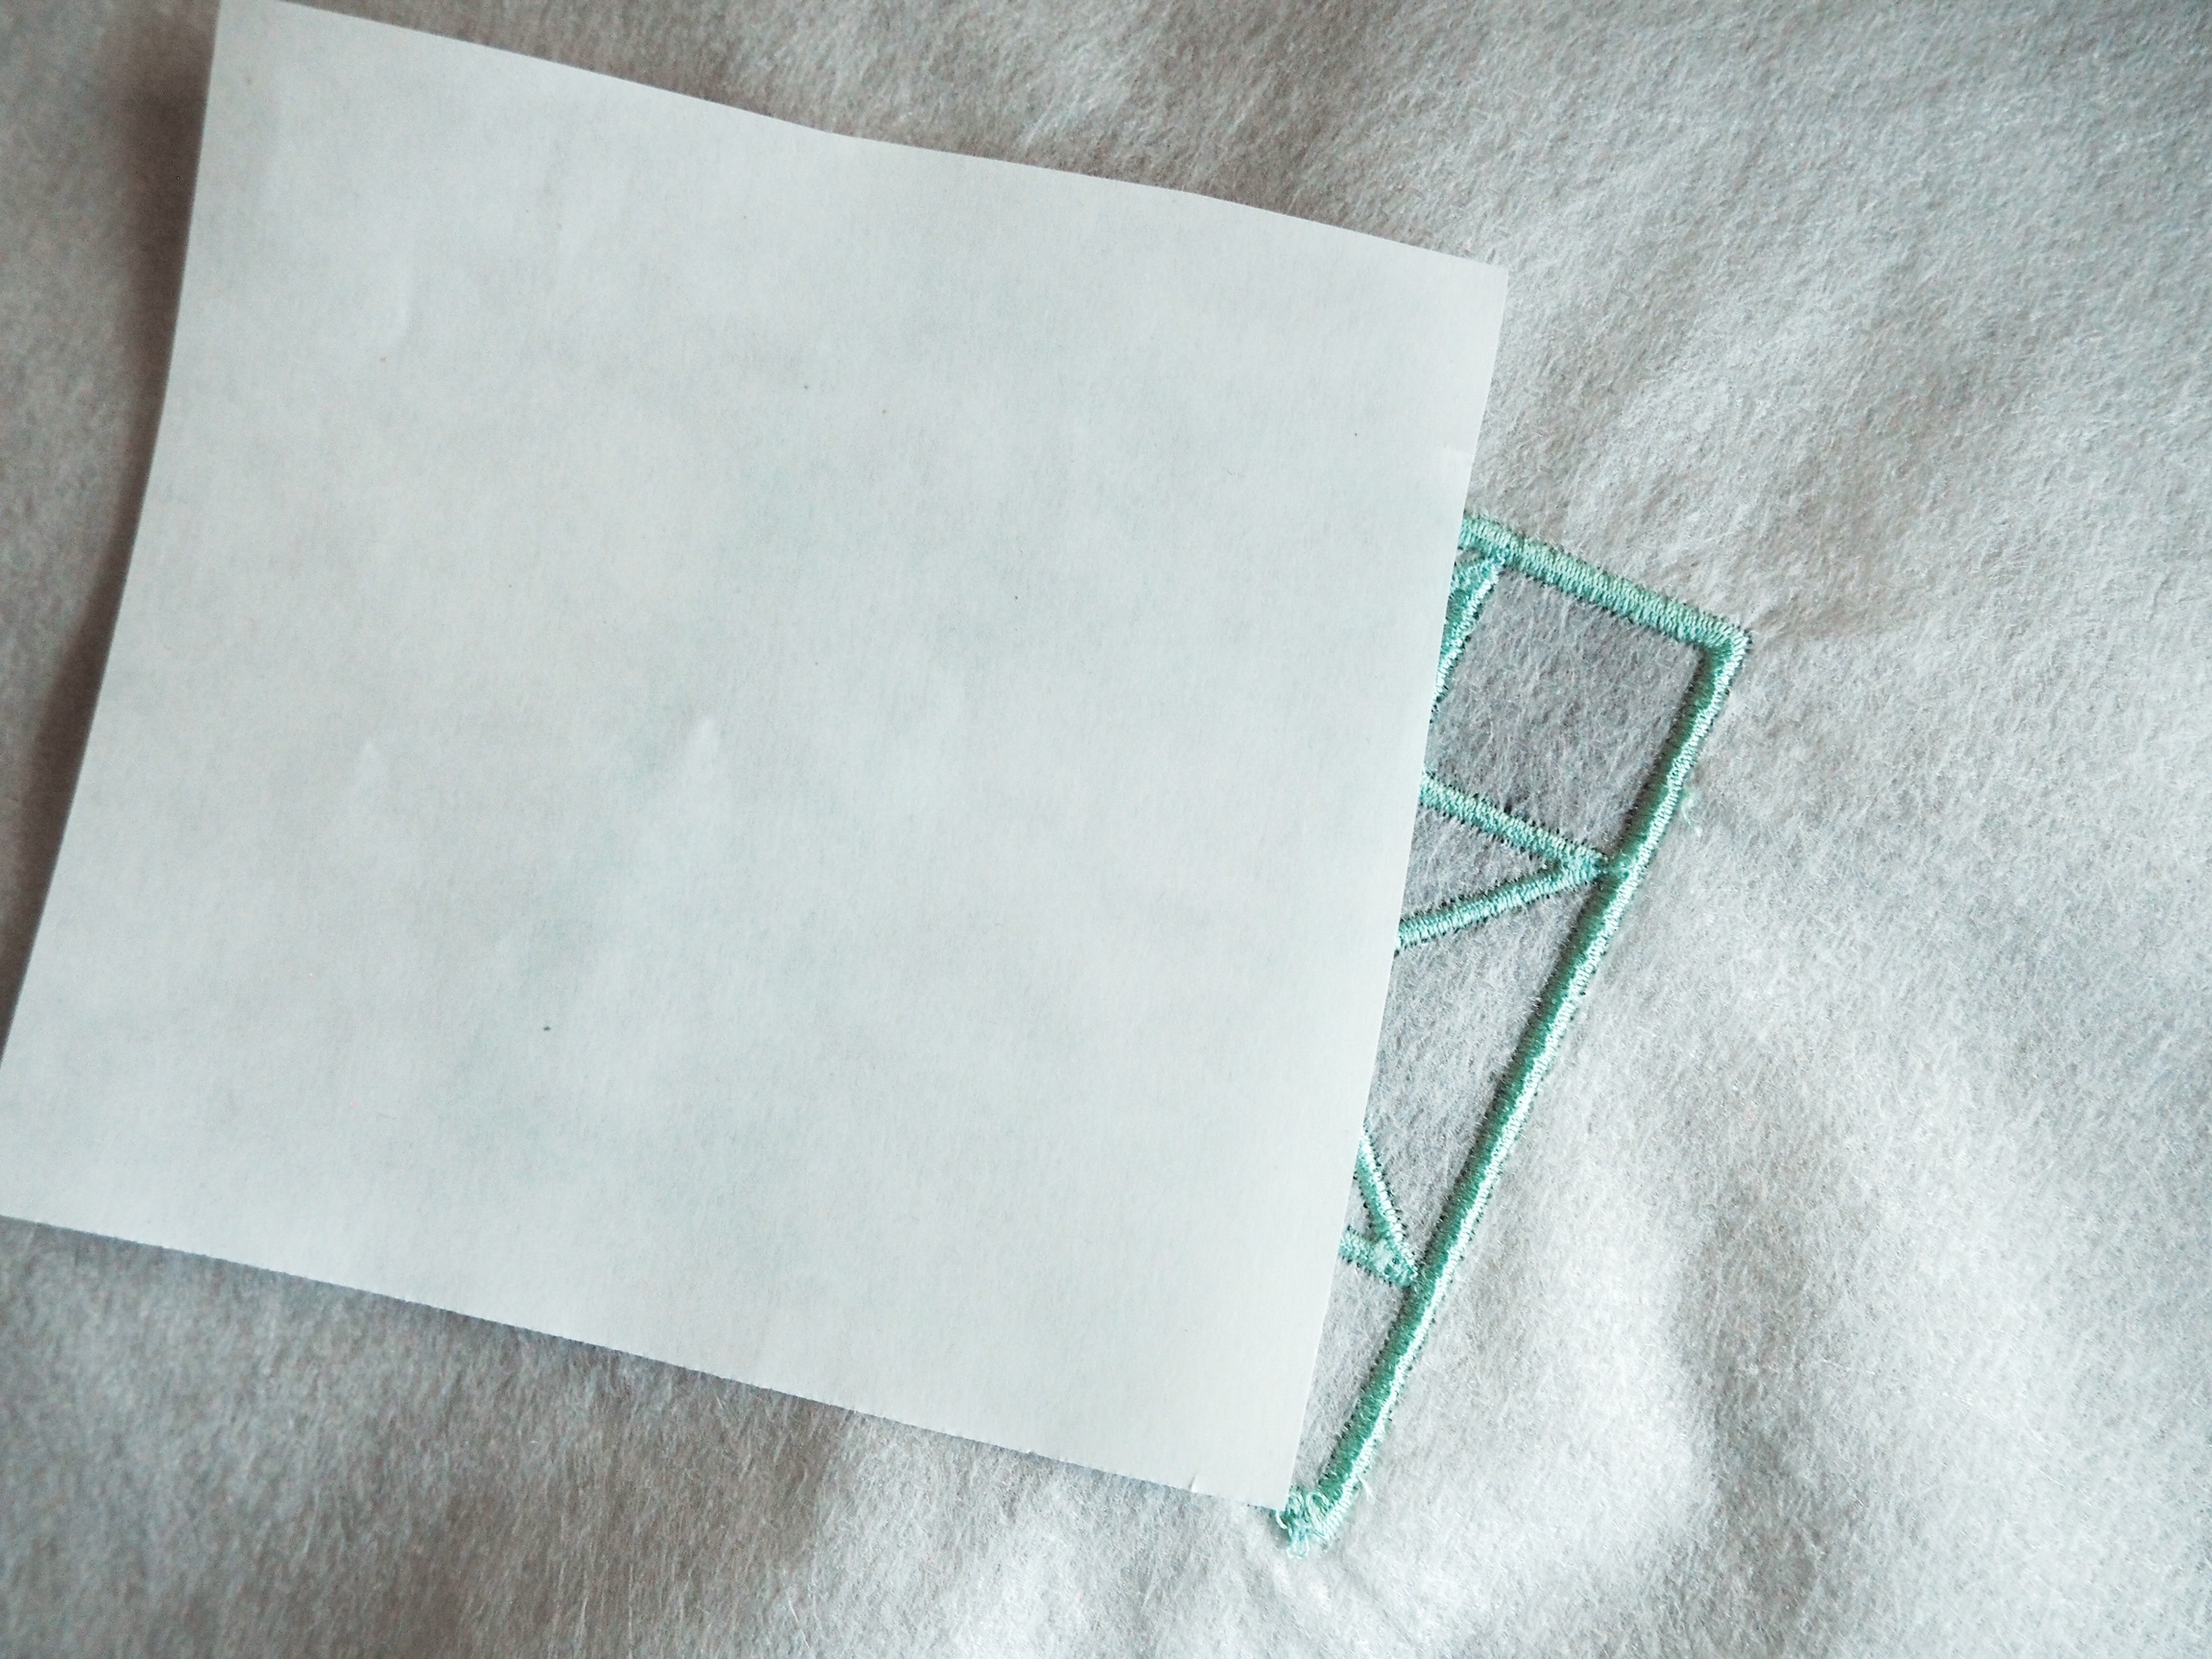
- Press gently with your iron to adhere the Fuse and Seal to the backside of the patch
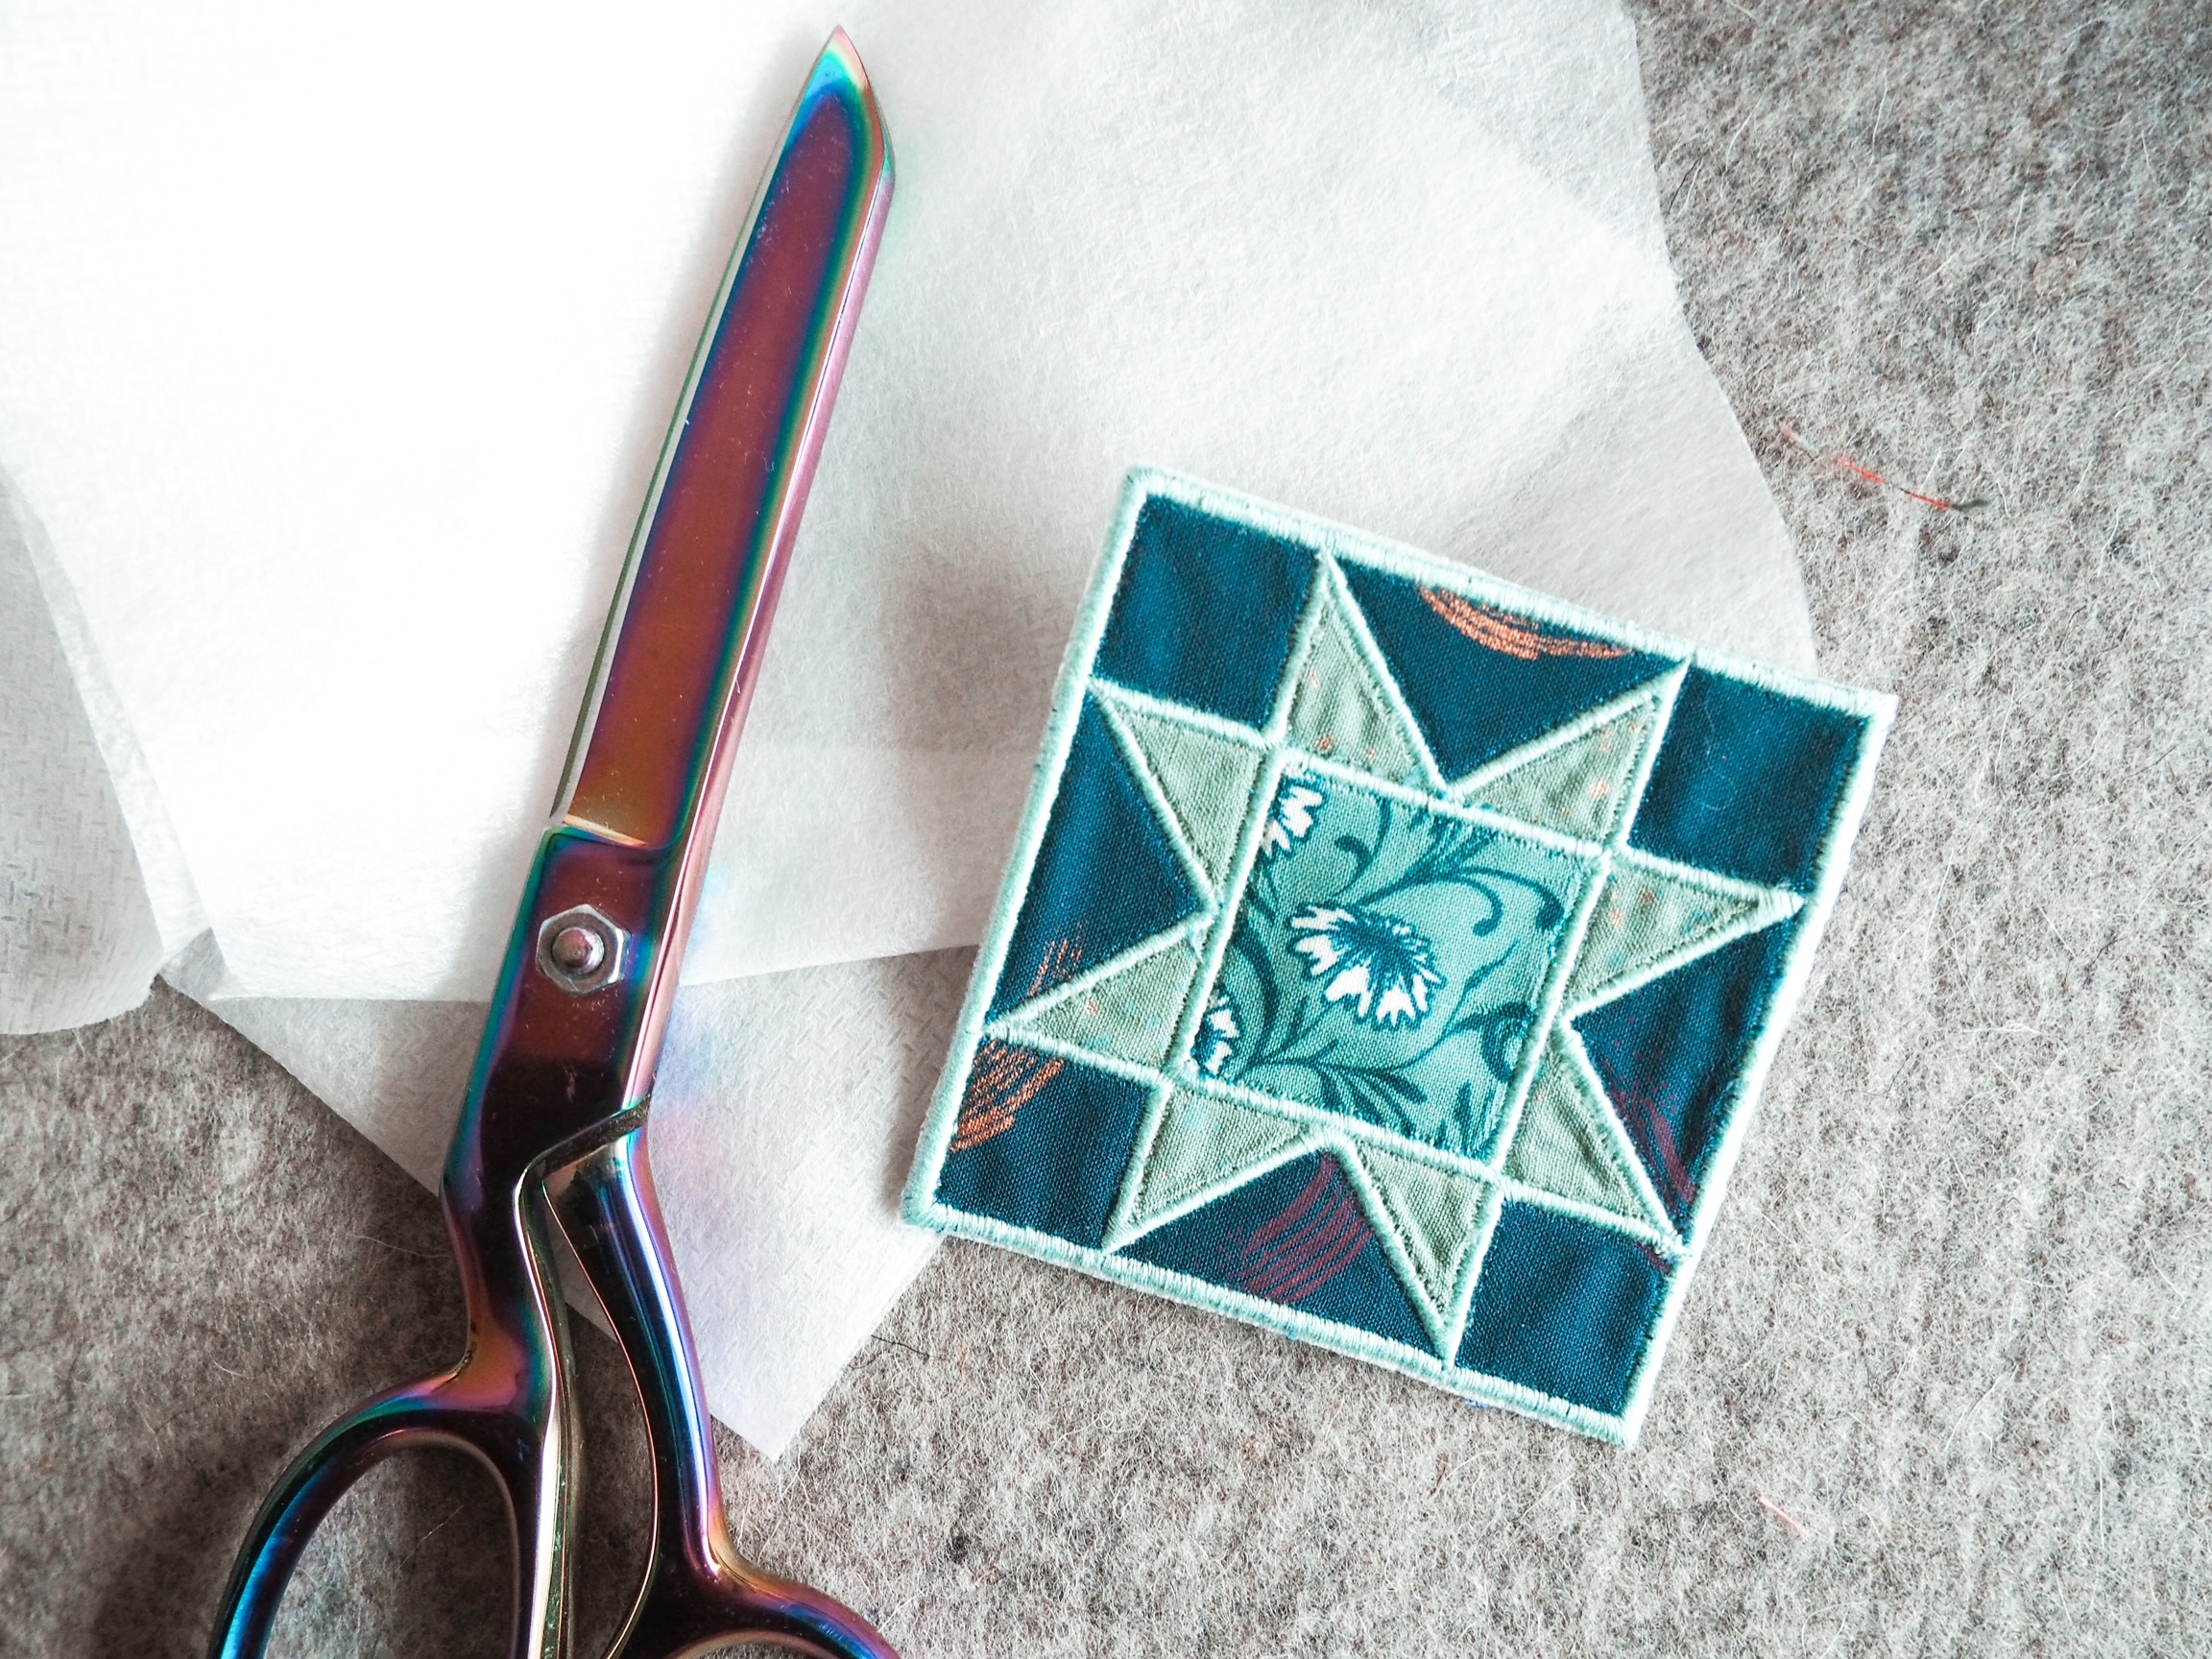
- Once cool, cut the patch out and discard the excess stabilizer
Step 6: Attaching Your Patch
I have used the adhesive part of the fuse and seal several times with great luck however, if you are attaching your patch to an item that will get heavier use, you may decide to add a few stitches to help keep things secure. To iron your patch on:
- Ensure your item is able to lay flat and is dry
- Determine placement of the patch, ideally avoiding going over any seams
- Remove the paper backing from the patch and press it adhesive side down on the item
- Using your iron on a medium setting, press the patch without steam. You may need to press the item a few times to ensure the adhesive activated on all areas of the patch
- Allow your item to cool before moving
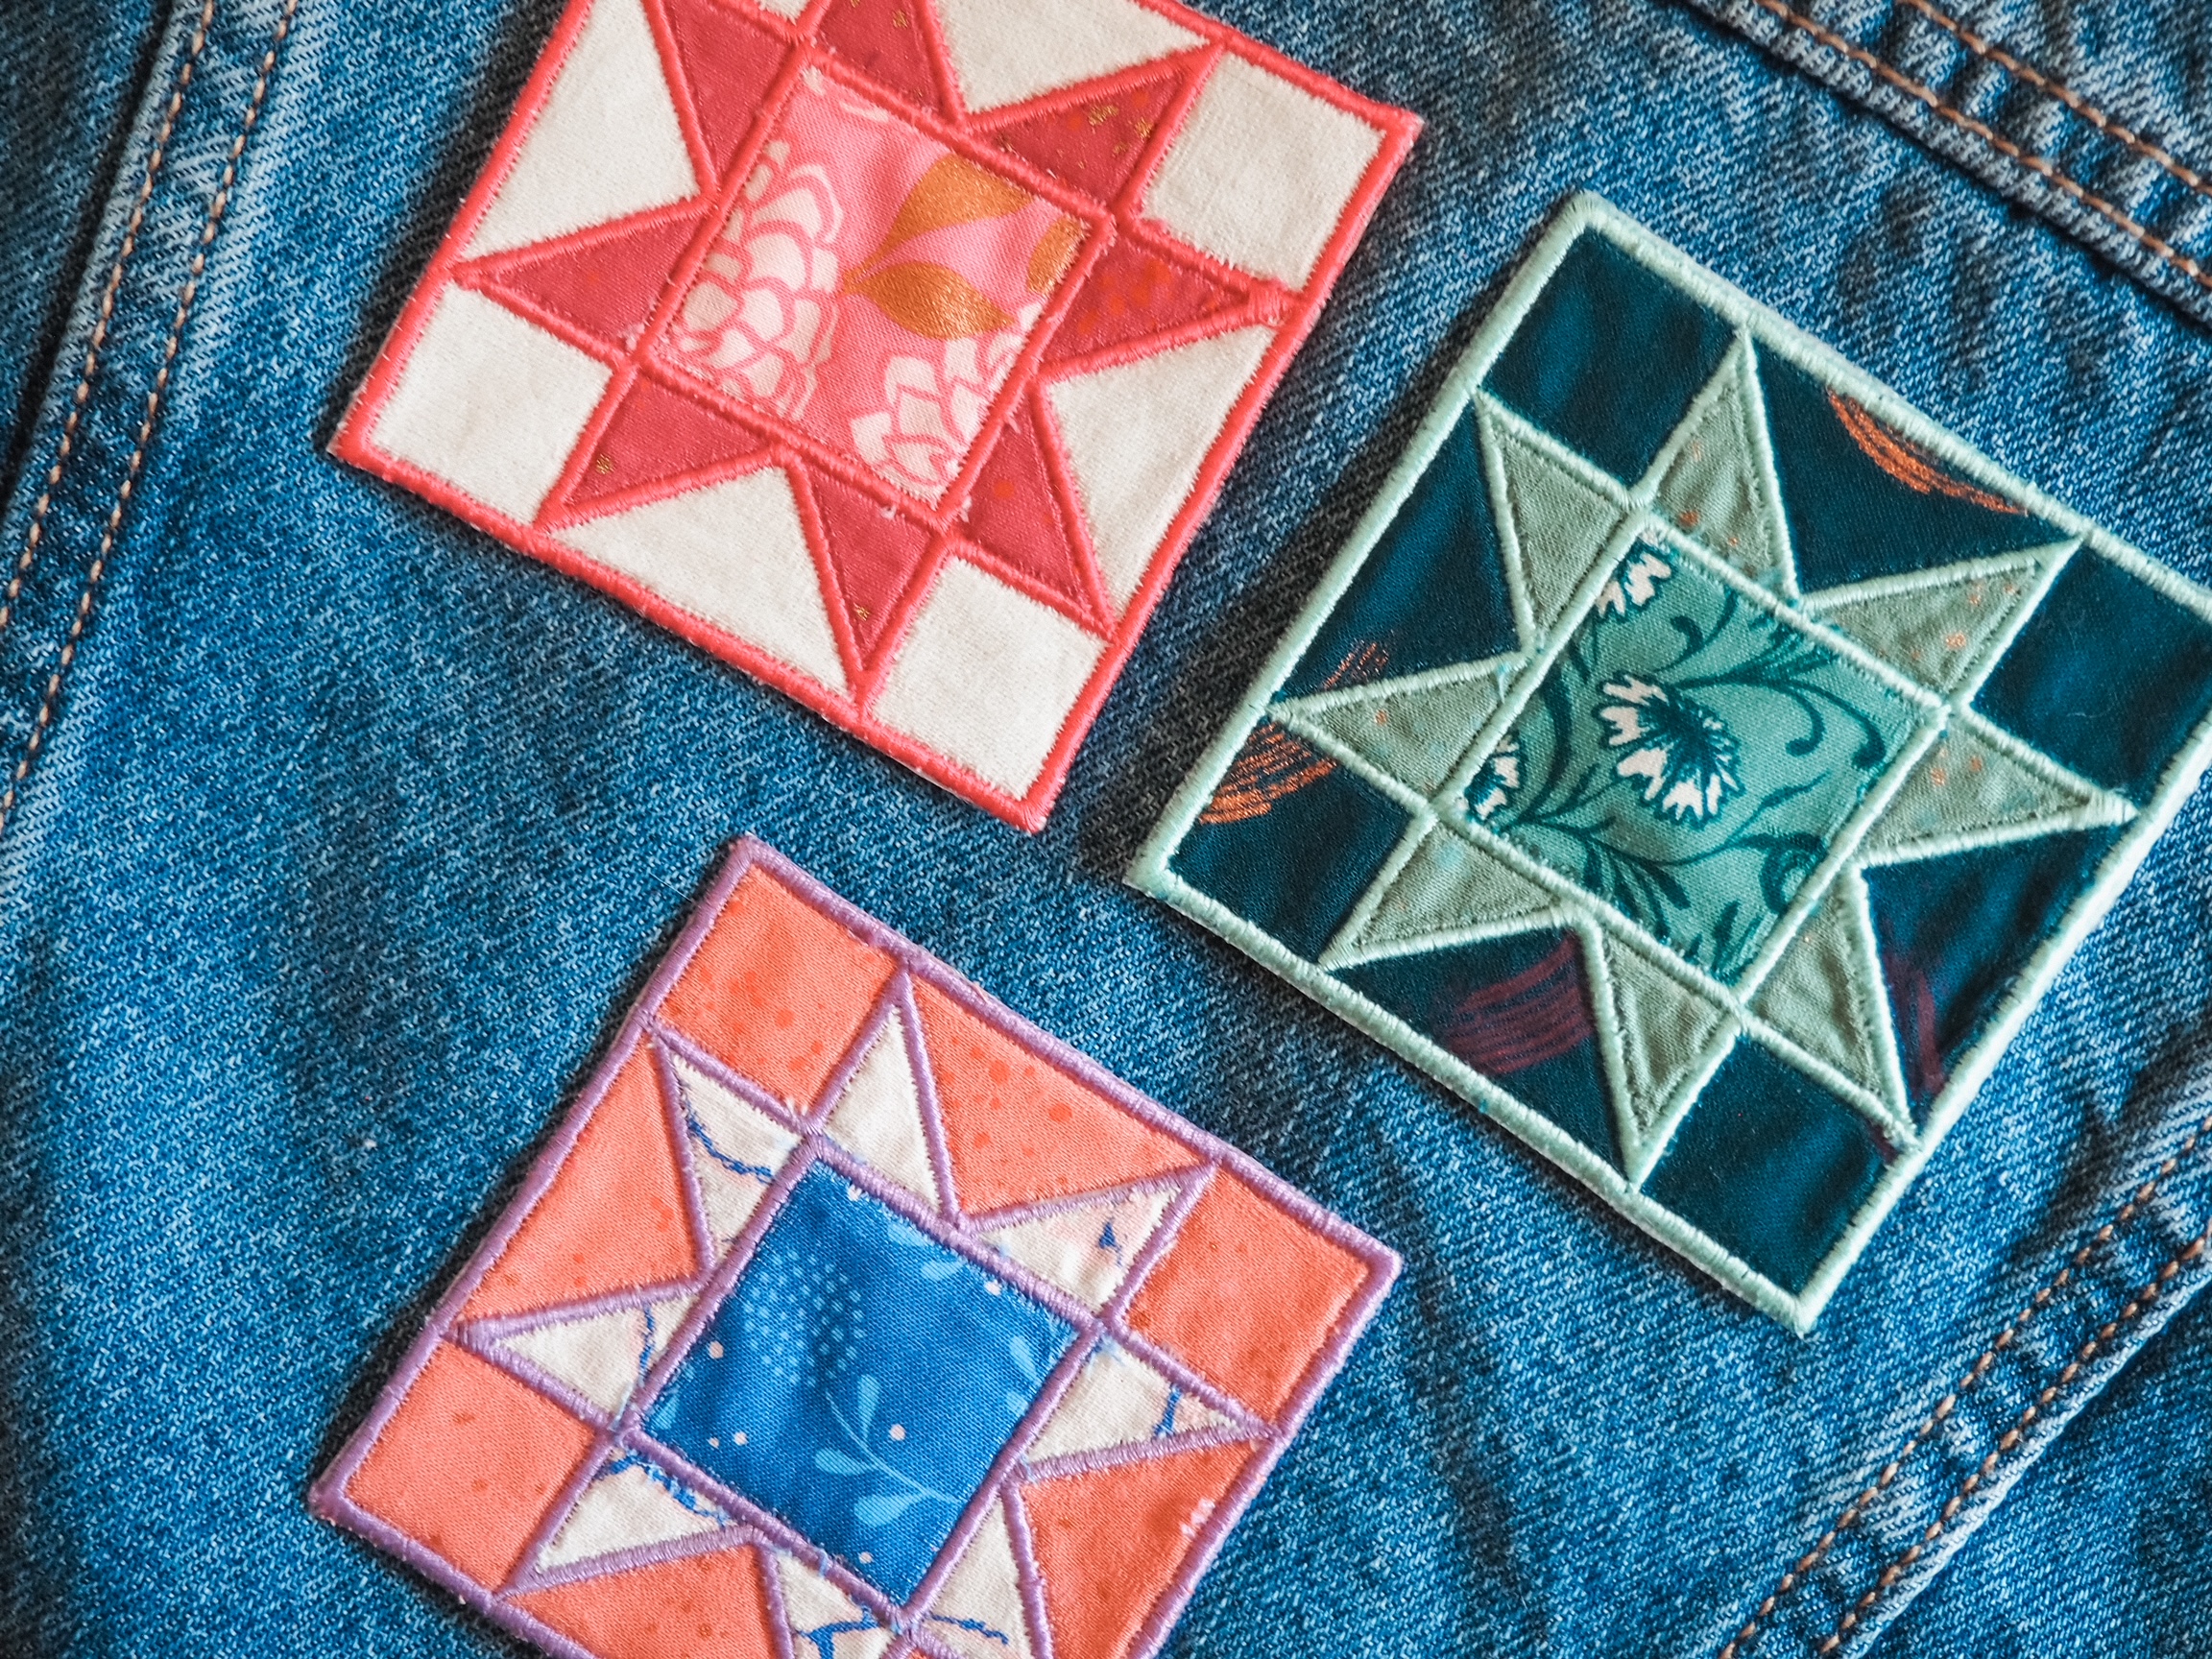
Congrats! You have a fun and unique patch and you got to use up some of your scraps. You can use your patch to fancy up a jacket, bag, or even your sewing machine cover. However you use it, if you post of social media feel free to tag me at @aandcowi so I can see your spectacular creations. Happy sewing!


What you might also like


4 comments on “Appliqué Quilt Star Patch Tutorial”
-
-
I will definitely try this out. Thank you for such great directions and the embroidery file!
-
I an unable to download the pattern. Any hints?
-
I can get it downloaded- but unable to open it to use. Any ideas?
Leave a Reply
You must be logged in to post a comment.

Sew Cute. Thank You for the Neat use of “scraps” idea.