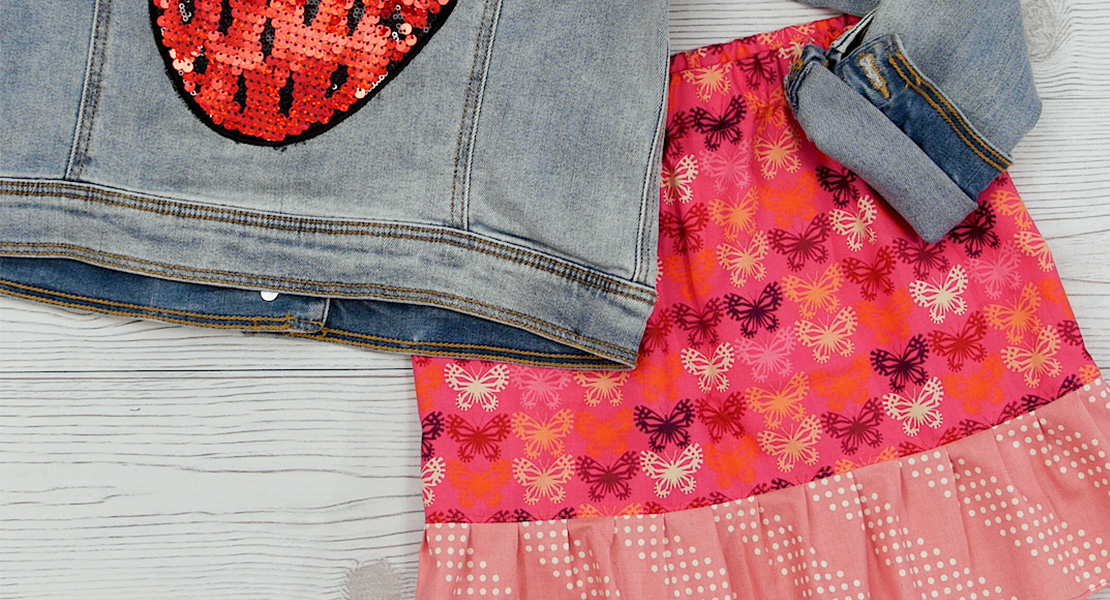
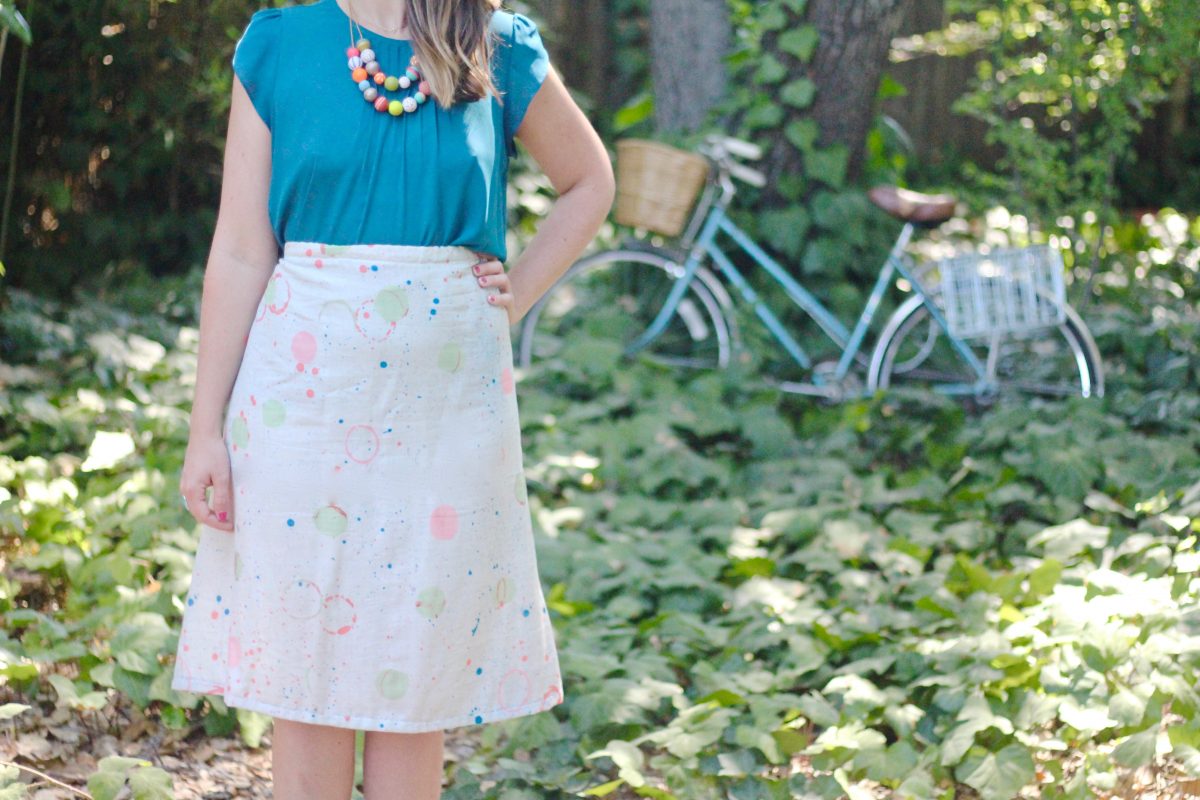
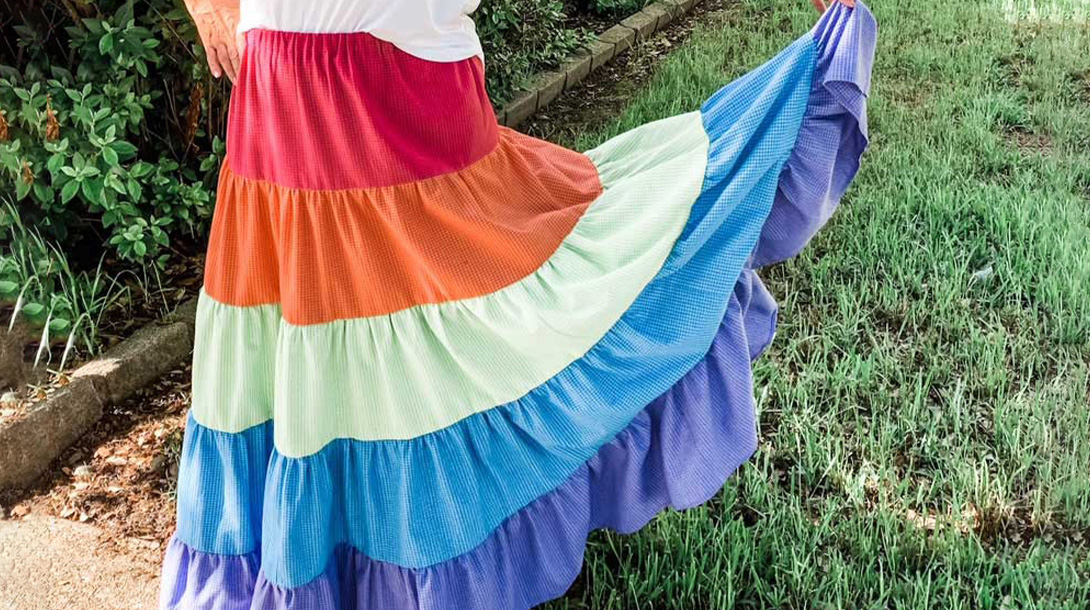
How To Hem a Circle Skirt
Circle skirts are so versatile and can be made in a variety of fabrics, but they can be a little tricky to hem. When fabric is cut on the bias, it has a tendency to stretch out. With a circle skirt, this is the case for some areas of the hem, while other areas will be on the grain of the fabric. This will cause some parts of the skirt hem to stretch out, but others will not. This creates a hem that is really uneven. In this post, I’ll show you how to easily get an even hem on circle skirts or any other garment that has a hem on the bias of the fabric.

Some fabric will have a greater tendency to stretch than others. You may notice a more uneven hem with a drapey fabric like the heavy crepe fabric I used here. More stable, tightly woven fabrics like a cotton lawn may not stretch out as much. No matter what fabric you use, the hem on a circle skirt will likely become a little uneven. Because of this, it is really important that you hang up your finished skirt or dress and let gravity pull the hem down. You should let it hang for at least 24 hours to let the hem fully drop. It is so difficult to let your project sit when it is so close to done, but you’ll be so disappointed if the hem drops more after the sewing is complete. I’ve actually had some ready-to-wear skirts that the hem became a little uneven after hanging, so it really can happen to any of us!
Supplies Needed to Hem a Circle Skirt
- Circle skirt or dress (or any skirt or dress that is cut on the bias)
- I used the FREE Charm Patterns Circle Skirt for this tutorial
- Dress form or mannequin
- TIP: If you don’t have a dress form – you can ask a friend to help you too!
- Pins
- Fabric Scissors
- Sewing Machine
- Thread
- Patchwork Foot #97D or Patchwork Foot #37 (or Reverse Pattern Foot #1 / #1D will work if you don’t have a Patchwork Foot)
- Optional Edgestitch Foot #10 / #10D
Preparing for Hemming
Before you hem your circle skirt, it is important to let the skirt hang so the fabric can fall and stretch out along the bias. If you have a dress form or mannequin, put your skirt of dress on it and try to be patient. If you don’t have a dress form, you can use a hanger too. The key here is to make sure that the fabric of the circle skirt isn’t resting on the floor. Let the skirt hang up for at least 24 hours… even longer if the fabric is really drapey and heavy. (I promise this is the hard part… I know we all just want to wear the garment!)
Determine the Skirt Hem Length
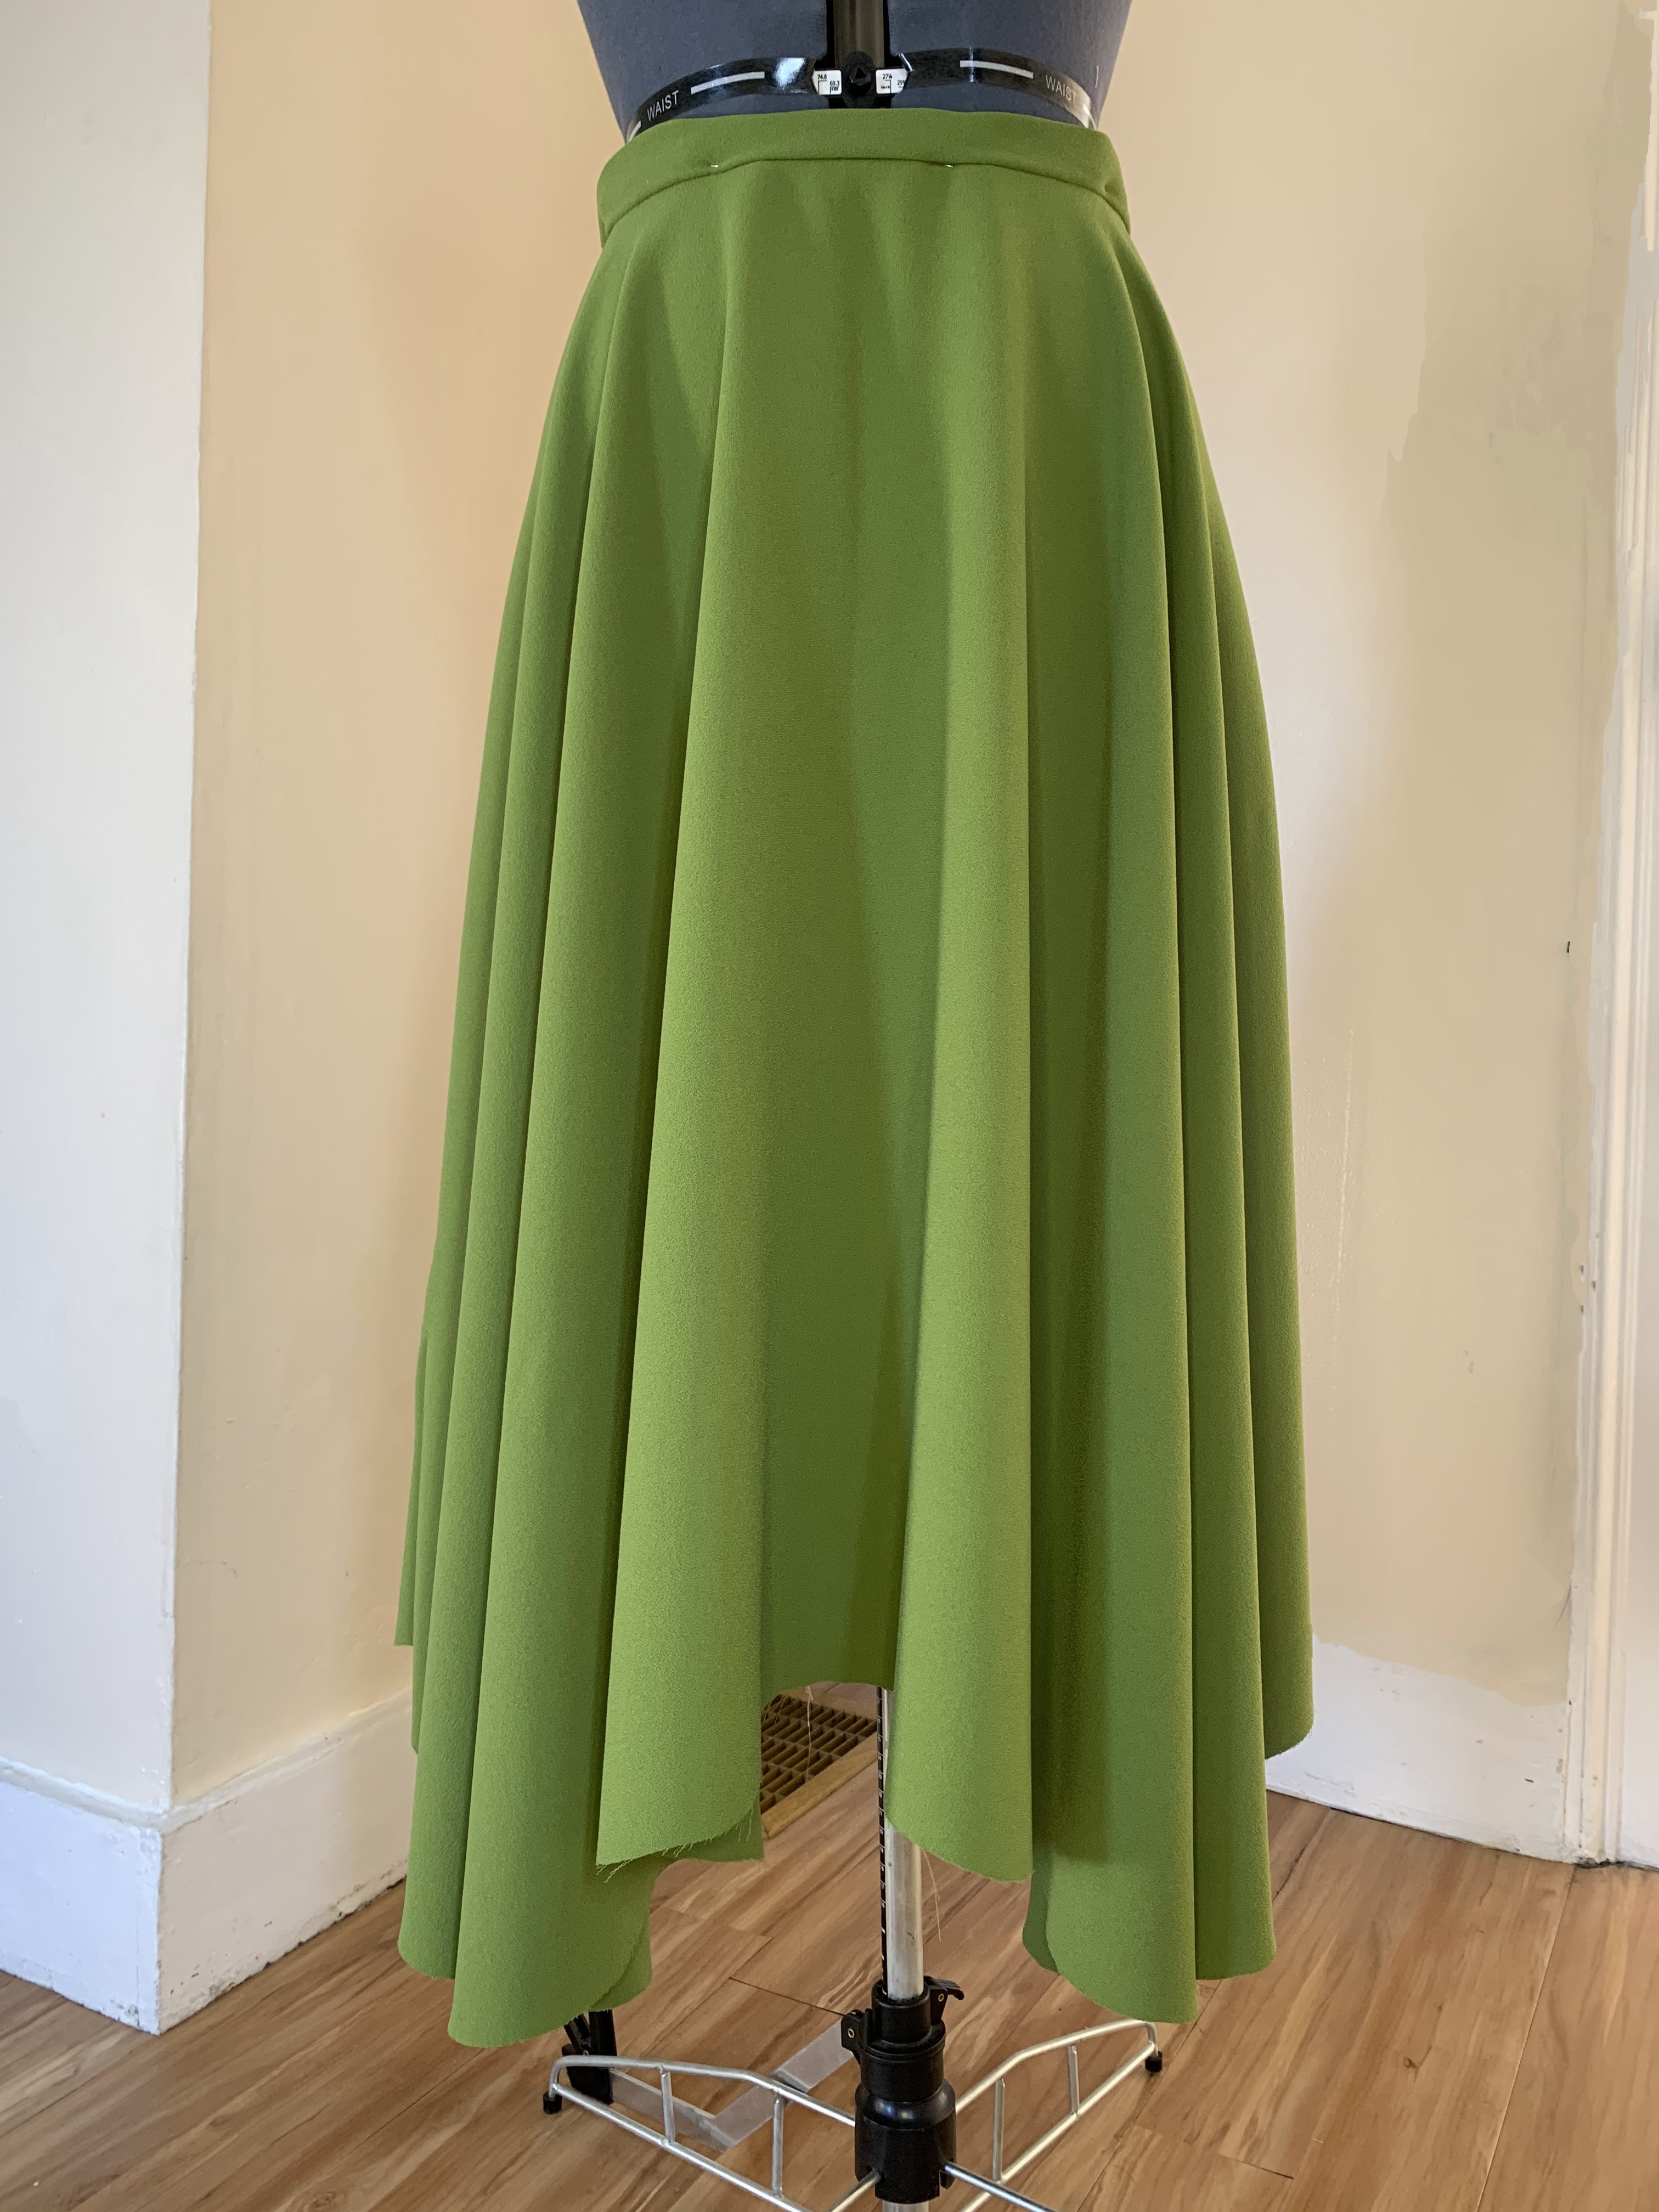
After you let your skirt hem hang, you’ll notice it looks very uneven. This heavy crepe fell so much over the course of a couple of days. Some fabrics will fall less, but most will need some evening out, even it if is a small amount.
The first thing you’ll want to do is decide on your final skirt hem length. You can try your dress or skirt on to decide where you want your final hem to fall and add 1/2″ for hem allowance. Because I’m tall and like my skirts to be longer, I always just find the shortest part of the skirt hem and even the skirt to that point.
Marking the Skirt Hem
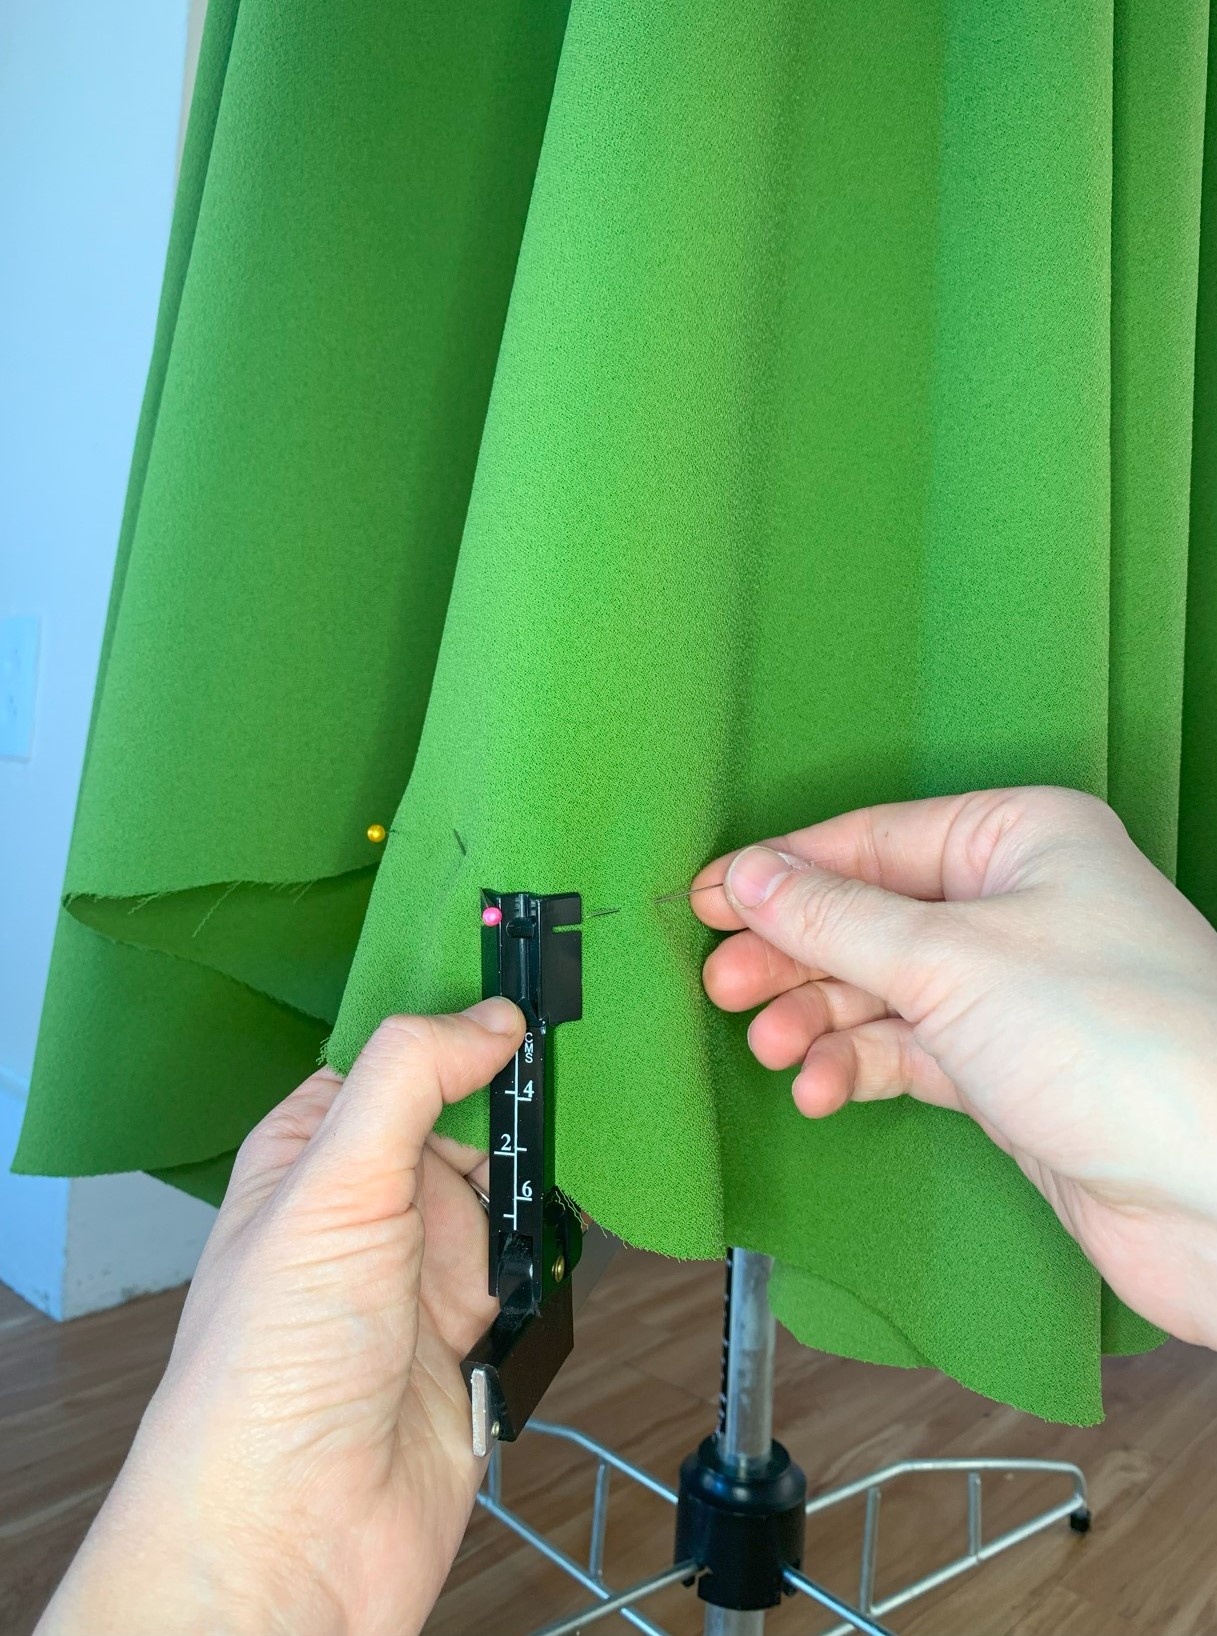
After you’ve decided on a final length, you’ll want to measure how far up from the floor that point is. You can do this a couple of different ways. Using a yard or meter stick will be a great tool to mark the hem the same distance from the floor. (You can even put a piece of tape on it so you don’t even have to pay attention to the measurements!). If you don’t have that you could even just put a piece of tape on a broom handle or something similar. If your dress form has a hem gauge like mine, you can adjust it to hit at the correct length of the skirt. I always make it so that my hem will be marked right in the little cut out near the edge.
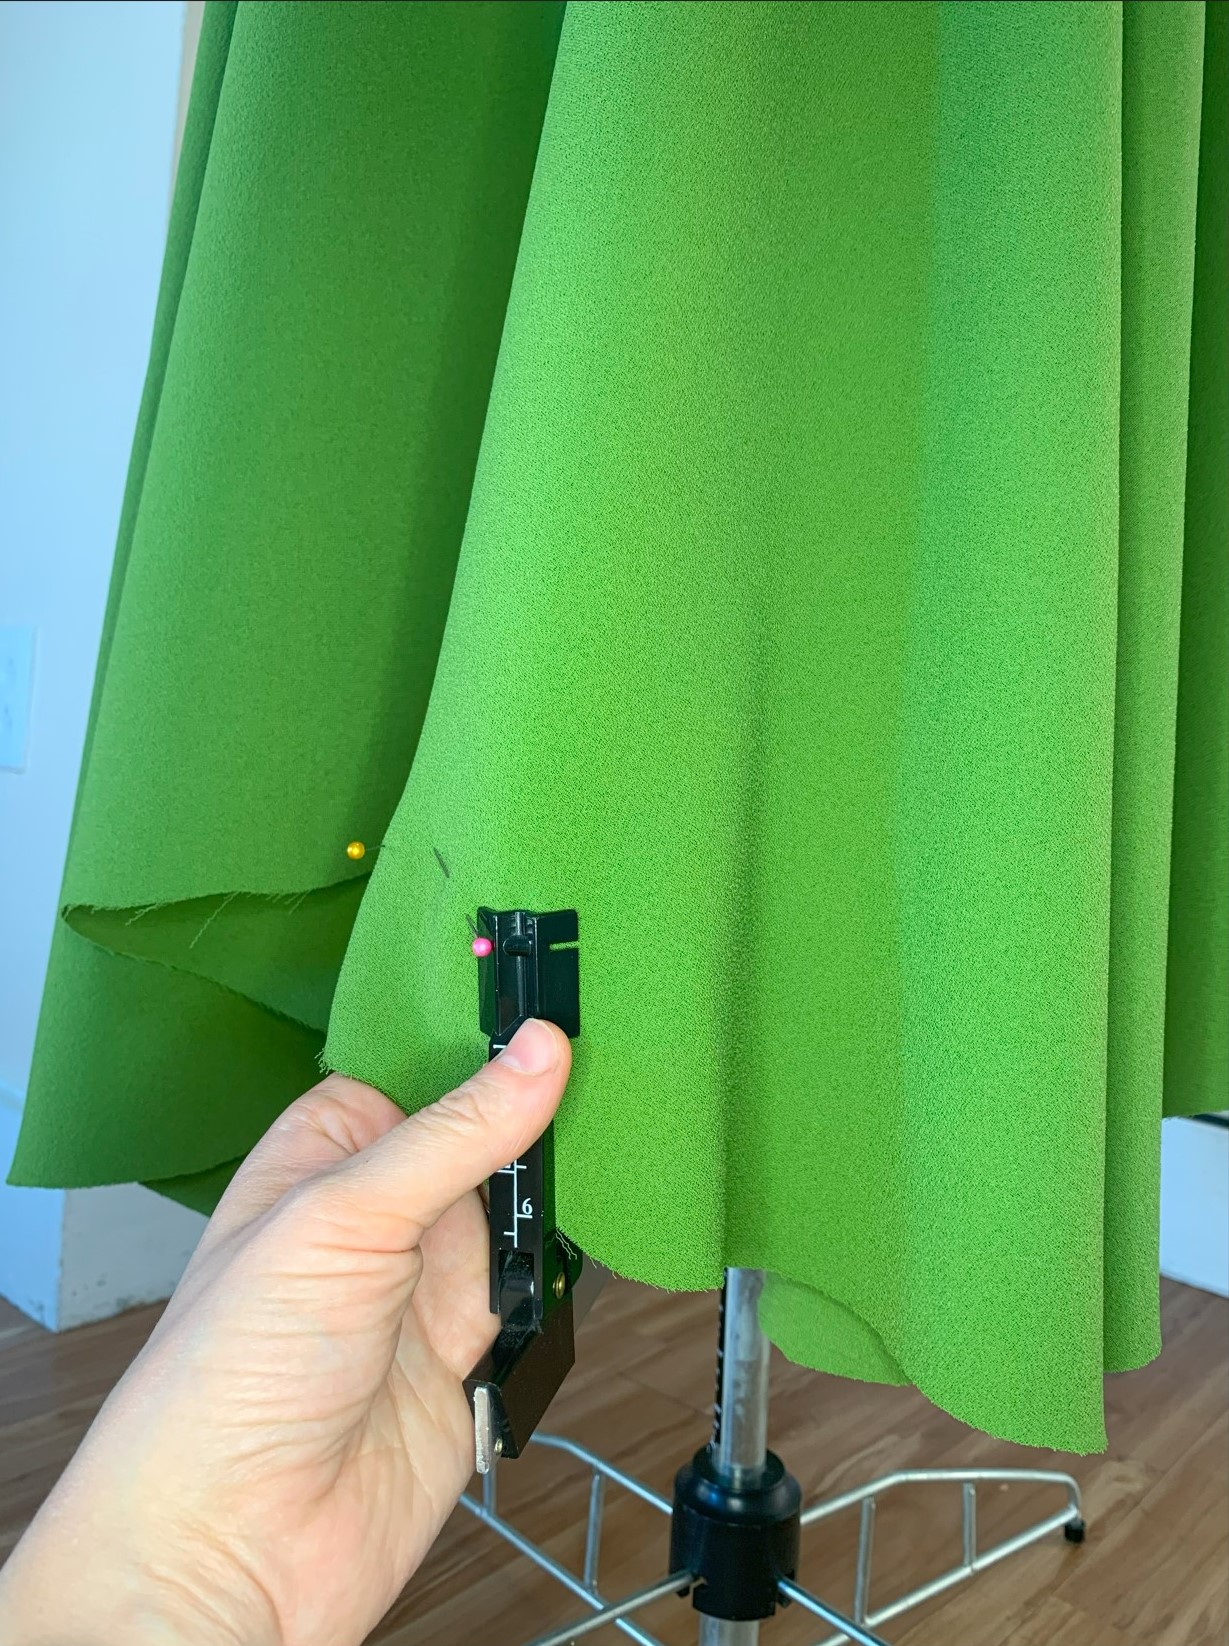
Once you’ve determined how your hem should be from the floor, it is time to mark your hem. With your skirt or dress on a dress form, you can measure yourself from the floor and mark. If you don’t have a dress form, this is where you’ll want to ask someone to help you mark the skirt while you wear it. In order to mark the hem, you can use pins or a marking tool like chalk or a water soluble pen. My preferred way is to do this with pins: mark the hem by placing pins all the way around my skirt at the level you’ve determined from the floor, parallel to the floor. You can also use a marking tool here, but I prefer the pins because it is difficult to write on the fabric without it being on a table or hard surface.
Trimming Excess Fabric from the Hem
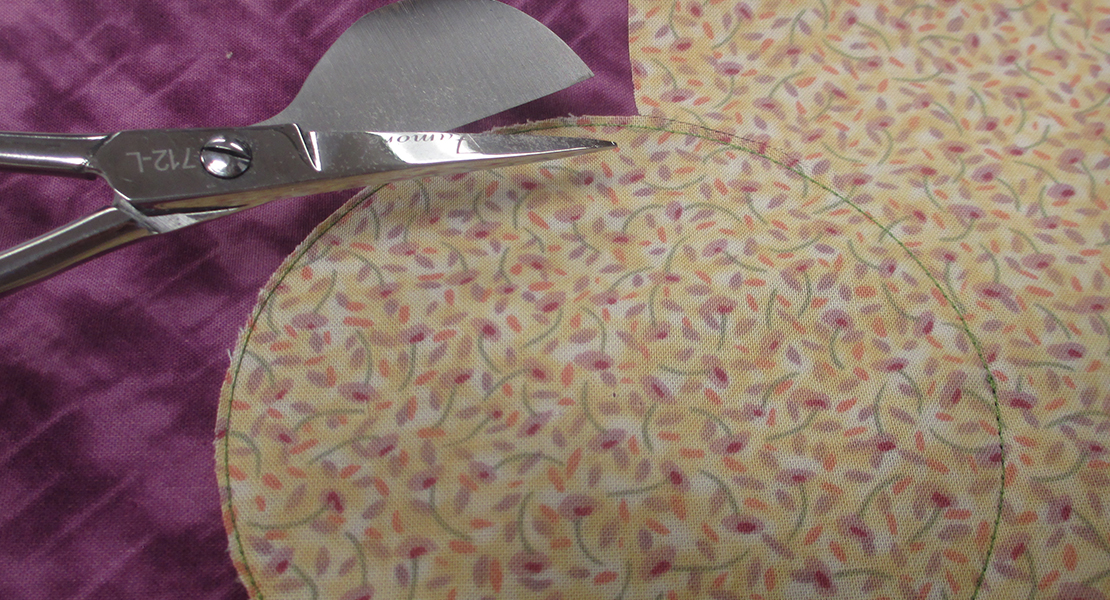
After you’ve marked your hem all the way around, step back and make sure it looks even. You can even try the skirt or dress on to see if that line is even all the way around. (If you had someone help you mark them hem, thank them for helping you and tell them they did a great job!) When you are happy with the way the hem is marked, it is time to trim off the excess fabric. Using fabric scissors, cut off the excess fabric at the line you marked or just below the pins.
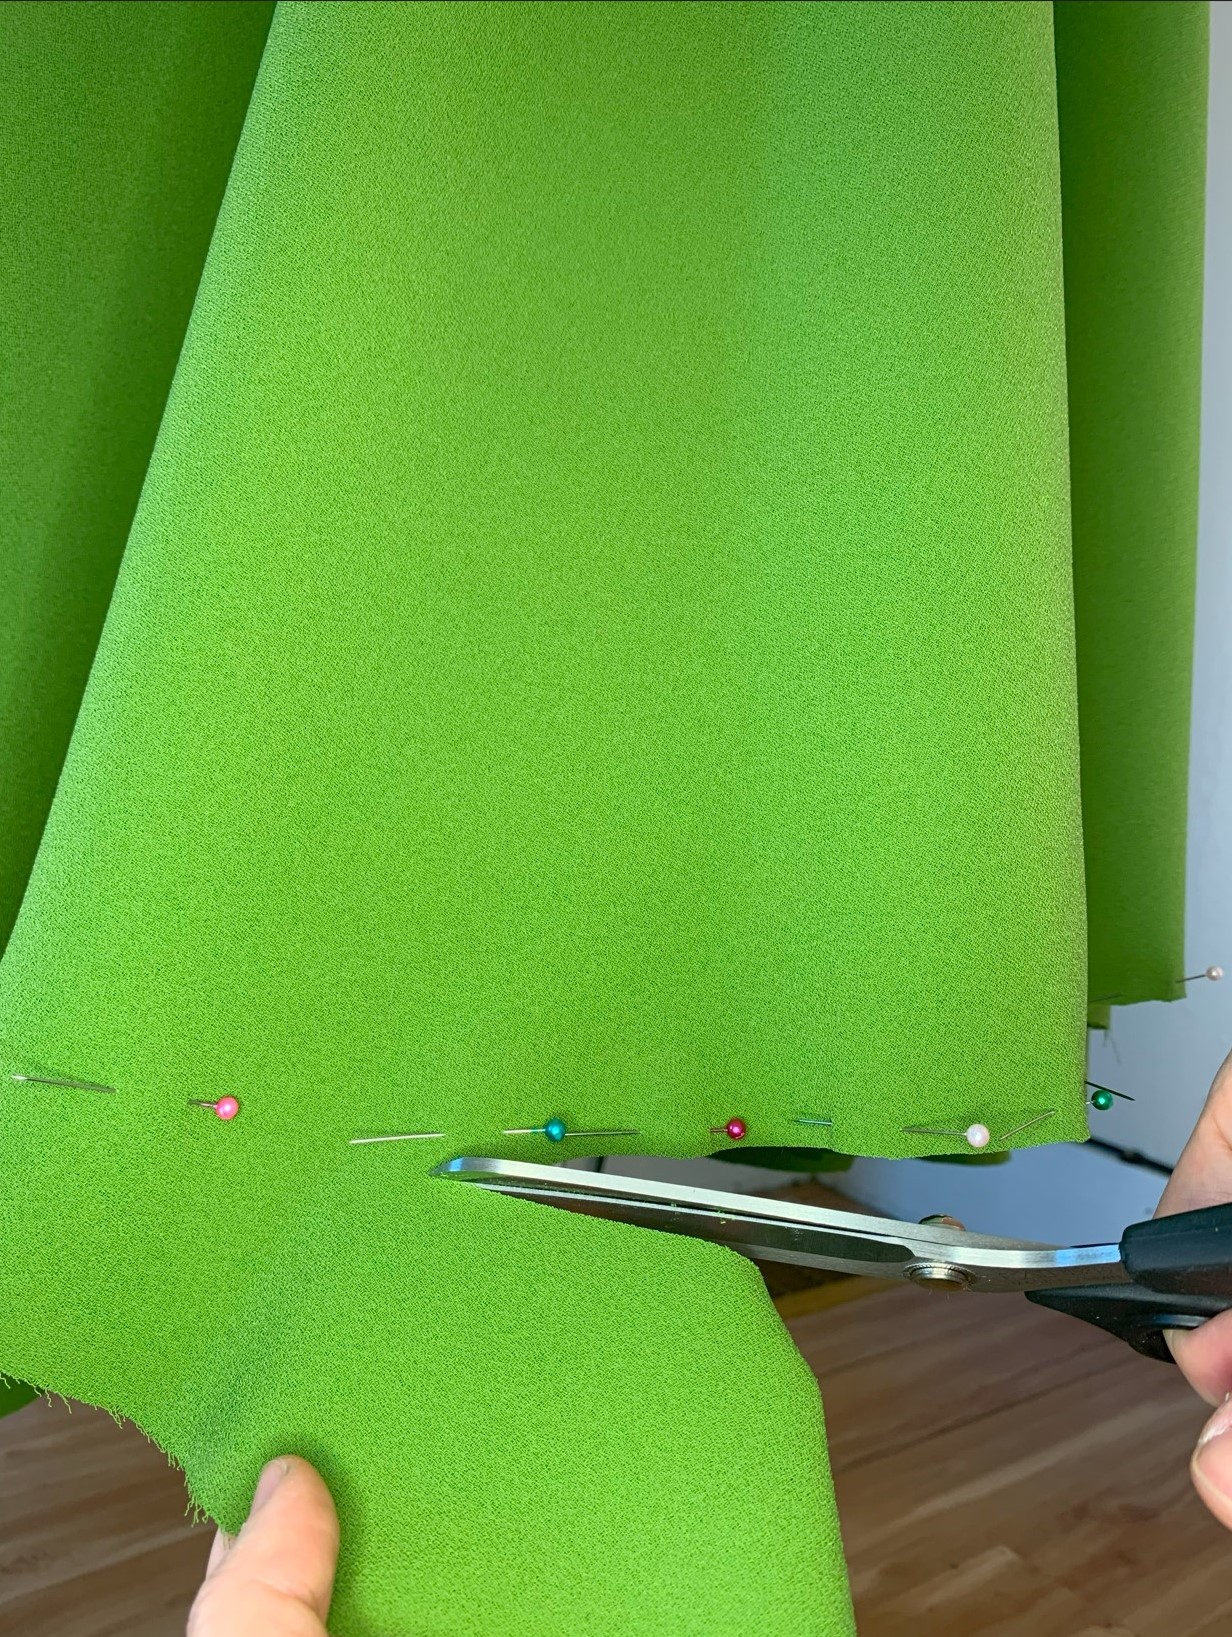
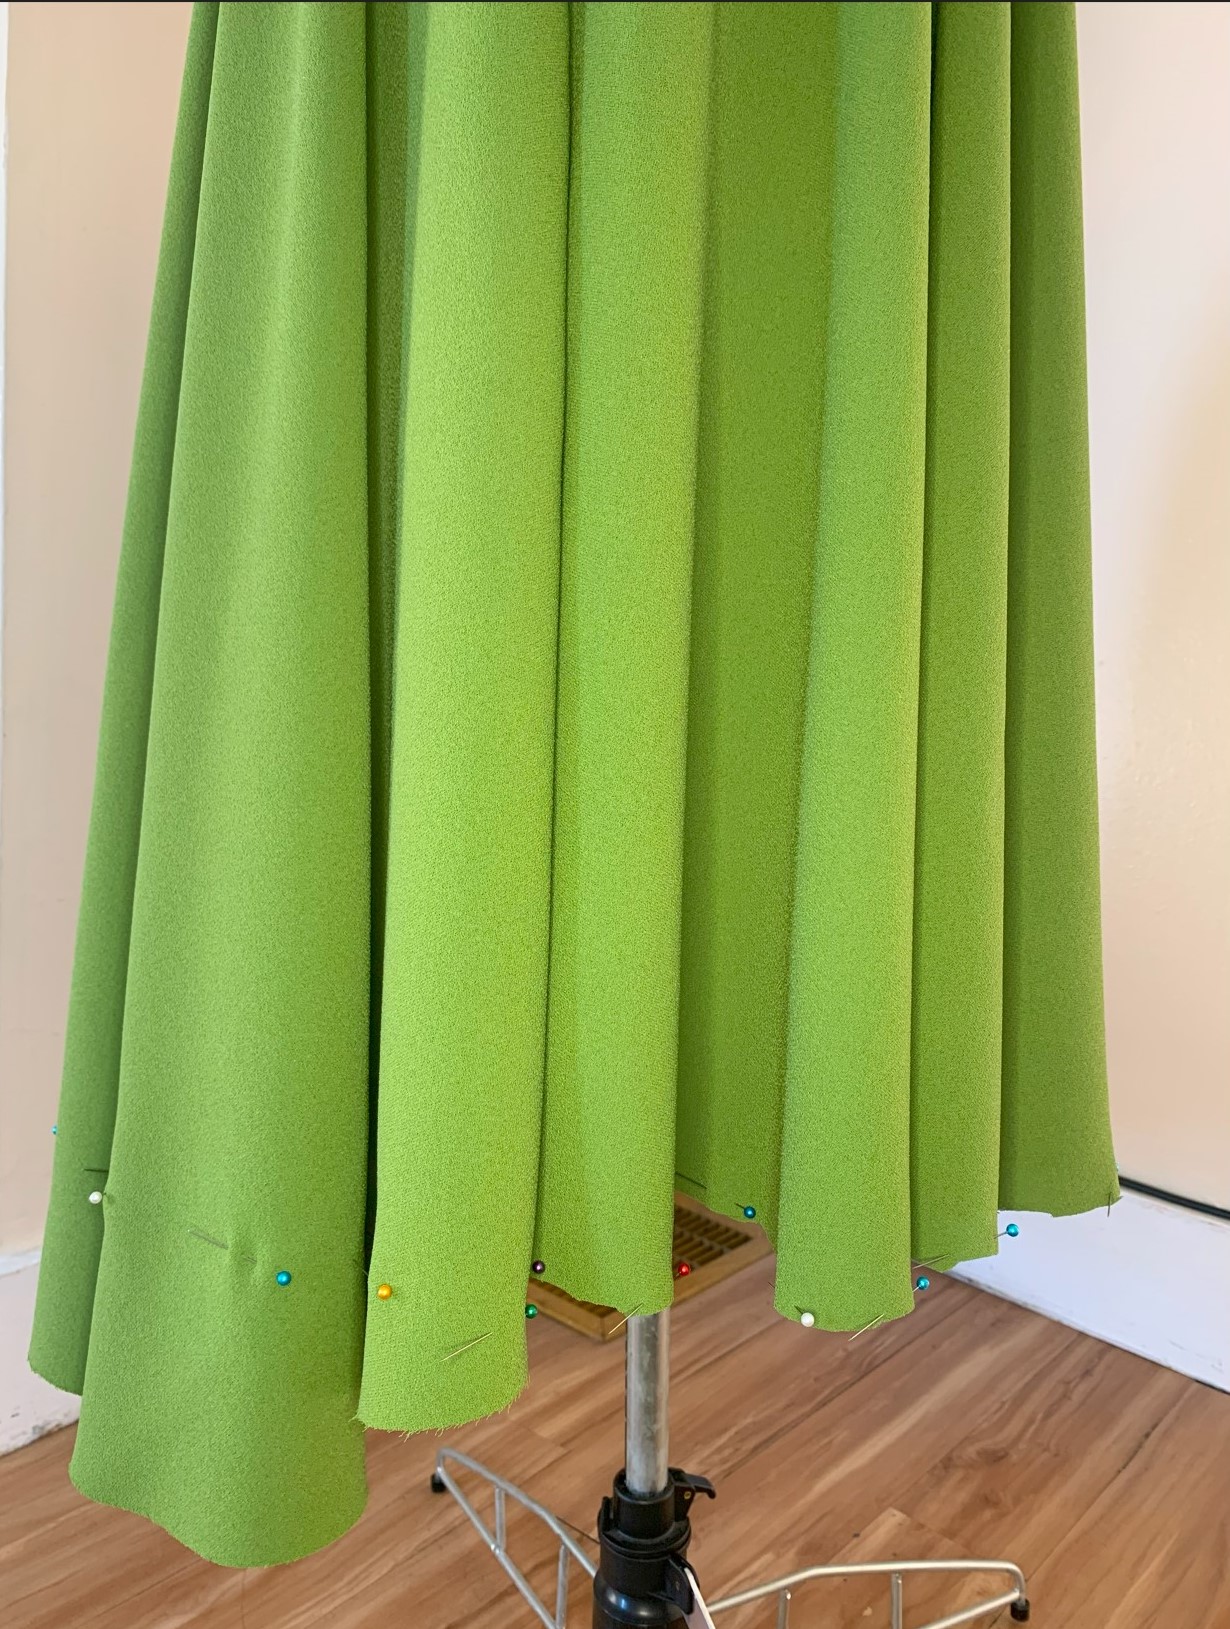
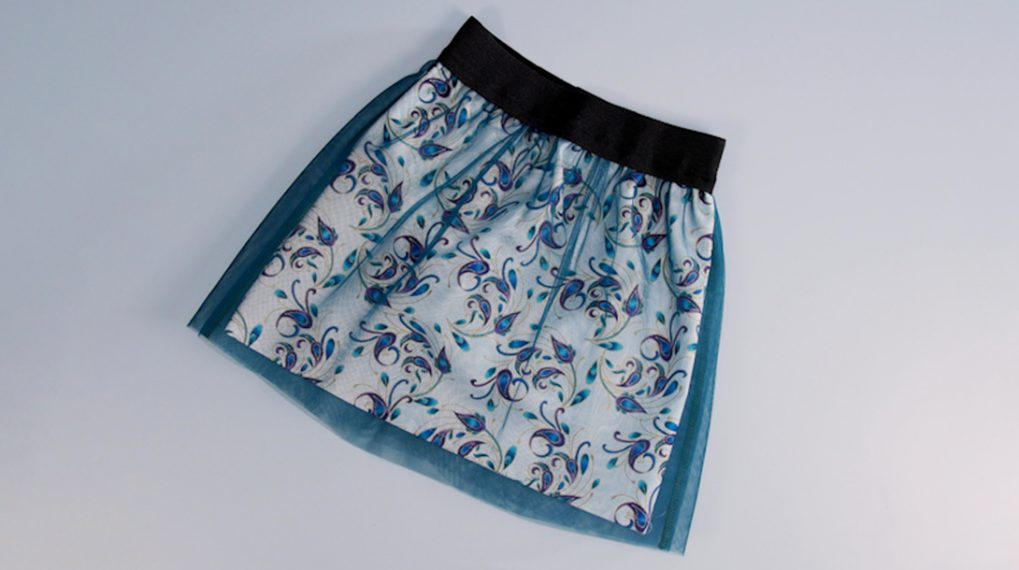
After you’re done, it will look like you removed a flounce and your hem will look straight all the way around. You can remove all those pins to prepare for hemming!

Marking the Hem’s Fold Line
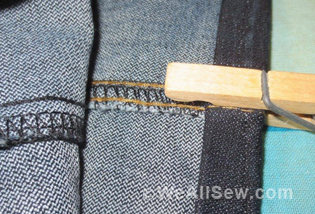
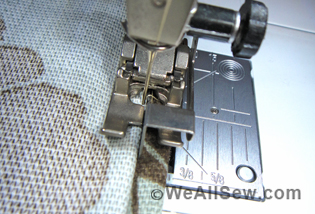
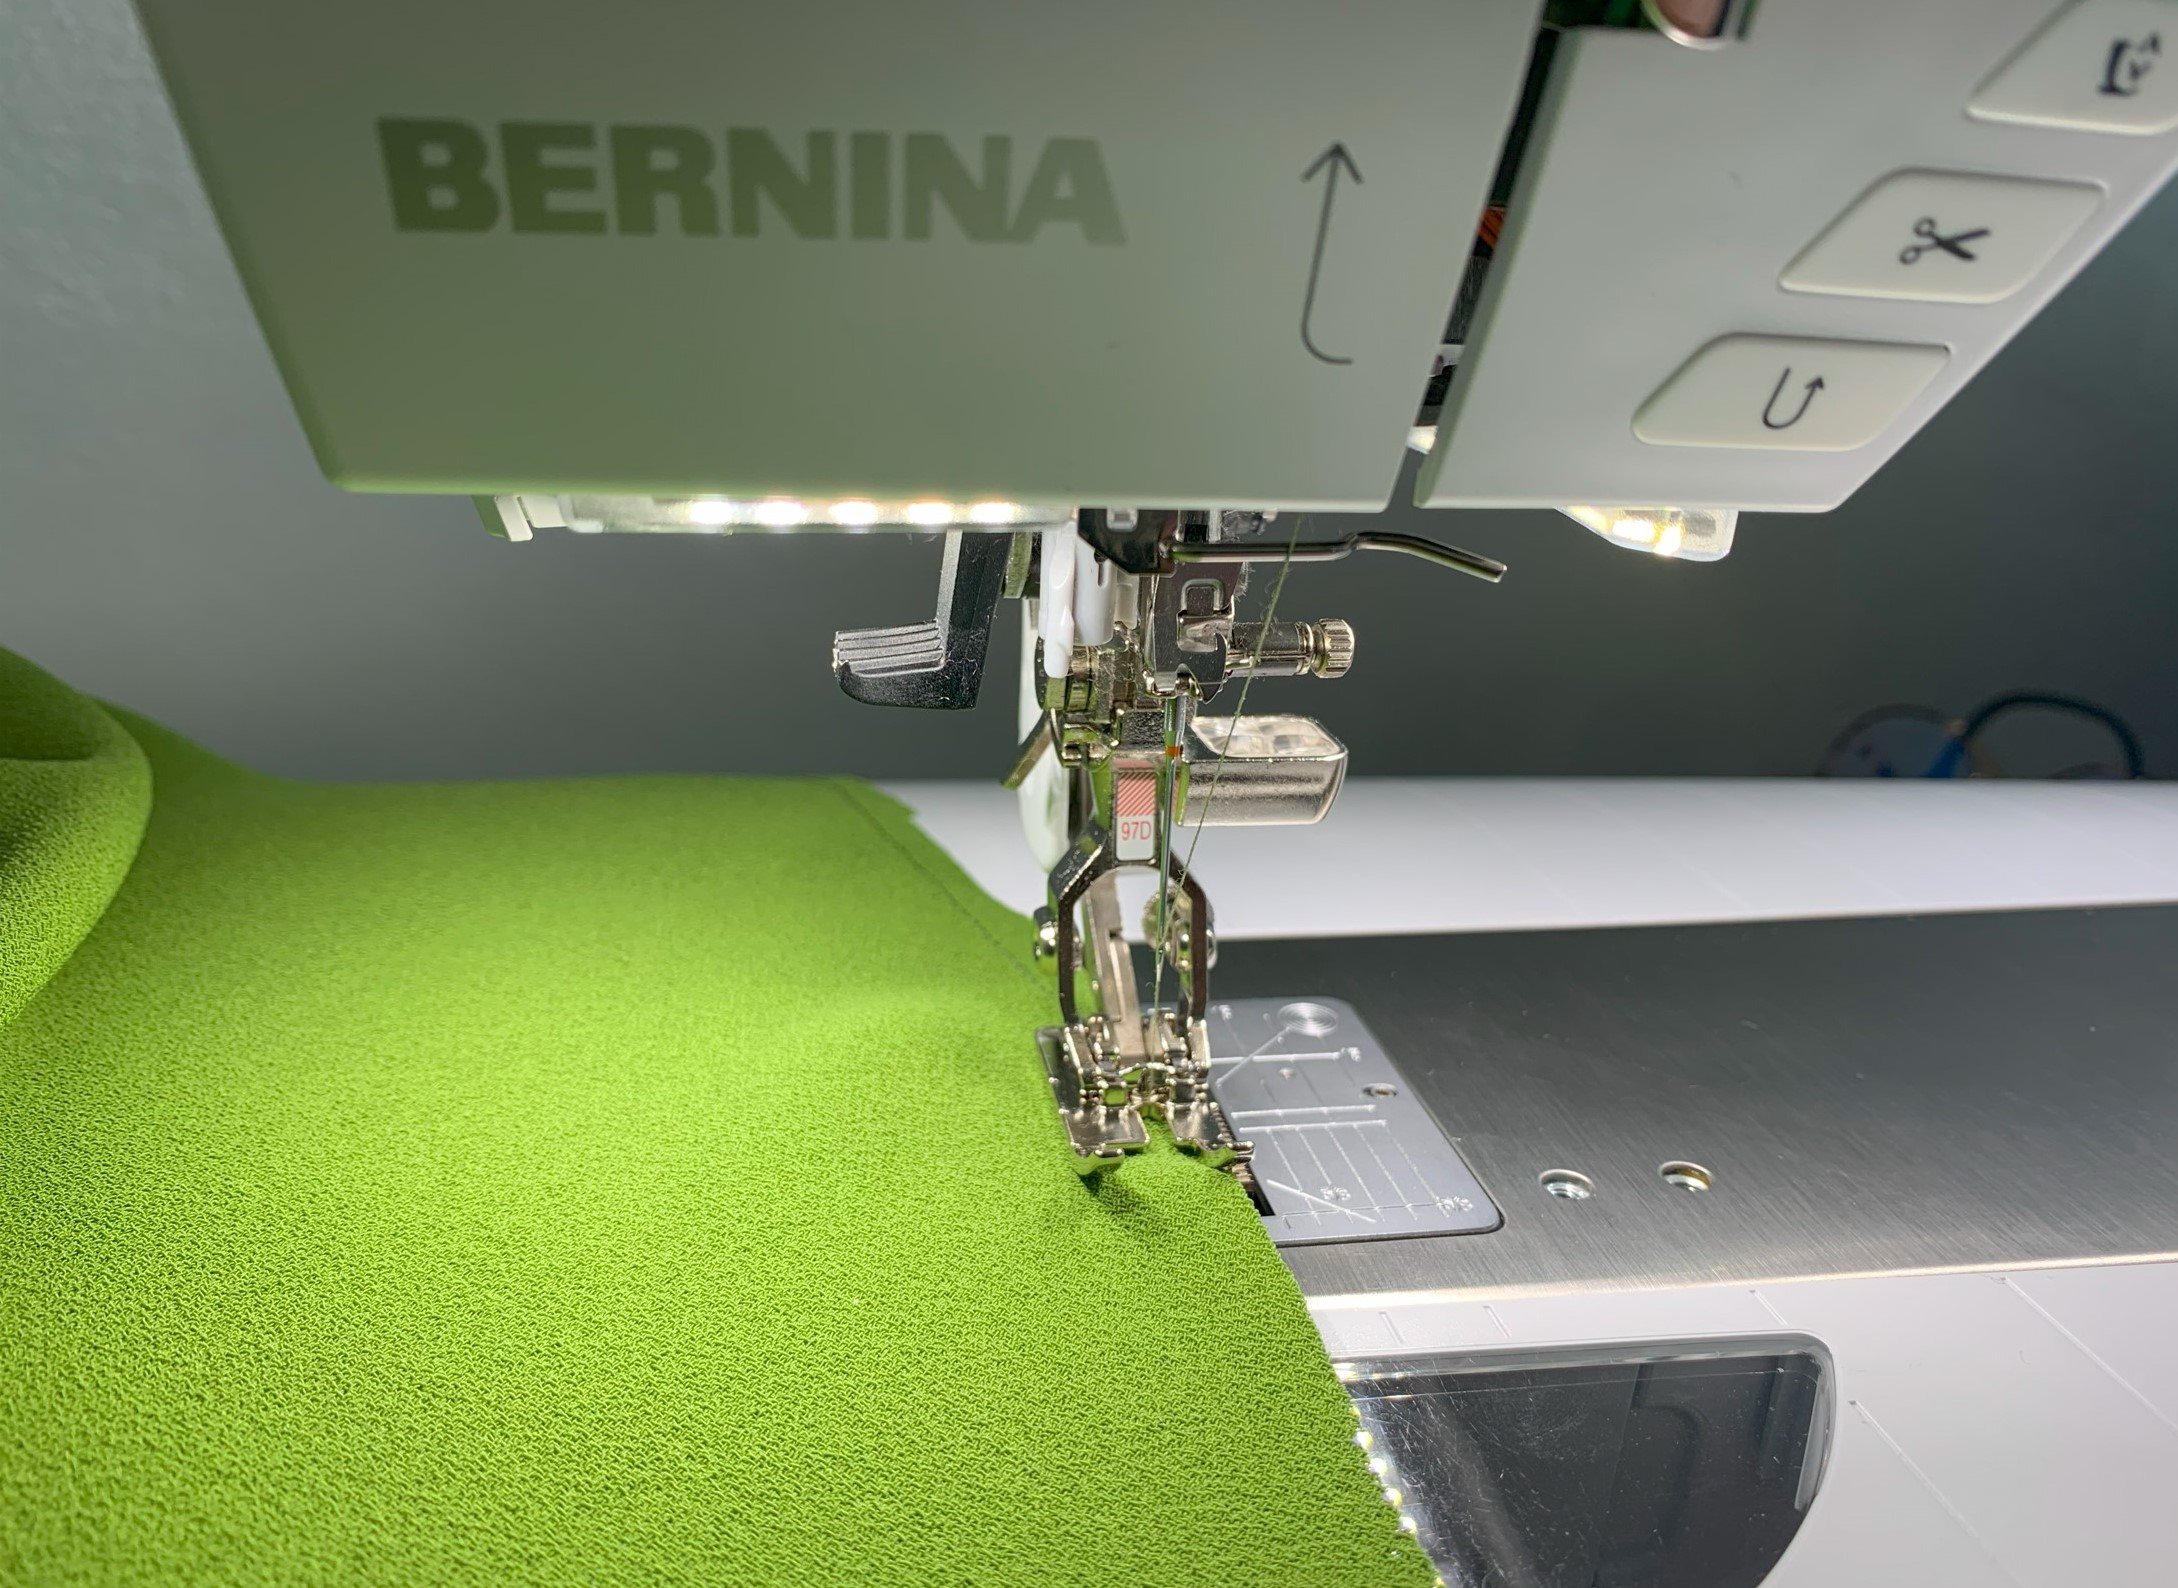
When hemming a large circle, a very narrow hem is usually the easiest way to go so that you aren’t folding so much fabric into a smaller space. (Darn those pesky curves always making things complicated!) I like to finish these skirts with a hem that’s folded 1/4″ and then another 1/4″. That small of an hem allowance can be difficult to fold accurately without burning your fingers. Before ironing, sew at 1/4″ all the way around the hem of your skirt. This will give you a line of stitching to fold onto and it makes the process a whole lot easier. I like to use a Patchwork Foot #97D for this step because I can use the edge as a 1/4″ guide. There are other 1/4″ feet that will work too, like the Patchwork Foot #37 or you can use the Reverse Pattern Foot #1 and the 1/4″ stitch guide on your stitch plate.
Ironing the Hem
After you’ve sewn at 1/4″ all the way around the hem line, you can fold the hem to the wrong side of the skirt along that line and press. Fold the hem again to the wrong side at 1/4″ and press. This will bring the line of stitching to the wrong side of the skirt, enclosing the raw edge between the fabric. Be patient here and don’t be afraid to use steam if your fabric can take it! Pin the hem along the way to prepare to finally sew it in place.

Sew the Final Hem
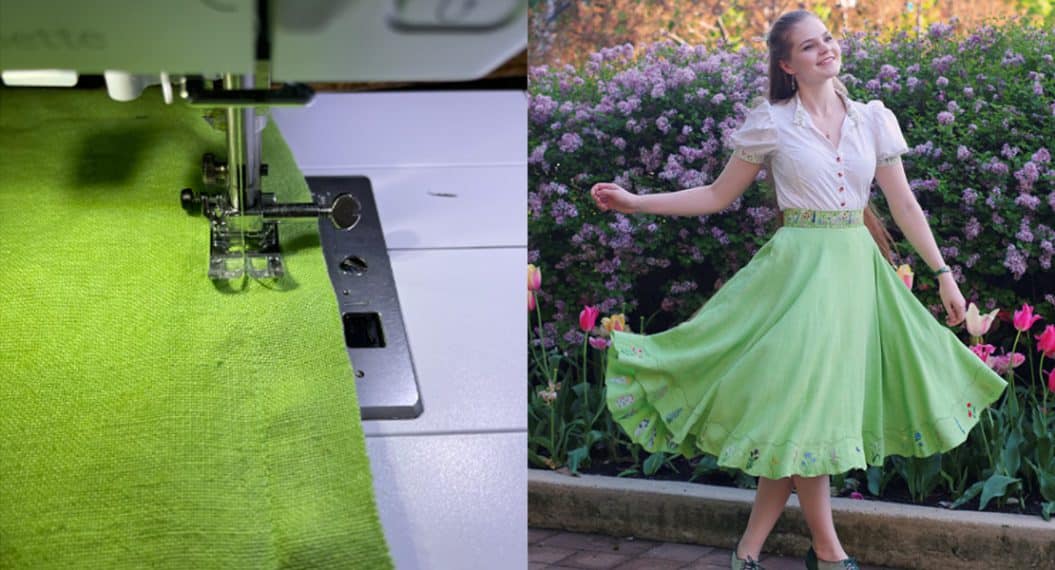
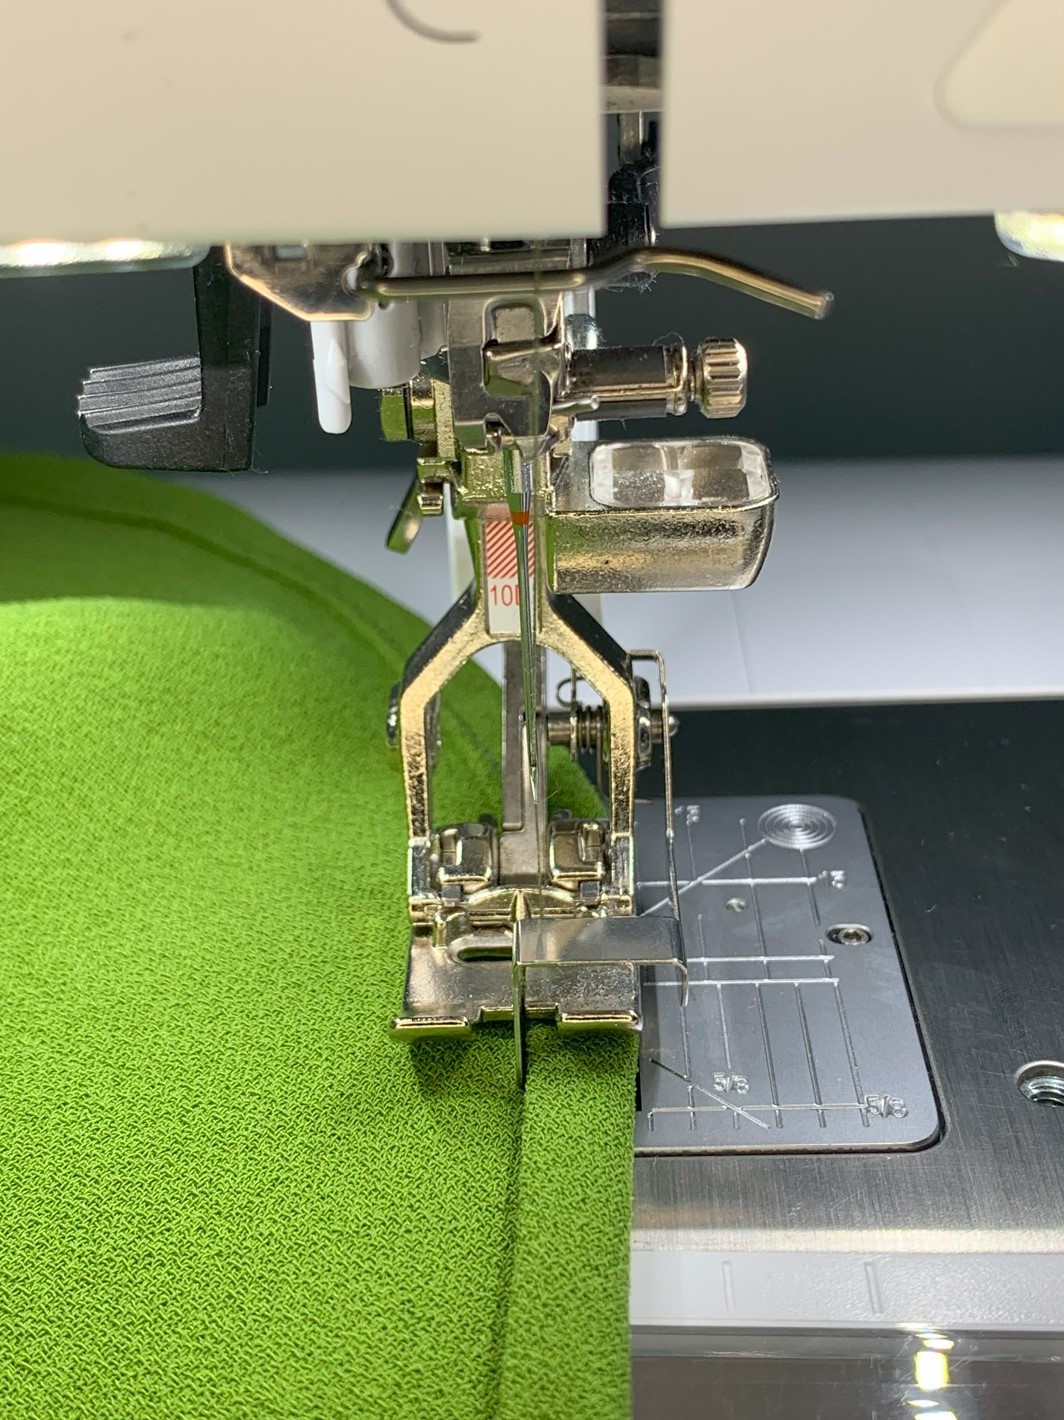
After pressing, you’re finally ready stitch the final hem. I like to use the Edgestitch Foot #10D for this. To do so, line the bar of the foot up with the folded edge of the hem on the wrong side of your fabric. Move the needle over onto the hem so that you can stitch right next to the fold. I like to move my needle three places to the right. (If you don’t have an Edgestitch Foot, you can use Reverse Pattern Foot #1 instead.)

Finally, stitch the hem in place all the way around.
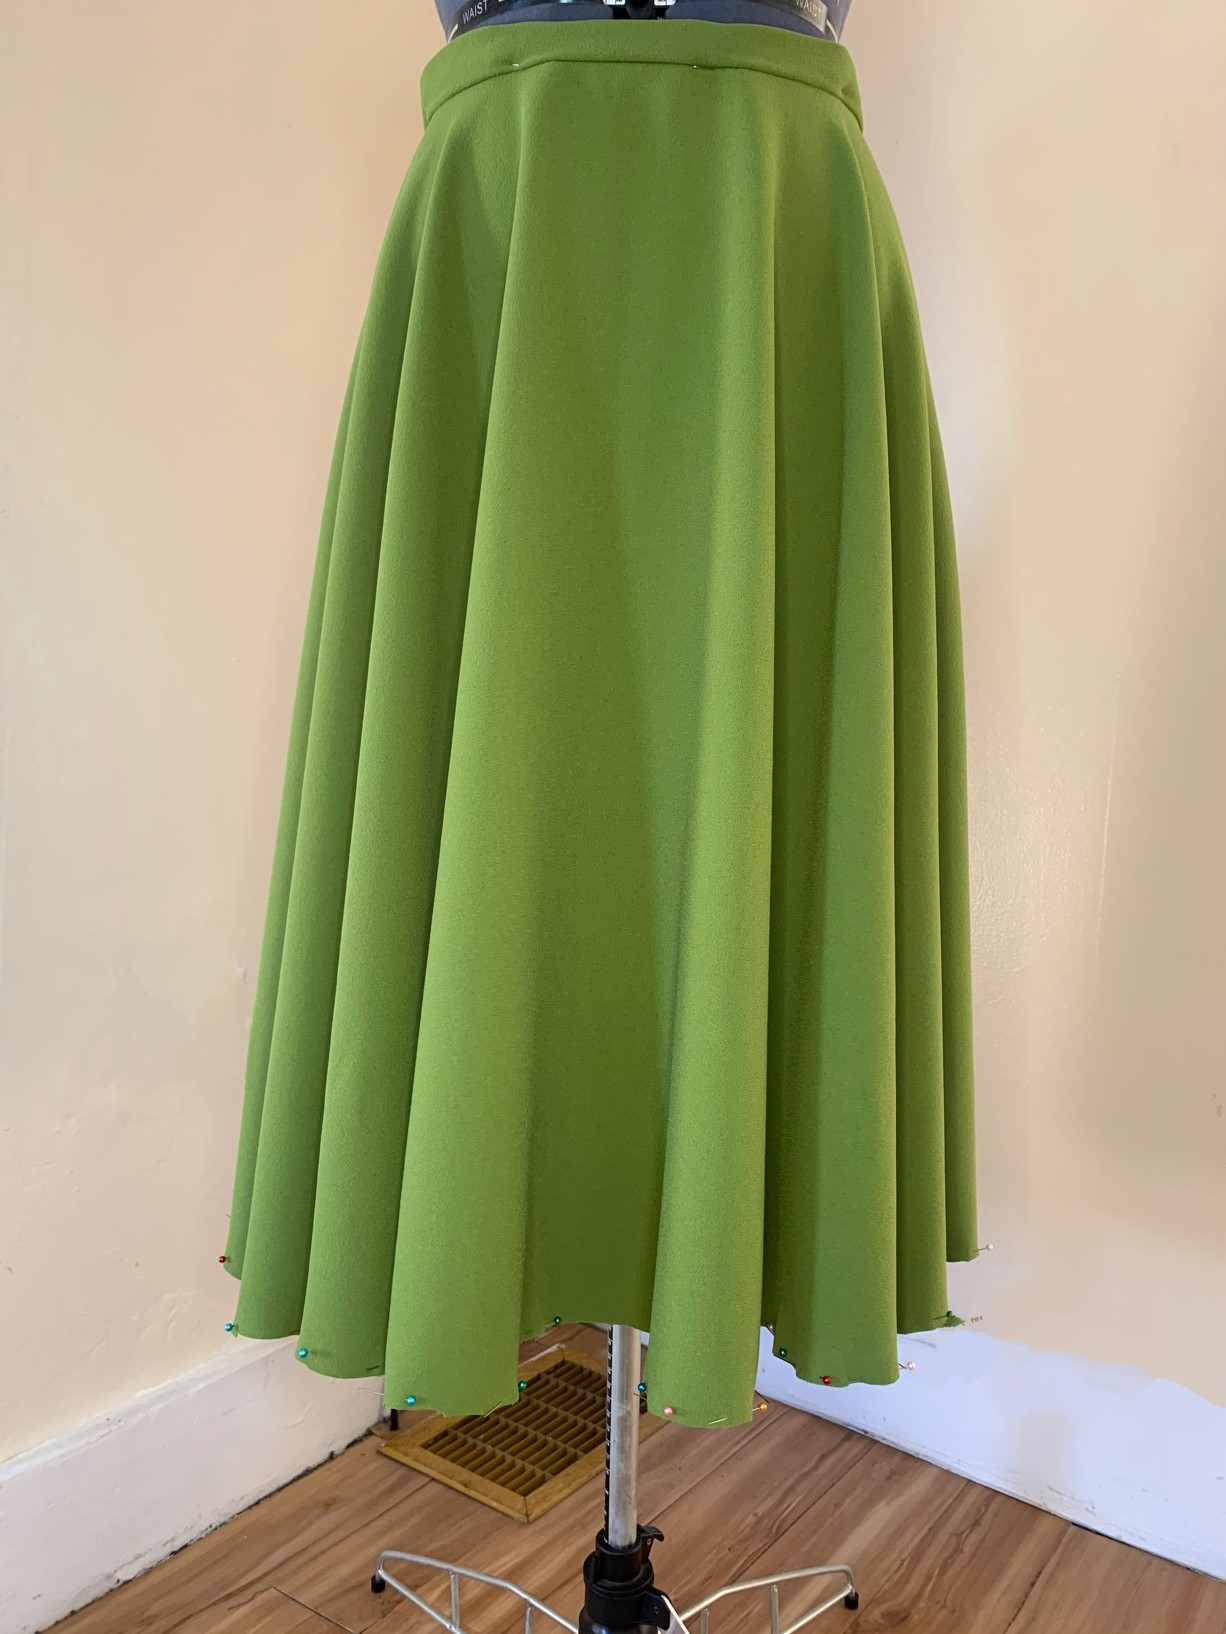
Now that you’re finally finished, try on your skirt and give it a good twirl! That’s what circle skirts are for!
I hope this helped give you the motivation to try a new skirt of dress project and the confidence that you can get an even hem! I can’t wait to see what you create!