How to Quilt a Feathered Circle
My love affair with feathers began in the year 2004. It was love at first sight. My heart quickened as I admired their beauty, and witnessed the magical way they traveled across the quilt. My feelings were so strong that I was determined to create perfect feathers.
My first step in achieving such perfection was obtaining insight from the “feather gods”; really an online group of longarm quilters by asking them “How on earth do you all get your feathers to be the same size and shape?” This was such a huge mystery to me. Living near Lancaster, PA which is Amish country, I gazed upon their many hand quilted quilts and observed perfectly sized and shaped feathers. This was definitely not what I was achieving in my little studio. The response I received ended up changing my life, or rather changed my feathers forever! One of the kind feathering gods said, “Why would you want your feathers to all be the same?” I paused and reflected on that simple question. That was it; and she was absolutely right! A weight immediately lifted off my shoulders; my mind swirled with excitement over the revelation that feathers needn’t be identical or perfect. How about that “aha” moment?
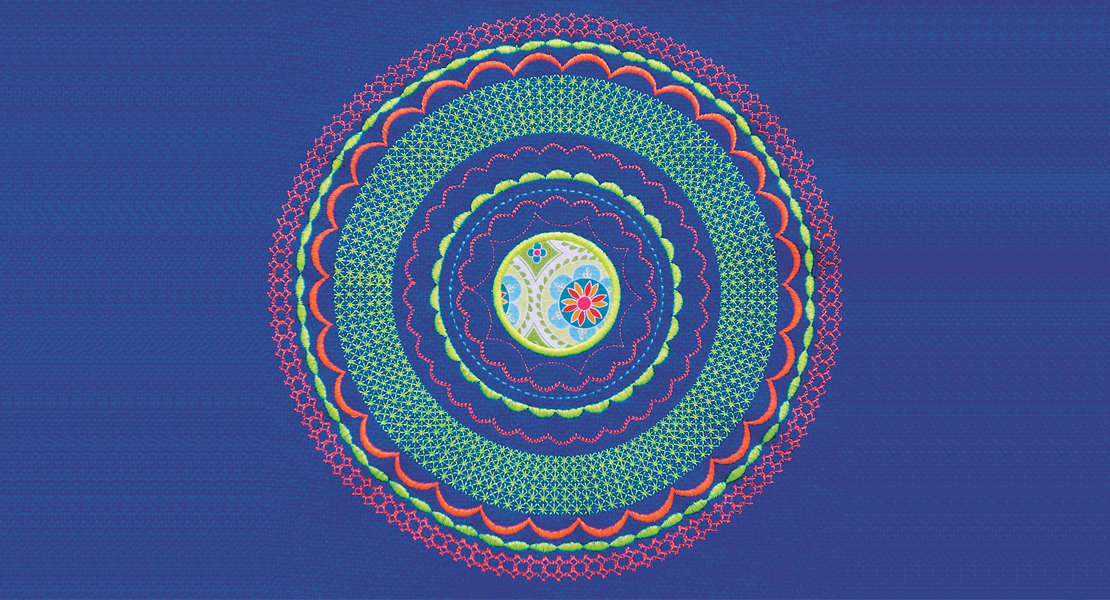
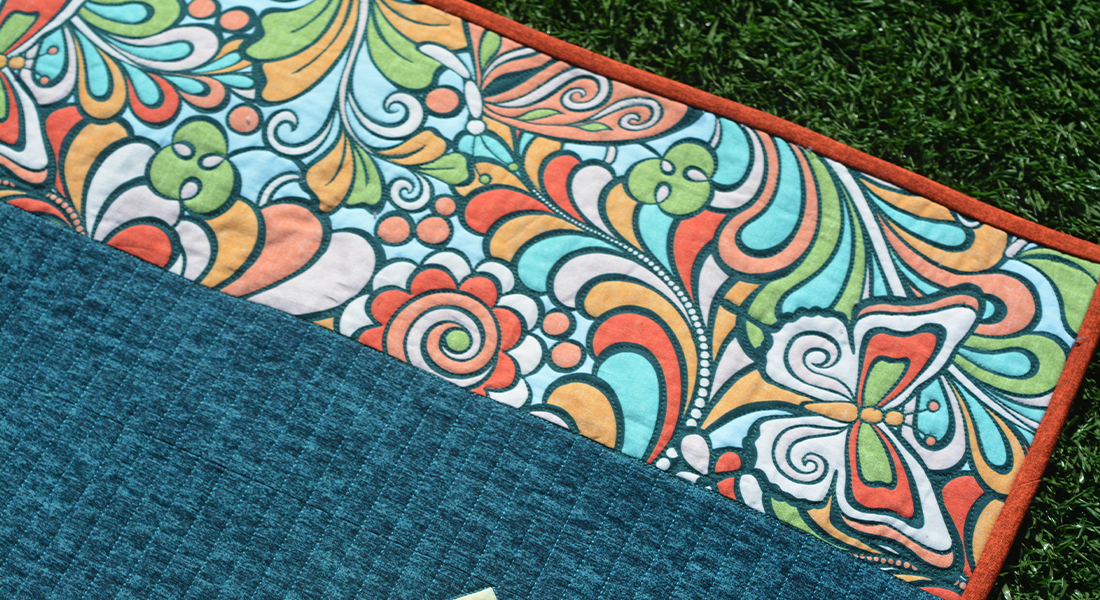
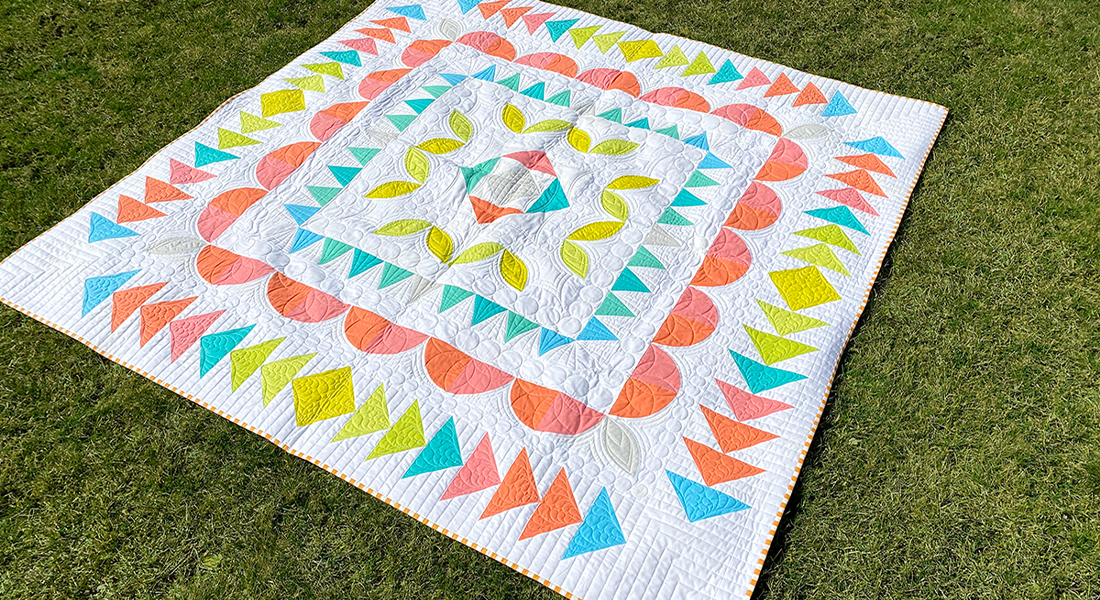
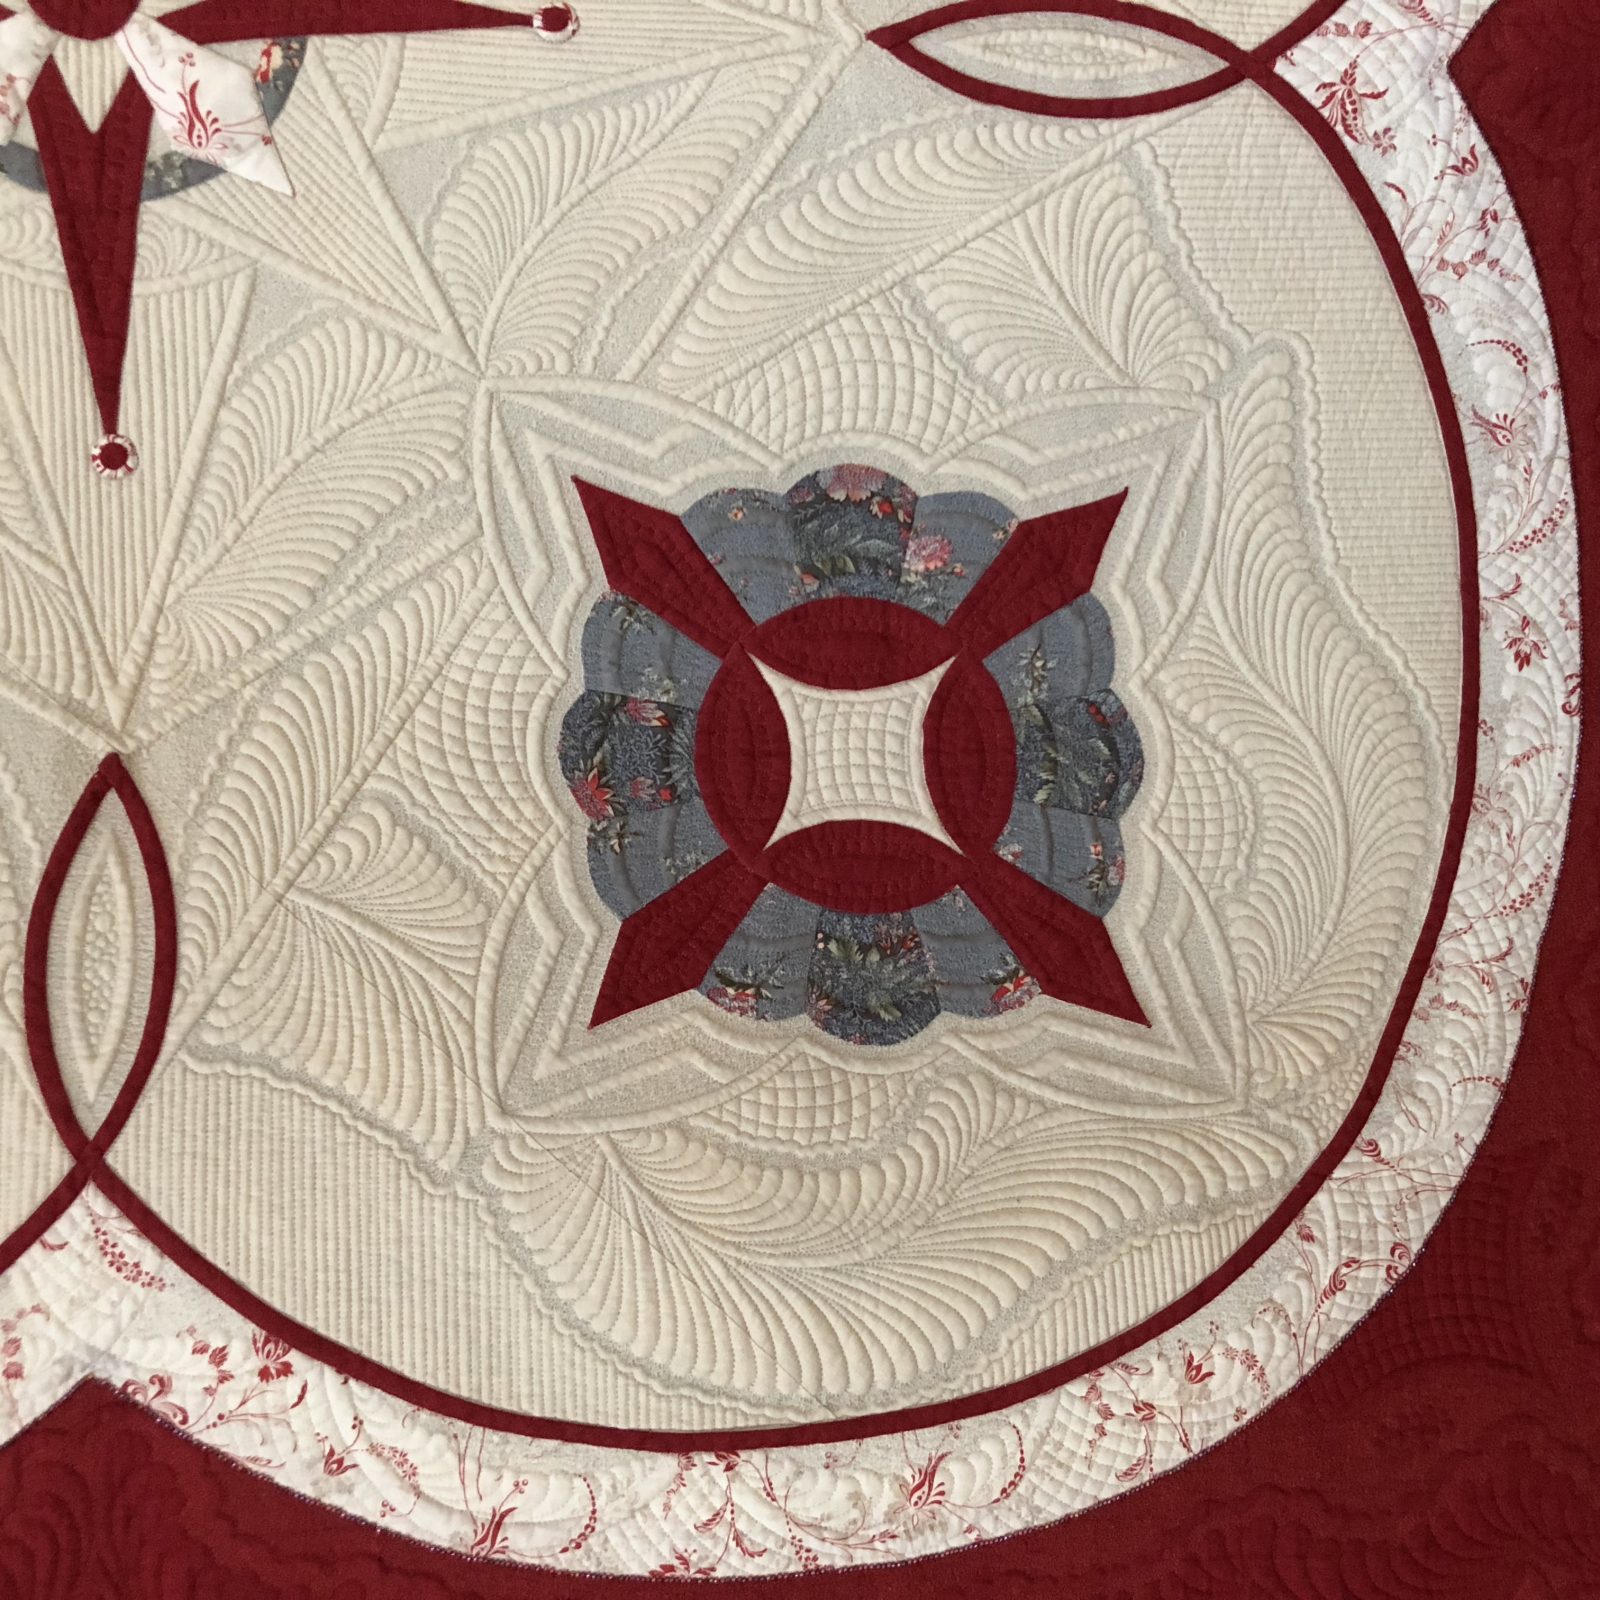
To this day I’m still in love with feathers. Moreover, I love the fact that I get the opportunity to teach my students that, they too can become one with feathers. So let’s start off with an easy feather. Perhaps heirloom feathers appeal to you, such as these …
This is where your love of feather begins to evolve. Let’s start with the Hook feather. This feather is not only beautiful but it is also very forgiving and is also a great beginner feather that gives you a little of the same muscle memory that you will need for those heirloom feathers. So grab a piece of paper and check out the picture below. You will want to draw this a number of times before moving over the machine.
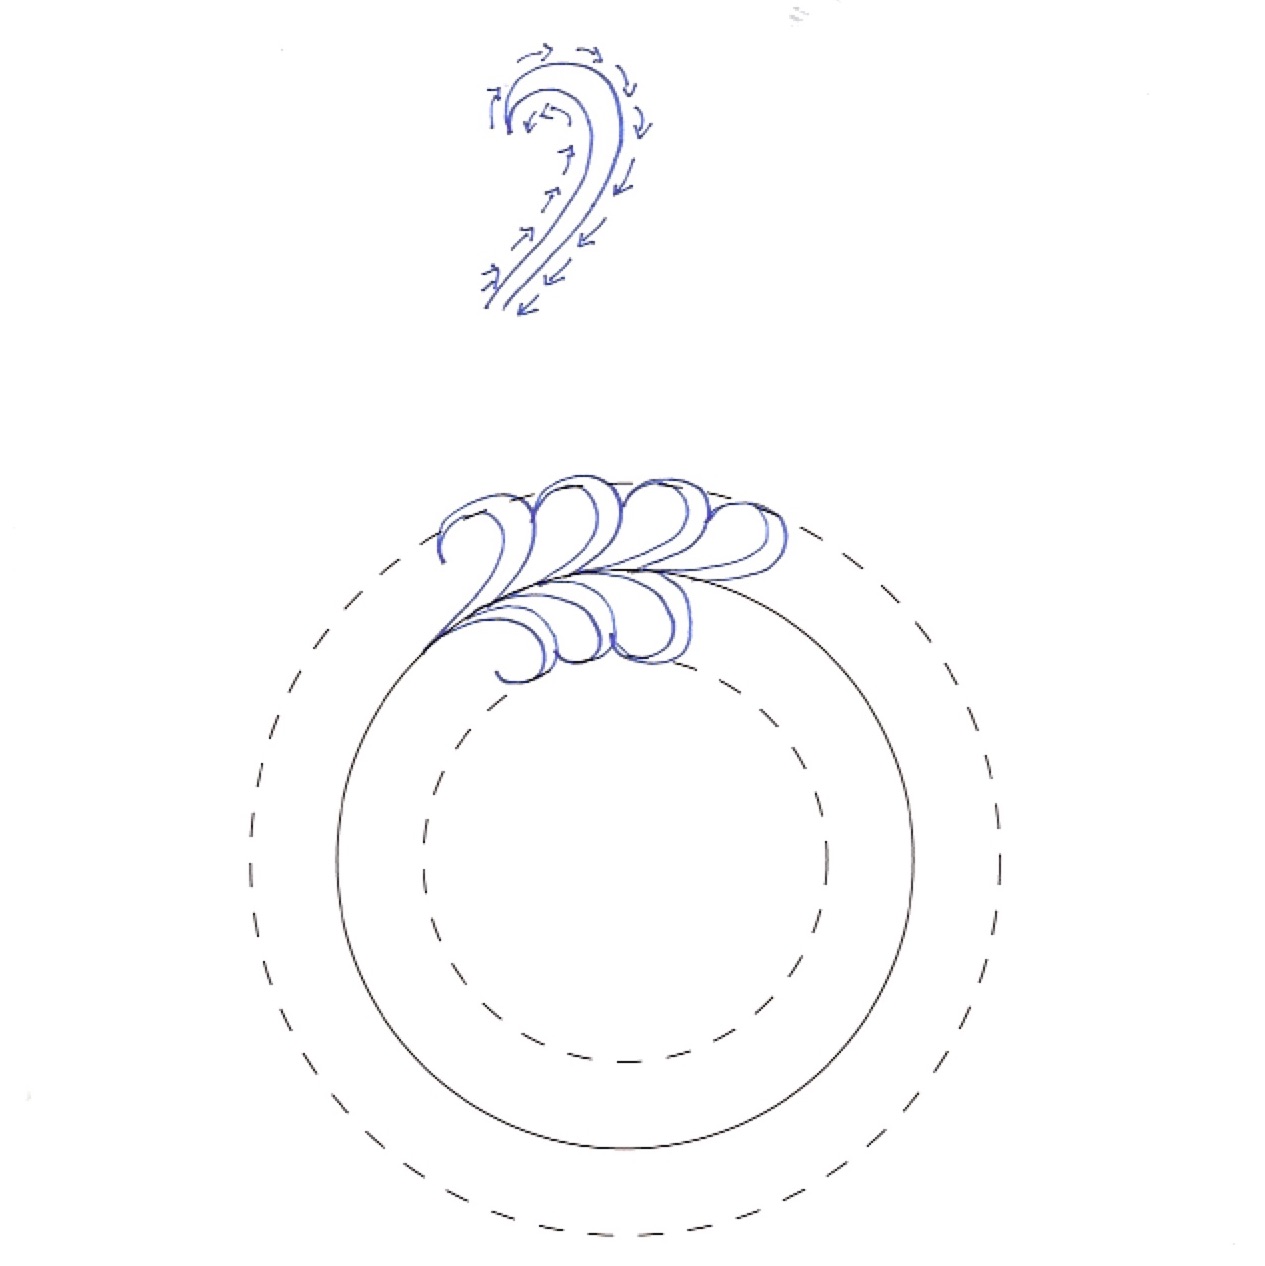
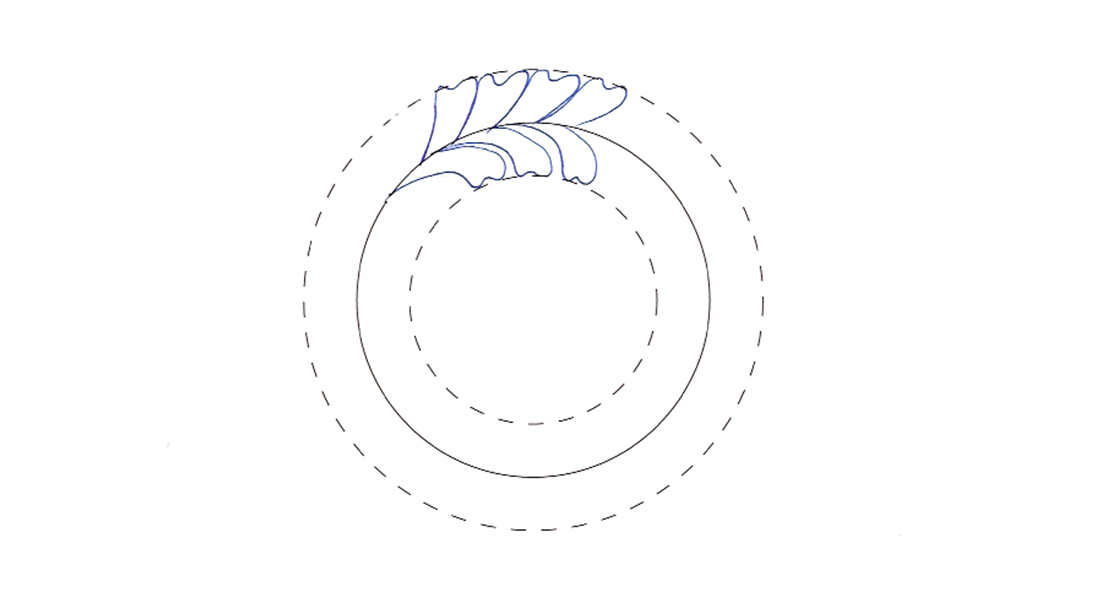
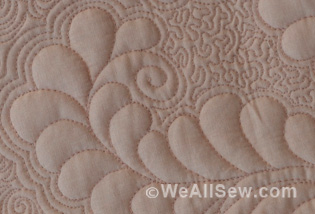
A wreath is sometimes the hardest to quilt as you are stitching the feathers in all different directions. It will help if you practice drawing them in all different directions as well as practicing drawing them in a wreath. You will notice three circles above. The solid line is the circle that will be stitched out. The dashed lines give you guidelines as to how far out your feathers will come. It helps to give a nice circular look. I have my machine in BSR 1, 11 stitches per inch and RPM of 250. Play around with your settings and see what feels good for you.
Start at nine o’clock and work you way around the wreath on the outside first. Pay close attention to the tip of the feather, you want to make sure you give it enough of a hook on the end. This feather is great because there is no backtracking involved as in the heirloom feathers. When you get to 6:00, take a look and see how many feathers you think will fit in there so you don’t end up with a really big feather or a really little feather.
Once you finish the outside you are ready to tackle the inside. This is where I find the majority of students experience difficulties. First off, there will not be the same number of feathers on the inside as the outside. Secondly, and probably most important, the inside feathers are lazy. They lay on the spine longer than the outside feathers. This helps them lay on that inside curve nicely.
There is no magic fairy dust, or magic powers that will have you spitting out feathers. However, I promise you that if you practice enough, you will create feathers that will appear to magically float across your fabric.
Here is a quick video stitching out these beautiful feathers.

Yes, practice, practice, and more practice will bring incredible floating feathers into your quilting world!