How to Sew a Girls Gathered Boxy Top

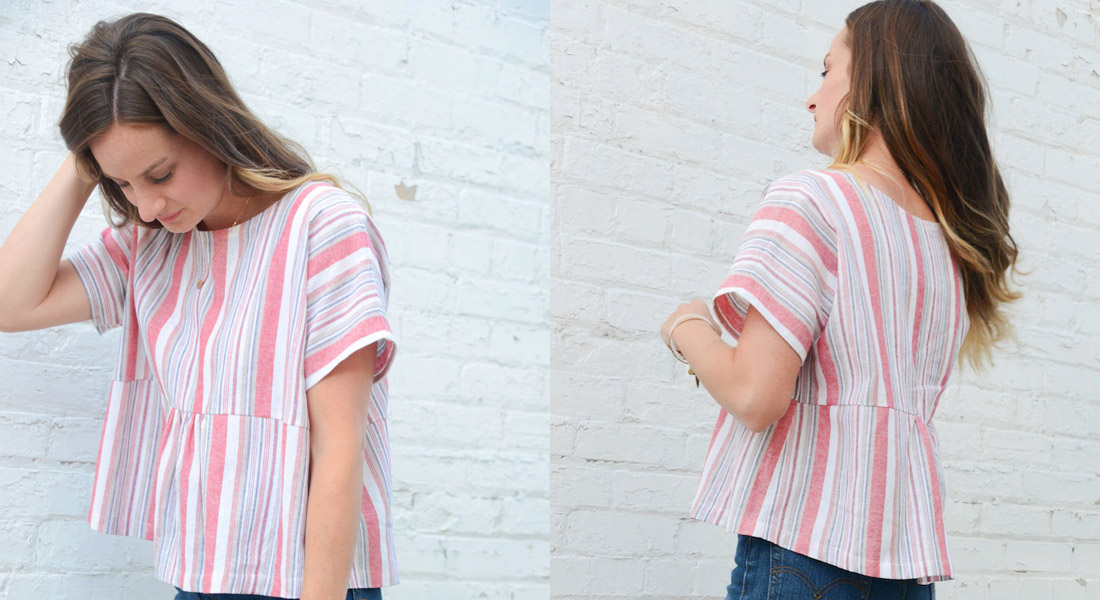
Hello everyone! Sara from The Sara Project here. I’ve been planning out my summer handmade wardrobe lately, and all I can think about is boxy, cropped tops made in linen fabrics. Nothing says summer like linen! This particular tutorial is perfect for the little girls in your life. I had so much fun making this simple top for my daughter, and it’s a great top to add to her summer wardrobe. It’s a really quick sew, too. I loved the design of this top so much that I decided to make an adult version for myself to match with her. Stay tuned for part two of this tutorial! Let’s get started!
Materials to Sew a Girls Boxy Top with Gather Details
- Sewing machine (I use a BERNINA 560)
- Edgestitch foot #10/#10C/#10D
- Linen fabric (I picked mine up at Joann Fabric and used about 3/4 of a yard)
- Matching thread
- Single fold bias tape
- FREE girls pattern in desired size
- Tracing paper
- Clear ruler
- Pins
Drafting Your Pattern
The free pattern I downloaded worked really great for this top, but there are a few changes I made to it. I would also recommend sewing up a quick muslin to make sure everything fits as you would like.
First of all, tape and assemble your printed pattern using the size closest to your child’s measurements. My daughter is almost 5 years old, and the size 5 worked great.
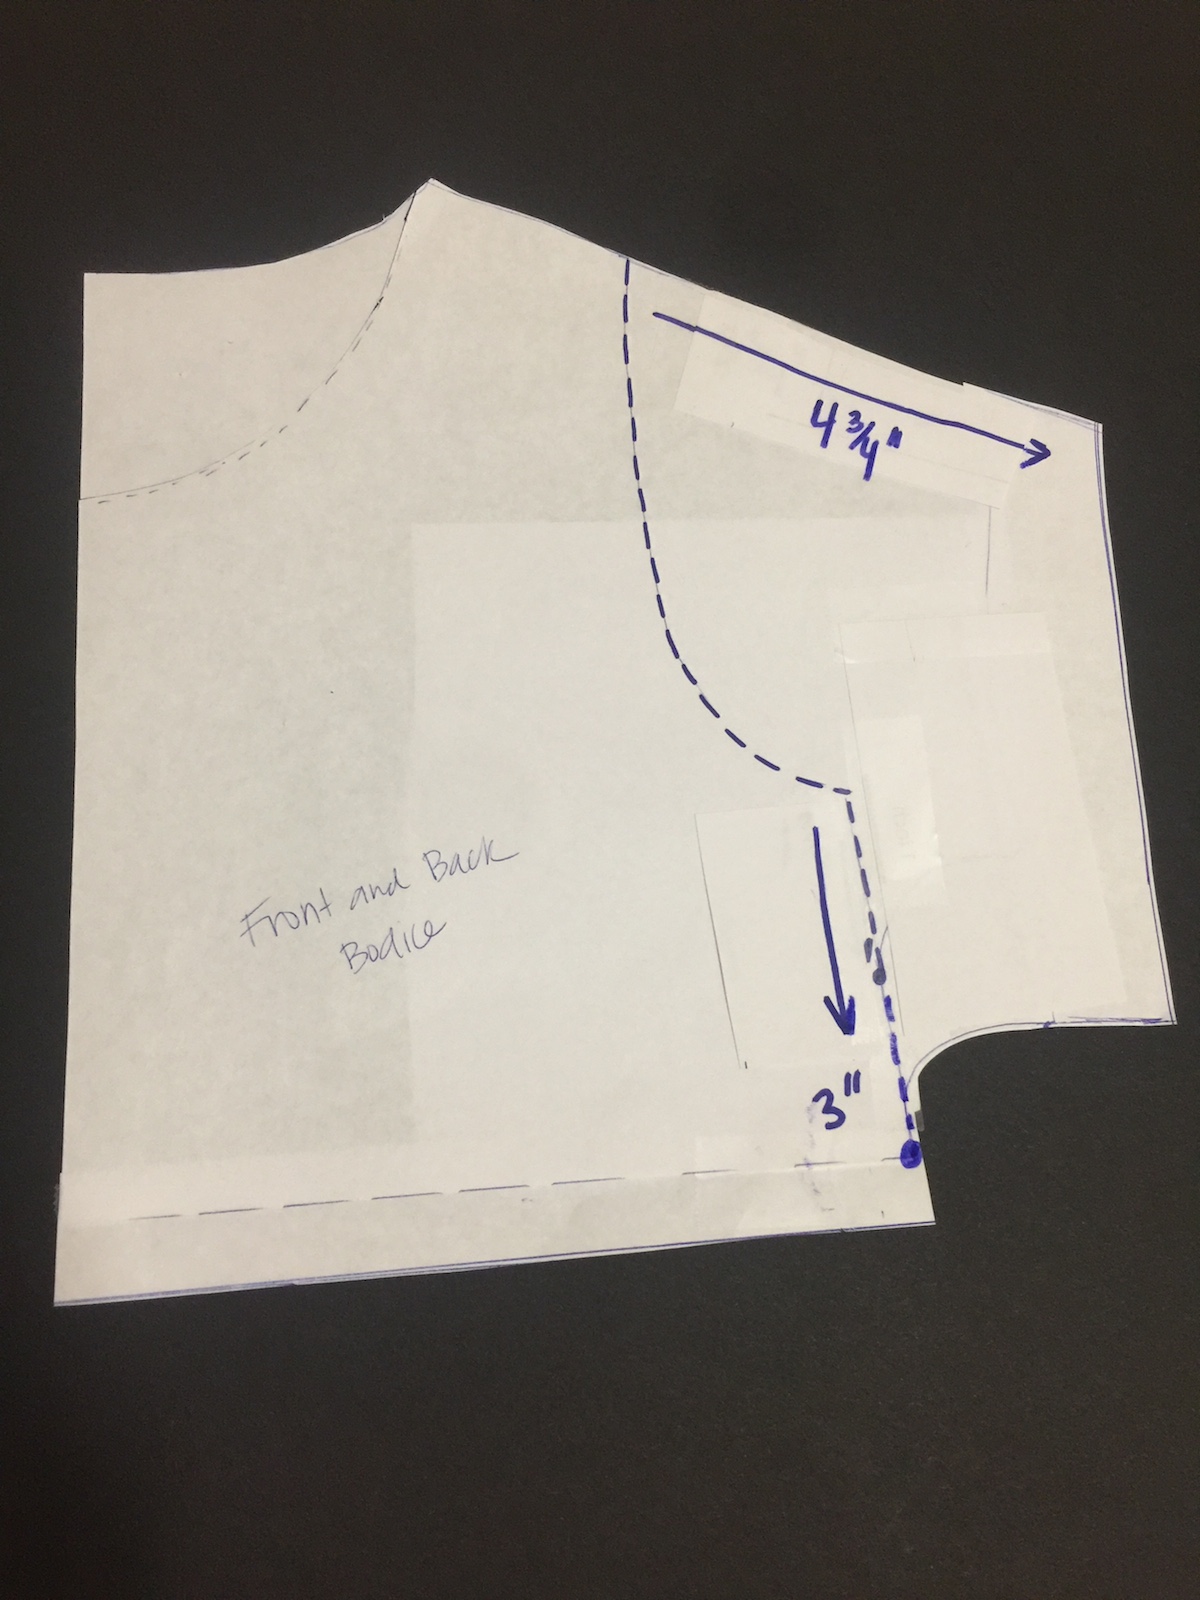
Once your pattern in assembled, measure about 3″ (or your preferred length) from the underarm, and draw and cut a perpendicular line.
Next, we need to adjust the armscye of the pattern. Tape a piece of tracing paper along the edge of the armsyce. Draw a kimono sleeve extension from the original armhole. I extended 3″ below the underarm, and 4 3/4″ from the shoulder as shown below. Remember to also add a 1/2″ seam allowance along the bottom of the bodice top.
Now we need to add extra fullness to the bottom of the bodice to creat the gathers in the center front and back of our top. Mark 1 1/2″ from the center front, draw a circle marking. Next, mark every 1/2″ from the center, two times as shown below.
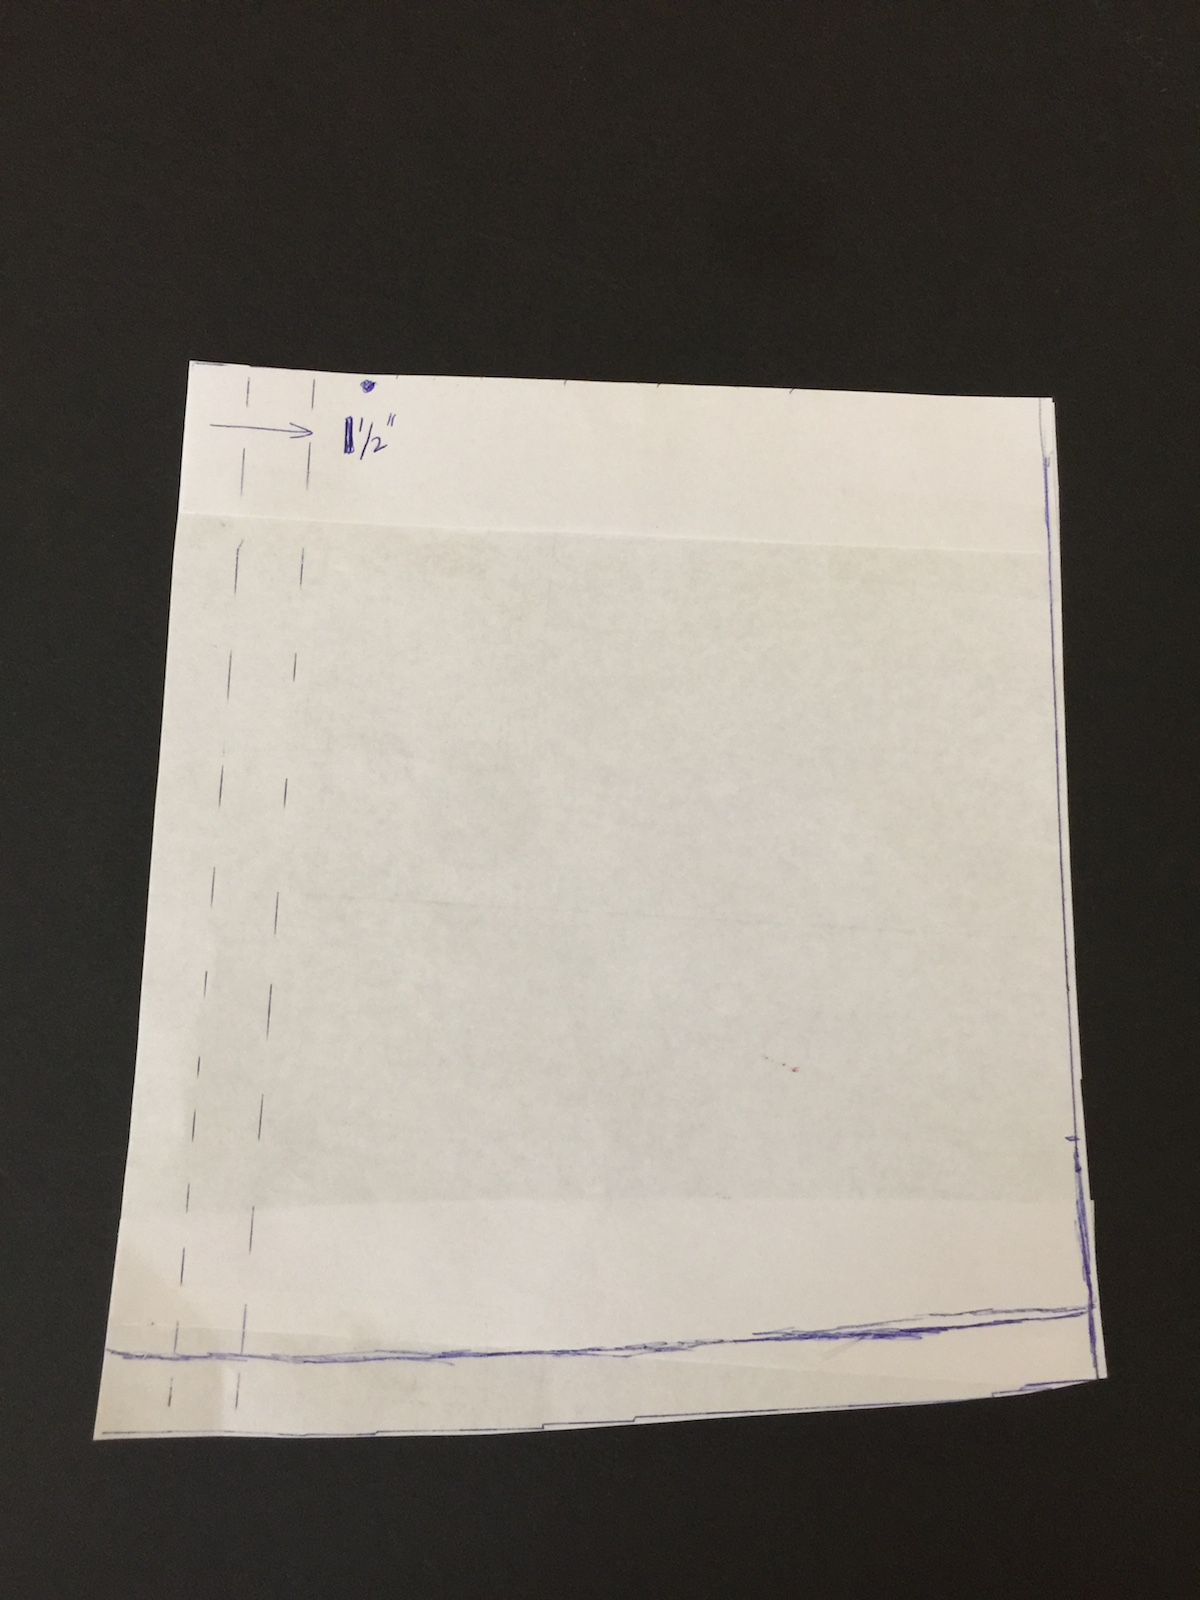
Cut off the second marked line and tape some tracing paper along the bodice edge. Measure 1″ from the bodice edge and draw a vertical line.
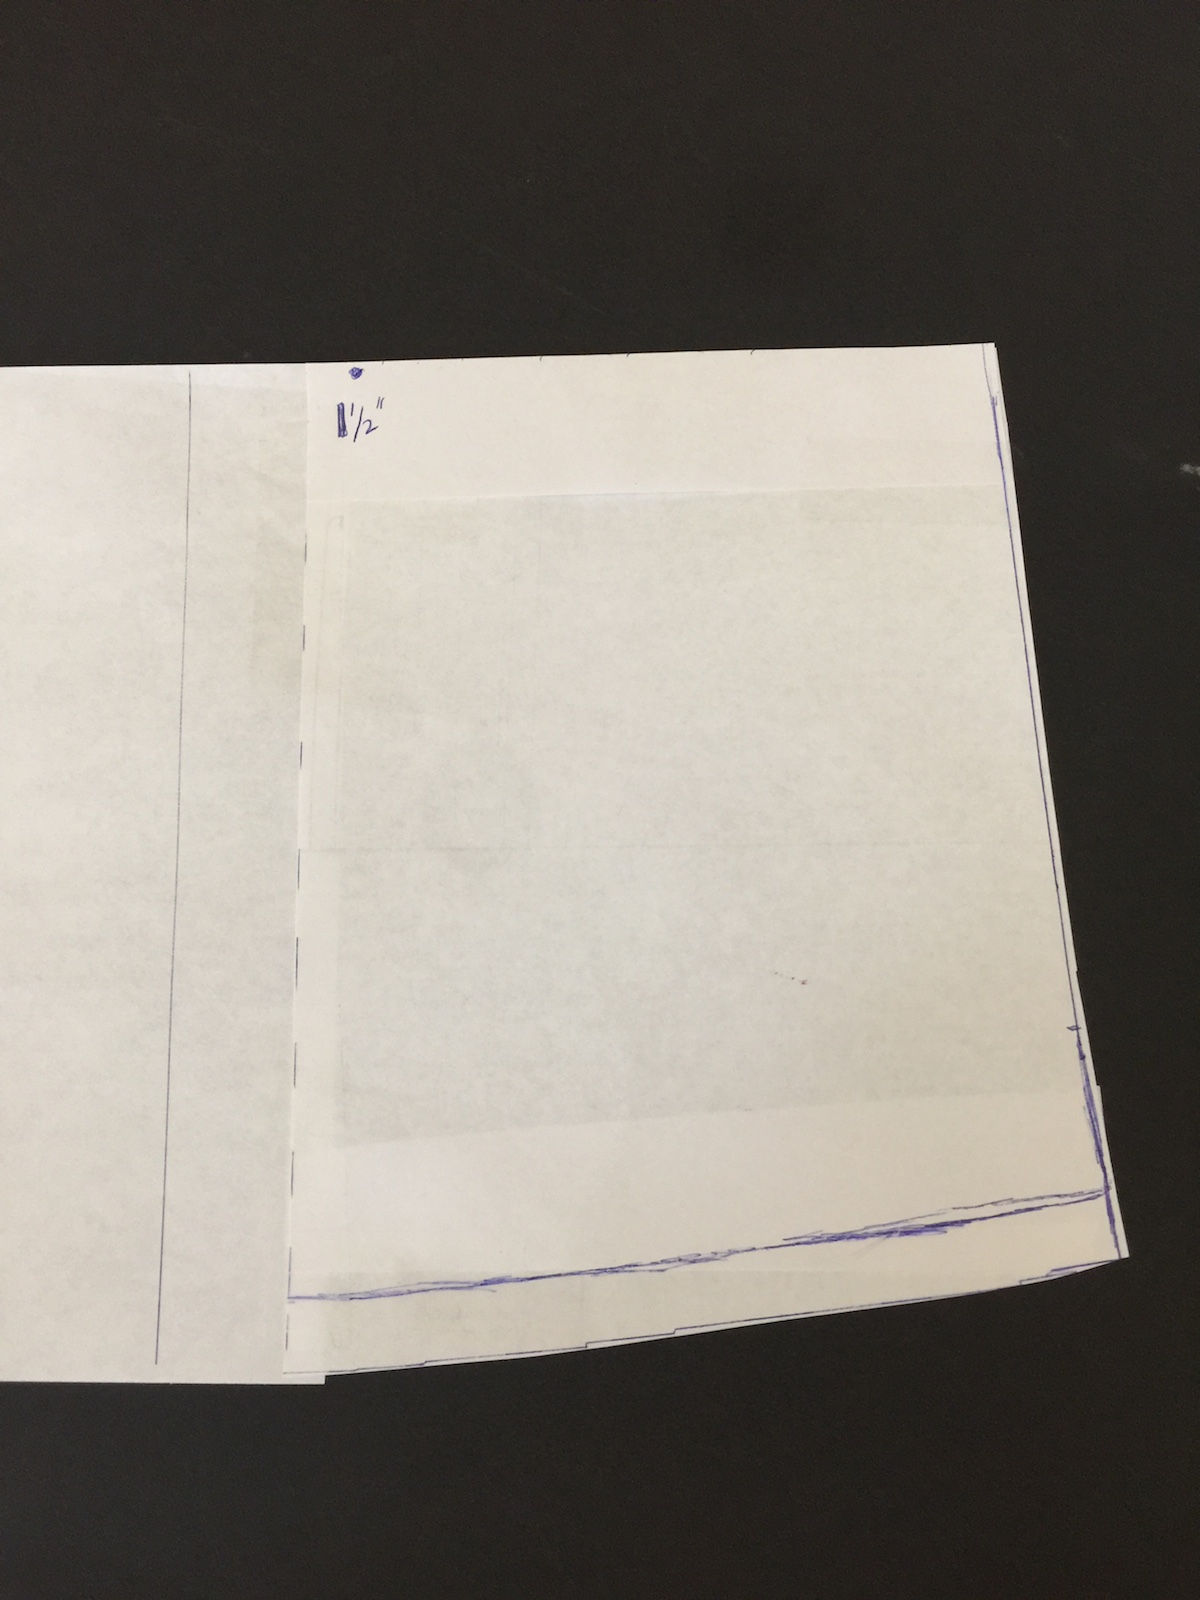
Tape the 1/2″ we previously cut off to the left side of this new line. Draw another 1″ vertical line from the edge and tape the remaining 1/2″ piece of the bodice we cut off. Add a 1/2″ seam allowance to the top of the bodice bottom piece.
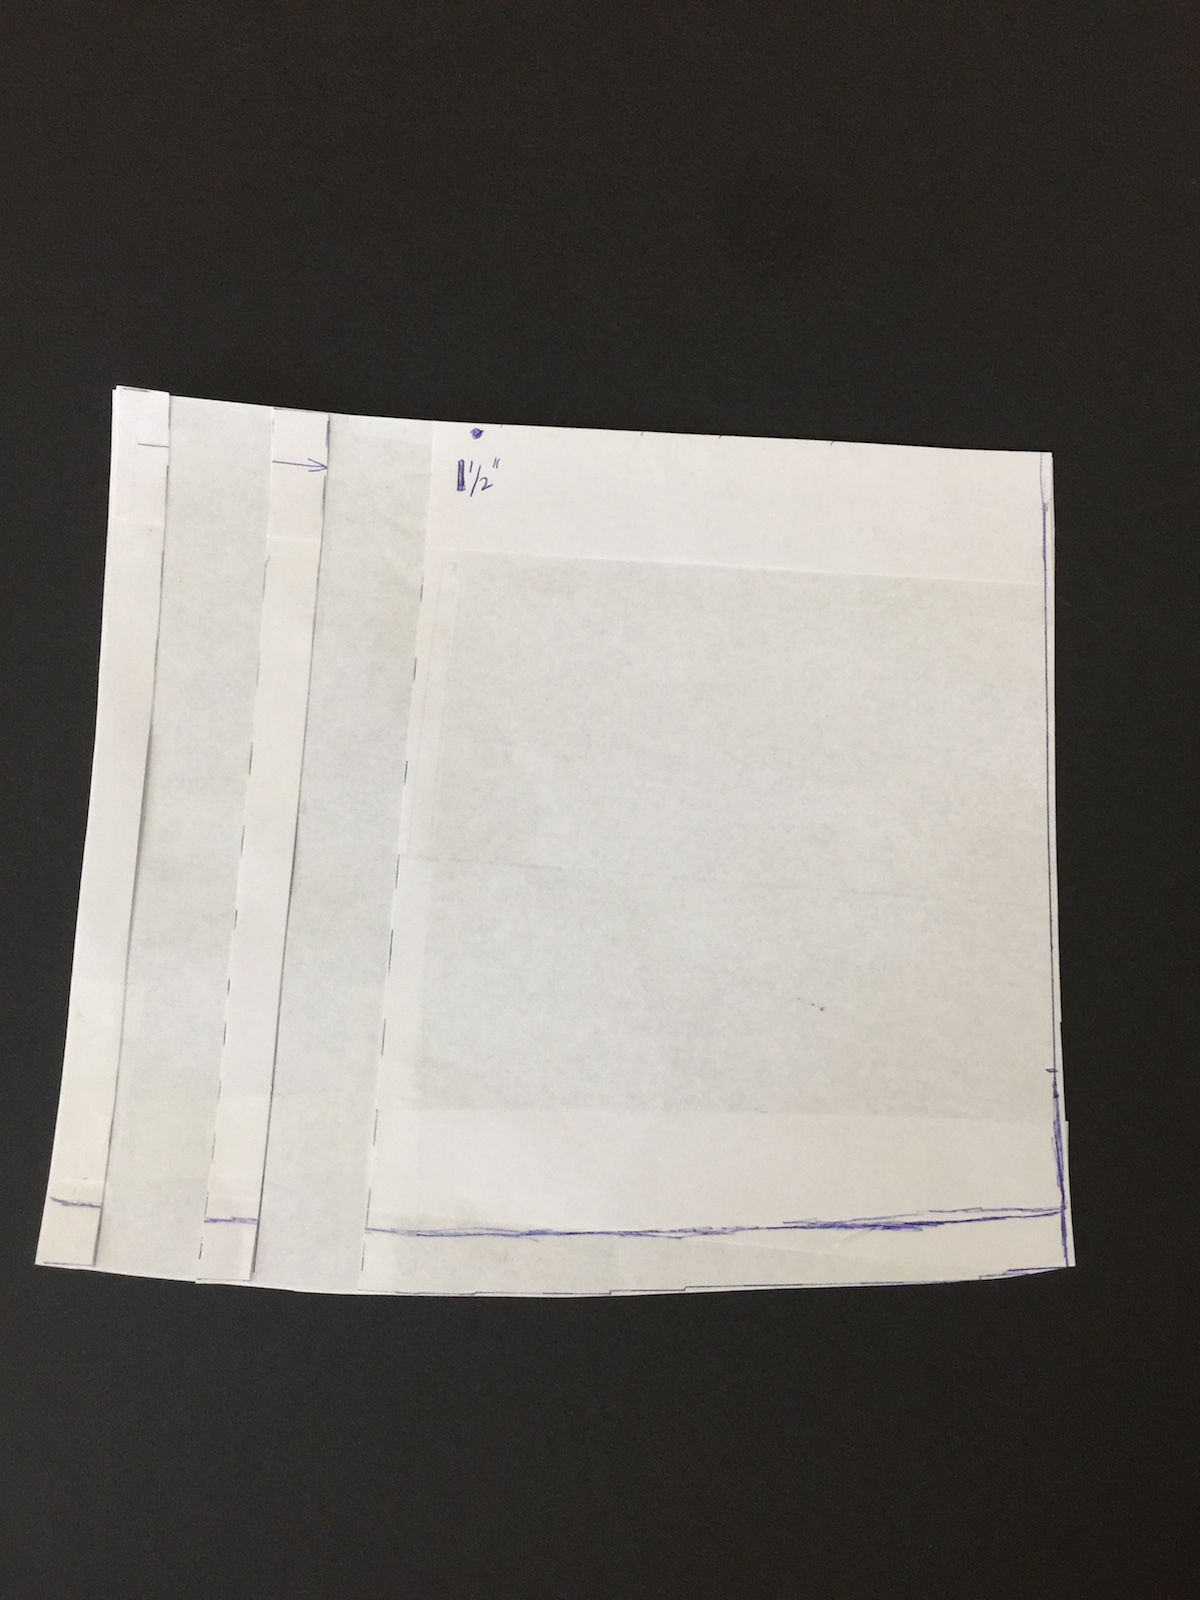
Now all of our pattern pieces are prepared.

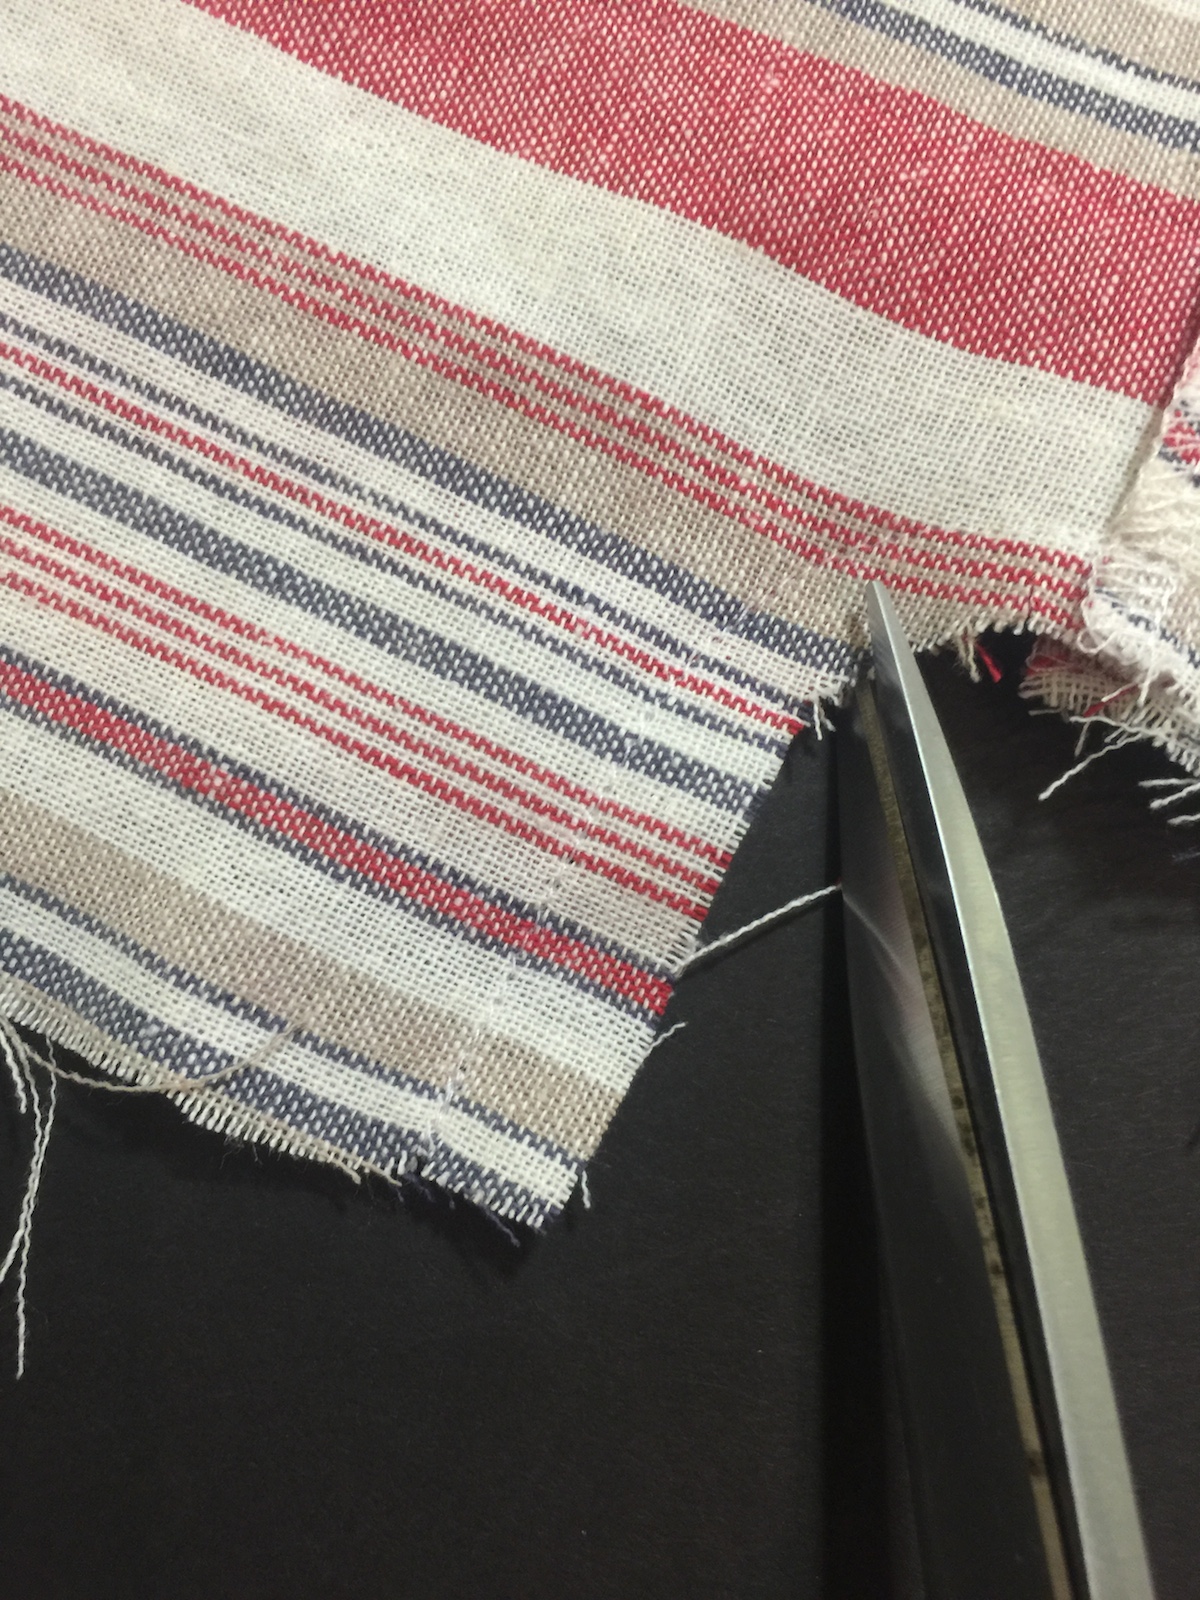
Cut out all your pieces on the fold line of your fabric: 1 bodice back (remove the back neckline by cutting on the dotted edge), 1 bodice front, and two bodice bottom pieces, both along the fold. Make sure to mark where the gathering starts on each side of the bottom bodice pieces. I like to make a little clip with my scissors in the fabric on the mark.
Sewing Your Boxy Top
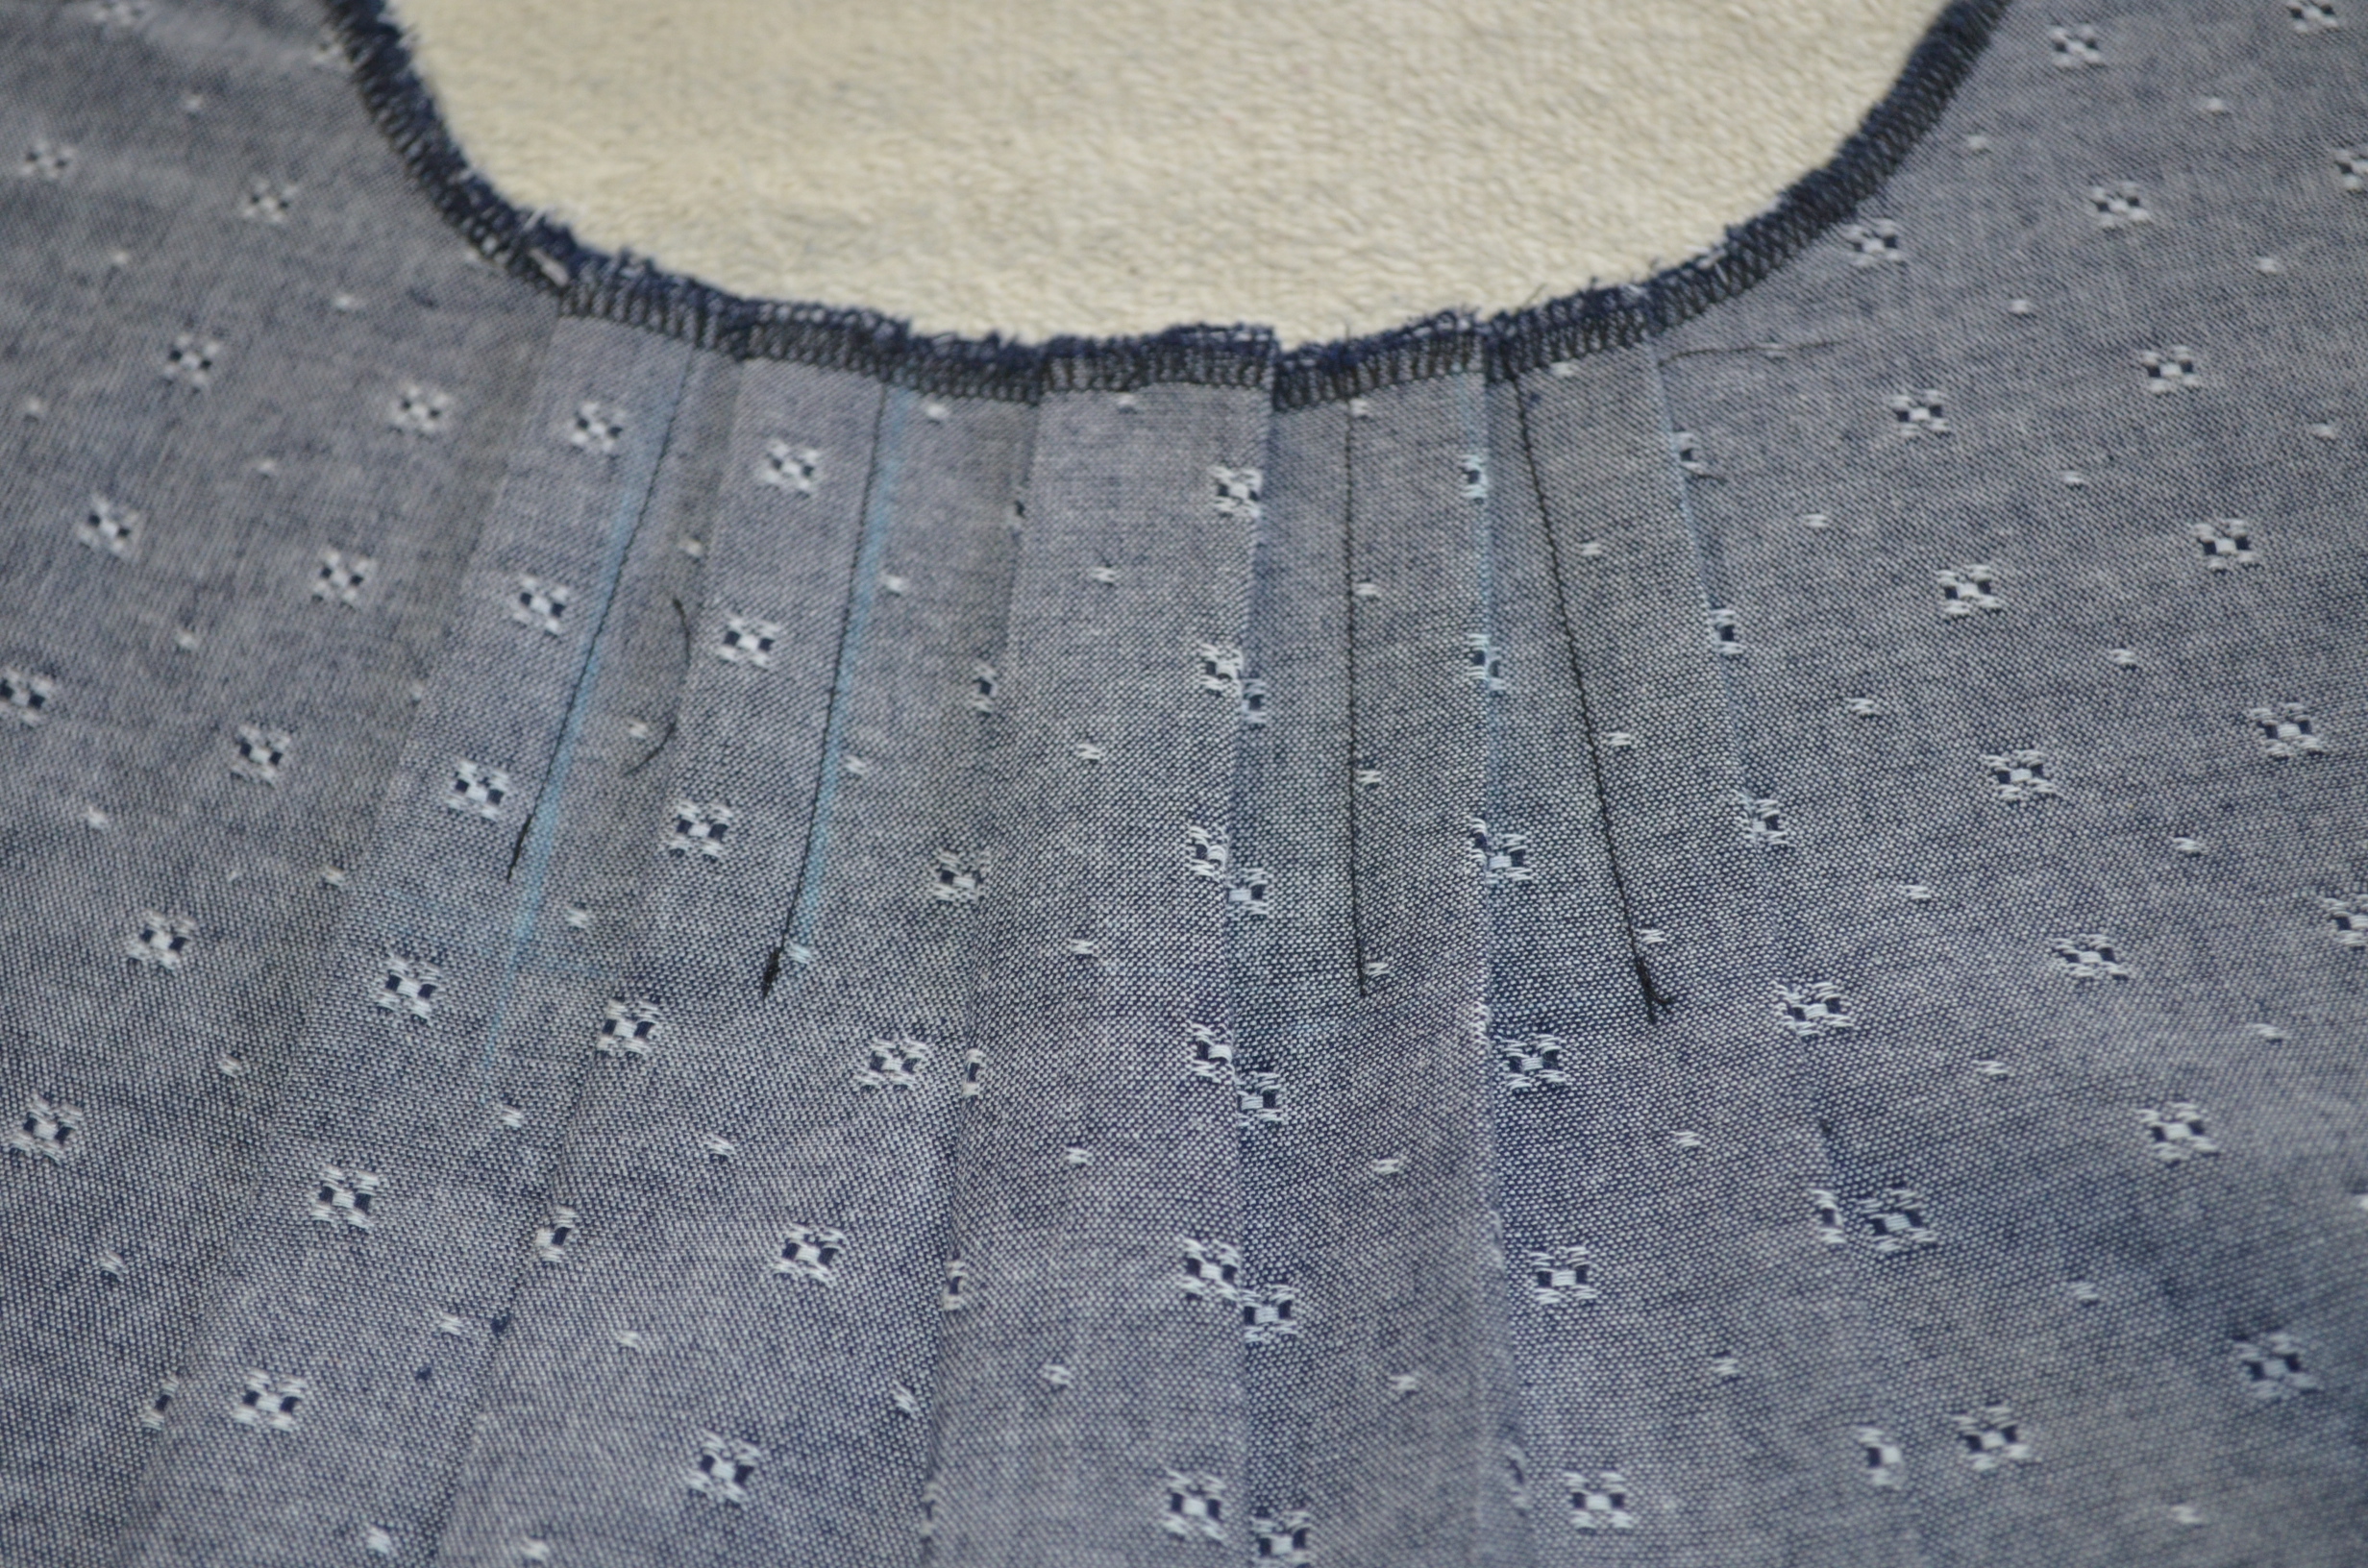
Step 1:
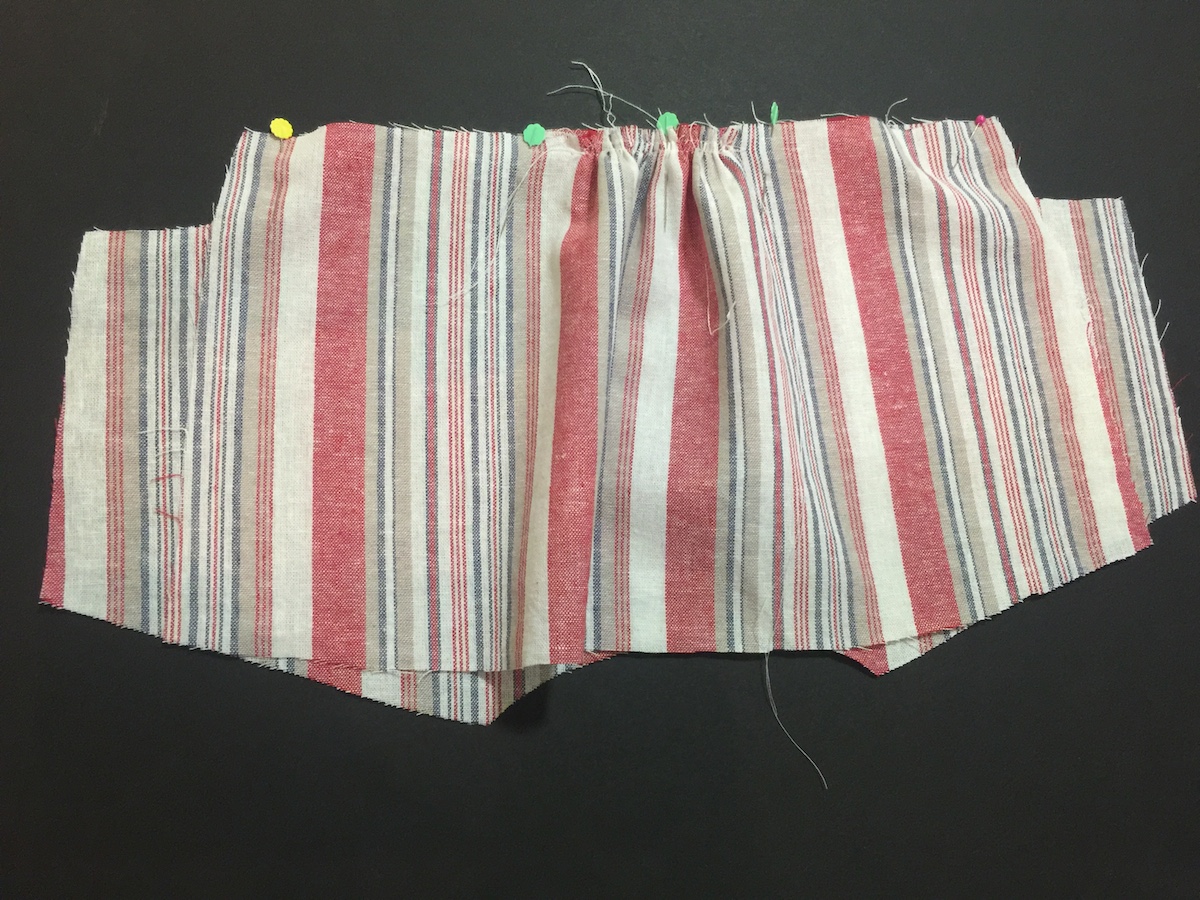
Taking your bottom bodice pieces, sew two rows of gathering stitches at 1/4″ and 1/2″ with a stitch length of 4.00 between the markings we just made. Remember to leave long threads on either end.

Step 2:
Pin the bodice bottoms to the bodice tops along the edges, right sides together. Gently pull your gathering stitches so the bottom piece matches up in length with the bodice top piece. I found it helpful to knot one end of the gathers and pull the fabric in from the other side, also knotting the other side once everything is lined up. Pin everything in place.
Step 3:
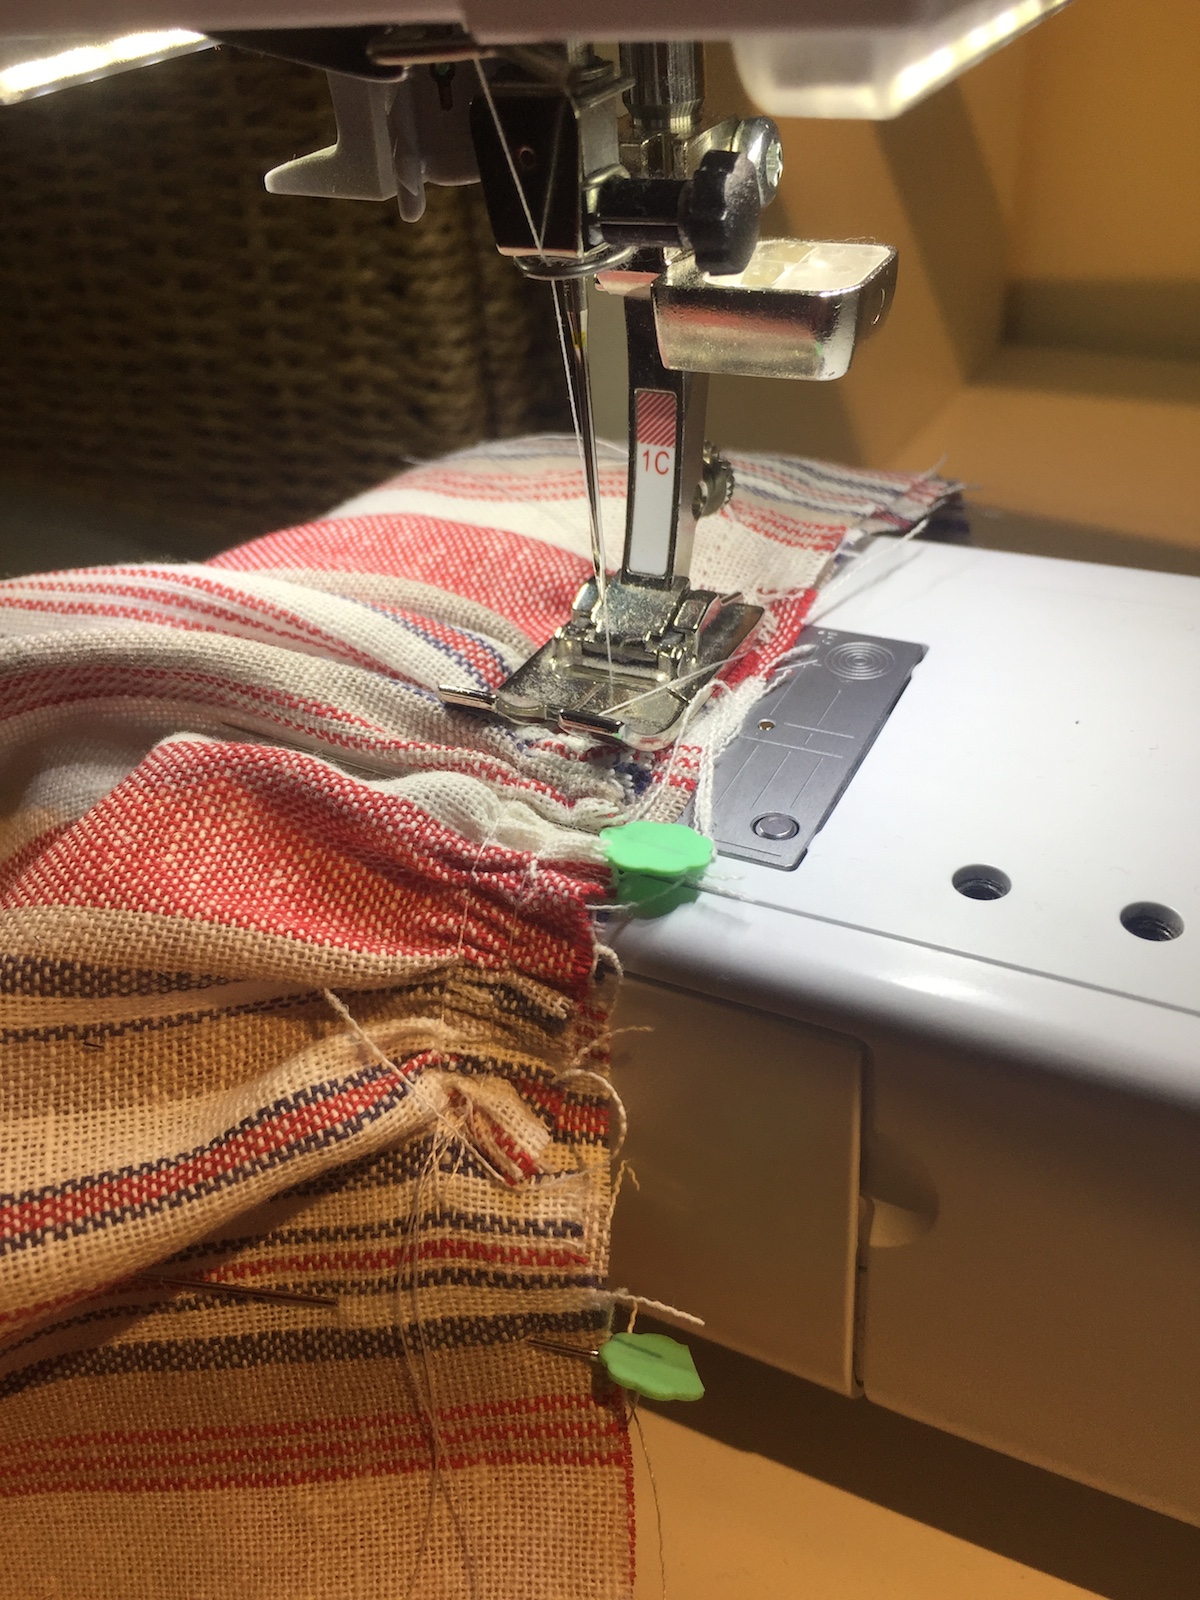
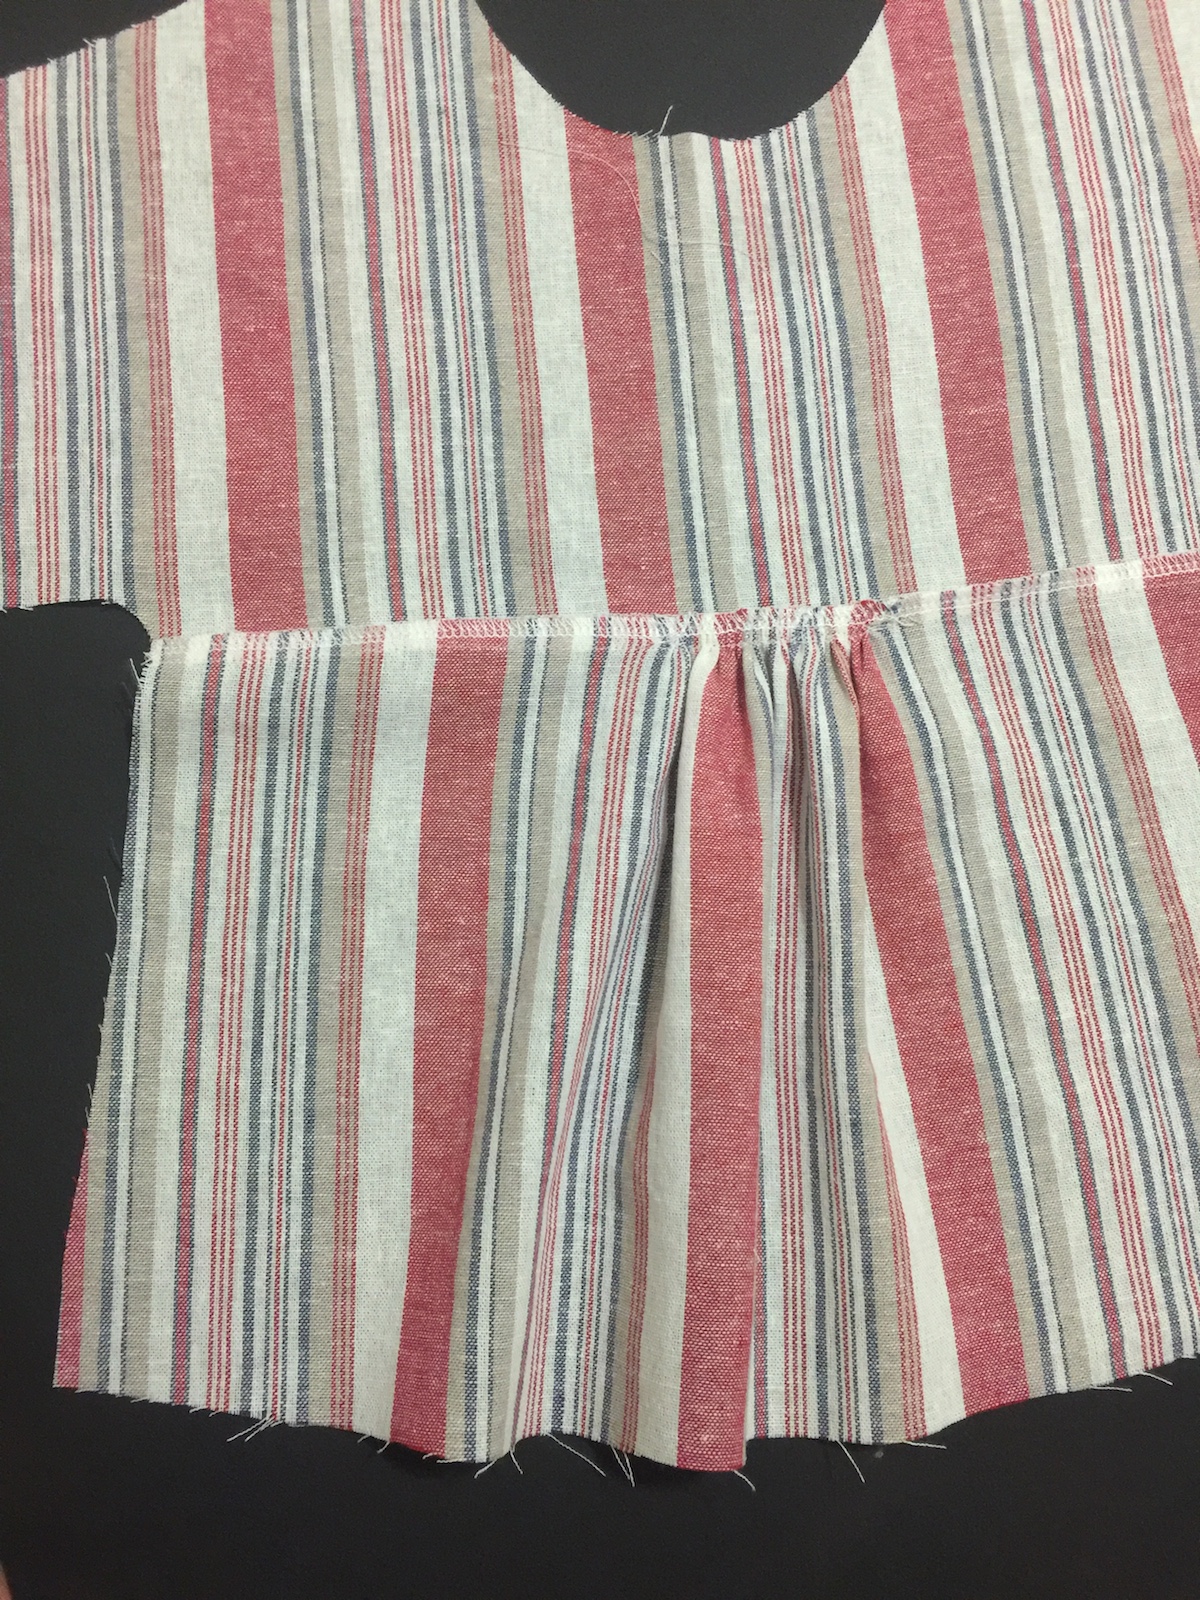
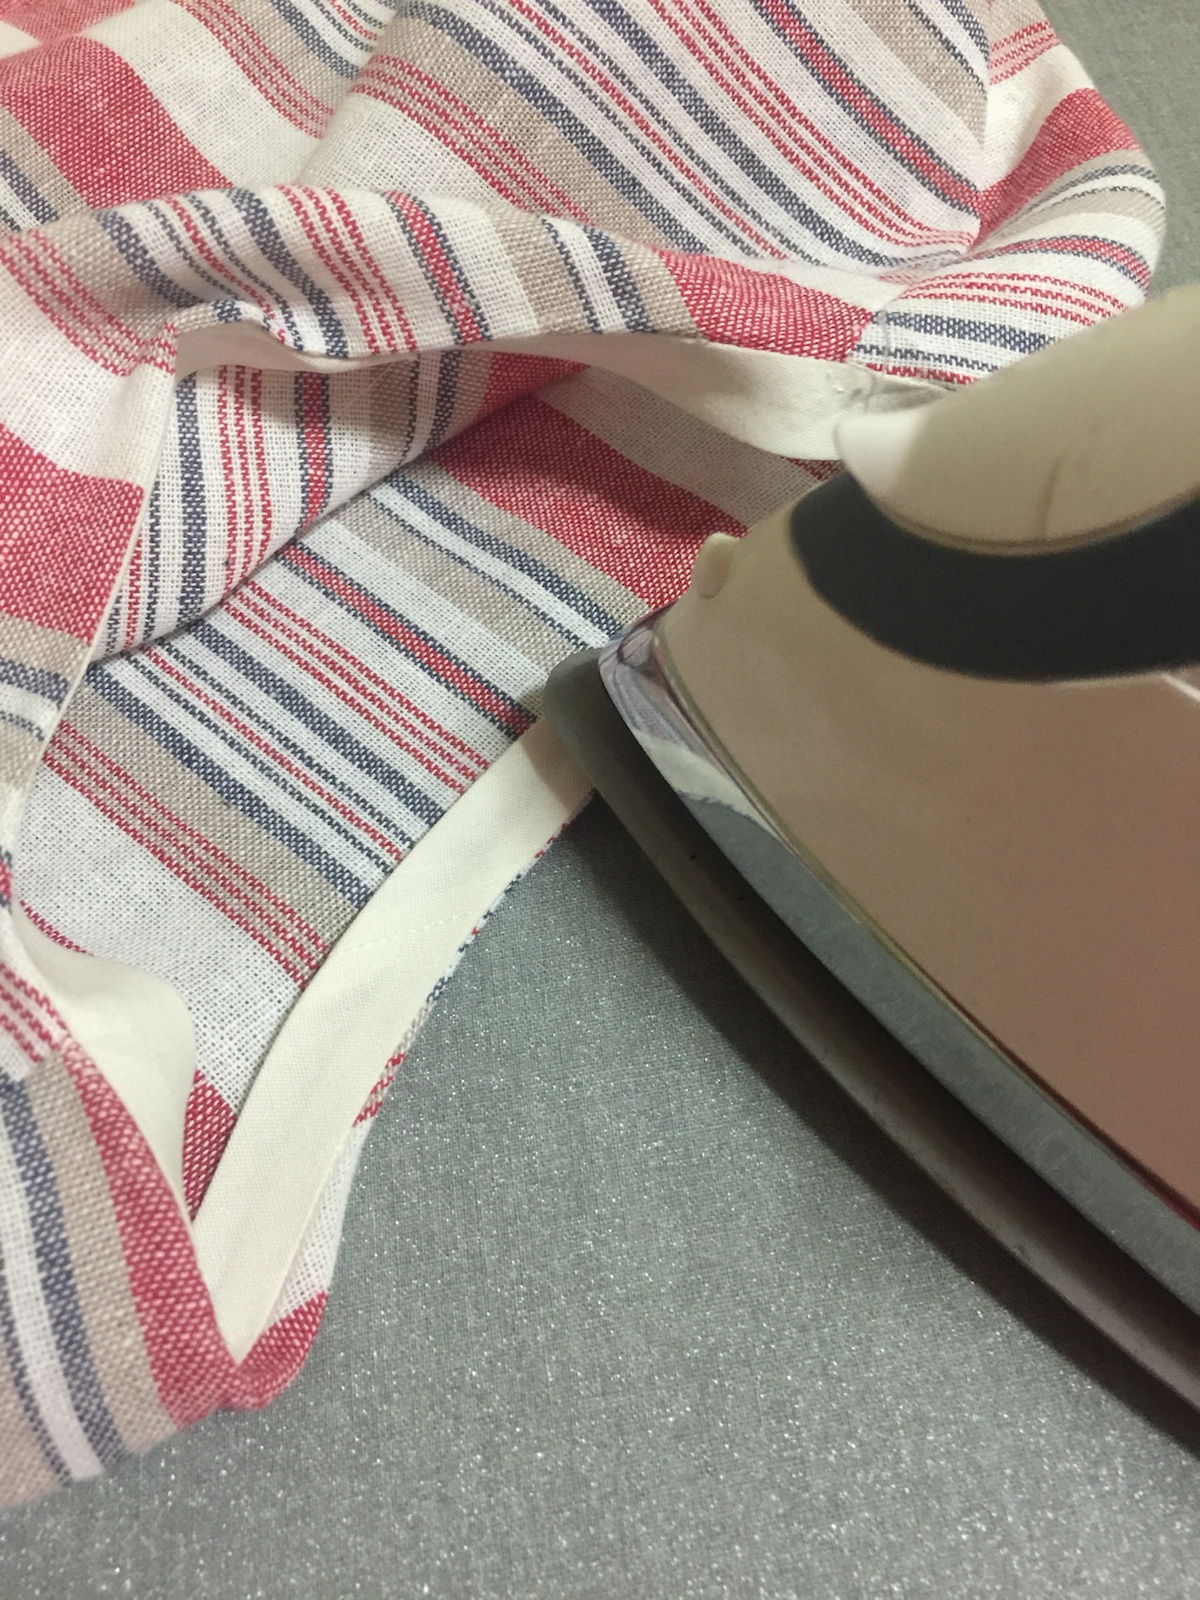
Sew the top and bottom bodice pieces together at 1/2″ seam, repeat for back bodice pieces. Finish seam allowances as desired. (I used a serger). Press the seam allowance towards the top of the bodice.

Step 4:
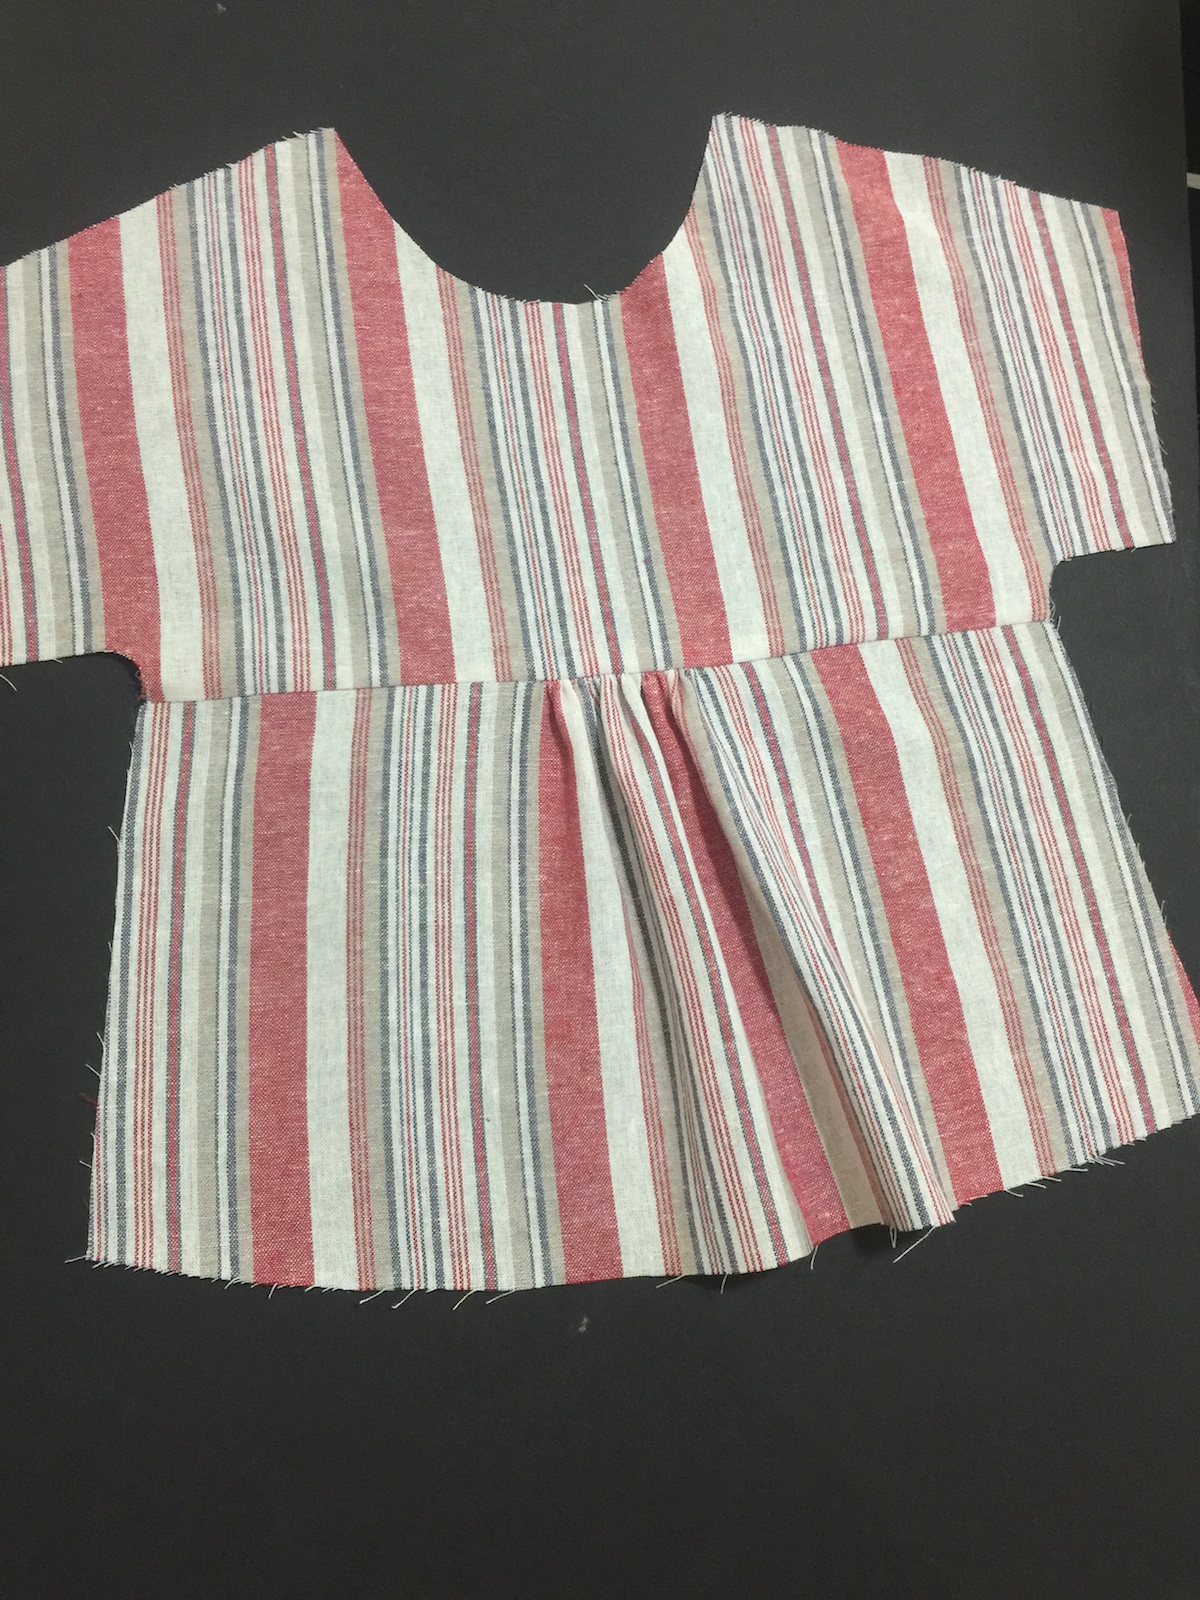
Lay the bodice front and bodice back right sides together. Pin at the shoulders and side seams. Sew at 1/2″. Clip into the underarm curve a few times to help the seam lay flat when being worn. Finish the seam allowances as desired and iron all seams towards the back bodice.
Step 5:
Finish the neckline with single fold bias tape. First, open up the binding and align one edge with the right side of the neckline. Sew along the first creased line. Make sure to over lap the end edges of the bias tape.

Step 6:
Using an iron, fold the tape to the inside of the bodice, and press. Pin in place.
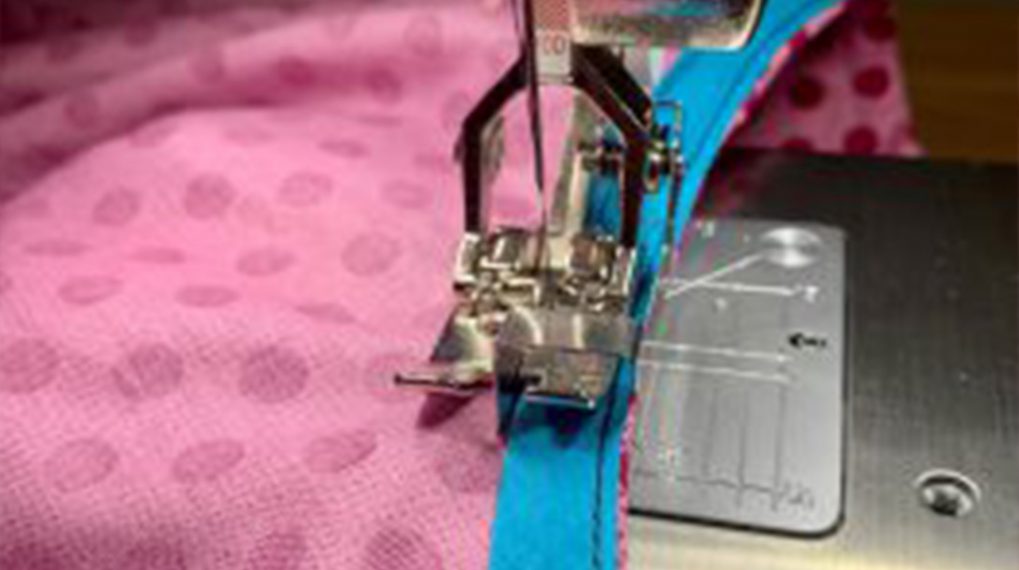
Step 7:
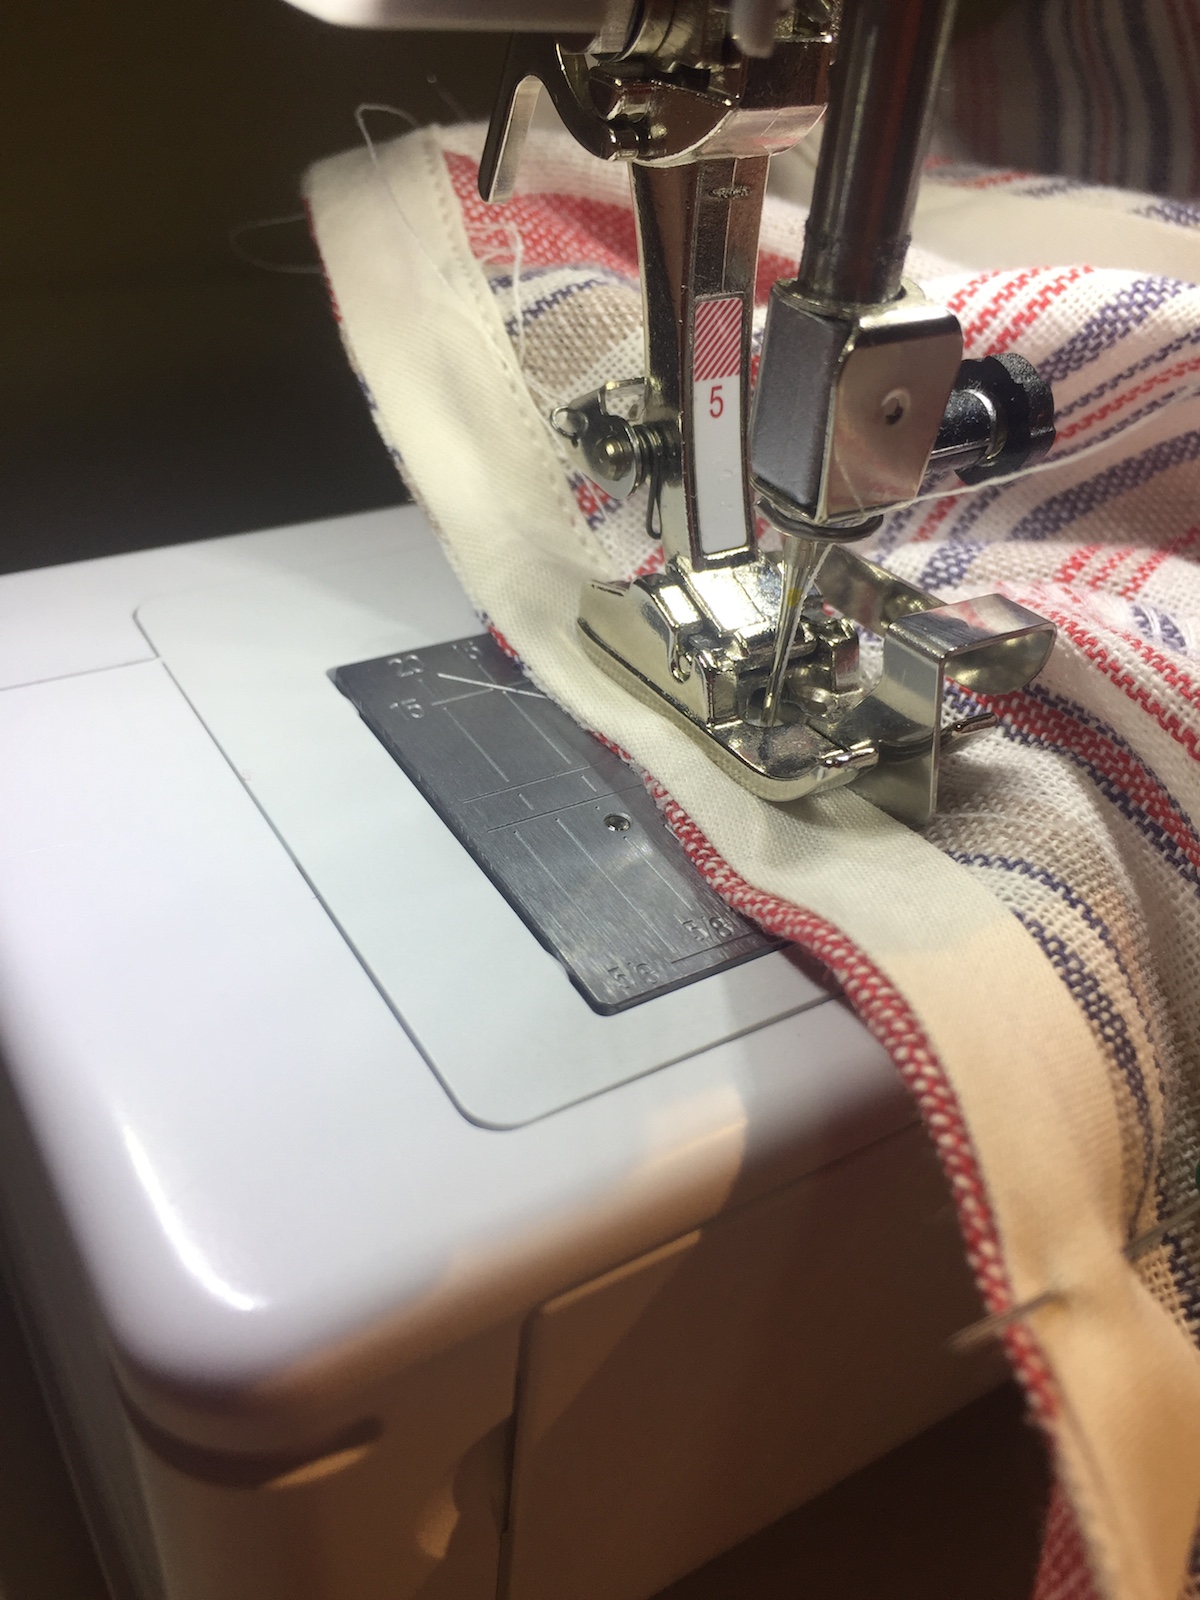
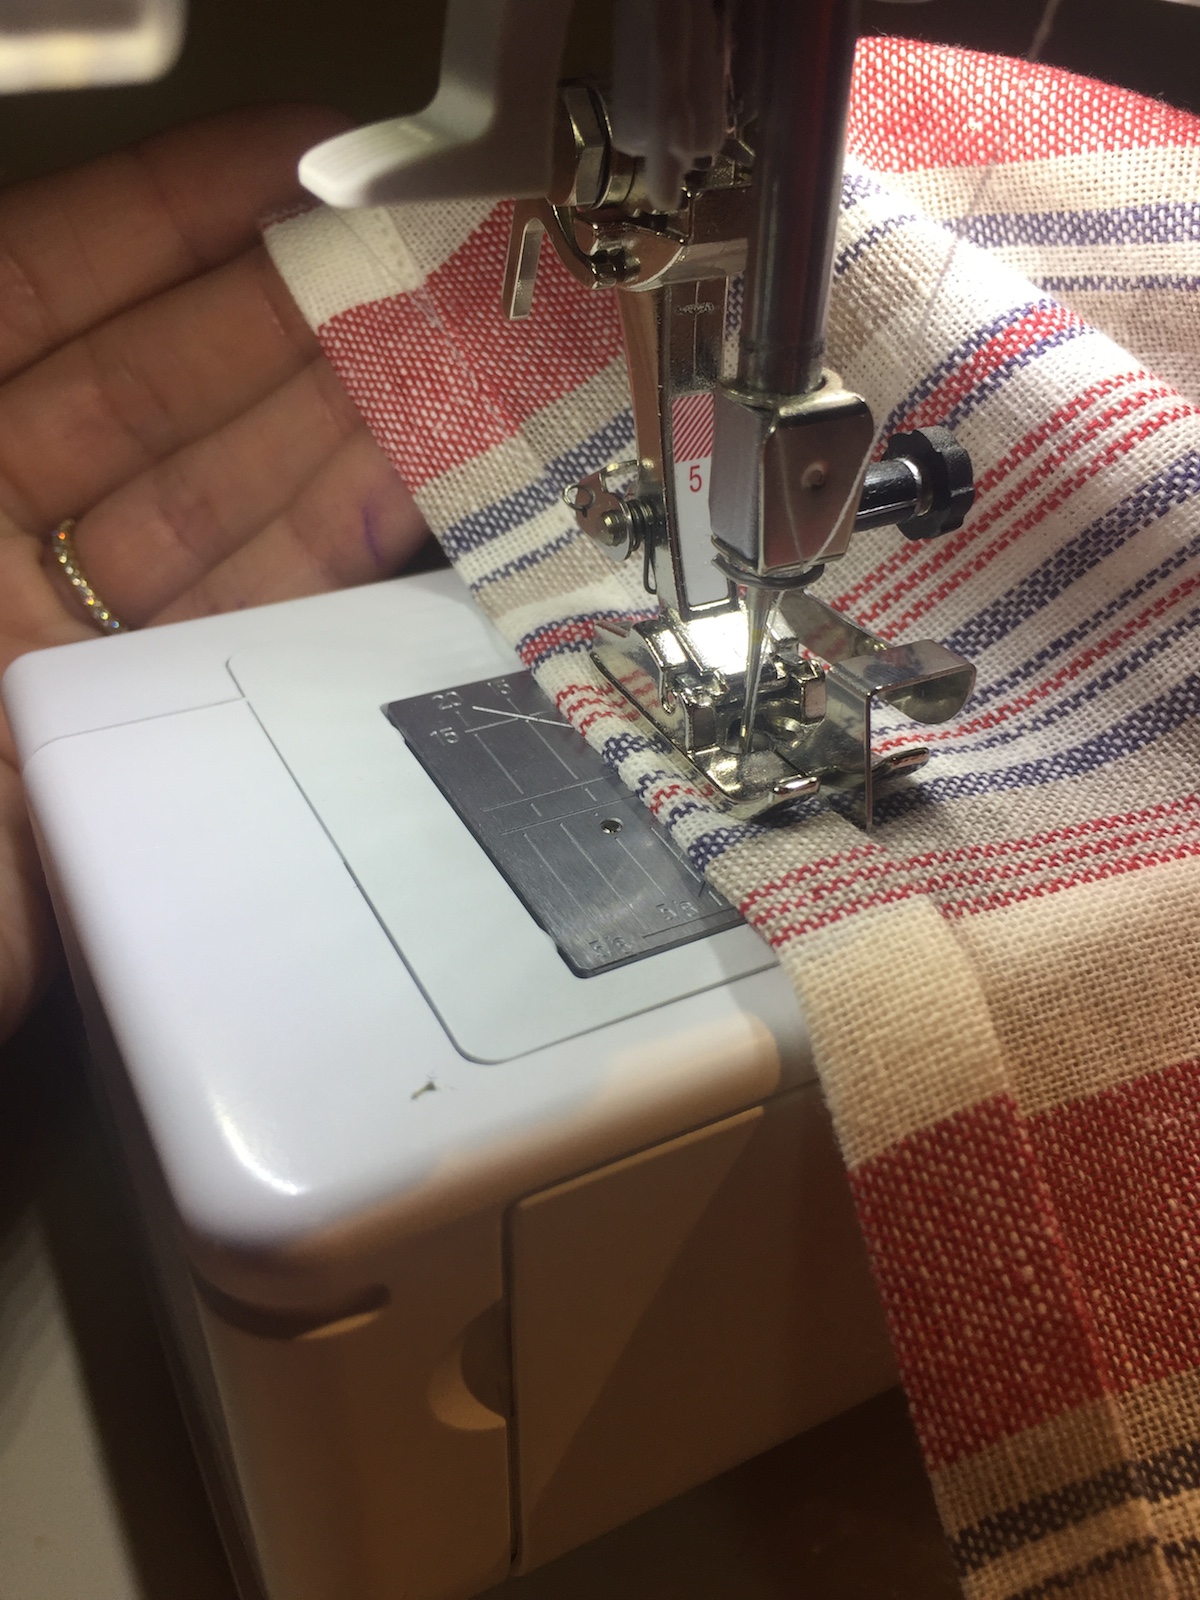
Using your edgestitch foot #10/#10C/#10D, move the machine needle over to the left about 3 spaces, and sew along the edge of the bias tape to finish the neckline.
Step 8:
Hem the sleeves and bottom hem by folding the raw edges in at 1/4″ and then another 1/4- 1/2″. Sew using your edgestitch foot once again.
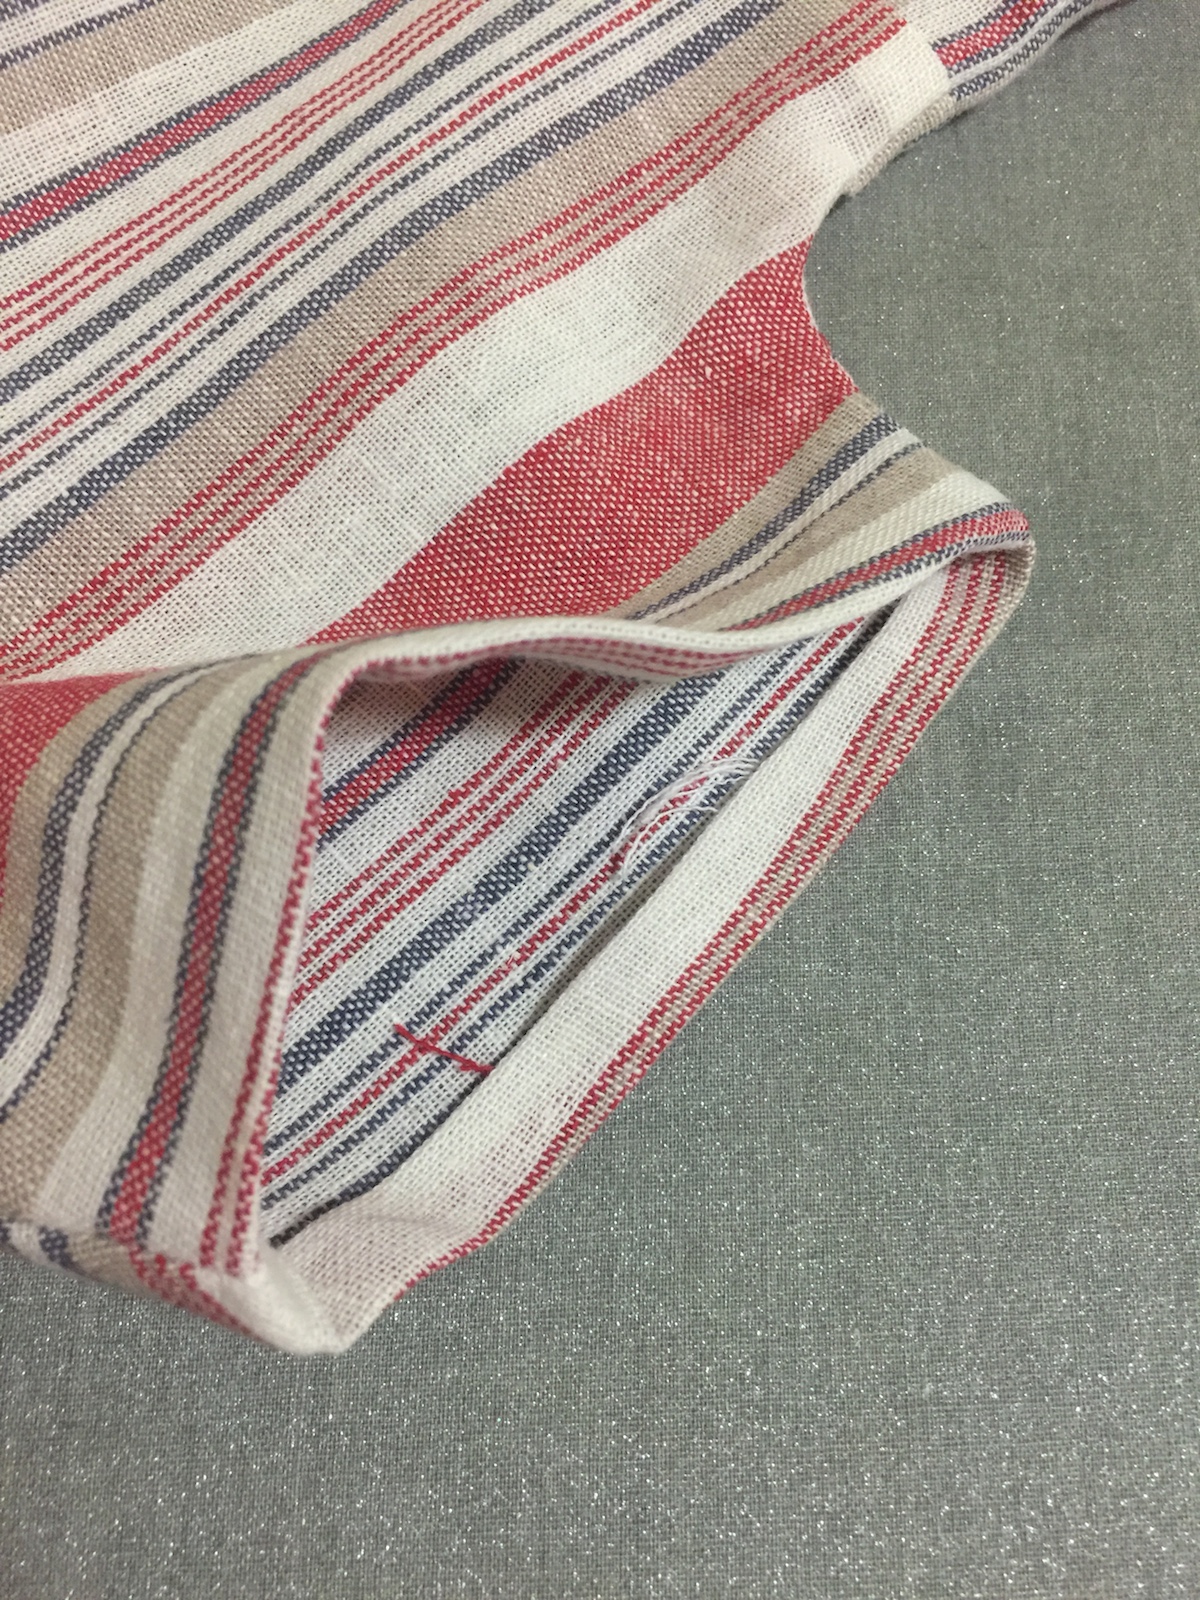

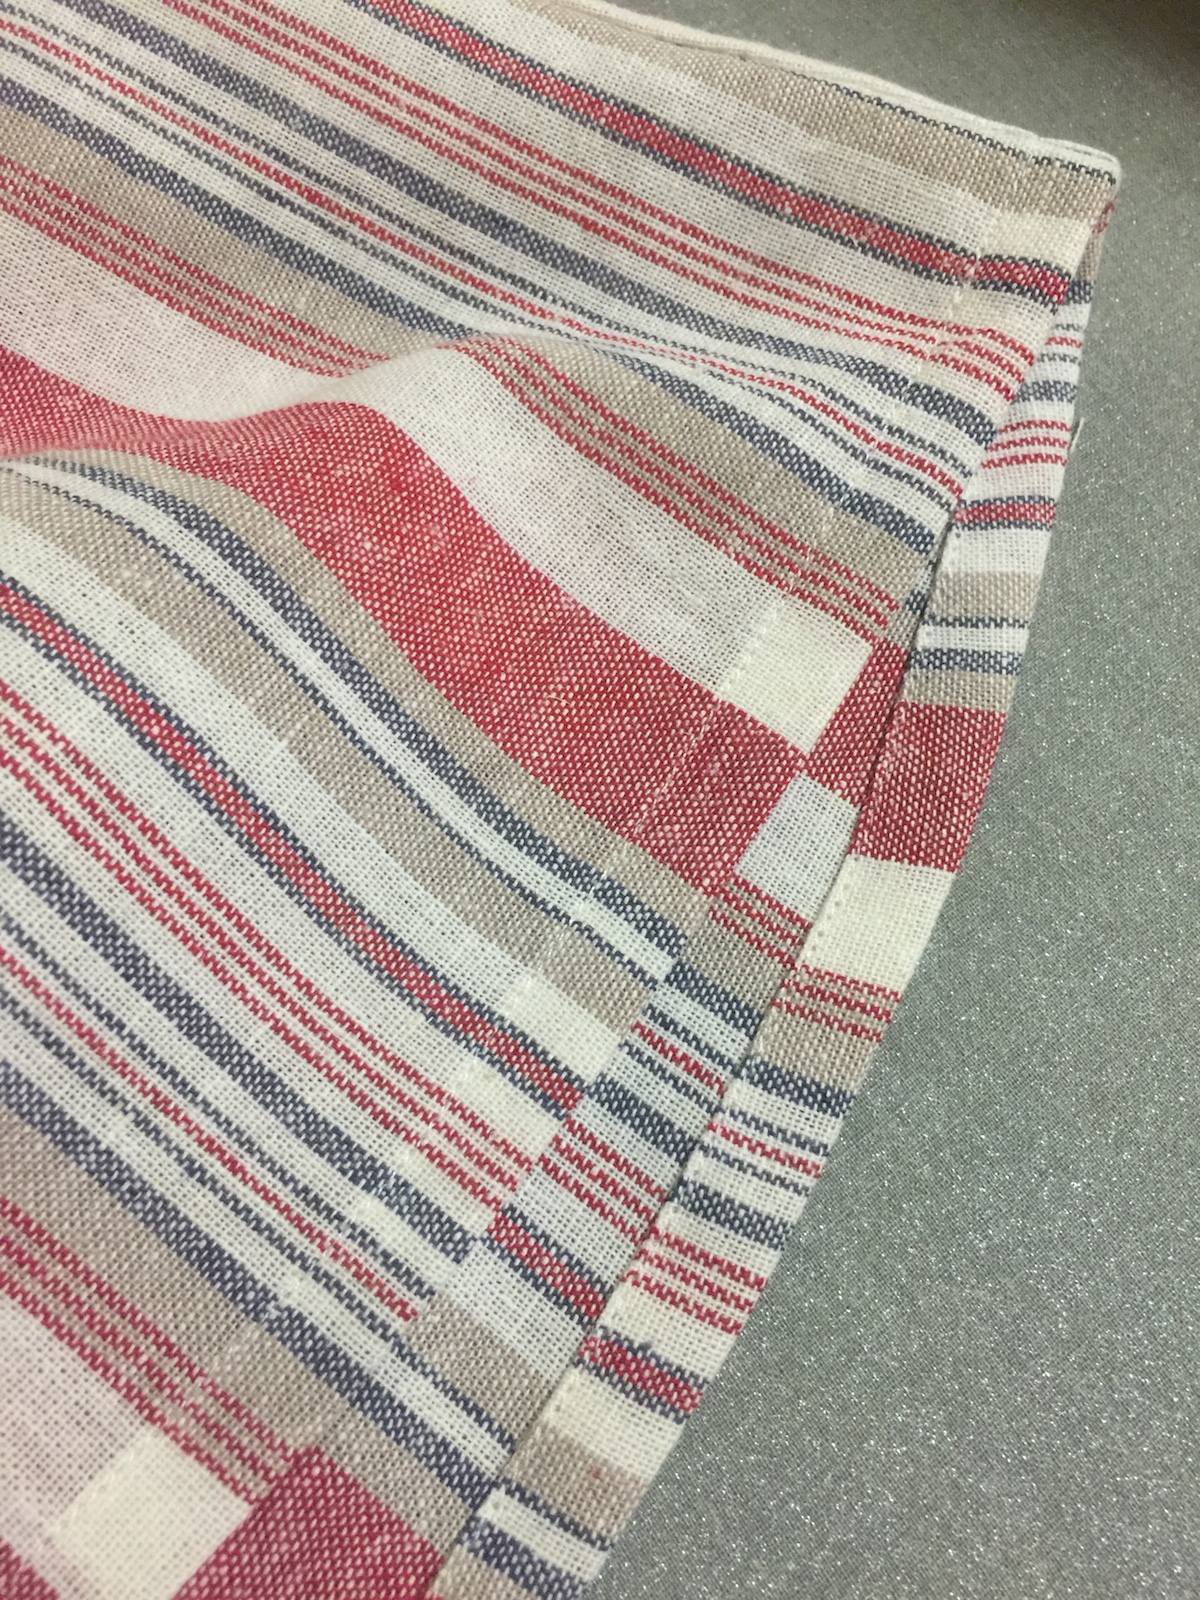
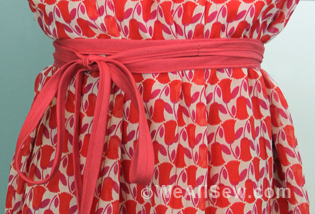
That’s all there is to it! I love how simple this top is, and yet the added gathers give it a little volume and shape. It’s a perfect top to wear all summer long.


Stay tuned for part 2 where I show you how to make an adult version of this top! Happy sewing!
Used Products


What you might also like


7 comments on “How to Sew a Girls Gathered Boxy Top”
-
-
The pattern you need to use is as it is linked. It’s just a girls t-shirt pattern. My tutorial walks you through how to alter the pattern and make it into a boxy top pattern! ?? Sorry for any confusion!
-
-
I couldn’t download the pattern. It took me to a t shirt pattern
-
Hello! Yes that is correct! You will be using the t-shirt pattern to create the boxy top. I show you how to draft it on your own, this way you don’t need to purchase a pattern.
-
-
i find it interesting that the photos show the #5 foot used for edgestitching and not # 10 as listed with supplies. It is a nice result.
-
This is so frustrating!!! I have followed all the prompts but it wil not let me download the pattern. I think I would rather pay for the patterns I find on this site than fight this !! If you will be on WE ALL SEW and we are registered, then we should not have to go through all this commotion top get a pattern. 🙁
-
Dear jangarber, this pattern that Sara suggests is a pattern from Jamie Sanders and is located on her website for download.
-
Leave a Reply
You must be logged in to post a comment.

I cannot find this pattern. The link you give sends me to the designer’s website but nowhere is this gathered boxy shirt pattern. Many others, but not this one.