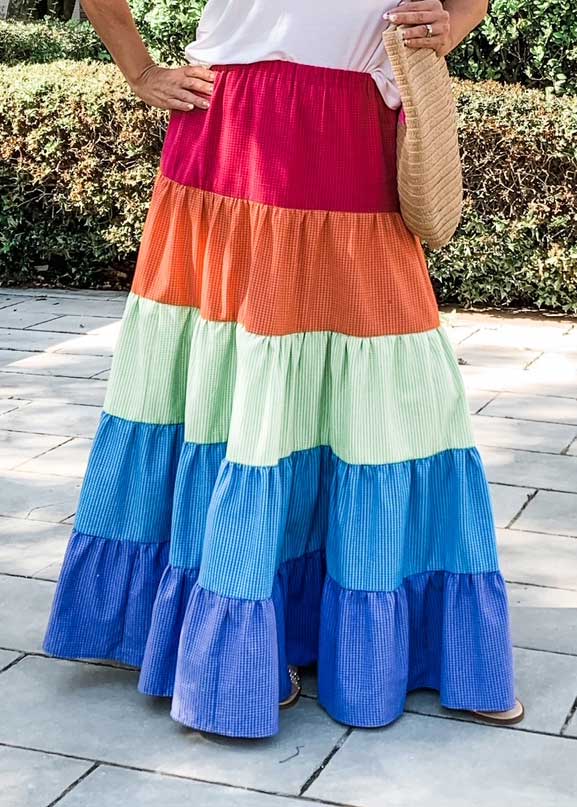
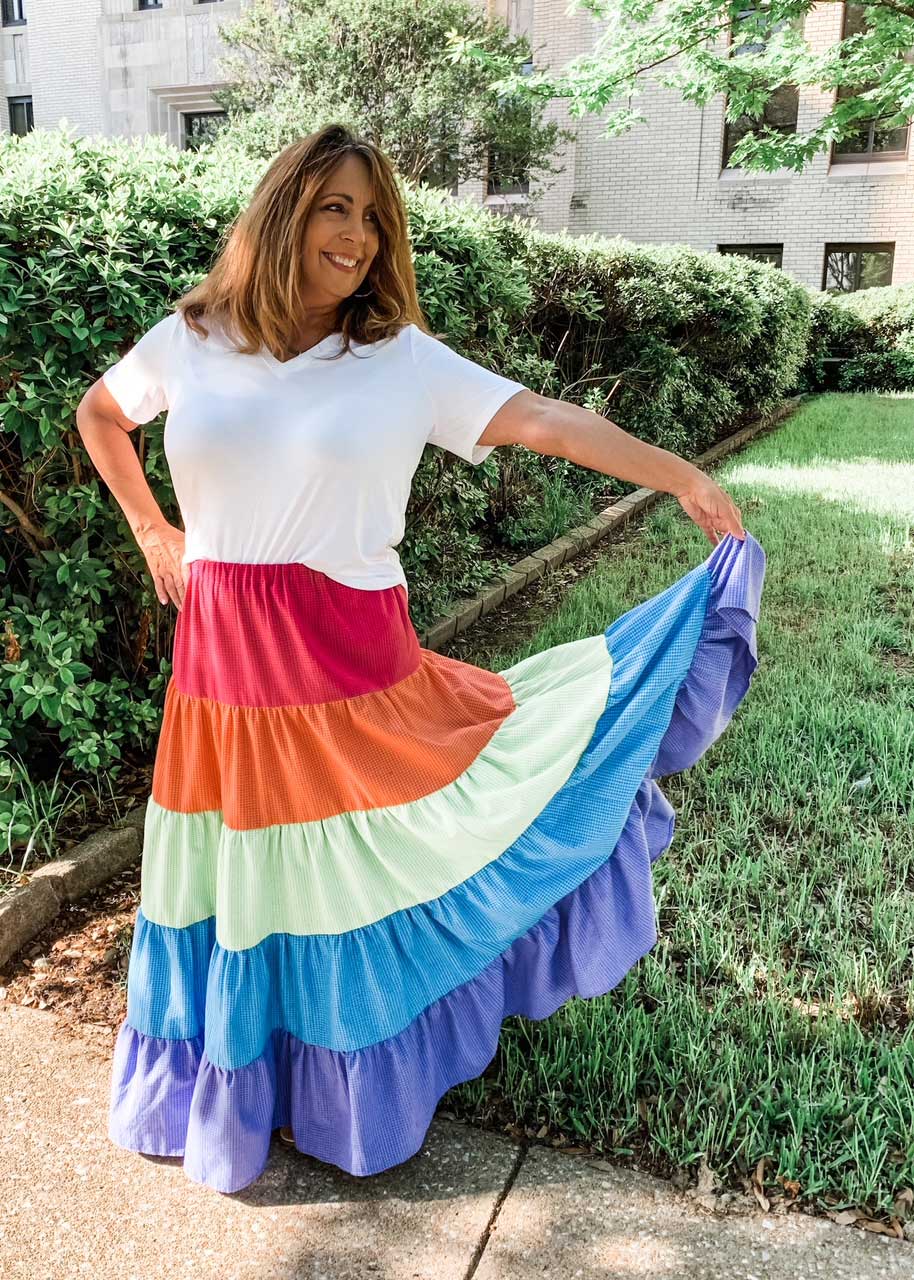
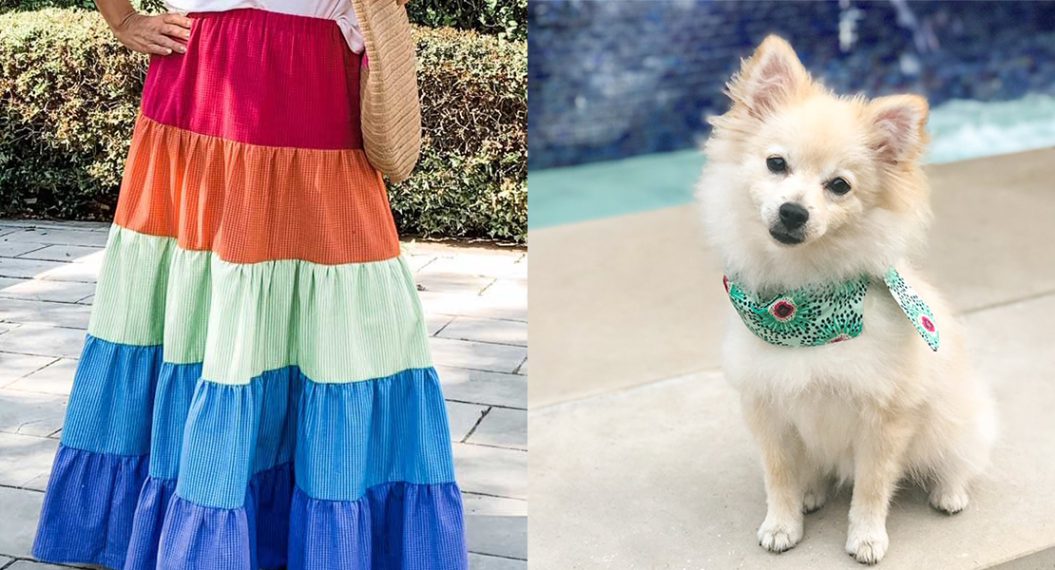
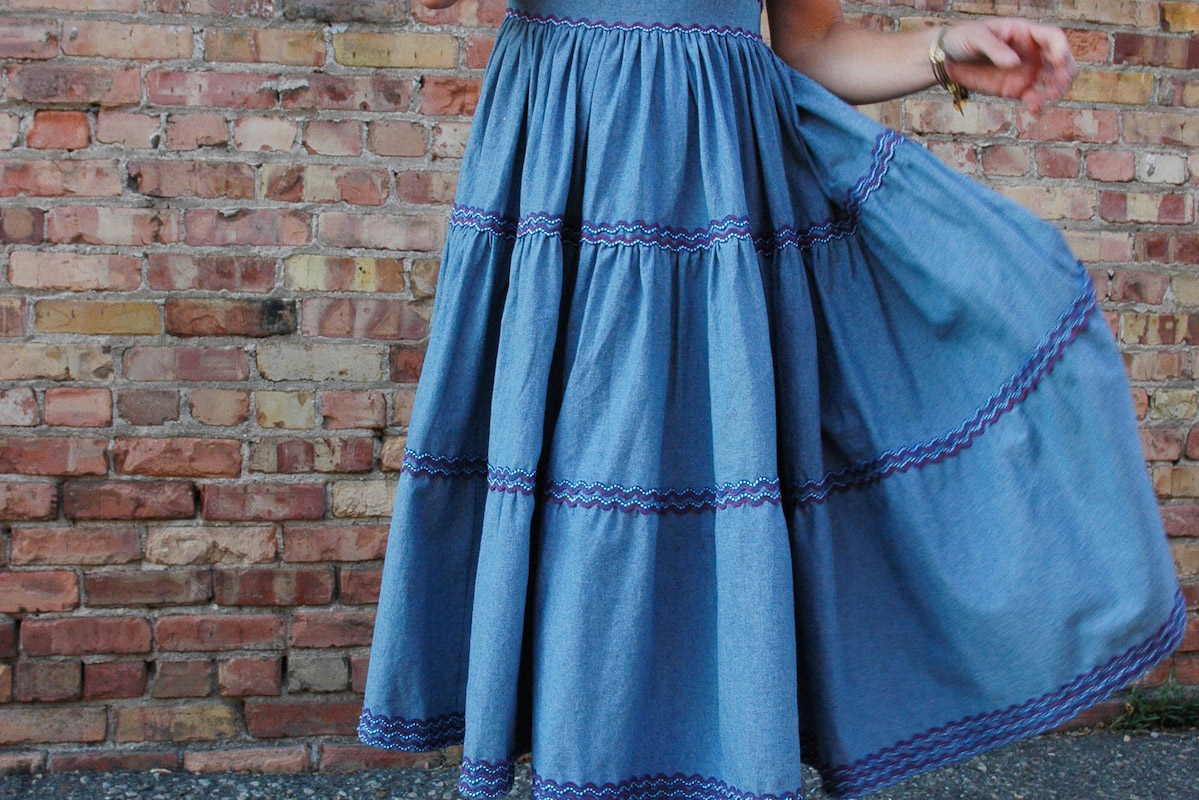
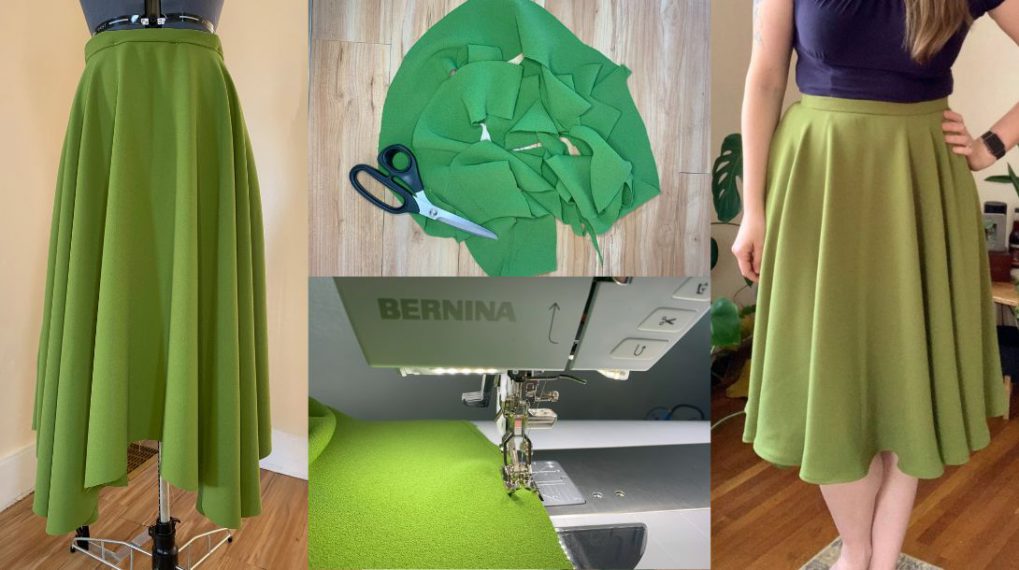
How to Sew a Multi-tiered Maxi Skirt
Fashion trends come and go, but one trend that never fully goes away is the multi-tiered maxi skirt. For good reason! They are fun to wear, can be dressed up or down, and are quite comfortable.
Sewing a tiered skirt is not a complicated sewing project. It does take time due to the amount of gathering that is done on each tier, but overall it’s an easy sewing project.
Plus, there are no zippers, no buttons and you don’t need a pattern!
Note: The skirt in this post was sewn for a 40” hip and has a finished length of 40”. Yardage and cutting instructions in this blog post will be provided for those measurements.
Don’t worry if you have a smaller or larger hip measurement. It’s easy to calculate how to cut and sew this multi-tiered maxi skirt to fit YOU!
In this tutorial, I’ll walk you through the steps to sew a maxi skirt with five tiers. Let’s get started!
Supplies Needed to Sew the Multi-tiered Maxi Skirt
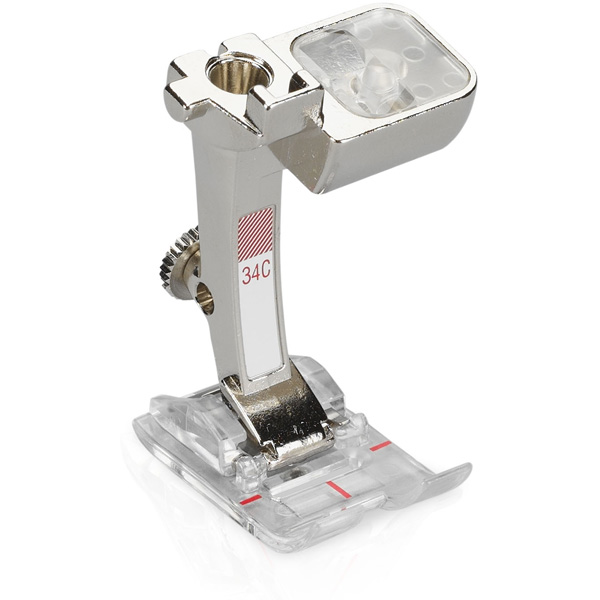
- Sewing Machine (I used my BERNINA 770 QE Plus)
- Woven fabric such as lightweight cotton or cotton blends. The fabric requirements assume the fabric has already been pre-shrunk.
- 3/4 yard (44” wide) – Upper-tier (magenta) (U)
- 5/8 yard (44” wide) – Middle-tier 1 (orange) (M1)
- 7/8 yard (44” wide) – Middle-tier 2 (lime) (M2)
- 1-1/2 yards (44” wide) – Middle-tier 3 (blue) (M3)
- 1-7/8 yards (44” wide ) – Lower-tier (purple) (L)
- Your yardage may vary if you sew a skirt that is smaller, larger, shorter, or longer than this one.
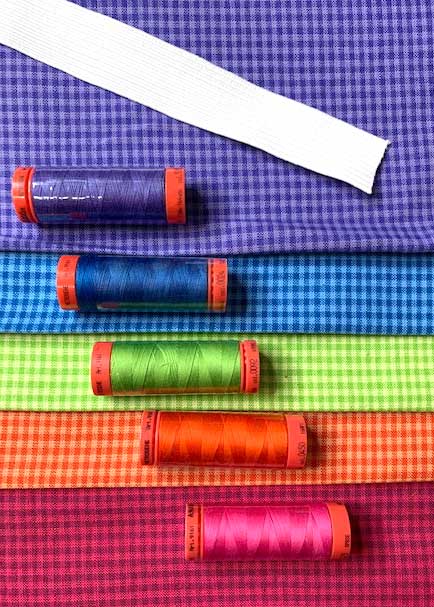
- The fabrics for this skirt are from the Warp + Weft Premium Yard Dye line. They were provided by Benartex and are from the Modern Quilt Studios Mini Gingham collection. Check with your local quilt shop to see if they carry these fabrics
- Coordinating all-purpose thread
- Mettler provided the All-Purpose Metrosone thread for this skirt.
- 1” elastic (your waist measurement plus 1″)
- Measuring tape
- Straight pins
- Safety pin
- Seam gauge
- Ruler
- Marking chalk or pencil
- Scissors OR Rotary cutter and cutting mat
- Iron and pressing surface
- Calculator
Choosing Fabric to Sew the Multi-tiered Maxi Skirt
This skirt works well in lightweight cotton and cotton blends but other fabrics can also be used. Keep in mind the weight of the fabric you choose so it will gather nicely. If your fabric is too heavy you may find the skirt pulls down as you wear it from the weight of all of the fabric tiers.
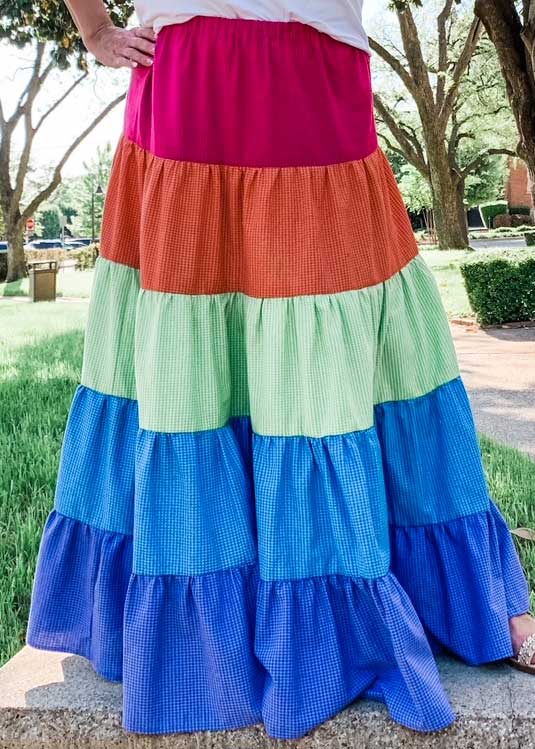
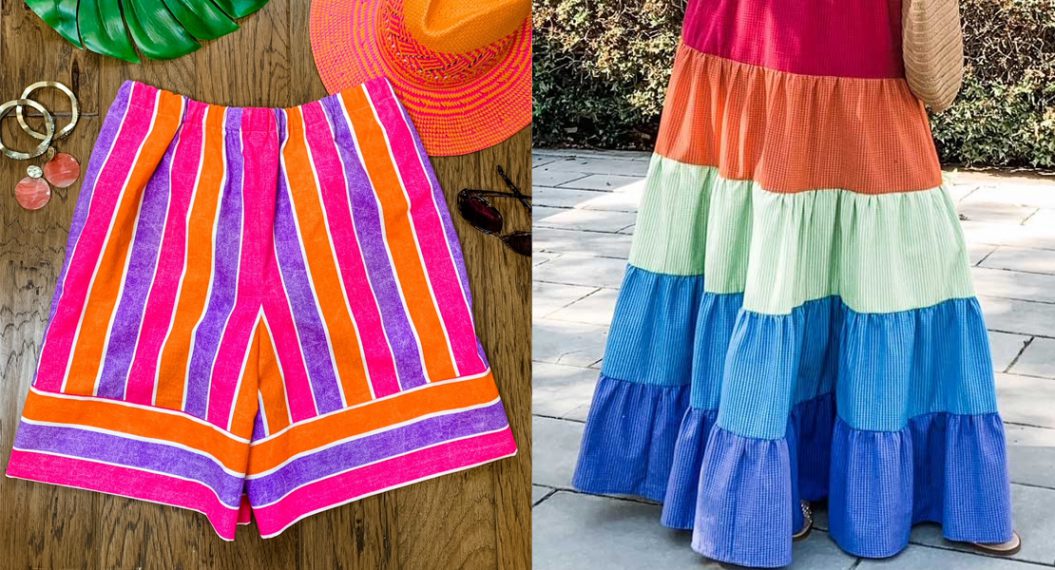
I was inspired to sew my multi-colored maxi skirt after seeing color-blocked skirts in rainbow colors online.

Even though I used rainbow colors, that doesn’t mean you have to! You can use five different colors like I did, five different prints, a combination of solids and prints, or even one print or one color. When choosing different fabrics keep the fiber content and weight of the fabrics the same.
For this tutorial, use fabric that is at least 42” wide (with the selvage edges removed).
How to Calculate the Width of Each Skirt Tier
Each of the tiers is wider than the one above it so that the skirt becomes fuller as it gets longer. The upper tier is designed with only 4″ of ease so there is not a lot of excess fabric at the waistline yet there is enough room to sit comfortably.
Here is how to calculate the width of each tier.
Measure the fullest part of your hip. Write down that measurement. If your waist is larger than your hip, use your waist measurement.
Designate that measurement as “A”. All tiers, except the upper one, will be 1-1/2 times wider than the one above. Calculate the width of each tier using the following formula:
-
- Upper-tier width (magenta): A + 5” (1/2” seam allowance and 4″ ease) = U
- Middle-tier 1 width (orange): U x 1.5 = M1
- Middle-tier 2 width (lime): M1 x 1.5 = M2
- Middle-tier 3 width (blue): M2 x 1.5 = M3
- Lower-tier width (purple): M3 x 1.5 = L
Round up when calculating widths to make it easier when cutting. Write down the numbers for easy reference when cutting the tiers.
Example Calculations for Determining the Width of the Tiers for the Maxi Skirt
Here is an example of calculations for a 36″ hip measurement
- 36” (Hip) + 5” = 41” (U)
- 41” (U) x 1.5 = 61.5” (M1) (round up to 62”)
- 62” (M1) x 1.5 = 93” (M2)
- 93” (M2) x 1.5 = 139.5” (M3) (round up to 140”)
- 140” (M3) x 1.5 = 120” (L)
Here is an example of calculations for a 50″ hip measurement
- 50” (Hip) + 5” = 55” (U)
- 55” (U) x 1.5 = 82.5” (M1) (round up to 83”)
- 83” (M1) x 1.5 = 124.5” (M2) (round up to 125”)
- 125” (M2) x 1.5 = 187.5” (M3) (round up to 188”)
- 188” (M3) x 1.5 = 282” (L)
Measure, Cut and Sew the Tiers for the Multi-tiered Maxi Skirt
A quick reminder that the skirt in this post was sewn for a 40” hip and has a finished length of 40”.
Here are the calculations for a 40” hip measurement, the size of the skirt in this tutorial.
- 40” (Hip) + 5” = 45” (U)
- 45” (U) x 1.5 = 67.5” (M1) (round up to 68”)
- 68” (M1) x 1.5 = 102” (M2)
- 102” (M2) x 1.5 = 153” (M3)
- 153” (M3) x 1.5 = 229.5” (L) (round up to 230”)
The length of the upper-tier (U) is 11” which includes a 1/2” seam and 1-1/2” casing allowance.
The length of each of the other four tiers (M1, M2, M3, and L) is 9” with includes a 1/2” seam and 1/2” hem allowance.
- Tip: If you want a skirt that is shorter or longer than 40”, you will add or subtract equally from each tier.
- Tip: If you want the skirt to have more fullness, multiply each tier by 2 instead of 1.5
When the total width needed is wider than the width of your fabric you will cut multiple pieces and stitch them together to create the desired width.
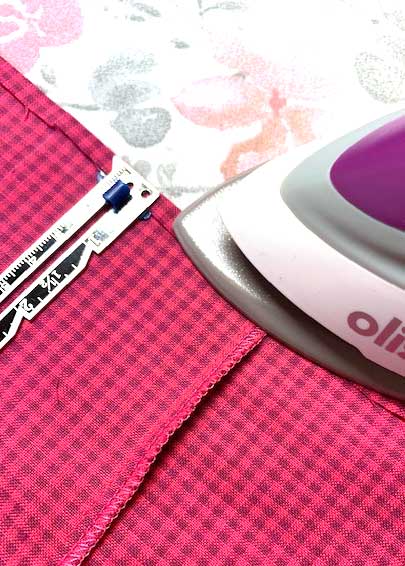
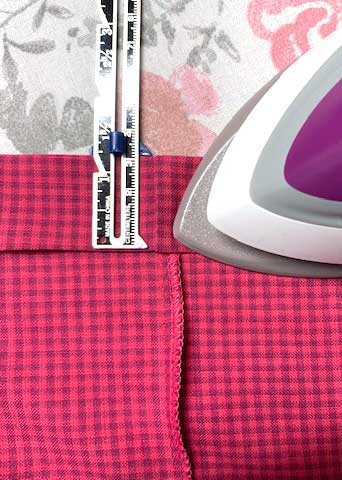
To do that, place short edges of the tier rectangles right sides together and pin. Stitch using a 1/2” seam allowance creating a continuous band in the desired width. Finish your seams as desired.
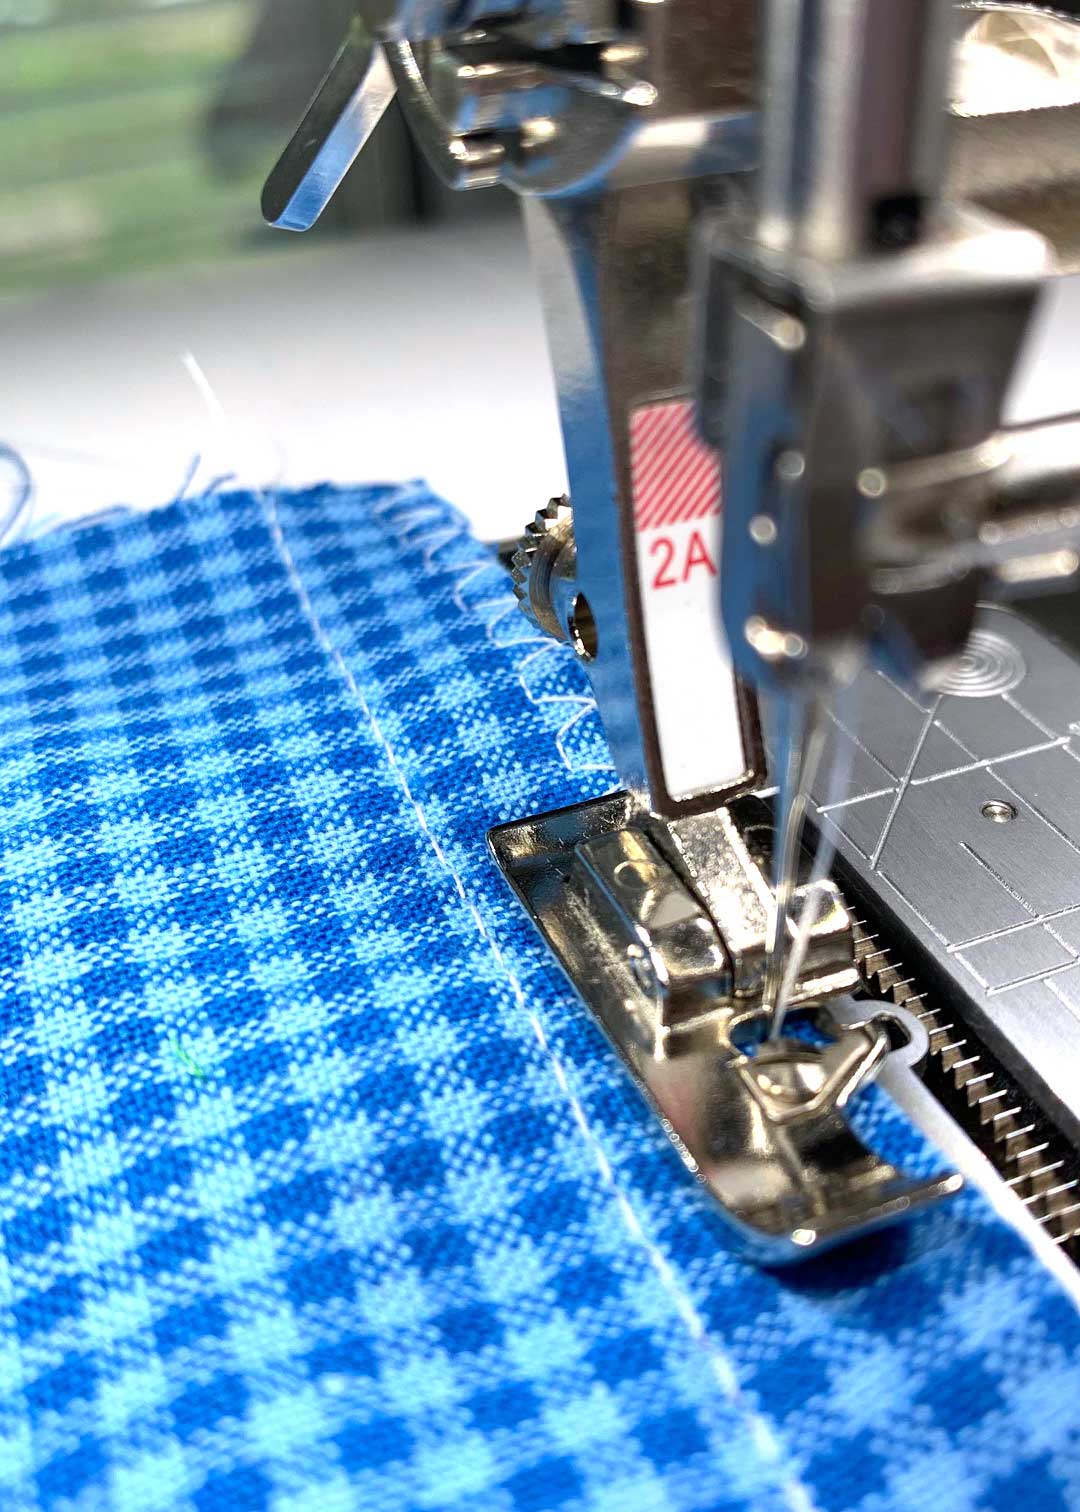
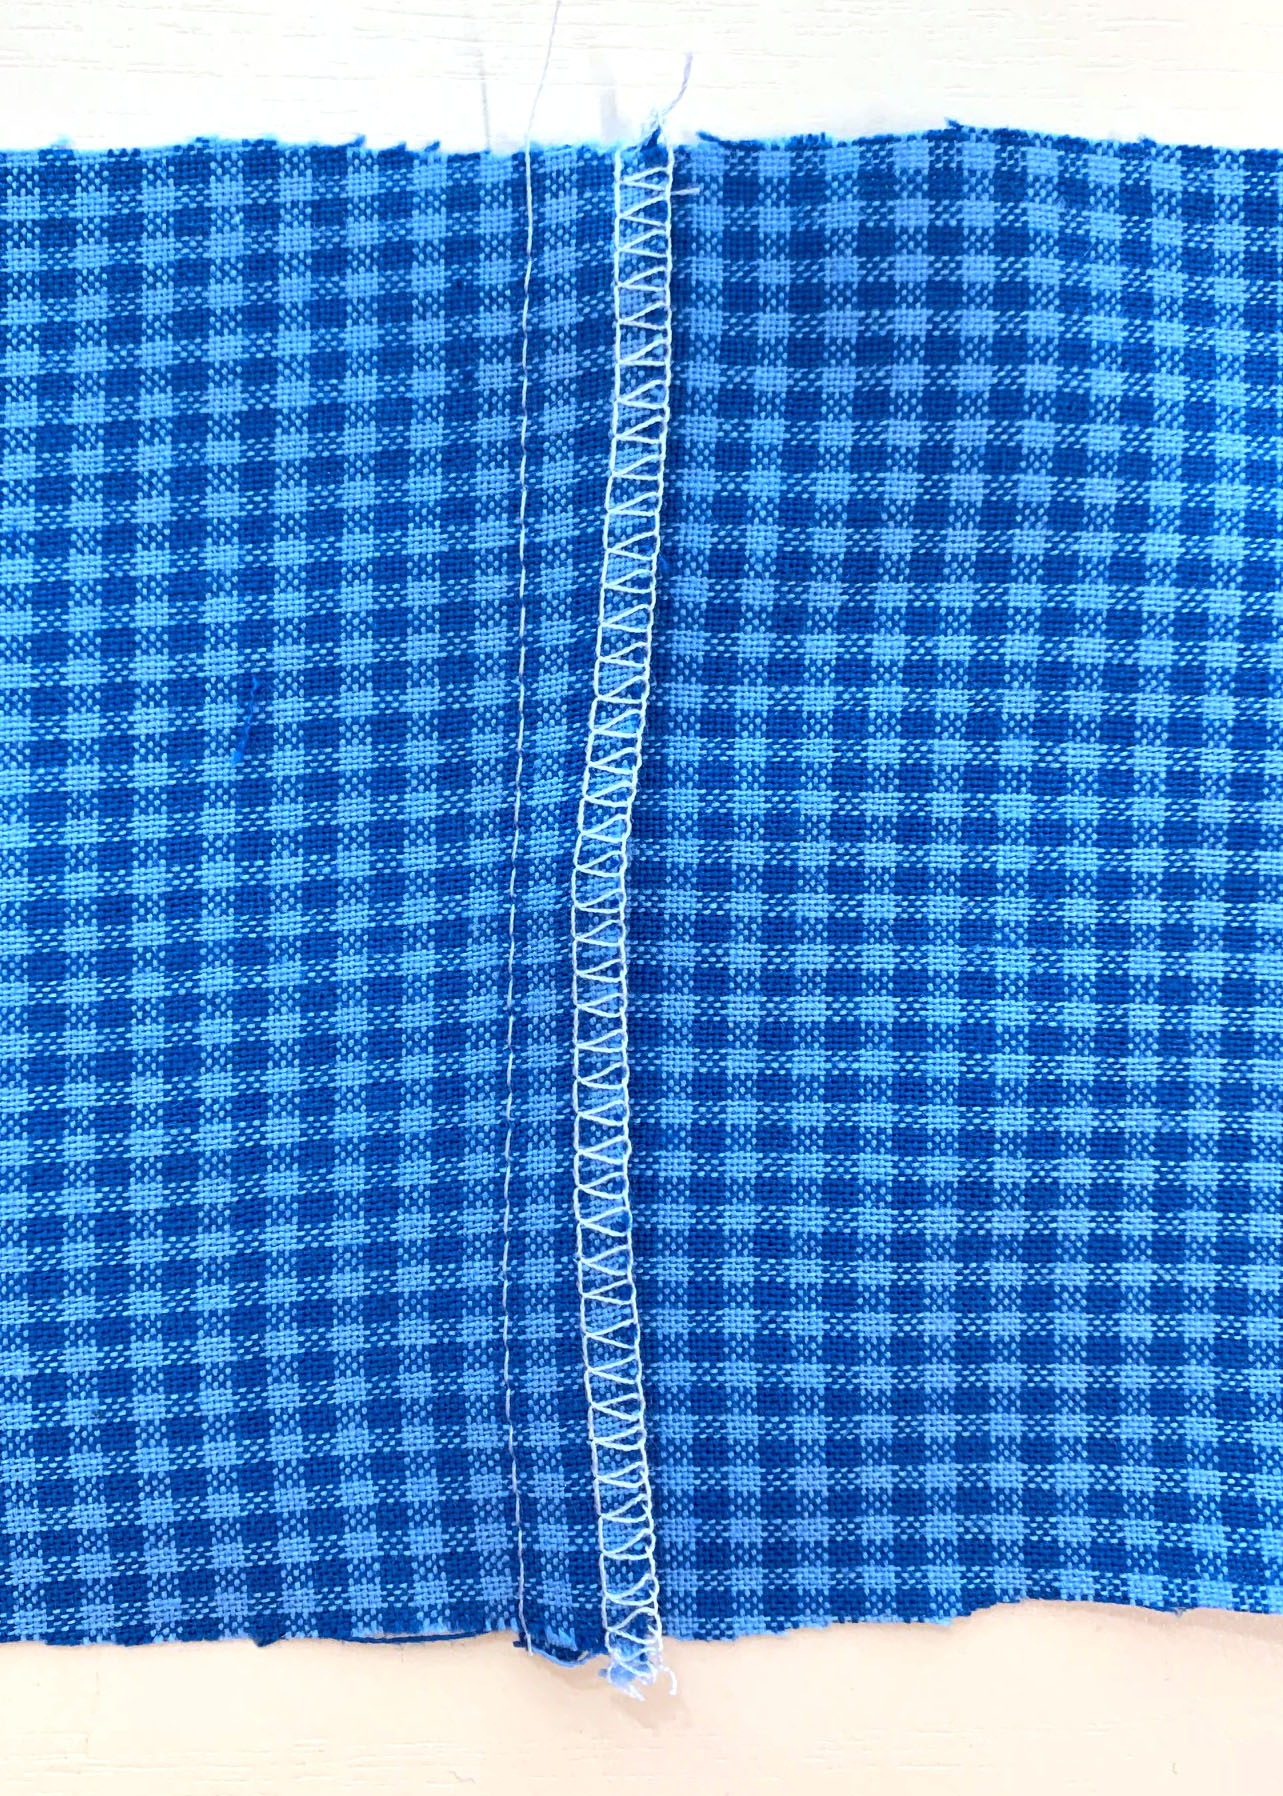
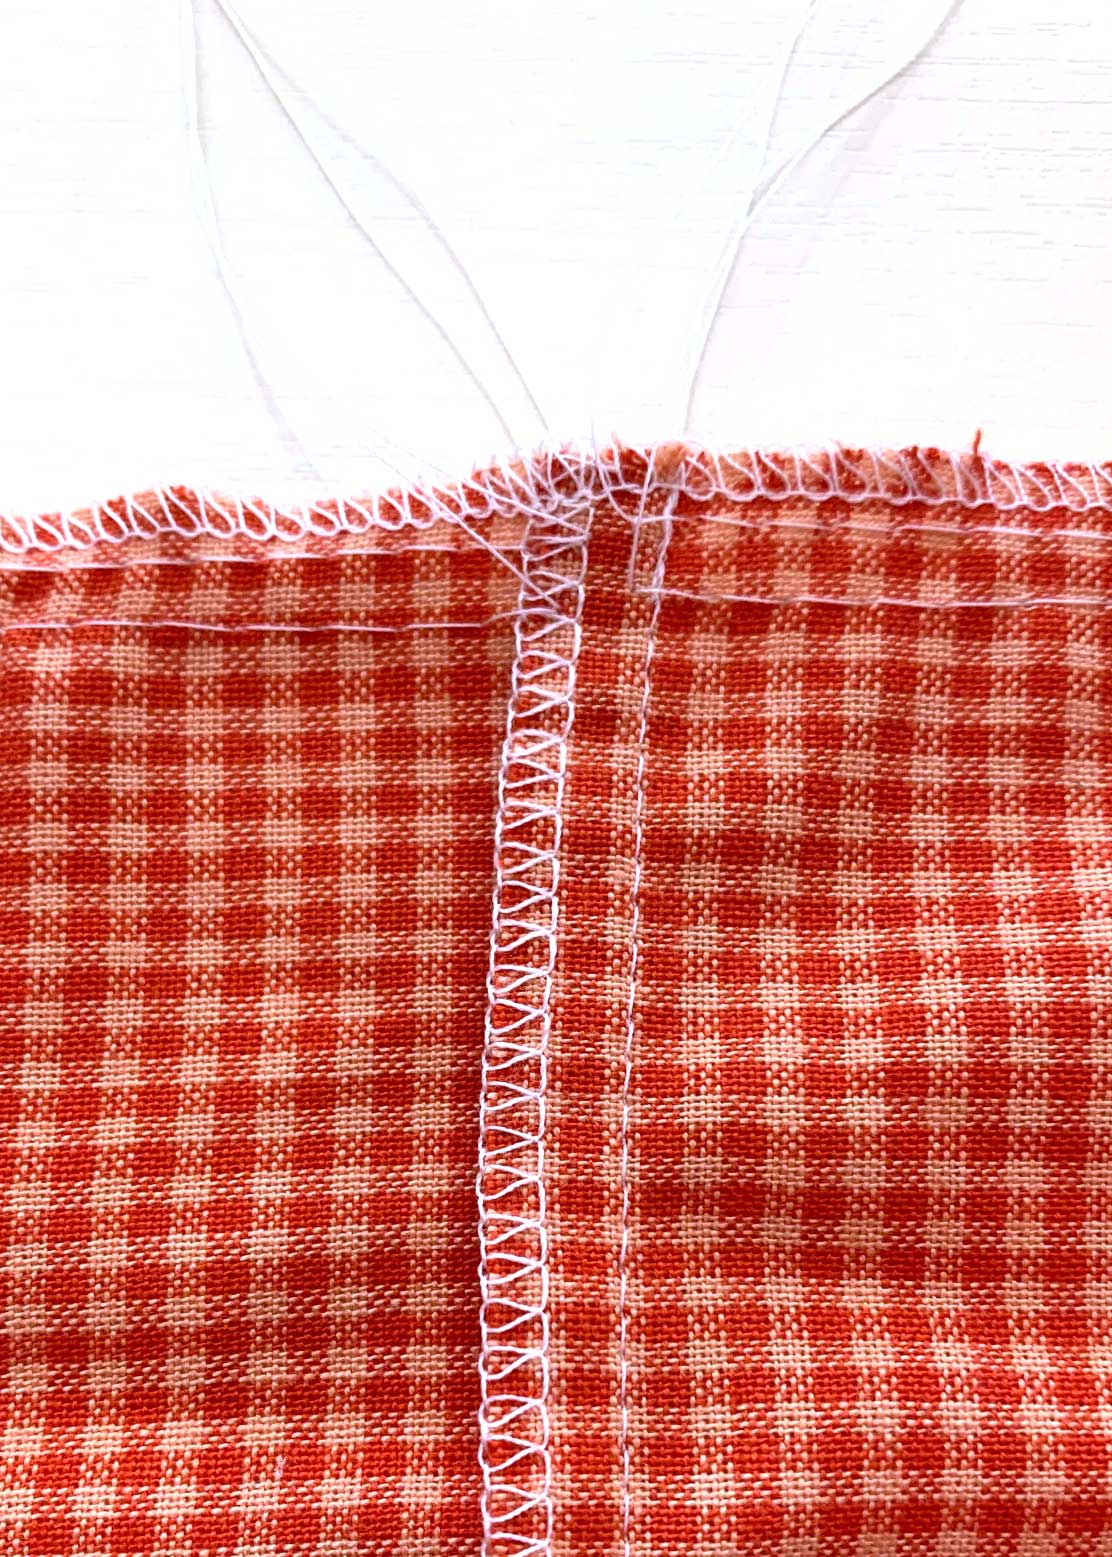
Four Seam Finish Options
Here are four seam finish options for you:
- Pink the edges with a pinking shear and press open. Famore Cutlrey provided the pinking shears for this project.

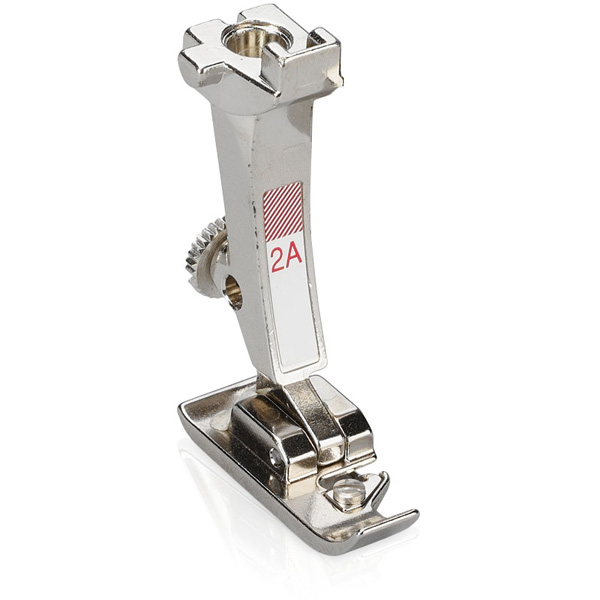
- Overcast with the Overlock Foot 2A and press to one side.
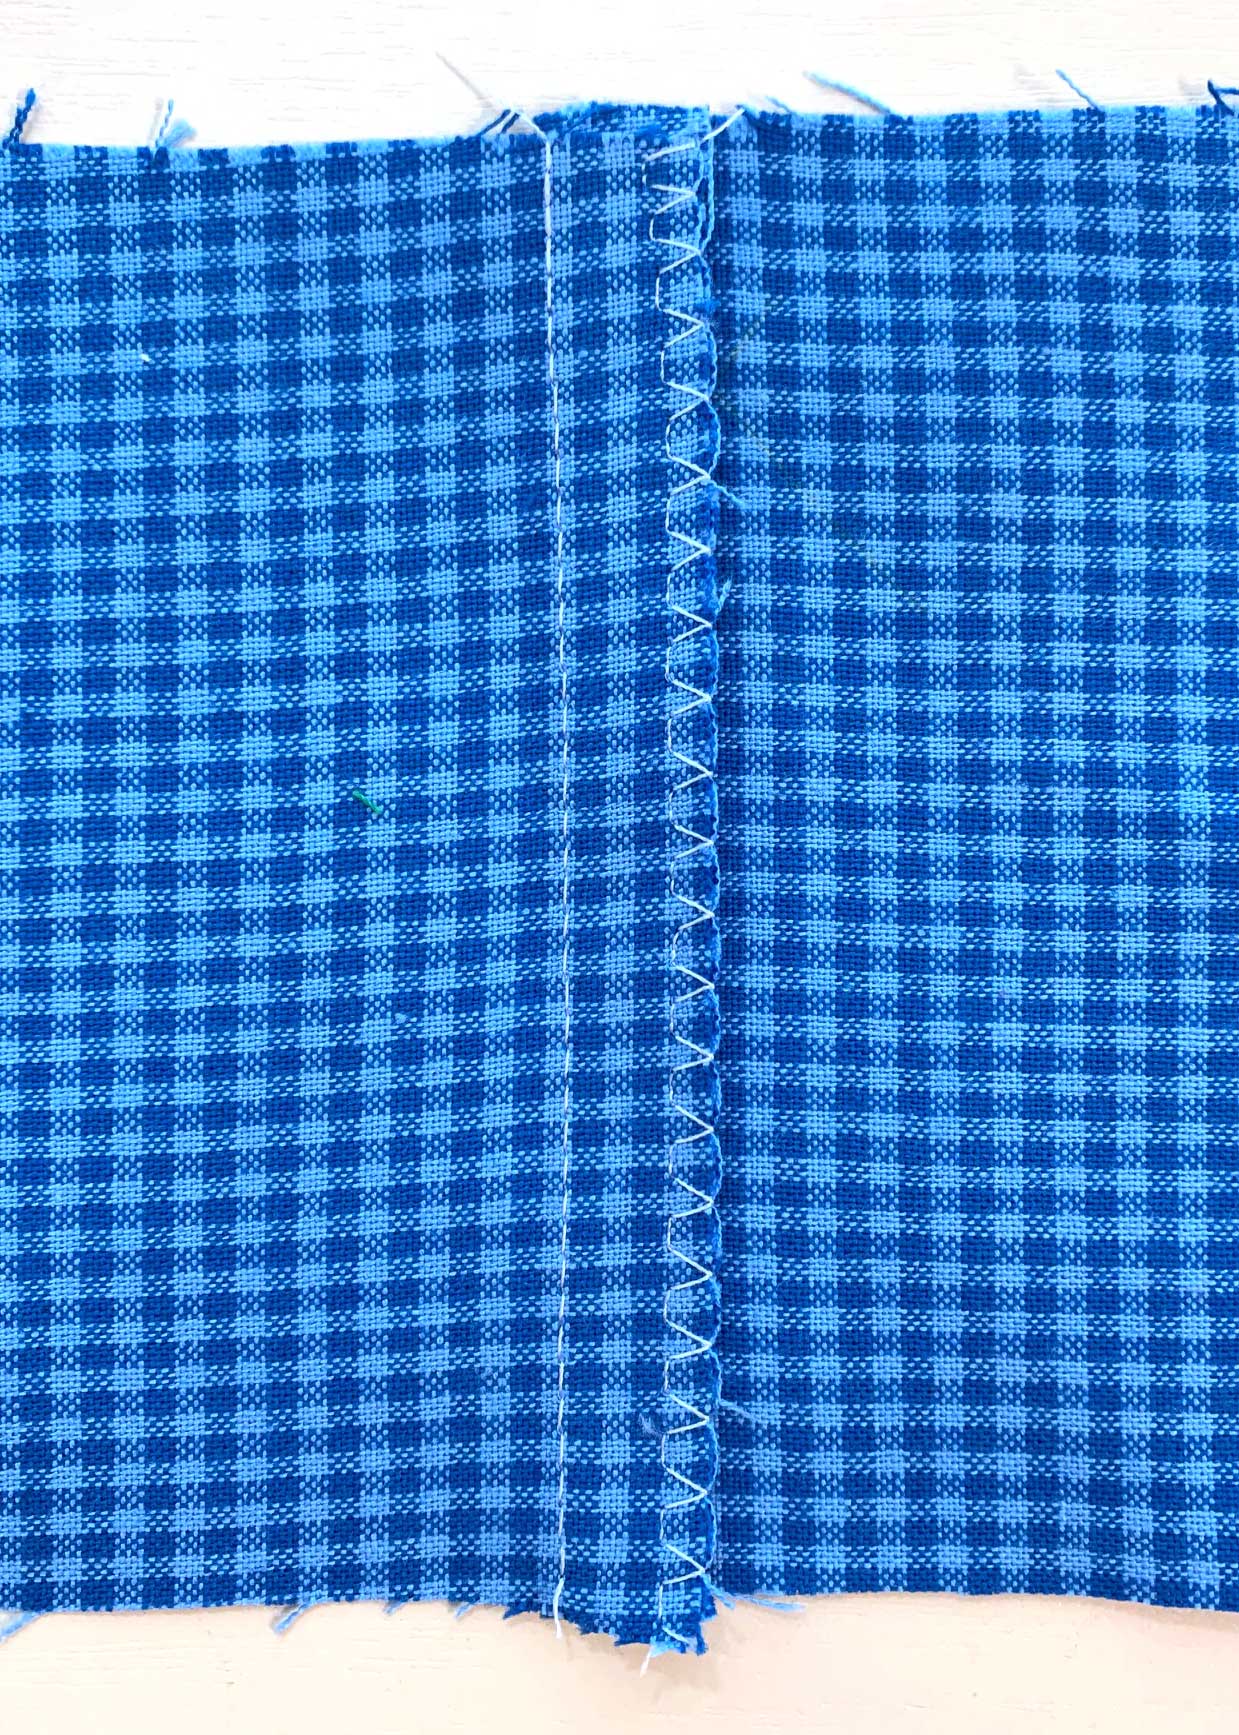
- Zig-zag stitch the seam edges together and press to one side.

- Use a serger three-thread finish and press to one side.
Cut and Sew the Upper Tier (Magenta) of the Maxi Skirt
The upper-tier rectangle total is 45” x 11”.
Because this is the upper tier, the 2 rectangles will be cut in equal lengths as the seams will be the side seams of the skirt.
Place the fabric right side up in a single layer on a flat cutting surface.
Measure, mark, and cut 2 pieces of fabric that are 22-1/2” x 11”.
Place the short edges together, right sides facing, and stitch using a 1/2” seam allowance creating one continuous loop. Finish seams as desired; press.
Using a removable fabric marker of your choice, mark the inside the fabric with an arrow to designate the top edge. ![]() Tip: If you want to, you can sew the casing for the elastic at this point. See the section below for details.
Tip: If you want to, you can sew the casing for the elastic at this point. See the section below for details.
Cut and Sew the Middle 1 Tier (Orange) of the Maxi Skirt
The M1 tier rectangle total is 68” x 9”.
Subtract 42”(Width of Fabric) from 68” to determine the size and number of the rectangles to cut.
- 68” – 42” = 26”
- Cut 1 tier that is 42” wide and 1 tier that is 26” wide.
Place the fabric right side up in a single layer on a flat cutting surface.
Measure, mark, and cut 1 piece of fabric 42” x 9” and 1 piece of fabric 26” x 9”
Designate one long edge as the top.
Place the short edges together, right sides facing, and stitch using a 1/2” seam allowance creating one continuous loop. Finish seams as desired; press.
Cut and Sew the Middle 2 Tier (Lime) of the Maxi Skirt
The M2 tier rectangle total is 102” x 9”.
Subtract 42”(Width of Fabric) from 102” to determine the size and number of the rectangles to cut.
- 102” – 42” = 60”
- 60” – 42” = 18”
- Cut 2 tiers that are 42” wide and one that is 18” wide.
Place the fabric right side up in a single layer on a flat cutting surface.
Measure, mark, and cut 2 pieces of fabric 42” x 9” and 1 piece of fabric 18” x 9”
Designate one long edge as the top.
Place the short edges together, right sides facing, and stitch using a 1/2” seam allowance creating one continuous loop. Finish seams as desired; press.
Cut and Sew the Middle 3 Tier (Blue) of the Maxi Skirt
The M3 tier rectangle total is 153” x 9”.
Subtract 42”(Width of Fabric) from 153” to determine the size and number of the rectangles to cut.
- 153” – 42” = 111”
- 111” – 42” = 69
- 69” – 42″ = 27”
- Cut 3 tiers that are 42” wide and 1 tier that is 27” wide.
Place the fabric right side up in a single layer on a flat cutting surface.
Measure, mark, and cut 3 pieces of fabric 42” x 9” and 1 piece of fabric 27” x 9”
Designate one long edge as the top.
Place the short edges together, right sides facing, and stitch using a 1/2” seam allowance creating one continuous loop. Finish seams as desired; press.
Cut and Sew the Lower Tier (Purple) of the Maxi Skirt
The lower tier rectangle total is 230” x 9”.
Subtract 42”(Width of Fabric) from 230” to determine the size and number of the rectangles to cut.
- 230” – 42” = 188”
- 188” – 42” = 146”
- 146” – 42” = 104”
- 104” – 42” – 62”
- 62” – 42” – 20”
- Cut 5 tiers that are 42” wide and 1 tier 1that is 20” wide.
Place the fabric right side up in a single layer on a flat cutting surface.
Measure, mark, and cut 5 pieces of fabric 42” x 9” and 1 piece of fabric 20” x 9”
Designate one long edge as the top.
Place the short edges together, right sides facing, and stitch using a 1/2” seam allowance creating one continuous loop. Finish seams as desired; press.
How to Gather the Tiers for the Multi-tiered Maxi Skirt
The M1 (orange), M2 (lime), M3 (blue) and L (purple) tiers are gathered and sewn to the tier above.
If you are using a serger to finish your seams, it is easier to serge-finish the upper edge of the tiers before you gather.
Add Gathering Stitches to the Tiers
Using a 3/8” seam allowance and a long gathering stitch (the longest straight stitch on your machine; on my machine that is a 6.0), stitch the M1 (orange) tier upper edge with the fabric right side up. Start and stop at each seam. Do not backstitch and be sure to leave a long thread tail at the beginning and end.
Repeat to stitch a second row of gathering stitches 1/4” from the upper edge.
Repeat for tiers M2 (lime), M3 (blue), and L (purple).
Here is a We All Sew blog post that shows three other methods you can use to gather the tiers.
Pin, Gather and Stitch the Tiers Together
Find the center front, center back, and sides of the U (magenta) tier and mark with a pin. Repeat for the M1 (orange) tier. These marks may not be the same as the seams on the tiers.
With right sides together, place the upper edge of M1 (orange) to the bottom edge of U (magenta) matching the marked center fronts, center backs, and sides. Pin in place.
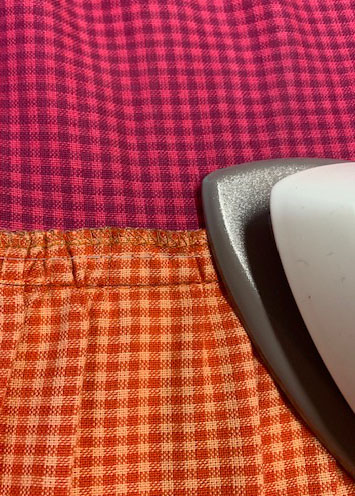
Gently pull the bobbin threads to gather the upper edge of M1 (orange) to match the bottom edge of U (magenta) and pin in place. Next, stitch using a 1/2” seam allowance. Finish seam if desired. Press up.
Repeat to attach the upper edge of M2 (lime) to the lower edge of M1 (orange).
Repeat to attach the upper edge of M3 (blue) to the lower edge of M2 (lime).
Repeat to attach the upper edge of M3 (blue) to the lower edge of L (purple).
Create the Waistband Casing and Add Elastic to the Multi-tiered Maxi Skirt
Fold the upper edge of U (magenta) tier 1/4” to the wrong side and press.
Fold again 1-1/4” toward the wrong side and press. Stitch close to first fold, leaving a 2” opening at the right side seam. This will be the opening to insert the elastic. Sew.
Wrap a length of 1” elastic around your waist so that it is snug but comfortable, then cut.
Attach a safety pin to one end of the elastic. Pin the other end of elastic to the casing opening. Use the safety pin to guide the elastic through the casing, adjusting fullness evenly. Be careful not to twist the elastic.
Overlap the elastic ends 1/2” and pin. Remove the safety pin. Use a zig-zag stitch to stitch through both elastic layers. Go back and forth to make sure the elastic is secure. Position the elastic within the casing. Stitch the casing closed.
- Tip: To prevent the elastic from twisting, stitch in the ditch along the side seams from the upper edge to the casing lower edge.
- Tip: Add a tag or piece of ribbon to the center back of the skirt to easily identify the front and back. Pin the tag in place before stitching the casing.
Hem the Multi-tiered Maxi Skirt
Fold the lower edge of L (purple) 1/4” to the wrong side and press. Fold again 1/4” toward the wrong side and press. Stitch close to the first fold.
Put your skirt on and give a twirl!
I’m Sharon Madsen of Sharon Sews. You can connect with me on YouTube (Sharon Sews) and Instagram (@TheSharonSews) where I share sewing makes, projects, tips, and reviews.
If you sew yourself a multi-tiered maxi skirt using this tutorial be sure to tag me on social media so I can see your beautiful make!

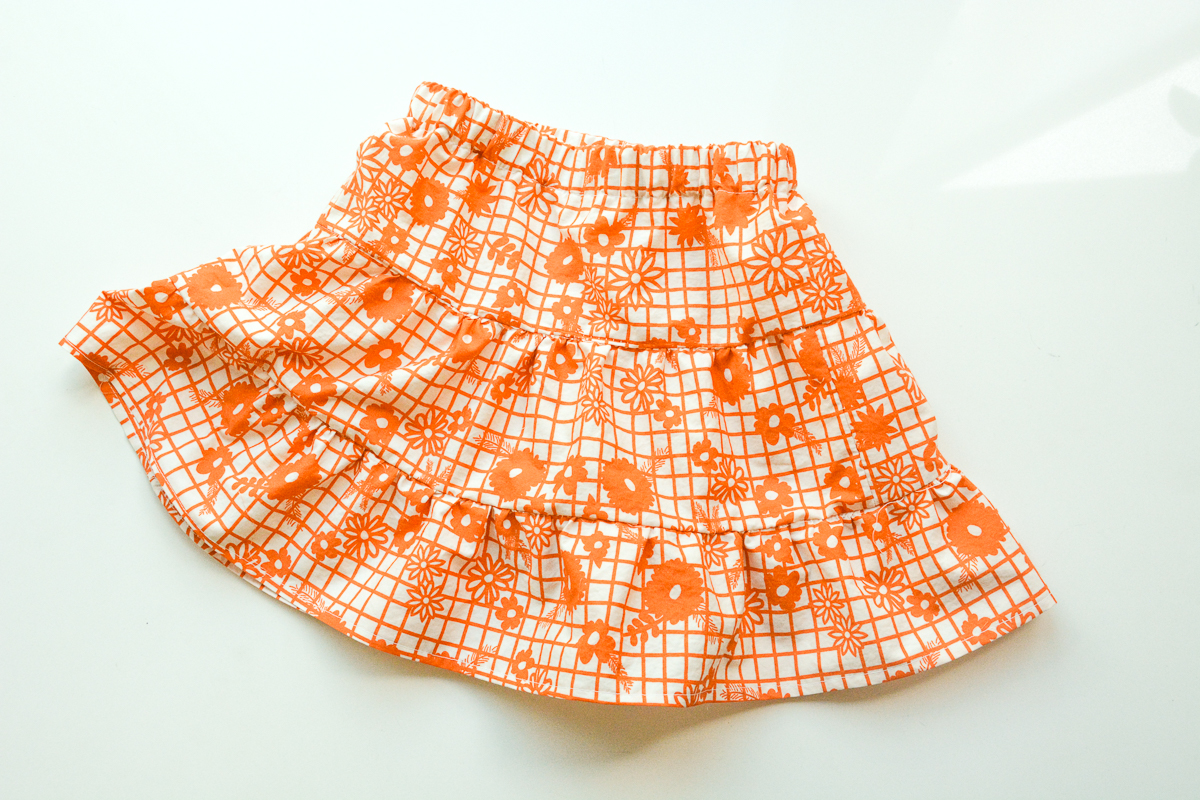
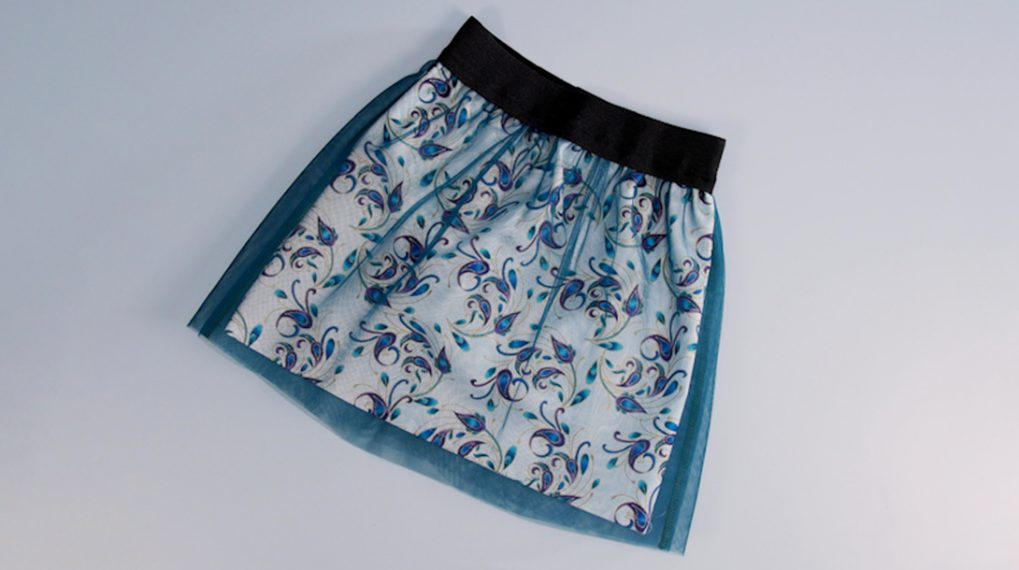
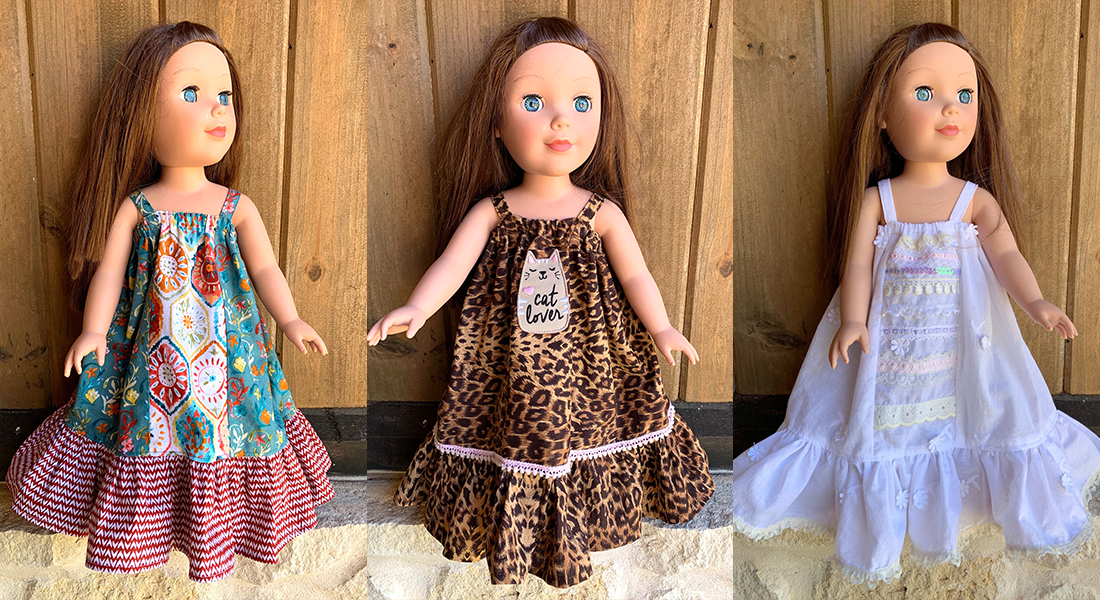
What you might also like


One comment on “How to Sew a Multi-tiered Maxi Skirt”
Leave a Reply
You must be logged in to post a comment.

Just wow! What an excellent blog post! This photo of Sharon makes me want to make this skirt. I love the fabric, explanation of finishing the seams, I mean, just wow! Keep up the great work.