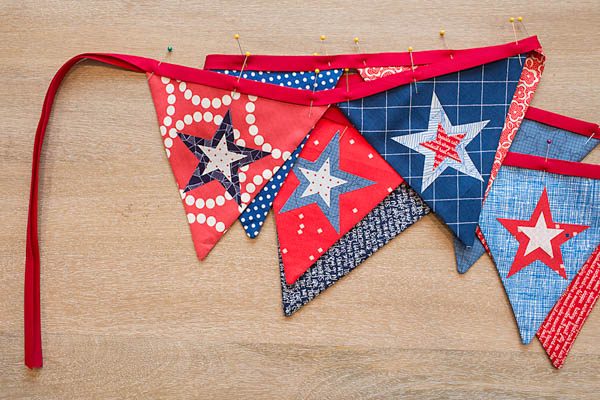
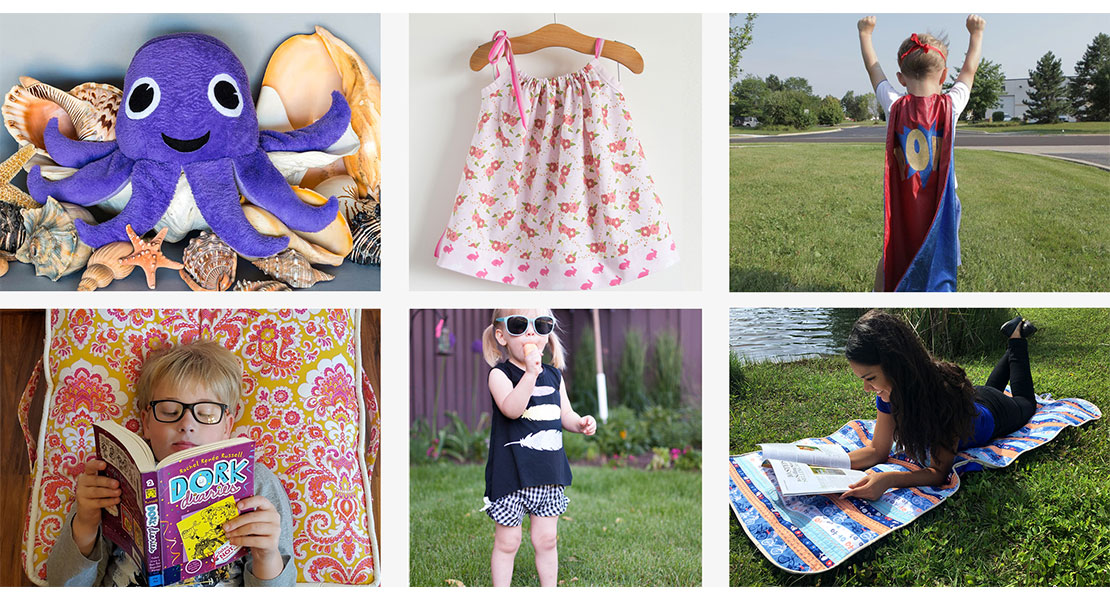
Star Bean Bag Toss Tutorial
Summer has arrived here in the Midwest and there is nothing my family enjoys more than spending time outside. Today I’m sharing an easy and fun tutorial for a bean bag toss game. This project is lightweight, great for all ages, and perfect for taking to your 4th of July BBQ.
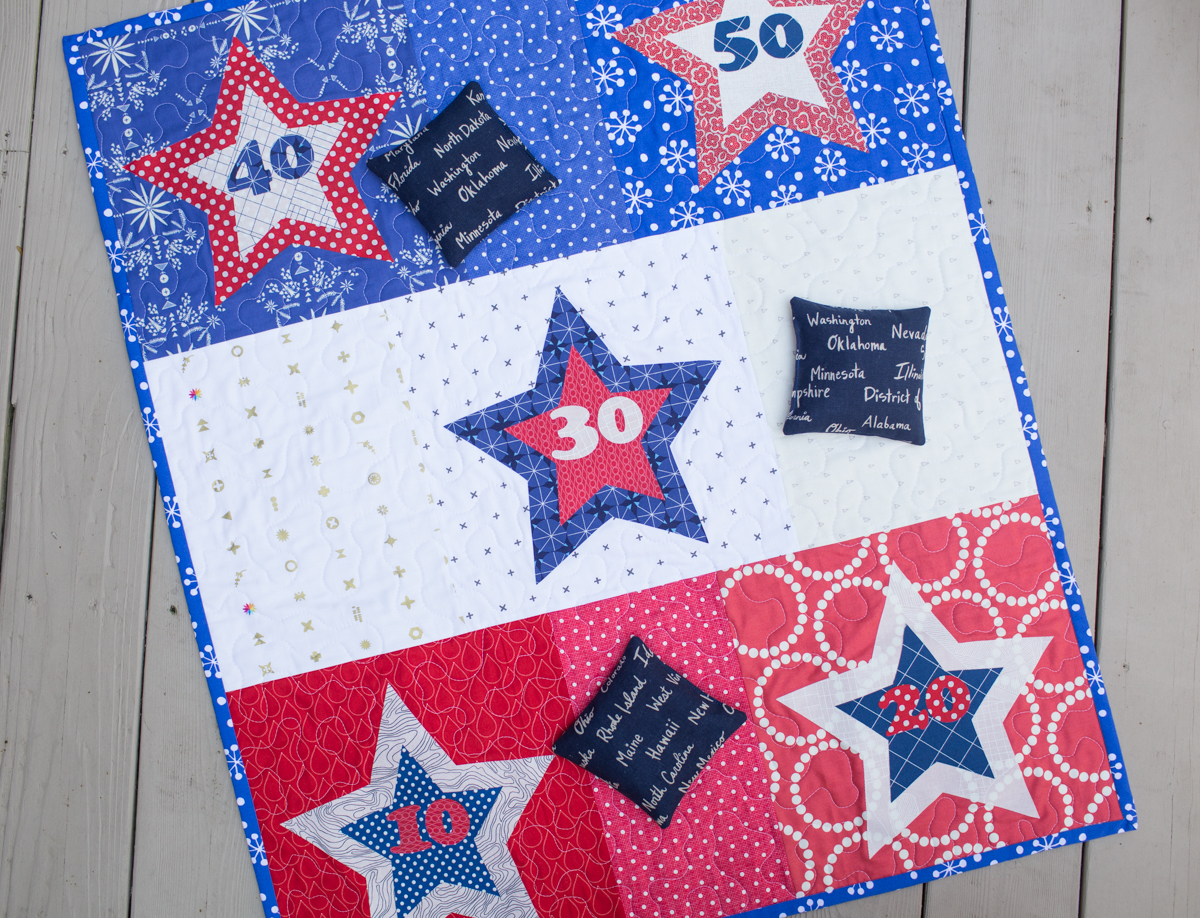
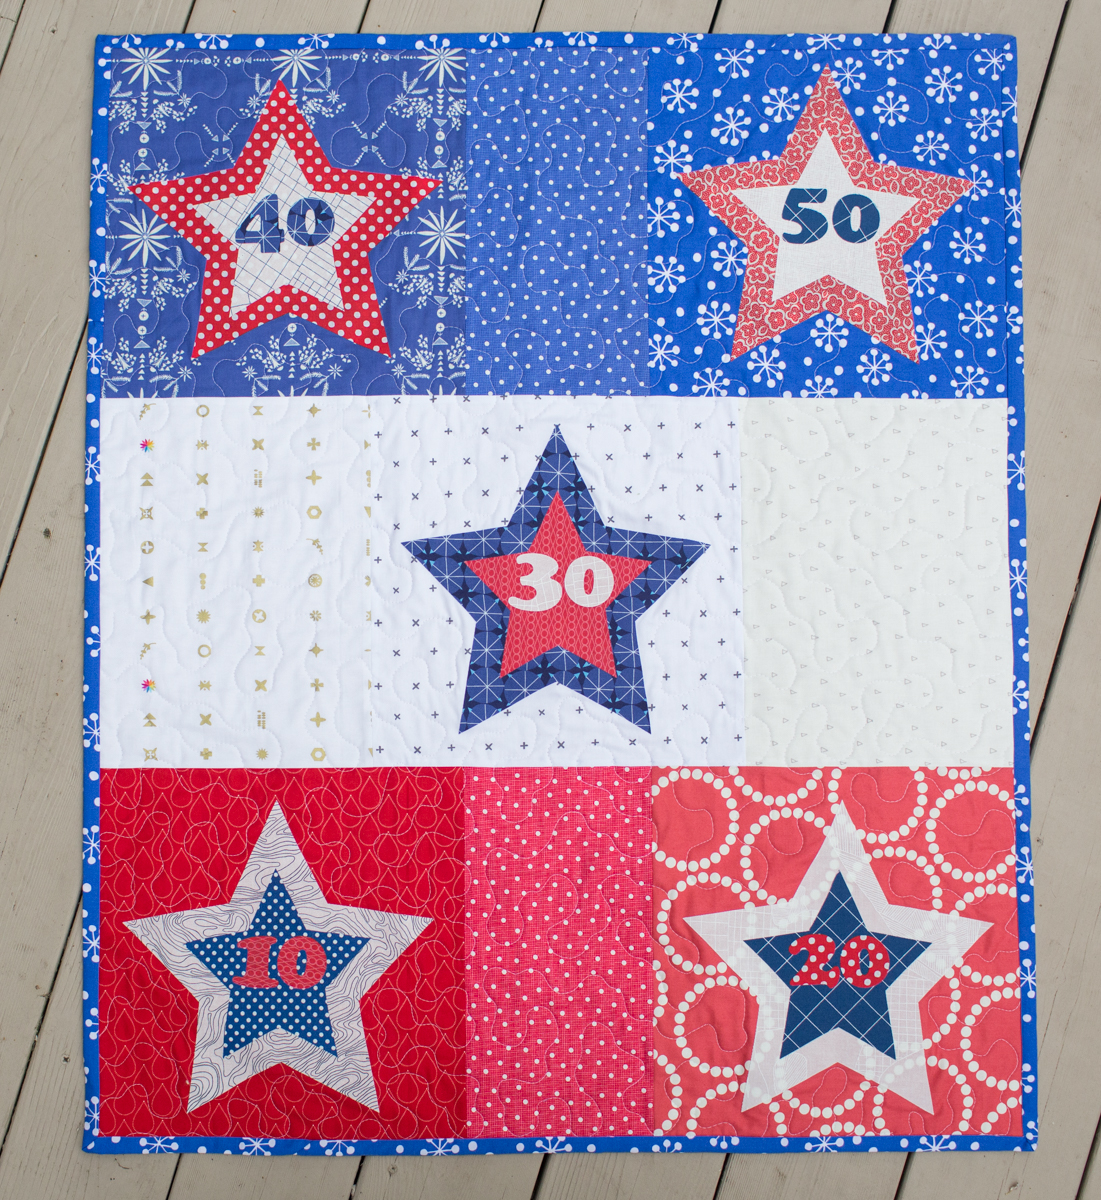
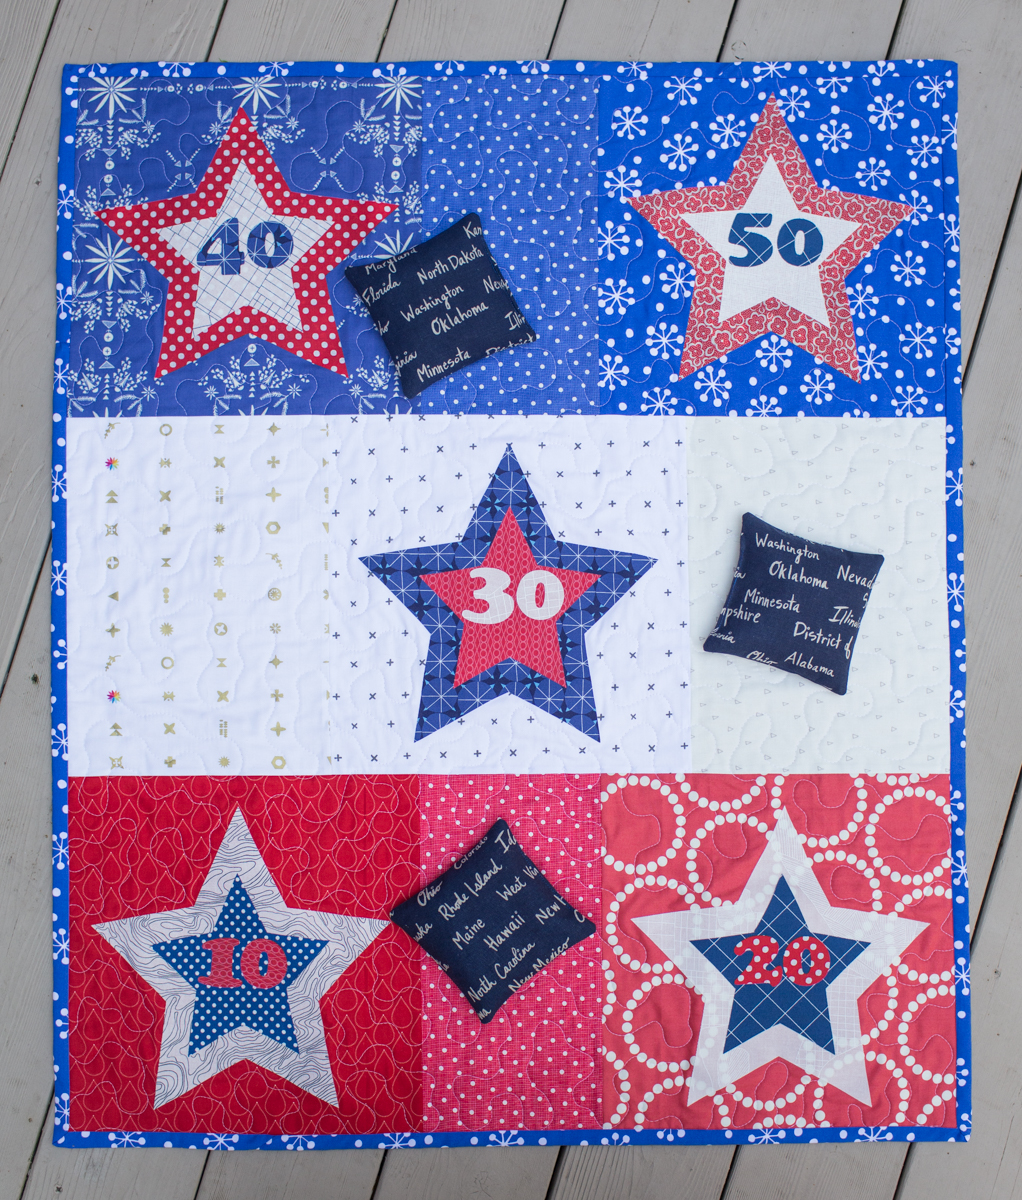
Finished Star Bean Bag Toss = 30″ x 36″
Materials to Make the Star Bean Bag Toss
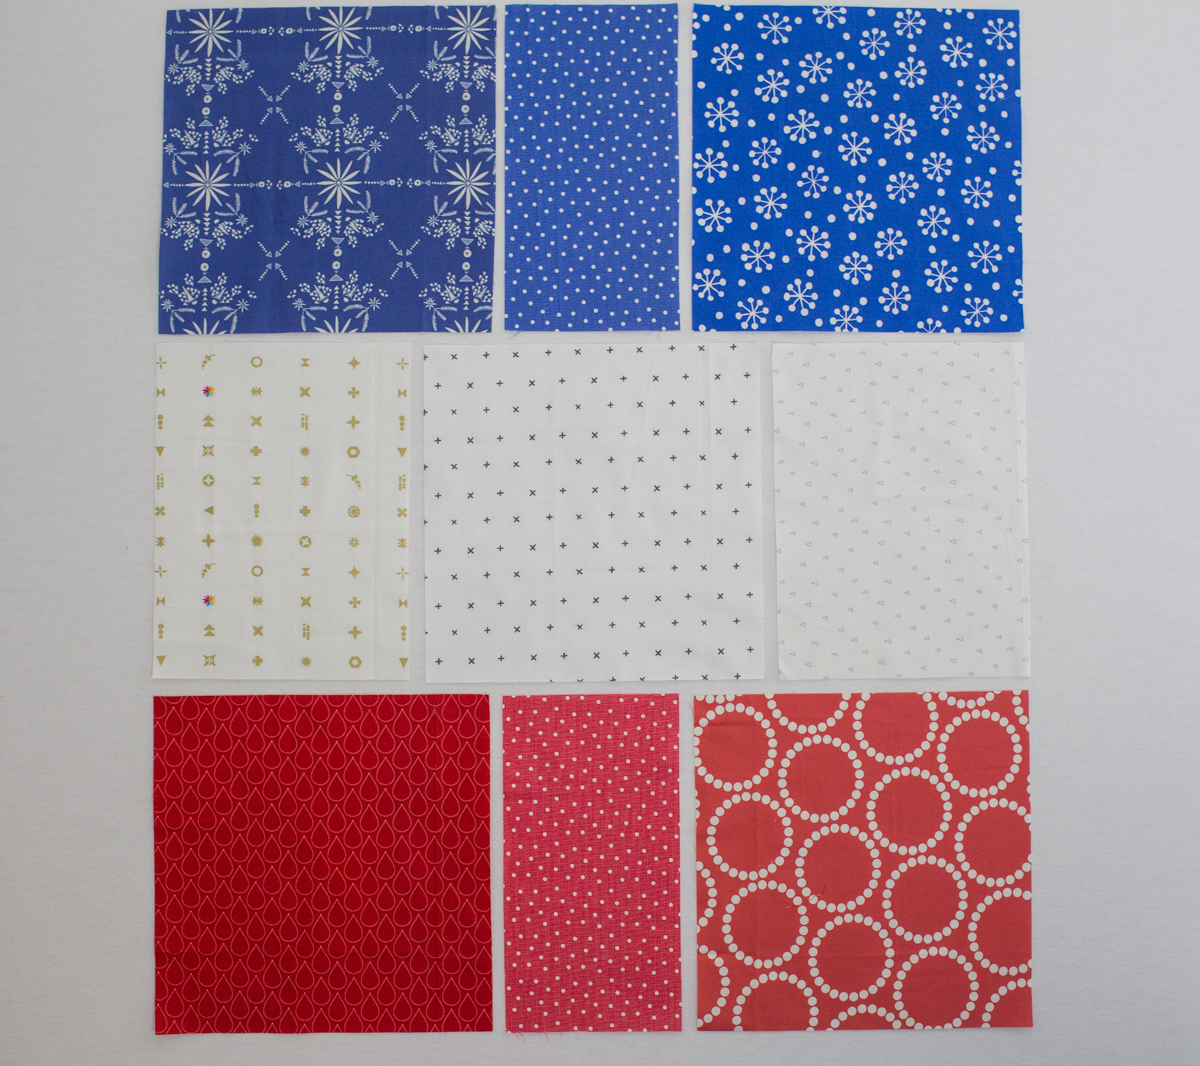
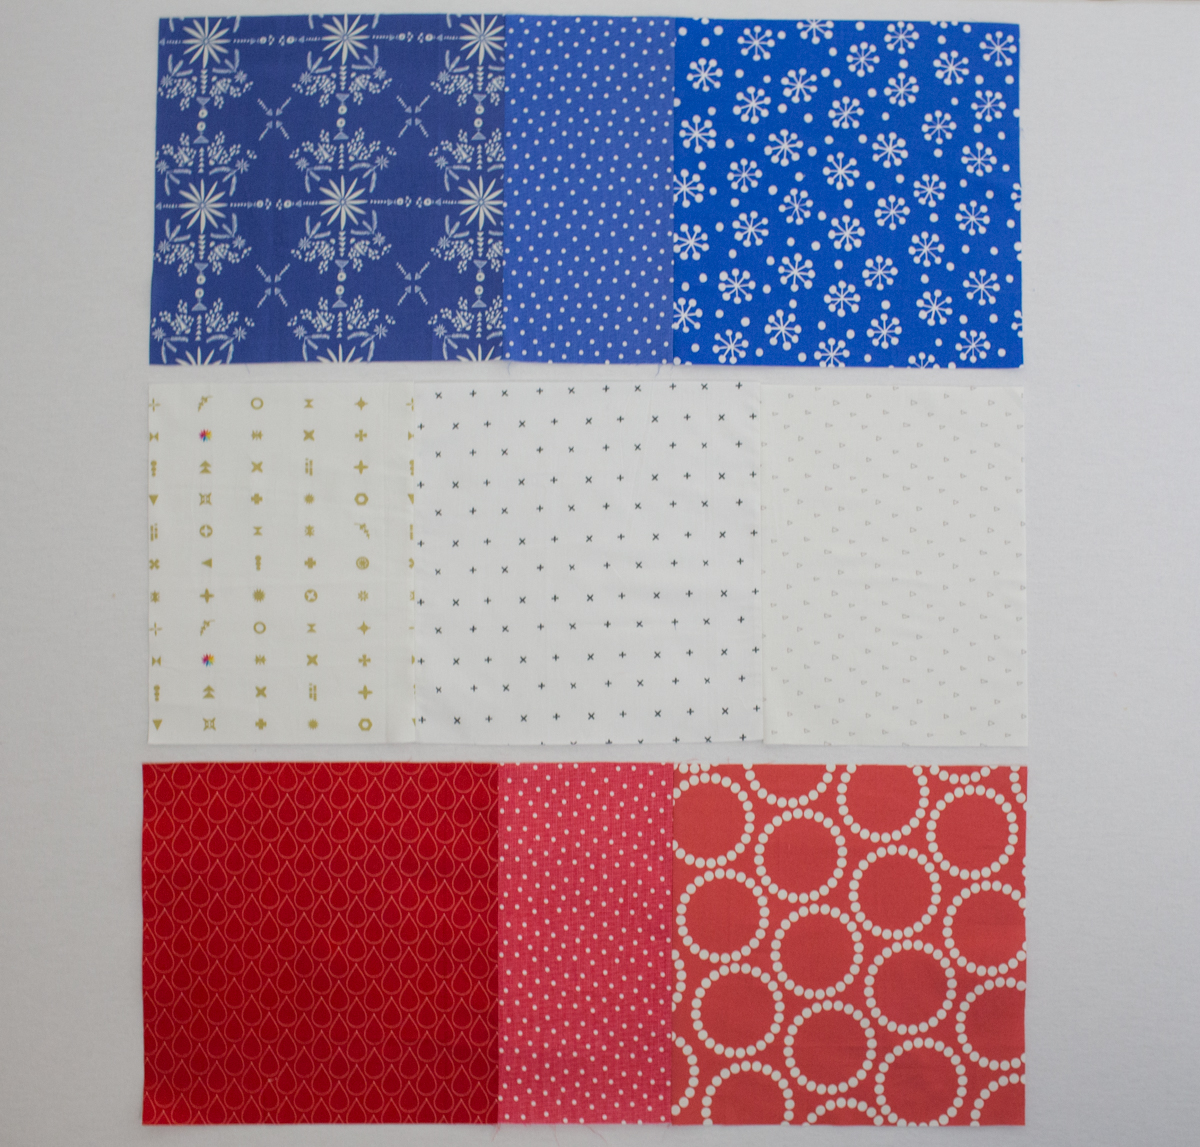
For my Star Bean Bag Toss, I used a scrappy mix of red, white and blue fabrics.
For the Background:
(2) 12-1/2″ x 12-1/2″ blue squares
(1) 6-1/2″ x 12-1/2″ blue rectangle
(2) 9-1/2″ x 12-1/2″ white rectangles
(1) 12-1/2″ x 12-1/2″ white square
(2) 12-1/2″ x 12-1/2″ red squares
(1) 6-1/2″ x 12-1/2″ red rectangle
For the Large Outer Stars:
(2) 10-1/2″ x 10-1/2″ red squares
(2) 10-1/2″ x 10-1/2″ white squares
(1) 10-1/2″ x 10-1/2″ blue squares
For the Small Inner Stars:
(2) 6-1/2″ x 6-1/2″ white squares
(2) 6-1/2″ x 6-1/2″ blue squares
(1) 6-1/2″ x 6-1/2″ red squares
For the Numbers:
You will be using scraps from your Large Outer Stars
For the Bean Bags:
(6) 5-1/2″ x 5-1/2″ fabric squares
For a sturdier bean bag, consider using Home Dec weight fabric or lining fabric with interfacing (optional)
Additional Supplies:
- Star Bean Bag Toss Template Printed at 100% or Actual Size
- 36″ x 42″ backing fabric—I used a waterproof picnic tablecloth
- 36″ x 42″ batting
- Approximately 17″ x 2-1/3 yards of Heat n Bond Ultra Hold
- 1/3 yard of fabric for binding
- Approximately 4-1/2 cups of dried beans
- Pen
- Scissors
Instructions to Make the Star Bean Bag Toss
Note: All seam allowances are 1/4″
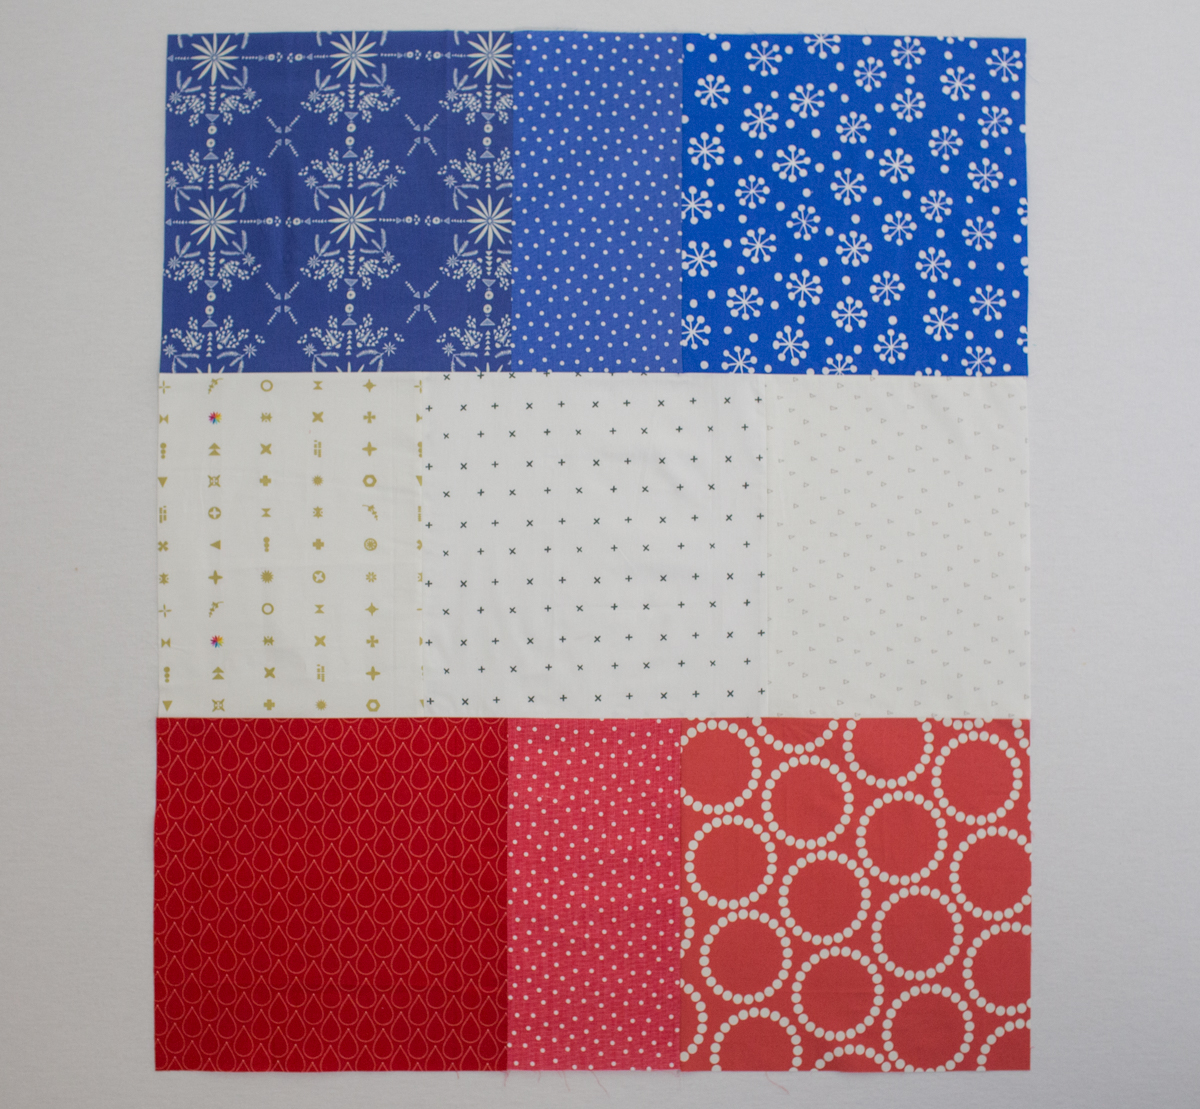
Prepare the Background
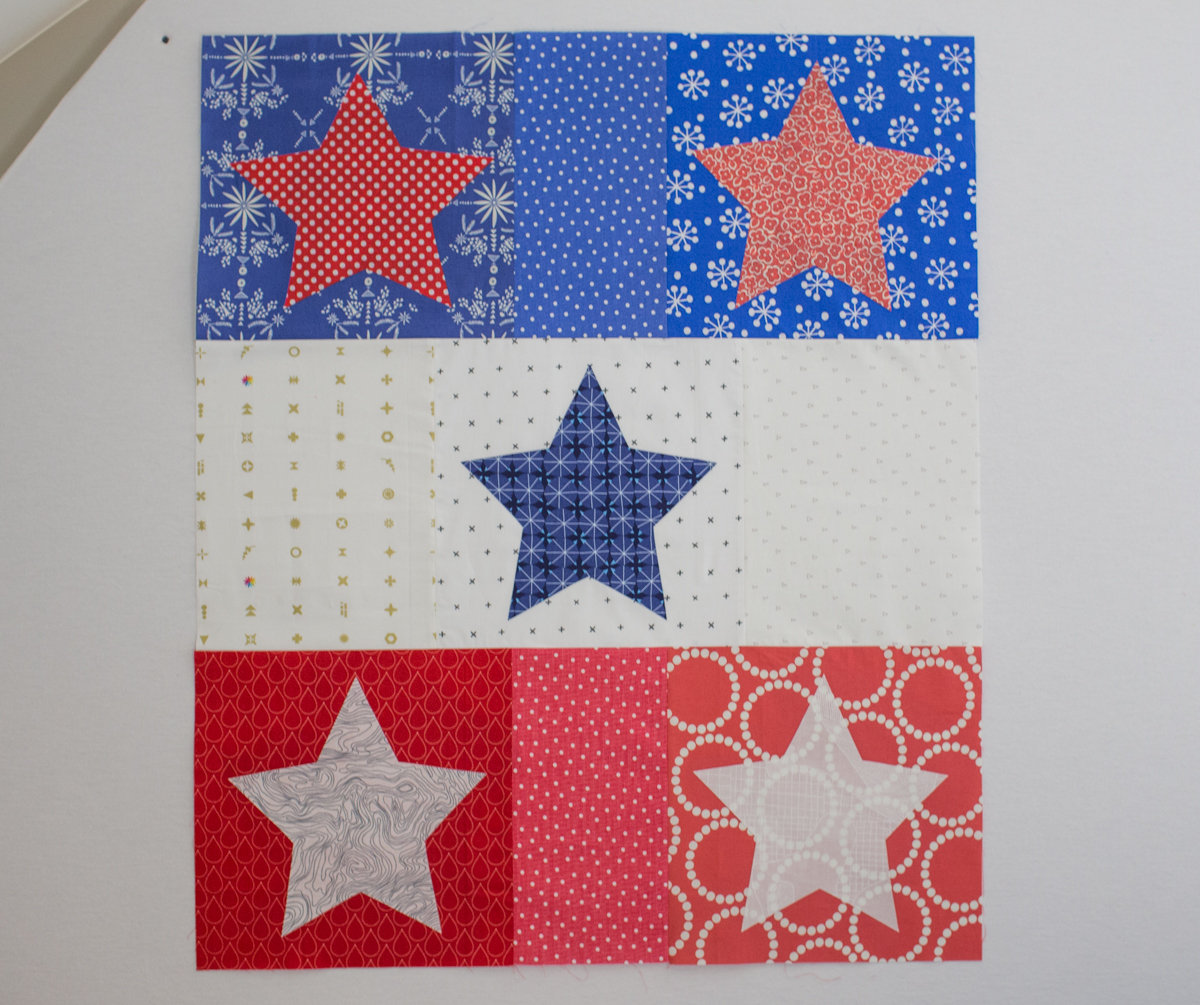
Step 1. Select your (2) 12-1/2″ x 12-1/2″ blue background squares and (1) 6-1/2″ x 12-1/2″ blue background rectangle. Stitch together into a row.
Step 2. Select your (2) 9-1/2″ x 12-1/2″ white background rectangles and (1) 12-1/2″ x 12-1/2″ white background square. Stitch together into a row.
Step 3. Select your (2) 12-1/2” x 12-1/2″ red background squares and (1) 6-1/2″ x 12-1/2″ red background rectangle. Stitch together into a row.
Step 4. Select the blue, white and red rectangles you just created and stitch together as shown below.
Prepare the Stars
Step 1. Following the manufacturer’s instructions, iron Heat n Bond to the back of your Large Outer Star and Small Inner Star fabric.
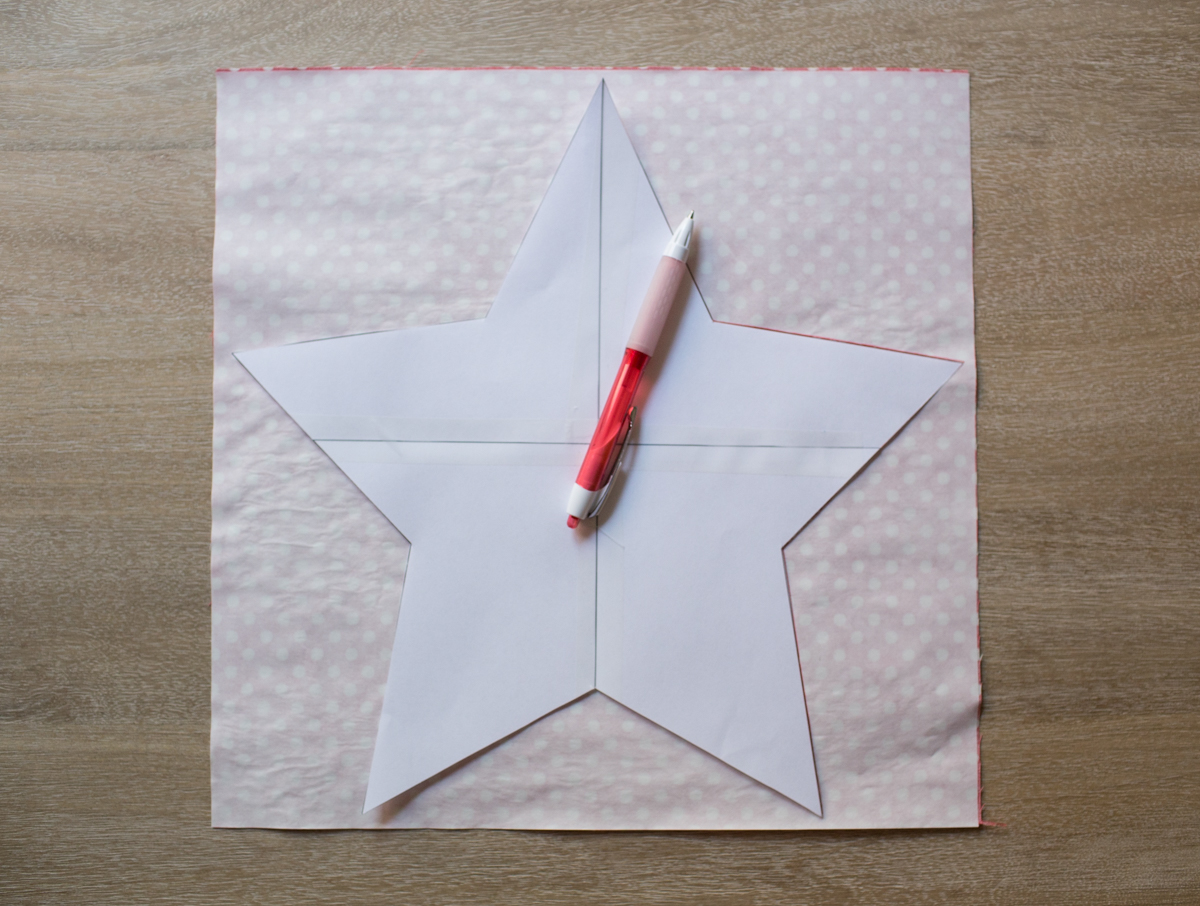
Step 2. Cut out the Star Bean Bag Toss Templates. Tape Large Star Templates A, B, C, and D together to form large 10″ x 10″ star.
Step 3. Using the Large Star Template, trace stars on the wrong side of your (2) 10-1/2″ x 10-1/2″ red squares, (1) 10-1/2″ x 10-1/2″ blue square, and (2) 10-1/2″ x 10-1/2″ white squares (onto the Heat n Bond Paper).
Step 4. Using the Small Star Template, trace stars on the wrong side of your (2) 6-1/2″ x 6-1/2″ white squares, (1) 6-1/2″ x 6-1/2″ red square, and (2) 6-1/2″ x 6-1/2″ blue squares (onto the Heat n Bond Paper).
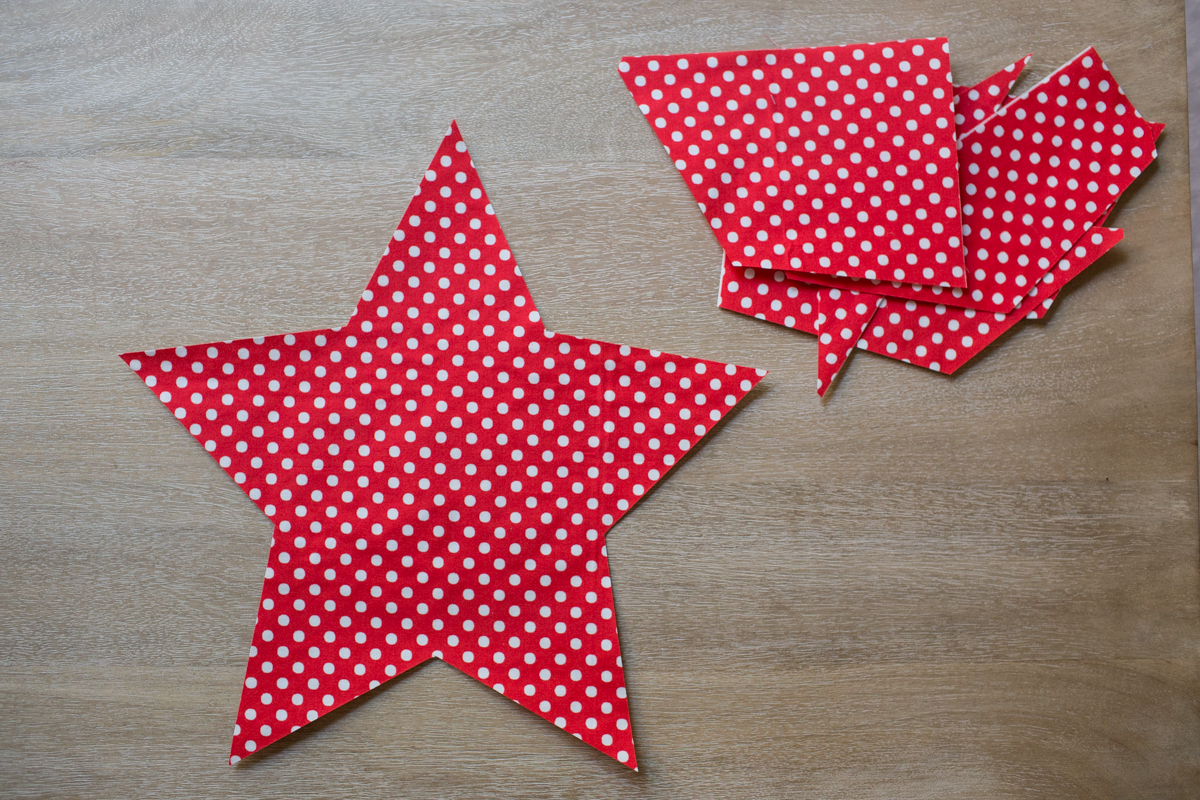
Step 5. Cut out the stars and set aside. Save your scraps for the Numbers later in this pattern.
Prepare the Numbers
There are several options for making your numbers:
- Using the templates provided, hand cut your numbers from your scrap large outer star fabrics.
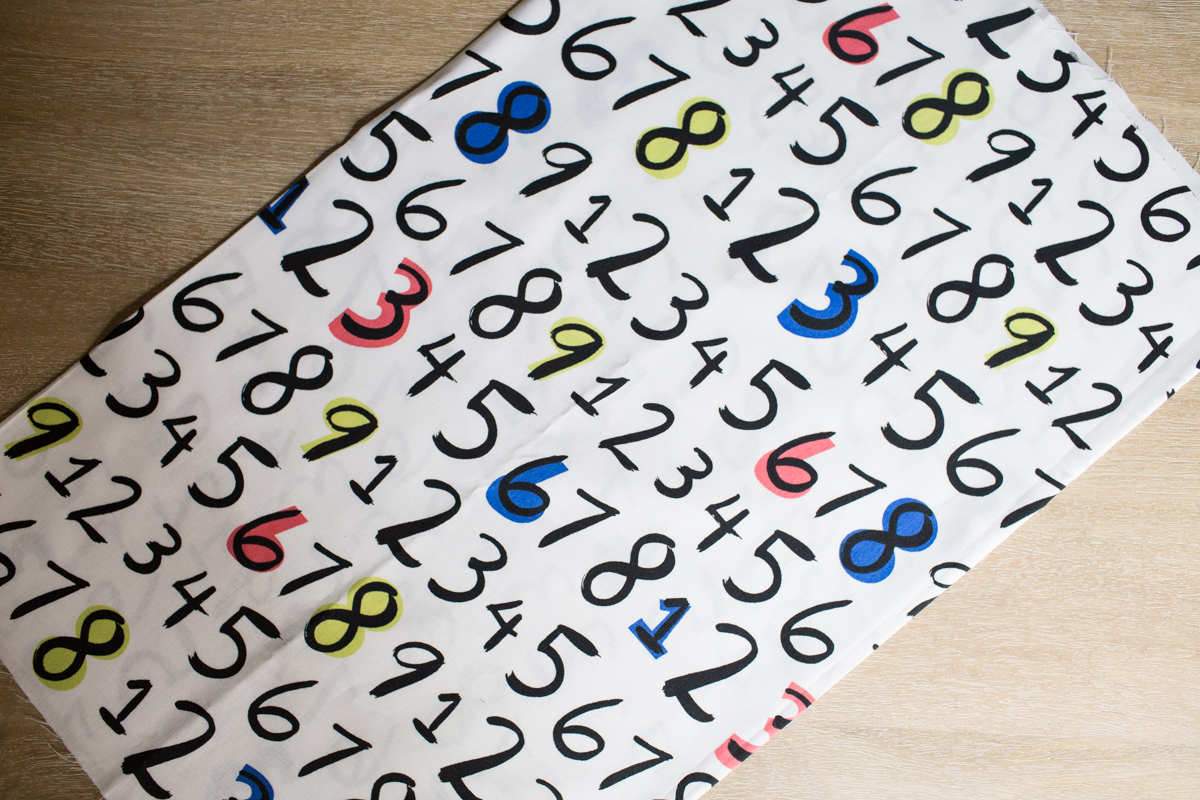
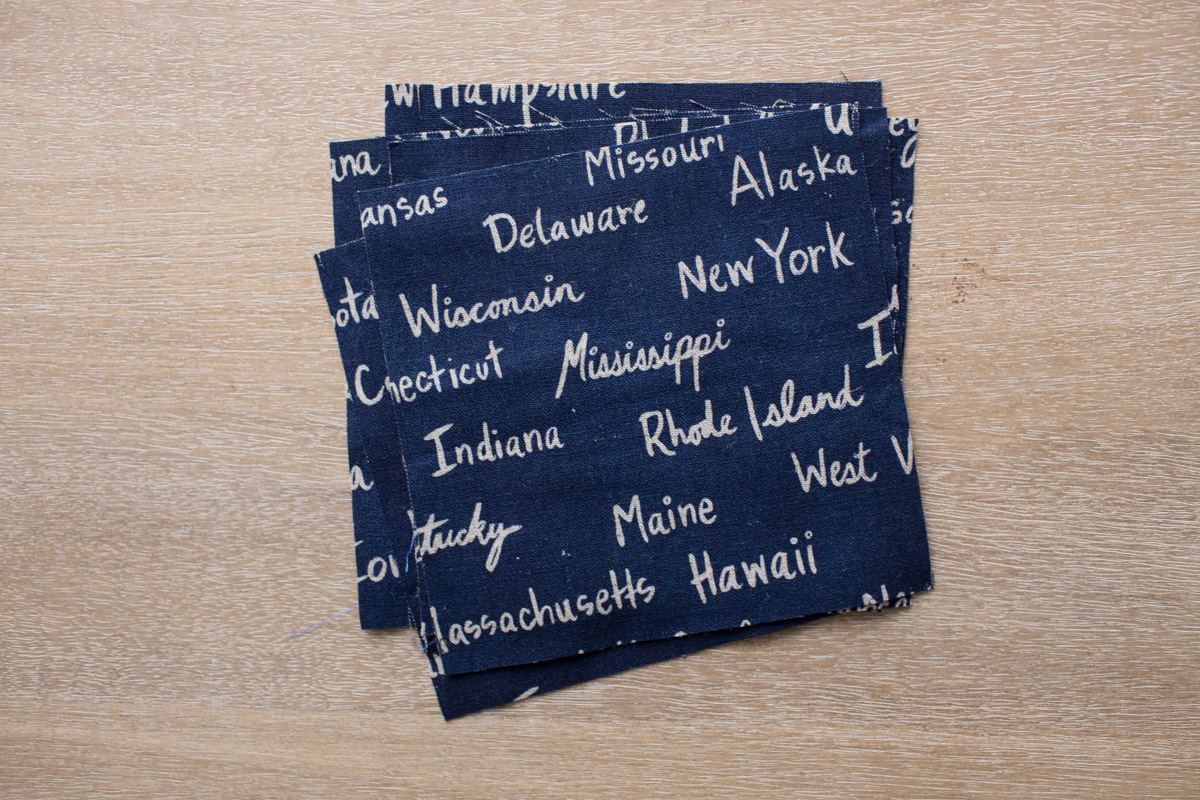
- Using a numeric fabric, such as the one shown below, cut out numbers to adhere to project.

- Use this SVG file and this tutorial, and cut your numbers using a Cricut Cutting Machine.
- Embroider your numbers, by hand or machine.
Step 1. Following the manufacturer’s instructions, iron Heat n Bond to the back of the fabric you are using for your Numbers. Skip this step if you are using scraps from the Large Outer Stars.
Step 2. Select the Numbers you cut out from the Star Bean Bag Toss Templates.
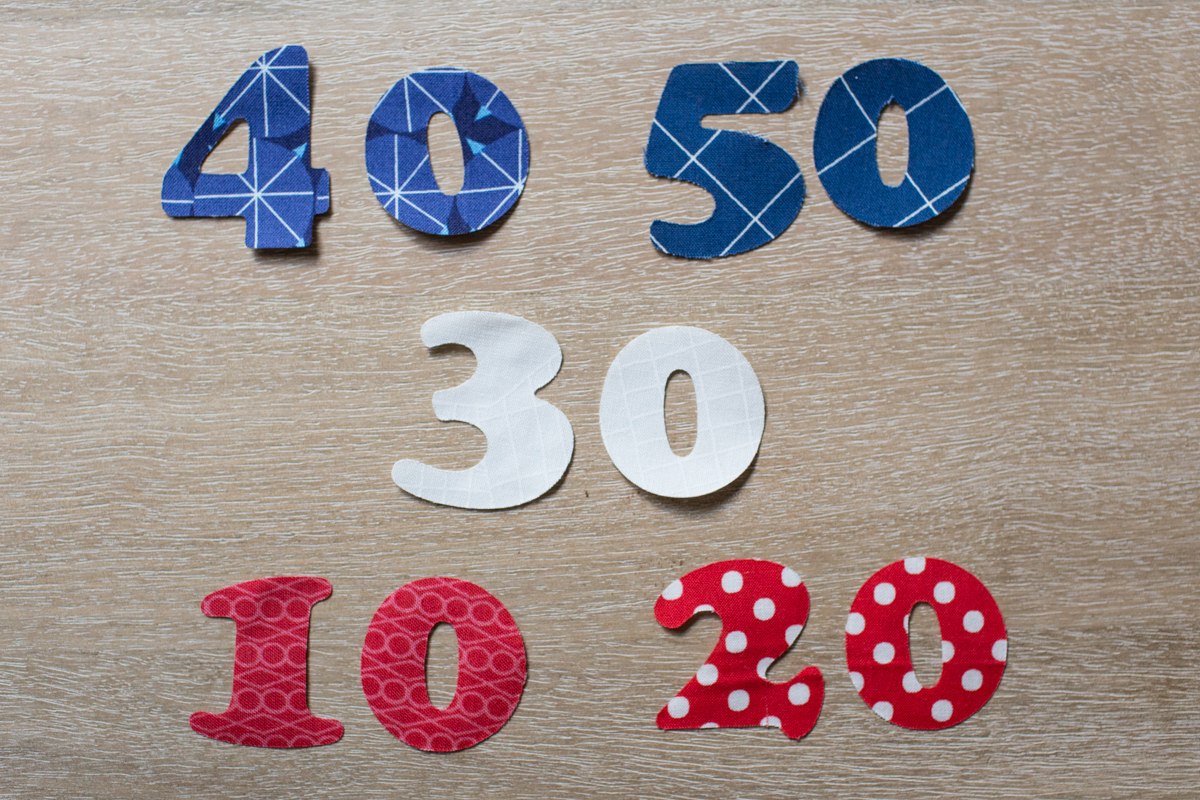
Step 3. Using the Numbers Templates, trace the “40” and “50” on the wrong side of blue fabric.
Step 4. Using the Numbers Templates, trace the “30” on the wrong side of white fabric.
Step 5. Using the Numbers Templates, trace the “10” and “20” on the wrong side of red fabric.
Step 6. Cut out the numbers and set aside.
Assemble the Star Bean Bag Toss Quilt Top
Step 1. Remove the Heat n Bond paper from the back of the Large Stars. Place your Large Stars on the quilt as shown. Following the manufacturer’s instructions, iron/adhere the Large Stars to the quilt top.
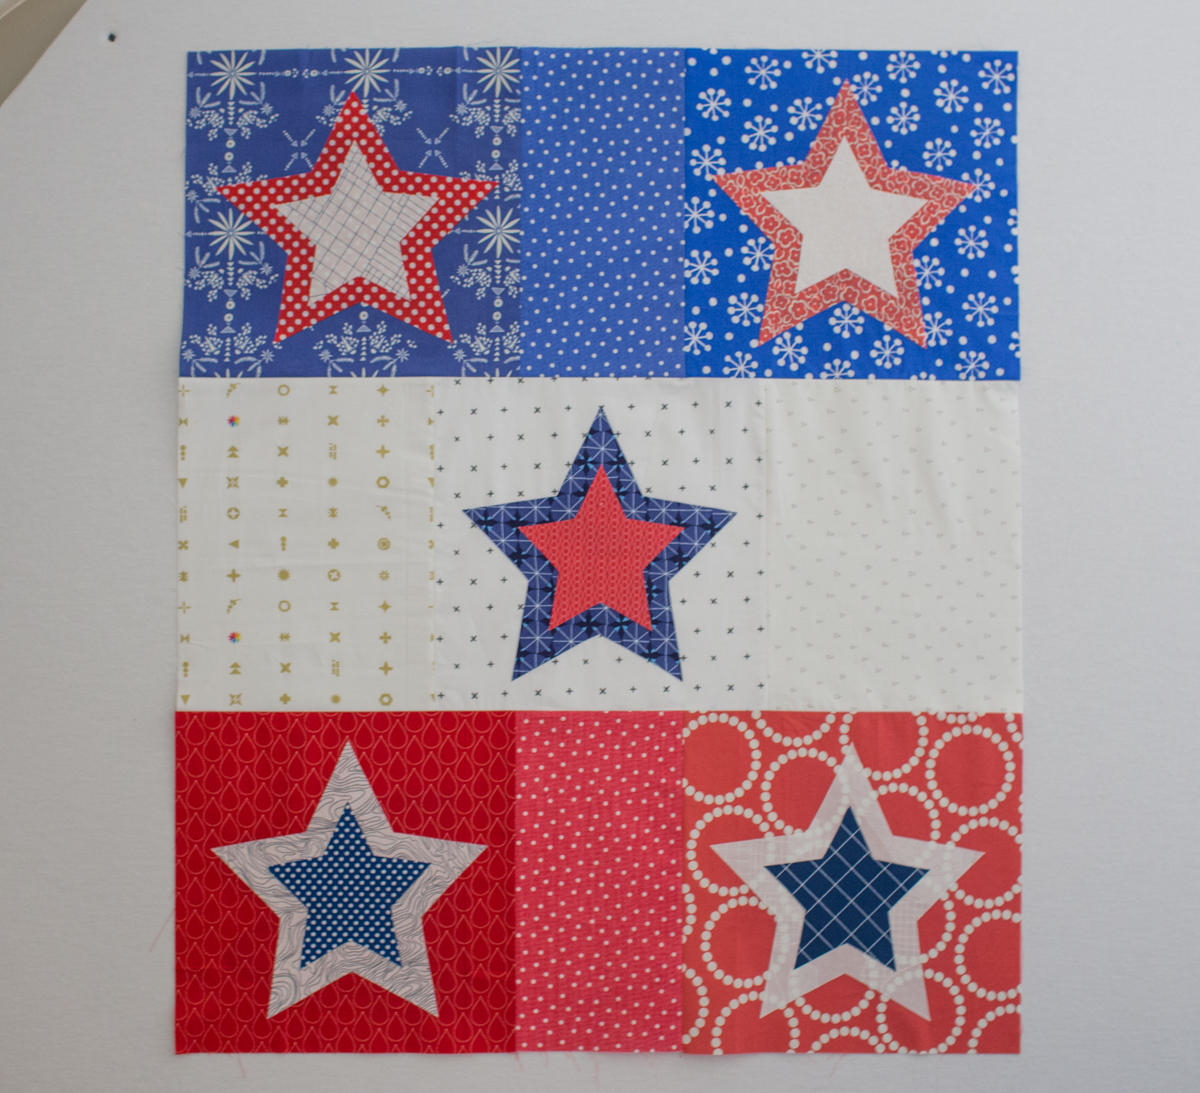
Step 2. Remove the Heat n Bond paper from the back of the Small Stars. Place your Small Stars on the quilt as shown. Following the manufacturer’s instructions, iron/adhere the Small Stars to the quilt top.
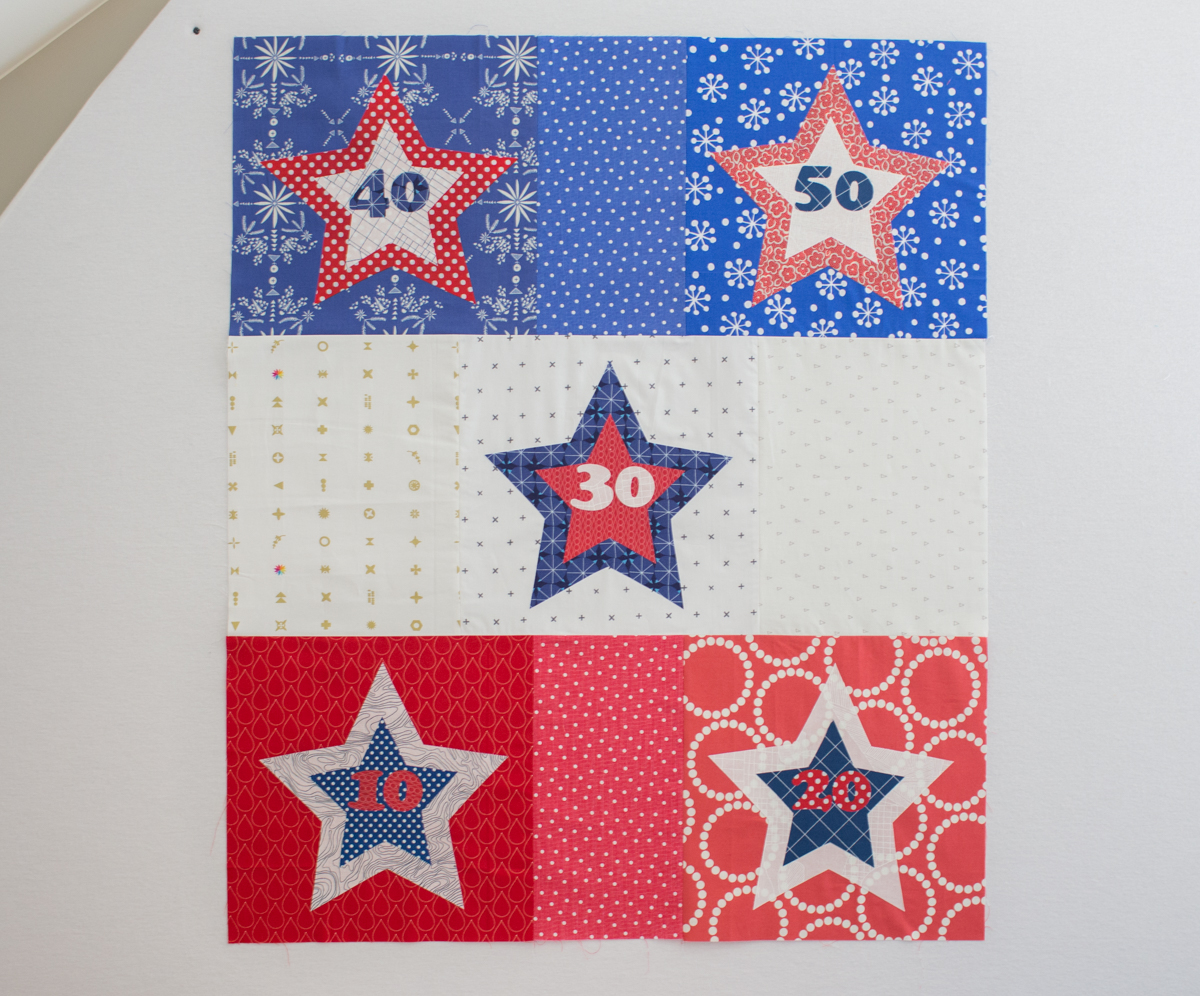
Step 3. Remove the Heat n Bond paper from the back of the Numbers. Place your Numbers on the quilt as shown. Following the manufacturer’s instructions, iron/adhere the Numbers to the quilt top.
Finishing Option 1: Baste, Quilt, and Bind your Star Bean Bag Toss Game
Step 1. Gather your 36″ x 42″ backing fabric, 36″ x 42″ batting, and Star Bean Bag Toss quilt top. I plan to use our bean bag toss at the lake. Since it will likely be sitting on wet sand, I used a waterproof picnic table cloth for my backing.
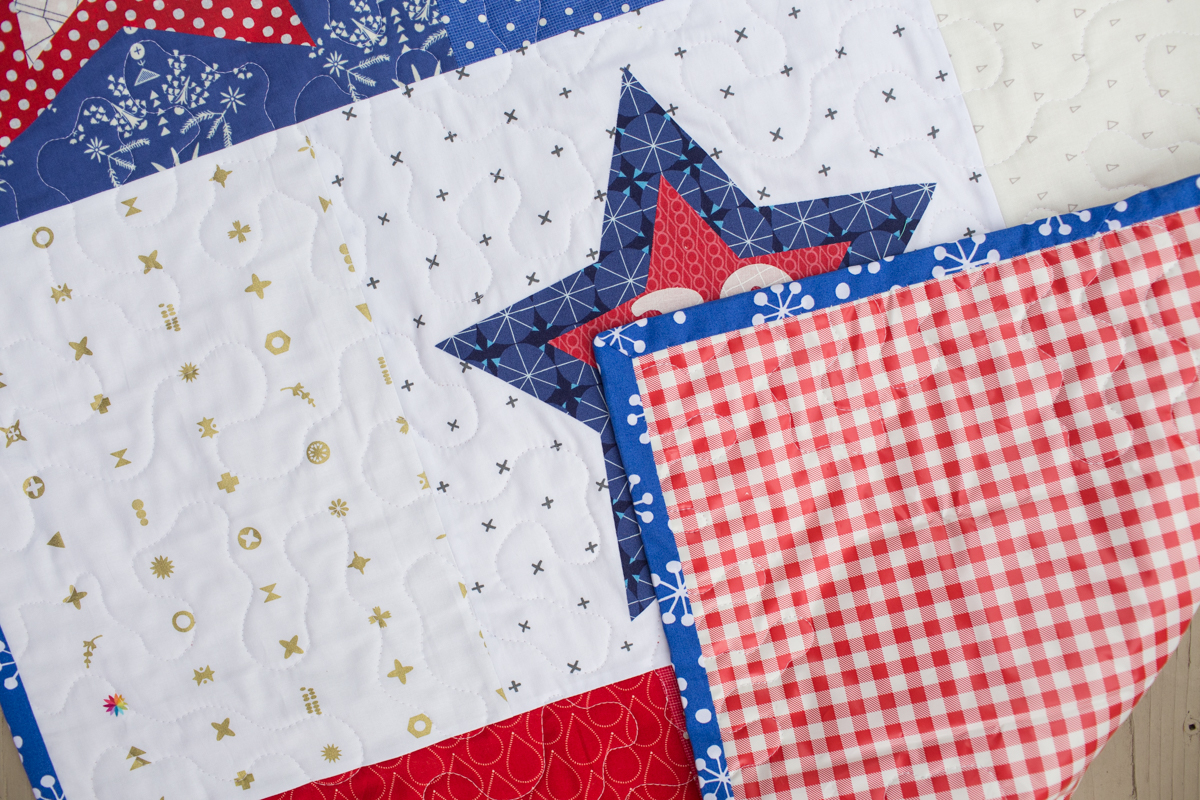
Step 2. Baste the quilt using your preferred method. I quilted my Star Bean Bag Toss Game using a meandering free motion design with my BERNINA Stitch Regulator (BSR) foot.
Step 3. Cut (4-1/2) strips of fabric for your binding, 2-1/4″ x 42″ (width of fabric). Create your binding and bind your bean bag toss game.
Finishing Option 2: Unquilted Version of Star Bean Bag Toss Game
Step 1. Trim your backing to 30-1/2″ x 36-1/2″.
Step 2. Place your backing and top right sides together. Pin around the edge.
Step 3. Stitch around the the sides, leaving approximately 10″ open on one side.
Step 4. Flip bean bag toss right sides out and press.
Step 5. Stitch opening closed.
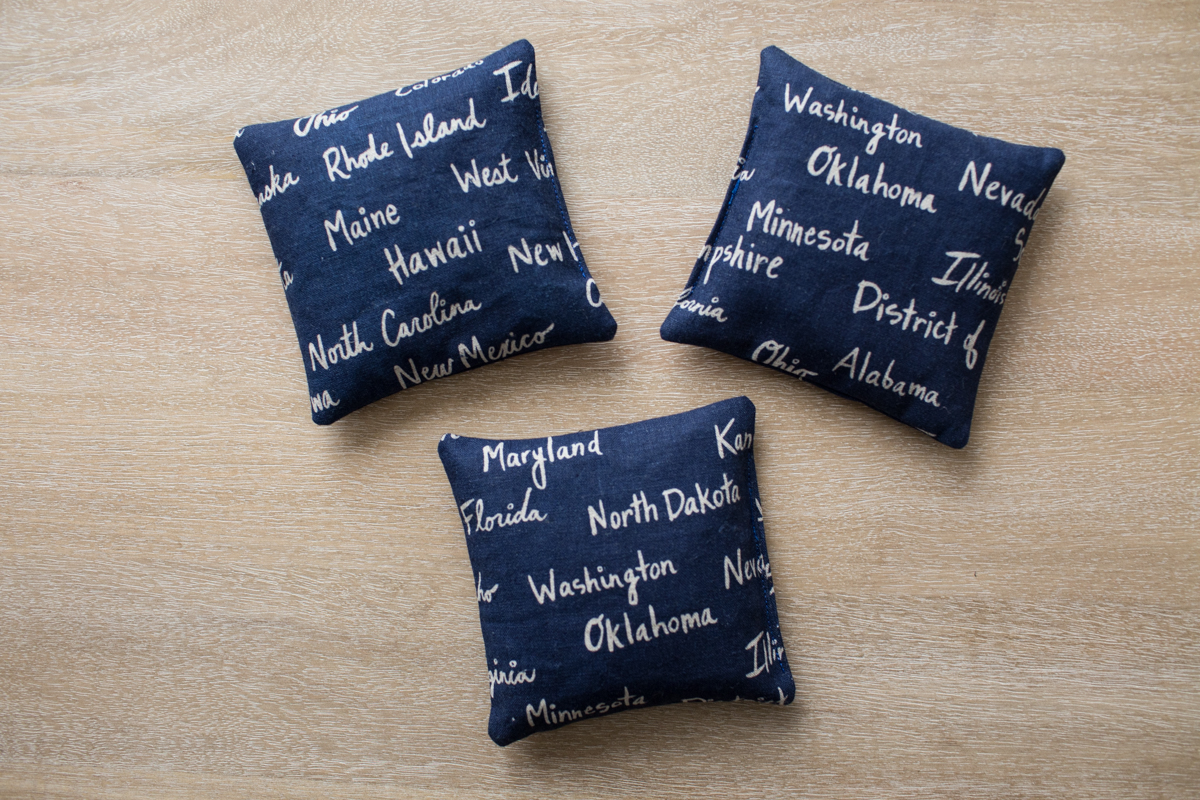
Make the Bean Bags
Step 1. Select (2) 5-1/2″ x 5-1/2″ squares from your bean bag fabric. Place fabric right sides together. Stitch around all sides of fabric, using a 1/4″ seam allowance, leaving approximately 2″ open on one side.
Step 2. Clip corners and flip the bean bag right sides out.
Step 3. Press bean bag.
Step 4. Fill with approximately 1-1/2 cups of dried beans.
Step 5. Stitch opening closed.
Step 6. Repeat Steps 1-5 with remaining pairs of 5-1/2″ x 5-1/2″ fabric.
Gather your friends and family and enjoy some bean bag toss!
Used Products


What you might also like


5 comments on “Star Bean Bag Toss Tutorial”
-
-
They are above in the directions.
-
-
Go up to instructions where it says “Additional Supplies” click on “Star Bean Bag Template” it will give you the template!
-
Perfect project for me to put in software V8 and create an in the hoop embroidery.
-
Is there a way to download your projects, so they can be easily printed? It is completely impossible to be able to follow directions from my computer (my computer is in a different room than my sewing room). In the past I have copied and pasted, copy and pasted…. to get be able to print projects. However, I am done with that process as it takes way too long and is way to inconvenient! Thanks, Brenda
Leave a Reply
You must be logged in to post a comment.

I love the star bean bag toss project and plan to make one for our July 4th picnic. Could you tell me where I can find the templates for the stars and numbers?
Thanks